Uncharted 4: A Thief's End Guide Story Walkthrough
Chapter 6: Once a Thief…
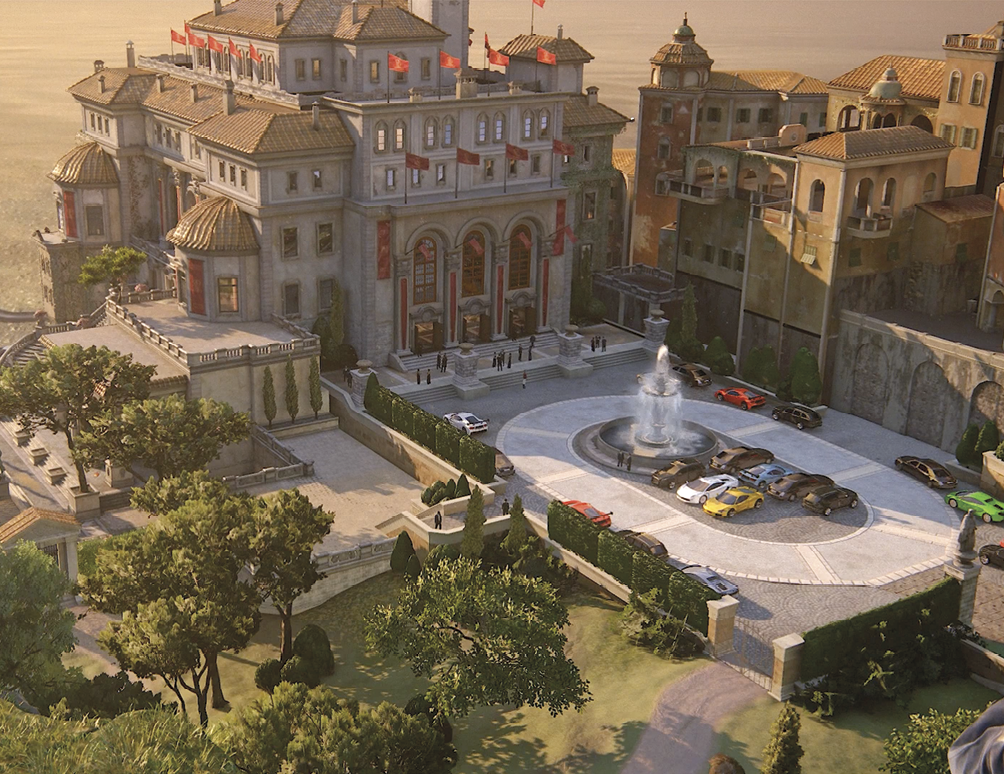
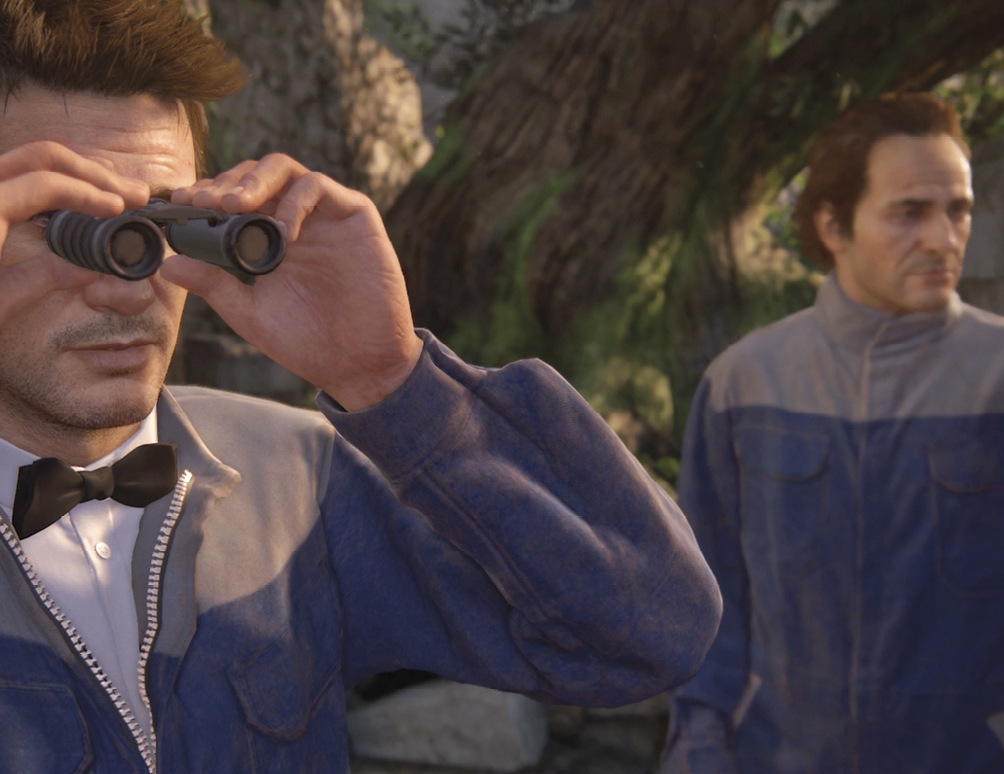
The Drake brothers wait in a grove above the Rossi Estate, observing the arrivals and looking for a signal from Victor Sullivan, Nathan’s longtime friend, partner, and mentor. As Nathan studies a blueprint of the estate, Sam expresses concern about Sully’s participation in the plan. But Nathan replies, “I trust him. He’s family.” Then the signal comes. Time to climb!
CollectiblesTreasures: 9 Optional Conversations: 3 |
Climb to the Lemon Grove
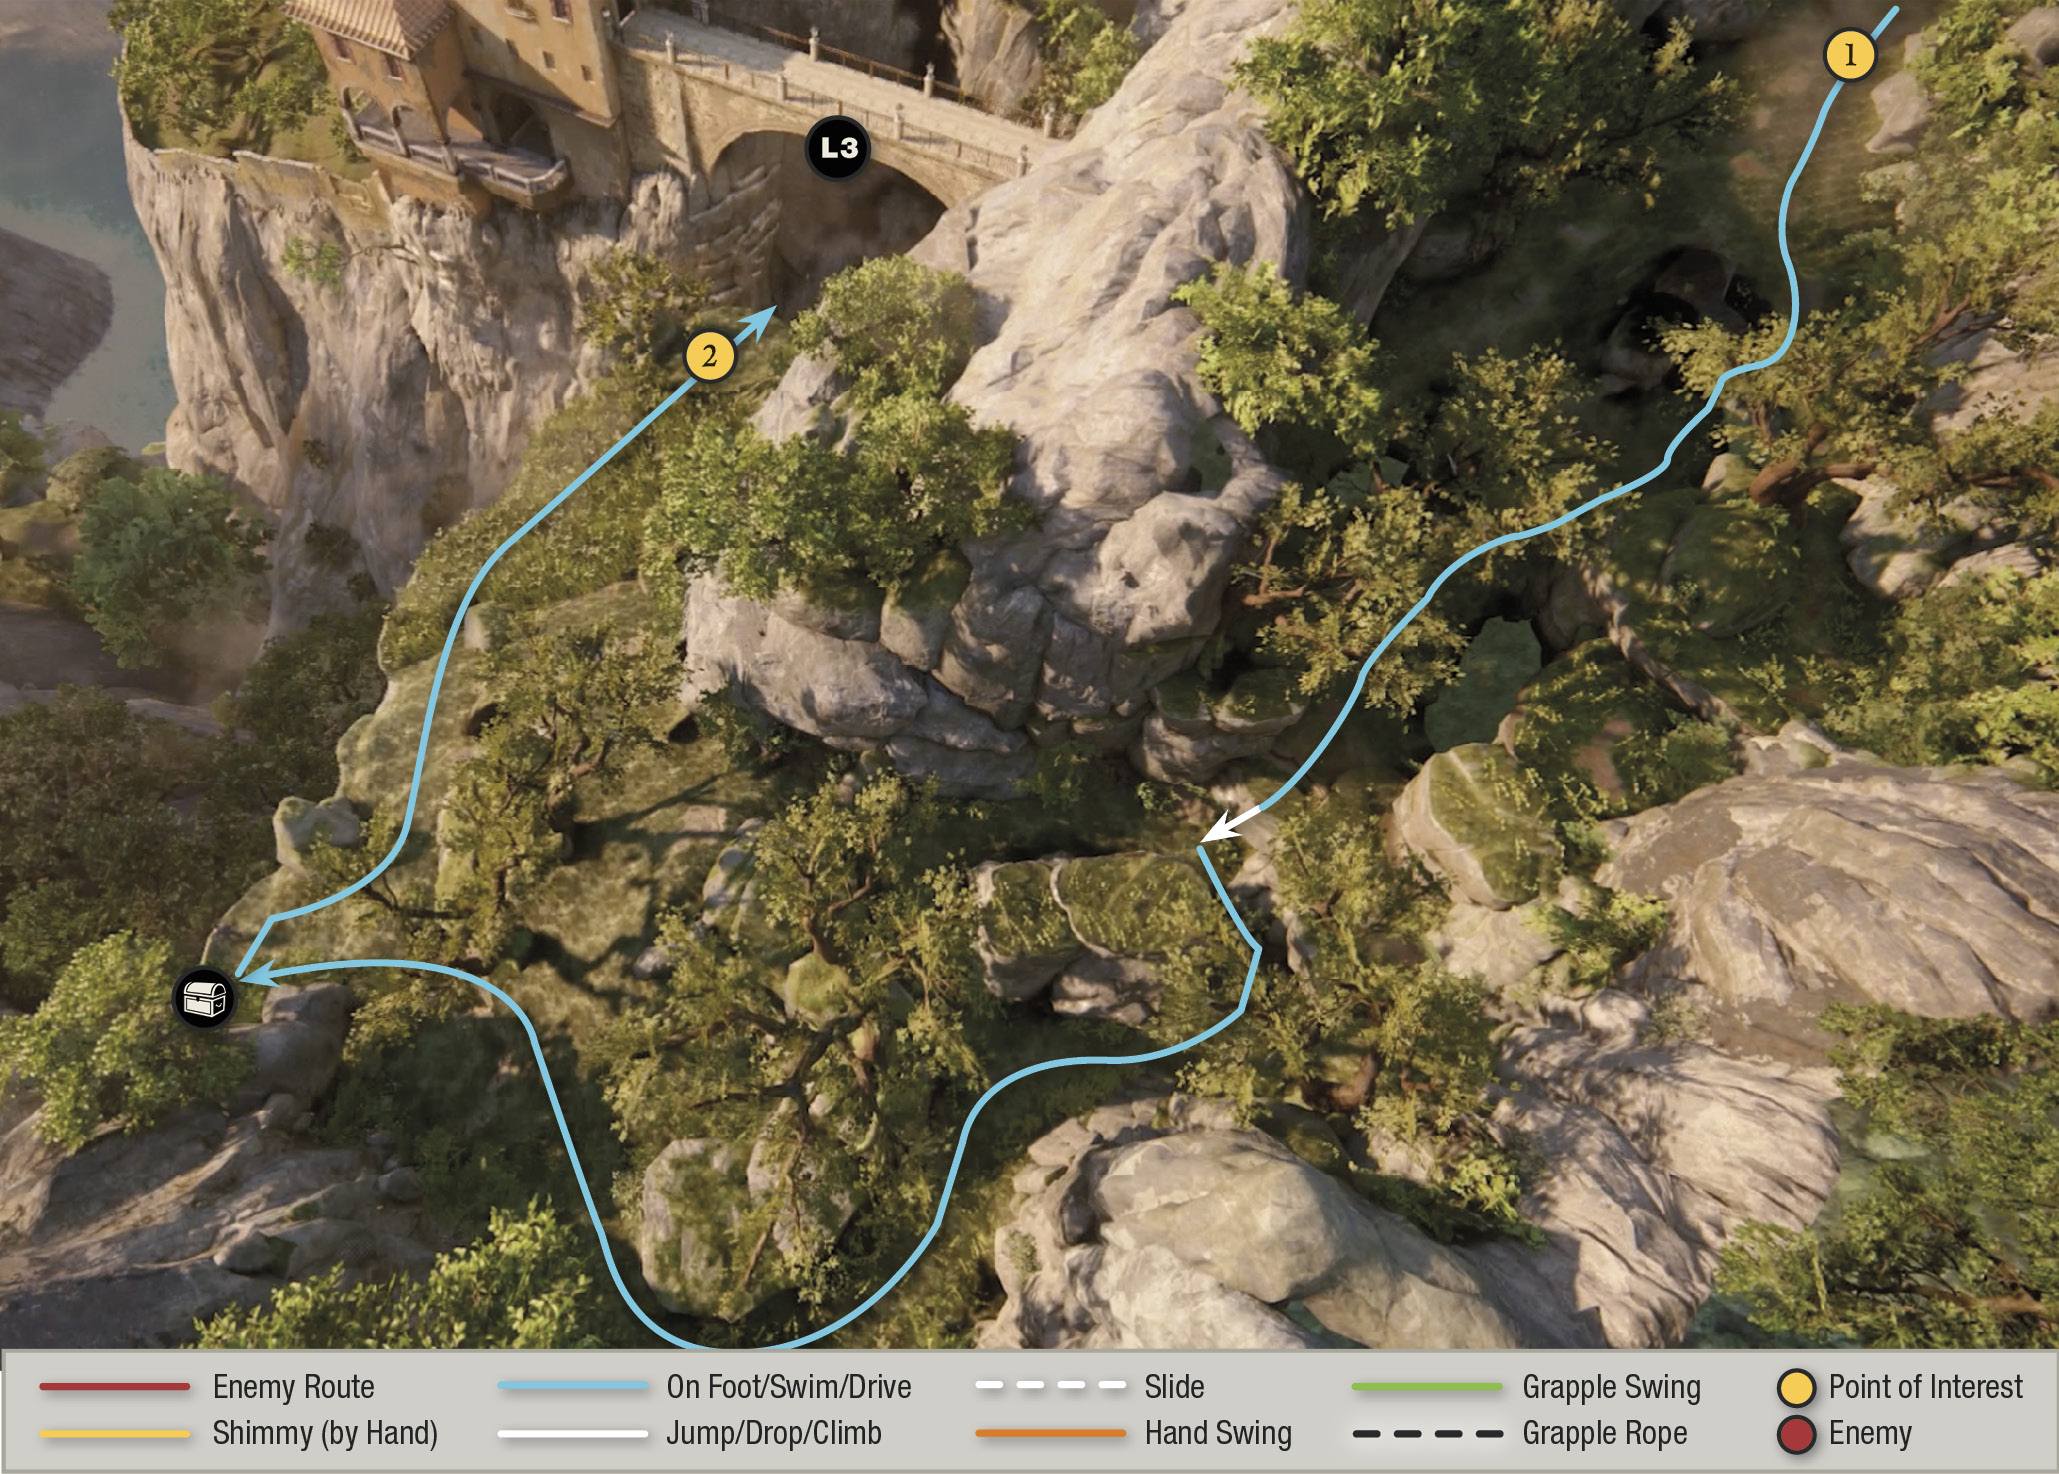
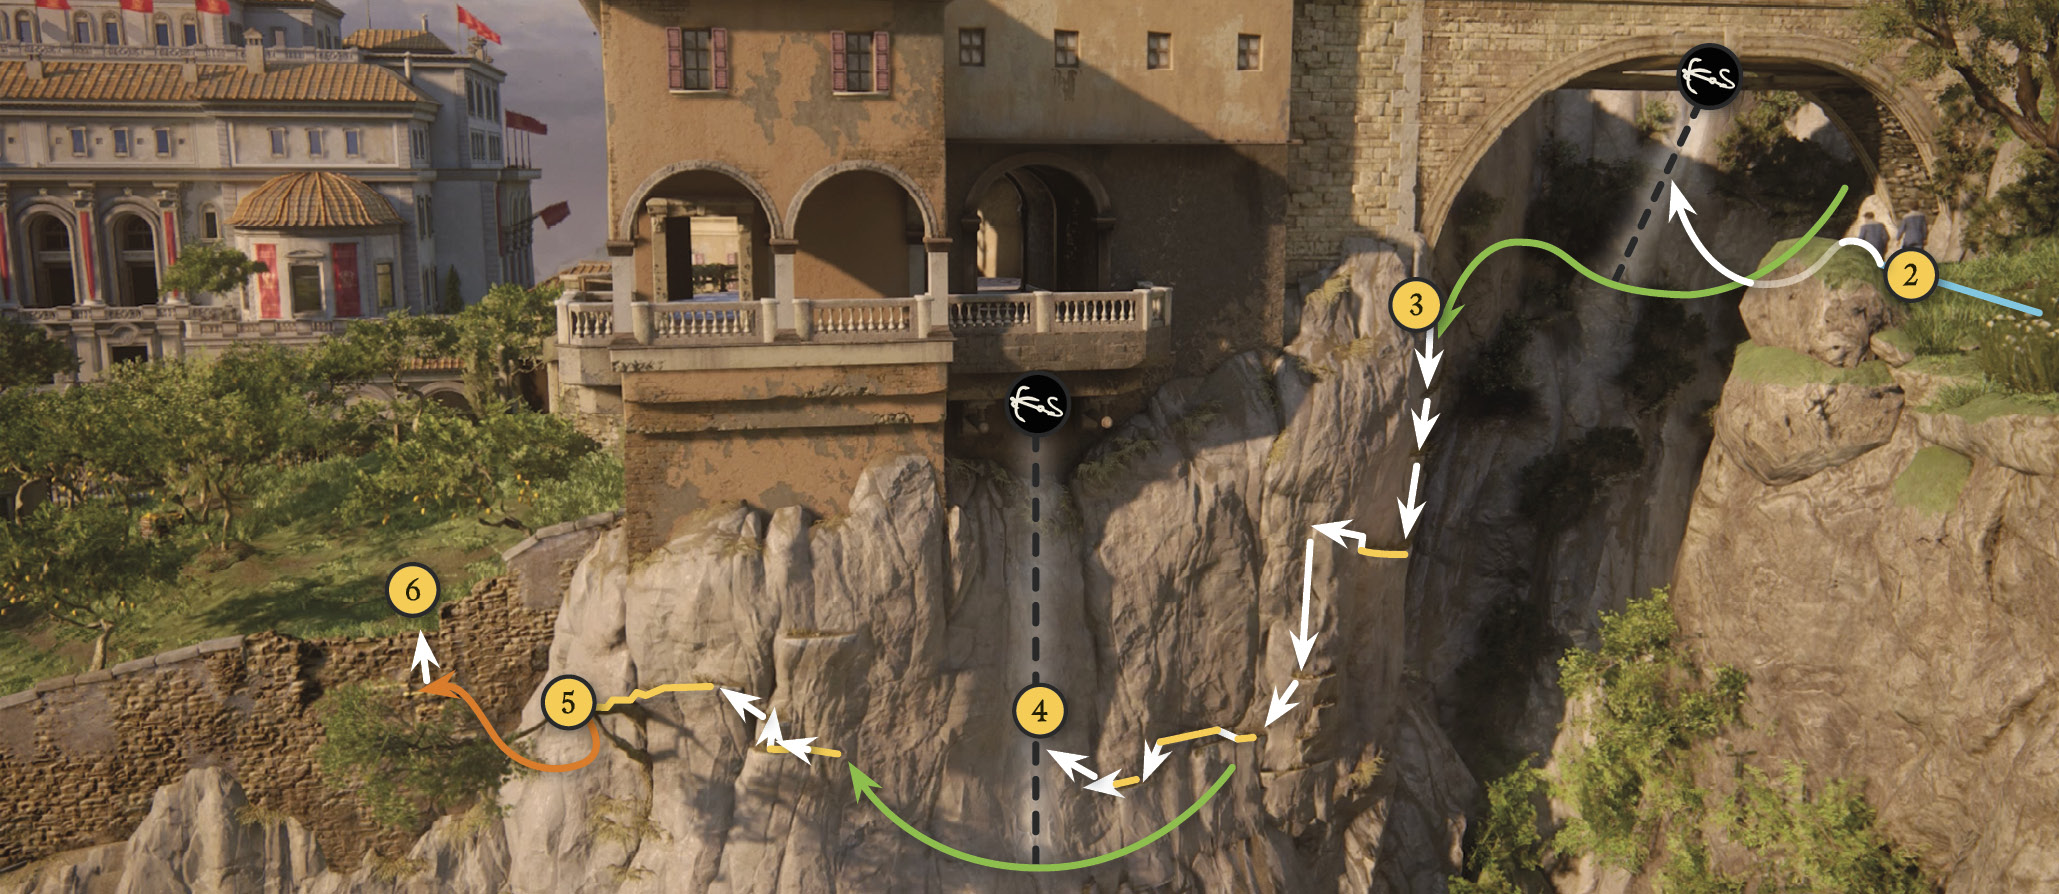
From the start (1), follow Sam up the first ledge then down the ravine. At the bottom, find the treasure on the left then proceed to the ledge (2) looking across at a stone bridge. If you press L3, Nathan points out the exposed beam underneath the bridge.

Mughal Water Container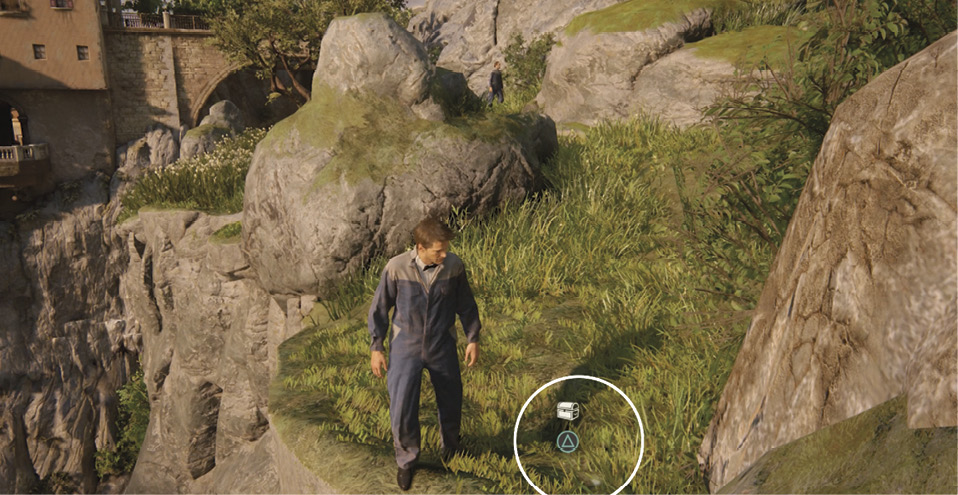
From the start, move down the ravine. At the bottom, follow the rock wall on the left side to the edge of a cliff overlooking the spectacular waterfront below. Find the Mughal Water Container on the ground. |
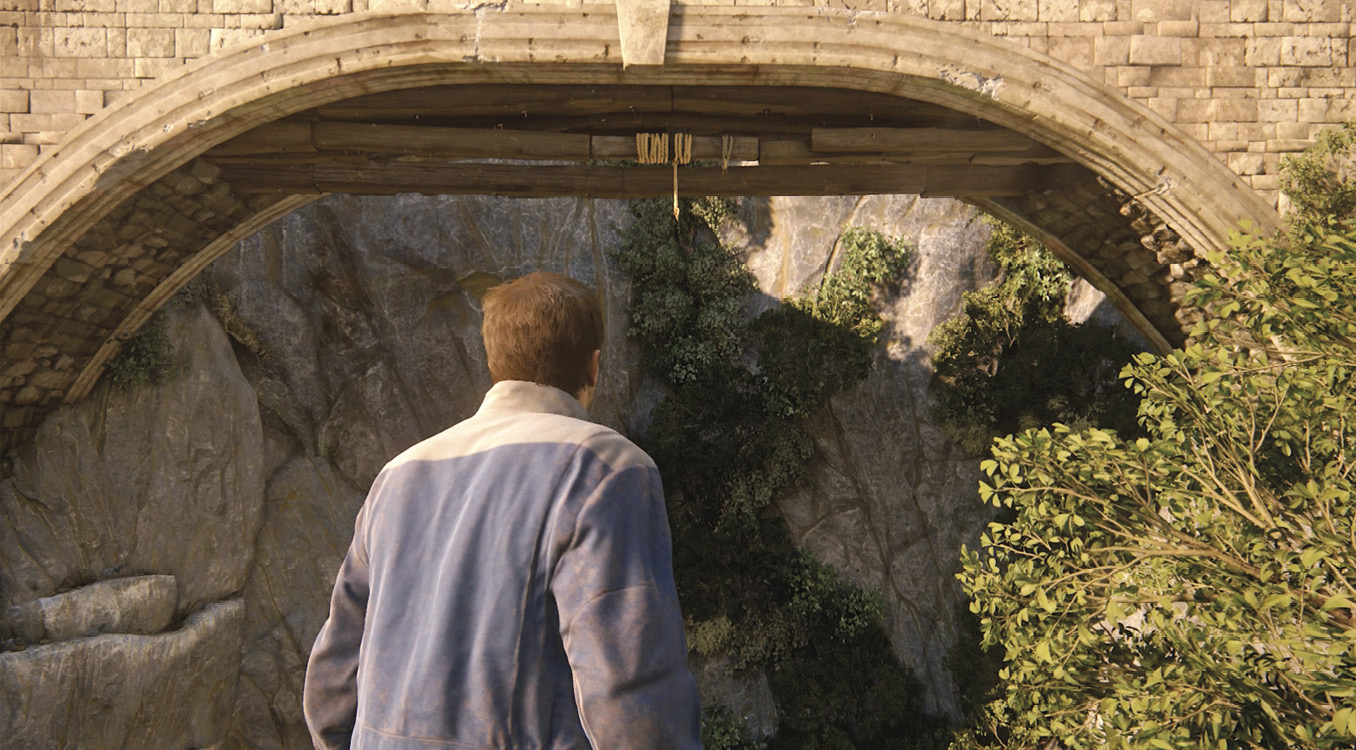
Sling the grapple hook at the exposed beam and swing across the chasm to snag one of the grooves (3) on the cliff wall. Drop to the lowest groove and shimmy leftward until you reach the spot where you can hit L3 again to spot another beam that looks promising. Climb rightward over Sam if you’re in his way; Sam tosses the grapple hook at the beam and swings across, leaving the rope hanging for Nathan. Drop further down the handholds then work your way left to the swinging rope (4). Press  when the rope swings close enough to grab it, and then use the left stick to wall-run back and forth until you build momentum for a jump to the next ledge.
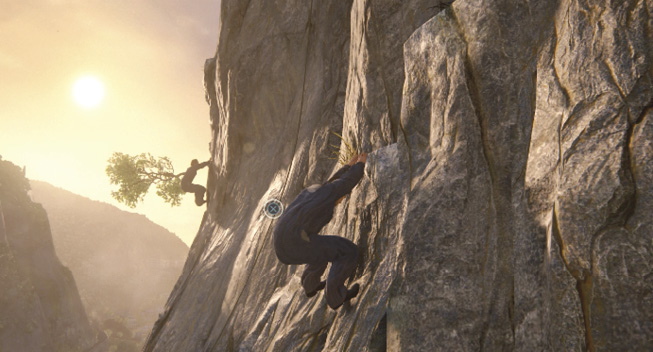
Continue climbing leftward to the branch (5) protruding from the cliff. Grab the branch and use it to swing across to the stone wall. Just push the left stick toward the wall to build up swing momentum then press at the end of your outward swing to jump. When you reach the wall, climb to the top (6) and hang and watch as the heavily armed guards patrol past before you pull yourself up to the grove.
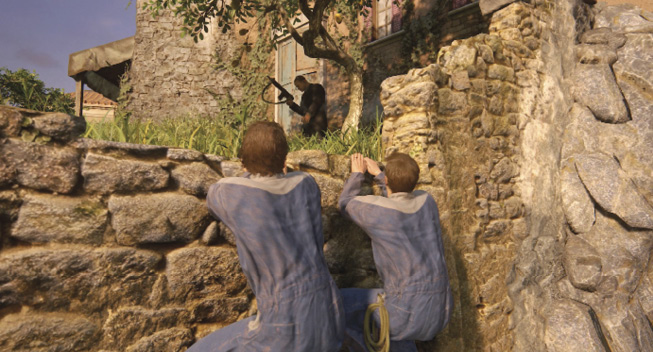
Climb to the Unlocked Window
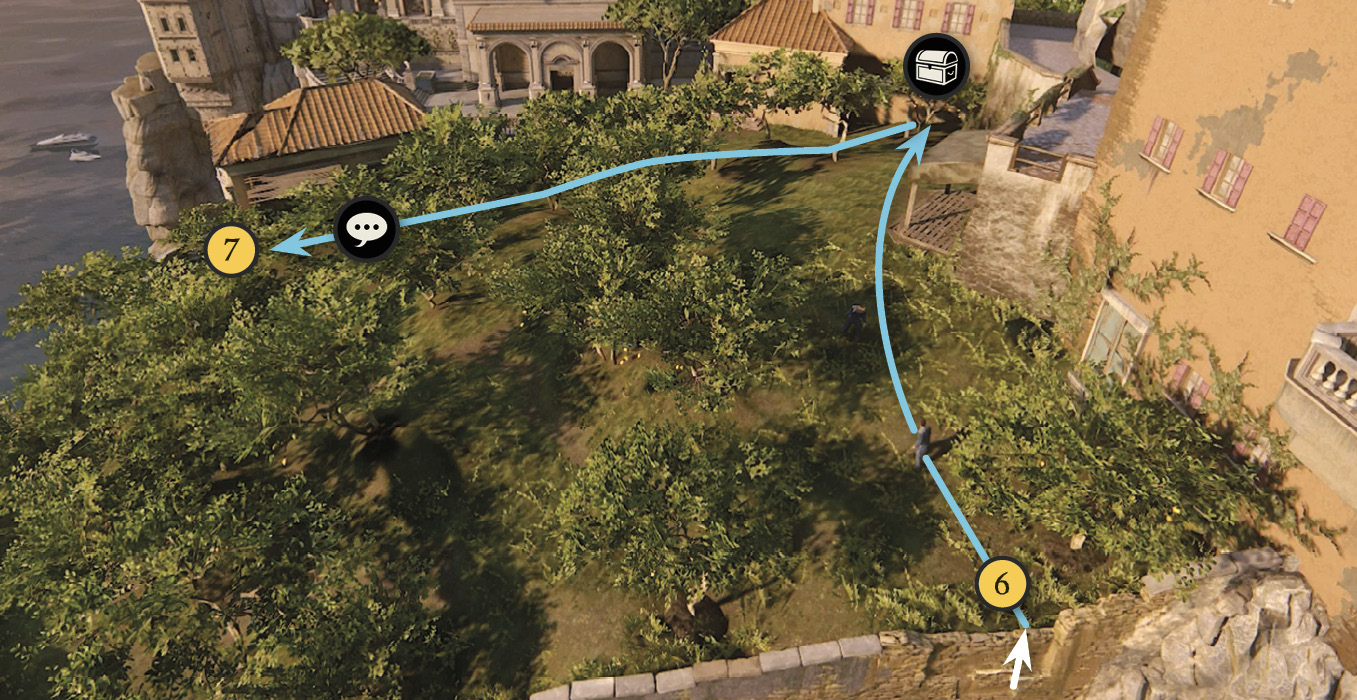
After the guards disappear, pull yourself up and follow Sam downhill through the lemon grove. Veer rightward to find a treasure then follow Sam over to the back corner of the grove (7). Look for the Talk icon over his head and pick up the Optional Conversation: Sam talks about “The Little Things You Miss” while incarcerated for 15 years.
When you reach the balcony of the storage hut (8), enjoy the spectacular view and then press L3 to spot your destination window where Sully waits. Enter the hut, head downstairs, and sling your grapple hook up at the beam.
With the rope in hand, hop over the balcony railing to hang outside. Then hold in L1 and pull back the left stick to rappel downward to the end of the rope (9). Release L1 and push the left stick to wall-run until you get enough momentum to leap across to the ledge below (10). (If you land atop the stone arch on the ledge, just hop down to the ground.)
As you move through the pillars, watch for another Talk icon to appear over Sam and then trigger the Optional Conversation, “Your Other Wonderful Finds” about Nathan’s travels. Then find the handholds on the far side of the arch (11) and climb them to the top. Walk along the top of the arch to the cliff wall, turn left, and spot the pole (12) jutting from the cliff.

Nephrite Brass Cup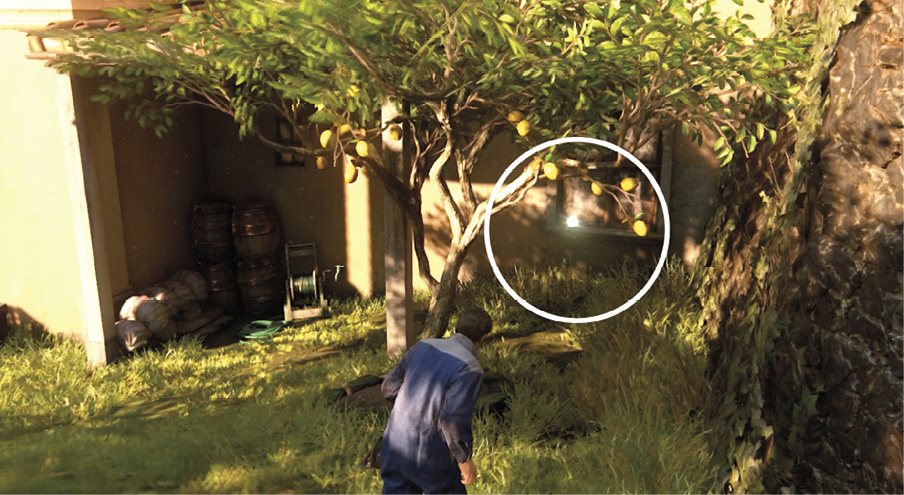
After you pull up into the lemon grove, follow the right-side wall. Look for the Nephrite Brass Cup sitting on the sill of the window near the wall. |
Jump to grab the pole then use it to swing across to the top of the next arch. Walk to the left and slide along the ledge (13) to the handholds on the wall. Climb upward until you can reach the first in a series of poles; swing from pole to pole until you reach the last one, and then make a big swing across to the rock shelf (14).
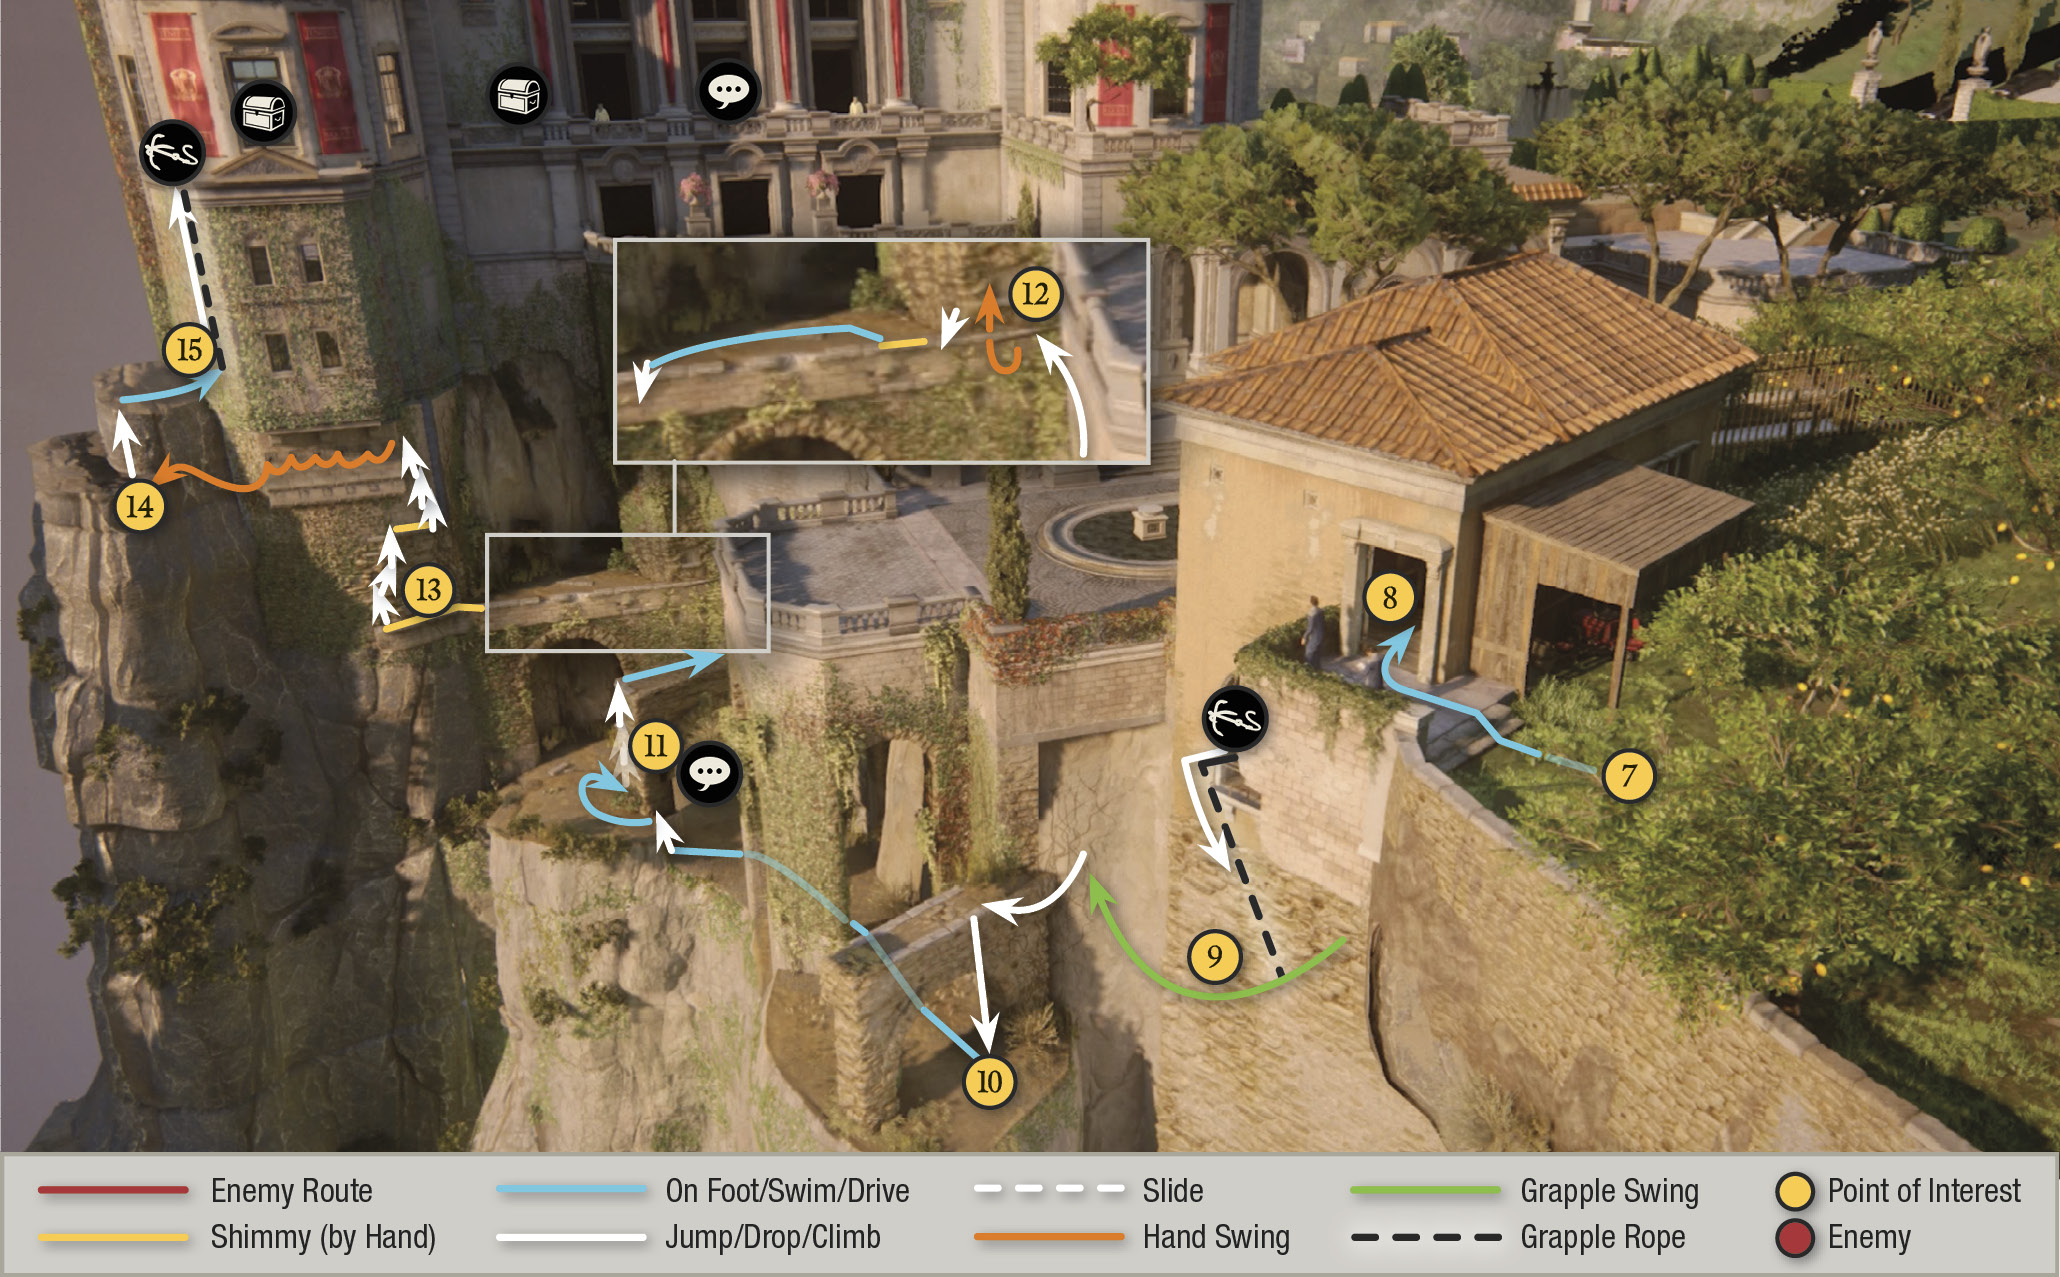
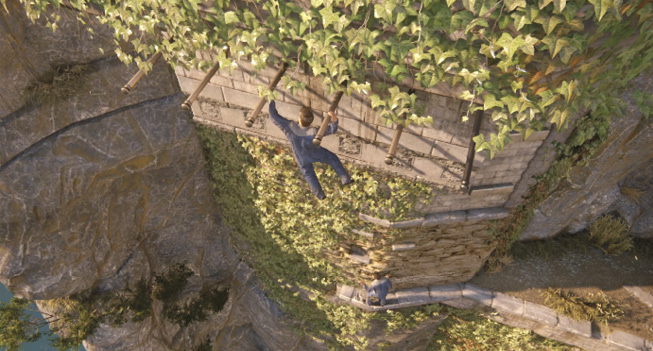
Sam swings across right behind you, climbs up onto the next ledge, and tosses the grappling hook up to the light fixture above. After Sam goes, jump to grab the rope (15) and climb up to trigger a cutscene: Nathan and Sam pull off the jumpsuits covering their tuxedoes and climb inside the window to meet none other than Victor “Sully” Sullivan. Sully is happy to see Nate, but he has bad news: Avery’s cross is going up for auction sooner than originally scheduled.

Find a Way Into the Cellar
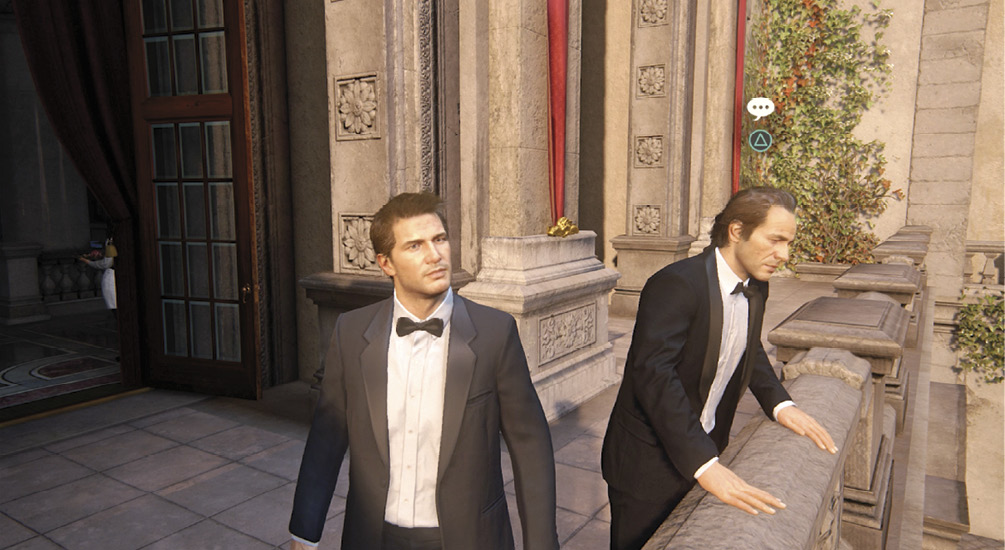
Your next objective is to create a diversion by finding the breaker room and cutting power to the lights. Before following Sully, turn around and enter the room directly behind you (it’s where you crawled in the window) to find a treasure. Exit the room, then go out onto the balcony to the right to find Sam at the railing with a Talk icon overhead. Trigger the Optional Conversation, “Exit Strategy” with him. Then pick up another treasure down at the end of the balcony.

Viking Cloak Clasp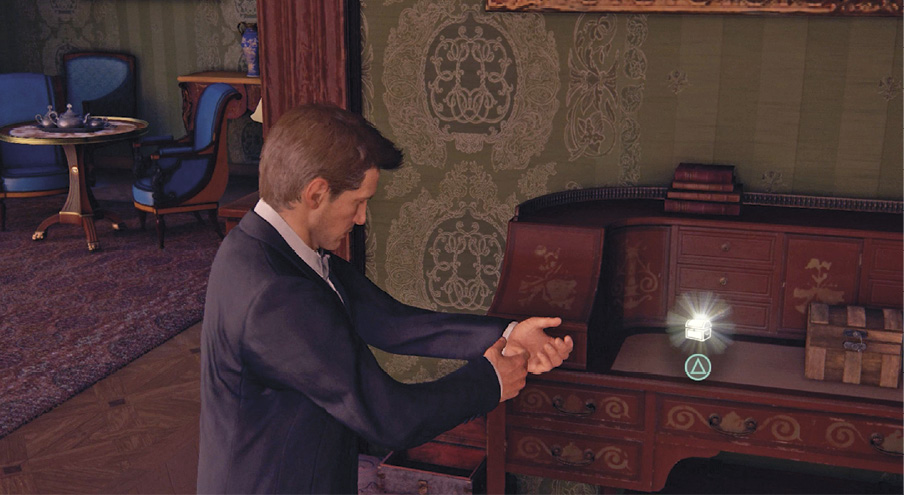
After the cutscene where you meet Sully and make your new plans, go back inside the room behind you to find the Viking Cloak Clasp on a desk on the left. |

Mother of Pearl Horn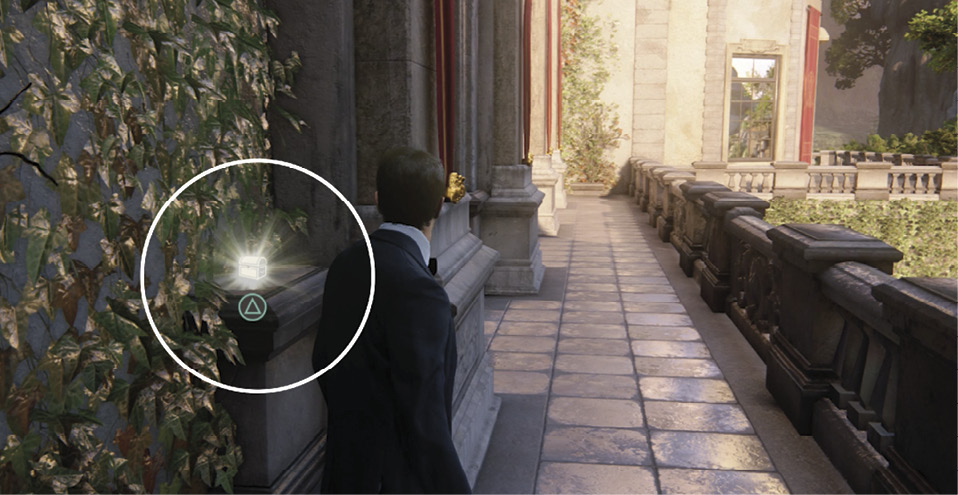
After the cutscene, go out on the balcony and find the Mother of Pearl Horn sitting on the ledge behind the left doorway pillar. |
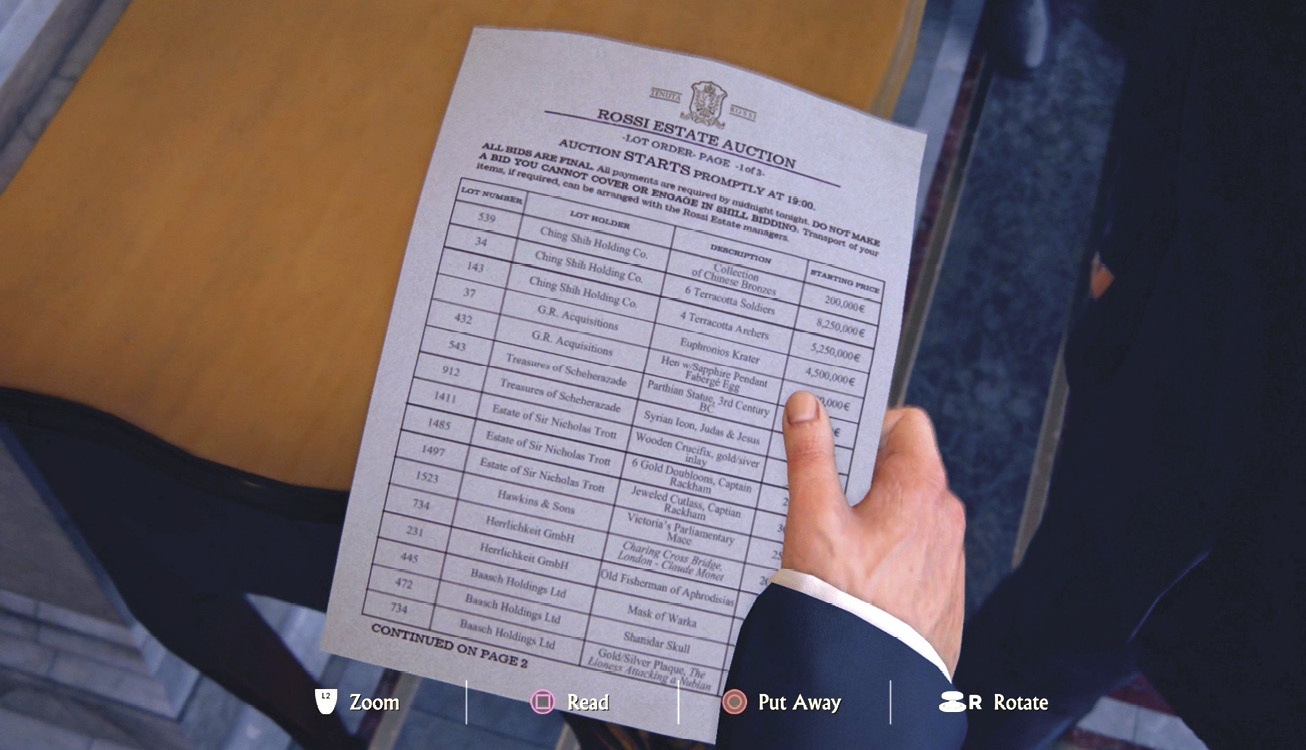
Then head back inside and follow Sam and Sully down to the main floor. En route, don’t miss the auction lot order sheet on the table near the bottom of the staircase you descend. (Be sure to eavesdrop on the gentleman telling his story nearby. Don’t miss the ending: It’s a hoot.)
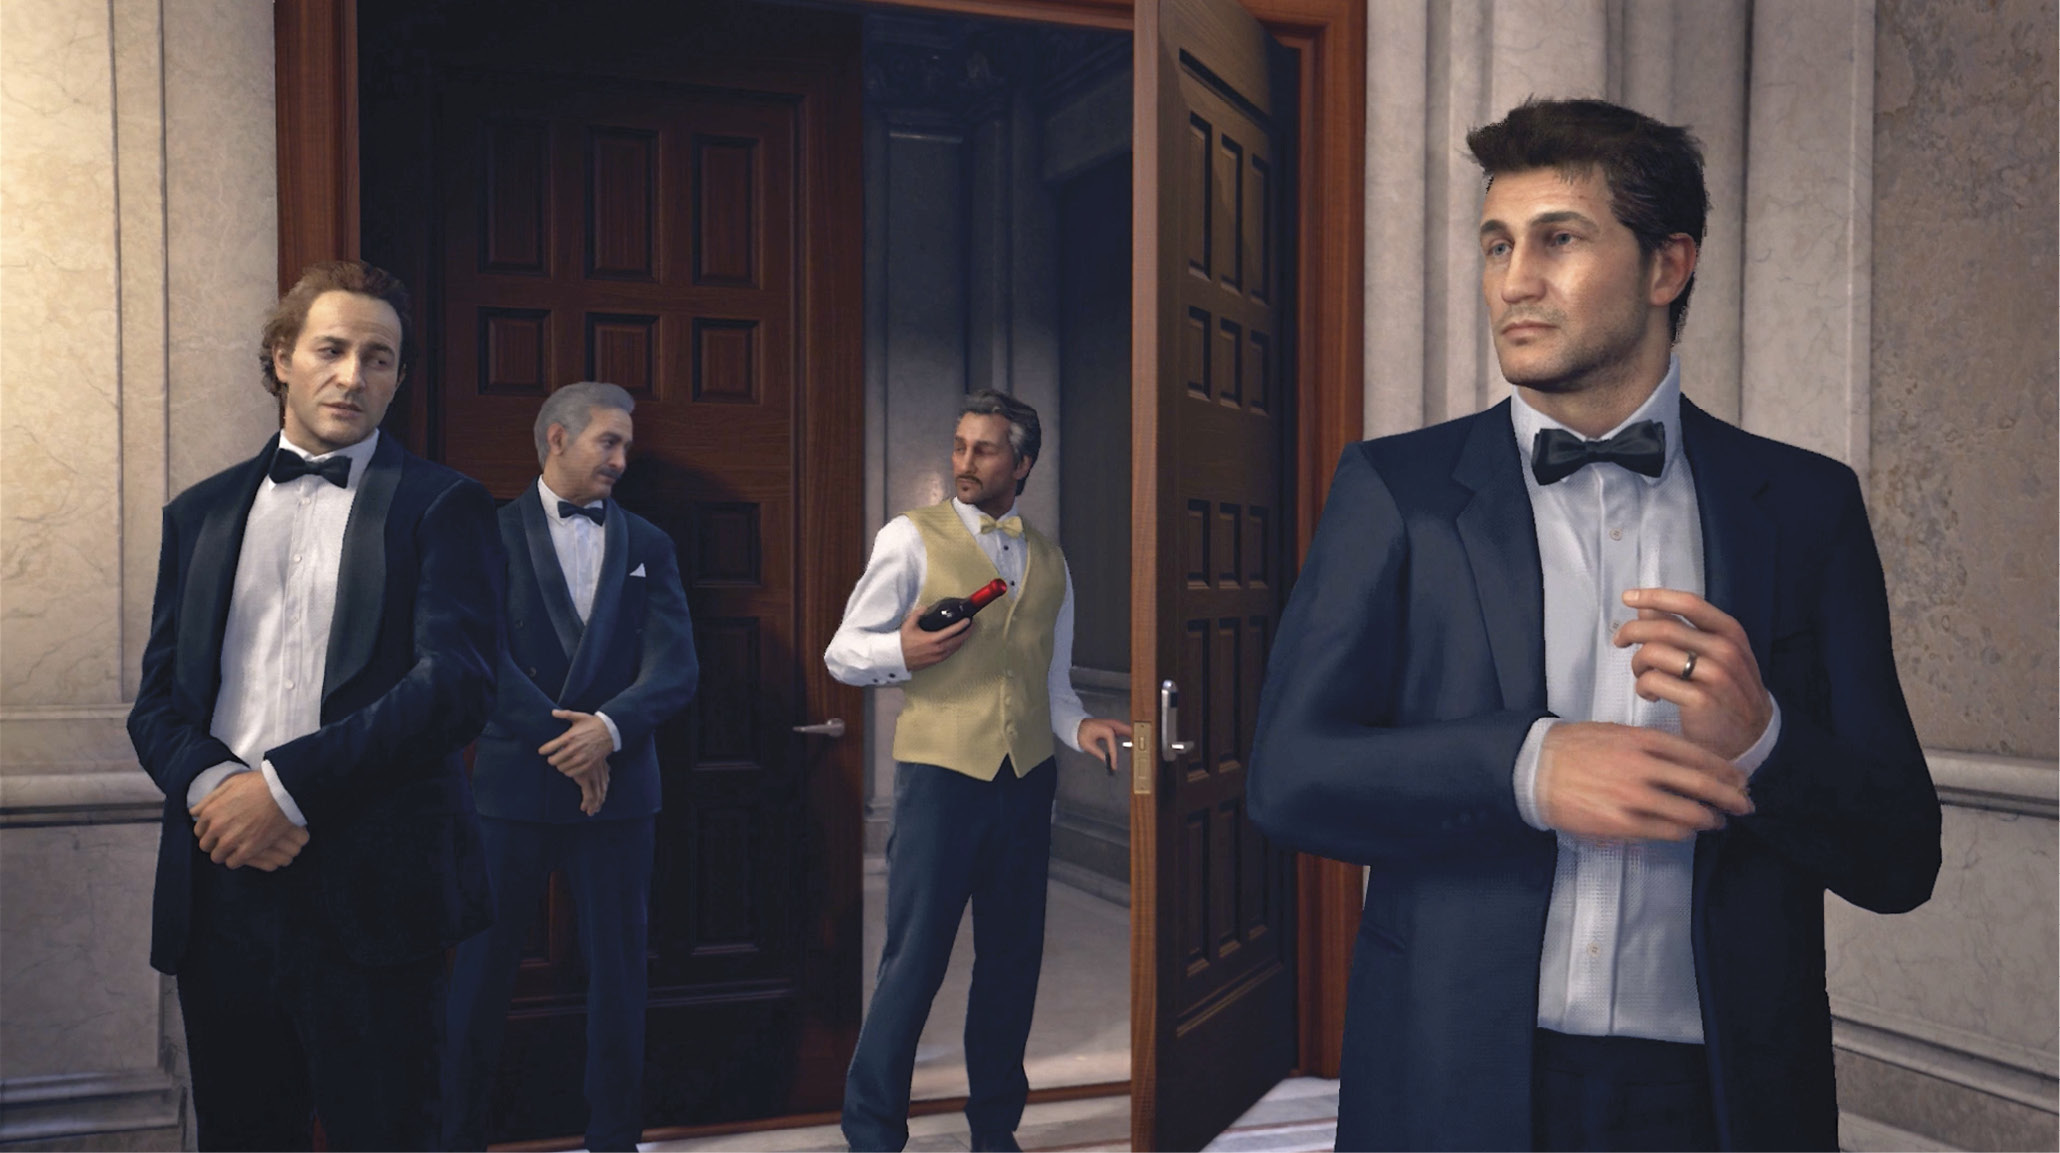
Follow Sam and Sully across the ballroom to the cellar door. Press  when you arrive to trigger another quick scene: The door is locked. Now you need a key card for entry. Fortunately, a waiter emerges from the cellar with a bottle of wine, and slides his key card into his back left pocket.
Acquire the Key Card
The waiter delivers his bottle and leans against the nearby marble pillar. Walk up behind him and look at his back left pocket to bring up the L2 prompt. Hold in L2 to bring up a spotlight-type focus and use the right stick to keep the spotlight centered on the waiter’s pocket. This fills an onscreen circle meter. When the circle fills up, the prompt appears. Hurry! Press to lift the key card.
 to make the pick.
The waiter moves around at first, so you must work quickly. But after three missed tries, Sam steps in to help. He chats with the fellow, keeping him in one place so you have time to complete the sequence. Once you pick the card, go to the cellar door where Sully waits and press to open it.
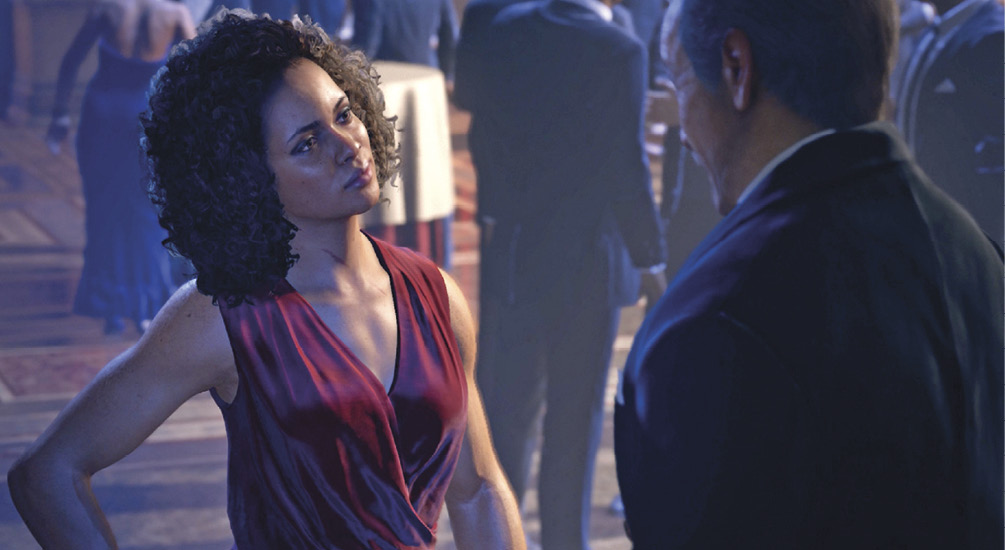
This triggers a quick scene: Nathan unlocks the door, Sully distributes earpiece communicators, and the brothers enter the cellar area. Then Sully moves out onto the floor…and runs into an old “friend” named Nadine Ross. Nadine owns and operates a company of mercenary goons for hire called Shoreline. (You’ll get to know Shoreline very well, soon enough.)
Find the Kitchen
Sam needs a waiter’s outfit for his part of this new plan. First, turn left and move into the next room to find a treasure amongst the stacks of wares. Then follow Sam through the nearby doorway into a corridor with a row of lockers.
Proceed downstairs until you reach the marked door. Press to peer through its window at armed thugs in the employee room. Continue downstairs to a lower cellar closed off by locked metal gates. Sam says that it’s time for Plan B. Check the gate—yep, locked. Find another treasure underneath the stairs you just descended.

Persian Bronze Bowl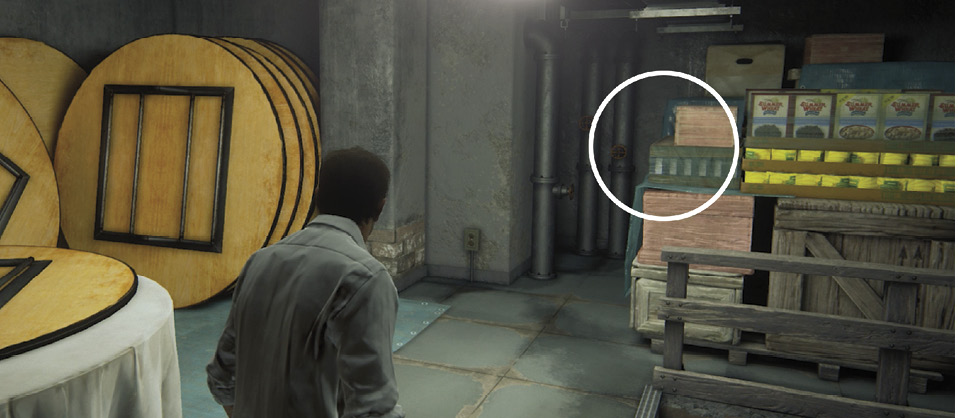
After the cutscene where Sully meets Nadine, turn left and enter the well-lit storeroom. Move past the stack of round folding tables to the crates of foodstuffs by the pipes. Find the Persian Bronze Bowl tucked behind the pallet of Pastore boxes. |

Brass Barber’s Bowl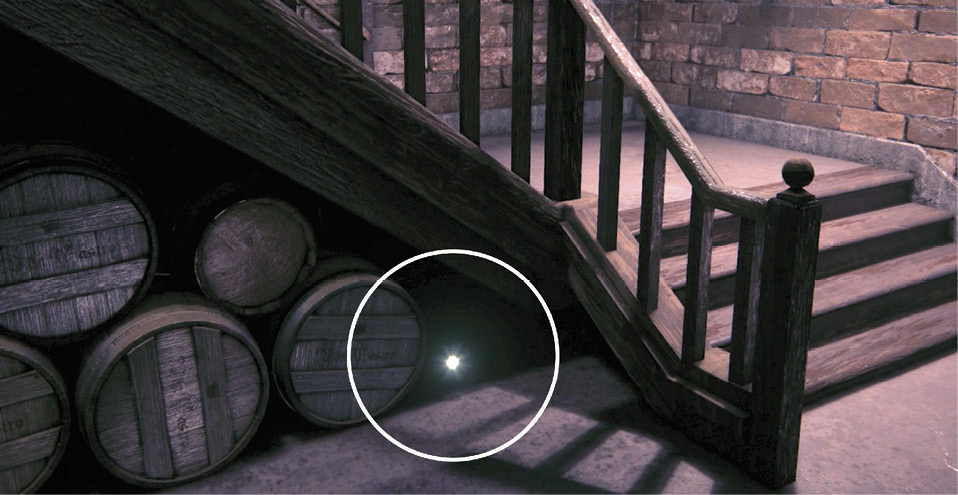
When you descend to the lower cellar, look underneath the staircase at the very bottom to find the Brass Barber’s Bowl tucked next to some wooden casks labeled “Don Castro.” |
Move Casks to Reach the Air Vent
Move through the cellar to the large, red-rimmed wine cask sitting on a wheeled cart. It blocks the passage, so push the cask and continue to the wooden door. Open the door and enter a room filled with dozens of tightly stacked wine casks. When the light fails, Sam flicks on his lighter and starts following Nathan to provide illumination. Proceed through the stacks until you find another large red-rimmed cask on a cart. Grab and pull (don’t push) the cask to roll it back as far as it will go.
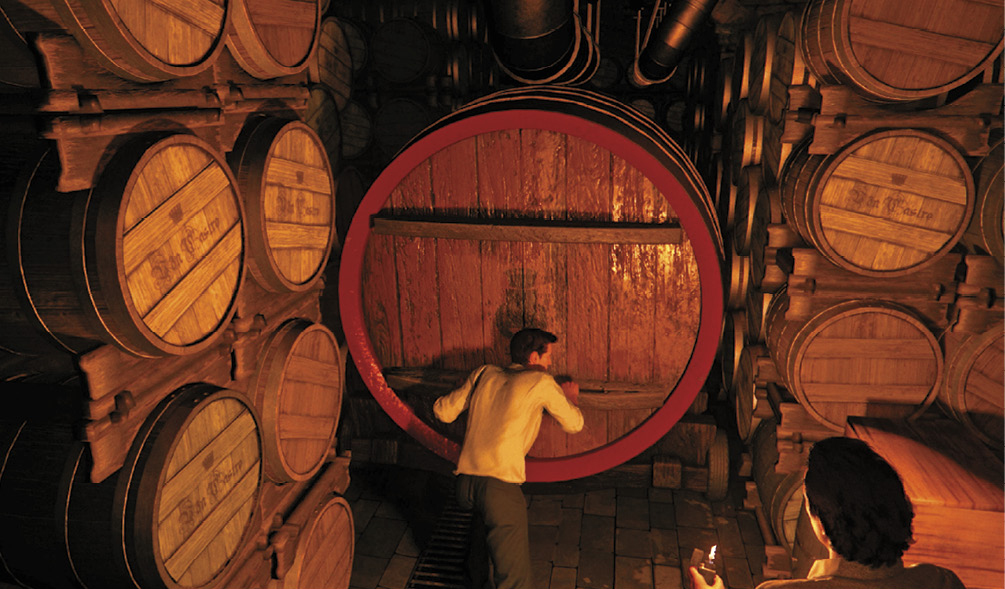
This opens a passage over on the other side of the cask, so release it and move around the stacks to the left and turn right into a new passage that you opened by pulling the cask. Follow this passage around a corner to another big rolling cask. Pull this one as far back as it will go too; again, this clears a passage on the cask’s far side.
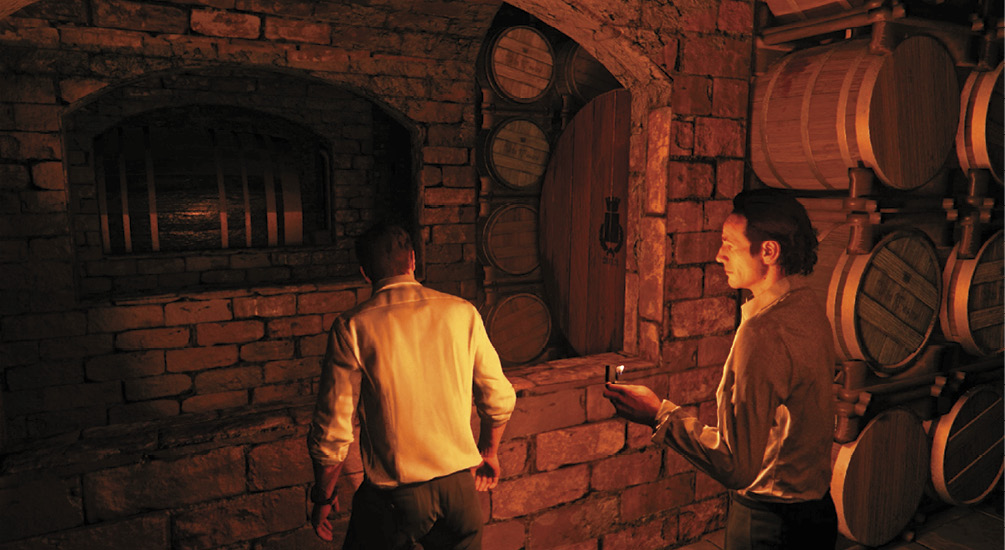
Release the cask, turn around, and work your way to the right until you reach the newly cleared passage. Hop through the two window-like openings to enter a new room with a grated air vent up on the wall. To reach the vent, find the rolling wine cask in the alcove to the left of the vent. Grab and pull the cask until it’s under the vent. Then climb atop the cask, open the grate, and enter the duct.
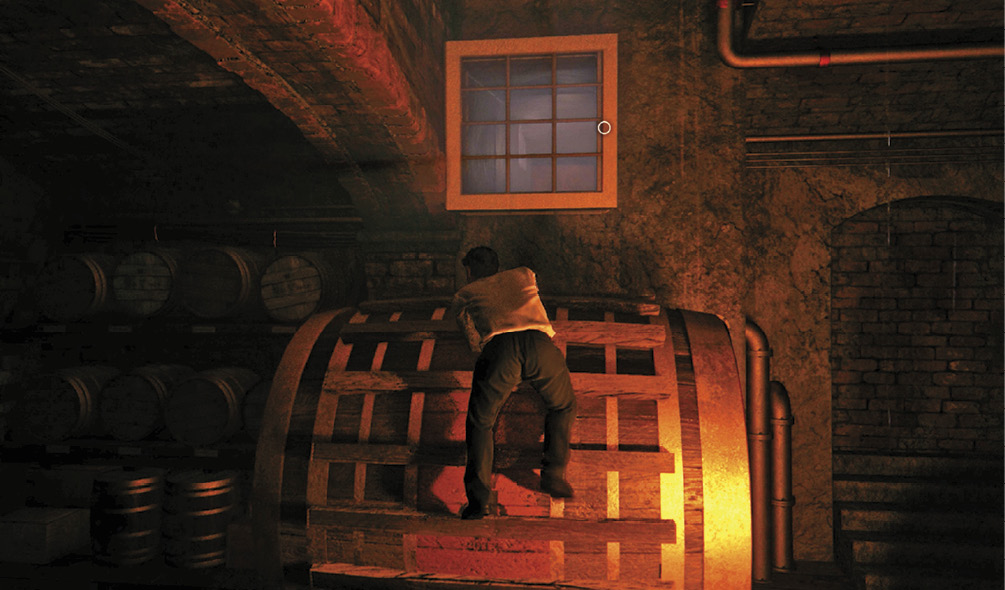
Start crawling down the duct. You can peer through vents along the way to observe waiters below. When you reach a grate that won’t open, Sam calls for you. Turn and follow him to a loose grate, then help him open it. Move into the fan shaft and follow Sam up to a higher duct. Here you spot gunmen through the next vent on the left. Continue down the duct to the exit vent; Sam holds Nathan back until two more guards pass.
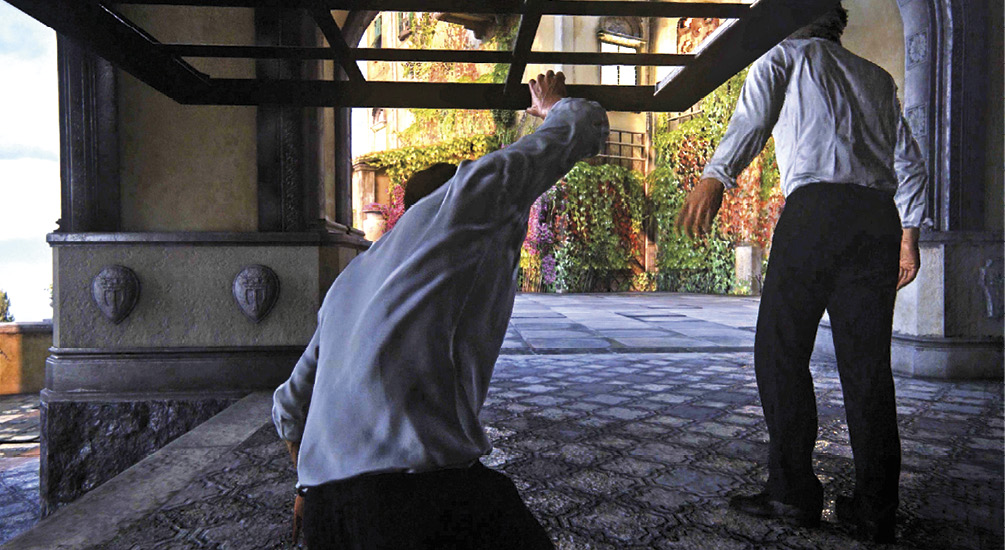
Find a Waiter’s Uniform
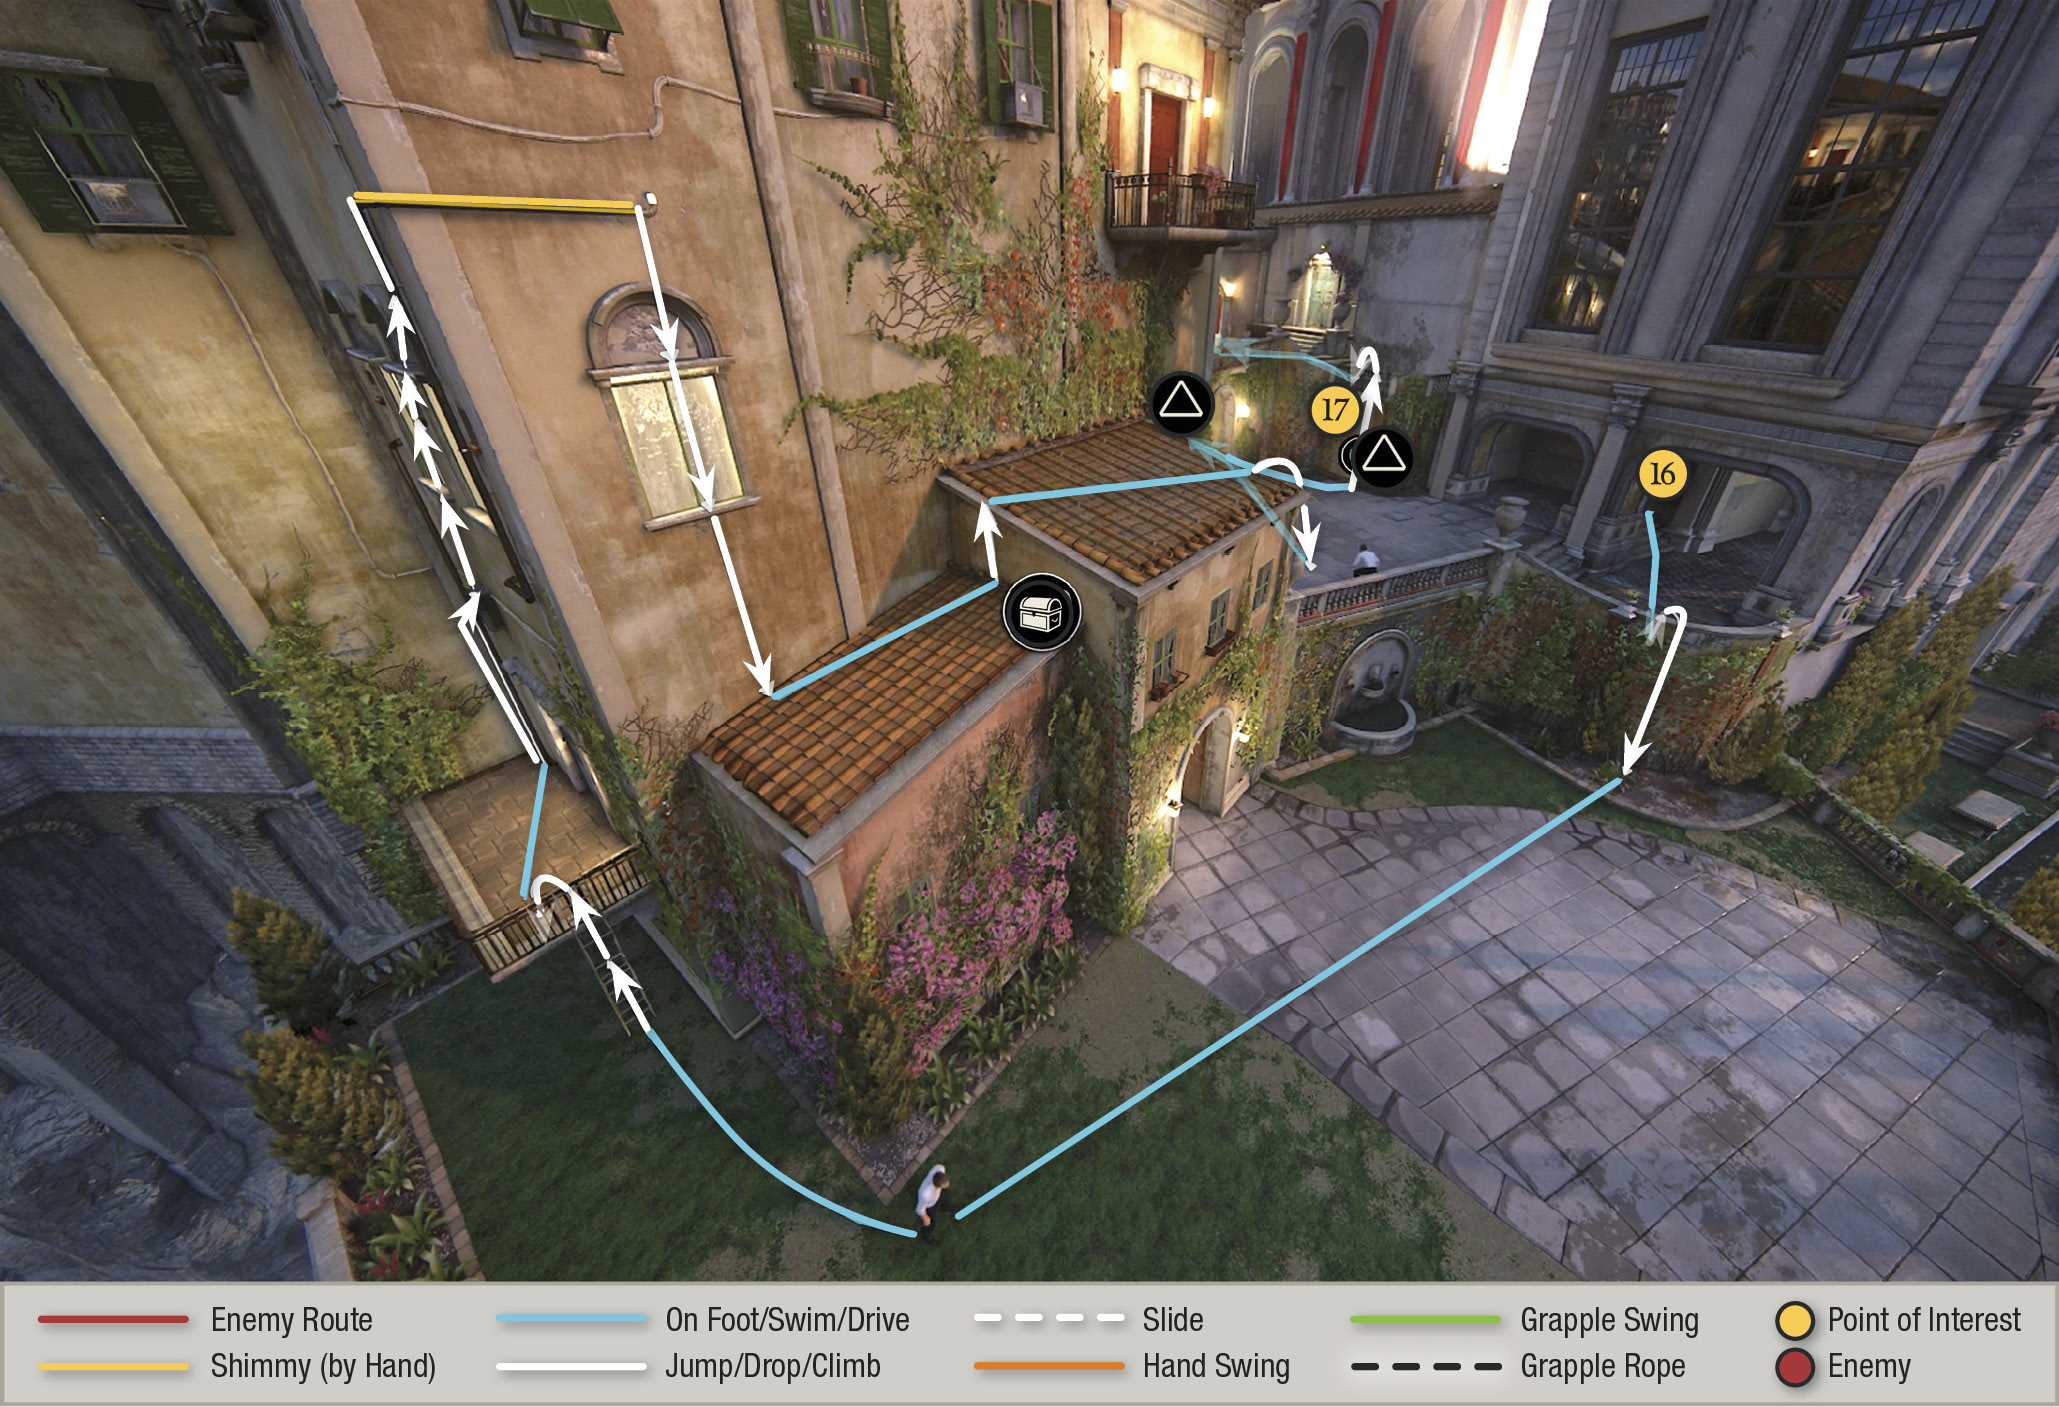
The Drake brothers emerge (16) at the edge of a small courtyard. You can find a well-hidden treasure in this area. Reach it via the fire escape located around the corner in the courtyard below. Refer to our map for the exact climbing route.

Syrian Vase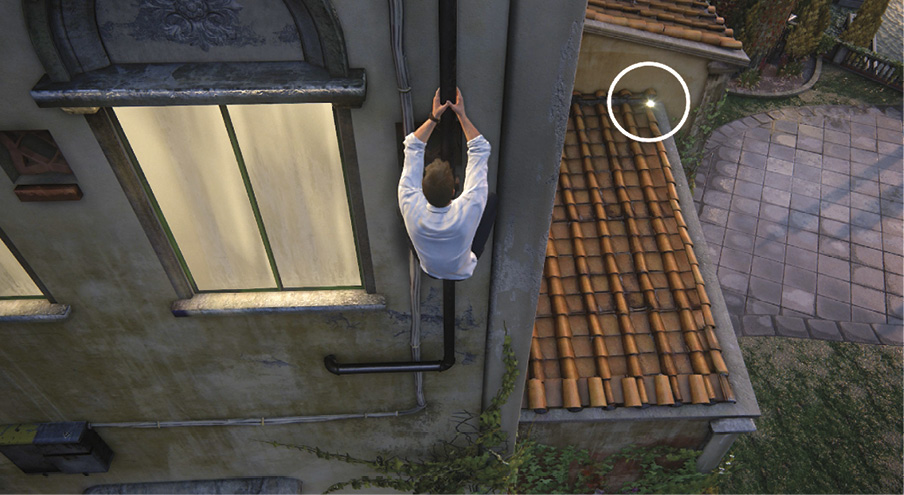
After you emerge from the vent into the upper courtyard, hop over the railing to drop into the lower courtyard and head around the corner to the fire-escape ladder. Climb to the small balcony and scale the drainpipe; climb across the windowsills to another drainpipe and shimmy around the corner. Then drop to the roof where you find the Syrian Vase. |
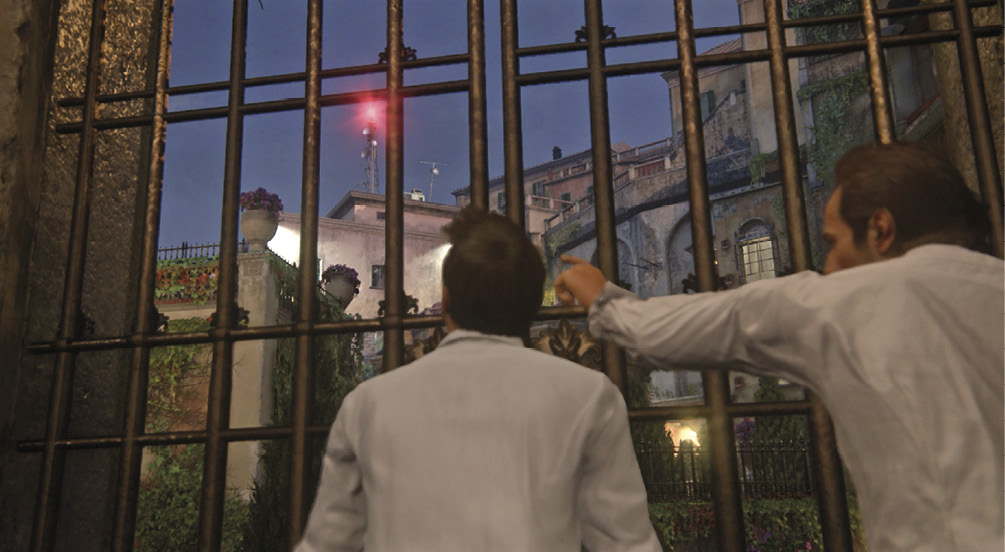
Now follow Sam to the marked gate and press ; Sam points out the likely location of the power room, the flashing cell tower. But first you must find the kitchen so Sam can steal a waiter’s uniform.
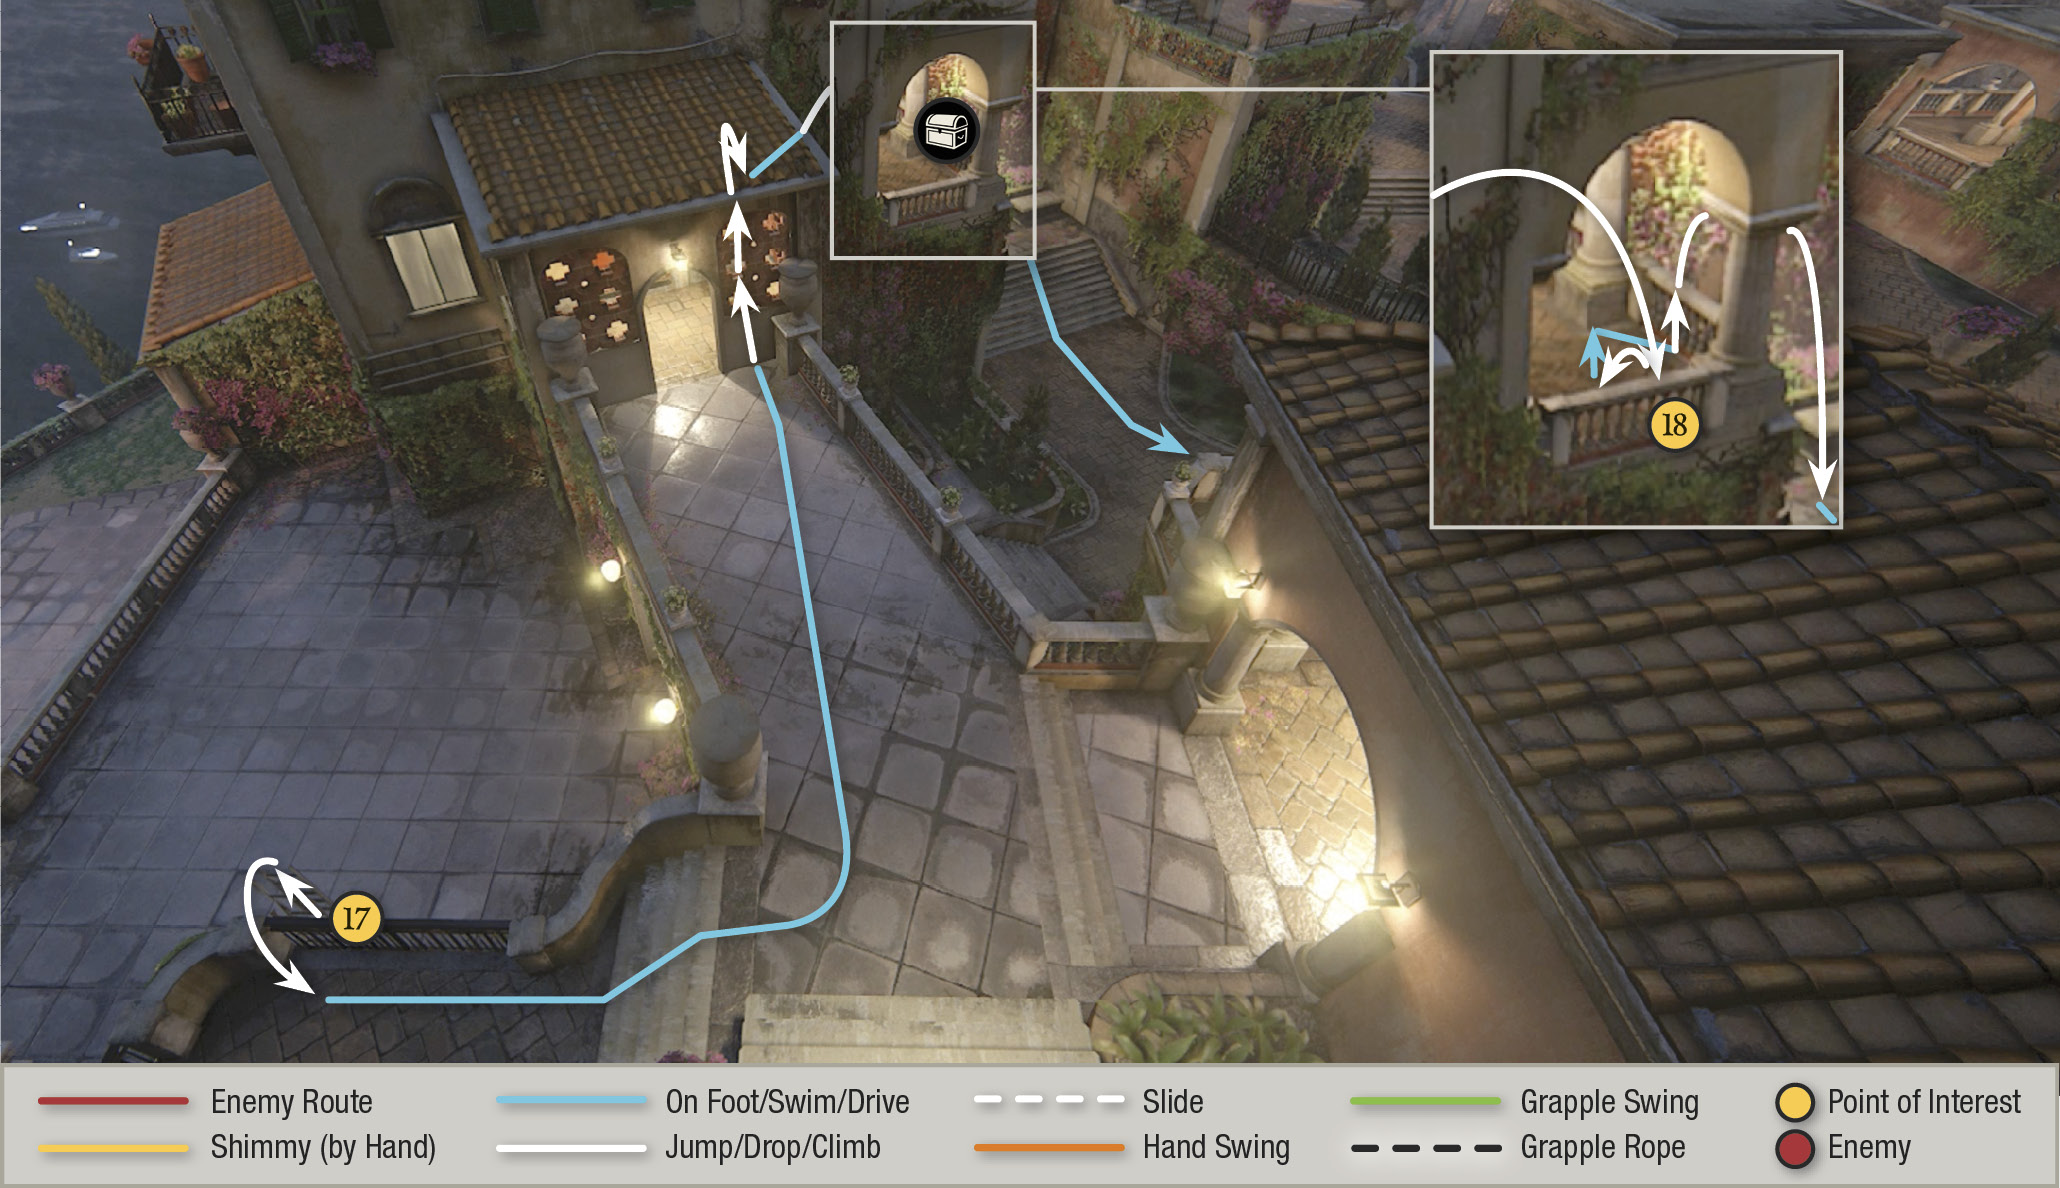
Approach the wall with the raised ladder (17) and press : Nathan gives Sam a boost up to the ladder, and then Sam kicks it down so Nathan can reach it. Jump to grab it and climb to the next balcony. Here you can find another treasure on a nearby balcony (18). Refer to our map to see the route.

Persian Candlestick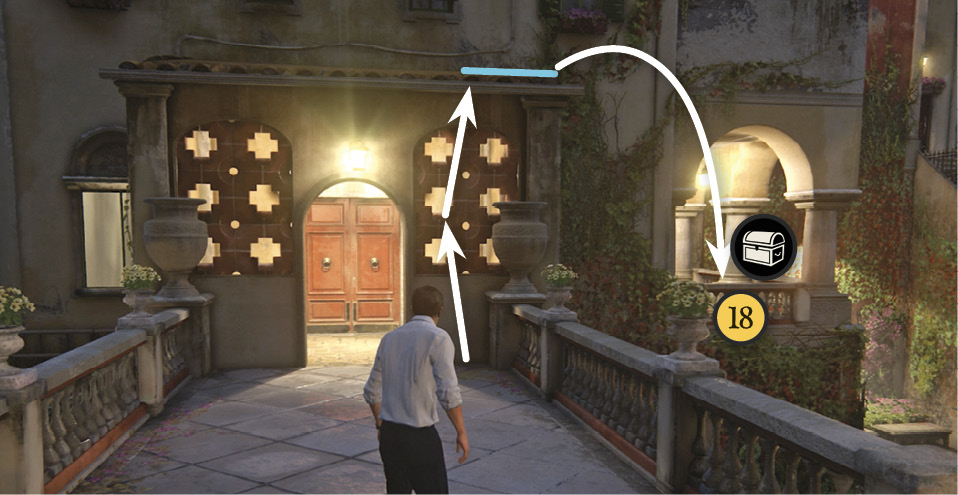
After you climb the first ladder in the courtyard, follow the walkway to the doorway in the decorative wall and climb up its cross-shaped cutouts to the tiled roof. From there, make a big, tricky jump off the right side to grab the balcony railing below (18). Find the Persian Candlestick sitting on the base of the second pillar on the right. |
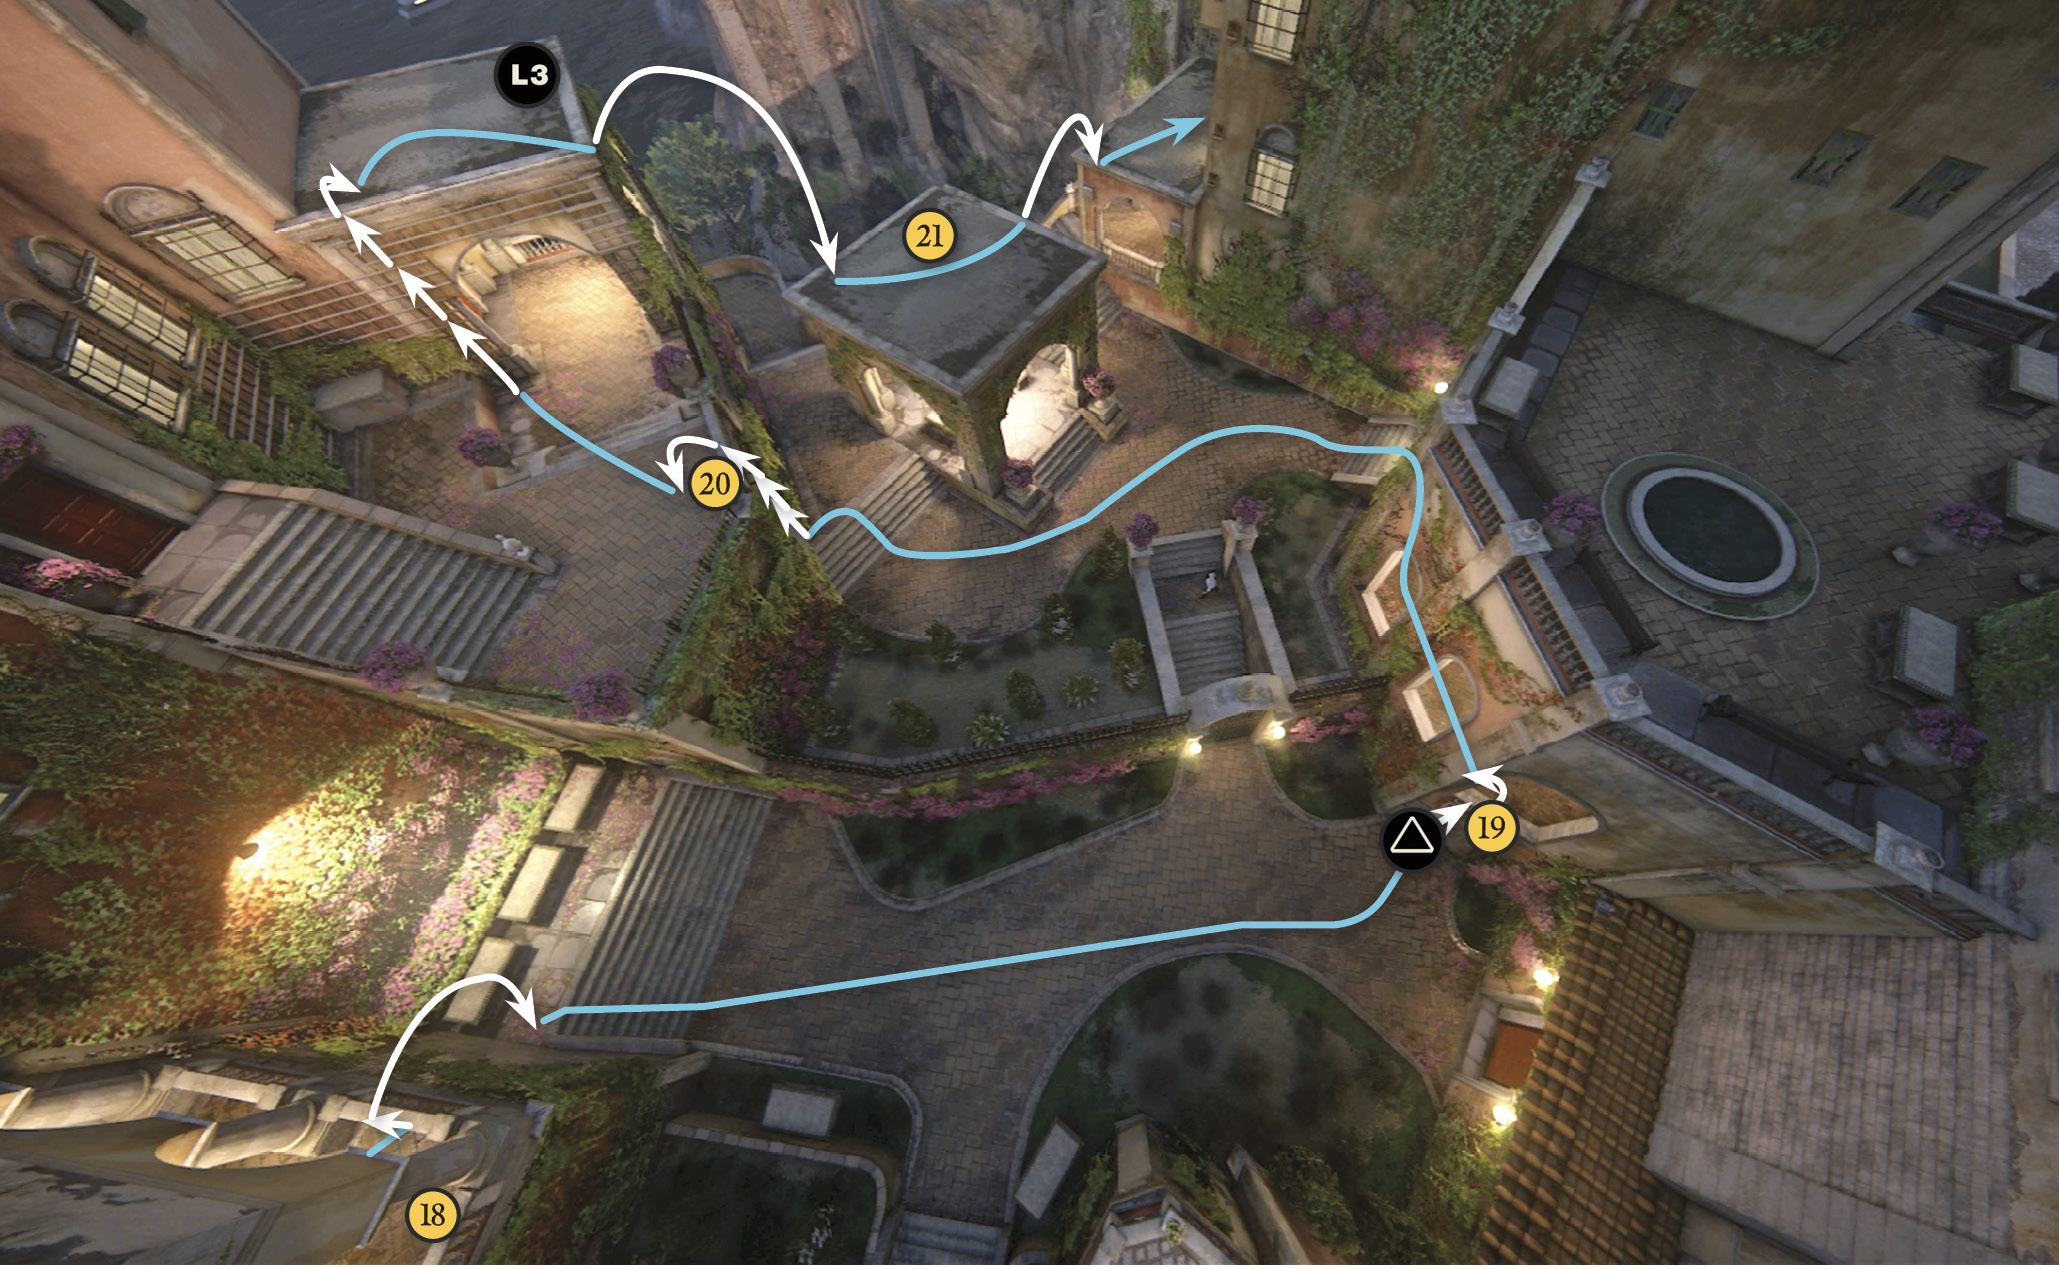
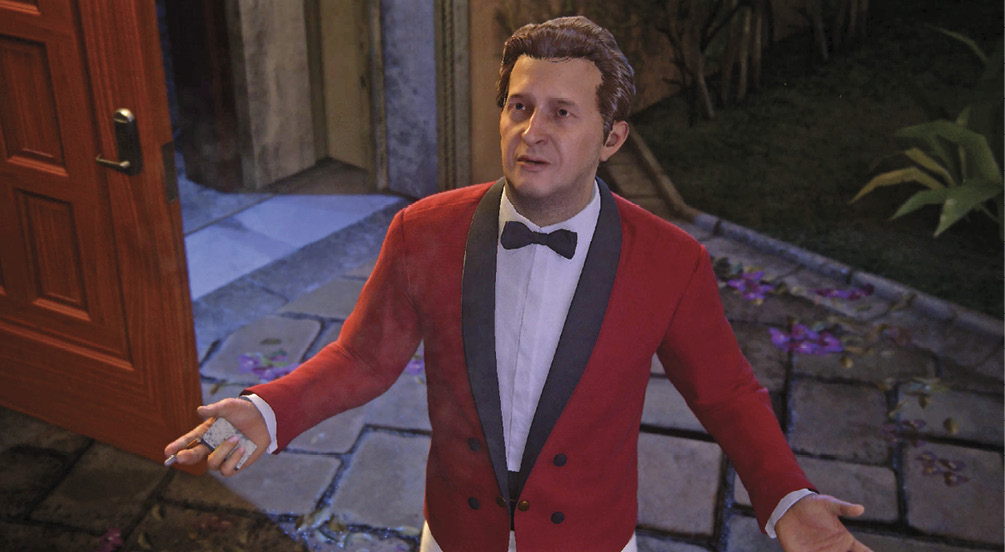
Drop down and follow Sam to the next courtyard. He’s found the kitchen door, but it’s locked. Examine another raised ladder (19) next to the red door; this time Sam boosts Nathan up. Before Nathan can lower the ladder, a waiter steps through the red door into the courtyard for a smoke. How convenient. Sam acquires his uniform.
Get Inside the Utility Building
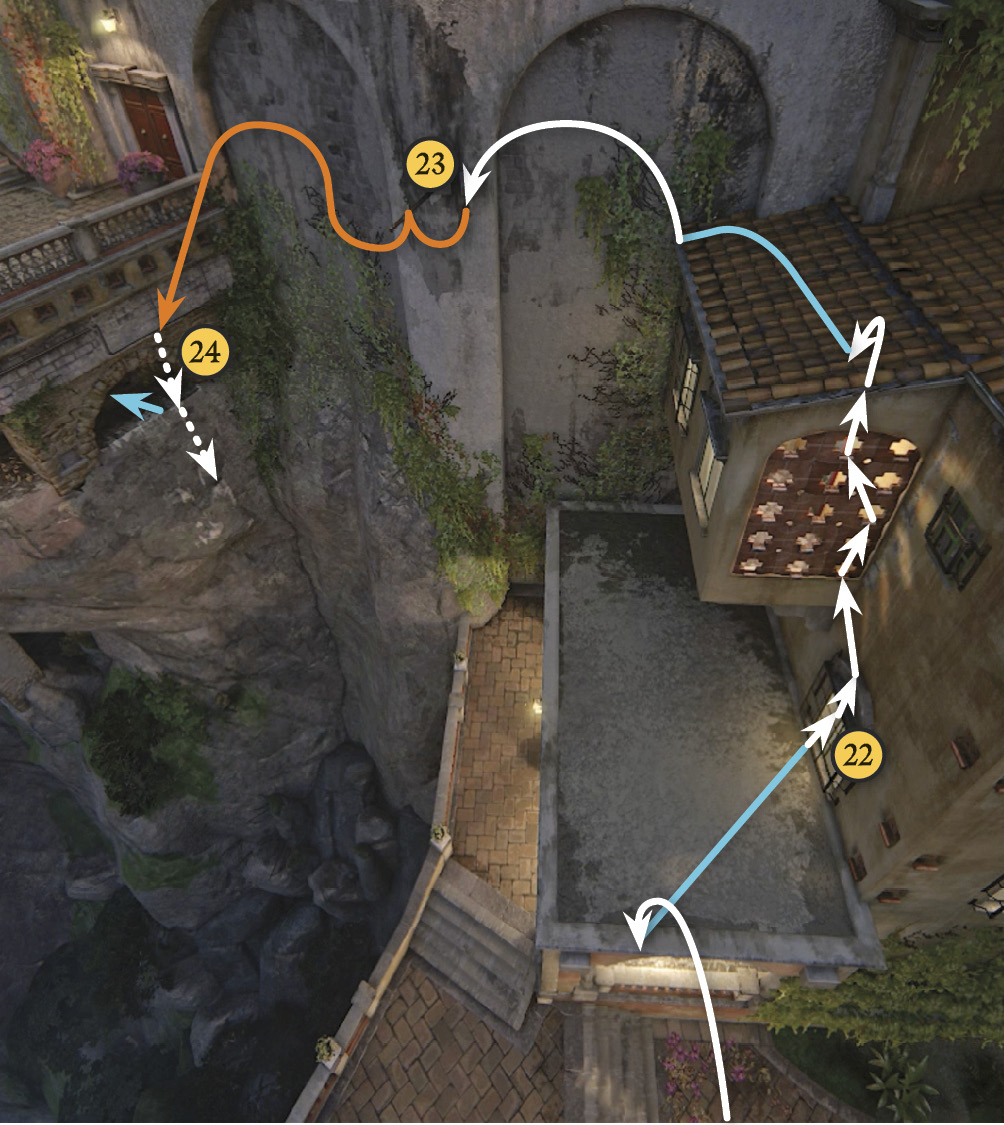
Now it’s up to Nathan to get inside the estate’s utility building so he can cut the power. Head across the next courtyard and climb the trellis (20). On the next level, turn right, descend the stairs, and climb another trellis to the roof of the arch. Press L3 to locate the power room door. Leap across to the roof of the gazebo (21) in the courtyard center and then take another leap to the next roof.
Use the window (22) to reach the decorative wall and climb up its cross-shaped cutouts to the ceramic-tiled roof. Cross the roof then jump to the two poles (23) jutting from the wall to swing across to the far platform. This leap triggers a cutscene: When Nathan lands, the pipe breaks (24) and he slides down the wall!
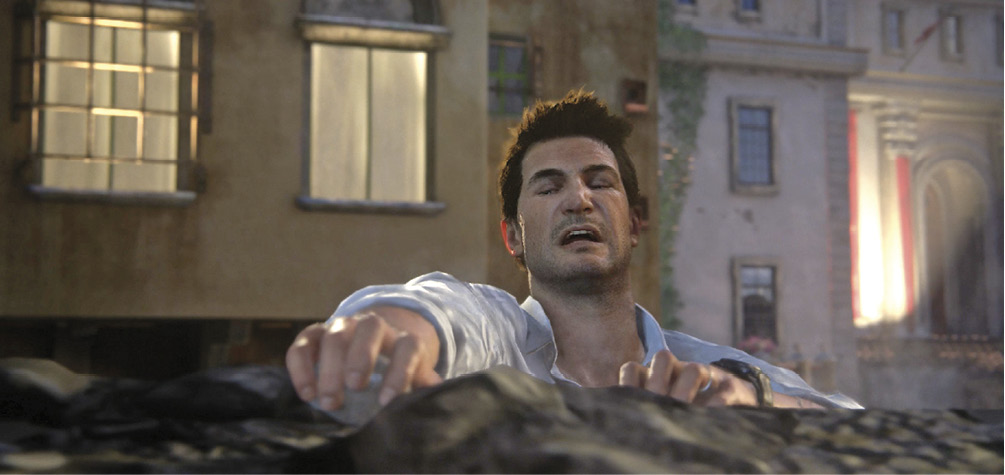
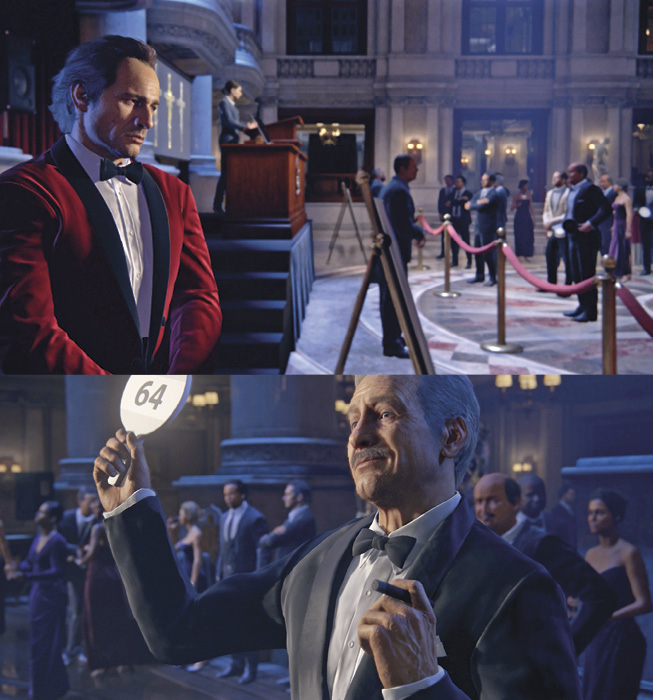
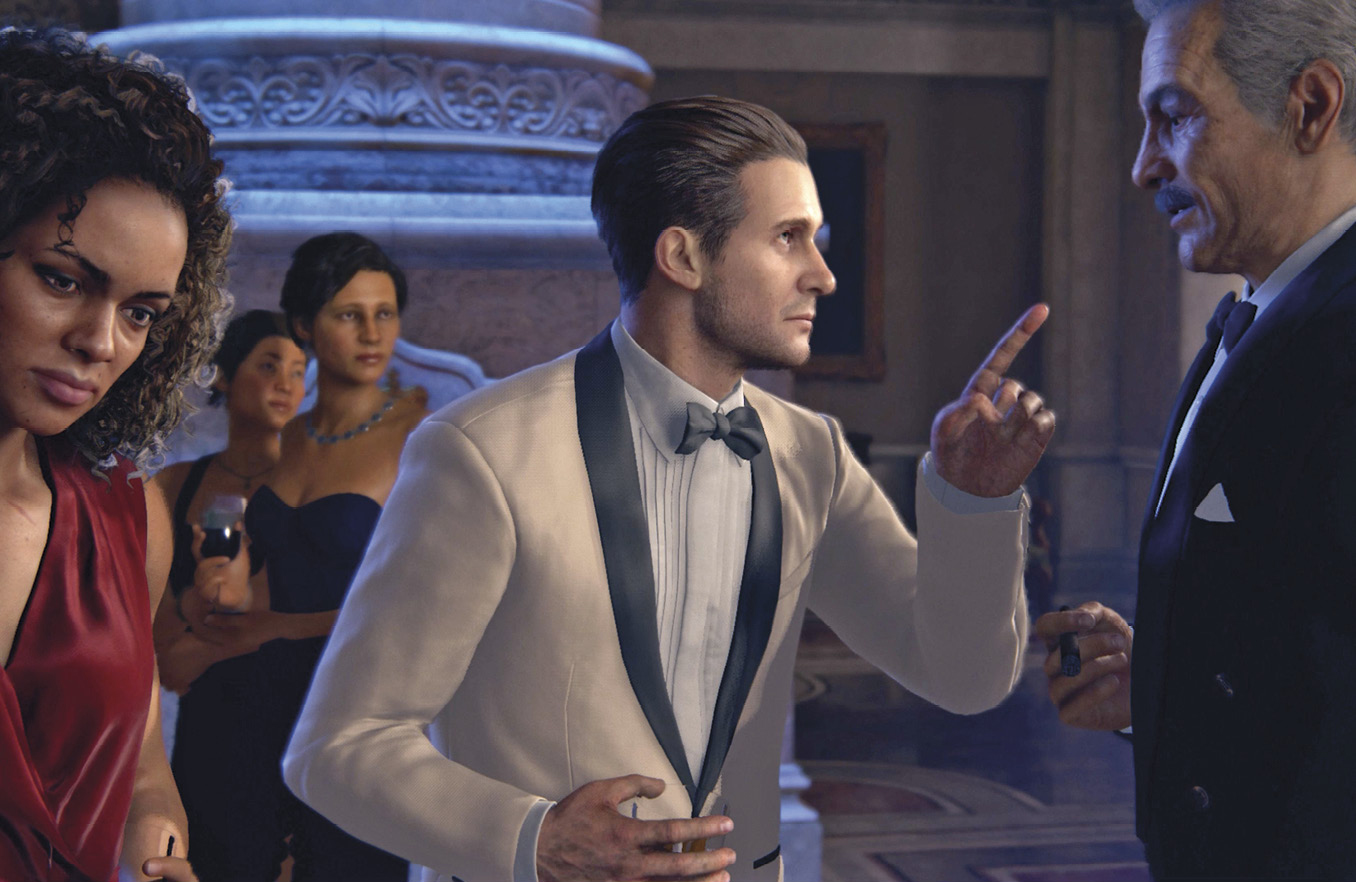
The scene switches to the auction inside. As Sully and Nadine chat, Rafe Adler suddenly joins them. The conversation starts out cordial enough but soon takes a nasty turn. Sully manages to break away from the “power couple” just as bidding begins on Avery’s cross. When you return to Nathan, he is just completing the climb back up the cliff face.
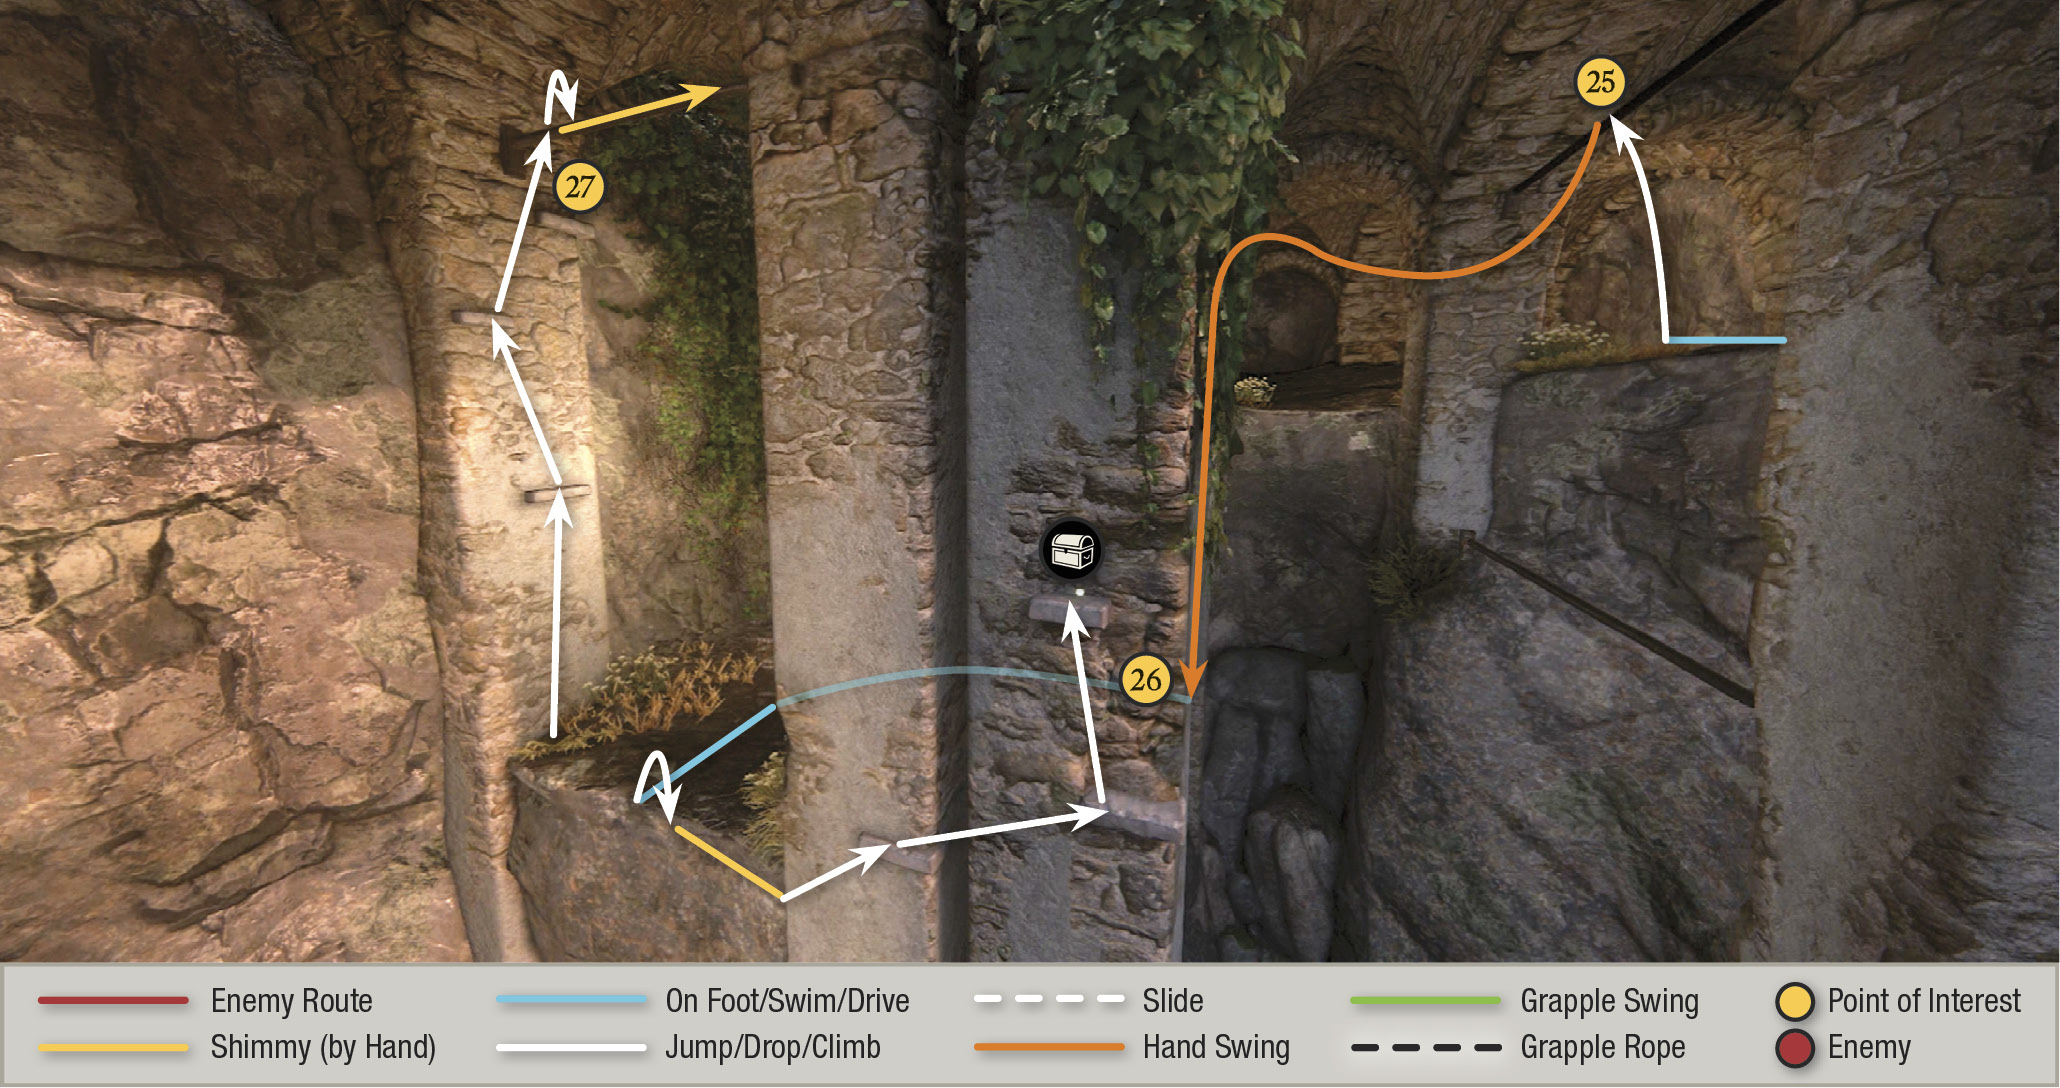
Nathan needs to find a new route to the power room. Move forward to the drop-off and jump to grab the pole (25) directly ahead. You make a “drop of faith” by releasing that pole and falling to snag the pole directly beneath it, or you can just swing from the top pole to the terrace (26) across the gap. From here you can turn left and find a treasure on the outside of the pillar. Then retrace your climb back to the terrace.

Mughal Dagger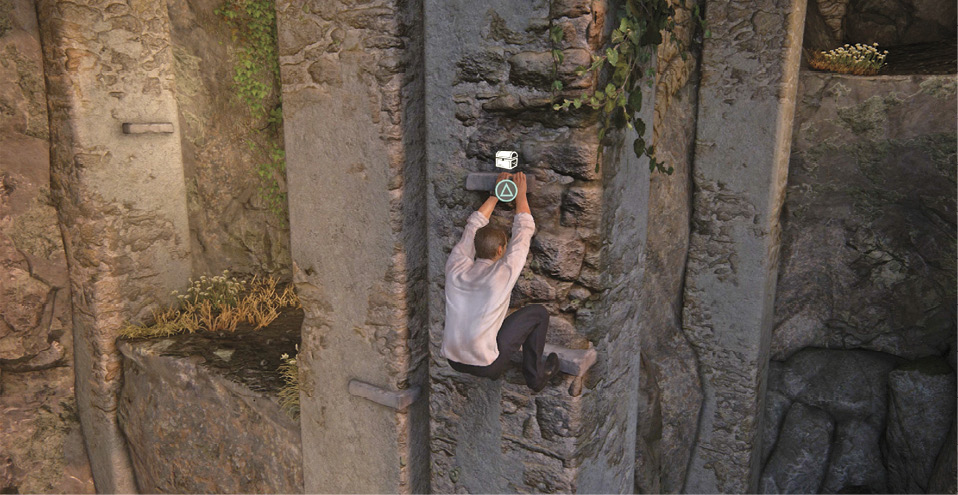
After you swing from the pole onto the terrace in the cave underneath the utility building, hang from the outer edge and climb leftward across the pillars to find the Mughal Dagger in a small niche on the second (rightmost) pillar. |
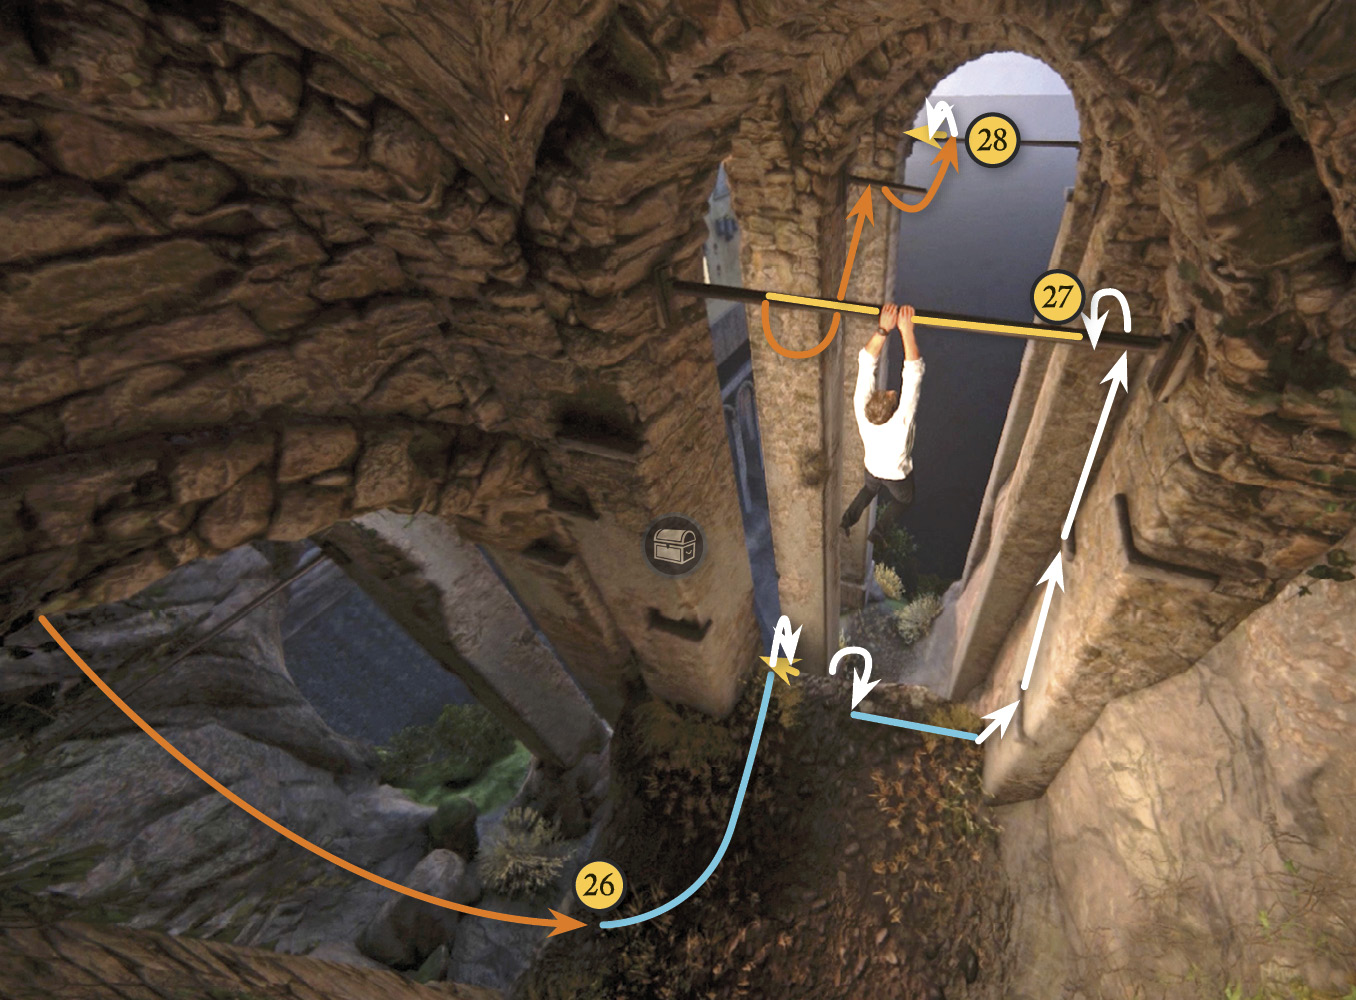
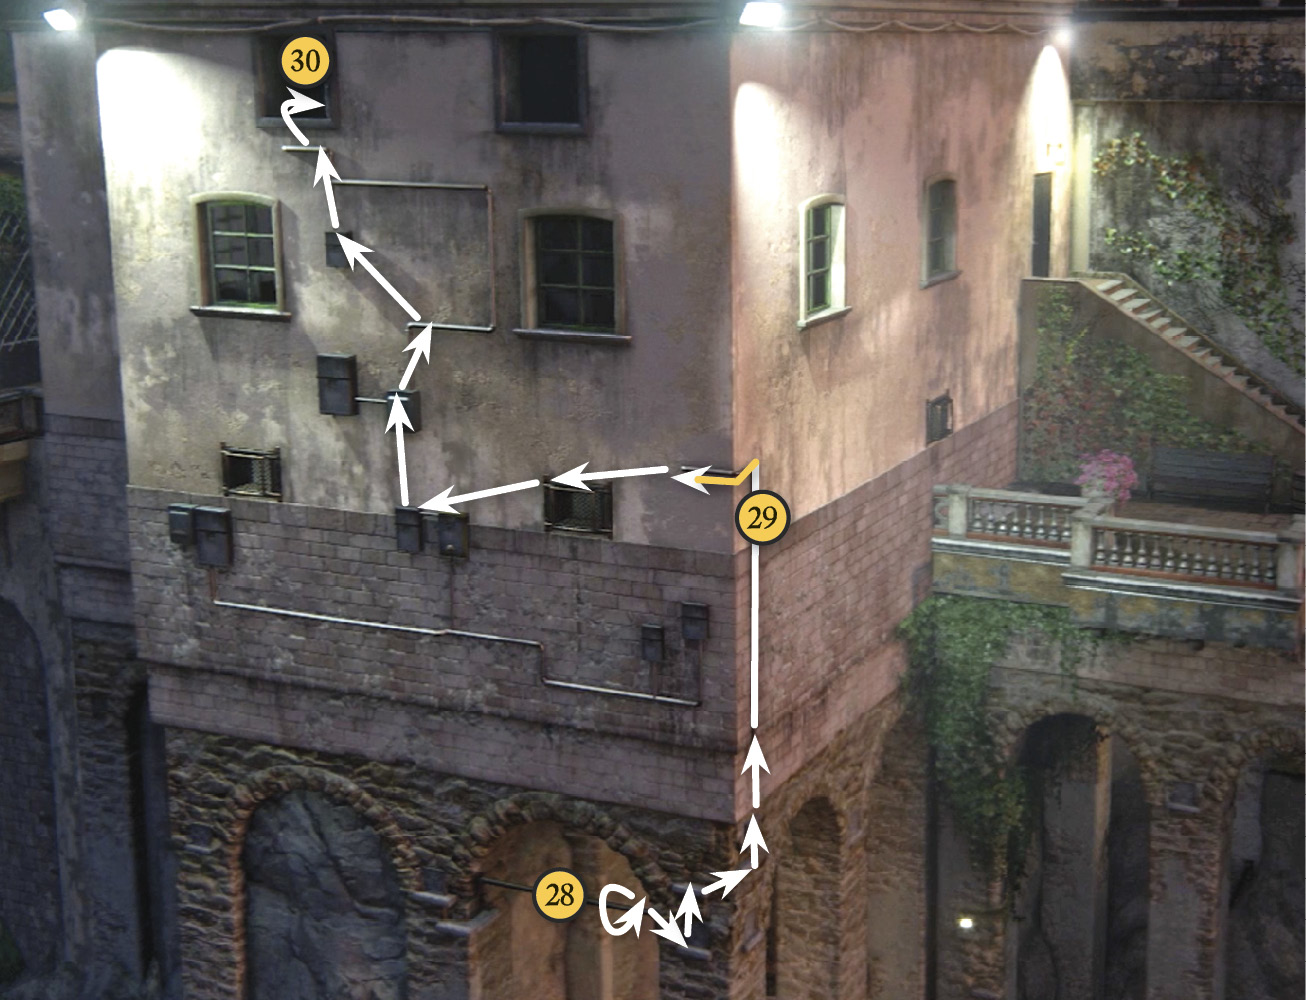
Climb the outcroppings in the pillar against the wall until you reach another pole (27). Shimmy to its left end and swing to the short pole directly ahead. Then swing to another long pole (28). Flip around on this pole to face back inside the arch, then shimmy to your right. Use the handholds on the wall to climb around the corner then up to the top of the vertical pipe (29). Slide leftward on the pipe around the corner. Then follow the route on our climbing map, using various window grates and sills, power boxes, and pipes to reach the open window (30) at upper left.
Get to the Circuit Breakers
Follow the catwalk to the end and drop to the floor. Find the nearby gate where you can see the circuit breakers. Press to discover it’s locked and to trigger a scene: Nathan finally makes radio contact with Sully and Sam. Avery’s cross is about to go up for bidding!
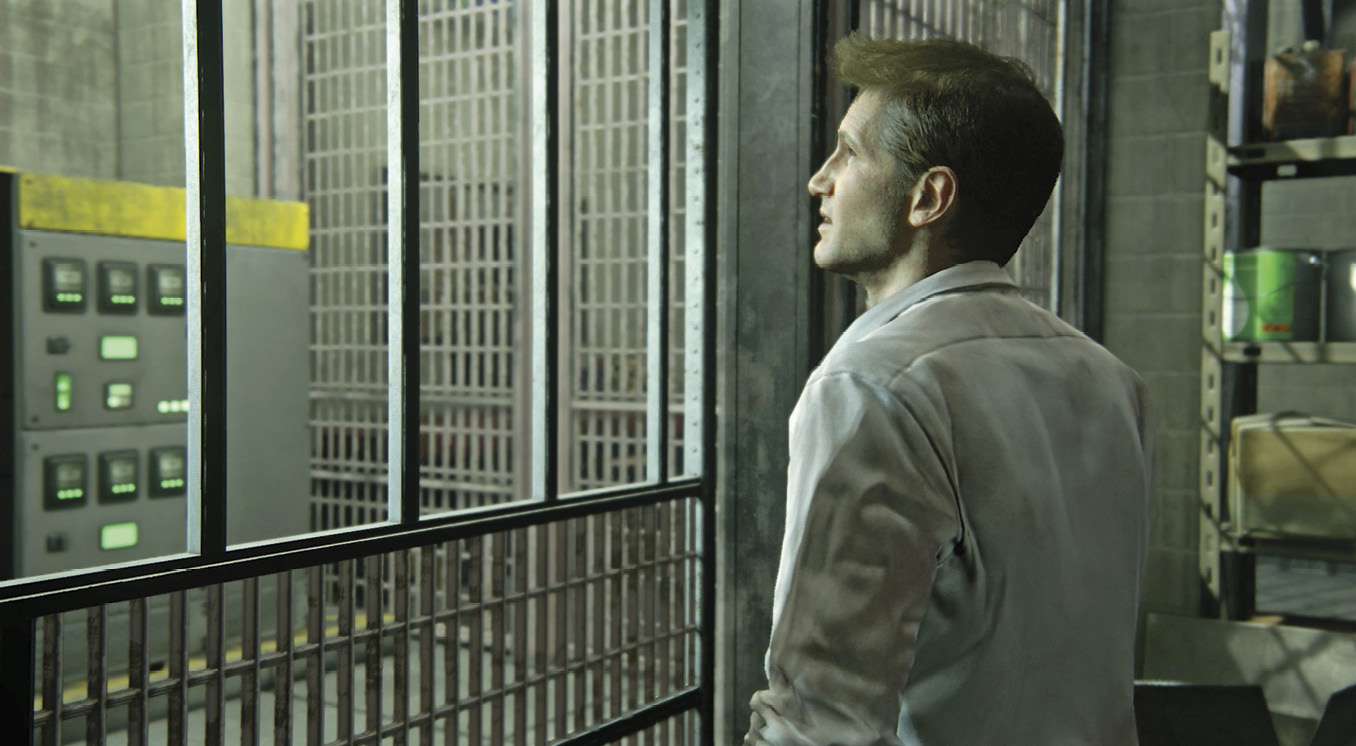
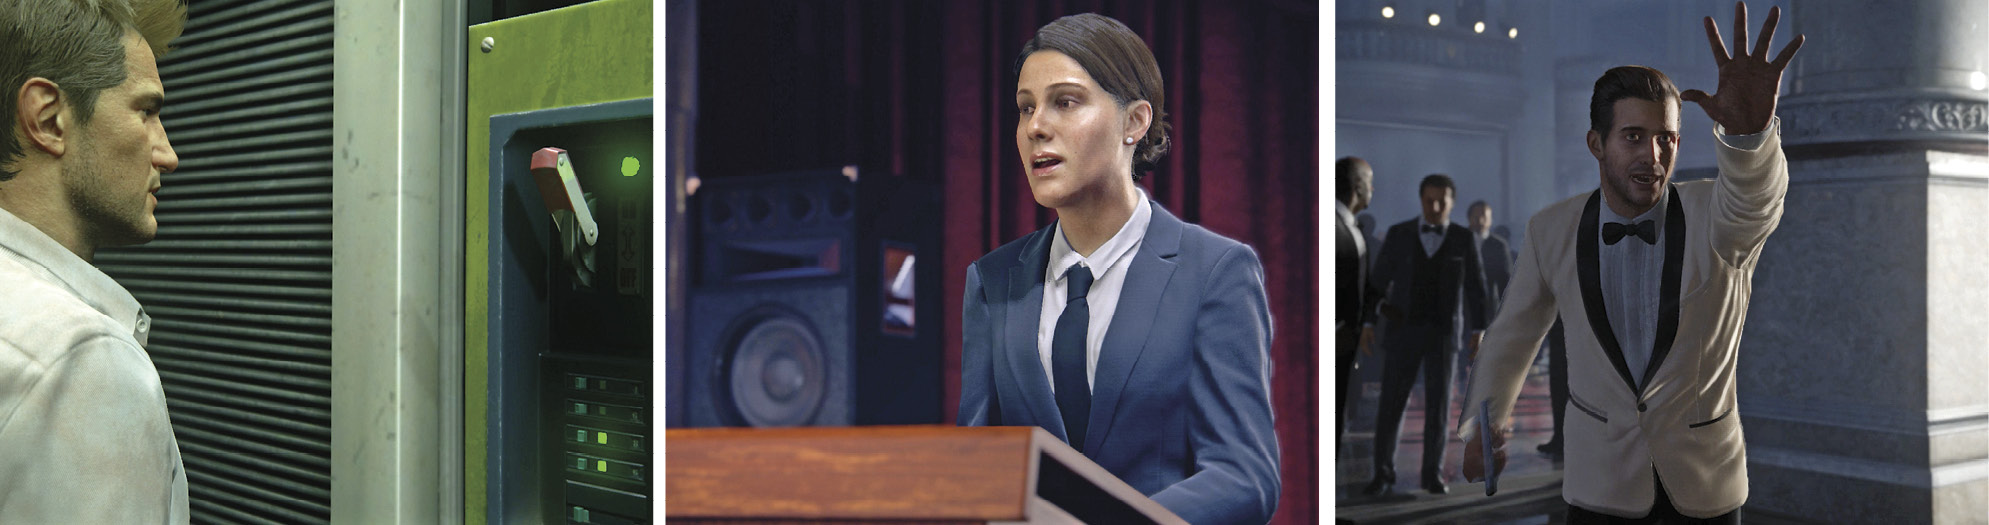
Start exploring the marked points in the room, searching through lockers and boxes until you find a crowbar. Go to the locked gate and use the crowbar to open the door. Enter and use the marked circuit box to trigger another cutscene: Bidding for the cross finally ends, and all hell breaks loose. As Sully reports, “We really kicked a hornet’s nest down here.” Then Sully says he’ll bring the getaway car around. Time to escape the villa!