Uncharted 4: A Thief's End Guide Story Walkthrough
Chapter 3: The Malaysia Job
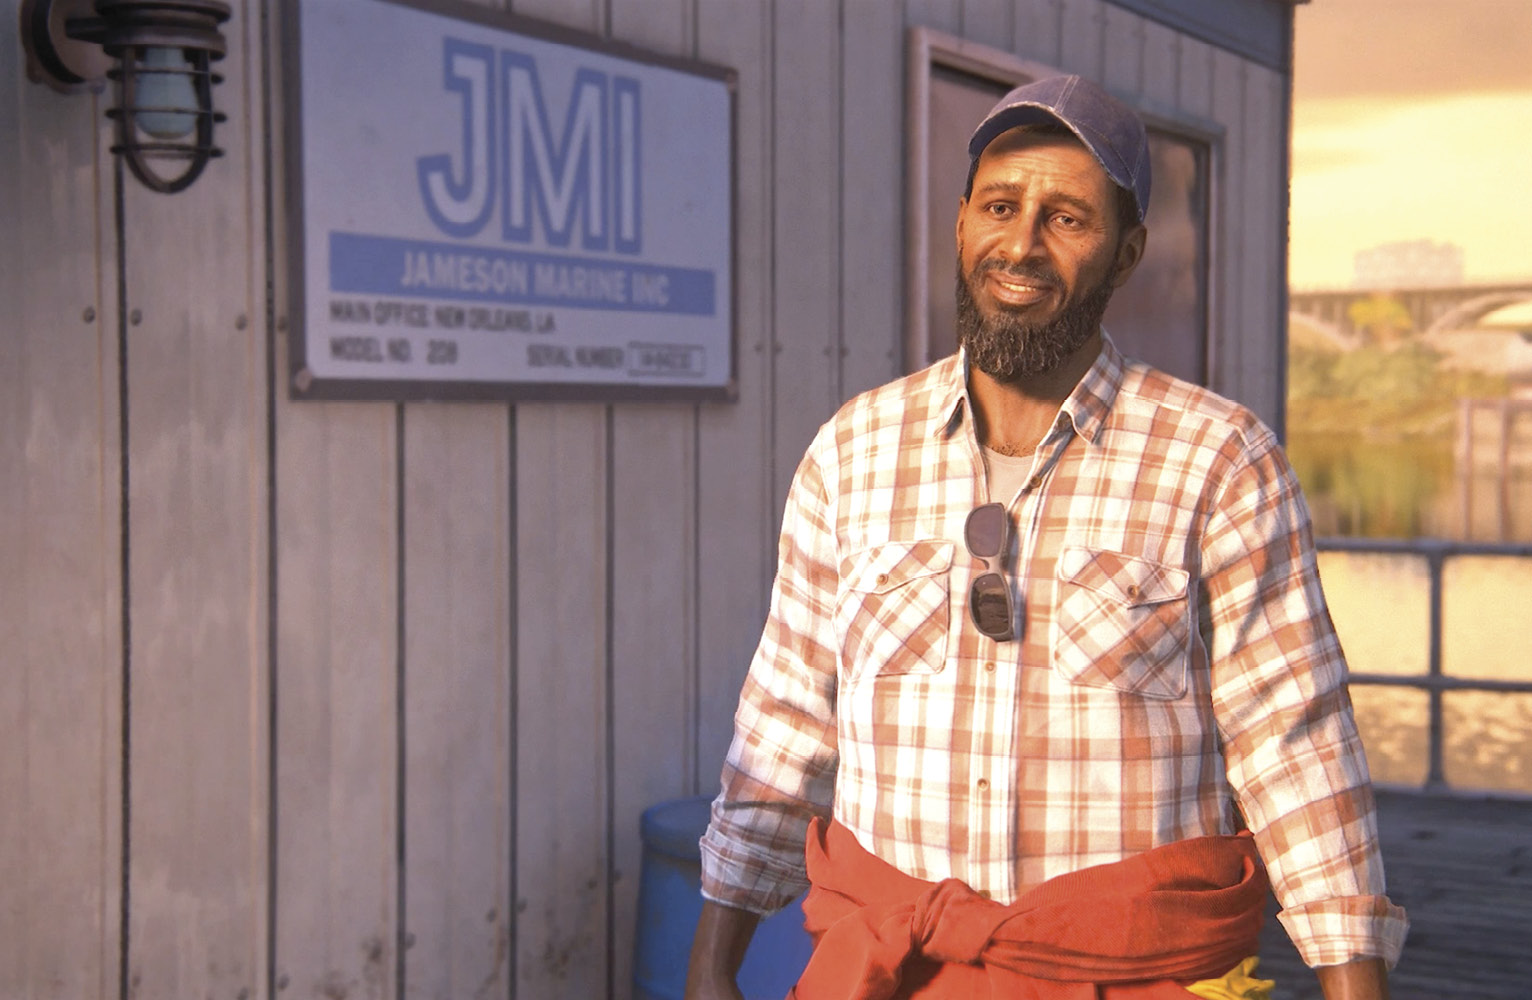
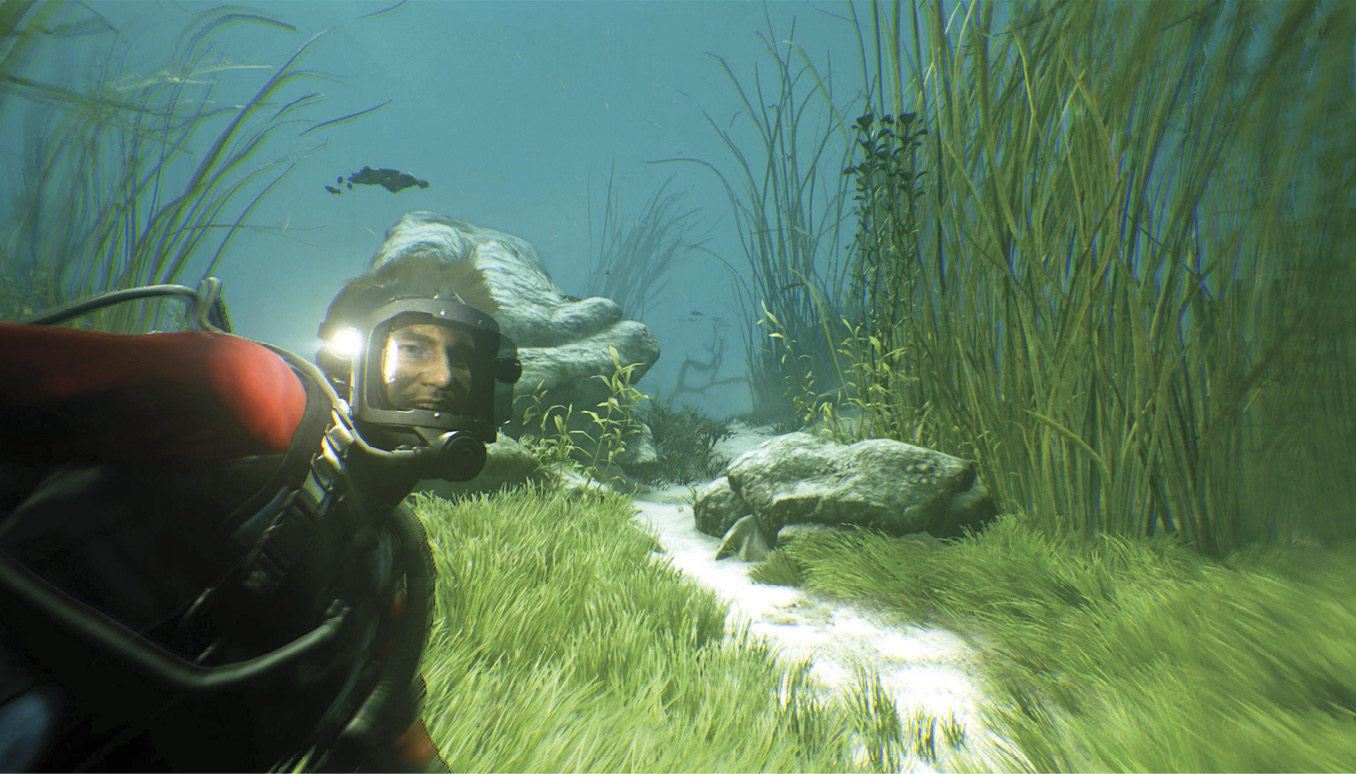
Nathan Drake’s long slide into the sea off Panama triggers another watery transition to a different time. Fifteen years later, Nathan works for Jameson Marine Inc., a legitimate marine salvage firm based on the Gulf Coast. When you regain control, you are in the midst of a scuba dive, part of an underwater salvage operation.
CollectiblesTreasures: 4 Optional Conversations: 2 |
Find the Salvage
A semi-truck pulling a trailer of valuable cargo has plunged off a bridge into the river. As he dives, Nathan speaks via radio with his boss, Jameson, the company owner. Remember, hold  to dive downward and press
  to ascend. From the start, swim past the rocks on your left then veer rightward through the clumps of reeds to find a treasure.

Antique Padlock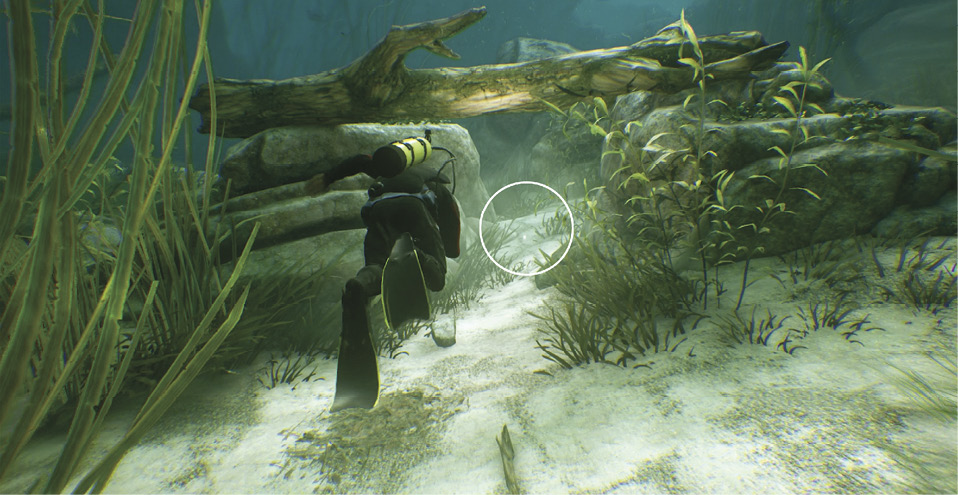
From the start, veer slightly right and swim through the reeds until you spot a log lying like a bridge across two rocks. Search the riverbed directly underneath the log to find the Antique Padlock. |
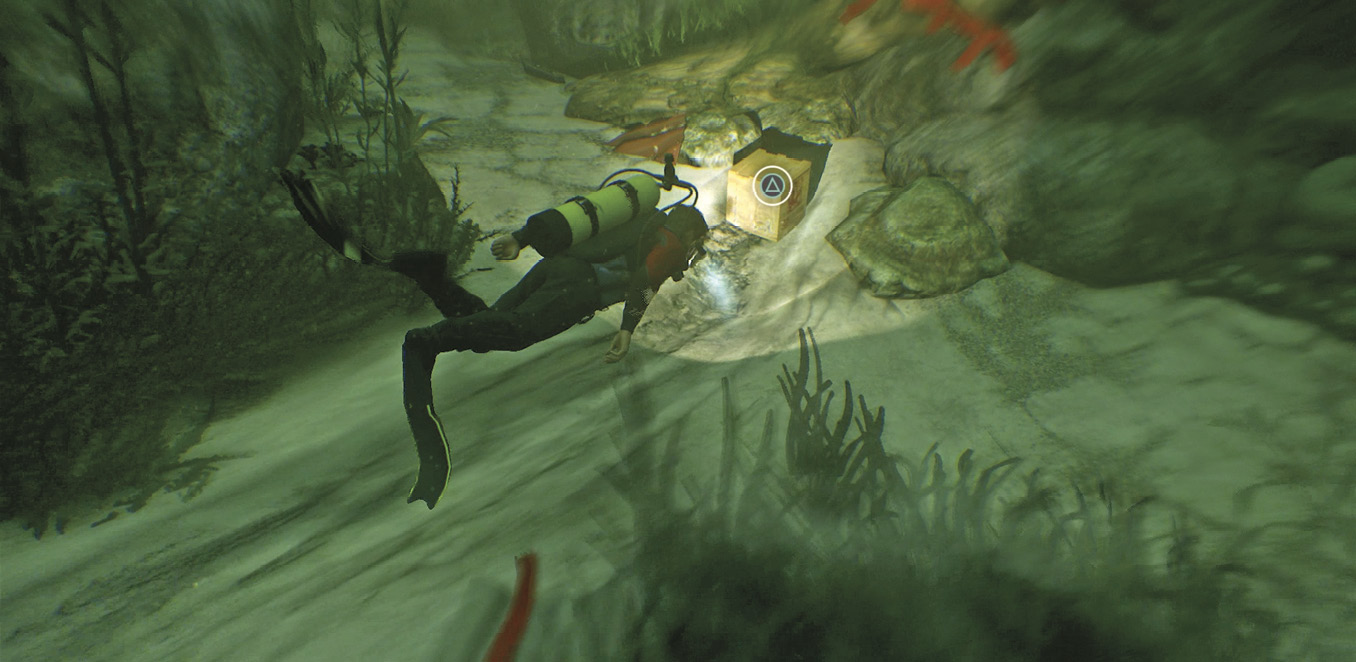
Continue downstream into the underwater ravine with rocks rising on both sides. On the left you see a pair of tunnel openings in the rock where you can find another treasure. Then veer slightly rightward until you reach a grass-covered patch of river bottom with a small clearing in the middle of it (see Fig. 3-1). Hold to dive down to the object and then examine it: a piece of the wrecked trailer you’re searching for.

Chiriqui Shark Trinket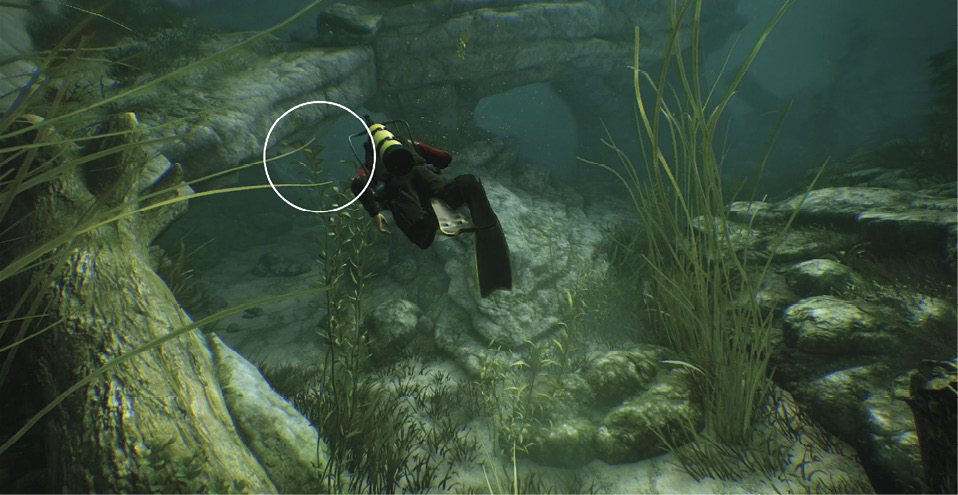
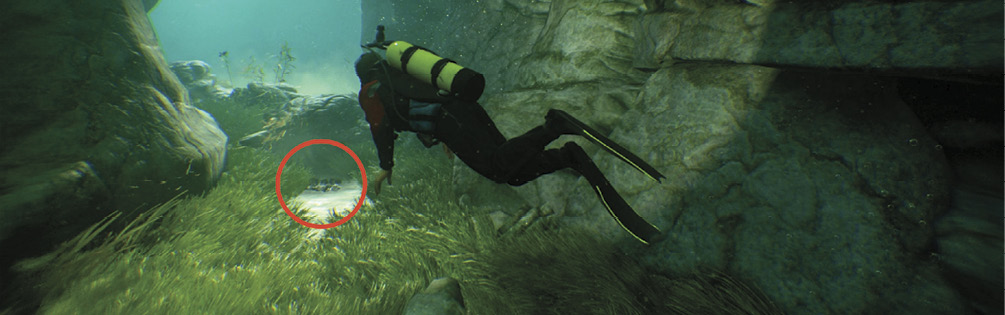
As you enter the underwater ravine, look for two side-by-side openings under a rock arch. Swim into the leftmost opening. Move down the short tunnel and search for the Chiriqui Shark Trinket on the rocks below. |
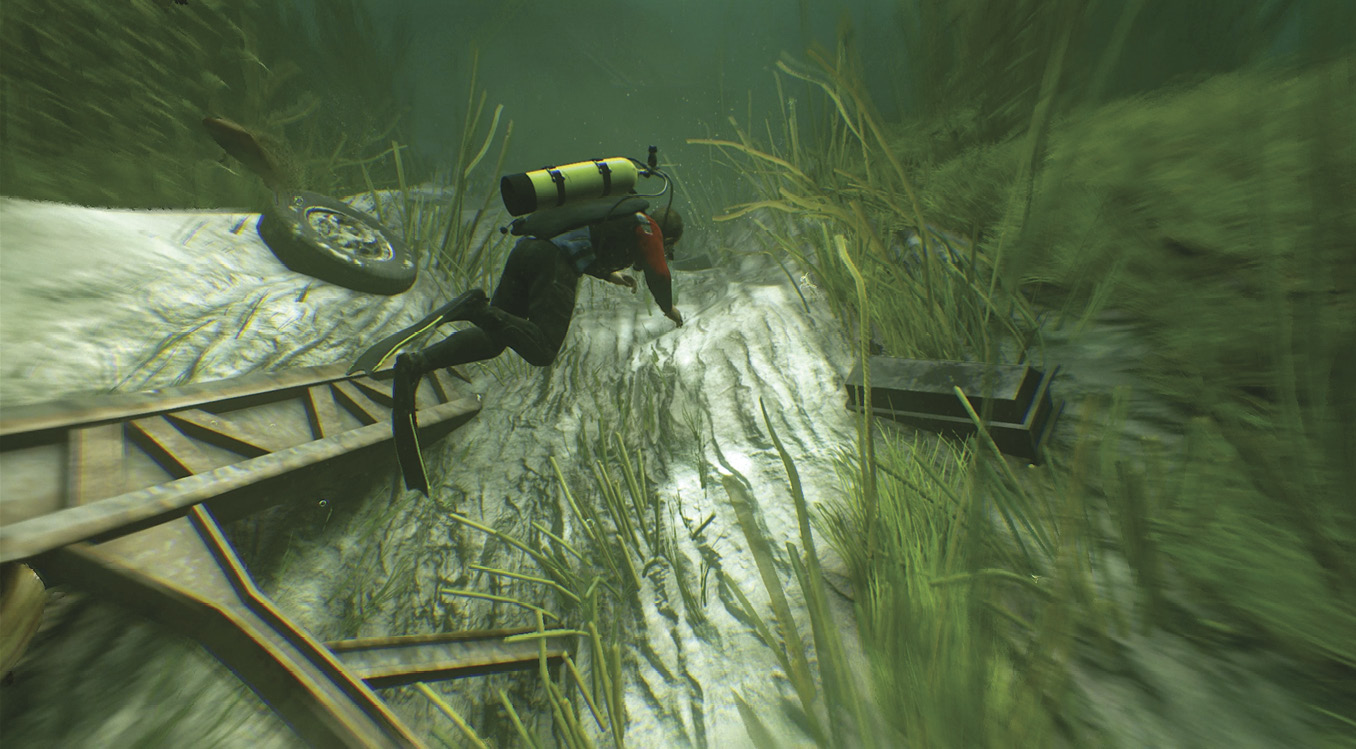
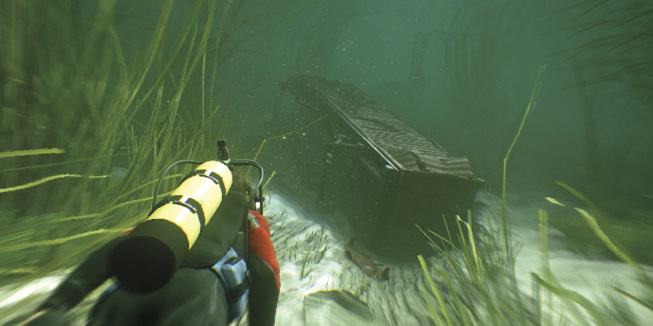
Swim downstream into the ravine and dive downward to follow the scrape marks and debris (see Fig. 3-2) left by the trailer’s plunge from the bridge above. Soon you find the red trailer turned on its side. Before you examine it, you can find one more treasure on a low ledge over on the right side of the underwater ravine.

Antique Pocketwatch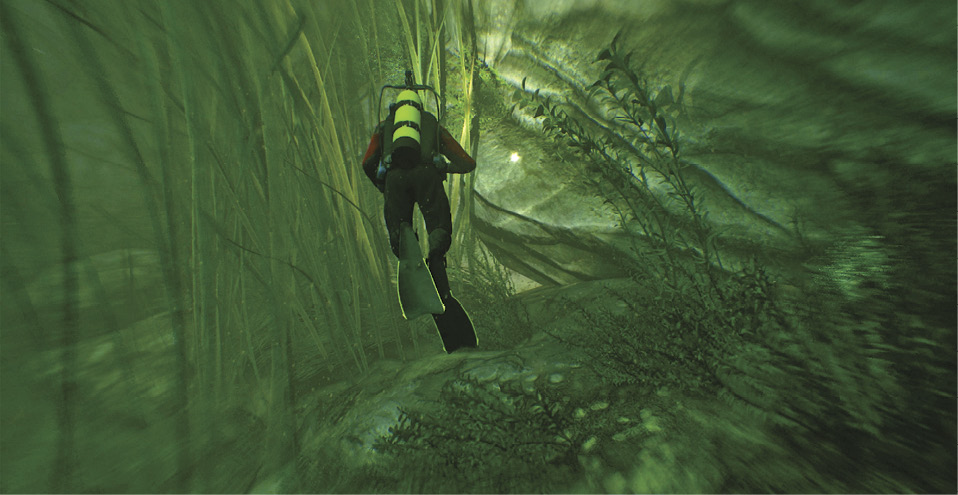
As you move downstream and find the trailer, turn right and swim to the rocky ravine wall. At the wall, turn left and search along its bottom edge, moving downstream. Soon you find the Antique Pocketwatch glowing on a rock ledge near a tall stand of reeds. |
Examine the Trailer & Cargo
Explore the site, looking for Examine icons that reveal more detail about the situation. First, dive to the striped strut on the trailer’s undercarriage; Nathan reports that the axles are in good shape and can be used to lift the rig. Next, swim to the top of the wreck and examine the torn section; Nathan peers inside and reports that most of the cargo crates are still aboard.
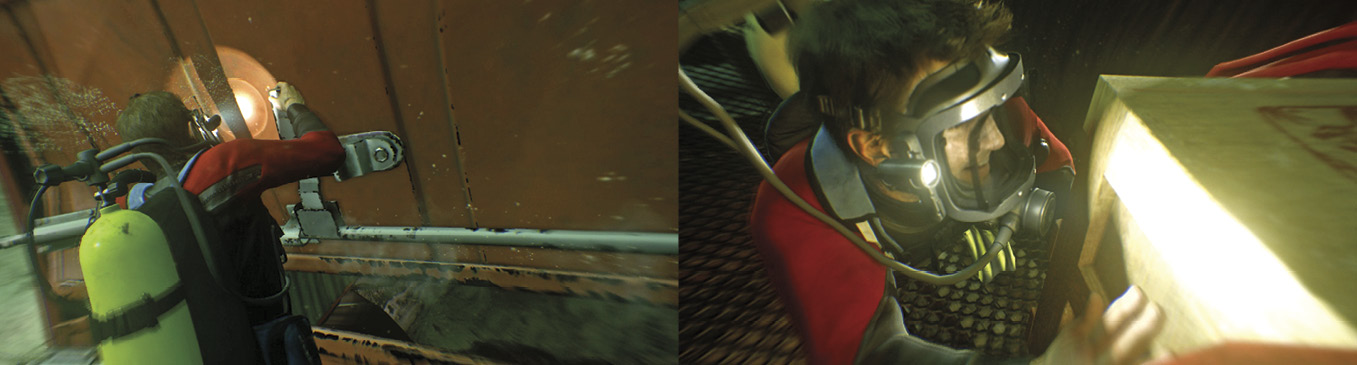
Swim to the doors on the far end of the trailer and examine them; Nathan seizes the door latch. Repeatedly tap  to pull open the door. Swim inside and examine the crates to count them: Nathan discovers that two crates are missing.
Locate the Two Missing Crates
Turn around, swim halfway down the trailer interior, and examine the hole torn below you to find one missing crate. You can repeatedly tap to try picking it up, but the crate is pinned underneath. Exit the trailer and veer rightward a bit and follow the scraped path. The other missing crate is roughly 30 feet away against the right wall of the ravine. Pick up the crate, tapping repeatedly to lift it. Swim back inside the trailer and secure the crate in the stack.
Hook the Trailer to the Crane Sling
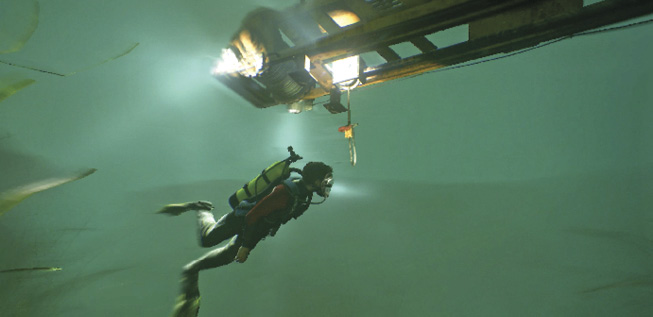
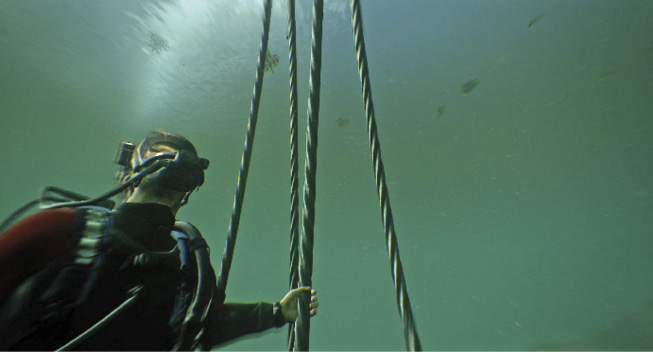
Once the first crate is secured, Jameson reports that the salvage barge is directly above the trailer, and its crane is lowering a sling harness. Swim out of the trailer and spot the sling above it. As you approach the sling, two hook icons appear. Swim closer until you can grab either hook; each is attached to a cable.
Swim with the hook down to the nearest trailer axle marked by a hook icon. Swim completely around the axle until you see the icon appear then press that button to latch the hook to the cable.
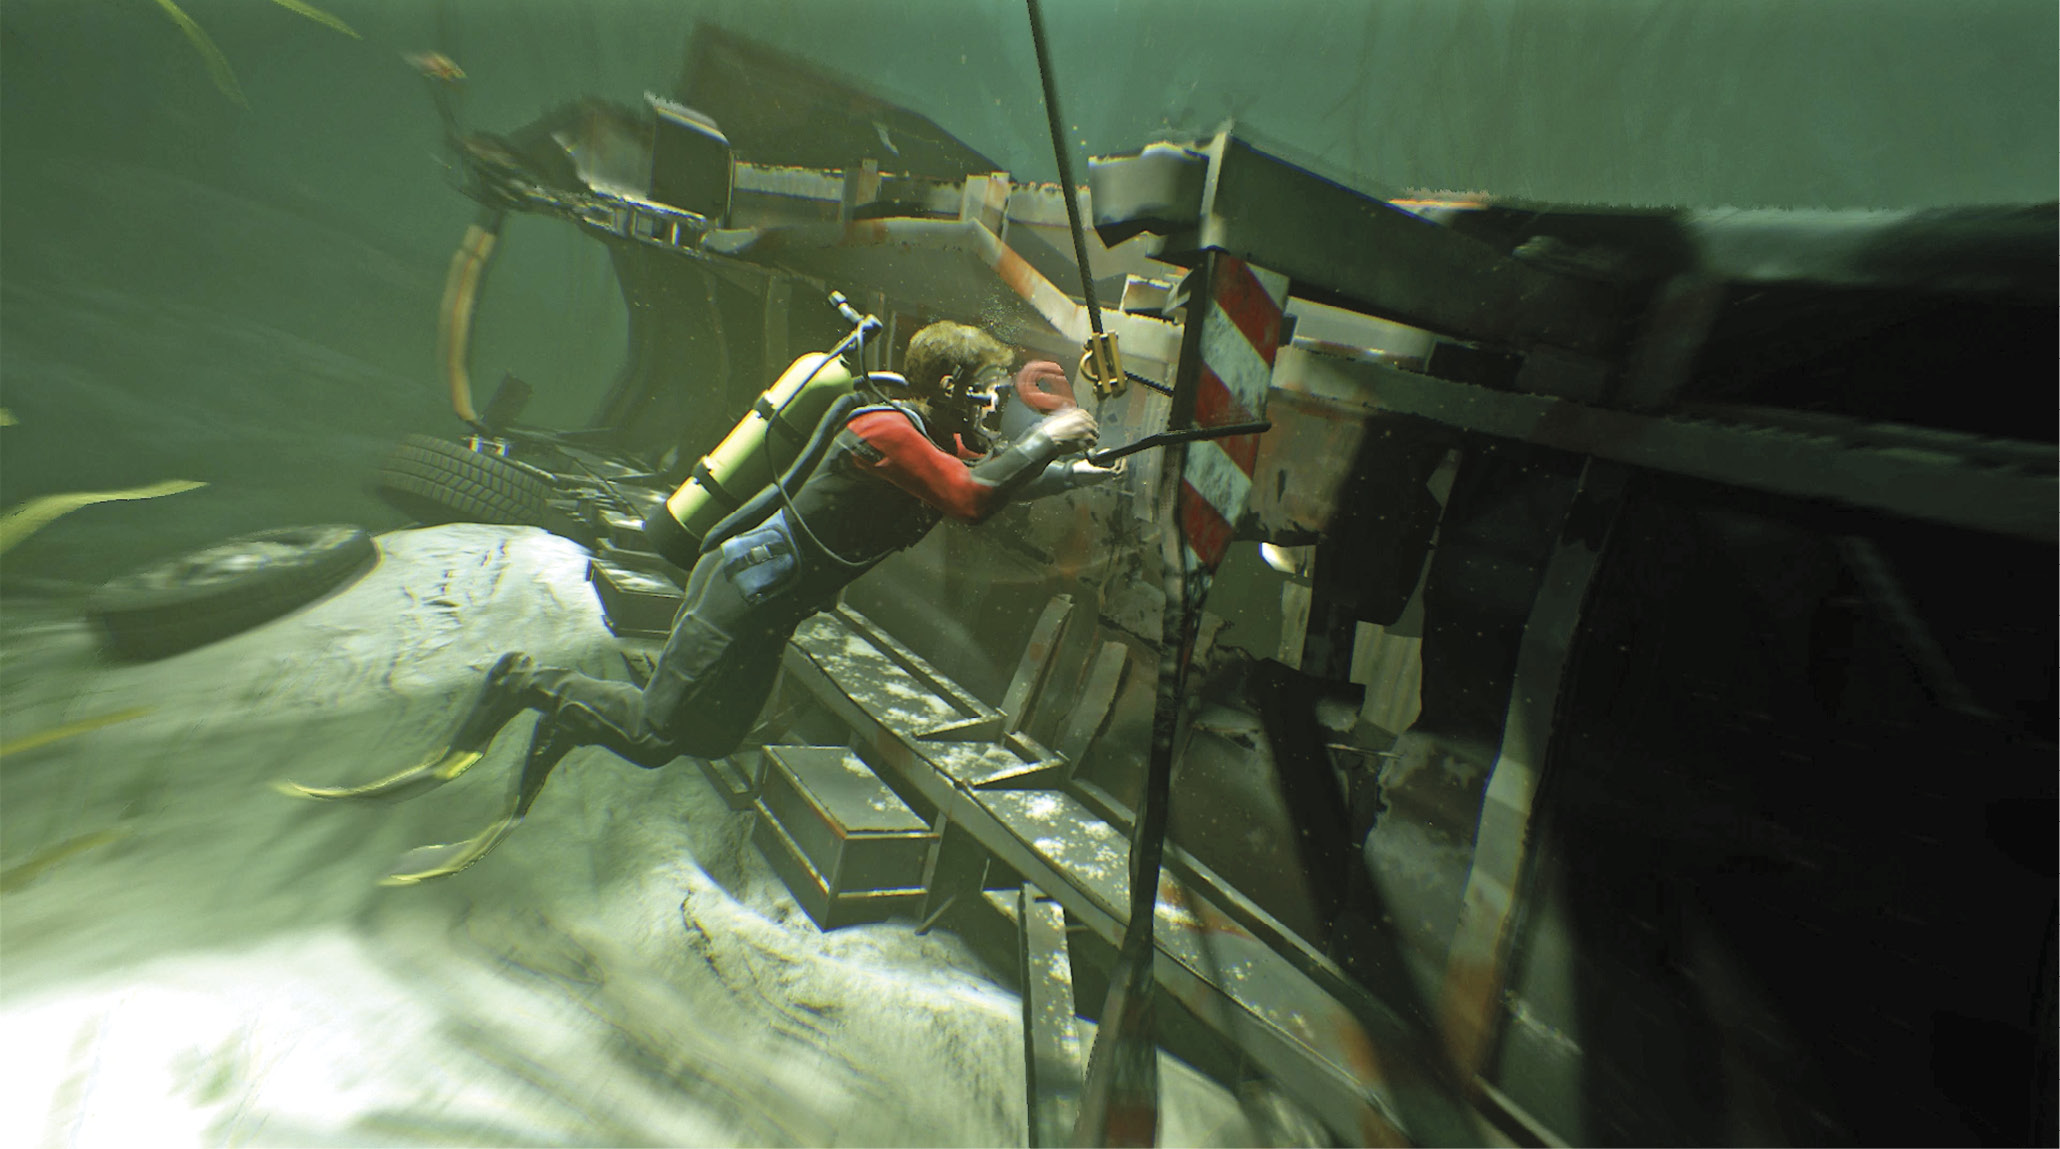
Swim back up to the sling and repeat this process with the other cable, pulling its hook down and securing it around the trailer’s other axle. (Again, you have to swim completely around the axle before you can latch the hook to the cable.) Then swim a short distance away so that Jameson can raise the trailer safely.
Once the trailer is raised, swim underneath and grab the other loose crate. Haul the crate up (tapping to lift) and into the trailer interior then slide it into place with the other crates. Finally, repeatedly tap to secure it in the straps.
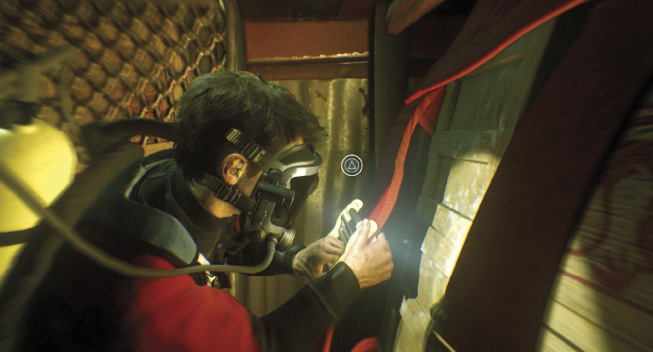
Now you can exit the trailer and swim into position on top of the sling harness. When the icon appears, press that button to ride the sling back up to the barge. Press when you arrive to trigger a quick cutscene: Nathan hops down onto the barge deck.
Engage in Optional Conversations
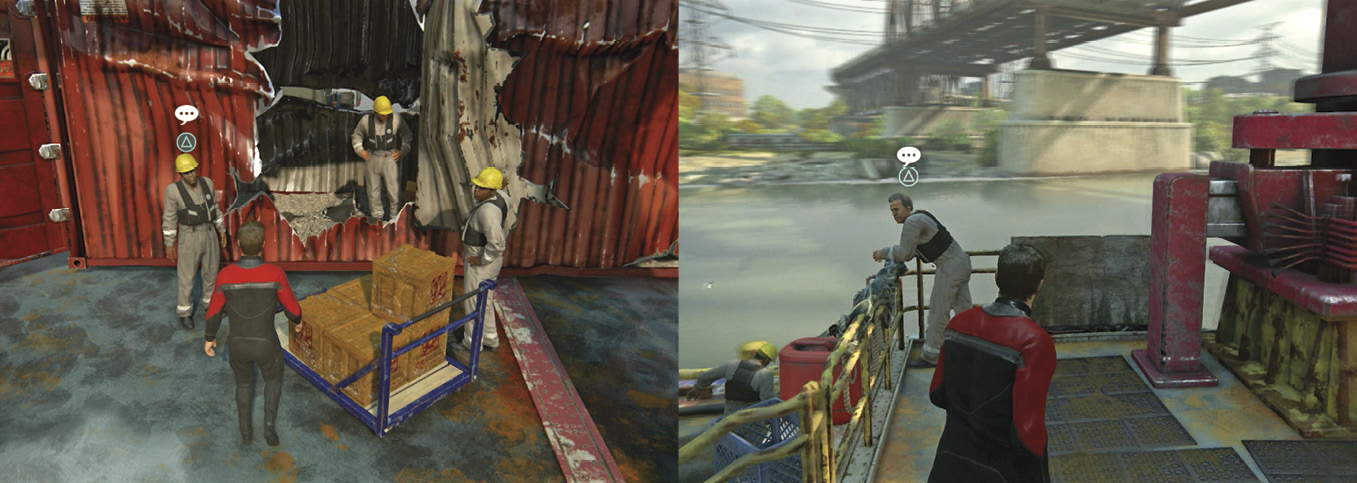
Your arrival on deck gives you an opportunity to grab another treasure and engage in some Optional Conversations, a Collectibles category in Uncharted 4. You can go talk to a pair of nearby workers if you want: one fellow unloading crates from the trailer (Optional Conversation: “Wasn’t The Slowest One”) and another leaning on the railing up on the center platform (Optional Conversation: “My Man”). Just approach each character with the Talk icon overhead and press to trigger a quick conversation. Do it immediately after the icon appears, though—if you wait too long, the icon disappears and you don’t get a second chance to chat. The treasure is stashed up on the center platform too.

Antique Arcade Token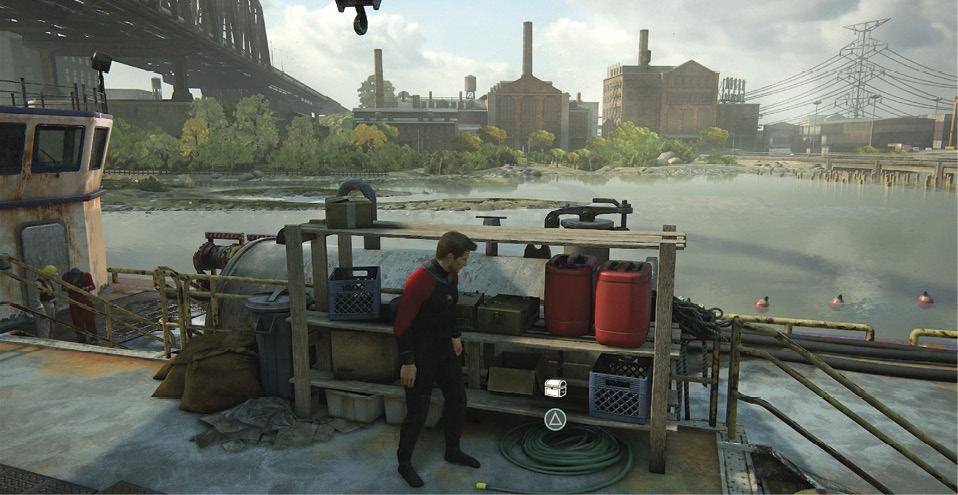
Find the Antique Arcade Token up on the barge’s center platform. It’s on the bottom shelf. |
Talk to Jameson
Head for the deck cabin but stop to listen to the quick exchange between the river patrol and a Jameson hardhat. Then go talk to Jameson. After a short exchange, he moves over to check out the trailer cargo. Follow Jameson and take the crowbar when he hands it to you. Watch the scene as Nathan pries open a crate to reveal the “treasure” you just salvaged.
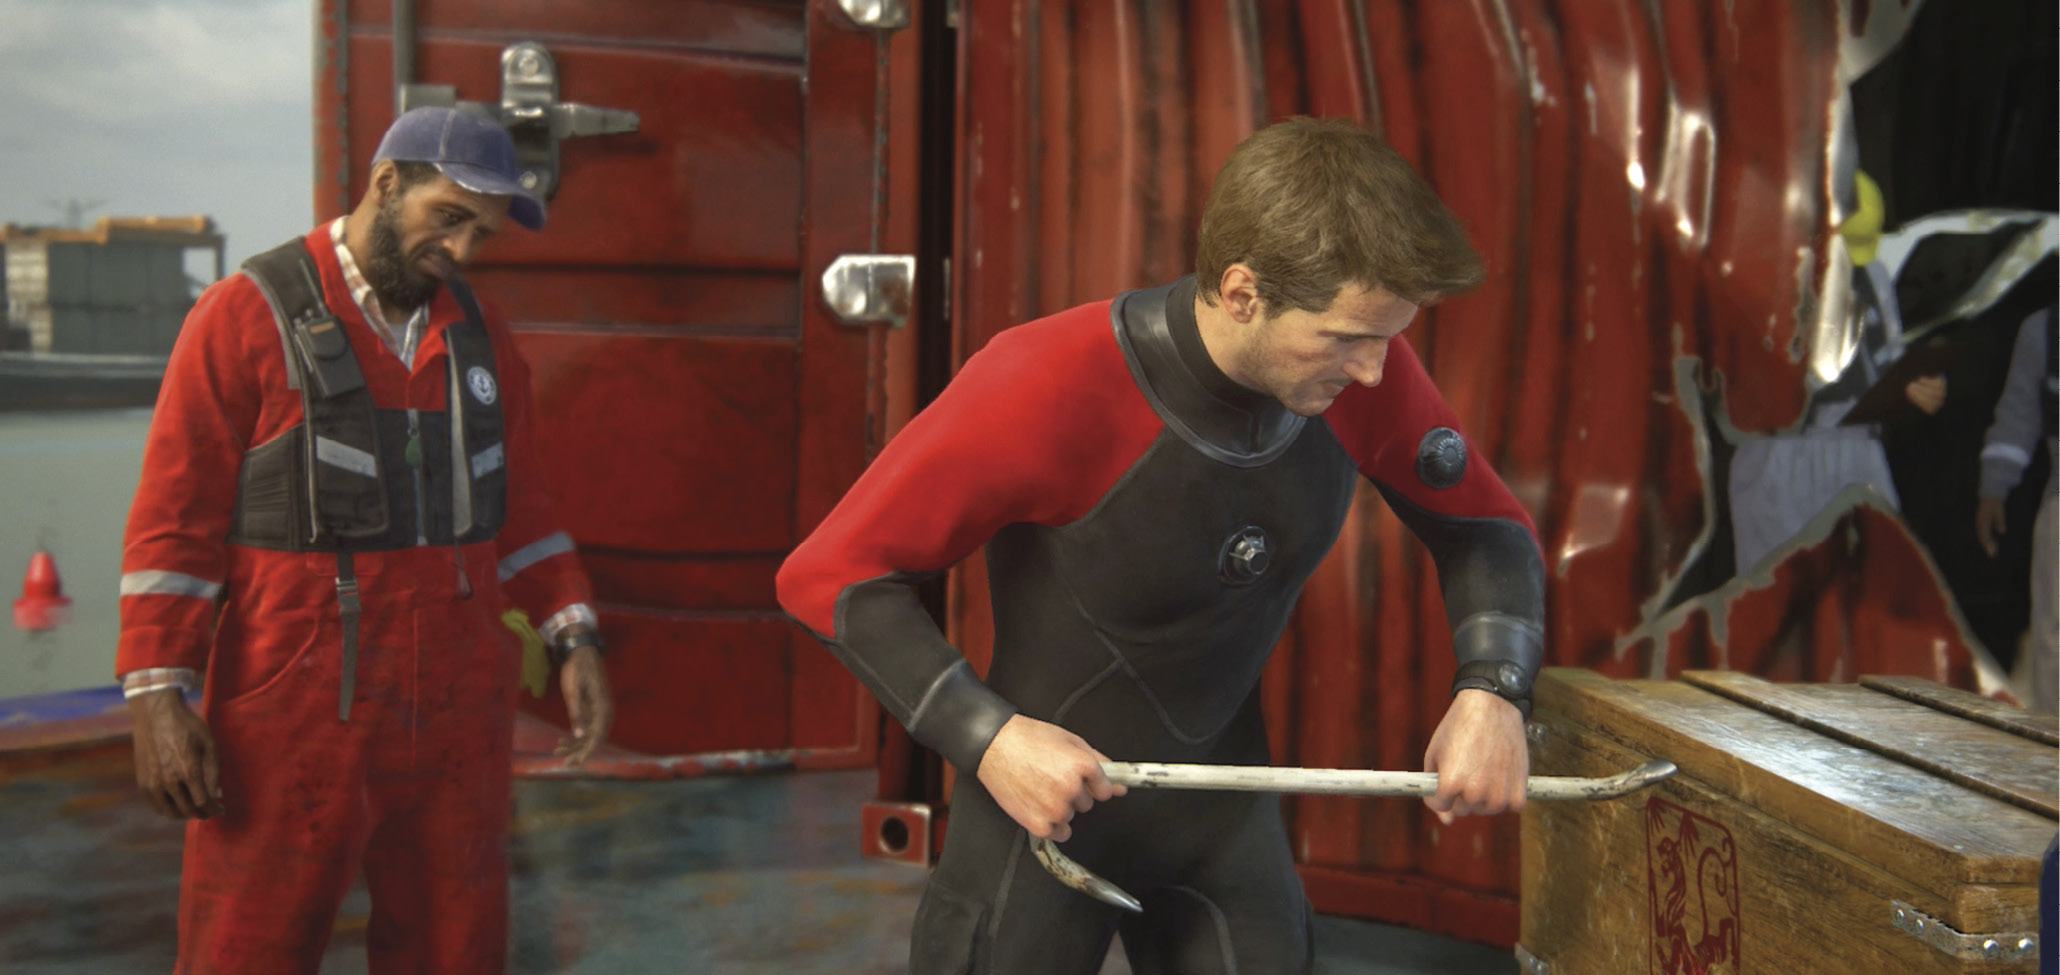
Keep watching as another scene plays: Later that day, as Nathan leaves the Jameson Marine office, Jameson tries to recruit him for a big salvage job off the coast of Malaysia. But without permits, the job is technically illegal…and believe it or not, if it’s not legal, Nathan Drake is not on board with a project these days. Is he really such a changed man?