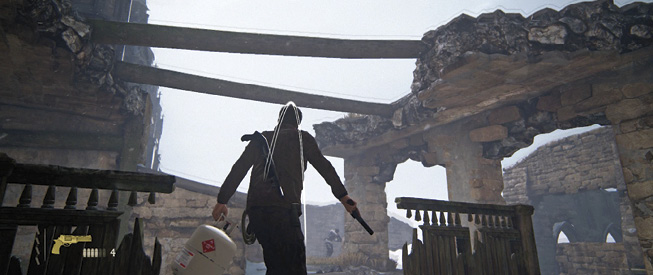
Uncharted 4: A Thief's End Guide Basics
Weapons
Nathan Drake can carry two weapons and four projectiles at one time. He has two firearm weapon slots; one slot fits side arms and the other long guns. Press left on the D-pad to select side arms, and right on the D-pad to select long guns. This can also be performed while aiming a weapon. The only exception to the two-weapon-limit rule is when Nathan picks up a DShK minigun. This weapon does not replace a weapon in the long gun slot; instead he carries it as an additional weapon, but it cannot be holstered. This weapon is dropped when you draw another weapon.
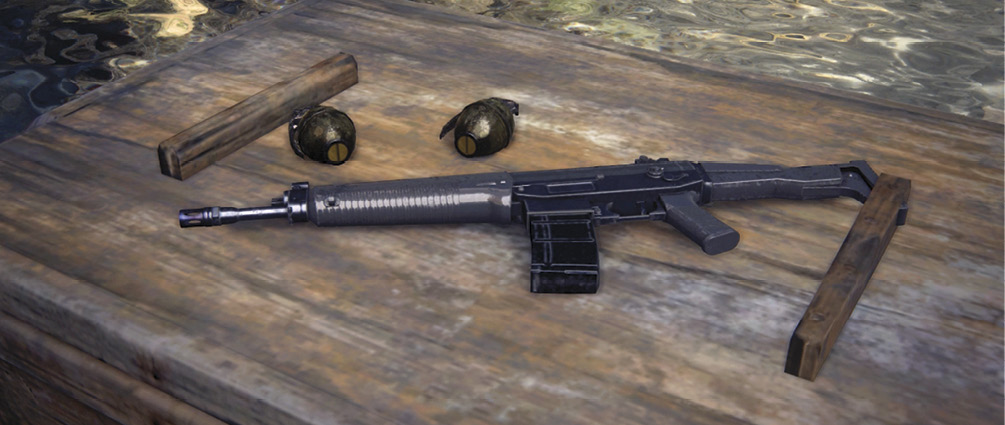
When you come across the same weapon you’re carrying and you can hold more ammo for that weapon, the prompt appears as a weapon-specific ammo icon. Press  when standing close to the ammo icon to pick it up. If you are not carrying that weapon, you are prompted to press and hold until the weapon swap gauge is full.
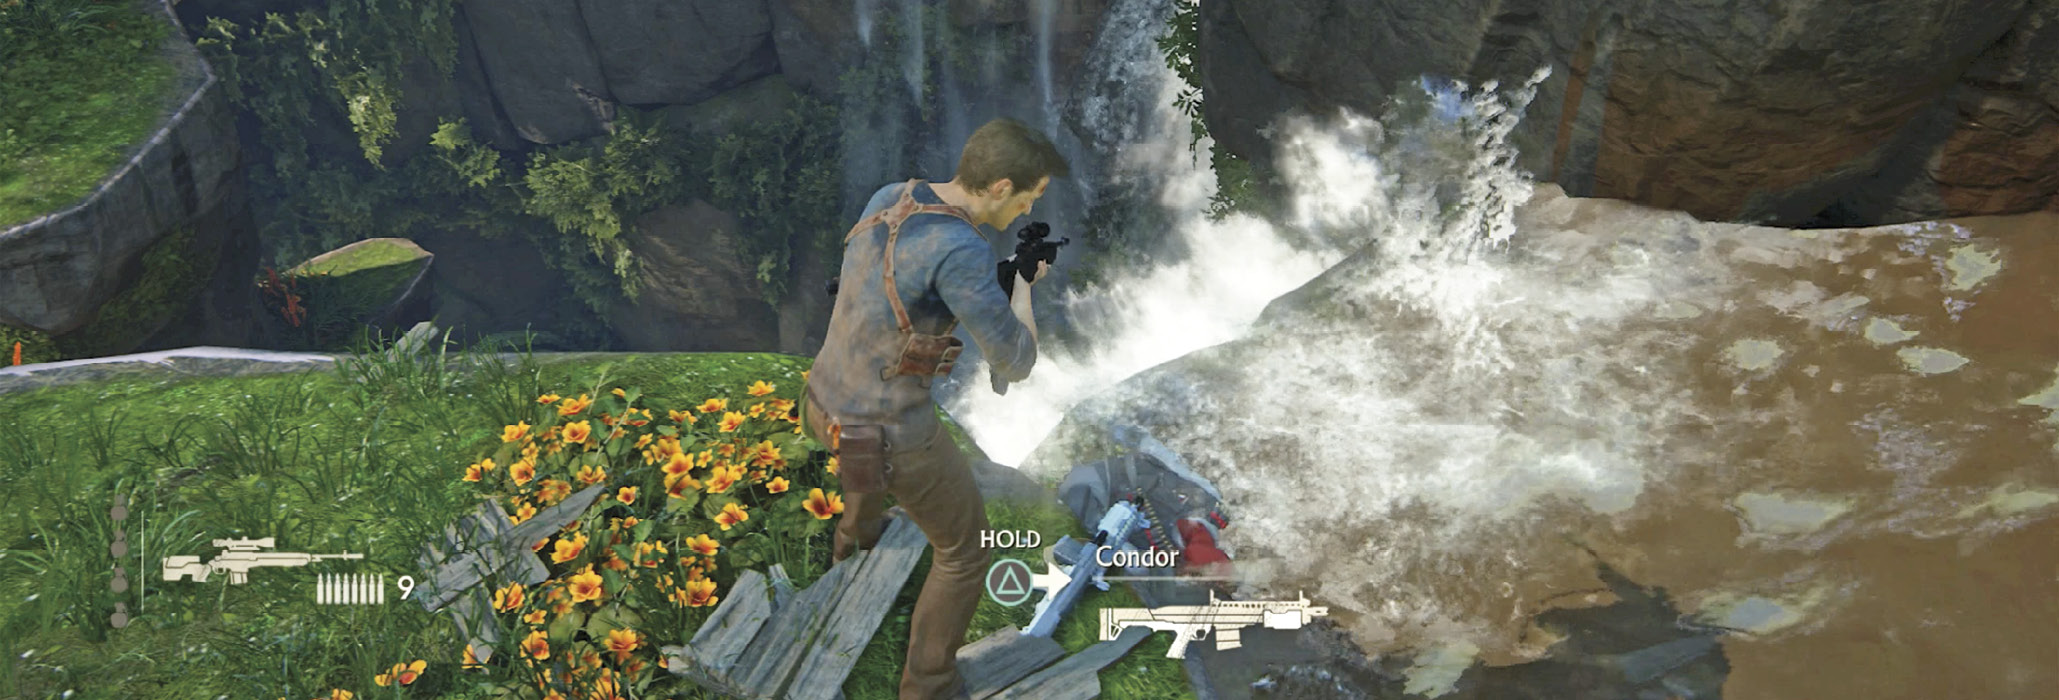
The only other ways to acquire weapons are to be handed one or to perform a melee or stealthy takedown on an enemy that’s carrying a weapon that fills your empty weapon slot.
Side Arms
| Pickup Icon | Name | Mag. Size | Max. Cap. | Stats | Notes |
|---|---|---|---|---|---|
 |
Aegis 9mm | 12 | 56 | Semi-automatic pistol Close rangeLow damage Slow rate of fire Low recoil and moderate accuracy |
This is the most basic of weapons. It’s first available at the Prison in Chapter 5. |
 |
Para .45 | 12 | 60 | Semi-automatic pistol Close range Moderate damage Moderate rate of fire Low recoil and moderate accuracy |
This is one of the most common weapons in the game. It is a competent firearm that gets the job done. Drop an Aegis 9mm for one of these. You first encounter these pistols in the Prologue. |
 |
Fossa R-81 | 25 | 100 | Fully automatic machine pistol Close range Low damage Very high rate of fire High recoil and poor accuracy |
This automatic pistol works best in close combat, as it has low damage per round and is very inaccurate at a distance. The rate of fire is very high, so close-range enemies beware! This weapon is first discovered at the auction in Chapter 7. |
 |
Raffica | 15 | 60 | Three round burst pistol Mid-range Moderate damage Moderate rate of fire Moderate recoil and good accuracy |
This pistol has a three-round burst fire feature which keeps an already decent recoil down to a minimum. The damage is good at close to moderate range. You can first get your hands on one in Madagascar, Chapter 10. |
 |
Pistole | 2 | 8 | Semi-automatic revolver Medium range High damage Slow rate of fire Moderate recoil and good accuracy |
This weapon is similar to a short, double-barreled, sawed-off shotgun but not quite as powerful as the special Flintlock. Shoot a round from each barrel with two pulls of the trigger and then reload. Deadly at close range. First found in Scotland, Chapter 8. |
Power Side Arms
| Pickup Icon | Name | Mag. Size | Max. Cap. | Stats | Notes |
|---|---|---|---|---|---|
 |
Flintlock | 2 | 2 | Semi-automatic revolver Mid-range Very high damage Slow rate of fire Moderate recoil and good accuracy |
This pirate pistol is similar to a single-barreled, sawed-off shotgun. Very potent at close range and can kill Armored soldiers and knock the helmet off an Armored Brute with one shot and kill them with the next (at close range). Do not waste its ammo on common enemies. These are first discovered in Scotland, Chapter 8. |
 |
Barok .44 | 6 | 12 | High caliber pistol Medium range Very high damage Slow rate of fire High recoil and good accuracy Two-shot Armored soldier kills or one headshot |
This is a very powerful weapon. If you find one, hang onto it and save it for special occasions (Armored enemies). You can first find these weapons in Scotland, Chapter 8. |
Assault Rifles
| Pickup Icon | Name | Mag. Size | Max. Cap. | Stats | Notes |
|---|---|---|---|---|---|
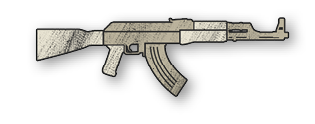 |
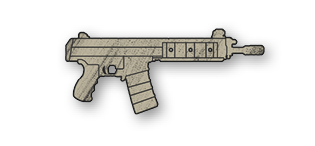
AK-47 | 30 | 120 | Fully automatic assault rifle Mid to close range Low damage Moderate rate of fire Moderate recoil and accuracy |
This is the basic assault rifle. Good for medium-range battles. The continuous fire recoil pulls up and zigzags to the left and right. The AK-47 first appears in Scotland, Chapter 8. |
 |
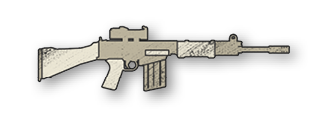
XCR | 30 | 120 | Fully automatic submachine gun Close range Low damage Very high rate of fire High recoil and poor accuracy |
This basic submachine gun has a faster rate of fire than the AK-47, but recoil pulls to the left the longer the trigger is held during continuous fire. This weapon only appears at the auction in Chapter 7. |
 |
FAL | 30 | 120 | Three-round burst rifle Mid-range Moderate damage Moderate rate of fire Low recoil and good accuracyPress R3 when aiming to use the scope |
This is a powerful and accurate assault rifle that fires three-round bursts when continuous fire is used, keeping recoil pull down to a minimum. Use the scope for extreme accuracy. This weapon first appears in Madagascar, Chapter 10. |
 |
Copperhead SR7 | 24 | 120 | Fully automatic scoped rifle Mid to long range Low damage High rate of fireModerate recoil and good accuracyPress R3 when aiming to use the scope |
This weapon does slightly less damage per round than the FAL, but has better range and a faster rate of fire. Use the scope to take advantage of its deadly accuracy. Recoil pulls to the right on continuous fire. You can first acquire this weapon in Chapter 13. |
 |
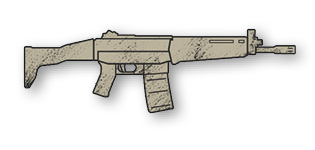
Mettler M-30 | 15 | 80 | Semi-automatic rifle Mid to long range High damage Moderate rate of fire Moderate recoil and good accuracy Press R3 when aiming to use the scope |
Rate of fire is slow and produces quite a kick. Take advantage of its increased accuracy using the scope. This weapon first appears in Scotland, Chapter 8. |
 |
HS39 | 32 | 128 | Fully automatic assault rifle Mid to close range Moderate damage High rate of fire High recoil and moderate accuracy |
This upgraded assault rifle has a high rate of fire with minimal continuous horizontal pull. |
| N/A | Turret | 1000 | 1000 | Heavy machine gun Medium Range Very high damage High rate of fire Medium recoil and low accuracy |
There are two locations where you can find this mounted machine gun: Scotland, Chapter 8 at the bridge battle (Crushing mode only); and Scotland, Chapter 9 in the cathedral basement in all difficulty modes. |
Shotguns & Sniper Rifles
| Pickup Icon | Name | Mag. Size | Max. Cap. | Stats | Notes |
|---|---|---|---|---|---|
 |
Spezzotti 12 Gauge | 4 | 16 | Pump-action shotgun Very close range Very high damage Slow rate of fire High recoil and spread |
This basic shotgun will get you out of a close-combat situation better than any pistol. You can first find this shotgun at the auction in Chapter 7. |
 |
Condor | 6 | 18 | Semi-automatic shotgun Close range Extremely high damage Medium rate of fire Medium recoil and spread |
Drop the Spezzotti if you come across one of these powerful shotguns. This weapon does very high damage at close and medium range. You can first find one in Chapter 7 (Crushing mode only), or in Chapter 13 in all difficulty modes. |
 |
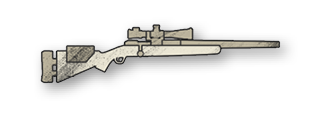
M14 Custom | 8 | 16 | Semi-automatic scoped rifle Long range High damage Moderate rate of fire High recoil and very good accuracy Press R3 when aiming to zoom the scope |
This powerful sniper rifle has equal accuracy and punch as the Mazur LDR but offers a faster rate of fire. Press R3 to zoom the scope to another level of magnification. This weapon can first be fired in Chapter 13. |
 |
Mazur LDR | 5 | 15 | Bolt-action sniper rifle Long range Very high damage Slow rate of fire High recoil and very good accuracy Press R3 when aiming to zoom the scope |
This bolt-action rifle starts in scope view when you press the Aim button. Press R3 to zoom the scope to another level of magnification. You can first get your hands on this rifle in Scotland, Chapter 9. |
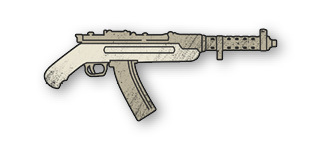 |
MP34a | 30 | 120 | Fully automatic submachine gun Close range Moderate damage Moderate rate of fire Low recoil and poor accuracy |
This submachine gun is only available at the Prison in Chapter 5. |
Power Weapons
| Pickup Icon | Name | Mag. Size | Max. Cap. | Stats | Notes |
|---|---|---|---|---|---|
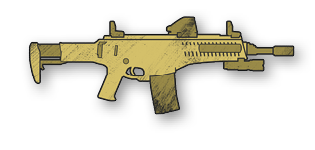 |
ARX-160 | 50 | 150 | Fast-firing automatic rifle Mid-range High damage Extremely fast rate of fire Low recoil and good accuracy |
The most powerful assault rifle in the game with an incredible rate of fire, doing the most damage per round. The continuous fire pull is minimal and manageable. They make their first appearance in Chapter 13, Marooned. |
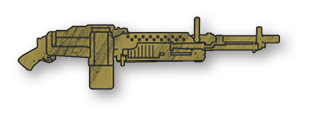 |
DShK | 200 | 200 | Heavy machine gun Medium Range Very high damage Medium rate of fire Low recoil and good accuracy |
This is the heaviest of the handheld weapons. You do not drop a long gun when using this weapon. You cannot hide behind cover when using this weapon. You can continuously fire until the weapon is drained of ammo. Extremely powerful with a medium rate of fire with minimal directional pull during continuous fire. First available in Chapter 18, or Chapter 10 (Crushing only). |
 |
RPG | 1 | 3 | Single-shot RPG Medium to long range Very high damage Very slow rate of fire Low recoil and medium accuracy 1-hit kills |
The RPG is a single-shot weapon that holds a maximum of 3 rounds. They are first found in Madagascar, Chapter 10 in Crushing mode only, or Chapter 17 (only if you perform a flawless battle riding the elevator), and in Chapter 20 on any difficulty. |
 |
China Lake GL | 4 | 6 | Pump-action grenade launcher Medium Range Very high damage Slow rate of fire Kills Armored in two hits |
The “GL” stands for Grenade Launcher. It puts the power of grenade throwing in a rifle. It propels grenades stronger and faster than they can be thrown—no need to aim as high to hit your mark; although a practiced shooting arc (taking distance into consideration) is necessary to make this weapon useful. You can shoot 4 grenades before reloading is necessary. First found in Madagascar, Chapter 10. |
Explosive Weapons
Explosives are both a blessing and a curse (the former if you are the one dealing the damage). Explosives have a range of damage directly related to how close the explosive impact is to the target. Drop one at the enemy’s feet and, if they’re not heavily armored, they are killed instantly. Damage becomes lower the further they are away from the blast.
Grenade & Dynamite Throwing Options
There are two different throwing options when it comes to tossing grenades and dynamite: a short lob and the long throw.
Short Lob
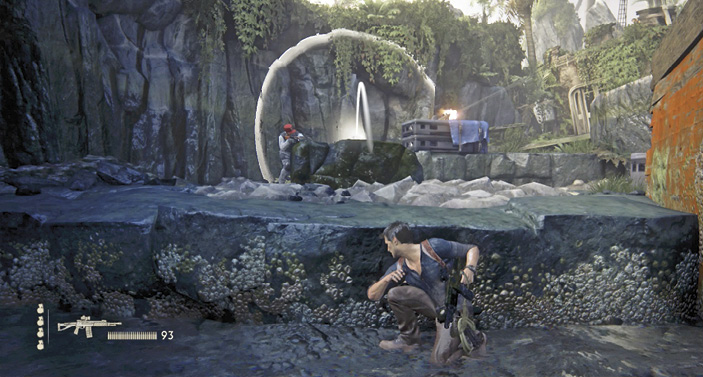
Similar to blindfire, you can tap R1 to quickly toss a grenade in the direction you are facing. But if you want more precision out of your lob, hold R1 to activate the on-screen aim-guiding arc. Tilt the right stick down (look up) to aim increasingly long distances, and tilt up (look down) to aim decreasingly short distances. You will find that you begin to lose sight of the point of intended impact when you must aim great distances; if this is the case, you should choose the long throw method. The short lob is great if you need a high arcing flight path to hit enemies behind a high wall.
Long Throw
The long throw is a quick and easy way to get a grenade to fly rapidly, accurately, and with minimum flight arc to the desired target. The only reason not to use this method of throwing is if you need the high flight arc (to hit an enemy positioned behind a high wall). Press and hold L2, aim the held weapon’s reticle at the enemy, and then tap R1 to throw the grenade.
Explosive Weapons
| Pickup Icon | Name | Mag. Size | Max. Cap. | Stats | Notes |
|---|---|---|---|---|---|
 |
MK-NDI | N/A | 4 | Thrown explosive projectile High Damage |
Grenades are first encountered in Madagascar, Chapter 10. |
 |
Dynamite | N/A | 4 | Thrown explosive projectile High Damage |
Dynamite is only encountered in Scotland, Chapter 8. |
 |
Powder Keg | N/A | 1 | Firearm detonated explosive, thrown projectile, or melee object High Damage |
This explosive wooden barrel can be used as a melee weapon or thrown and exploded with a firearm. First encountered in Libertalia, Chapter 14. |
 |
Propane Tank | N/A | 1 | Firearm detonated explosive, thrown projectile, or melee object High Damage |
This explosive metal tank of flammable gas can be used as a melee weapon or thrown and exploded with a firearm. First encountered in Scotland, Chapter 8 at the bridge battle location. |
Powder Kegs & Propane Tanks
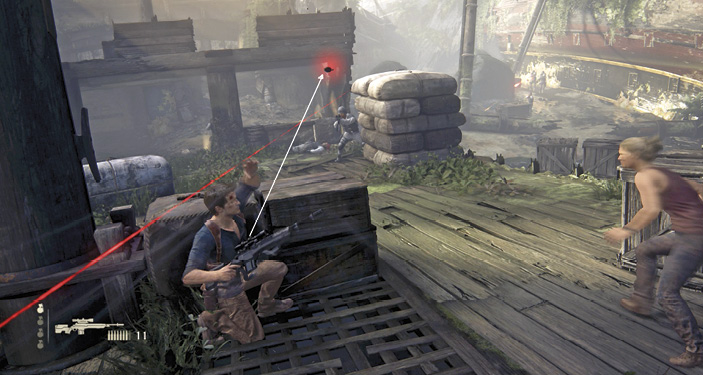
Propane tanks and wooden powder kegs are large explosive containers that can be used as melee weapons or thrown and detonated (by firing a weapon at the projectile as it nears your target). If you do not fire your weapon, the tank or keg will hit the ground without exploding. Also, you do not need to aim your weapon to hit the projectile as it sails through the air; simply fire the weapon and it will automatically hit the projectile.