Uncharted 4: A Thief's End Guide Story Walkthrough
Chapter 1: The Lure of Adventure
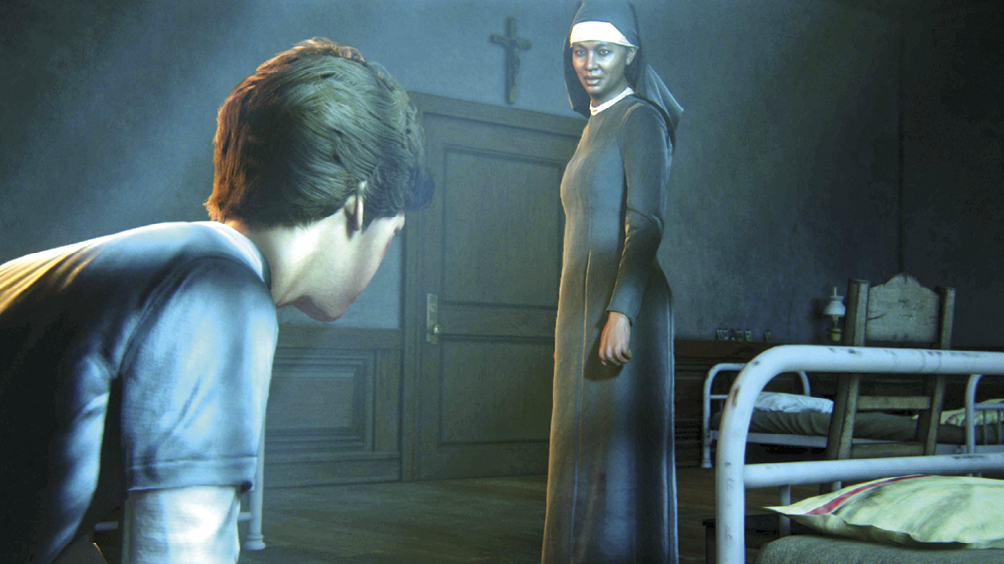
The underwater plunge triggers a boyhood flashback sequence. A young Nathan Drake sulks in his drab childhood home, Saint Francis Boy’s Home in Boston. Banished to the dormitory for fighting, Nate endures a lecture from Sister Catherine. After she exits, Nathan spots a signal light flashing across the grounds. It’s Sam, his brother…
Work your Way towards Sam
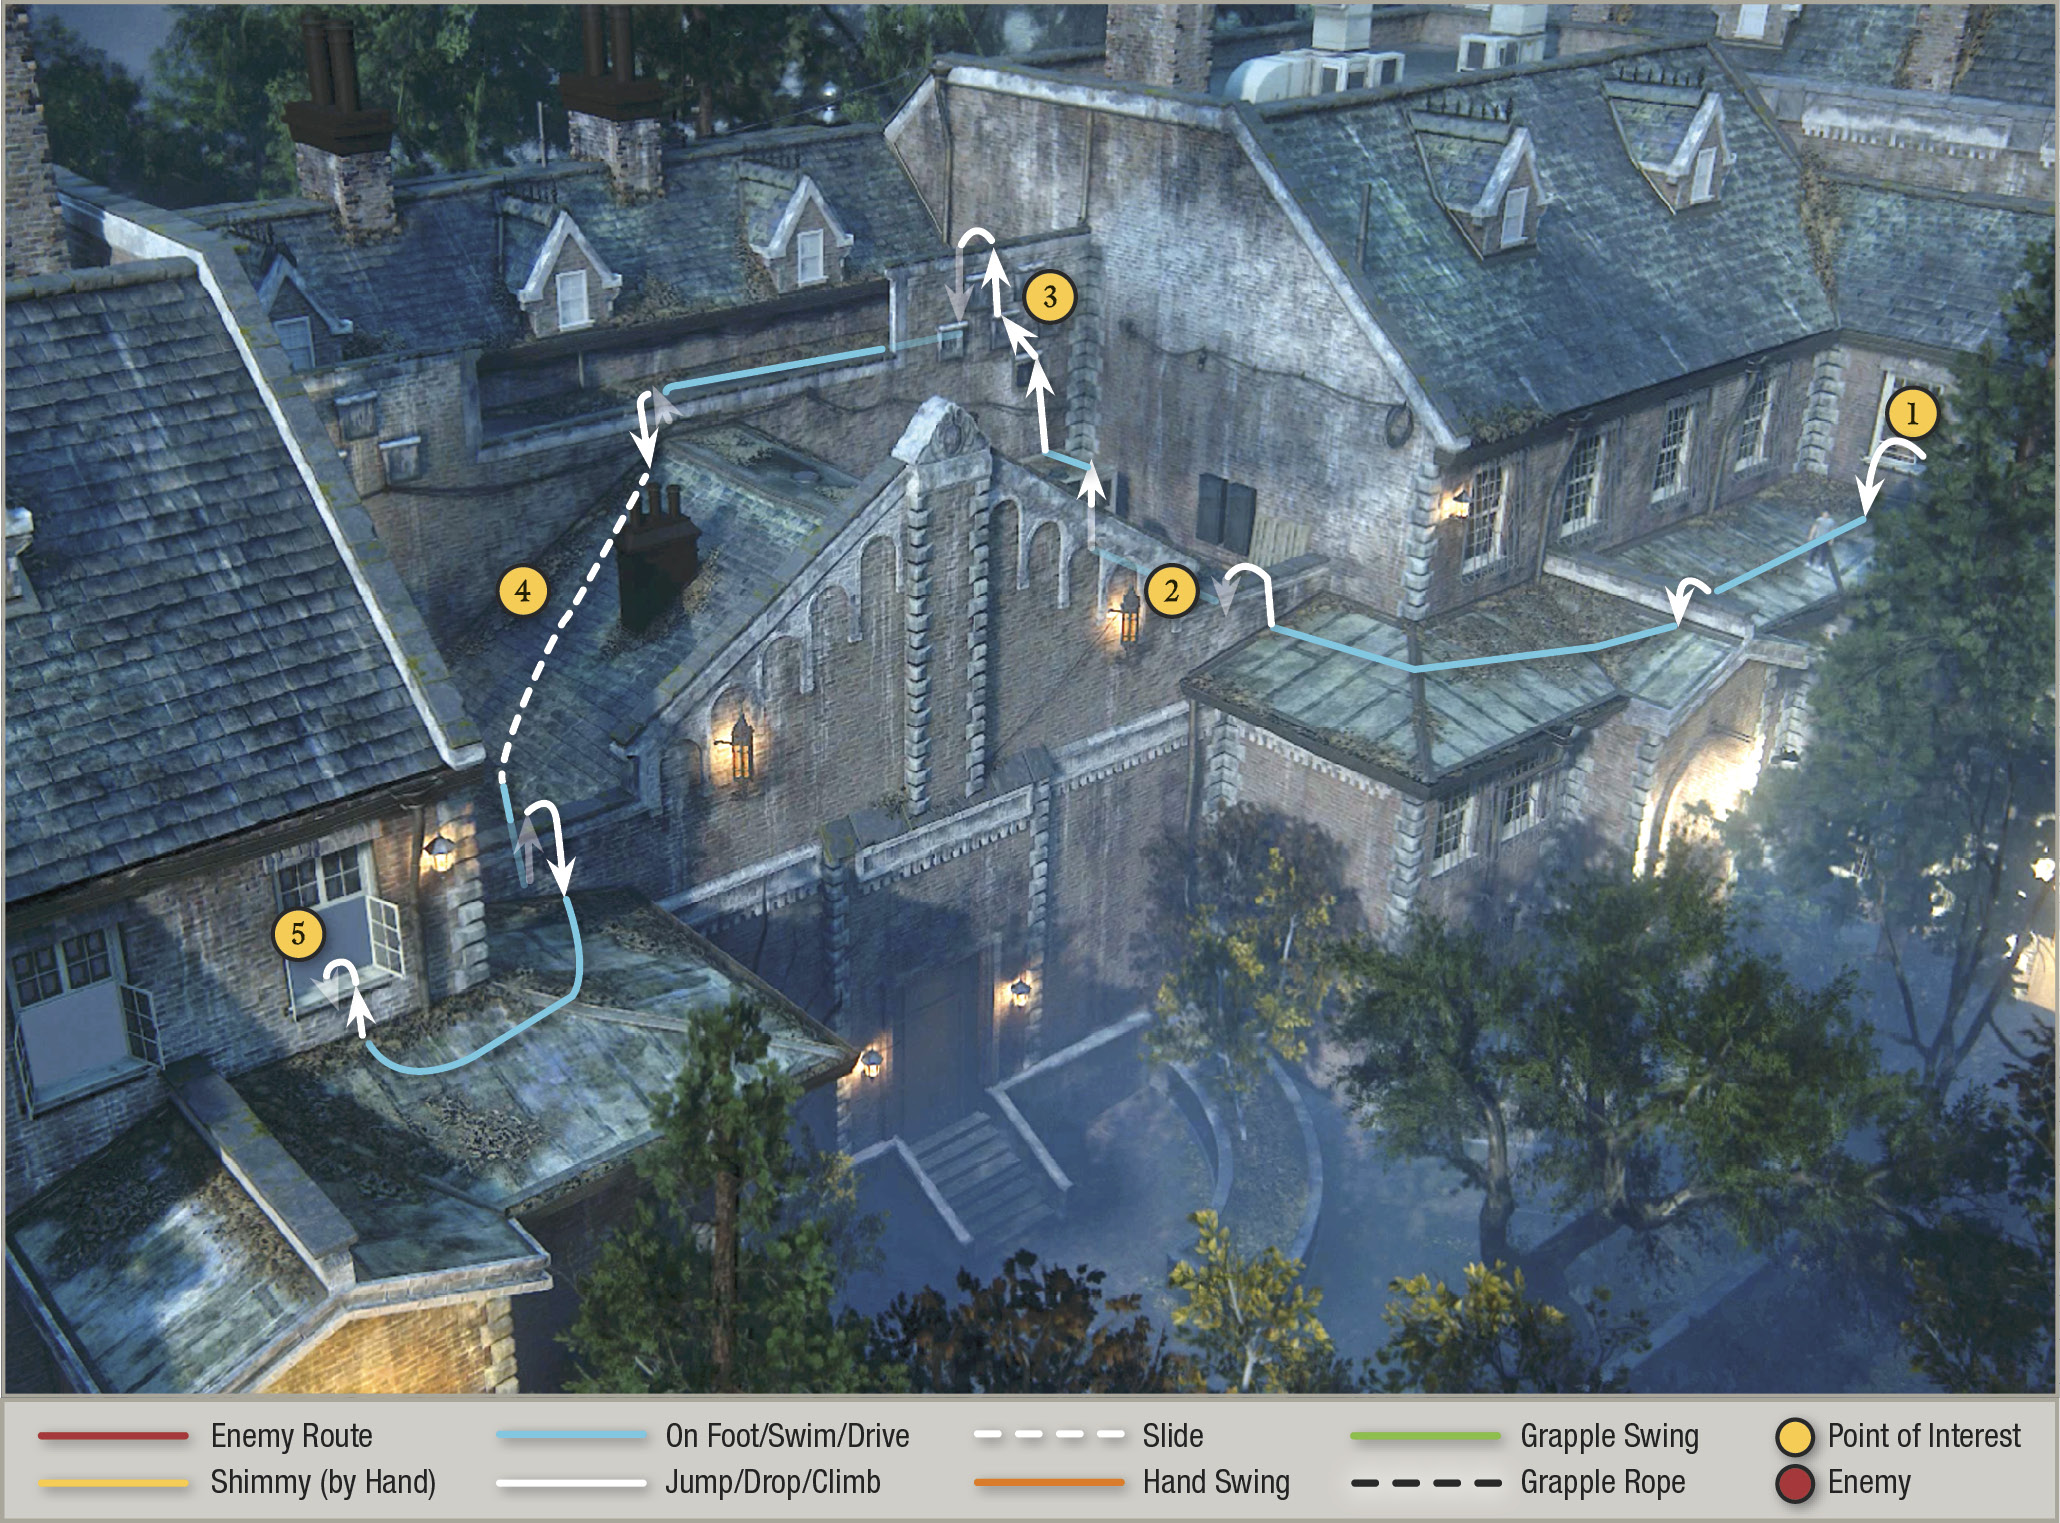
Push your controller’s left stick toward the open window and press  to vault onto the roof outside (1). Proceed past the row of barred windows and vault the low wall. Then move around the next corner and hop over another wall (2).
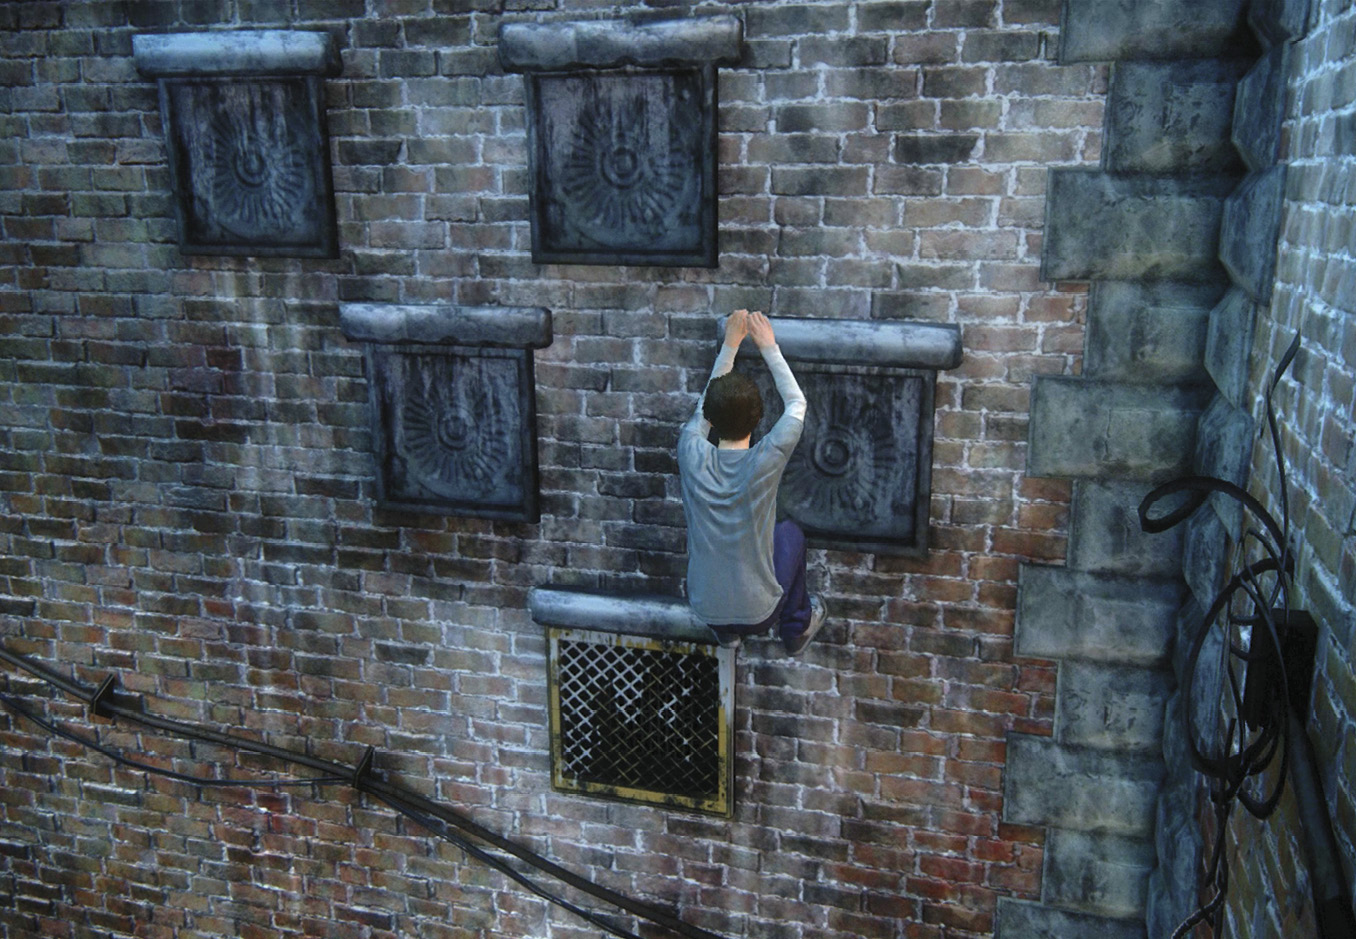
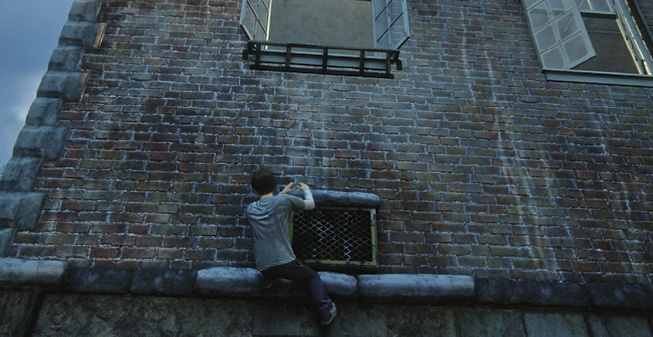
The next roof is too slippery to scale, so climb atop the nearby power unit against the brick wall. Jump to grab the top of the ventilation grate above it. Then use the series of decorative masonry blocks above the grate (see Fig. 1-1) to pull yourself up the wall (3). When you get over the wall, Nathan hangs on and dangles. Press  to drop to the next rooftop.
Walk to the far end of the low wall on your left and pull yourself over. Nathan lands on a steeply sloped roof (4) and slides to the bottom. Vault over the next low wall and move along the roofs to the open window (5). Climb inside to enter the infirmary.
Find the Report
Approach the infirmary’s exit door and press  to open it. Proceed down the next corridor until Nathan spots the priest and nun in the waiting room up ahead. Move to the left edge of the doorway and press to take cover. Wait and watch until the priest exits via the opposite door and the nun exits via the left side door.
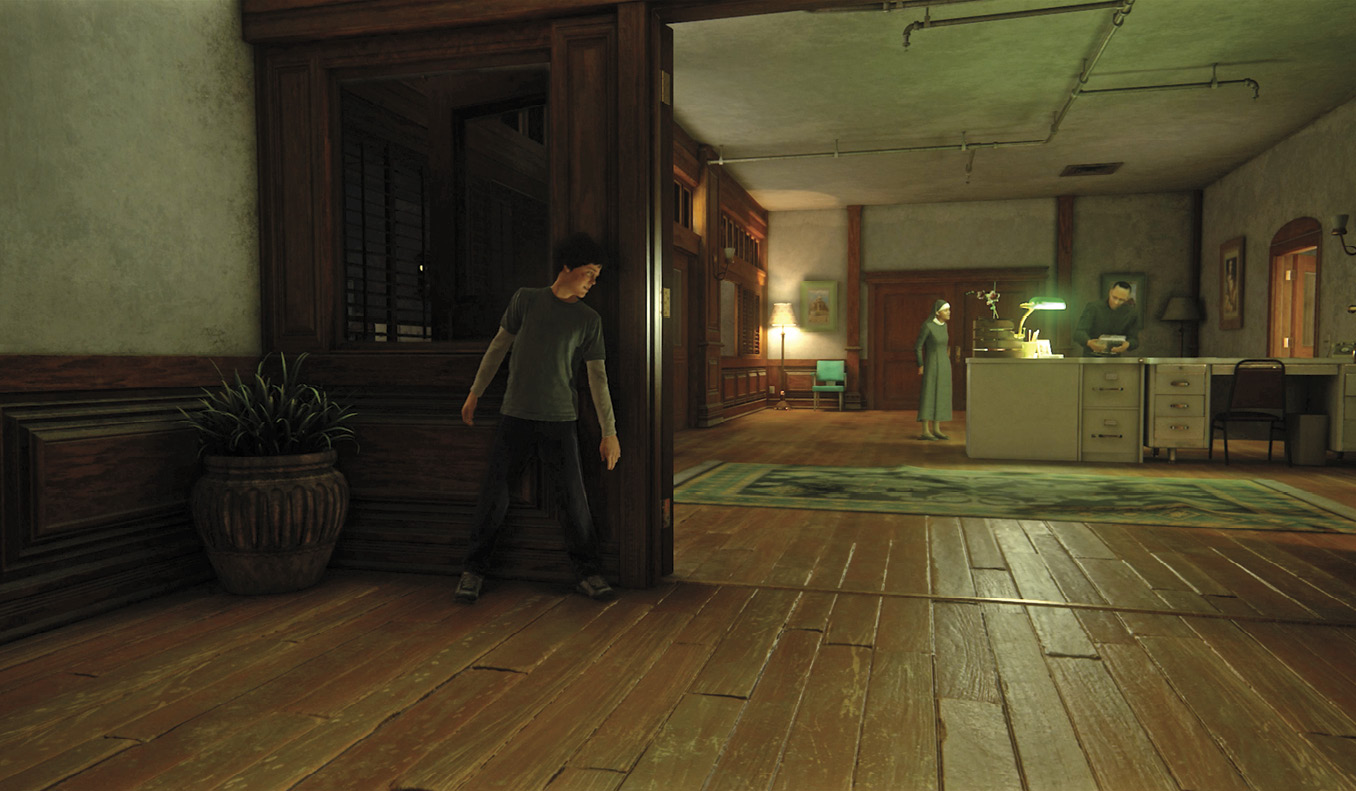
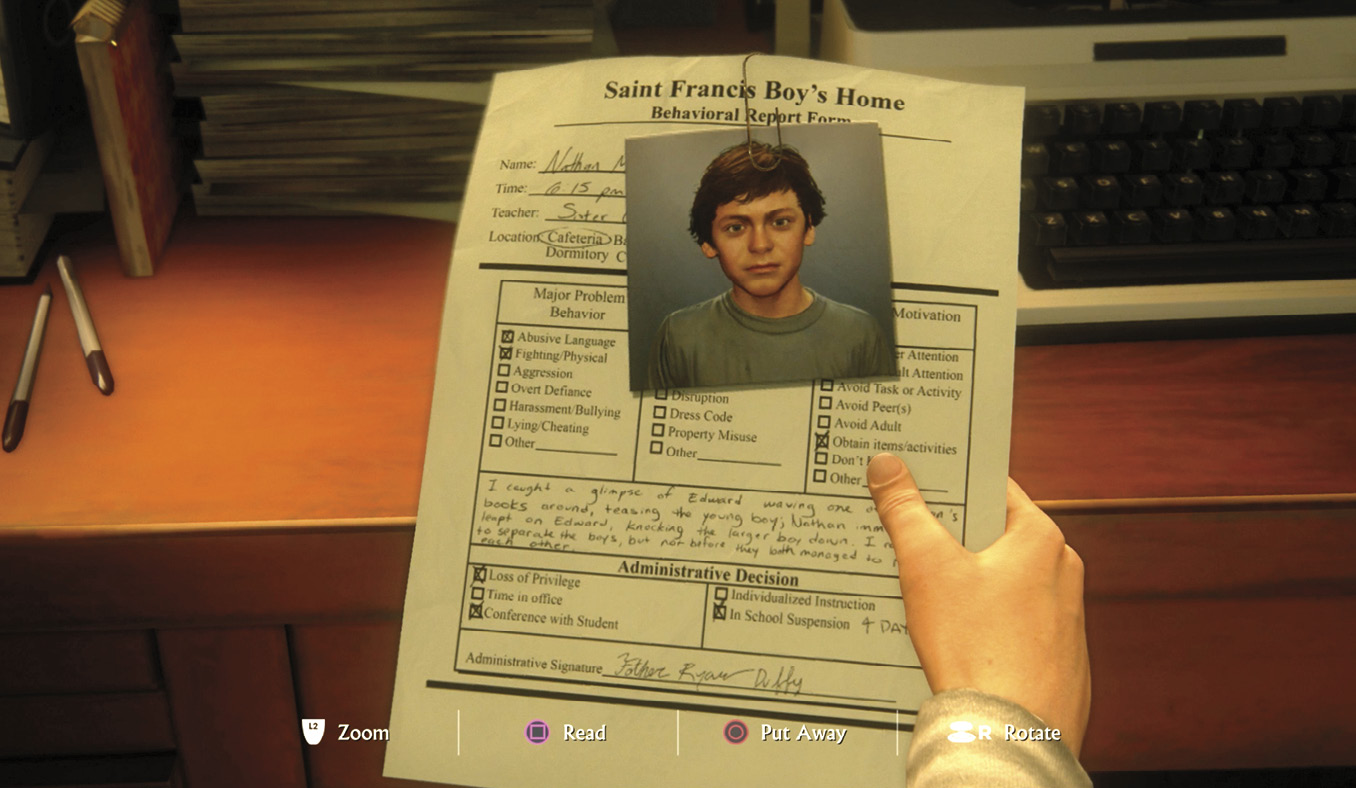
Now you can emerge from cover and duck into an office via the open door on the right. Approach the wooden work desk to see the icon appear onscreen over a paper on the desktop. Press to pick up the Behavioral Report Form regarding Nathan’s incident. You can read it in close-up if you want, and then press to put it back.
Exit the office. You can try the exit door that Father Duffy used, but it’s locked. Instead, take cover at the edge of the doorway leading into a large activity room where Sister Catherine is writing on the whiteboard.
Sneak Past Sister Catherine
Your next destination is the open window over in the far left corner of the activity room. Dash into the room and take cover behind the low cabinet. Wait until the nun crosses the room. Dash across behind her and take cover behind the sofa. Watch as Sister sneaks a cigarette from a pack of smokes hidden in the tree planter by the window.
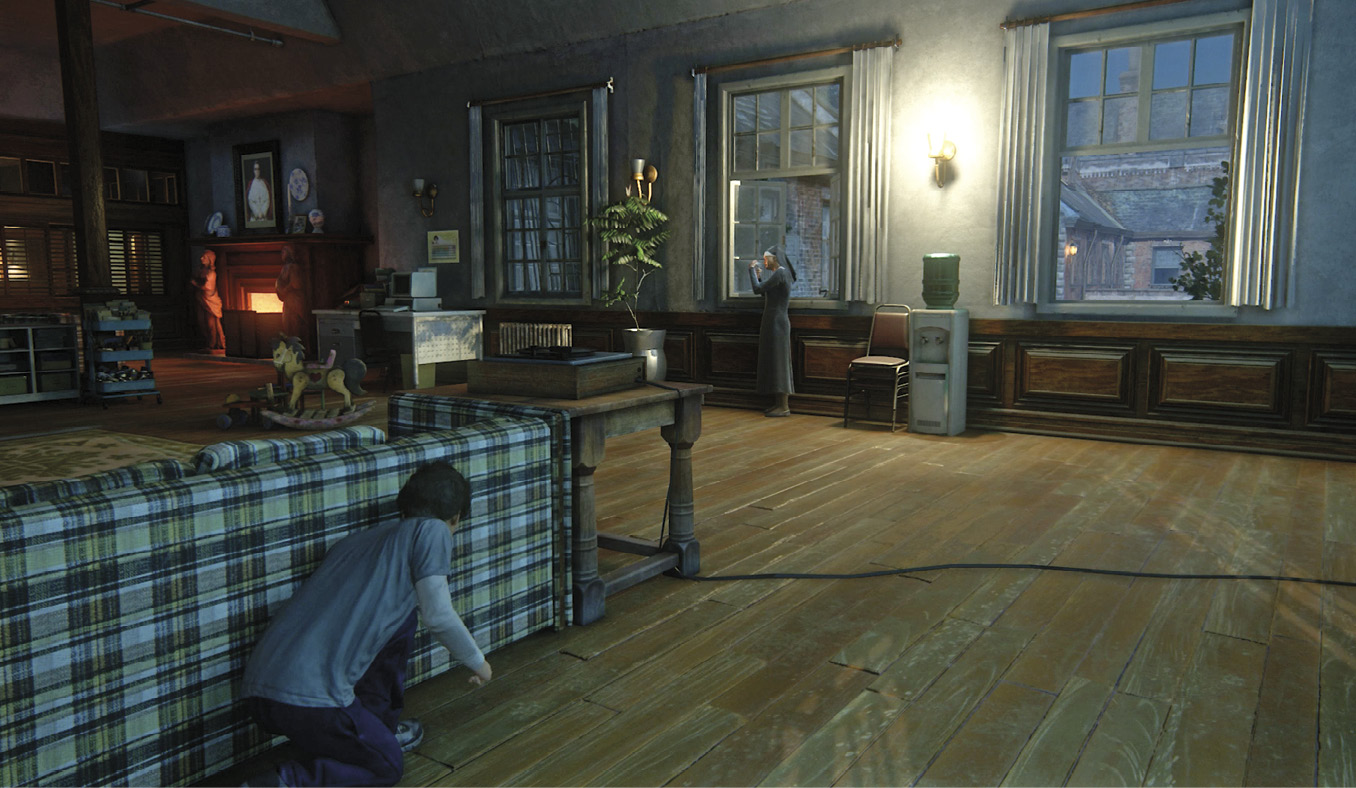
After she lights up, Sister leans out her window to blow the smoke. (Be wary here: after each drag on her cigarette, the nun turns and suspiciously surveys the room.) As she faces away from Nathan, hustle to the open window and jump out.
Climb Up to Sam
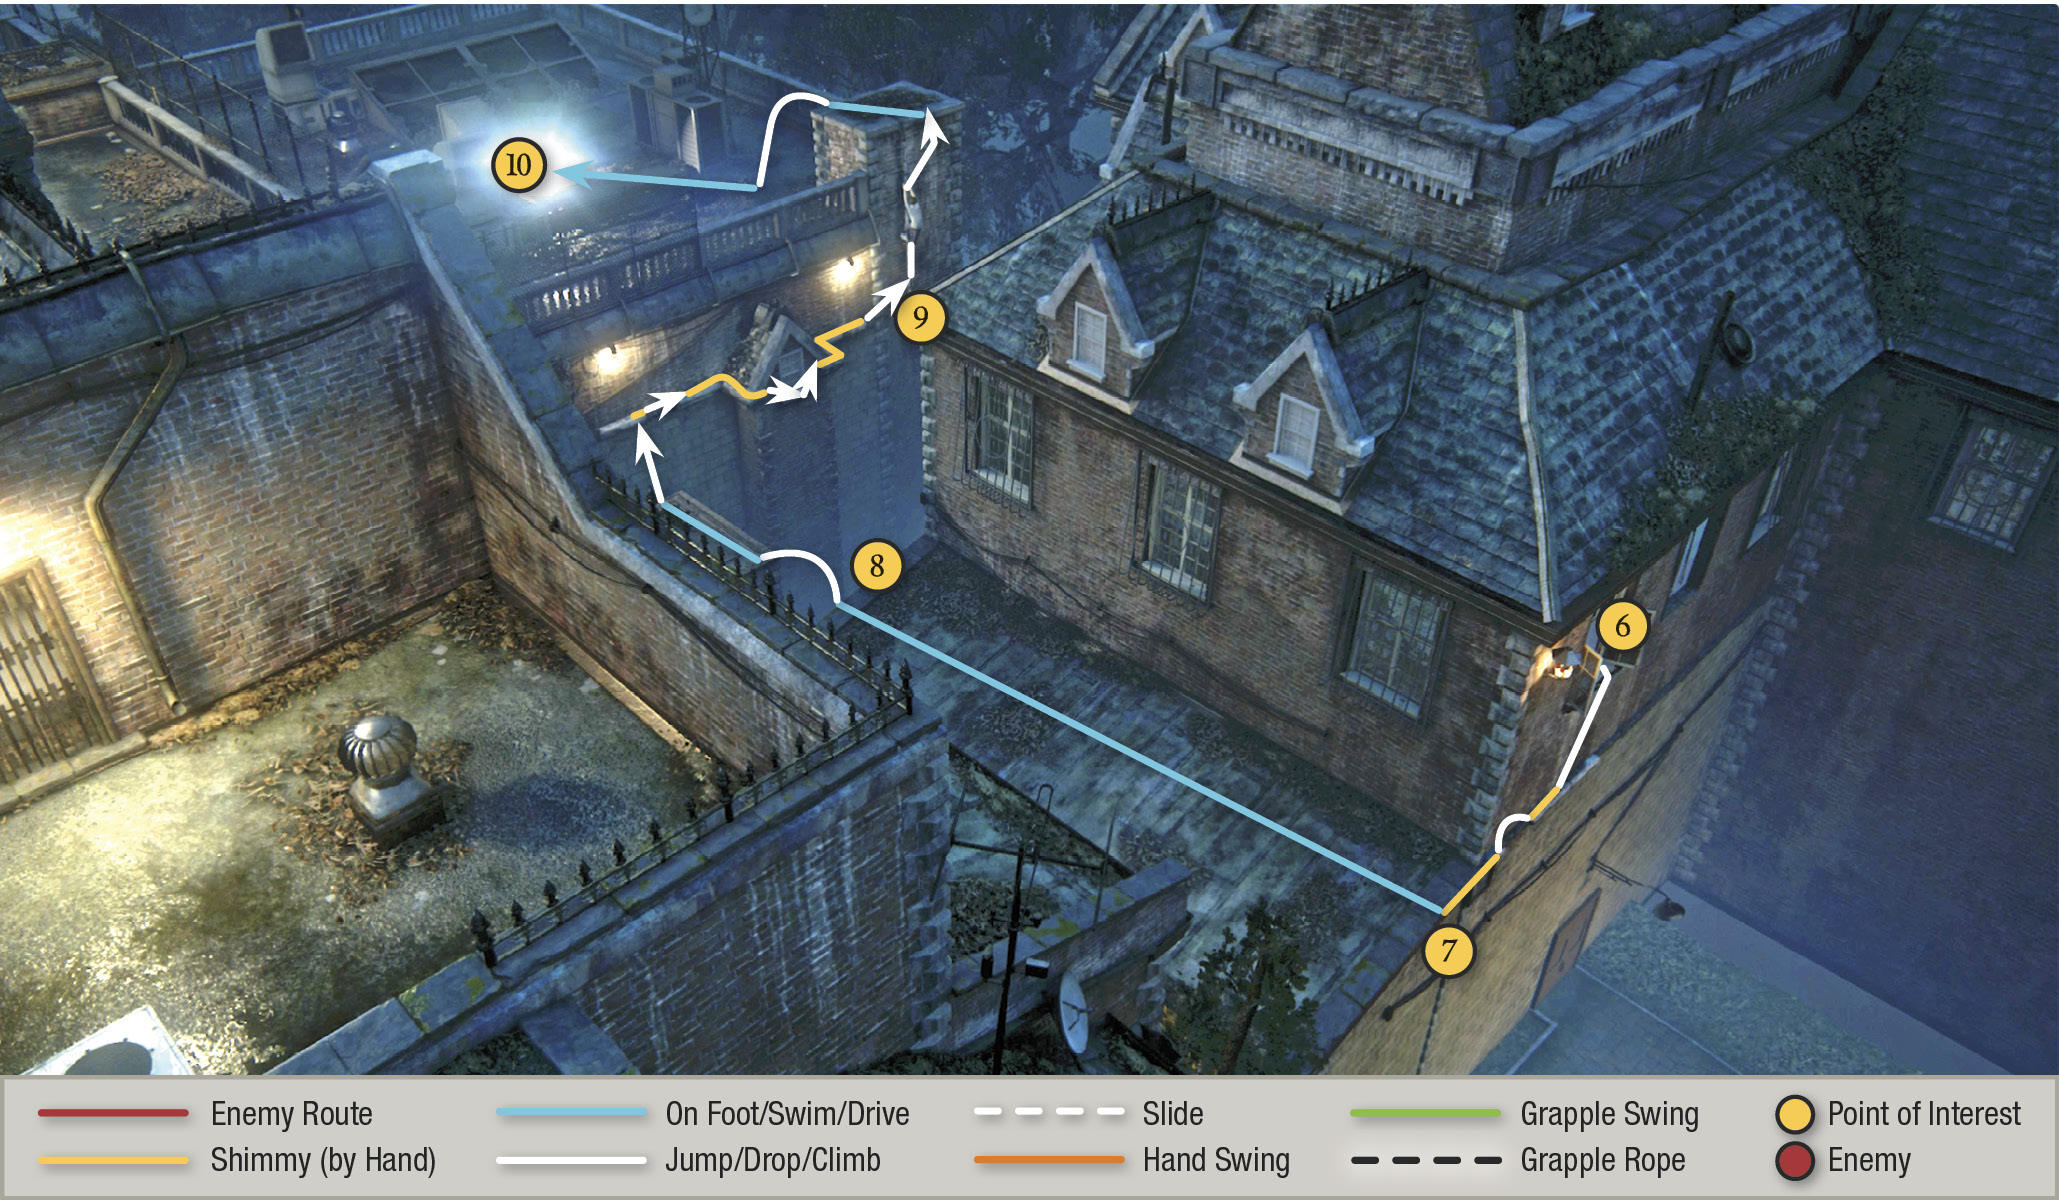
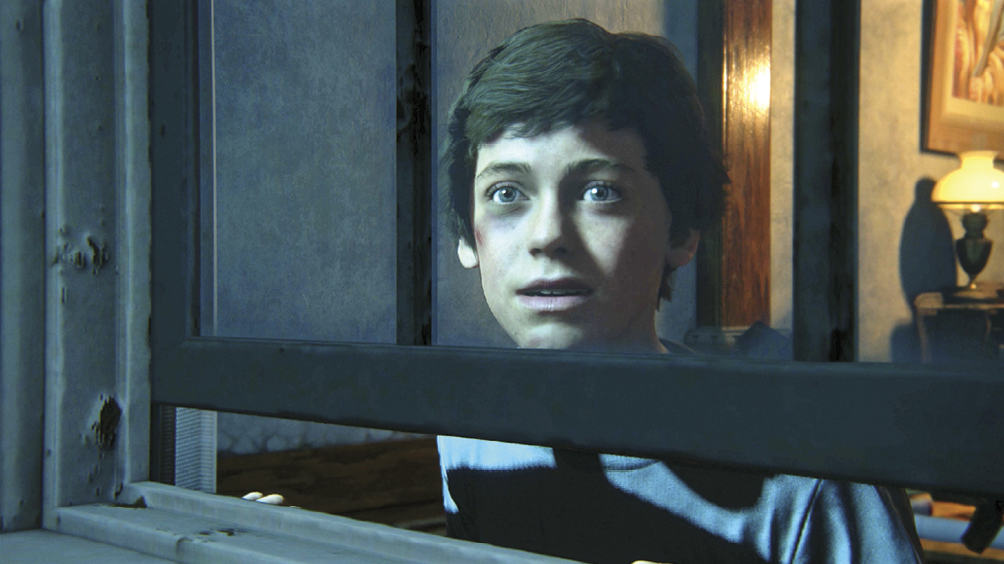
Outside, Nathan hangs from the windowsill (6). (You can see Sam and his signal light just to the left.) Press to drop; as Nathan falls, he automatically grabs the vent below. Slide leftward along the ledge until you can climb to the next roof (7). Here you can see Sam moving along the higher area to your left. Run along your roof and make a running leap across the gap to the next roof (8).
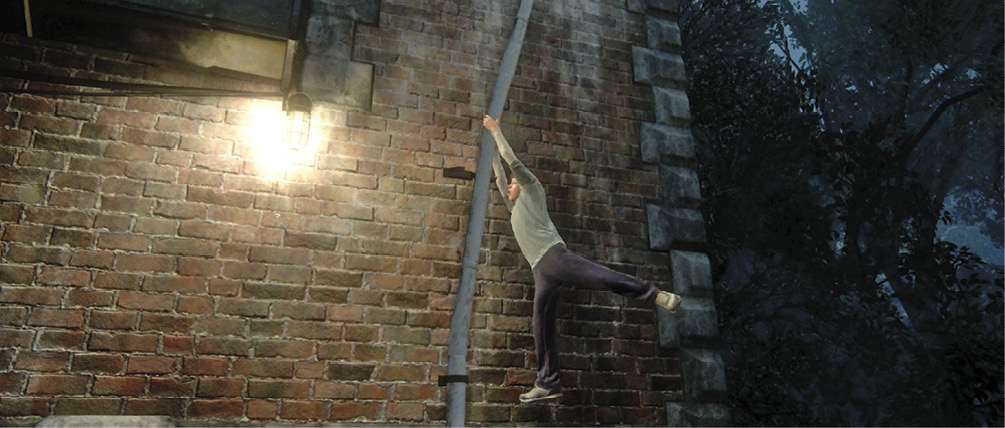
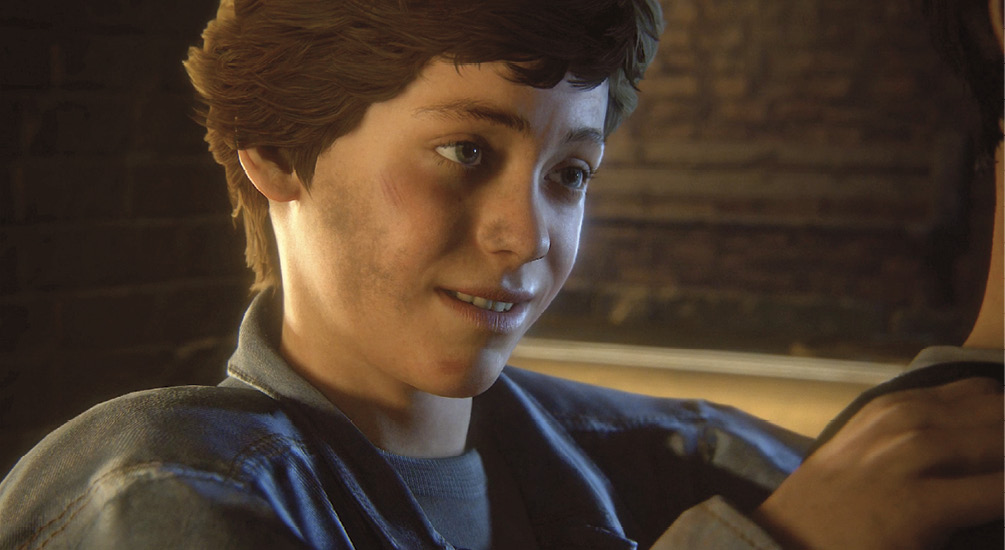
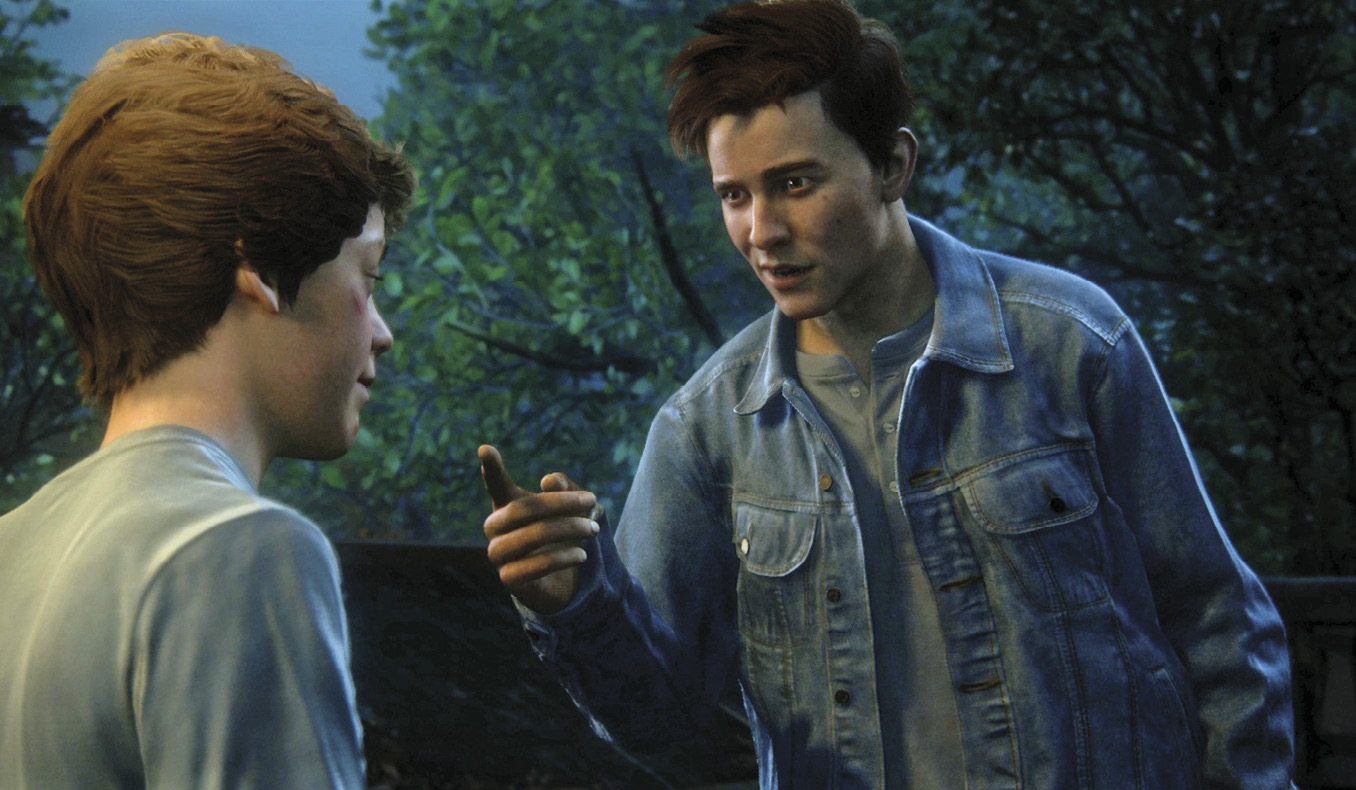
Jump to grab the wall ledge and shimmy rightward past the dormer window. At the end, make a little leap to reach the drainpipe. Climb up the drainpipe—it breaks loose and bends, but you can still get to the chimney top. Hop down onto the roof and approach the signal light (10). Press to trigger a cutscene: The brothers reunite, and Sam invites Nathan to see something very special outside the grounds.
Follow Sam
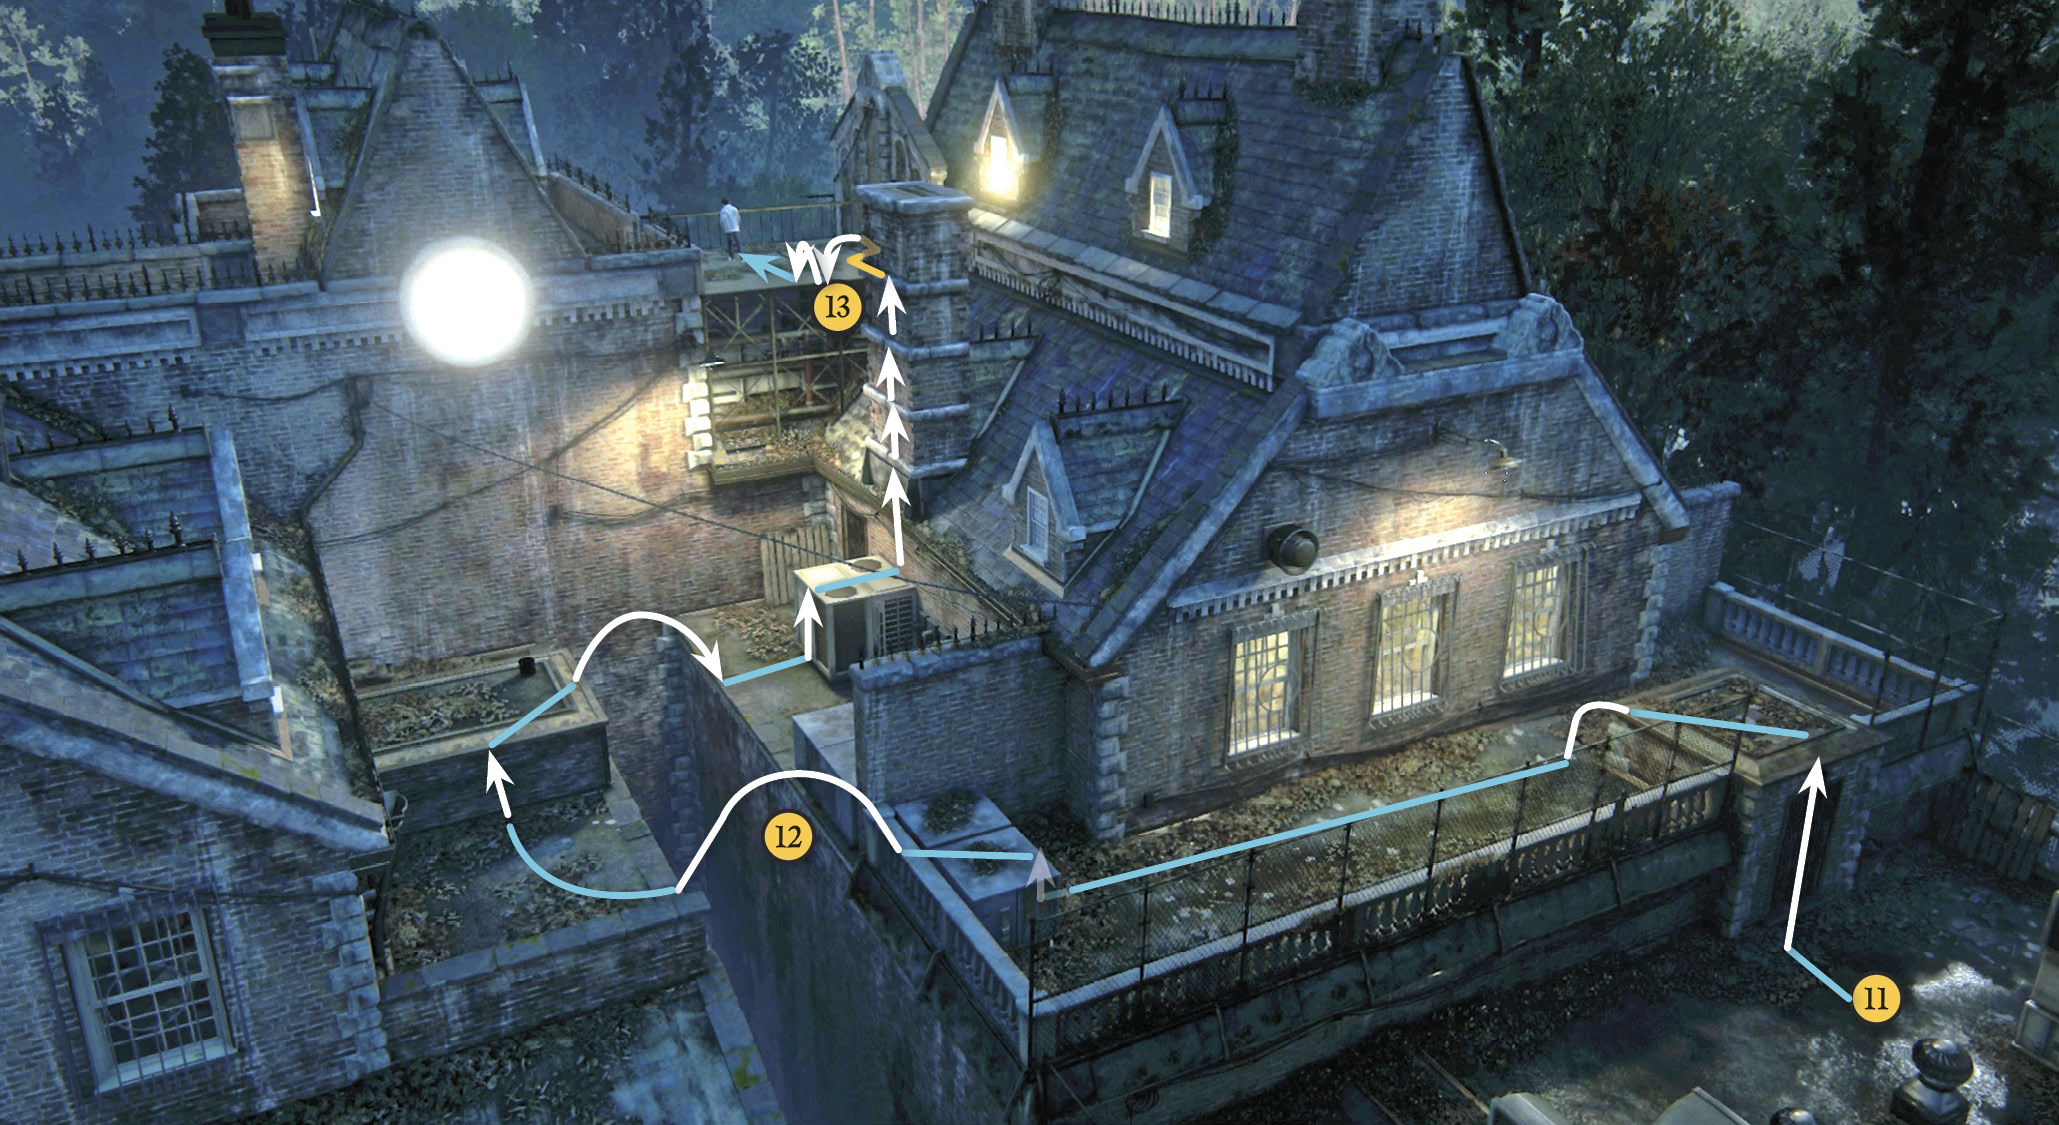
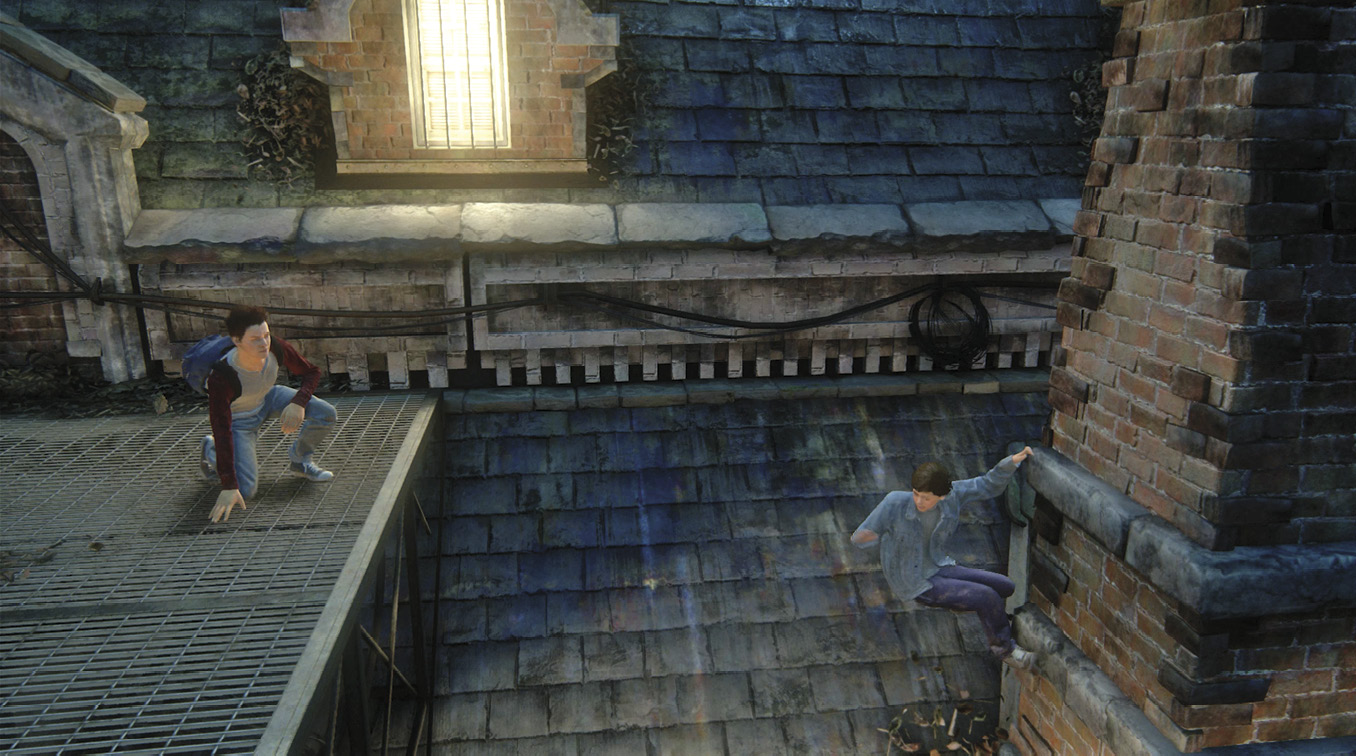
After the scene ends (11), approach the wall and jump to grab Sam’s hand. He pulls up Nathan then takes off. Follow Sam across the roof, and then make a running hop across the gap (12) between buildings. Climb over the next wall then hop back across the gap to where Sam is waiting atop an air conditioning unit. Climb on the unit to grab the first in a series of gray stone ledges that you can climb up the brick chimney. When you reach the top ledge (13), shimmy leftward around the corner of the chimney. Here you must make a leap off the chimney to grab the metal scaffold where Sam is waiting (see Fig. 1-8). Pull up onto the scaffold and approach the railing.
Take the “High Road” Across the Rooftops
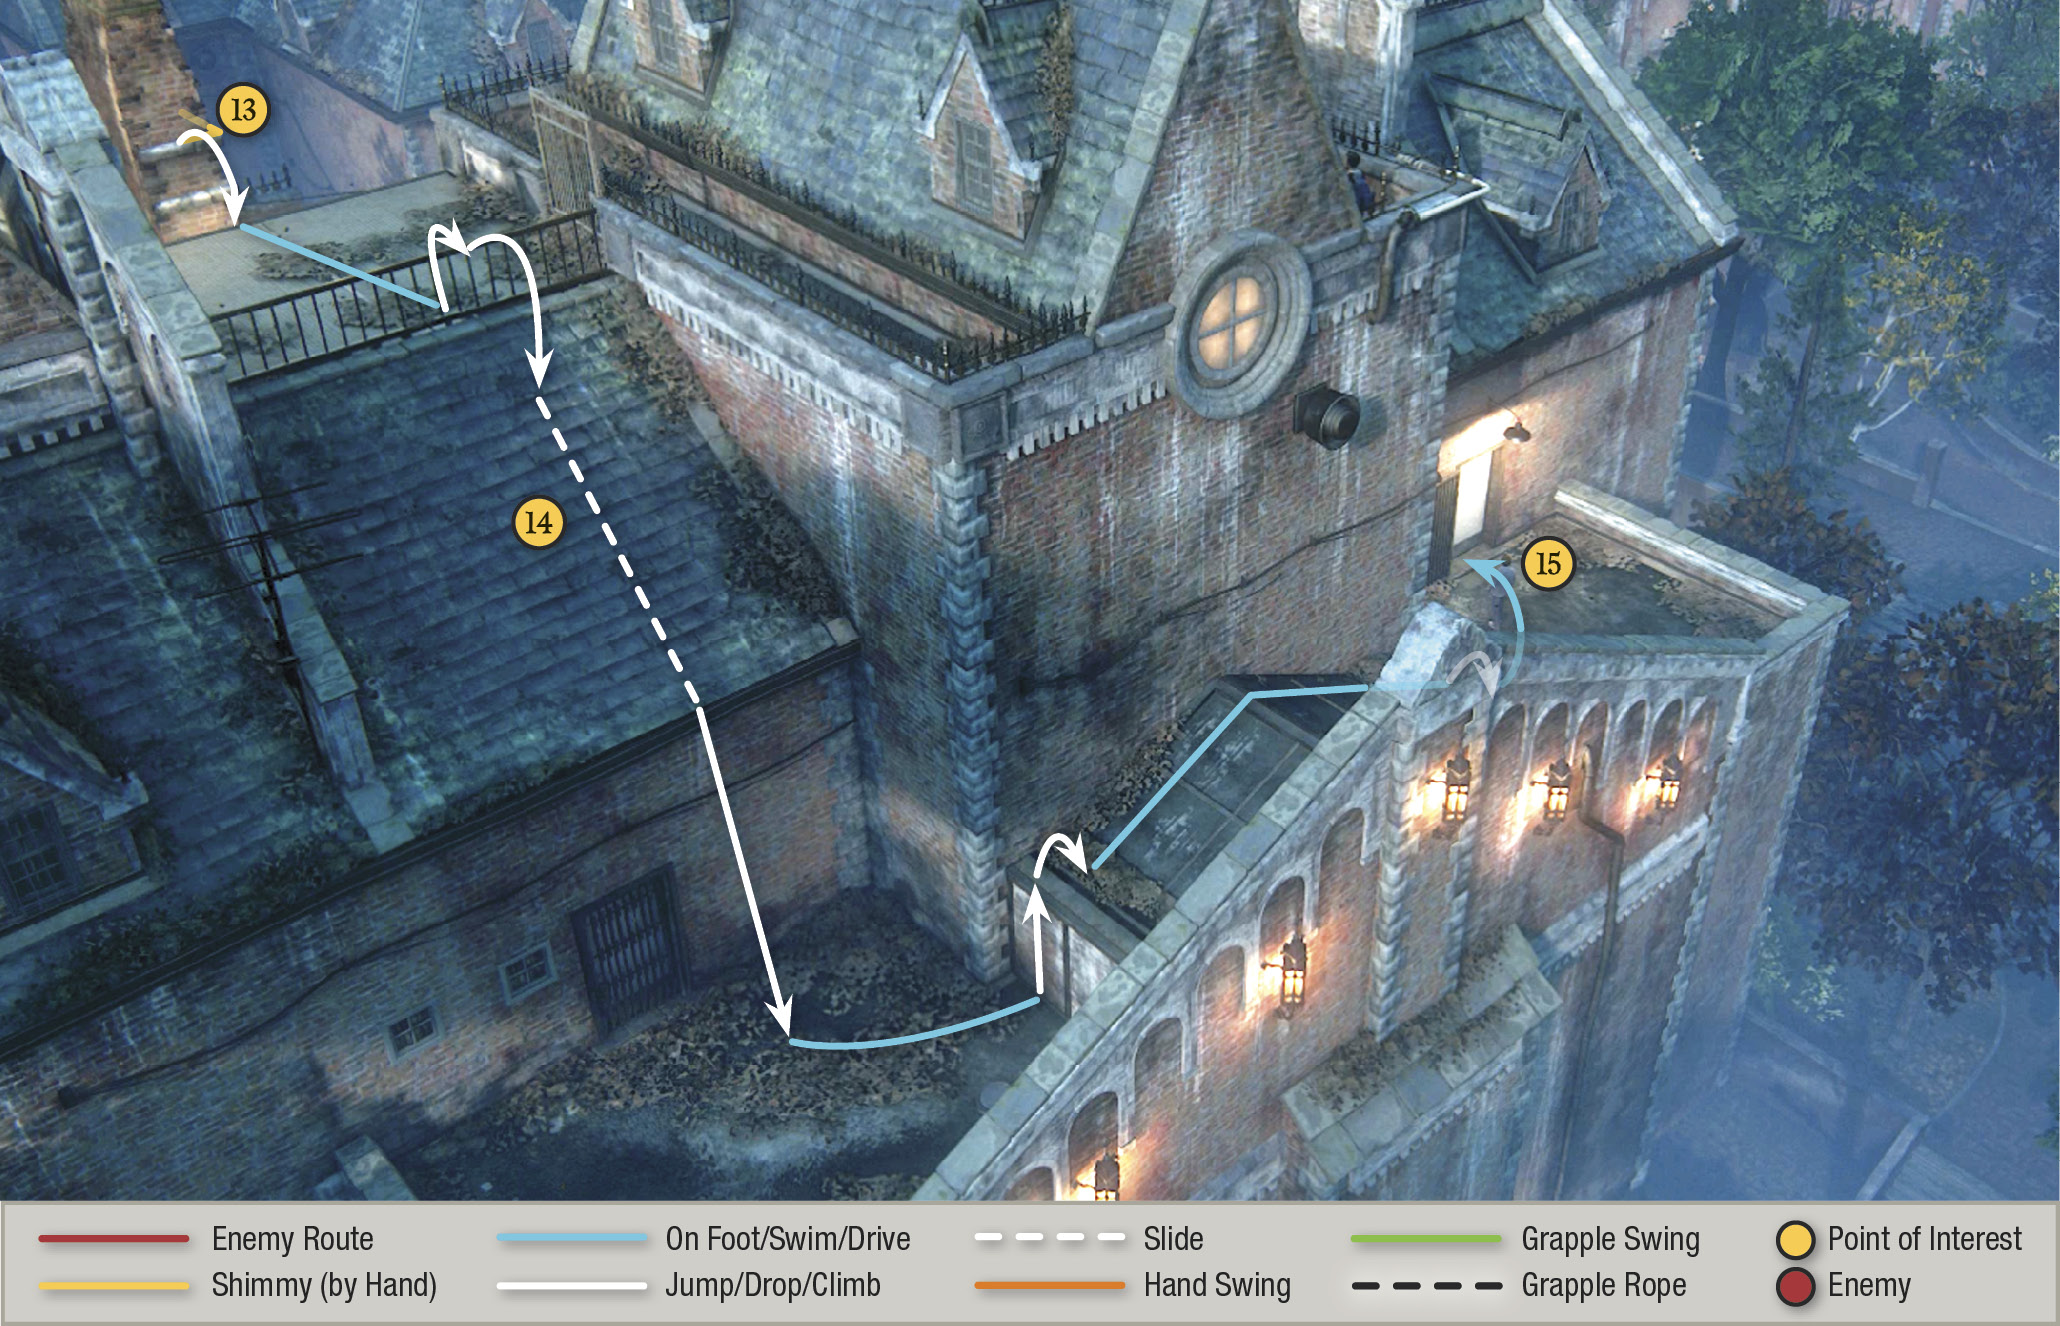
Hop over the railing. You slide down a steep slope (14) to a rooftop below. Follow Sam to the door (15) to find it locked. Then watch as Sam slings a grapple hook to a high ledge (16) and climbs to the top. As Sam says, “Behold…the high road!” Approach the rope attached to the grapple hook and jump to grab it.
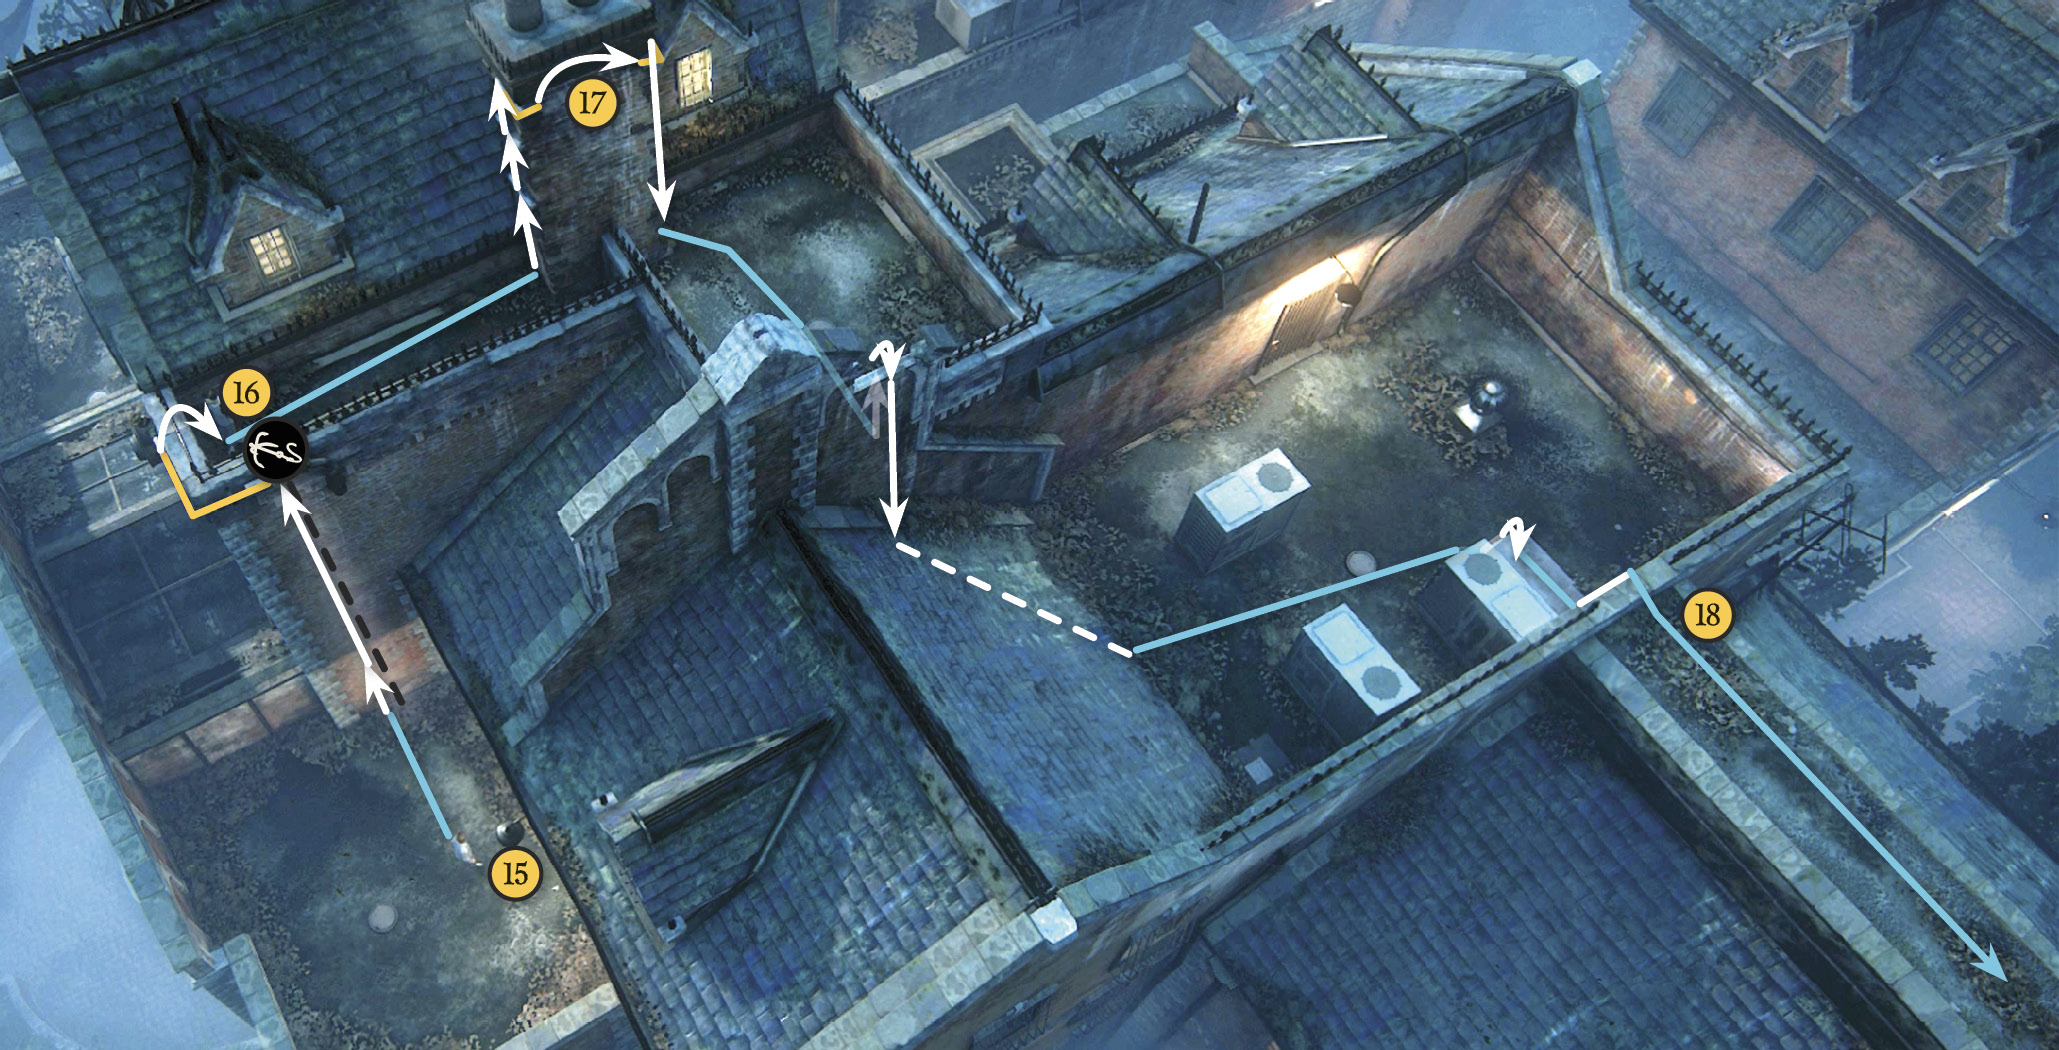
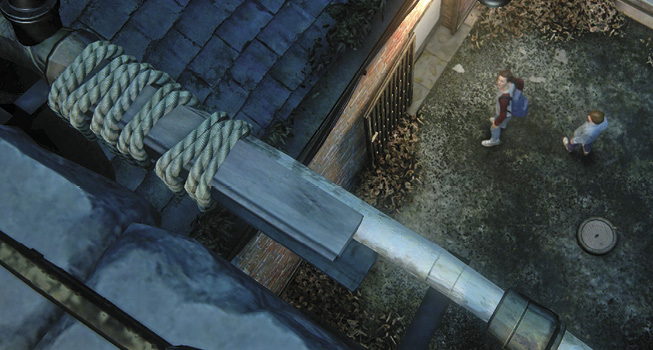
To climb, hold down the L1 button and push the left controller stick up or down. At the top, an iron railing blocks the way onto the balcony, so move left until Nathan grabs the ledge. Then shimmy around the corner until you can pull yourself up onto the balcony and follow Sam again. Climb the next brick chimney with twin smokestacks on top. At the top, reach around the corner and leap (17) to grab the handhold on the chimney’s other side.
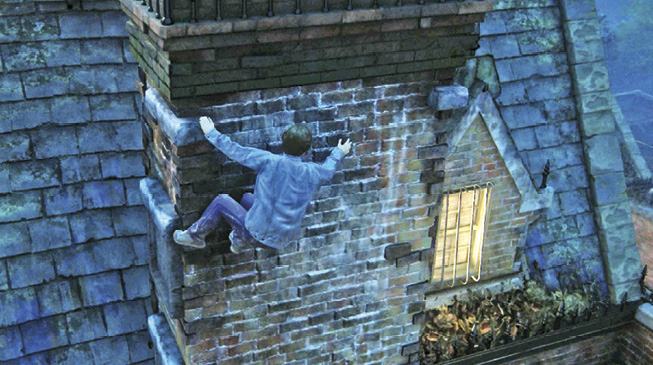
Drop to the roof then scale the next wall where the top section has broken off; Nathan lands on a slippery slope and slides down to the next roof. Climb onto the air conditioner unit to climb onto the peak of the next roof (18). You see the orphanage’s clock tower directly ahead.
Maneuver Around the Clock Tower
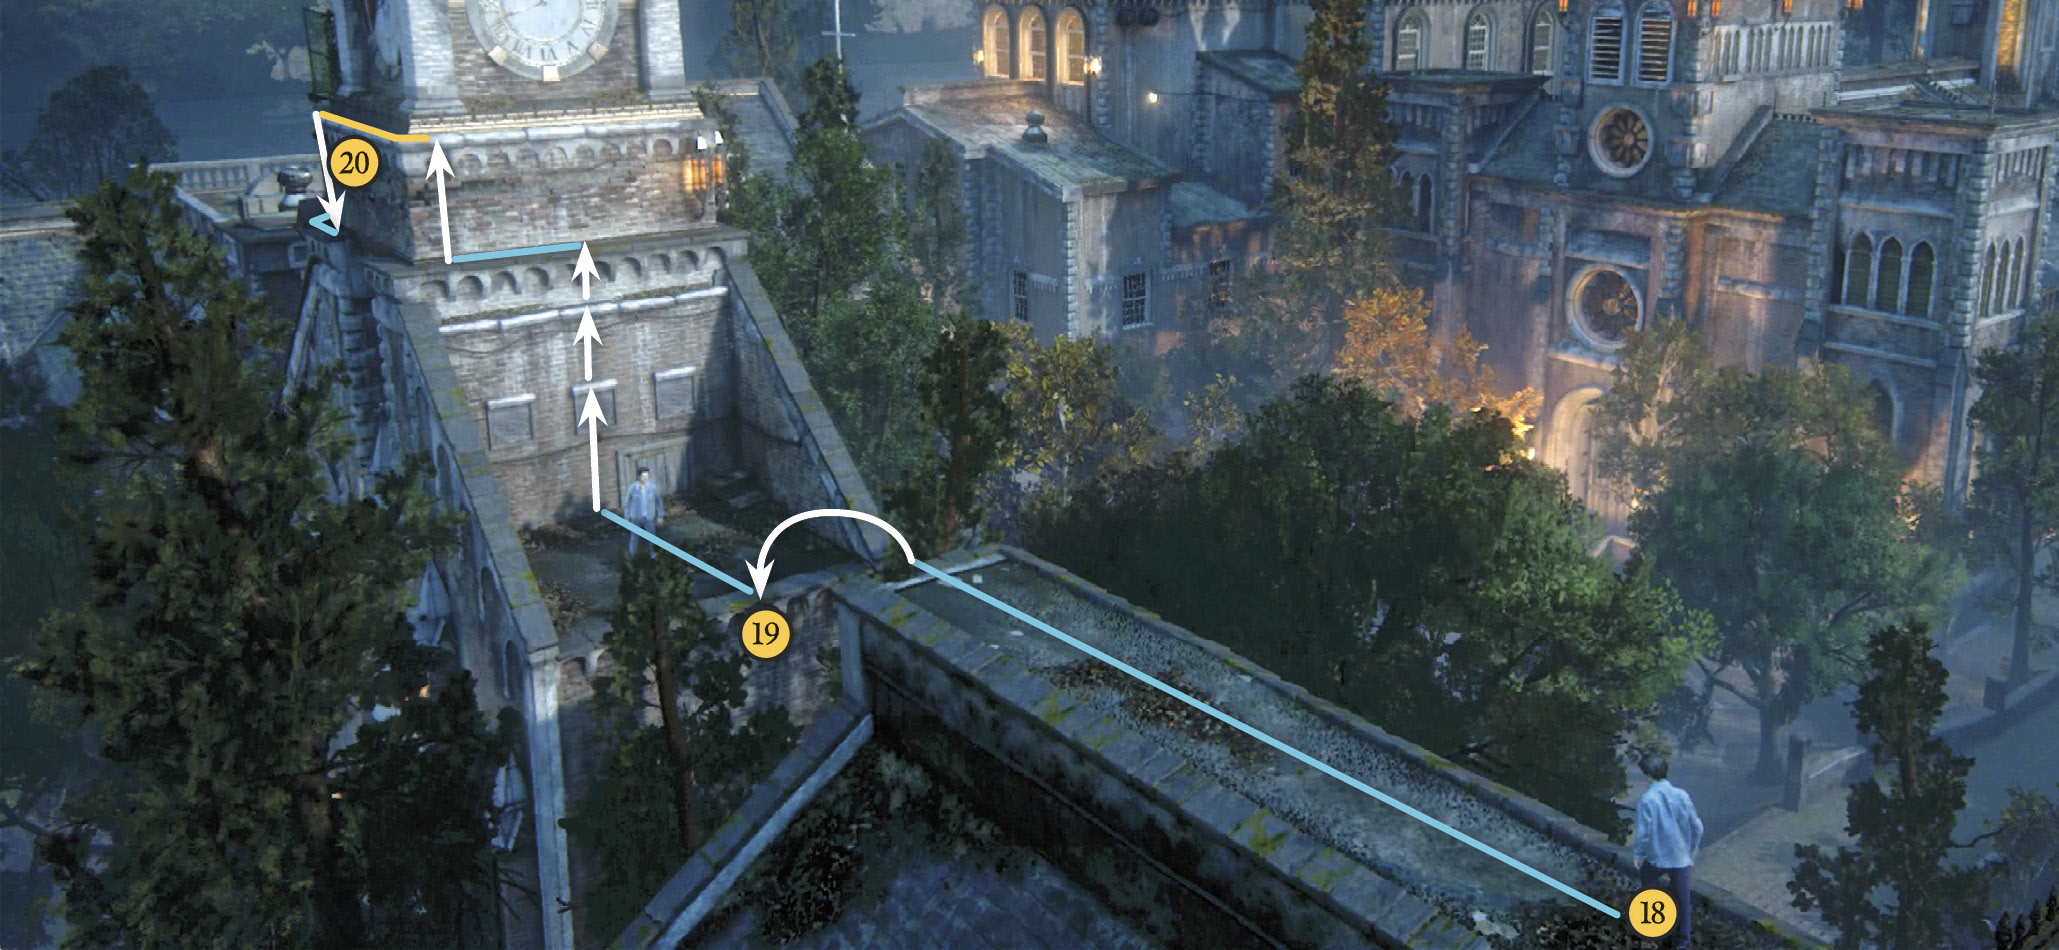
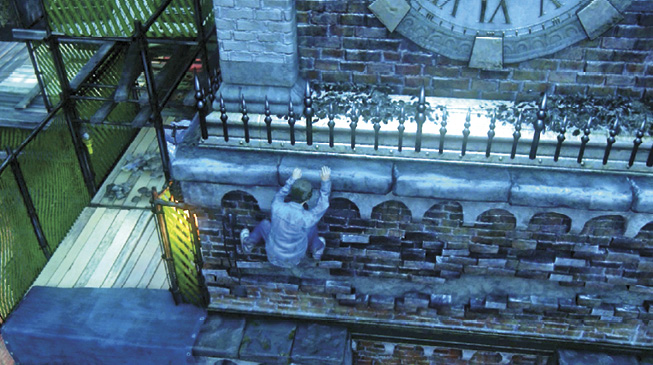
Time now for a death-defying leap! Run the length of the roof peak and jump across the wide gap to Sam (19), who manages to snag Nathan’s jacket and haul him up. Follow Sam up the clock tower handholds to stand on the stone ledge, and then slide leftward around the corner. Jump to grab the ledge above you and shimmy left across the next small gap (20) until you can drop to stand on the lower ledge again.
Learn How to Crouch and Swing
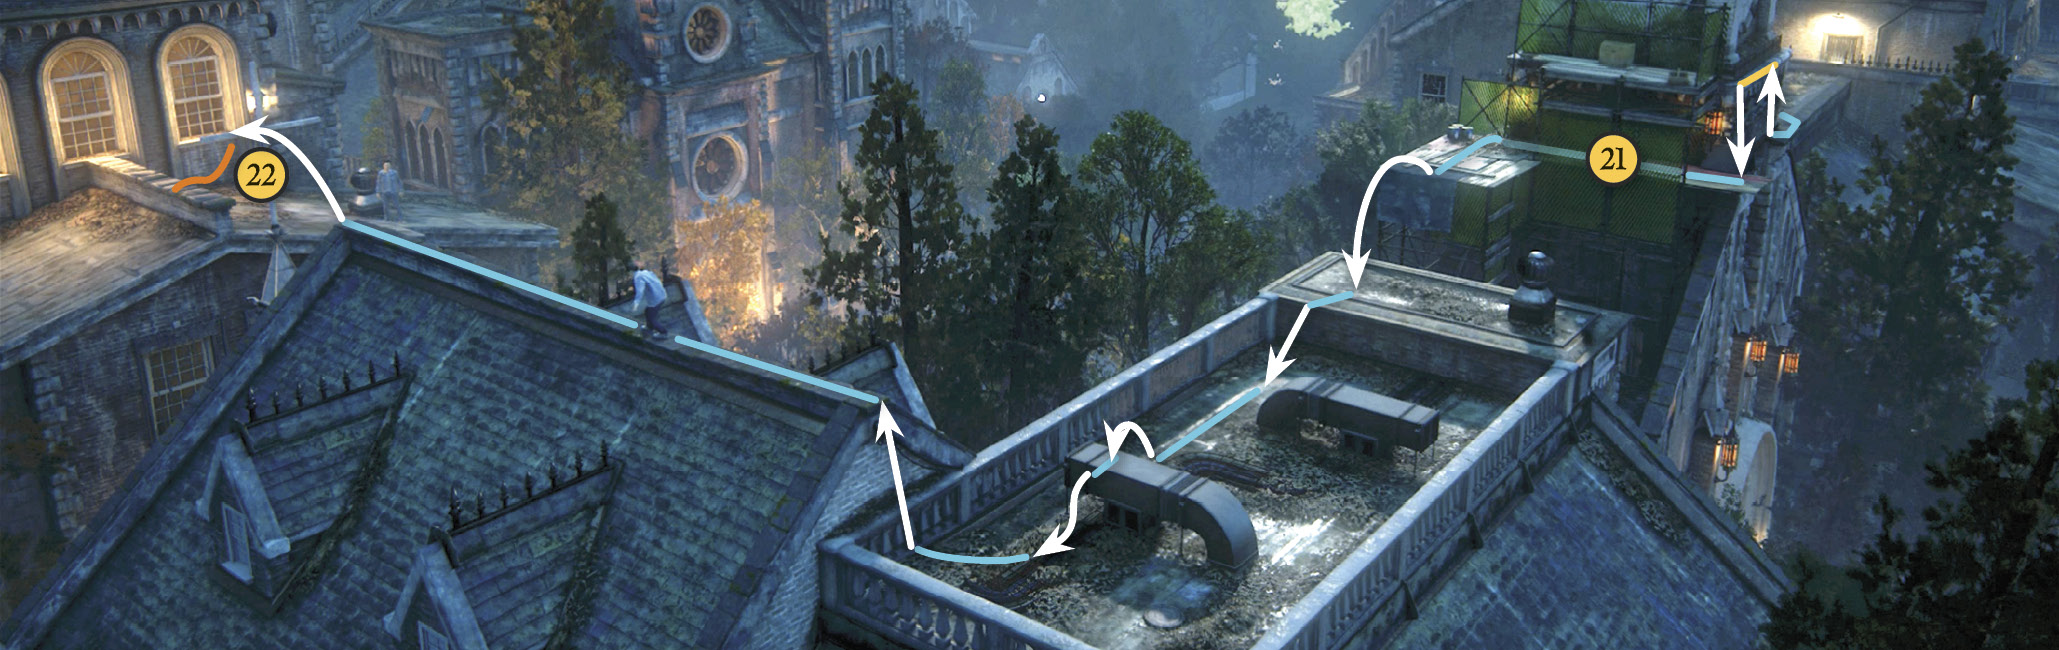
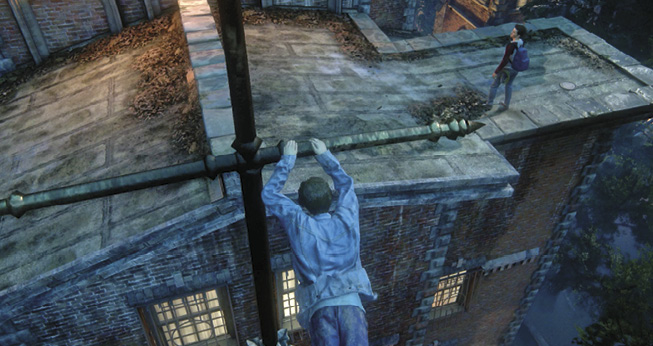
Just around the next corner you reach a wooden catwalk (21) that runs under a low scaffold platform. To get under the platform, hold and push the left stick forward to crouch and move. Once you duck under the low passage, hop across the next gap and follow Sam across a very narrow roof peak. At the gap, make a running leap to the wooden cross (22). Nathan grabs its horizontal strut and hangs, swinging. To reach the next roof, push the left stick forward to swing harder, and then press as you reach the end of the swing arc to jump across the gap.
Move Across the Chapel Roof
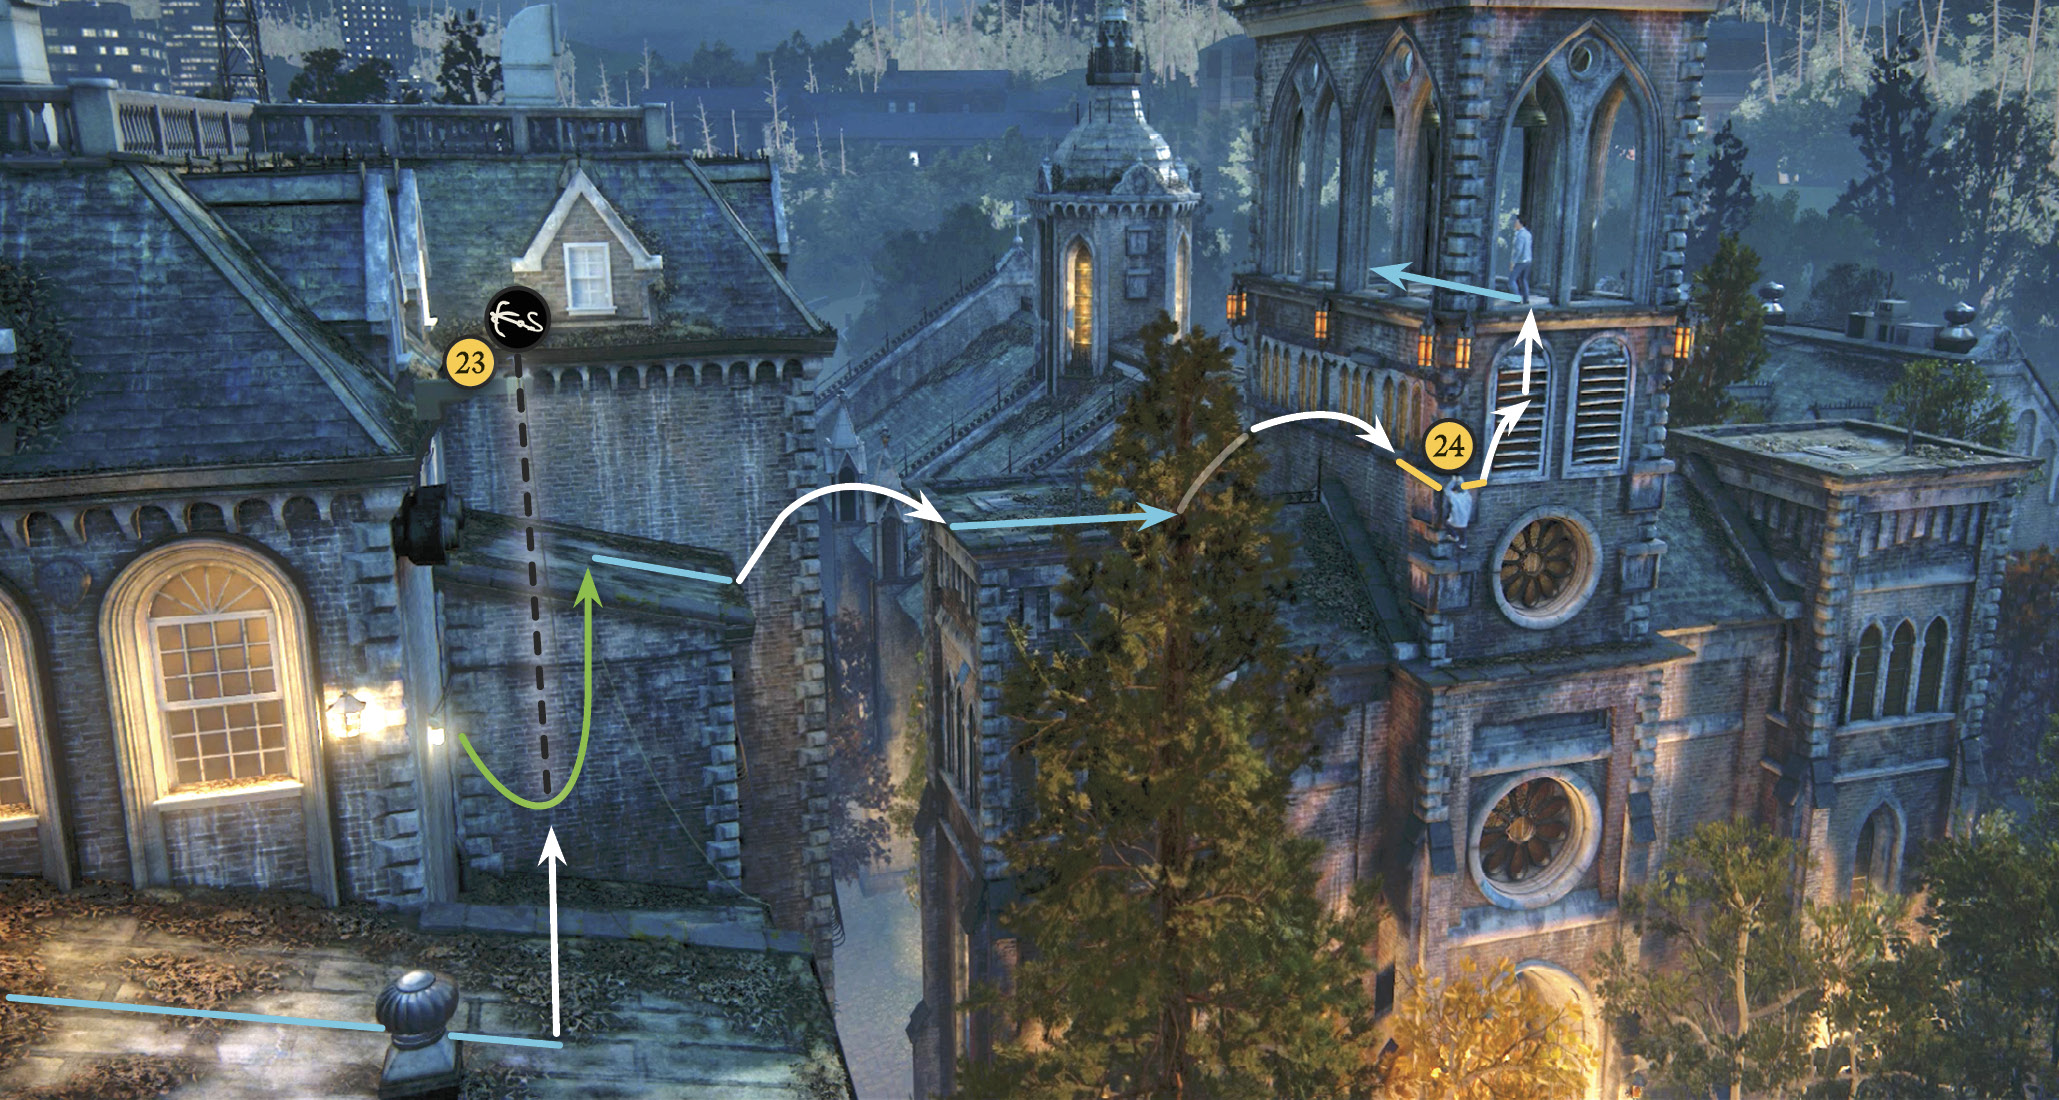
Next, Sam tosses his grapple hook to a high beam and hands the rope to Nathan. Approach the rope and press to seize it. Step off the roof to start swinging, pushing the left stick in the direction you want to swing. After building momentum, press as you reach the end of the swing arc; Nathan releases the rope and leaps to the far roof (23), and Sam follows. Hop across the next two gaps, grabbing a sill (see Fig 1-12) under the chapel’s stained glass windows on the second leap.
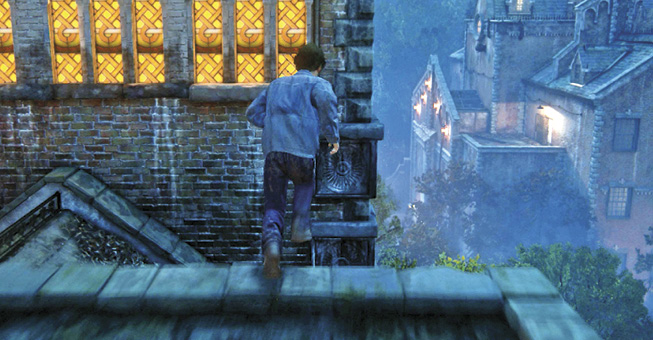
Shimmy rightward around the corner (24) and use the big window slats to climb onto the platform at the top of the chapel tower. Follow Sam across the roof peak beyond to the cupola and climb to grab its ledge (25). Shimmy around the cupola to the opposite side, where Sam hangs.
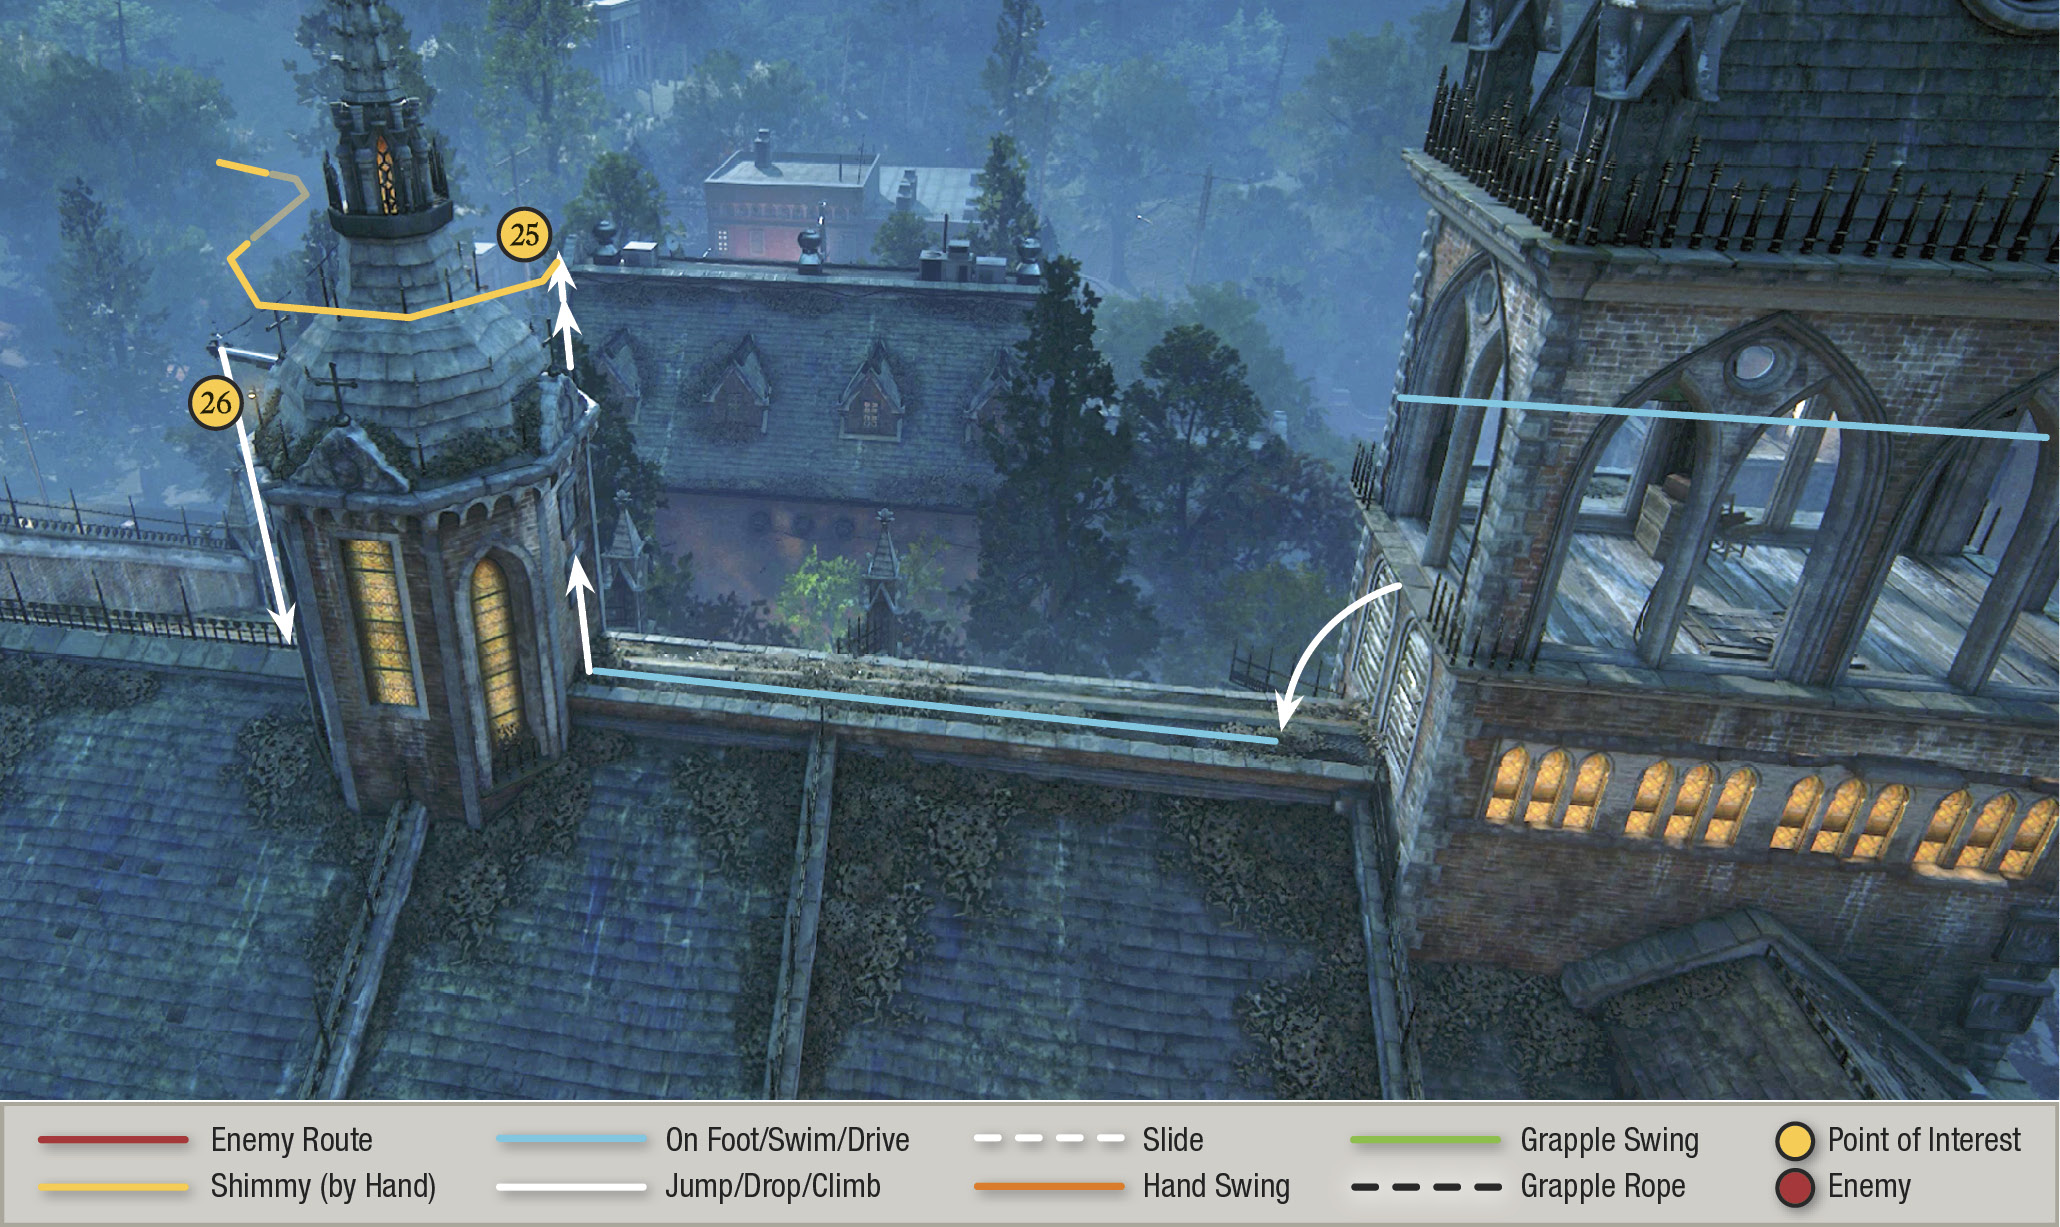
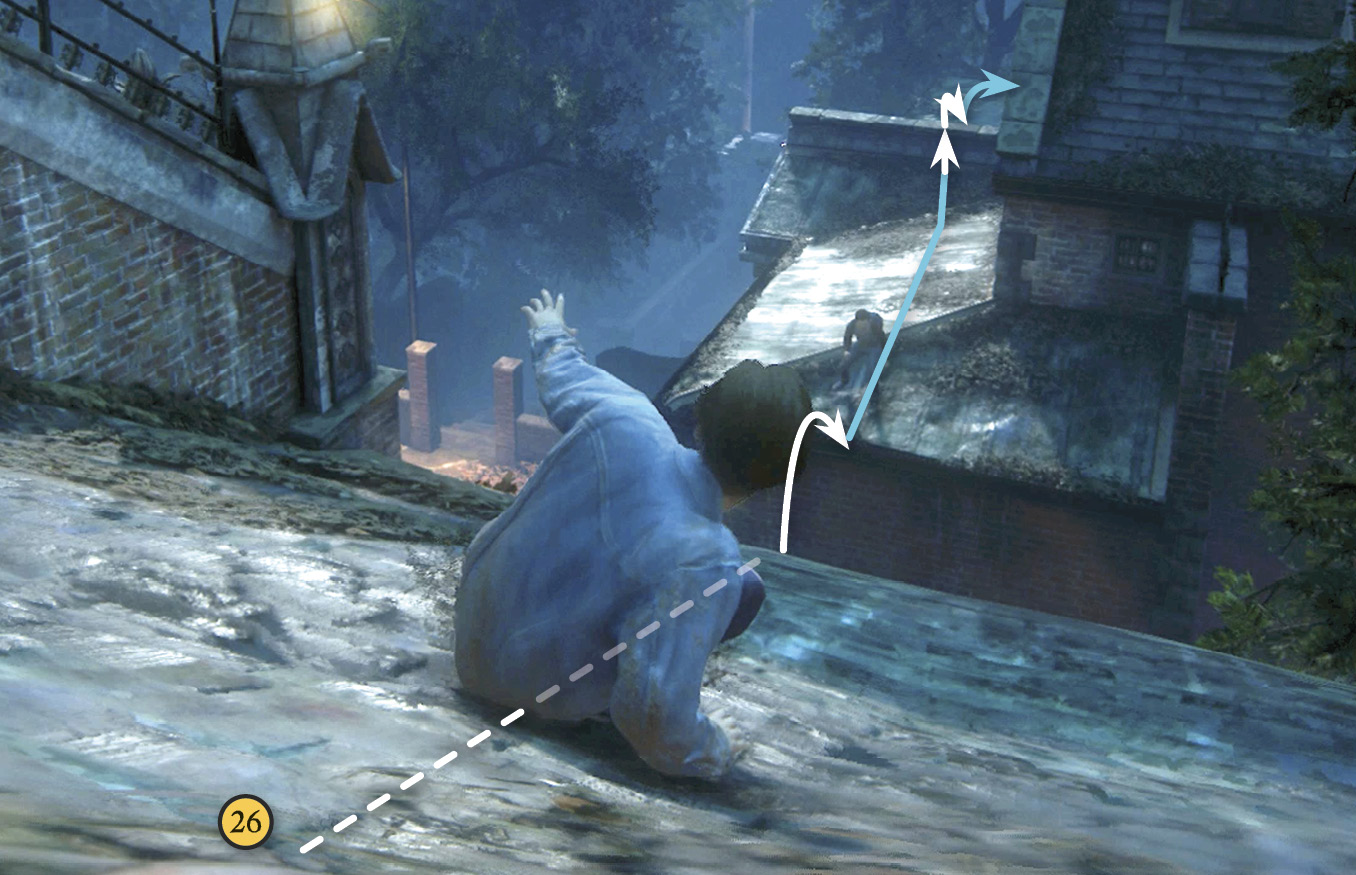
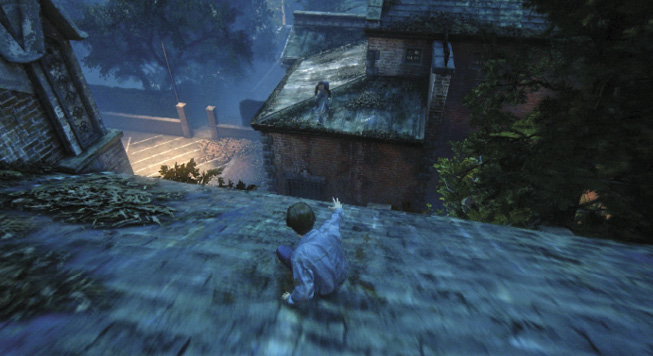
Watch as Sam drops, slides down the steeply sloped roof (26), and leaps across the gap at the bottom! Follow his exhilarating lead, making sure to punch your Jump button at the bottom of the slide. The result is a near-disaster, but Sam gets a grip on Nathan and pulls him up.
Get Down to the Street
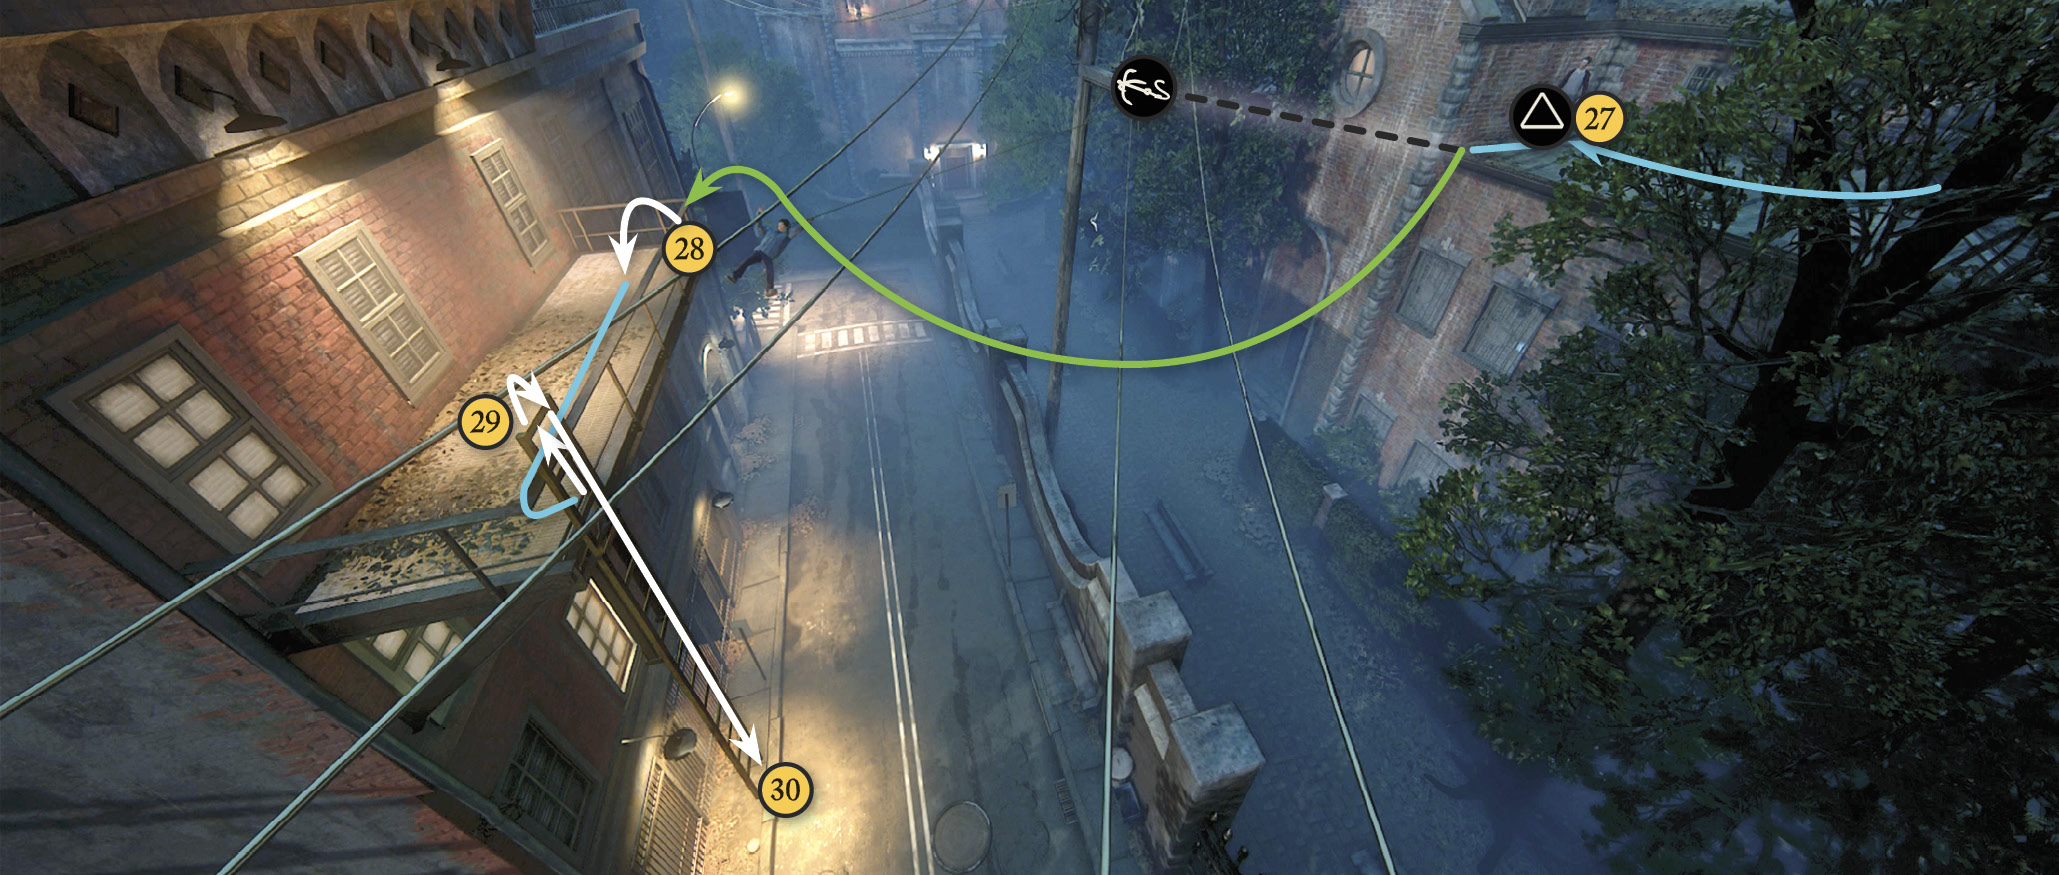
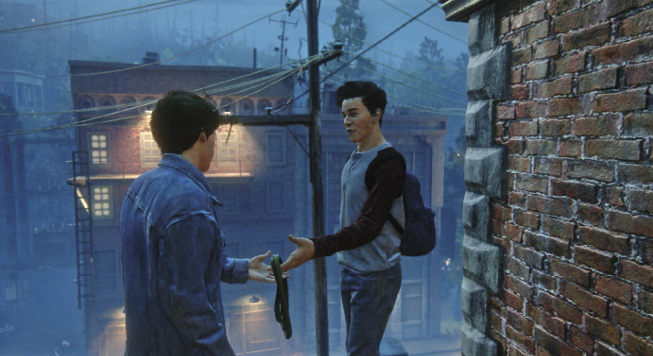
Follow Sam to the edge of the next gap between buildings (27). Now you get to make your first grappling toss. Nathan wants to hook the nearby lamppost (28) and swing to a fire escape (29) on the next building. First, approach Sam and press to take the grapple hook. Face the lamppost until you see the L1 icon appear onscreen. Press that button to sling the hook at the lamp.
Hop off the roof, using the left stick to steer and swing. Hit to jump at the far end of your swing; Nathan snags the railing of the fire escape balcony on the far building. Pull up onto the balcony, walk to the ladder (29), and then use it to climb down to the ground (30).
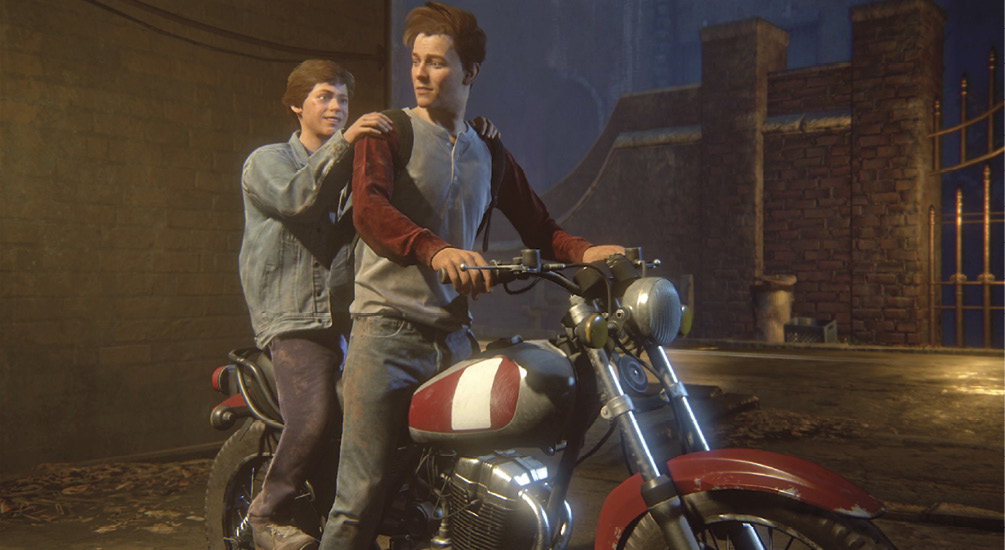
Reaching the ground triggers the chapter-ending cutscene: Sam shows off his new means of transport and announces that he’s tracked down their mother’s lost possessions. Time for the Drake boys to reclaim what is rightly theirs.