Mafia III Guide Story Missions
RIVER ROW: Work the Man Who Bleeds
Mission: “We Partners Now?”
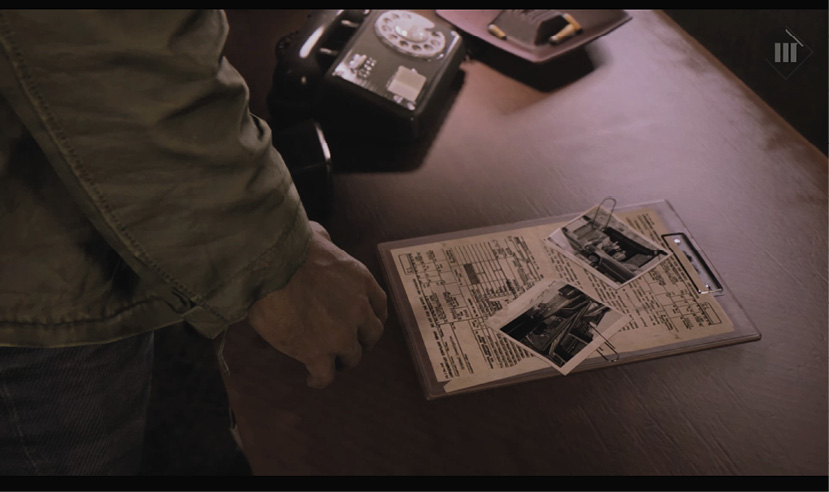
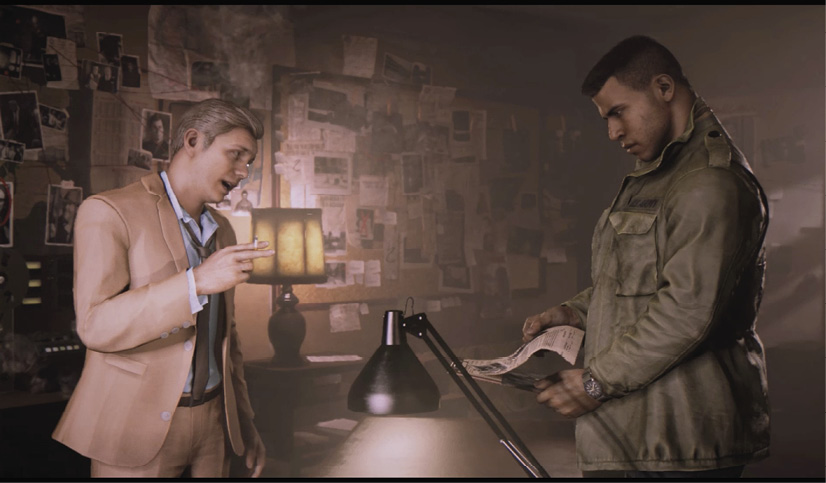
When Lincoln picks up Donovan’s dossier on Vito Scaletta, he learns that the transplant from Empire City has a strained relationship with Sal Marcano. Vito oversees the two rackets in the River Row district, running black market goods and the local worker unions. But recently, Sal sent in his nephew, Michael Grecco, to engineer a slow takeover. Now Vito is struggling to keep his head above water.
Head to Vito’s
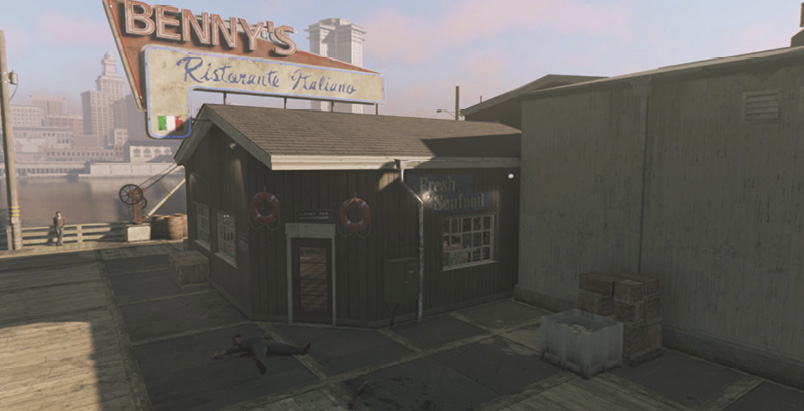
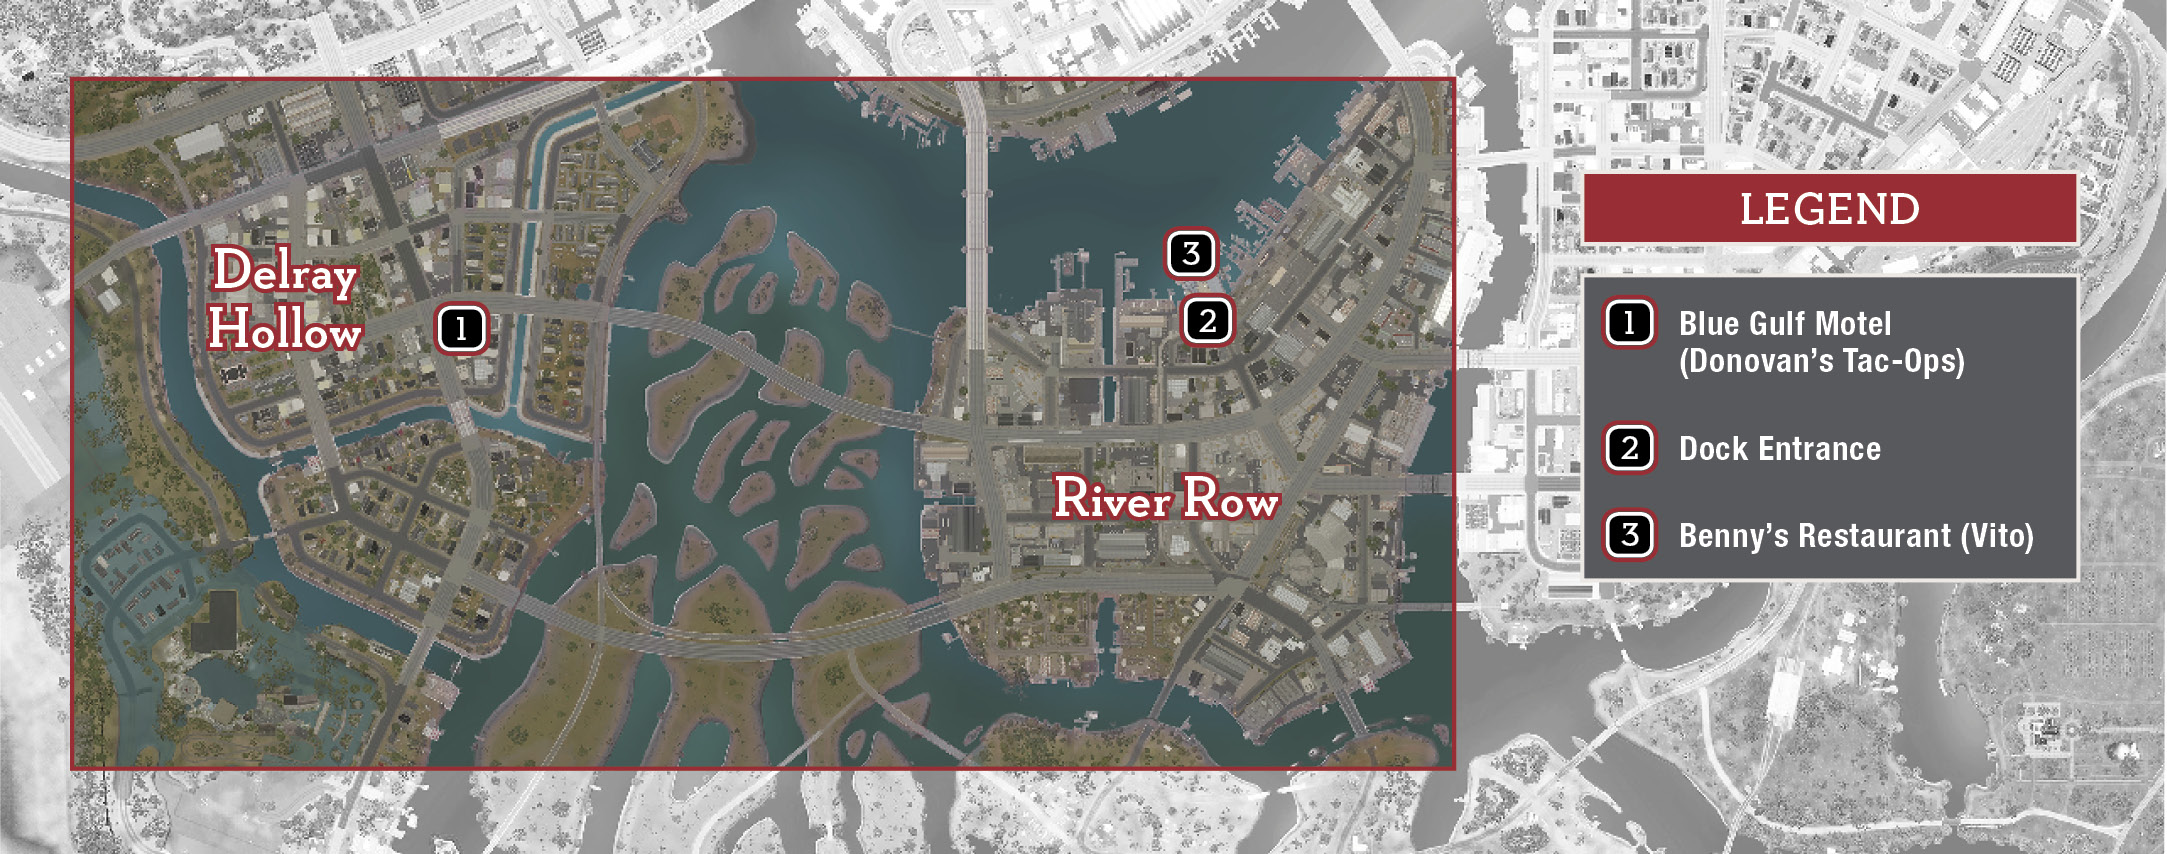
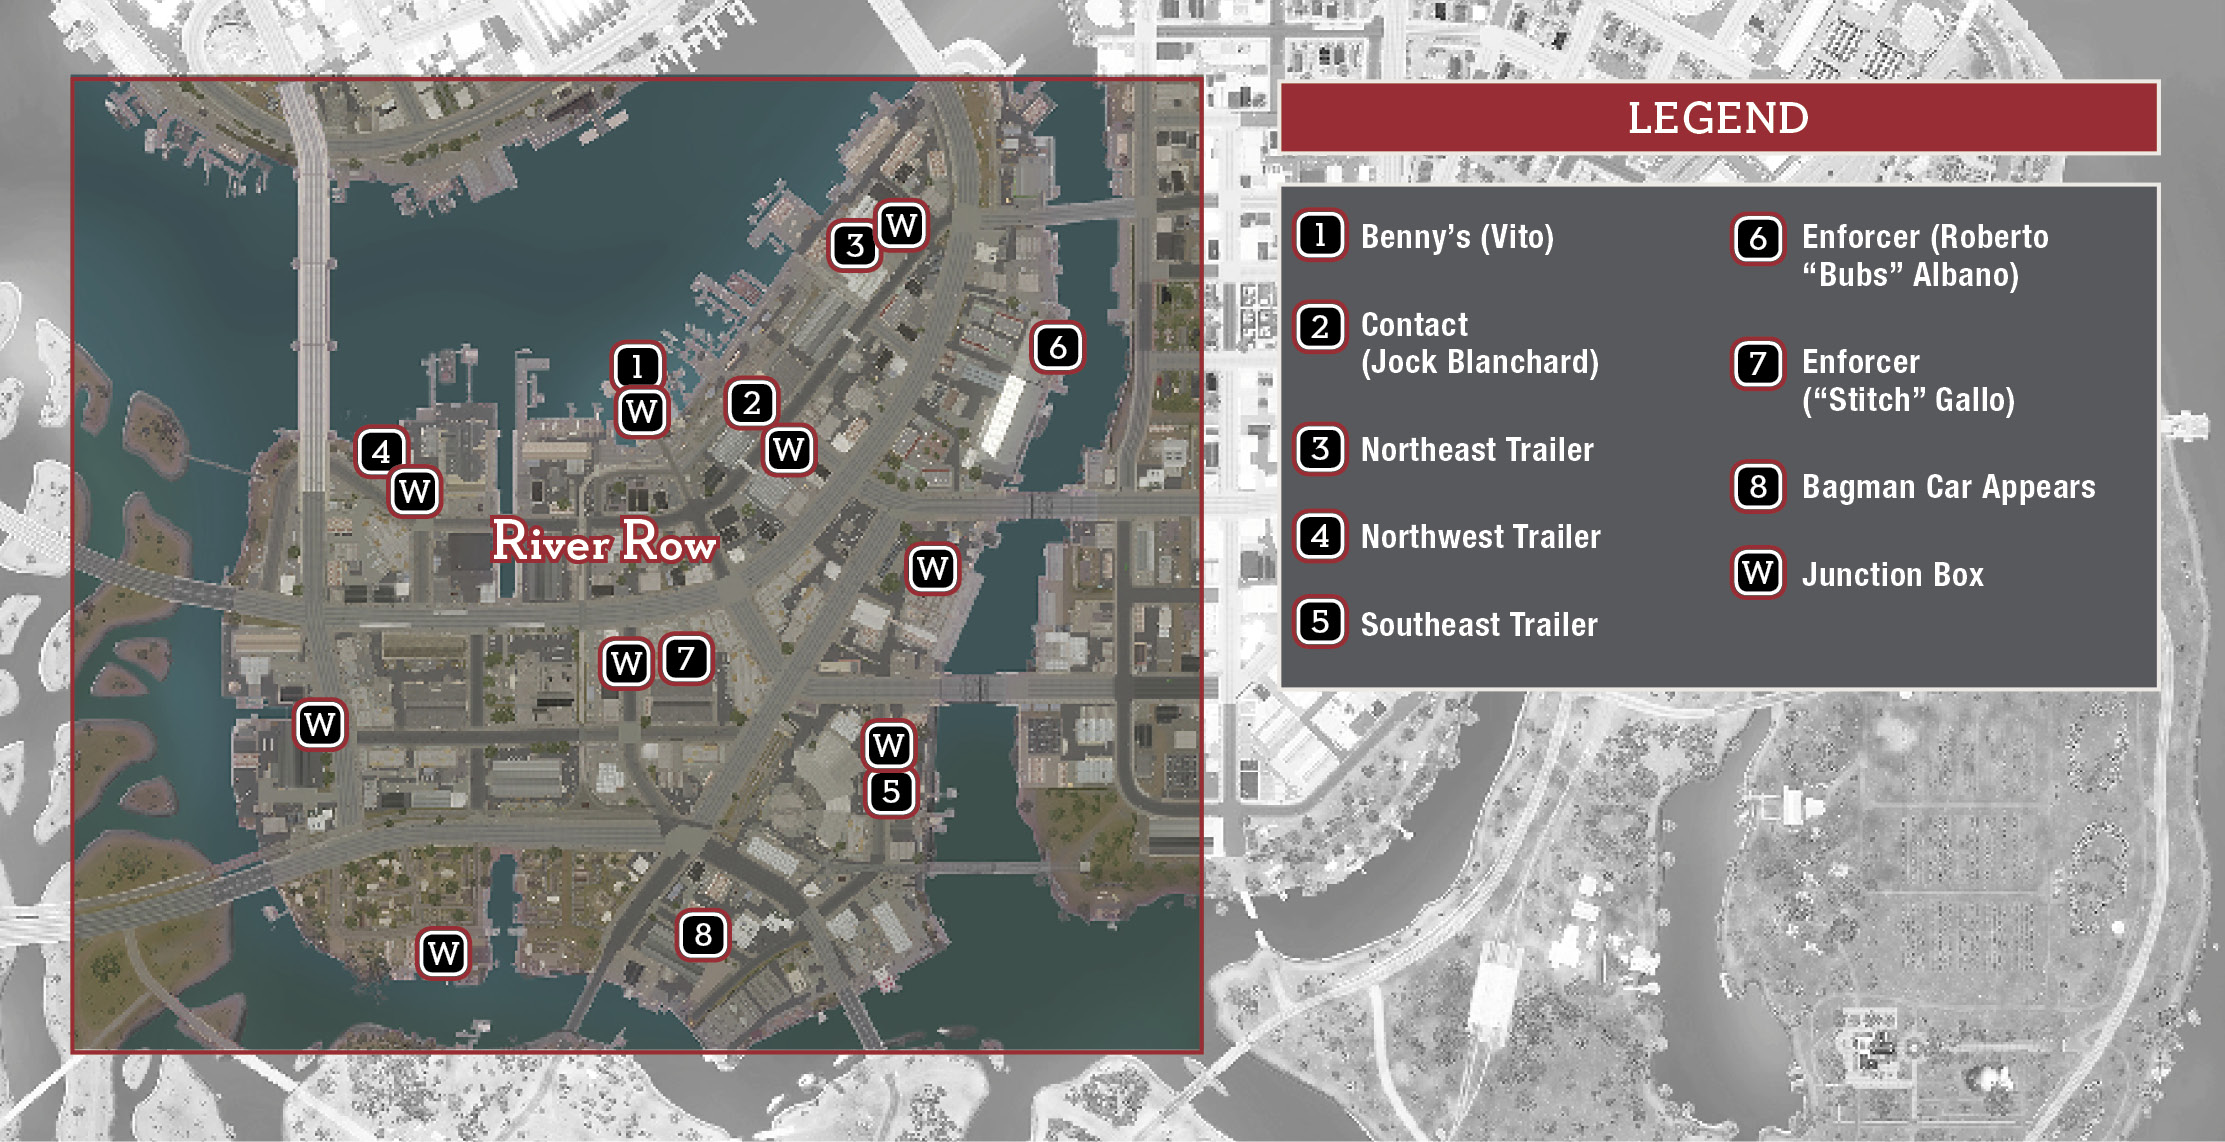
Step outside of Donovan’s motel (1). Vito Scaletta’s office is over in the River Row district, in a dockside restaurant called Benny’s. Before you head there, explore any wiretapped sectors of Delray Hollow and collect TL-49 Fuses; you want to take at least three fuses with you to River Row, and preferably more. Then follow the trip route to the destination marker (2) at the entrance to a docks area.
Find Vito
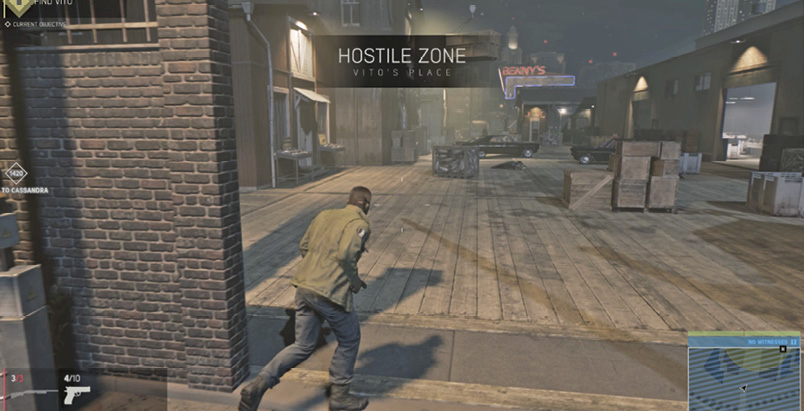
Vito is somewhere inside the yellow circle that appears on your map. But something more than the Fishmonger smells fishy here—goons patrol the wharf while other mobsters lie dead on the ground. Turns out these guards are Michael Grecco’s men, and this dock is now hostile turf! Take cover near the entrance and start whistling to lure thugs for silent takedowns.
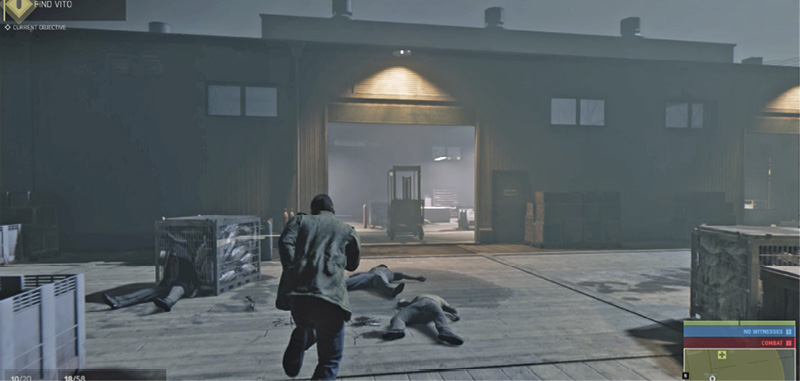
Find and neutralize the mob gunmen who patrol the walkways along the waterfront edge of the dock. Then work your way down the center of the dock, including the big Shipping warehouse on the right and the Chum Grinder building on the left.
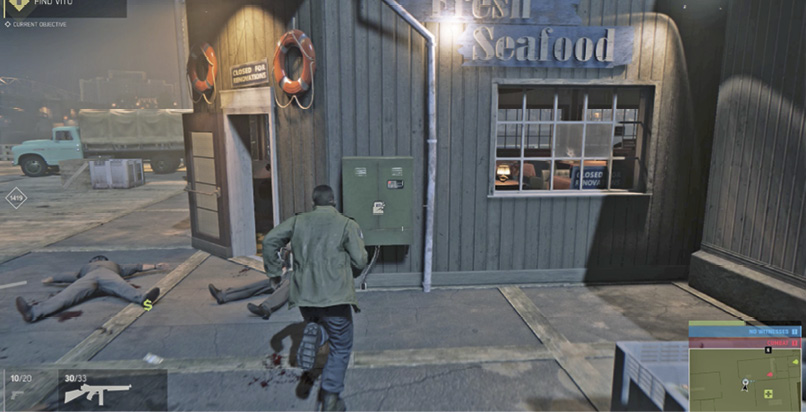
Watch for thugs emerging from Benny’s restaurant at the far end of the dock. Before you enter Benny’s, consider wiretapping the Junction Box right outside the front entrance. Then take cover at the doorway and nail the guards holed up inside the restaurant.
Free Vito
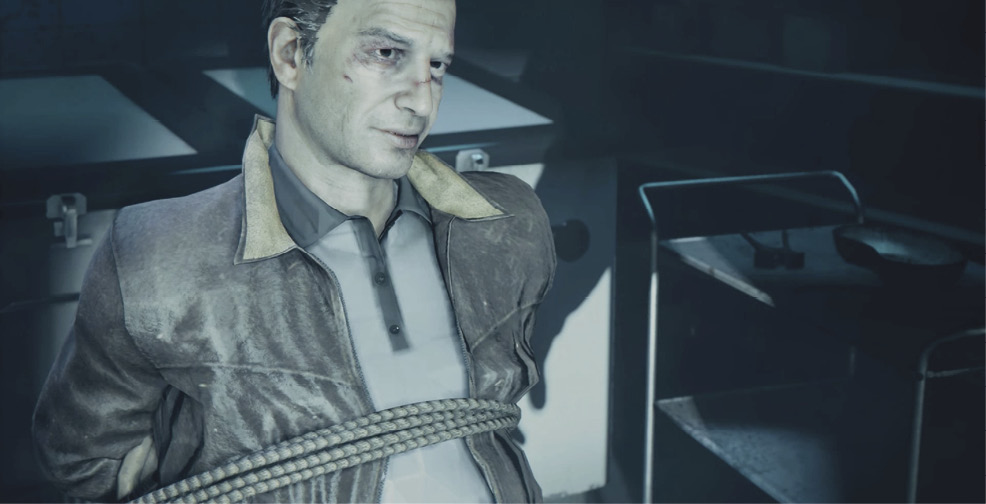
Follow your objective marker into the kitchen at the back of restaurant and approach the freezer door. Use your Pry Bar to jimmy the door lock and trigger a long cinematic: Lincoln rescues Vito from a chilly fate, and the two end up discussing partnership and Michael Grecco. Vito’s new rival has a warehouse full of smuggled contraband, and he’s muscled control of the dock union. This opens up both River Row rackets: Contraband and Union Extortion.
Unlocks: “Union Extortion” Racket
Unlocks: “Contraband” Racket
RACKET: Union Extortion
Prerequisite: Complete “We Partners Now?”
Talk to Jock Blanchard (First Time)
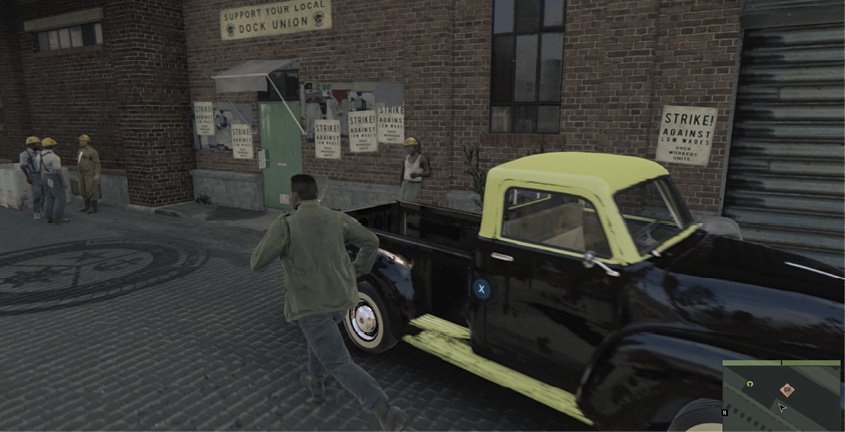
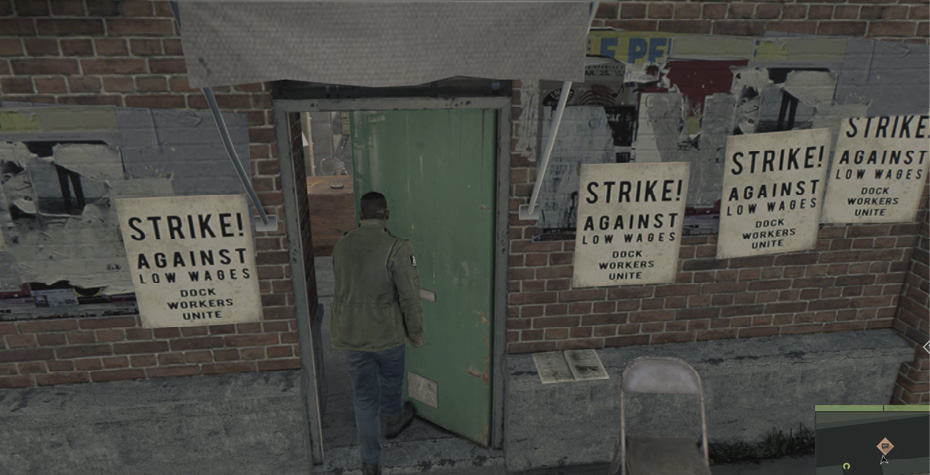
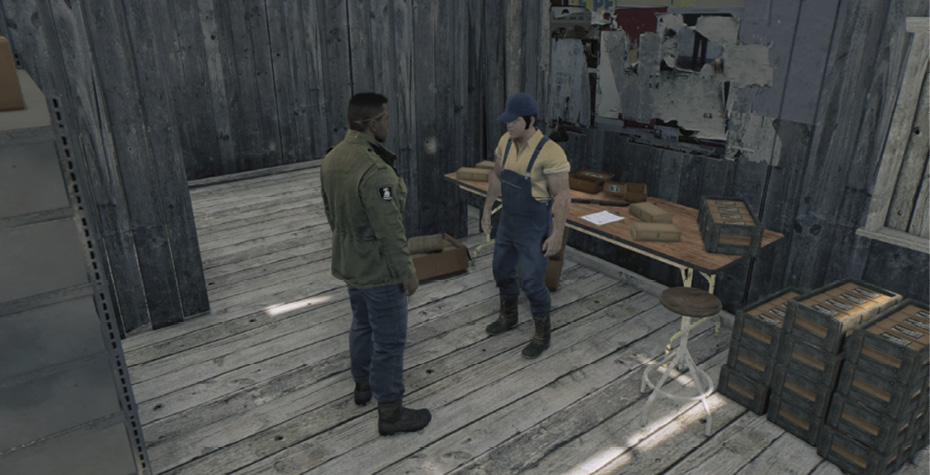
First, find Vito’s union contact man. Follow the trip route down the railroad tracks to the well-marked headquarters (2) of the United Dockworkers, Local 32. Enter the brick building via the door under the sign that reads “Support Your Local Dock Union.” Approach the man in overalls standing inside. This is Jock Blanchard, a dockworker union leader.
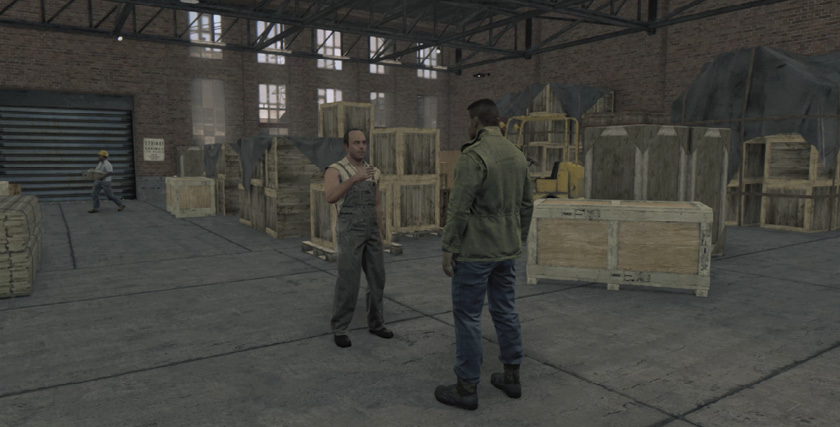
Talk to Jock to learn that a meathead named Andy Turetto is in charge of Grecco’s efforts to extort union members. Turetto is taking steep payoffs to dispense union work permits. He’s got permits locked away in trailers. His thugs are intimidating workers out at jobsites as well.
Unlocks: Sabotage Union Trailers
Unlocks: Kill Union Enforcers
Unlocks: Tail Bagmen to Union Stash
Sabotage Union Trailers (3)
Prerequisite: Talk to Jock Blanchard (First Time)
Turetto has three mobile trailers in River Row that he uses for onsite control of union business. Each trailer is stuffed with work permits, so destroying them will inflict a real blow to his extortion scheme.
Northeast Trailer
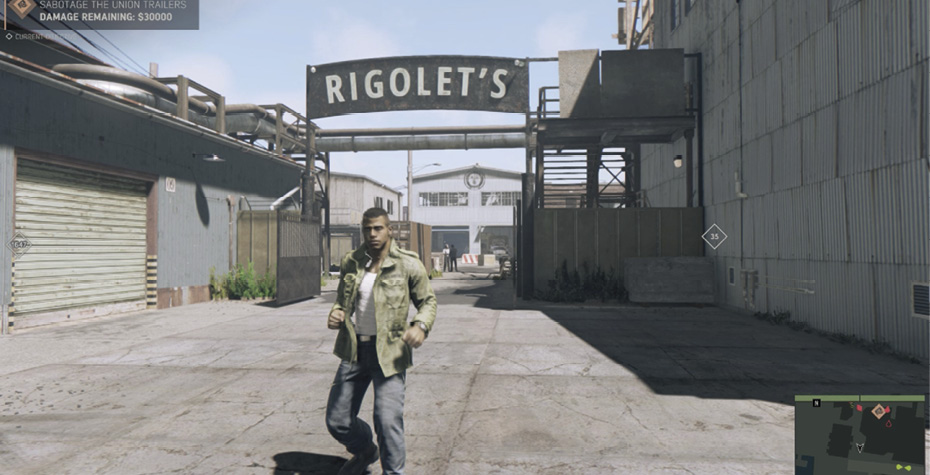
Travel up to Rigolet’s Canning Company (3), a mob hideout. (Before you try to infiltrate, be sure you’ve wiretapped the Junction Box just around the corner.) The site features two union trailers—one up high on a platform, and the other one (your target) down on the ground. Enter the front gate and take cover at the metal container then check Intel View to find the guards. Whistle to lure them for a takedown.
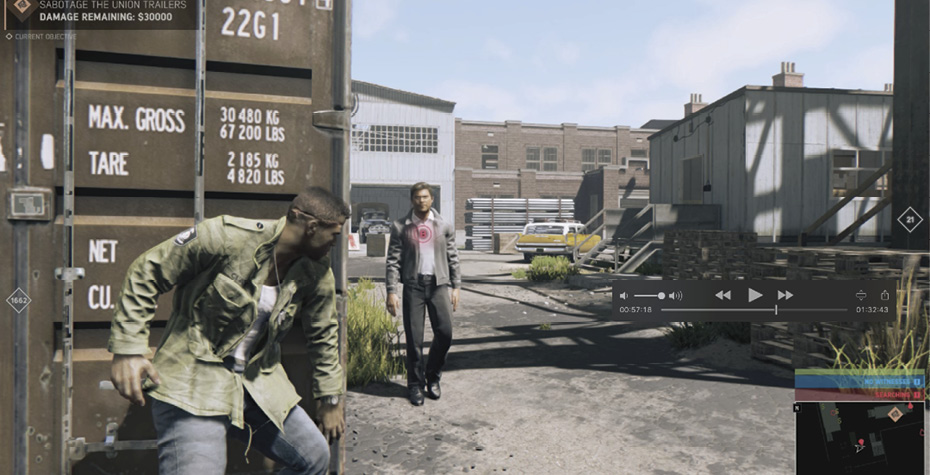
If you want, check out the upper trailer first. Stalk around the container’s left side, climb upstairs to the trailer, and take cover just outside the doorway. Lure the guard sitting on the couch inside and KO him, then enter and loot the trailer, including stacks of cash and a Tac-Vest in the Weapon Locker.
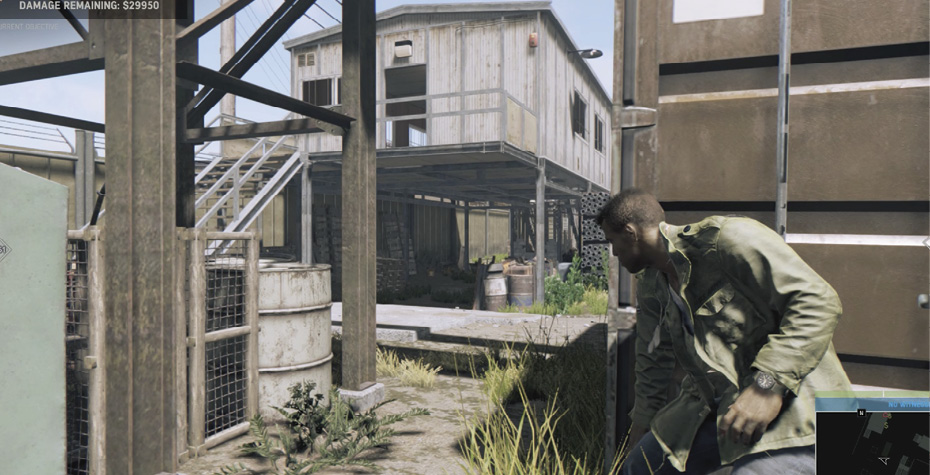
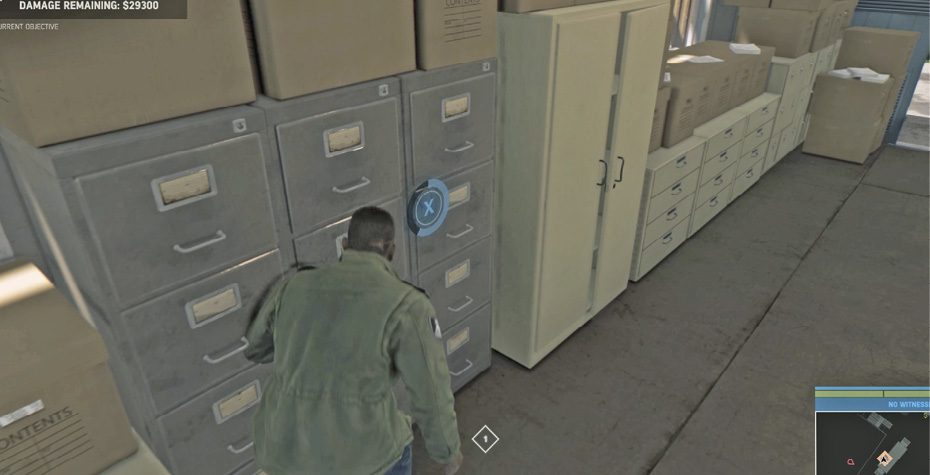
Now you can descend the stairs and sneak to the lower trailer, your target. Use Intel View to spot the guy inside and monitor his movement. Hide behind the trailer and wait for the mobster to step outside then creep up behind him for a silent takedown. Enter the trailer, approach the marked file drawers, and hold down the button prompted to plant explosives. Then exit to trigger the explosion that destroys the trailer and all the work permits.
Northwest Trailer
Travel to the lot next to Bayside Shipping (4) and scope out the union trailer in the yard. (Make sure you wiretap the Junction Box on the back side of the building first.) This area is teeming with union workers and Turetto’s thugs.
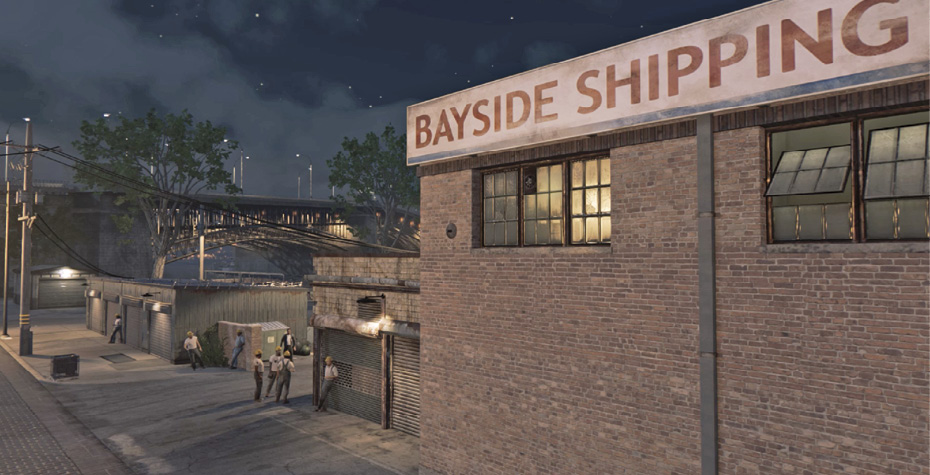
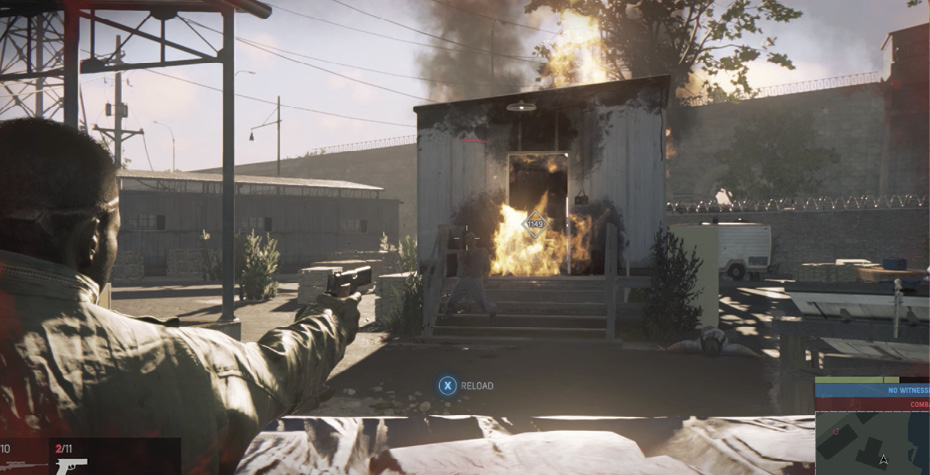
But if you work your way around to the largely deserted back entrance gate, you can take down a lone guard and sneak through the covered boats to the trailer door. Creep inside and plant the explosives. The two guards at the trailer’s other door have their backs to you and don’t notice! They get a warm surprise when you exit the trailer.
Southeast Trailer
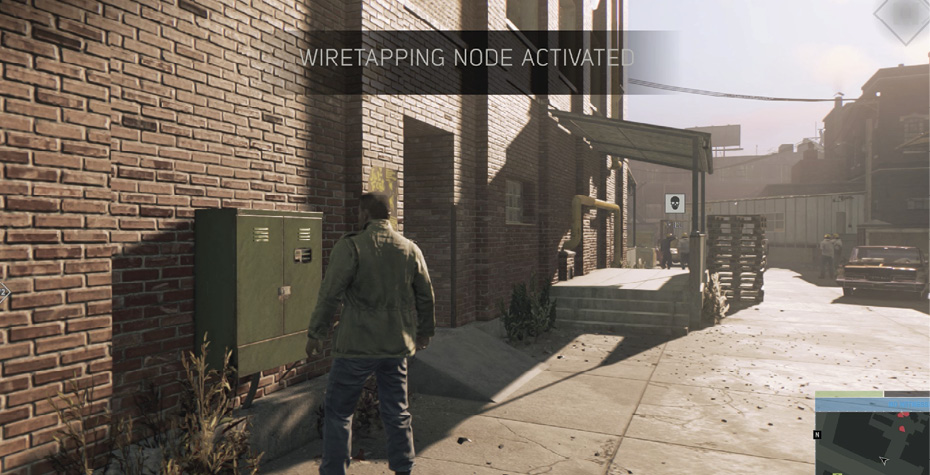
Travel to find the union trailers (5) in a parking lot next to the Tugboat Bar. Workers are lined up, waiting to pay extortion money for work permits. Go around behind the bar and wiretap the Junction Box (circled in our shot) to get better intel then take cover at the nearby opening in the fence.
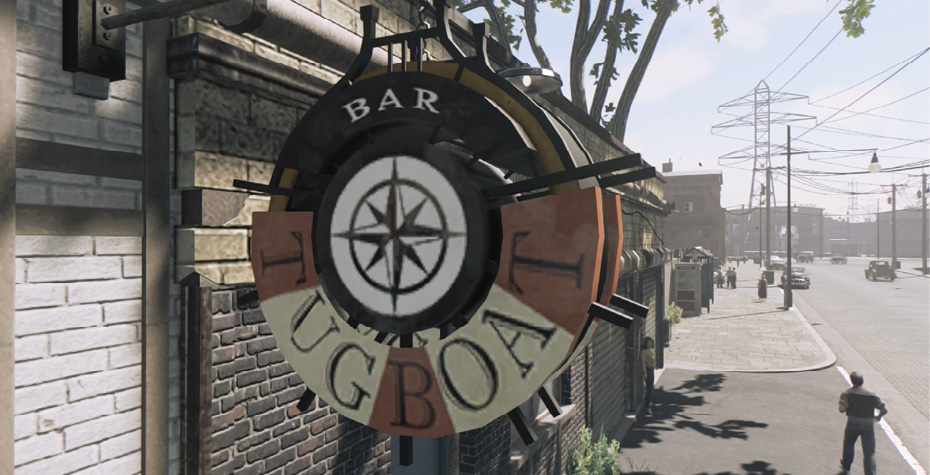
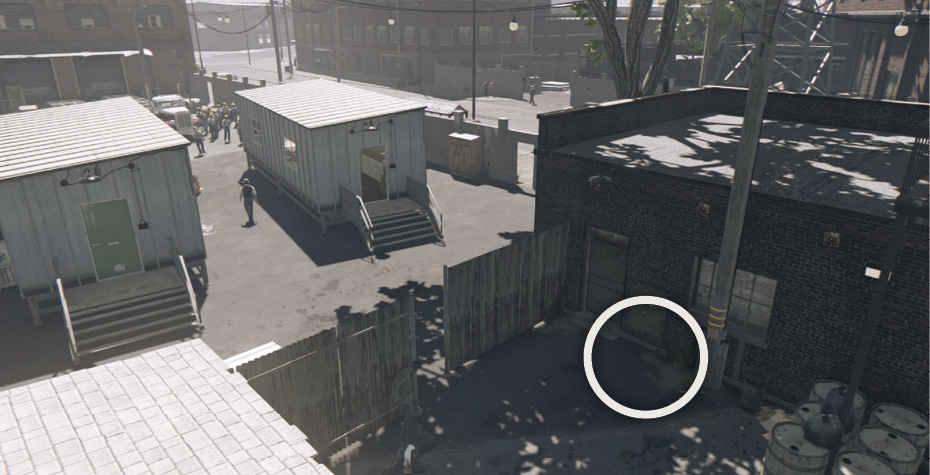
Lure armed thugs for takedowns. The open trailer on the right (closest to the street) has the file drawers stuffed with work permits. Plant explosives on the drawers and exit to destroy the trailer. Then break into the second trailer to find more cash and a TL-49 Fuse.
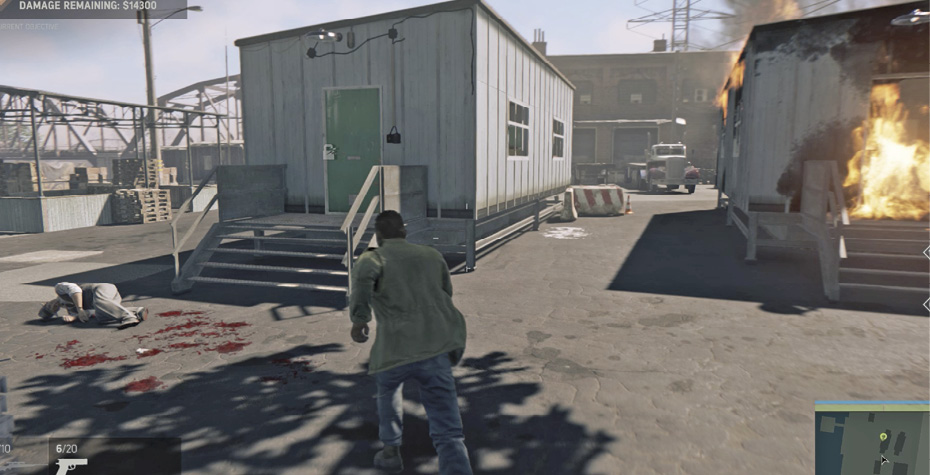
Kill Union Enforcers
Prerequisite: Talk to Jock Blanchard (First Time)
If you’ve destroyed all three union trailers and successfully tailed the bagman to grab the union stash (see the next objective), then you may have already inflicted enough racket damage to lower its Earn to $0 and go after its boss. But even if so, it’s a good idea to hit both of Turetto’s Enforcers before you go after Turetto himself. Otherwise, the Enforcers will be waiting for you alongside the boss, making that final battle extra tough.
Roberto “Bubs” Albano
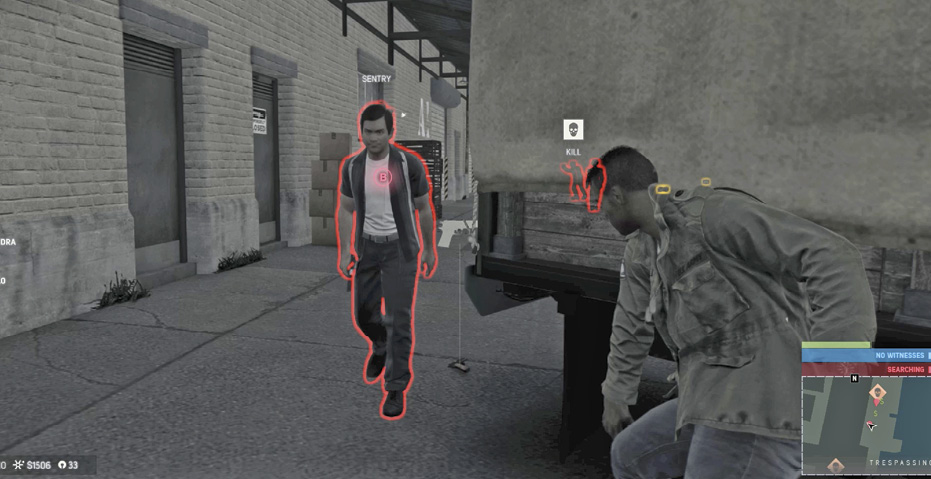
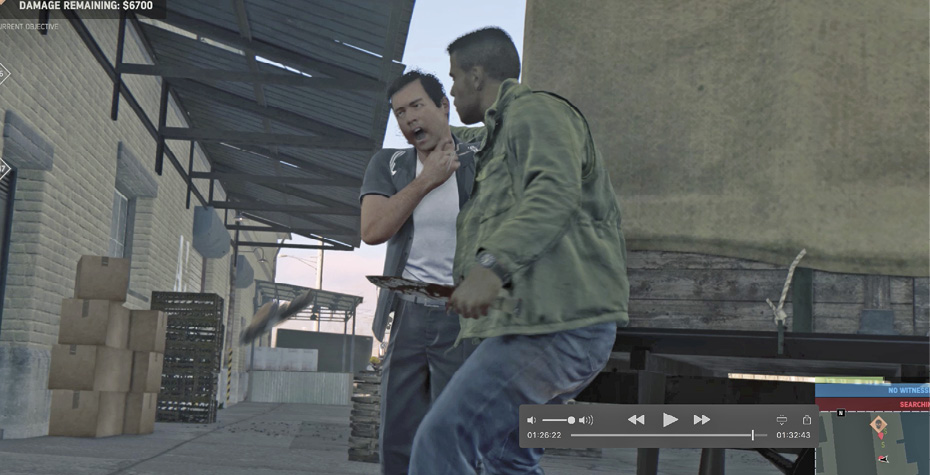
Follow the trip route to the loading dock of the Padovano Pesce warehouse (6). (Be sure you wiretap the sector’s Junction Box first, located a good distance down the waterfront on the Dominik’s Sugar building.) You can approach around either side of the building and take cover behind the trucks backed up to the dock. Scan the area in Intel View. Lure over thugs including Bubs for silent takedowns; make sure you get the Sentry before you’re detected so he can’t call in Reinforcements.
“Stitch” Gallo
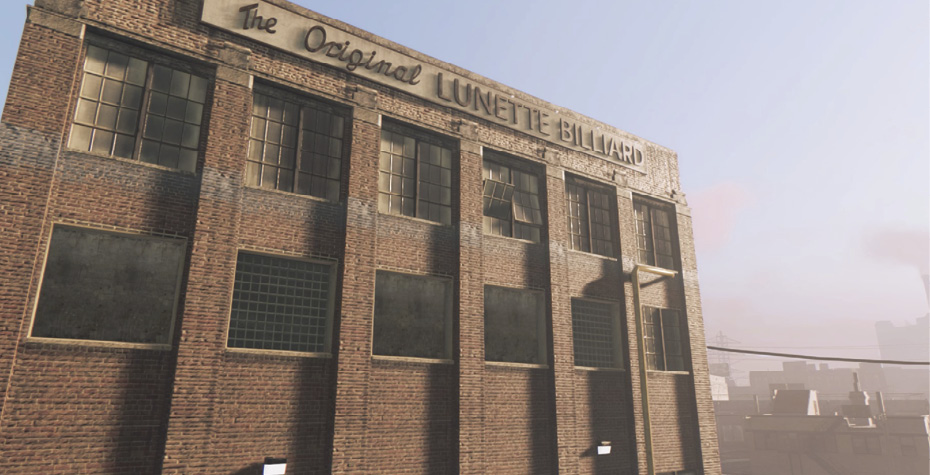
Travel to the work site in the lot behind The Original Lunette Billiard building (7). Once again, you find an Enforcer and his mob goons beating up workers. The sector Junction Box is right on the building, not far from the action, so get it wiretapped (if you haven’t already done so). Then sneak to take cover behind the tall stack of shipping pallets. Start thinning out the enemy crowd stealthily until you can get to Stitch.
Tail Bagman to Union Stash
Prerequisite: Talk to Jock Blanchard (First Time)
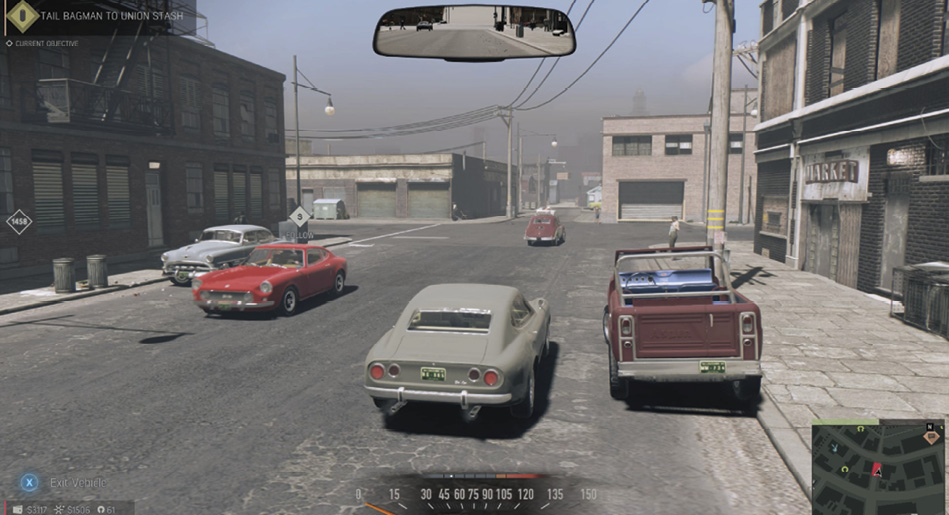
Park on this street (8) in southwest River Row and watch for a cherry red De’Leo 58 sports car marked by an overhead “Follow” icon. The driver is one of Andy Turetto’s bagmen ferrying a deposit of union dues to a secret safehouse in a local warehouse. Follow that car!
Two things: don’t follow too close, and avoid drawing attention by making risky moves or hitting things. A Tailing Meter under your rearview mirror onscreen measures how suspicious the bagman is getting. If you trigger his panic, he speeds away and is very difficult to catch. If you lose him, you’ll have to try again later.
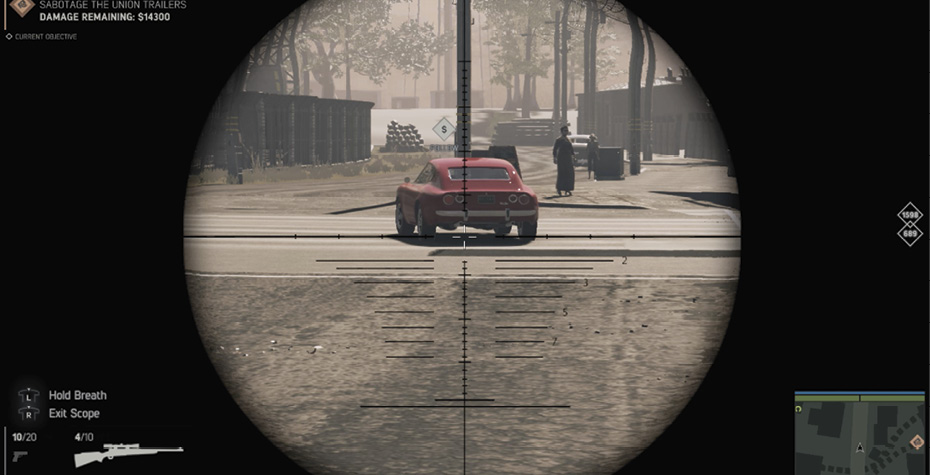
If you manage to stay on the “Follow” car’s tail without spooking the driver, he eventually leads you to a nondescript warehouse guarded by Turetto’s goons. Gun down the bagman and goons then find the $9000 cash pile stashed on an office desk behind the cage in the back corner.
Talk to Jock Blanchard (Second Time)
Prerequisite: Racket Damage Lowers Earn to $0
Once you’ve inflicted enough damage on Andy Turetto’s racket to lower its Earn to $0, you can visit Jock Blanchard (2) again. You get the option to remove all remaining racket objectives. If you select Accept, Jock reports that Turetto is down at the Dock Union trying to rectify the situation.
Confront Andy Turetto
Follow the new trip route back to Rigolet’s Canning Company (3). This time you need to infiltrate the building and confront the head man, Andy Turetto. The area is heavily guarded, so we recommend the southwest entrance—the gate is closed, but you can climb over the wall using the crate to the right (shown in our screenshot). You end up at the foot of a staircase.
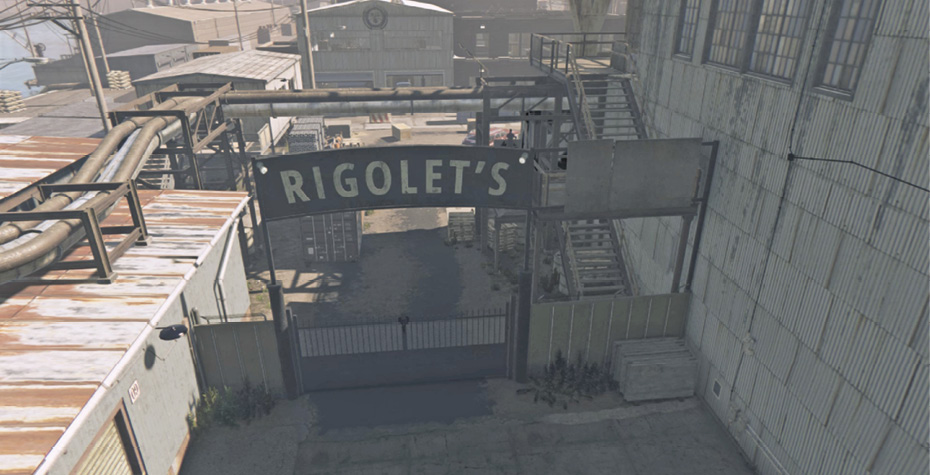
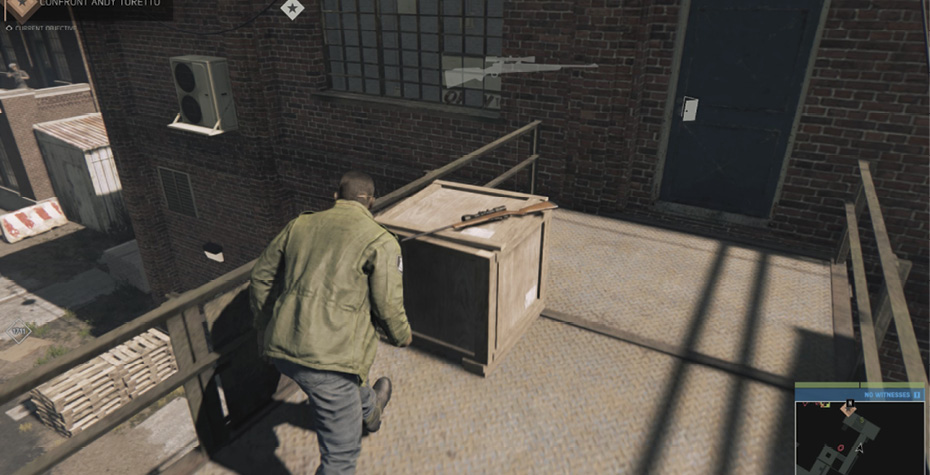
Stealthily climb the stairs to the top and follow the catwalk behind the sign’s big “COMPANY” letters and under the water tankuntil you reach the sniper rifle. Here you can grab the Manitou Model 67, move to the nearby spot designated a “Sniper Point” in your Intel View, and start picking off mobsters below, if you want.
But another great option is to continue through the door at the end of the catwalk and descend the interior staircase. Take cover next to the door at the bottom. Whistle to lure the two nearby guards from outside for silent takedowns.
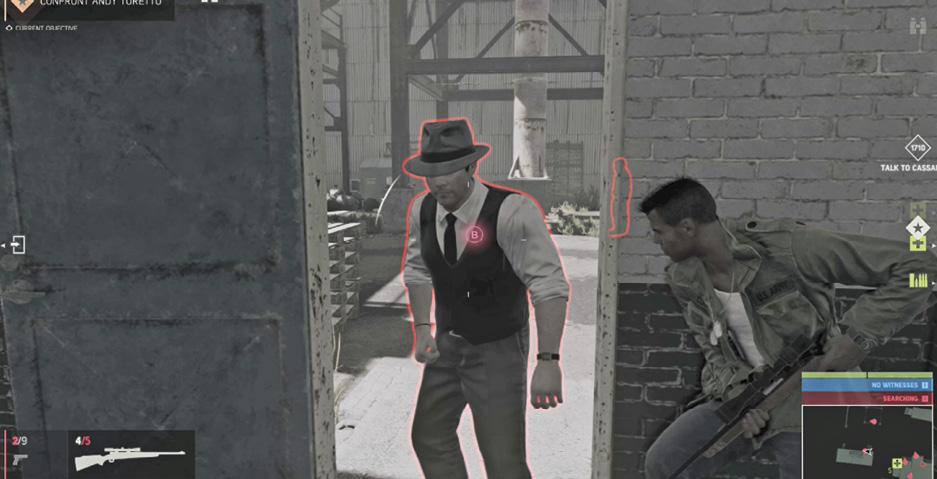
Once the coast is clear, slip outside, turn hard right, and sneak past the dumpster to the next door that leads into an office. Enter and take cover next to the interior doorway. This is a great spot—use your Intel View to locate all the enemies nearby, including a pair of Sentries.
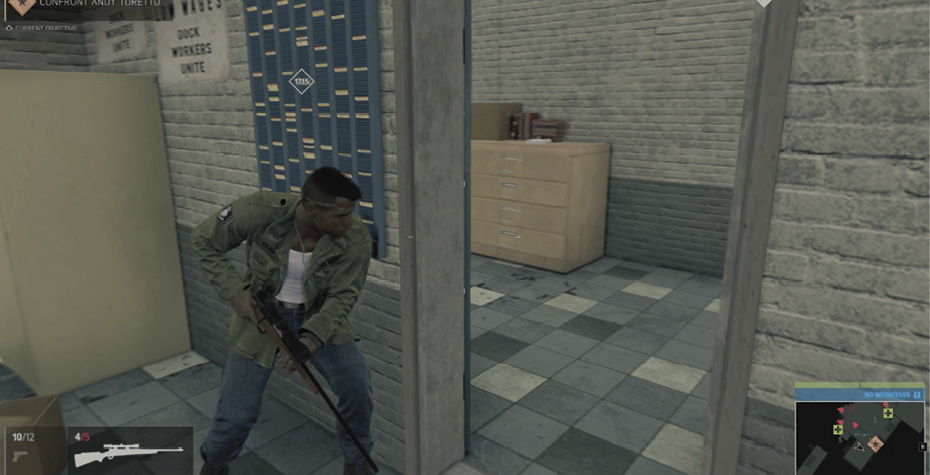
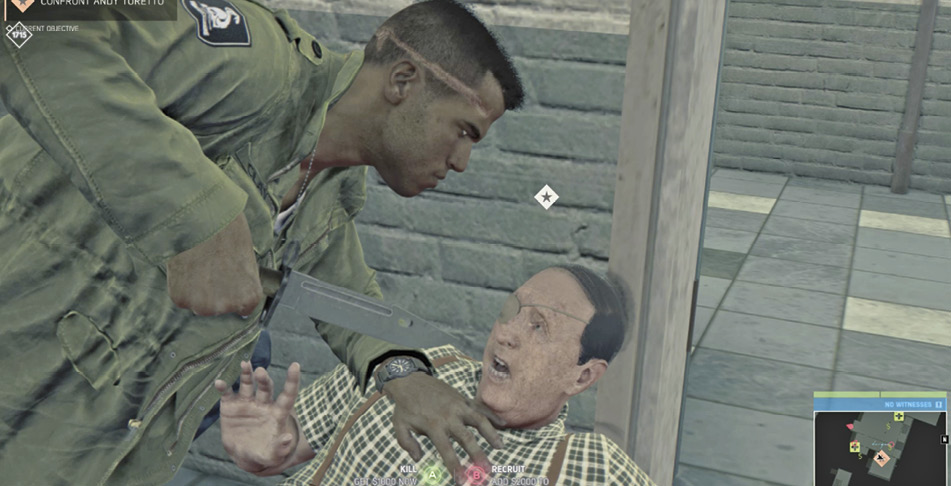
Now just start whistling. They come one by one to investigate, including Andy Turreto himself! Subdue and Kill/Recruit him to secure the Union Extortion racket.
Assign the Extortion Racket to Vito
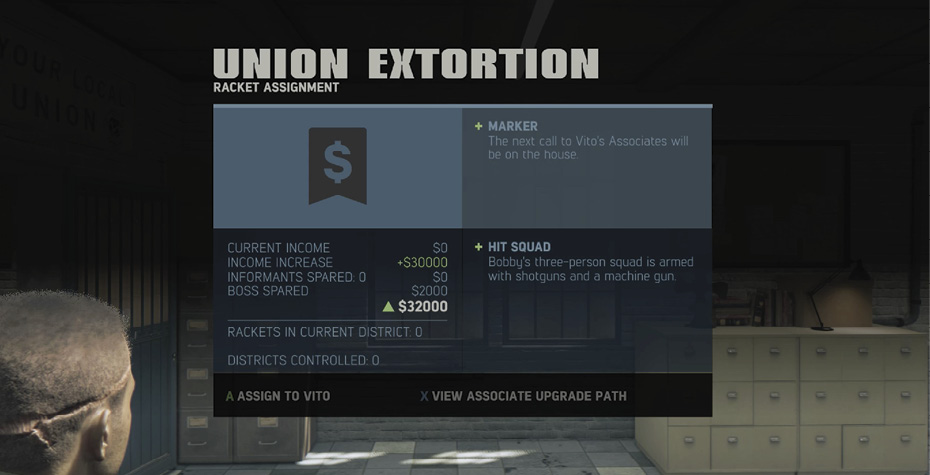
Now that the Union Extortion Racket is secured, press the button prompted to assign it to Vito Scaletta.
- If you secured the Union Extortion racket first (as in this walkthrough), you add the Hit Squad to your Associates Menu. Whenever Lincoln is outnumbered badly, you can summon support from this three-man crew of armed associates.
- But if you secured the Contraband racket first, then assigning the Union Extortion racket to Vito is his second racket. This puts Lincoln in touch with Vito’s associate, Dr. Gianni Bruno. The Mob Doctor 1 upgrade adds a third bar to your Health.
RACKET: Contraband
Prerequisite: Complete “We Partners Now?”
Talk to Connie Demarco (First Visit)
Follow the trip route to a neighborhood of ramshackle huts and let your objective marker guide you to Vito’s contact (2), Connie Demarco. (Connie’s house is the one with a big KEEP OUT sign on the front door; just enter through the side or back doors.) Talk to Connie to learn he’s kept an eye on Roy Thibideaux’s smuggling operation in River Row. Roy is bringing in rum and cigars from Cuba, and selling medical supplies back to Cuba—all of it illegally. His business front is called Skidaway Durables.
Interrogate Roy’s Guards
Prerequisite: Talk to Connie Demarco
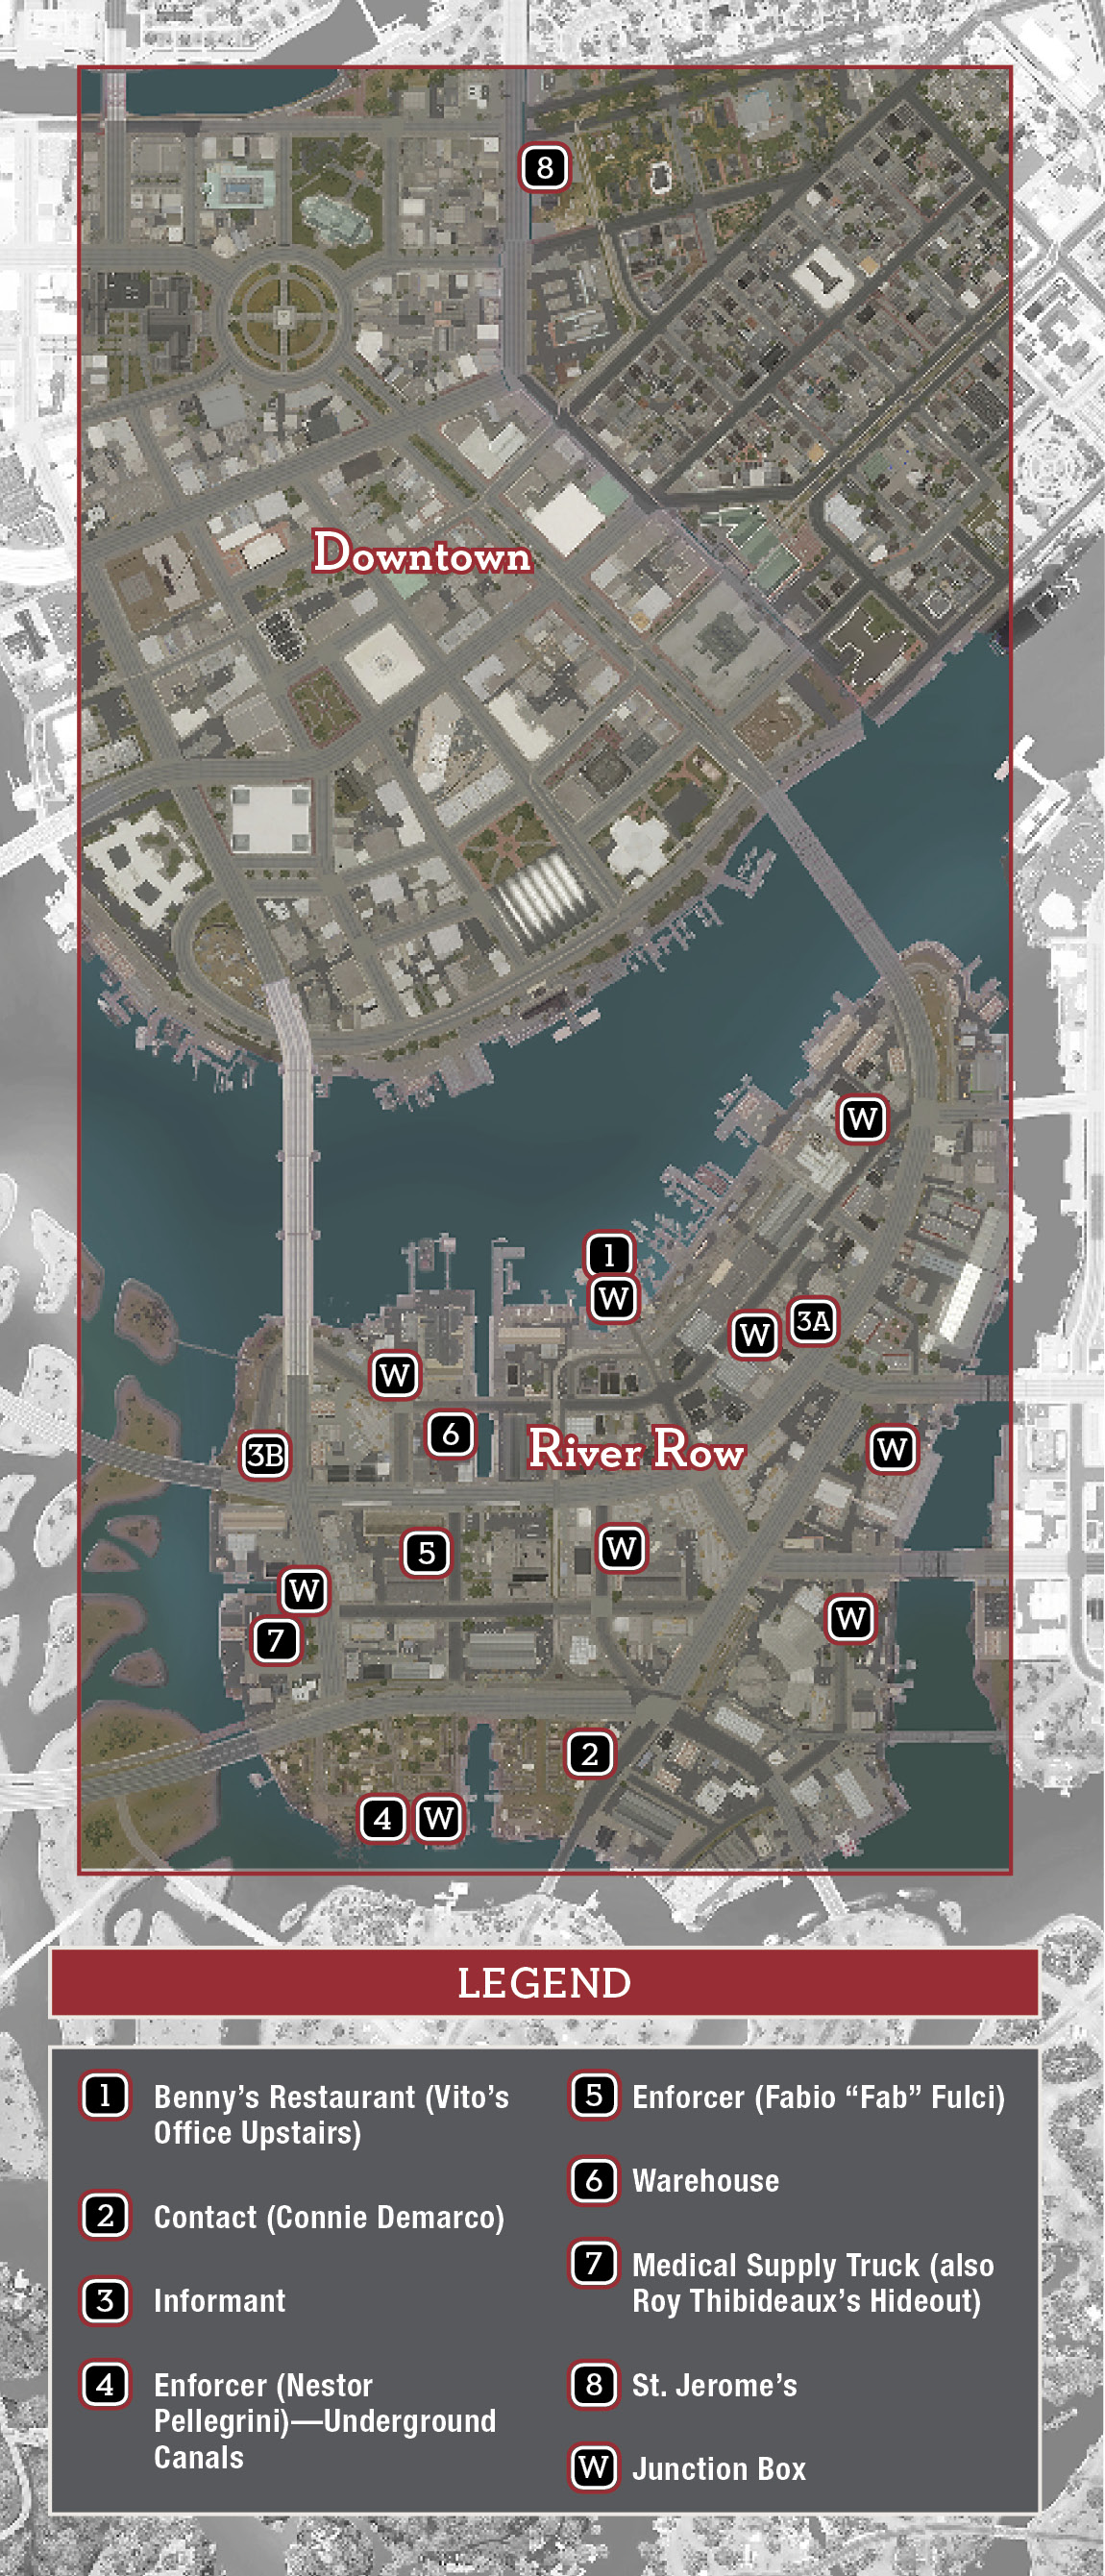
The Informant appears in one of two possible spots on your map (3a, 3b). If the Informant manages to escape, he soon reappears at the other spot.
Biff at Joey’s
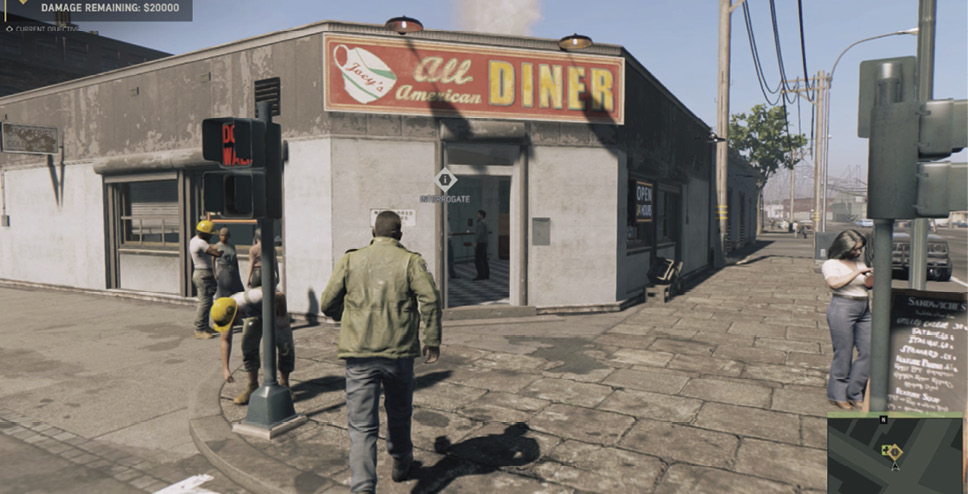
Follow the trip route to Joey’s All American Diner (3a). (Make sure the nearby Junction Box is wiretapped.) Biff is just inside the doorway, talking to a sidekick. Either hide just outside the front door and whistle them over one at a time, or else just rush in and incapacitate Biff first then KO his buddy. Grab Biff and learn about Roy’s smuggling operation; he’s trying to ship medical supplies to Cuba for extra cash.
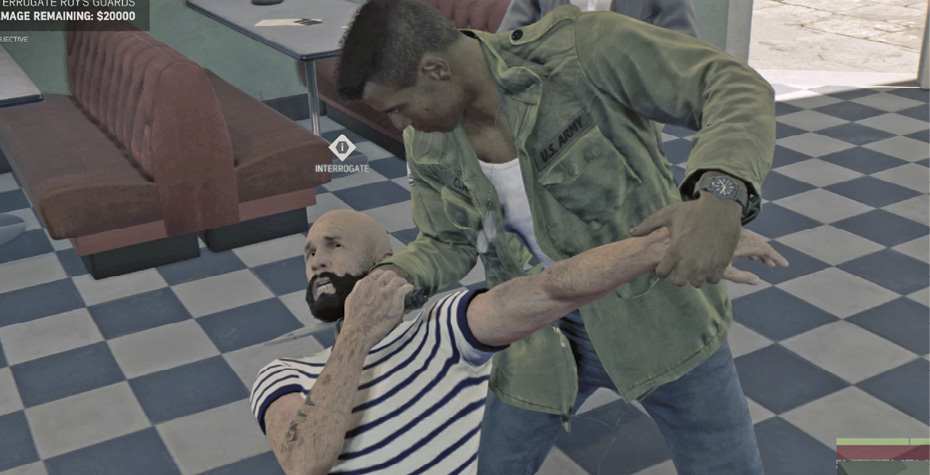
Unlocks:Steal or Destroy Medical Supply Truck
Roscoe at Baby Bear
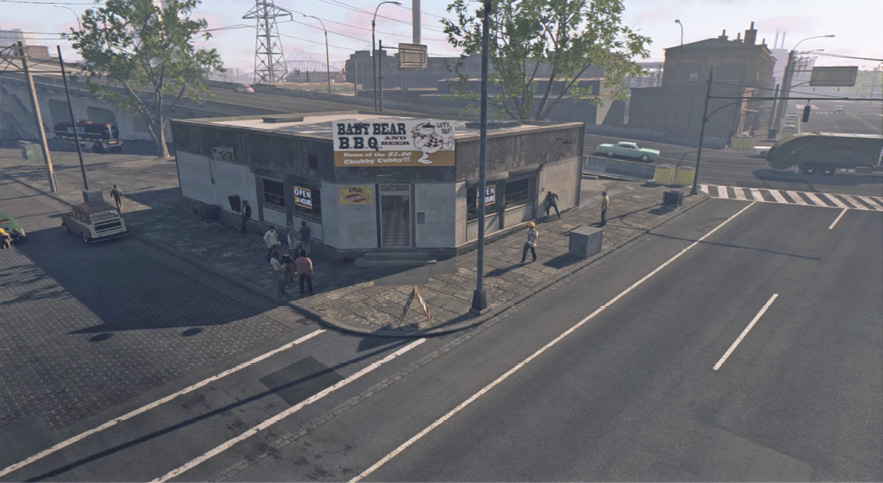
Follow the trip route to Baby Bear B.B.Q. and Beer (3b) on the west side. (Wiretap that nearby Junction Box.) Roscoe is just inside the doorway, talking to a sidekick. Hide just outside the front door and whistle them over one at a time, or just rush in and incapacitate Roscoe then KO his buddy. Grab Roscoe and learn about Roy’s smuggling operation; he’s trying to ship medical supplies to Cuba for extra cash.
Unlocks:Steal or Destroy Medical Supply Truck
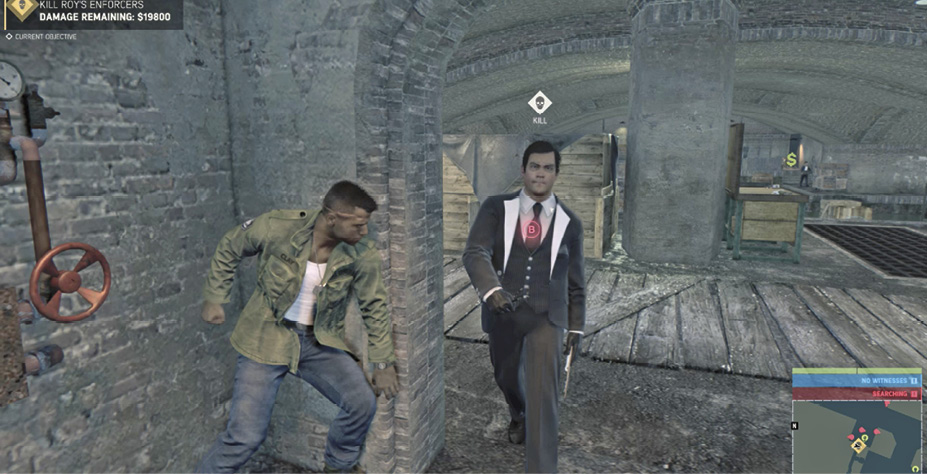
Kill Roy’s Enforcers
Prerequisite: Talk to Connie Demarco
Nestor Pellegrini
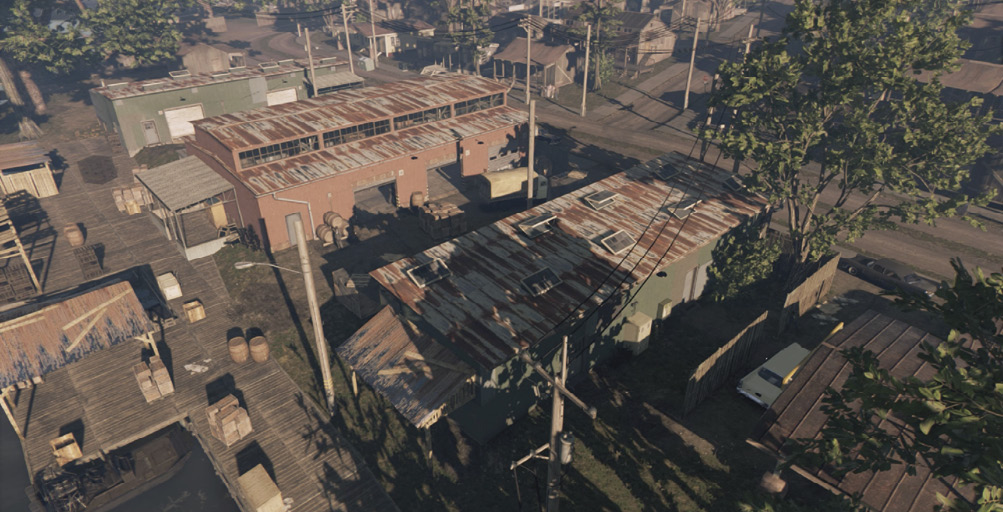
One of Roy Thibideaux’s tough guys runs a smuggling warehouse on the docks (4). First, be sure to wiretap the Junction Box (circled in our shot) on the back wall of the warehouse building, if you haven’t done so already. Now you can see the whole layout through the walls.
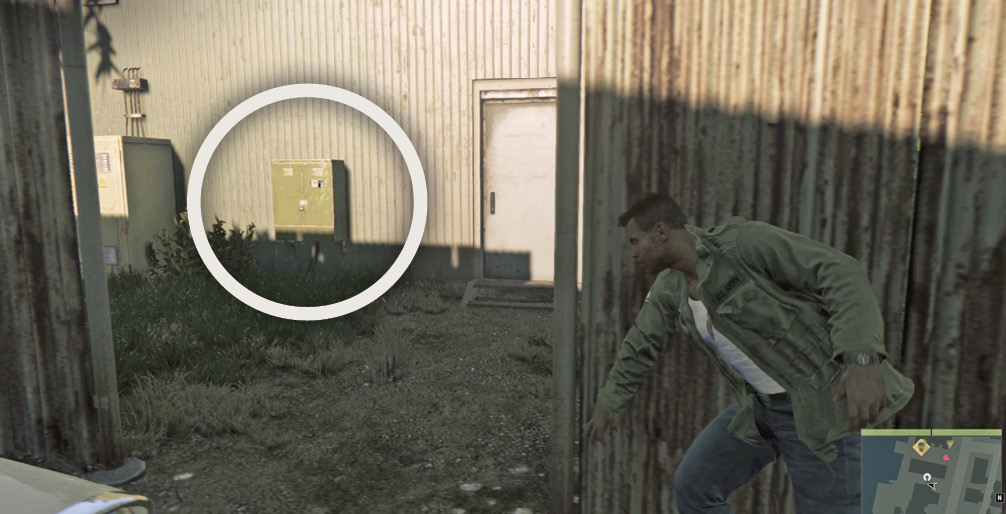
Take cover behind a crate on the docks and whistle the Sentry to you. Once he’s down, you can push forward to the contraband crates and start luring Pellegrini’s other goons. Once you eliminate the Enforcer himself, use Intel View to find the two pallets of smuggled goods inside the warehouse. Don’t miss the $500 pile of cash nearby!
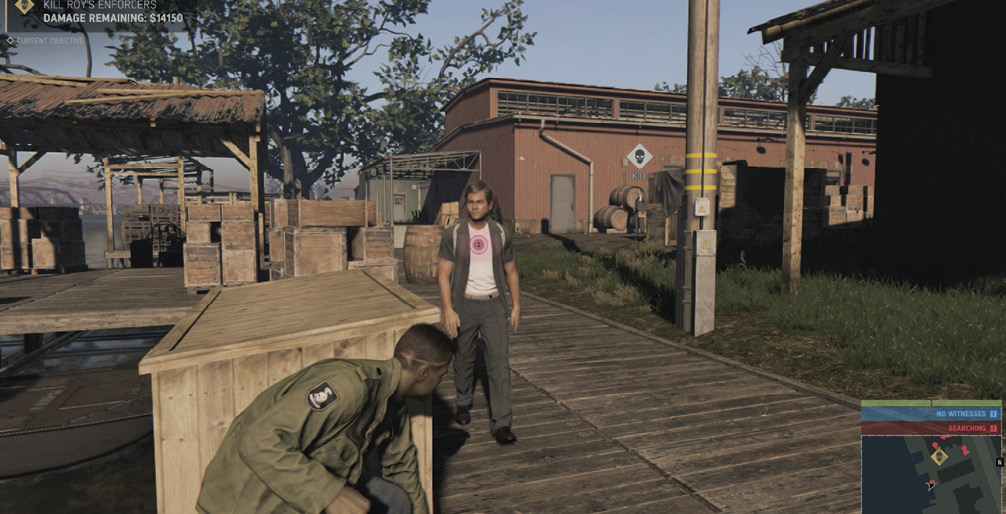
Fabio “Fab” Fulci
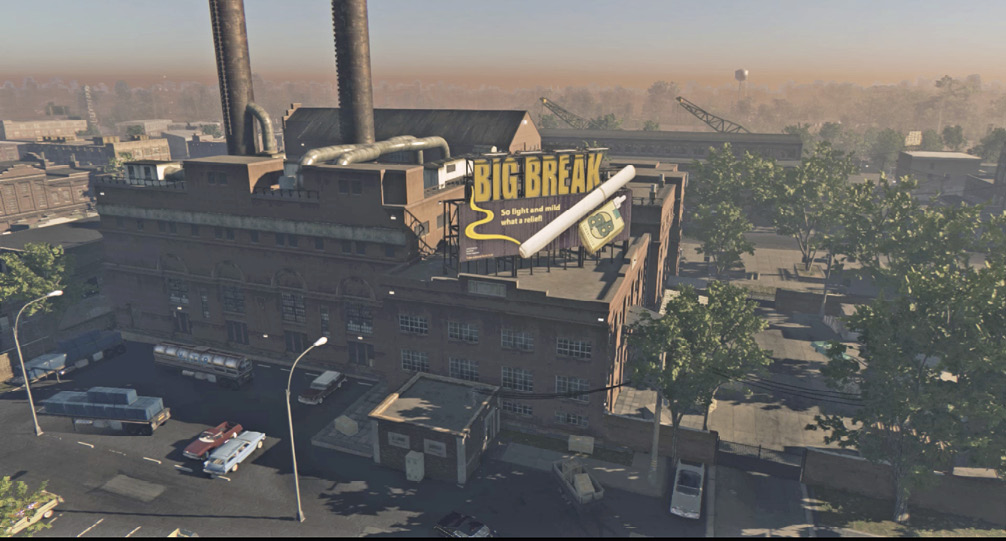
Fab Fulci oversees the part of Roy’s smuggling operation that ships out of the underground canals. Follow the trip route to the parking lot outside the factory with the huge Big Break cigarette billboard on the roof. If you’ve wiretapped the sector’s Junction Box, your Intel View reveals that enemies are down below you in the canals!
One entrance leading downstairs to the canals is across the street in the Bayside Shipping loading docks (5). Find the green door that leads to a control valve room with a utility shaft that drops down into a tunnel.
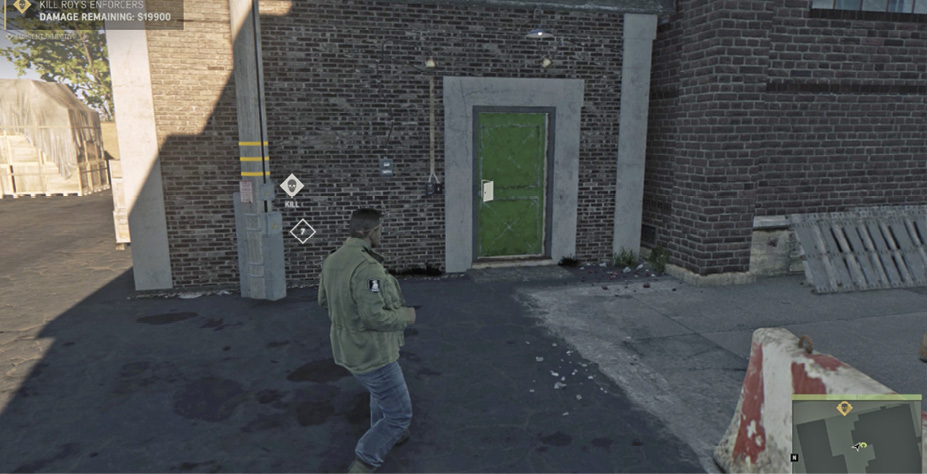
Follow the tunnel to the end and take cover at the doorway to the canals. Use Intel View to see a lot of guys milling around out there, including a Sentry. Start whistling! You can draw every canal rat in the area to your position for a silent takedown, including Fab Fulci.
Rob the Warehouse
Prerequisite: Talk to Connie Demarco
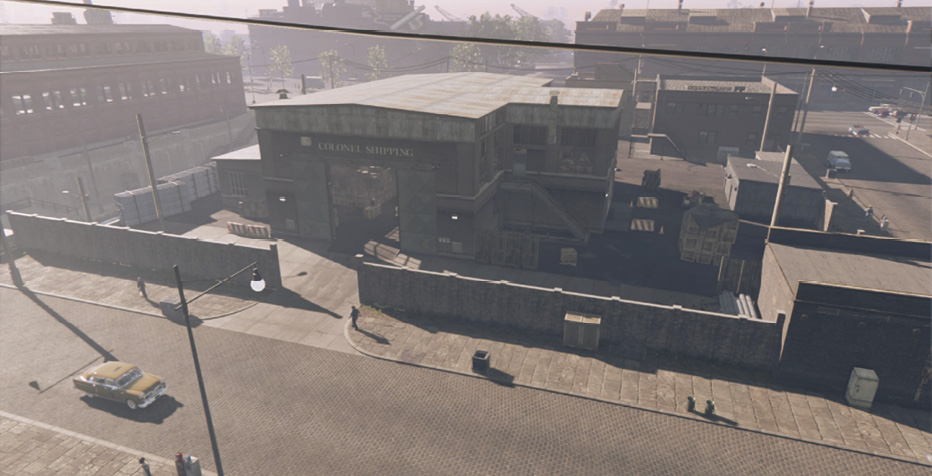
Follow the trip route to the Colonel Shipping warehouse (6), home of the mob’s regular card game. The safest route inside: use the wooden crates sitting outside the perimeter brick wall to climb over, and then ascend the back stairwell.
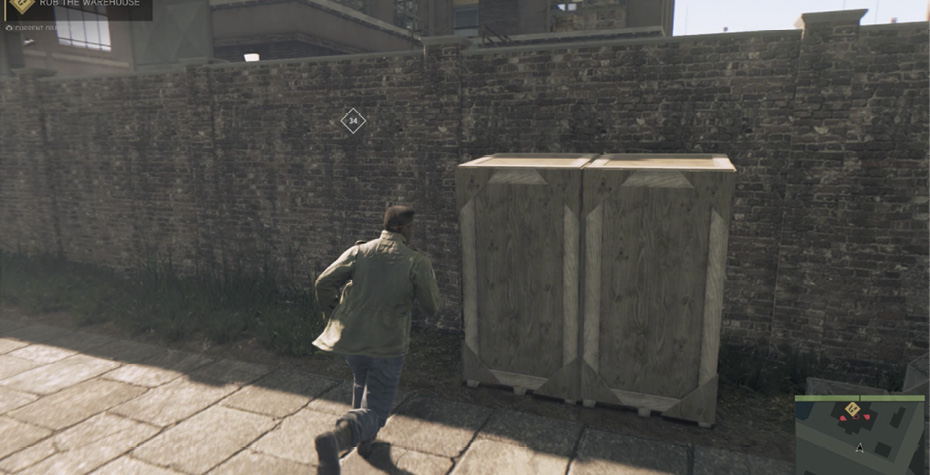
At the top of the stairs, use the Pry Bar to break in the back door. Open the next door and sneak up behind the guard with his back to you at the railing. Now move quietly along the railing. Your primary target is a huge stash of cash on the poker table down on the main floor. Three mob thugs stand around the table, so a nice move is to toss down a grenade or Molotov right on top of the table. You can nail all three at once!
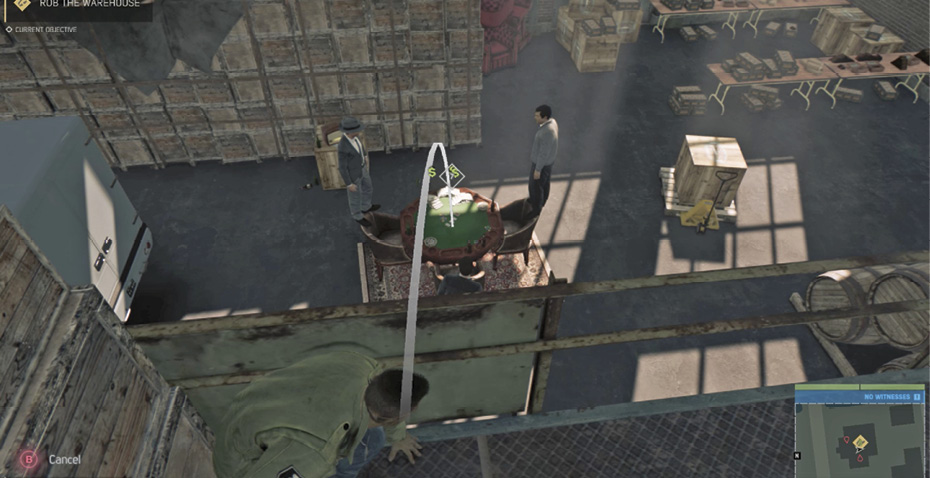
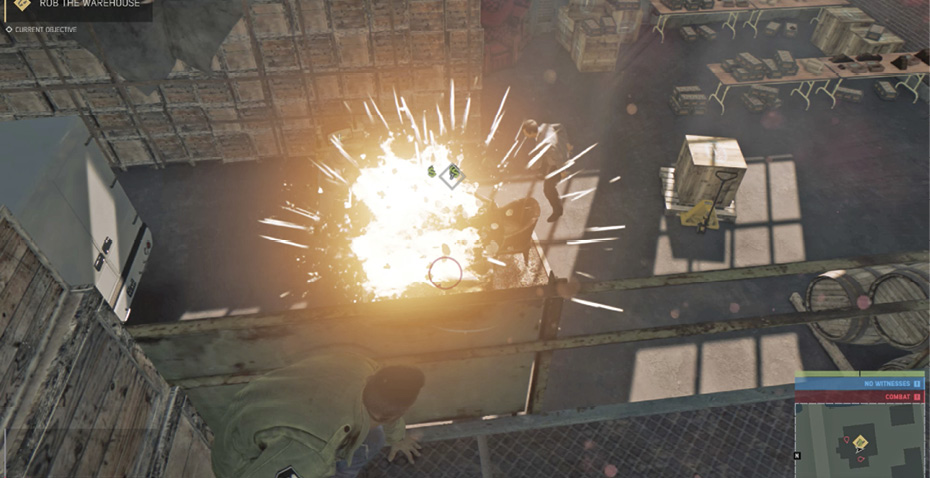
Take out any remaining guards and then grab the three stacks of cash sitting on the poker table.
Steal or Destroy Medical Supply Truck
Prerequisite: Interrogate Roy’s Guards
Once you interrogate the Informant, a new Target of Opportunity appears on your map. Follow the trip route to the big brick warehouse (7) on River Row’s west side and wiretap the Junction Box on the building. Then step just around the corner and use your Pry Bar to open the door. Inside, you find a Weapon Locker with a rugged Tac-Vest inside, plus a stack of cash on the desk.
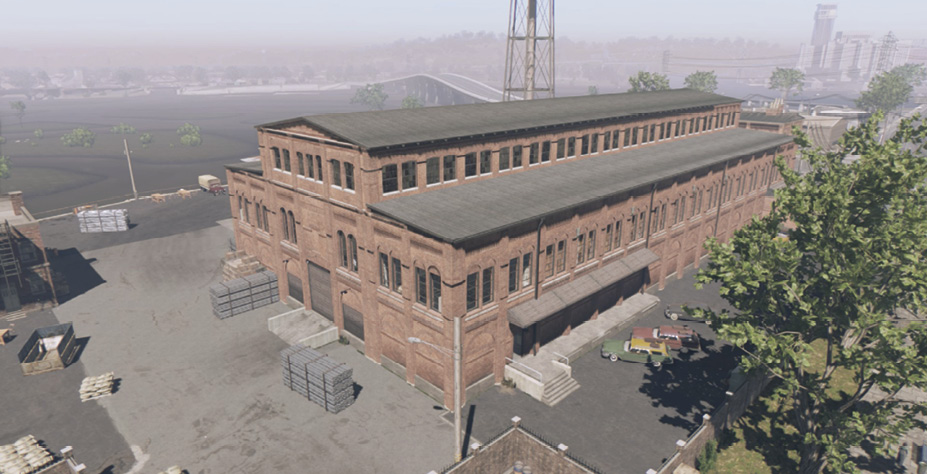
Move through the next room full of supplies and take cover at the door leading into the central storage area. Open the door and use Intel View to survey the area. Note that three Sentries are posted around the room. Start sneaking through the area, making stealth kills. Be sure to explore the upper levels of the warehouse to find offices filled with cash and collectibles.
Downstairs on the main floor, look for the supply crates that you can destroy, plus several more stacks of cash. (As always, use your Intel View to spot all of these objects.) Then find the truck marked with the green cross. It is filled with medical supplies. You have two choices: you can destroy it or drive it to St. Jerome’s (8), Father James’ church in the French Ward.
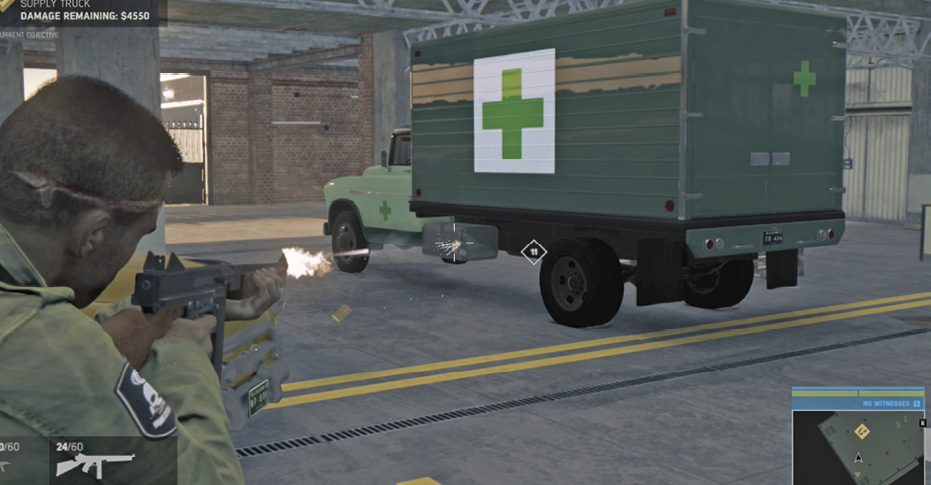
Talk to Connie Demarco (Second Visit)
Prerequisite: Racket Damage Lowers Earn to $0
Head back to see Connie Demarco again (2). When you talk to him, you get the option to remove all remaining racket objectives. If you select Accept, Connie tells you that Roy Thibideaux is rattled and sleeping at his main warehouse.
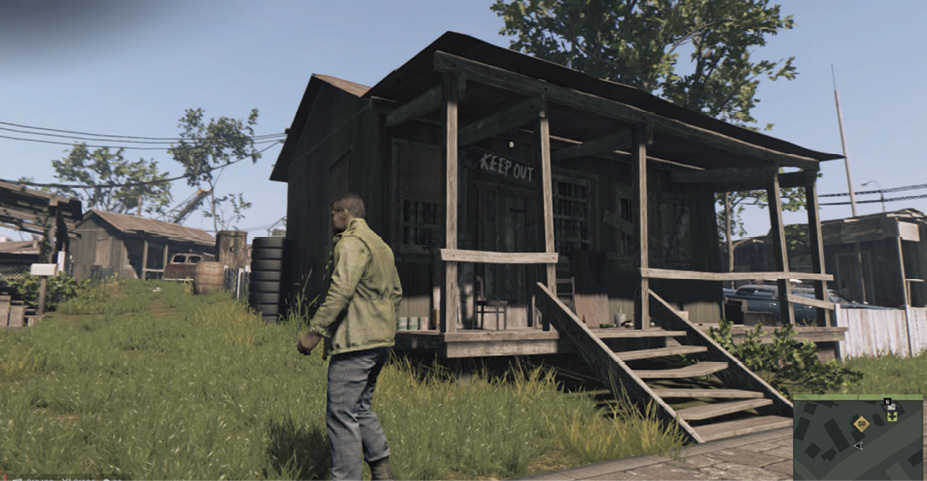
Confront Roy Thibideaux
Follow the trip route to Roy’s headquarters at Skidaway Durables, the big warehouse (7) where you dealt with the medical supply truck. This place is heavily guarded! A good infiltration route: go to the smaller building across the canal that connects to the warehouse via an enclosed skywalk. Climb the back stairs to the skywalk and sneak down its corridor. Then start whistling to lure a few of the guards for silent takedowns to even up the odds a bit.
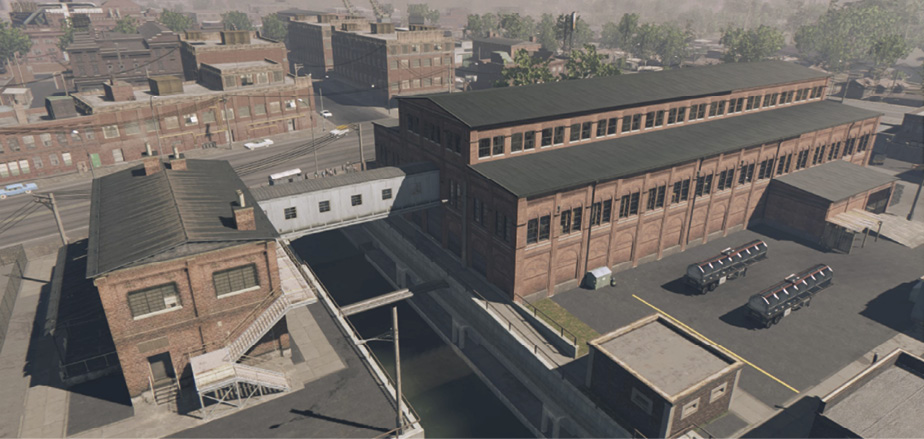
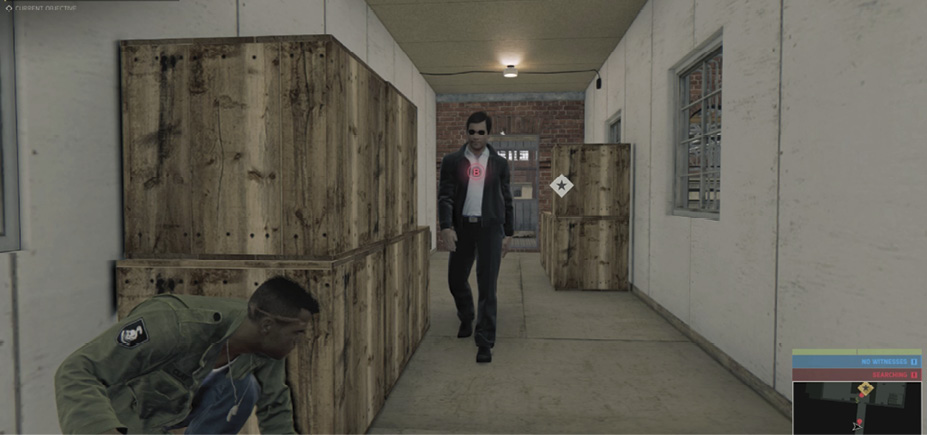
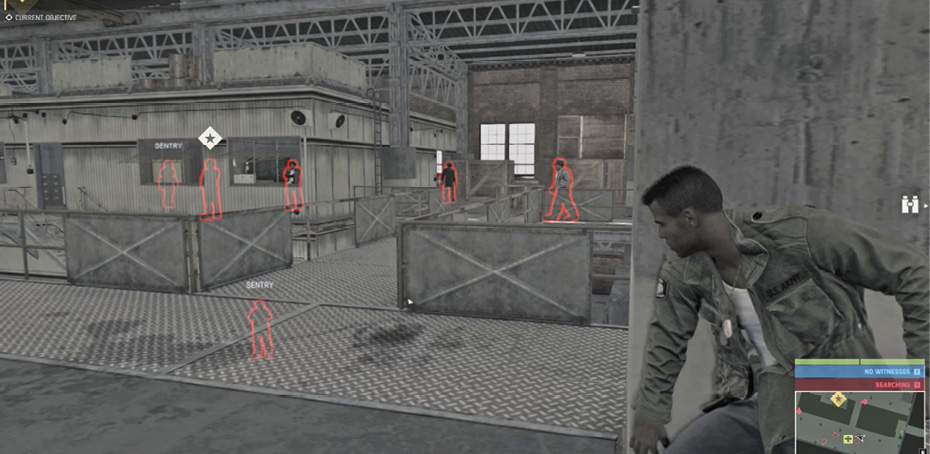
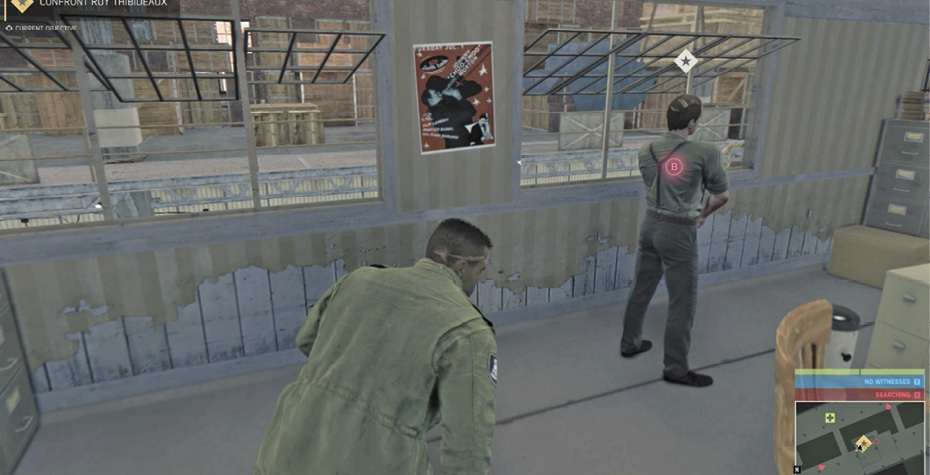
When you reach the far end of the skywalk you can set up in the Sniper Point (seen in Intel View) overlooking the warehouse floor below and start picking off goons. If you try this tactic, target the Sentries first. But the easier path is to work your way stealthily across the warehouse’s upper level, moving to the main office where Roy Thibideaux is holed up. Once you take down Roy, the racket is in your hands!
Assign the Contraband Racket to Vito
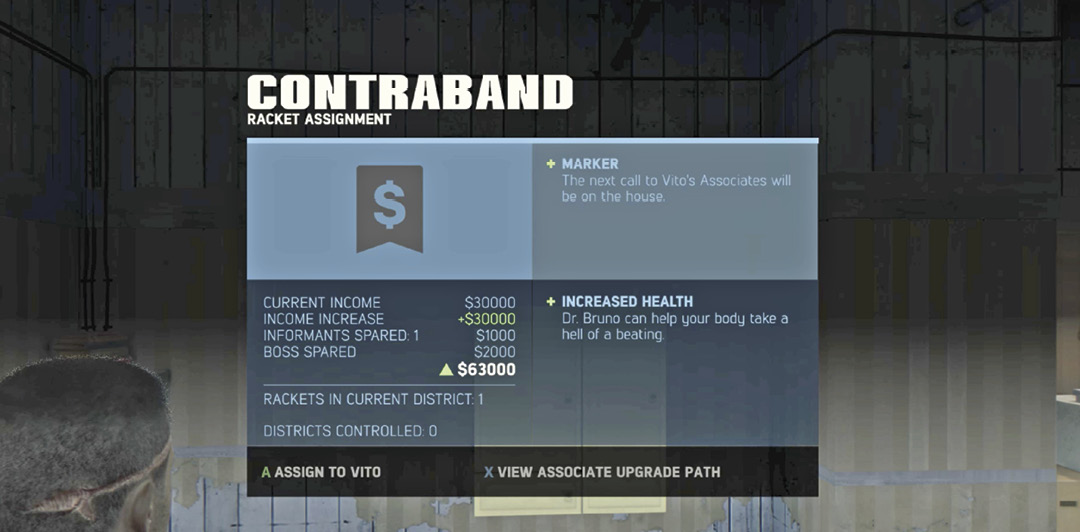
Now that the Contraband Racket is secured, press the button prompted to assign it to Vito Scaletta.
- If you secured the Contraband racket before the Extortion racket, this adds the Hit Squad to your Associates Menu. Whenever Lincoln is outnumbered badly, you can summon support from this three-man crew of armed associates.
- If you secured the Union Extortion racket before the Contraband racket (as we did in this walkthrough), assigning the second racket to Vito puts Lincoln in touch with Vito’s associate, Dr. Gianni Bruno. The Mob Doctor 1 favor adds a third bar to your Health.
If You Control Both River Row Rackets…
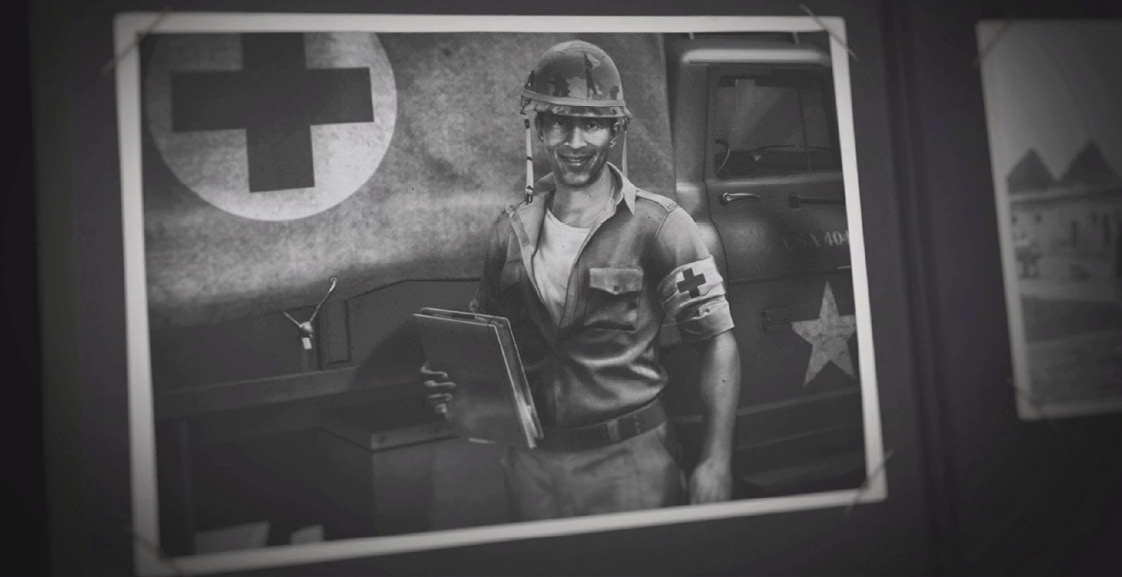
Securing both rackets in River Row triggers a cutscene: Father James recalls his own military service as a medic in the 3rd Platoon, Company C of the Army’s 614th Tank Destroyer Battalion during World War II. Because of their heroic actions in driving German troops from the heavily defended town of Climbach in France, this famous true-life battalion was the first African-American unit to receive a Distinguished Unit Citation during that war.