Mafia III Guide Story Missions
POINTE VERDUN: The Blade Stained Red
Mission: “Cut and Run”
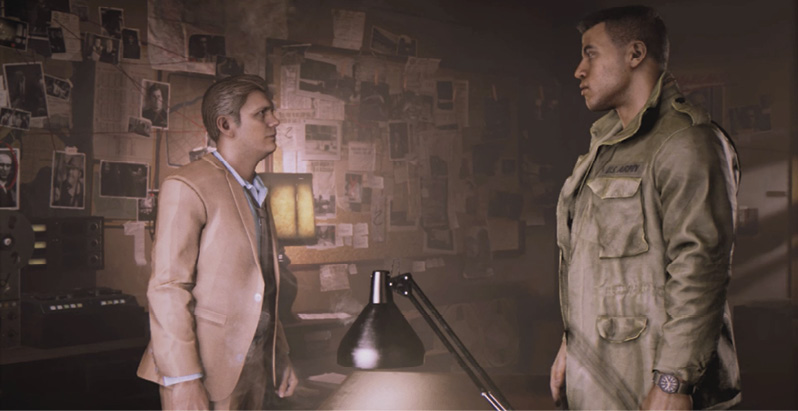
When Lincoln picks up Donovan’s dossier on Thomas Burke, he learns that the disgruntled Irishman is bitter about his son Danny’s death and the takeover of his Pointe Verdun turf by Roman “The Butcher” Barbieri. Burke feels betrayed, with no love lost for Sal Marcano. He’s the perfect candidate for an alliance.
Talk to Burke
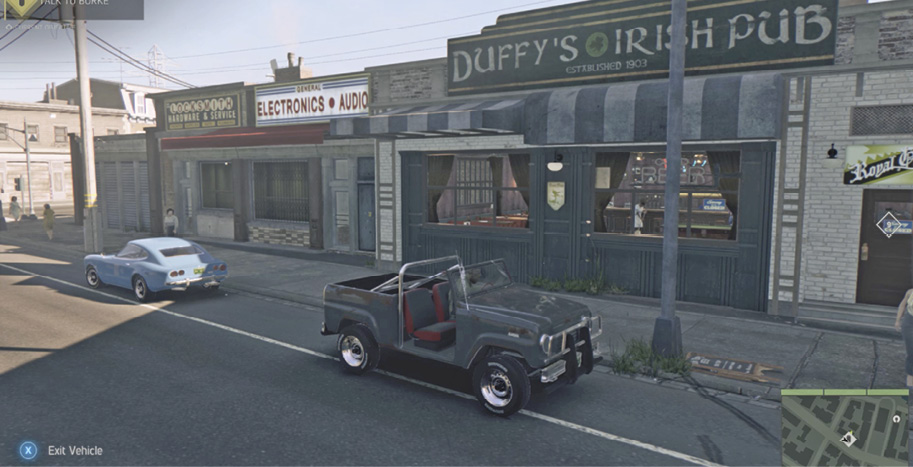
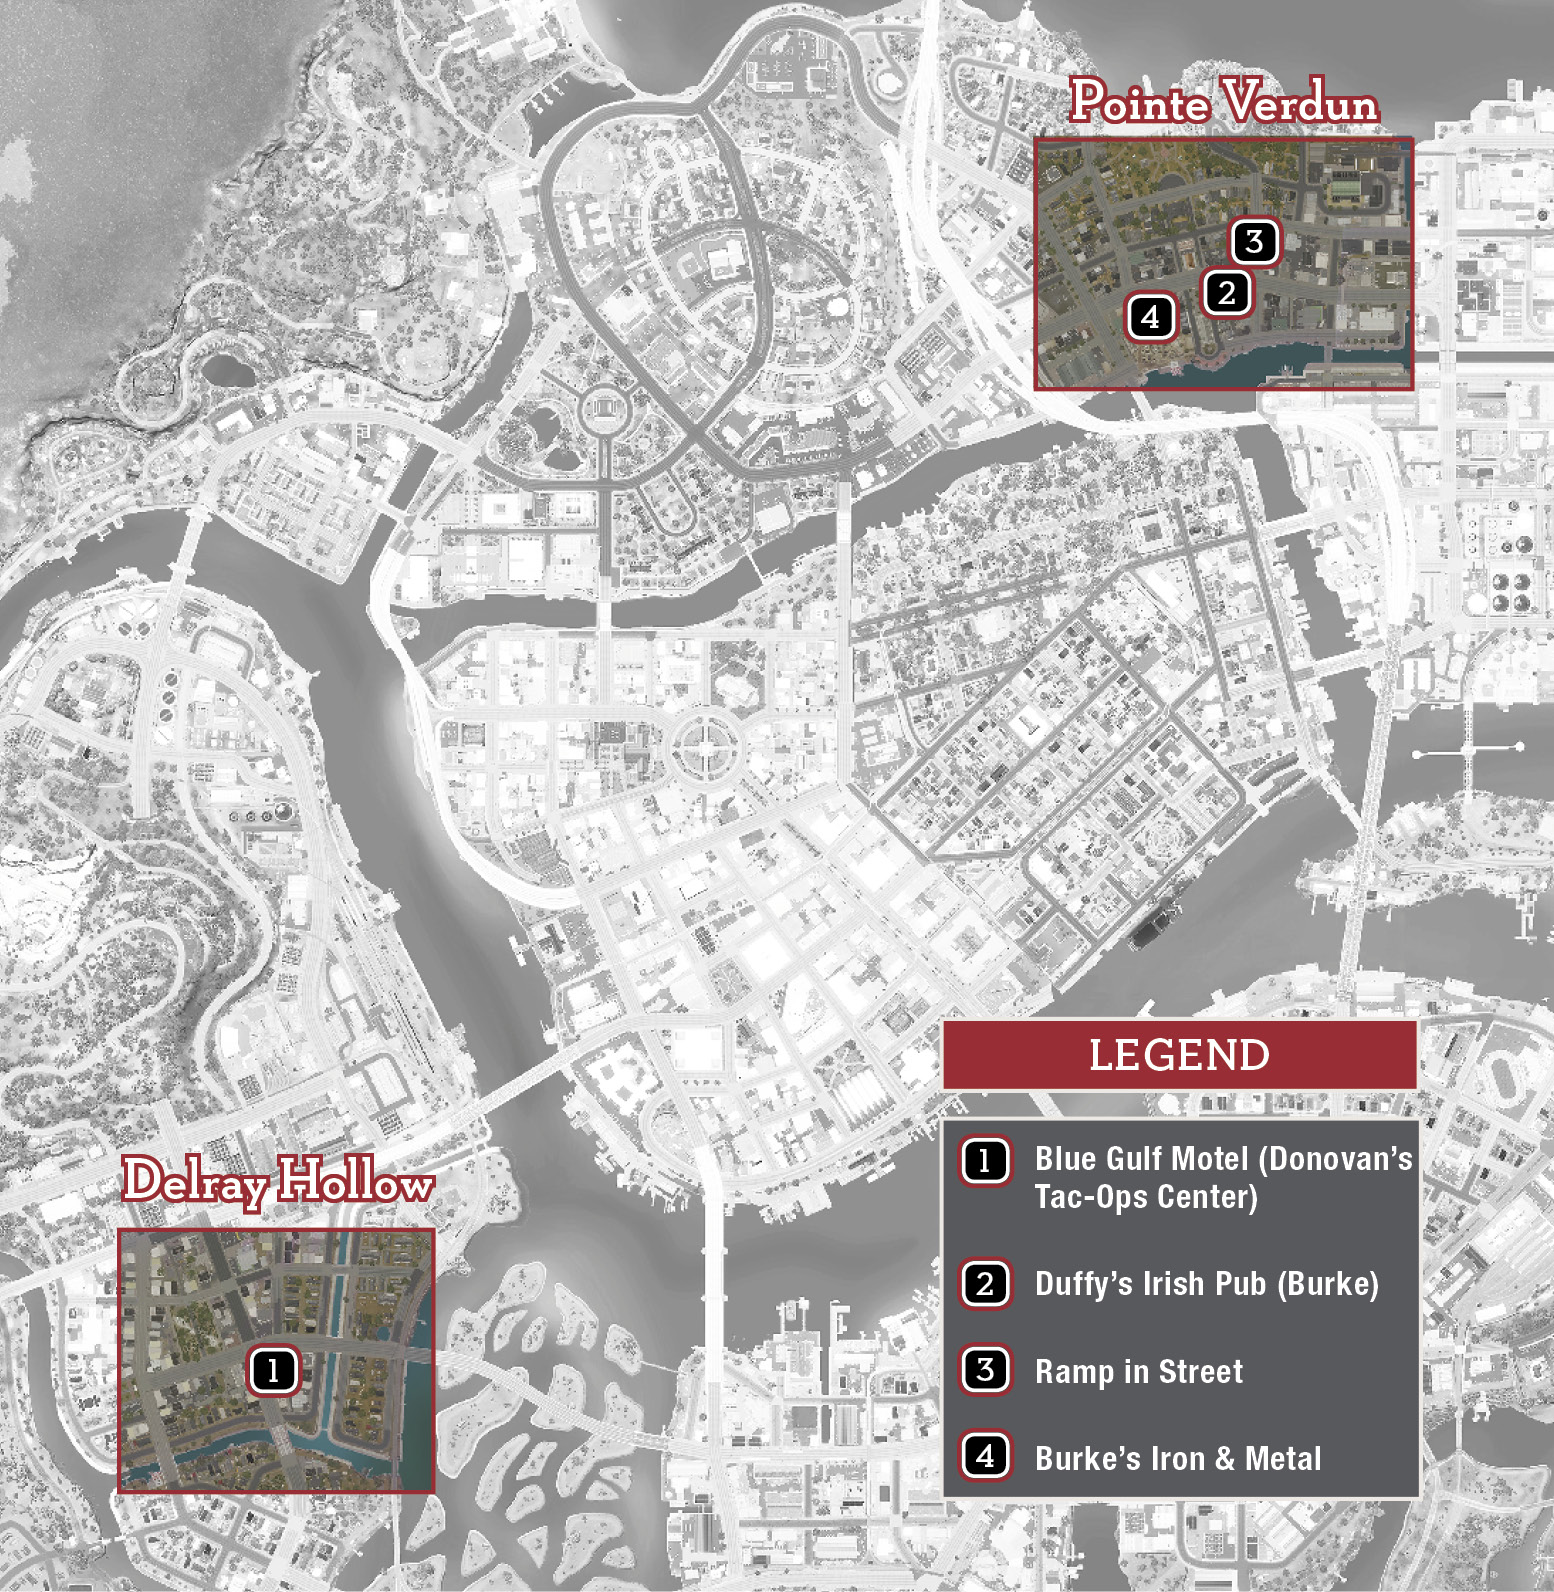
Follow the trip route to Duffy’s Irish Pub (2) in Pointe Verdun and try to enter the front door. You get a new directive.
Try the Back Door
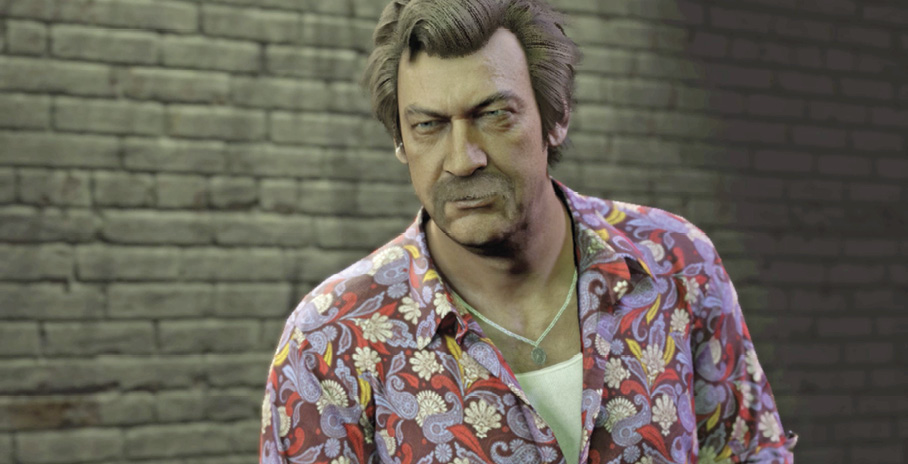
Walk down the alley to the back of the building. (On the way, note the amusing antiwar wall graffiti that includes a commentary on Roman Barbieri, AKA The Butcher.) Approach the back door to trigger a cinematic: Lincoln encounters Thomas Burke and makes a business proposition. But Burke suggests that Lincoln doesn’t have the guts to challenge Sal Marcano, and gets behind the wheel of his blue Potomac Independent to drive away.
Get in Burke’s Car
Enter the car on the driver’s side; Lincoln pushes Burke over to the passenger seat. Your job now is to “Convince Burke.”
Drive Like a Madman!
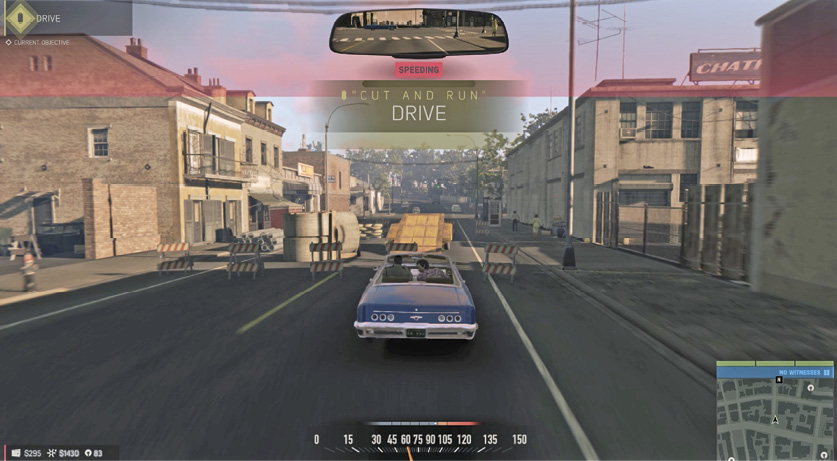
Your goal: Drive dangerously until you fill up the red meter onscreen (seen just under the rearview mirror). Exit the alley, turn left, speed through the intersection and steer straight toward the trailer (3) that forms a ramp in the street!
Every collision or near-miss with another car, object, or pedestrian builds the meter. Punch the accelerator hard, drift wildly around corners, run red lights, veer close to sideswipe oncoming traffic, and execute jumps that catch air with hard landings. Fun! When the meter finally fills up, Burke tells you to pull over.
Stop the Car and Get Out
Stop the car and get out. Burke says you have more to discuss, and then drives off.
Unlocks Story Mission:“A Nation Once Again”
Mission: “A Nation Once Again”
Prerequisite: Complete “Cut and Run”
Talk to Burke
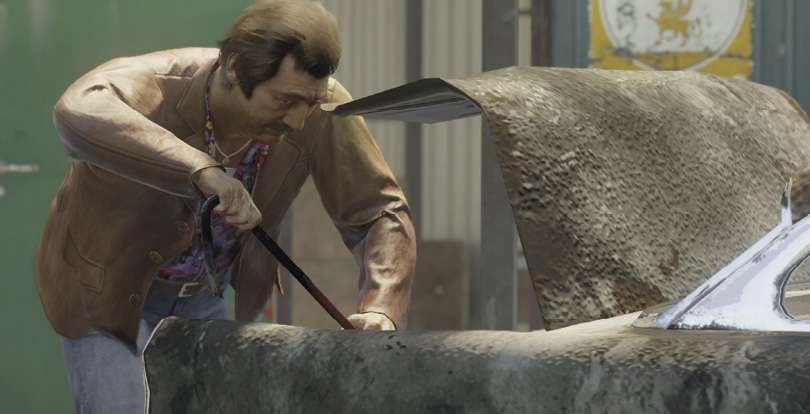
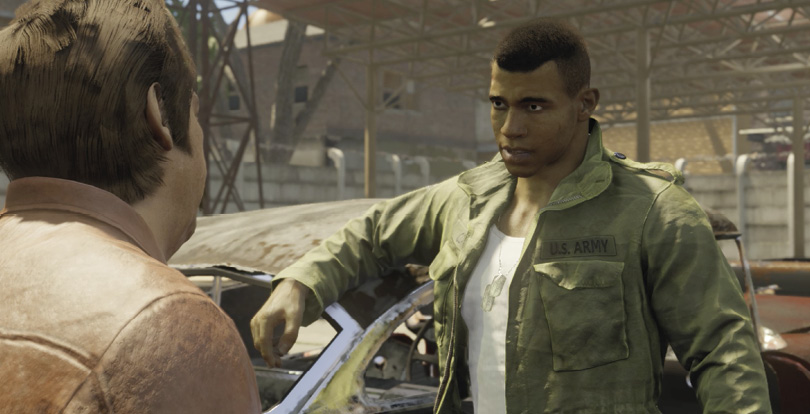
Follow the trip route to Burke’s Iron & Metal (4) and enter the shop via the door under the blue awning. This triggers a scene: Lincoln learns about Roman “The Butcher” Barbieri and the racket he took away from Burke, the liquor distillery. Burke also speaks of the Roberdeau Meat Packing Plant, where the Butcher makes mincemeat of any poor fool who refuses to pay his costly “protection” fee.
Unlocks: “Moonshine” Racket
RACKET: Moonshine
Talk to Nicki Burke (First Time)
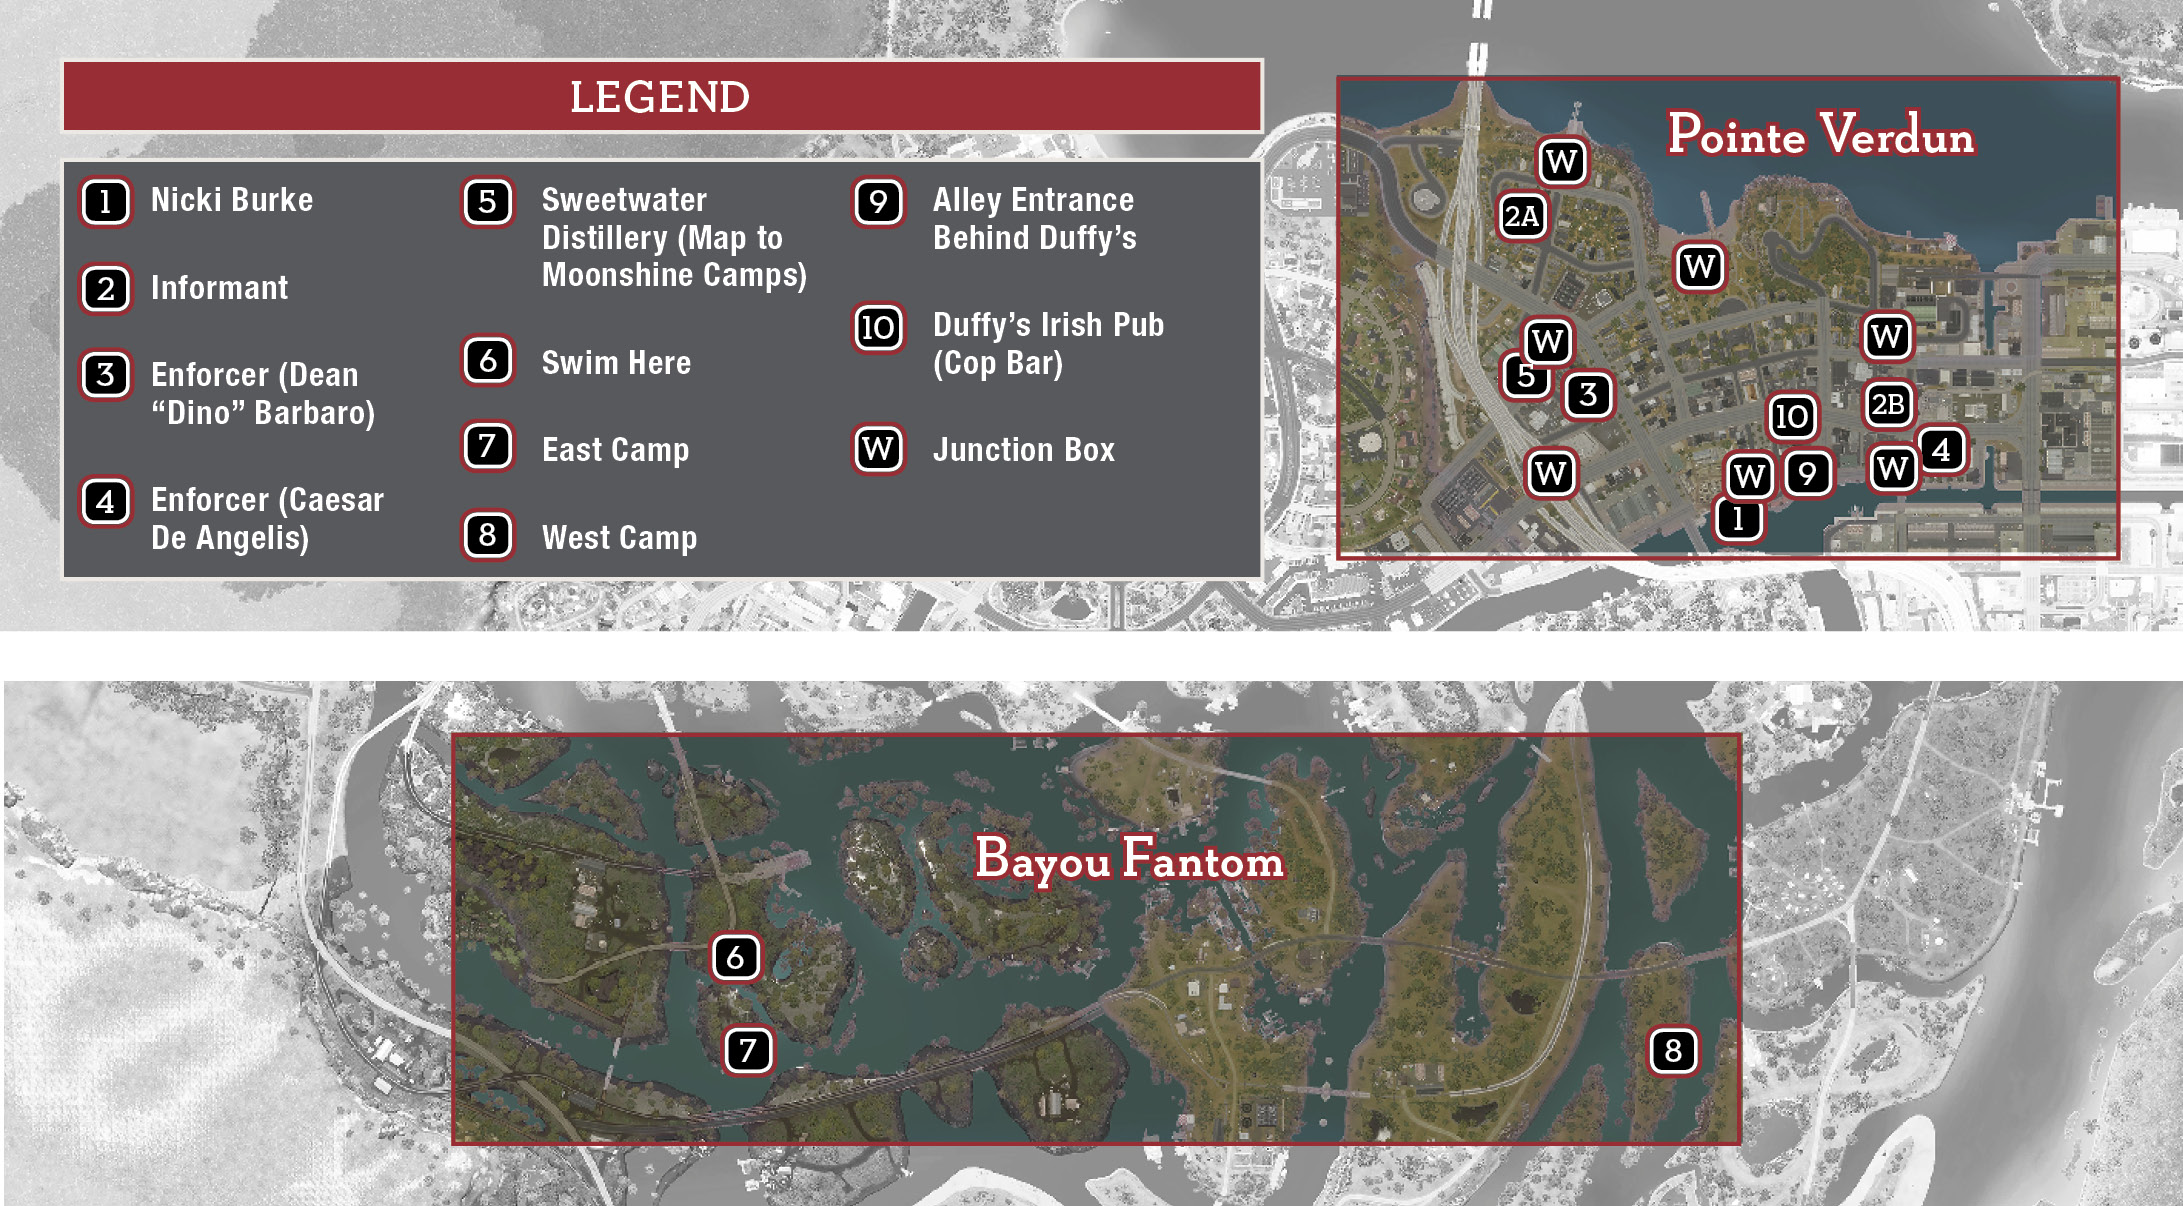
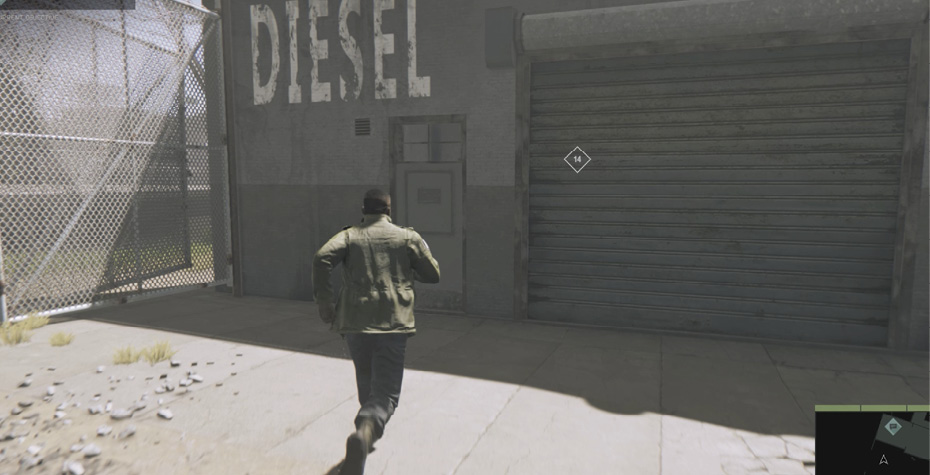
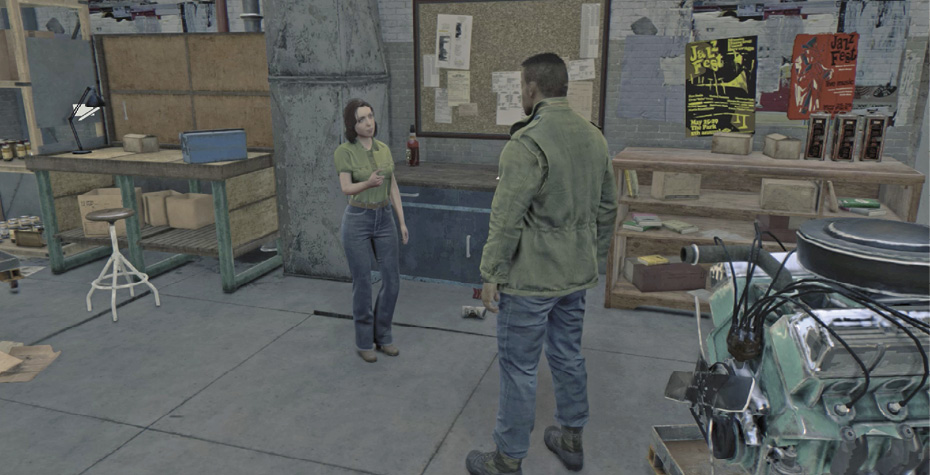
Nicki is in the machine shop (1) just a short jog across the junkyard lot from the Burke Iron & Metal office. She tells Lincoln about Carl Bevers, the guy running moonshine out of the Sweetwater Distillery for Barbieri. She’s heard that Bevers keeps moving his stills around, but he has a map for his drivers. She also mentions a guy named Bear who’s been keeping an eye on the Butcher’s Roberdeau meatpacking plant for the Burkes. This unlocks the other racket in the Pointe Verdun district.
Unlocks: “Protection” Racket
Interrogate Bootleggers
Prerequisite: Talk to Nicki Burke
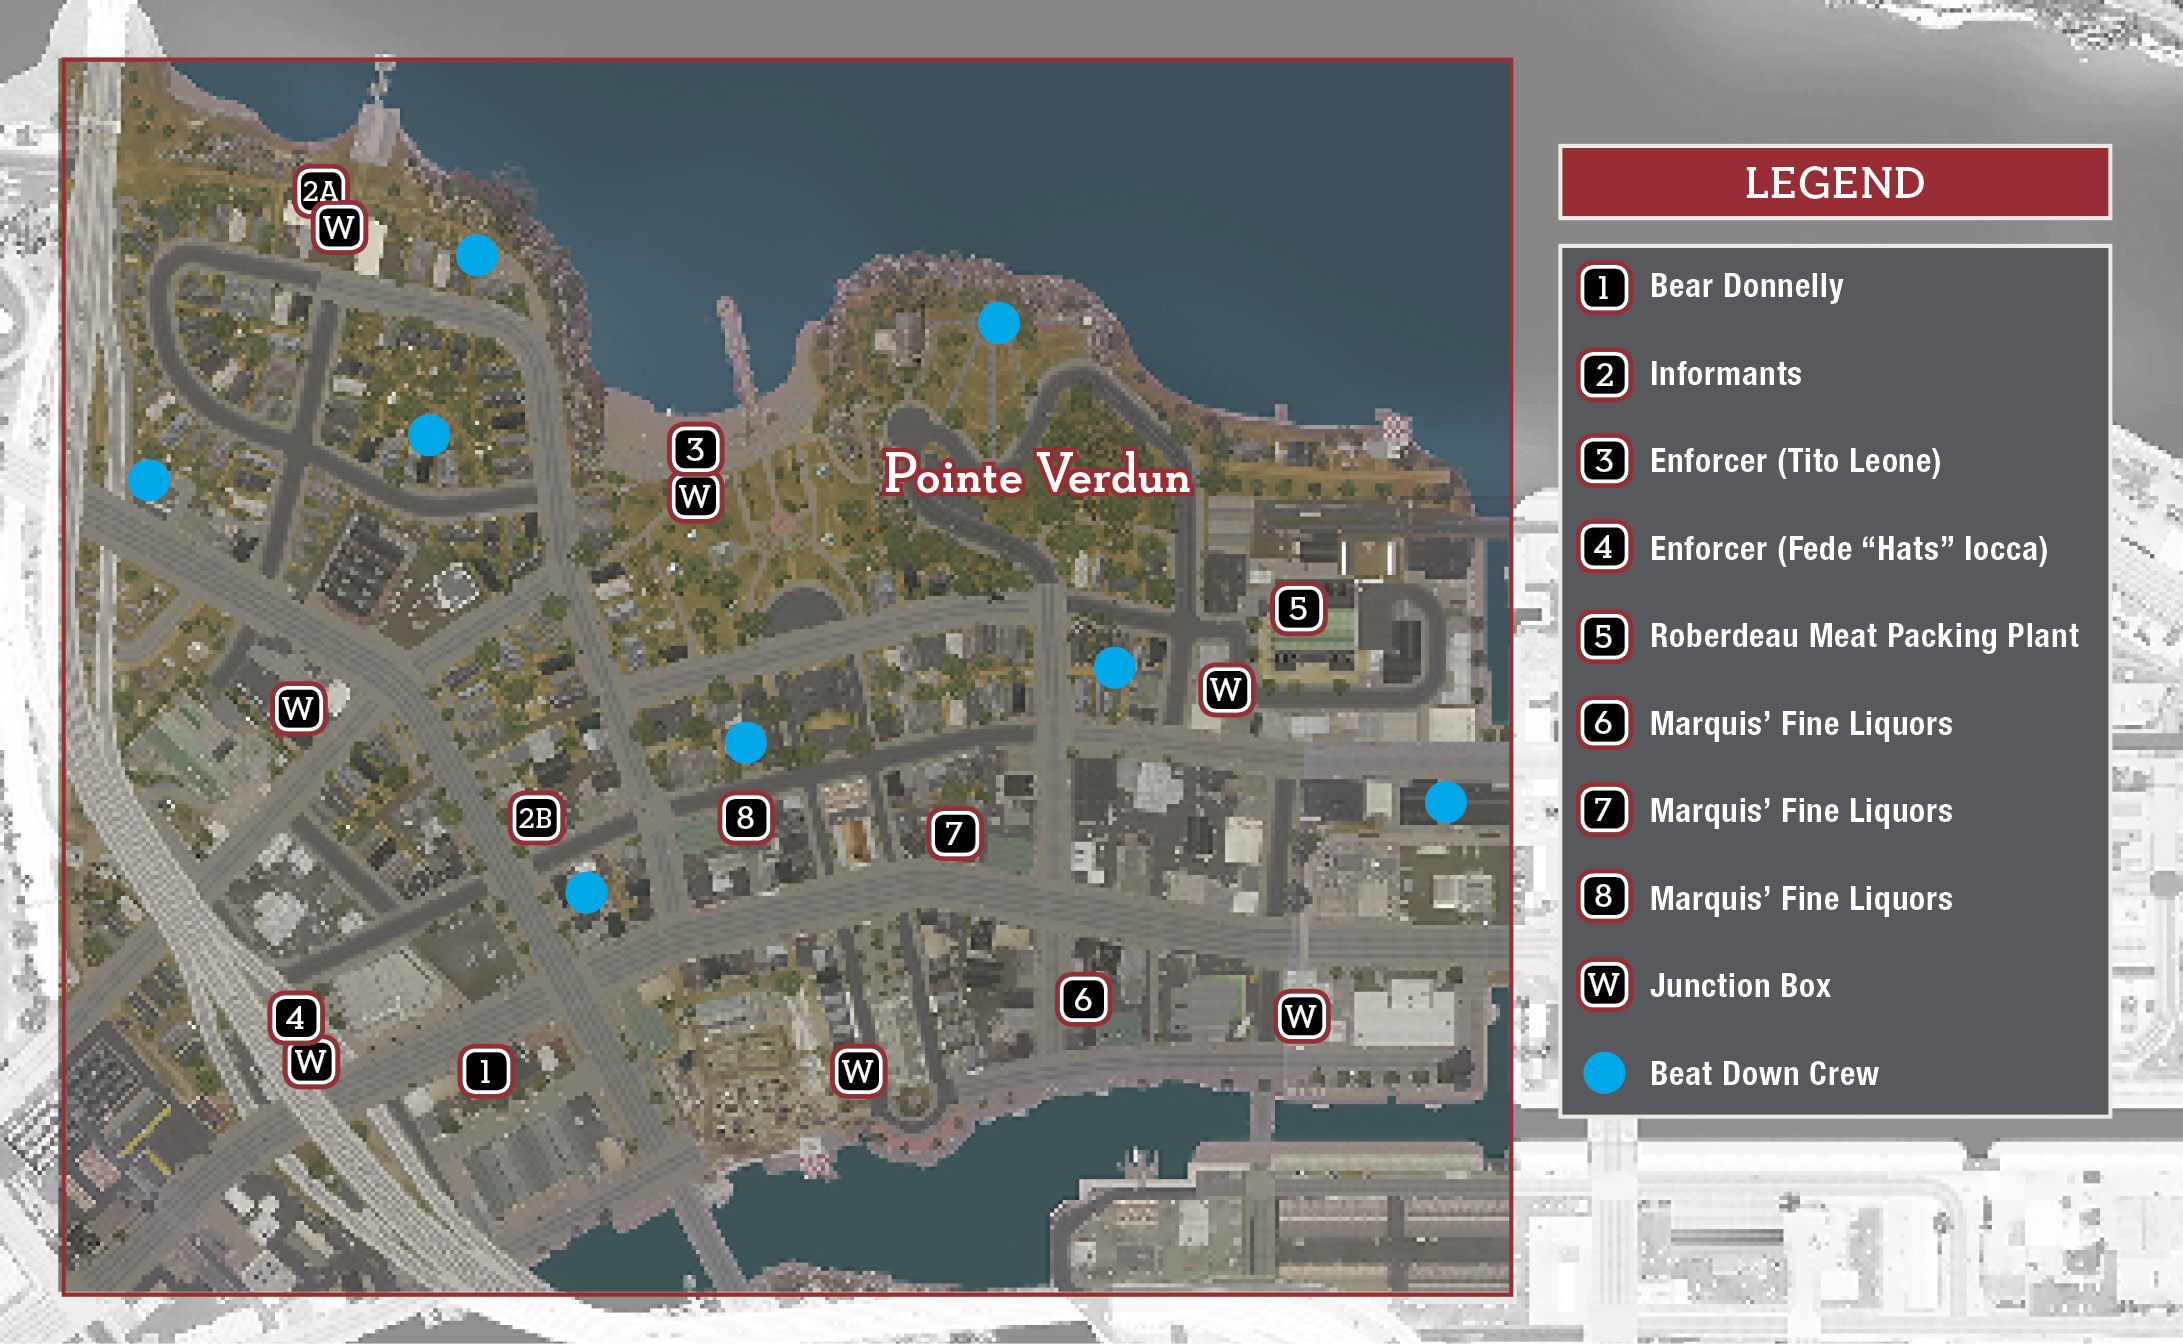
Two Informants appear on the map (2a, 2b), but as soon as you interrogate one, the other disappears. Take your pick. If the Informant escapes and you don’t catch him, he ends up at the other Informant location.
Rudolpho Conte
Follow the trip route to a residential neighborhood (2a) up in northwest Pointe Verdun. (Before you make your move, remember to wiretap the sector’s Junction Box; it’s on the wall of the Pearl Diver Motel just north of there.) Conte and his minions provided two stashes of moonshine for a crowded block party in an area of connected backyards, with houses arrayed in a circle around the party area. On top of that, beat cops are patrolling the street around the housing development. Getting to the Informant without triggering a panic with witnesses notifying police can be a tricky maneuver.
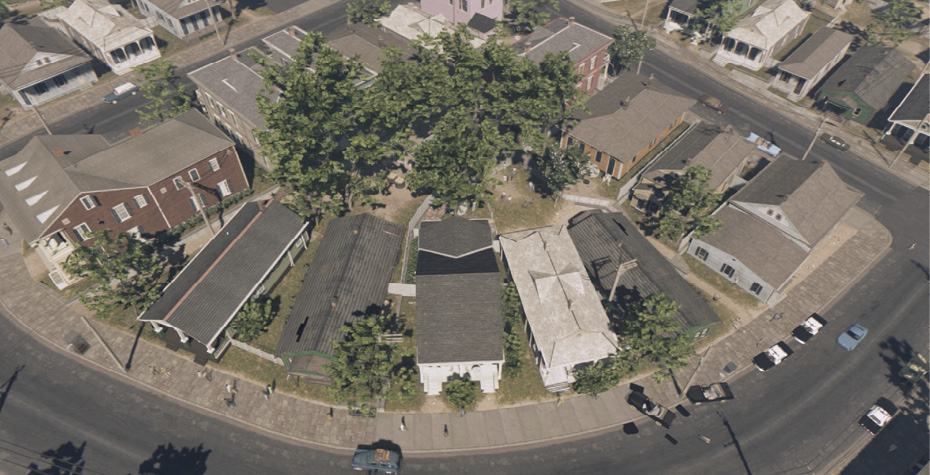
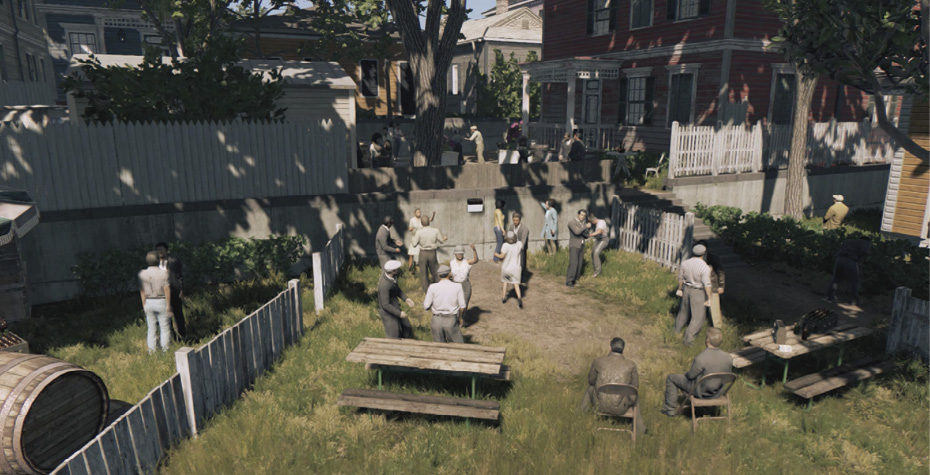
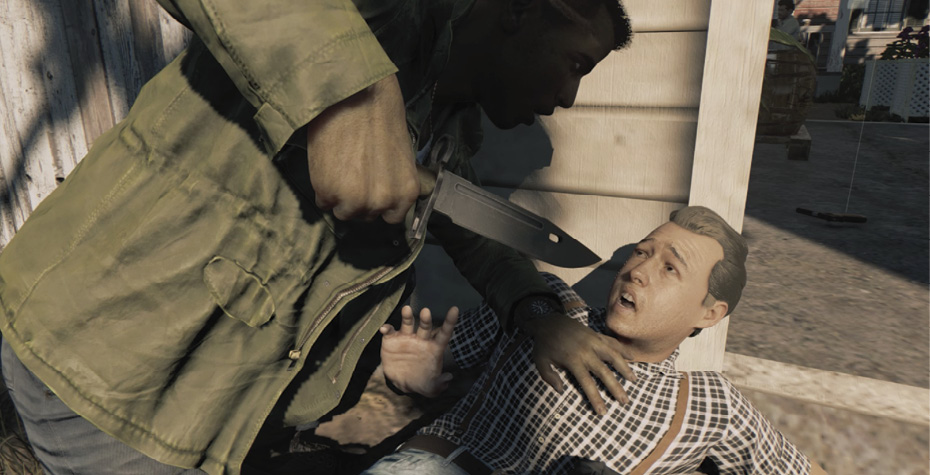
A good approach is to use the narrow alley between houses in the northwest corner of the development and then take cover at the doorway of the equipment shed where one batch of moonshine is stashed. (You can see it in Intel View.) Whistle to lure Conte’s men one at a time through the shed to your doorway for silent takedowns. Eventually, Conte himself investigates; take him down and interrogate him to learn where all the hooch cash is being stashed: a bar that serves local police!
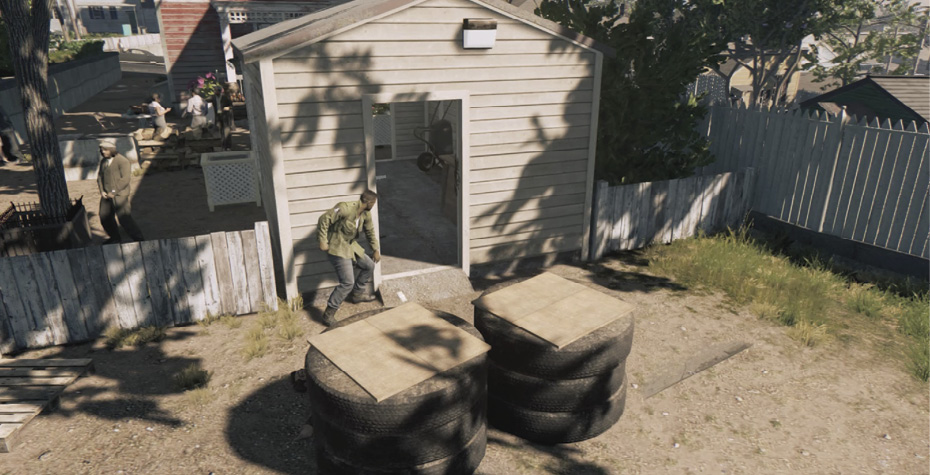
Don’t leave the party without exploring the backyards to find several hefty piles of cash, including a bag holding $500, plus three stashes of moonshine barrels that you can destroy for more racket damage.
Unlocks Objective: “Rob the Cop Bar”
Natali Balbo
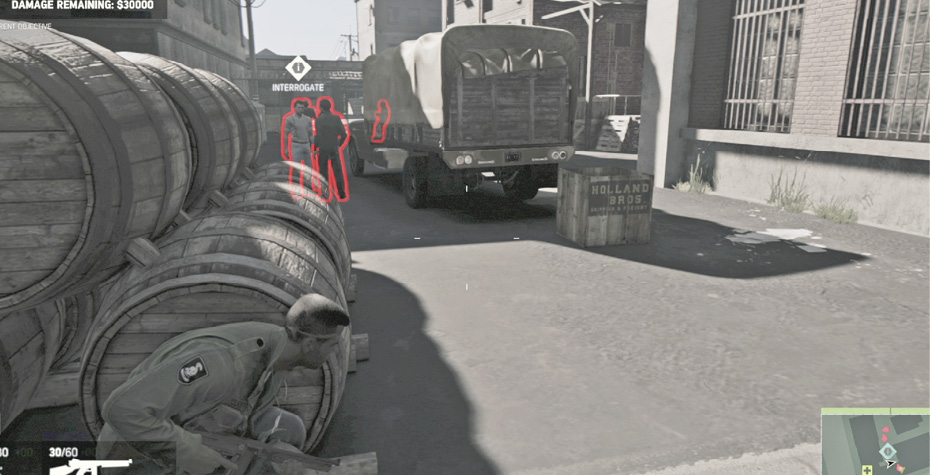
Travel to the east side to find Natali Balbo (2b) and his gang making a delivery behind Fareham Grocery. Your best approach: enter the store from the front, go through the Employees Only door in the back corner, and sneak out into the loading alley. Take cover behind the nearest crate and wait until one guard steps out of the storage room to the right; whistle him over for a takedown.
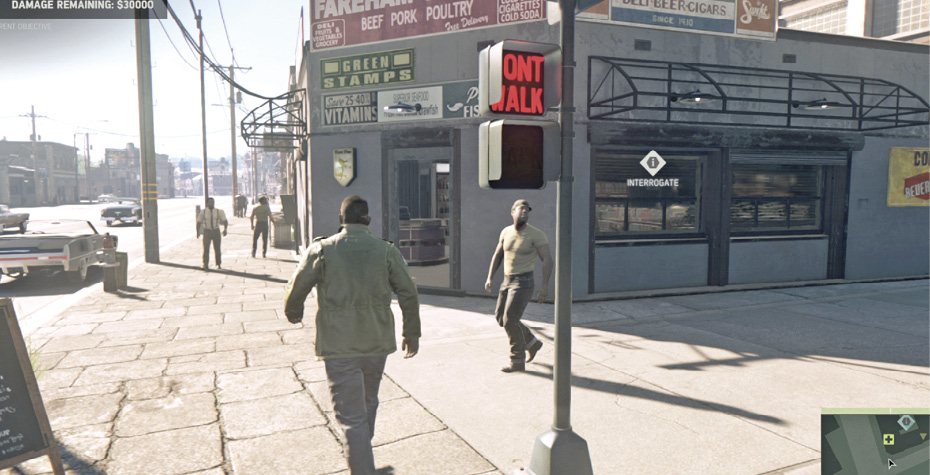
Now you can move behind the nearby barrels, closer to Balbo and the delivery truck. Again, whistle to lure his associates and then Natali himself for takedowns. Interrogate Balbo to learn what he knows about the cop bar stash. (Tip: Balbo’s escape car is parked in front of the grocery; if he escapes the alley you can sprint back through the store, turn right, and meet him out on the sidewalk.)
Kill Bevers’ Enforcers
Prerequisite: Talk to Nicki Burke
Dean “Dino” Barbaro
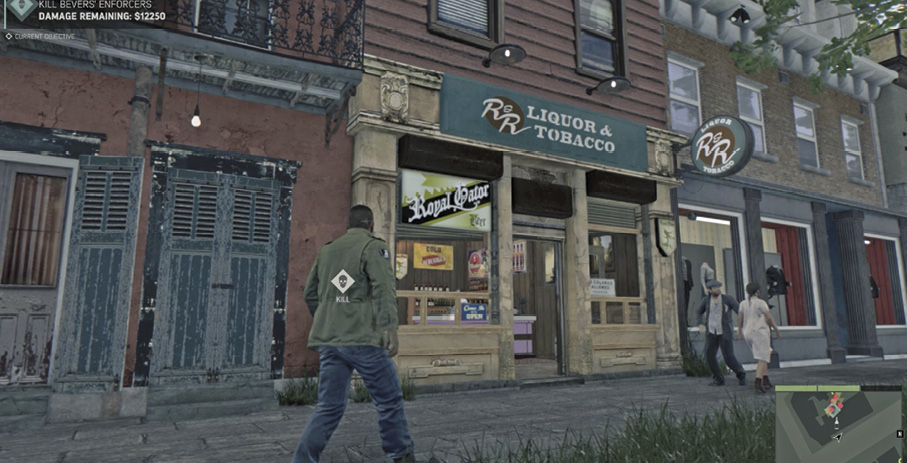
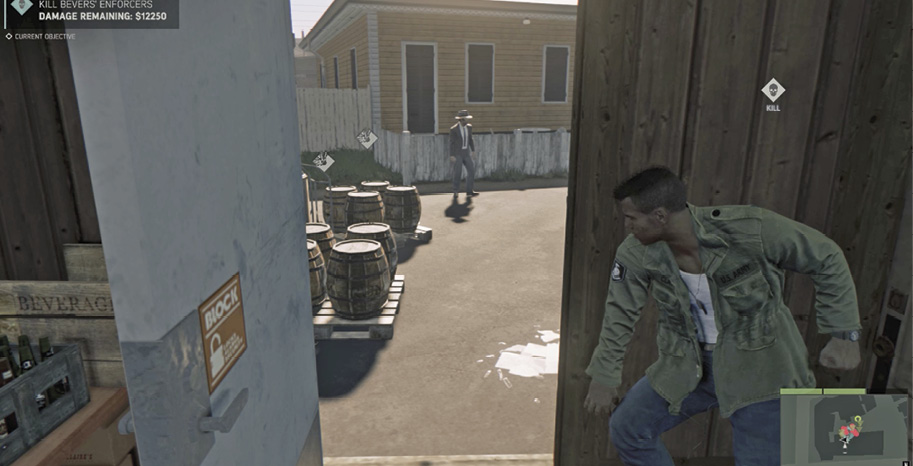
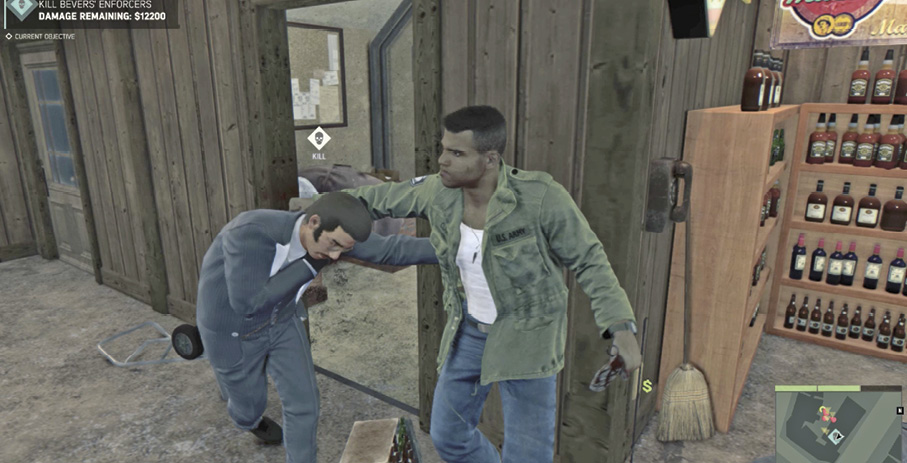
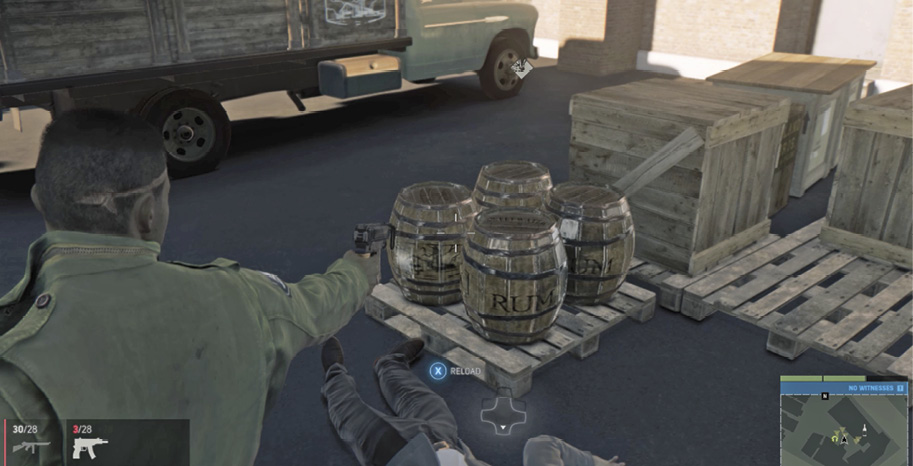
Find Dino’s crew unloading a moonshine shipment into the back door of R & R Liquor & Tobacco (3) in western Pointe Verdun. (Be sure to wiretap the sector Junction Box first; find it a block to the northwest, behind Frederic’s Delicatessen.) A good approach is to enter the store via its front entrance, punch out the proprietor to silence him, then take cover at the exit door in the back and open it.
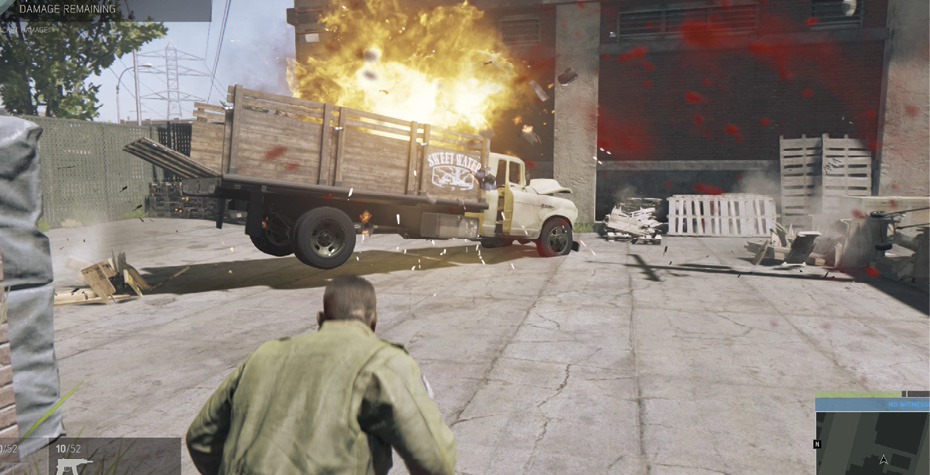
Now start whistling to lure in the goons from out back. You can get them all with silent takedowns, including the Sentry and Dino. Killing the Enforcer inflicts racket damage. Then go nuts in the loading lot by blasting four pallets of moonshine barrels and the Sweetwater Distillery truck.
Caesar De Angelis
Head to the rail freight warehouse (4) over in southeast Pointe Verdun. The Junction Box in this sector (circled in our overhead shot) is tricky to reach because it’s in a hostile zone, hanging on a wall in the warehouse loading area with mob guards posted near a distillery truck directly across the yard, facing the box. If you try to go straight for the box, the guards spot you and open fire! Instead, move stealthily to the crates near the box and then lure the guards for silent takedowns.
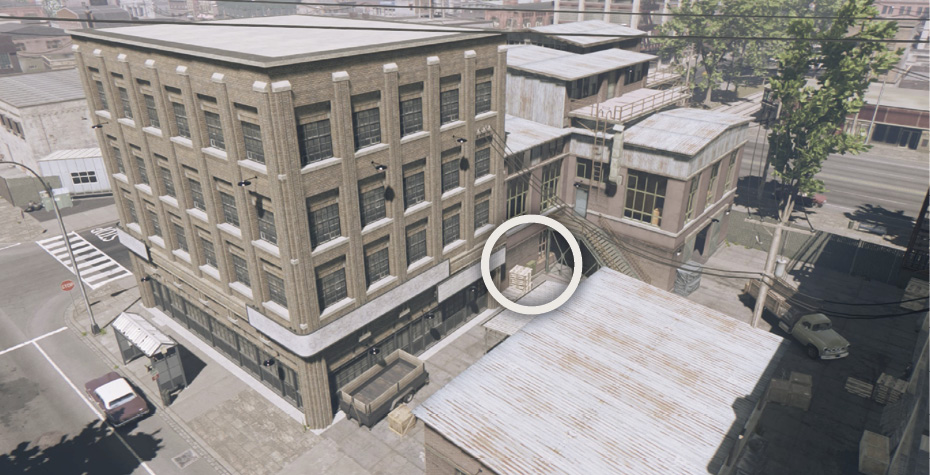
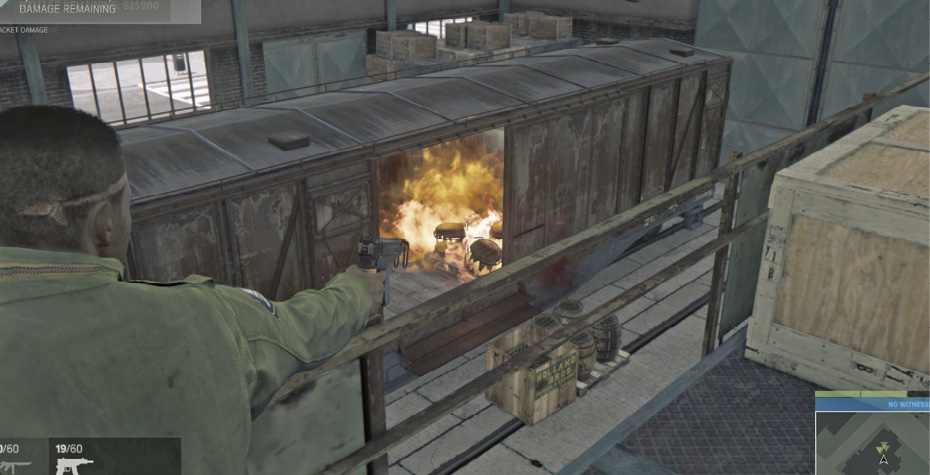
Climb the staircase next to the Junction Box and clear the upper level of the warehouse, where stacked crates provide good cover. Then lure Caesar upstairs and eliminate him. Taking out the Enforcer inflicts racket damage, but don’t stop there. Downstairs, four destructible shipments of moonshine barrels are loaded inside the railcar, plus one more sitting outside the car. Then head outside into the loading yard and blow up the Sweetwater Distillery truck for even more damage!
Destroy the Moonshine Camps
Prerequisite: Talk to Nicki Burke
Steal Map to Moonshine Camps
Nicki told you about rumors that Bevers has a map to his stills. Head to the Sweetwater Distillery (5) and take cover at the front entry gate. Slide around the corner to the right and work your way across the yard past the striped barriers and the delivery truck, taking out guards with stealth.
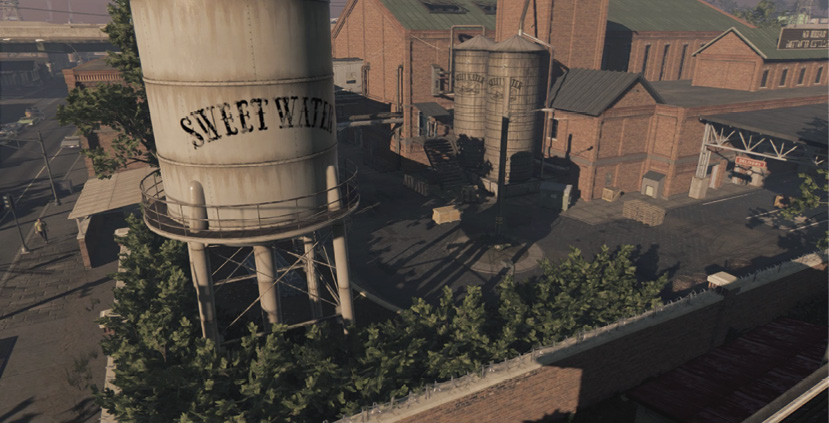
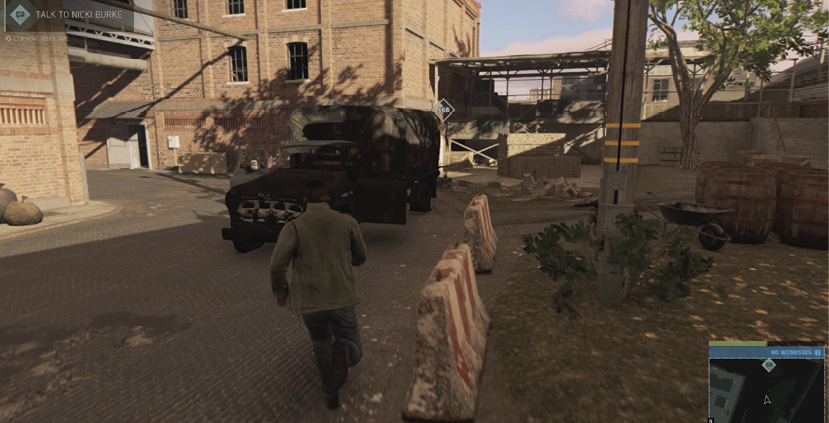
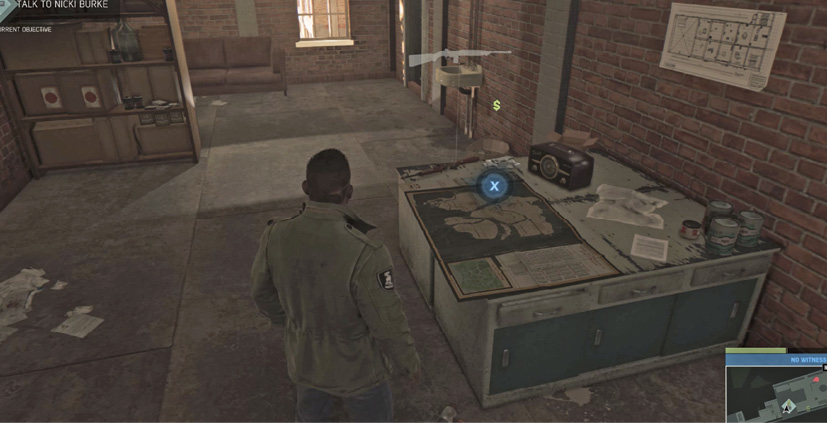
Climb the staircase behind the truck and turn left at the top. Go through the door into the office to find Bevers’ moonshine camp map on the table next to a $500 cash pile. Grab the Tac-Vest from the Weapon Locker too, and then retrace your route out of the distillery.
West Camp Still
Prerequisite:Steal Map to Moonshine Camps
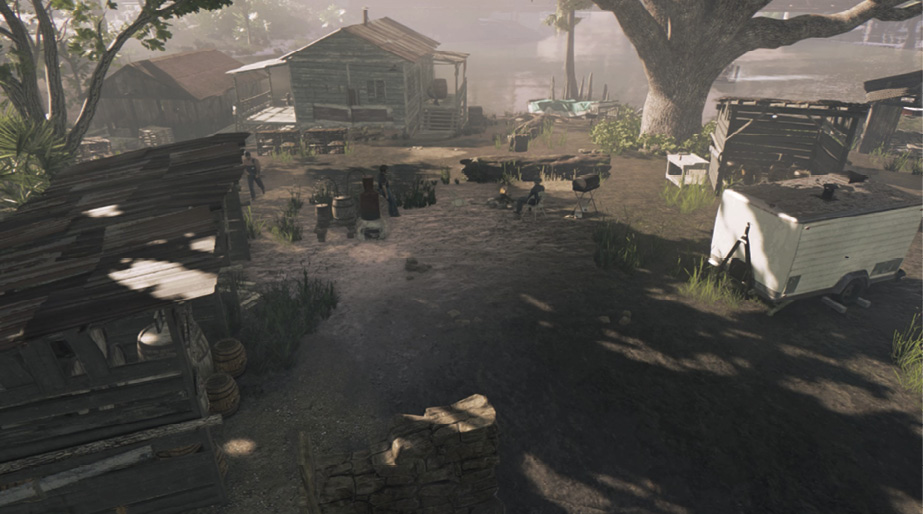
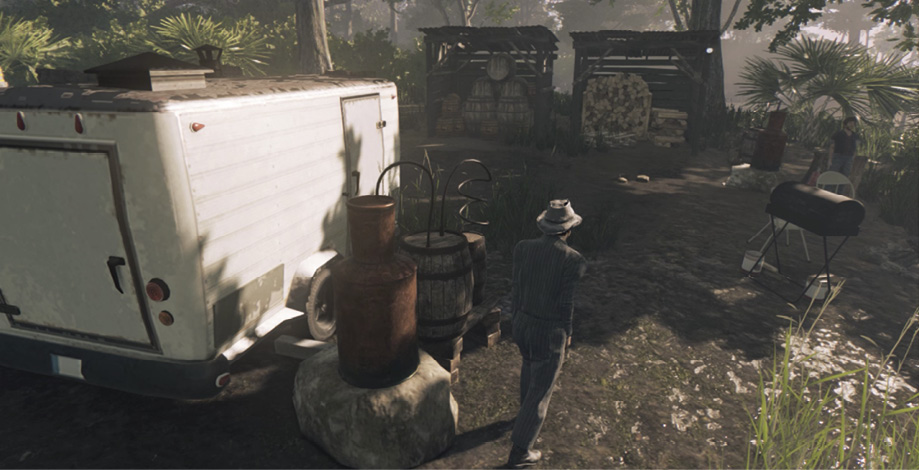
The west camp is on an island down in the Bayou Fantom. Follow the trip route south to the closest point to the island (6) then swim across the narrow waterway. Move down the dirt road to the camp (7) and take cover behind the stone ruin.
Work stealthily around the camp perimeter, taking down guards silently. Destroy the two stills to complete the objective, then head inside the cabin for some bonus cash. Tip: You can steal a boat from the camp dock to motor back across the water.
East Camp Still
Prerequisite:Steal Map to Moonshine Camps
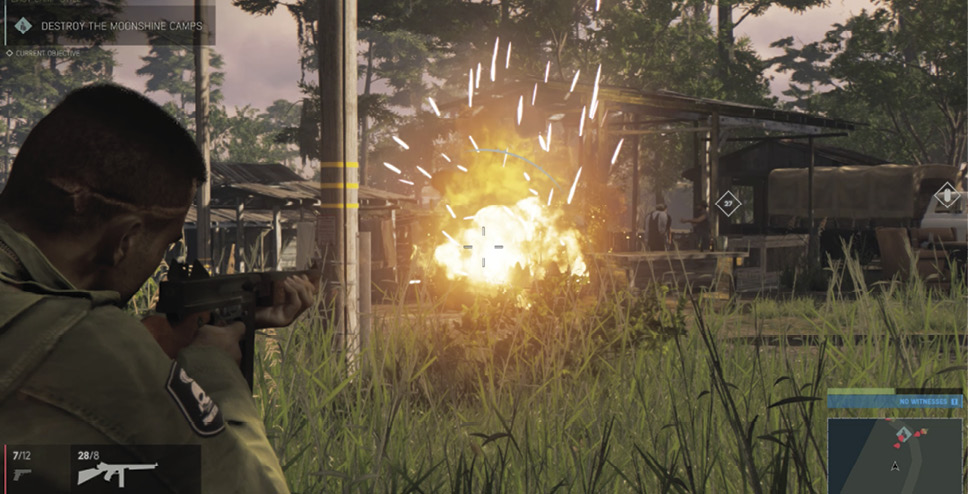
Drive all the way to the perimeter of this camp (8) then approach on foot. Veer to the left side and target the big red propane tank (circled in our overhead shot) for a big explosion that takes out several nearby guards quickly. Then shoot to destroy the first still too.
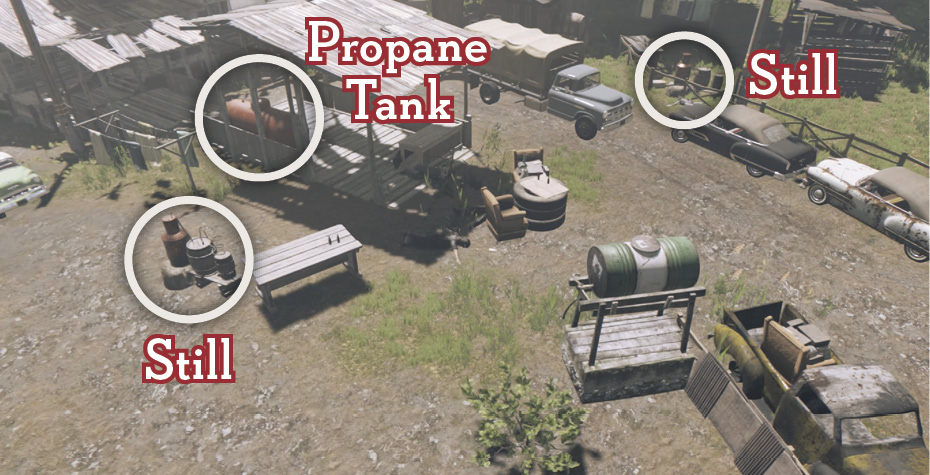
Use cover and watch out for gunmen emerging from the dock shack. Clear the area and then destroy the second still to complete the objective. But don’t leave until you blow up the stacks of moonshine barrels in the lean-to, and then enter the dock shack to find some generous cash prizes.
Locate and Destroy Moonshine Trucks (5)
Prerequisite: Talk to Nicki Burke
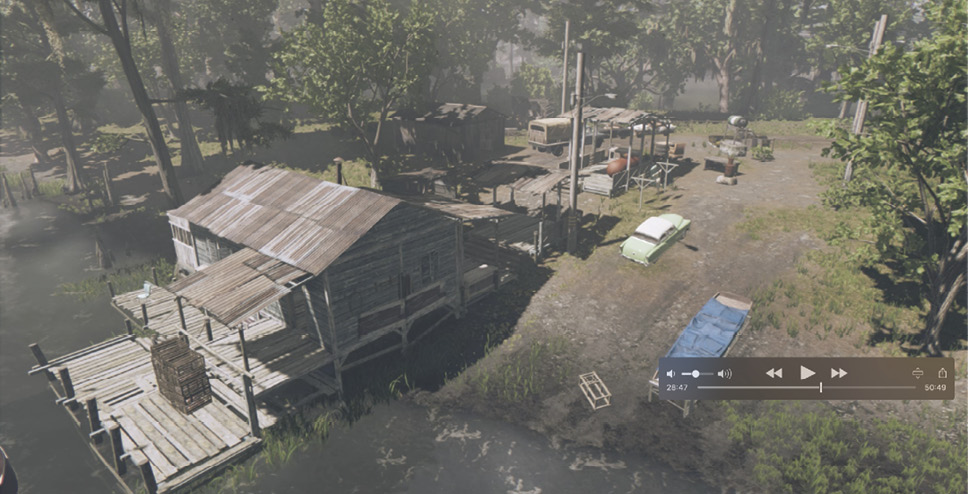
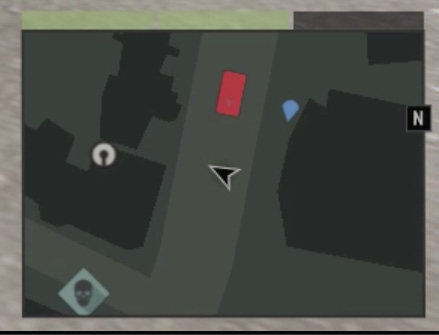
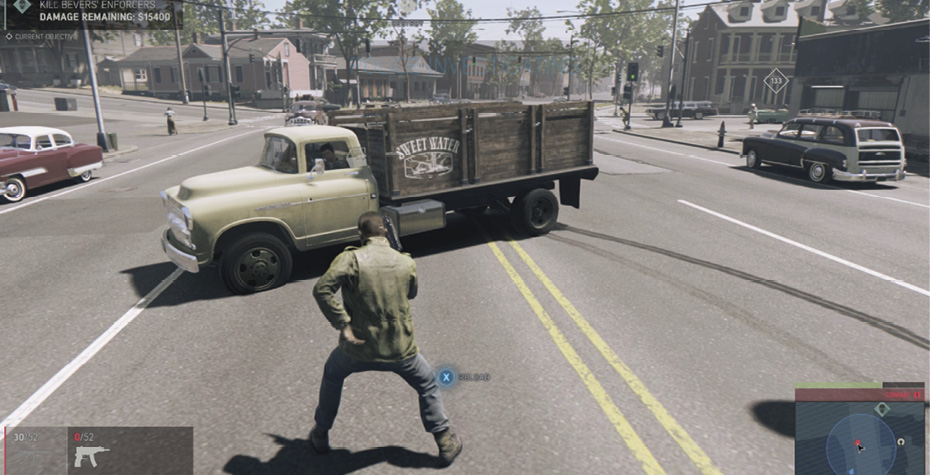
Five Sweetwater Distillery trucks are making regular deliveries around Pointe Verdun. Watch for their red rectangular blips to appear on your Minimap, then give chase and destroy them. A single grenade or Molotov does the trick, or several bursts of weapon fire.
Rob the Cop Bar
Prerequisite: Complete “Interrogate Bootleggers”
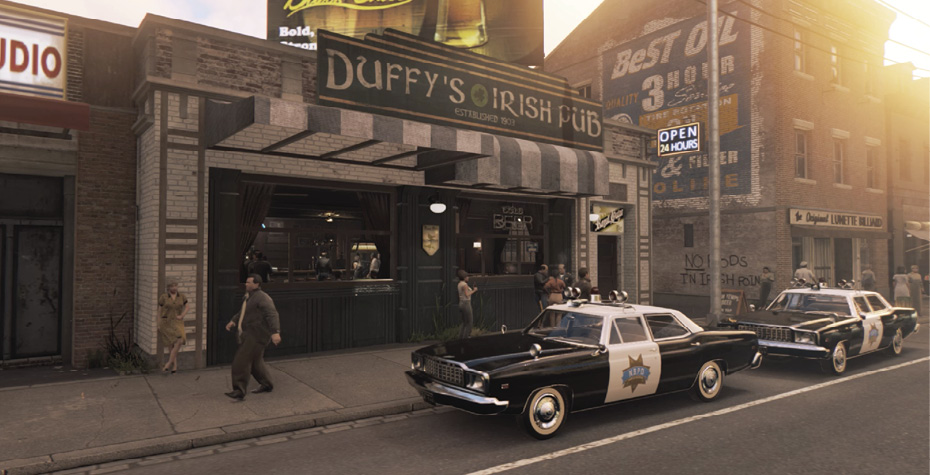
Head to Duffy’s Irish Pub (10), which is crawling with not only cops but also local mob goons. (Make sure you’ve wiretapped the sector’s Junction Box so you have full Intel View for this one!) A frontal assault would be very difficult, so circle around the block and approach via the alley (9) leading to the pub’s back door. Approach stealthily, though—a few cops and thugs are posted on the back route. Lure them one by one with whistles to silent takedowns.
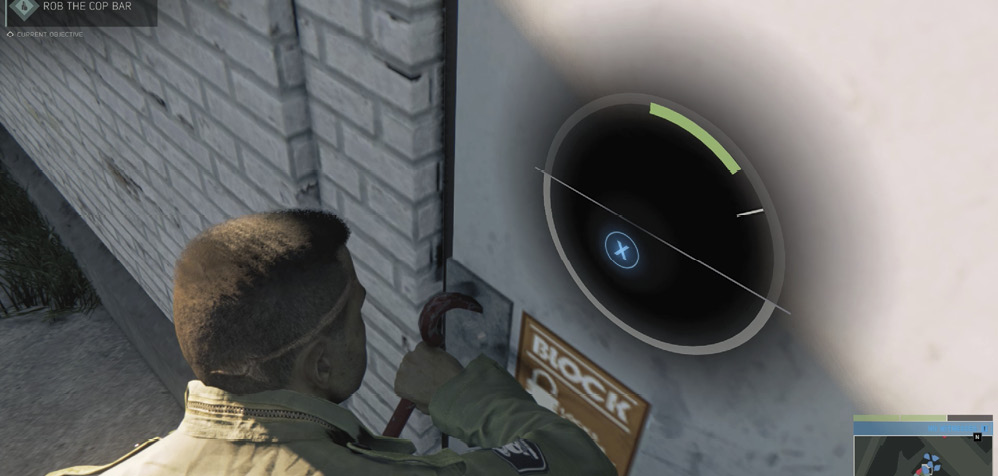
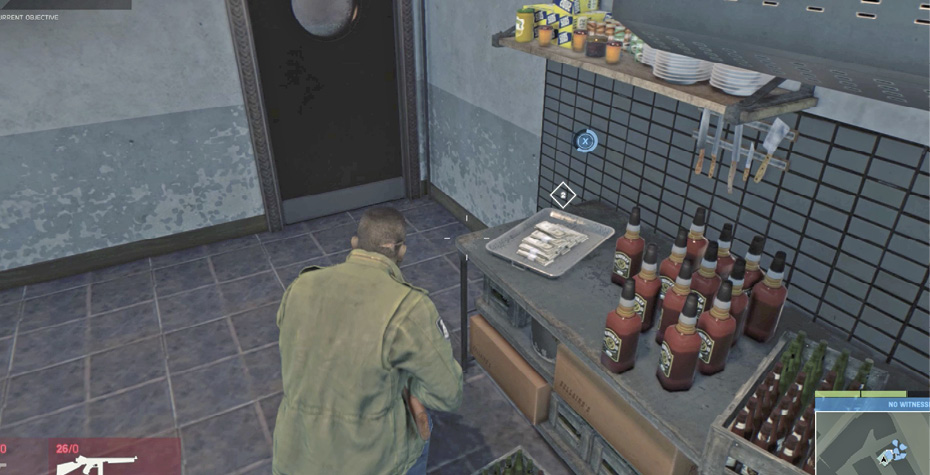
When the alley is clear, use your Pry Bar to jimmy open Duffy’s back door. Enter the kitchen and find the $10,000 money stash waiting for you on a silver platter (literally). Exit the back door.
Talk to Nicki Burke (Second Time)
Return to Nicki back at Burke’s Iron & Metal (1). She tells Lincoln that Carl Bevers is at the Sweetwater Distillery. She also recommends keeping Carl alive, saying, “Nobody knows the bayou like he does.”
Confront Carl Bevers
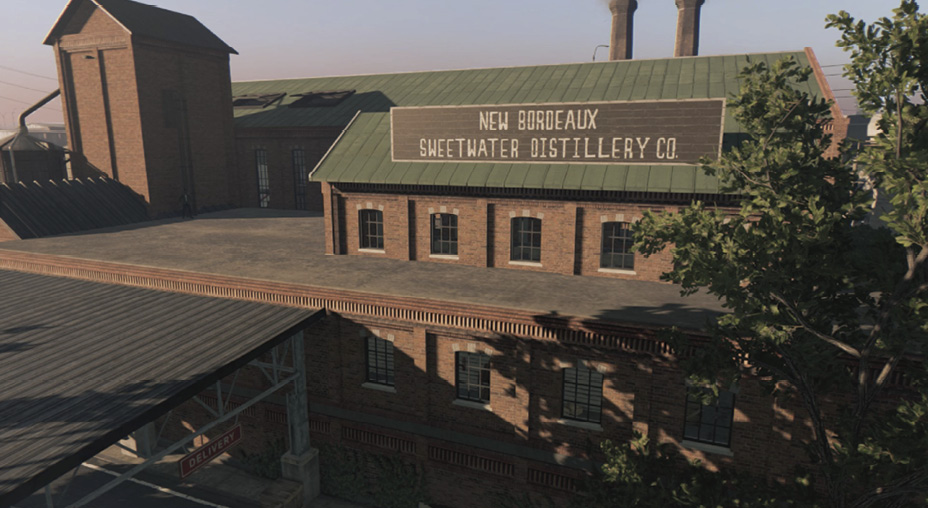
Head to the Sweetwater Distillery (5). The facility is huge and well-guarded, so we recommend breaking in the locked back door on the east side. (You find a drunken worker sitting inside, near the big still.) Sneak rightward along the low wall and start whistling to bring a line of thugs for silent dispatch.
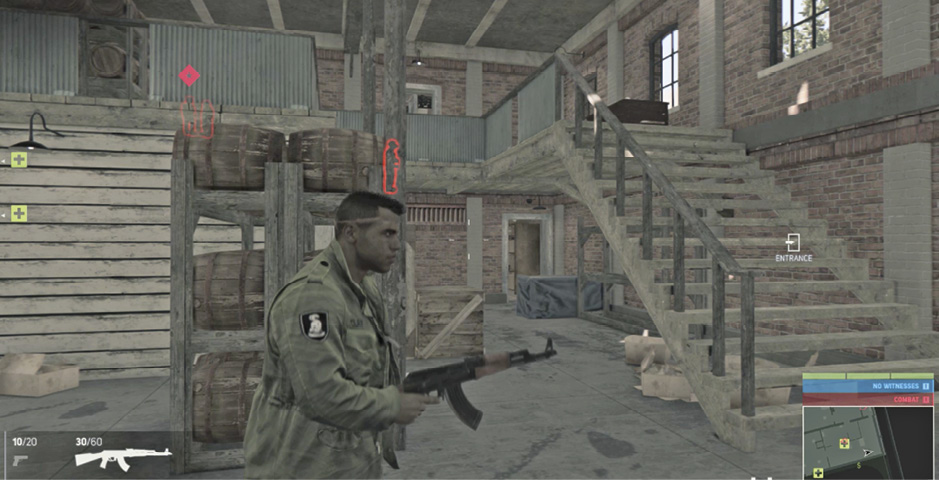
Exit outside via the side door and run across the alley into the big central distillery filled with massive rounded storage tanks. When you get across to the far side, look upward with Intel View to spot Carl’s location on the upper floor. (He’s marked by the red icon with a star.) Keep working silently across the ground floor level until you reach the staircase.
Take cover at the first doorway at the top and peek in to see a reception office and another staircase, a fancier one with ornate wrought iron bannisters. But the “receptionist” is not very friendly. By now you’ve probably thinned the thug herd enough that you can just gun him down and fight your way up those stairs to the executive office where Carl Bevers is waiting. Take Bevers down and make your choice: kill or recruit? It’s up to you.
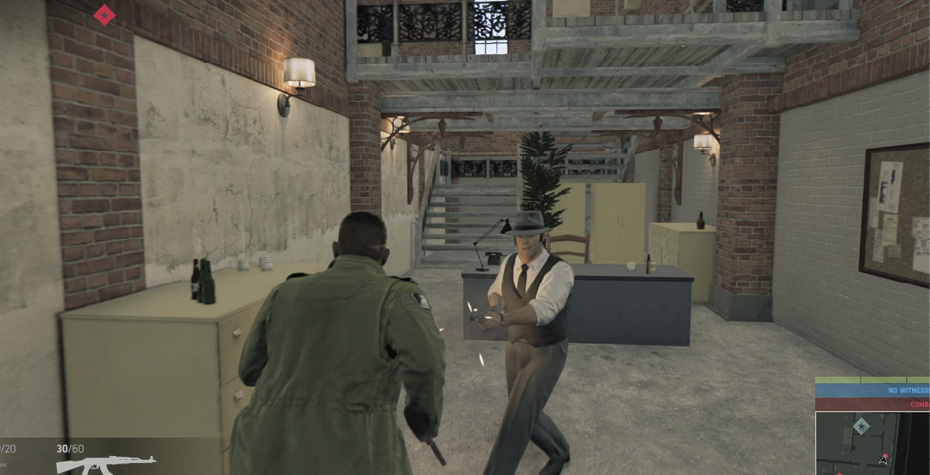
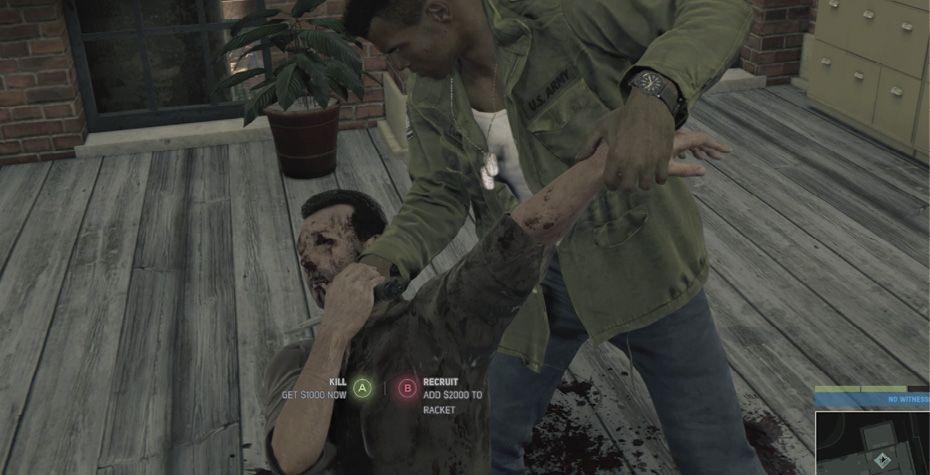
Assign the Moonshine Racket to Burke
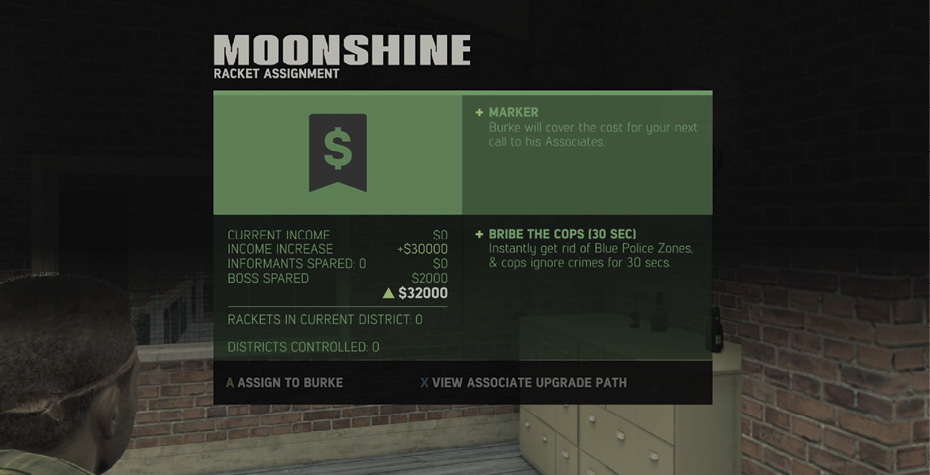
Now that the Moonshine Racket is secured, press the button prompted to assign it to Michael Burke.
- If you secured the Moonshine racket before the Protection racket (as we did in this walkthrough), this adds “Bribe the Cops 1” to your Associates Menu. Burke’s associate, Fiona Davidson, is a police dispatcher who can call off police in your area. When Lincoln radios for her service, Blue Police Zones disappear and cops ignore your crimes for 30 seconds.
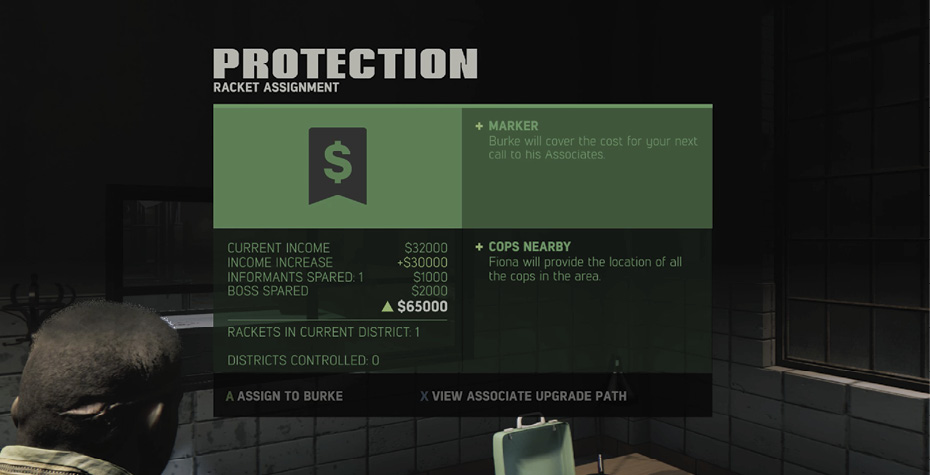
- If you secured the Protection racket before the Moonshine racket, assigning a second racket to Burke bumps his racket income up higher. This unlocks the next Favor level from the police dispatcher, Fiona. With “Cops Nearby” added, Fiona can mark all nearby cops on your map.
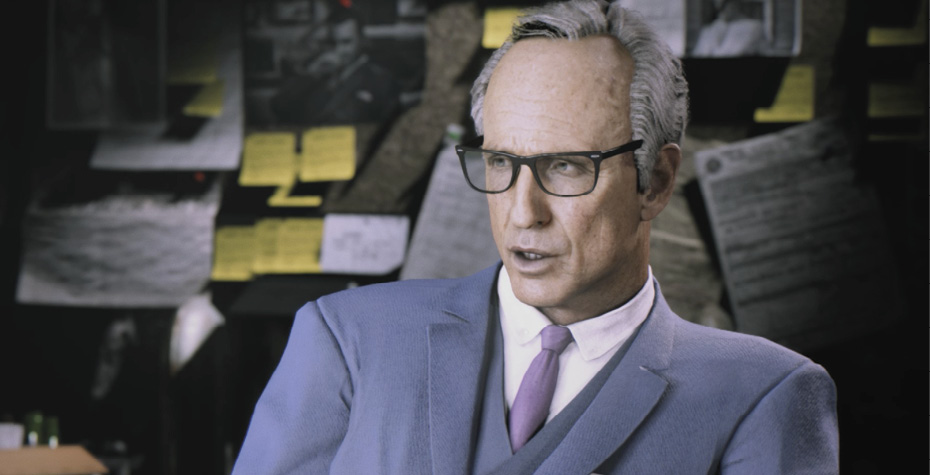
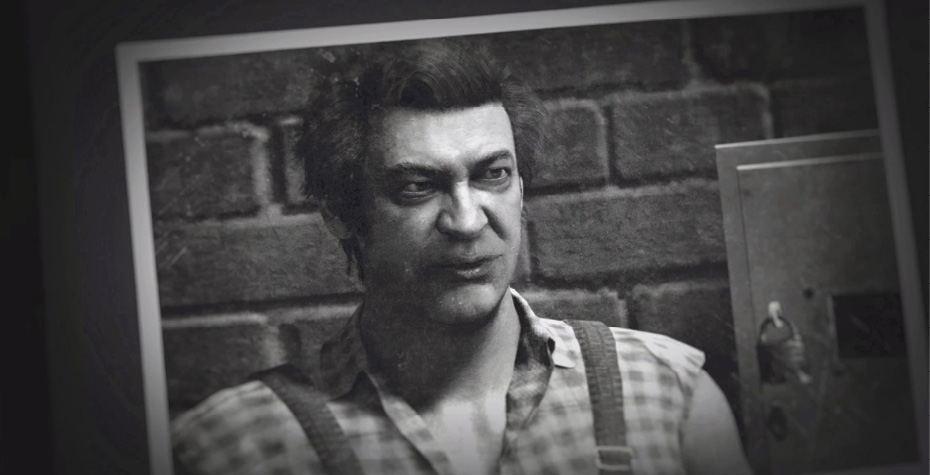
The mission-ending cutscene brings more commentary from FBI Assistant Director Jonathan Maguire. He provides a quick biography of Thomas Burke.
RACKET: Protection
Talk to Bear Donnelly
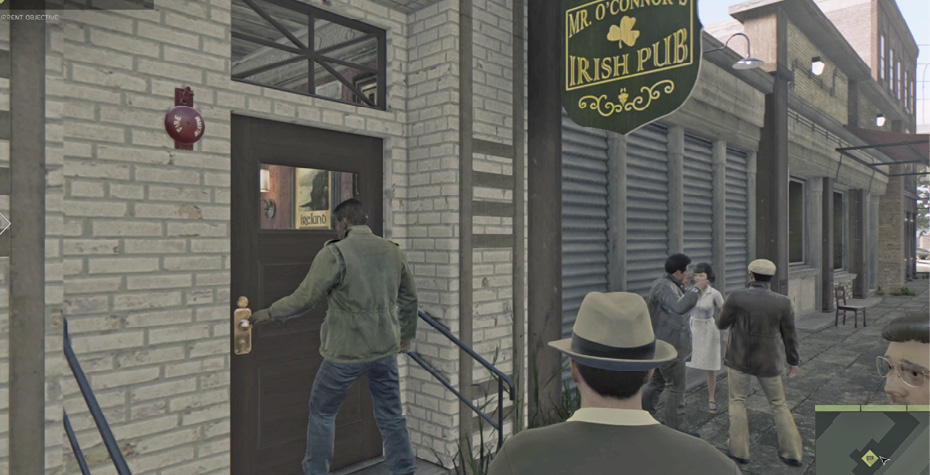
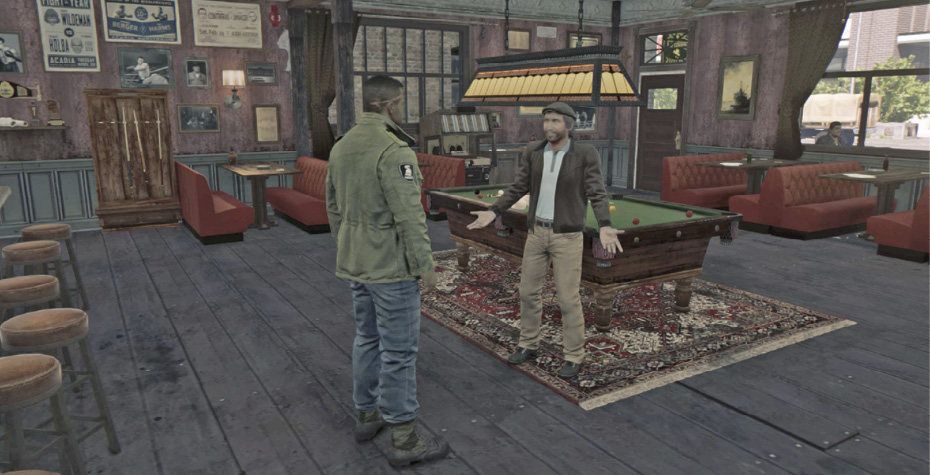
Follow the trip route to Mr. O’Connor’s Irish Pub (1), just a few blocks from Burke’s shop. Enter and find Bear Donnelly by the pool table. He’s been keeping an eye on the Roberdeau meatpacking plant where a fellow named Sonny Blue rents a room out to the Butcher’s loan sharks and protection goons. He says one of Sonny’s men, Ralph McNairy, got caught embezzling and is getting worked over in the meat packing plant right now. Setting Ralph free could cause considerable damage to the racket.
Interrogate Loan Sharks
Prerequisite: Talk to Bear Donnelly
Two Informants appear on the map (2a, 2b), but as soon as you interrogate one, the other disappears. Take your pick. If the Informant escapes and you don’t catch him, he ends up at the other Informant location.
”Red” Gallo
Travel to the Carousel Motel (2a) in northwest Pointe Verdun. (Wiretap the Junction Box at the site, if you haven’t done so already.) Sneak along the right side of the leftmost building to the dumpster and then whistle to lure the nearby goon to a silent takedown. Take cover at the corner to see Red and another thug standing outside their room.
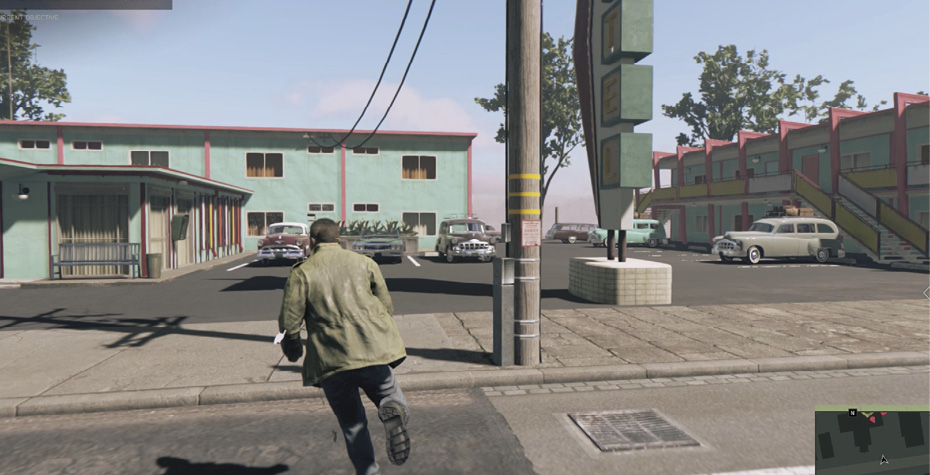
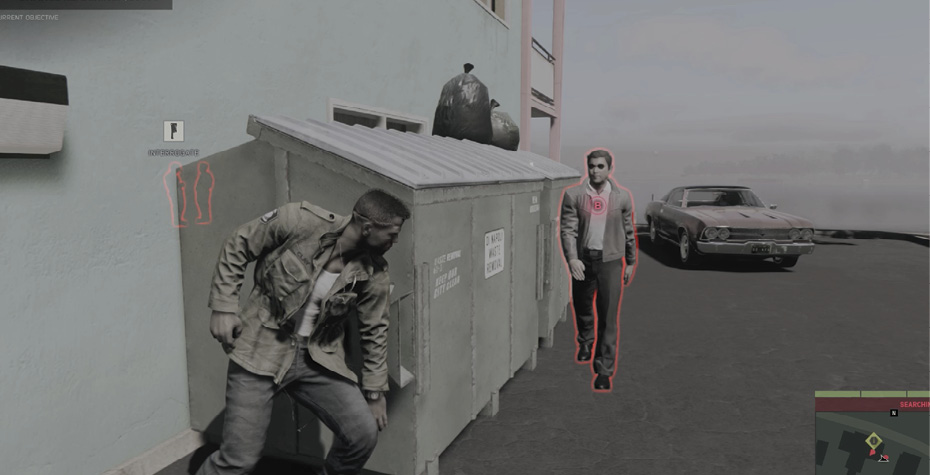
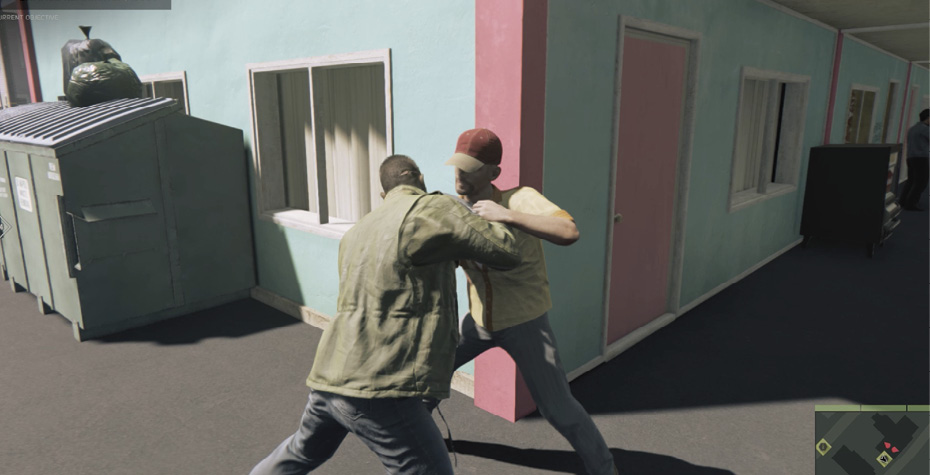
To make sure the Informant can’t run (and to avoid gunplay with more guards inside the room), lure Red to the corner for a takedown. Red reveals the “protected” liquor store locations where the sharks also stash their collected cash.
Leonardo Ruggeri
Leonardo Ruggeri and his crew are visiting The Butcher Block (2b) in west-central Pointe Verdun. Leonardo is inside the shop, but two of his goons stand guard out front near their parked car. Go around the corner to the right, turn into the alley, and slip past the Roberdeau delivery truck.
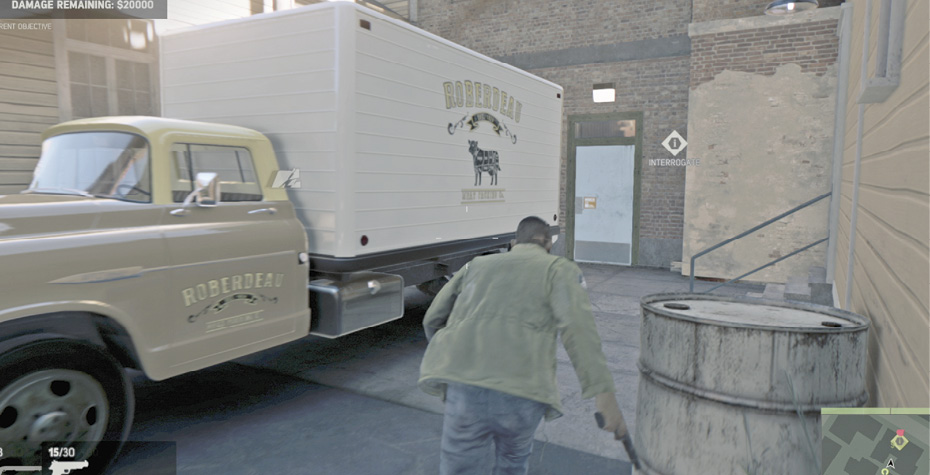
Approach the butcher shop’s back entrance and use your Pry Bar to open the door. Then sneak down the back hall and take down Leonardo, who stands alone with a clipboard at the front counter. Interrogate him to learn about the protected liquor store stashes.
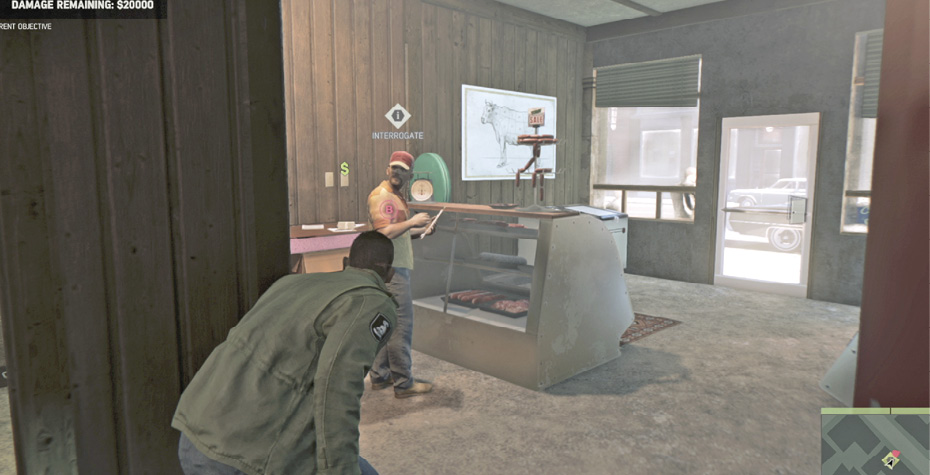
Unlocks: Trash Protected Liquor Stores
Kill Sonny’s Enforcers
Prerequisite: Talk to Bear Donnelly
Tito Leone
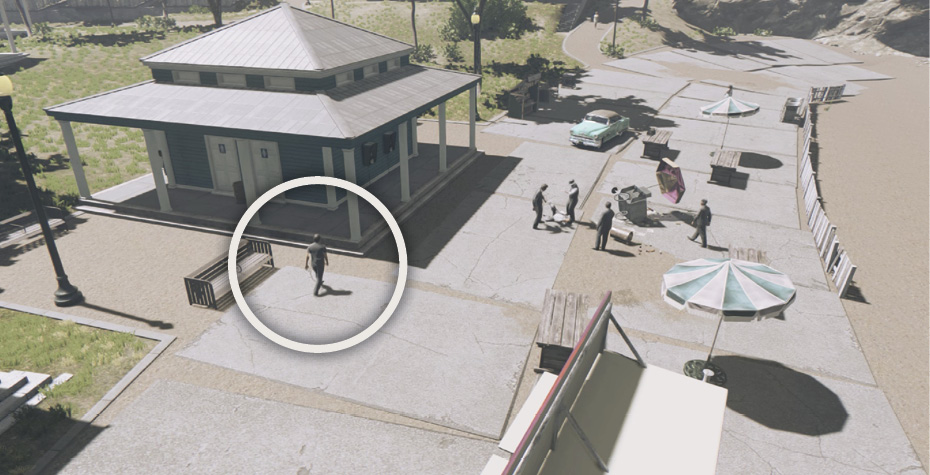
Tito is watching two of his goons kick a beach cart vendor (3) next to Mama D’s Creole Cajun Chicken shack near the lighthouse boardwalk. Sneak up to the restroom hut near the beating. (The sector’s Junction Box is on the back of that hut; be sure it’s wiretapped.) Use Intel View to see a Sentry (circled in our shot) pacing back and forth past the hut, watching for trouble.
Go to the left to see a mob gunman facing away from you over by the bench. Make sure the Sentry isn’t on that side then sneak up behind the gunman for a silent takedown. Hide his body behind the restroom hut then take cover and whistle over the Sentry for a takedown. Now you can work your way closer to Tito and take him out for racket damage. A nice trick is to toss a grenade or Molotov right into the midst of Tito and his two thugs who are working over the vendor. Afterwards, scour the area for cash pickups, including a $500 bag on the picnic table near the overturned cart.
Fede “Hats” Iocca
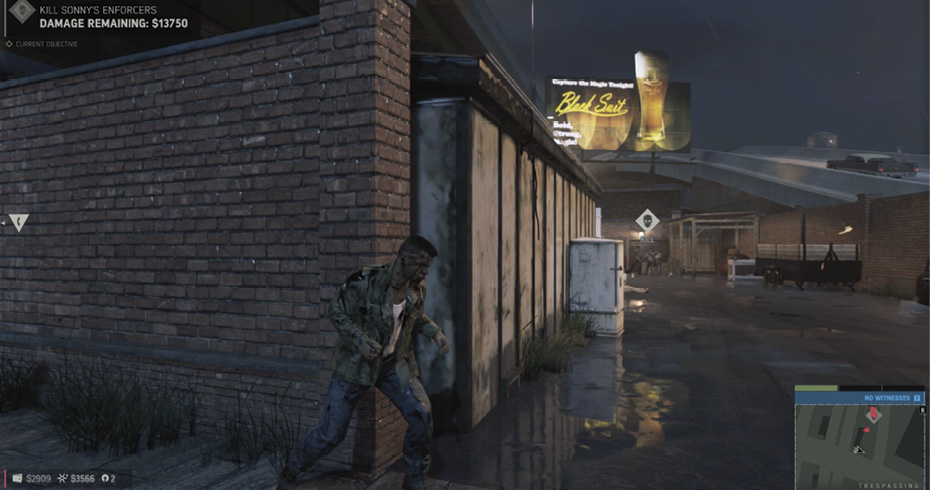
Hats and his boys are working over a couple of debtors in a back parking lot (4) under a Black Suit billboard next to the freeway on-ramp. The approach is narrow and long, and a guard stands at the entrance. Sneak up carefully to take cover then pounce for the quick takedown. Move down the lot and hide behind the old refrigerator on the left side. Start whistling to lure more gangsters. Or you can toss a grenade or Molotov to terminate Hats and both mugs doing the beating in a single blast, since they’re clustered so closely together.
Take Out the Beat Down Crews (8)
Prerequisite:Talk to Bear Donnelly
Sonny Blue has deployed teams of strong-arm thugs to send a strong message (i.e., beat up or shut down) late-paying customers around Pointe Verdun. Each “beat down crew” features two beefy guys (each wearing a cap and Roberdeau shirt, and marked with the “Kill” icon) who administer the beating or shut down the shop, plus a gunman nearby providing protection.
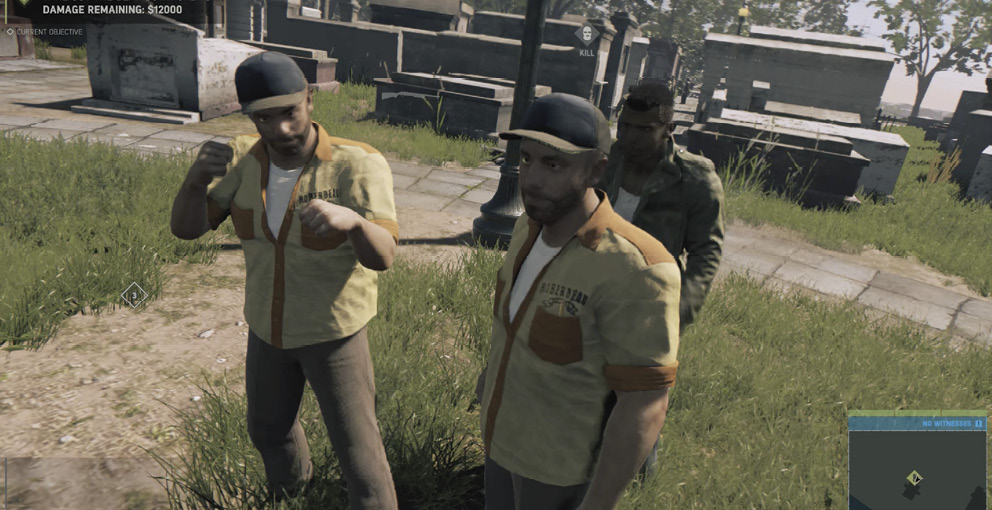
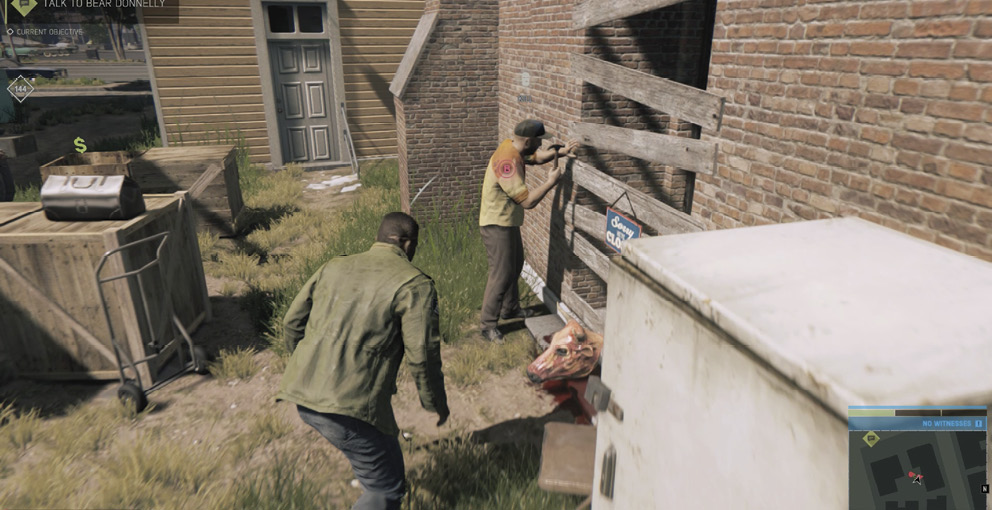
All eight of Sonny’s crews are marked on our chapter map. Interrupt each beating by sneaking up to take down the gunman first, and then eliminate the two brawlers to inflict racket damage. (The location is listed as completed when you take out the first of the two “Kill”-marked meatheads, but might as well nail them both.) Look for bags of cash at each beat down spot too.
Rescue Ralph McNairy
Prerequisite: Talk to Bear Donnelly
Find Ralph Inside
Travel to the Roberdeau meatpacking plant (5). (Make sure you wiretap the sector Junction Box for this one.) Ralph is held in an office on the second floor. A quick way up is to climb the chute that runs from the cattle pens up to the northeast corner of the plant (seen in our overhead screenshot).
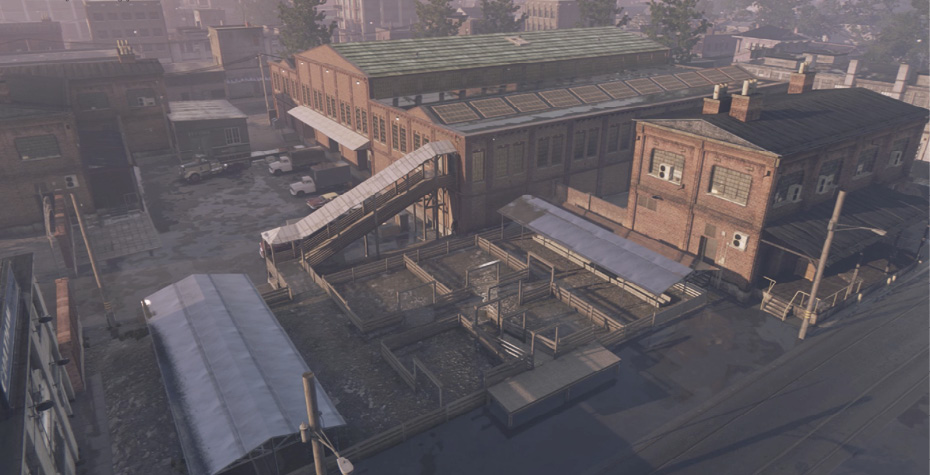
Inside, use Intel View to work your way down the long room with the hanging cow carcass, hiding in cover and luring guards for takedowns. Work your way along the outside wall until you reach the metal catwalk with the red railings that leads to a door. Ralph is tied to a chair just on the other side.
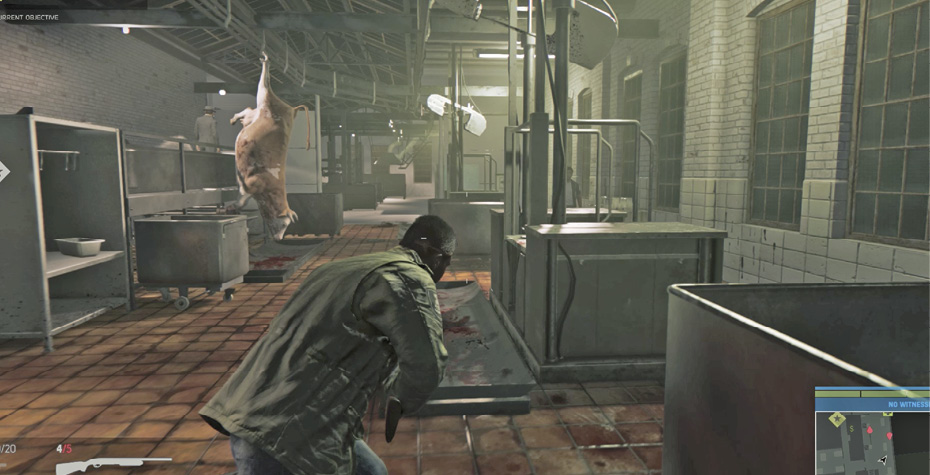
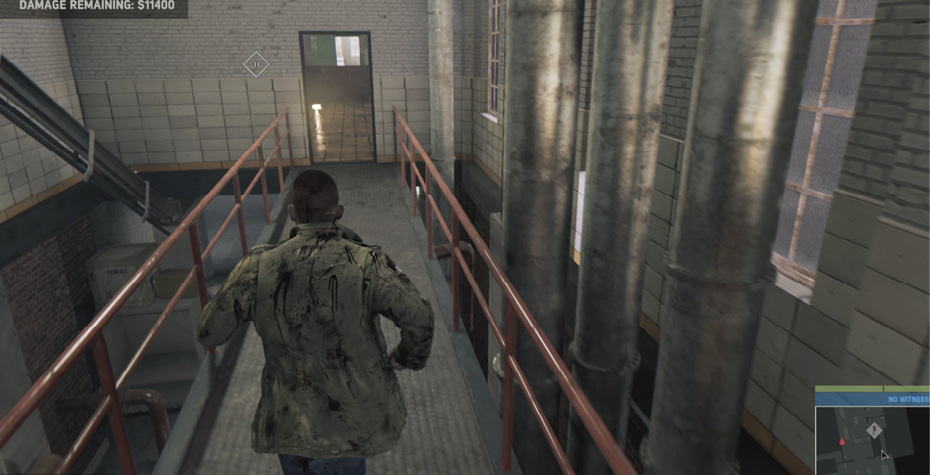
Use Intel View to see that two goons guard Ralph. Open the door and surprise the nearest guard, who has his back to you. Then gun down the other guard. Cut Ralph loose to set him free.
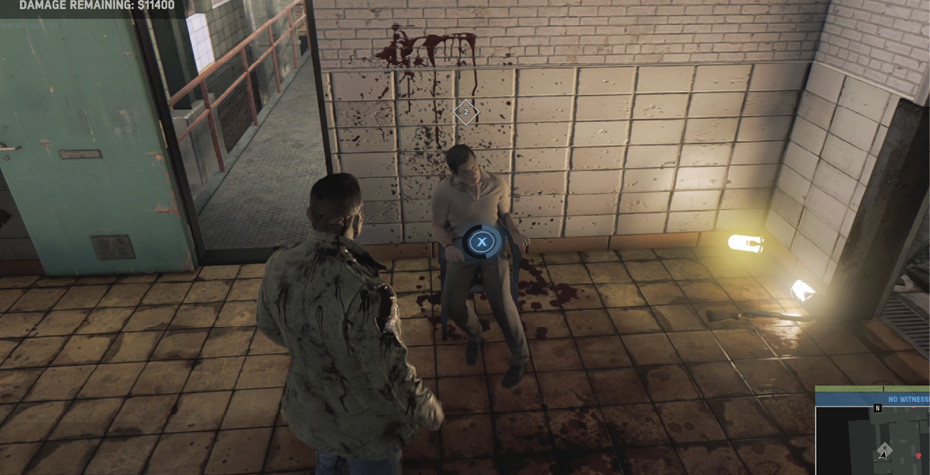
If you want to explore further, you can find plenty of cash stashed around the plant, including $1750 piled on the desk in the office not far from where you found Ralph—just hop over the two low walls to reach it. (There’s also a Vargas painting on the office wall.) Looting the plant inflicts a lot of damage on the Protection racket. But be prepared to face a lot of Sonny’s thugs on the way.
Trash Protected Liquor Stores (3)
Prerequisite: Interrogate Loan Sharks
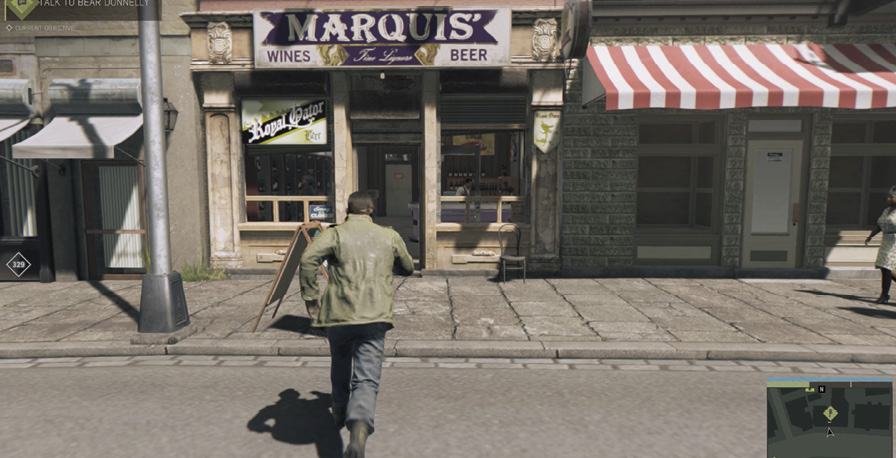
The Informant told Lincoln about three liquor stores that pay Sonny’s hefty protection fees. You can steal the cash payments at each store to really put the hurt to the racket’s Earn. All three places (6, 7, 8) are part of the Marquis’ Fine Liquors chain of stores.
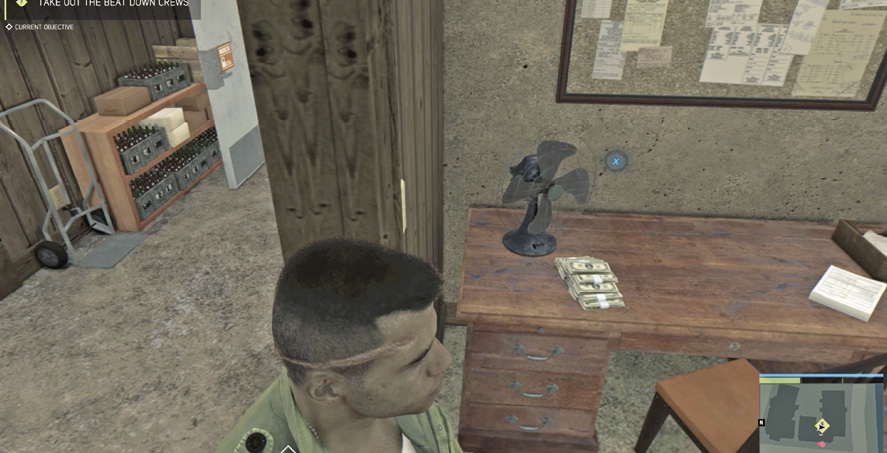
At each store, you can simply run in the front door, hustle past the proprietor (or punch him to subdue him) and enter the back office. Or if you want to avoid getting reported to the police, head around to the back entrance instead. You can pry it open and sneak into the office without being detected. Then grab the $2500 protection payment sitting on the desk.
Talk to Bear Donnelly (Second Time)
Return to Bear in Mr. O’Connor’s Irish Pub (1). He tells Lincoln that Sonny Blue is now at the Roberdeau plant.
Confront Sonny Blue
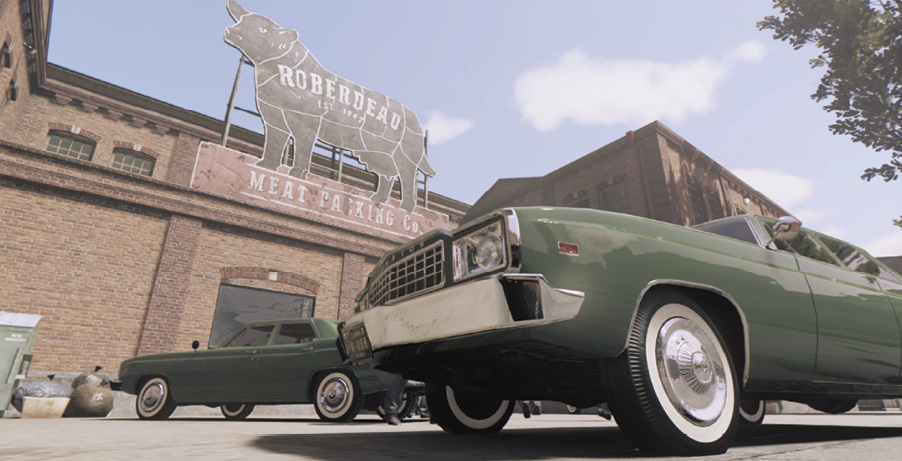
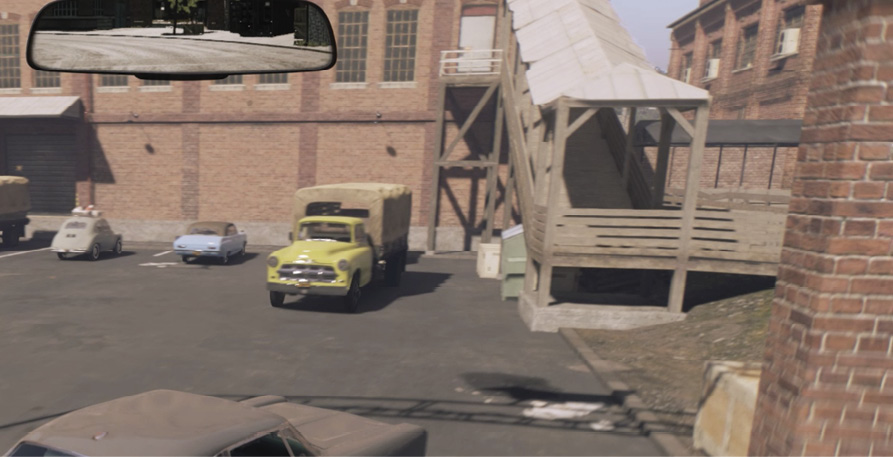
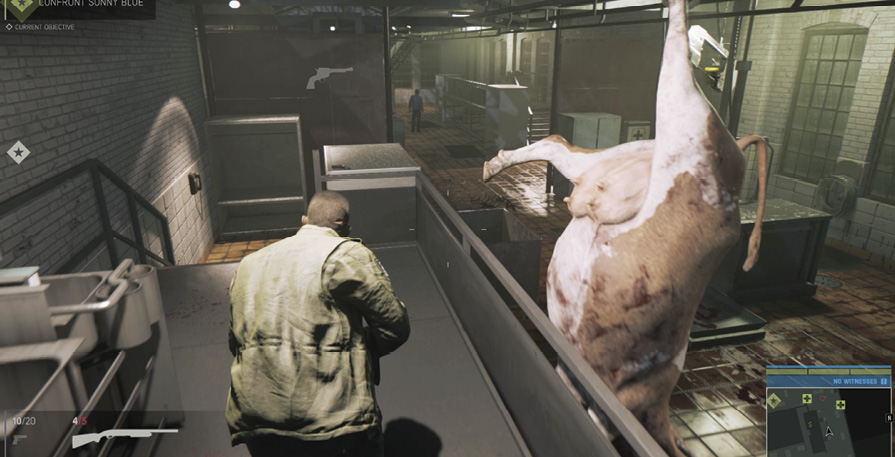
Head back to Roberdeau Meatpacking Plant (5). (You should already have the sector wiretapped.) Check your Intel View frequently in this well-defended meat packing plant. Sonny is in the upstairs office, so drive into the northwest entrance and use the same route up the chute from the cattle pens as you did when you rescued Ralph McNairy earlier. Unlock the door at the top and quickly take cover outside.
Two guards pace back and forth past the hanging cow carcass, so time your moves to take them both down without getting spotted. Work your way around the outside (right) wall until you reach the metal catwalk with red railings that leads to a closed door. You can see the star icon marking Sonny’s location directly ahead.
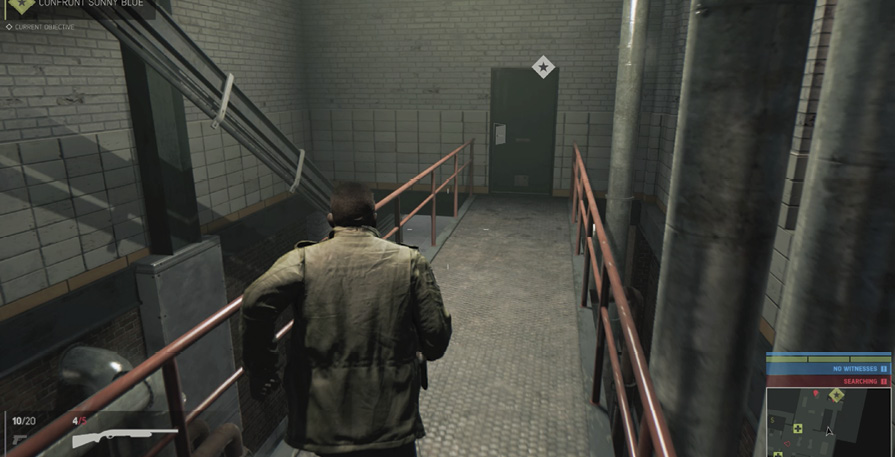
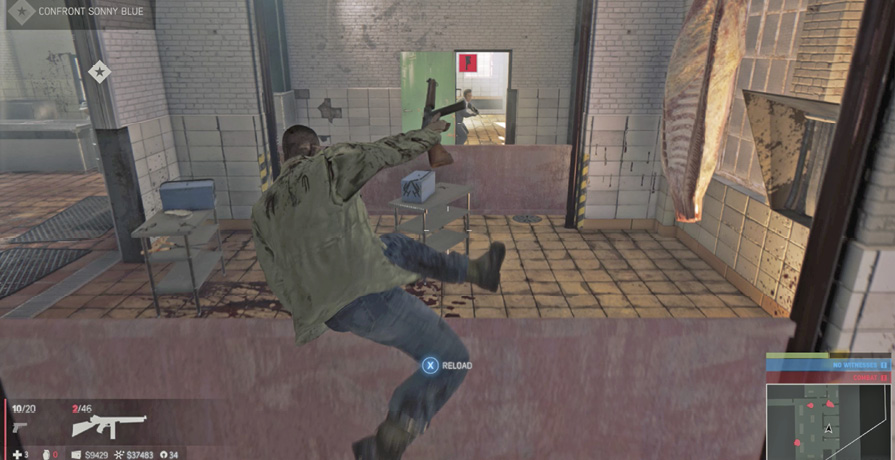
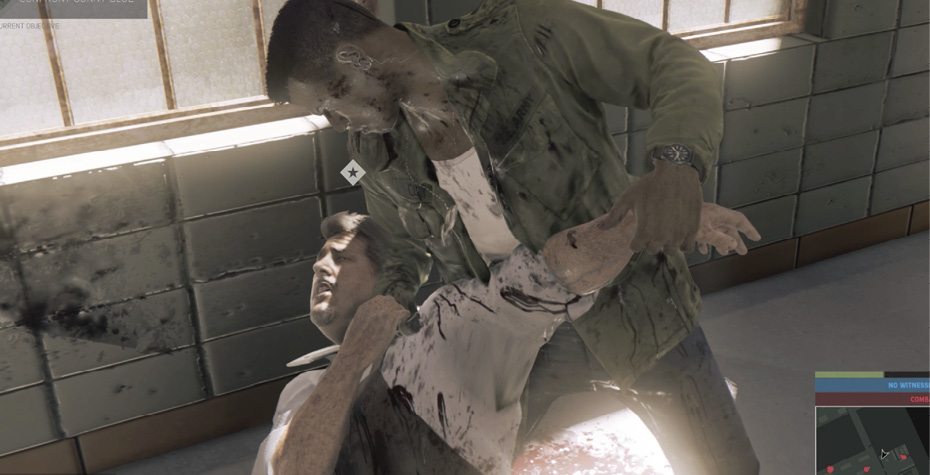
Before you open the door, use Intel View to make sure the pacing Sentry in the next room is moving away from you. Move through the door to spot Sonny Blue across the room with his back to you—if you’ve arrived undetected, you can hear Sonny talk trash about Barbieri to an associate. Try to sneak up behind him, vaulting the first low wall and then taking Sonny down from behind at the second low wall.
If you wait too long, though, Sonny enters the office at the far end of the room with his associate. You can try to follow directly, or else methodically work your way through the room with the cutting tables, taking down guards silently as they face away, or luring them with whistles…or just blasting your way through them. (If detected, you have a tough firefight on your hands, but know that Sonny won’t leave the office.) Then slip into the office when Sonny has his back to you. If you’ve been detected, he hides behind his desk for cover.
Assign the Protection Racket to Burke
Now that the Protection Racket is secured, press the button prompted to assign it to Michael Burke.
- If you secured the Protection racket before the Moonshine racket, this adds “Bribe the Cops 1” to your Associates Menu. Burke’s associate, Fiona Davidson, is a police dispatcher who can call off police in your area. When Lincoln radios for her service, Blue Police Zones disappear and cops ignore your crimes for 30 seconds.
- But if you secured the Protection racket after the Moonshine racket (as we did in this walkthrough), assigning it to Burke bumps his racket income up. This unlocks the next Favor level from the police dispatcher, Fiona. With “Cops Nearby” added, Fiona can mark the location of all nearby cops on your map.