Combat
Combat Knife
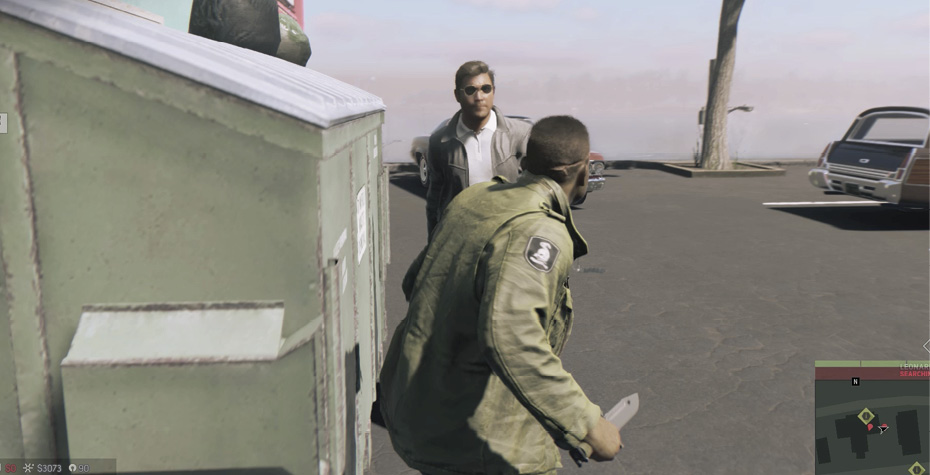
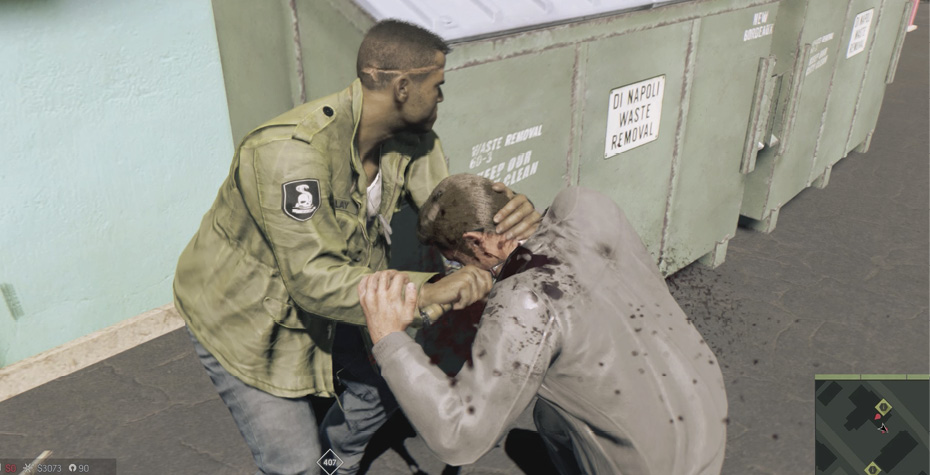
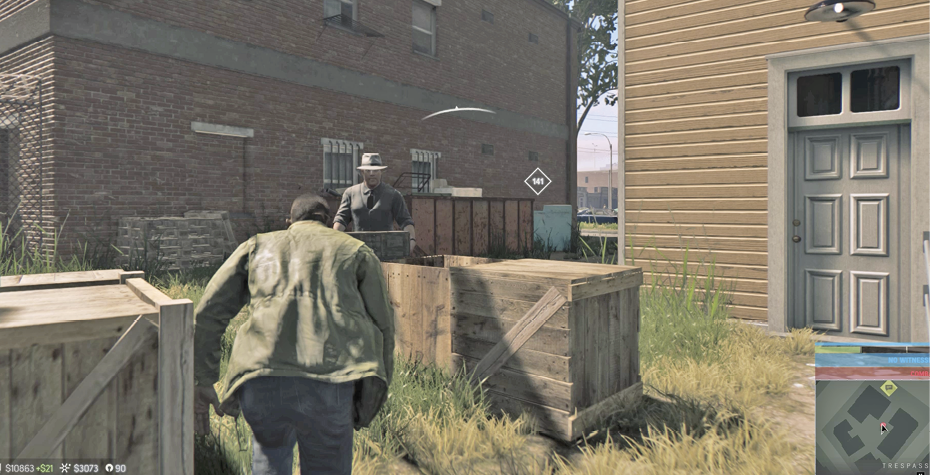
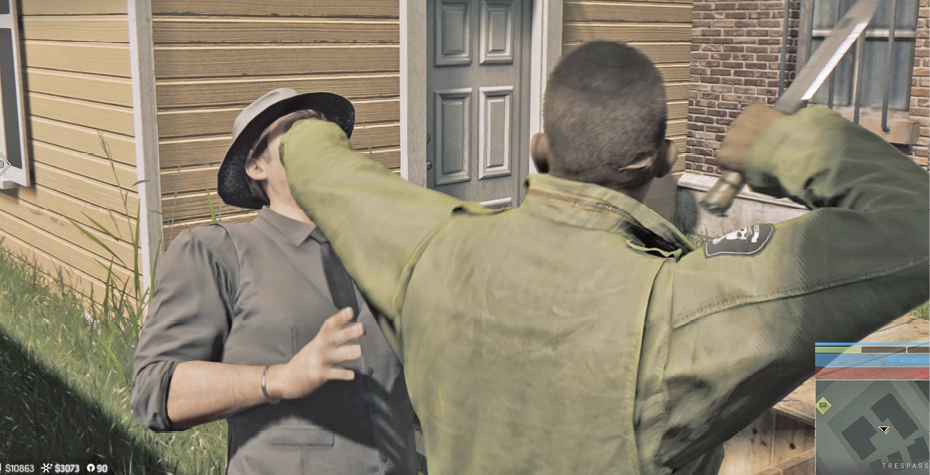
You can use your Combat Knife to neutralize enemies—permanently—during Takedowns. However, you do have a Non-Lethal option for Takedowns. To select between Lethal and Non-Lethal, go to the Pause Menu > Options > Game > Melee Takedowns > Lethal or Non-Lethal. No matter what takedown method you choose, the outcome is the same: the fallen stay down permanently. The only difference is the amount of blood and violence you’ll witness. Lincoln is always armed with the Combat Knife even though it does not appear in the weapon wheel. The knife is automatically taken out during a stealthy, lethal takedown.
Melee
Tapping  or
or  while facing a pedestrian puts them on the ground with one punch. In a combative situation with an armed gunman, multiple punches are required to subdue your opponent. If you are holding a weapon, your melee attacks are stronger. The same is true for the attacking enemy. You should avoid all face-to-face melees if you can help it. By using stealth, you can take anyone down with one attack. Sneak up behind them and preform a silent takedown. It is also possible to get a one-hit-kill while running at someone head-on. To achieve this, bolt out of cover and run at the enemy (that’s facing you) from a short distance, ending your encounter with a punch, which becomes a takedown if done correctly.
Counter
During a melee with armed enemies, you may be prompted to execute a counterattack. If you successfully press the  or
or  button when prompted, Lincoln performs a finishing move that wins the battle. This often results in Lincoln flipping the enemy over, slamming him to the ground, and hitting him with whatever weapon is in hand or stomping on their head. This prompt may also appear on the enemy when you rush them before any engagement at all, but it’s not as predictable as a melee prompt; so be ready, and be quick to hit
  or
or  when and if it appears to achieve a one-hit kill.
Brutal Takedowns
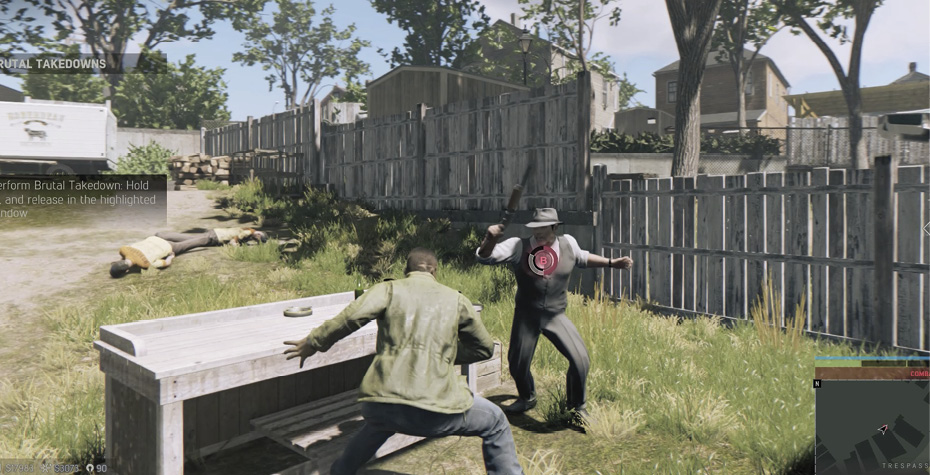
When you want to take out an enemy and briefly stun all his nearby buddies, use a Brutal Takedown. Notice when engaged in melee with an enemy that the  or
or  attack button’s outer edge is actually a gauge. This gauge fills red as you press and hold the Attack button. The trick for executing a Brutal Takedown is similar to the feature used to pry open doors, but a little less complicated. During a melee, simply press and hold the Attack button until the red line in the attack gauge enters the white zone (the white zone covers the 6 o’clock to 9 o’clock location on the attack gauge), and then quickly release the Attack button. If vibration is activated, the controller will vibrate to cue you when to quickly release the button.
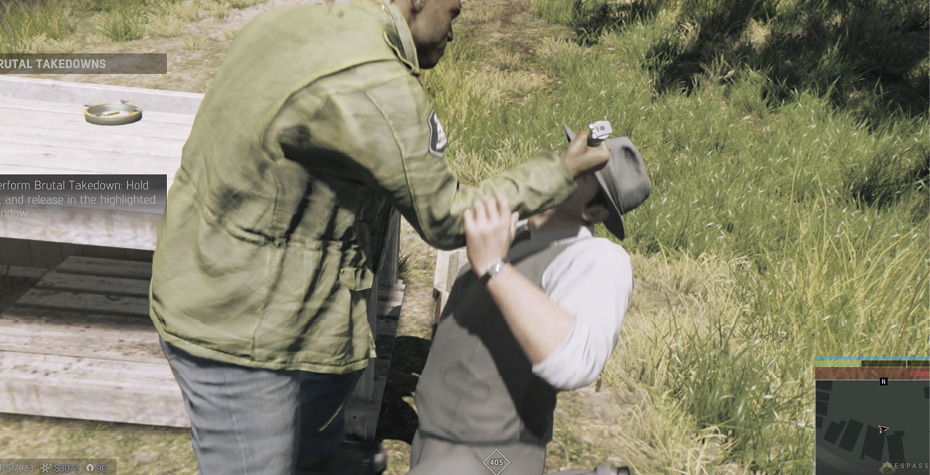
Lincoln performs a Brutal Takedown and you get to enjoy the unique attack animation that coincides with the weapon currently held. If no weapon is held, Lincoln will stab the enemy multiple times in the face with his knife, for example.
It’s not always as easy as it sounds, since the enemy can disrupt your attack while you’re attempting to fill the Brutal Takedown gauge. If you continue to attack the enemy without executing the Brutal Takedown, Lincoln will eventually defeat the enemy with a finishing move or be pushed back. Also look for the counterattack prompt to finish the fight quickly. If you’re thrown back and have already lost your stealth, you could also choose to shoot the enemy to finish him off before he pulls the trigger on his own weapon.
Draw Attention (Whistle)
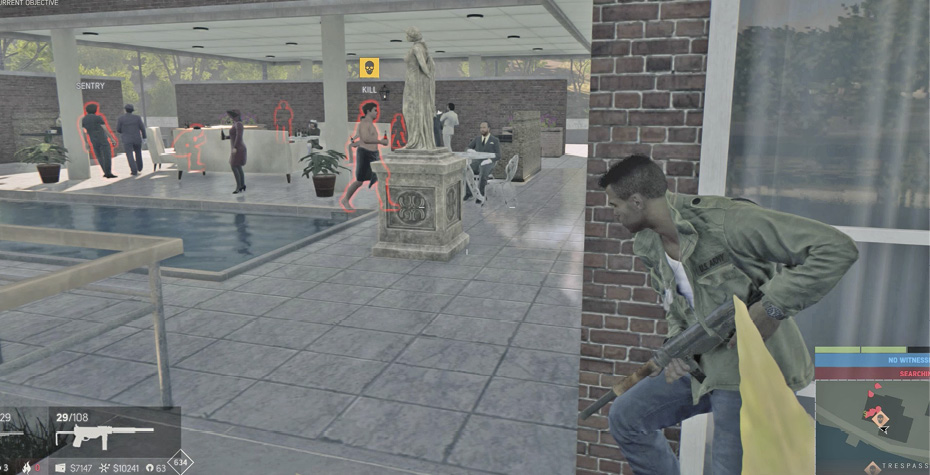
Whistling draws enemy awareness. Use it while stalking to thin out groups of enemies or to draw them away. Hold left on the D-pad to whistle. Most enemies (excluding cops) will typically investigate a noise one at a time. With patience, you can lure multiple enemies into a kill zone killing each with a silent takedown, one after the other. With intel and thoughtful positioning, you can often draw attention to your number one target first and avoid a lot of violence.
The Dos and Don’ts of Kicking In Doors
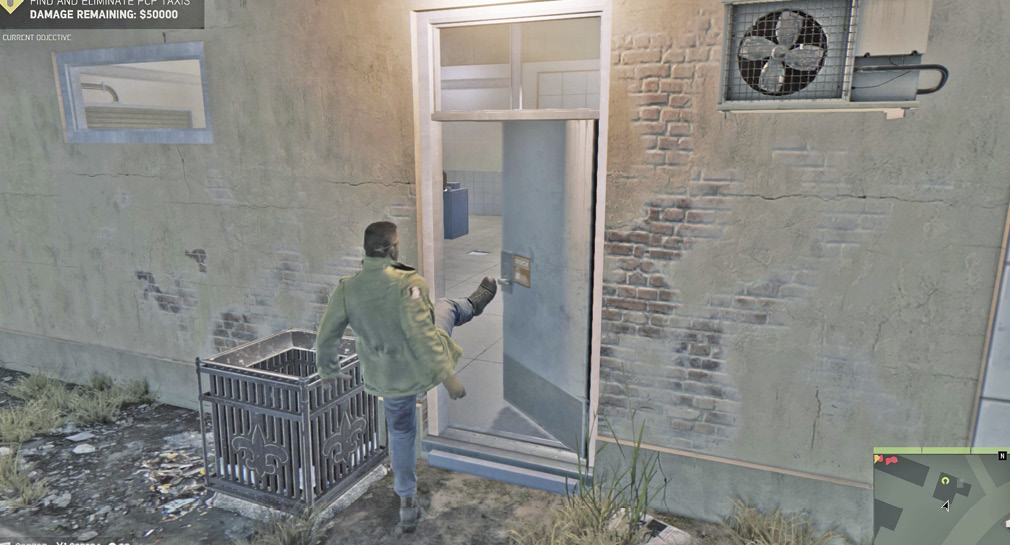
You have two choices when breaking into locked buildings. Use the slow and silent method using a crowbar to jimmy the door, or go in fast and furious by kicking in the door. Your predicament should determine the method used. Jimmying the door is a more silent approach, and using this method maintains your stealth. Even if there are enemies on the other side of the door, you can quickly sidestep to the side of the doorway to quickly hide. Search mode may be triggered and someone may investigate, but you can use a silent takedown to preserve your anonymity.
On the other hand, kicking in doors with enemies within earshot immediately puts theses enemies in search or combat mode. In other words, you’ve blown your cover. When would you choose this option? Well, when you are in a hurry and don’t care about stealth, when you are fleeing serious trouble, or if you can see inside the building (using intel) that no one is within earshot.
Shooting
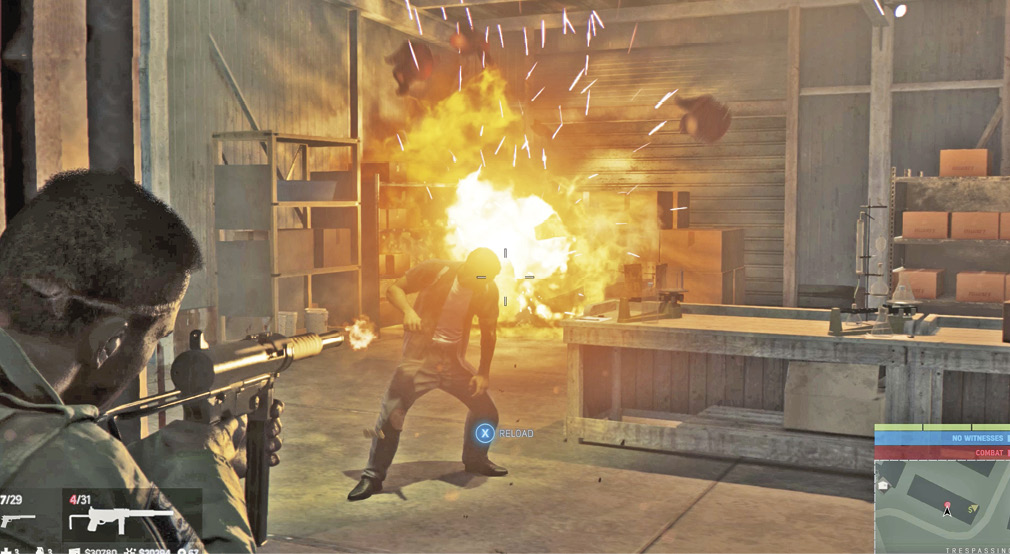
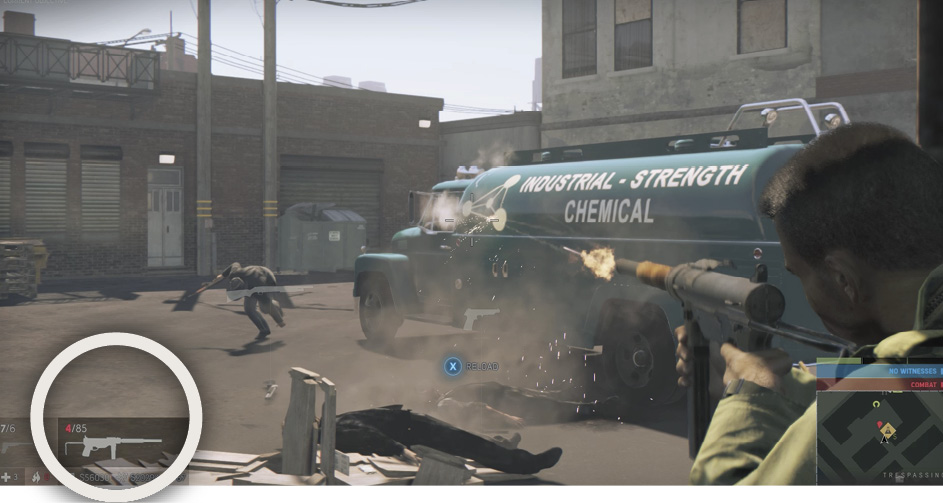
To select a weapon, bring up the Weapon Wheel and select a weapon. Or simply tap LB or L1 to draw a weapon. Press and hold the Left Trigger or L2 to raise a weapon to aim and press the Right Trigger or R2 to fire. Press  or
or  to reload your weapon. If you have the ammo, all weapons automatically reload when the last round is shot and the trigger is pulled again. Some slow-loading weapons may only auto-load one more round (such as shotguns) to keep you fighting until you have time for a lengthy reload.
Weapon Wheel
Press and hold LB or L1 to bring up the Weapon Wheel. While in this menu, time slows down around you so you can make your selection without getting annihilated in the heat of battle. Use the Right Control Stick to move the selector through the weapon slots around the wheel. Release LB or L1 to confirm your selection and to instantly return to the game. Your selected weapon or projectile will be in your hands upon return.
Weapon Wheel Features
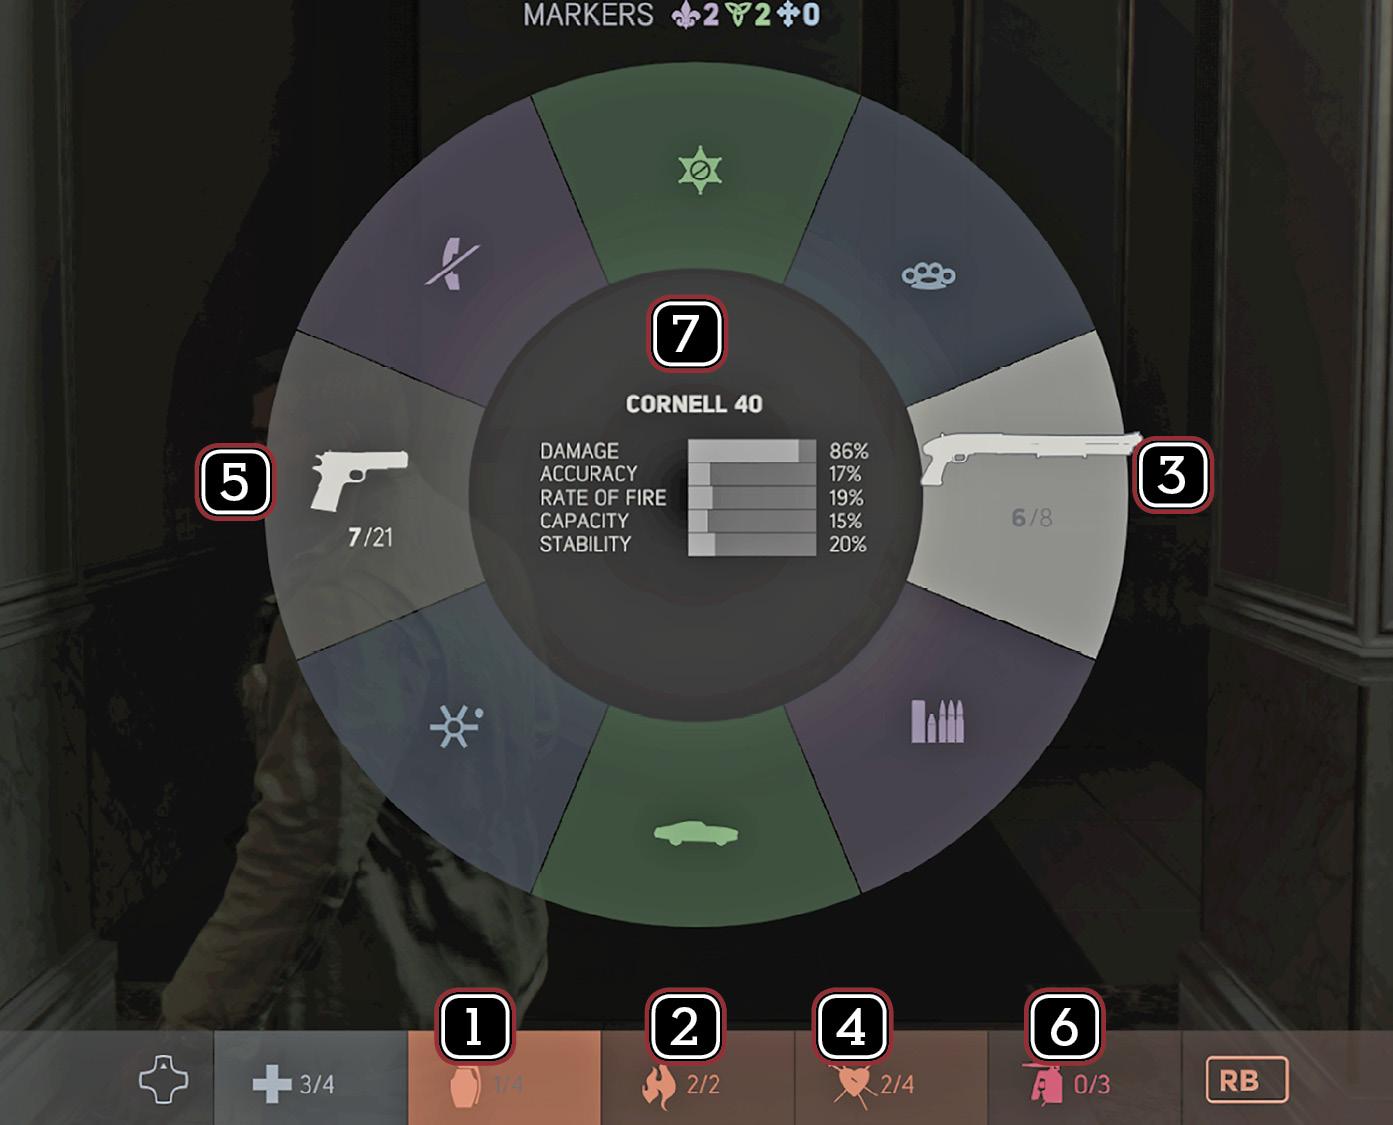
| Number | Slot Contents | Notes |
|---|---|---|
|
1 |
Grenades |
The number under the grenade represents how many you are currently holding. Favors from Burke can increase this max hold amount. |
|
2 |
Molotovs |
The number under the Molotov represents how many you are currently holding. Favors from Burke can increase this max hold amount. |
|
3 |
You can only hold one handgun plus one heavy weapon at a time. This slot can contain only one of a number of heavy weapon types. The number below the weapon graphic displays the amount of ammo in your current cartridge and the max amount of ammo you are carrying. |
|
|
4 |
Screaming Zemi |
Screaming Zemis are a distraction projectile and can be upgraded to smoking and exploding. The number under the icon displays the amount you are currently holding. These can be purchased from the Weapons Delivery van. |
|
5 |
Handguns |
You can only hold one handgun plus one heavy weapon at a time. This slot can contain only one Handgun type. The number below the weapon graphic displays the amount of ammo in your current cartridge and the max amount of ammo you are carrying. |
|
6 |
C4 |
C4 can be purchased from the Weapons Delivery van. To place, select the C4, select a plant location, press X or I to confirm your choice, and press RB or R1 to detonate from a safe distance. |
|
7 |
Weapon Stats |
The selected weapon’s name and stats appear in the middle of the weapon selection wheel. |
Quick Weapon Swap
To select your weapons and explosives in the Weapon Wheel, hold LB or L1, scroll to your weapon of choice and then let go of LB or L1 to return to the game holding the new weapon of choice. Or to quickly swap between weapons without entering the weapon wheel, tap LB or RB or L1 or R1. This toggles between the handgun in the left slot and the heavy weapon in the right slot.
Switch Aim Stance
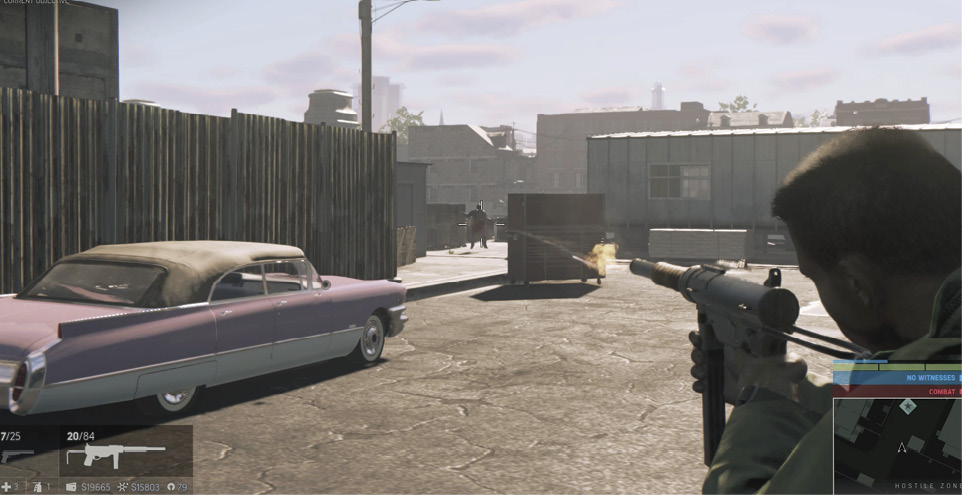
Lincoln defaults to raising a weapon on his right side and aiming with his right eye. However, this is not always a safe stance. If you are on the right side of a doorway looking inside a building or looking around a corner to your left, shoot from the left side of your body so you don’t expose a lot of Lincoln. To switch aim stance, simply click down on the Left Control Stick (or L3 on the PlayStation 4 controller).
Hold Breath
Click the Right Control Stick or R3 to enter and exit scope mode on scoped weapons. When staring down the scope, click down and hold the Left Control Stick (or L3 on the PlayStation 4 controller) to take a deep breath and hold it. This steadies your aim making that distant target easier to shoot. You can only hold your breath for a handful of seconds, so take your shot as soon as possible.
Throwing Projectiles
Press and hold RB or R1 to bring up a throwing arc graphic. Move the far end of the arc to the intended destination of the projectile and then release RB or R1 to throw the projectile. You can cancel the throw during the aiming sequence by pressing  or
or  . The same throwing procedure can also be executed while you’re in weapon aim mode (while holding the Left Trigger or L2).
Plant & Detonate C4
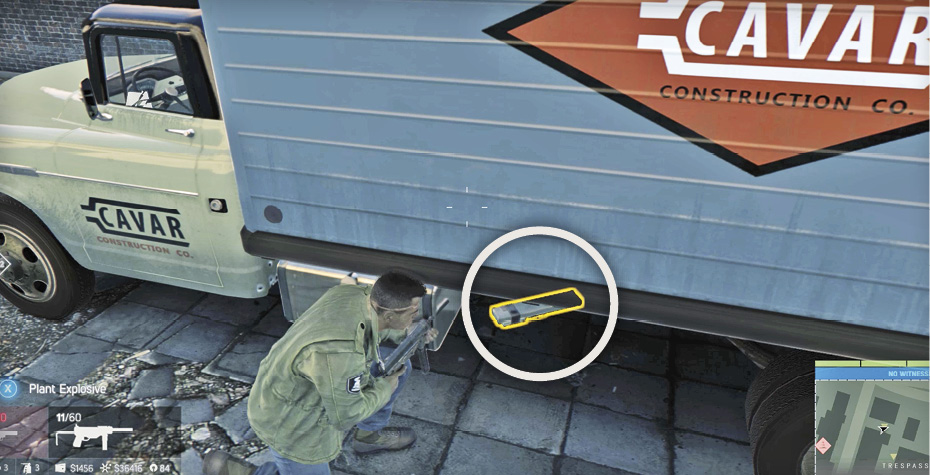
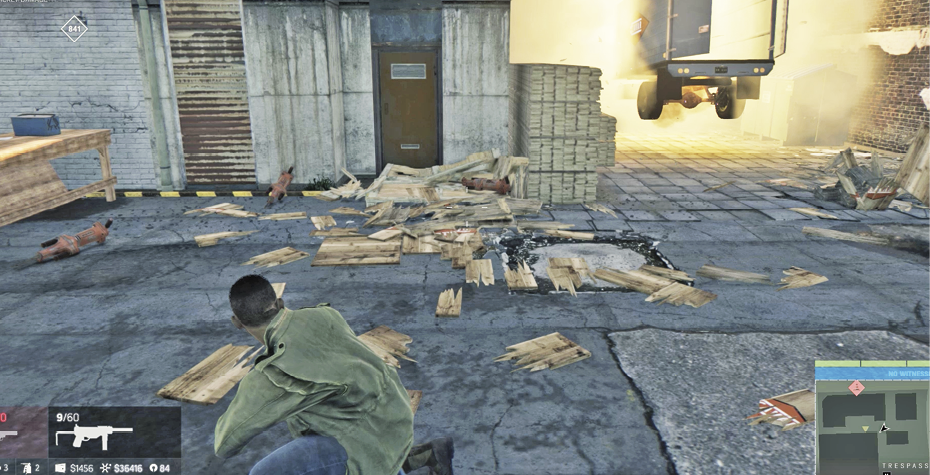
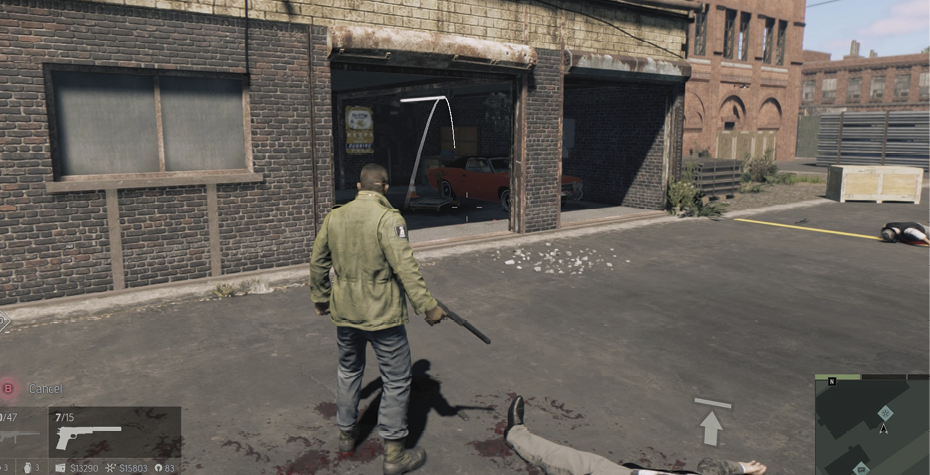
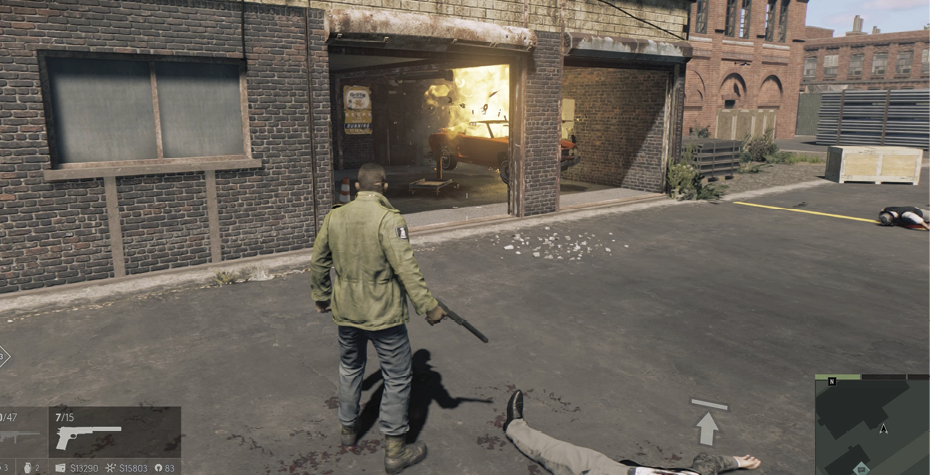
C4 can be used to explode vehicles when commanded, or as a trap for enemies by being placed on the ground or by a doorway at a pinch point. You can purchase C4 from the weapons delivery van. Press RB or R1 to bring up a yellow highlighted rectangle (the C4 silhouette) that can be positioned over objects. Once you’ve found the desired location, press  or
or  to plant. Get into a safe location far away from the blast radius, and then press RB or R1 to detonate. If you do not explode the C4, hold down on the D-pad to pick up the explosive while standing over it to disarm it and return the explosive to your inventory.