Mafia III Guide Story Missions
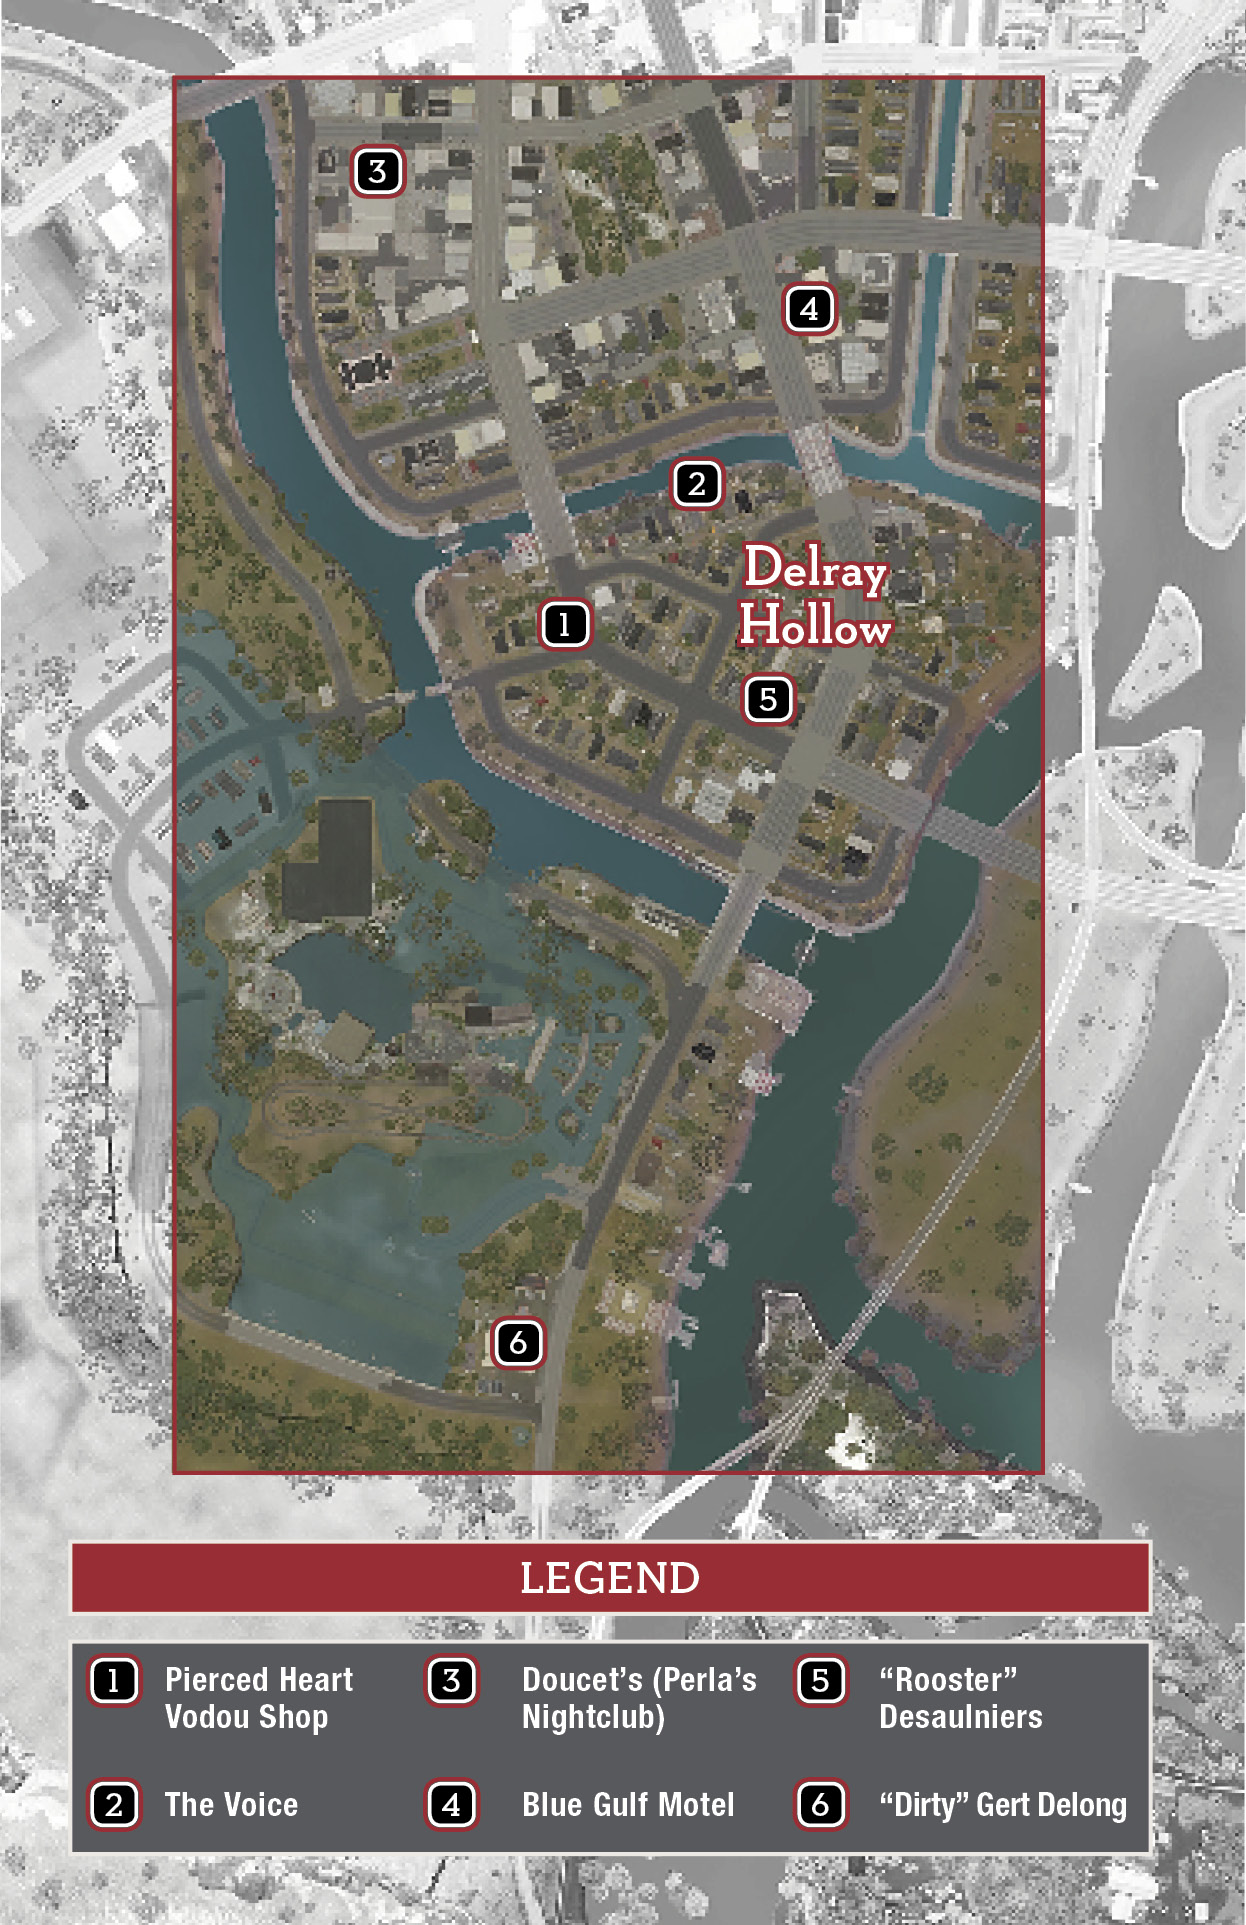
DELRAY HOLLOW: The Way of Flesh
Mission: “Old Time’s Sake”
Prerequisite: “That’s the Plan, Padre”
The Marcanos have handed control of Delray Hollow to the hated Dixie Mafia, who are now running heroin into the district. Donovan thinks Lincoln can recruit the local Haitians to his cause. But after killing Baka and decimating their bayou hideout, Lincoln Clay is not exactly on their buddy list. Some old-school persuasion may be needed.

Wait for the Haitians
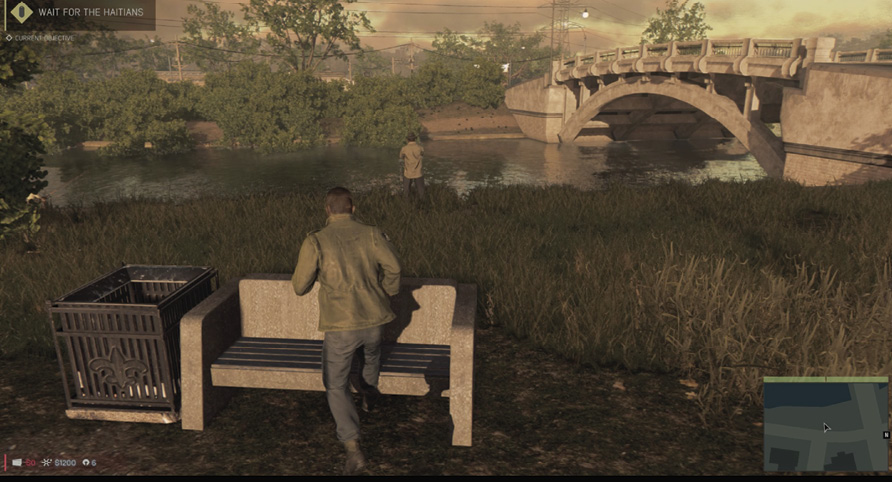
Descend to the parking lot and get into your Executive. Drive the white trip route to the destination marker near the river and hop out. Walk across the street and sit on the park bench to wait for the Haitians.
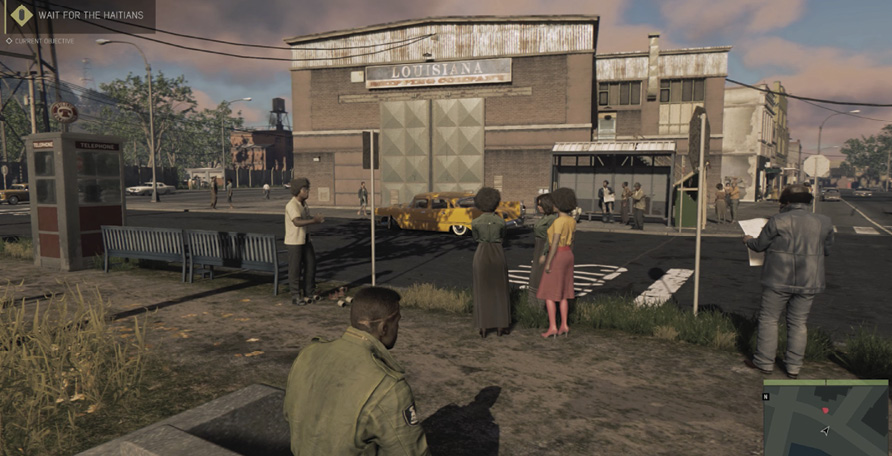
Time passes with a scene fade. Lincoln sits on the bench facing the Louisiana Shipping Company warehouse across the street. Soon the Haitian’s bright yellow Samson Richmond-Lux pulls into the warehouse garage, giving you a new objective.
Get Inside
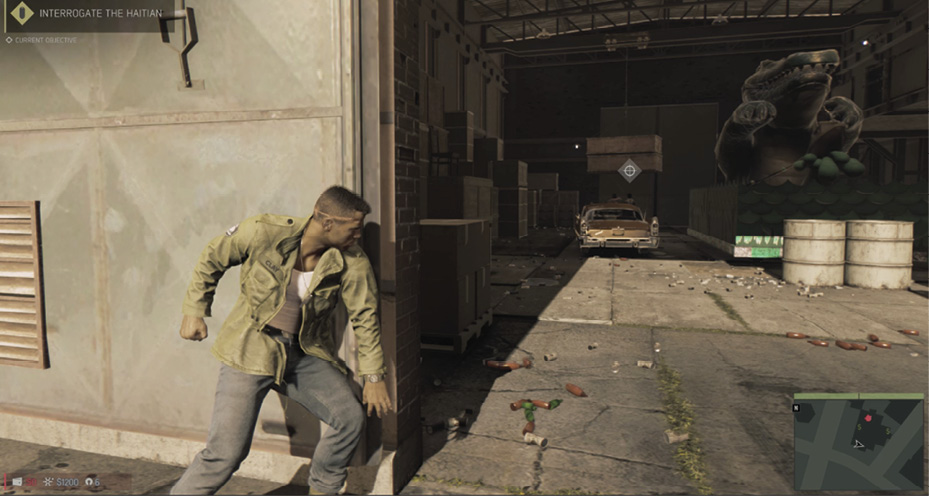
Cross the street to the warehouse and take cover at the garage doorway. Your target is the Haitian marked with a crosshairs icon above his head, the first Informant you encounter in the game.
Interrogate the Haitian
Your target has two companions. To reach the targeted Haitian, you must neutralize his partners. Here’s the easy way: see the crates hanging over their heads? Target the cable
When the crates crash down, they KO the two companions and stun the Informant. Approach the Informant and hold down the button prompted onscreen to trigger Lincoln’s interrogation. The Informant reveals where the Haitian gang boss hangs out.
Go to the Pierced Heart Vodou Shop
Return to your car and follow the trip route to the peeling blue building that houses the Pierced Heart.
Find a Way Inside
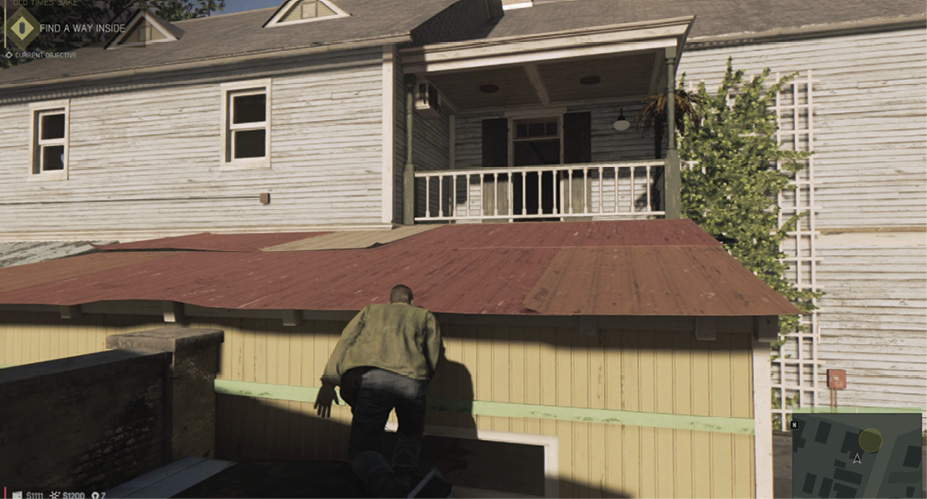
Go around to the side with the garage. Use the dumpster to climb onto the garage and cross the roof. Then hop over the balcony railing and enter the Pierced Heart via the second floor balcony door.
Search Pierced Heart
Turn right and enter the sitting room.
Wait

Approach the leather couch and sit down. This triggers a cutscene: Lincoln meets Cassandra, a familiar face who has become the new Haitian boss. She tells Lincoln about the despicable practices of Sammy’s replacement, Ritchie Doucet, the man Marcano put in charge of the Hollow. Doucet’s Dixie Mafia operate out of the Community Church as well as the old community theater, once called Perla’s—named after Sammy’s late wife. Lincoln decides to take down the theater first.
Unlocks: “Prostitution” Racket
RACKET: Prostitution
Prerequisite:Complete “Old Time’s Sake”
Now it’s time to start putting the hurt on Sal Marcano. Your goal is to inflict damage on each racket until its revenue, called its “earn,” is reduced to zero. When a racket’s revenue hits zero, the Racket Boss is flushed out. Then you can either kill or recruit that boss to solidify Lincoln’s takeover of the racket.
Talk to The Voice
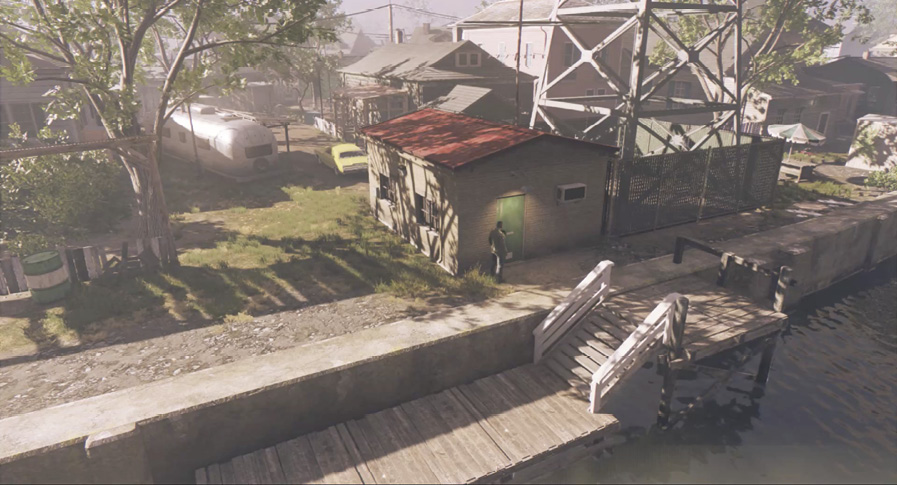
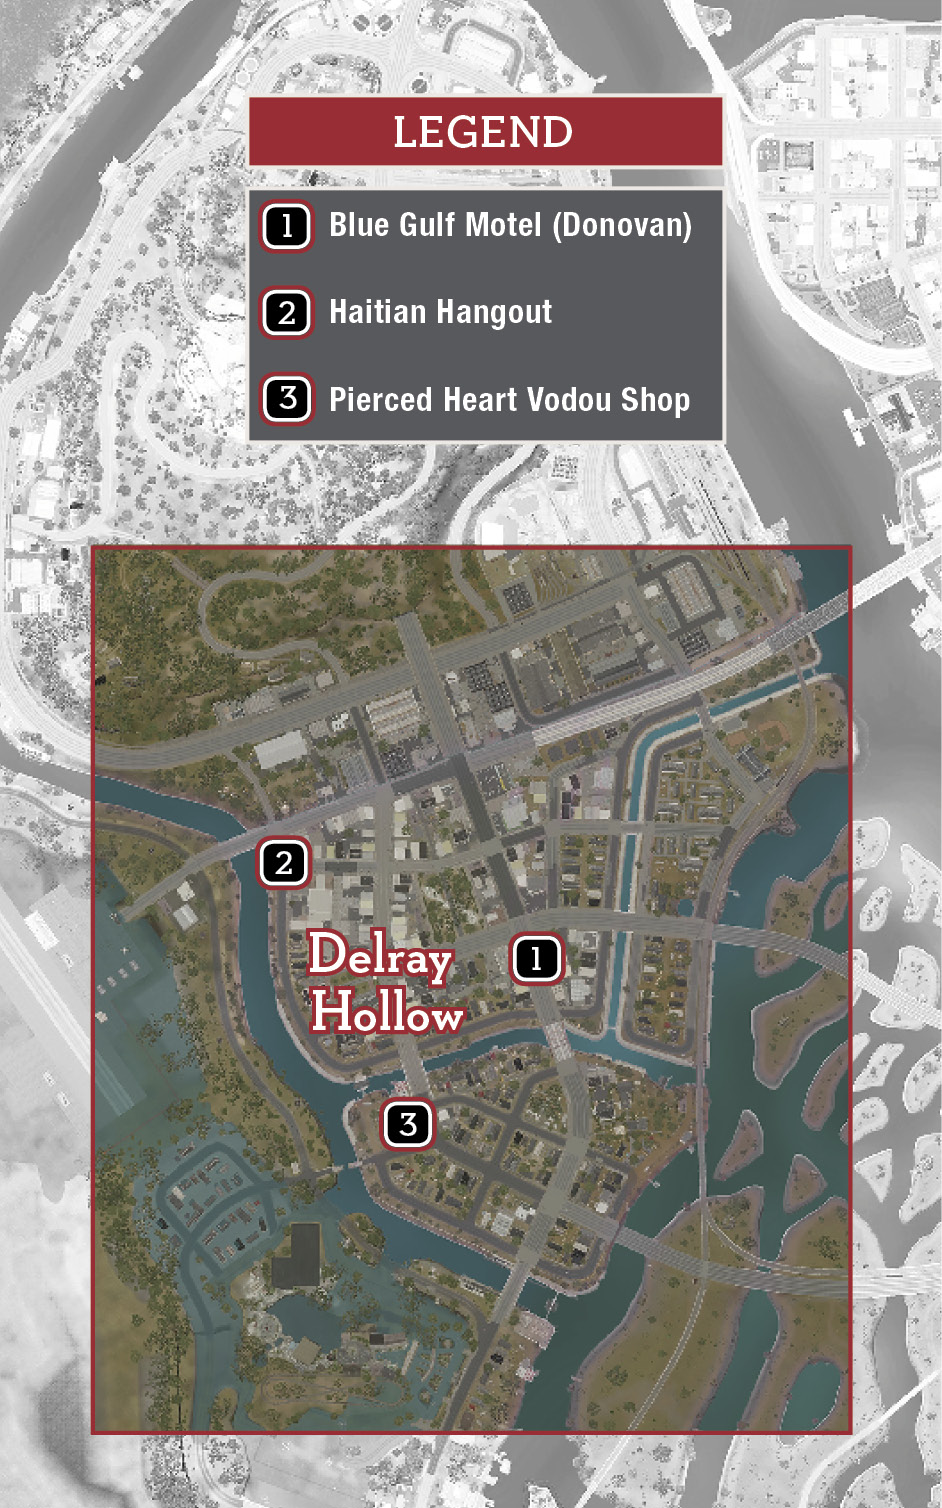
Your first task is to find out what kind of business Ritchie Doucet is transacting at the old Perla Theater. Cassandra has given you a preliminary contact. Outside her vodou shop (1), hop in your car (or steal any car) and follow the white trip route. It leads down a dirt lane to a destination marker next to an old, wheel-less trailer. Hop out and follow the objective marker down the alley to the green door of a garage right on the canal bank (2).
Enter to trigger a meeting with Mr. Laveau, former bartender at Sammy’s and a DJ known as “The Voice” on the local radio. Laveau tells you that a goon named Merle Jackson is running a forced prostitution racket out of the old Perla’s Nightclub, now transformed into a strip club and renamed “Doucet’s” after the district boss himself. Jackson has some girls strung-out on heroin and imprisoned on the second floor of the brothel.
Unlocks Objective:“Free the Strung-Out Girls”
Free the Strung-Out Girls
Talk to Sheila
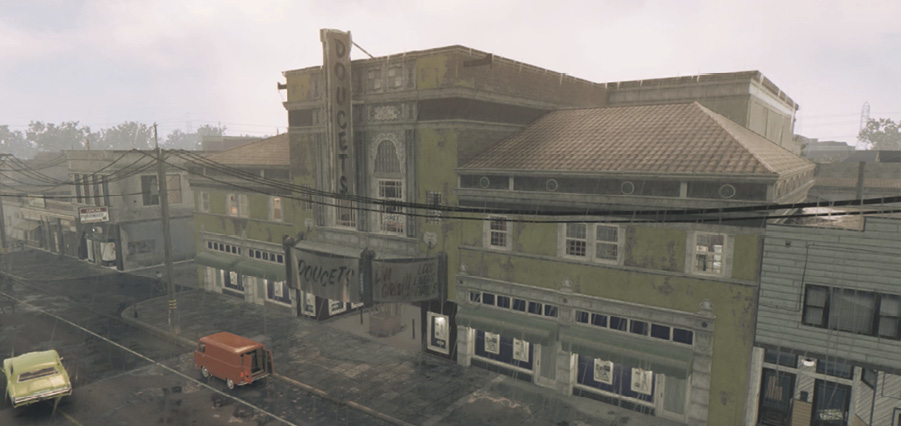
Exit the trailer and follow the trip route to Doucet’s (3). (Note that the Arms Dealer van is out front if you wish to purchase a new weapon or two.) Enter via the front doors and talk to Sheila the coat-check girl (the one wearing white lingerie) in the main lobby. Sheila tells Lincoln the girls are upstairs and Merle’s goons are everywhere.
Work Your Way Upstairs
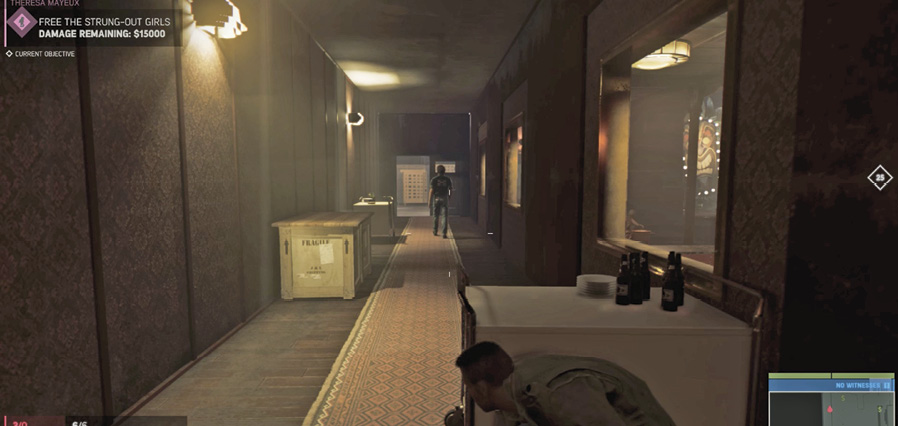
Proceed past Sheila down the first hall and turn right through the doorway. A long corridor, patrolled by a Dixie Mafia thug, runs alongside the bar area. Take cover behind the nearby cart and whistle to lure the thug to you then take him down silently.
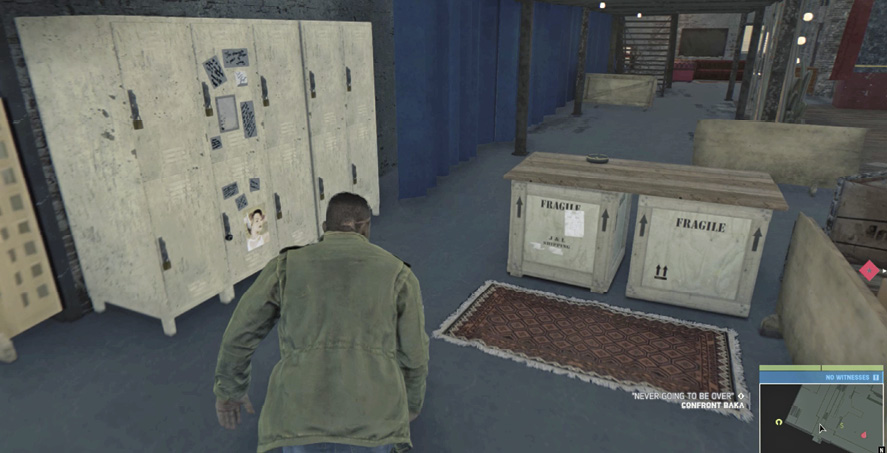
Proceed to the end of the corridor and turn right to enter the backstage area. Take cover behind the table made of crates marked “Fragile” then grab the two stacks of cash next to the beer bottles on the nearby crate. Then use Intel View to scout the positions of other hostile guards across the backstage area.
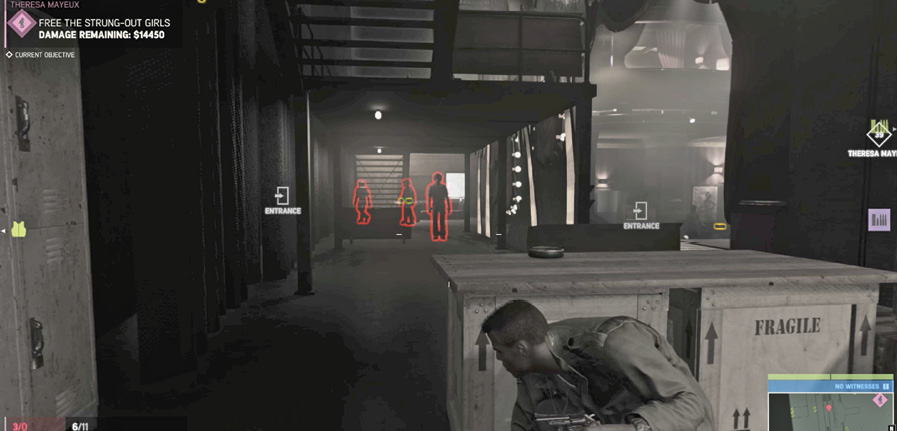
Soon one Dixie thug patrols toward you, so stay in cover, whistle him over and take him down. Try to sneak up behind the other two guards for takedowns, including one guy standing just outside the door on the loading dock.
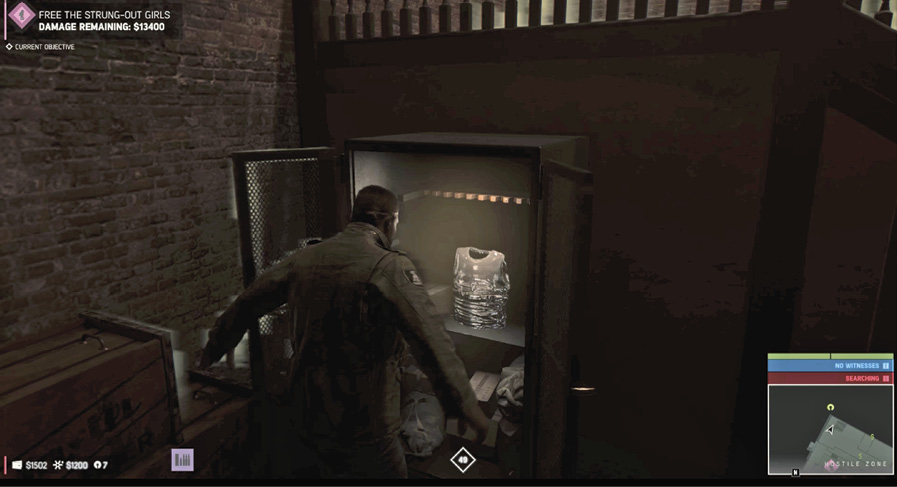
When the backstage area is clear, snag two more stacks of cash then explore the dressing room area. Here you can find a note on the table; $250 on the toilet tank in the bathroom; and a Tac-Vest in a locker.
Then carefully creep up the staircase behind the stage, checking with Intel View for other gunmen up above or approaching from below. Turn right at the top of the stairs and proceed past the three hospitality rooms to the open door. Step through the doorway into the narrow corridor.
Theresa Mayeux
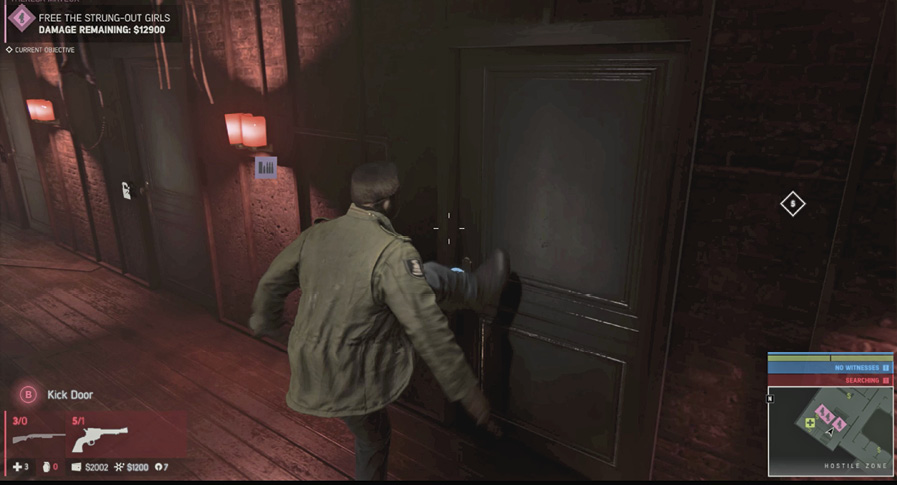
Approach the first closed door on the right and either use your Pry Bar to open it…or better yet, just kick it in. (We suggest the latter.) Poor Theresa is sitting on the floor. Enter and read the note on her bed if you want. Theresa runs out and escapes her hellish prison, inflicting damage to the racket.
Deborah Rouquette
Kick in the next door to free Deborah and knock another couple grand off the racket’s balance sheets. Then exit and move to the next closed door.
Lucy Doussan
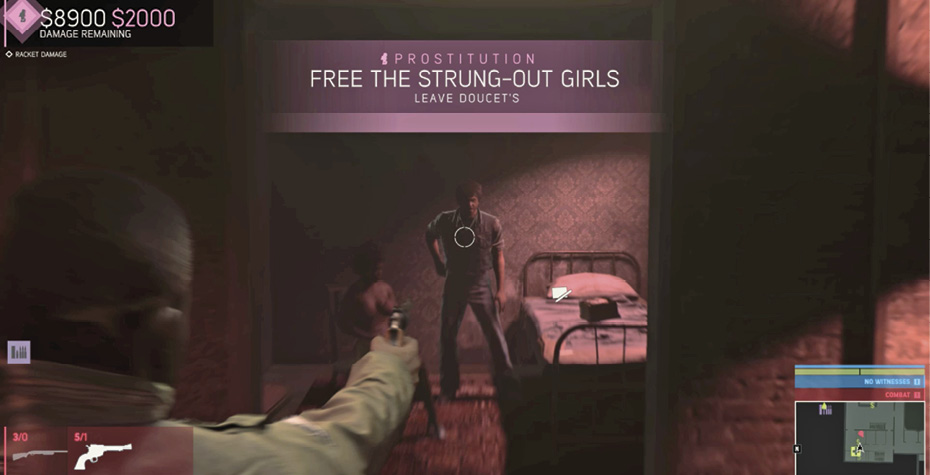
Get ready! When you kick in this door, you find an armed customer in Lucy’s room. Gun him down quickly! After he drops, let Lucy escape for racket damage, and then scoop up more cash stacked on the corner table.
Leave Doucet’s
Exit the room and find more cash in the bathroom at the end of the corridor on the left. Search the rest of the second floor for more money and items, then go back downstairs to find another nice wad of cash behind the main bar. Then exit the building to finally complete your “Free the Strung-Out Girls” objective.
Talk to Donovan
Prerequisite: Complete Objective “Free the Strung-Out Girls”
Your raid on Doucet’s brothel puts a serious dent in the Prostitution racket’s income, but you still need to inflict a bit more damage to lure out the racket boss, Merle Jackson. Drive back to the Blue Gulf Motel (4) and head upstairs to the tac-ops center. Donovan gives Lincoln a portable radio for calling in help from the Criminal Associates of his Underbosses.
Return to The Voice
Drive back to Laveau’s garage studio (2) and enter. He tells Lincoln about Merle’s pimps in Delray Hollow. If you eliminate them, Merle may be forced to return to the strip club where you can hit him. Icons marking the locations of both pimps, “Rooster” Desaulniers and “Dirty” Gert Delong, now appear on your map. Open the Map screen and activate the objective of the closer target, Rooster.
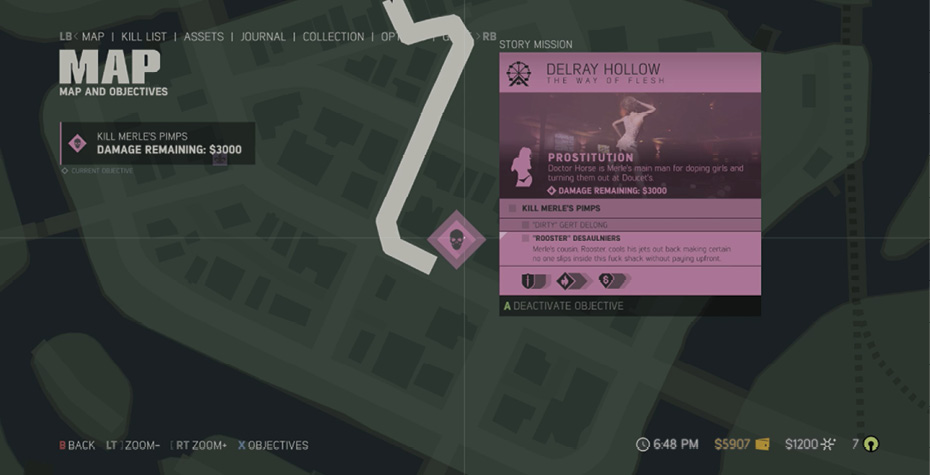
Unlocks Objectives:“Kill Merle’s Pimps” AND “Track Down and Kill Dixie Patrols”
Kill Merle’s Pimps
Prerequisite: Complete “Free the Strung-Out Girls” AND “Return to the Voice” (First Time)
”Rooster” Desaulniers
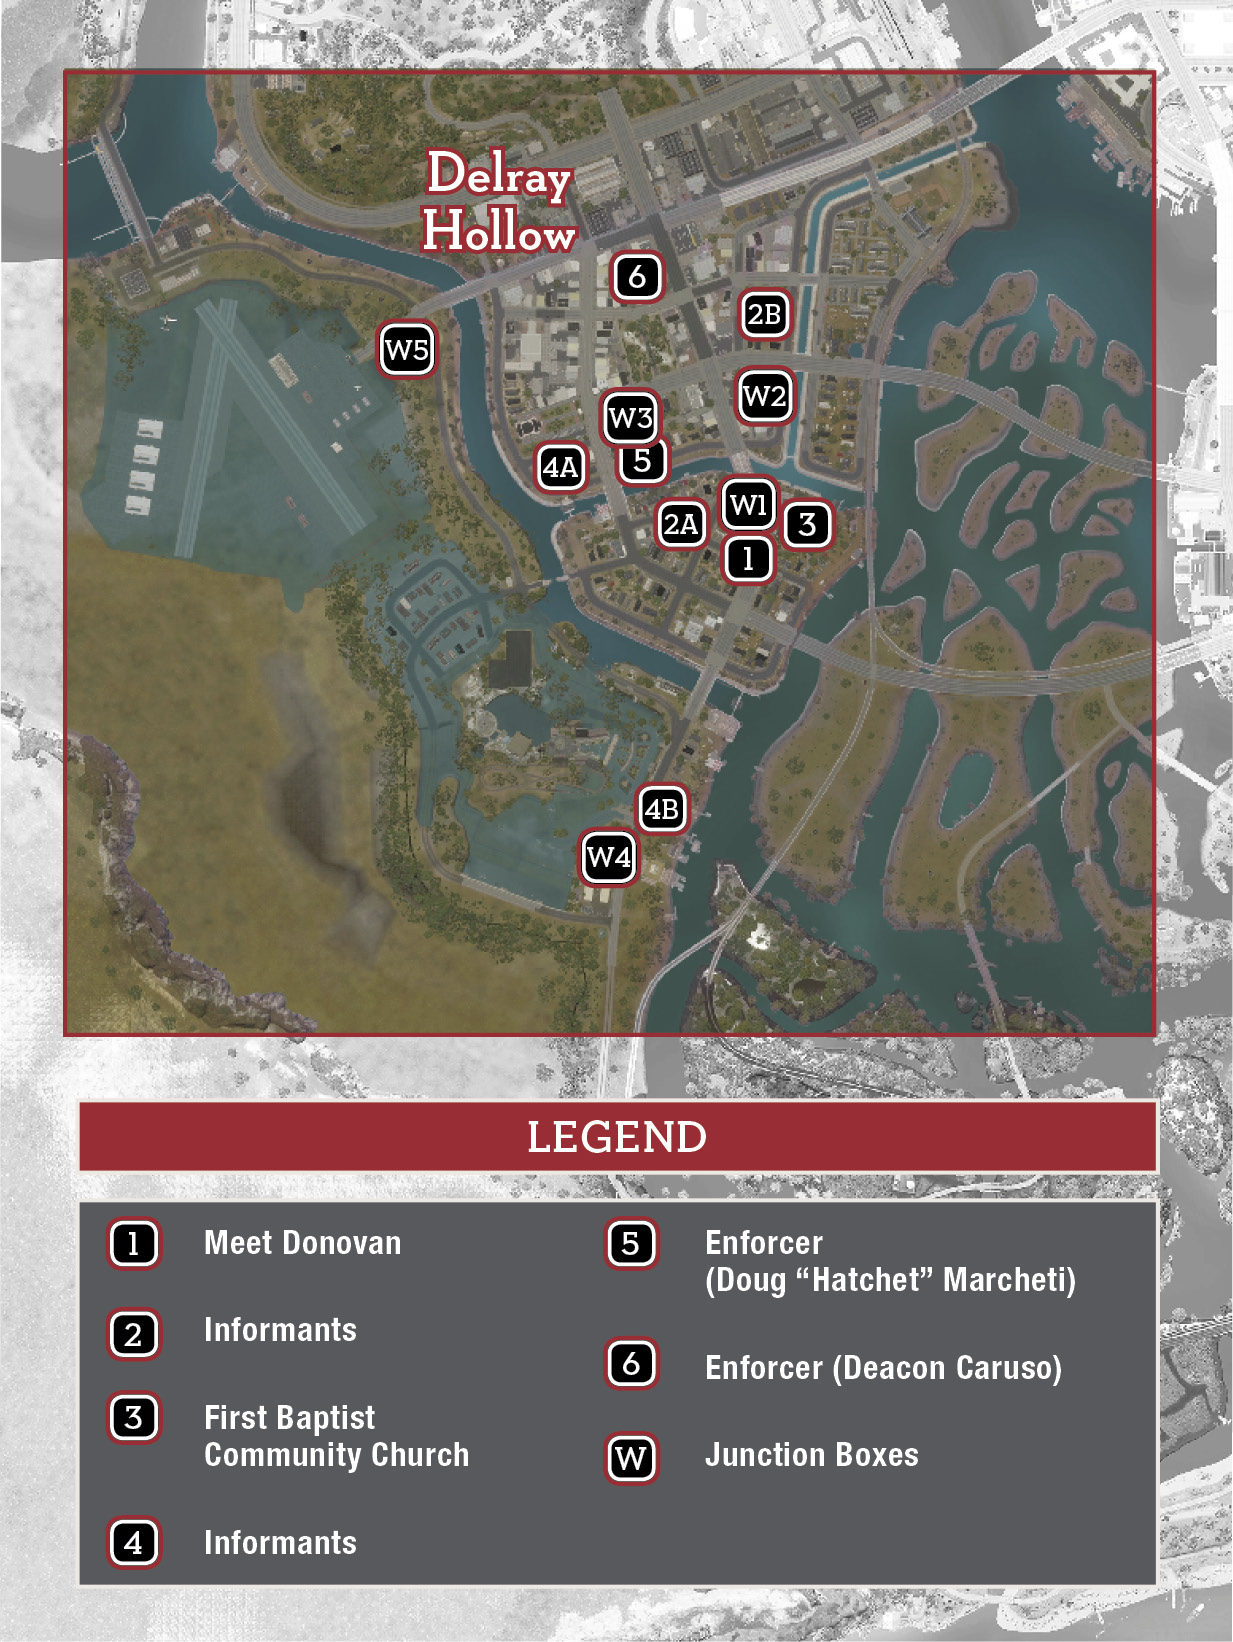
Follow the trip route to the destination marker (5) and get out of the car. Rooster’s house is the green one. From the street, use your Intel View to survey the situation. Rooster is posted alone behind his house. One guard stands with his back to you in the alley on the left side. Stalk that fool for a silent takedown.
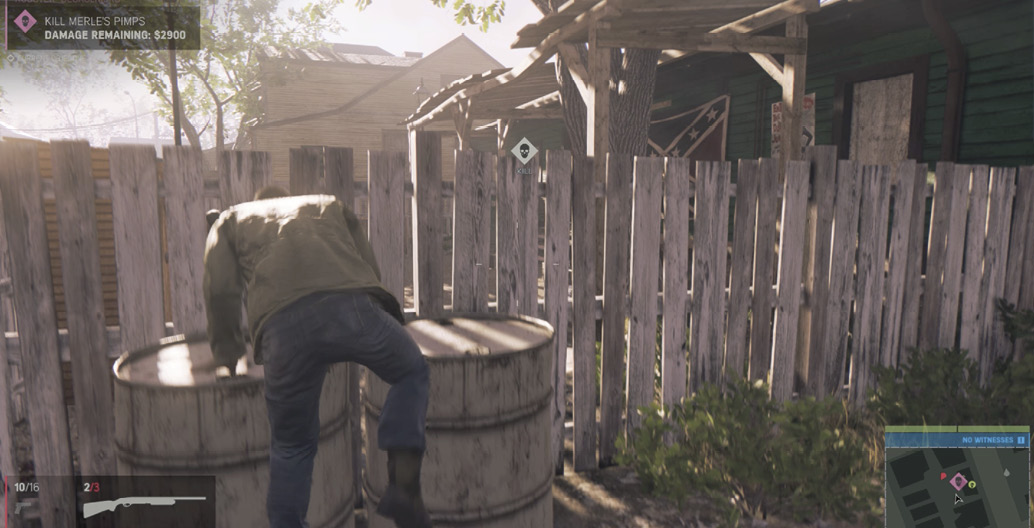
Now use the nearby barrels to hop over Rooster’s back fence. If Rooster is facing away from you, you can perform a silent kill then stealthily search the house for cash and items, and return to your vehicle. However, if you’re forced to shoot Rooster, get ready for his remaining men to retaliate. You may need to take them out before you can plunder the house.
”Dirty” Gert Delong
Follow the trip route to the destination marker (6) and get out of the car. Dirty Gert works his girls out of the low-rent Carousel Hotel (next door to Perfect Waffle), and he has a lot of muscle posted around the place. Work around the perimeter, using Intel View to pick out Dixie Mafia from the clientele. Whistle to lure individual thugs out to your hiding places for silent takedowns.
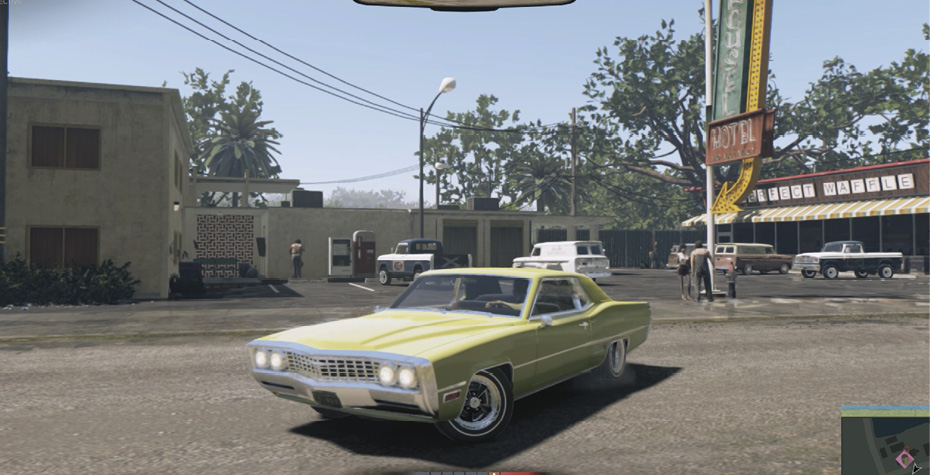
Dirty Gert is in an upstairs suite on the street side of the motel. Once you get a clear path to the balcony outside his room, go shoot him right through the window for damage to the racket. Be sure to scour the room for cash, including a $500 bag under the bathroom sink.
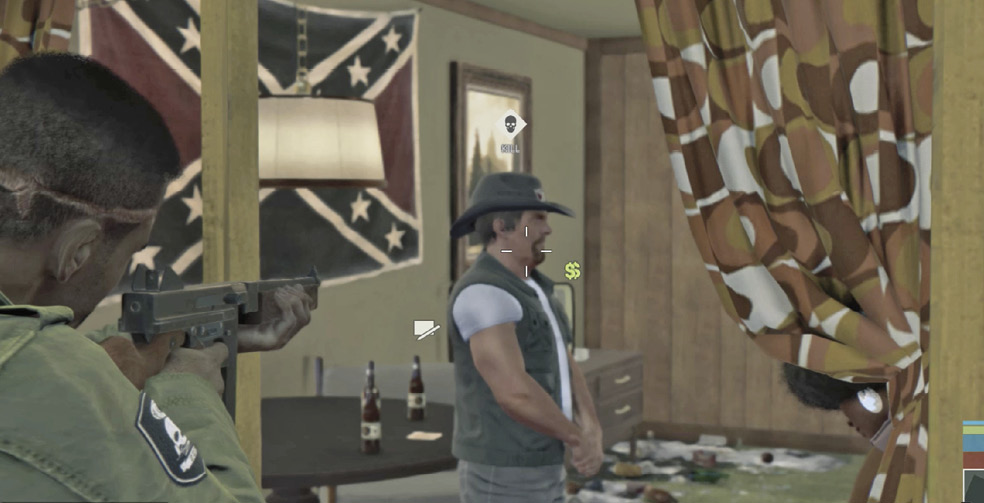
Before you leave the area, work your way upstairs to the second floor of the motel’s opposite building. You’ll find a room with a lot of money stashed in nice stacks. Use your Intel View to find them all!
Track Down and Kill Dixie Patrols
Prerequisite: Complete “Free the Strung-Out Girls” AND “Return to the Voice (First Time)”
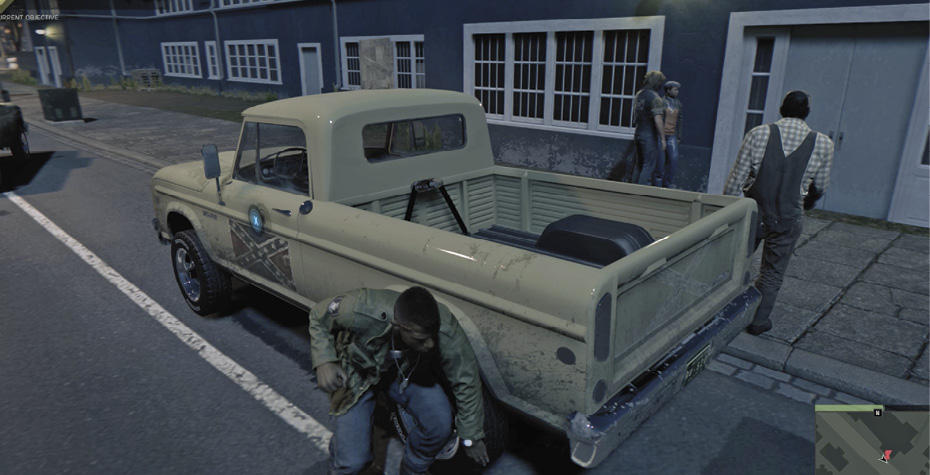
As you drive around Delray Hollow you occasionally pass white Eckhart Pioneer trucks with the Confederate flag emblazoned on the doors. Next to each truck, two Dixie Mafia goons are working to recruit some poor girl into the escort business. Stop and terminate them to inflict additional damage per goon eliminated. A total of 10 Dixie patrols can be found on the Hollow streets.
Return to The Voice (Second Time)
Prerequisite:Racket Damage Lowers Earn to $0
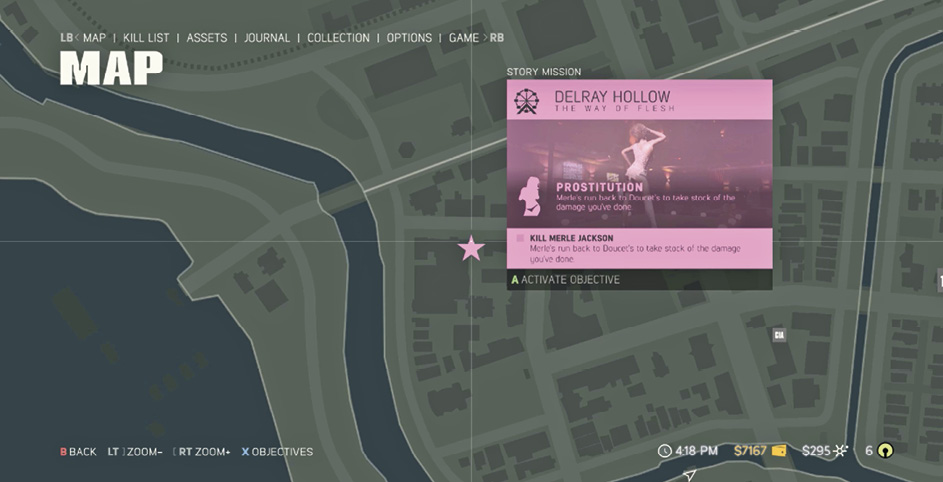
Once your damage total hits $0, you can return to Laveau’s garage studio. (Before you talk to him, see the “Final Contact” note.) Talk to Laveau and select Accept. He reports that Merle Jackson is now holed up over at Perla’s (the theater renamed Doucet’s). This puts the star objective icon on the map, marking the location of a Racket Boss. Activate that objective to set a trip route.
Kill Merle Jackson
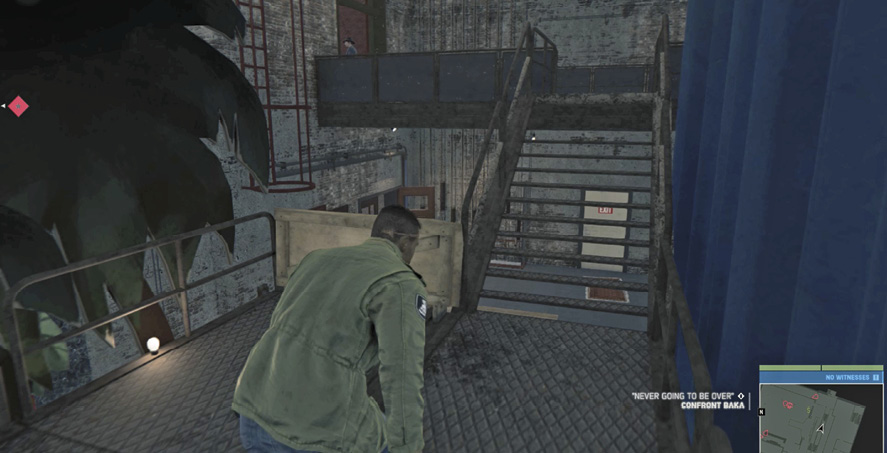
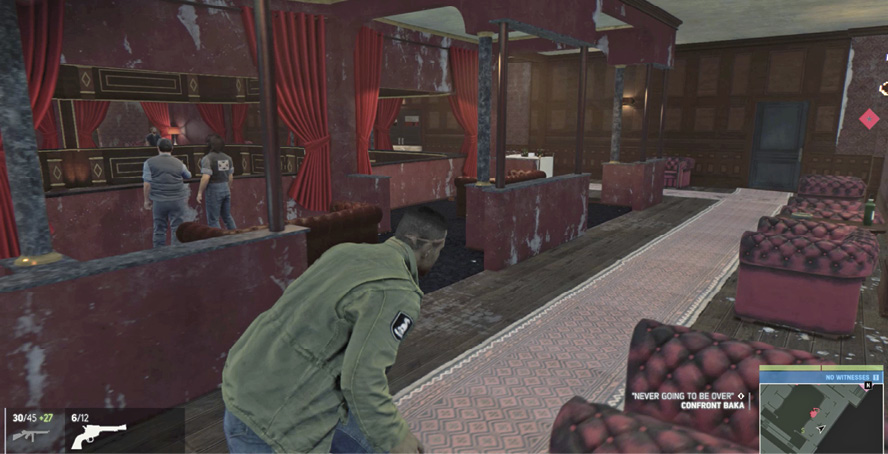
Exit the garage and follow the trip route back to Doucet’s club (3). You can take a speed route up to Merle’s office, avoiding most of his minions. Here’s how: Stalk into the front lobby and veer left into the hallway, sneaking past the two guards with their backs to you. Continue down the long corridor that runs alongside the bar and stage, and then creep along the back wall in the backstage area until you reach the staircase. Climb the stairs to the first landing, then cross the landing and climb the opposite staircase to the second floor.
Turn left, take out the thug patrolling the next walkway, and then hustle past the two guards looking over the balcony with their backs to you. Continue around the corner and proceed to the open doorway on the right at the end of the walkway. If you duck into it fast enough you can elude detection!
Move down the hall past the rooms on the right where you previously freed the strung-out girls. Turn right at the corner and sneak into the upstairs bar where two more guards sit with their backs to you. You kill them quickly or try creeping past them to the right, moving down the next hall to the main office door. (Grab the Barker 390 shotgun from the weapon case on the way.)
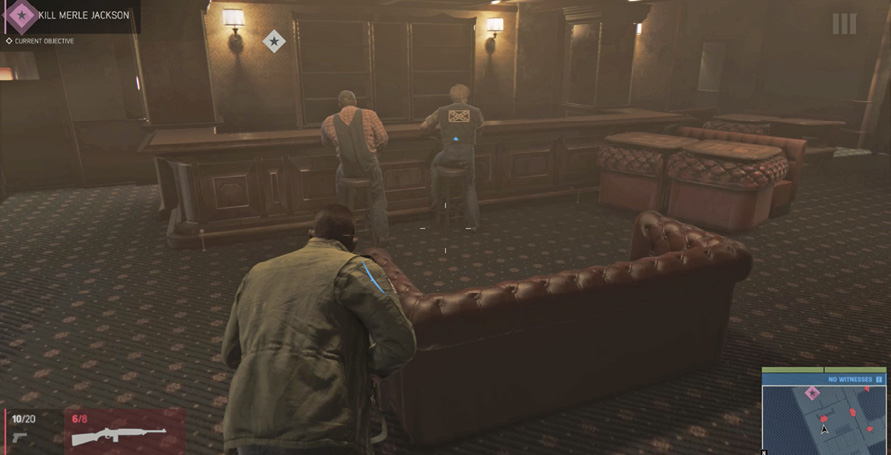
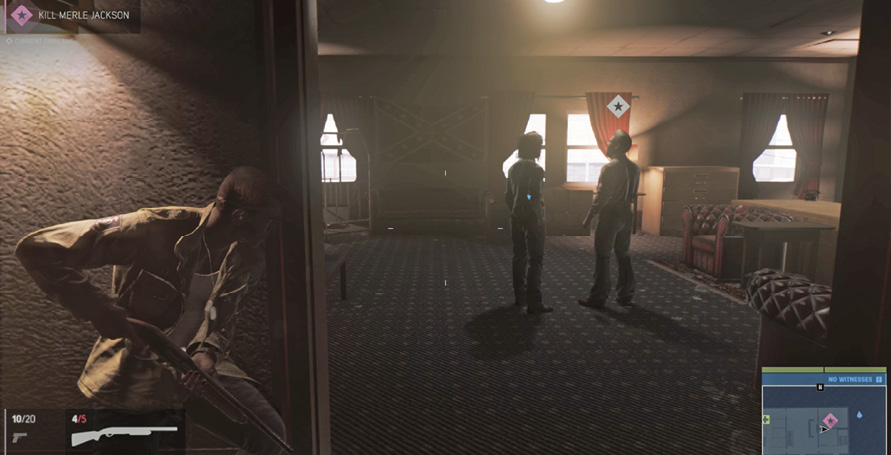
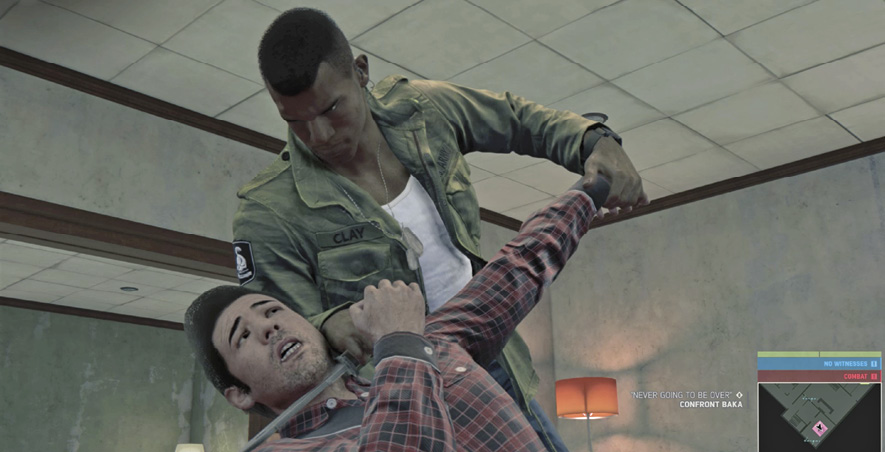
Enter the office anteroom to see Merle “Trigger” Jackson, the racket boss, and one other henchman. Gun down the minion with a headshot then shoot Merle until he falls to his knees. Approach Merle and hold down the button displayed onscreen to subdue him and end his miserable, vicious criminal career.
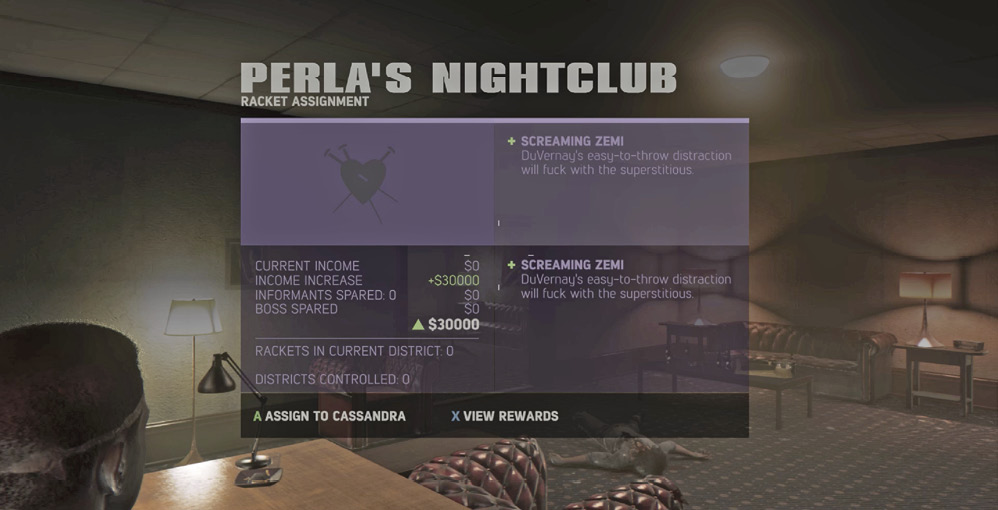
Killing Merle breaks up the Prostitution Racket and gives control to Lincoln. Assign the new racket, now called “Perla’s Nightclub,” to Cassandra, your only Underboss at this point.
This bumps you up to the next Favor level with her, adding the valuable Screaming Zemi (a throwable distraction device) to the wares you can buy from the Arms Dealer van of Jackie DuVernay. You also get a starter set of two for free.
Unlocks: “Smack” Racket
RACKET: Smack
Prerequisite:“Prostitution” Racket Secured

One district racket in your pocket, one to go. The other racket in Delray Hollow is a smack operation. John Donovan has some intel on who’s running it. Time to go meet him again.

Wait for Donovan
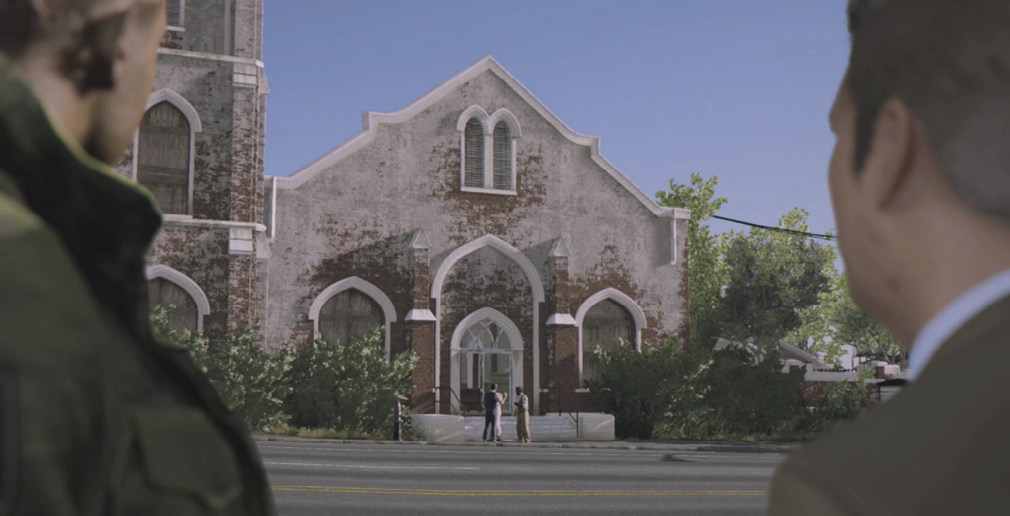
Follow the trip route to the bus-stop bench (1) across from the First Baptist Community Church. Approach the bench and press the button prompted to wait for Donovan and trigger a cinematic: Donovan arrives to report that the Dixie Mafia is pushing its heroin out of the church. The racket is run by Charlie Kincaid, but he’s hard to find. Donovan has identified a pair of Kincaid’s street pushers for Lincoln to interrogate.
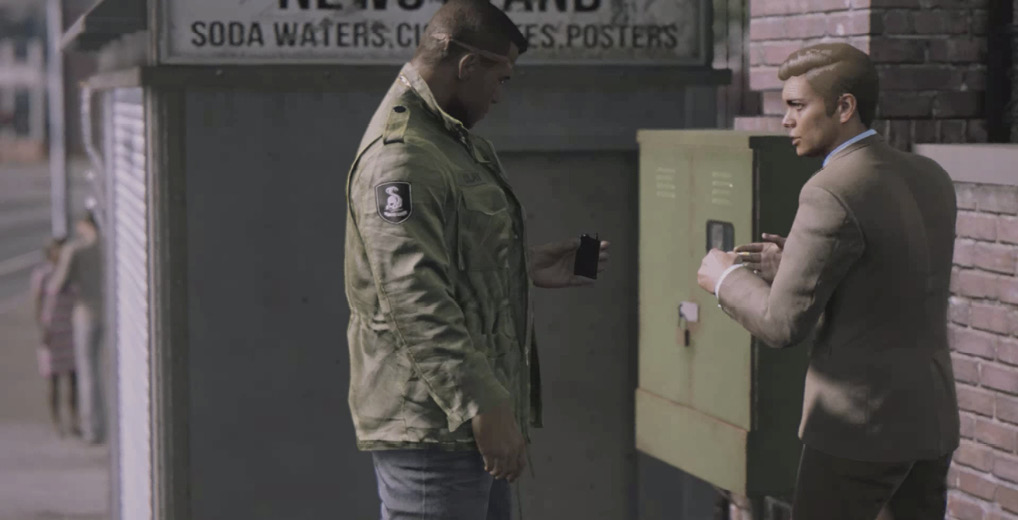
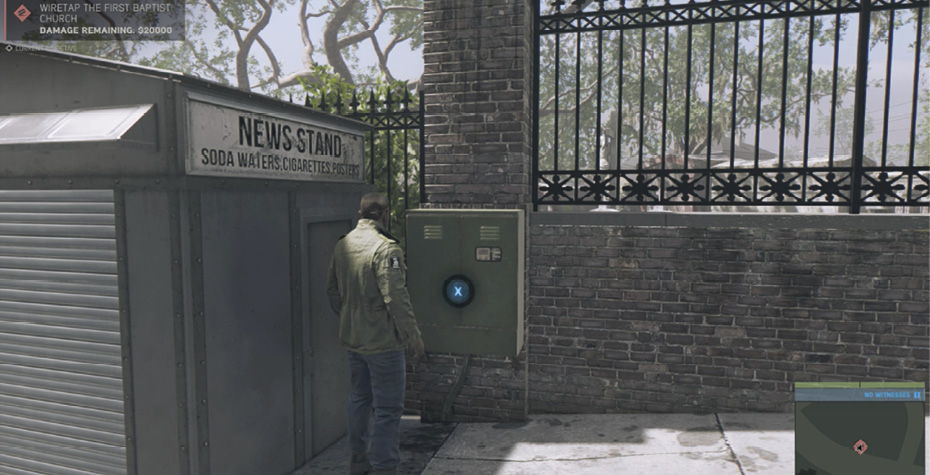
Donovan also explains how New Bordeaux is on a “standard communication grid” and thus easy to wiretap. He hands Lincoln three TL-49 fuses for wiretapping the Junction Box (W1) next to the nearby newsstand. Doing so will let Donovan construct an intelligence map of the area around the box and mark Targets of Opportunity for you. (See the “Donovan’s Wiretap Network” sidebar for more.)
DONOVAN’S WIRETAP NETWORK
Help John Donovan expand his wiretap network across the city to gain a lot of critical intelligence in Mafia III. Each New Bordeaux district is divided into a number of distinct sectors—five in Delray Hollow, ten in Barclay Mills, and so on. Each of these sectors has one Junction Box that you can wiretap to reveal key intel in that sector. How to Wiretap a Junction BoxTo wiretap a Junction Box, you need three TL-49 Fuses in your inventory. Approach the Junction Box and complete the Pry Bar minigame to unlock it and automatically install the fuses. You can find plenty of fuses scattered around New Bordeaux, marked as green dots on your map. 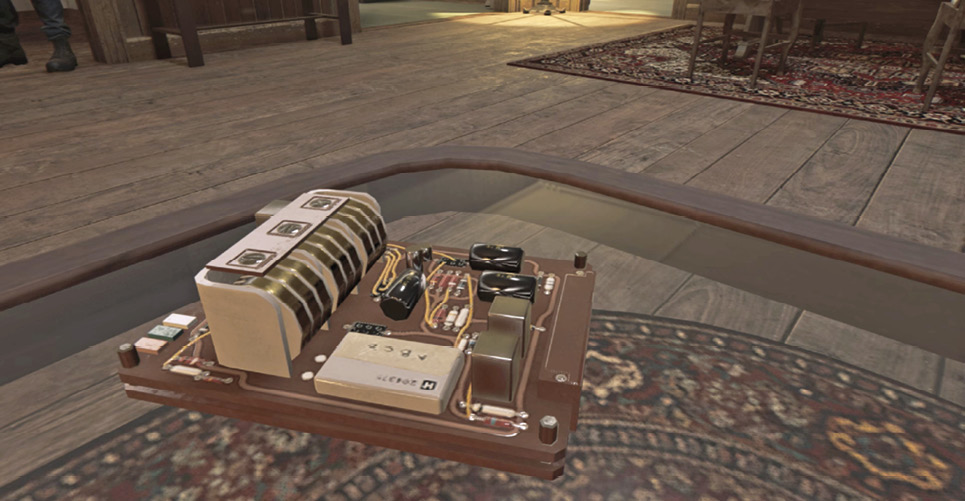
Dozens of TL-49 Fuses are scattered throughout the city. Collect them as you travel. What the Wiretap RevealsOnce you wiretap a sector’s Junction Box, the in-game map reveals all of the collectibles, shops, Medicine Cabinets, TL-49 Fuses, and other key items and locations in that sector. Donovan marks each “Target of Opportunity” with an icon as well. These targets are the people, goods and operations that contribute to the racket’s Earn total. 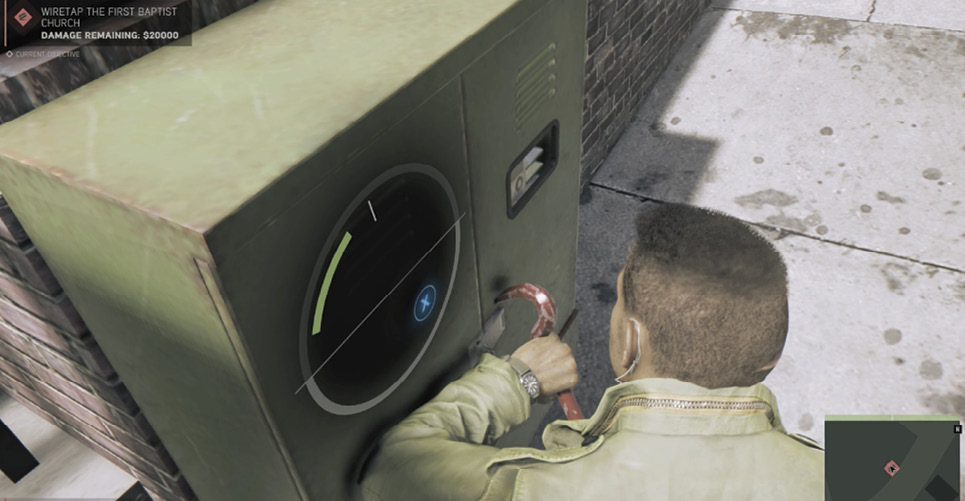
You need three fuses to wiretap each Junction Box. After wiretapping, your Minimap reveals all enemies (red blips) within its radius. In addition, your Intel View reveals all nearby foes (highlighted red)—even through walls and around corners, including those you haven’t yet spotted directly. 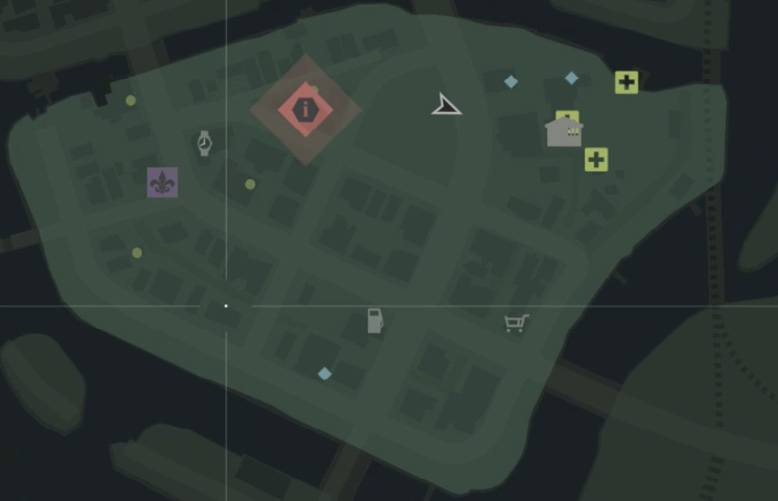
When you wiretap a sector’s Junction Box, your map reveals key items and locations in that sector. Using Wiretaps to Recruit BossesEach wiretapped node also reveals sensitive information about the rackets in the district. Lincoln Clay can leverage this information to convince certain bosses (though not all) to work for him when he takes over their rackets. Recruiting experienced bosses increases the Earn of your rackets. 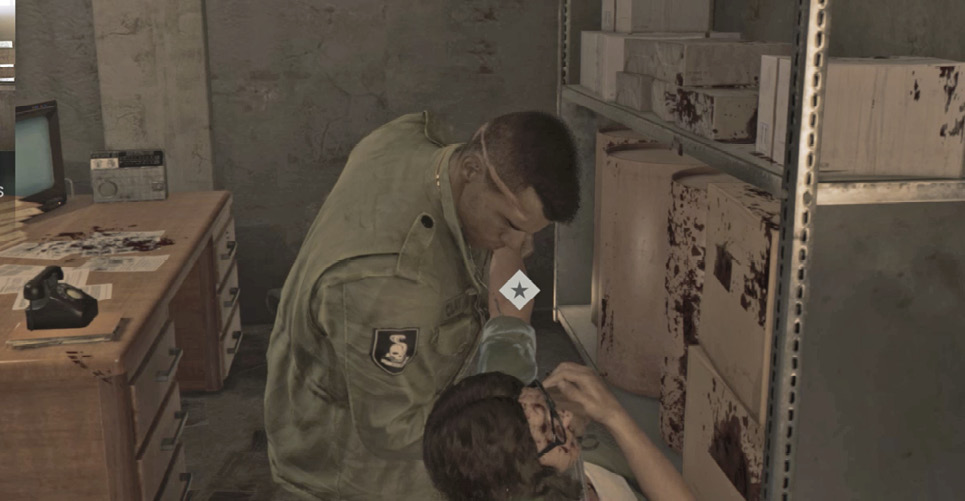
Note that without wiretapped info, Lincoln has no choice but to kill racket bosses when he confronts them. |
Wiretap the First Baptist Church
Press the button indicated on the Junction Box to start the Pry Bar unlocking minigame. When Lincoln pries open the box, he automatically installs three of the TL-49 Fuses from your inventory. (Your current number of fuses is displayed in the lower left corner, next to your cash totals.) This gives you a new objective. Time to track down an Informant.
Unlocks: “Interrogate Charlie’s Pushers”
Informants Flee!Unlike Enforcers, who stay and fight to the bitter end, an Informant hightails it to his vehicle and tries to escape as soon as Lincoln is detected on his turf. 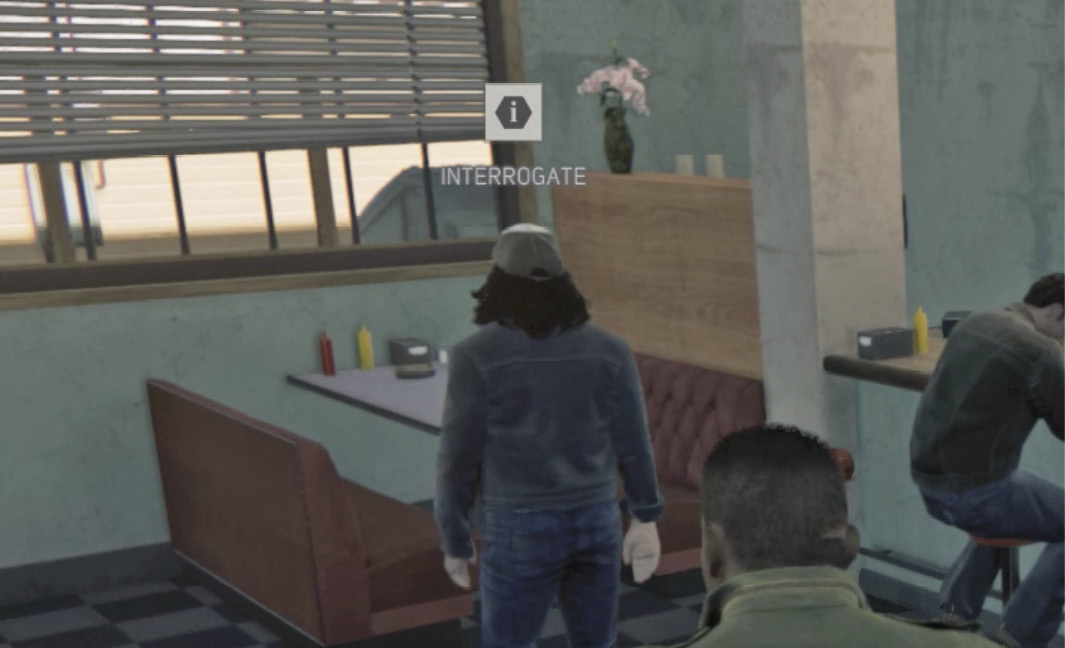
Look for the “i” icon marking mob Informants for interrogation. One approach is to stalk the turf and take down the enemy crew silently, one by one, until you reach the Informant. Another approach is to find a sniper spot outside the hideout’s detection perimeter with a clean line of fire to the Informant. Nail him with a headshot or a few body shots to incapacitate him, and then eliminate his associates. If you get spotted before you reach the Informant, hustle straight for him and try to incapacitate him before he flees! An incapacitated Informant goes down on one knee and cannot move. This lets you deal with his associates then scour the hideout for cash and items before you go back to interrogate the downed fellow. 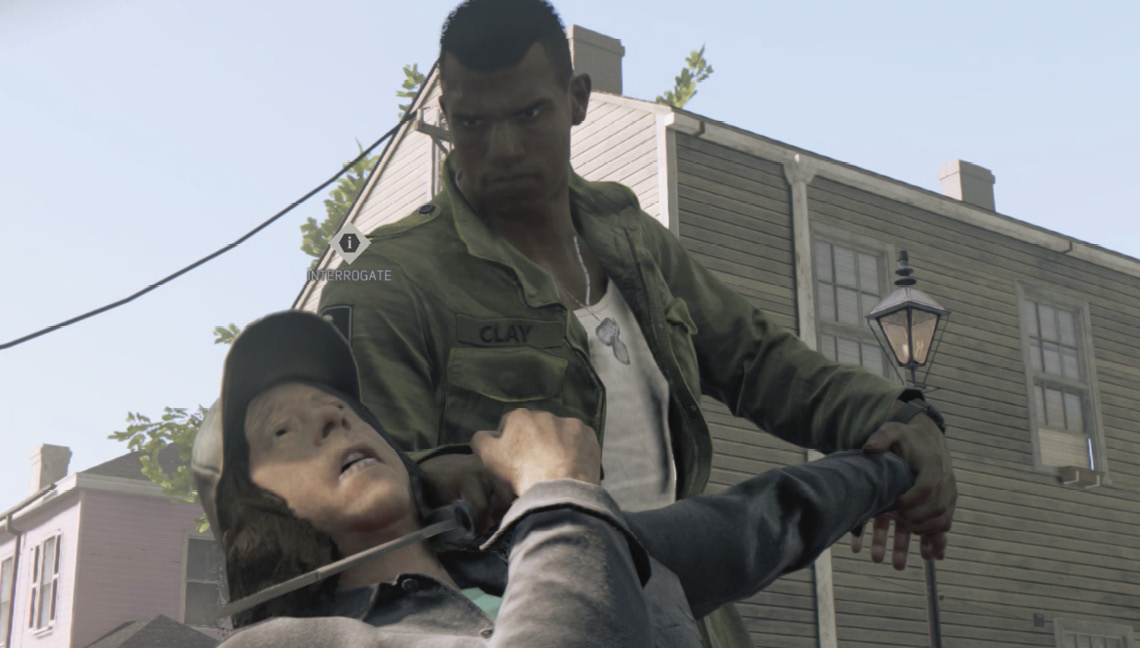
Interrogate each Informant to unlock new objectives, and then kill or recruit him. If an Informant does manage to escape, you can still hop in your car and try to chase him down. If you catch up, you can hop into the driver’s seat of the Informant’s car, and then “Drive Like a Madman” to scare him into squealing. But if you can’t catch him, don’t worry: eventually, the fleeing Informant holes up in a new location. |
Interrogate Charlie’s Pushers (First Time)
For some objectives, Mafia III picks randomly from two or more possible targets on the map. The objective is the same for whichever target pops up—in this case, to interrogate an Informant to learn more about Charlie Kincaid’s heroin operation in Delray Hollow. But here, the Target of Opportunity icon can spawn in one of two different spots on your map. You can get sent to interrogate either Big Al Turpin (2a) or Patrick O’Halloran (2b).
Big Al Turpin
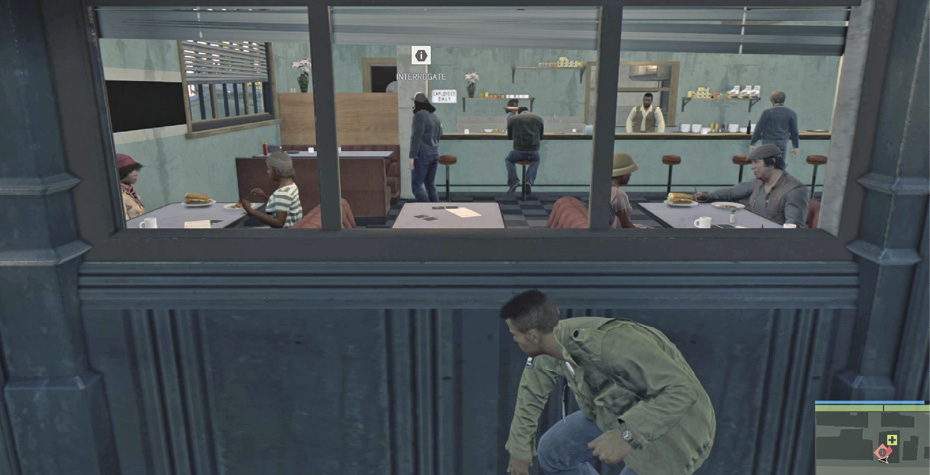
If the objective map sends you to Big Al Turpin, follow the trip route to the small green house (2a) in the southern part of the district where he hangs out. You’ve already wiretapped this sector, so use Intel View from the street; you can see Big Al inside, marked with the Interrogate icon over his head. Remember, he spooks easily. Rush inside to incapacitate Al quickly—he drops to one knee when disabled—then turn your attention to his crew. Once the area is clear, return to Big Al and interrogate him to learn that Kincaid has a lot of product stashed at the church.
Patrick O’Halloran
If the objective map sends you to Patrick O’Halloran instead, you want to wiretap his sector first. Make sure you have three TL-49 Fuses then break into the Junction Box (W2) located in the alley between the Everyday Laundromat and the Motor License & Insurance buildings. (It’s just around the corner from the Blue Gulf Motel where Donovan has his tac-ops center.)
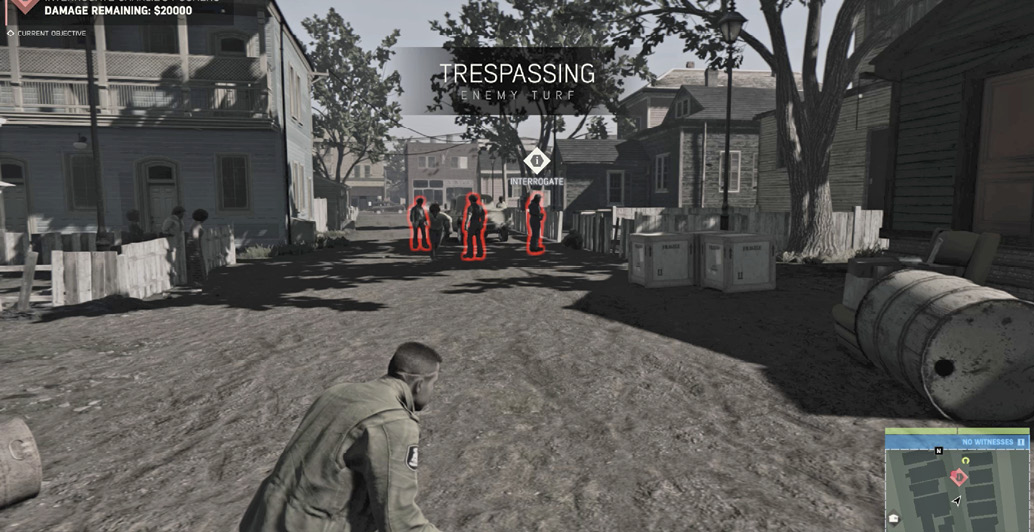
Then follow the trip route to the alley (2b) where O’Halloran (marked with an Interrogate icon) stands with two associates, one of whom is kicking a customer. (Tip: Use Intel View to identify all of the bad guys.) Again, Informants spook easily, so approach carefully. One tactic: Toss a Screaming Zemi to draw the attention of the associates then rush to subdue O’Halloran and interrogate him. The pusher squeals that Kincaid has a lot of valuable dope at the church. After you either kill or recruit O’Halloran, dispatch his crew and move on to the next objective.
Destroy Charlie’s Heroin
Prerequisite: Complete “Interrogate Charlie’s Pushers” (First Time)
Follow the trip route to the First Baptist Community Church, the racket’s main hideout. The complex includes a community center with a meeting hall behind the church where a number of drug shipments are being prepared; destroying them inflicts a lot of damage on Kincaid’s Smack operations. As you might expect, though, the place is well-guarded.
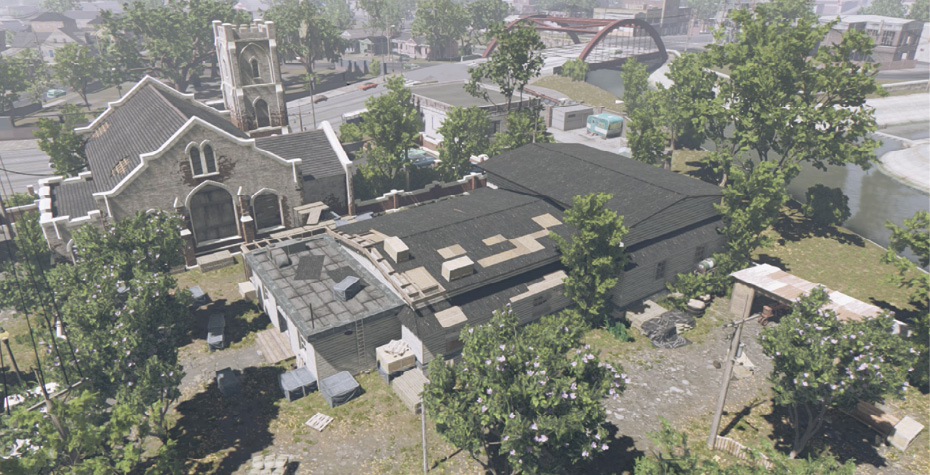
We recommend a covert approach, sneaking around the church grounds and stopping regularly to check your Intel View. Spot the red-highlighted Dixie Mafia goons and maneuver in behind them, or else hide and lure them with whistles, taking out as many as possible with silent takedowns. Be sure to neutralize any Sentry you encounter before they can call for help. (See our note on “Sentries.”)
Once the armed security team is significantly thinned out, use Intel View to locate the four red-highlighted heroin crates, which appear as boxlike figures. These are locked inside a big processing hall behind the church where a forced-labor crew prepares the shipments. Open the locked door with your Pry Bar and sneak across the hall to take down the lone Dixie gunman who is distracted by one of the workers. When he drops, the working girls scatter.
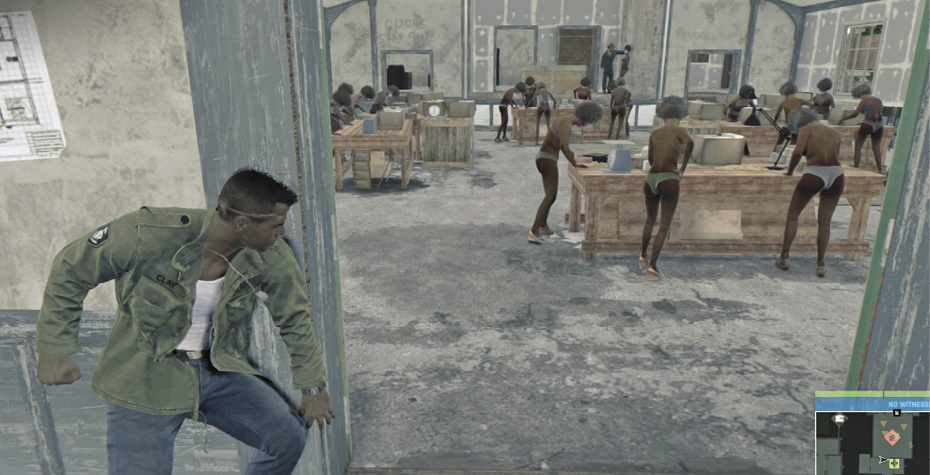
Now you must methodically destroy all four of the glowing crates marked with lightning icons. Shoot them! The first three crates you smash inflict damage to the Smack racket, but the fourth one knocks even more damage off the racket’s net worth.
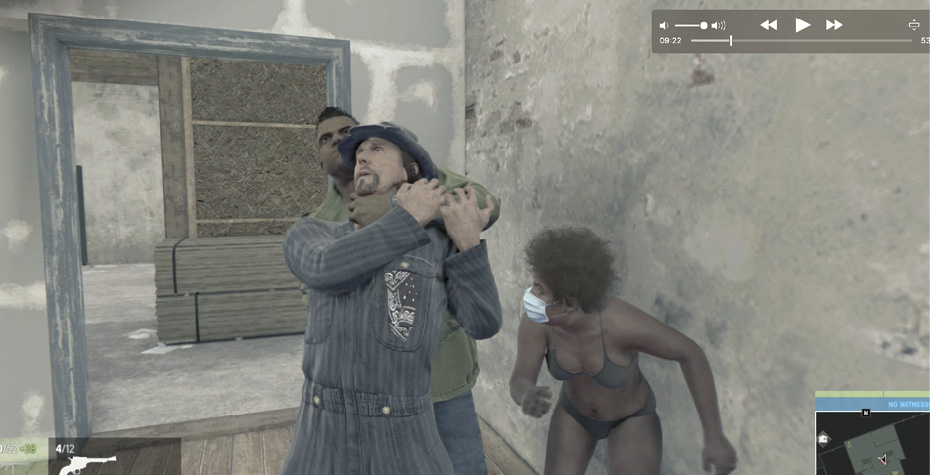
After the crates are destroyed, scour the buildings and grounds (including the garage) for piles of cash and items; you can inflict several more thousands of dollar damage to the racket this way. Use Intel View to find the yellow-highlighted stacks. Look for a Tac-Vest in the garage locker too!
Unlocks: “Interrogate Charlie’s Pushers”
Interrogate Charlie’s Pushers (Second Time)
Prerequisite: Complete “Destroy Charlie’s Heroin”
Now the game makes another random choice, sending you to one of two other street pushers who report to “Four Fingers” Kincaid. Follow the map route to the new Target of Opportunity that appears: either Modine “Mo-Mo” Labranche (4a) or Natty Babin (4b).
Modine “Mo-Mo” Labranche
If your target is Mo-Mo, first find and wiretap the sector’s Junction Box (W3) tucked in an alley behind a row of storefronts. (You can get there by cutting through Backwoods Lounge or R&R Liquor & Tobacco then using their back exits into the alley, or just go around the block.) Then follow the trip route to the Catfish Queen diner (4a) over on the west side of the district, where the pusher hangs out with one other Dixie Mafia partner. Wait at the diner entrance until Mo-Mo is turned away from you then sneak up behind him for a quick takedown.
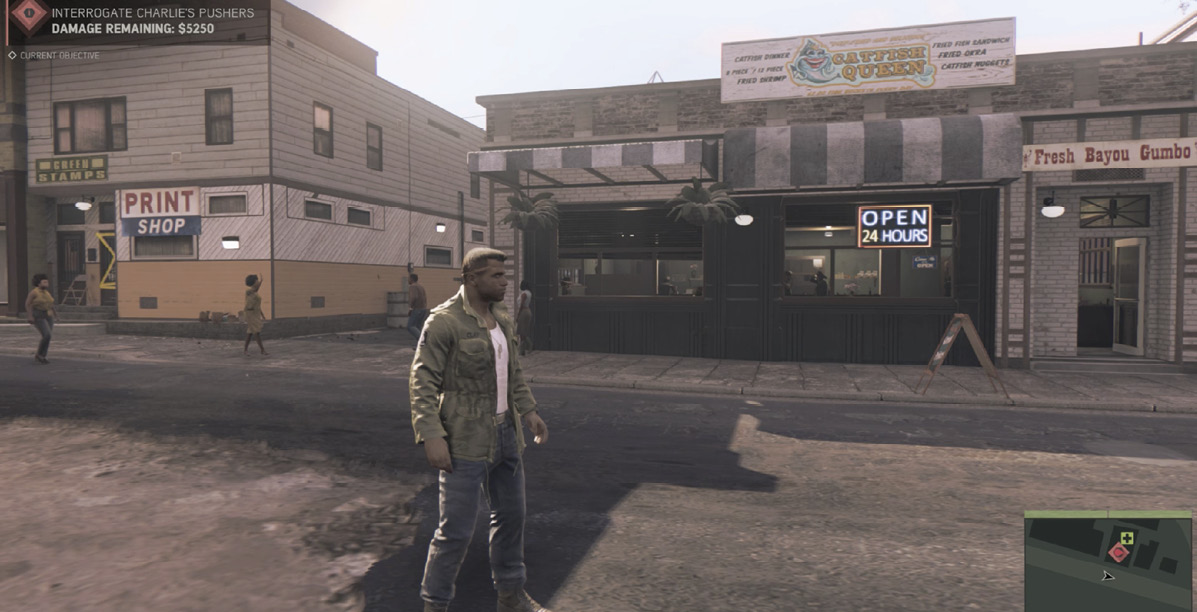
Mo-Mo tells Lincoln that Charlie Kincaid protects his turf with Enforcers; those two tough guys now appear marked on the map. Eliminate Mo-Mo’s partner and head for the nearest Enforcer location.
Natty Babin
If your Informant target is Natty Babin instead of Mo-Mo, follow the trip route to the Double Barrel Bar (4b) down in southern Delray Hollow, where Natty hangs out with one other Dixie Mafia partner. Before you enter the bar, continue south a short distance to the Perfect Waffle on the right side of the road and wiretap the Junction Box (W4) on the restaurant’s outer wall. Then return to the Double Barrel Bar.
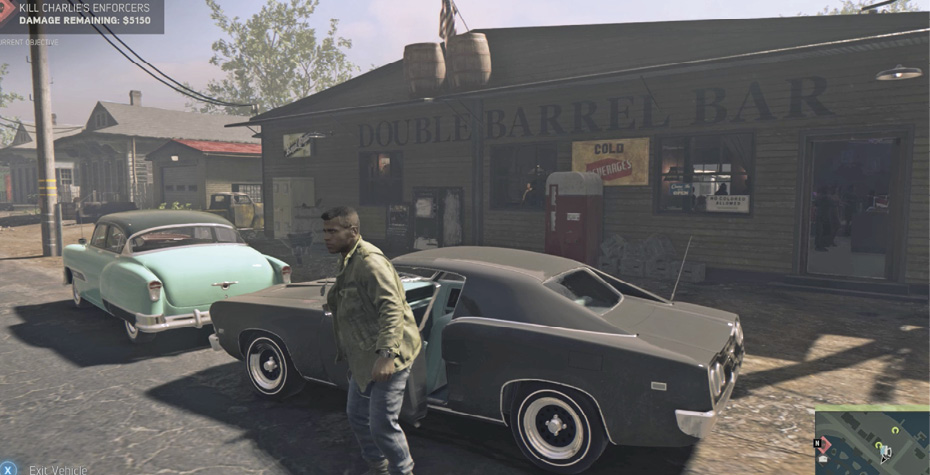
Natty tells Lincoln that Kincaid protects his turf with Enforcers who now appear marked on the map. Eliminate Natty’s partner and head for the nearest Enforcer location.
Kill Charlie’s Enforcers
Prerequisite: Complete “Interrogate Charlie’s Pushers” (Second Time)
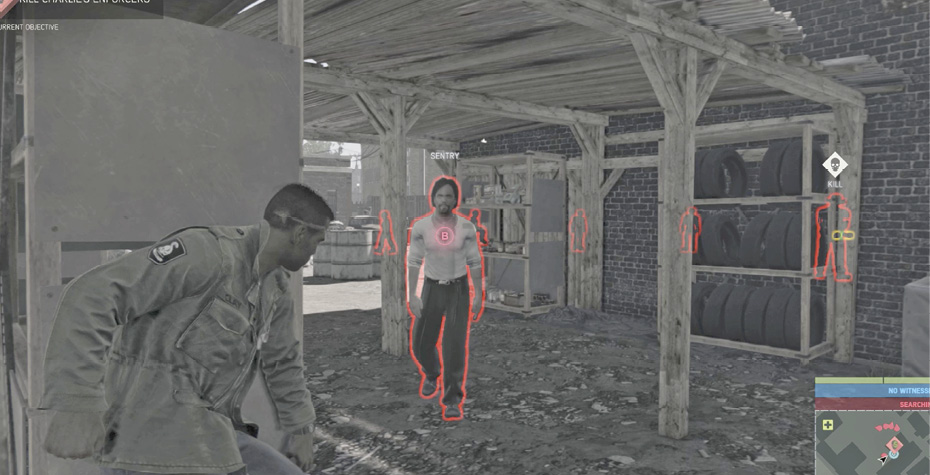
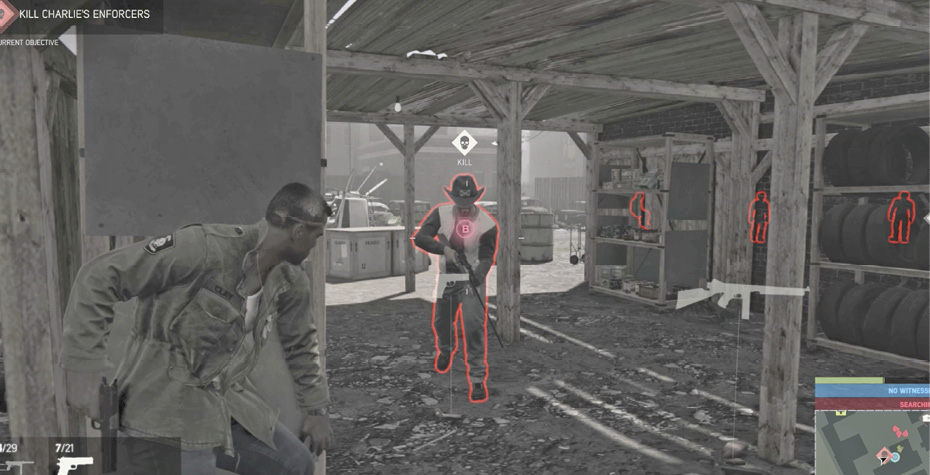
This time you have to hunt down and kill both of Charlie Kincaid’s special Enforcers, Doug “Hatchet” Marcheti (5) and Deacon Caruso (6).
Killing EnforcersEach Racket Boss employs tough thugs known as Enforcers to protect mob assets and keep order in the district. Enforcers oversee well-defended turf and are clearly marked with an overhead “Kill” icon. 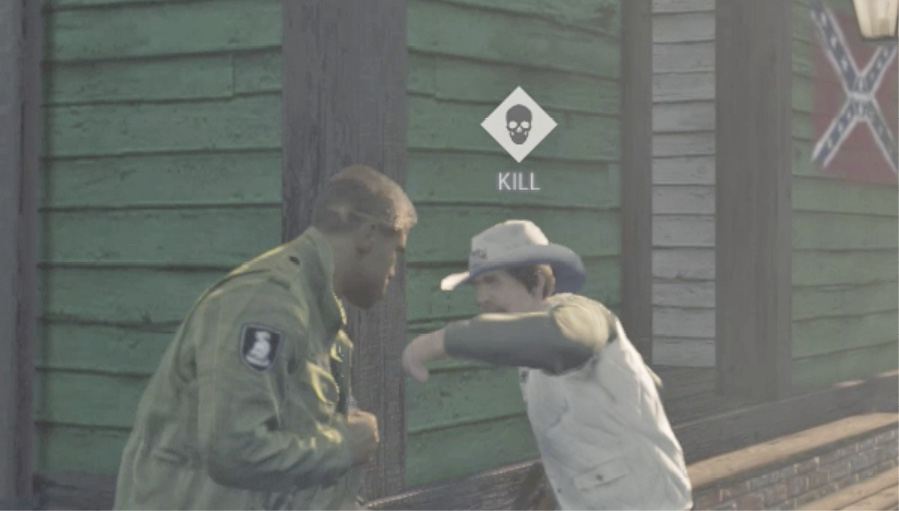
Taking out an Enforcer inflicts serious monetary damage to the racket. It also makes Lincoln’s final confrontation with the Racket Boss easier. The reason: Enforcers who are not eliminated before you flush out the Racket Boss will join him in the final boss battle! 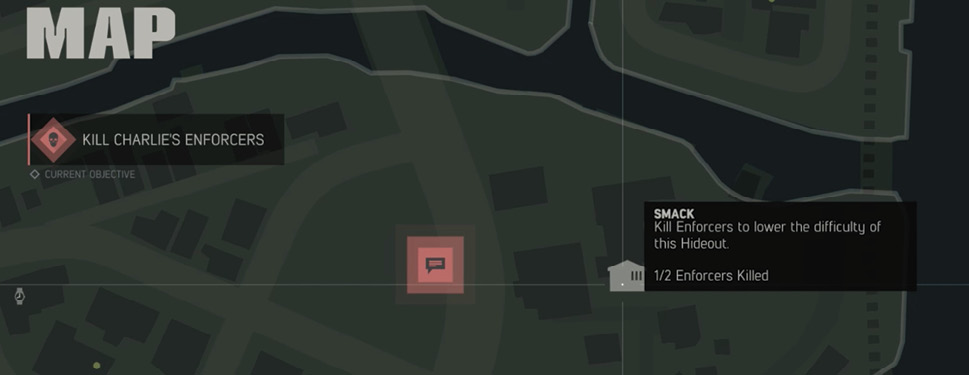
So we recommend that you hunt down and kill all Enforcers on the map before you flush out the boss. There’s an added bonus to this approach: Enforcer hangouts typically feature some lucrative cash pickups. 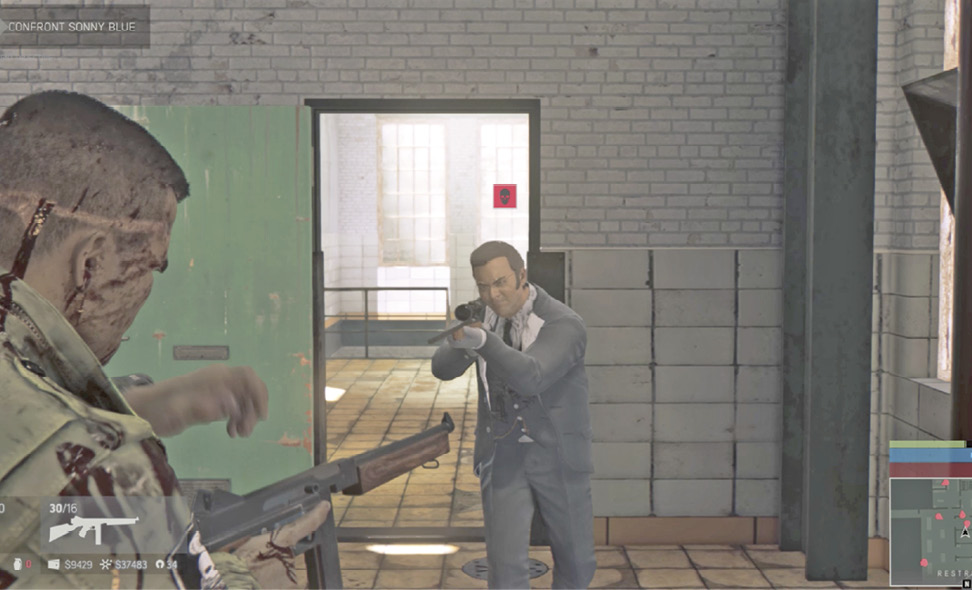
|
Doug “Hatchet” Marcheti
If you haven’t already wiretapped this sector’s junction box (W3), do so now! Then follow the trip route to the green house (5) where Doug “Hatchet” Marcheti hangs out in the backyard. Use Intel View to get the lay of the place. Next, stalk the perimeter and lure out a few of his clownish Dixie thugs for silent takedowns. Then rush in and dispatch Marcheti. You can also destroy a shipment of smack in the back room.
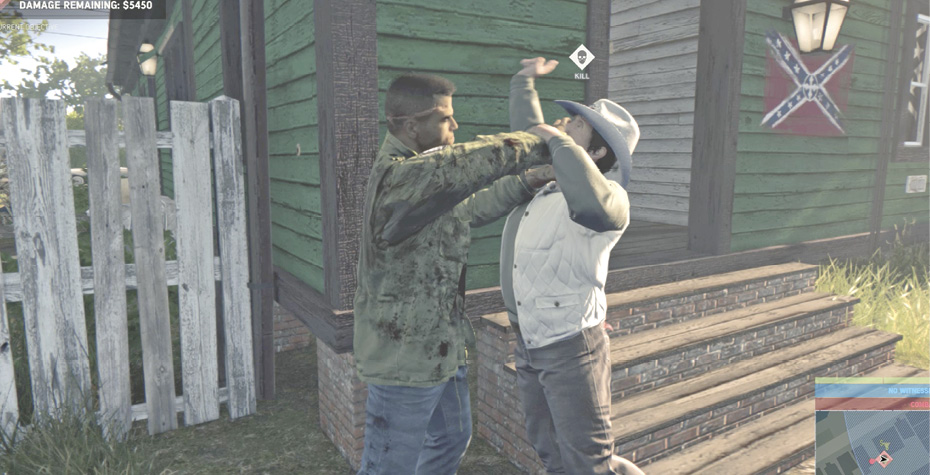
Chances are good that whacking the first Enforcer has knocked your damage total down to $0, and you can return to Donovan for an update on “Four Finger” Charlie. But if you still need to inflict more damage, or you just want to complete everything in the district, proceed to the next target, another Enforcer named Deacon Caruso.
Deacon Caruso
If you haven’t already wiretapped this sector’s Junction Box (W3), do so now! Then follow the trip route to the garage and junkyard enclosure (6) full of wrecked cars that Deacon Caruso and his crew of Dixie Mafia goons use as home base. Two different rooftops overlook the yard (see our overhead shot); use Intel View from these vantage points to survey the situation before you make your move. Note the Sentry posted at the open garage doors.
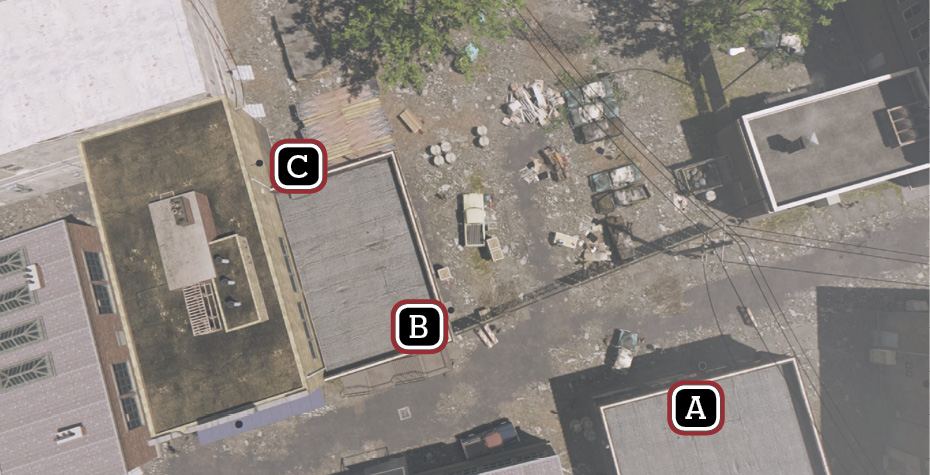
Here’s an overhead shot of Dean Caruso’s hangout.
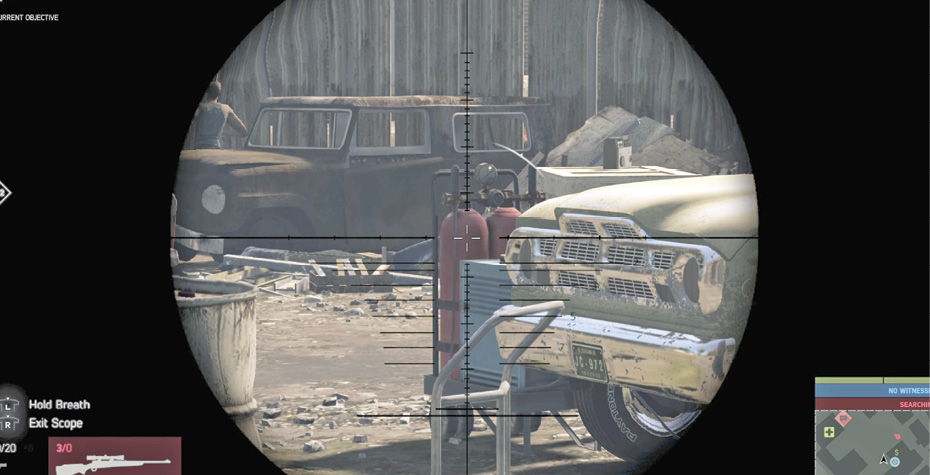
One approach is to use the rooftop across the alley (A) from the junkyard as a sniper post. Wield a scoped rifle and take out the Sentry, and then target the red gas tanks and canisters scattered around the yard. This triggers violent explosions that can eliminate several more gunmen. Finally, pick off Caruso when he steps out the garage to return fire.

Another approach is to climb the stairs onto the roof (B) of Caruso’s garage, directly overlooking the junkyard. Sneak across the roof to the ladder in the back corner and drop down into a storage alcove (C), hidden from guards. Hide behind one of the equipment shelves and whistle to lure foes over one by one. The Sentry should be the first one over, followed eventually by the Enforcer himself!
Talk to Donovan
Prerequisite:Racket Damage Lowers Earn to $0
When your damage finally drops the racket’s Earn to $0, you can go see Donovan again at the same bus stop (1) where you previously met. You get the option to remove all remaining racket objectives. If you select Accept, Donovan reports that Charlie Kincaid isn’t quite as despicable as the rest of the Dixie Mafia crew, and might be a candidate for recruitment.
Confront “Four Fingers” Charlie Kincaid
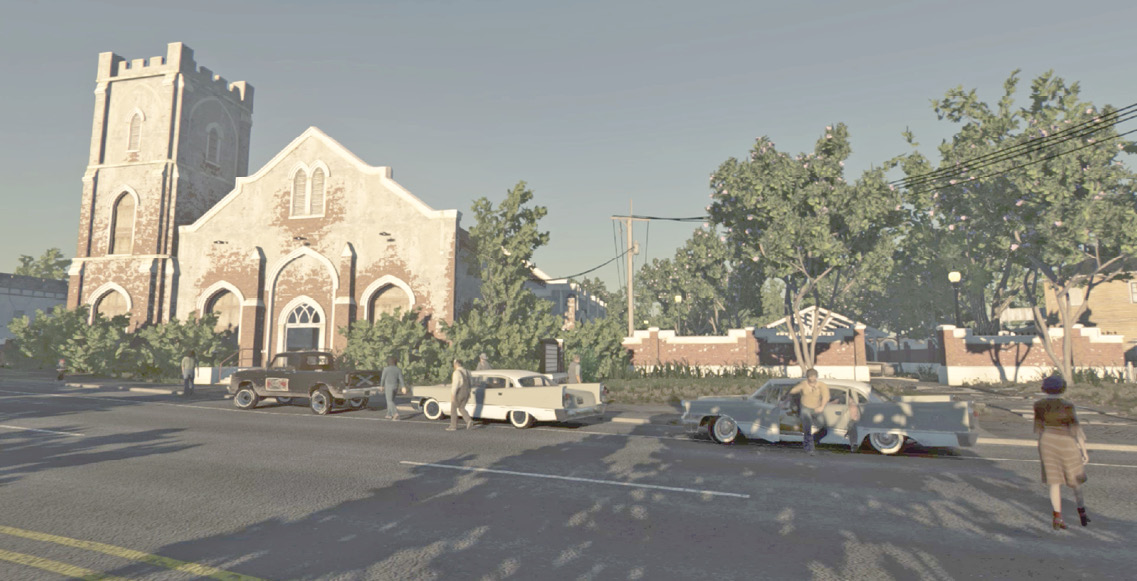
Head across the street from the bus stop to the Community Church (3). You’ve already worked through this property once, so you should be familiar with it. Charlie is holed up in the office at the back of the big meeting hall (the heroin processing center) behind the church. As before, stalk silently across the grounds, using Intel View to spot foes. Reduce their numbers by using silent takedowns, and be sure to eliminate Sentries when you find them. You don’t want to face a wave of Reinforcements!
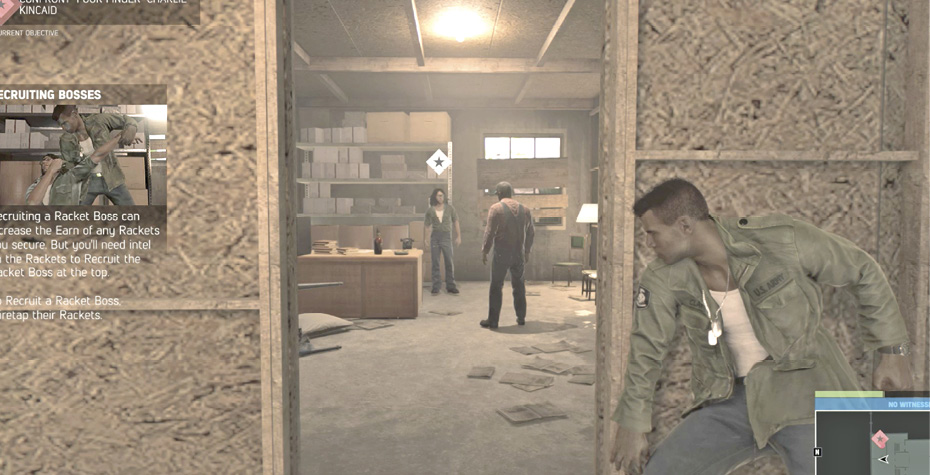
When you finally reach Charlie Kincaid in his office, your earlier wiretap of the Junction Box across the street has given you enough intel on Charlie’s Smack Racket to recruit the boss, if you want. Subdue Charlie and make your selection: Kill or Recruit him, your choice!
Assign the New Weed Racket to Cassandra
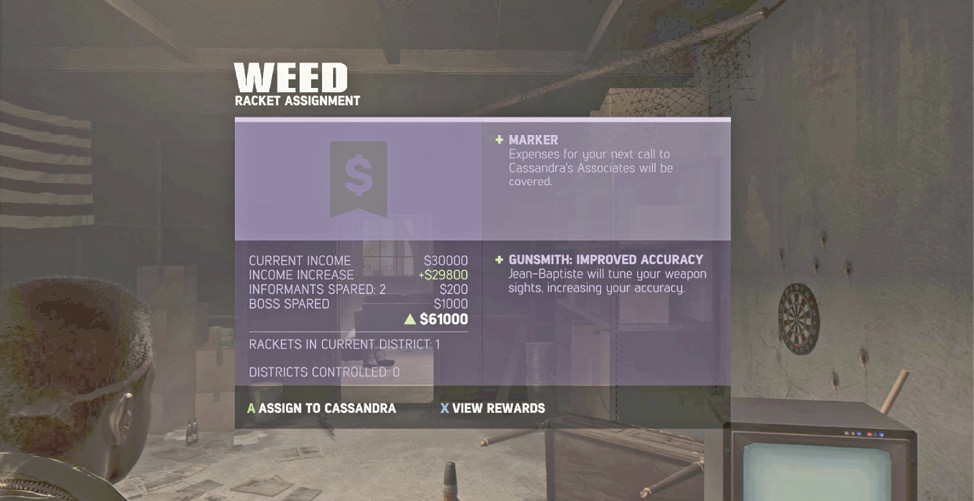
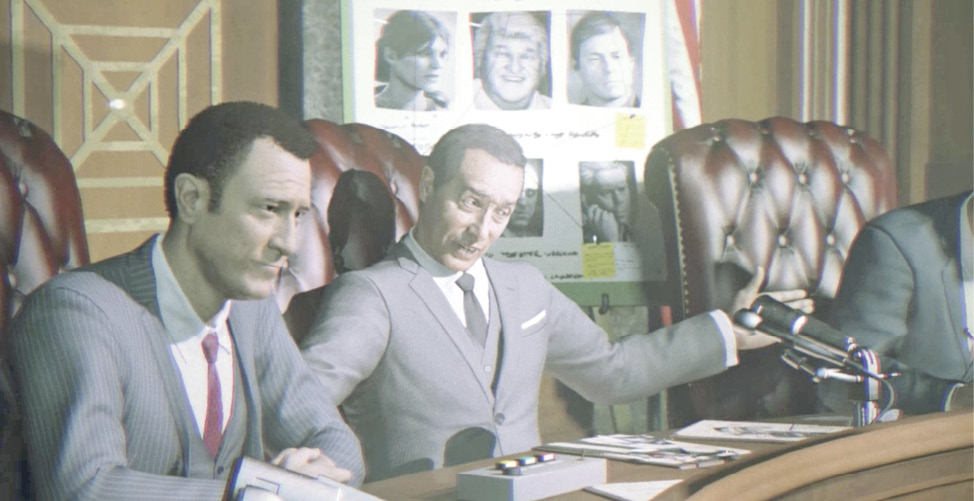
Now that the Smack Racket is secured, press the button prompted in the Racket Assignment window to assign it to Cassandra. Note that for the benefit of the community, Lincoln turns it into a Weed Racket instead—no more heroin flowing into Delray Hollow. This also triggers a cutscene of John Donovan’s testimony before the Senate Select Committee on Intelligence, and unlocks a brand new mission.