Mafia III Guide Story Missions
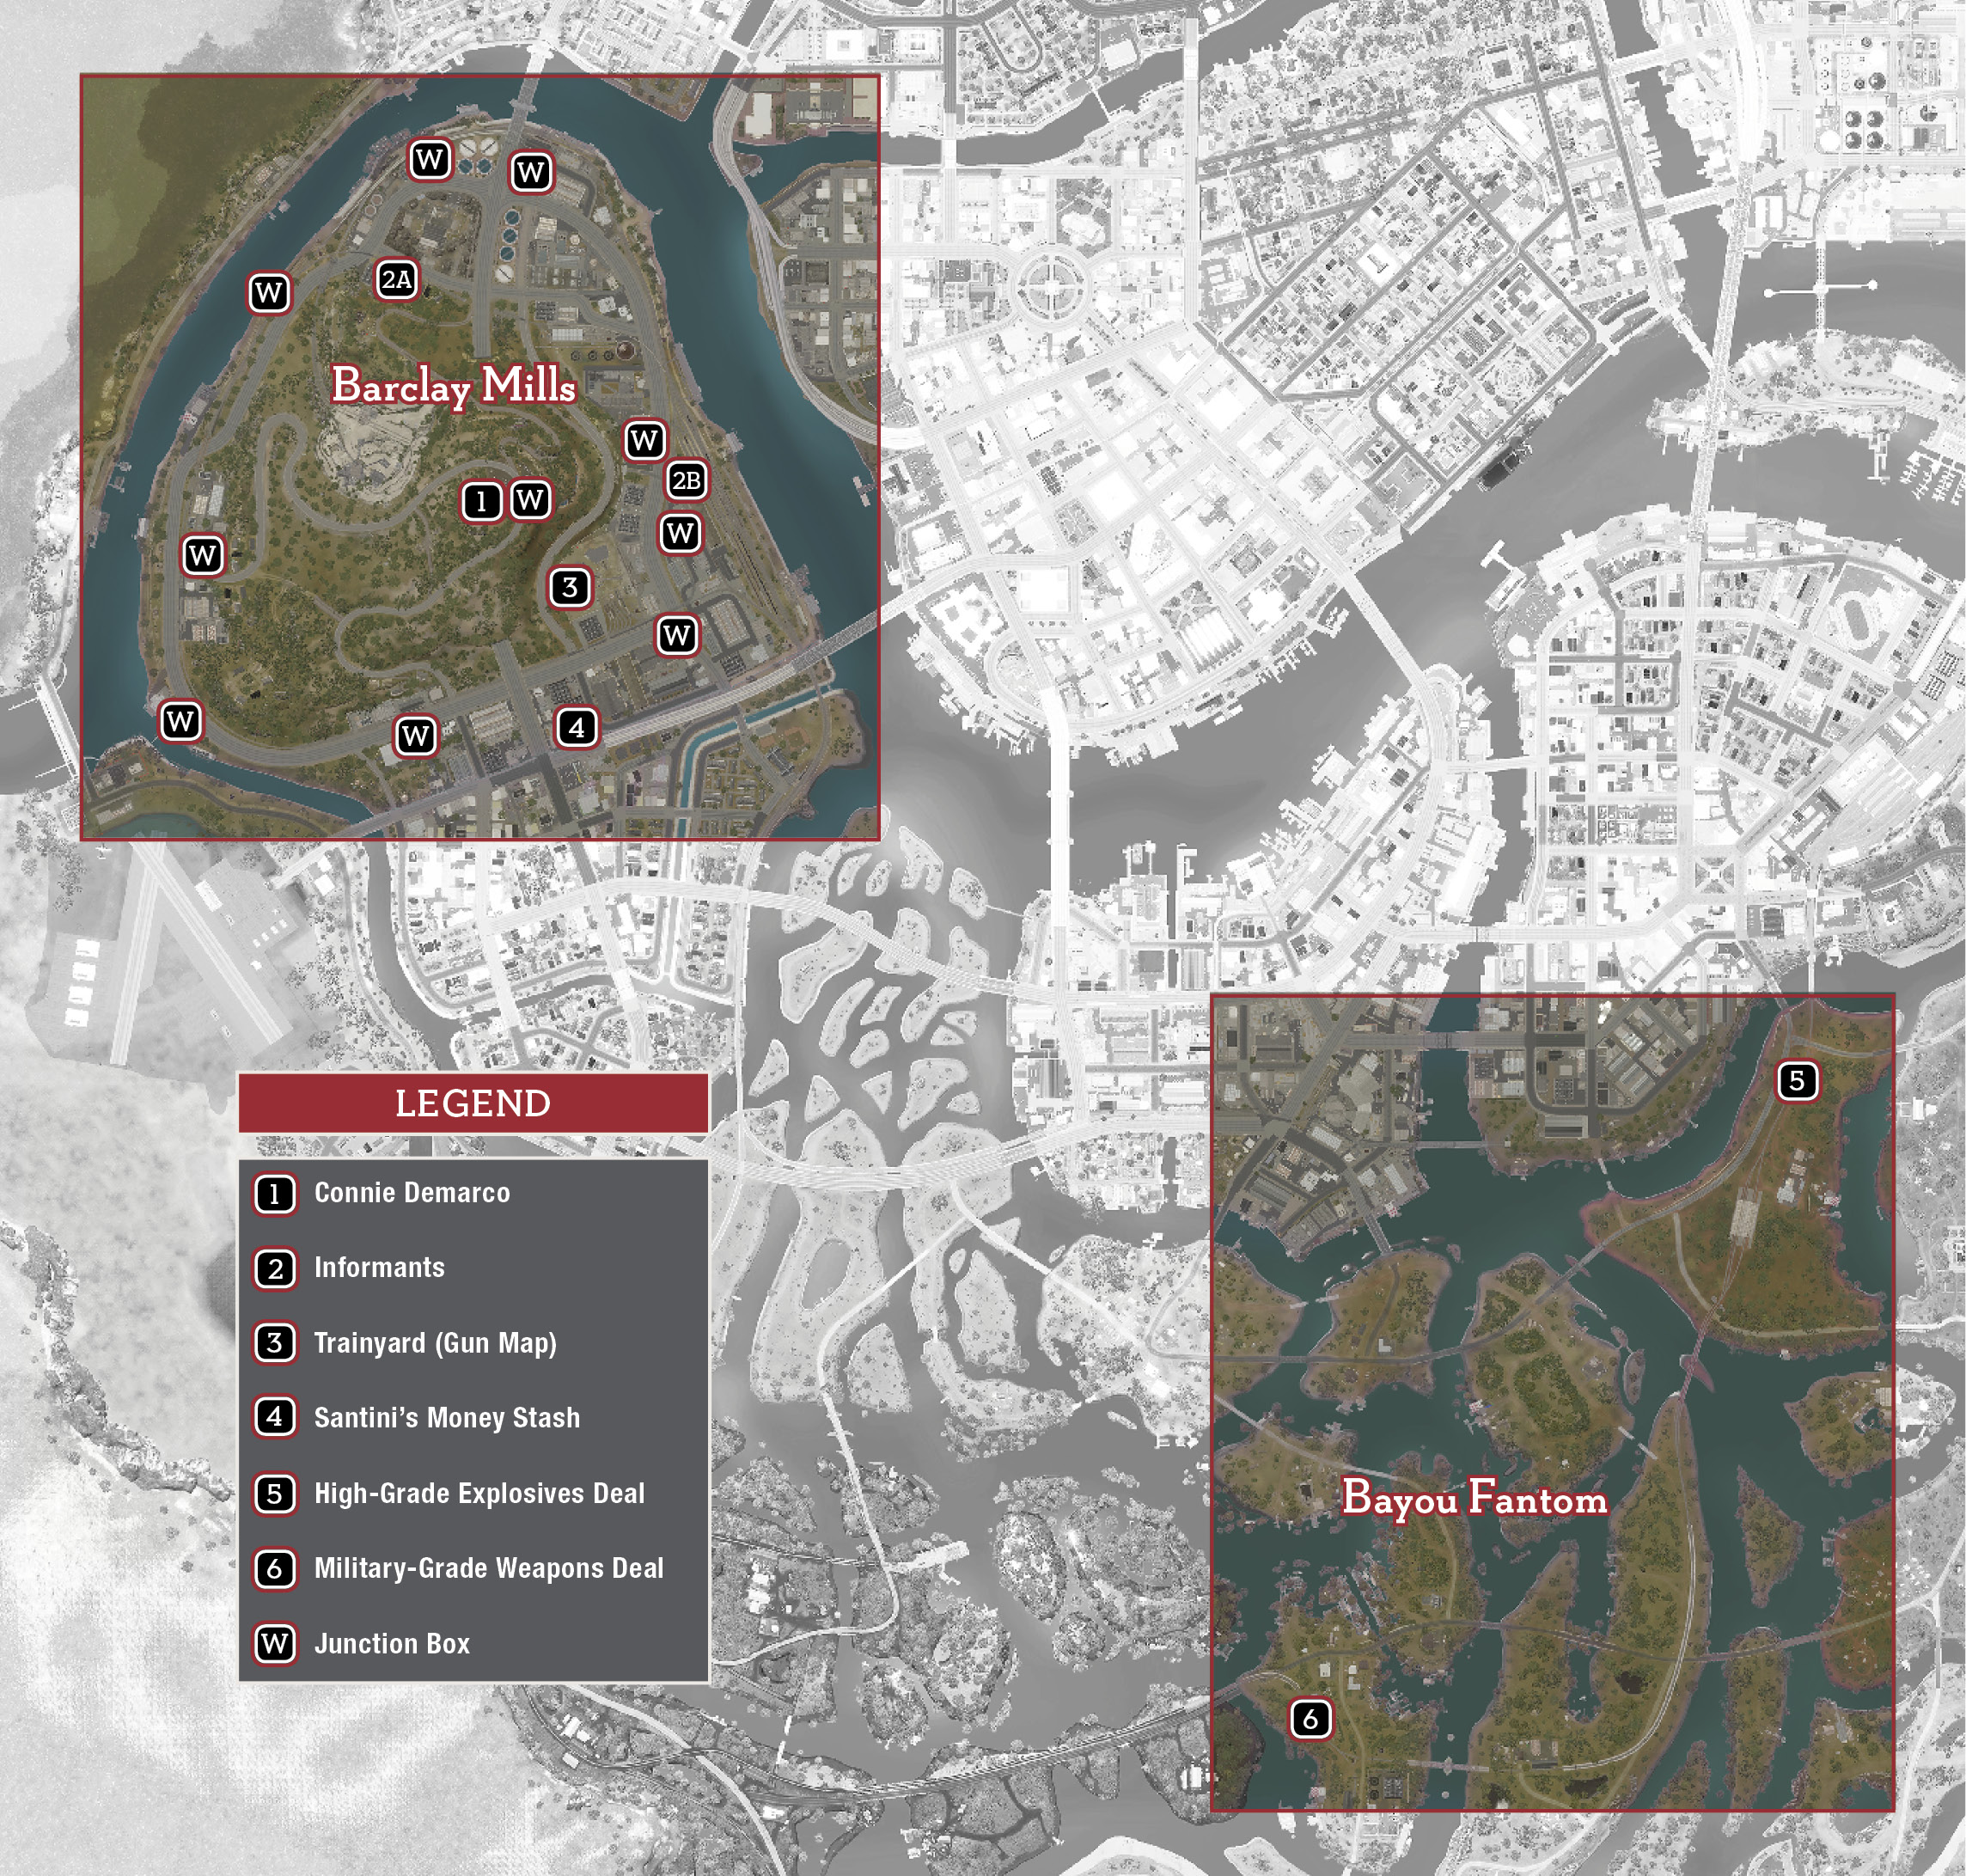
BARCLAY MILLS: The Dead Stay Gone
Mission: “The Dead Stay Gone”
Prerequisite: Complete “An Emotional Attachment”
Meet with Donovan
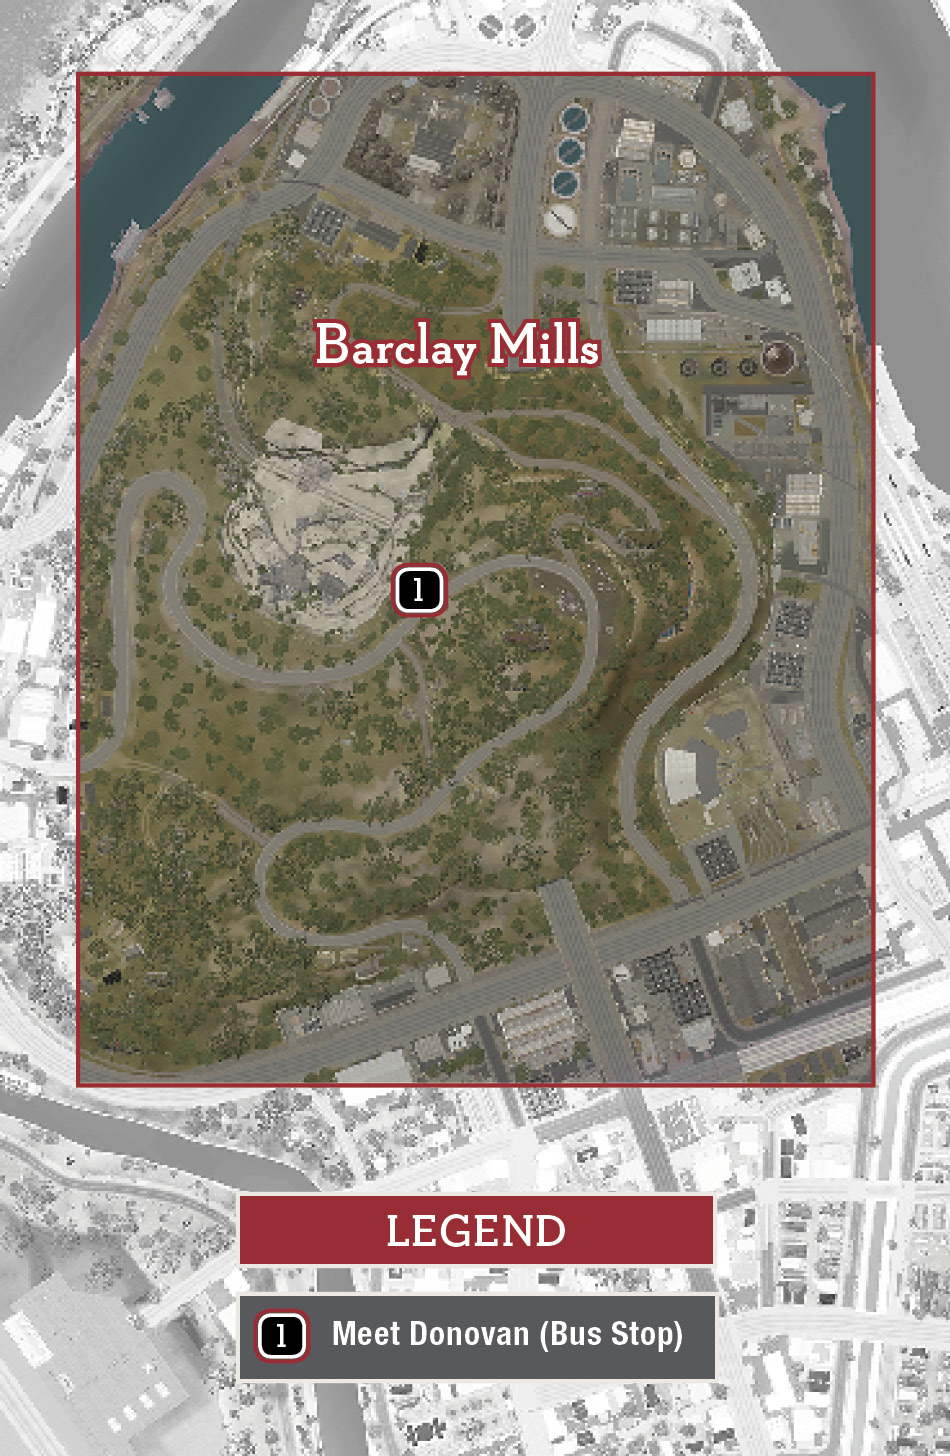
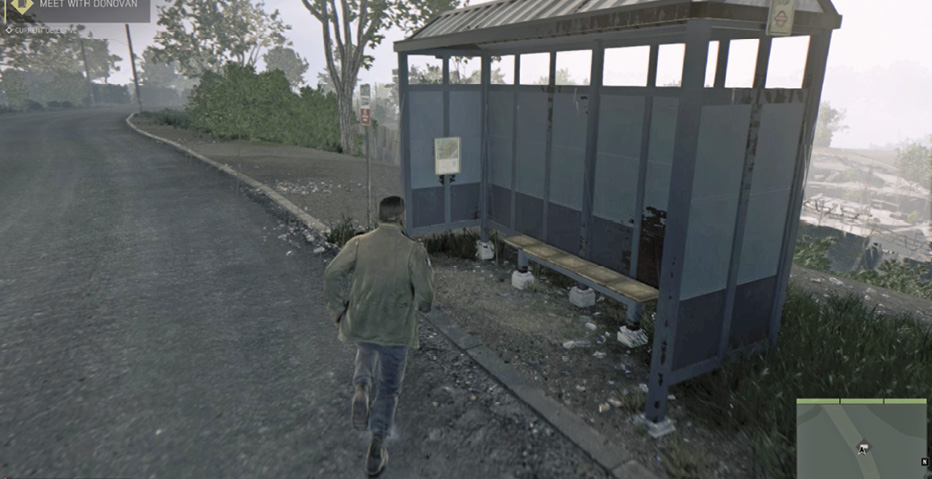
Select the Barclay Mills chapter and activate the first objective, “Meet with Donovan.” Follow the trip route to the bus stop (1) where Donovan pulls up in his van. He gives Lincoln his intel on Enzo Conti, the Marcano lieutenant who runs the rackets in Barclay Mills. Donovan calls him “old-school mob.”
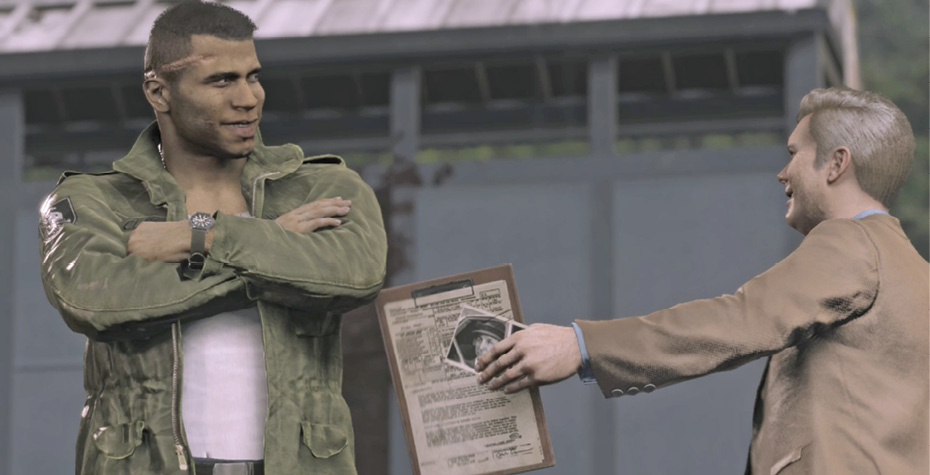
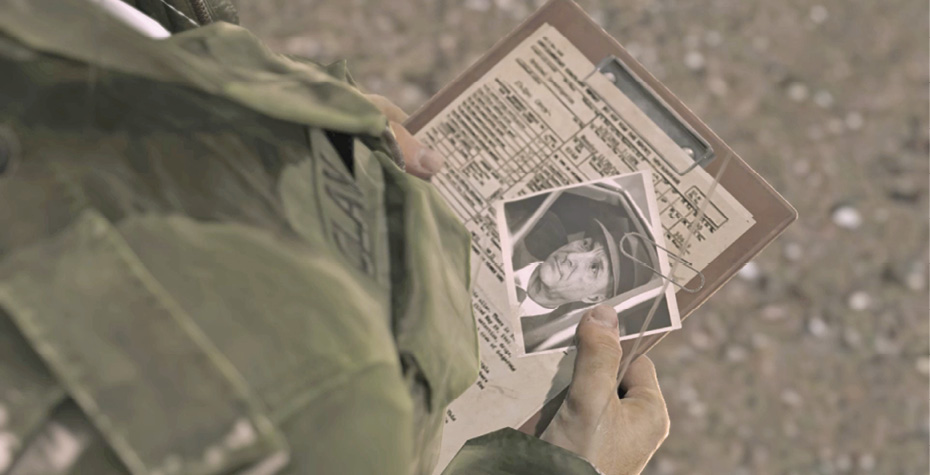
Lincoln suggests that because Marcano is a felon, somebody legit must be co-sponsoring the casino operation. But Donovan’s had no luck finding out who. However, Enzo’s train operation has been shipping all of the heavy construction equipment and supplies for the casino, so he most likely knows Marcano’s silent partner. The goal is to flip Enzo and learn what he knows.
Unlocks: “Garbage” Racket
Unlocks: “Guns” Racket
RACKET: Garbage
Prerequisite: Meet with Donovan
Talk to Maria Bava (First Time)
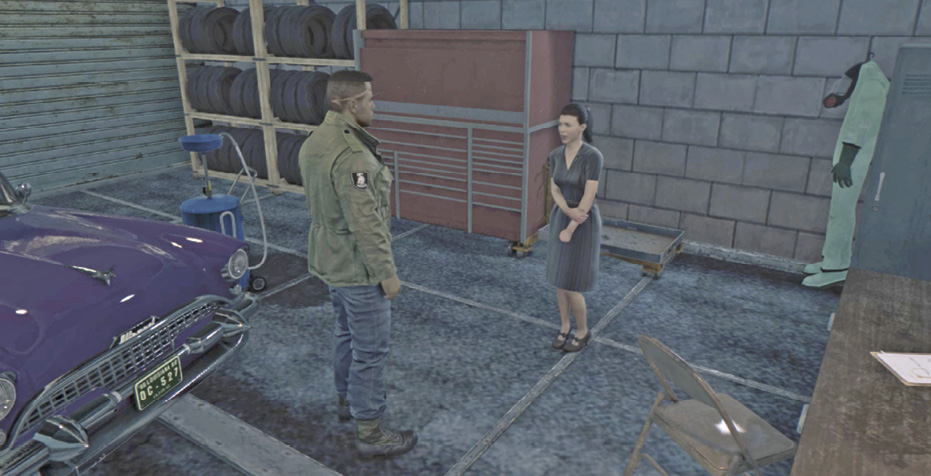
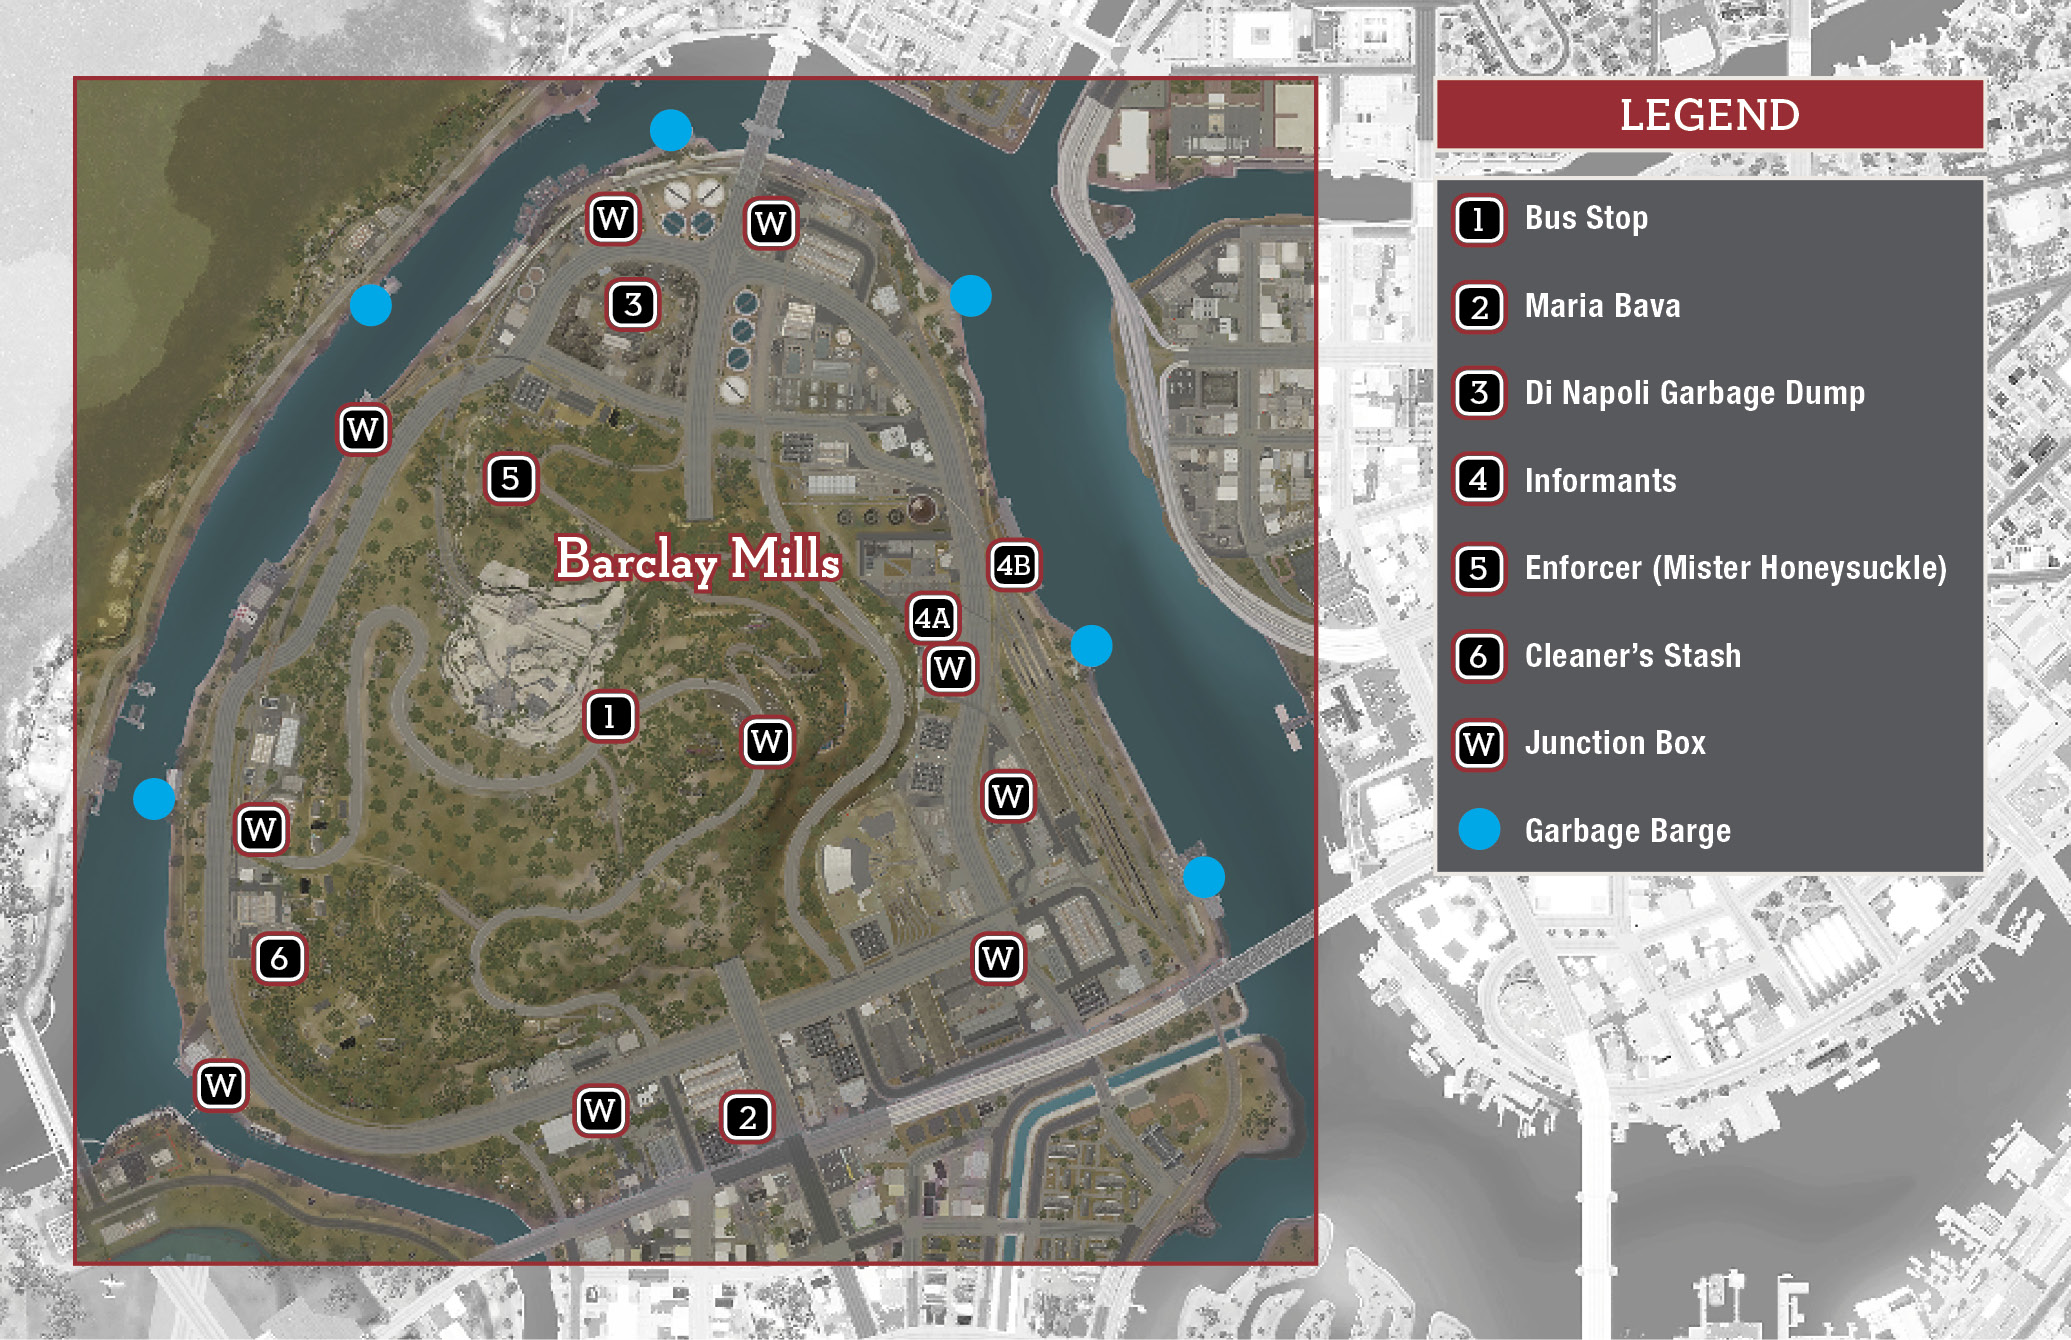
From your bus stop meeting with Donovan (1), travel south to the small two-garage auto shop (2) next to the freeway ramp and enter to talk to Maria Bava. She works at the Di Napoli Waste Removal site and reports that her boss, “Puppy” Simmons, has been dumping waste in the bay, extorting drivers who work for competitors, and deploying a team of “cleaners”—hired killers who specialize in body disposal.
Unlocks: Sabotage Dump
Sabotage Dump
Prerequisite: Talk to Maria Bava
Lincoln needs to open with a big play to shake up Puppy’s garbage operation and flush out informants. His plan: blow up Puppy’s heavy equipment at the Di Napoli dump (3). Before you enter the dump, wiretap the Junction Box on the building just across the main road to the north.
Plant Explosive to Sabotage Garbage Dump
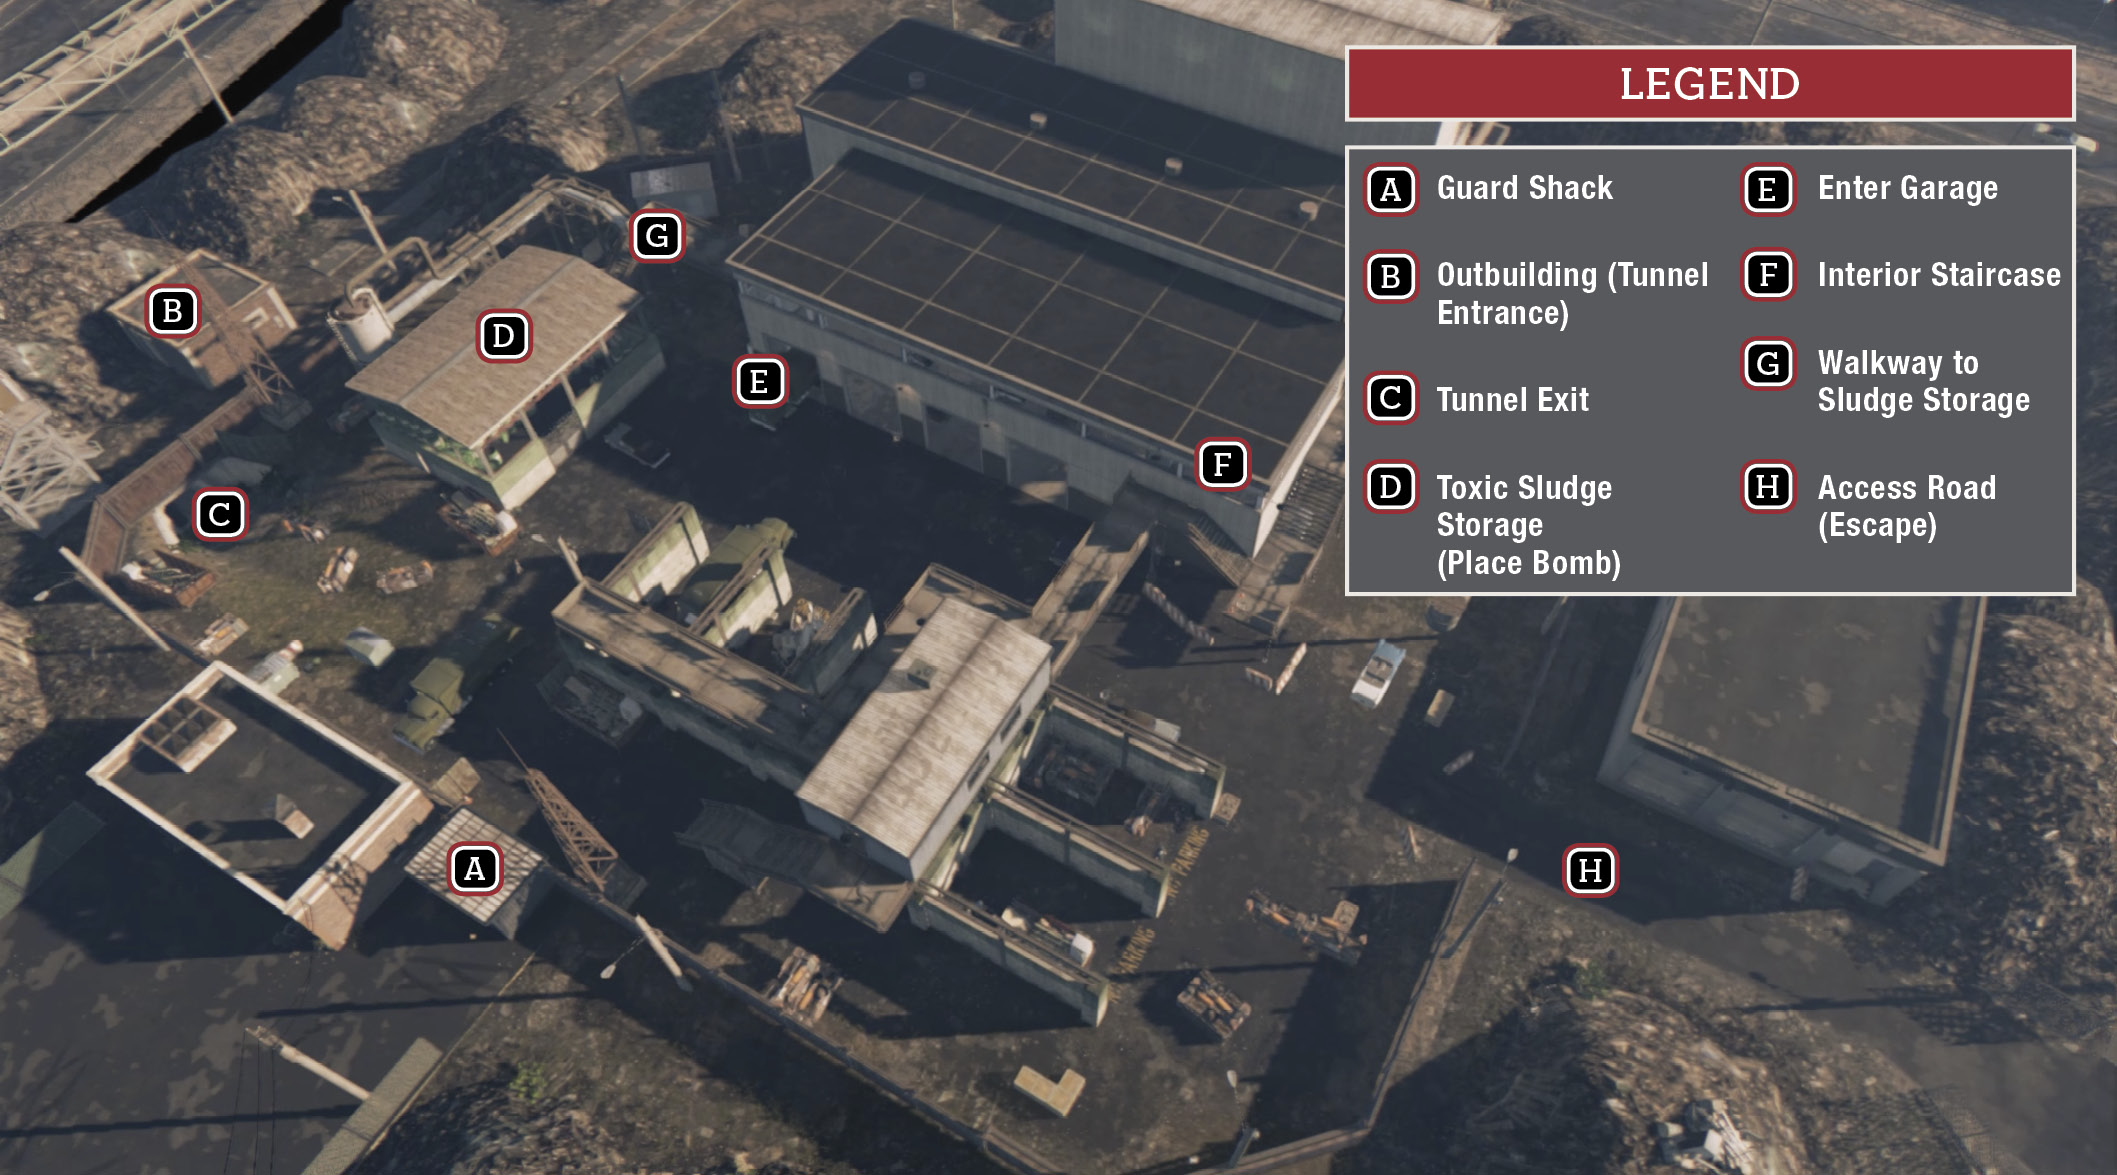
Travel to the dump entrance on its north side where you see a guard shack (A). Go around the building to the left (opposite side of guard shack) and kick in the door of the small outbuilding (B). Inside, climb down the ladder into the lower level then exit via the door into a tunnel passage that leads out into the dump (C).
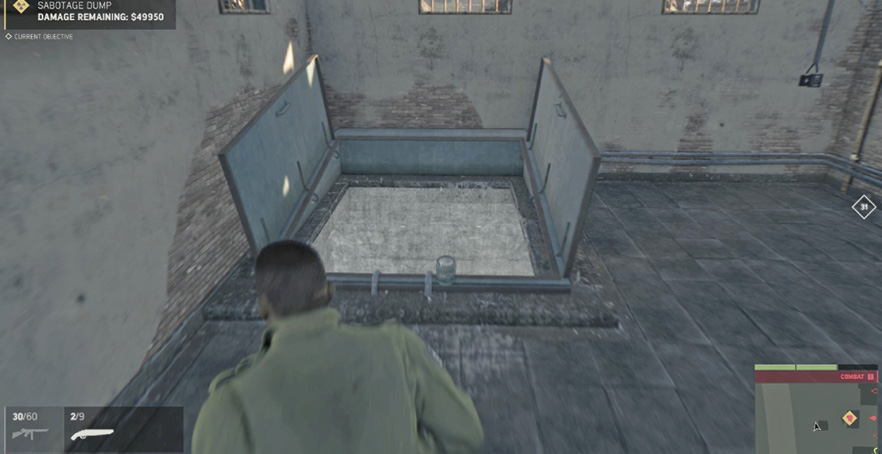
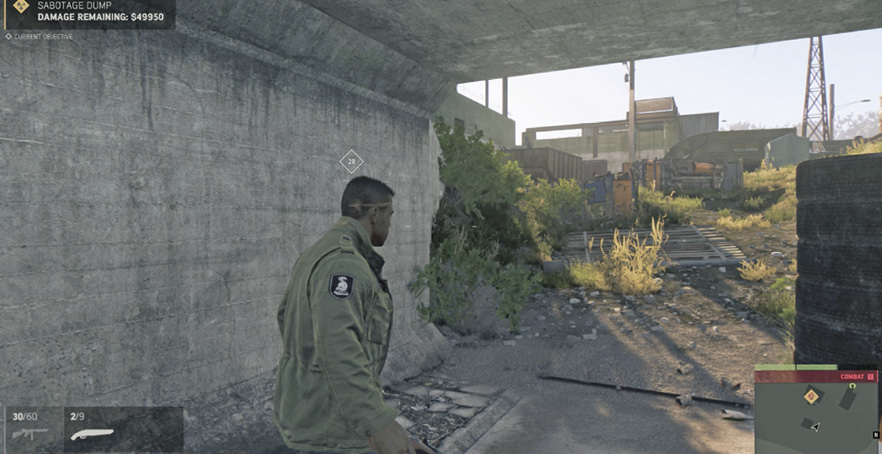
Survey the area with Intel View then creep uphill to the left side of the structure on the left (D). This structure is packed with barrels filled with explosive toxic sludge, so it’s the perfect place to plant a bomb. However, the way inside is tricky. Proceed around its back side; above you, you can see the raised walkway (G) leading from the big main building into the structure. (You can also find a Weapon Locker with a nice Tac-Vest in the small hut behind the structure.) You need to reach that walkway.
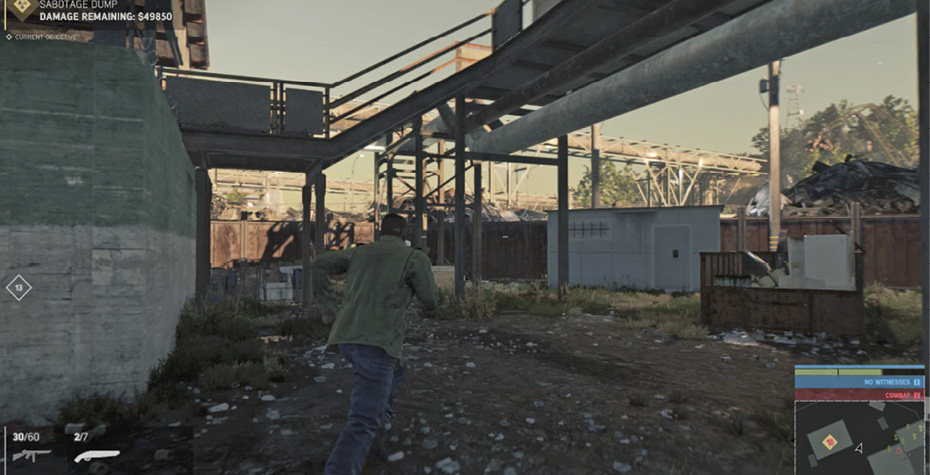
Work your way to the main building and enter the first garage door (E) to find a nice $875 cash stash on the worktable against the left wall. Move past the garbage trucks and climb the stairs (F) on the far side of the room. Use stealth or fight your way around the interior walkway that leads through a control room into a big office space with plenty more cash (plus a Vargas hanging on the wall)
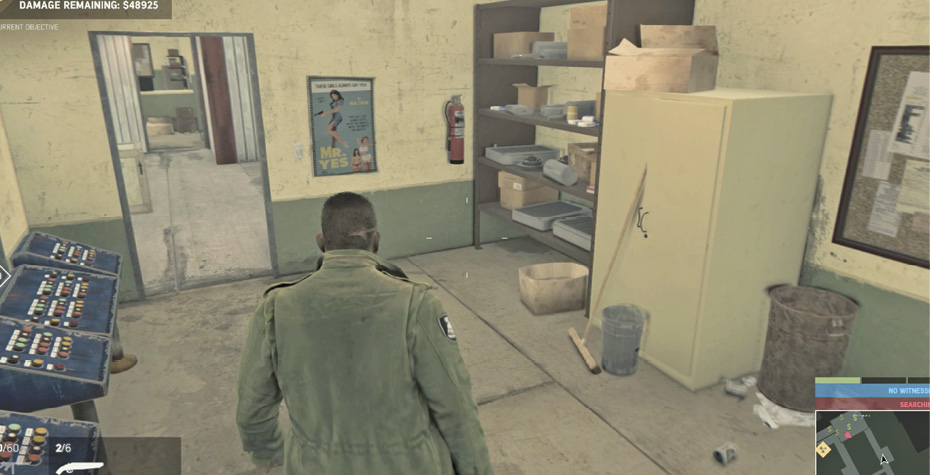
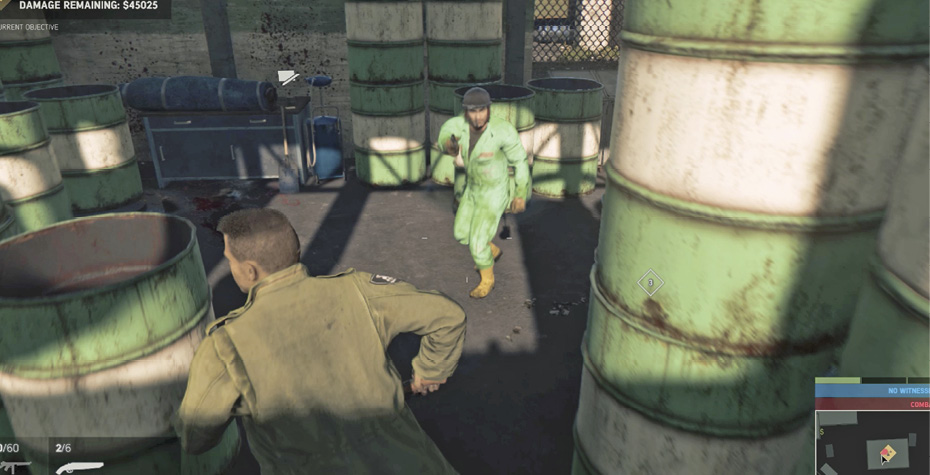
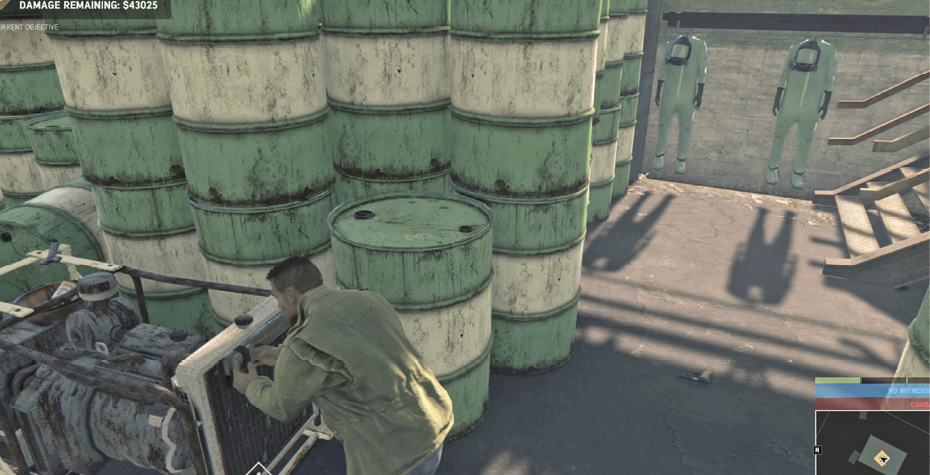
Exit the office’s far door then turn right onto the walkway (G) leading over to the barrel-filled storage. Be ready! One of Puppy’s tough Enforcers wearing a green haz-mat suit is posted here. Take him down for racket damage, then place your explosive on the generator motor.
Get Away from the Garbage Dump
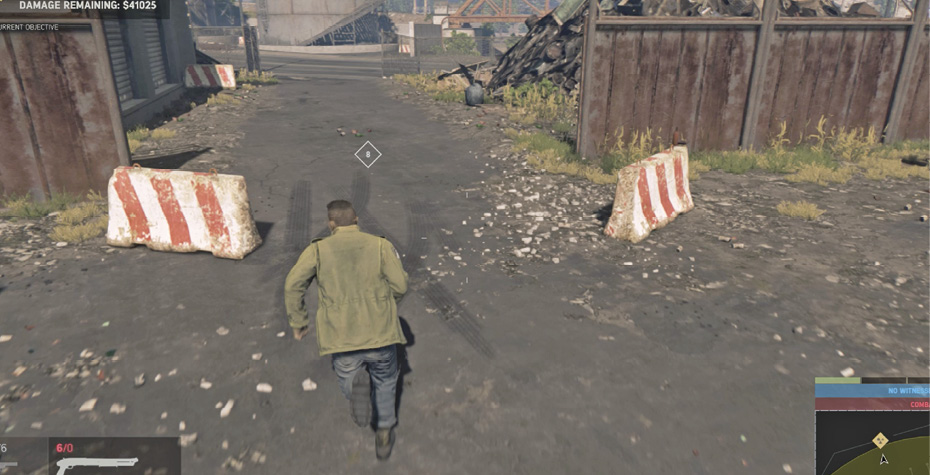
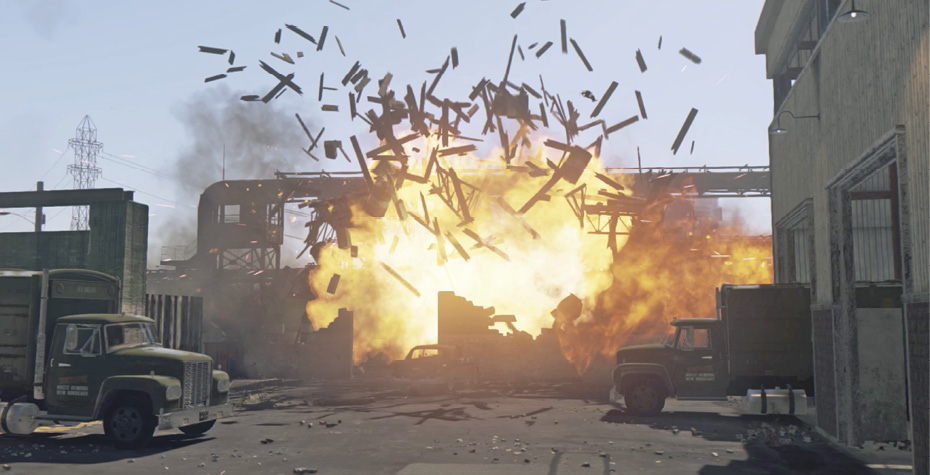
Retrace your route back through the main building and descend the stairs. (Watch for another Enforcer in a green suit on the interior walkway.) Exit the Di Napoli Waste Removal dump via the access road (H) and watch the fireworks.
Unlocks: Interrogate the Extortionists
Interrogate the Extortionists
Prerequisite: Sabotage Dump
Two Informants appear on the map (4a, 4b), but as soon as you interrogate one, the other one disappears. Take your pick. If the Informant escapes and you don’t catch him, he ends up at the other Informant location.
Harry “Gigi” Jackson
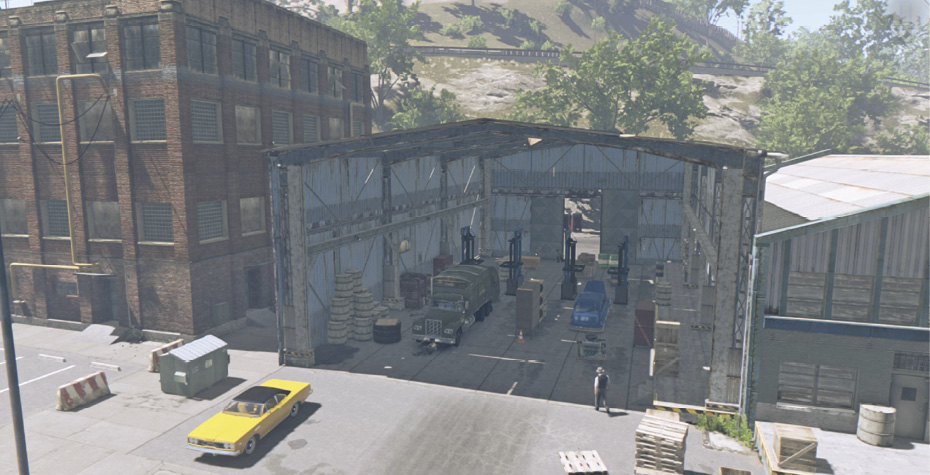
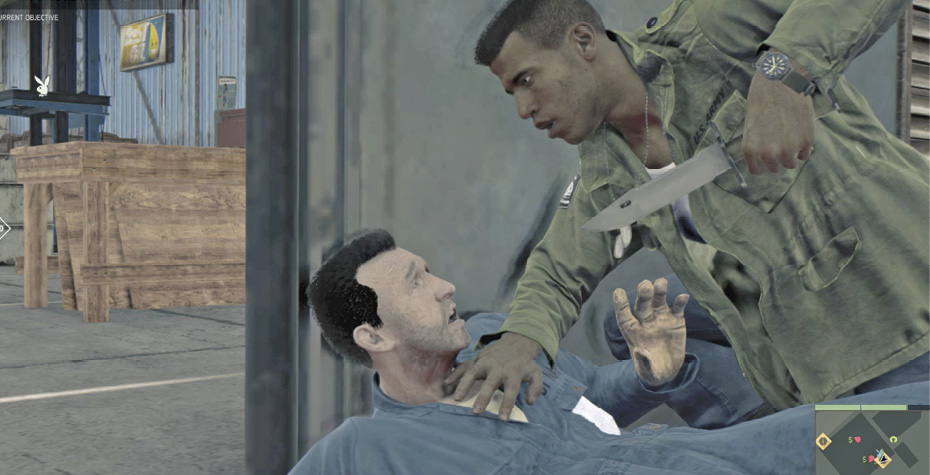
Gigi and his crew are extorting some workers in the big, open garage of a truck repair shop (4a). Head down the side alley and take cover at the back corner of the garage. Whistle Gigi’s thugs one by one over to the alley for silent takedowns so you don’t spook their boss. Eventually Gigi follows the parade of fools to your spot. After he tells Lincoln about Puppy’s cleaners, kill or recruit him. Then find cash plus a Playboy collectible in the garage.
Unlocks: Kill the Cleaners
Unlocks: Find and Destroy Garbage Barges
Unlocks: Steal the Cleaner’s Money Stash
Dale “Susie” Susannah
“Susie” Susannah and a partner loiter on the dock (4b) near a rusted out old tugboat on the eastern shoreline of Barclay Mills. Sneak up close along the low wall, gun down the partner, then incapacitate Susie and make him squeal.
Kill the Cleaners
Prerequisite: Interrogate the Extortionists
Before you go after Puppy’s Enforcer, the “cleaner” known as Mister Honeysuckle, wiretap the sector’s nearby Junction Box. It’s on the landward wall of the shipping warehouse down on the river dock.
Mister Honeysuckle
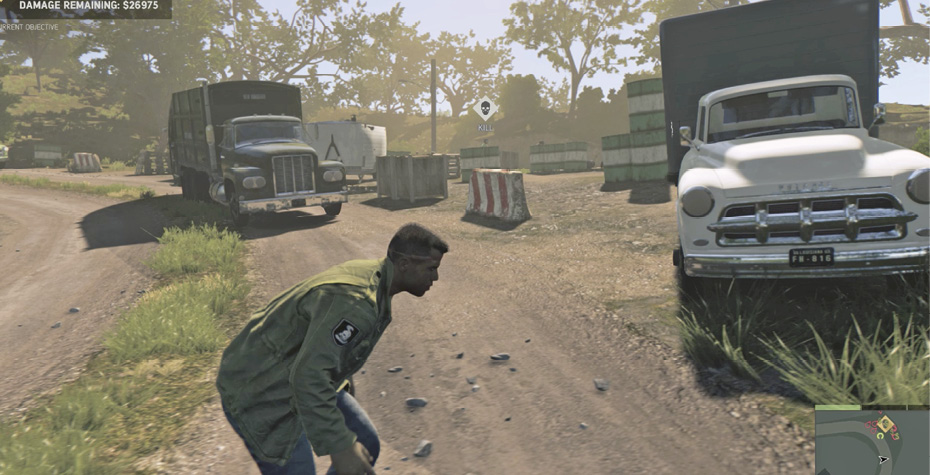
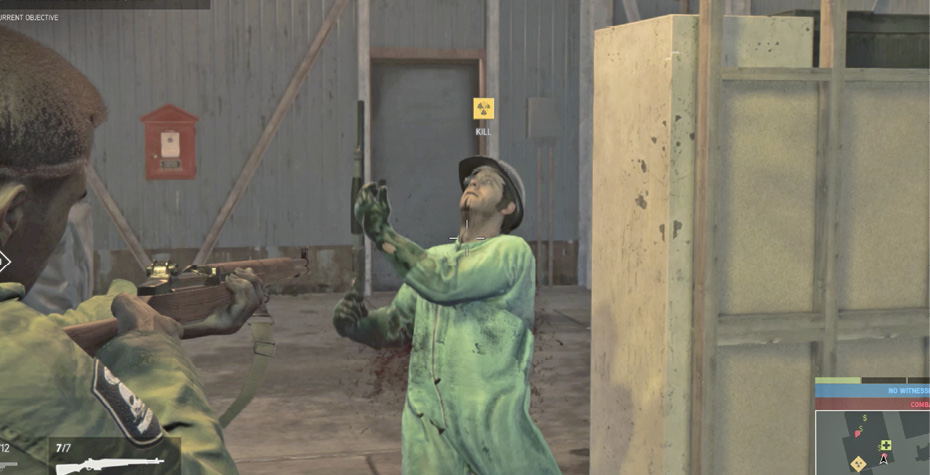
Acquire a sniper rifle and travel to the toxic chemical dump site (5). Take the Objective text’s advice and climb the hilltop to the west, overlooking the cleaner’s crew. From here you can pick off Mister Honeysuckle with a single headshot—he’s the guy in the green haz-mat suit and the “Kill” icon overhead. Or you can try the low approach and sneak around the vehicles for silent kills. If you choose to clear out all goons, scour the area for stacks of cash.
Steal the Cleaner’s Money Stash
Prerequisite: Interrogate the Extortionists
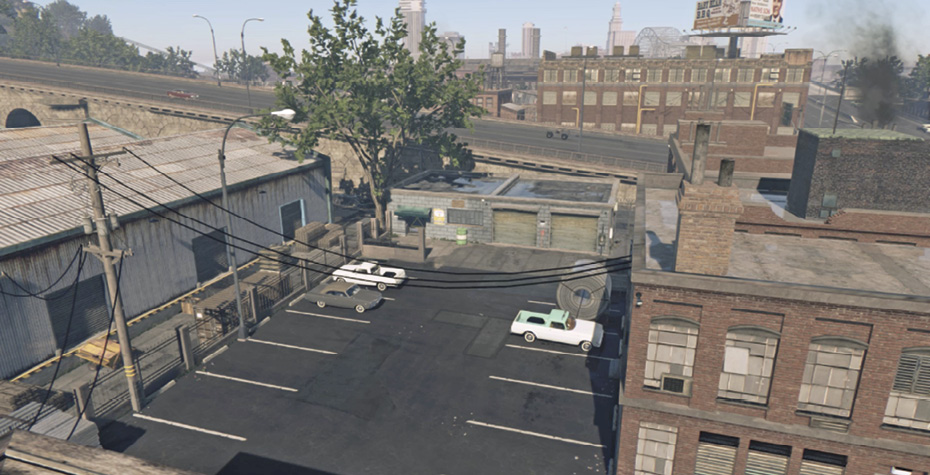
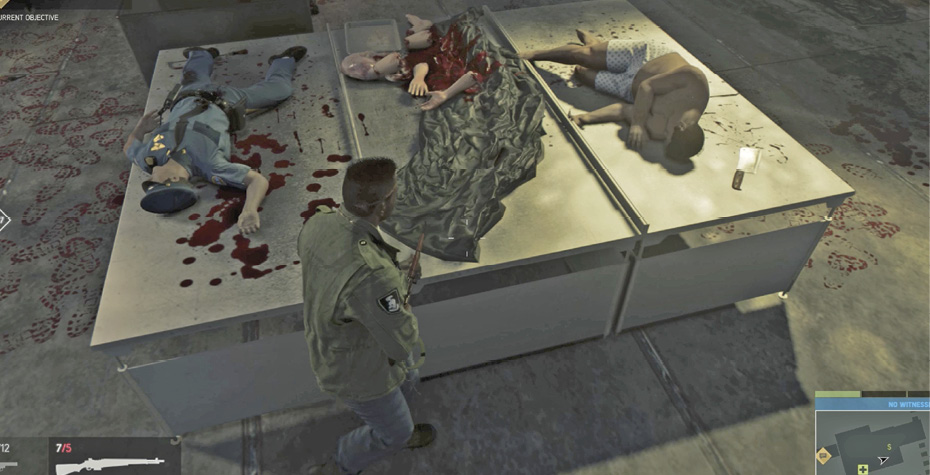
Finish up your cleaner cleanup by traveling down to their grisly hazardous storage plant (6) where they stash their earnings…and chemically dissolve their victims. (The sector Junction Box is just down the road to the south; look in the parking lot underneath the towering “WBYU 620” roadside billboard.) Use Intel View to see a total of six “Kill” icons floating inside the facility! That’s half a dozen tough cleaners in green haz-mat suits.
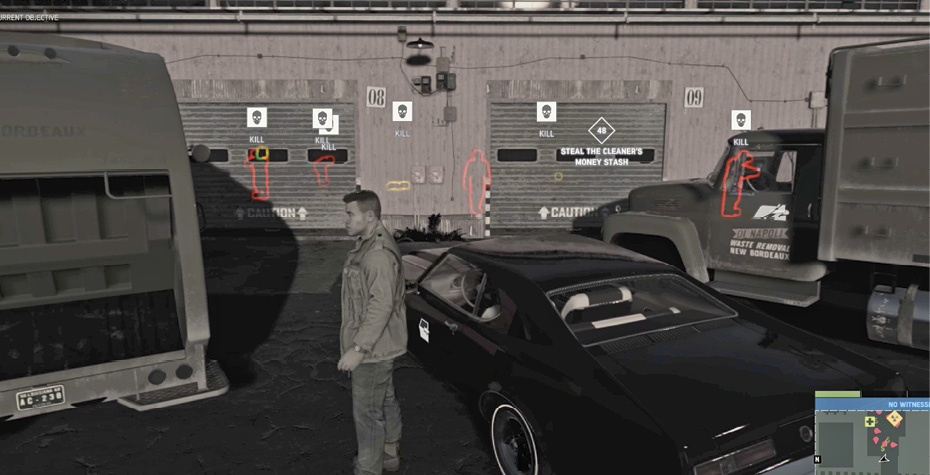
Move around the left side to the entrance and take cover. Start whistling to lure over the killers. Each dead cleaner is worth racket damage, so hunt and kill all six of them! Find the blue strongbox sitting on the worktable in the back and pry it open to snag the $10,000 inside. Then get out of there.
Find and Destroy Garbage Barges (6)
Prerequisite: Interrogate the Extortionists
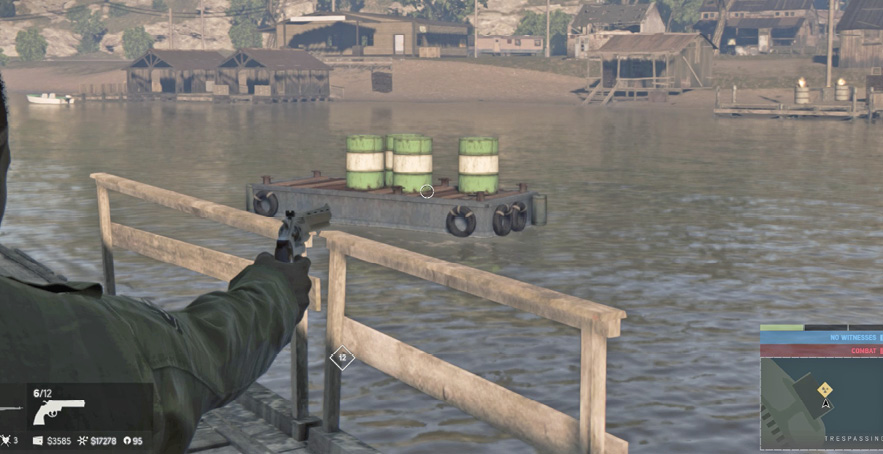
Di Napoli Waste Removal gets rid of toxic sludge by dumping it from garbage barges into the scenic waterways of New Bordeaux. These barges are located at six dock locations around the district (all marked on our district map). When you wiretap each sector’s Junction Box in Barclay Mills, you reveal any barges in that sector. Destroy the barges to inflict serious racket damage to Puppy Simmons and his garbage organization. Careful, though—each dock is guarded by a handful of Puppy’s thugs.
Talk to Maria Bava (Second Time)
When you’ve knocked the racket damage required down to $0, return to Maria (2) to learn that Puppy has emerged. He’s at the Di Napoli dump, trying to shore up the operations that Lincoln has disrupted.
Confront Paul “Puppy” Simmons
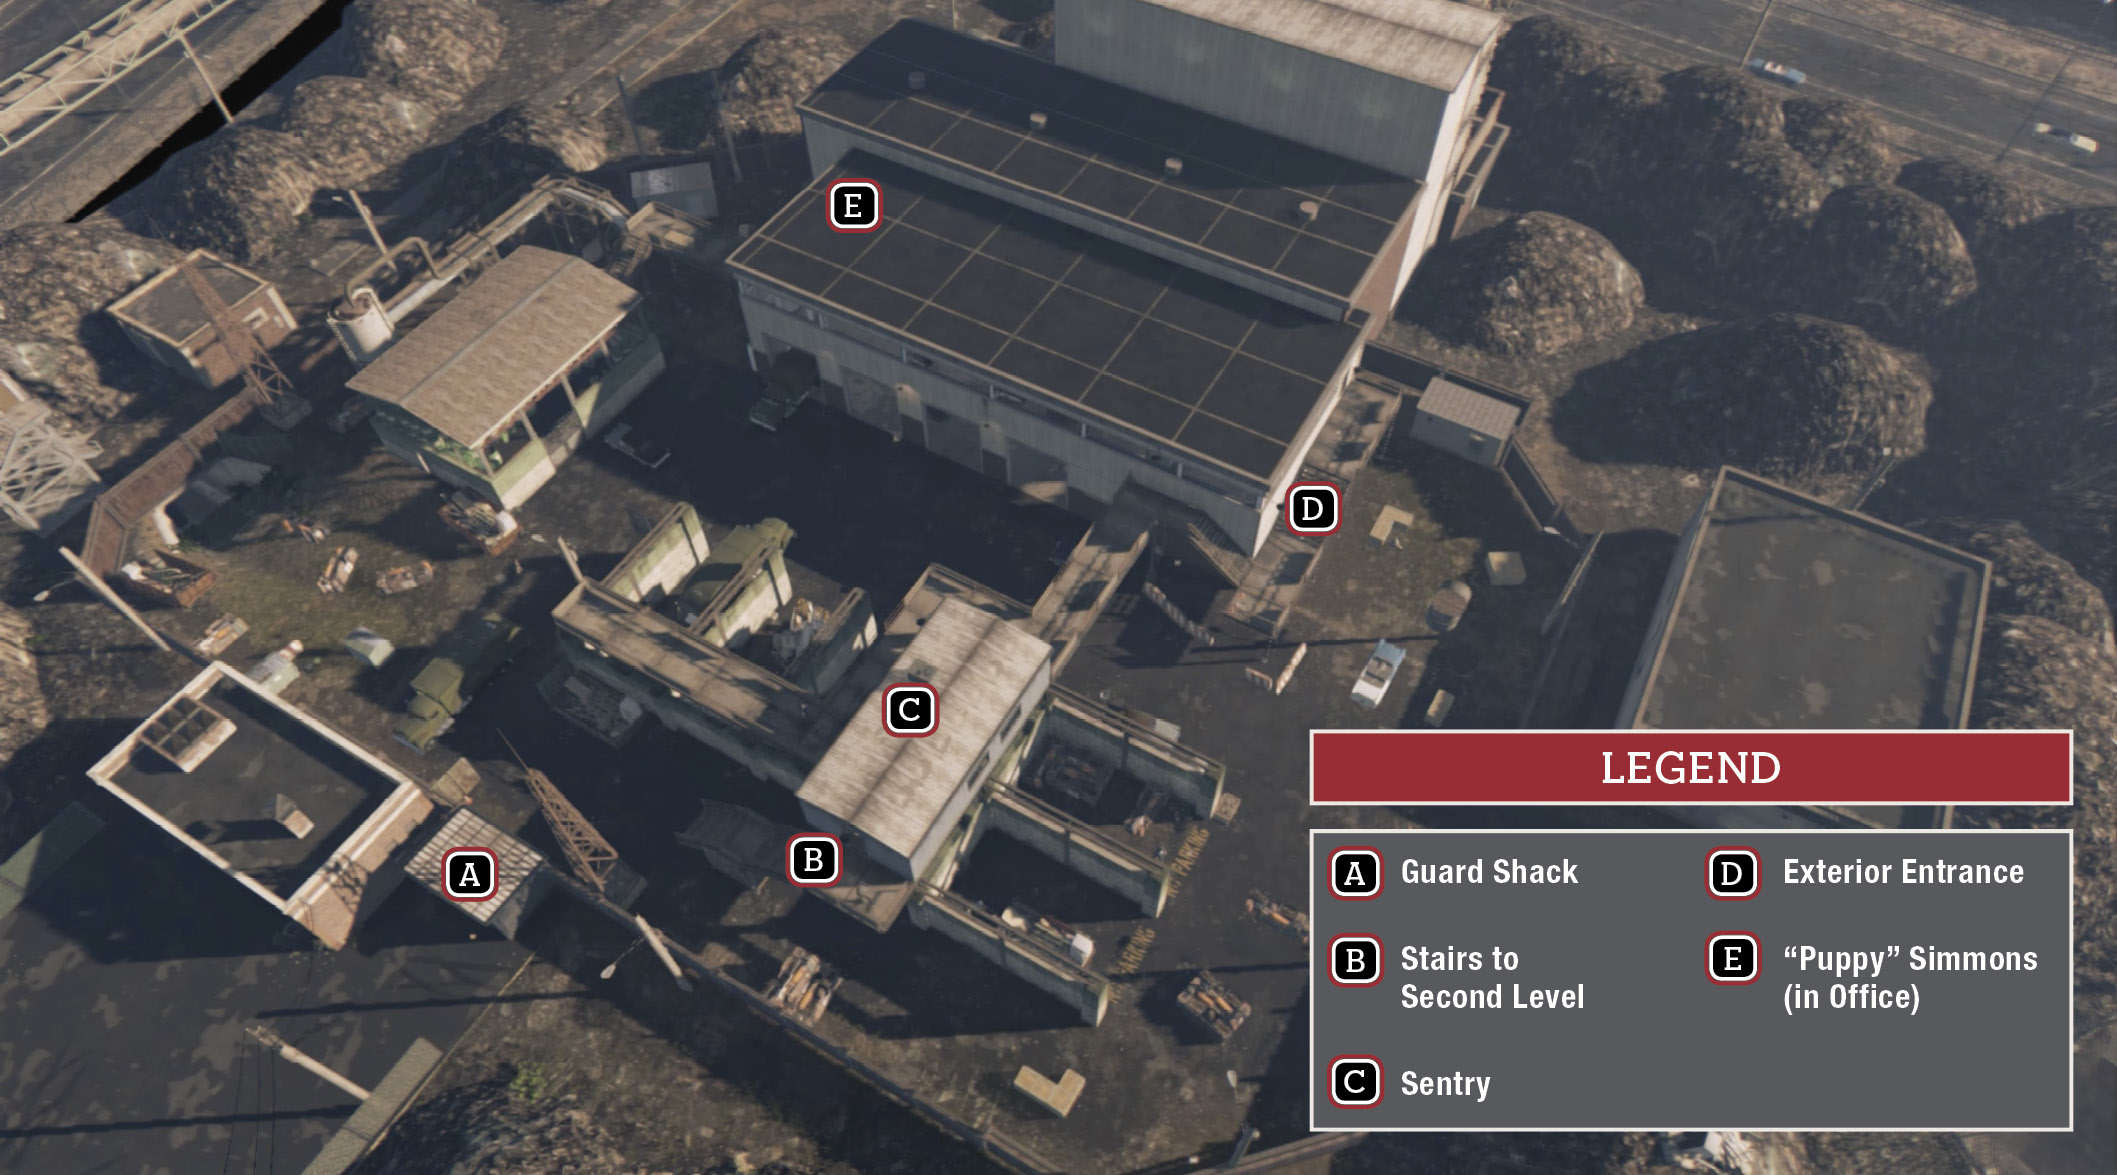
Travel back to the Di Napoli garbage dump (3). Go through the front entrance, sneak up to the guard shack (A), and take down the lone guard from behind. Hustle to climb the nearby stairs (B), stalk through the long room and take down the Sentry with his back to you at the other end. Wait for the pacing guard to return then take him down too.
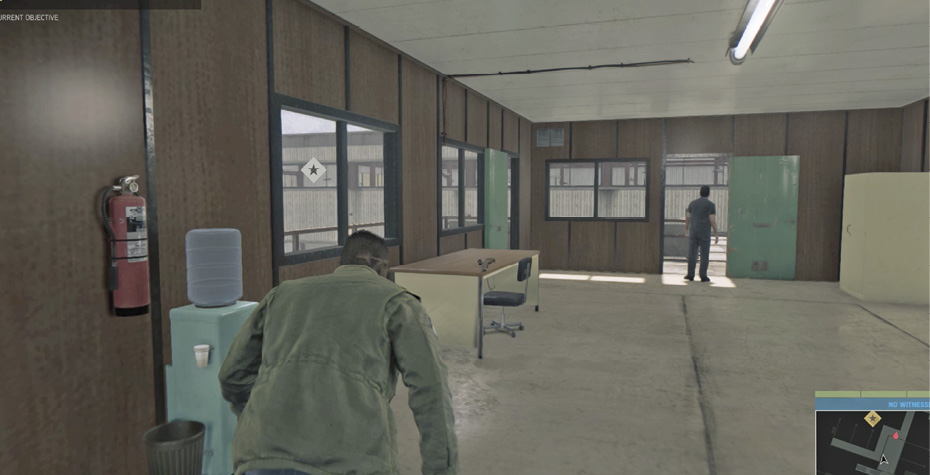
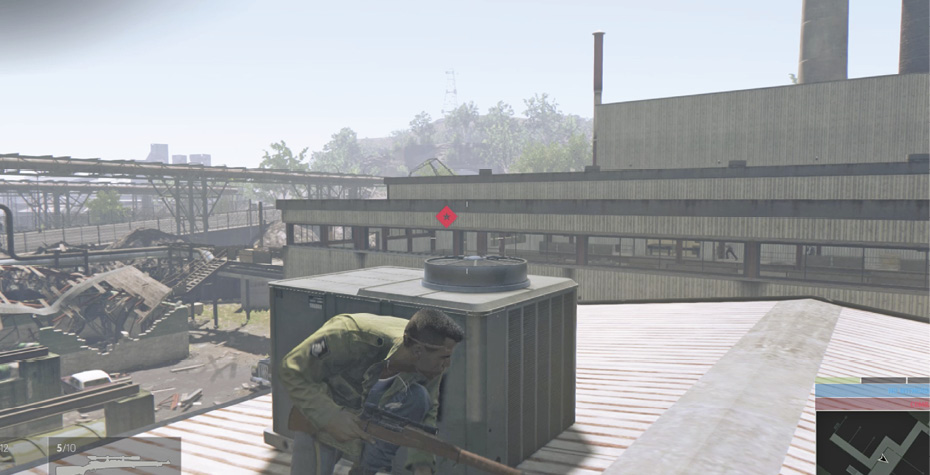
Note the sniper rifle on the desk here. This hints at one option: grab the rifle, go back outside (B) and climb the ladder onto the roof. Set up behind the air conditioner unit (C) and start picking off targets in the next building through the windows, including Puppy and his Enforcer, the cleaner. Find their overhead icons and slide around until you can get a shot angle at them.
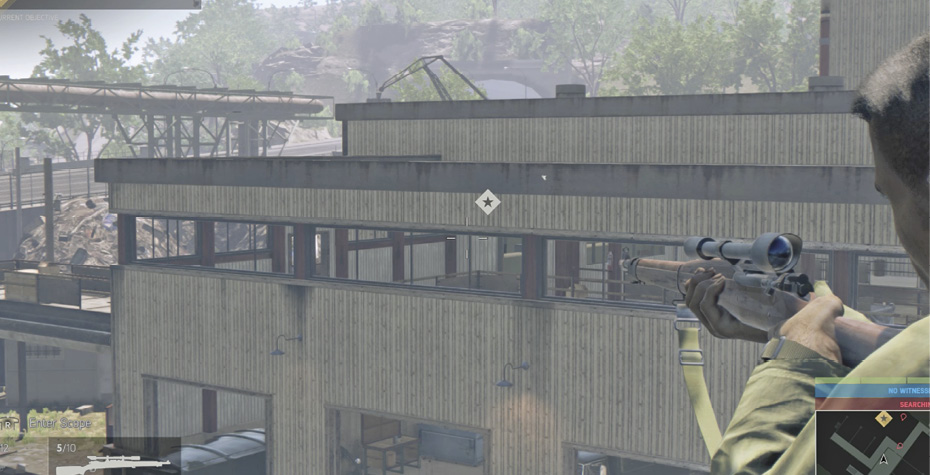
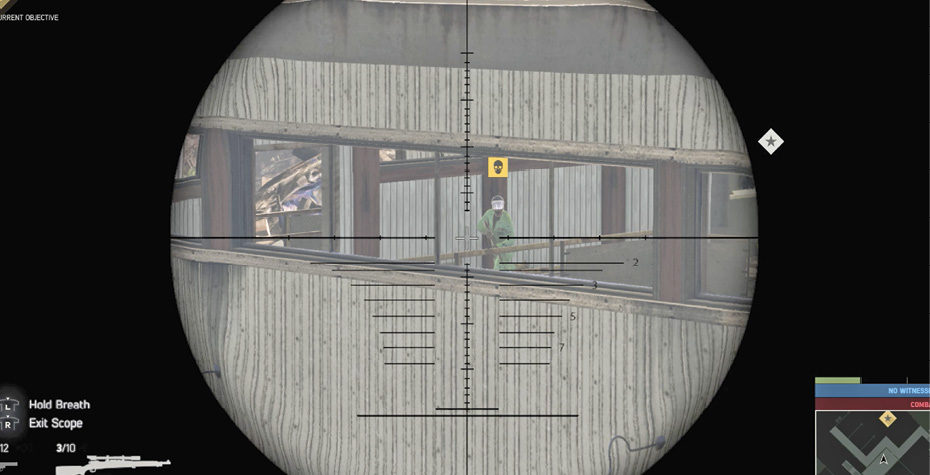
Or you can simply advance along the walkway and stairs to the next building (D) where Puppy and a green-suited “cleaner” are in the long office (E) at the far end of the interior catwalk. If you choose this instead of the sniper option, you can fight your way down the center catwalk or try to work stealthily through the control room on the right. Either way, you end up facing Puppy in the office. Take him down to secure the Garbage racket.
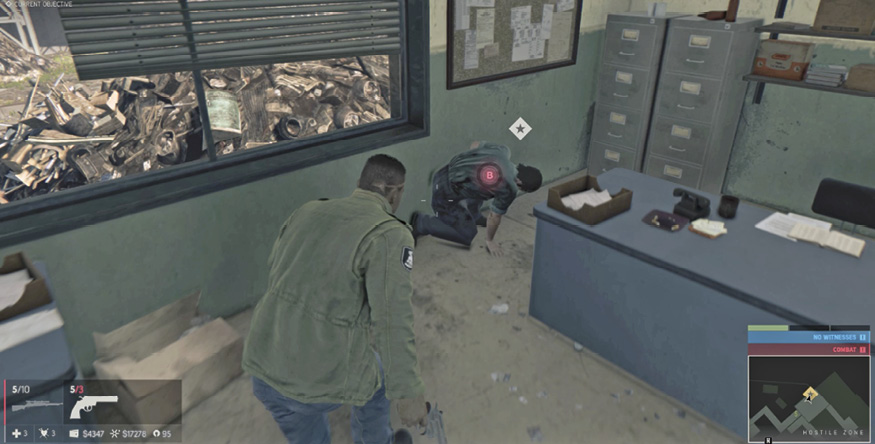
Assign the Garbage Racket
Now that the Garbage racket is under control, you must assign it to one of your Underbosses. This is the first time you have a choice who gets to run the racket. Scroll through the assignment choices to see what Cassandra, Vito, and Burke have to offer in the way of Favors if you boost their income.
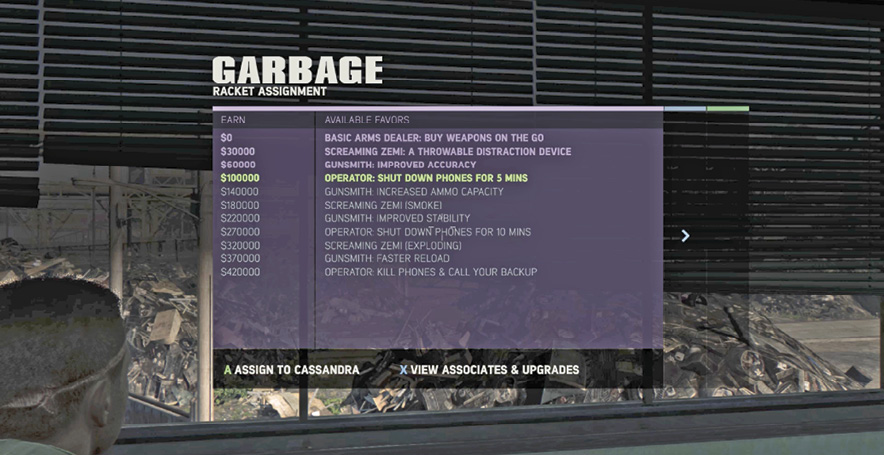
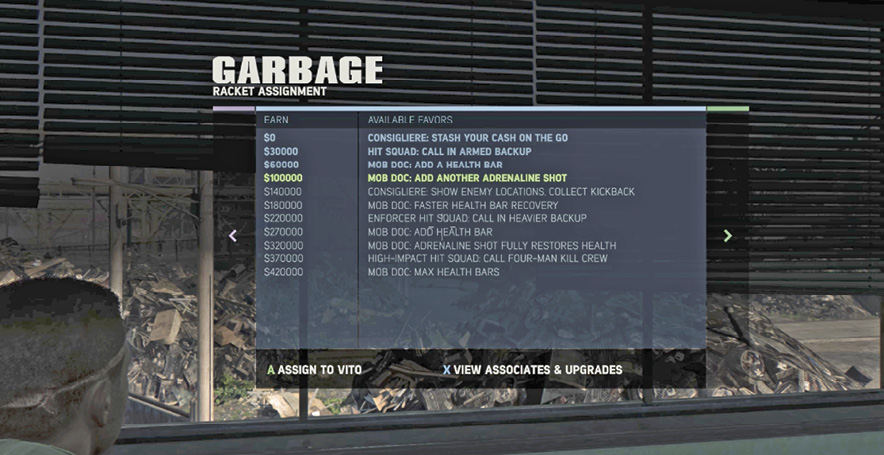
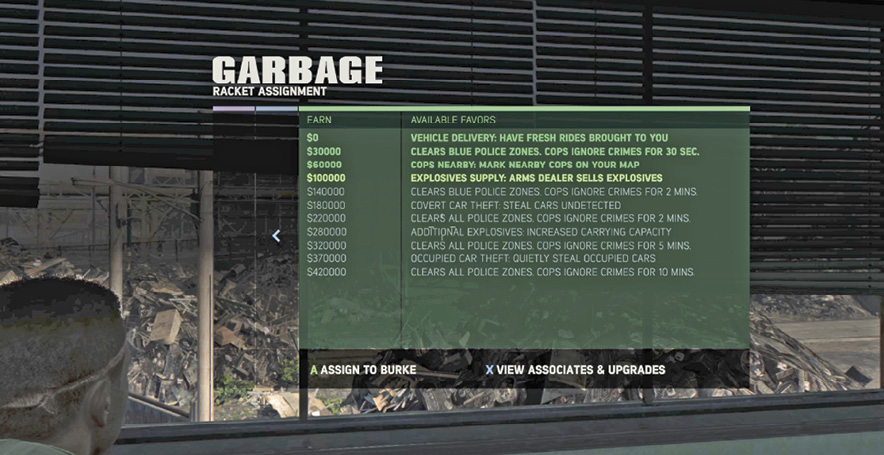
All three offer good options, so you can’t really go wrong. Just remember that if any of your Underbosses feels repeatedly snubbed, he/she will rebel. (See “The Betrayal Missions” in our Optional Missions chapter.) Although some of the higher level Favors are very attractive, we think it’s a good strategy to award rackets and districts equitably to keep all three Underbosses in the fold.
RACKET: Guns
Prerequisite: Meet with Donovan
Talk to Connie DeMarco (First Time)
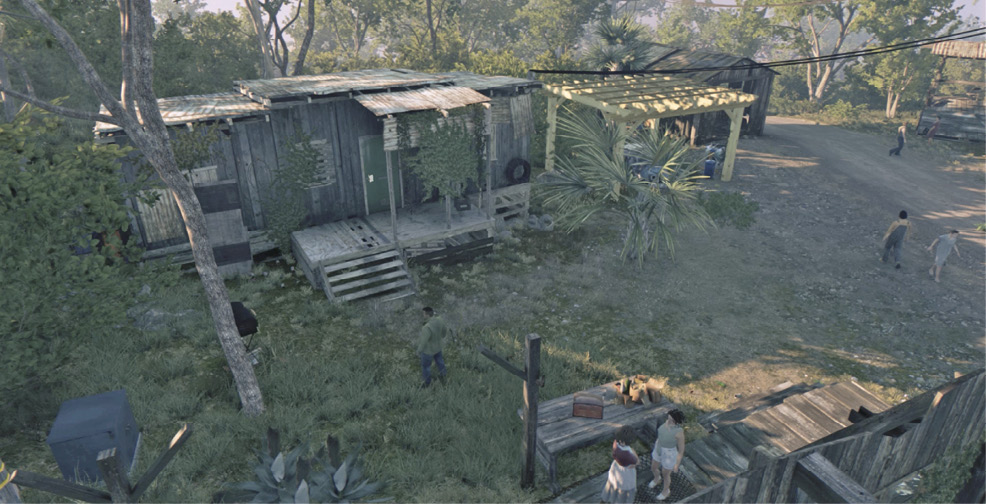
Activate this objective and follow the trip route to the ramshackle shack (1) right in the center of the district. Enter for another meeting with Connie Demarco, Vito’s man from River Row. Connie was recruited by John Donovan to help Lincoln scout out Pete Santini’s illegal shipping operation. Pete is in charge of the train yard, and his gun-running business is booming…yes, literally. Rumor has it he keeps a map of all his high-volume deals.
Interrogate Train Robbers
Prerequisite: Talk to Connie Demarco
Two Informants appear on the map (2a, 2b), but as soon as you interrogate one, the other one disappears. Take your pick. If the Informant escapes and you don’t catch him, he ends up at the other Informant location.
Hollace Etherington
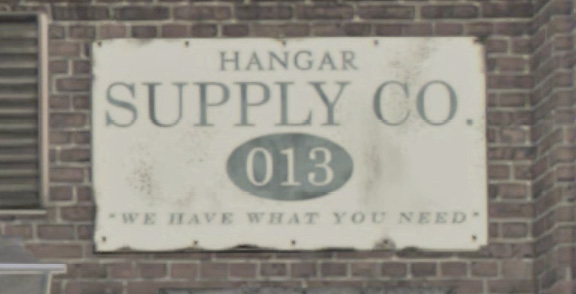
Travel to the rail freight warehouse (2a) of the oddly-named Hangar Supply Company. (Note the building number: “013.”) This is a gun smuggling depot run by Hollace Etherington, and he’s got three large caches of weapons ready to roll. Examine the building from the road using Intel View to see the layout, noting the locations of the gun caches, the Sentry, and Hollace himself.
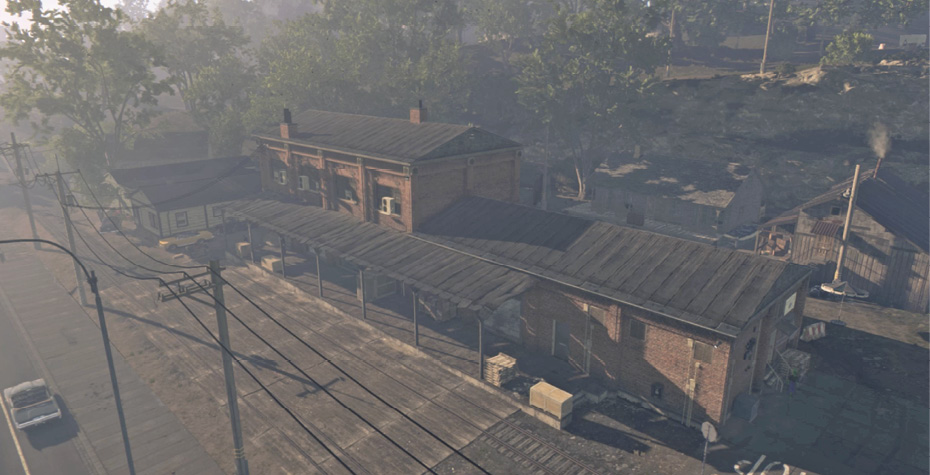
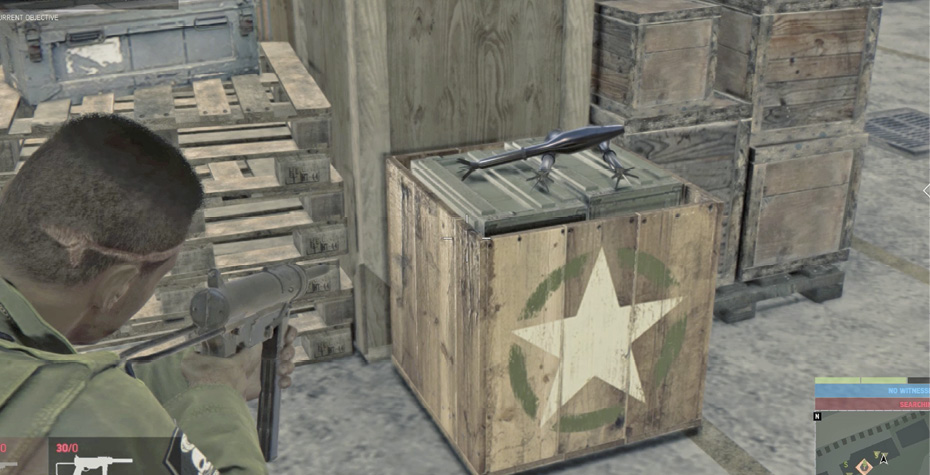
One good approach is to slip around the right side of the depot and take cover behind a crate or the portable toilets. Start whistling to lure over Hollace’s crew until you get the Sentry neutralized, and maybe even incapacitate Hollace himself. Then you can rush the depot and gun down the others. When the area is clear, destroy all three star-marked gun caches for racket damage. (Remember, you can find them easily in Intel View, highlighted in red.)
Then scour the building for several nice stacks of cash. (Again, use Intel View to see them highlighted yellow.) When you finally interrogate Hollace, he reveals where Santini has been storing the money he’s collecting from his gun sales.
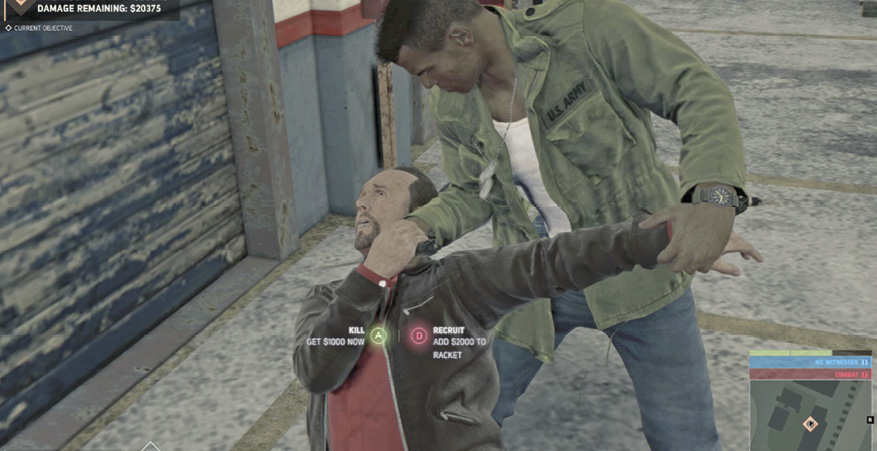
Unlocks: Steal Santini’s Money Stash
Nestor “Specs” Ermo
Specs and his boys are guarding a haul of stolen goods at a rail switching tower (2b) on the tracks running up the eastern edge of Barclay Mills. Be sure to wiretap the Junction Box just south of there, if you haven’t already done so. Then approach from the south, moving along the tracks to take cover behind the black and white trailer. From there, stealthily eliminate the guard just around the right corner.
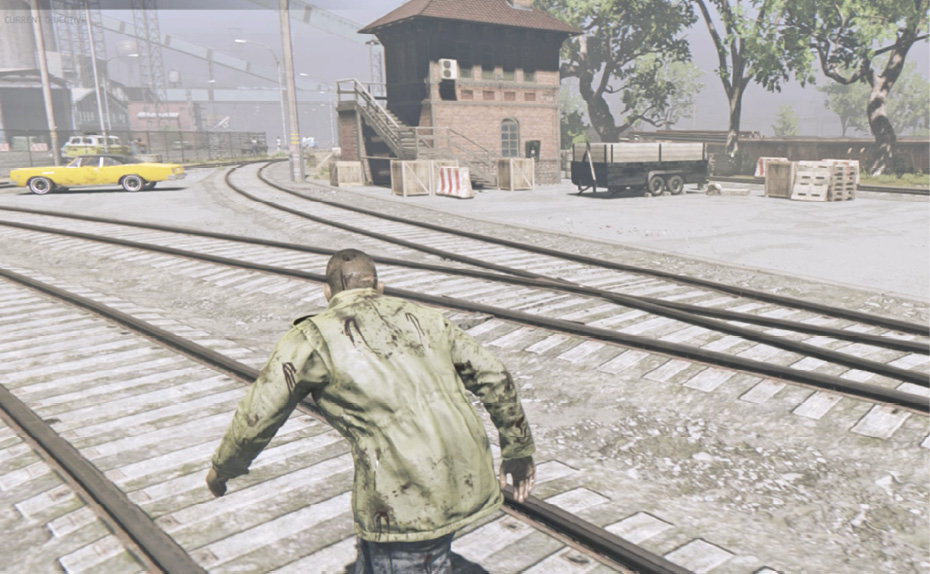
Whistle to lure the next guard who descends the control tower stairs and take him down too. Then sneak across the tracks under the trees and use the cover there to advance closer to Specs and the Sentry. Whistle them over for takedowns or just make a gun rush. Interrogate Specs to learn where Santini is stashing the proceeds from his gun business. Then break into the room on the tower’s lower level to gun down the last guard and loot cash.
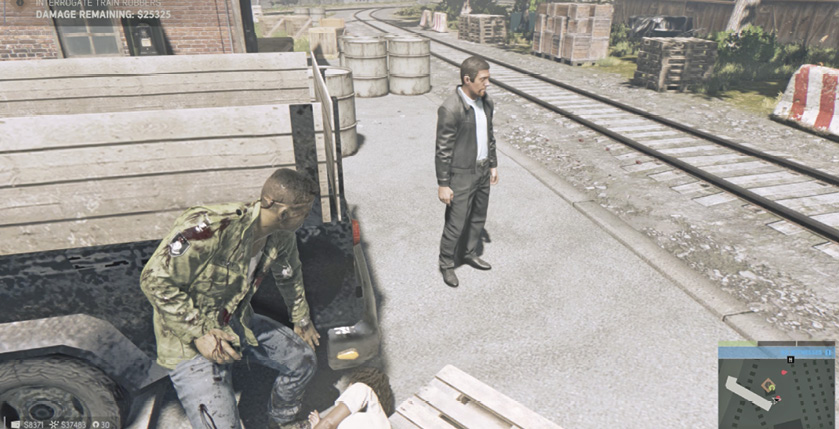
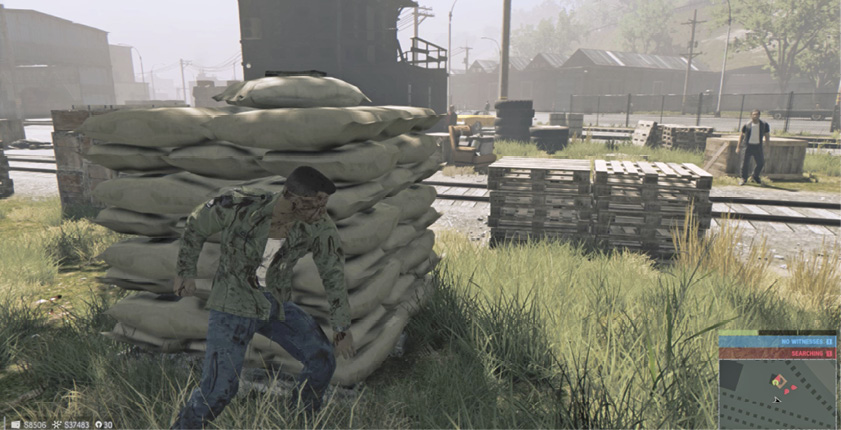
Unlocks: Steal Santini’s Money Stash
Steal Santini’s Gun Map
Prerequisite: Talk to Connie Demarco
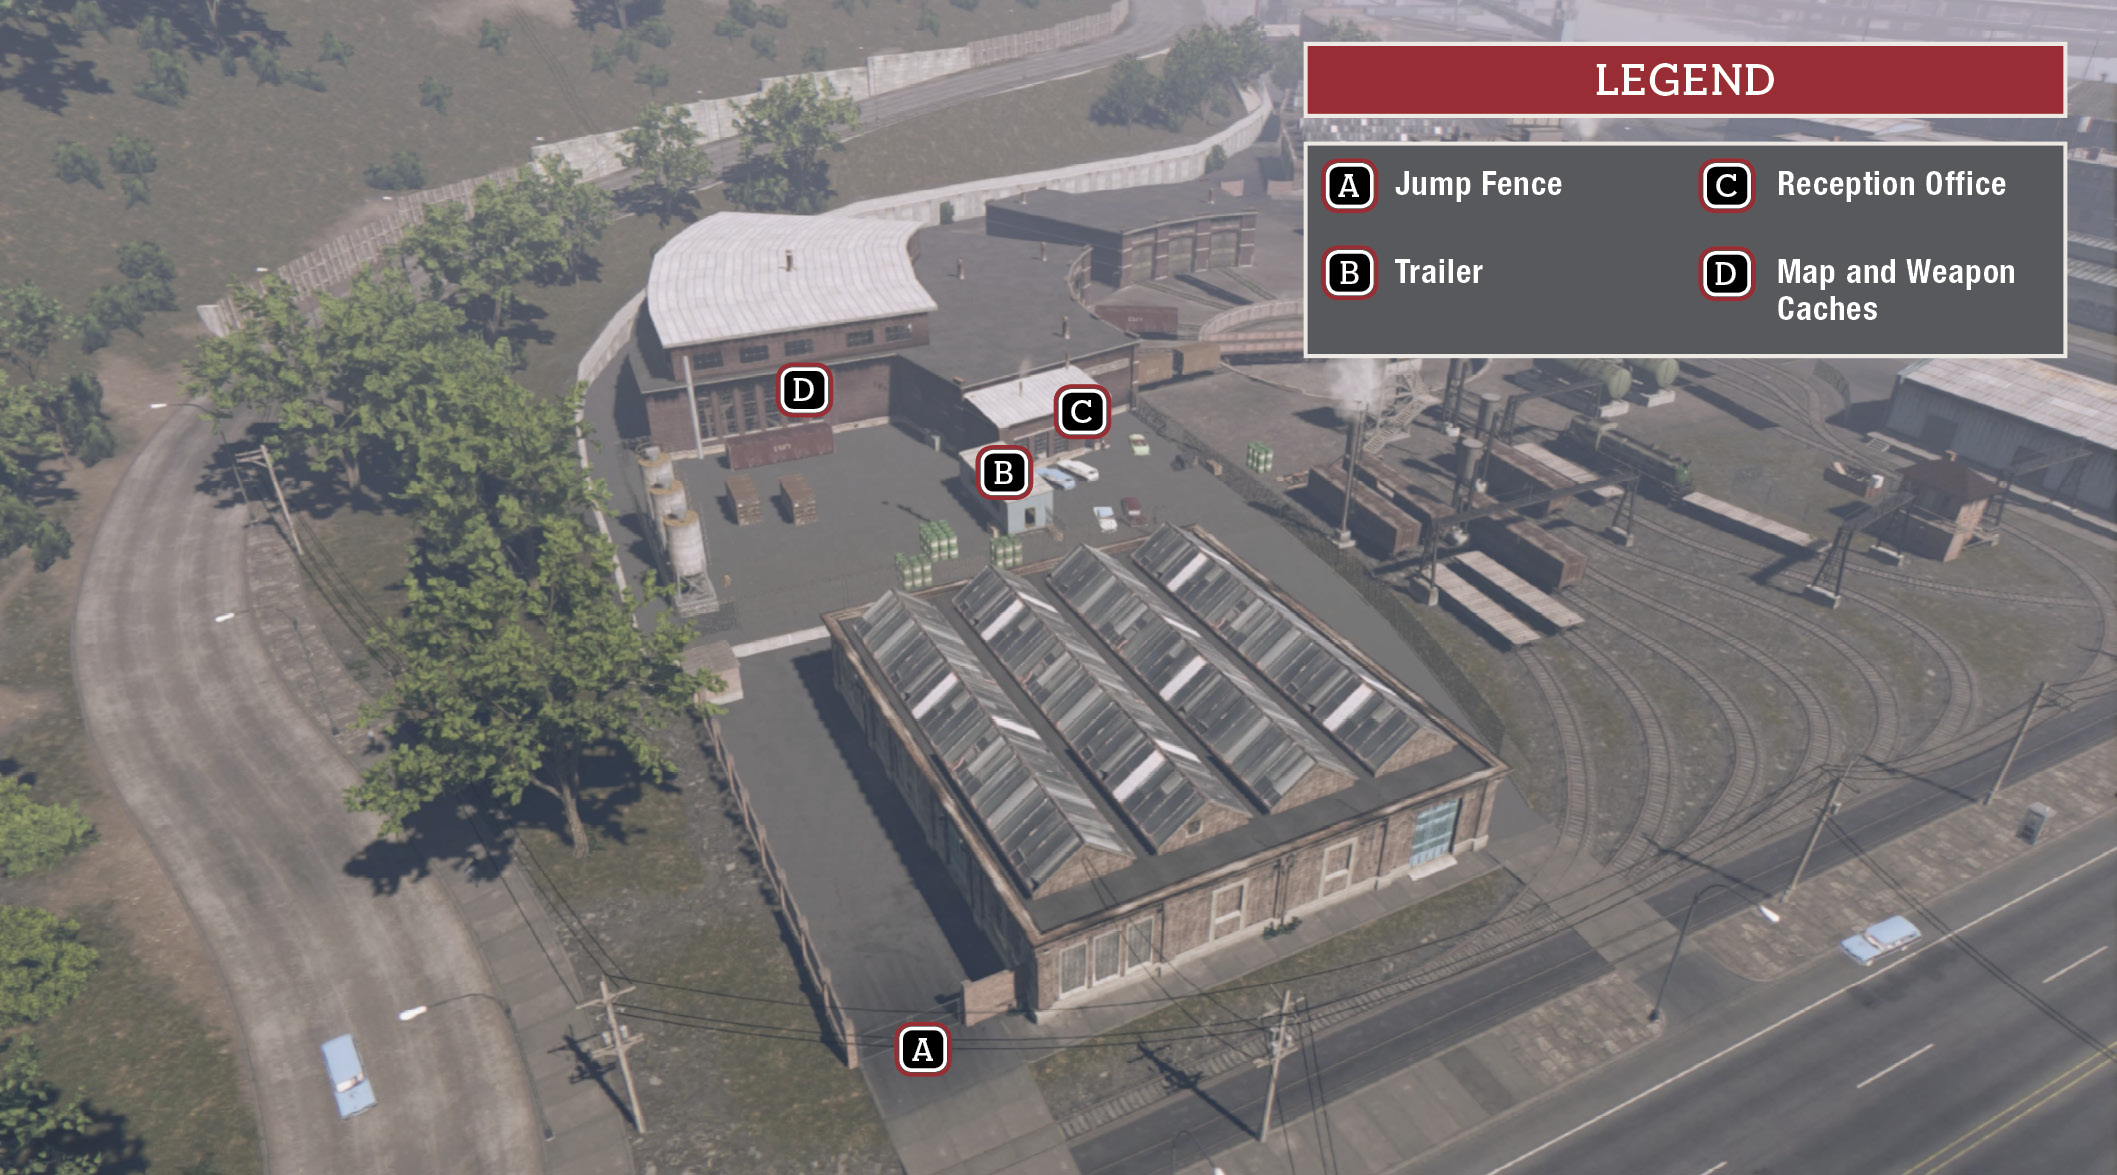
Travel to the Barclay Railways train yard, marked (3) on our district map. (Be sure to wiretap this sector’s Junction Box first, located a couple of blocks southeast on the building across from Joey’s All American Diner.) Approach the train yard from the south and hop over the southwest entry gate (A).
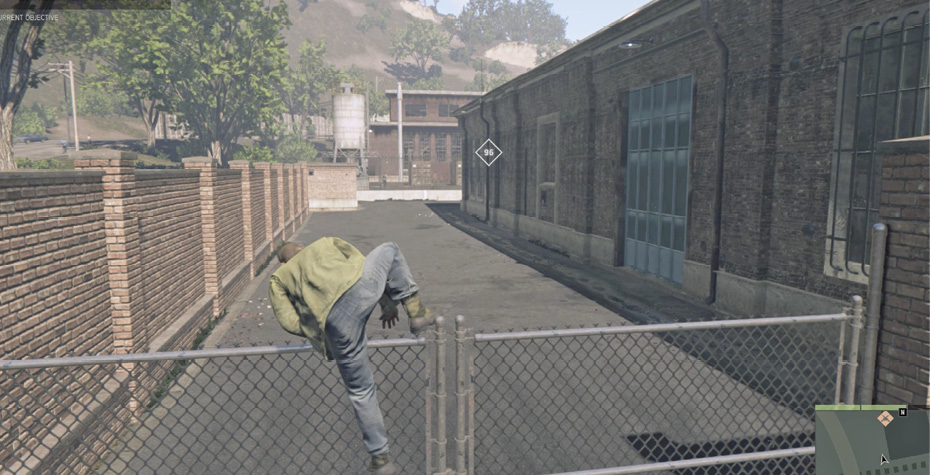
Move all the way to the security fence topped with barbed wire and proceed through the opening left by a fallen section. Then enter the nearby blue trailer (B) to find some cash and an Album Cover collectible inside.
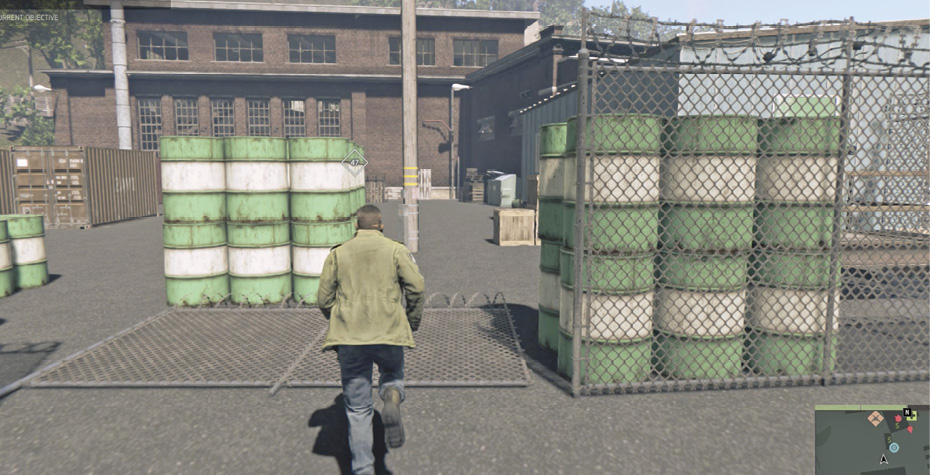
Take cover at the trailer’s side door and spot the Sentry out in the parking lot. Whistle to lure him over for a takedown inside the trailer. Then exit the trailer’s side door into the parking lot and take cover at the next building’s entry doorway (C) leading into a reception office with a black/white tiled floor.
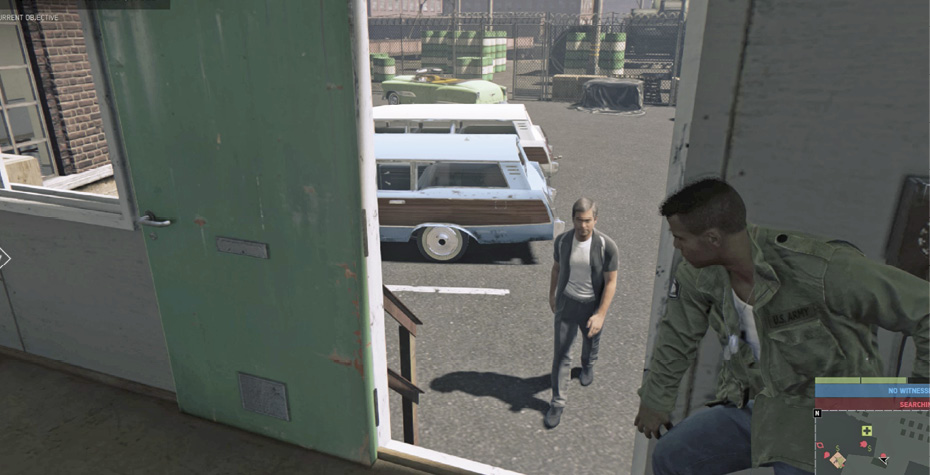
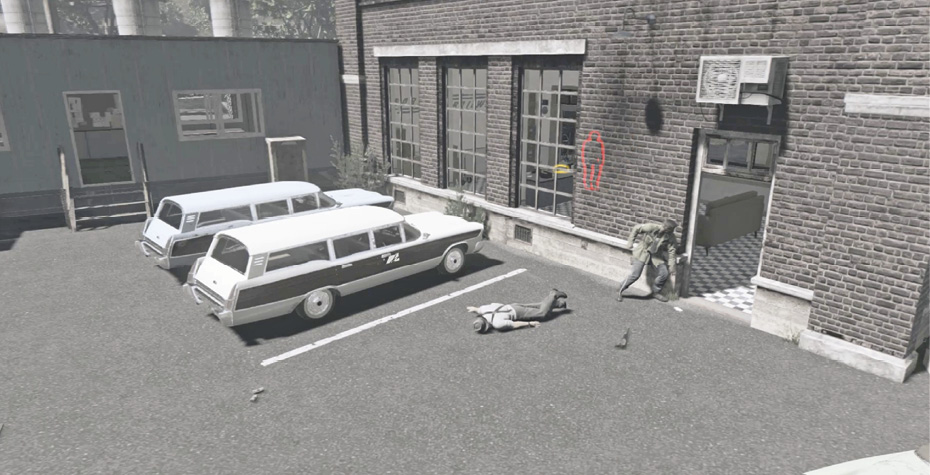
Two guards stand inside, one room over. If you whistle, they hear and come investigate, one at a time. When both are neutralized, enter the office. Grab the $875 pile of money on the desk! Then enter the freight warehouse and follow the objective marker to the left until you reach a stack of white crates (D) next to a railcar.
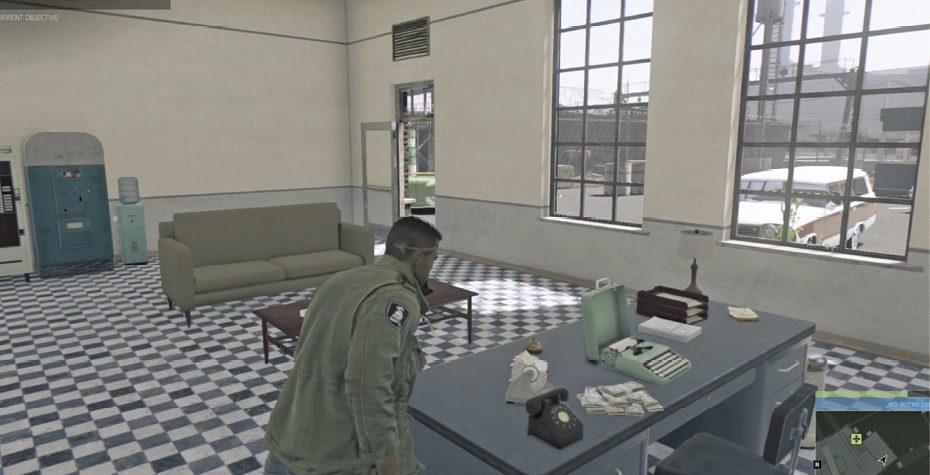
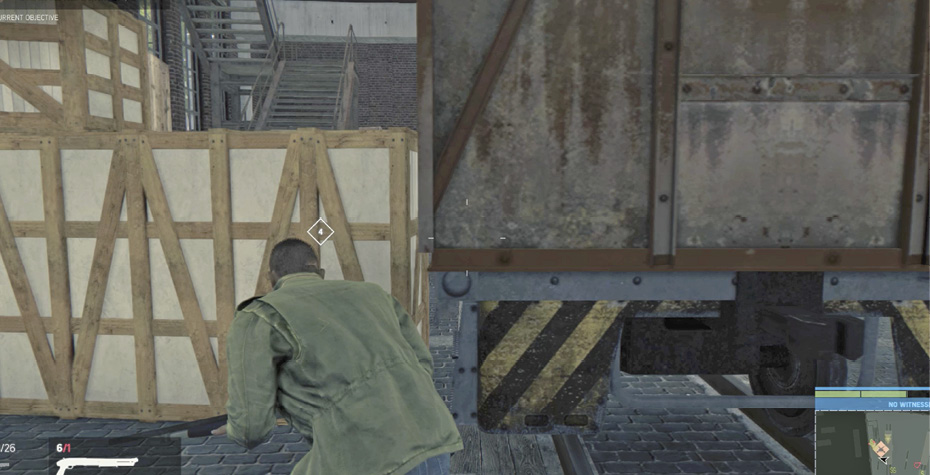
Use your Intel View to see Santini’s map, a guard, and some weapon caches on the other side. Climb over the crate stack to find a goon with his back to you. Take him down and grab the map. Then destroy the four star-marked weapon shipments to inflict damage to Santini’s racket.
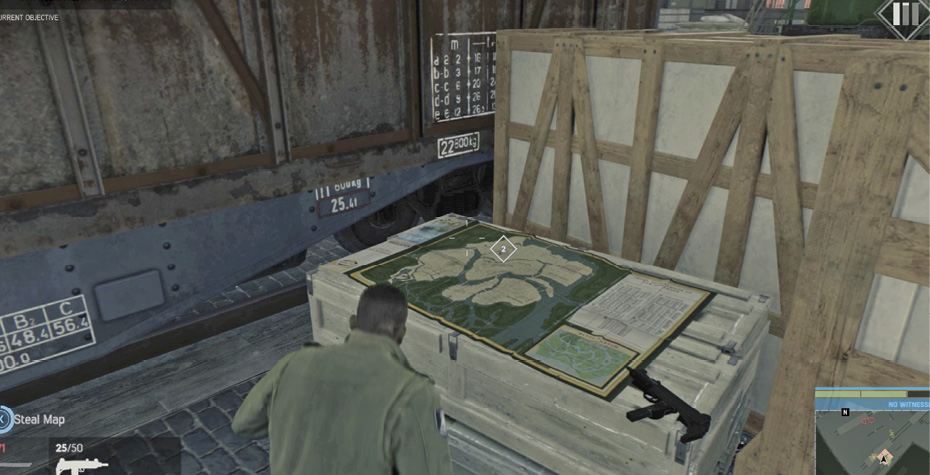
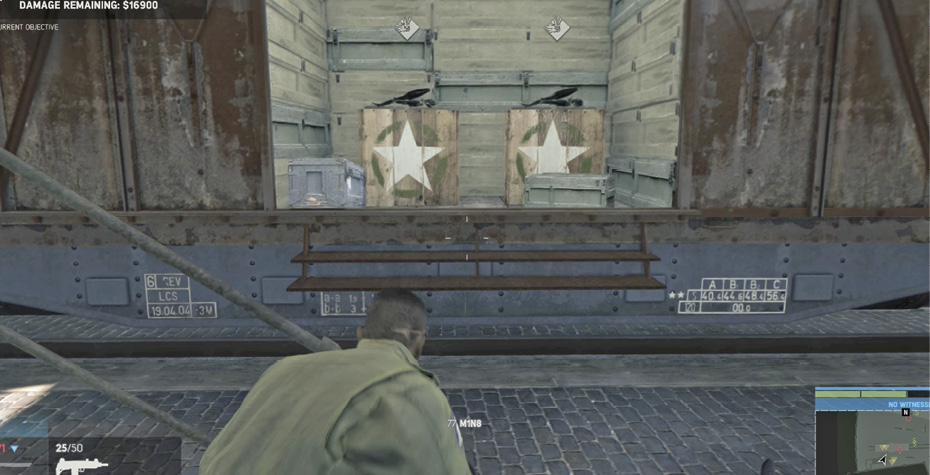
Now you can just retrace your route back out of the train yard. Or, if you want, you can work your way through the facilities where you can pick up a lot of cash to fill your wallet and inflict racket damage. But you’ll also run into a lot of Santini’s men in the process.
Unlocks: Bust Up Santini’s Weapons Deals
Steal Santini’s Money Stash
Prerequisite: Interrogate Train Robbers
Travel to the freight warehouse (4) next to the freeway ramp. Go to the end of the ramp and head down the stairs at the street corner. Climb over the fence into the warehouse lot and hustle over to take cover behind the ZAVI shipping containers. Use Intel View to survey the warehouse and then whistle to lure the guard by the truck.
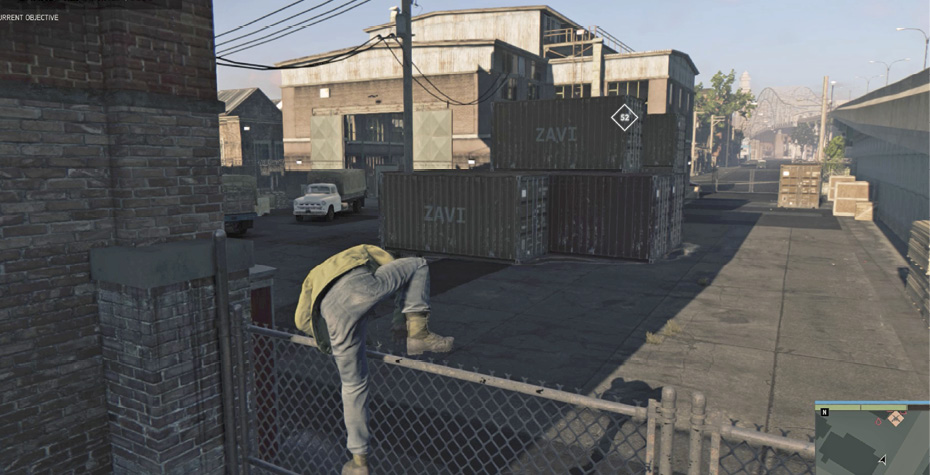
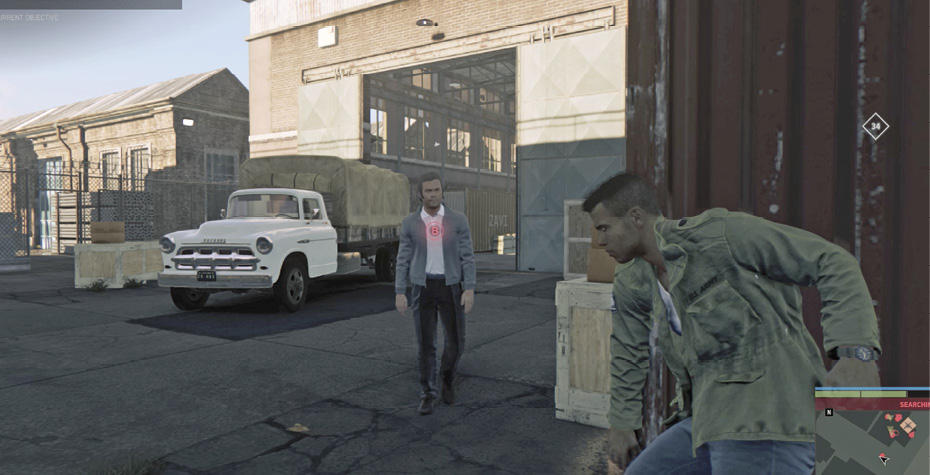
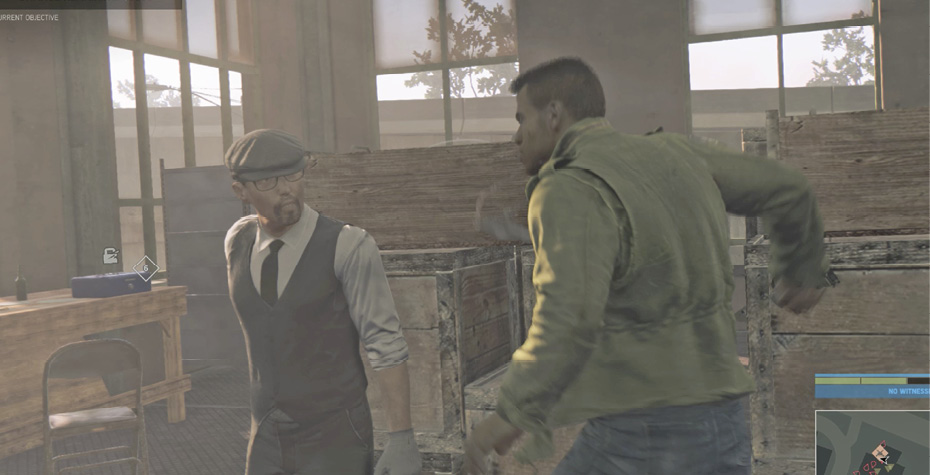
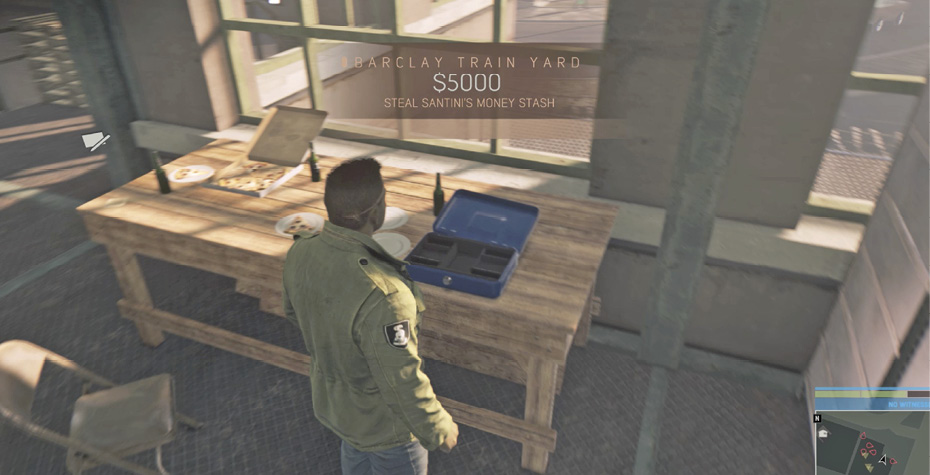
Now take cover outside the big warehouse door. Again, whistle to lure over as many guards as possible for silent takedowns. (You can lure at least two, including the Sentry.) Then sneak inside, turn right, and creep up the stairs. Just before you reach the top, observe the guard’s movements on this upper level. Wait until he’s not looking so you can hustle to cover or even sneak up behind him for a takedown. When he is eliminated, pry open the blue strongbox on the wood table to steal Santini’s money stash and inflict racket damage. (You can also find a note on the table.)
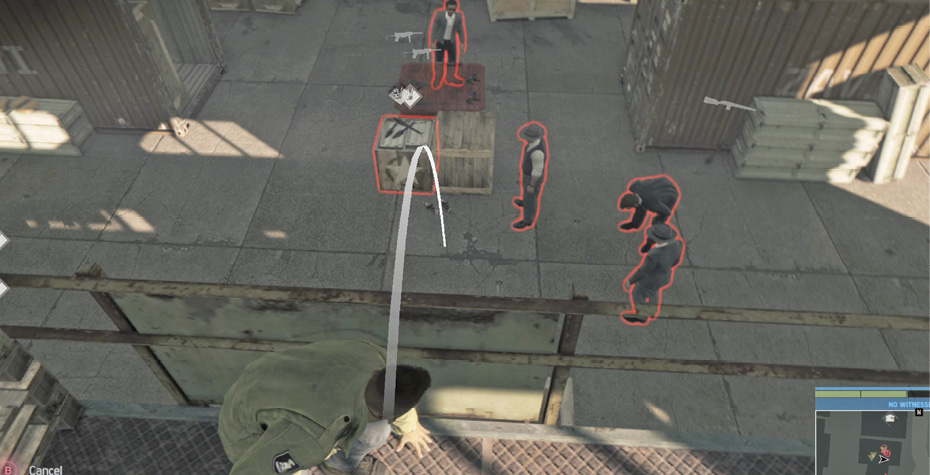
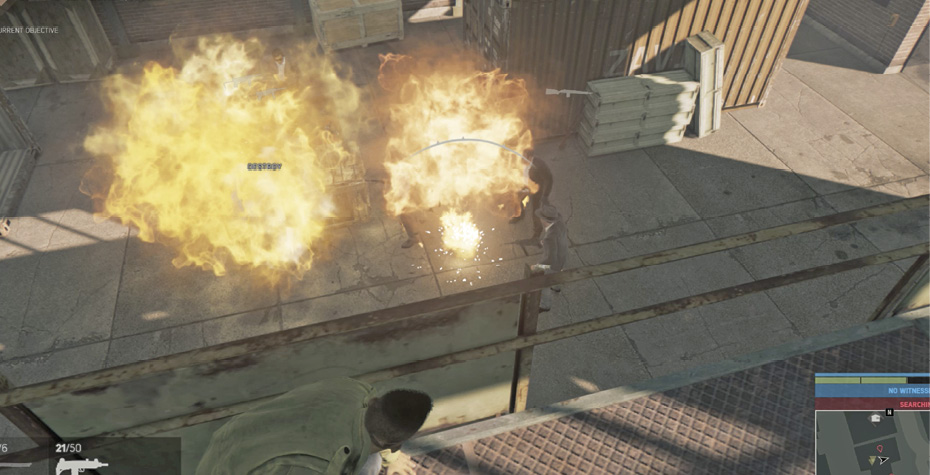
Here’s a little trick before you go. Sneak over to take cover at the railing and spot the weapon cache below on the main floor. Toss a Screaming Zemi or two right next to it to draw over the ground floor guards. Then toss a Molotov into their midst to take out the guards and the gun cache! Gun down any remaining guards and destroy the other two gun caches for additional damage.
Bust Up Santini’s Weapons Deals
Prerequisite: Steal Santini’s Gun Map
Once you get Santini’s map you can track down both of his gun sales sites and bust them up. Both mapped locations are down in the Fantom Bayou.
High-Grade Explosives Deal
Activate this objective and follow the trip route into the Fantom Bayou to the site (5) where Santini’s customers are testing out his explosive wares. (Be sure to wiretap the Junction Box down the road to the east first. It’s on the side of the brick garage next to the Trago gas station.) Approach the Bayou Explosives Testing site from the north and take cover behind the pickup truck to the right of the railcars. Then survey the area with Intel View.
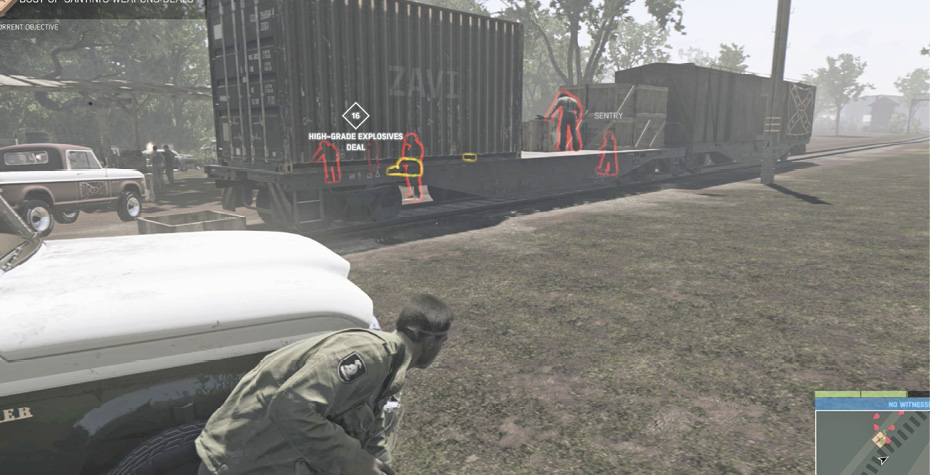
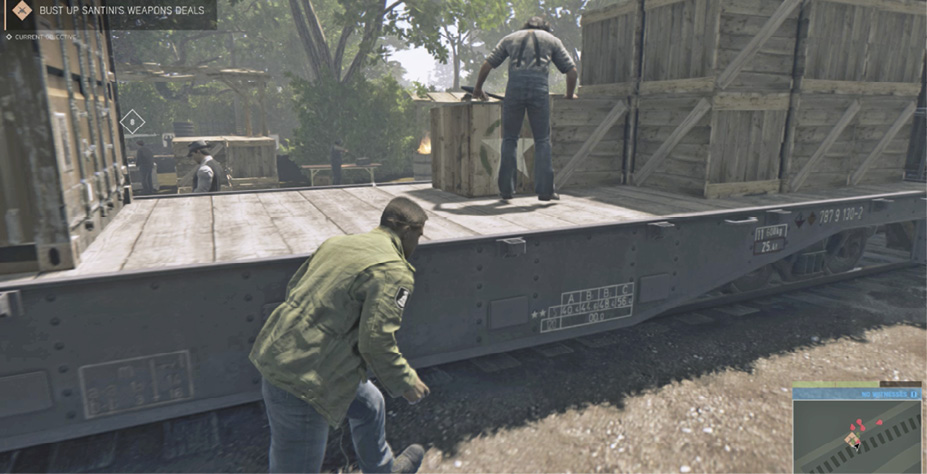
Sneak up to the railcar and climb up behind the fellow examining the weapons crate. Take him down and hide behind the crate. Toss a Screaming Zemi on the other side to draw all four guards (including a Sentry) to one spot; follow that with a Molotov once they’ve gathered to eliminate all of them at once.
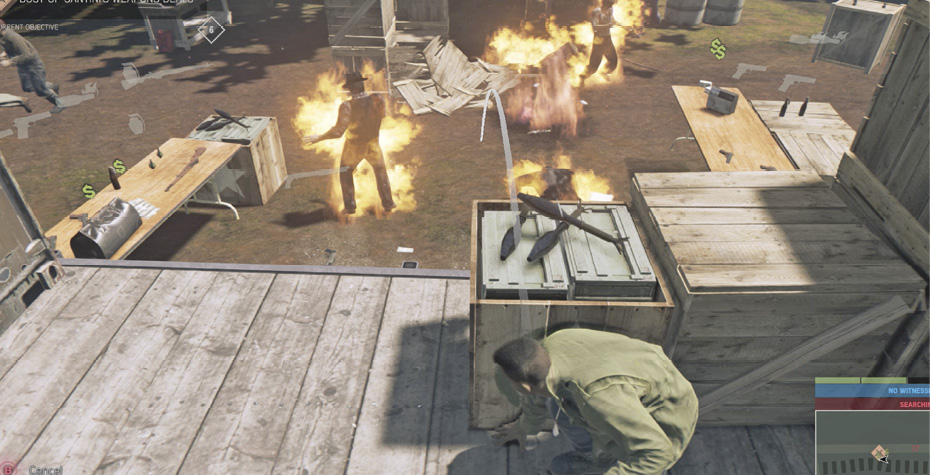
This goon bonfire will scare all customers away. But to “bust the deal” you must destroy any one of the weapons crates—for example, the one sitting on the ground next to the table where the bag of cash sits. This inflicts damage to Santini’s Guns racket. Take out any remaining guards, blow up the other weapon caches for racket damage, and scoop up all the cash lying around from various deals in progress.
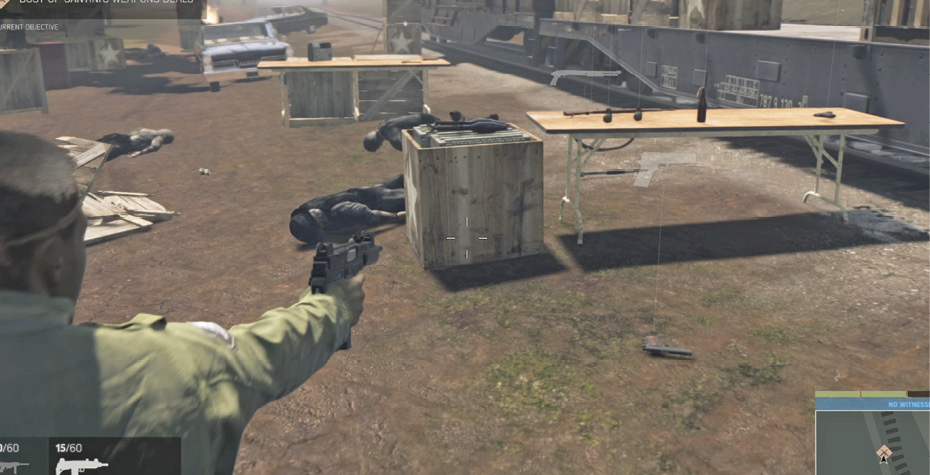
Military-Grade Weapons Deal
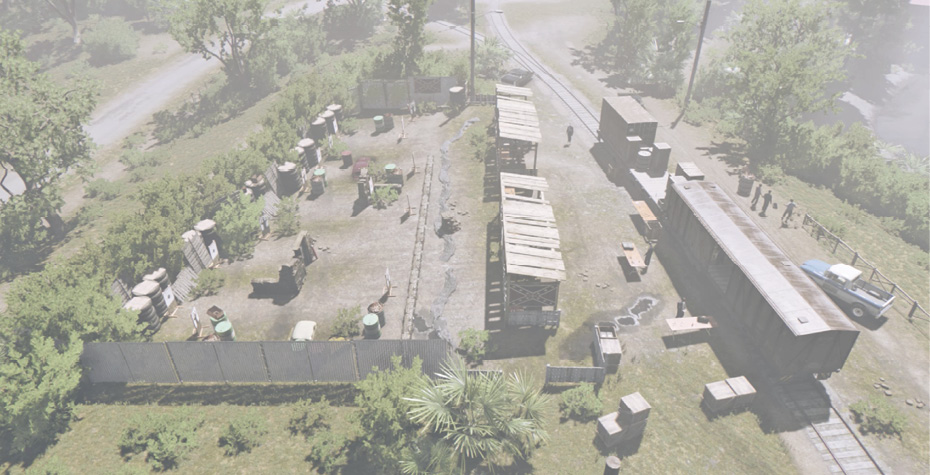
Travel to this Fantom Bayou site (6) where Santini’s customers are testing out his guns before purchase. (Be sure to wiretap the Junction Box on the nearby rail switching tower by the tracks first.) Approach the Bayou Firing Range from the east and sneak along its fence line to see the layout: a pair of railcars (a flatcar and a boxcar) sit behind a row of booths filled with customers shooting at targets. A handful of guards, including a Sentry up inside the boxcar, oversee the activity.
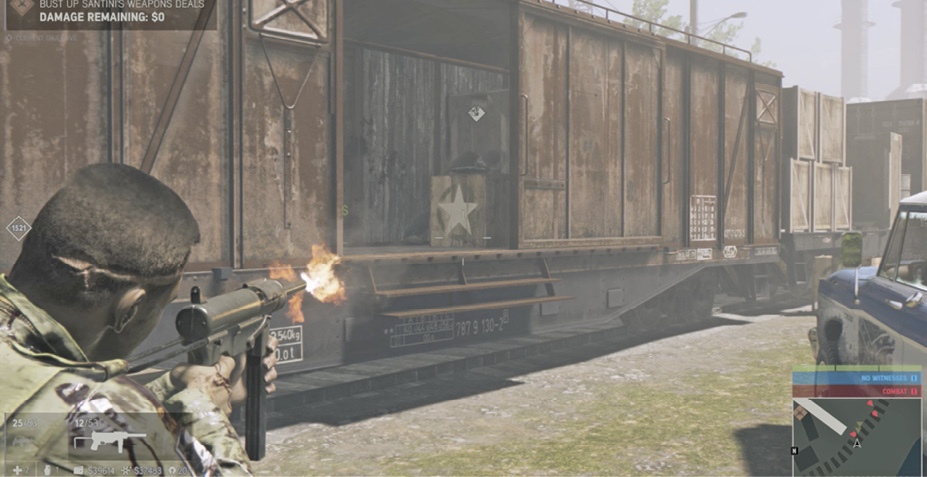
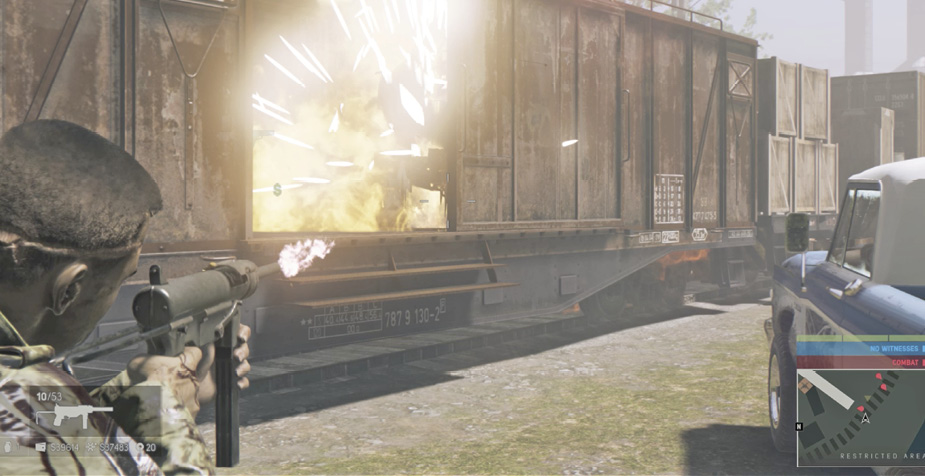
To “bust the deal” you must destroy one of the weapons crates. This inflicts damage to Santini’s Guns racket. If you want to be stealthy, go around behind the boxcar and sneak in behind the Sentry for a silent takedown first; then work your way around the site, eliminating other guards before you blow up a crate. Or you can just shoot into the boxcar to complete the objective.
Whatever route you take, the moment gunplay begins the customers all flee. You can blow up the other gun caches for damage, and scoop up all the cash lying around from various deals in progress.
Talk to Connie Demarco (Second Time)
Head back to Connie Demarco’s shack (1) and talk to him. He tells Lincoln that Pete Santini is now at the train yard.
Confront Pete Santini
Head back to the Barclay Railways train yard (3). Start on the southern or eastern edge and head directly to the big circular turntable (where trains are rotated onto other tracks).
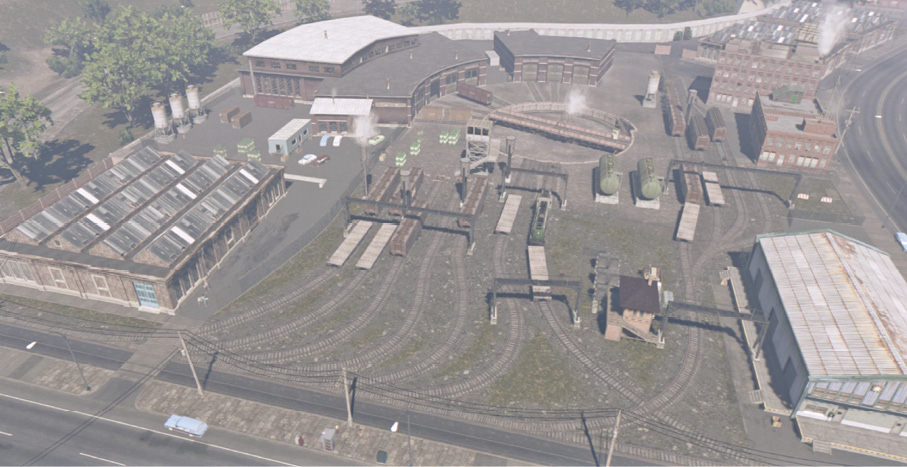
Climb down into the turntable’s pit and find the tunnel directly underneath the spoke (the bridge-like track across the middle) that leads toward the Barclay Railways engine house. Pry open the tunnel’s locked door and follow the long straight passage to its end.
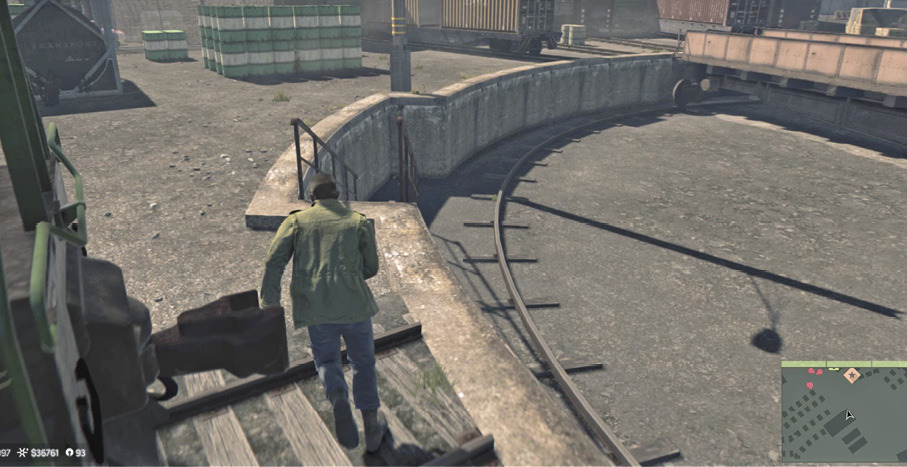
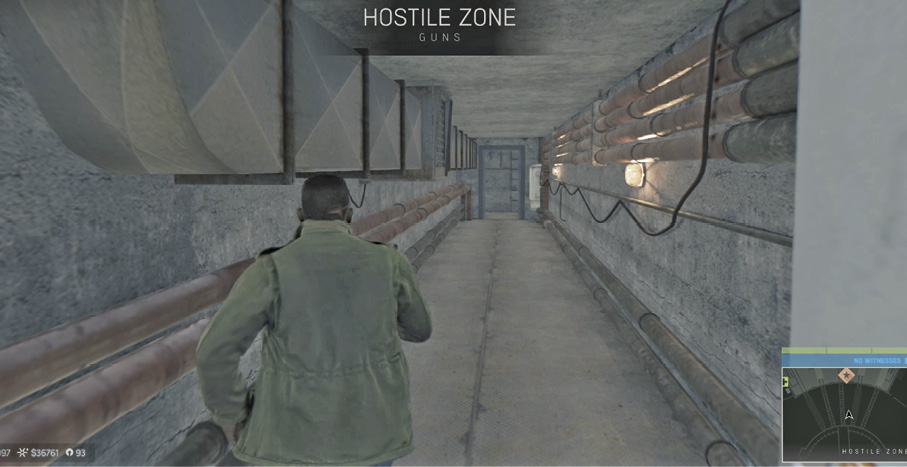
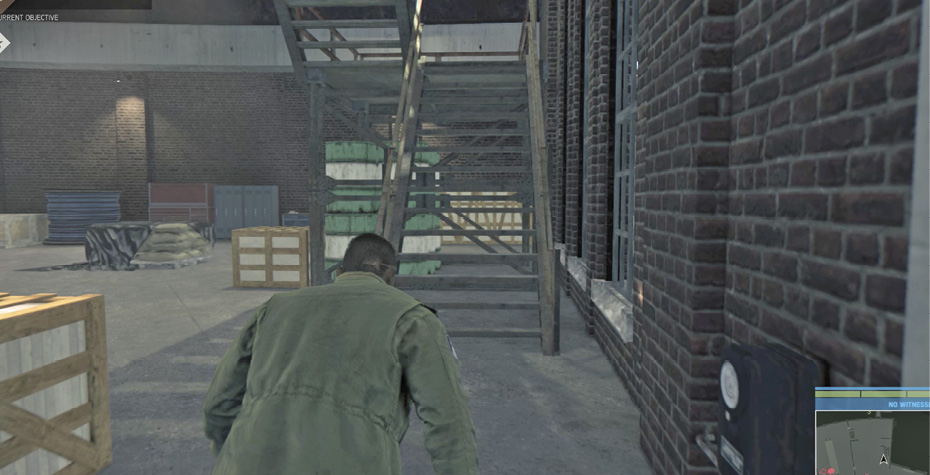
Use Intel View to get a peek at numerous troops inside, posted on two levels. Turn right, go to the staircase on the left, and take cover at the bottom. Whistle to lure down three guards for takedowns, one by one. Then climb the stairs and take cover outside the big doorway directly ahead. Lure over the guard in the next room; then enter and grab the Tac-Vest sitting on the floor by the lockers. There’s a Medicine Cabinet in this room, too.
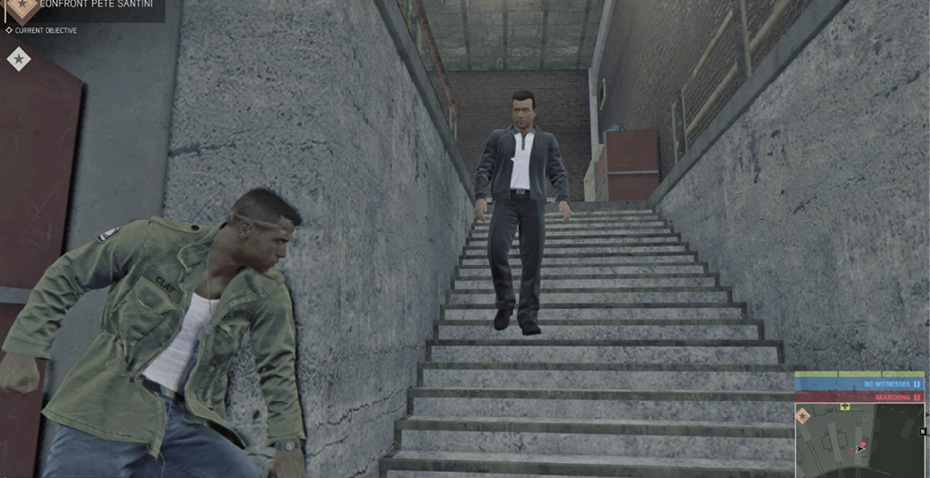
Take cover at the next doorway and lure the nearby pacing Sentry to his doom. Then repeat with any other guards nearby. Enter the open warehouse, turn right, and climb the staircase to the upper level. At the top of the stairs, take cover and use Intel View to spot Santini beating up somebody in his office just ahead.
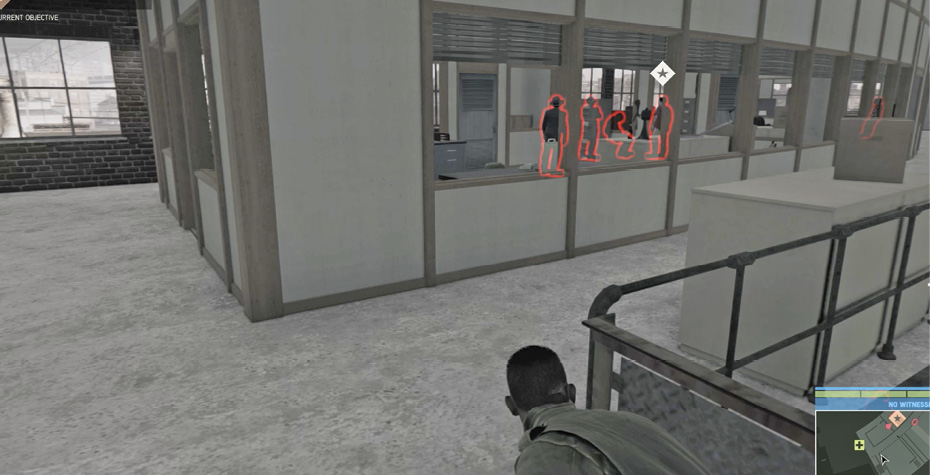
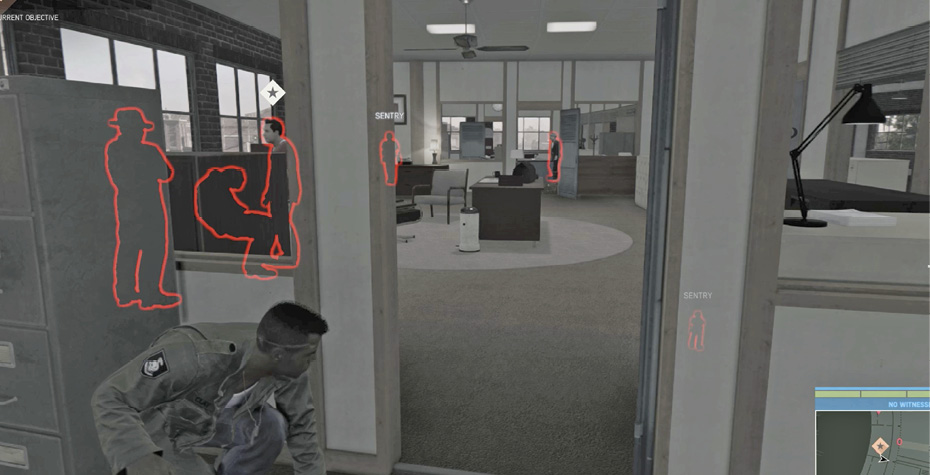
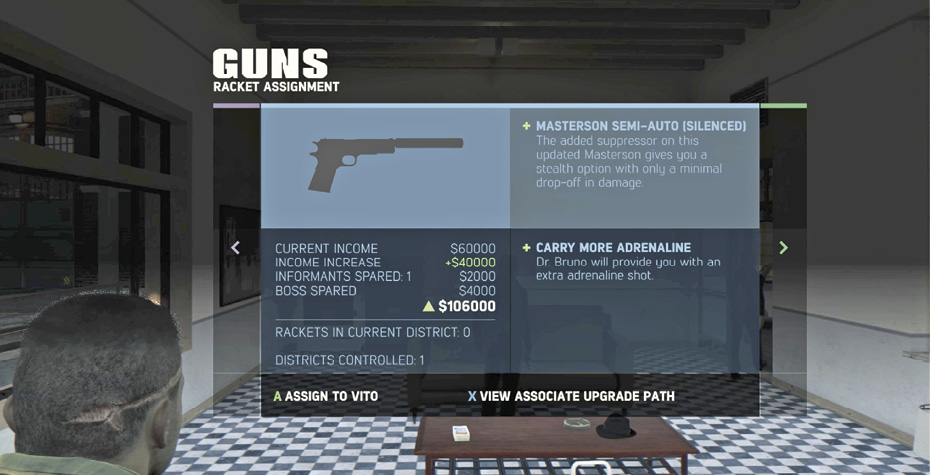
Slip in the side office (left of Santini’s office) and take down the minion with his back to you. At the next door, you can listen to the dialogue for a moment, then rush in and open fire on Santini and his thugs. Once Santini is incapacitated, clear out any other foes in the room. Then grab the racket boss and either kill or recruit him. Finally, award the Guns racket in Barclay Mills to one of your Underbosses.
If You Control Both Rackets…
Securing both rackets triggers a quick cutscene: the FBI’s Maguire bemoans the problems encountered in his investigation of New Bordeaux’s mob war, including the theft of FBI files and surveillance equipment. Now who do you suppose was responsible for that?