Mafia III Guide Story Missions
NEW BORDEAUX: The Home Fires Burn
Mission: “Why Take the Chance?”
Prerequisite: Start the Game
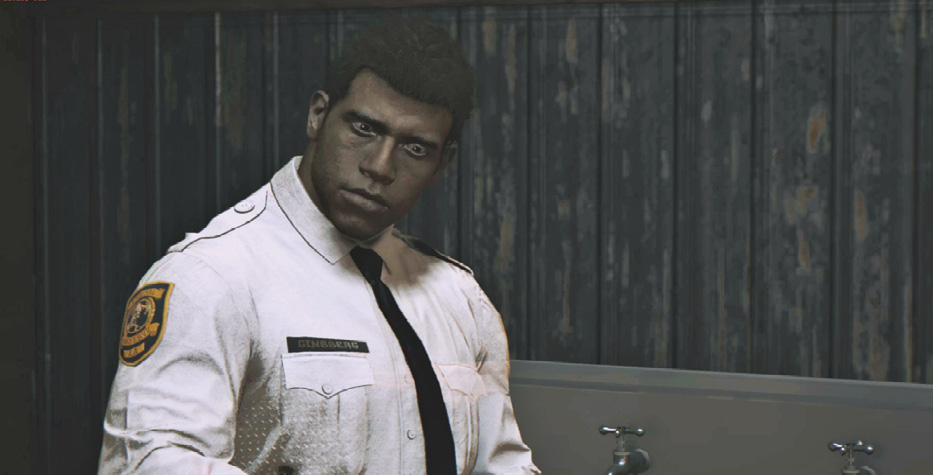
Now we jump into the action: a brazen heist of the Federal Reserve Bank. The date: February 12, 1968. From the outset, you control the game’s protagonist, Lincoln Clay. Dressed as security guards, Lincoln and Giorgi Marcano—son of Sal Marcano, head of the Italian mob—plan to use a stolen armored delivery van to gain access to the Reserve’s main vault. Lincoln and Giorgi form the heist’s inside team. Meanwhile, two other co-conspirators, Danny Burke and Ellis Robinson (Sammy’s son), will maneuver a big industrial drill via boat through a system of underground canals to a position beneath the vault’s floor.

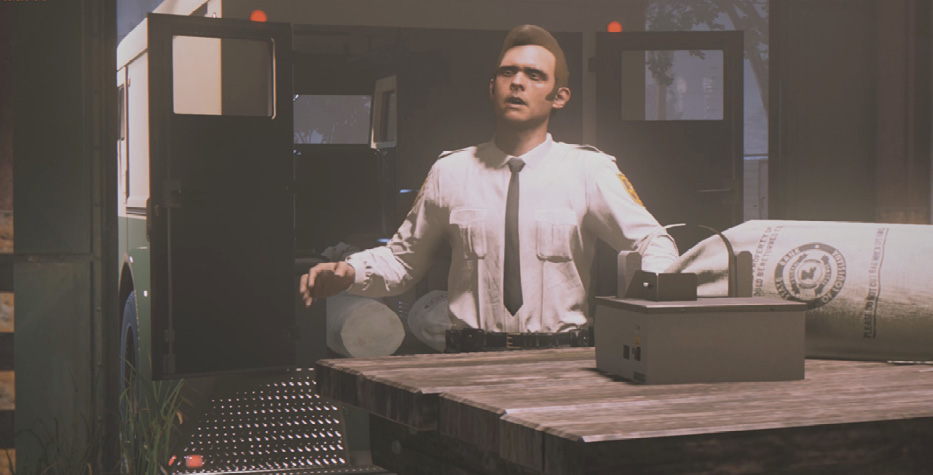
OBJECTIVE: Pick Up the Keys
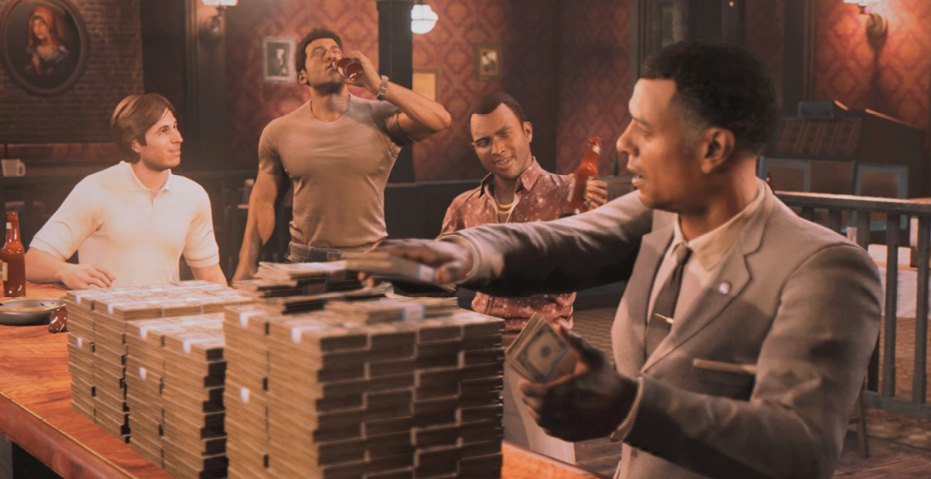
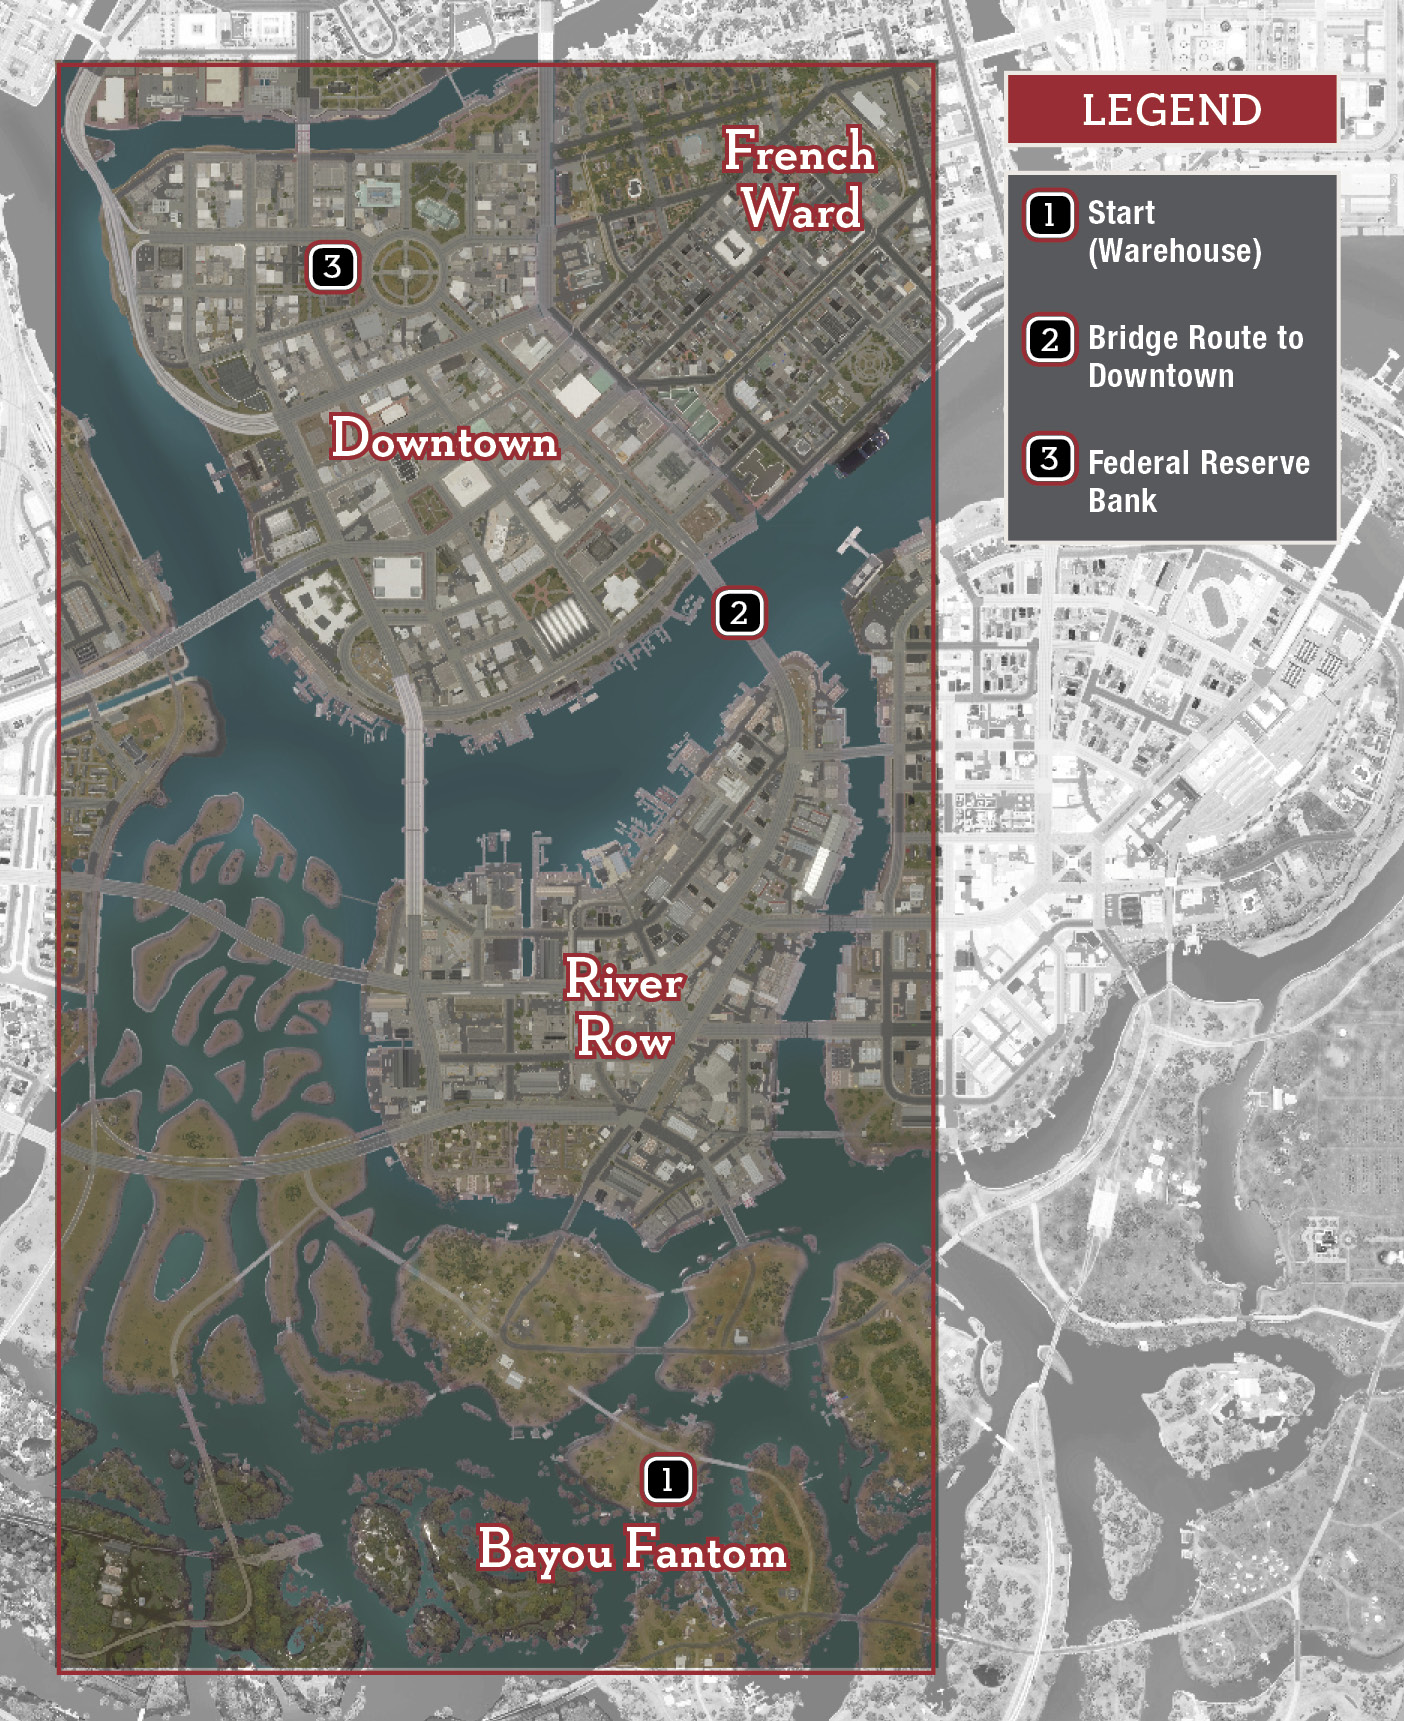
You start out inside an abandoned warehouse (1) down in the Bayou Fantom. A Federal Reserve delivery van is parked at the open garage door; nearby, Giorgi counts bills from bags of cash provided by Vito Scaletta, an Italian mobster familiar to fans of Mafia II.
Walk across the room and climb the opposite staircase. Approach the door at the top and open it by pressing the control button that appears on the door.
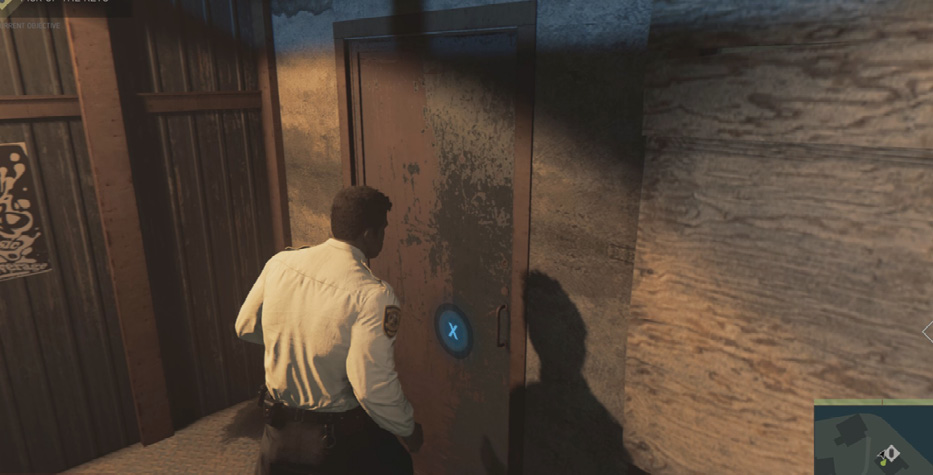
Enter the room to find one bank guard bound with a bag over his head, and another “greased” on the floor. If you approach the bound guard, a control button prompt appears on his head.
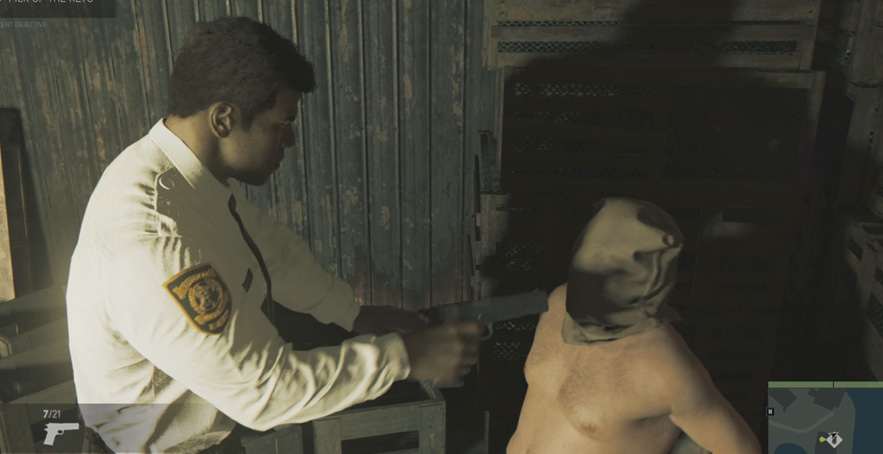
Here’s your first moral decision: You can press that button to grease the bound guard too, or simply leave him alone. Then follow the onscreen objective diamond to find the keys to the armored delivery truck. Approach the keys and hold down the button indicated to pick them up. Your next objective appears onscreen.
OBJECTIVE: Get in the Armored Truck
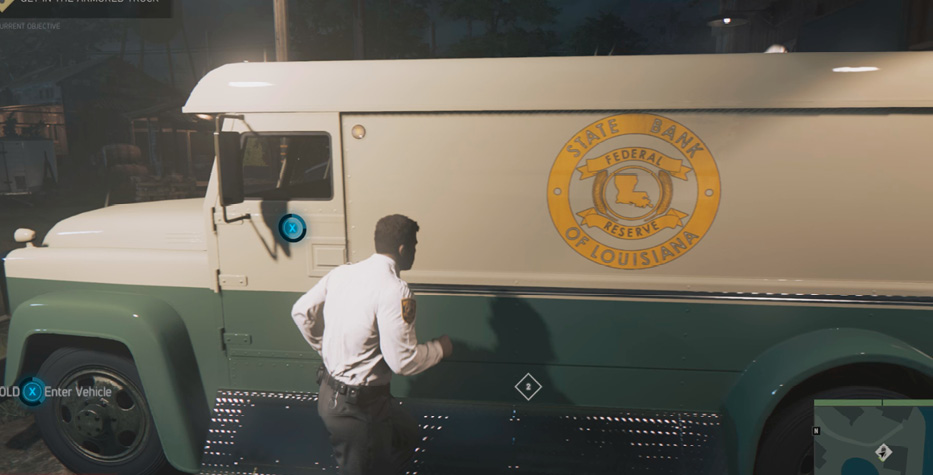
Exit the room. You can’t squeeze past the armored truck parked in the garage doorway, so exit via the door in the corner. Continue through the opening in the chain-link fence and approach the truck’s driver-side door. Hold the Enter Vehicle button indicated to hop behind the wheel of the Pinkerton Titan. When Giorgi slides into the passenger seat, Lincoln automatically starts the engine.
Setting ObjectivesOpen your Map view at any time to see Lincoln’s current location marked by a black arrow icon. Scan across the map to find available objectives, marked as colored icons. If the objective icon is diamond-shaped and flashing, it is your currently active objective. If not flashing, it is an inactive objective. (These same icons also appear in the Minimap in the lower left corner of the game view screen.)  This icon marks the map location of an inactive objective. If an objective is set to active, your map automatically creates a trip route, a white line that leads from your current location to the active objective’s location. Note that in the game’s early going, only one objective is available at a time. But later in the story, you may find many objectives available, sometimes in different districts of the city.  This flashing diamond icon marks the map location of an active objective. You can set objectives to active or inactive. On the Map screen, just move your cursor over an objective icon to open a popup window showing the chapter, mission, and a text description of that objective. If the objective is currently active, a white triangle appears in the upper-left corner of its description box. You can select to deactivate the objective, if you want. 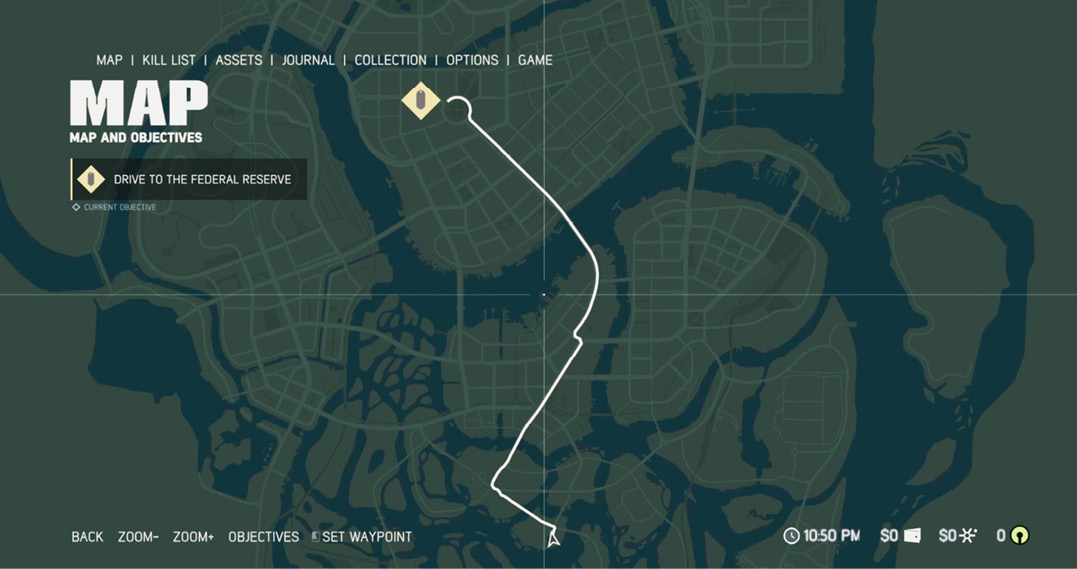 Your map automatically plots a trip route to the active objective. While on the Map screen you can also press the Objectives button displayed at bottom left to open the Objectives Panel. This brings up detailed lists of chapters, missions and objectives. Later in the game, when multiple chapters are open at the same time, you can scroll across them to check for available objectives. To activate a different objective, just highlight and select it. Your map automatically creates a new trip route to the newly active objective. (Note that mission objectives you’ve already completed are checked off.) 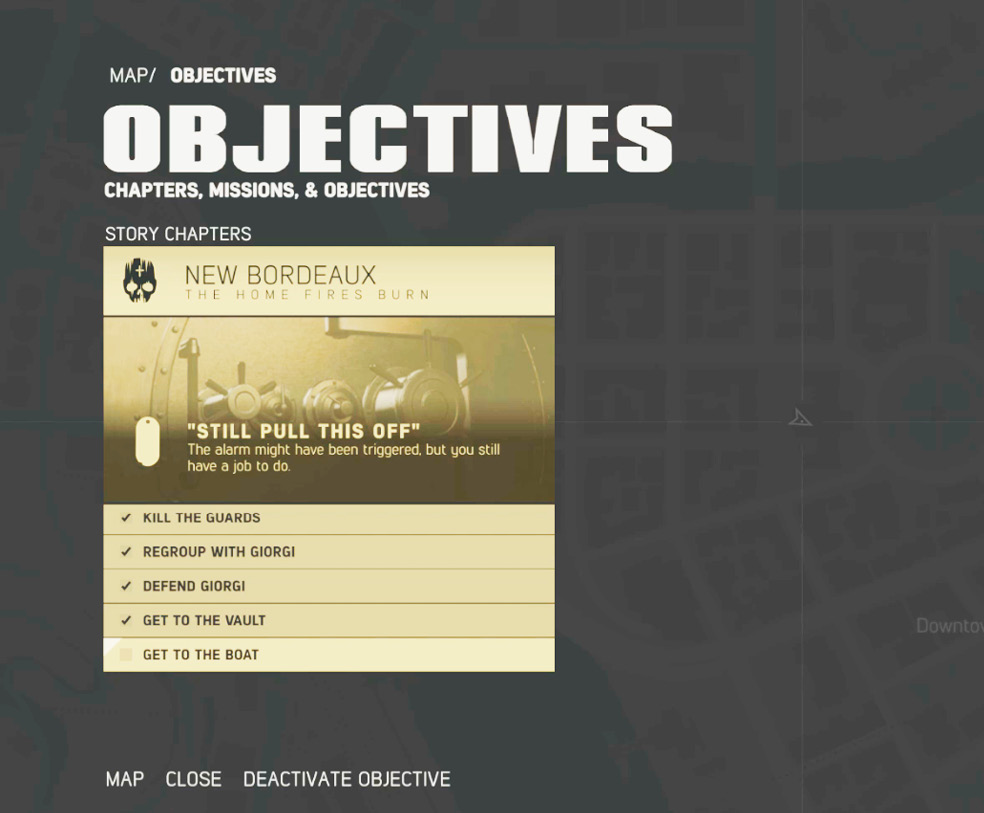 Open the Objectives Panel for a more detailed listing of chapters, missions, and objectives. |
OBJECTIVE: Drive to the Federal Reserve
Vehicle operation instructions appear onscreen. (Be sure to check out the “Driving” section in our Basics chapter for some good driving tips.) Open the Map screen to see that a white trip route has appeared; it leads from your current location in Bayou Fantom to your next objective, the Federal Reserve Bank in the Downtown district of New Bordeaux. Use the driving controls to follow the white route that leads you over the bridge (2) connecting River Row to Downtown.
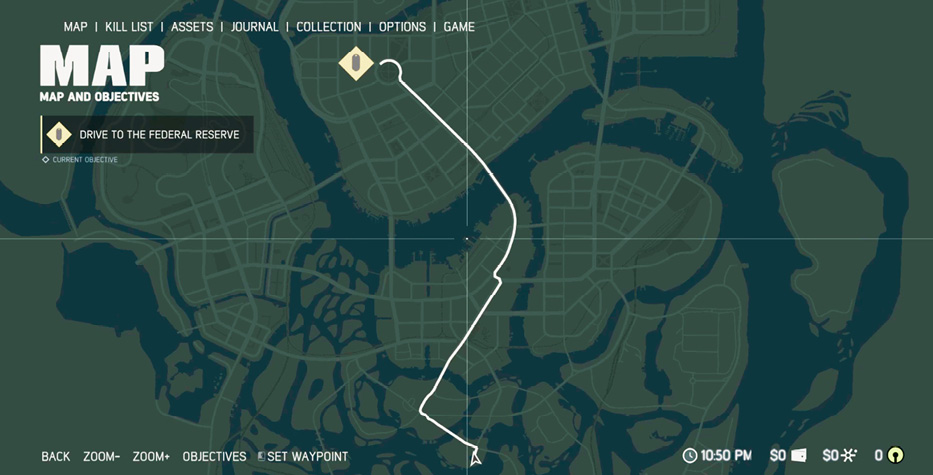
As you travel, be sure to listen to the trip conversation between Lincoln and Giorgi. You learn details of the heist plan and pick up interesting bits of backstory—including Lincoln’s harrowing tale of a special forces operation off the coast of Quang Ngai in Vietnam. Note his conclusion: “You put people up against the wall, they will do anything to survive.”
Also note that the distance in meters displayed inside the onscreen objective marker steadily decreases as you follow the route. Shortly after you cross the Downtown bridge (2), you arrive at your destination. Look for the sign with the green arrow pointing down (3) and pull into that spot. This triggers the mission-ending cutscene: the gate guard checks IDs then Lincoln backs up the truck to the bank’s loading dock.
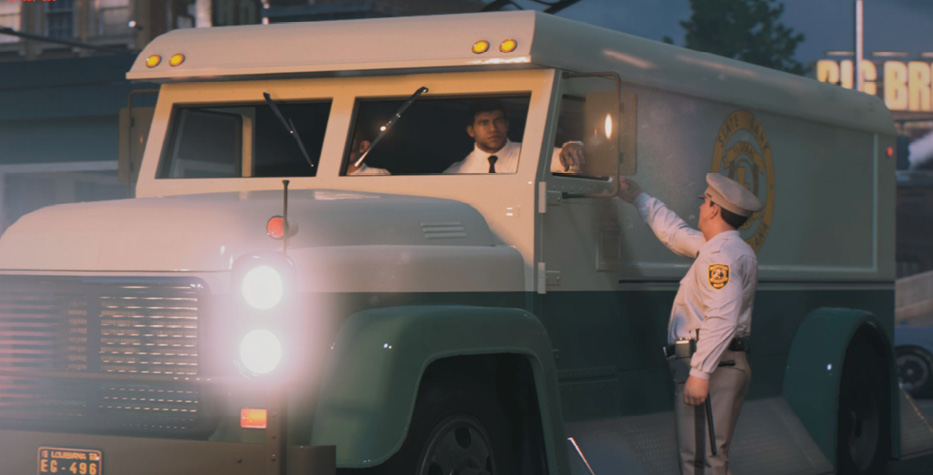
Unlocks:“This Changes Everything”
Mission: “This Changes Everything”
Prerequisites:Complete “Why Take the Chance?”
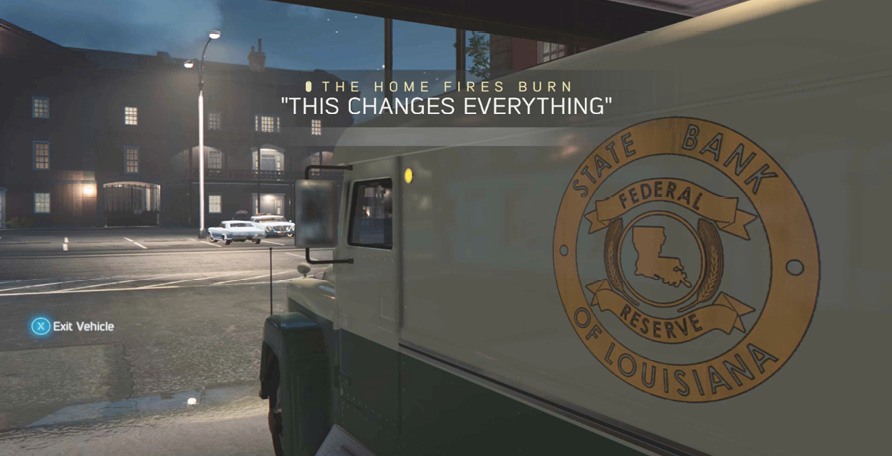
As the delivery truck reaches the dock, the new mission title appears onscreen. Then your next objective appears too.
OBJECTIVE: Enter the Federal Reserve
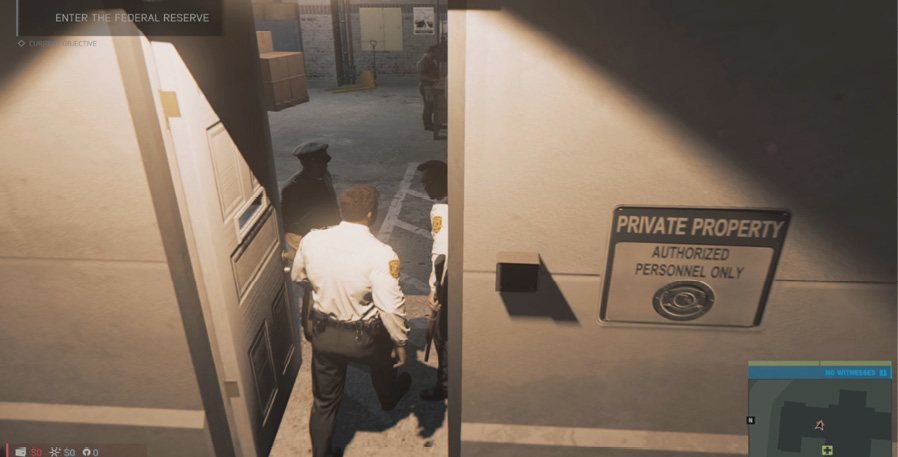
Press the button indicated onscreen to exit the vehicle. Then follow Giorgi to the security door. When it opens, follow your partner inside the bank.
OBJECTIVE: Pick Up the Money
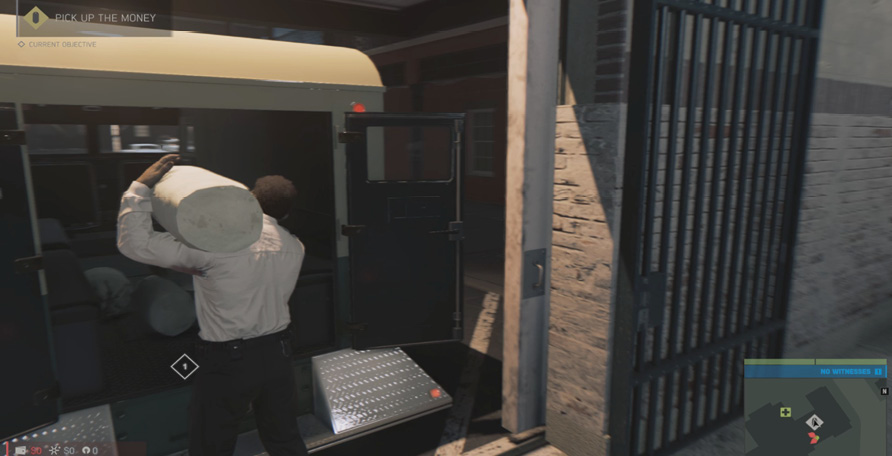
Turn left and walk to the back of the delivery van. Hold down the button indicated to grab the two bags of money.
OBJECTIVE: Follow the Guard
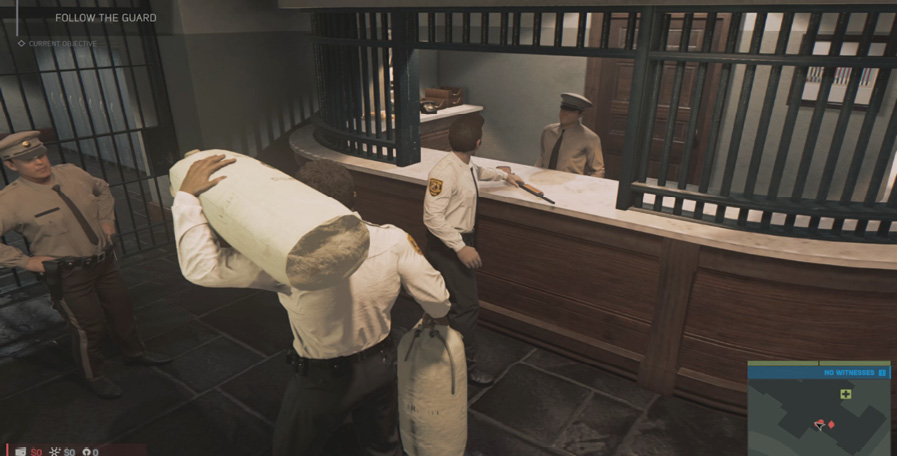
Haul the cash, following the guard and Giorgi to the security cage. After Giorgi checks his shotgun at the desk (the guard calls it a “scattergun”), the next gate opens. Follow the guard and Giorgi again as they head past the Break Room and then downstairs to the Vault area. Proceed into the “burn room.”
OBJECTIVE: Place Money on the Table
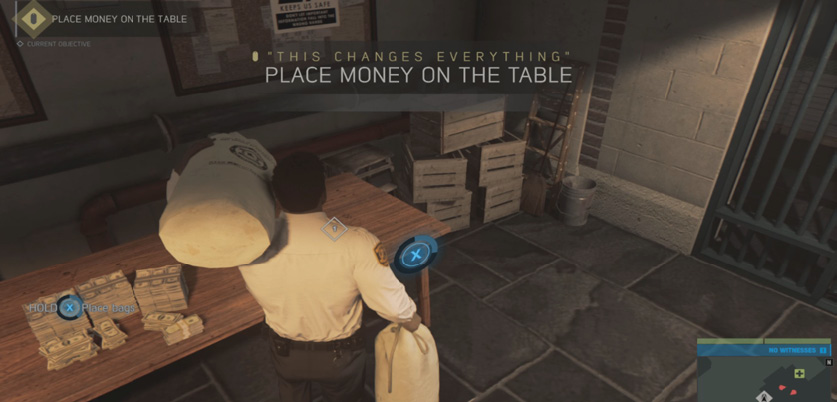
Approach the table indicated by the destination diamond and hold down the indicated button to dump the money bags. Giorgi starts tossing stacks of the old money piled on the table into the nearby oil-burning furnace.
OBJECTIVE: Kill the Burner Guard
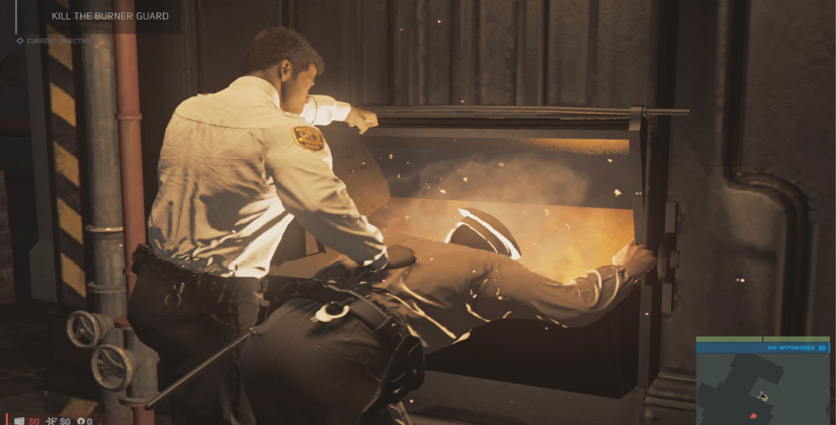
Walk around the chattering racist guard and sneak up behind him. To perform a silent takedown, press and hold the button prompted onscreen. Lincoln slams the fool’s head into the burner.
OBJECTIVE: Deal with the Guards
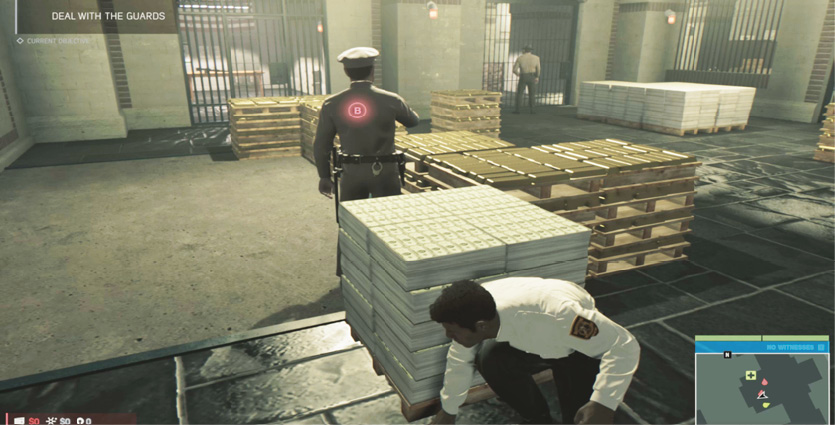
As Giorgi starts jimmying the side gate with a pry bar, he tells Lincoln to take care of the guards in the next room. Here the action freezes for a second. Press the Crouch control shown onscreen to crouch. When Giorgi finally pries open the gate, creep through the darkened next room and sneak up behind the first guard. Press the Cover button shown onscreen to duck down behind the big money stack.
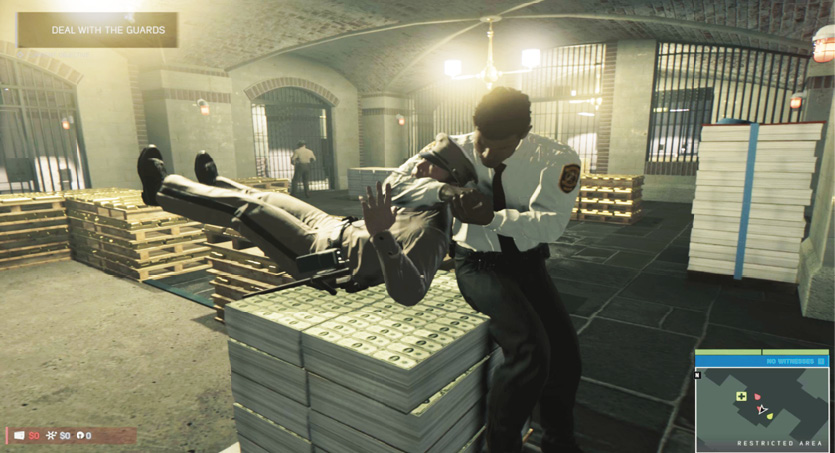
Make sure the second guard across the room isn’t looking, and then follow the onscreen instructions to execute a silent takedown on the first guard.
Creep out to pick up the Alfredsson M419 revolver that the first guard drops. Then sneak across the room behind the second guard. Take him down silently too and pick up his Trench 1938 assault rifle. Now you’ve got a sidearm and a long gun.
OBJECTIVE: Enter the Vault
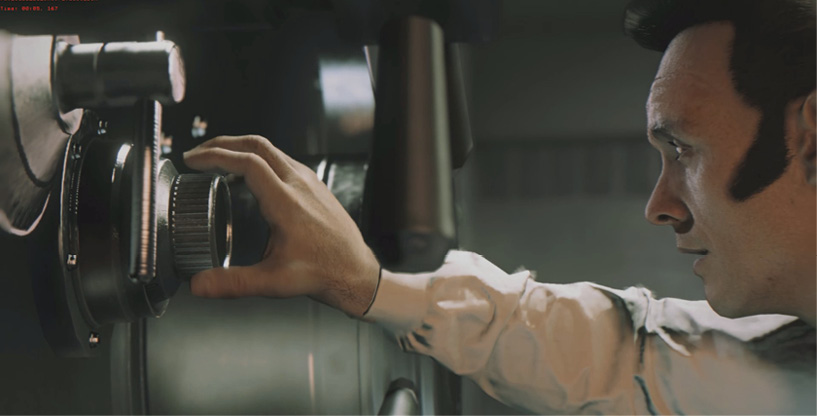
Join Giorgi at the massive vault door and press the button prompt shown to trigger a cutscene: Giorgi enters the lock combination provided by Scaletta. It works! Inside, the pair starts gathering stacks of cash. Unfortunately, Giorgi opens a side cage and sets off an alarm!
OBJECTIVE: Defend Giorgi
First Wave
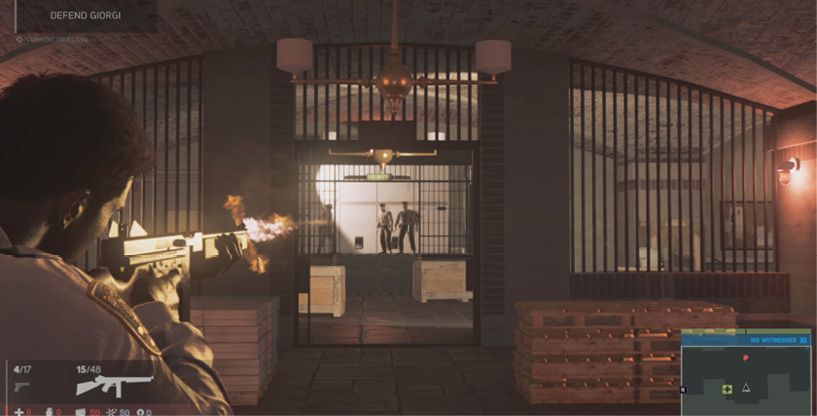
Now you have to fight off waves of bank guards until the drilling team down in the tunnel manages to bore up through the vault floor. Three armed guards appear in the first wave. Hustle to take cover behind the gold stacks and target foes through the open gates. Try to gun down all three guards before they can deploy; once they do, they’ll try to work around your flanks and attack from the side rooms on your left and right.
Second Wave
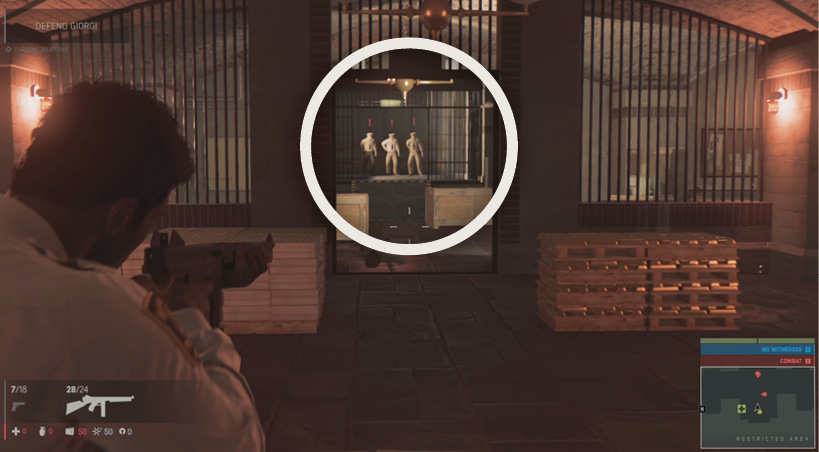
After a few seconds, the security doors slide open behind the green exit sign (circled in our screenshot) and a second wave of three guards emerges. Again, try to gun them down before they can scatter to the flanks. Once you eliminate this second wave, Lincoln tells Giorgi, “The only way we walk out of here is with the weapons stored in that armory.” Giorgi starts working on the armory door with his pry bar, but can’t get it open. Now you get a new objective.
OBJECTIVE: Pry Open Armory Gate
Follow the objective marker to where Giorgi struggles with the pry bar on the armory gate’s lock. Approach and press the prompted button to seize the bar. This brings up your next objective.
OBJECTIVE: Grab the Hartmann Machine Gun
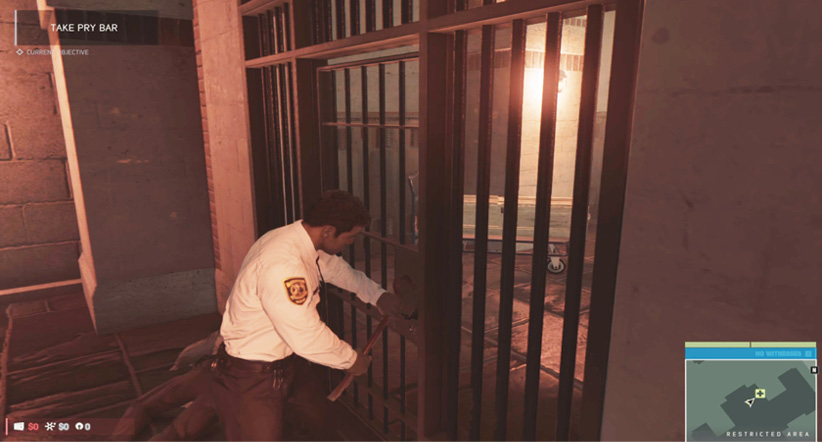
The Hartmann Machine Gun is stashed in the armory, but you can’t reach it until you pry open the gate’s lock mechanism. See our “Lock Pulling” sidebar for instructions on how to use the pry bar to open the gate. (You’ll use this technique many times in the game, so learn it well.)
Enter the armory and pick up the fully loaded Hartmann 7.62mm machinegun from the table. You can also snag the Blackburn FAF-33 revolver sitting next to it. Be sure to grab an Adrenaline Shot from the Medicine Cabinet on the wall.
Lock PullingStep 1: Expose the Lock Use the control shown onscreen to move your pry bar in a circle and expose the lock mechanism. When the green “sweet spot” appears, keep rotating slowly until the green zone is smallest then press the button displayed to set the spot. 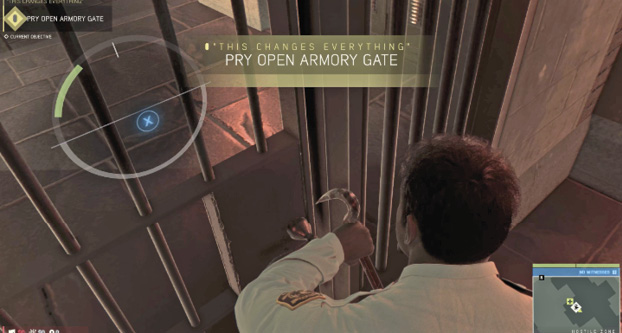 Step 2: Jimmy the Lock Loose Setting the spot starts the meter, a line that moves back and forth across the arc. Hit the button shown again just as the line moves into the green zone. If you time it right, Lincoln jimmies the lock loose. 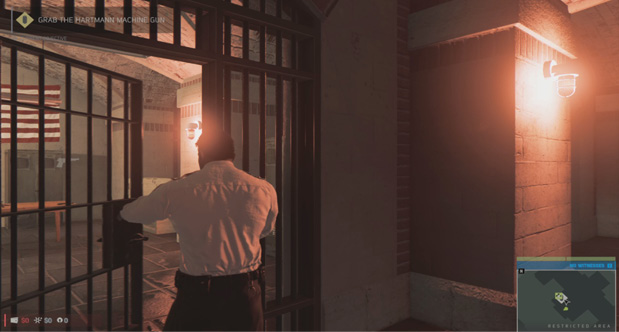 |
OBJECTIVE: Regroup with Giorgi
Move back into the main room. The moment you do, another wave of guards arrives through the security door. This time they toss smoke flares to reduce visibility. As you move to meet this new threat, the scene abruptly cuts to Assistant Director Maguire, who fills in more of the backstory.


Unlocks: “A Taste of the Action”
Mission: “A Taste of the Action”
Prerequisites:Complete “This Changes Everything”
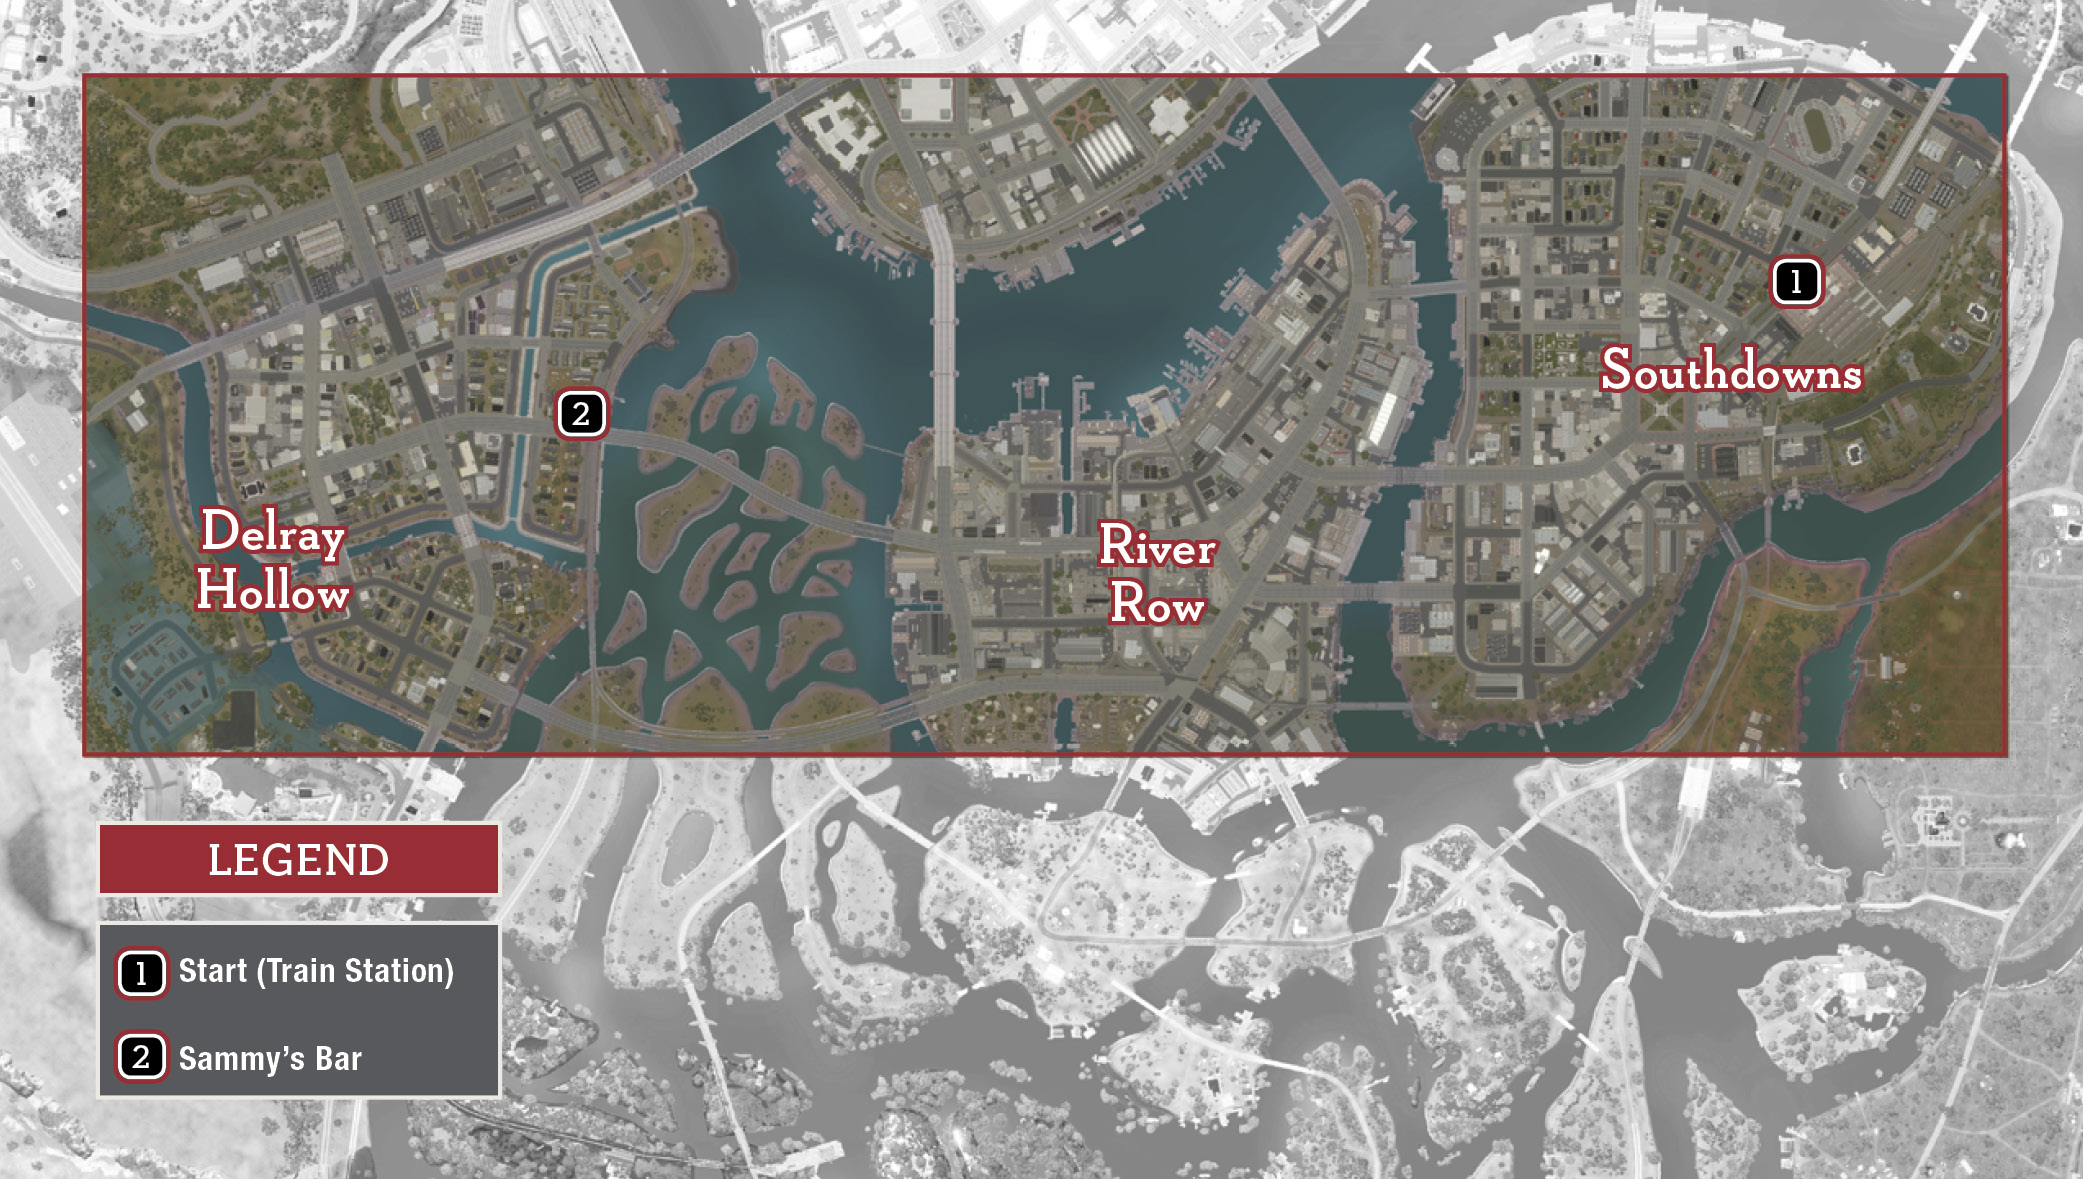
Here you make a jump in time to one week earlier: February 20, 1968. Lincoln Clay, just back from Vietnam, sits on a bench outside the New Bordeaux train station (1) in the Southdowns district. His adoptive brother, Ellis Robinson, arrives in Lincoln’s old Samson Drifter to pick him up.
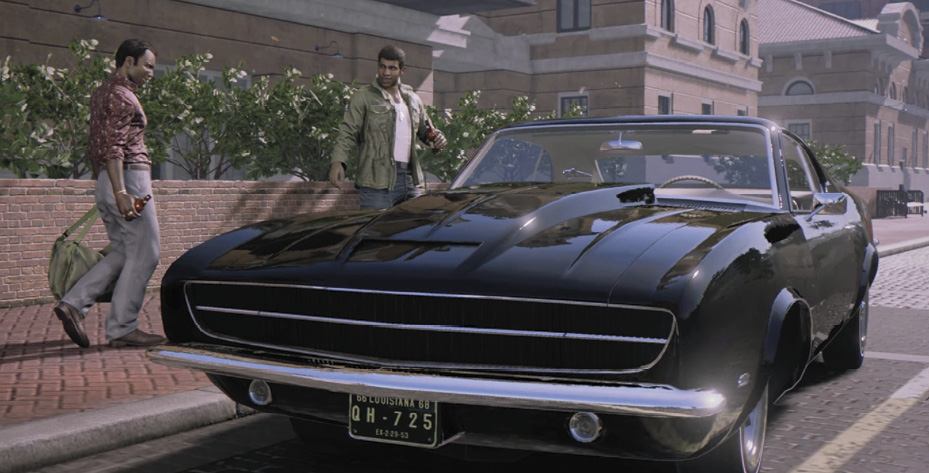
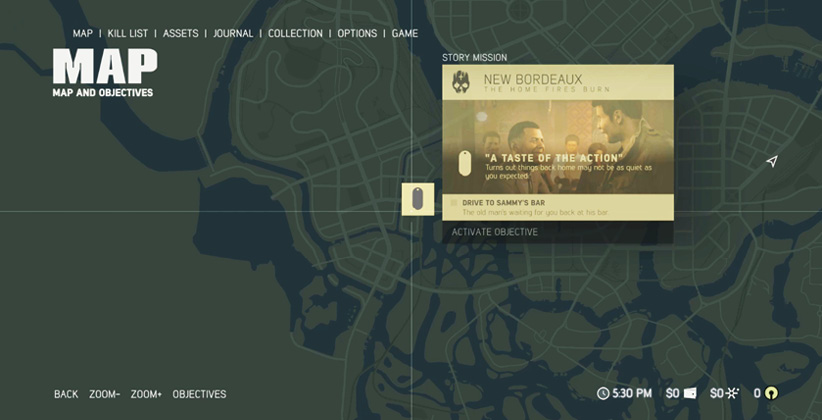
OBJECTIVE: Drive to Sammy’s Bar
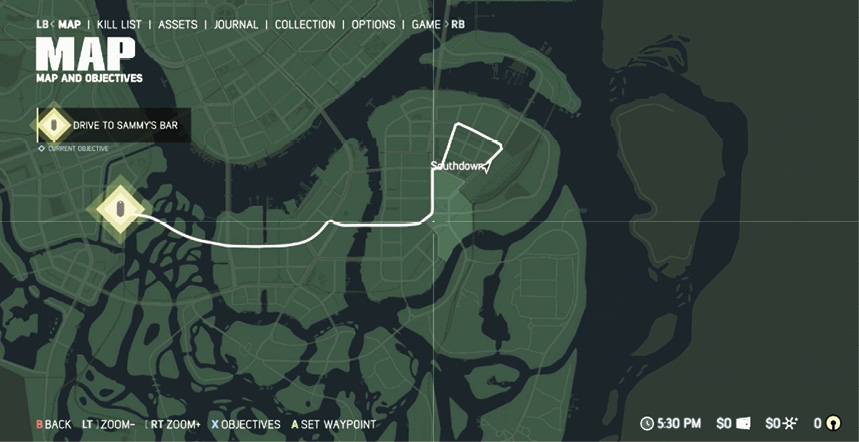
After Lincoln and Ellis hop into the car, open your Map screen, then move your cursor westward (to the left) until it’s over the yellow objective icon and select it. Activate the only available objective, “Drive to Sammy’s Bar.” The map auto-creates a white route from your current location to Sammy’s bar.
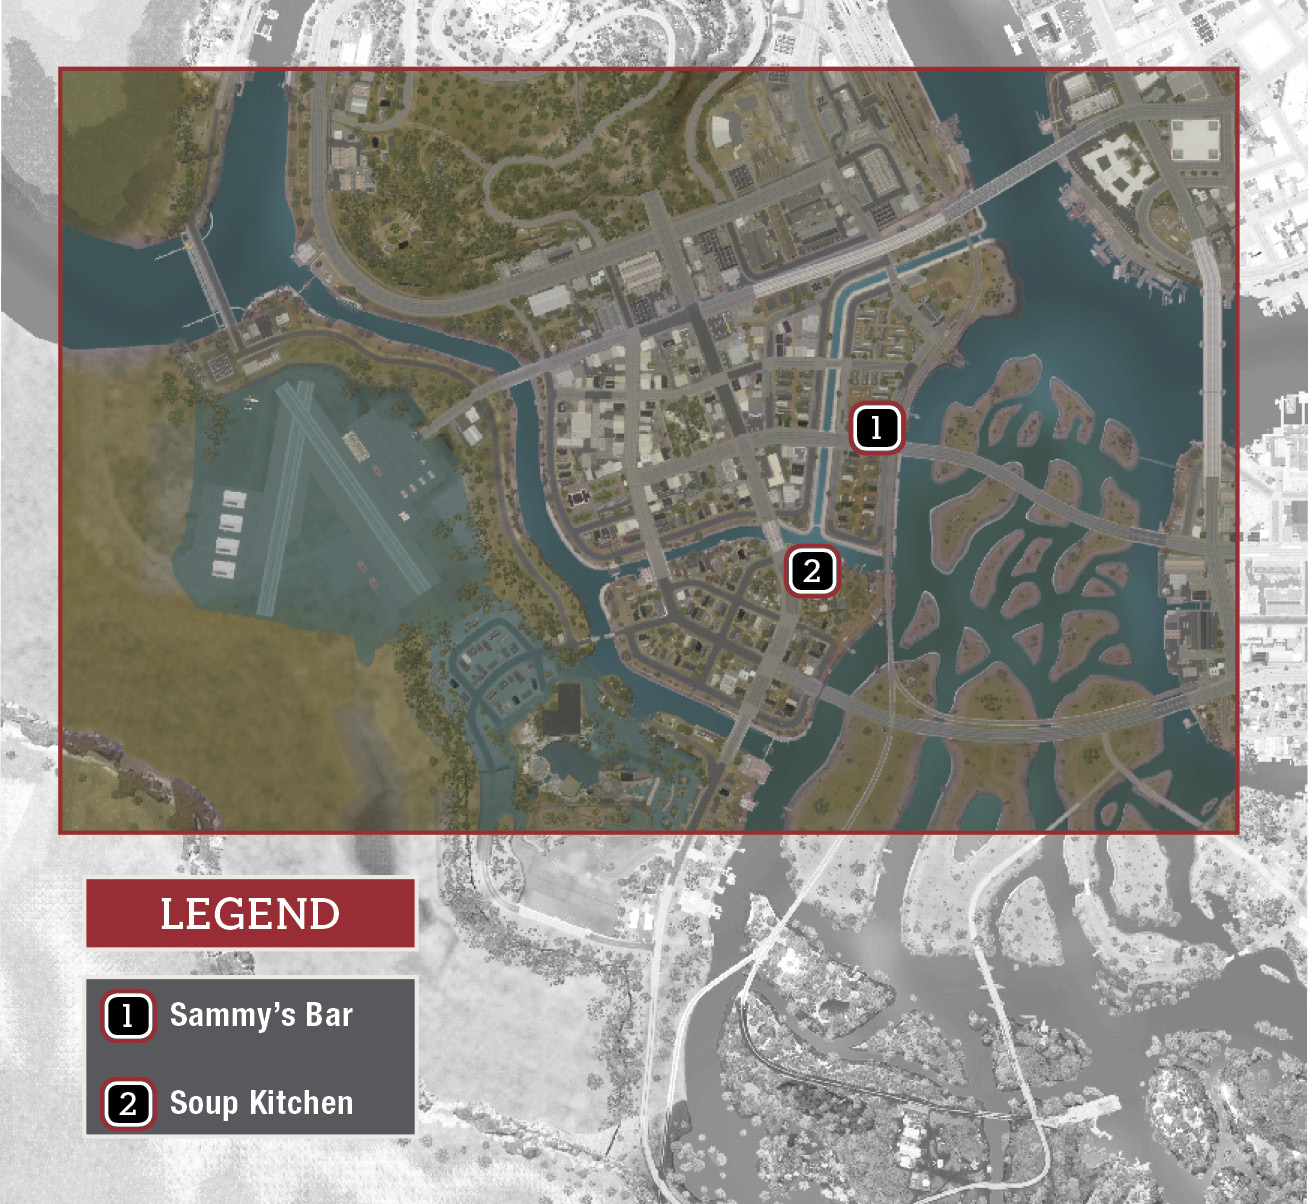
Now close the map and follow that route, driving Lincoln’s car from the Southdowns train station to Sammy’s bar in Delray Hollow. Listen to the conversation en route to pick up backstory info. Ellis tries to get Lincoln to join in on his plans to sell heroin with Giorgi Marcano, but Lincoln demurs. When you arrive at the green destination marker (2), hop out of the car and go to the front entrance of Sammy’s.
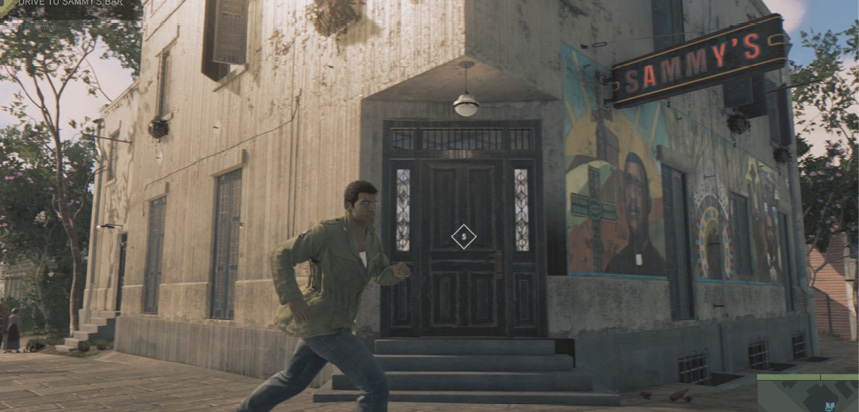
OBJECTIVE: Talk to Sammy
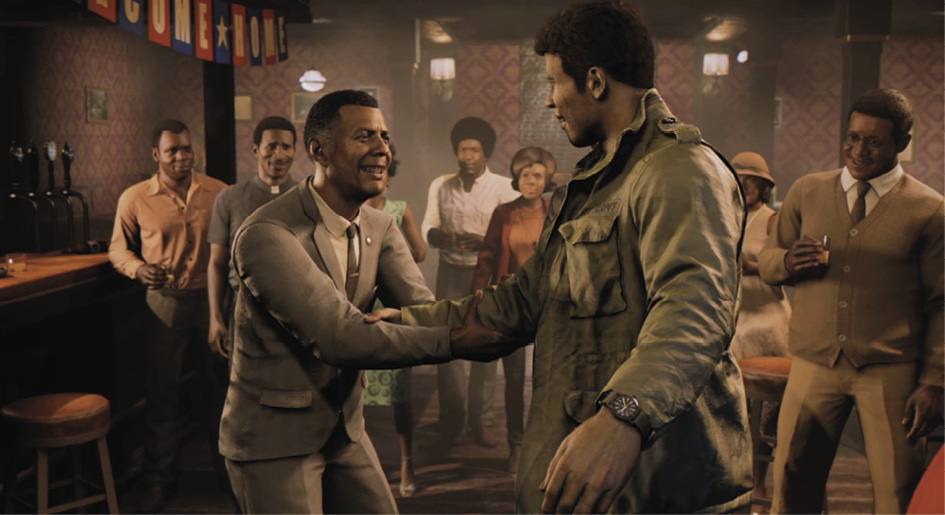
Open the door to trigger a long cinematic: watch Lincoln’s joyous homecoming, and then listen to Father James try to describe what it’s like coming home from a terrible war.
OBJECTIVE: Go to Bed
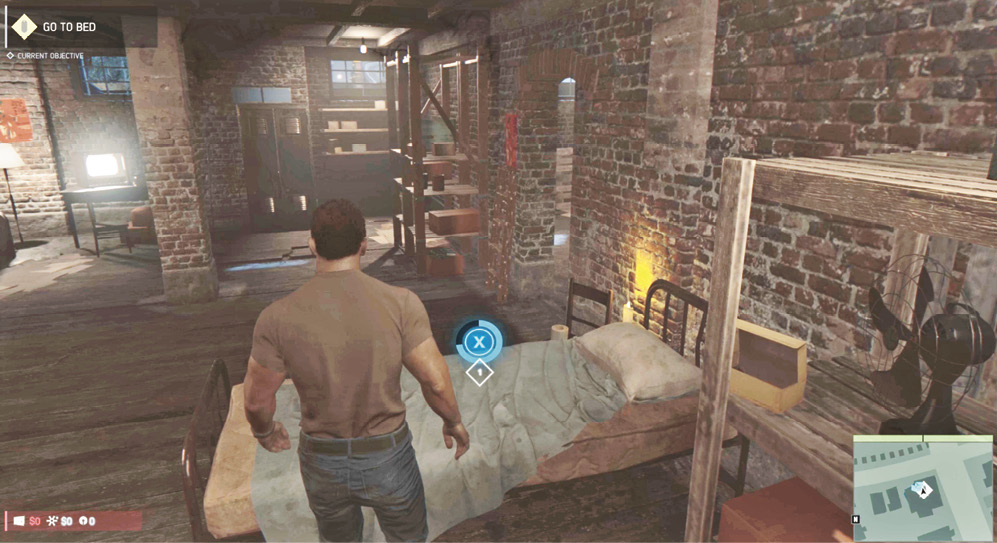
After the scene, Lincoln stands on the stairs leading down to Sammy’s basement. Head downstairs and turn through the door on the left. Then approach the bed and press the prompted button to fade into the story’s next day.
OBJECTIVE: Talk to Sammy and Ellis
Once Lincoln gets out of bed the next day, go pick up your first two collectible items, both in the basement room. Then head upstairs to the first floor.

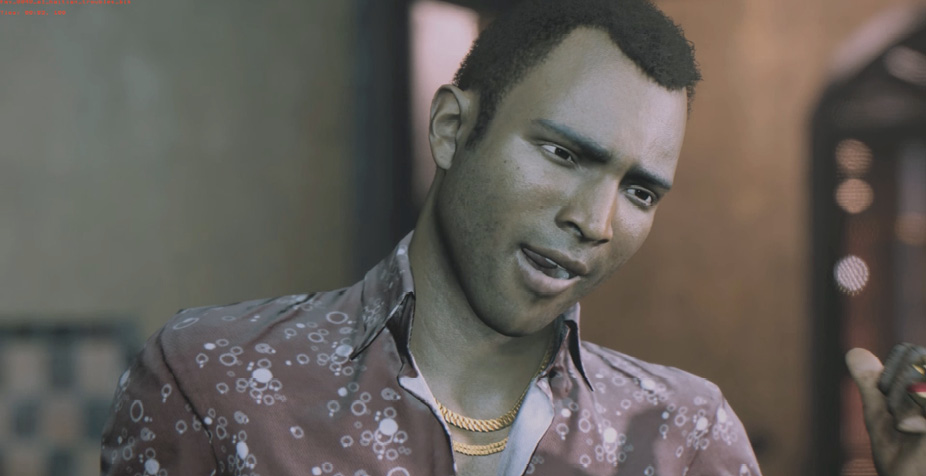
This triggers another long cinematic: Lincoln interrupts a heated discussion between Sammy and Ellis and learns about trouble with the Haitian gang in Delray Hollow. Then Father James enters and asks for help in hauling a food donation from Sammy’s Bar to the soup kitchen a few blocks away.
Unlocks: “Everyone Else Will Go Down”
Mission: “Everyone Else Will Go Down”
Prerequisites:Complete “A Taste of the Action”
Lincoln and Father James park the delivery truck behind “Warm Hearts, Warm Souls,” the neighborhood soup kitchen that serves poor folks in Delray Hollow. It’s February 21, 1968—six days before Mardi Gras. As they approach the back entrance, Lincoln is telling Father James about his plans to train as an apprentice welder in California.
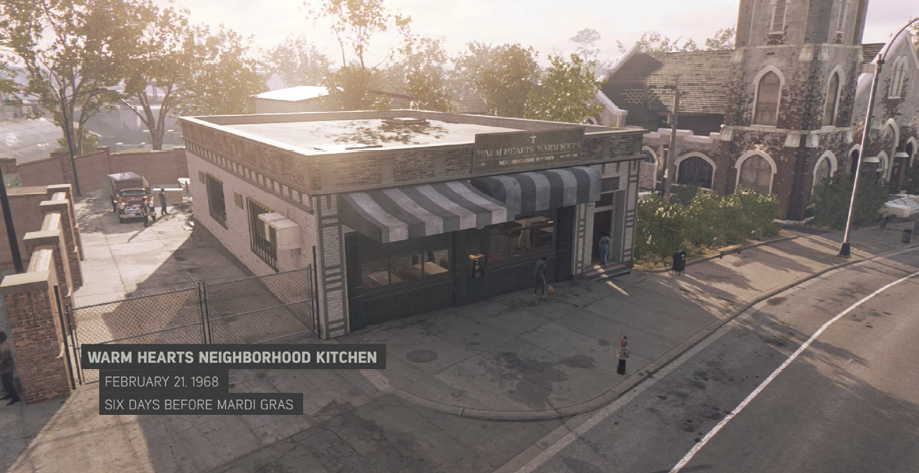
OBJECTIVE: Follow Father James
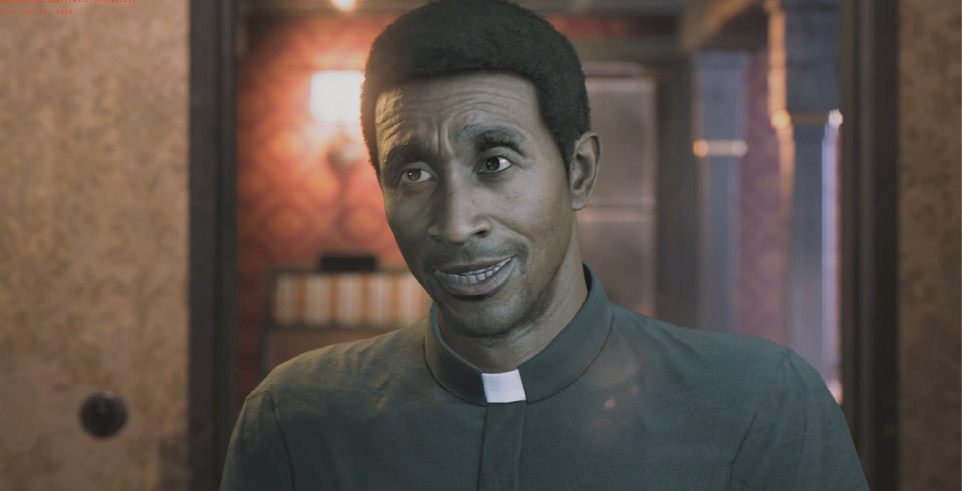
Your first task is easy: just walk through the open door into the soup kitchen. Father James asks you to start serving the folks lined up for food.
OBJECTIVE: Serve the Gumbo
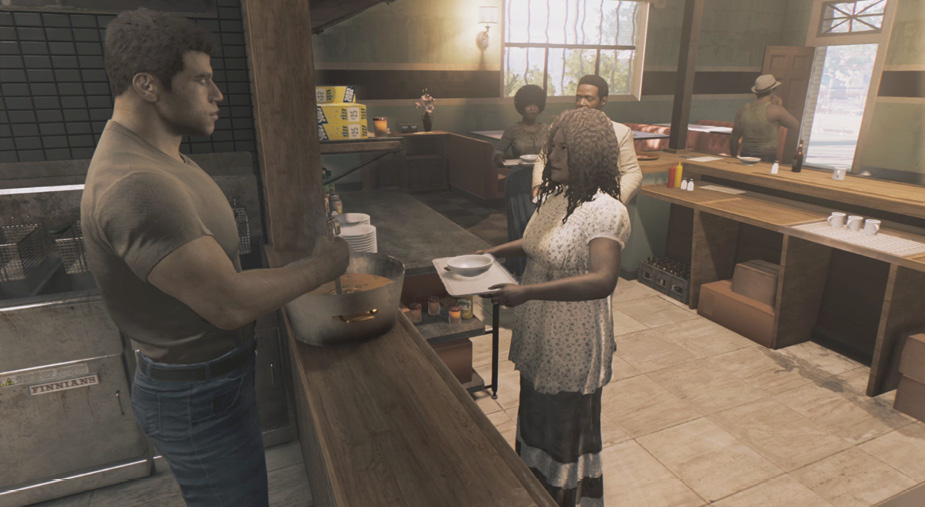
Follow the objective marker to the service window then hold the prompted button to start serving gumbo to the guests. Hold the button again as each guest steps up to the gumbo pot. Serve all five folks in line.
Watch as Lincoln chats with Raejeanne for a bit. As they banter, you can see a red convertible with three Haitian thugs pull up outside on the street. A moment later they burst through the front door, guns blazing!
OBJECTIVE: Kill the Haitians
Lincoln is unarmed, but he automatically tosses the hot gumbo pot into the face of the first approaching Haitian. Use the controls displayed onscreen to hop over the counter then launch a brawling melee attack on the gumbo-blinded fellow. Once you KO the hatted Haitian, punch out the second Haitian who approaches with raised fists to brawl.
The third Haitian is armed with a pistol. You can try to rush him, or else dive into cover at the left end of the nearby counter and wait until he approaches. Then pop up and knock him out too.
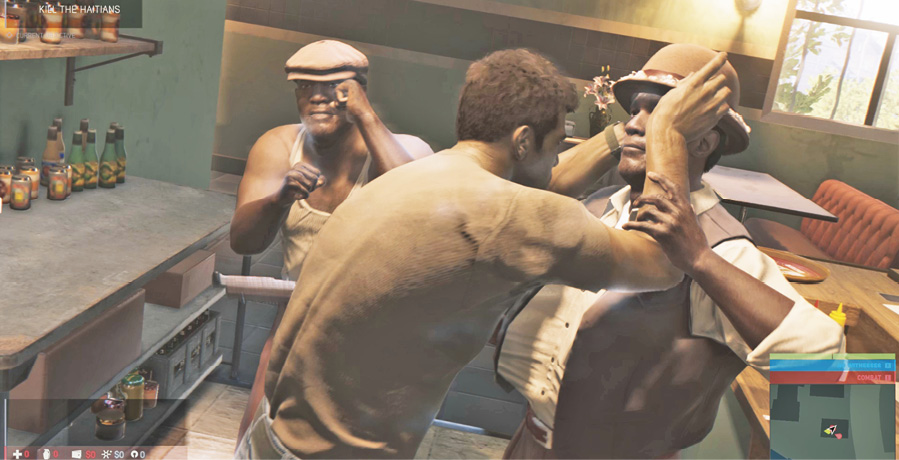
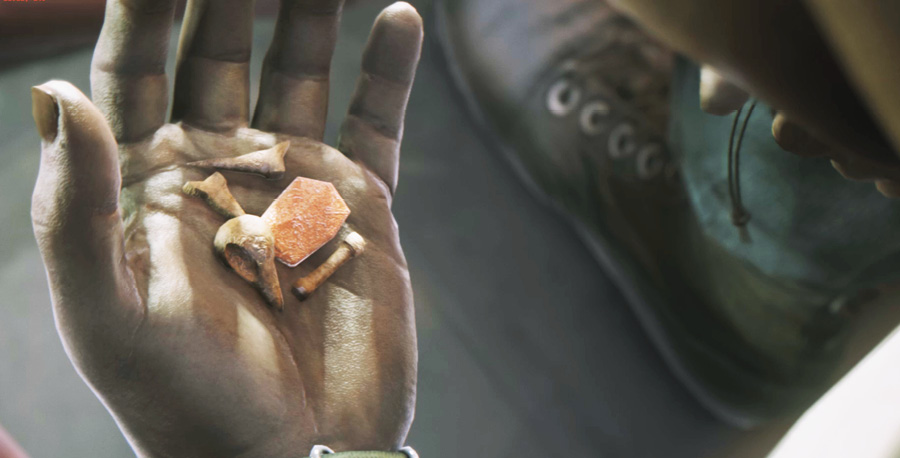
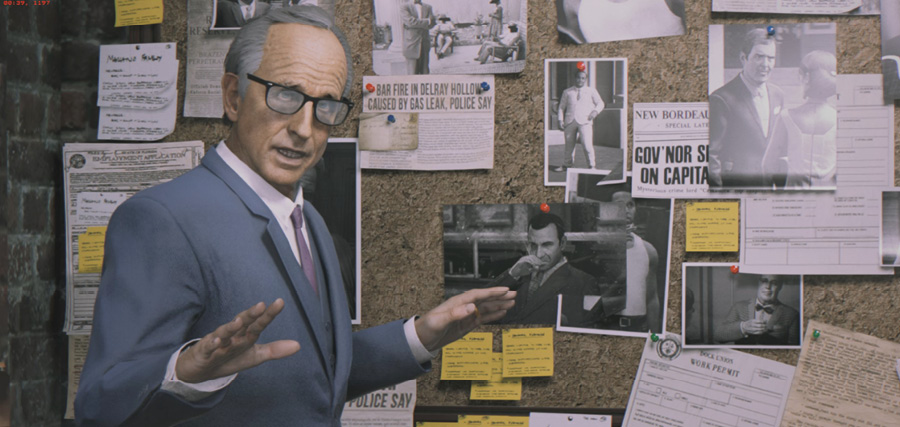
When the last Haitian falls, another cinematic plays. Lincoln finds a small pouch filled with odd trinkets on one of the thugs. Then Assistant Director Maguire fills in more of the backstory about the Haitian refugees who fled the regime of Papa Doc Duvalier, the brutal and superstitious president of Haiti from 1957 to 1971.
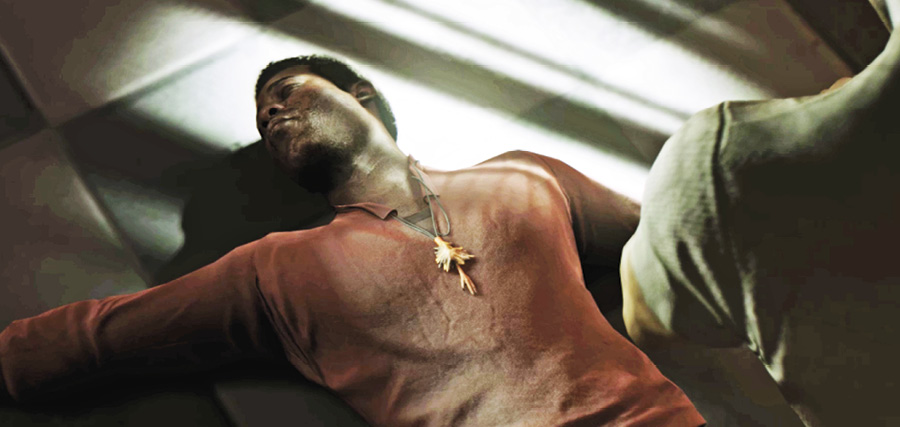
Led by a man named Baka, Haitian gangsters have been pushing aggressively into Delray Hollow, robbing folks and disrupting Sammy’s lottery racket.
As a result, Sammy is three months behind in his payments to Sal Marcano—a predicament that could have lethal consequences. Sammy asks Lincoln and Ellis to eliminate the Haitian problem; he says Baka’s hideout is likely an old salt-mining shantytown in the Bayou Fantom.
Unlocks: “Never Going to Be Over”
Mission: “Never Going to Be Over”
Prerequisites: Complete “Everyone Else Will Go Down”
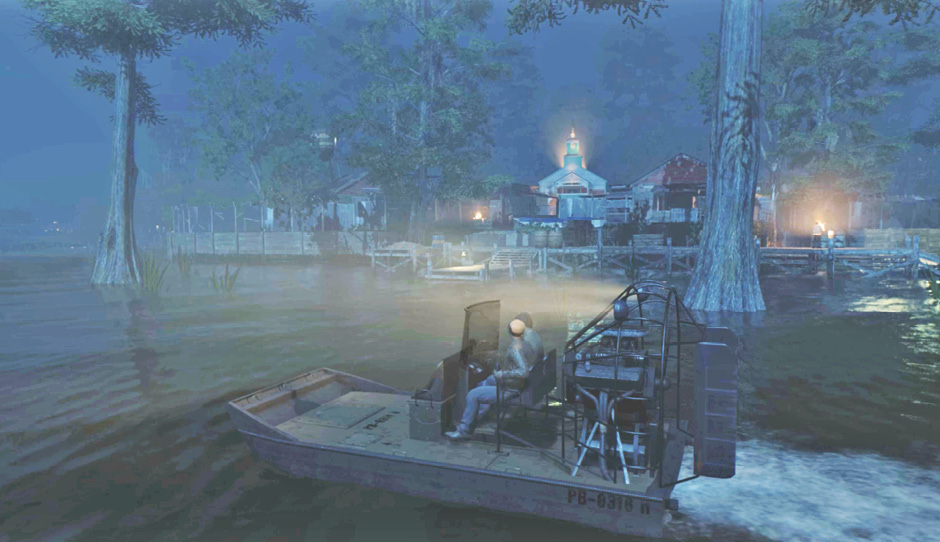
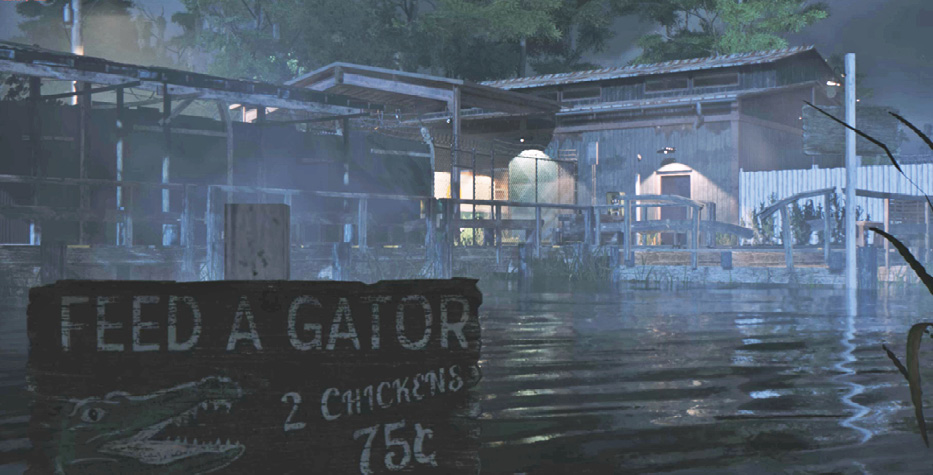
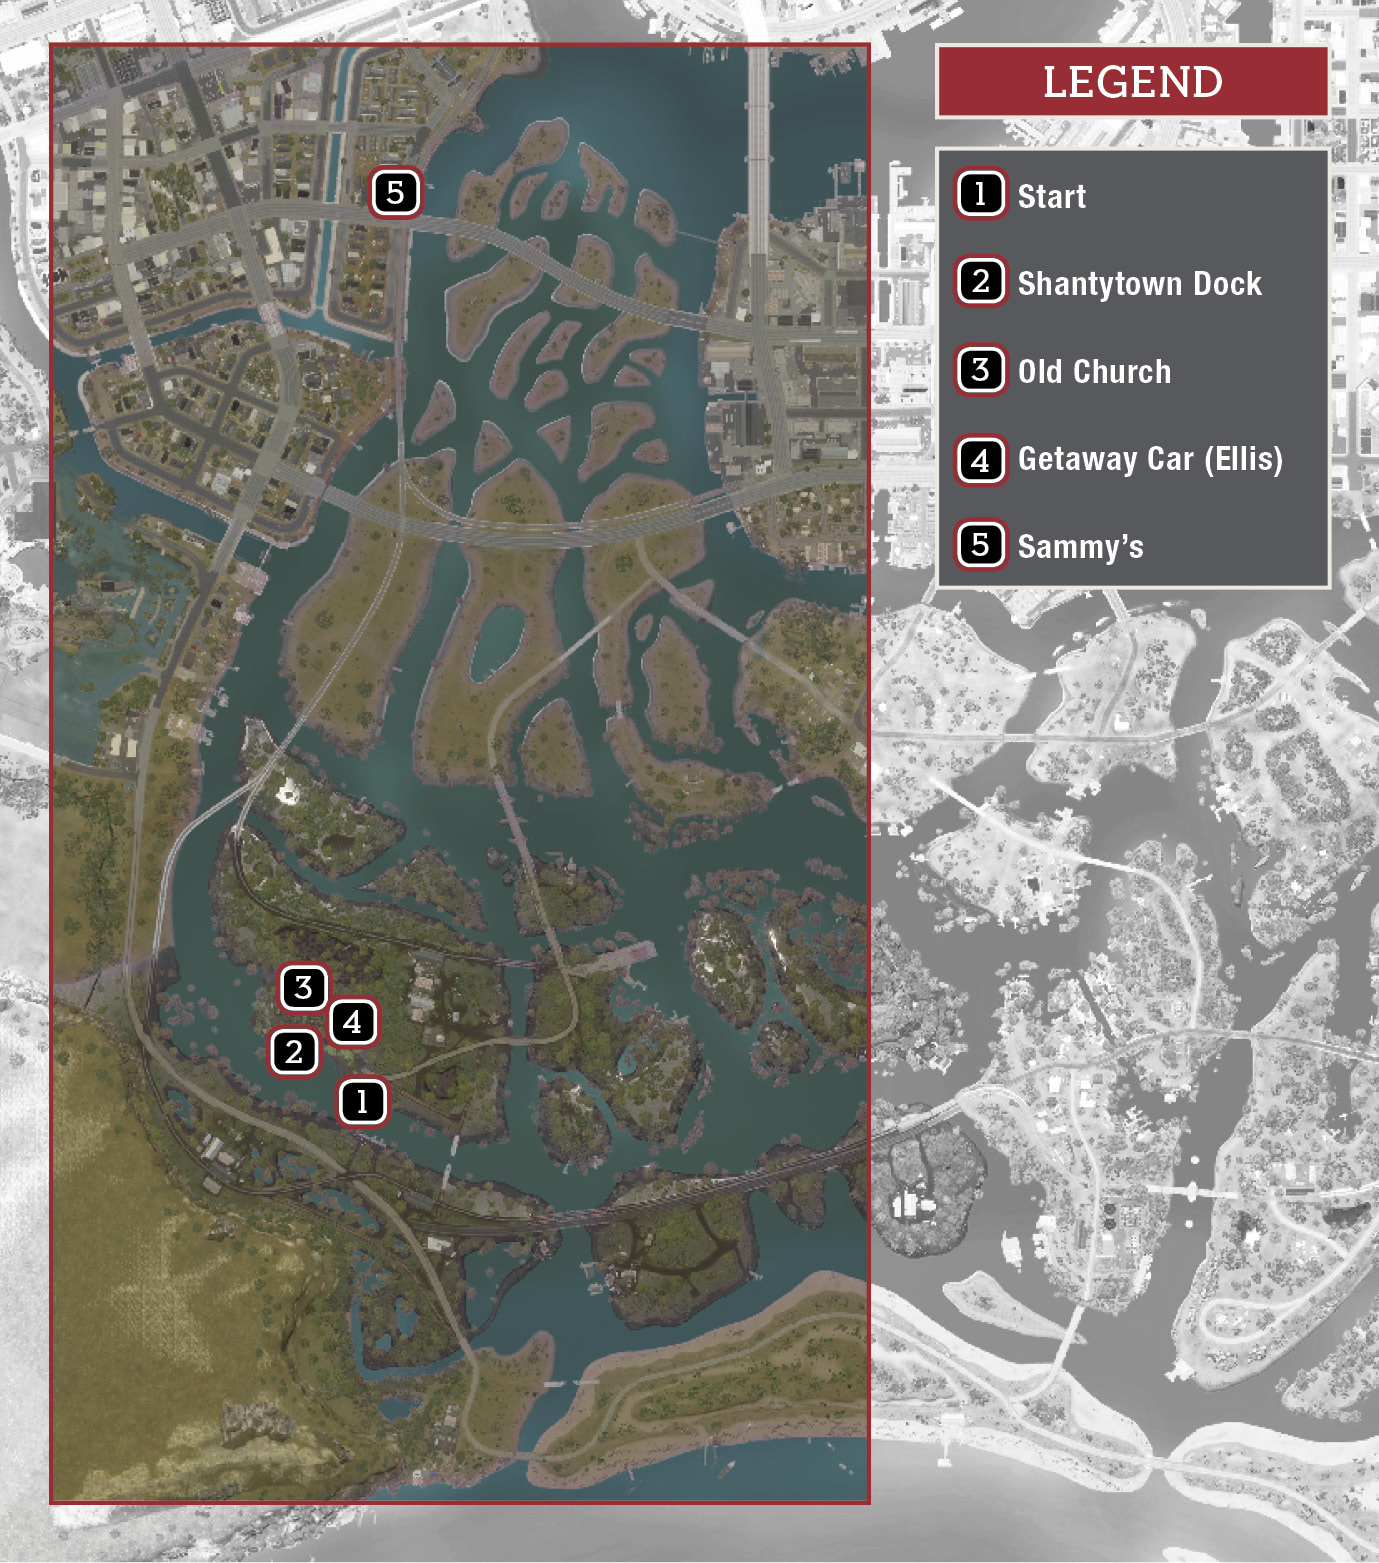
As the mission opens (1), Ellis and Lincoln cross the Bayou Fantom in a Salamander airboat. Their primary target: Baka, leader of the Haitian gang. As you approach the shantytown dock, Lincoln tells Ellis to return to the car by the road and wait. Note the big church rising from the far side of the shantytown.
OBJECTIVE: Swim to the Dock
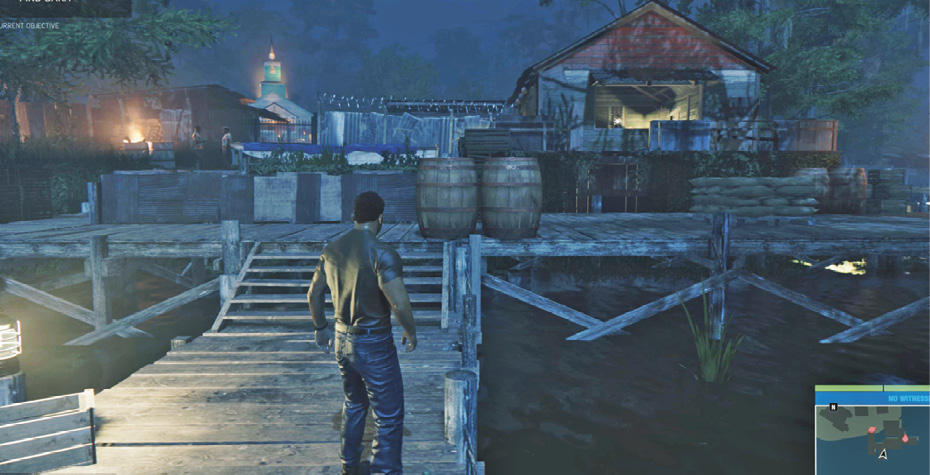
When you gain control, step off the boat and swim to the dock, following the objective marker. When you reach the dock, press the button displayed at lower-left to climb out of the water.
OBJECTIVE: Find Baka
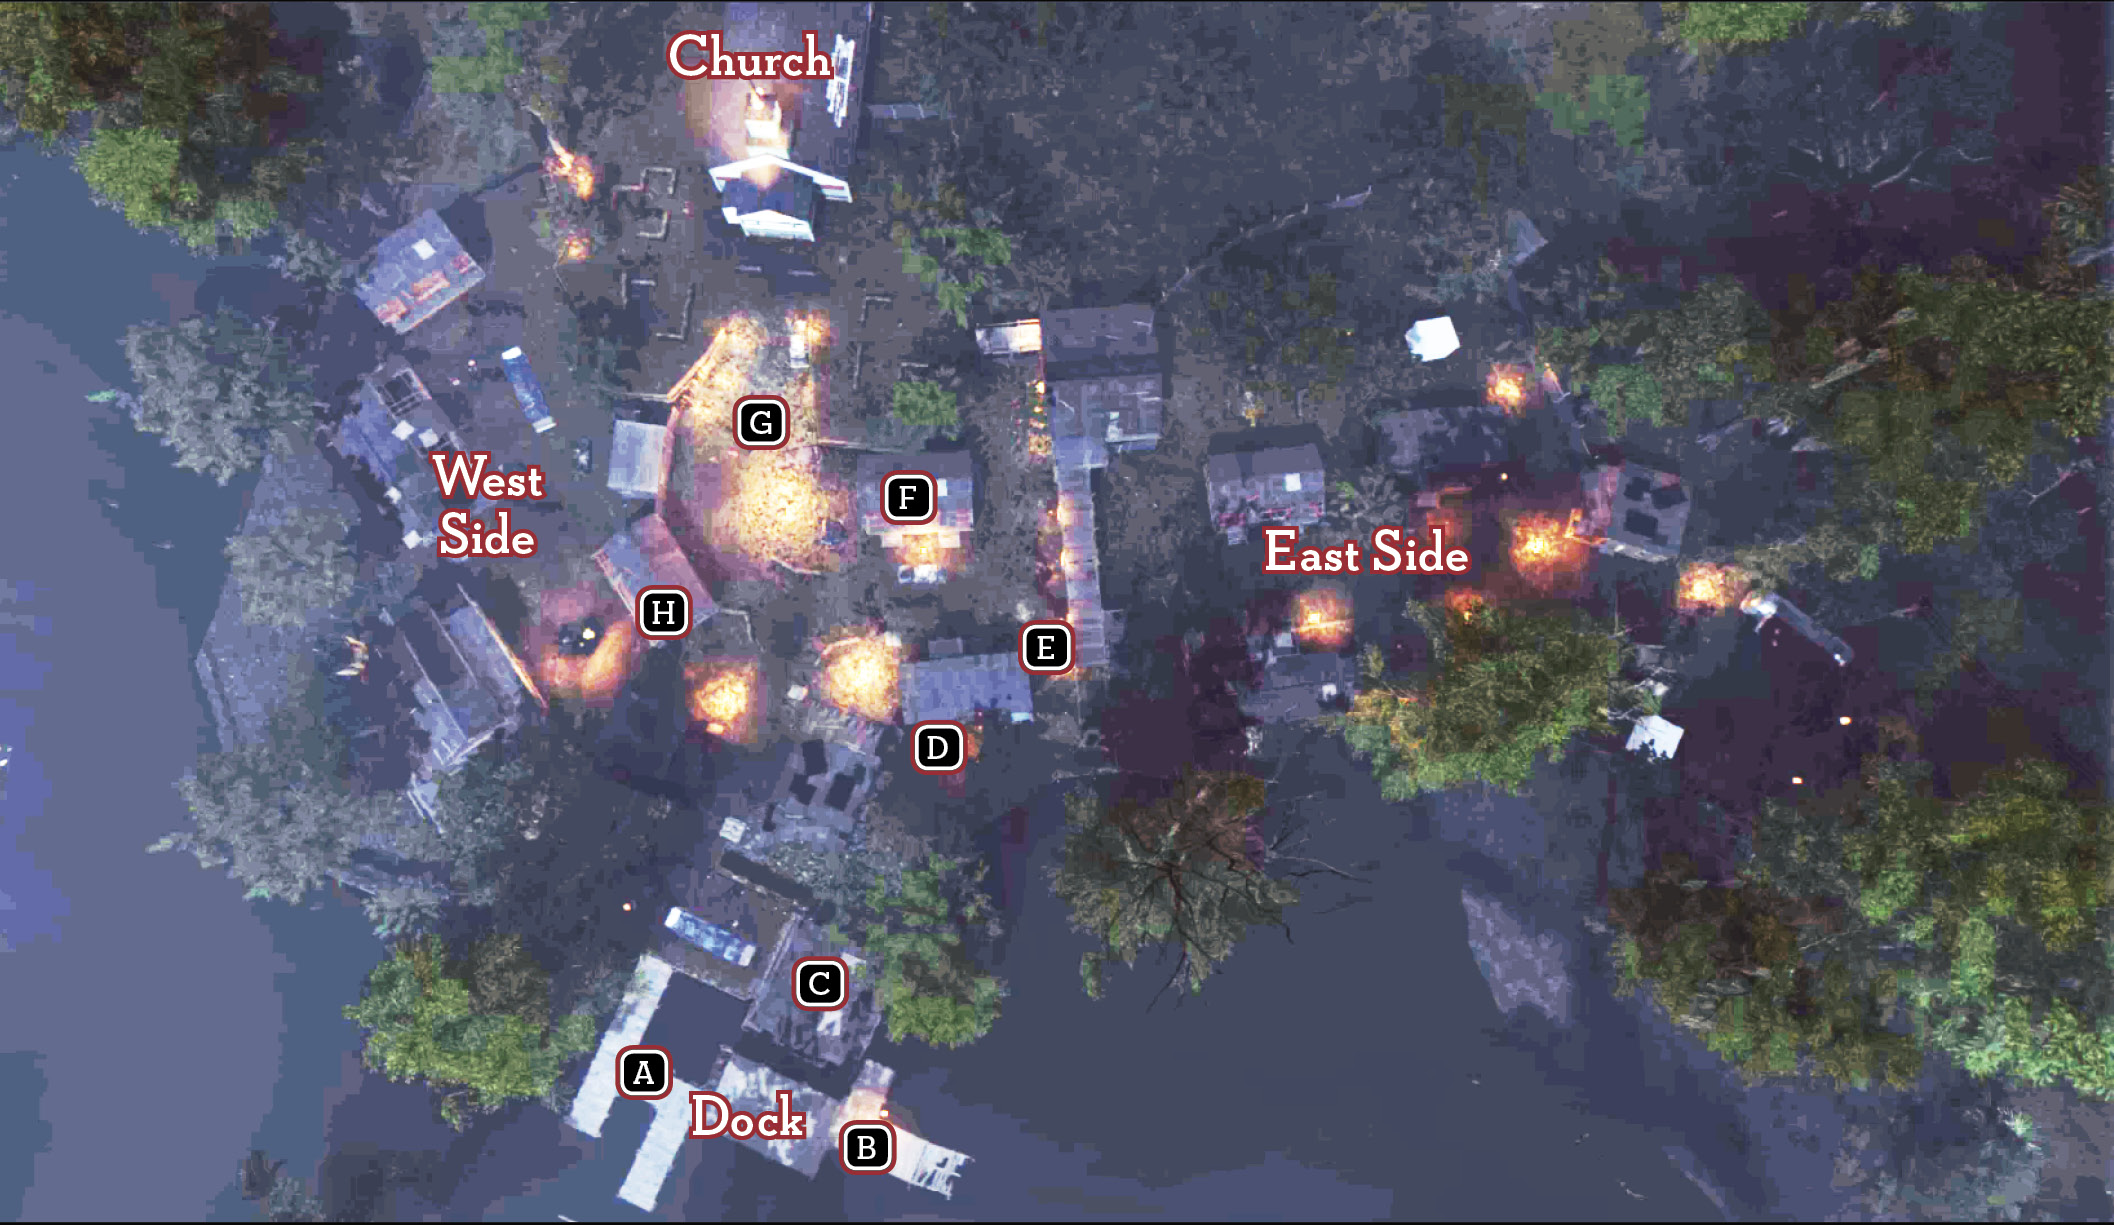
Clear the Dock
Now you must work your way through the old shantytown to Baka. Your best bet is to take out the first few Haitian guards silently, one by one. (See our Tips in this mission, and check out the “Stalking” section in our Basics chapter.) Our walkthrough relies on such stealth tactics. But you are free to rush in with guns blazing and try to shoot your way across the town, if you want.
First, sneak up the dock stairs, turn left and take cover at the end of the makeshift fence (A). Listen to the two guards converse by the gate. Once they split up, one heads off to the right, and the other descends the stairs toward you. When he stops and turns away from you to light a cigarette, stalk up behind him until you see the Melee attack button prompt. Press it to execute a silent takedown!
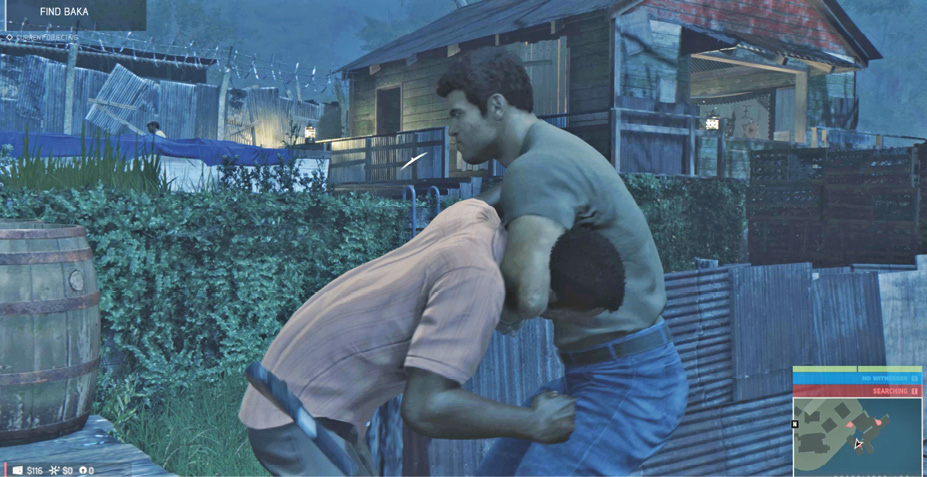
Next, sneak to the far right end of the dock where another guard warms himself at a barrel fire (B). Take him down from behind! Then double back to the same spot before you took down the first guard (A). When the pacing guard moves to the right, follow him until he turns to go around the boat. Sneak up behind him for another silent takedown.
The immediate area is now clear. From here, the only way into the shantytown is through the boathouse to the right of the covered boat.
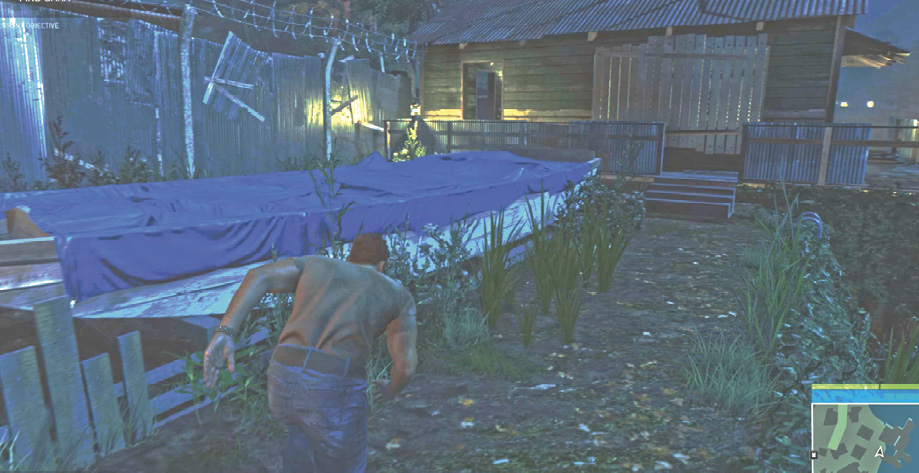
Clear the Town Center
Enter the boathouse. (If you head downstairs you can find a nice Automat SG assault rifle.) Upstairs, take cover at the far doorway (next to the wall mask) and observe the two guards out in the yard by a campfire. When one patrols away, hustle out to take cover behind either the table or the woodpile and whistle to draw the remaining guard. Take him down silently!
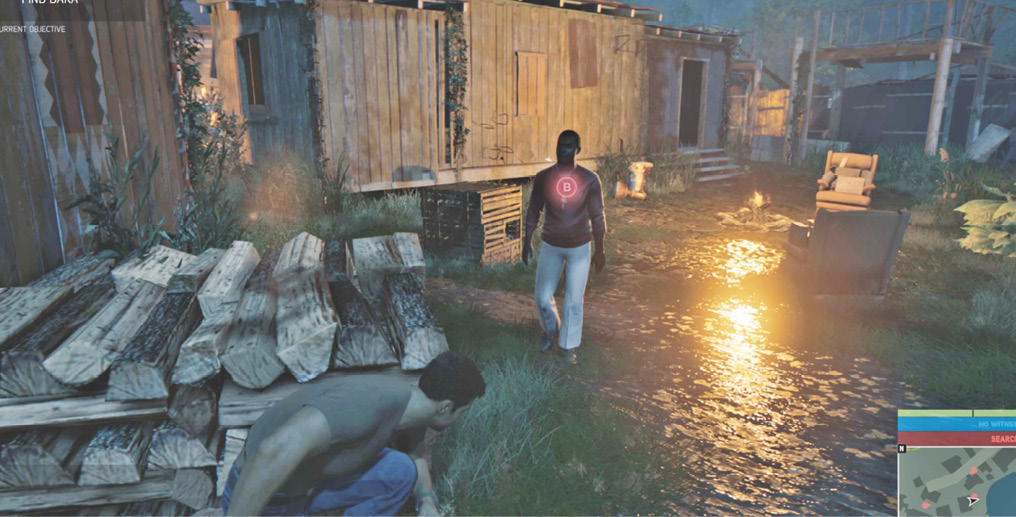
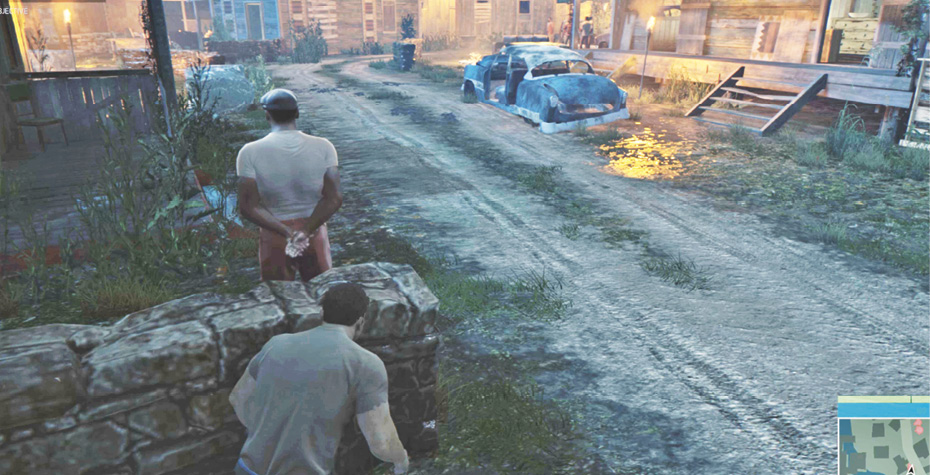
Now head across the clearing past the campfire then sneak around the corner of the hut to find the other guard. He stands on the other side of a low wall with his back to you. Sneak up behind and knock him out.
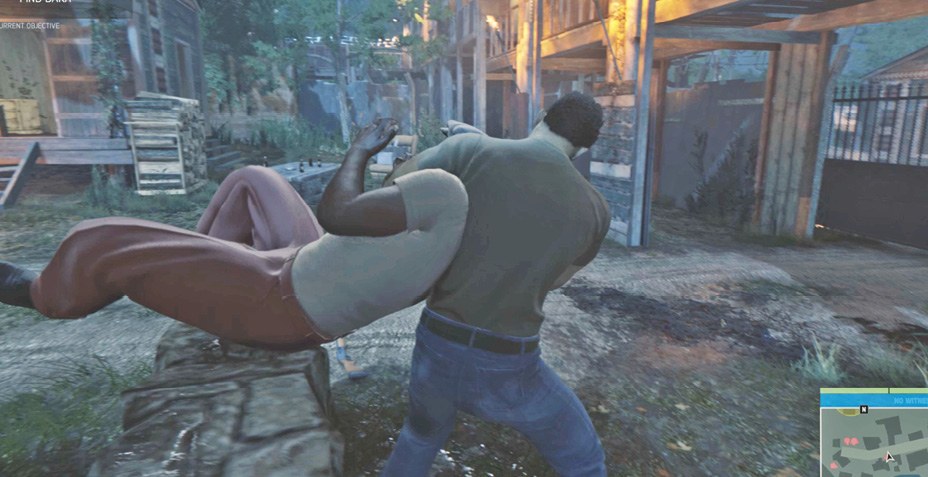
Now hustle from the low wall across the yard into the next hut (F). Take cover under the far window and observe the cluster of four guards (G) out in the next yard. Then slide to cover at the open doorway to the left and start whistling to draw guards away from the crowd, one by one.
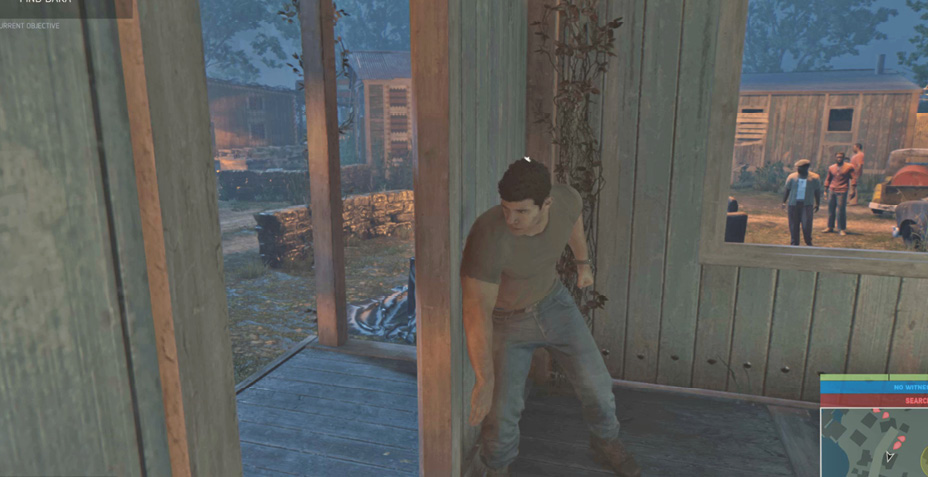
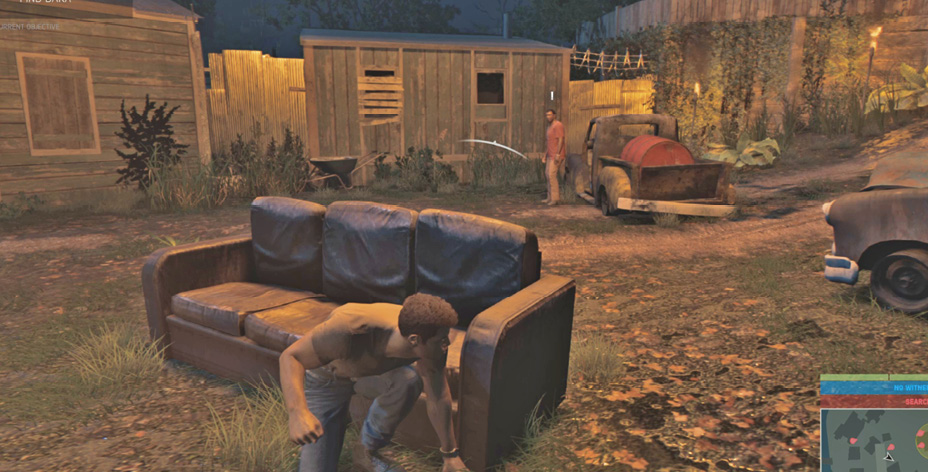
When each comes to investigate, take them down in the doorway. You can eliminate three of the four clustered guards this way. To get the fourth guard’s attention, you’ll have to get closer; sneak across the yard to the old leather sofa then whistle.
Clear the West Side
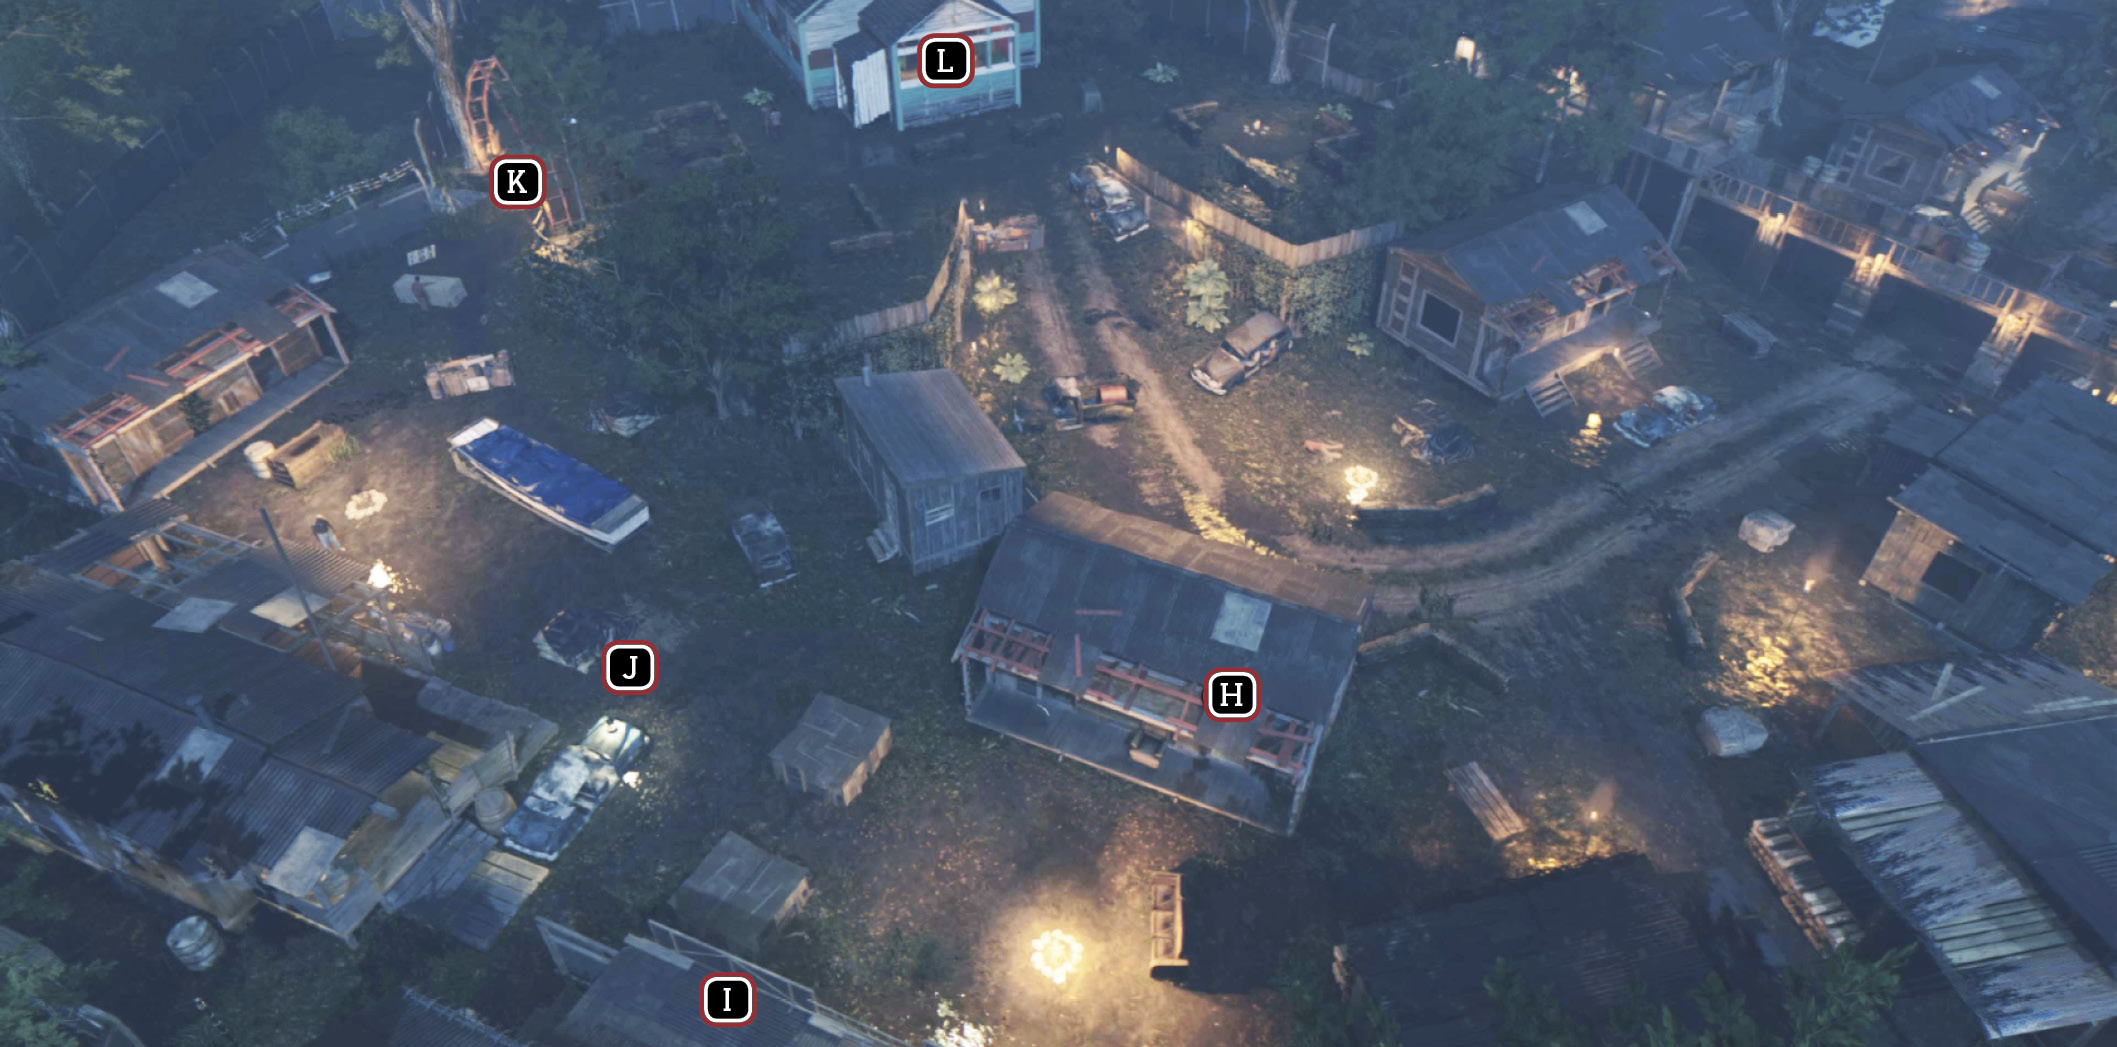
Check the map to see a yellow circle that surrounds the old church; Baka is somewhere within that zone. But another goon platoon is deployed across the western edge of the shantytown. Before you assault the church, move across the yard into the house (H) where you find a Medicine Cabinet inside. Snag the Adrenaline Shot from the cabinet then take cover at the open doorway next to it. Whistle to lure the guard posted by the fire and take him down.
Observe the next guard pacing through the hut on the opposite side of the yard (I). Wait until he can’t see you then hustle across to the doorway. When he paces past, take him down! Move down the yard, dashing from cover to cover (J), until you can lure each of the remaining guards for silent takedowns. Then move through the reddish metal arch (K) to enter the churchyard.
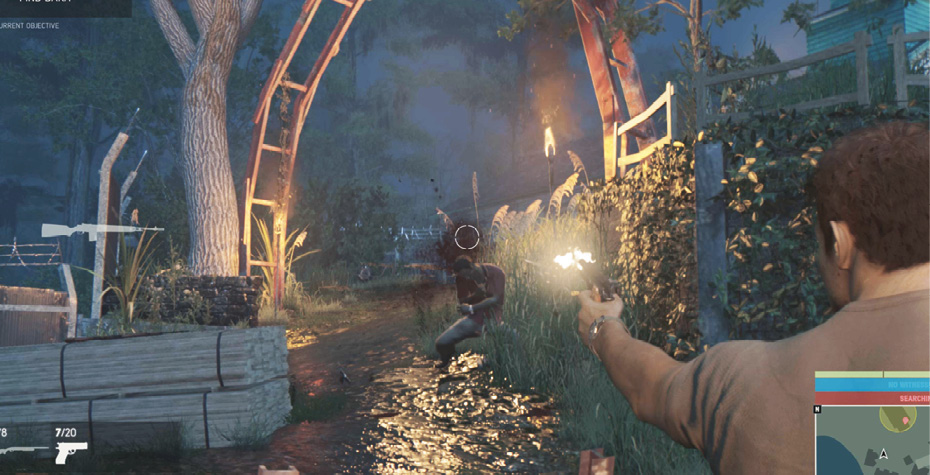
Gun down the two guards posted just outside the church and climb onto the church’s entry porch (L), where you can plunder another Medicine Cabinet on the wall. (Be sure to open it for the Adrenaline Shot inside.) Then approach the doors and press the Kick Door control displayed at lower-left on your screen.
OBJECTIVE: Confront Baka
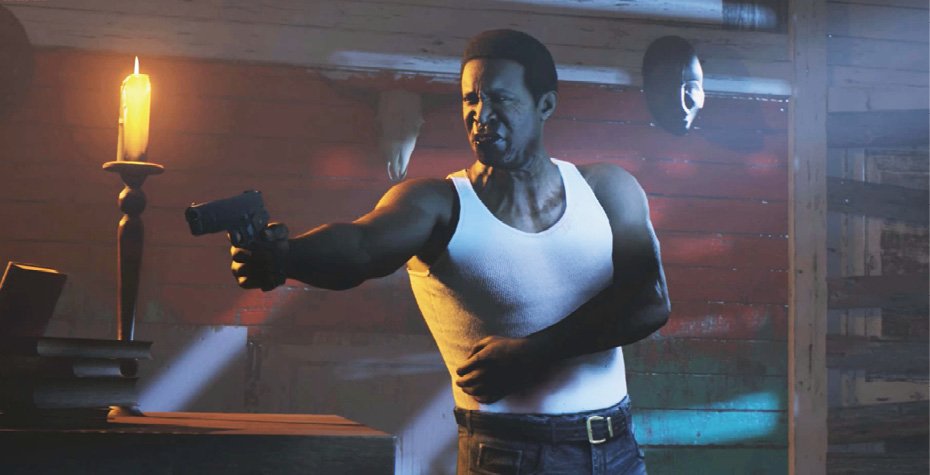

Immediately open fire on Baka, who stands just 13 meters away at the altar across the floor. He’s tough, but after a few good hits he drops to a knee, wounded, with a skull icon over his head. Approach and hold down the button indicated to trigger a cutscene: Lincoln confronts Baka and sets a haunted captive free.
OBJECTIVE: Get to Ellis
Clear the Churchyard
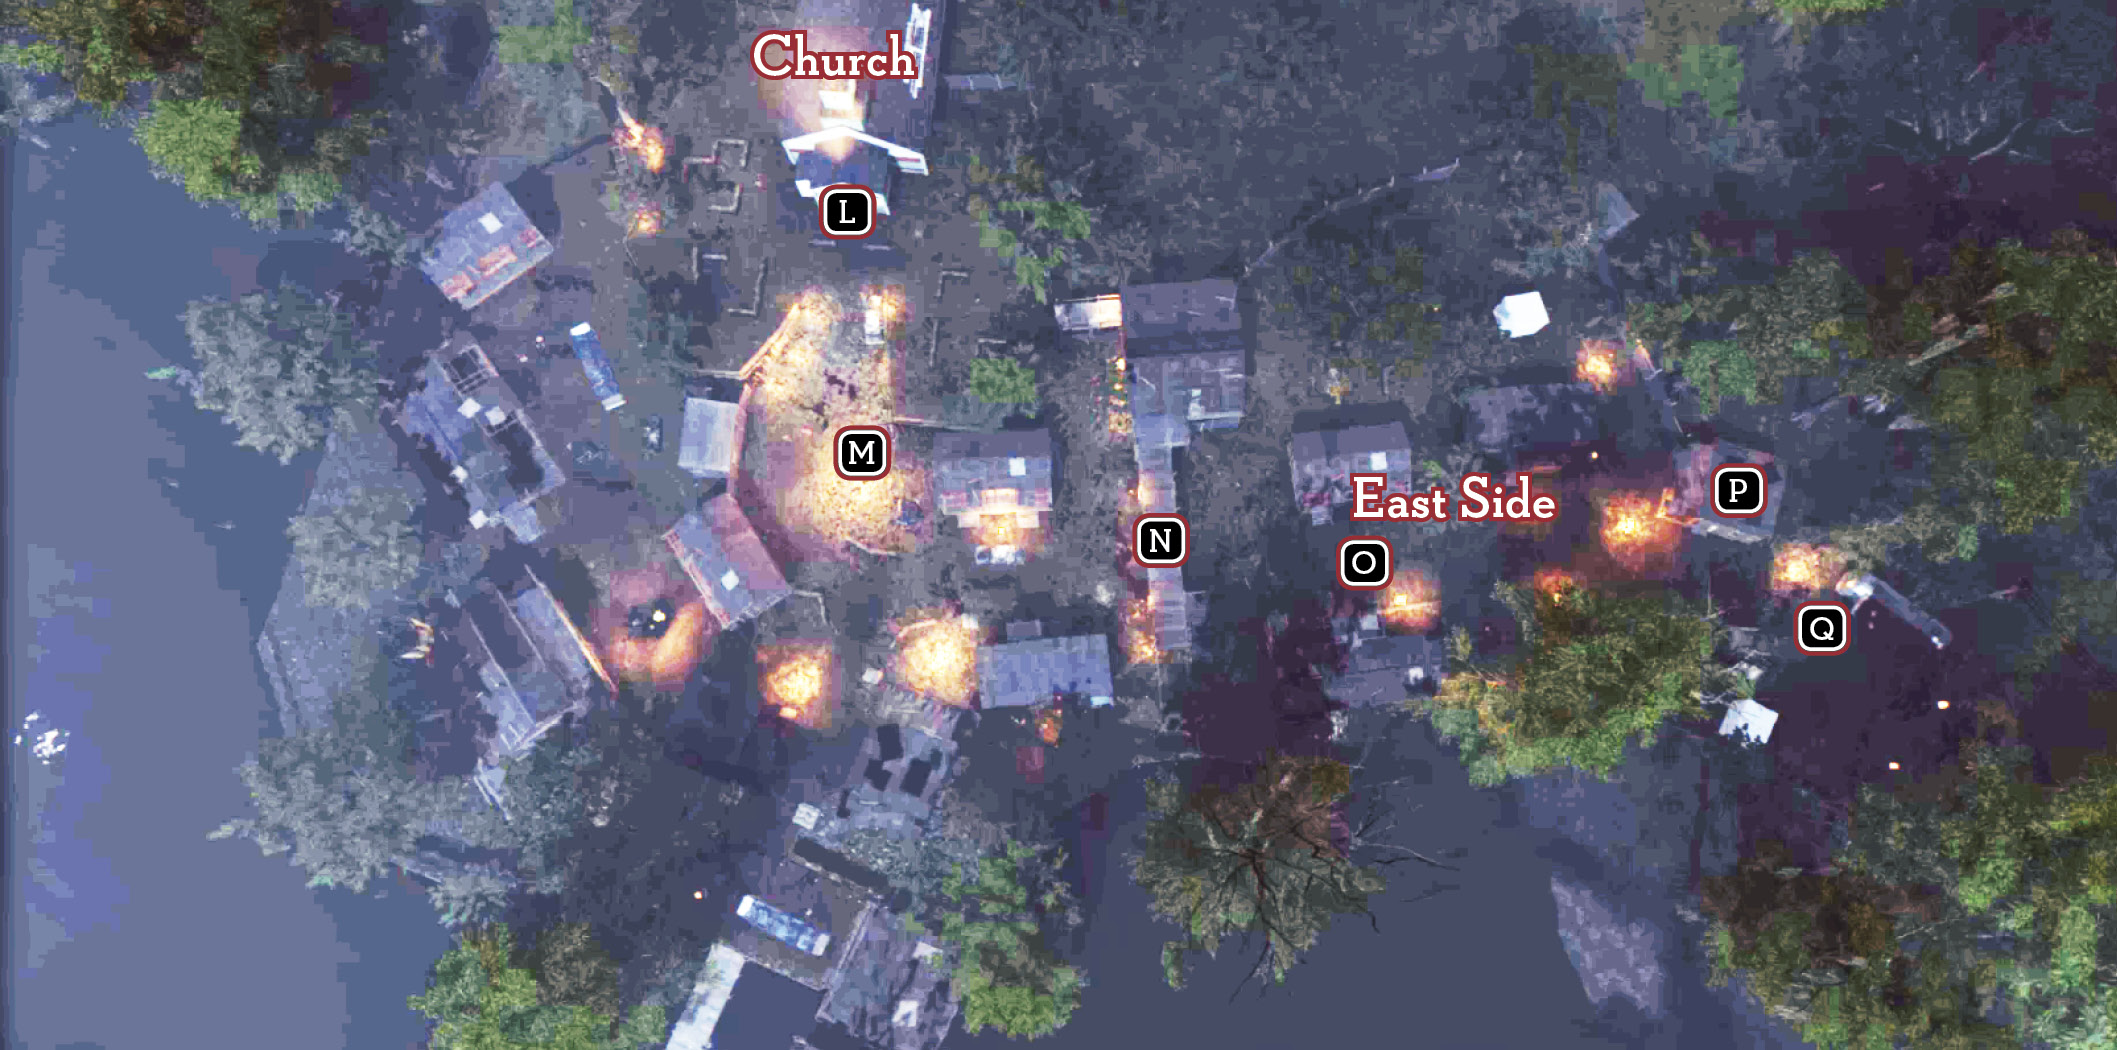
Time to flee this deadly shantytown. Ellis is waiting for you in the car by the exit road. But a tossed Molotov cocktail (a bottle of gasoline with a lit rag as a fuse) explodes in a deadly fireball at the church entrance. Outside, a big squad of vengeful Haitians seeks to block your escape.
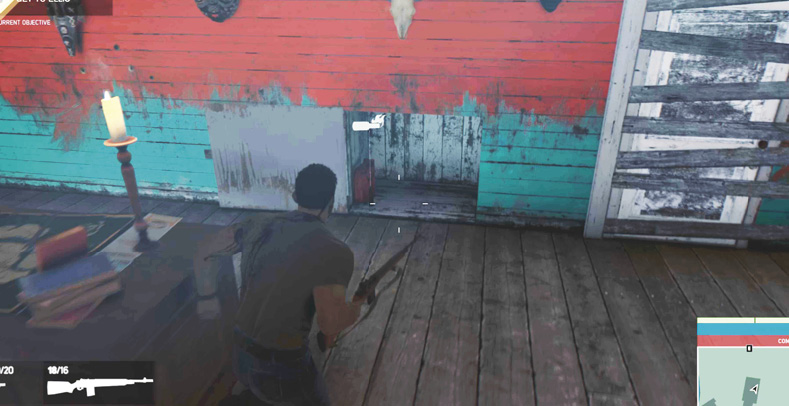
One option is to just rush out onto the porch (L), take cover, and start shooting attackers in the yard below (M). But another effective option is to fight fire with fire! Before you exit the church, grab the Molotov bottle on the floor right in front of you then hustle to the low open compartment underneath the cow skull hanging on the wall to grab another Molotov.
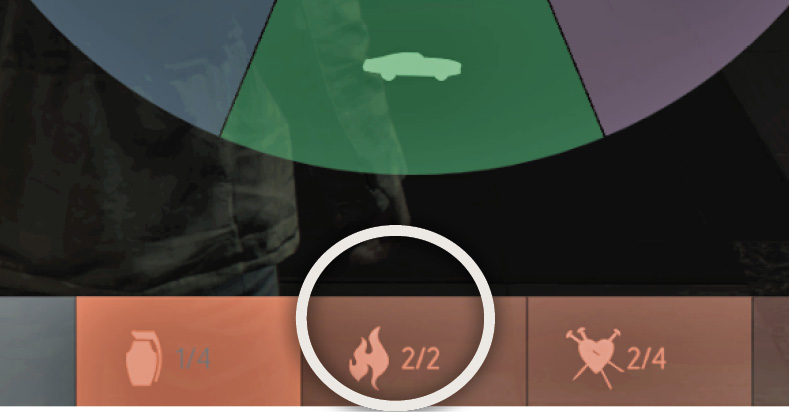
Now you’ve got two Molotov cocktails in your weapon inventory. Step out onto the church porch, take cover, select Molotov cocktail in your inventory wheel, and toss the two firebombs into groups of enemies.
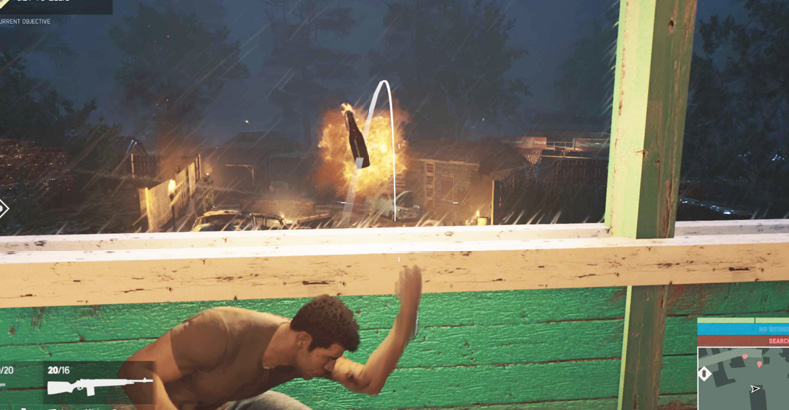
After you toss the first two Molotovs, you can reenter the church and hustle through the closed door at the back of the room to find two more Molotov bottles on a table. (Find the Medicine Cabinet on the wall as well.) Grab them and go toss them at the hostile gangsters in the yard below the church. Try to nail the car that pulls up to trigger an explosion. When your Molotovs are gone, mop up any survivors using your guns.
Clear the East Side
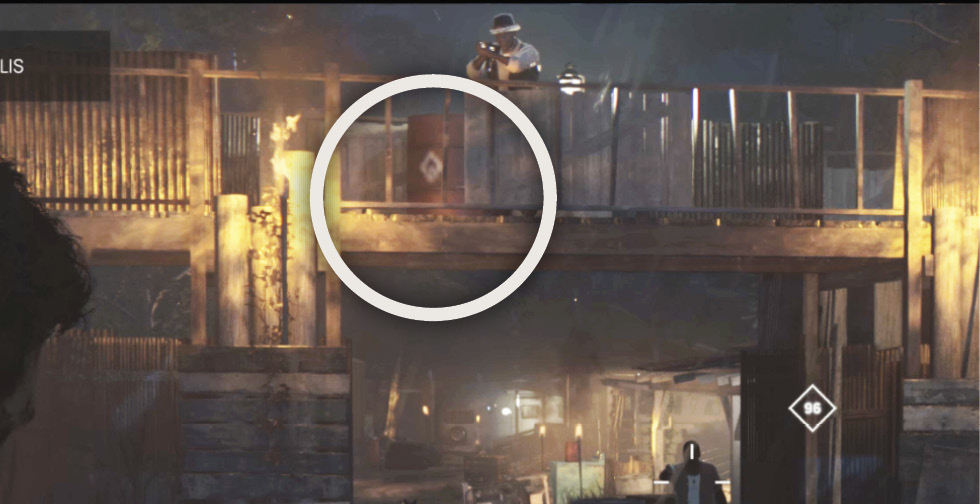
Descend through the churchyard, picking up dropped ammo and, if you want, swapping out weapons. At the bottom, turn left and take cover behind the junked car as more Haitian thugs open fire from a raised walkway (N). Target the red explosive barrel on the upper walkway (see our screenshot) to trigger a fearsome explosion that takes out the nearby gunman.
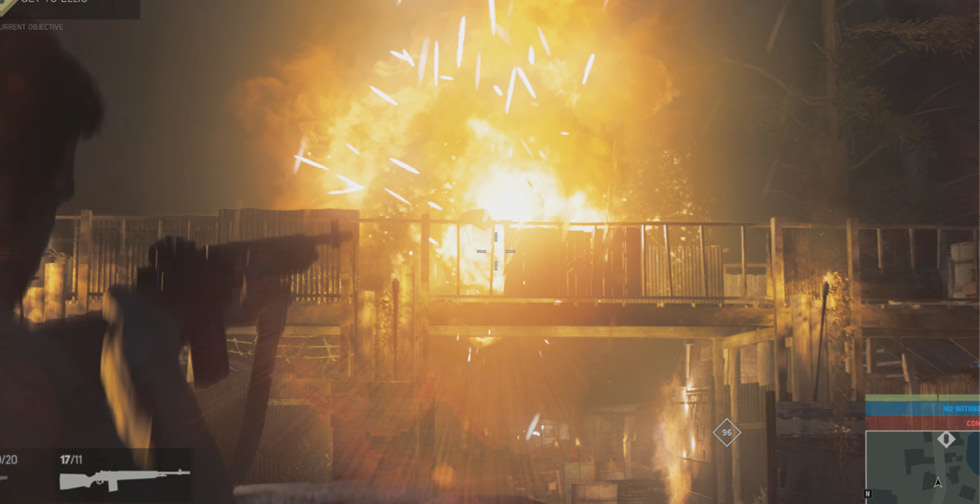
Push forward to the walkway structure and take cover. More shooters open fire from the other side. Target the red gas can (O) sitting on a crate to the right to eliminate another gunman. Then fight your way down the road, dashing forward from cover to cover and picking up dropped ammo as you move past fallen foes. Be ready to dodge Molotovs tossed your way! You can find Medicine Cabinets inside the first hut on the right side of the lane, and in the last hut on the left side (P). Look for more Molotov pickups in the huts too.
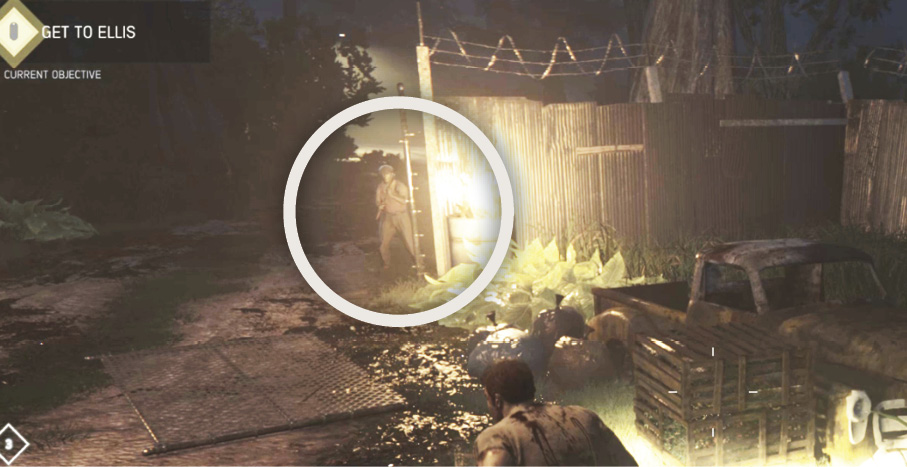
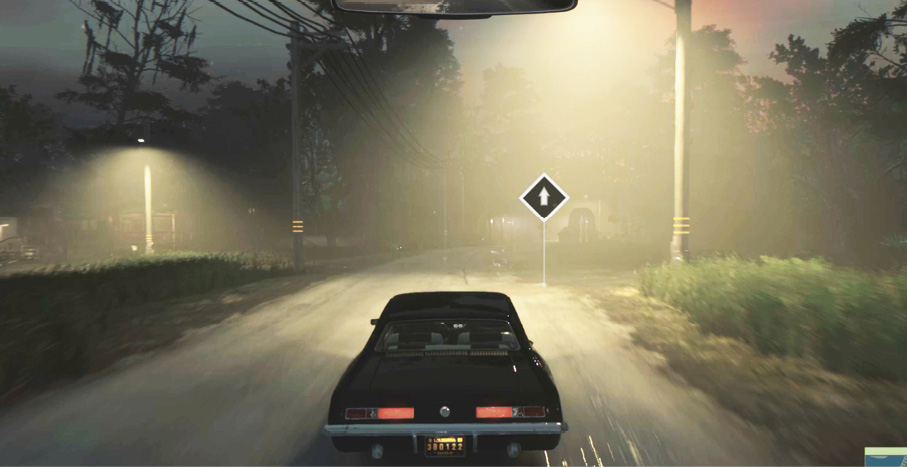
Keep pushing down the lane until you hear Ellis honking the horn of Lincoln’s car. Watch out for one last gunman who may be posted at the exit gate (circled in our shot) then sprint to the car and hop in. Ellis automatically hops out of the driver’s side and goes around to get in the passenger side as Lincoln slides behind the wheel.
OBJECTIVE: Drive to Sammy’s
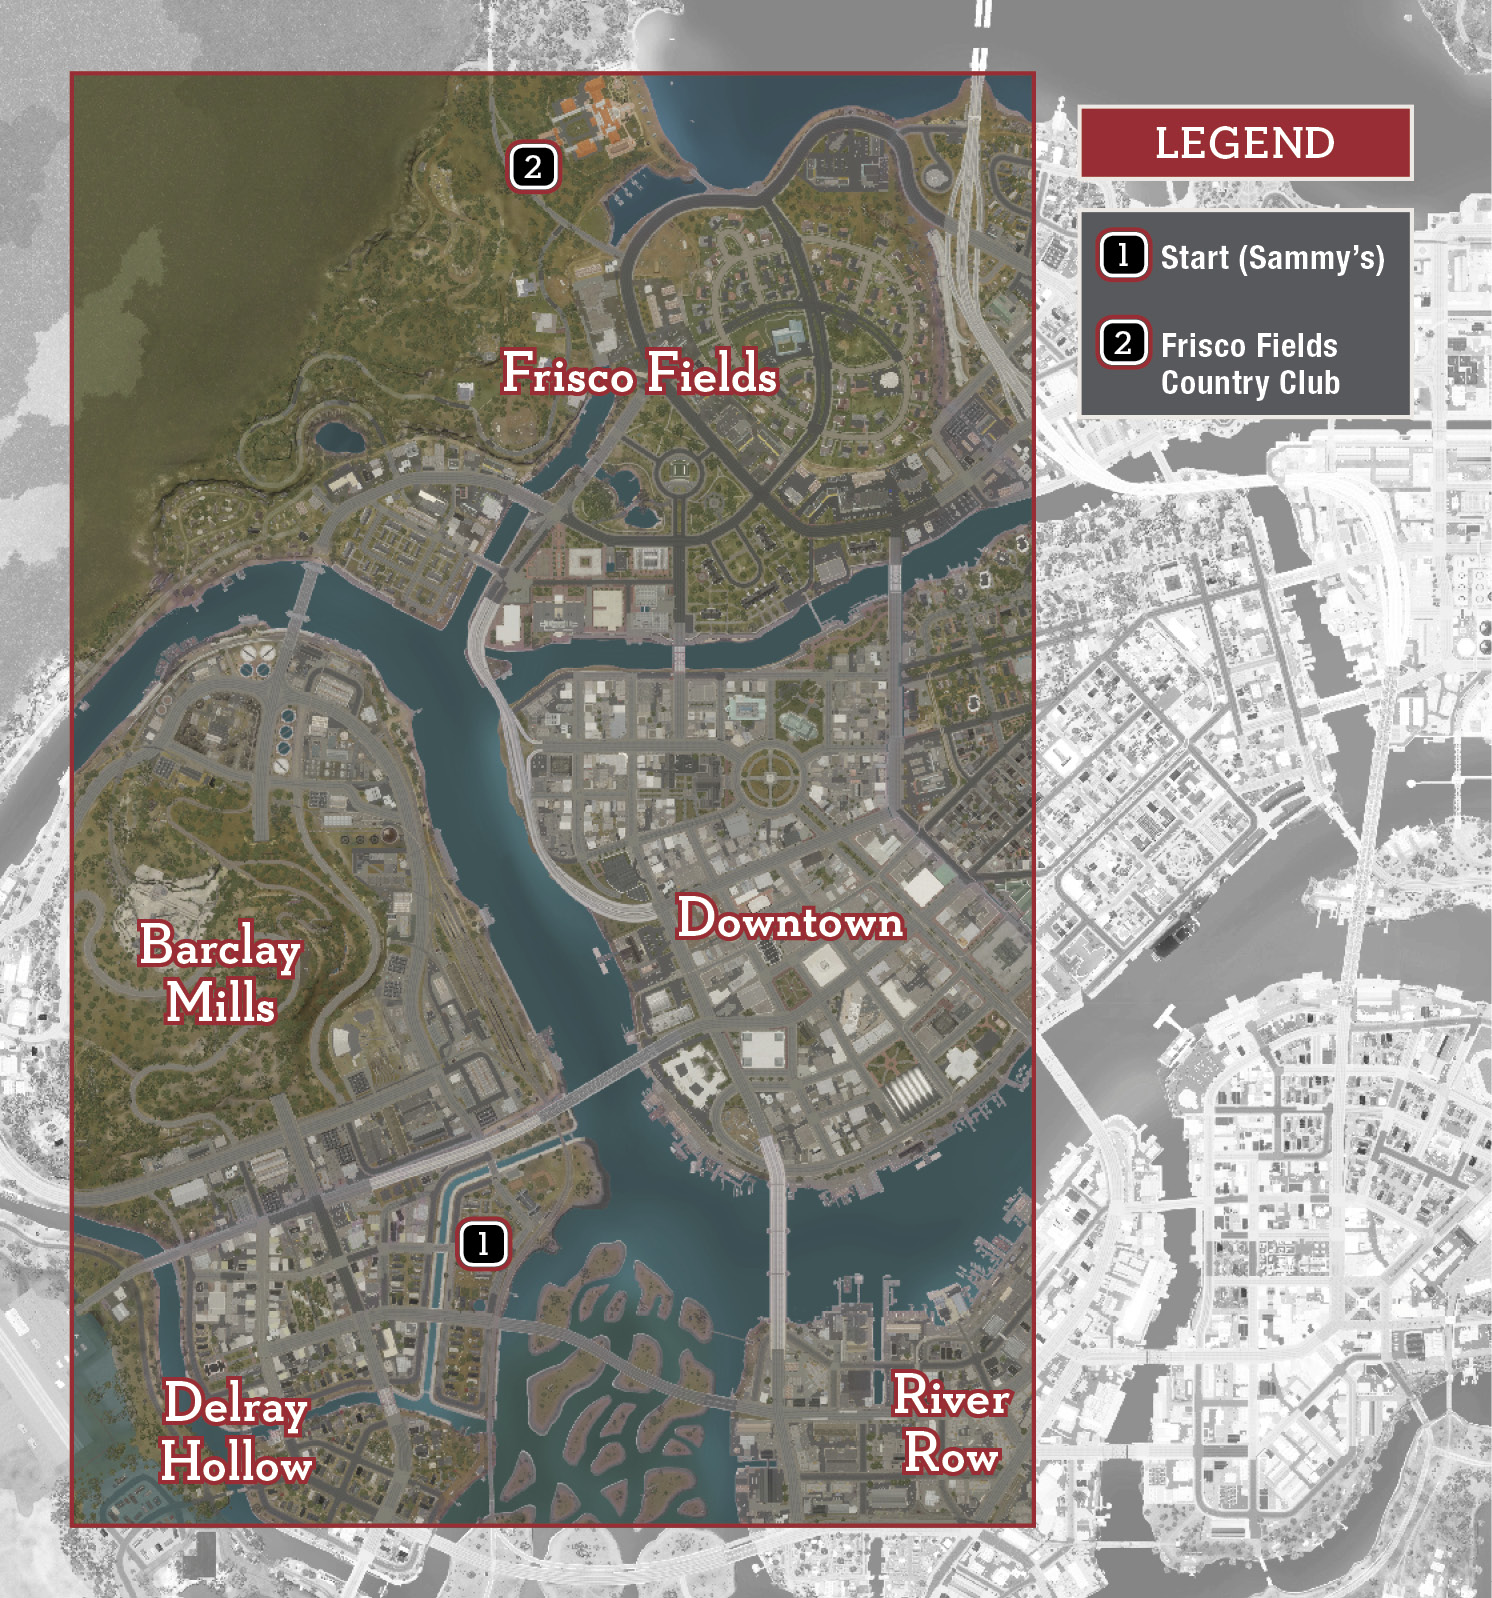
Now open your map and select the objective diamond up in Delray Hollow to map a route back to Sammy’s Bar (5). Drive that route, listening to the trip conversation on the way. When you arrive at the green-arrow destination marker, exit the vehicle and follow the objective marker inside the garage to trigger a cinematic: Lincoln learns that Sal Marcano wants to meet him at the country club up in Frisco Fields.
Unlocks: “…Time to Make a Change”
Mission: “…Time to Make a Change”
Prerequisites: Complete “Never Going to Be Over”
OBJECTIVE: Drive to the Retrousse Yacht Club
Exit Sammy’s garage and hop in Lincoln’s car parked on the street. Follow the trip route north to Frisco Fields and into the green-arrow destination marker in the entry drive of the Retrousse Yacht Club.
OBJECTIVE: Talk to Security
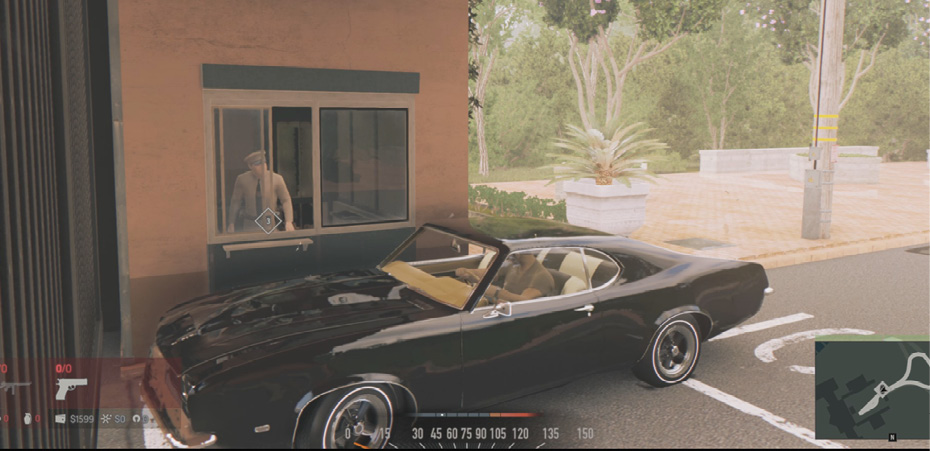
Follow the new short trip route to the next destination marker at the club’s security gate. After Lincoln exchanges pleasantries with the gate guard, the gate opens.
OBJECTIVE: Meet Giorgi
Drive to the next destination marker in front of the club to trigger a long cinematic.
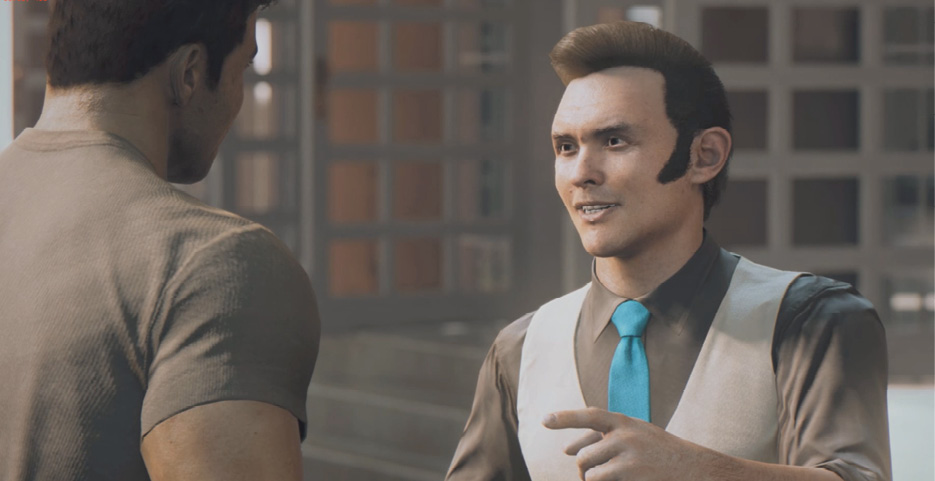
Giorgi greets Lincoln and escorts him to a meeting with his father, Sal Marcano, the don of New Bordeaux. Lincoln also meets Vito Scaletta, formerly of Empire Bay, now one of Marcano’s local lieutenants.
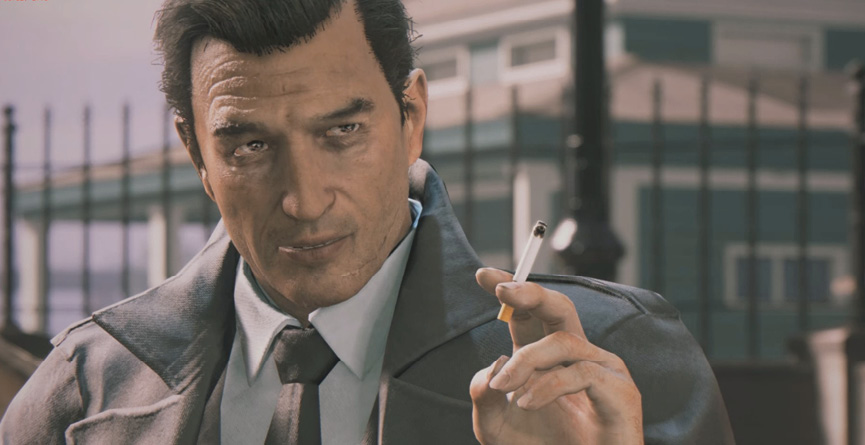
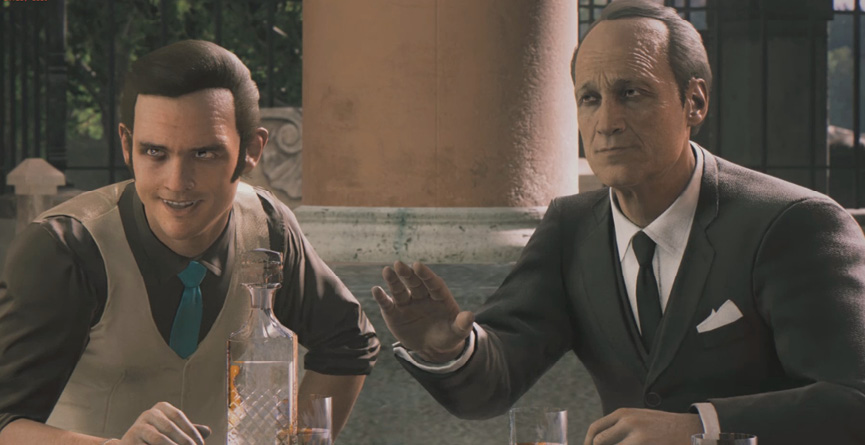
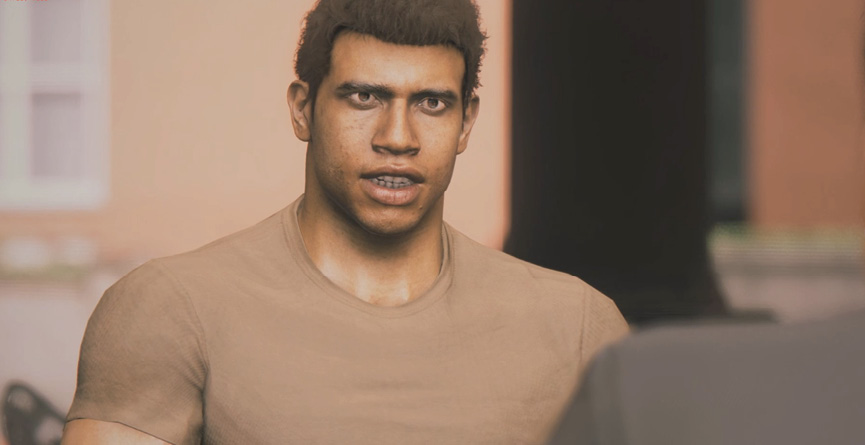
Sal lays out his plan for the Federal Reserve heist; you learn that Vito is fronting the “burn money” for the job, and has also provided the bank vault’s combination. Then Sal proposes another, more troubling proposition—one regarding the future of Delray Hollow.
Unlocks: “Still Pull This Off”
Mission: “Still Pull This Off”
Prerequisites:Complete “…Time to Make a Change”
Here you return to the point where you left off inside the U.S. Federal Reserve during the game-opening mission. It’s February 27, 1968—Mardis Gras in New Bordeaux. Smoke grenades now obscure your vision in the vault, and a new wave of four guards arrives via the far doors.
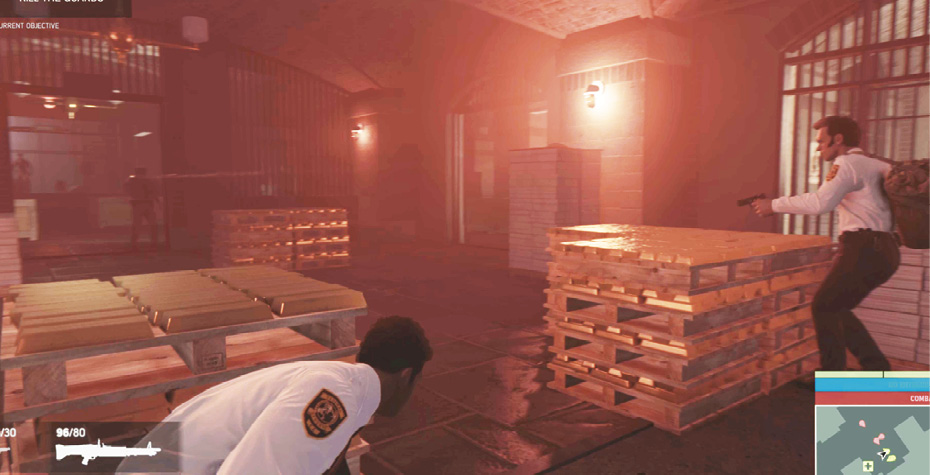
OBJECTIVE: Kill the Guards
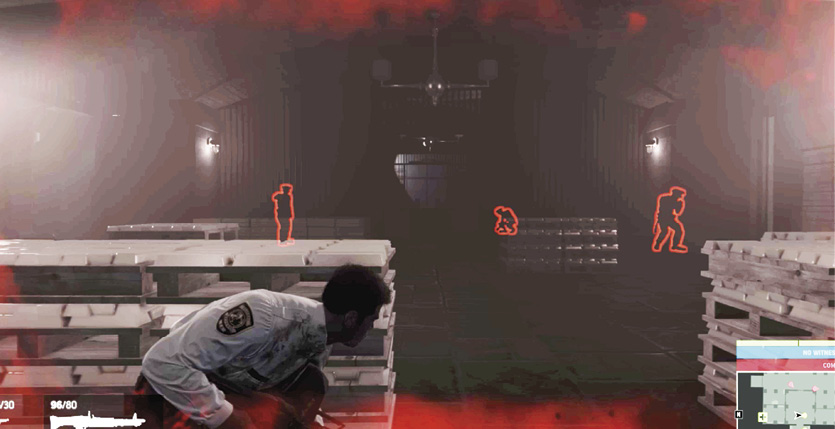
Take the game’s advice and use Intel View to spot the red outlines of hostile guards through the smoke. Lincoln is still armed with the Hartmann 7.62mm machinegun, a powerful weapon that eviscerates targets quickly. You can push forward more aggressively through the room, taking down targets with the gun’s quick bursts.
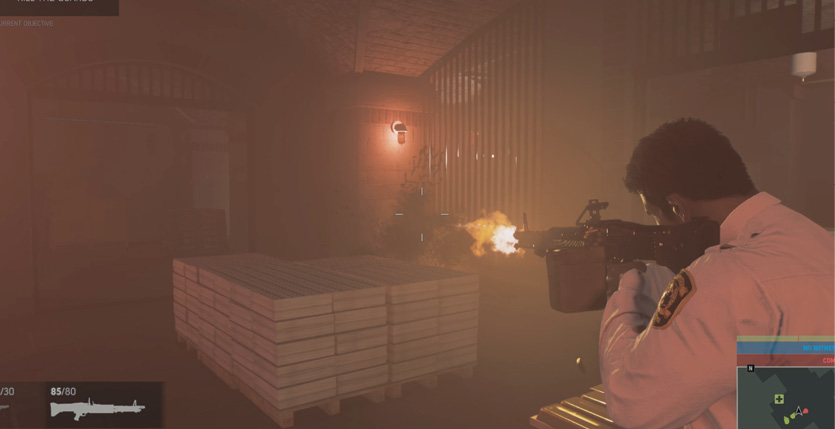
OBJECTIVE: Regroup with Giorgi
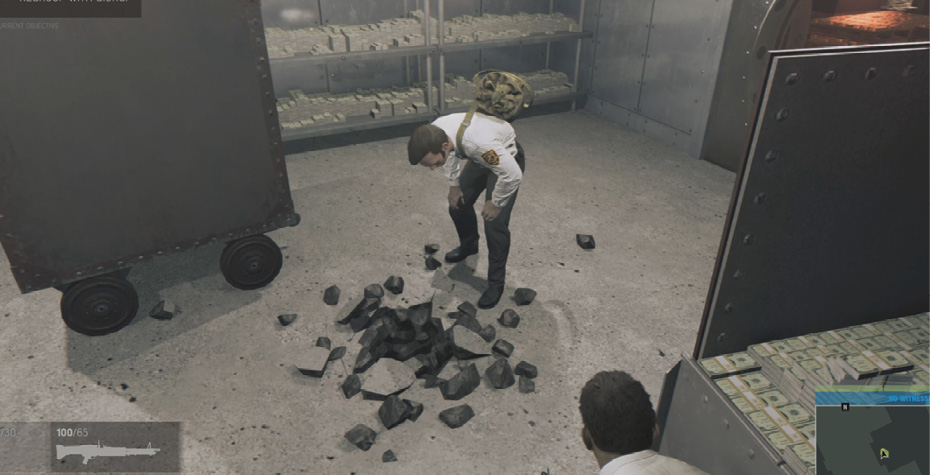
After the fourth guard drops, Giorgi calls out that the drill is through the floor! Before you rejoin him, go back to the Medicine Cabinet in the armory to grab another Adrenaline Shot. Then hustle back into the vault to watch the floor crack, sparks fly, and a hole open. From below, Ellis reports that they’re making room for the money drop. But suddenly, the vault goes dark.
OBJECTIVE: Defend Giorgi
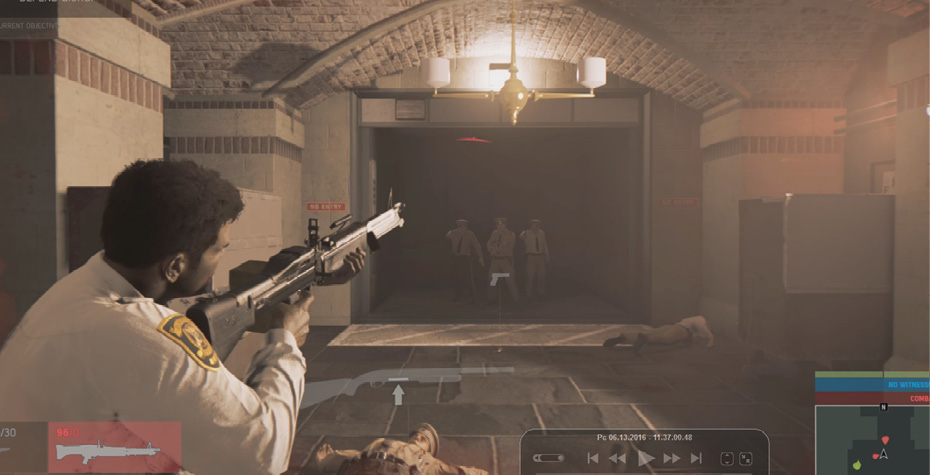
Once again, use your Intel View to spot the outlines of foes in the dark. Another wave of four guards arrives carrying flashlights. Once you take out these four, the emergency lights flicker on and a final assault begins: ten guards arriving in waves, this time emerging from the wing elevators on either side of the vault! Keep them away from Giorgi, who is busy dropping money through the drilled hole.
OBJECTIVE: Get to the Vault
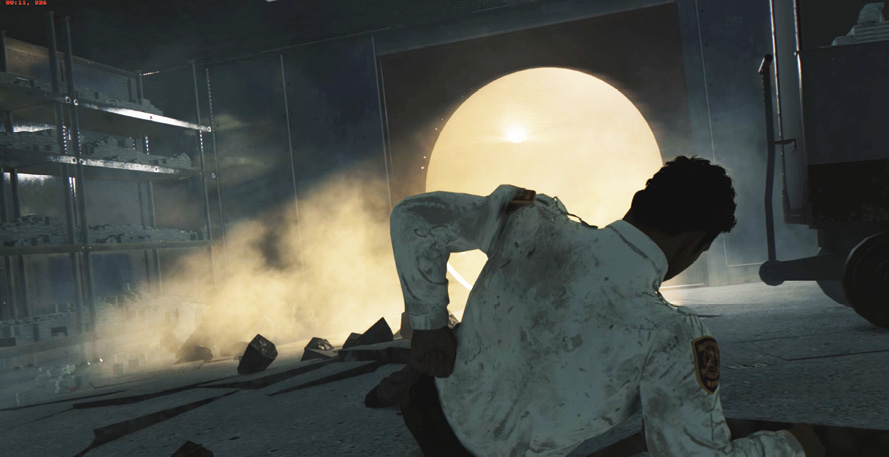
When you finally clear the area, return to Giorgi in the vault. This triggers a scene: below, Danny Burke plants TNT, planning to blast a floor hole big enough for Lincoln and Giorgi to drop down. But the explosion destroys the floor supports and the entire vault drops into the canal tunnel!
OBJECTIVE: Get to the Boat
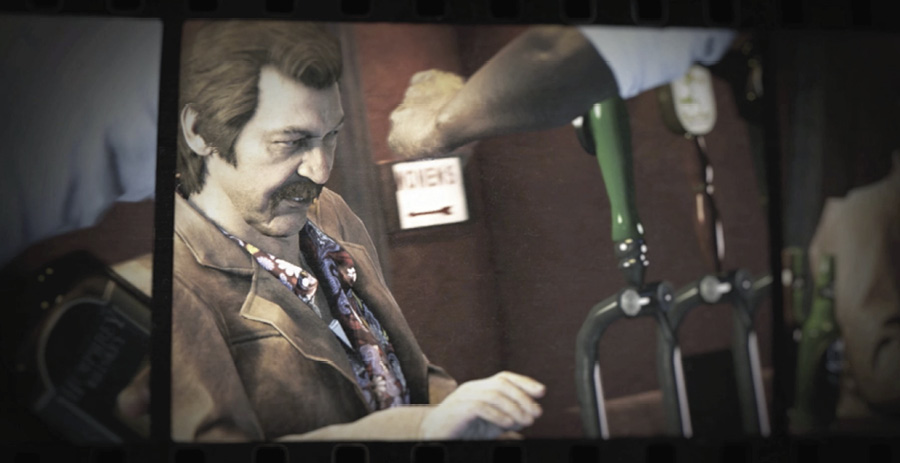
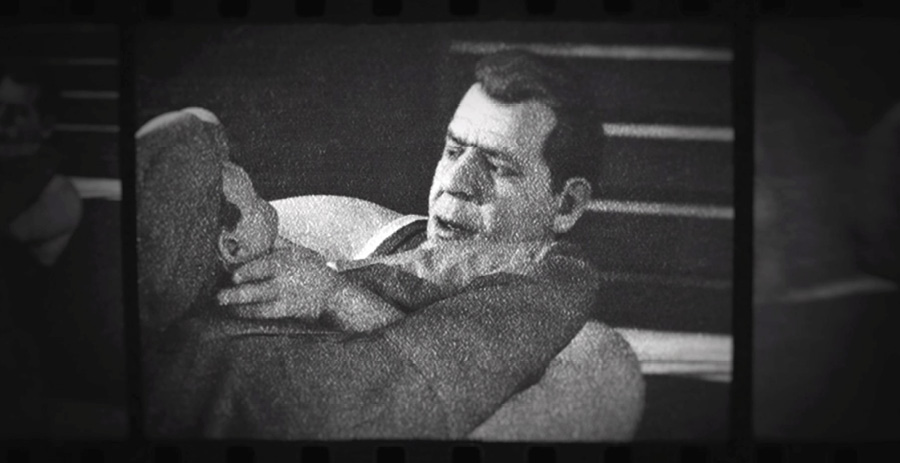
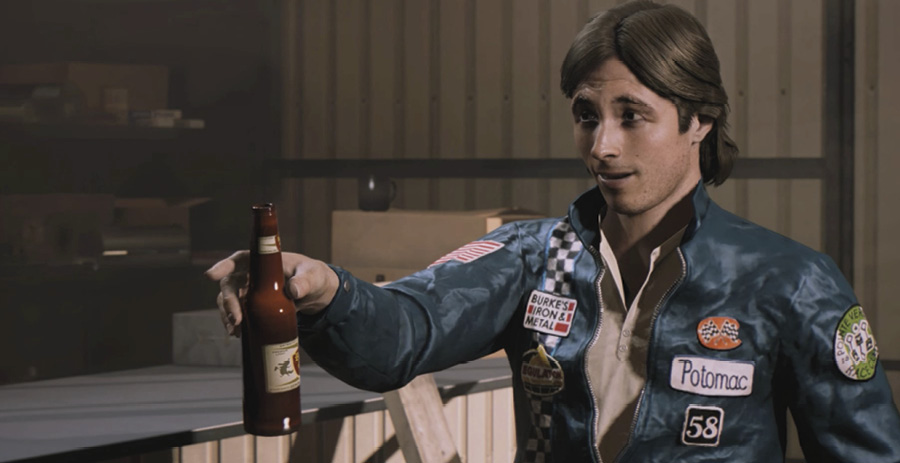
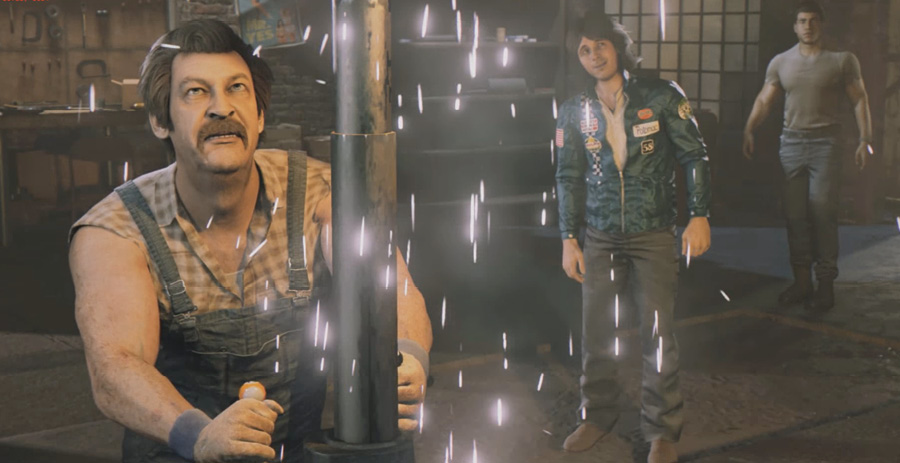
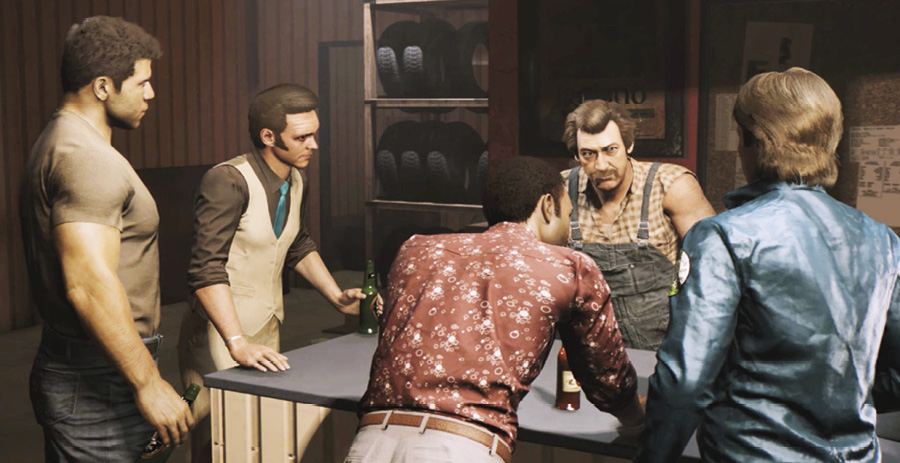
After the fall, exit via the vault door into the canal. You see Ellis Robinson and Danny Burke—looks like Danny got his leg smashed in the unexpectedly large blast. This triggers a quick documentary interlude: Assistant Director Maguire explains how Sal Marcano pulled control of the Pointe Verdun district from the Irish mob run by Thomas Burke and gave it to an enforcer named Roman “The Butcher” Barbieri…who promptly sent a message by shattering one of Burke’s legs. Maguire also profiles Burke’s son, Danny, a “gearhead” and part of the Federal Reserve heist crew.
Then the scene switches to Burke’s Iron & Metal shop the day before the heist, February 26. As Thomas Burke tests the industrial drill for the heist, the team meets up for the first time. Listen to Thomas describe the logistics of the operation.
The sequence ends with a return to the documentary: a bitter, scathing testimonial from Thomas Burke’s daughter, Nicole “Nicki” Burke. She explains how Burke knew of the old canals from his days of running moonshine, including the canal running directly under the Federal Reserve. And she blames him for how the heist turned out…
Unlocks: “Damn If This Ain’t a Gas”
Mission: “Damn If This Ain’t a Gas”
Prerequisites: “Still Pull This Off”
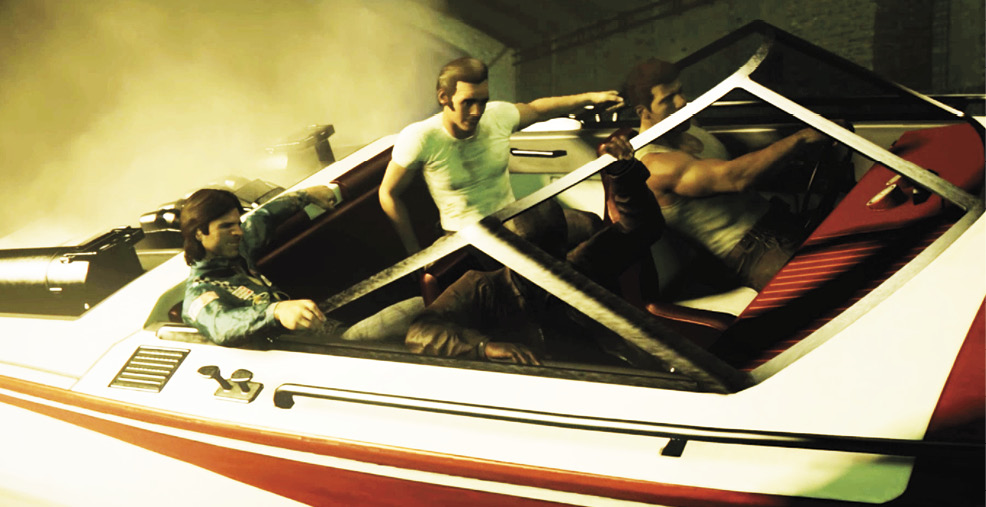
Once the cinematic ends, you’re dropped right into a hot mess. The full heist crew is now aboard their boat, the Snatch & Dash, but armed guards are swarming into the canal, and Danny is hurt.
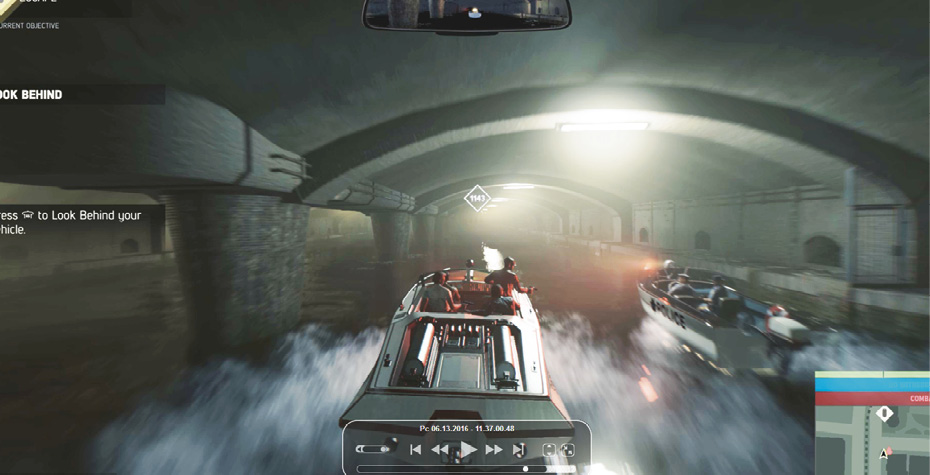
OBJECTIVE: Escape
You control the boat, so accelerate hard and steer straight ahead. About 600 meters down the canal (when your objective marker reads 1275) a police launch dashes in from a channel on the left, and then a second police launch veers in from the right. Keep your throttle wide open; your boat is faster than theirs.
When your objective marker reads 950 meters, a third police launch swerves across your path from the left. Ram it if you want, but if your boat takes too much damage you fail the mission! At 500 meters, a cave-in obstruction blocks the right-hand channel, so veer over to the left channel and punch it hard.
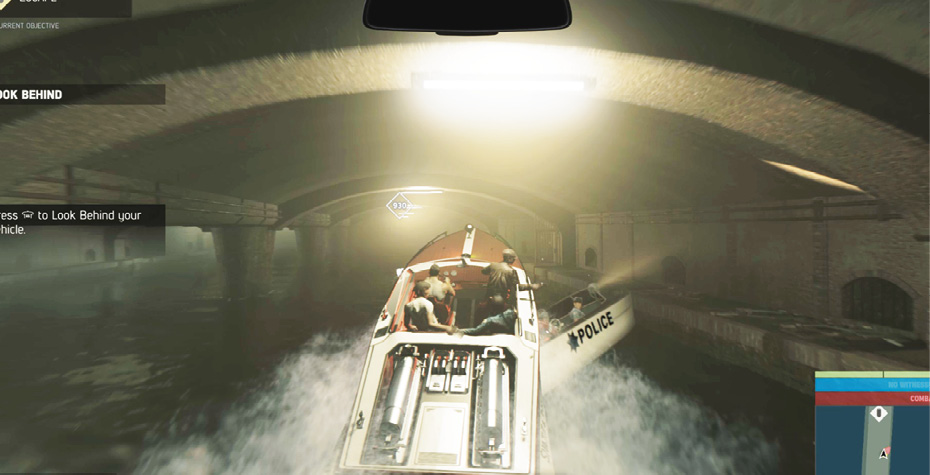
The left channel ends at 100 meters, but don’t slow down! Steer directly onto the ramp-like section of corrugated metal and watch the boat catapult out of the canal. Then watch the cinematic as the team climbs up a ladder to street level.


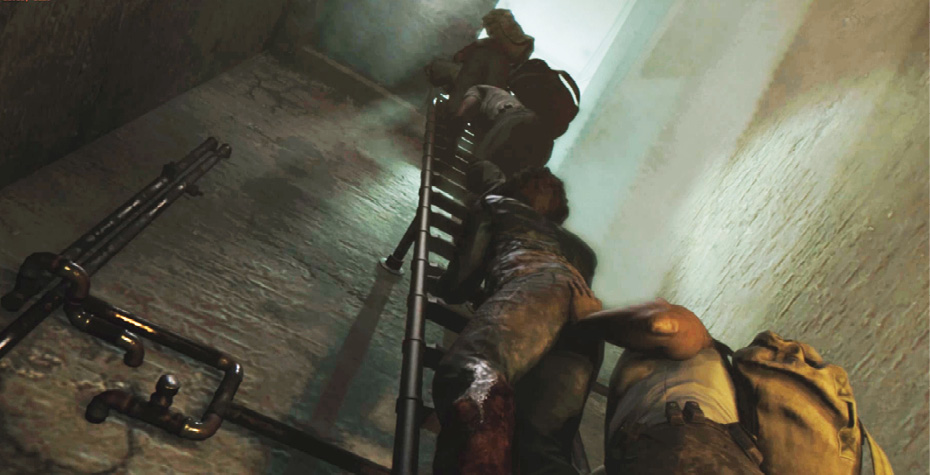
Unlocks: “…A Friend in Jesus”
Mission: “…A Friend in Jesus”
Prerequisites: “Damn If This Ain’t a Gas”
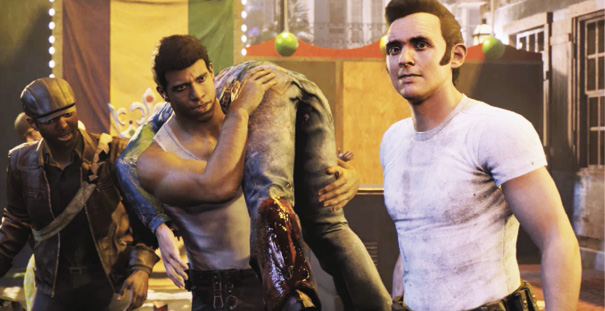
Your ultimate goal now is to get back to Sammy’s Bar in one piece without getting caught. Fortunately for the heist team, New Bordeaux’s French Ward district is teeming with wild Mardis Gras revelers. This gives you plenty of cover as Lincoln carries the wounded Danny Burke past the police presence in the streets.
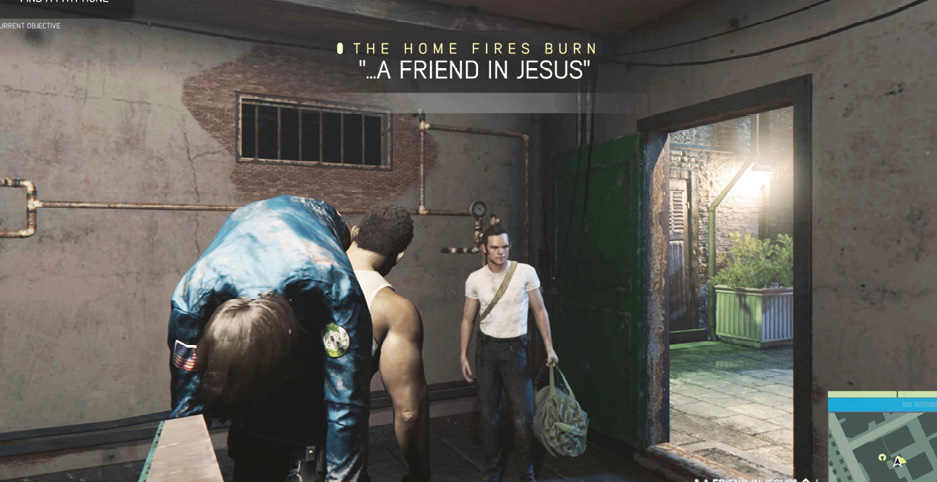
OBJECTIVE: Find a Payphone
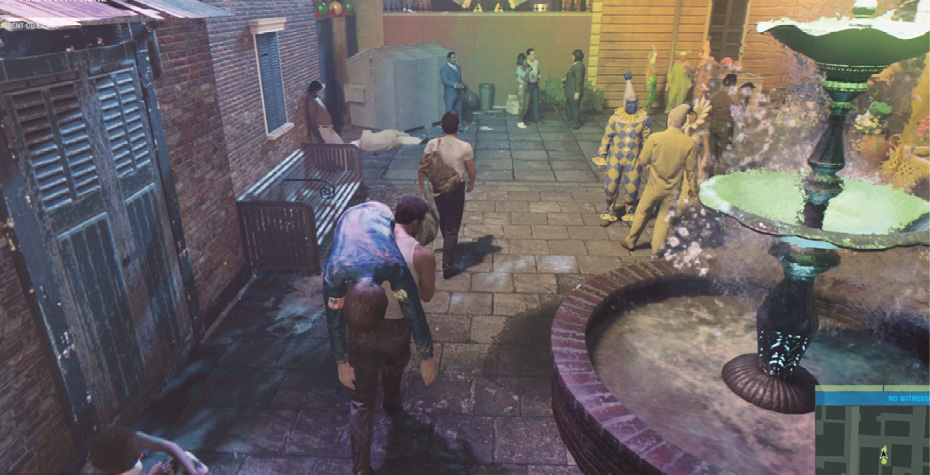
When in doubt, follow Giorgi as he pushes through the crowd. Proceed past the first fountain and around the corner to the right. Follow that flagstone lane out to the wider walkway then turn left. Move down the right side of the walkway until you reach the payphone that Giorgi secures for you.
OBJECTIVE: Call Sammy
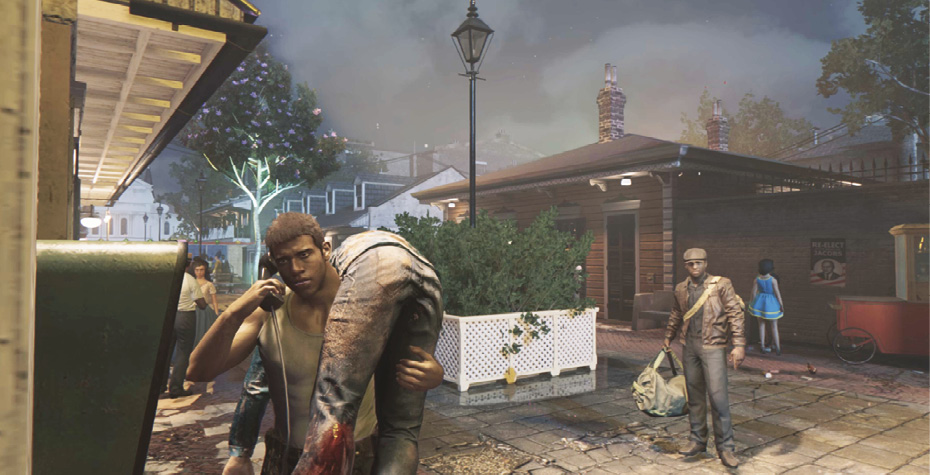
Approach the payphone and press the button prompted to call Sammy. He can’t get a car to your location because the roads are closed off. Sammy sends you to a nearby grocery store on the back side of the cemetery; he’ll stash a getaway car at the loading dock.
OBJECTIVE: Go to the Getaway Car
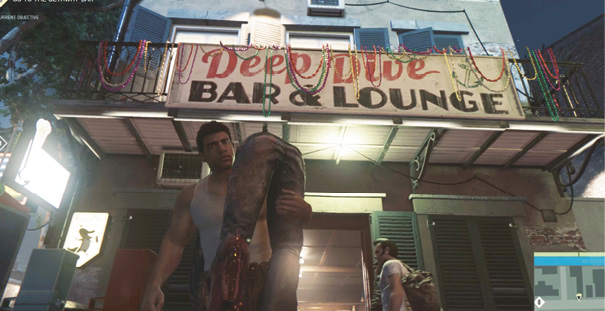
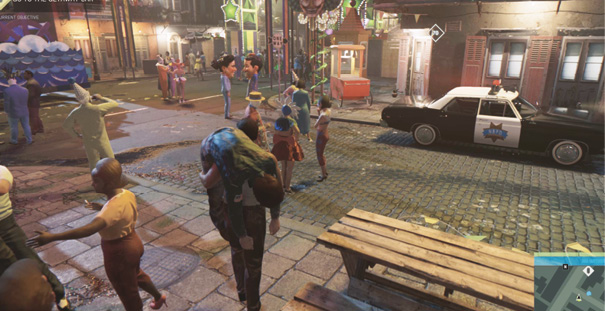
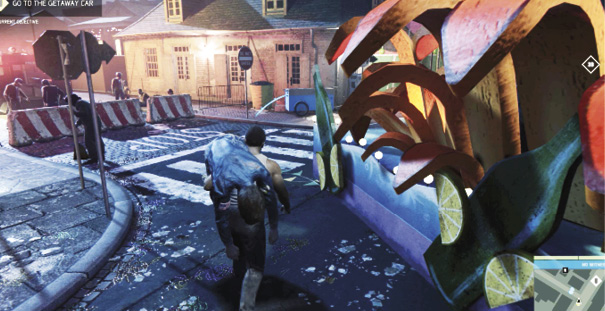
After you hang up, turn left and walk through the black archway with the Teach’s Alley sign. Turn right and move down the street through the big parade floats. The street is blocked off, so turn right and enter the Deep Dive Bar & Lounge. Move through the bar and exit via the back door.
You emerge onto a small plaza. Keep an eye on your Minimap to see the objective marker, and keep working toward it. Veer left through the plaza and walk past the police car. On its radio you hear a report that the cops have found the heist team’s abandoned boat and are closing in on the French Ward.
Follow the street to the right, through the green archway.
Then stroll past more parade floats and the striped barricades where a police van blocks the street.
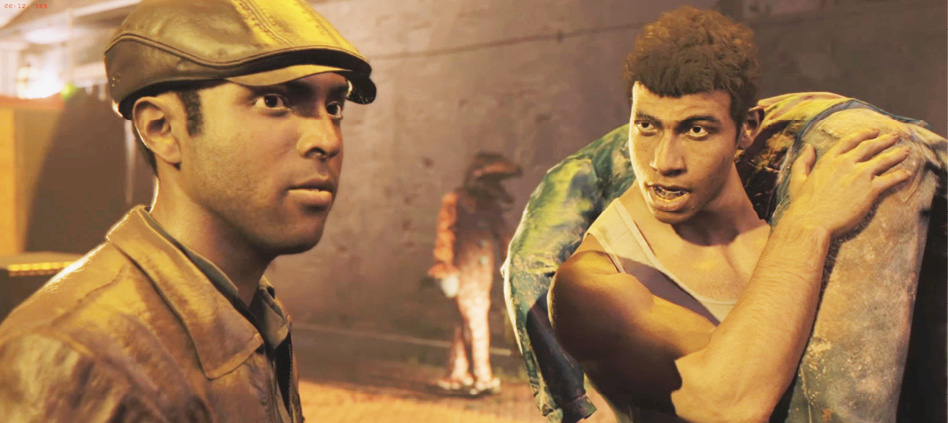
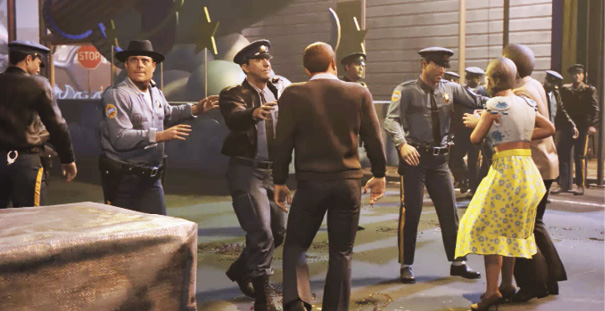
Veer to the right of the barricades and follow the street until you trigger the cutscene: NBPD units are aggressively searching the crowd up ahead. Lincoln sends the other guys on to Sammy’s getaway car while he diverts police attention. Giorgi slips him something to help the cause.
Now the going gets intense. As the crowd panics, sprint through the open passage in the street-front directly ahead. (To sprint, hold down the control shown onscreen.) It leads to a back alley.
As you continue down the alley, police cruisers arrive at the far end. Duck left into the open doorway off the alley and follow the passage out onto the street.
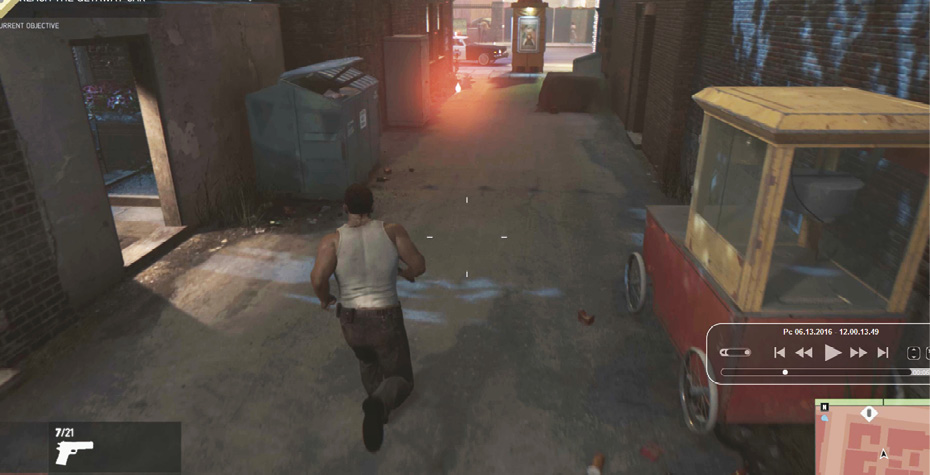
Sprint across the street and veer leftward past the bandstand and the dolphin parade float then run through the brick pillars of the cemetery entrance. (Remember that Sammy said the getaway car is at a grocery store loading dock that backs up to the cemetery.)
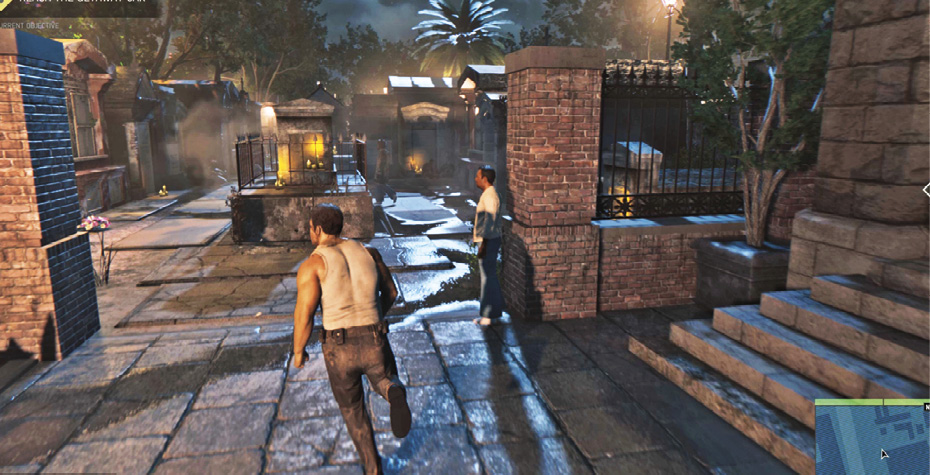
Your goal is to reach the exit gate on the opposite end of this cemetery. Turn right and sprint down the aisle between rows of mausoleums toward the big angel statue. Continue to eye your Minimap to see where the cops (the blue radar blips) are searching, and avoid them. If an isolated cop blocks your route toward the objective marker, you can sneak up behind him for a silent takedown to elude detection.
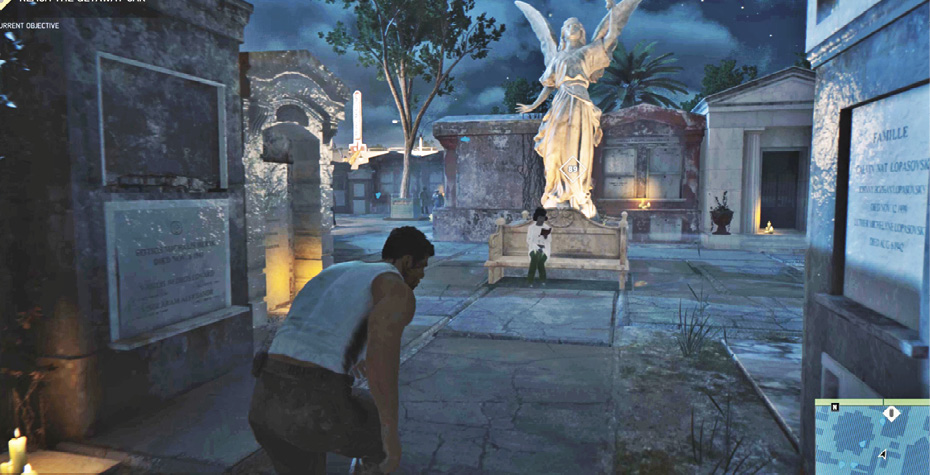
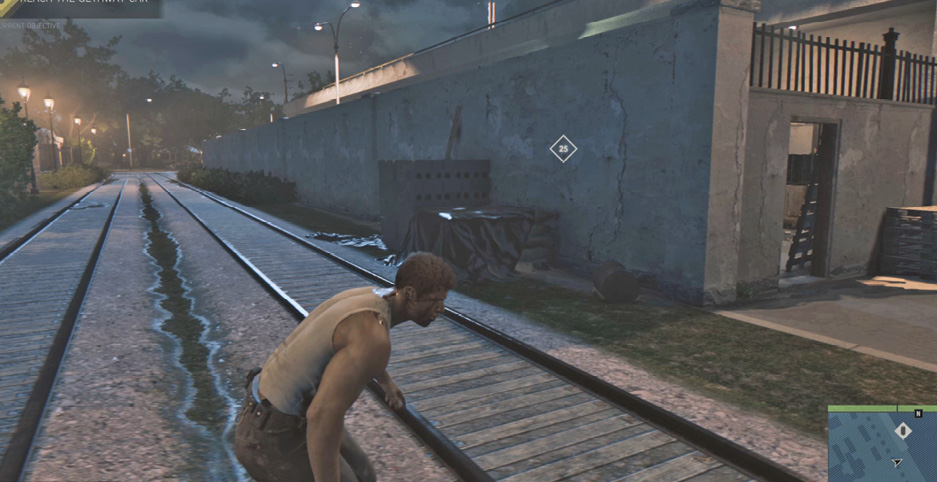
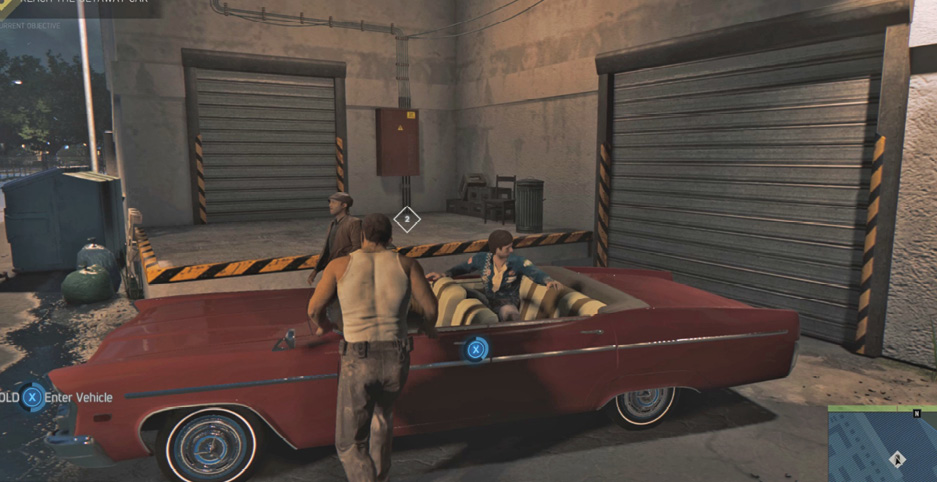
The cemetery’s back exit leads out onto a set of railroad tracks. The building directly across the tracks is the grocery store destination. Head for the doorway into the back enclosure—the loading dock where Ellis and Danny await your arrival in a red convertible. They report that Giorgi has gone on ahead on his own.
OBJECTIVE: Lose the Police
Drive down the dumpster-filled alley toward the closed gate. As a police vehicle pulls up outside, smash through the gate and head straight for the ramp at the corner, on the right side of the street. Hit it straight on to launch over the top of two more cop cars arriving up the street ahead!
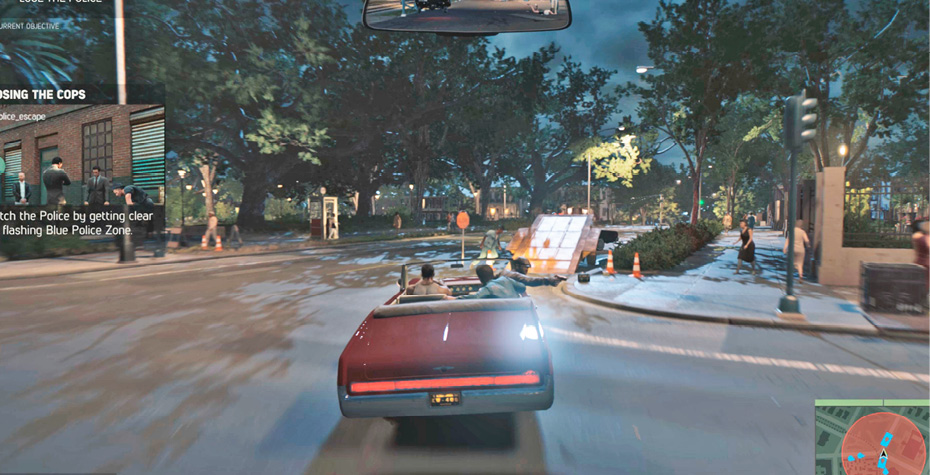
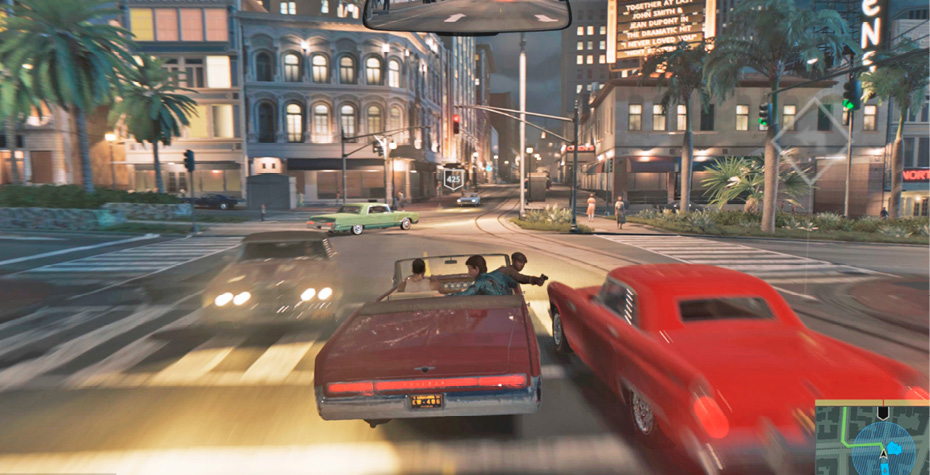
Now it’s time to ditch the other police vehicles that give chase. Head straight down the street to the stop sign and turn left. Then drive like a bat out of hell, zigzagging through the city streets while avoiding collisions with panicked motorists. A good escape tactic is to slalom as close as possible through oncoming traffic so that unnerved drivers swerve behind you and cut off pursuing police cruisers.
Once you finally get outside the Police Zone and shake off the pursuit, your car’s occupants celebrate with some bad singing. This triggers a long, chapter-ending cutscene that sets up the central conflict in Mafia III. We won’t spoil the full scene here, but suffice it to say that Lincoln loses almost everything that has given his life structure and meaning…and gains a dark new overriding purpose.