Mafia III Guide Story Missions
DELRAY HOLLOW: Pray on the Way Up
Mission: “Kill Ritchie Doucet”
Prerequisite: “Smack Racket” Secured
Talk to Cassandra
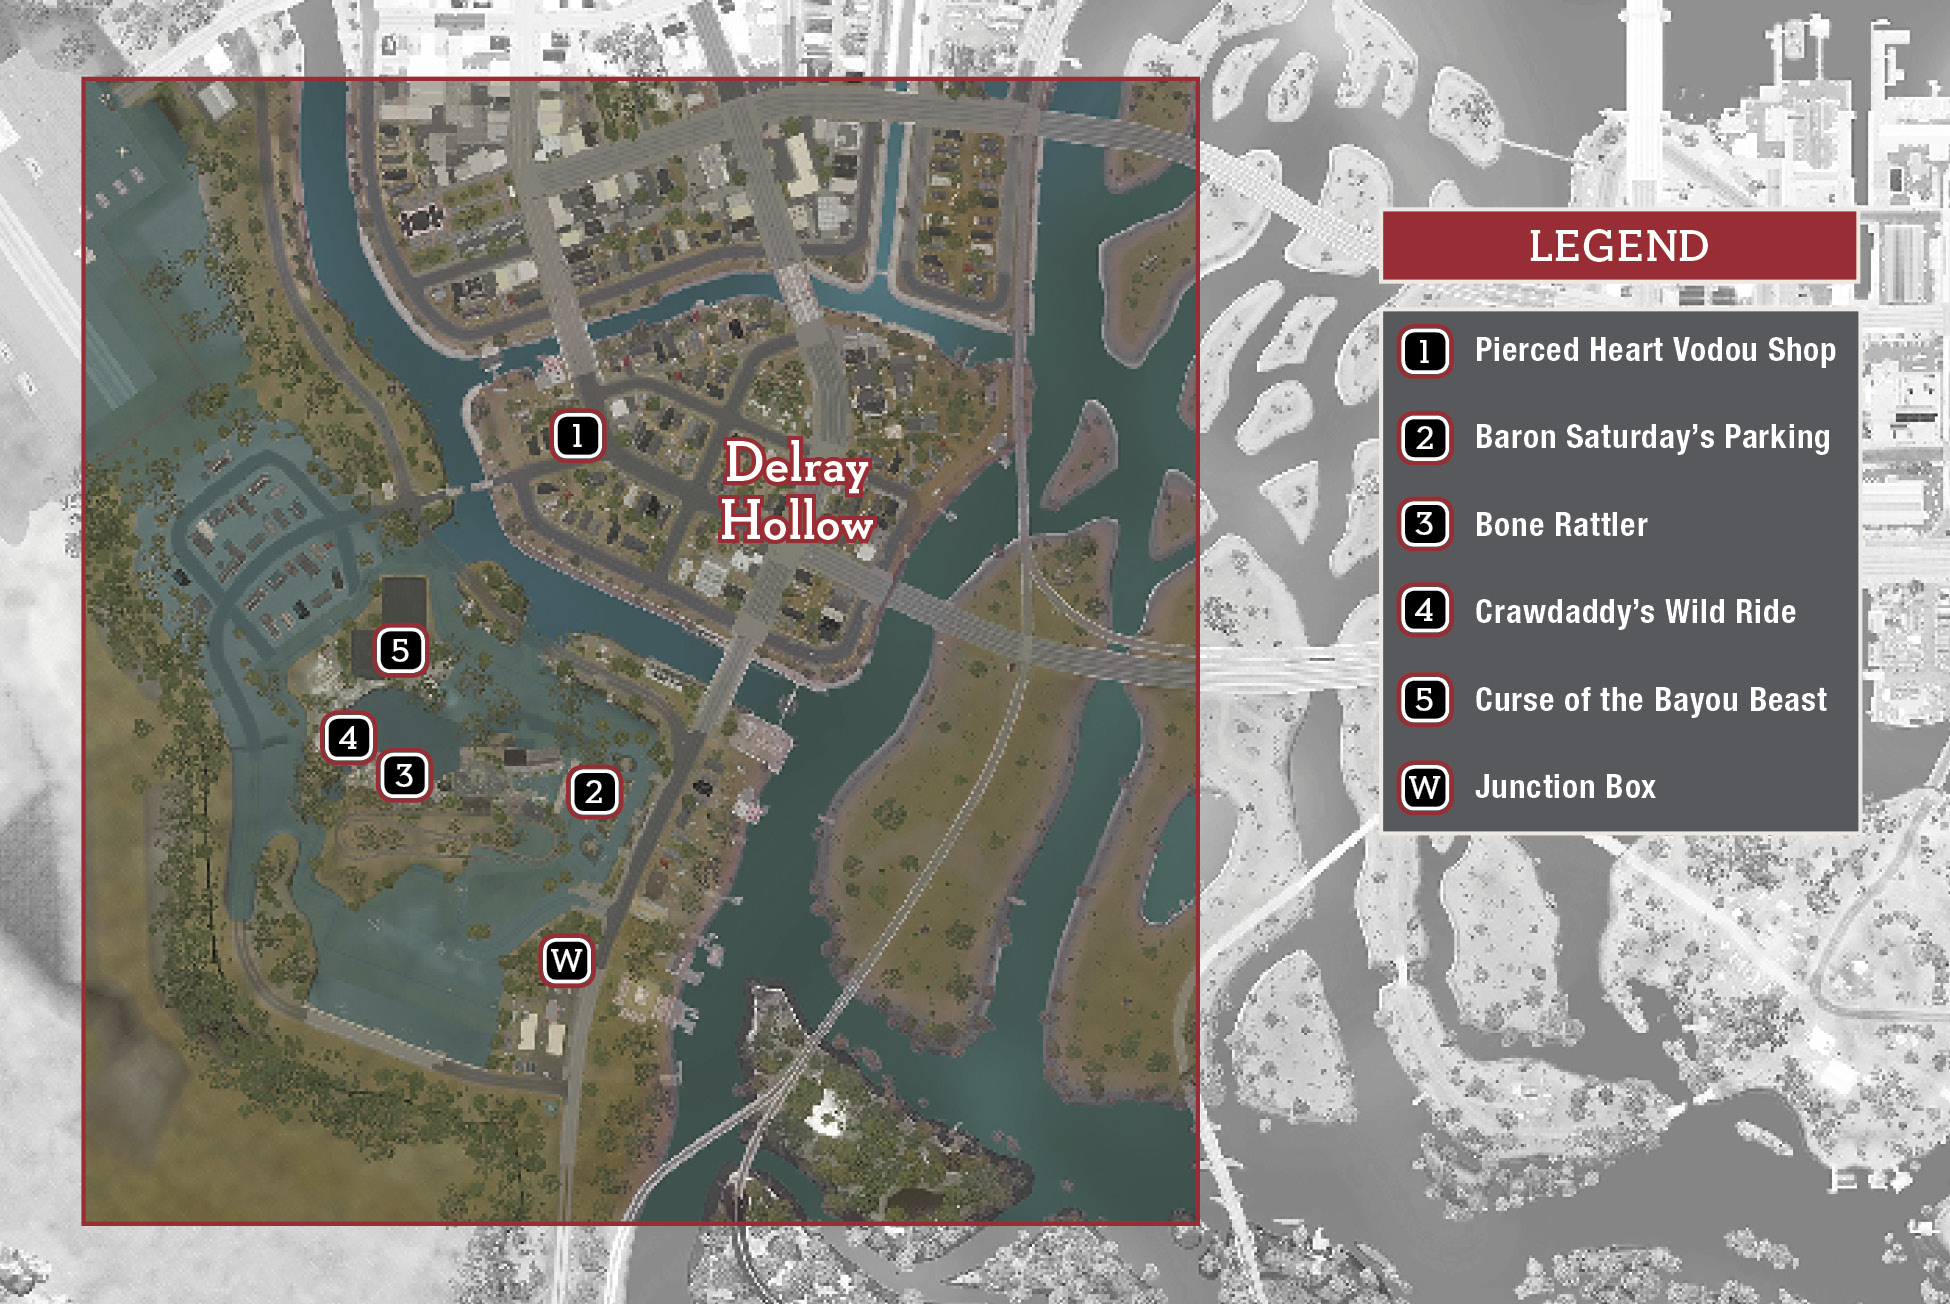
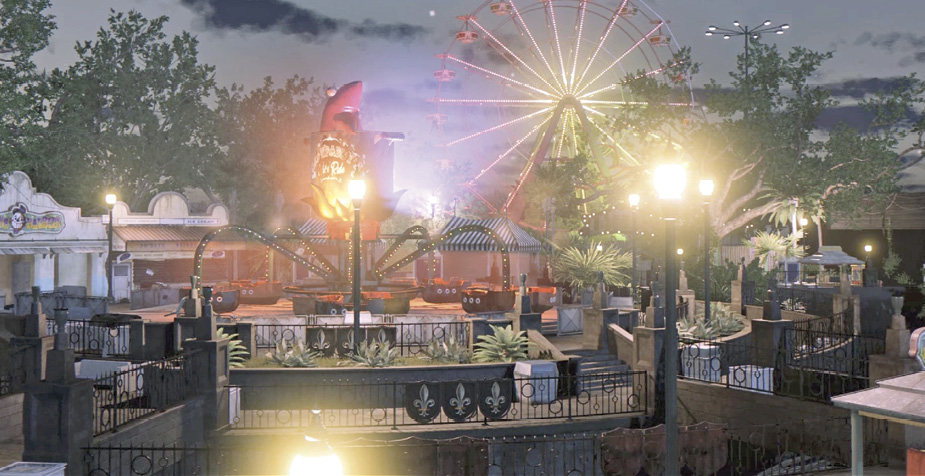
Once you’ve secured both of the Delray Hollow rackets, you’re ready to hit your first Marcano lieutenant, Ritchie Doucet. But to find him, you’ll need help from Cassandra. Return to the Pierced Heart Vodou Shop (1) and enter to trigger the cinematic: Cassandra has found an informant of her own. He reveals that Doucet and his remaining Dixie Mafia have holed up at the nearby abandoned amusement park, Baron Saturday’s Funpark.
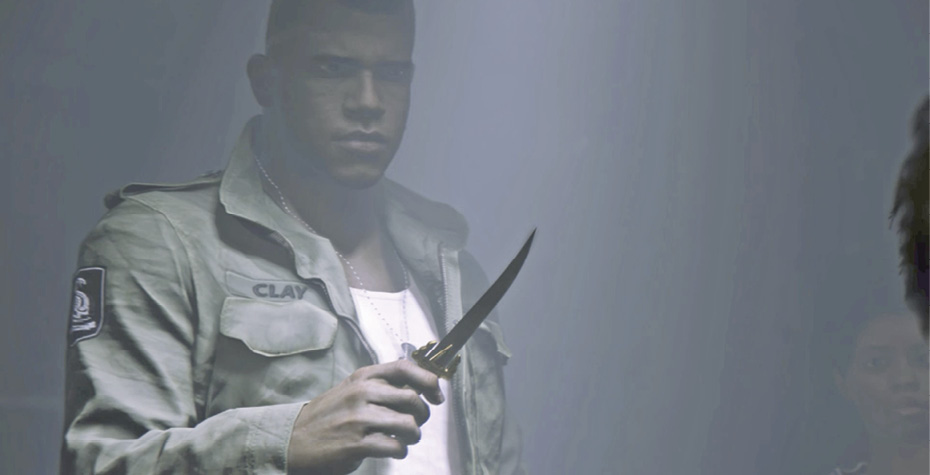
Go to Baron Saturday’s
Follow the new trip route down to Baron Saturday’s flooded parking lot (2).
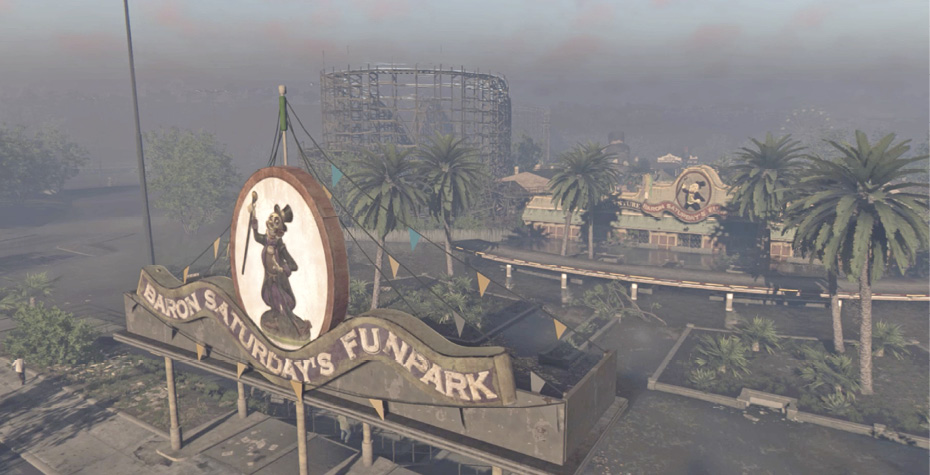
Get Inside
Veer left across the lot to find the access ladder (circled in our shot). Climb up two ladders onto the scaffolding then drop down onto the roof of the entry gate.
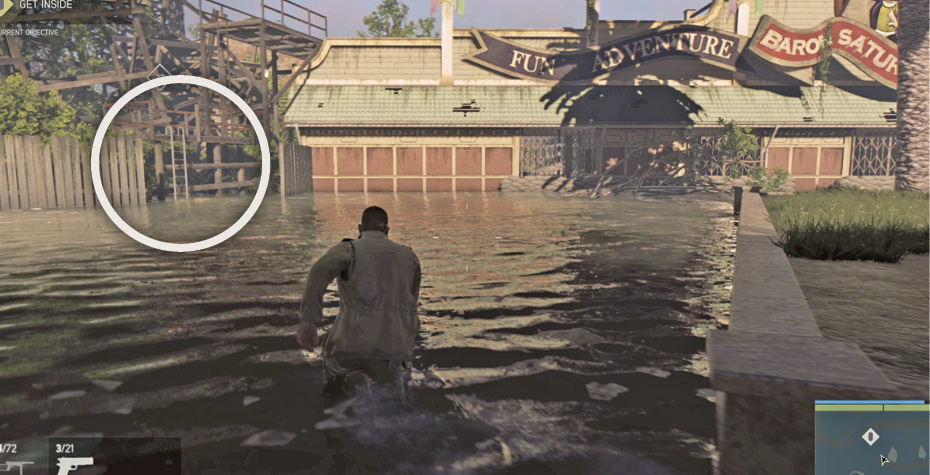
Find Ritchie
Secure the Catwalk
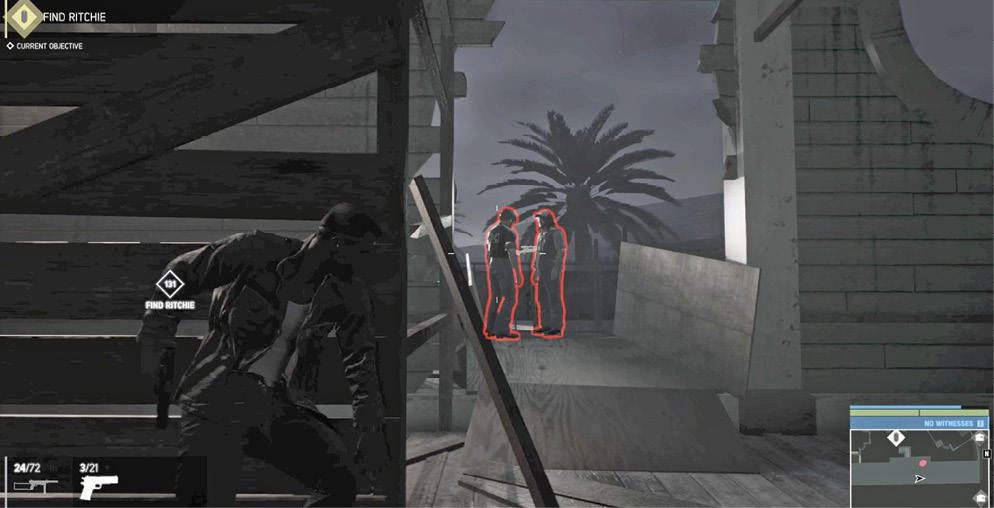
Walk the length of the roof. As you do this, the time of day transitions to nighttime (if it isn’t dark already). Take cover at the far end and eavesdrop on the two Dixie Mafia guards as they chat. When they finish their conversation, let them separate and take up positions facing away from you on the catwalk, looking down at the park’s entry plaza below. Stalk up behind the nearest guard for a silent takedown, and then repeat on the second guard just down the catwalk.
Clear the Plaza
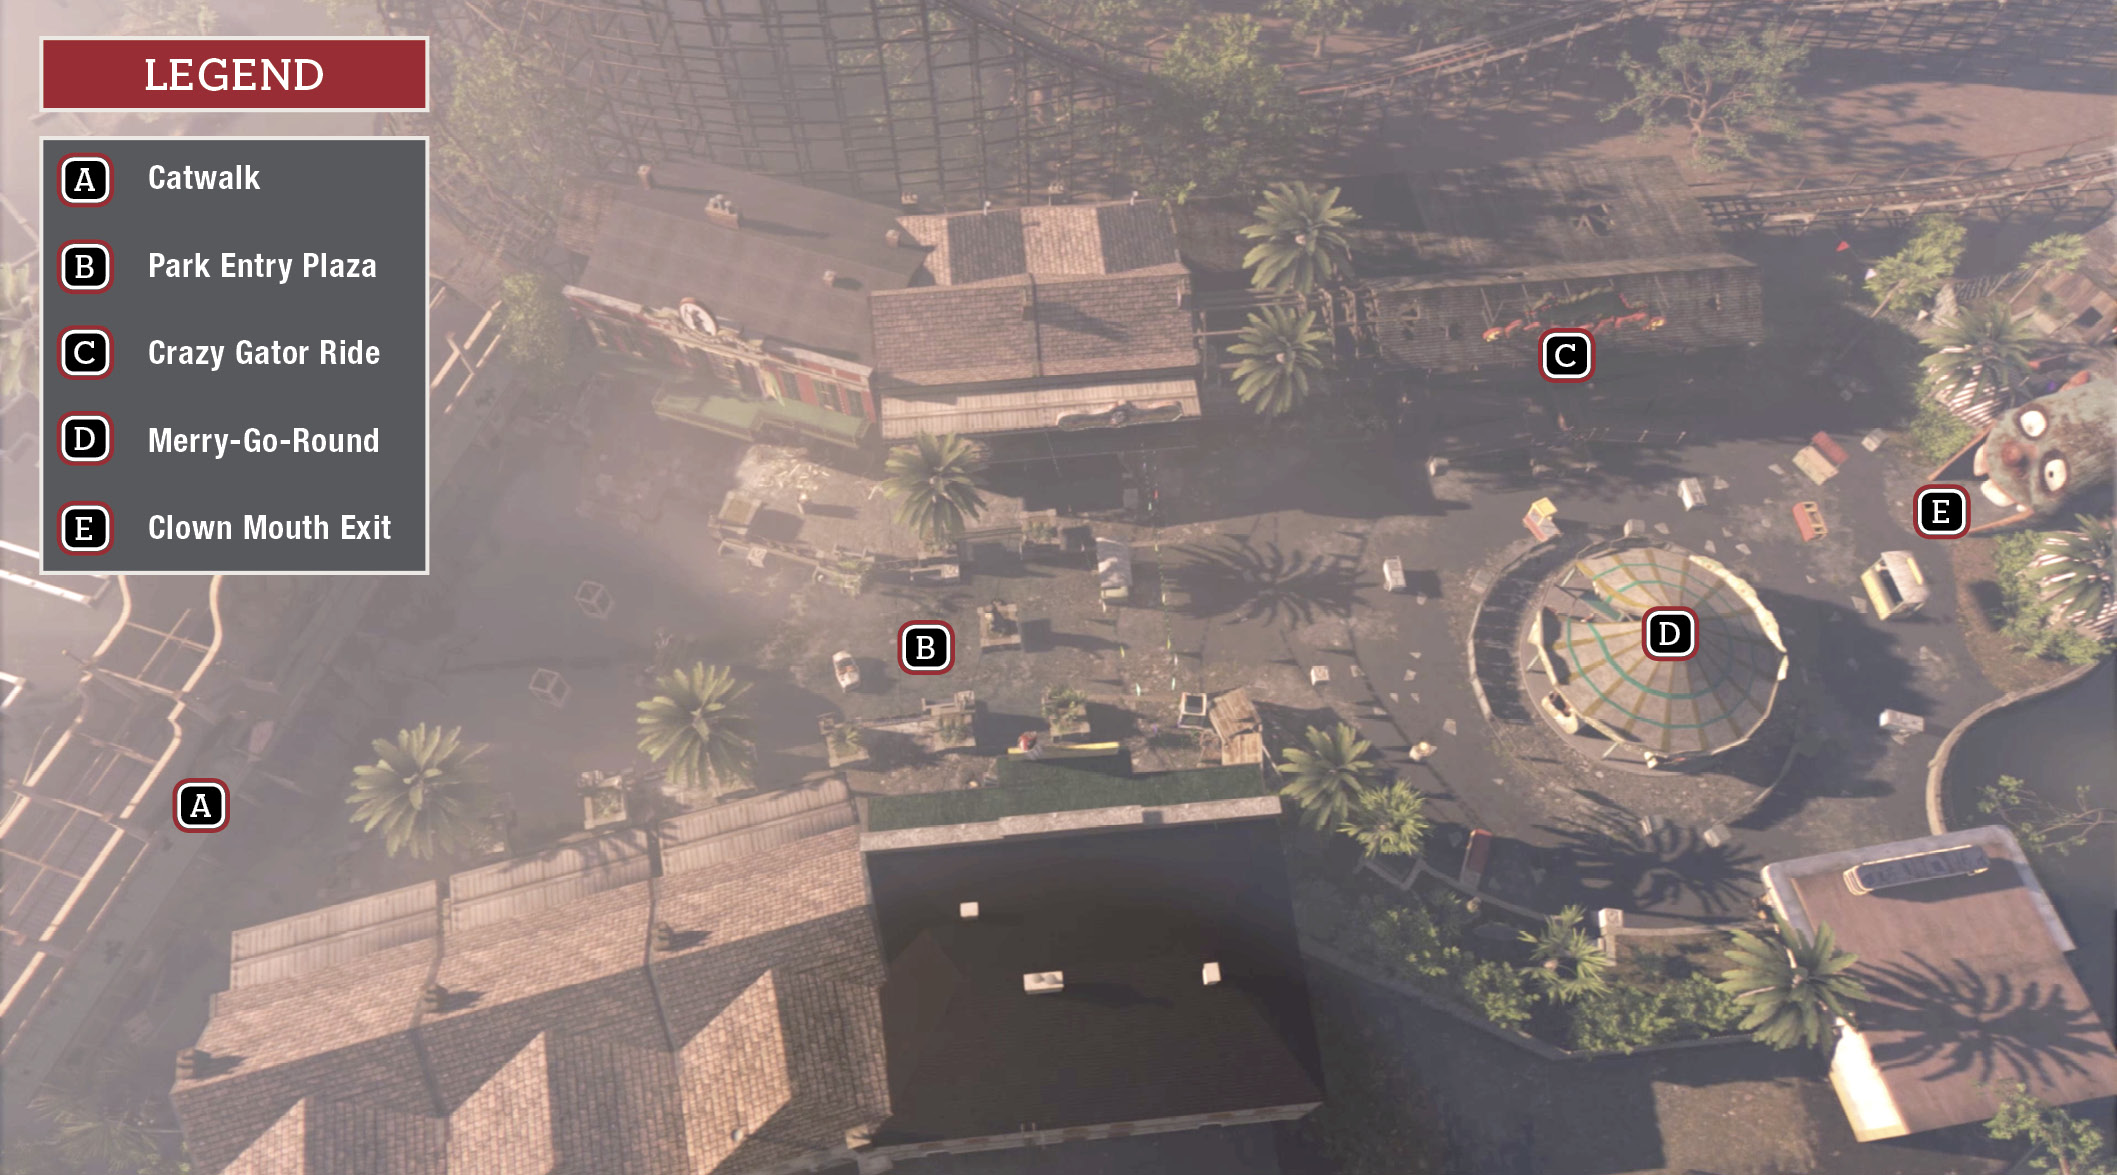
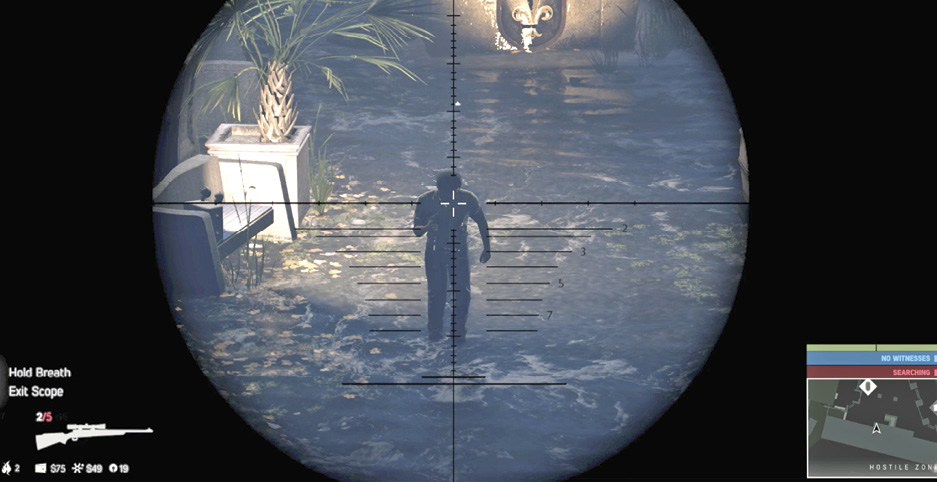
Take cover at the railing next to the Manitou Model 67 and grab the sniper rifle (A). Use your Intel View to spot any glowing red targets in the plaza below then activate the rifle’s scope view to nail them. After every kill shot, switch from the scope to Intel View, find the next target, and then bring up your rifle again to snipe them. Note that some guards across the plaza may be posted within your sniper rifle’s range but outside of your Intel View range. So you may need to spot them using the rifle’s scope.
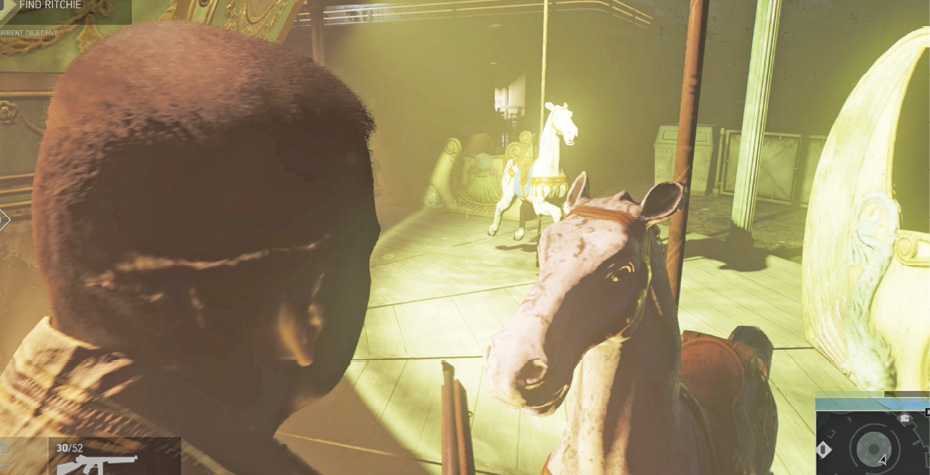
When you see no more guards below, climb down and start stalking carefully across the plaza (B), moving from cover to cover and using your Intel View to pick out any gunmen who may be hidden in the dark. Look for a guard patrolling the ramp of the Crazy Gator ride (C) to the left. Gun him down and hustle up the ramp to take cover as more Dixie gunmen move into position below near the merry-go-round (D). Pick them off from your high position!
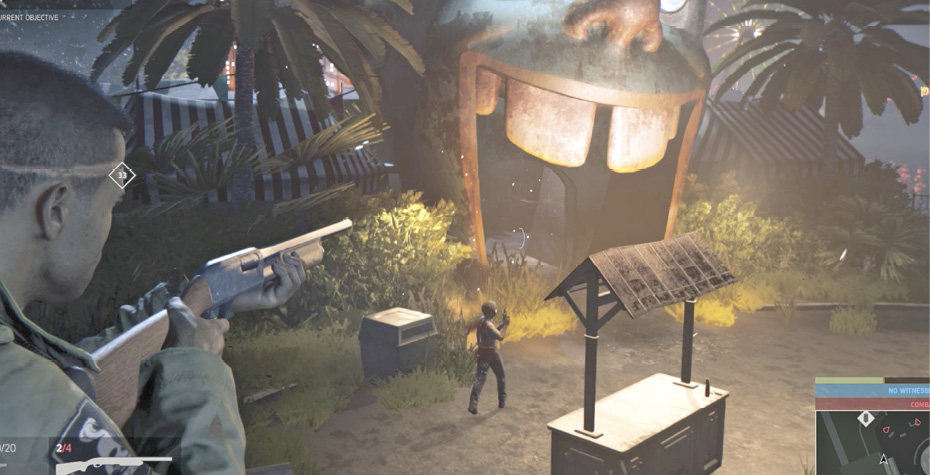
When the immediate area is clear, proceed to the next section of the park by walking through the big toothy mouth-tunnel (E) of the clown with the crazy twirling eyes.
Fight through the Bone Rattler
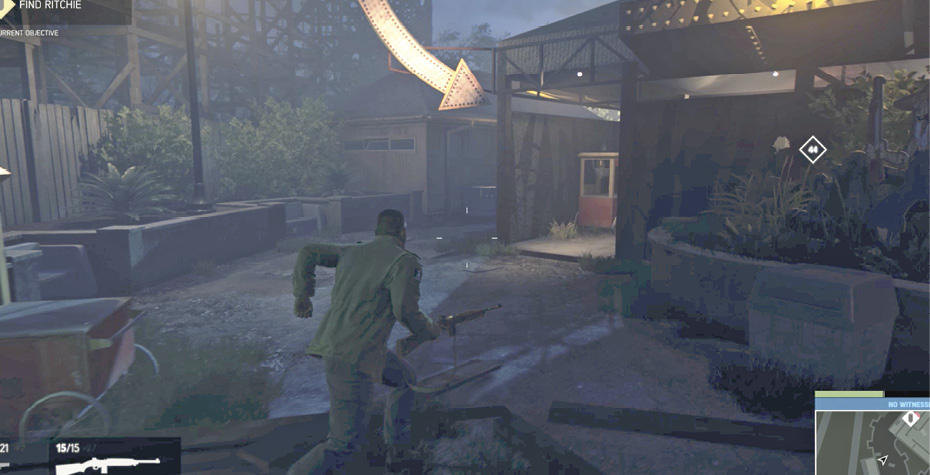
Proceed past Papa Virgil’s Shooting Gallery on the left to find a Medicine Cabinet by the restrooms. Then double back to the entrance to the Bone Rattler bumper car pavilion (3). Just follow the glowing arrow that points the way!
Before you enter, take an Intel View scan of the area to see several pairs of Dixie gunmen inside the pavilion. Fight across the Bone Rattler and follow the walkway around its perimeter to the Exit sign.
Get to the Curse of the Bayou Beast
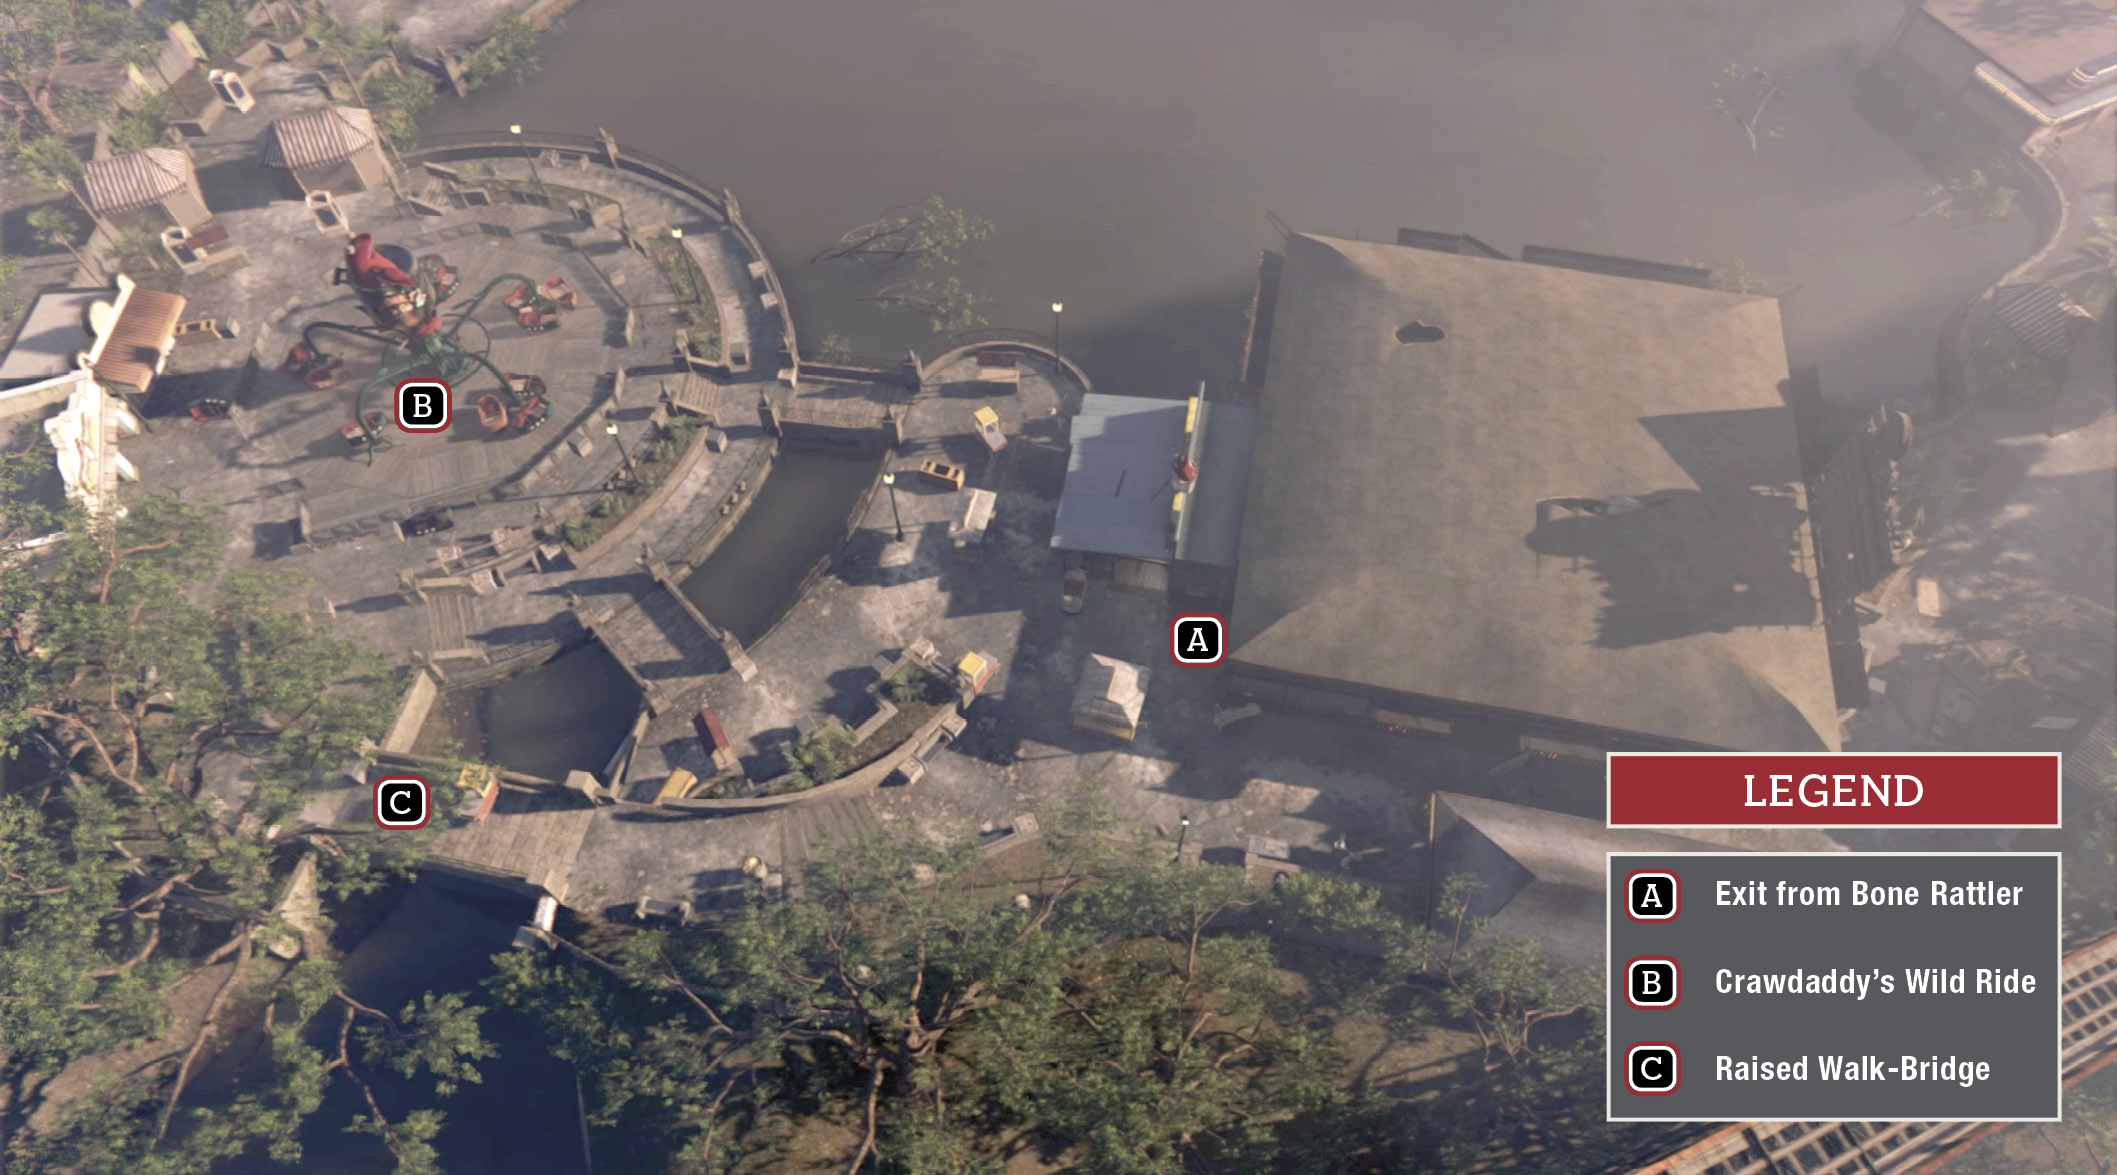
Be ready when you exit the Bone Rattler (A)—two of Doucet’s mob goons stand not far from the exit ramp. After you drop them, hustle to find cover because several more gunmen are deployed under the glowing arches of the Crawdaddy’s Wild Ride platform (B) up ahead.
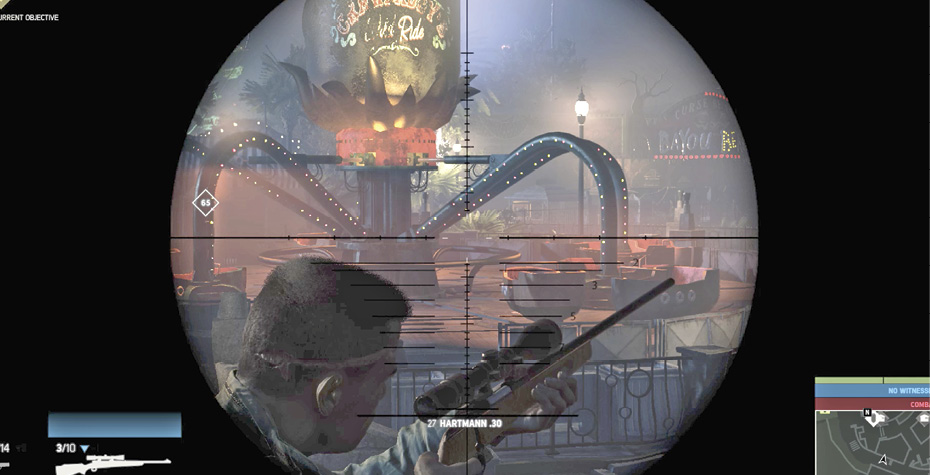
A good tactic: Head for the raised stone walk-bridge to the left (C) and neutralize the mob rifleman there. The post has a good view, provides good cover options, and you can find a sniper rifle on the cart. Clear the area, move past the Crawdaddy’s platform, and fight your way to the entrance of the Curse of the Bayou Beast ride.
Chase Down Ritchie
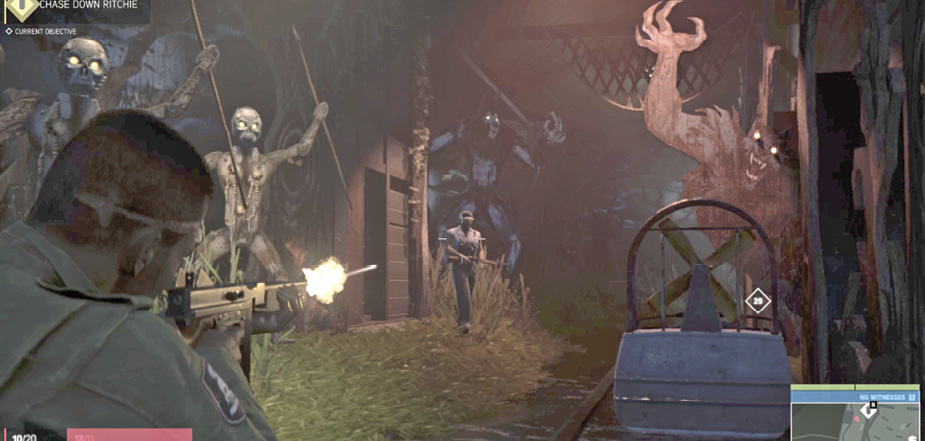
The Curse of the Bayou Beast is a rail ride through the spooky recreation of a haunted bayou. The rail winds back and forth through a dark, misty interior as glowing characters and beasts suddenly burst to life. As you enter, Ritchie Doucet takes off running as one of his men rushes to engage you. Gun down the attacker and follow Doucet down the twisting tunnel.
When you reach the priest carrying the lantern and crucifix, follow that figure as it slides down the rail, and then take cover. A gunman opens fire at you from a high perch over the ride’s waterway. Take him out and push forward. Soon another Dixie goon emerges from a hut on the right. Gun him down and continue around the next corner to trigger a new objective.
Confront Ritchie Doucet
Take cover behind a fake tree at the next bend and use your Intel View to spot more shooters up ahead. Here’s where stealth tactics really pay off. Whistle to lure them one at a time for silent takedowns. Keep dashing ahead into cover then checking your Intel View to spot more of Ritchie’s guards.
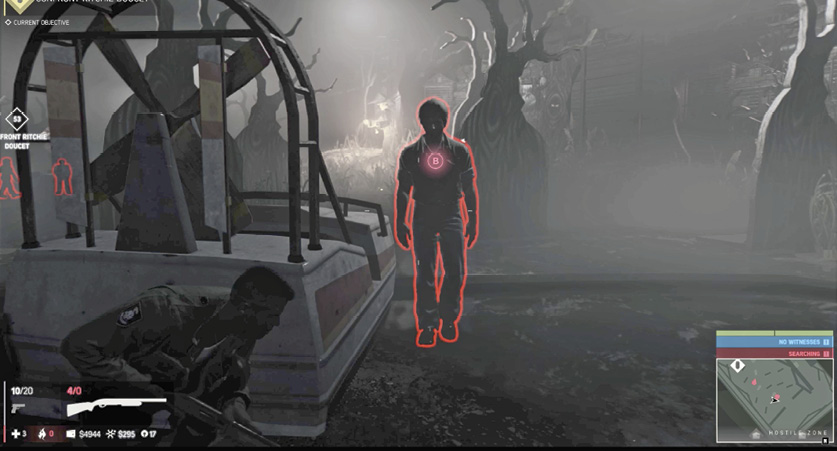
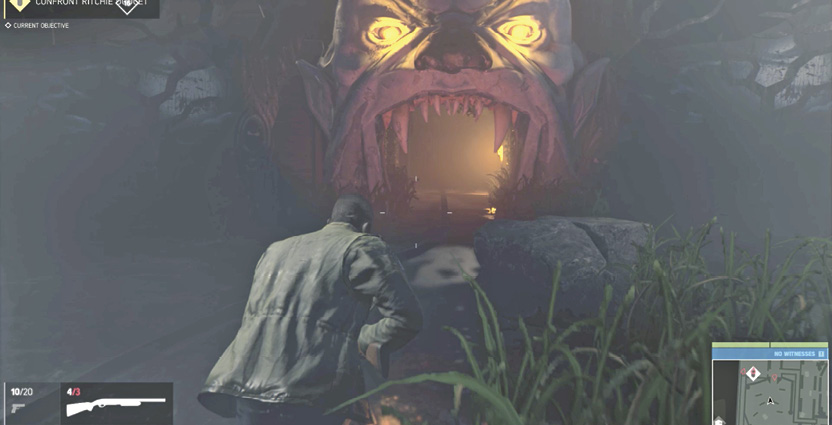
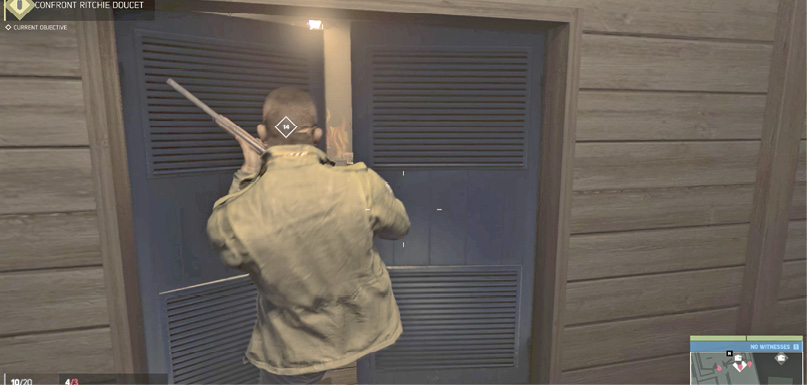
Keep whistling them over, one by one, and pushing forward to the next pair. Eventually you reach the fanged mouth of a demon. Go through the open mouth and head up the stairs on the left. At the top, approach the double doors and kick them open to trigger your next objective.
Grab Ritchie Doucet
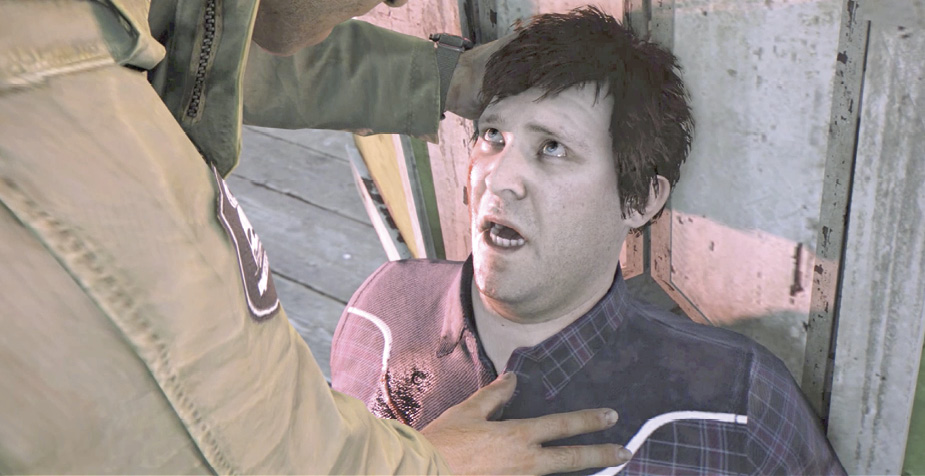
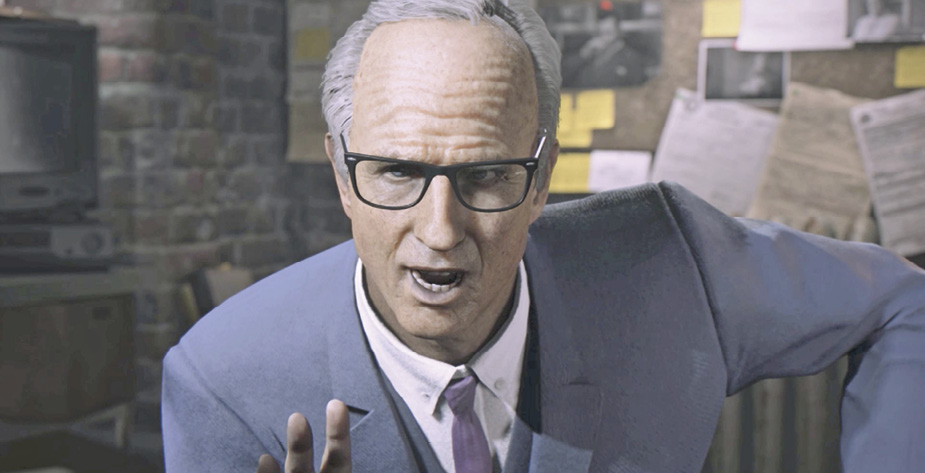
Immediately take cover at the doorway. Ritchie Doucet opens fire from behind a heavy desk piled with boxes. Two of his men are with him, so be patient until you can pick them off. Once Ritchie is isolated, attack until he’s incapacitated and goes down on one knee. Then grab Ritchie to trigger the mission-ending cinematic: Lincoln offers Doucet a nice view from the ferris wheel. The scene ends with some more present-day perspective from Assistant Director Maguire.
Unlocks Mission: “That Goes Both Ways”
Mission: “That Goes Both Ways”
Prerequisite: Complete “Kill Ritchie Doucet”
Now that the district has finally been scrubbed clean of the Dixie Mafia infestation and wrested from Sal Marcano’s hands, Lincoln and Cassandra need to have a serious chat about the future of Delray Hollow.
Talk to Cassandra
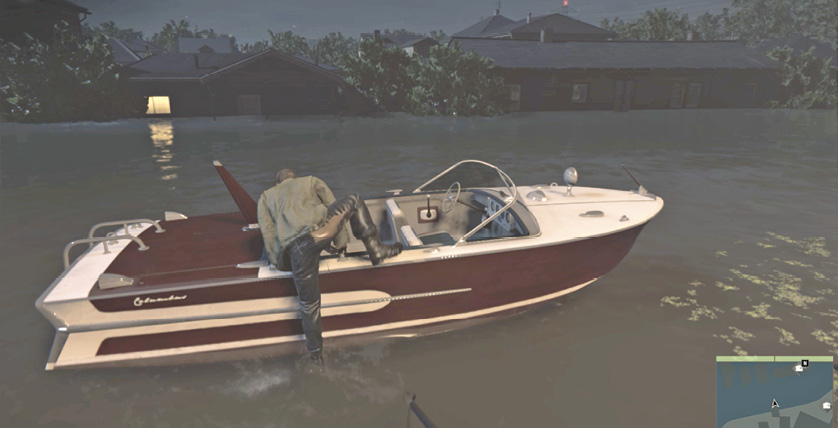
Descend the stairs to the dock where you see an Eckhart Columbus speedboat. Wade to the boat and climb aboard then take the helm. Use your map to chart a course toward the active objective icon. When you get close, hop out of the boat and climb up the riverbank.
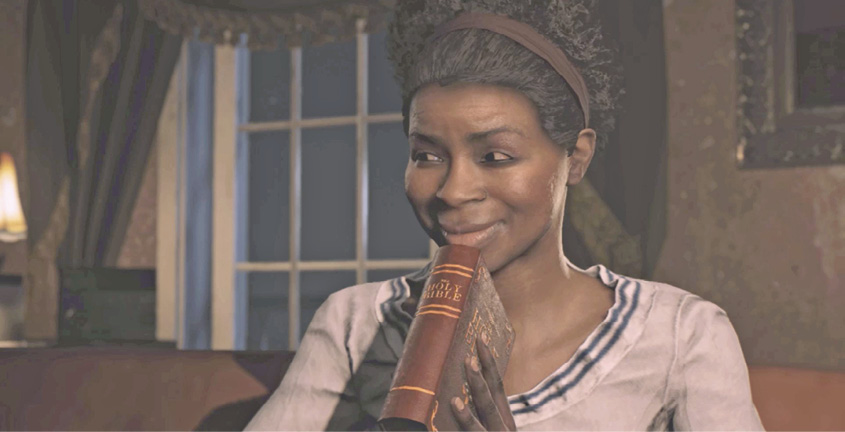
Jog to the Pierced Heart and head upstairs to trigger a cinematic: Lincoln reports that Doucet is dead and the Hollow is now under Cassandra’s control. Her Haitian crew is still uncomfortable with Lincoln, so Cassandra suggests that helping her friend Emmanuel Lazare would be a nice gesture.
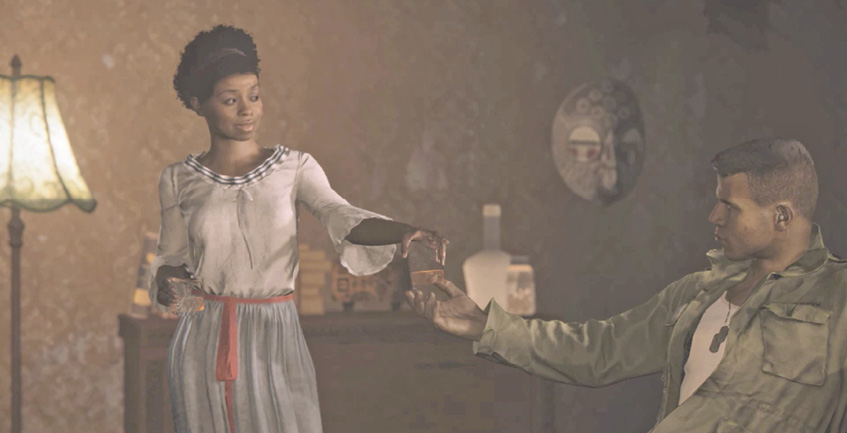
This opens up an Optional Mission in Delray Hollow, “Are We Cool.” When the District Assignment window appears, press the button indicated to assign Delray Hollow to Cassandra. She is now officially a district-level Underboss for Lincoln Clay.
Unlocks Optional Mission:“Are We Cool”
Unlocks Story Mission:“Friends Like These”
Mission: “Friends Like These”
Talk to Donovan
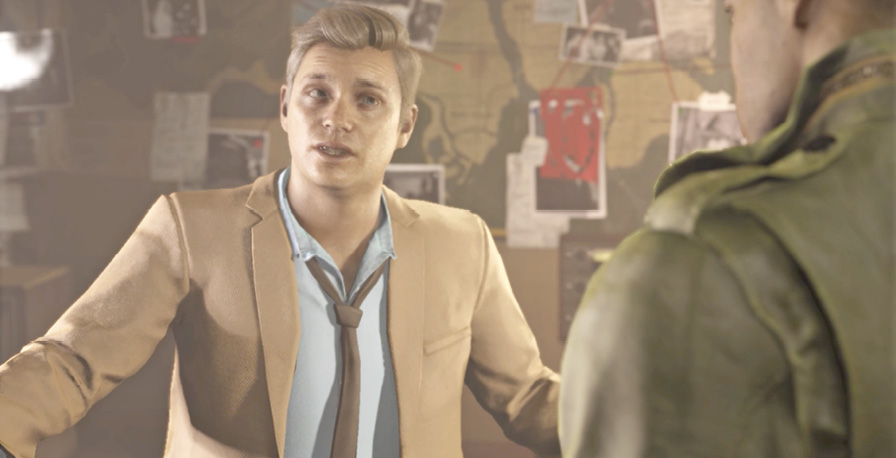
Exit the Pierced Heart and follow the trip route back to the Blue Gulf Motel. Climb upstairs and enter Donovan’s room to trigger another cutscene: Donovan asks Lincoln if he’s ready to see the other briefings.
Here, the game’s open world starts to open up. Two dossiers sit on Donovan’s desk: one for Vito Scaletta, and another for Thomas Burke. These two fellows will join Cassandra as your primary Underbosses. You can select either dossier…or better yet, just pick up both.
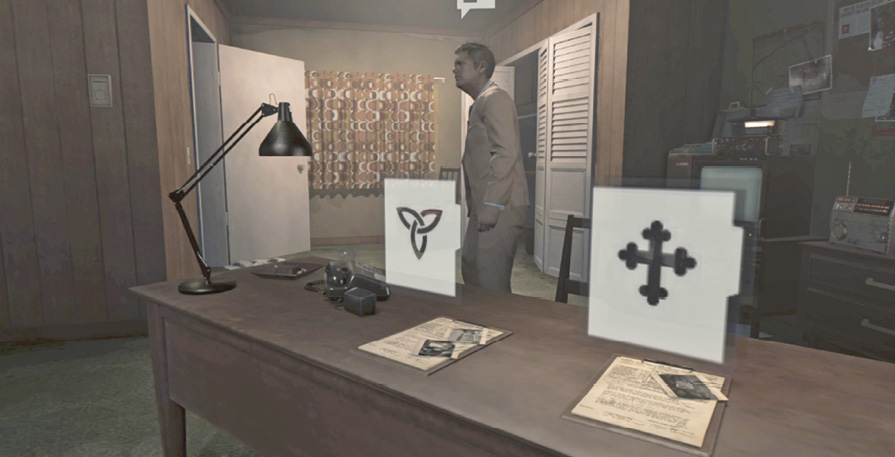
Pick Up Vito’s Dossier
Pick Up Burke’s Dossier
Viewing either dossier opens up the story chapter in the New Bordeaux district associated with that mobster. For this walkthrough, let’s go check out Vito Scaletta in River Row first.