Side Quests
Side Quests are typically as long as a Main Quest, but they aren’t directly tied to one. You will often have to complete a specific Main Quest in order to participate in a Side Quest, but they are stand-alone, one-off adventures that don’t tie into other quests.
 An Organic Solution

Organic Panic

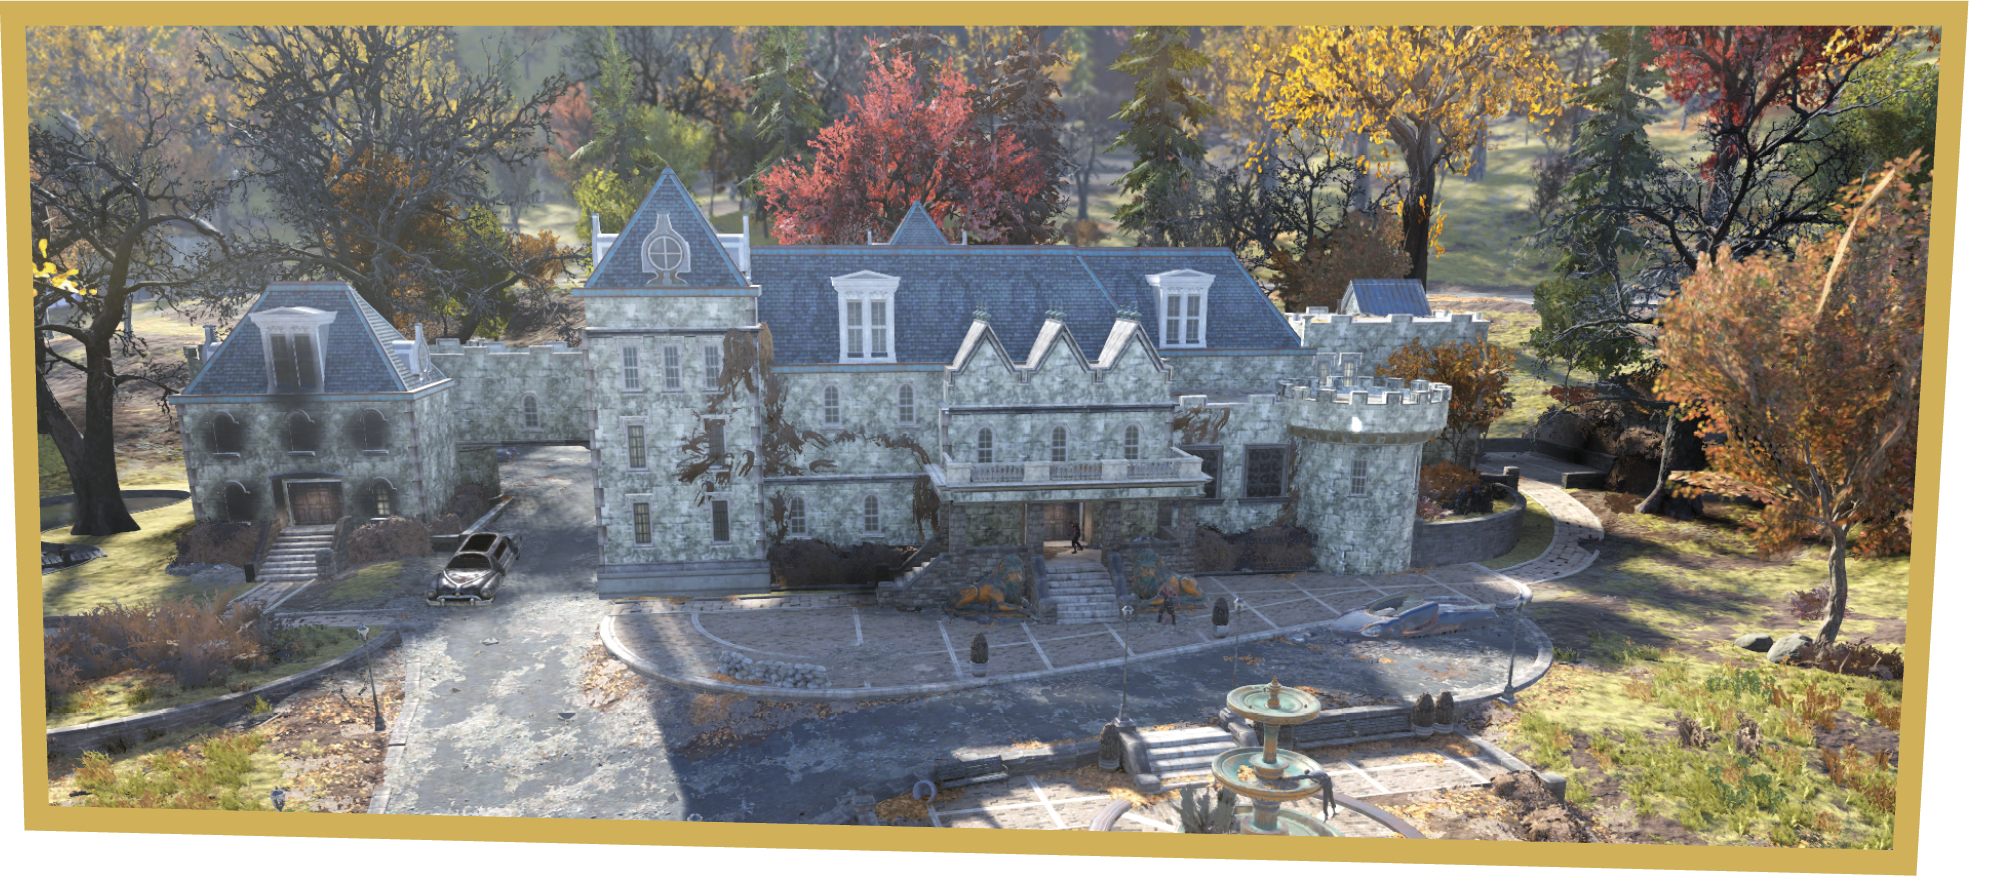
Exit the bunker and head into the forest to the north to reach Southhampton Estate. Find Ella’s Research on Ella Ames’ body on the estate’s second floor.
Access Ella’s Research Holotape under the Holo tab in the Items menu. It will bring up a terminal screen. Read through the entries, then select “Install Radio Tracking” under “Tracking Bone Meal.” Now set your radio to “Radiation Signal Tracker” and start your hunt for bone meal.
Pay attention to the signal strength percentage in the screen’s top-left corner. If it goes up while you’re moving in a direction, keep moving in that direction. If it goes down, switch gears and start moving toward a new location.
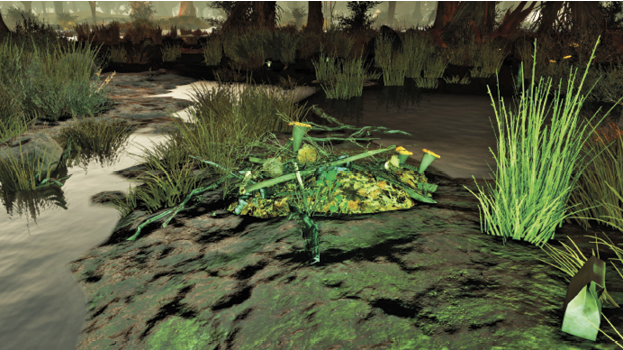
Head southeast of Southhampton Estate toward the Crevasse Dam to reach the objective circle. Once inside, follow your Radiation Signal Tracker to locate a Deathclaw nest on the western bank of the Mire lake. Be warned: Where there are Deathclaw nests, there are inevitably Deathclaws.
Once you’ve grabbed the bone meal, head south on Route 65 to Dyer Chemical, where you’ll need to find nitrogen, phosphorous, and potassium.
Nitrogen

The nitrogen is in the office on the second floor of the building on Dyer Chemical’s north side.
Potassium

The potassium is in the back of a large blue truck on the south side of Dyer Chemical.
Phosphorous
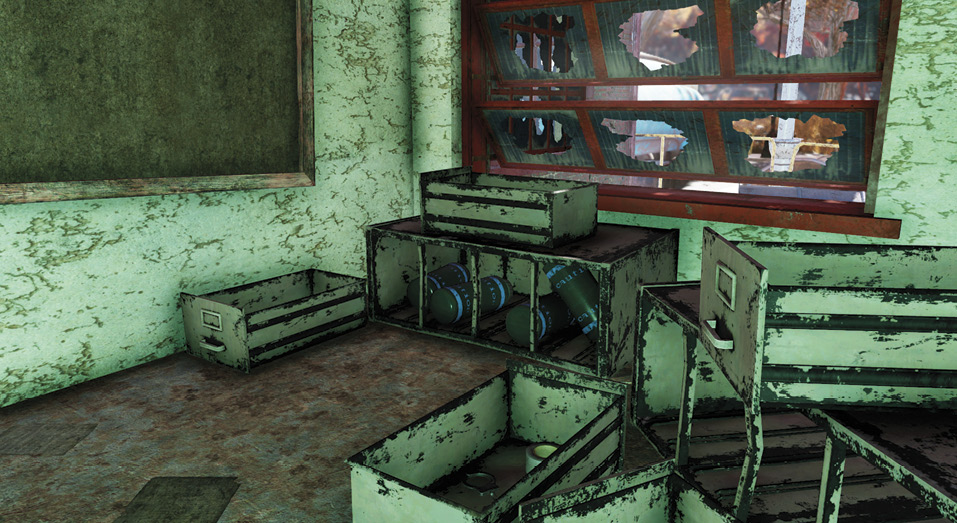
Phosphorous is inside the small building attached to the southwestern corner of Dyer Chemical.
Constructing RadShield
Once you have all three chemicals, take them and the bone meal up to the facility’s third floor and insert them into the marked terminal. Select “Confirm.” Once complete, select “Flush” to dump the fertilizer into the river.

Jump into the western river and pull one of the glowing Strangler Blooms off a tree lining the riverbank. Head to the marked Chemistry Station and craft RadShield, which is under the “Healing” category. Once you craft the RadShield, the quest completes.
 Bureau of Tourism

Handy Man

Head into Grafton and use the terminal at the objective marker. Grafton Mayor will send you off to repair tourist attractions around Toxic Valley. Most of these are as simple as walking to an objective and activating something, but there are some things to note.
Tourist Traps

Start by repairing the token dispenser. It takes a few base components, which are common and easy enough to find.
Repairing the Black Bear Lodge Check-in Terminal requires a Screw and one Circuitry. If you have those items in your inventory, you only need to interact with the terminal to fix it—finding it is a breeze.
When you’re off to repair the water valve at Wavy Willard’s Water Park, head under the facility. There’s a set of stairs in the park’s northeastern side that lead to the park’s lower levels. You can also use a hole in the bottom of one of the cobra pools slightly north of the objective marker.
Once you finish all four tasks, the quest concludes.
 Cold Case

A Cold, Wet Mystery
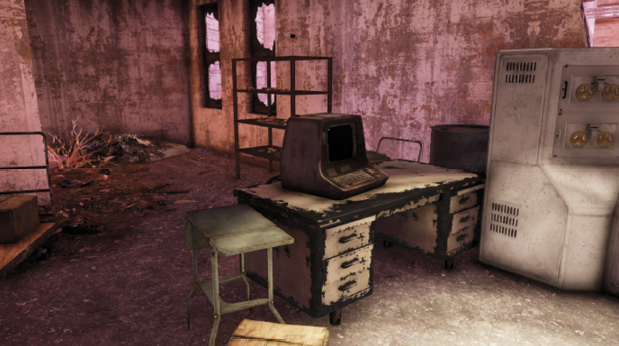
Access the security terminal in the building near the center of Wavy Willard’s Water Park. The front door is locked with a Level 2 lock, but you can access the building from a hole in the building’s northeastern corner.
Read through all the “Holotape Review” entries; then unlock the safe behind the terminal and listen to the holotape within. Head down the stairs beneath the Slither Slide Terminal to find the second holotape.
Head back upstairs and grab the notes out of the mailbox; then head to the top of Slither Slide in the park’s northeast corner to find the KidSecure ID.
You can repair the KidSecure ID at a Tinker’s Workbench in the southeast building in Willard Corporate Housing (east of Wavy Willard’s Water Park), but it will require a Nuclear Material, three Adhesive, and one Circuitry. If you don’t have the time or patience to wrangle the components for the SecureKid ID, head to Clarksburg Post Office to continue the quest.
Mail Call

Once in the Clarksburg Post Office, select “Search by BOX NUMBER,” then “Box 012.” Your next task is to search Otis Pike’s house, which is on the south end of Grafton. Use the terminal in Pike’s basement and select “Correspondence,” then “Dam Safety Inquiry.”
You will need a Lockpicking skill of 3 in order to enter the dam directly. Otherwise, there’s a hidden way in; follow your objective marker along the walkway around the building and drop down into a broken spill tube. You’ll find keys to the dam inside.
Head northwest to the Woods Estate and head upstairs. Check the desk beneath the terminal and grab “Freddy’s Hasty Note”; then head back to Miss Annie at Wavy Willard’s Water Park to conclude the quest.
 Falsely Accused

Fugitive from Justice

While trekking about Toxic Valley, you’ll find yourself suddenly and unceremoniously attacked by Protectron Marshals. It turns out that you’ve been mistaken for a notorious criminal and the law will stop at nothing to see you dead or put behind bars.
Kill the Marshals and loot the warrant off their bodies. Head to the Eastern Regional Penitentiary and speak with the warden. You’ll need to visit each of the security stations marked on your map and authorize turret activation. Once you’ve done that, return to the warden to complete the quest.
 Mayor for a Day

Stalking the Saboteur


Use the terminal on the mayor’s desk and select “Read this! [HIGH PRIORITY]”; then select “Mayor for a Day.” Exit the municipal building and head north up Route 65. The Saboteur’s house is inside a small warehouse with the words “Private Property No Trespassing Keep Out” written on the door.
You’ll need to hunt down five clues inside the hideout, so search all the likely places. Start with the body of Scott Turner, crack into the terminal on the desk and read the entries. Select “Safe Control” and unlock the safe on the ground under the cabinet on the desk’s left side. Continue thoroughly investigating until you have all five necessary pieces of evidence.
Humble Beginnings

Head north from the Saboteur’s house to find the RobCo where the Saboteur once worked. Enter the building and head to the Saboteur’s office on the building’s east side. Use his terminal and select “Scan Likeness” to obtain the Robot Virus Holotape. Now exit the building and go to the Watoga Municipal Center.

Return to the mayor’s office and interact with MAIA on the office’s west wall. She’ll instruct you to go up to the building’s roof and upload the virus from a relay tower. Exit the office, go down the hall, and use the elevator on the left to reach the roof. Use the marked terminal to start the upload. You’ll have to guard the terminal for a full 5 minutes while fending off waves of robotic enemies and a Scorchbeast. Once you do, the quest will be complete.
You’ll earn the Watoga Mayor Safe Combination for your troubles, and the robots in Watoga will no long be hostile. Not too bad! You can use the safe combination on the safe in the mayor’s office (on the desk’s left side).
 Miner Miracles

Dig Deep

Head into the Garrahan Mining Headquarters, but do so slowly. The path leading into the building is loaded with fragmentation mines. Once inside, find the terminal near the back of the building and select “Memo: Excavator Queries.”
Now go to the project manager’s terminal on the building’s east side. Select “Excavator Module Blueprints” to download plans for all of the Excavator Power Armor parts.
Ore Tour
At this point you’ll need to take a suit of Power Armor to a Power Armor Station and craft all the parts for the Excavator Power Armor. The greatest challenge you’ll have to face from here on is that it requires some difficult-to-find materials, such as Nuclear Material and Black Titanium.
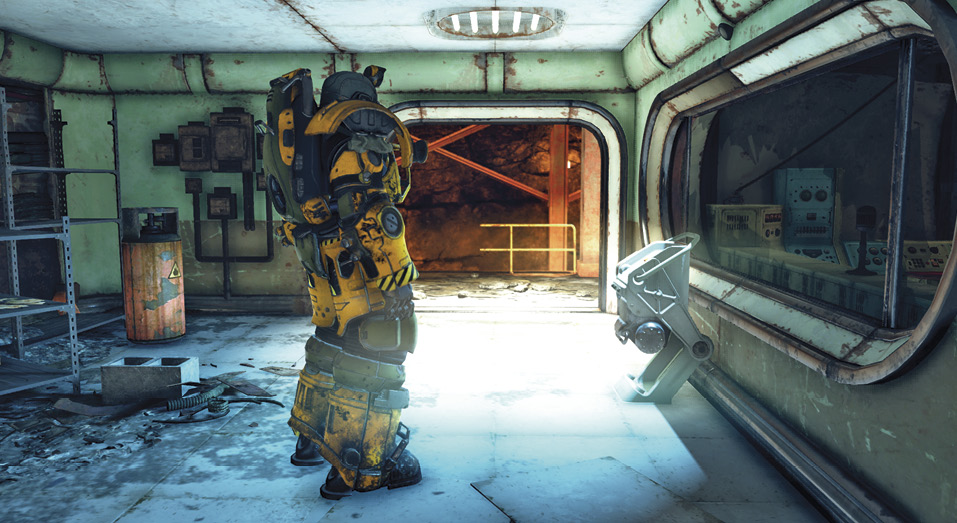
Once you’ve built the Excavator Power Armor parts, head back to Garrahan Mining Headquarters and register it by using the marked button on the building’s east side.
 Overseer’s Mission

Hot on the Trail

The Overseer has been a busy lady, as evidenced by the number of Overseer’s Caches and holotapes around Appalachia. Finding each one is key to this quest, which is only as difficult as putting one foot in front of the other. Whenever you’re in close proximity to an Overseer’s Cache, you’ll receive an objective marker for it.
Find the Overseer’s Caches in the following locations:
- C.A.M.P. southeast of Vault 76
- Flatwoods inside the white church
- Morgantown Airport Terminal
- Charleston Fire Department
- Next to the first-floor elevator at Top of the World
- Charleston Capitol DMV
- Next to Abbie’s Bunker entrance
- Camp Venture (on the southern border of the Mire and Cranberry Bog)
- Fort Defiance near the elevator on the third floor
- Fort Defiance near the elevator on the fourth floor
- Grafton
- Camp McClintock
- Near the elevator down to Site Alpha
- Near the elevator down to Site Bravo
- R&G Processing Services near the elevator to Site Charlie
- R&G Processing Services near the elevator to Site Charlie—this one appears in the Overseer’s Cache after receiving the first holotape and after someone has launched a nuke at a non-fissure site target on the server you’re in.
None of these Overseer’s Caches are hidden, and they all have the same appearance and shape. As we mentioned earlier, when you’re near one, you’ll receive an objective marker, so jump to this book’s Atlas to find each location listed and the Overseer’s Caches. Each one contains loot on top of a holotape chronicling the Overseer’s journey through Appalachia. There’s an additional holotape to be found (without a cache) at the Mountainside B&B.
 Personal Matters

Invasion of Privacy
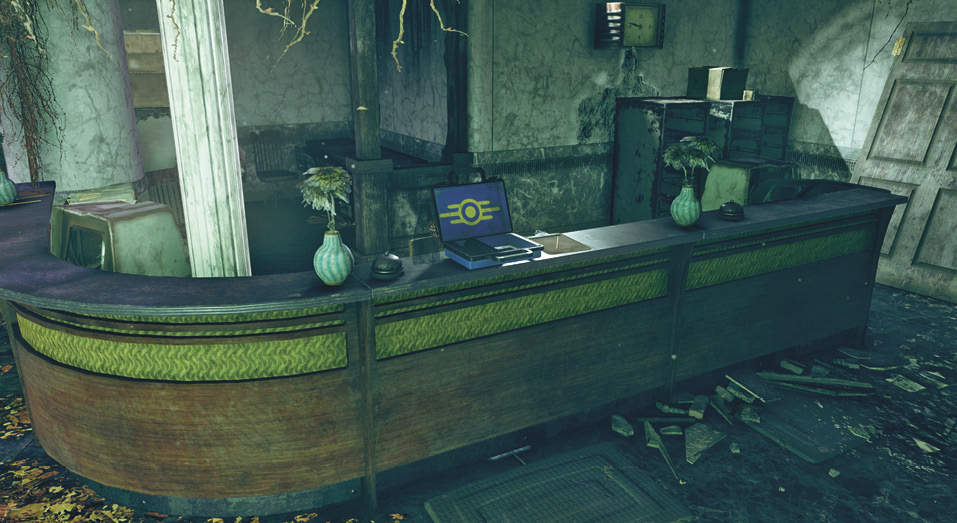
Aside from the Overseer’s Cache Holotapes, there are a small handful of personal journals from the Overseer.
You can find the journals in any order (except for Entry 1 in the Vault-Tec Agricultural Center, which initiates the quest). Upon reaching the location, you’ll receive an objective marker that will point you to the location of the next journal.
The journals can be found in the following locations:
- Vault-Tec Agricultural Center, which initiates the quest
- Sutton
- Morgantown High School
- Vault-Tec University
- Welch
- Mount Blair
Find and listen to each one; then find Evan to complete the quest.
 Safe for Work

First Day on the Job

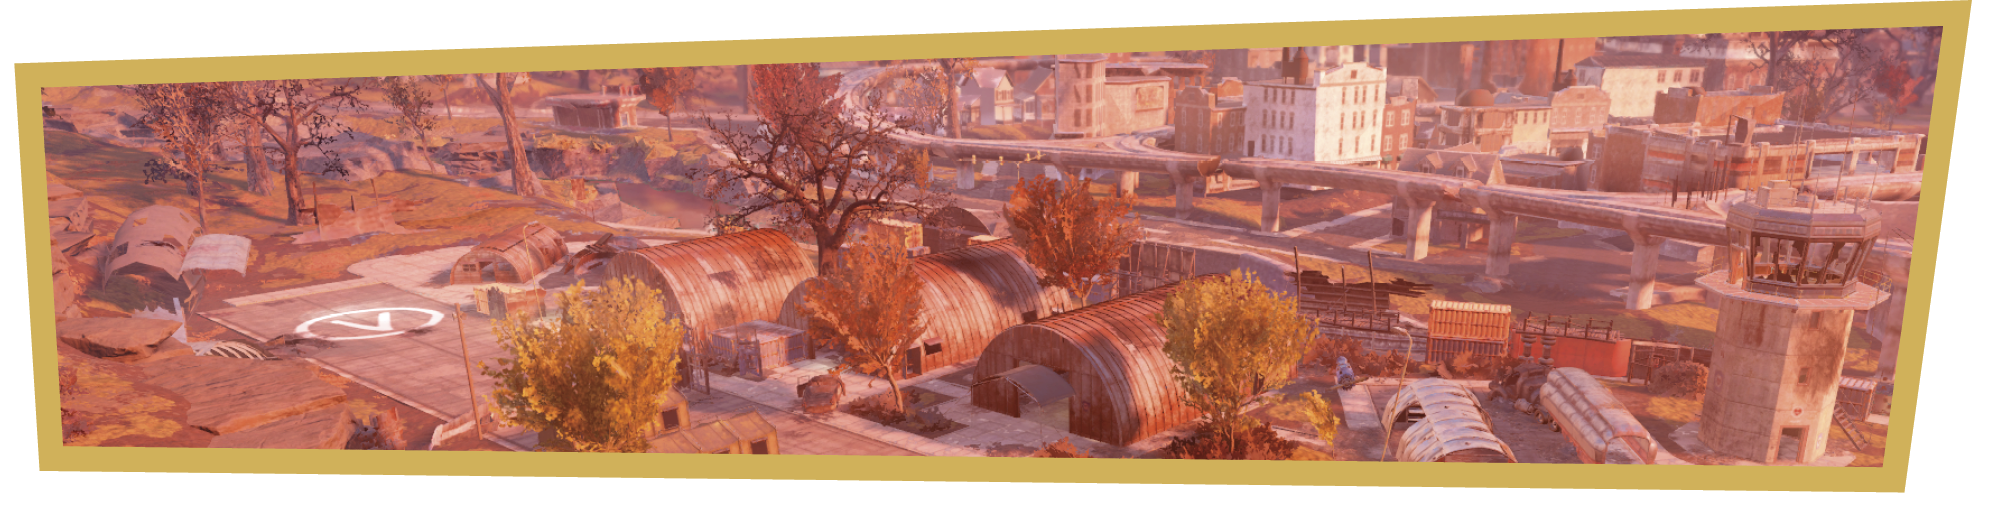
To start, open your Pip-Boy and listen to the Patrol: Training Exercise Holotape. Now head to the triage center terminal in the tent in front of Morgantown Airport. Select “Safe Control,” then disengage the lock to the safe to the terminal’s right. Loot and listen to the Patrol: Triage Center Holotape.

Head to the airport’s north side and take the Responders Bravo Station Key off of Responder Rocky, who is lying on the bed in the large blue storage container. Use the key to open the safe next to Rocky’s bed, grab the Patrol: Processing Center Holotape, and head to the airport’s east side to reach the medical center. It may be a bit confusing, but the building with the “Laboratory” sign on it is the one you’re gunning for (the beginning of the post-apocalypse was a chaotic time).
Open the wooden crate inside the medical center, then grab and listen to the Patrol: Medical Clinic Holotape. Now head to the traffic control tower near the center of the airport. Climb to the tower’s top and use the terminal. Select “Resource Requests,” then “Requests” to obtain a copy of the Patrol: Control Tower Holotape. Listen to the holotape to complete the quest.

 Tentative Plans

C.A.M.P. Grounds
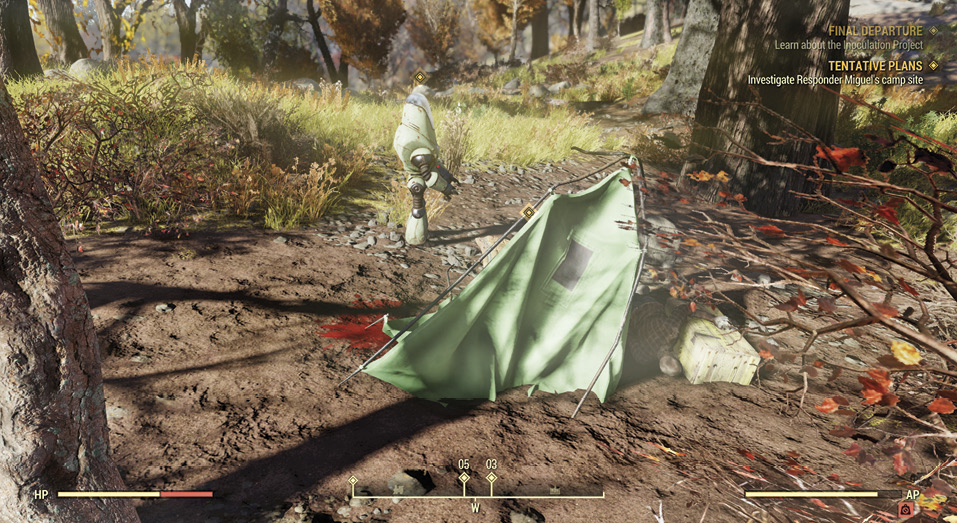
Bring up your Pip-Boy and play the Volunteer Training: Camping 101 Holotape. Head north from Morgantown Airport to reach Responder Miguel’s campsite. Search his tent, read through the Camping Syllabus hidden within, then speak with the nearby Protectron.
Head back down to the Morgantown Airport and search the area near Miguel’s terminal for the Camp Guide Program 3.4 Holotape. Head back to Miguel’s camp and hand the holotape over to his Protectron. If you’ve already deployed a C.A.M.P. before delivering the holotape, you’ll be instructed to complete the quest by building a generator. Otherwise, you’ll be tasked with building a cooking fire and stash box.
Builder’s Basics
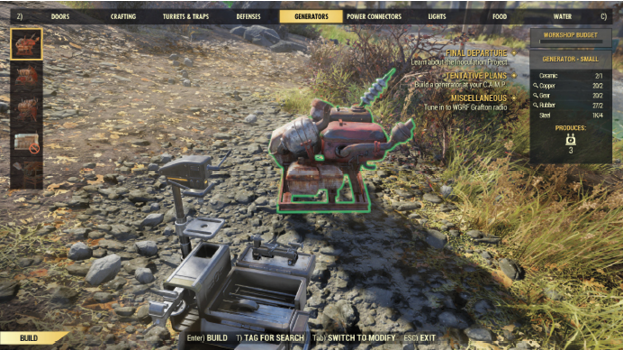
Pull up your Pip-Boy and press the Move C.A.M.P. button, as shown on the bottom of the screen. Place the C.A.M.P. next to Miguel’s camp; then approach the C.A.M.P. device and press the Build button to enter build mode. Move to the Stash Boxes tab and build a My Stash Box. Place the My Stash Box on the ground, then move to the Crafting tab and create a cooking station. Place this on the ground to complete the quest.
 The Motherlode

Corporate Espionage

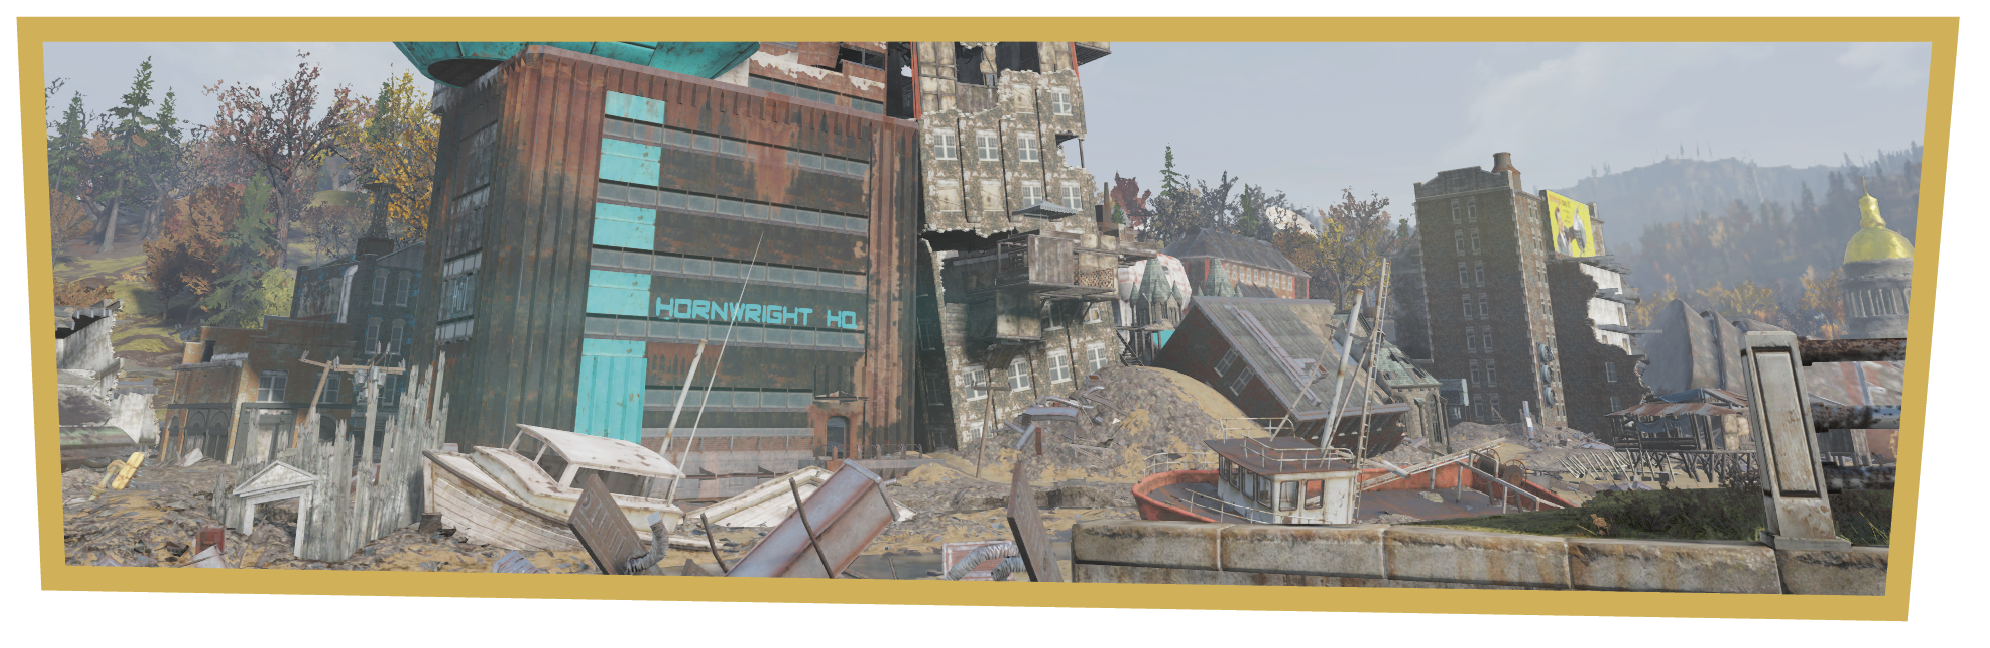
Head to the second to top floor and use the Penelope Hornwright’s Terminal. Select “Archived Message—9.30.77” after accessing the archived messages to receive the Hornwright HR Password.
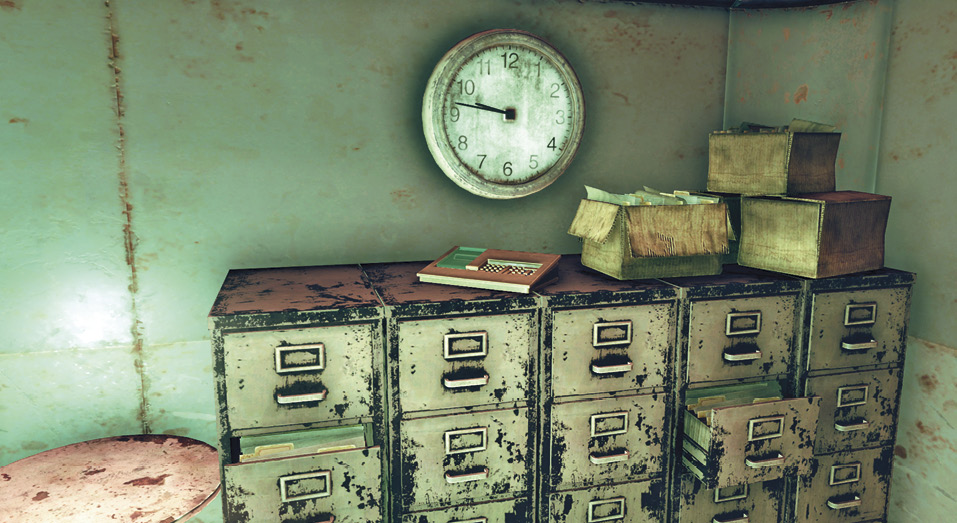
Head to the third floor and enter the Human Resources Department. Immediately look atop the filing cabinets to your right to find an ID Card Printer. Use this to create an Executive Key Card. To do that, you’ll need to find a way to prove you’re an executive.
Climbing the Ladder
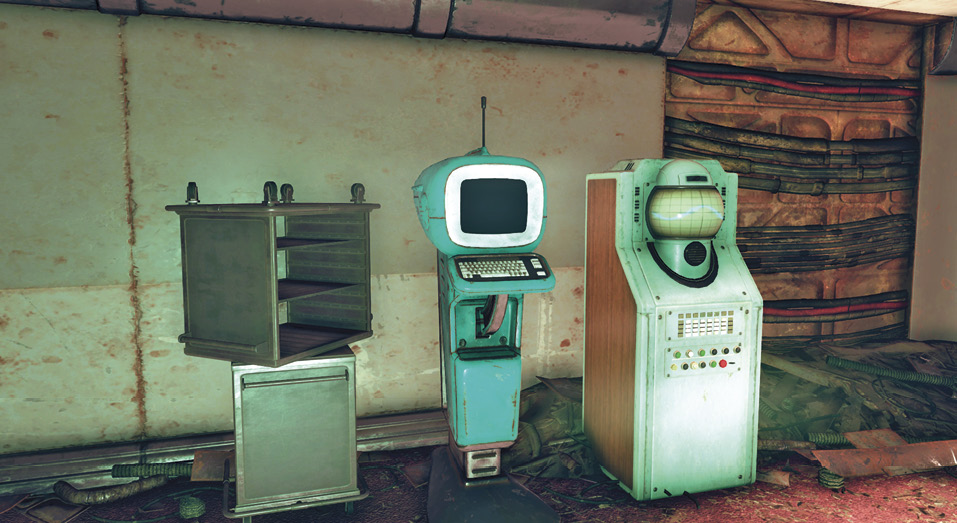
Head to the office next door and use one of the Hiring System Terminals. You must take an exam to prove you’ve got what it takes to be a Hornwright Industrial top-shelf exec. If you’re keen on figuring out the answers to this quiz on your own, head down a floor and search the Technology Support Department to find something to help you out. If you’re the impatient sort, read the Helpful Hints from Vault Boy! box for the answers.
After you complete the exam, reenter the Human Resources Department next door and use the ID Card Printer to collect your Senior Executive ID.
Head back down to the bottom floor and use the elevator on the room’s northeastern side. Slide your card through the ID Reader to head to the executive floor.
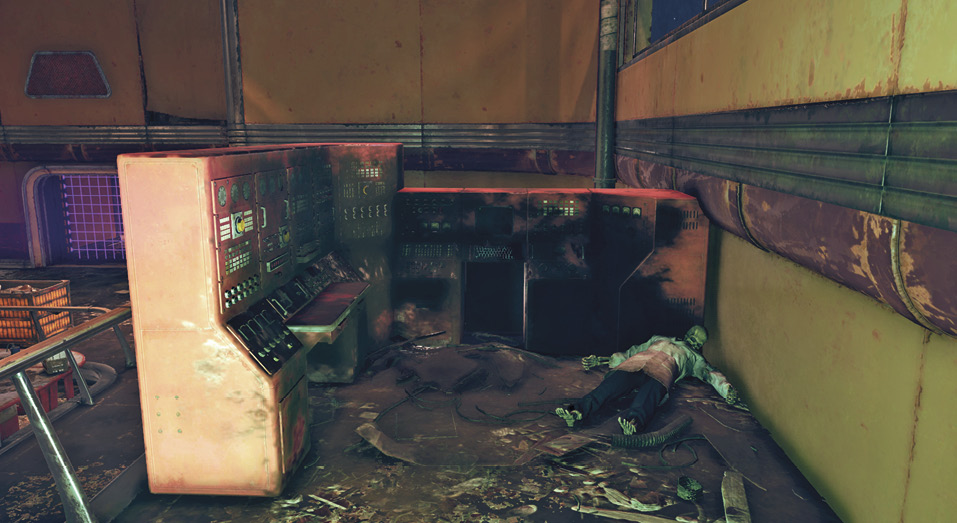
Once on the executive floor, enter the room on the left and inspect one of the External Connection Systems. You’ll be tasked with searching the area for a repair beacon. Head up the small flight of stairs and go to the northeast wall. There’s a red computer terminal there. Use it, then select “Power Struggles” to learn the repair beacon acquisition code. Head back down the stairs and use one of the keypads on the opposite side of the red computer terminal. Punch in the requisition code (it’s part of your current mission objective); then collect the Repair Beacon from the dispenser on your left.
Hitting the Motherlode
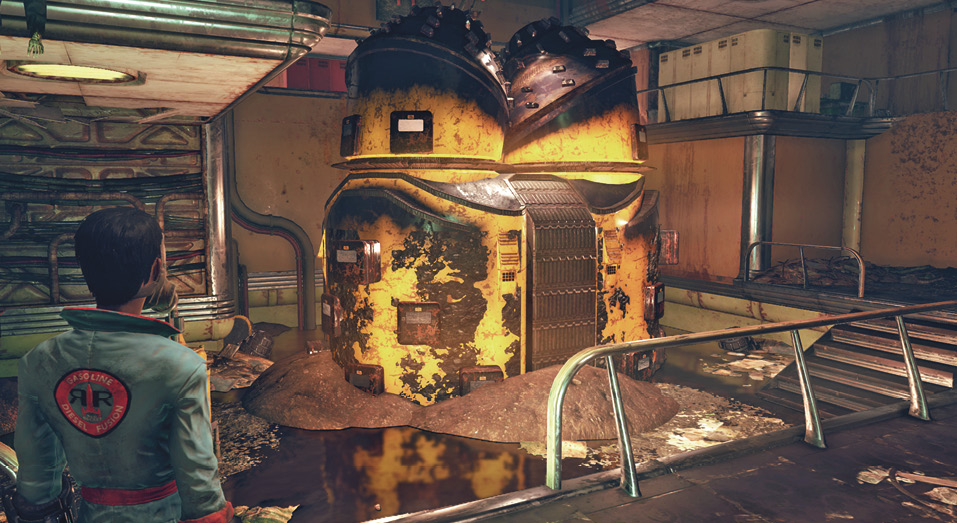
Exit the room and head to the room on the floor’s opposite end. Use the elevator behind the laser grid, then enter the center of the next room and put the Repair Beacon into the yellow Beacon Launcher. A giant, seemingly sentient machine called “Motherlode” will appear from the ground near the center of the room, then dig its way back down into the earth. Once the dust settles, head up the small flight of stairs and use the marked Docking Station Dispenser to collect Motherlode’s gift: some Ultracite Ore, a random assortment of other Ores and components, and a random weapon.
 Tracking Unknowns

A Grim Fate

Search the bottom of the marked circle to find a Mr. Gutsy named “Hardball.” Speak with Hardball to learn about what happened to the hunting party he was accompanying. He’ll task you with tracking down a Signal Booster in either Harpers Ferry or Valley Galleria. We suggest going to the Valley Galleria. Harpers Ferry is a veritable fortress that can be difficult to traverse, while the Signal Booster in Valley Galleria is a short walk once inside the building.
Special Delivery
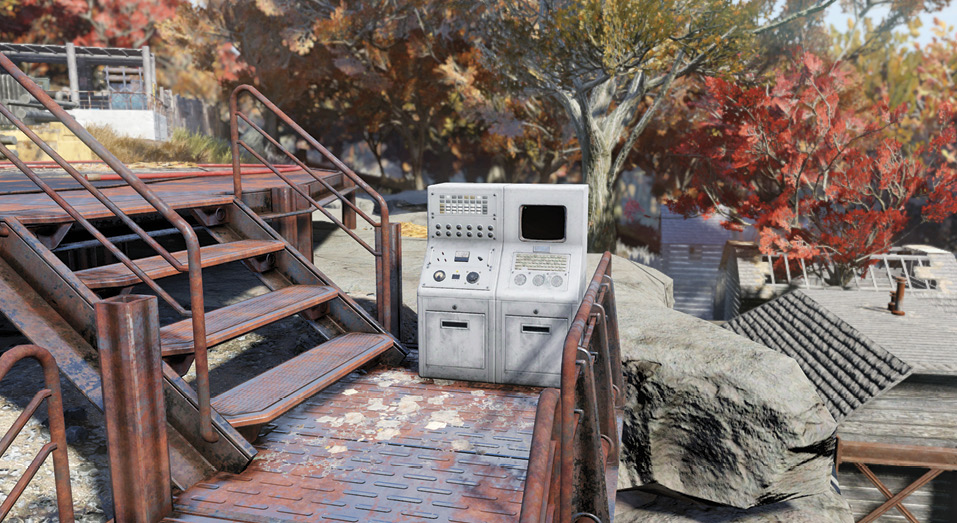
After obtaining the Signal Booster, head to Camp Venture in the south; then go to the helipad at the top of the camp. Use the control terminal to summon a Cargobot, and wait for it to arrive. Once it has lowered to the helipad, approach it and attach the Signal Booster by pressing the Activate button. Once the Cargobot lifts off, bring up your Pip-Boy and listen to the Distress Beacon radio station.
Hot and Cold

You’ll need to track a Distress Beacon by following the signal strength indicator in the screen’s top-left corner. The Distress Beacon is on the southern leg of the large white and red electrical tower, almost dead center of the triangle created by Southern Belle Motel, the Abandoned Waste Dump, and Haven Church. The Southern Belle Motel and Haven Church are both along Route 65, while the Abandoned Waste Dump is east of the Southern Belle Motel.
After grabbing the Distress Beacon, loot Randy’s Holotape off his body (right next to the beacon) and listen to it.
Head to the rusted car on the northwestern leg of the electrical tower to find Nari Samir’s body resting on the car’s left side. Collect the Dyer Chemical ID Card and Nari’s Holotape off of her body; then grab the Prototype Hazmat Suit from the backpack next to her.
Party’s Over
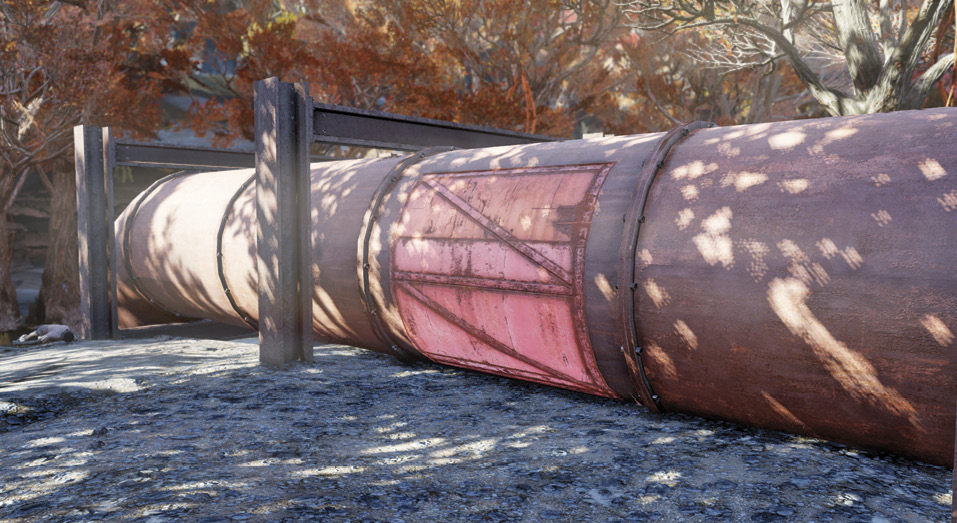
Head to Dyer Chemical, which is north of the electrical tower. Use the hatch to enter the pipes on the plant’s west side. Use the ID Reader to the door’s right to enter the Dyer Chemical Sewer. Go into the control room and grab Lucy’s Holotape off her body to complete the quest.
 Mistress of Mystery Quest Line

The Mistress of Mystery quest line follows the rise and fall of the Order of Mysteries: a group of young women led by an ex-actress to bring justice to a world gone mad.

The line starts after you investigate the body of one of its fallen members. You’ll find these bodies occasionally, but we’ve focused on the one you are guaranteed to encounter if you complete some of the earliest Main Quests. You’ll find her lying next to a trash can in the center of the AVR Medical Center’s exterior. Loot the Worn Veil and Damaged Holotape off of her to begin the first quest.
Into the Mystery
Unraveling the Mystery

The holotape mentions Riverside Manor. Head to the manor’s second floor study and read the journal entry for 7/29/77. Head back downstairs and equip the Worn Veil from the Apparel tab in your Items menu and begin searching the marked room. Inspect the folding screen in eastern corner and it will fold back automatically, revealing a hidden door.
Initiate of Mysteries
Initiate Initiation
Use one of the terminals in the center and register yourself as an Initiate. Open your Pip-Boy and listen to the “Order of Mysteries—Rank: Initiate” Holotape, which was added when you registered on the terminal. When you’re done, use the terminal again and log in; then select “Database Queries,” followed by “Initiate | Mentor Assignment.”
Once you have your mentor assignment, head out of the Riverside Manor and go to Lewisburg, which is southeast of the manor.

Once in Lewisburg, clear out the local Ghoul population; then look next to the Nuka-Cola machine to the right of the Ice Cream sign on the corner of W. Foster St. to find Natasha Hunt’s body. Take the login password and holotape from her corpse, and listen to the holotape.

Head to the building across the street from Natasha, make your way to the back alley, and climb the stairs. Follow the path to the roof. Loot Kerry’s body and pick up Note—Kerry’s Orders.
With note in hand, return to Riverside Manor and use the terminal again. You’ll quickly discover that only your mentor is allowed to authorize your promotion. So back out, log in with Natasha Hunt’s ID, select “Administrative Actions,” then “Authorize Promotion,” and allow yourself the right to be promoted. Backtrack to the login screen and log in again, but this time as yourself.
You will complete the quest and also be given the ability to fabricate the Garb of Mysteries from the Fabricator in this basement.
Novice of Mysteries
Looking the Part

To get things rolling, open your Pip-Boy and listen to the Order of Mysteries—Rank: Novice Holotape. You will be tasked with earning several items to become a full-fledged member of the Order of Mysteries. You can find each of the three listed items in whatever order you choose. For simplicity’s sake, we cover them in the order they appear in your objectives, but feel free to branch out in whatever way you choose.
Use the terminal, log in, and select “Mission Board” to see all three items. Select any of the items to start new quests, which will point you in the direction of the items. Once you’ve completed those three quests, return to this section and continue.
Back on Track
After you craft the Phantom Device, the Blade of Bastet, and the Voice of Set, return to Cryptos in the Riverside Manor basement and log in to claim your promotion to complete the quest.
Chasing Shadows
Crafting the Phantom Device
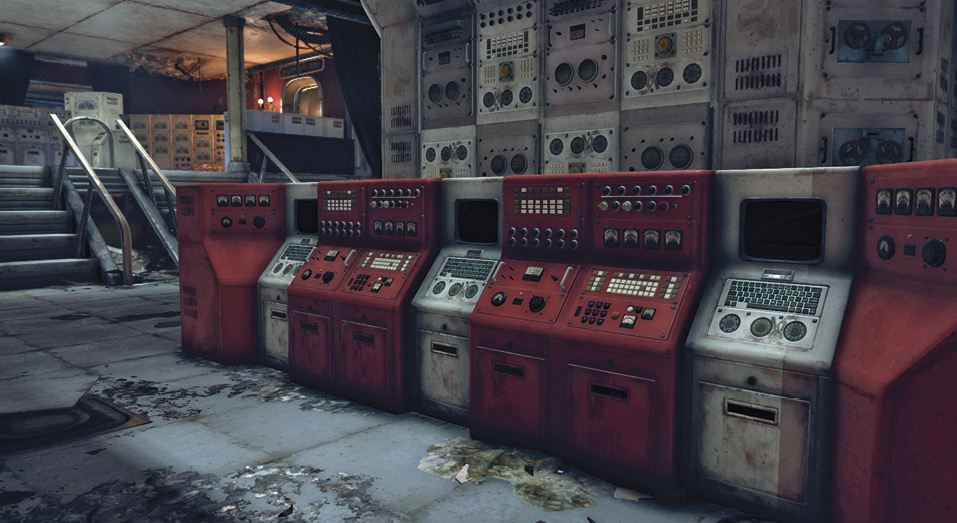
Listen to the Order of Mysteries—the Phantom Device Holotape to complete the first objective. Afterward, use Cryptos, the terminal in the basement, to select “Database Queries,” then “Novice | Phantom Device Components” to locate the components necessary for building the device. You’ll need to track down a Stealth Boy in North Cutthroat Camp and Hallucigen Gas in Garrahan Mining HQ.
Stealing a Stealth Boy
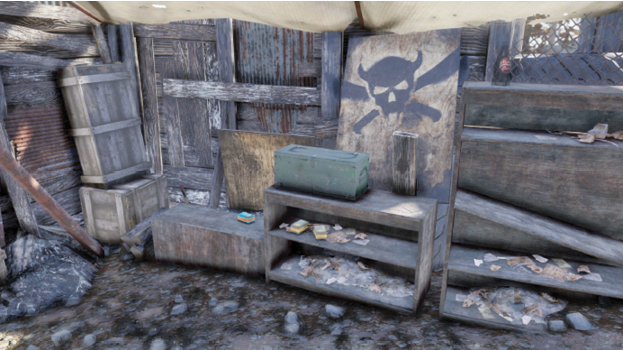
North Cutthroat Camp is located almost dead center of Savage Divide. The trek there is quite dangerous, so if you run into trouble, feel free to back off and do some other questing. You’ll eventually end up back in the Savage Divide while doing other quests, so there’s no shame in delaying this quest.
The trip to North Cutthroat Camp is the challenging part of this objective. Once you’re there, you simply need to pick a Level 0 lock to open a footlocker containing the Stealth Boy.
Grabbing Hallucigen Gas
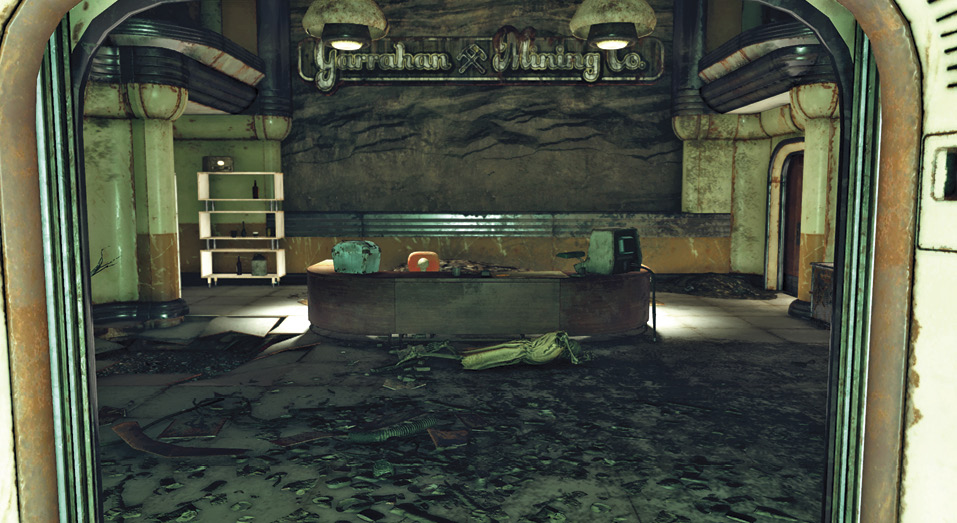
To reach the Hallucigen Gas, head south from Riverside Manor to reach Garrahan Mining Headquarters. Approach the objective marker and locate the safe in that back room. You’ll need to either pick the lock on the safe or hack the nearby terminal to open the safe remotely.
When you have both components, return to Riverside Manor and use the Fabricator to craft the Phantom Device. You’ll find it under the Aid tab in your Items menu. Take note, however, that it is single-use (and has a rather low time limit too). You can craft more from the Tinker’s Workbench, but you’ll need another Stealth Boy and canister of Hallucigen Gas.
With the Phantom Device in hand, the quest concludes. Complete the other quests; then head back and read the rest of the “Novice of Mysteries” walkthrough to wrap up this overarching quest.
Forging a Legend
Historic Heist

Finding the Historic Sword isn’t too challenging. Simply head to The Whitespring Resort area east of Riverside Manor. The sword is locked in a case in the Presidential Cottage. To unlock the case, search the Protectron in the next room, and take the Presidential Cottage Password from its remains. Then locate the terminal next to the display case.
Use the terminal and select “STAFF ACCESS,” followed by “Display Case Access” to open the case. You’ll find Grant’s Saber inside, which is our Historic Sword. Grab it, then return to Riverside Manor. Use the Fabricator on the basement’s south end to craft a Swing Analyzer; then use the Weapon Workbench in the Fabricator room and add the Swing Analyzer to Grant’s Saber.

Your next step is to test Grant’s Saber by killing six different types of enemies. This isn’t terribly difficult, but it does require a good deal of patience and a willingness to do a bit of wandering. The Savage Divide has a very diverse ecology, and simply exploring new locations will allow you to find most of the targets you need. Or proceed with the other quests, Chasing Shadows and Prototypical Problems, and use the saber to confront the enemies you encounter while exploring their locations.
Once you kill six different enemy types, return to the Riverside Manor and use the Fabricator to create the Blade of Bastet and complete this quest.
Prototypical Problems
A Voice to Die For

Sugar Grove is located on the east side of Savage Divide, due east of Top of the World. It’s also the location for the EMP item we need to develop the Voice of Set. Once inside, head to the rear of the facility to find an advanced research terminal. The Blank Holotapes scattered around the terminal are a red herring, but they hint at your next problem. Read through the terminal’s project reports and mail messages to learn more.

Your goal is the EMP research data, but you won’t be able to download it without the proper tools. Fortunately, those tools can be found here in Sugar Grove. Follow your new quest target to the analyst’s terminal in the nearby office, and dispense the last Project SIPHON holotape. Then return to the advanced research terminal, insert the Project SIPHON holotape, and download the data.
Once back at the manor, head to the Fabricator and insert the Project Siphon Holotape. Select “Play Holotape,” then upload the data. Now select “Fabrication Services” and fabricate the Voice of Set to complete this quest.
Seeker of Mysteries
Hide and Seeker

To kick things off, listen to the Order of Mysteries—Rank: Seeker Holotape; then use Cryptos to pick up a Mistress-rank mission from the “Mission Board” entry. The Order of Mysteries—Pleasant Valley Holotape will be added to your inventory. Listen to it, then put on your snow gear, because we’re heading to Pleasant Valley Ski Resort (conveniently located east of Top of the World in Savage Divide).

At the resort, visit each of the notes at the objective markers. Read them to get a broader perspective on the Raiders and their interactions with the Order of Mysteries. It sounds like one of the Raiders, Brody, had some valuable intel about the order.
If your lockpicking skill is up to Level 3, you can pick your way straight into Brody’s room. If it’s not, read the “Yo Brody” entry on the nearby terminal; this will give you the location of his room key—specifically by placing an objective marker on the map for you to follow.

After you enter Brody’s room, your next goal is to access his terminal. However, it requires a Level 3 Hacking skill to crack it. If you happen to have a Bobby Pin handy, you can crack open the footlocker at the base of the bed, pull out the note, and give it a read to learn the location of the password to the terminal. Either hack the computer or return to the main lodge of the ski resort. Head upstairs, and use the terminal to reset the user password for “Torrance, Brody.”
Whatever your method, once you’re on the terminal, select the second prompt. Follow it through and take the holotape to complete the quest.
The Mistress of Mystery
The Fall of the Order of Mysteries

Use the Cryptos terminal in the Riverside Manor basement and log in with your new login account. Select “Administrative Actions,” “Authorize Access,” then “Authorize Access—Headmistress’ Office.” Make your way down the personnel list and select yourself to have authorized access. Now head up the west steps and use the hand scanner to enter the Headmistress’s office.

Use the Headmistress’s terminal and select the first entry. You can also read through her personal journal to learn about the rise and tragic fall of the Order of Mysteries. Once finished, go to the manor’s second floor and use the study terminal.
Read the first entry of the “Personal Journal”; then make your way to the terminal on the other side of the house. Read the first entry of the “Personal Journal” on this terminal to get the location: just northeast of Top of the World.
When you arrive, grab the items from the bodies, and return to Riverside Manor.

Once back in the manor basement, log in to Cryptos with Headmistress Shannon Rivers’s account. Select “Administrative Actions,” “Authorize Promotion,” then “Authorize Promotion—Mistress of Mystery.” Move down the personnel list and select yourself for the promotion, then back out and log in on your own account to become a full-fledged Mistress of Mystery and complete the quest.
You’ll pick up the Order of Mysteries—Rank: Mistress Holotape upon signing in and you’ll have the Eye of Ra as your prize for completing the quest line.