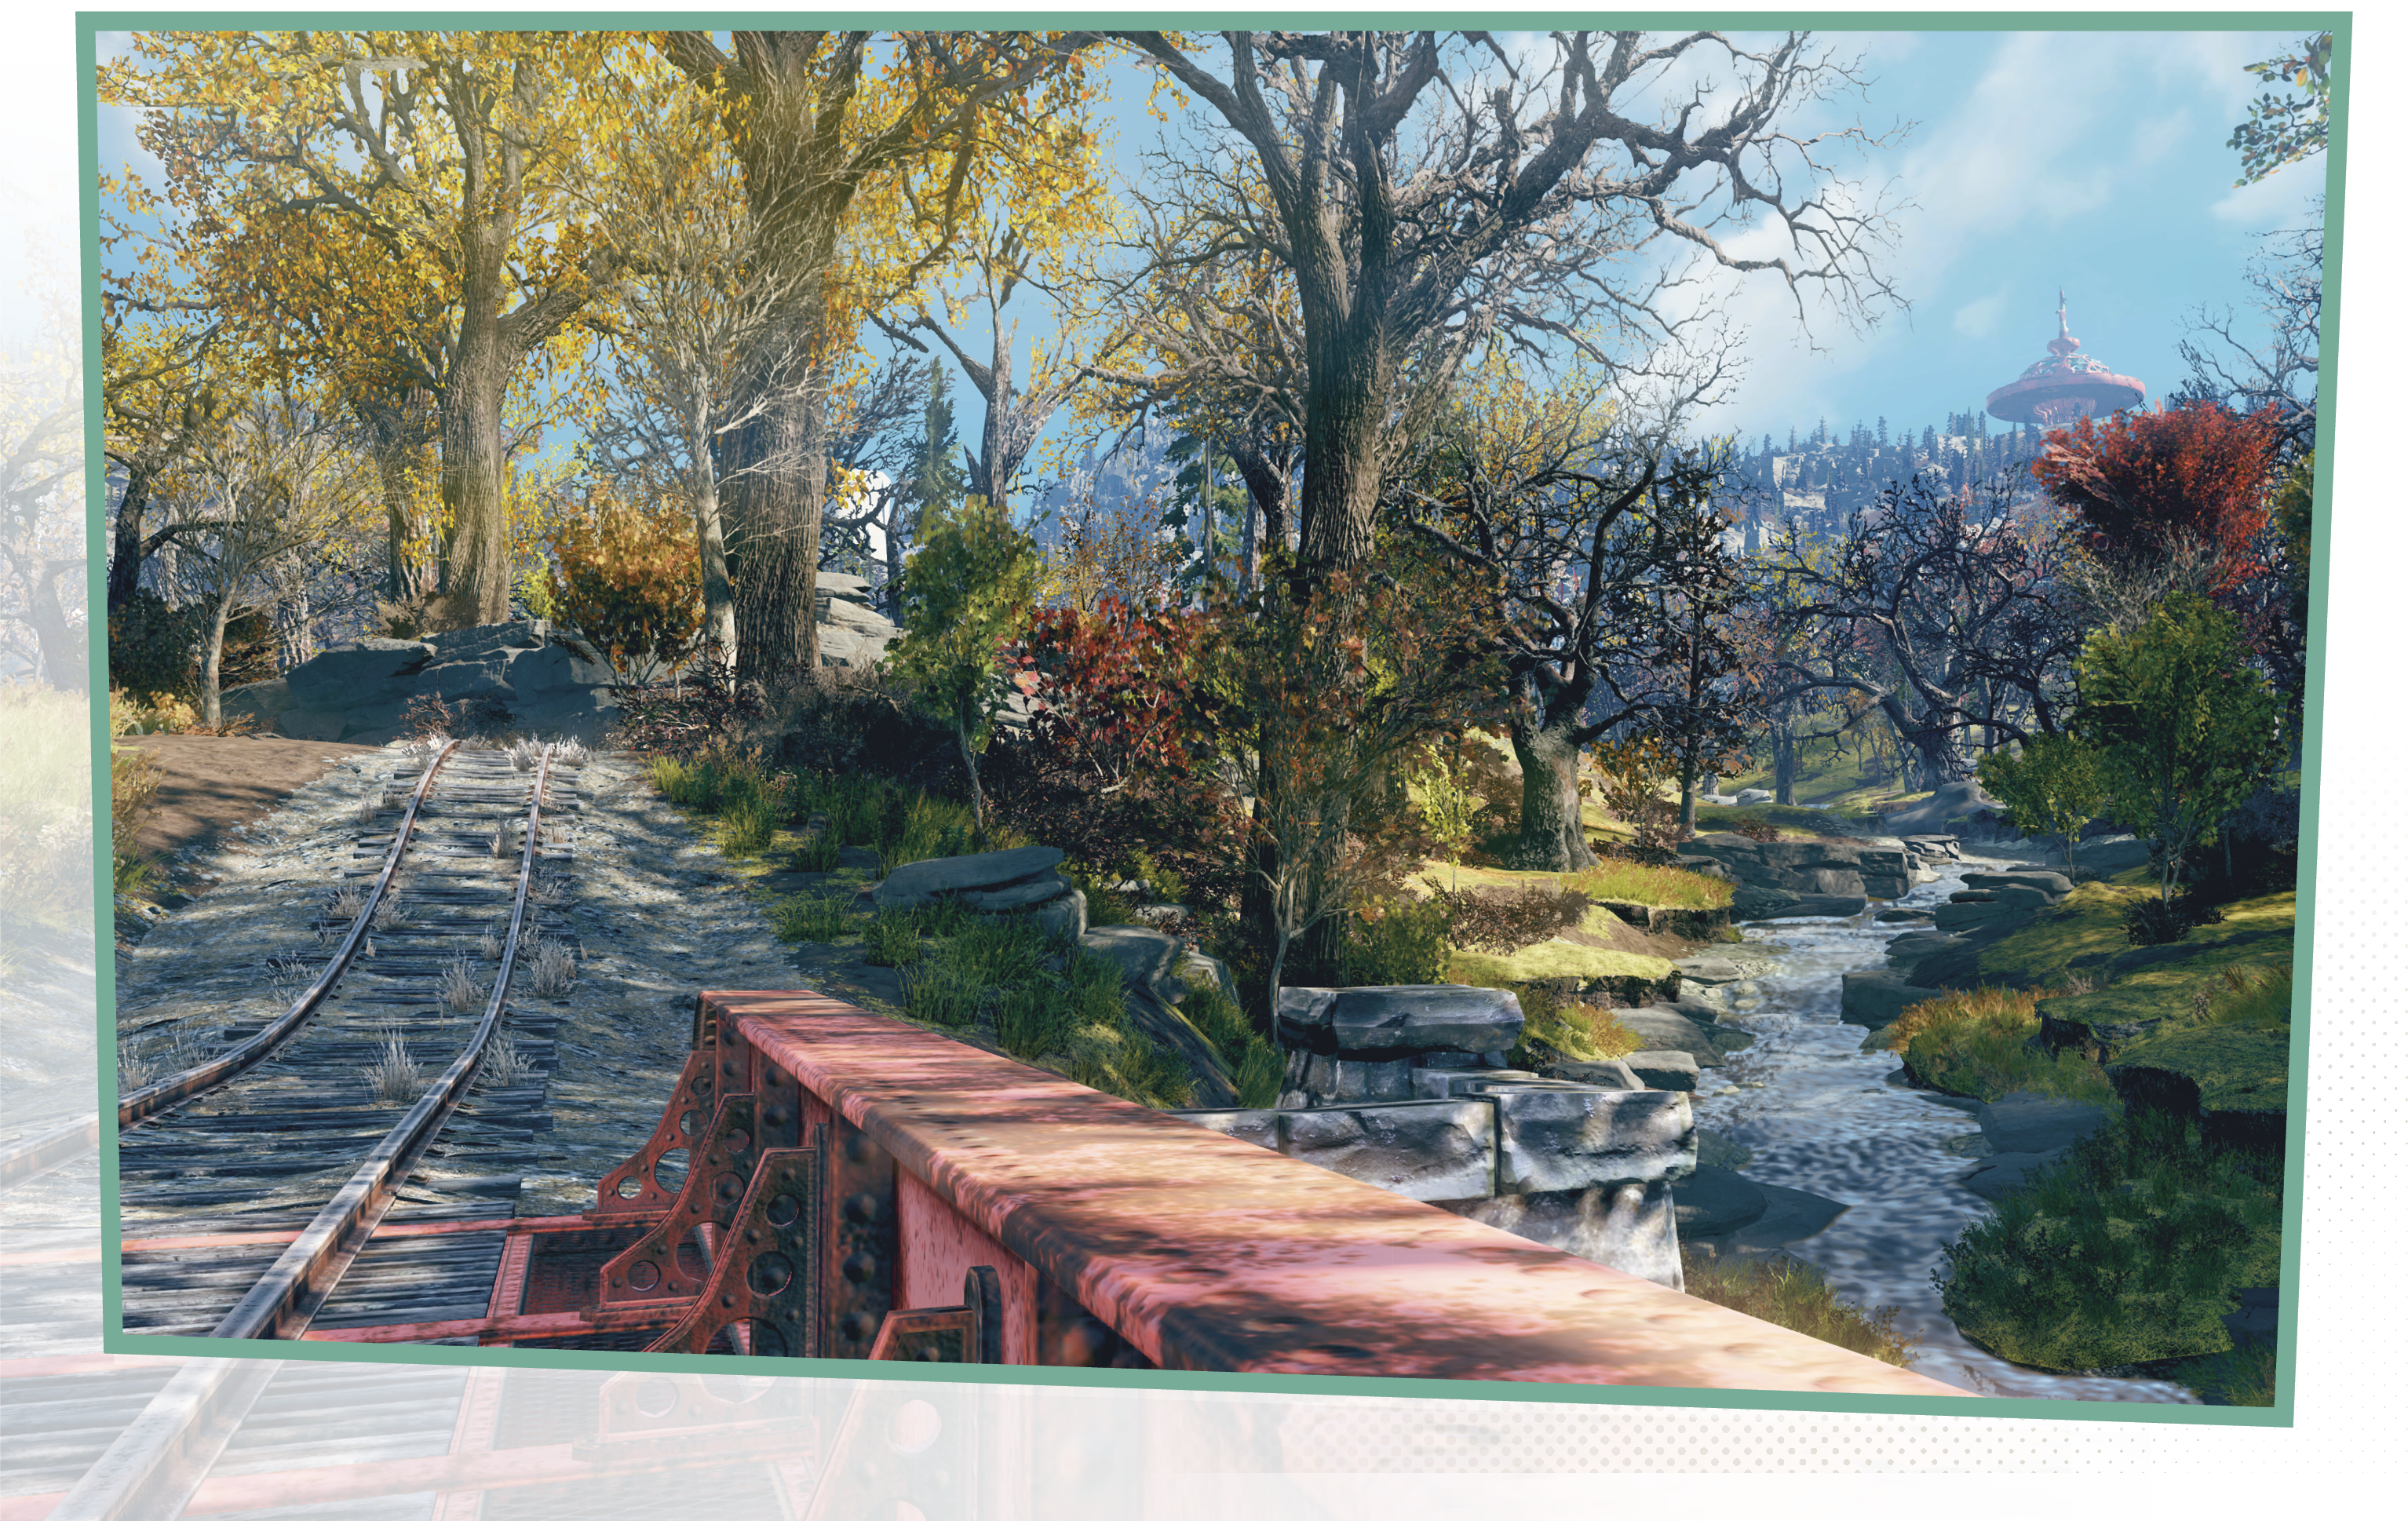
Fallout 76 Guide Atlas of Appalachia
An Overview of Appalachia
Location Types
To avoid consternation, the land of Appalachia has been segmented into various regions and zones, from large to small.
Regions
All of Appalachia is divided into six major regions. Though your in-game world (parchment) map doesn’t delineate exact borders, this guide does. These are massive areas of wilderness, townships, and cities, each with their particular flavor (even if that flavor is sometimes bitter radioactive ash). Expect to find a multitude of primary locations within each region, and even more secondary locations. The six regions are as follows:
Region Locations
| # | Region Name | Zones | Threat Level | Primary Locations | Secondary Locations |
|---|---|---|---|---|---|
|
1 |
The Forest |
5 (A, B, C, D, E) |
1–10 |
95 |
121* |
|
2 |
1 |
10–25 |
29 |
41* |
|
|
3 |
The Ash Heap |
2 (A, B) |
25–35 |
50 |
38* |
|
4 |
Savage Divide |
3 (A, B, C) |
15–99 |
92 |
155* |
|
5 |
The Mire |
2 (A, B) |
30–99 |
43 |
66* |
|
6 |
Cranberry Bog |
2 (A, B) |
35–99 |
49 |
73* |
|
Total |
Appalachia (852*) |
14 |
1–99 |
358 |
494* |
|
*There are likely to be even more secondary locations than this guide tracks. Can you find them all? |
|||||
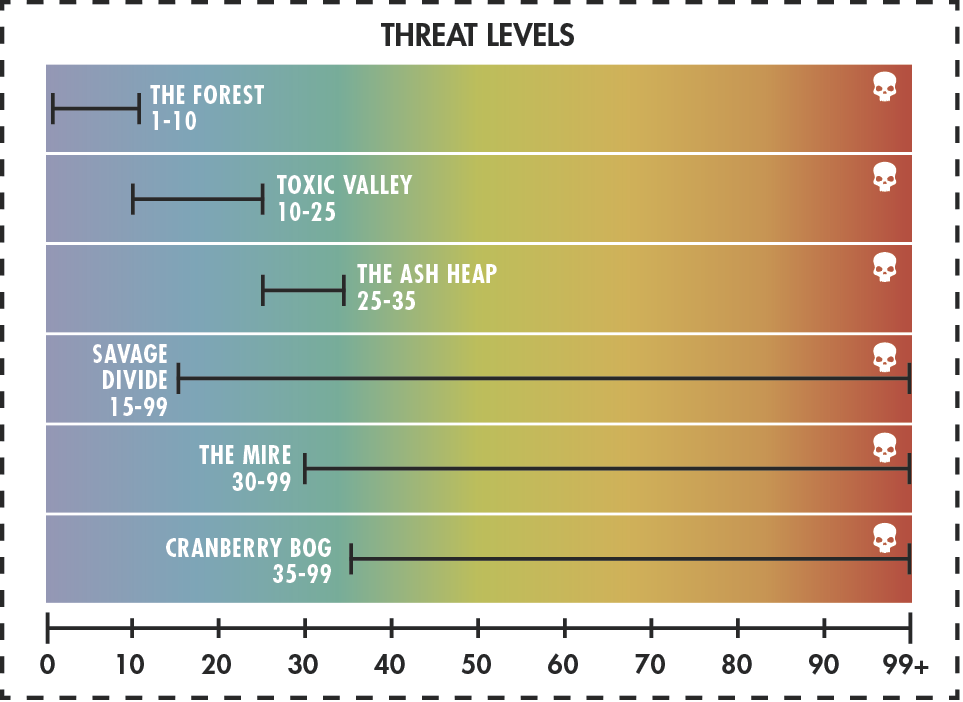
With some light reading of this chapter, you’re therefore able to learn where more than 850 different locations are outside of Vault 76.
Zones
If a region is simply too unwieldy for us to easily impart information, we subdivided it into smaller zones (which don’t appear in the game). These are still very large-scale areas where upward of 20 to 30 primary locations are listed. Boundaries are drawn based on the topography of the area (usually divided at roads, railroads, rivers, or cliffs).
Map Legends: World Map
Before embarking from the Vault, learn what the different icons that appear on the world map mean:
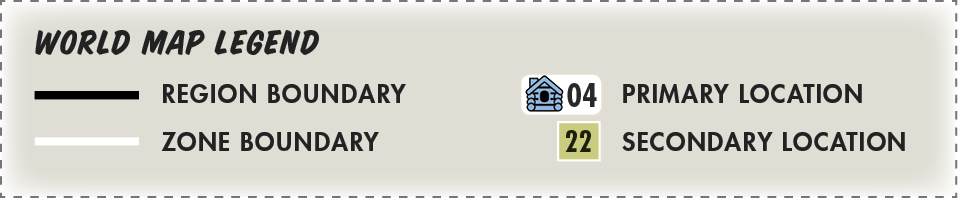
This legend appears at the beginning of each region and zone and refers to the world map.
Region and Zone Boundaries
This is the perimeter of the region. This usually follows an easy-to-spot route, such as along a fence, road, or river, or at the base of a cliff.
Primary Locations
 Also known as “marked locations,” these are usually large locations that, once you discover them, appear and remain on your in-game world map. Fortunately, for those with this guide, every primary location has been spotted prior to discovery! These may require interior investigations; if necessary, we provide a local map in the guide with further detail. Each location has a Vault-Tec approved number designation; for example, Vault 76 has the number [01], indicating it is the first location listed in The Forest region.
Secondary Locations
 Also known as “unmarked locations” or “points of interest” (POIs), these are usually much smaller locations that vary in size, from a large shack to a single corpse. These locations have excellent scavenging, photography, C.A.M.P. placement, or other potential. They do not feature an in-game World Map icon and don’t ever appear on your in-game map. These are flagged so you can maximize your exploration!
Map Legends: Local Maps
The following legend appears whenever a location is big enough to require an interior map. Most of the icons are self-explanatory, as they indicate doors, collectibles, and workbenches. If there’s a letter by some interactive elements (doors, safes, terminals), this indicates how you can access it.
Local Map Legend

Location Statistics
Every primary location in Appalachia has a list under its name and picture—a complete breakdown of pertinent information to better inform you of what to expect when you visit it. The following section explains what all of this is. If you require more information on better methods of scavenging particular items, consult the Junk, C.A.M.P., and Workshop sections of this guide.
COLLECTIBLES
These are particularly helpful or impressive items that can aid your progress. Make finding them a priority (especially if others are in the area!):
Bobblehead (#)

 There is a possibility of one (or more) randomly determined limited-edition Vault-Tec Bobblehead (from a selection of 20) at this location, each with a particular statistical improvement. Note the Curator perk grants you longer benefits when you decide to use this item. Also note the Percepti-Bobble perk grants you directional audio to more easily find this item.
Caps Stash (#)

 There is a possibility of one (or more) Caps Stashes; you can use tins of Caps to bolster your funds. Note the Cap Collector perk grants you more Caps per Stash, and the Fortune Finder perk grants you directional audio to more easily find this item.
Holotape (+++)

One or more holotapes are available at this location. These orange and white plastic tapes are played on your Pip-Boy or at any terminal. They offer information and sometimes give you quests. RobCo game holotapes are not included, as they randomly appear in the same location as Magazines.
Holotape: Overseer
This location has a holotape with remarks from the Vault 76 Overseer, which offers more insight into her life as you track her progress through Appalachia.
Magazine (#)
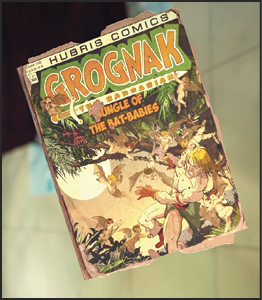
 There is a possibility of one (or more) randomly determined Magazines at this location, each with a particular statistical improvement or holotape game. There are 12 different types of Magazines, and each type has a number of volumes or issues (meaning there’s 104 different Magazines you can find). The Curator perk grants you longer benefits when you use this item. The Pannapictagraphist perk grants you directional audio to more easily find this item.
Nuka-Cola Cherry (+++)

Sometimes, a normal Nuka-Cola at this location is replaced by a Nuka-Cherry, with an intense flavor and additional benefits. If a Nuka-Cherry has been spotted at this location, it is flagged there.
Nuka-Cola Quantum (+++)
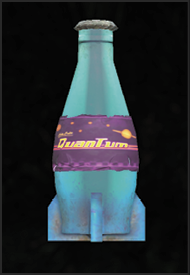
Sometimes, a normal Nuka-Cola at this location is replaced by a Nuka-Cola Quantum, with a robust flavor and additional benefits. If one has been spotted at this location, it is flagged here.
Nuka-Cola (Other) (+++)

Occasionally, a location may have another, extremely rare Nuka-Cola flavor. Nuka-Grape, anyone?
Power Armor (#)
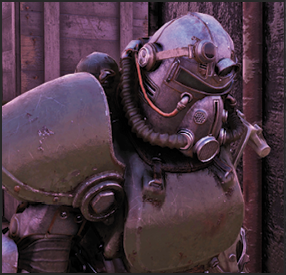
 There is a possibility of a Power Armor Frame at this location, with pieces of armor attached to it. You can’t access some of the more impressive suits until you reach the appropriate level. If a corpse wearing Power Armor is at this location, it is also flagged.
CRAFTING

If a particular crafting station or workbench has been spotted, it is flagged at this location and (for the more important stations) placed on any pertinent local maps.
Armor (#)
 Craft, repair, or modify armor and break down junk at the Armor Workbench, one or more of which are at this location.
Chemistry (#)
 Craft chems, smelt items, and break down junk at the Chemistry Workbench, one or more of which are at this location.
Cooking (#)
 Cook meals and prepare drinks at the Cooking Station, one or more of which are at this location.
Power Armor (#)
 Craft, repair, or modify Power Armor and break down junk at the Power Armor Station, one or more of which are at this location.
Tinker (#)
 Craft, repair, or modify ammunition and break down junk at the Tinker’s Workbench, one or more of which are at this location.
Water Pump (#)
Find a supply of Dirty Water from the Water Pump, one or more of which are at this location.
Weapons (#)
 Craft, repair, or modify weapons and break down junk at the Weapons Workbench, one or more of which are at this location.
Workshop
 Build resource generators, buildings, and defenses at a Public Workshop, one of which is at this location.
DANGER!

Many locations may feature one or more of the following dangers; check here before venturing in to see what troubles you might find.
Can Chime!
Disarm these hanging cans for junk or jingle them to attract attention.
Bone Chime!
Disarm these hanging bones for junk or jingle them to attract attention.
Explosive Canister!
This area has one or more red pressurized canisters or a large red plastic barrel; these are designed to explode when shot. Don’t stand close by during an explosion.
Flamethrower!
These flamethrower turrets are designed to burn you alive. One or more are at this location.
Grenade!
Tension traps (such as those using bathroom scales or wires) usually release a “bouquet” of grenades when triggered. Look for these and add them to your projectiles before they drop.
Heat!
This location features extreme temperatures, and specialized outfits are recommended (a firefighter’s attire or Power Armor).
Punji Board
A spiked board you can easily stand on is at this location. Step over or around it.
Long Drop!
This location is very tall, sits atop a long fall, or has narrow platforms over a long fall. Plummeting off a location is usually fine in Power Armor but can lead to a terrible and crushing death if you’re just larking about and slip while in regular armor.
Mine!
That beeping sound indicates a mine is about to cripple you at this location. Disarm it before this happens, or flee the immediate area.
Oil!
A rainbow hue of leaking fluid can be ignited if flammable projectiles or explosions touch it. That’s fine if enemies are standing on the oil, but isn’t great if you’re caught in the fire.
Radiation!
This location is either mildly (+), moderately (++), or severely (+++) radioactive. It is important to wear additional protective gear (such as Hazmat Suits or Power Armor) for particularly bad areas to avoid radiation poisoning. Keep Rad-X and RadAway with you as a precaution when exploring this location.
Radtoad Mine!
The cryptid Radtoad has been active in this area and may have laid explosive egg mines. Creep to avoid detonation, and retreat to avoid an explosion if the eggs are about to detonate.
Spike Board!
The location has a spike on a door with a spring; once triggered (usually via a tension trigger or tripwire), it swings around and pierces you. Jump back, take greater care, and avoid it when at all possible.
Tension Trigger!
A spring has been set against an object that, when released, detonates an explosive of some kind. Disarm these so the explosion never occurs.
Tesla Arc!
An electrical device that’s as impressive to look at as it is foolish to take damage from. Disarm these wall-mounted devices if you can, or face a surge of energy damage.
Tripwire!
A length of wire (or a laser beam) is in this area. Hitting it releases a trap—sometimes a weapon on a stand fires at you or a previously mentioned trap is triggered. Disarm these to avoid the hurting.
Turret!
The location features unmanned tripod or wall turrets, usually controlled by a nearby terminal you can hack, if you don’t wish to sneak by or manually blow the turrets up. Sometimes a turret may be non-hostile or in need of repair, after which you or your team can use it.
ITEM: Items Information
This entry explains what value the location has in terms of the items you can acquire.
Arms and Ammo (+++)

Expect ammunition here, and if the rating is increased, add weapons to that list. Expect a large settlement with an armory to necessitate a +++ rating.
Harvestable

The preeminent types of crop to harvest or resources to mine are listed here. They include plant life, minerals, and rocks you need for object creation and item modifications. Note that the area immediately around a location has been checked for flora, though some harvestable items not listed may be at the location.
Health and Chems (+++)

This location has Stimpaks and chems of some description. The higher the rating, the more you’ll find.
My Stash Box

 A Vault blue chest is available at this location. It allows you to offload any items or gather those you have placed in any other My Stash Box. This is helpful if you are overburdened, need to free some room before exploring a location, or need to retrieve an item you already stored. Think about using these locations (or your camp) as a base from which you and your team can start and finish an exploration.
Overseer’s Cache

 You can find a crate-sized cache at this location, left for you by the Overseer. Expect some items that can aid you, as well as a possible holotape with the Overseer’s progress, as part of the “Overseer’s Mission” Side Quest.
Recipe/Mod/Plan (+++)
This location has one or more recipes, weapons, or armor modification, or you can plan to build a particular object.
Trunk

 This location has a large “trunk” that holds a reasonably large amount of loot. It is usually red or green and has various names (e.g., Steamer Trunk or Industrial Trunk). It is usually a “reward” chest for clearing a location, so if you see one, you’re likely to have explored most of the location. It holds random loot.
Vending Machine

This location has a trash-can-sized receptacle that allows you to purchase (or gather) a particular type of item. Expect the following, with the vast majority of vending machines offering either ammunition or health and supplies, providing you have the Caps.
Type of Vending Machine: Ammunition, Archival Dispenser, Health and Supplies, Map Dispenser (U-Mine It!), Resume Receptacle, Token Dispenser, Uniform Dispenser.
INFO: Information
Every location has several different aspects to it. All the most pertinent (and trackable) information is listed in this entry.
Aerosolizer (Toxic Valley)
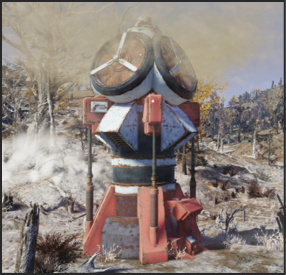
This location features an Air Purifier unit, which when running, produces more breathable air for a short time.
Air Purifier (The Ash Heap)

This location features an Air Purifier unit, which, when running, produces more breathable air for a short time.
C.A.M.P. Power

This location (usually a substation) has a power box attached to it, allowing you to hang wire from it to any camp item that requires power, in lieu of a generator. However, you may need to bring a nearby power plant online first.
Expected Enemy
When visiting a location, there is a chance that a random enemy type may appear, but this entry flags the type of enemy you should expect, based on previous experience.
Instrument

The location contains one or more musical instrument that you can play (or take with you and played) for the “Well Tuned” bonus.
Landmark
This location is particularly impressive, has historical significance, and can be seen from far away. Optionally use it to orient yourself when exploring the immediate vicinity or a region.
Note

One or more notes (usually on paper) are at this location, usually adding flavor, but sometimes a quest, to your exploration.
Quest
One or more quests begin at this location.
Scavenge Rating (0–5+)
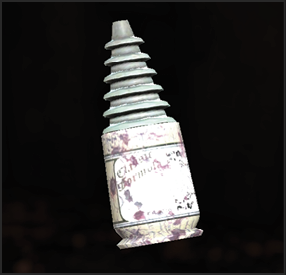
If you’re here for the junk, ammo, and chems, then this rating is important:
- 0: There’s nothing of worth here.
- 1: Expect a few scraps of junk but nothing else.
- 2: A small collection of junk; not worth going out of your way to find.
- 3: A few reasonable pieces of junk; worth your time to scavenge here.
- 4: A large amount of junk, one or two rarer bits and pieces, perhaps requiring a visit to a My Stash Box. Definitely ransack this place!
- 5: A massive quantity of junk, including rarer items that grant good resources. Get here before everyone else does!
- 5+: Usually a city-sized location with multiple places to scavenge, and at least two trips to the My Stash Box.
Size (1–5+)
The location’s size is listed. The number is based on the following:
- 1: A tiny location, usually no bigger than a shack.
- 2: A location about the size of a couple huts, a medium-sized pond, or a farmhouse.
- 3: A small hamlet, a large single structure with one or two floors, and perhaps a small interior area.
- 4: A small town, or very large single structure with multiple floors and interiors.
- 5: A large town, with multiple separate locations to investigate.
- 5+: A city-sized settlement, with numerous regularly sized locations within its boundaries.
Sleeping

A sleeping bag, mattress, or bed is available at this location. Once you neutralize all hostiles, you can use it to obtain the Well Rested bonus.
Survey Area
This location is usually a lookout tower that allows you to survey the immediate area from the top of the location, so additional primary locations appear on your in-game map.
Threat Level (1–99)
The threat level of this location is listed, which is usually the same as the region the location is in.
Trader

A stationary Vendor Bot is at this location, ready to trade with you. Note that Vendor Bots from different regions will have regular items, as well as those specific to the region in question. Remember to use the Hard Bargain perk to get better deals!
class="large-icon"
LOCK: Locked

At this location, there are one or more doors, safes, or terminals that require some time to unlock them.
Door (Type)
 A door—whether it be wooden or metal, a gate, a security gate, or other doorway-blocking device—is at this location. Most are unlocked, but some have a type of associated lock (see below). Those normally locked require Bobby Pins and a Lockpick minigame to unlock.
Safe (Type)
 A small safe, sitting on the ground, built into the wall, or sunk into the floor, is available and (unless unlocked) requires Bobby Pins and a Lockpick minigame to unlock.
Scanner (Type)
 This location has a Scanner, which is usually accessed via a handprint and circumvented during a particular quest.
Terminal (Type)
 A desk or wall terminal, requiring a brief “word match” hacking minigame to unlock.
Lock Types
- B—Barred: The door has a bar across it, only accessible from one side.
- C—Chained: The door has a chain across it, only accessible from one side.
- 0—Novice Level; 1—Advanced Level; 2—Expert Level; 3—Master Level: The door, safe, or terminal requires a minigame to complete and a particular Perk Rank level for doors (Picklock), safes (Picklock), or terminals (Hacker), respectively.
- Key—Key: A key, ID card, or other device is needed to open this door.
- T—Unlocked via Terminal: This door (usually a security gate) is usually unlocked at an adjacent terminal).
- IN—Inaccessible: The door is inaccessible and cannot be opened.
ITEM EXAMPLES (+++)

Each location also features a list of the type of (mainly junk) items you’re likely to discover while searching the immediate vicinity. These are items that are visible, on the ground or surfaces, and do not include any that are inside containers. These are listed to give you a flavor of the item types available here; the list is by no means exhaustive.
WORK: Public Workshop Information
If the location is a Public Workshop, information on the various resources you can extract, mine, and harvest are detailed here, once you or your team have claimed the workshop.