
Halo 4 Guide Infinity Spartan Ops
Season One: Episode Two
Chapter One: Clean-up
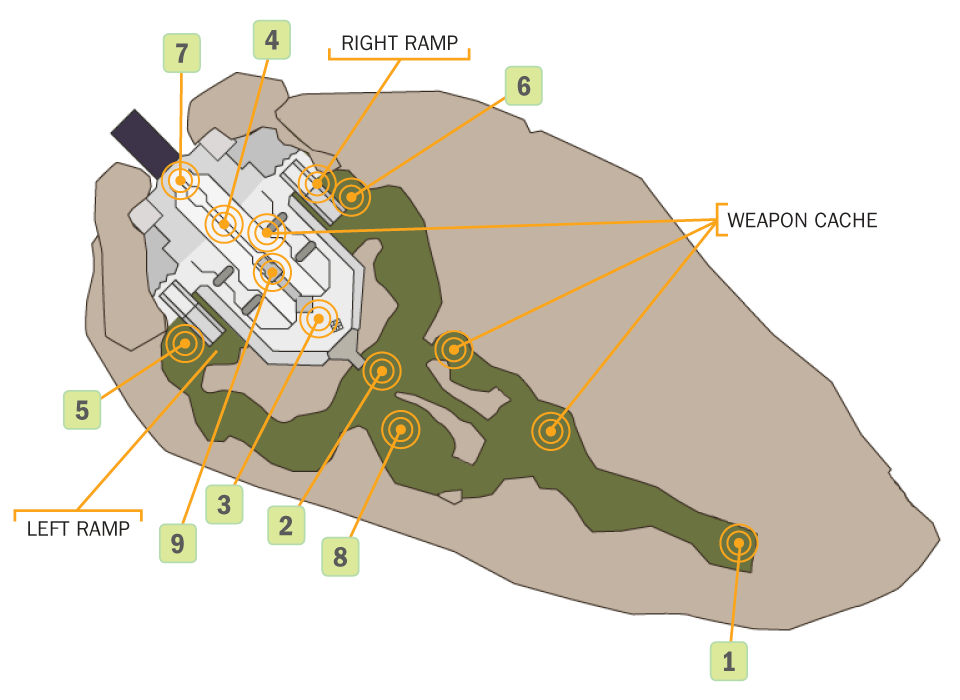
With UNSC forces now firmly holding on to positions across Requiem, the Spartans of the Infinity continue their offensive against Covenant and Promethean forces. Today’s new assignment sends Fireteam Crimson to a Forerunner facility guarded by a substantial unit of combined Covenant and Promethean forces. There is also a murderer’s row of anti-aircraft cannons that will swat any potential extraction dropship out of the sky. A UNSC Marine detachment attempted to clear the area before Crimson was called up for the task, but it failed to make headway.
After clearing out the Covenant defending the area, the Prometheans make several pushes to try annihilating you while you put the anti-aircraft cannons out of commission. Each successive wave of Promethean reinforcements gets larger, starting with a mix of Crawlers and Watchers and eventually including multiple squads consisting primarily of Knights.
Map Location: The Gate
Recommended Loadout
By now, you should have access to one of the headshot-capable rifles and a decent set of Tactical Packages or Support Upgrades. The early set of enemies you face will have access to weapons like the Covenant Carbine, and there are multiple weapon caches on and around the Forerunner structure that are filled with other Covenant weapons. As such, it makes good sense to take a Covenant Carbine for yourself and support it with weapons like the Plasma Pistol or Needler. Some of the caches also contain Beam Rifles, which can be very useful for taking out harder targets like the Elites and the Knights.
Objective One: Eliminate Hostiles
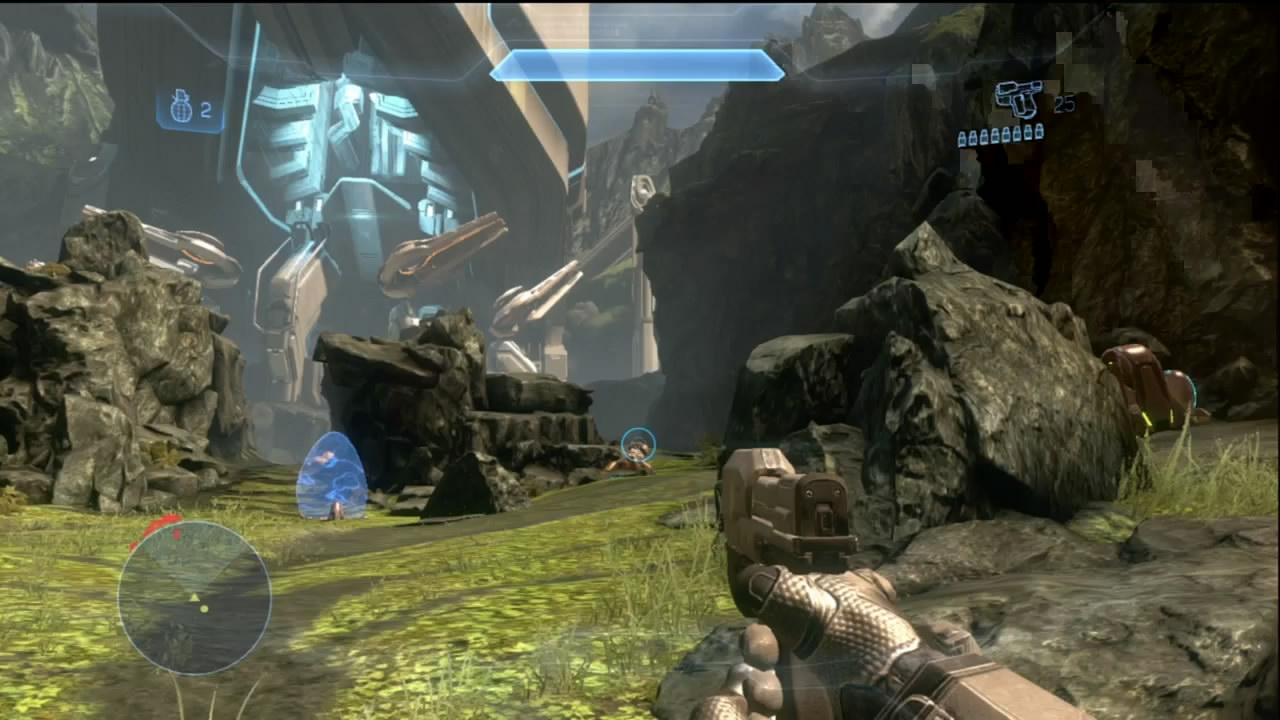
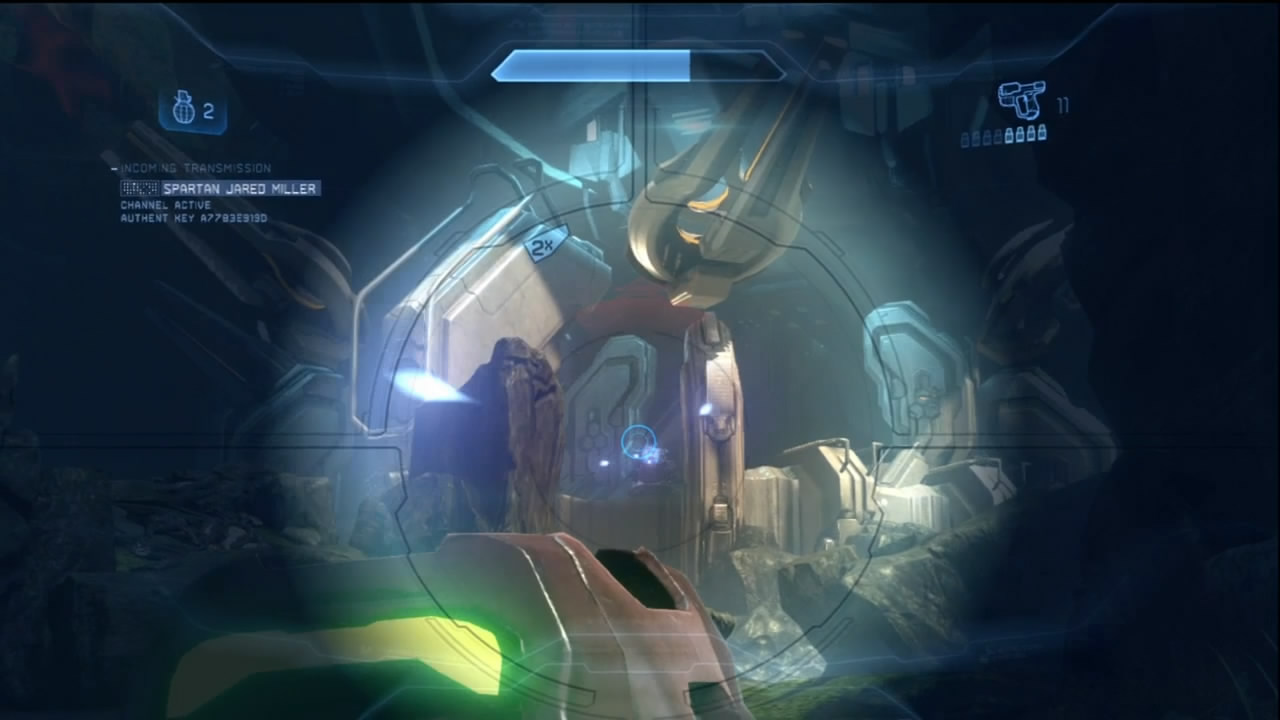
[1] The starting location for Fireteam Crimson is at the bottom of a hill that faces the Forerunner structure. After navigating through the various paths that lead to the structure, you can attack the left or right side ramps of the facility to reach the middle level. This is complicated by the extensive defenses the Covenant set up. Two Shade Turrets on the middle level have overwatch on the entire lower valley you start in and will make any approach very dangerous. They support several Grunts and Jackals strewn throughout the valley and near the ramps you must climb to access the structure’s upper level.
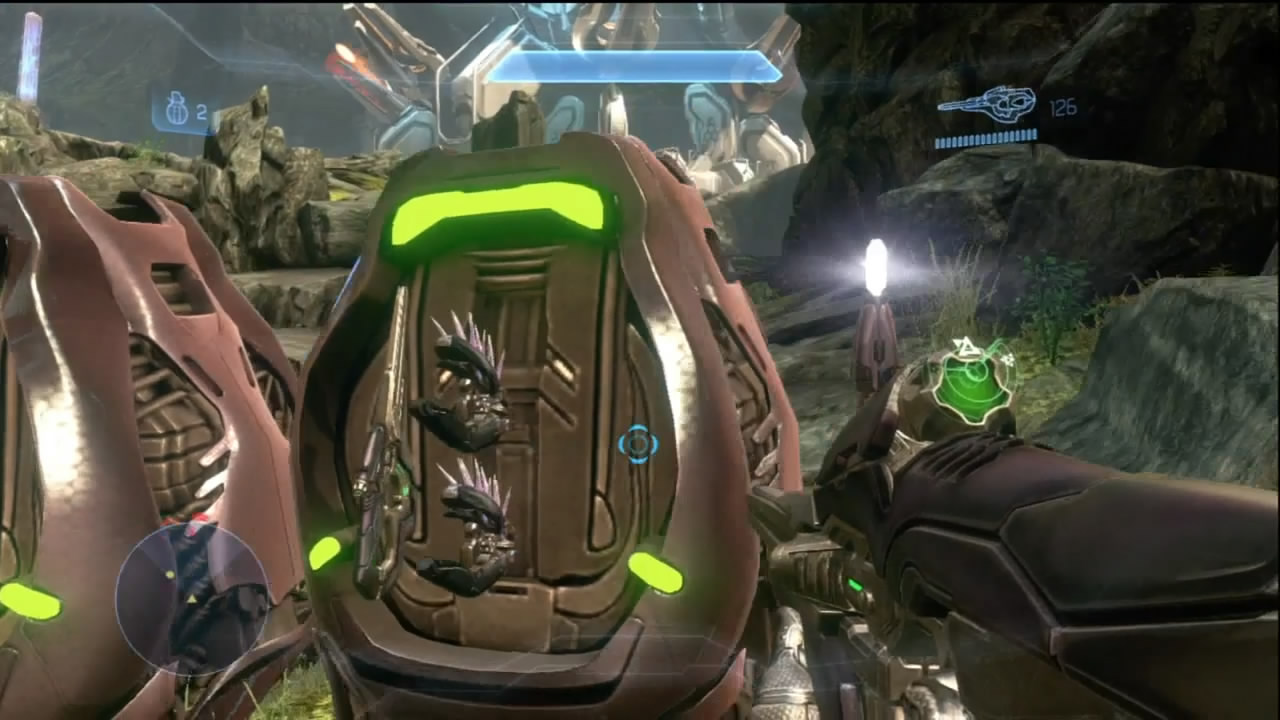
There is a set of weapon caches near the starting position containing Needlers, Storm Rifles, and Covenant Carbines. This is also a good place from which to take out the Shade Turret gunners. They are manned by Elites, so you’ll have to take multiple shots to eventually bring them down from afar.
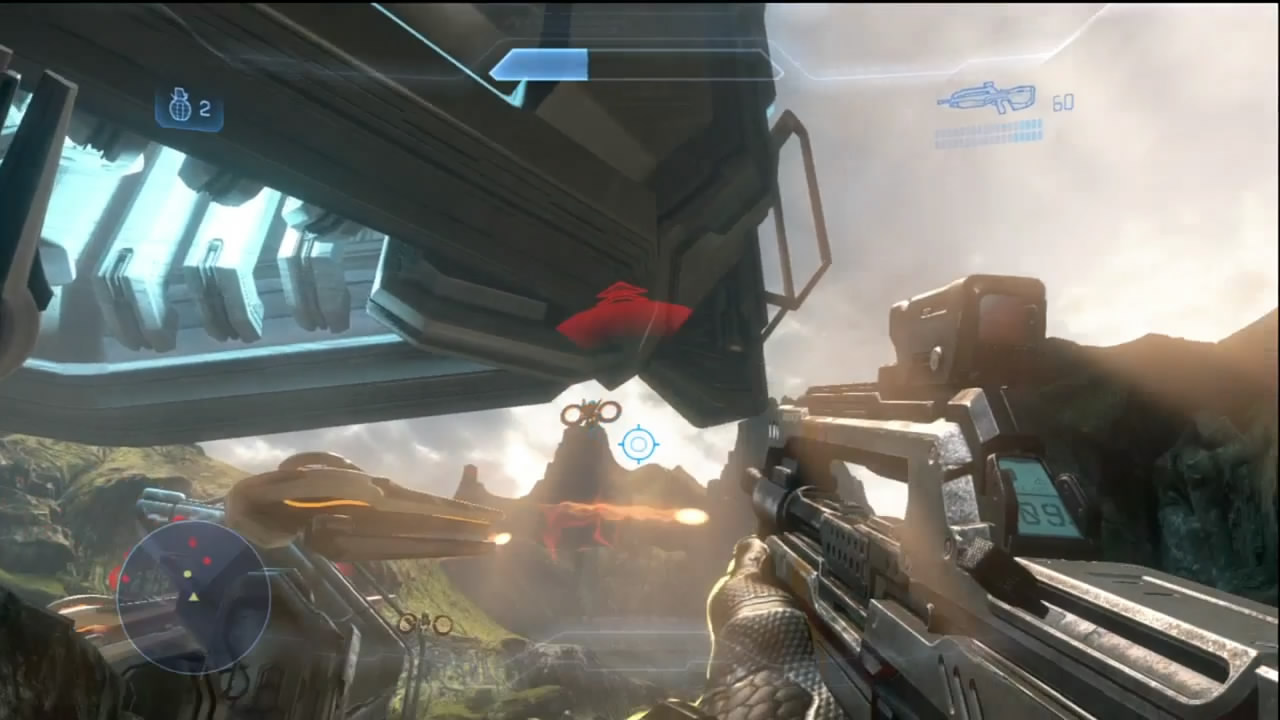
[2] As you move closer to the ramps, you’ll probably see interference from Watchers overhead. Don’t give them the opportunity to support the Covenant for very long, but don’t ignore the Elites that are protecting the ramps and midl-evel of the structure.
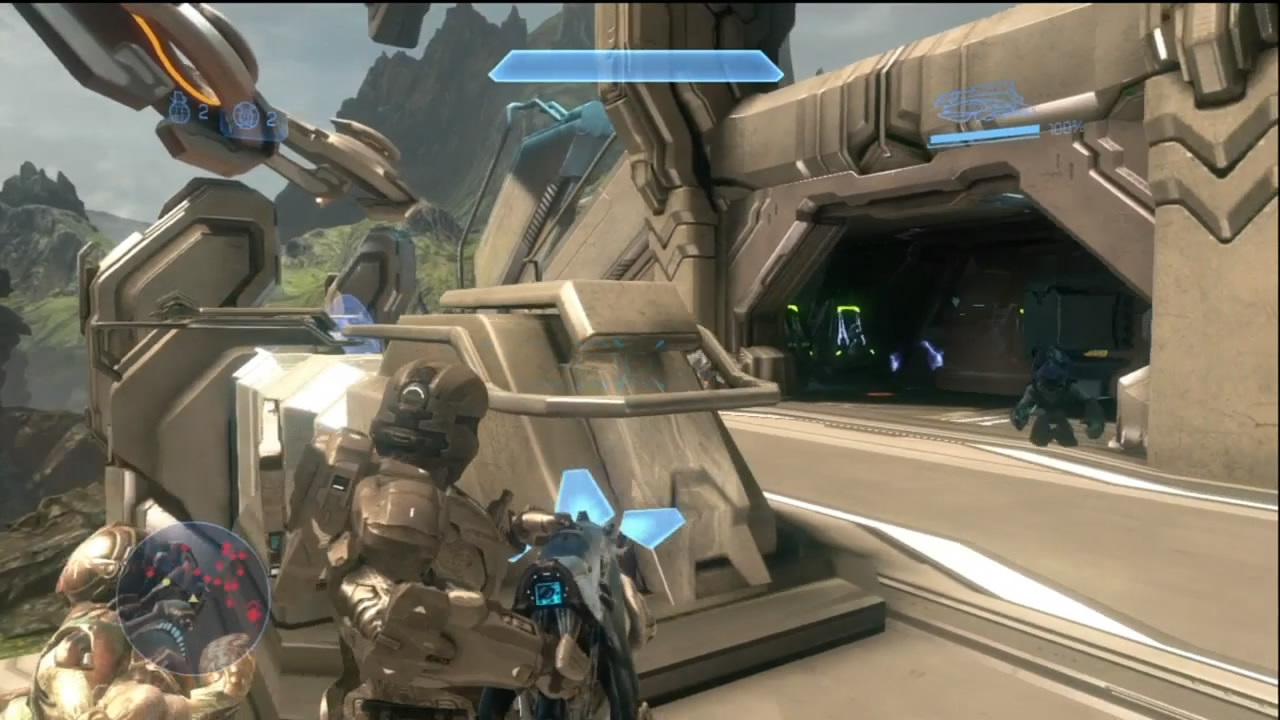
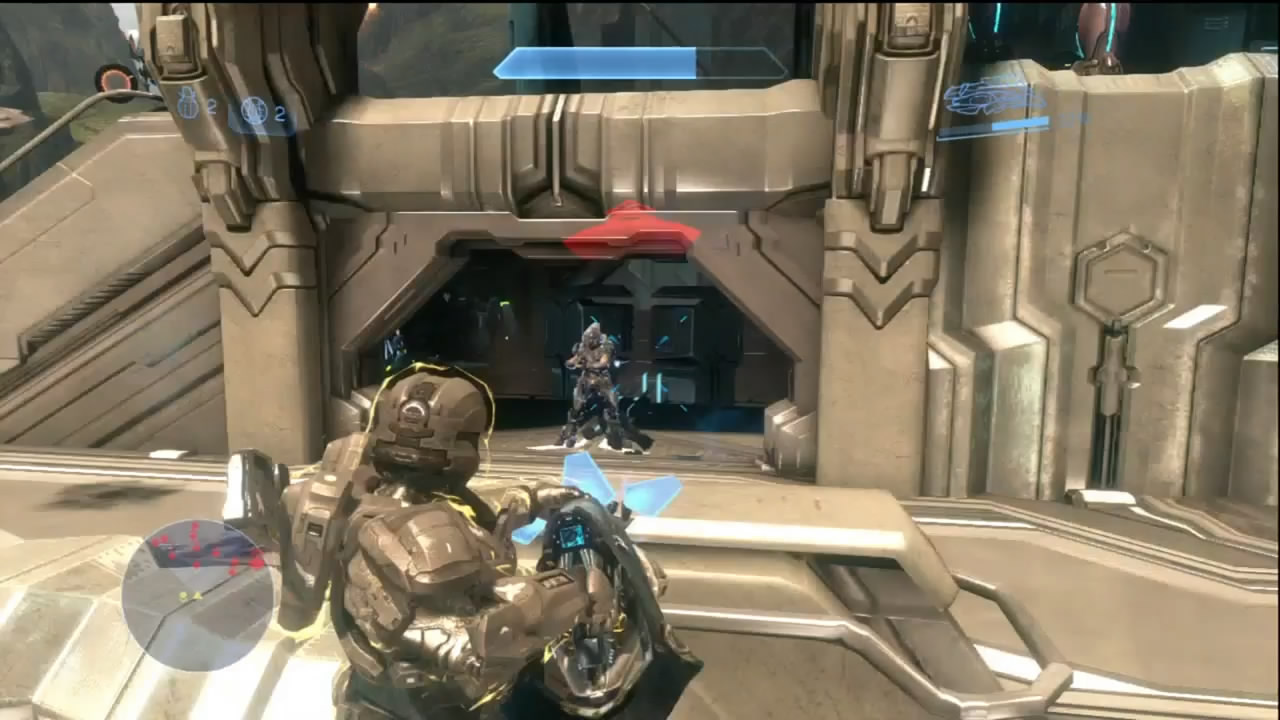
At the top of the ramps leading to the midl-evel are Plasma Cannons manned by Covenant. If you’re packing the Gunner upgrade, these can be effective weapons to take into battle; just be wary of Fuel Rod Cannon–wielding Grunts and Elites.
[3] The structure’s midl-evel is actually quite dangerous, even after you deal with the Elites. The small chamber underneath the top level contains a large Covenant weapons cache filled with almost everything you need for the rest of the mission, including Beam Rifles. This cross-over point between both sides of the structure can be a death trap. Elites and suicidal Grunts will use that weapon cache as a flanking route to try and surprise you. Don’t rely exclusively on your motion sensor to determine what is on your level—the top level has many Covenant waiting for you that will clutter up the sensor.
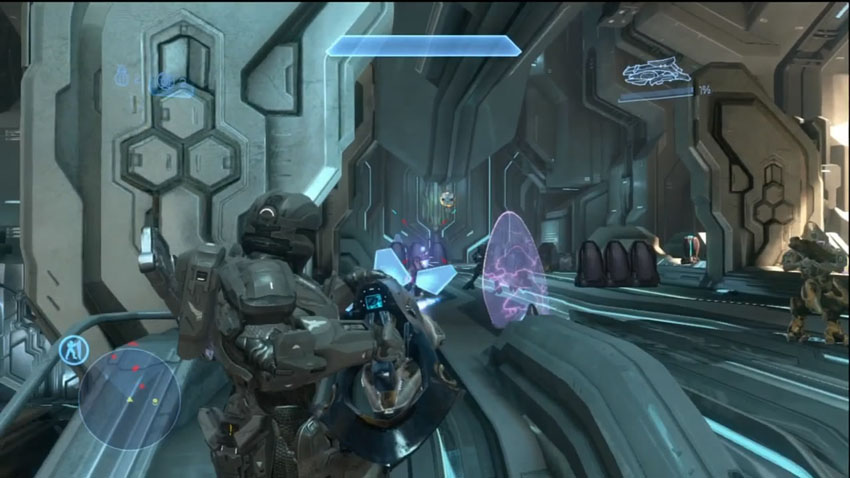
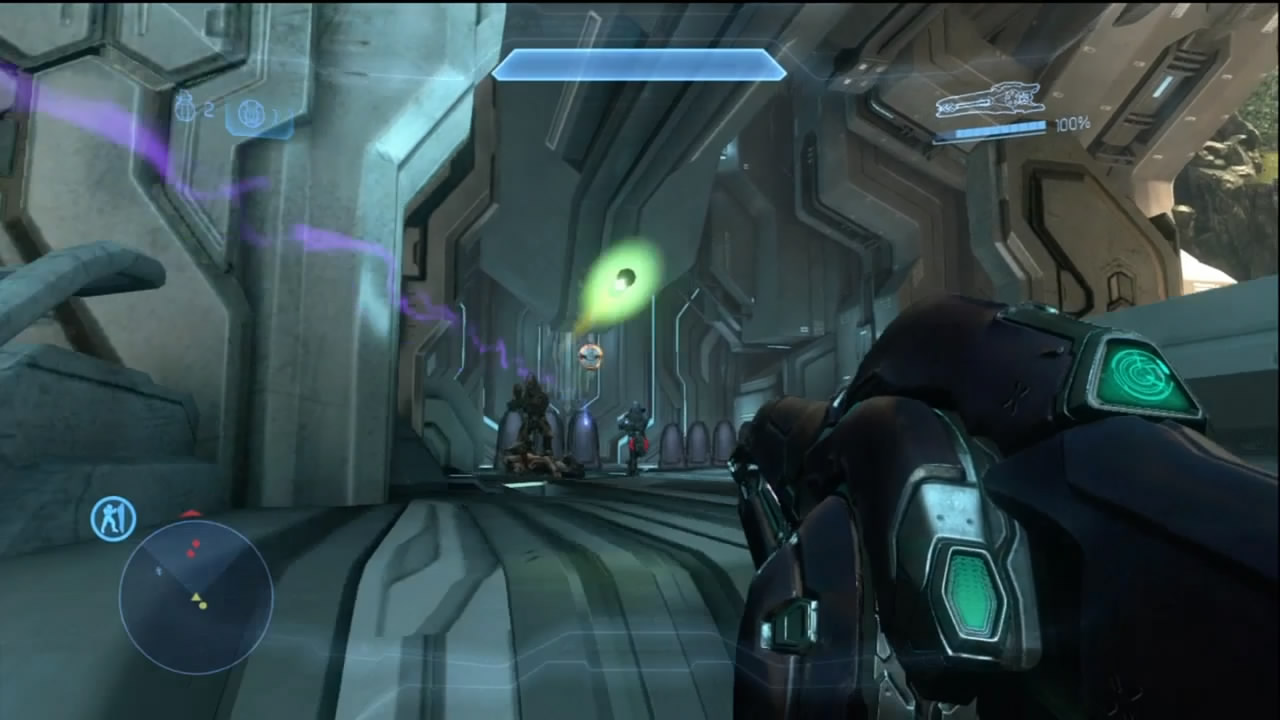
[4] The Forerunner structure’s top level contains multiple Elites supported by Promethean beam cannons. They have the positional advantage, as they can shoot you the moment your head crests the ramp’s top. Expect Concussion Rifles and Fuel Rod Cannons to be among the weapons leveraged against you here. You can play it cautious and use the ramp for natural cover against the Covenant with a Beam Rifle. More audacious players may resort to mixing it up at closer ranges with charged Plasma Pistol blasts followed by swift headshots.
Objective Two: Clear Remaining Hostiles
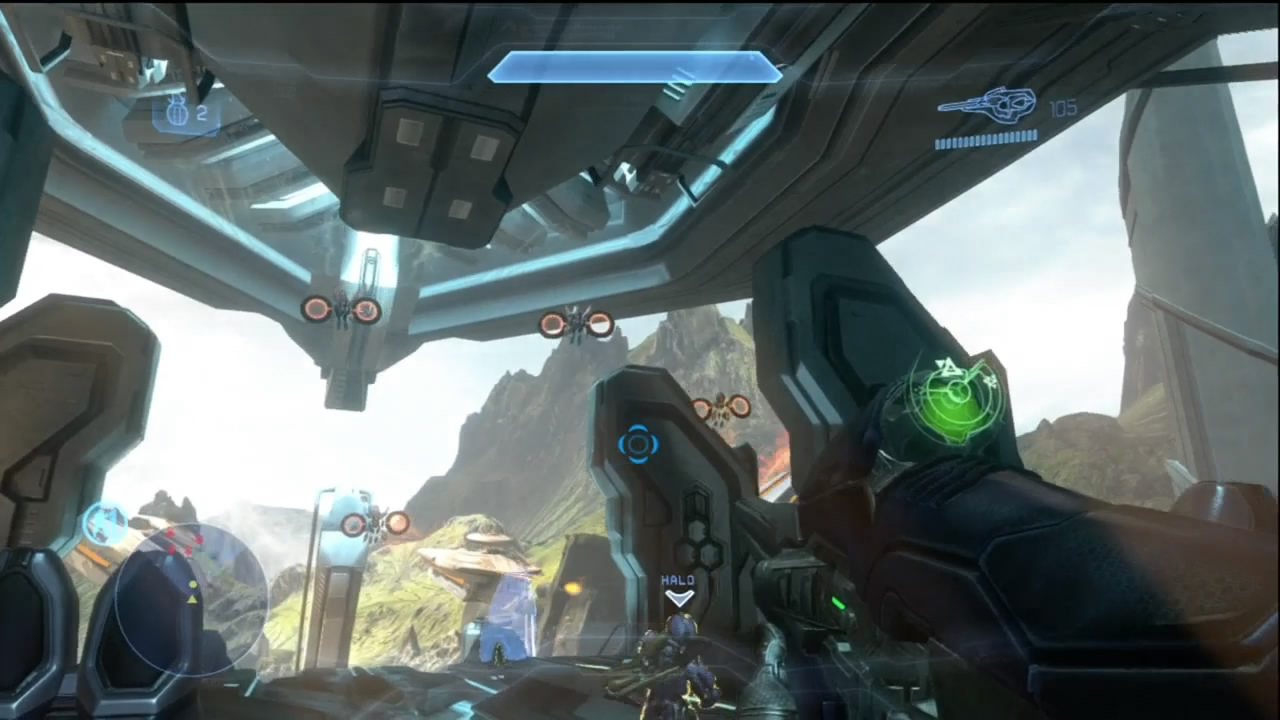
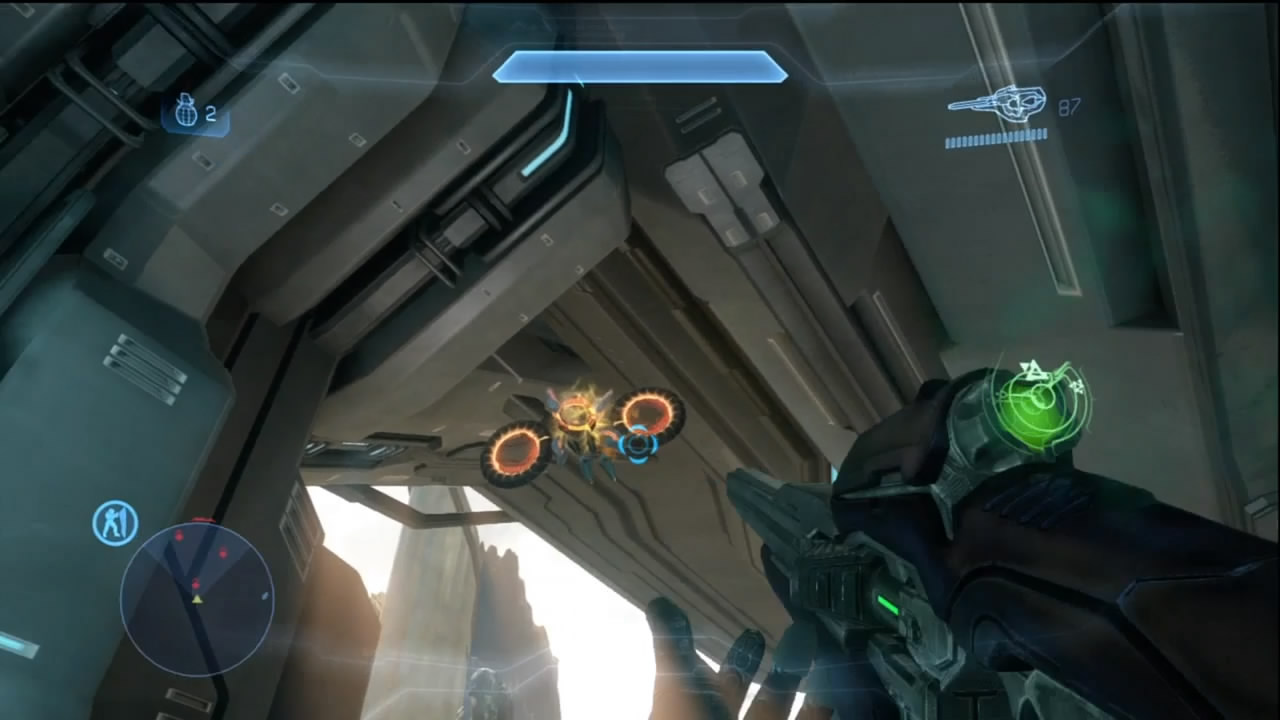
Once you eliminate the Elites at the top level, a swarm of Watchers fill the sky. The remaining enemies will be marked on your HUD to help speed up their destruction.
Objective Three: Deactivate Pylons
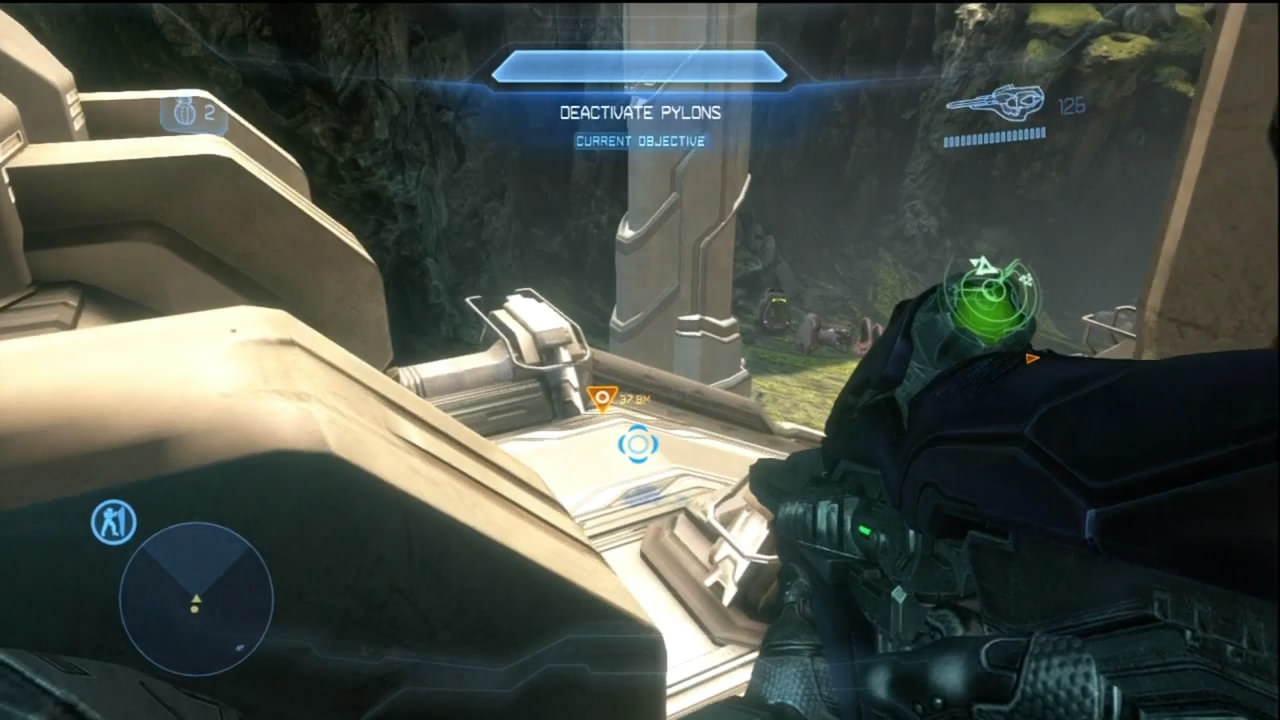
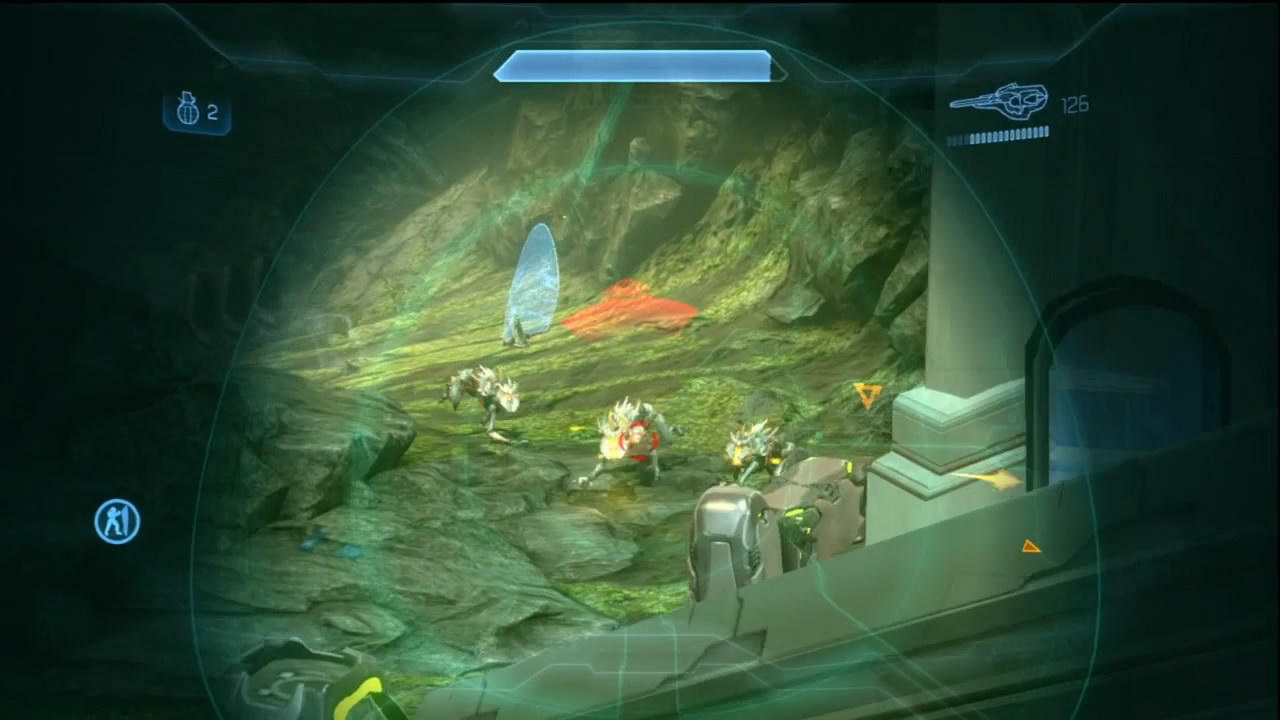
[5] [6] After you beat back the initial swarm of Watchers, two pylons are marked near the ramps connecting to the lower valley. This isn’t a tough objective to manage, especially in the wake of the battle you just fought to reach the top of the structure, but you should still exercise some caution. A combined force of Crawlers and Watchers rush to both pylons to put up a fight, and while you can jump down to the control panels behind the pylons from the midl-evel, it’s recommended you take the time to eliminate the hostiles first before deactivating the pylons.
Objective Four: Investigate Disruption
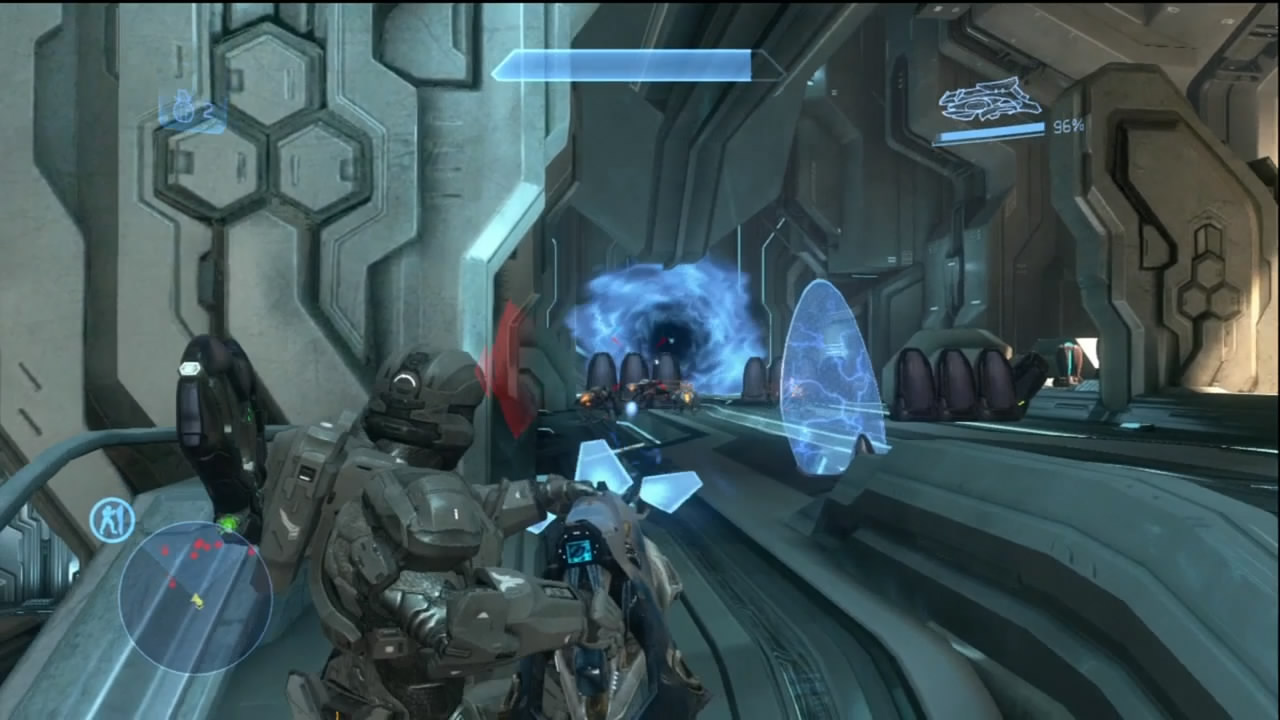
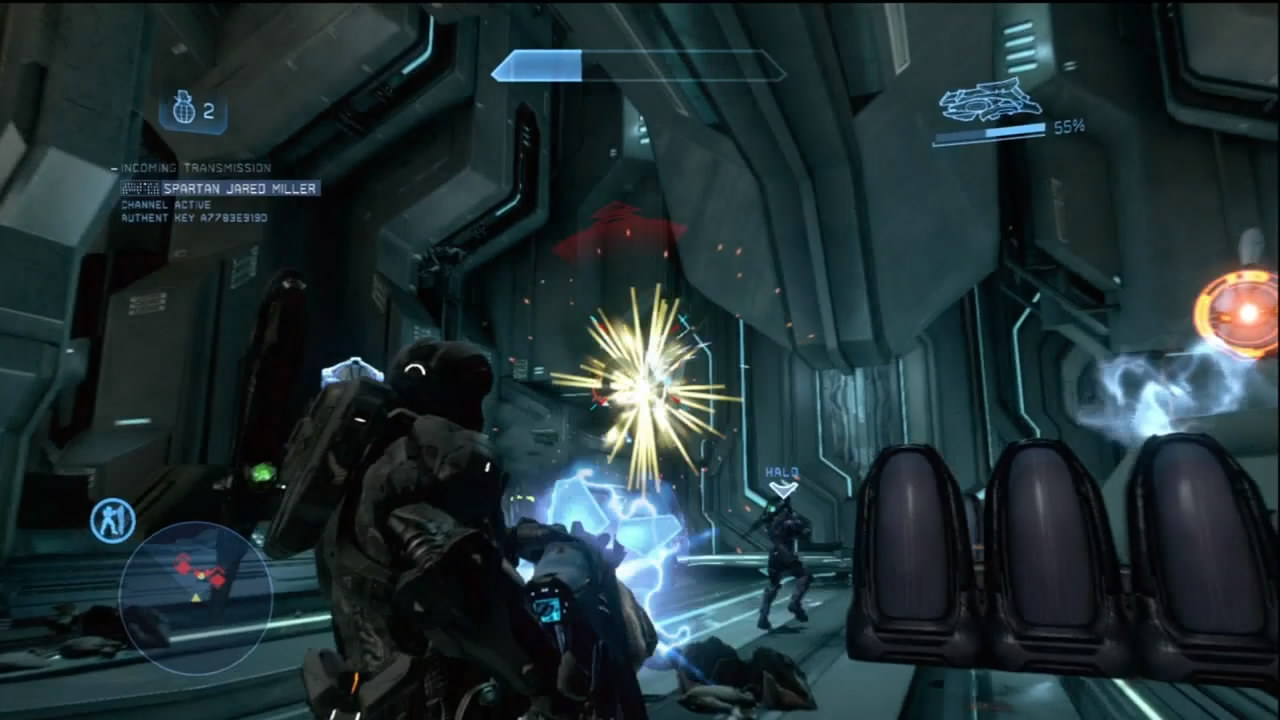
[7] After disabling the pylons, you detect a disturbance back at the structure’s top. A slipspace portal has opened, disgorging a squad of Crawlers and Watchers into the area. If you’re playing with a full group of four players, you can nip this in the bud immediately by leaving two Spartans at the upper level to saturate the portal with grenades the moment it starts spewing hostiles. Work quick enough, and the Watchers won’t even get the chance to set up new Beam Cannons.
Objective Five: Collect Ordnance
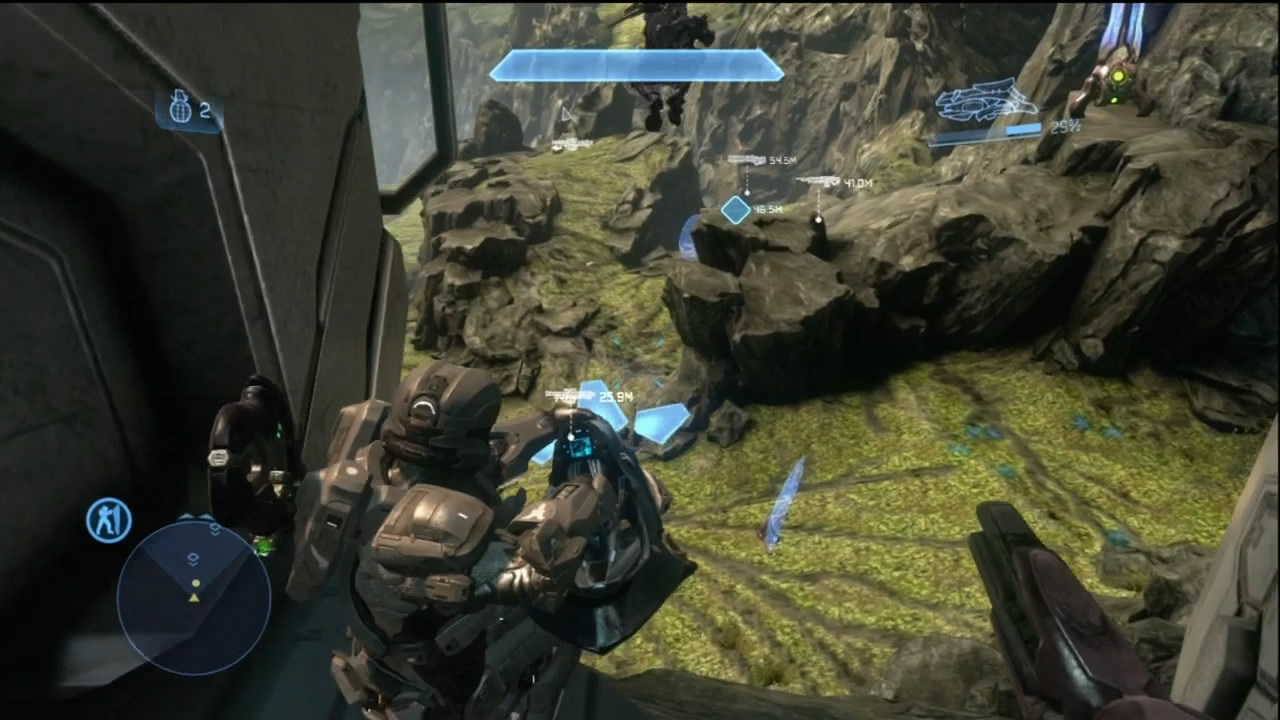
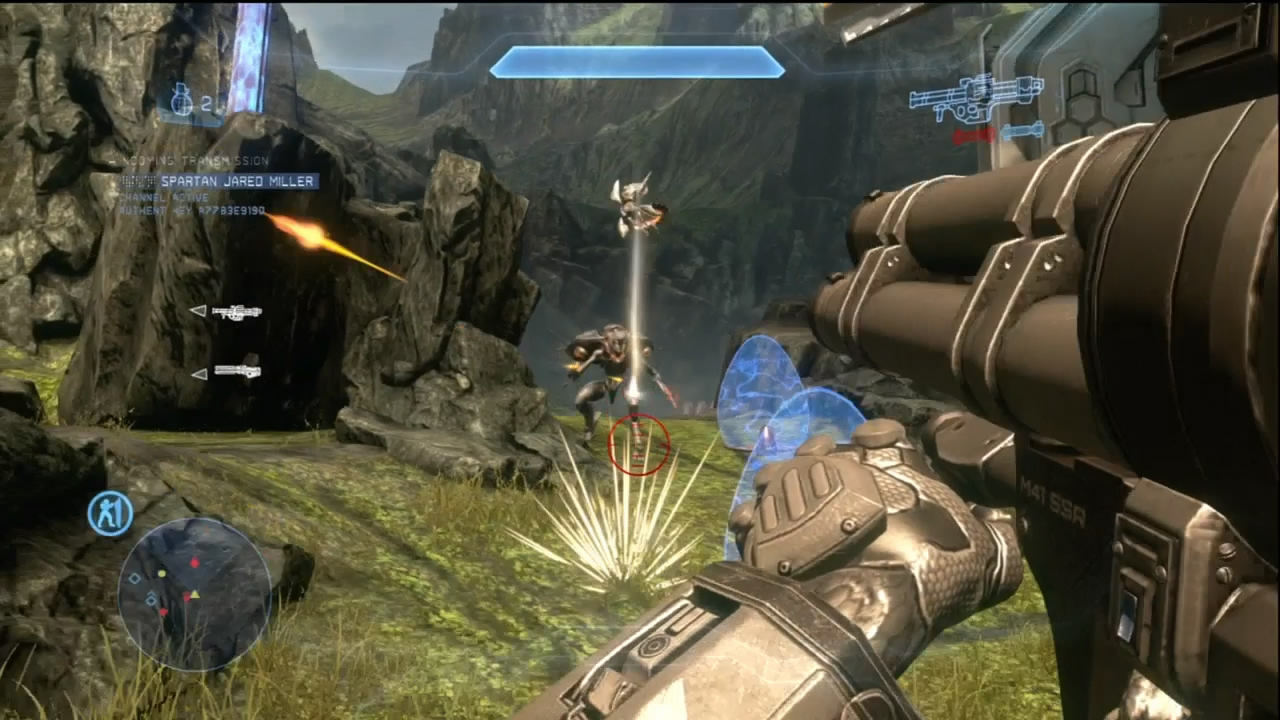
[8] With the disruption contained, Commander Palmer calls in an ordnance drop containing Rocket Launchers, a SAW, and a Railgun. Move to collect these weapons; you’re going to need them. When you approach the weapons, Knights begin to phase in all around the ordnance drop zone. Use these heavy weapons to quickly destroy the Knights before they can start working together and become a major problem.
Objectives Six and Seven: Eliminate Prometheans and Clear Remaining Hostiles
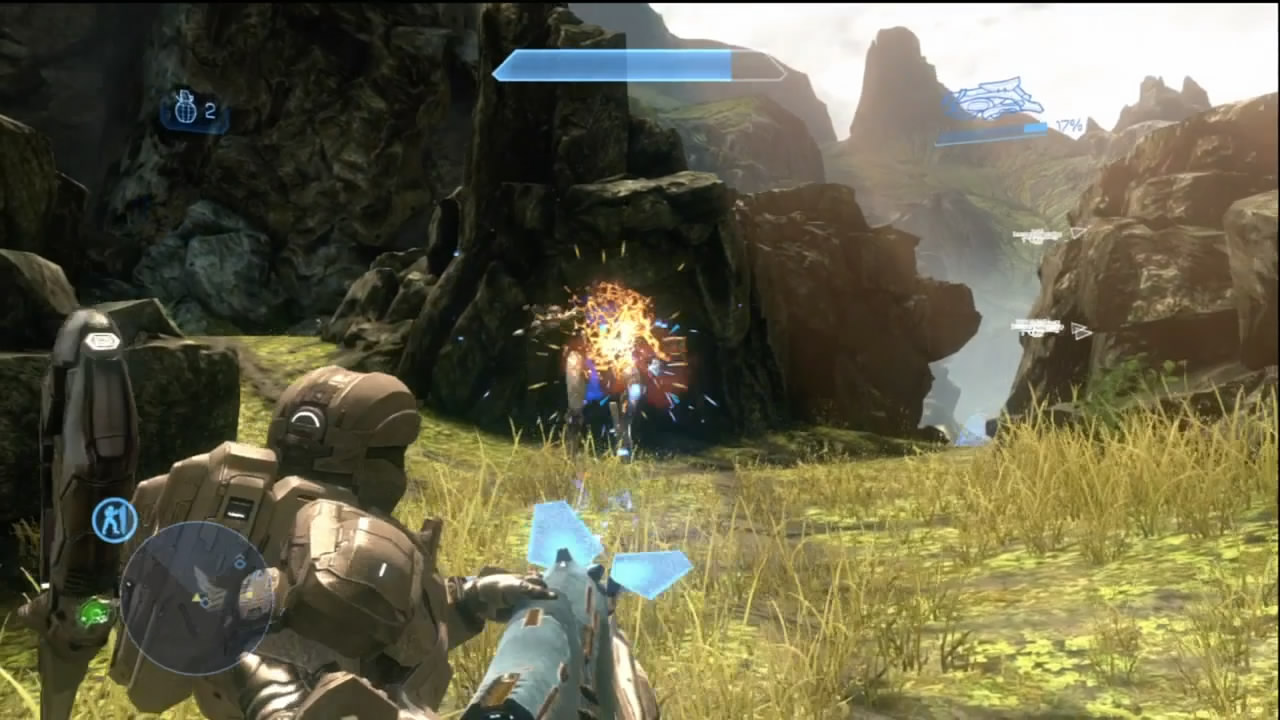
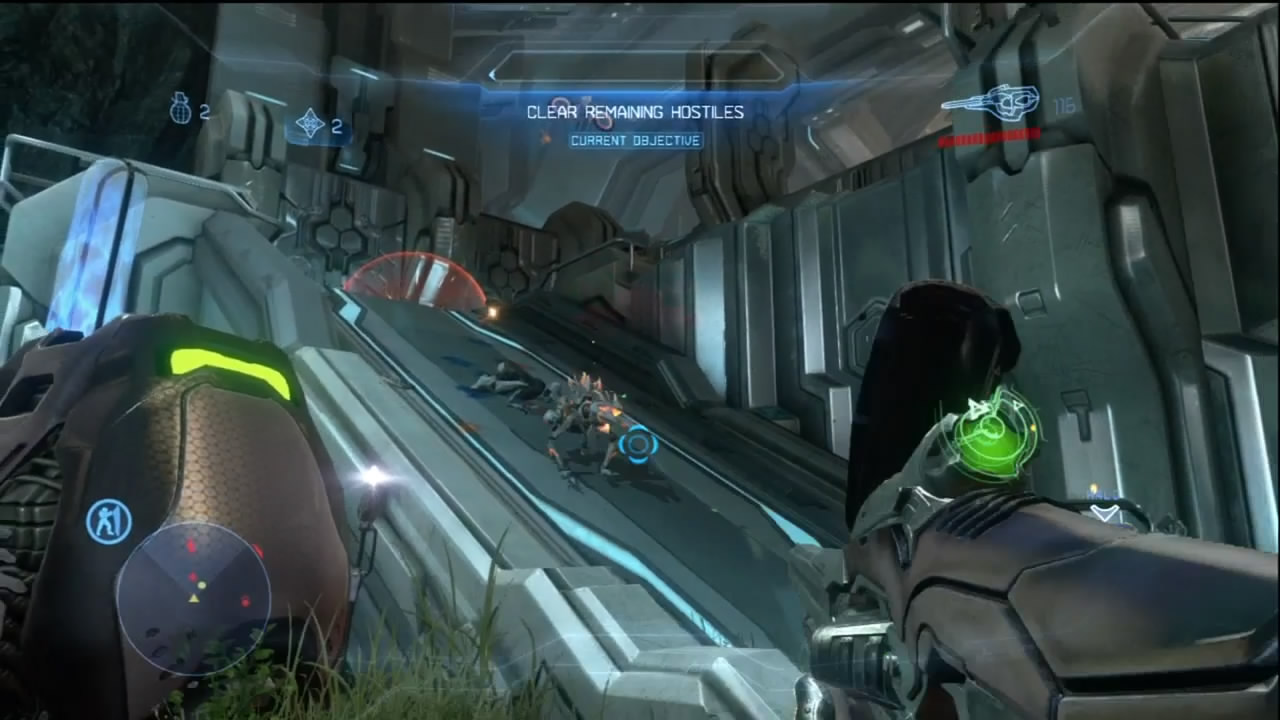
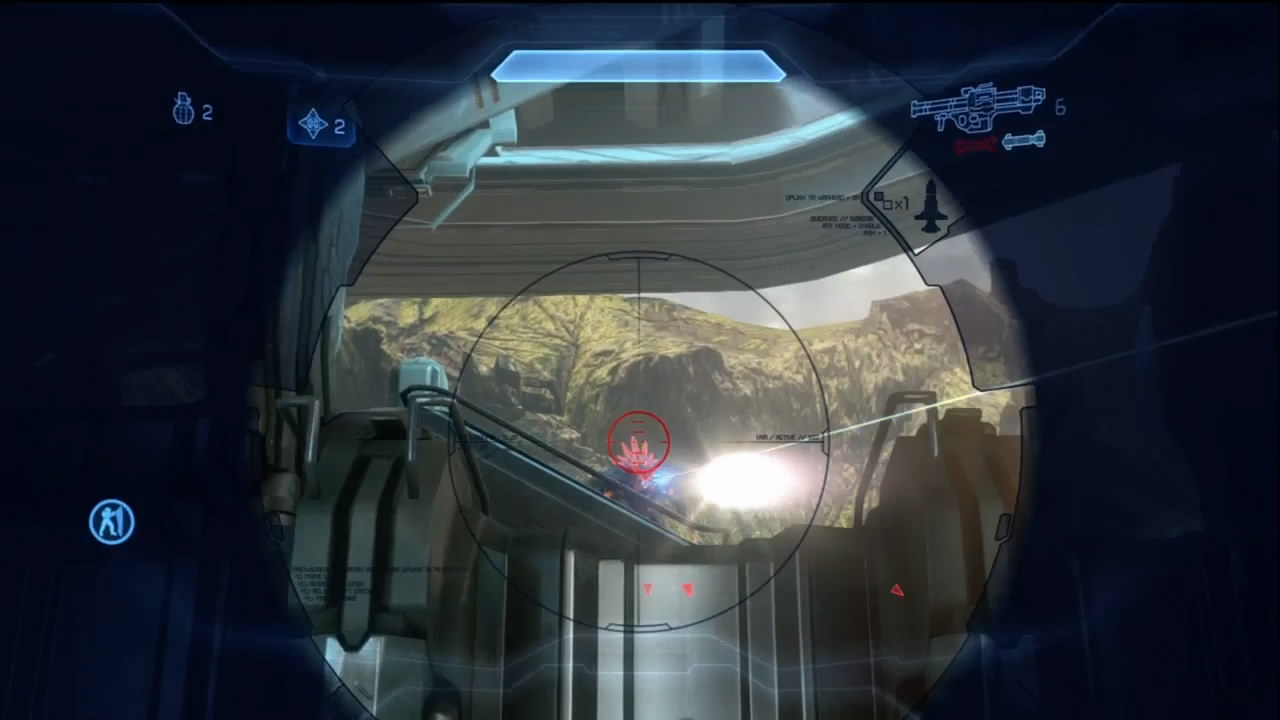
[9] You survived the initial Knight ambush, but things aren’t over yet. More Knights suddenly occupy the structure you’ve already cleared out twice, joined by another contingent of Crawlers and Watchers. Some of the latter two enemies will attempt to pin you down near the ordnance drops. Climb your way back up to the top of the structure and wipe out any remaining hostiles in the area. Once you eliminate the enemy, a Pelican Dropship is summoned to pick up Fireteam Crimson. The science team investigating the artifact found at The Cauldron has come under heavy enemy attack, and need immediate assistance. The Spartans have been ordered to return to the site to rescue the scientists.
Chapter Two: For Science
Returning to the facility that Fireteam Crimson wrested from hostile control, the Spartans attempt to make contact with the UNSC scientists but do not receive a friendly response. However, the Covenant are responding—with plasma fire. With no word on whether the science team is still alive, the Spartans can only press forward through the Covenant and hope for the best.
The Pelican will deploy you at the site of the Forerunner relic, right where your first mission in the Cauldron ended. From here, you must fight your way back through the facility, eliminating Covenant communications arrays and disabling shield barriers that stand between you and any potential survivors. After the intensity you faced during the previous mission, you might find the enemy resistance here to be somewhat relaxed by comparison. The Cauldron is less restrictive than the Gate, providing good sight lines for ranged combat. Rarely will you have to rush directly into serious danger.
Map Location: The Cauldron
Recommended Loadout
As stated above, the Cauldron provides plenty of opportunities for ranged combat, so equip yourself accordingly. If you take the Ammo upgrade, you can pick one of your favorite rifles and go to town with headshots. The prevalence of UNSC ammo crates throughout the mission makes the Magnum, Battle Rifle, or DMR very attractive options. If you’re teamed with multiple players, the Gunner upgrade can turn the normally risky Plasma Cannons scattered throughout the Covenant defenses into murder machines. Simply having two players with Plasma Cannons can shut down many Covenant assaults. There are plenty of opportunities to set up overlapping fields of fire on narrow choke points that the Covenant will have to throw themselves against just to get to a coordinated Spartan team.
Objective One: Rescue Scientists
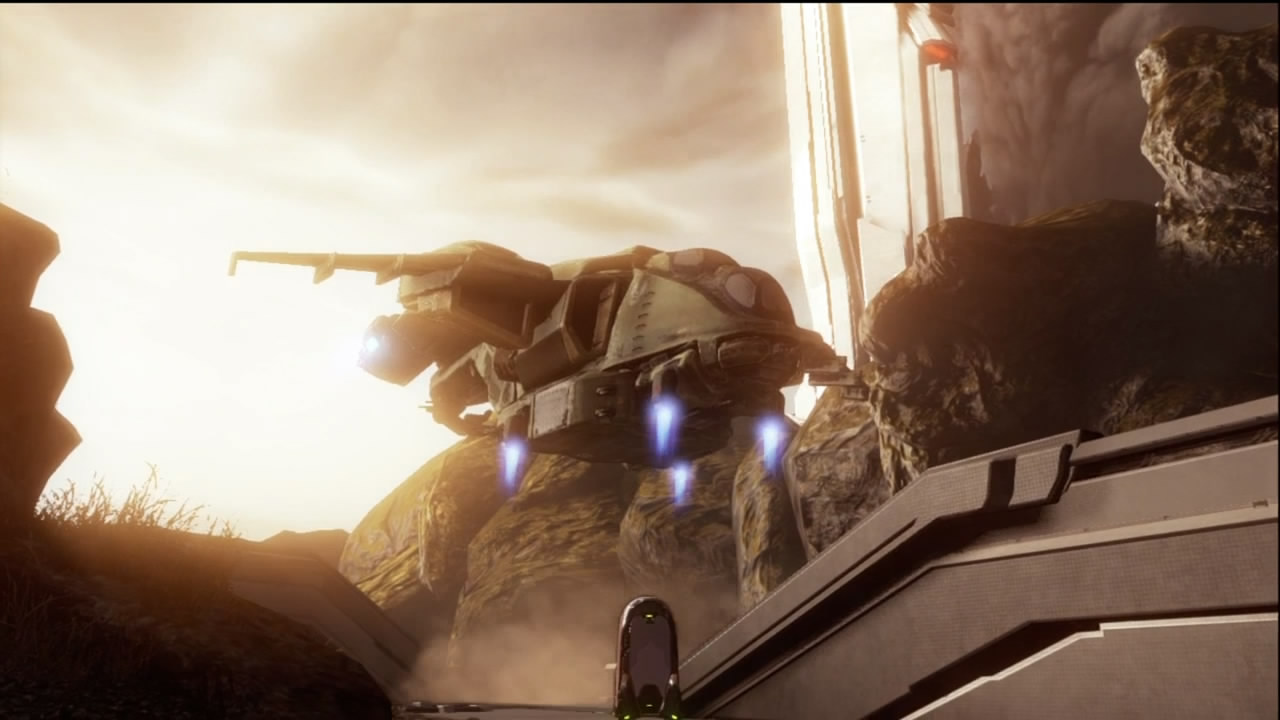
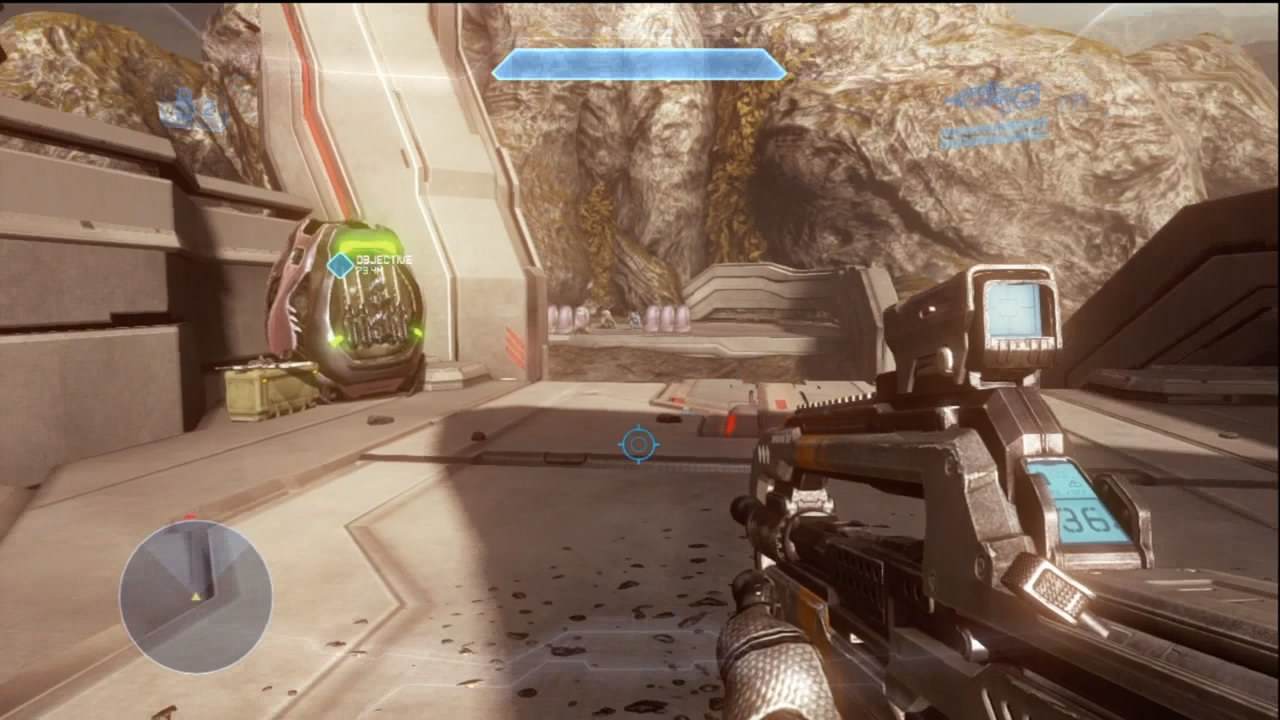
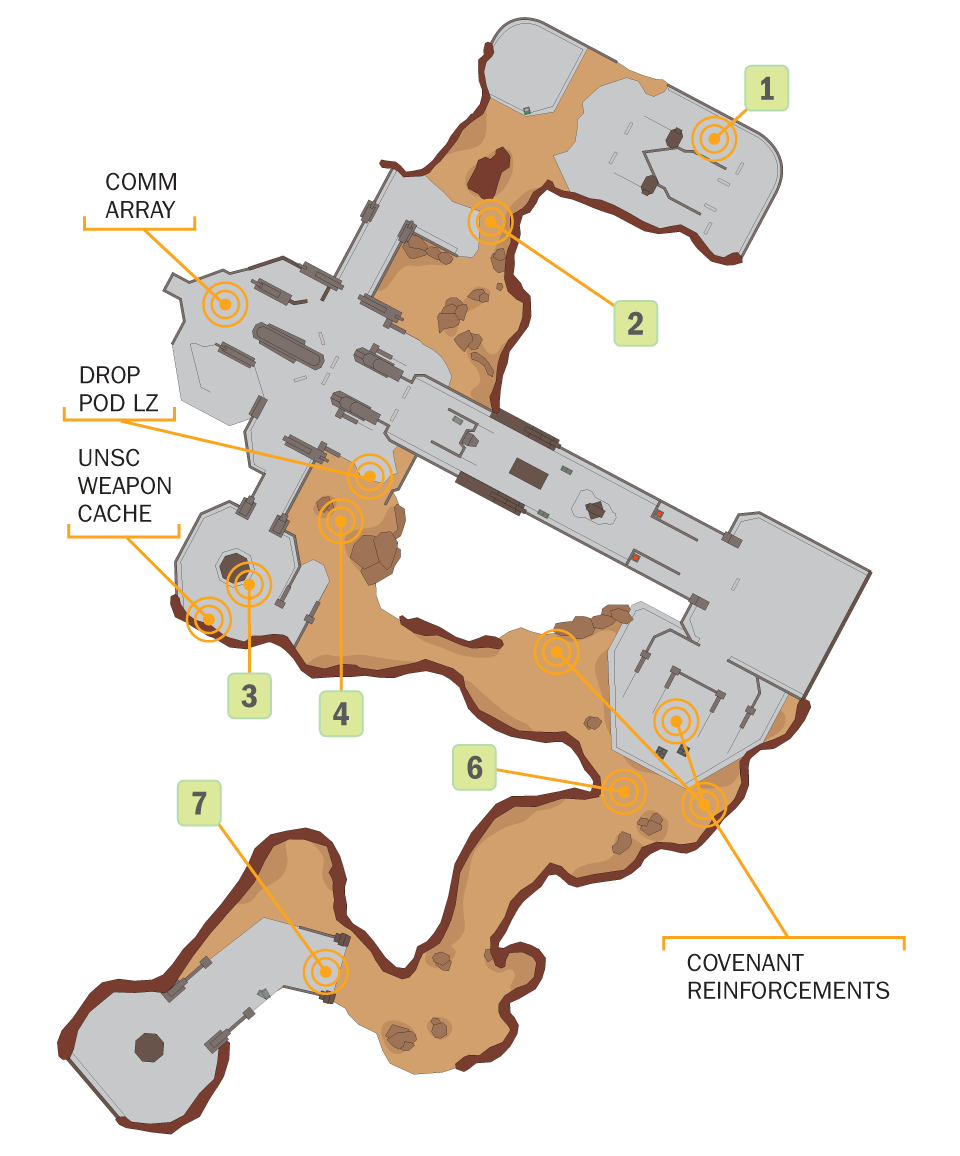
[1] Your arrival is relatively easy, and you begin on a ramp overlooking an open clearing with a few Jackals and Grunts. Put them down, then move deeper into the facility.
Objective Two: Shut Down Comm Array
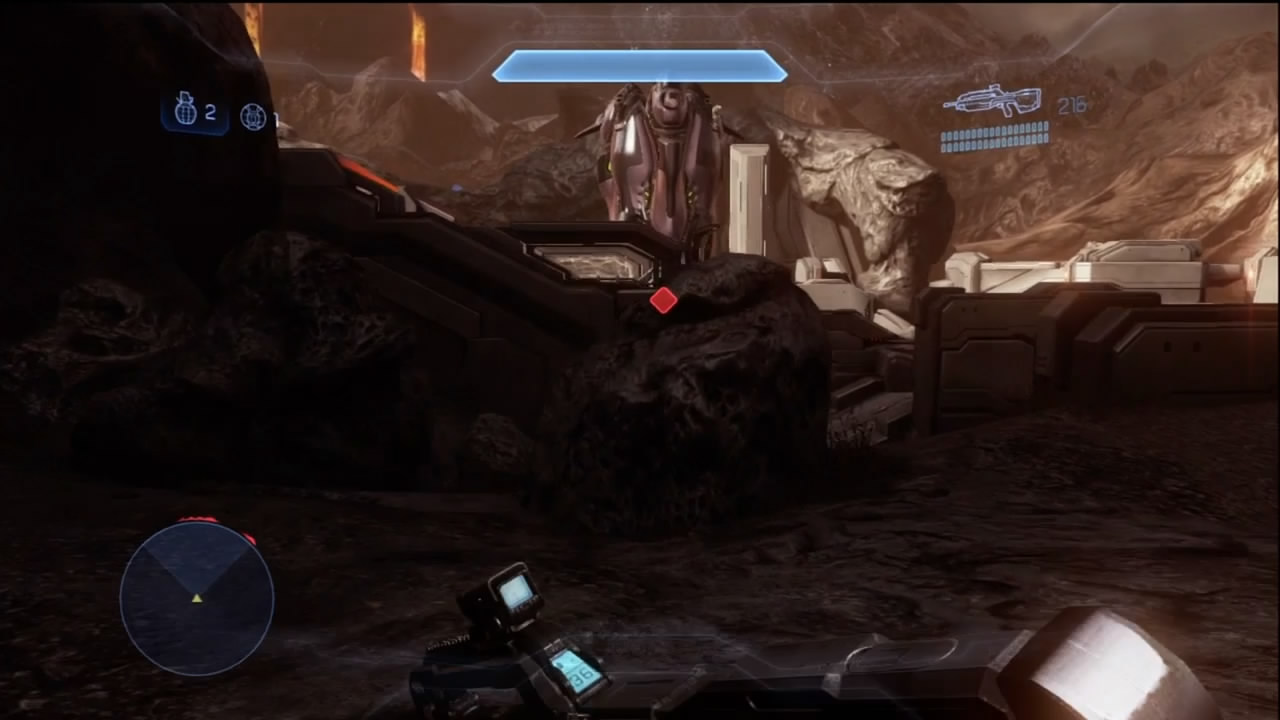
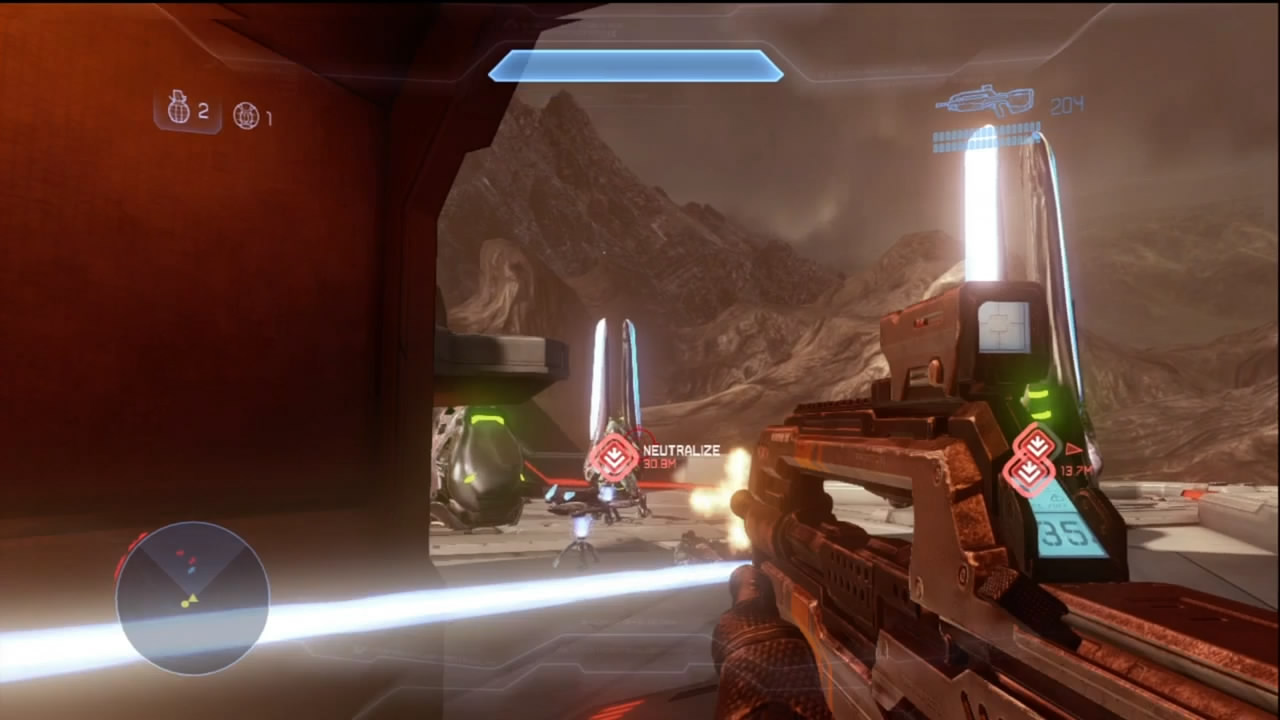
[2] Pressing onward, you’ll see a Covenant drop pod deploy troops in the distance, while Palmer has a communications array marked for destruction. The Array consists of four transmission antennae and requires a bit of firepower before they go down. Defending them is a squad of Covenant consisting of Elites, Grunts, and Jackals. There are also three Plasma Cannons that are facing the main ramp you can take to reach the array. If you intend to charge straight up the ramp, soften the targets first with grenades to try dislodging the enemy from the Plasma Cannons. You can also use the side ramps here to flank the enemy. Once you destroy the Comm Array, more Covenant begin to drop in.
Objective Three: Move to Beacon
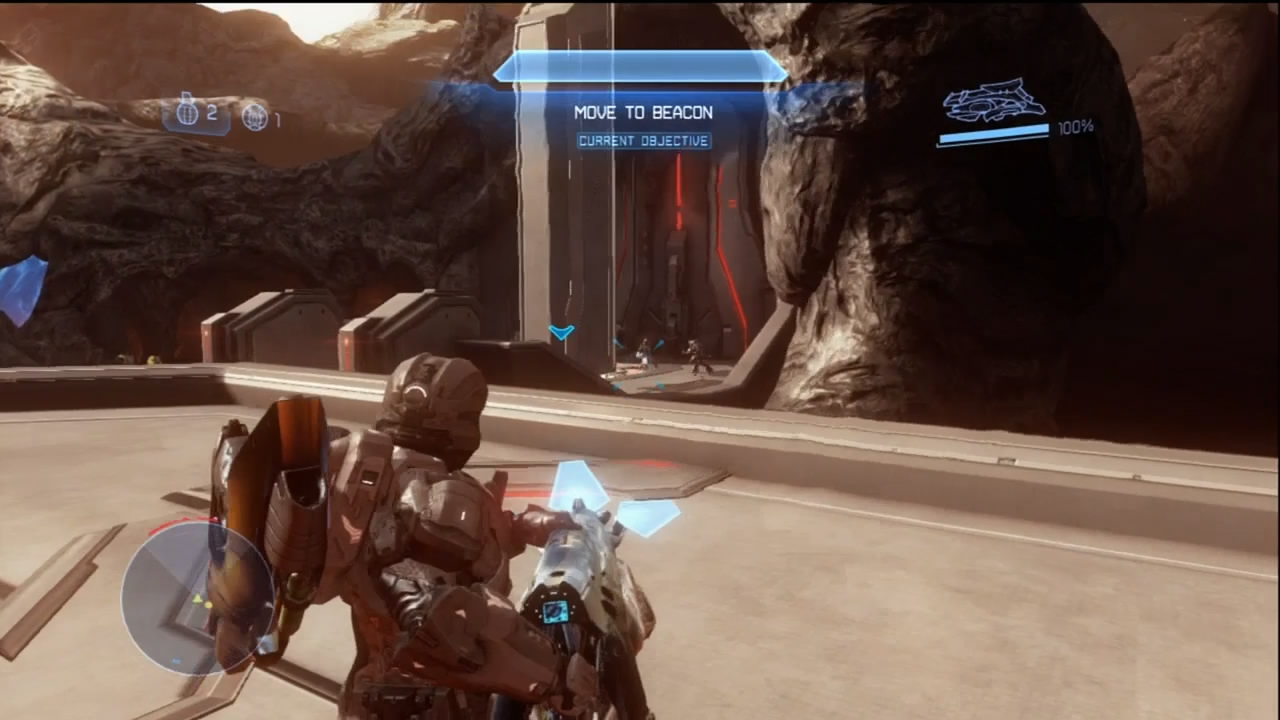
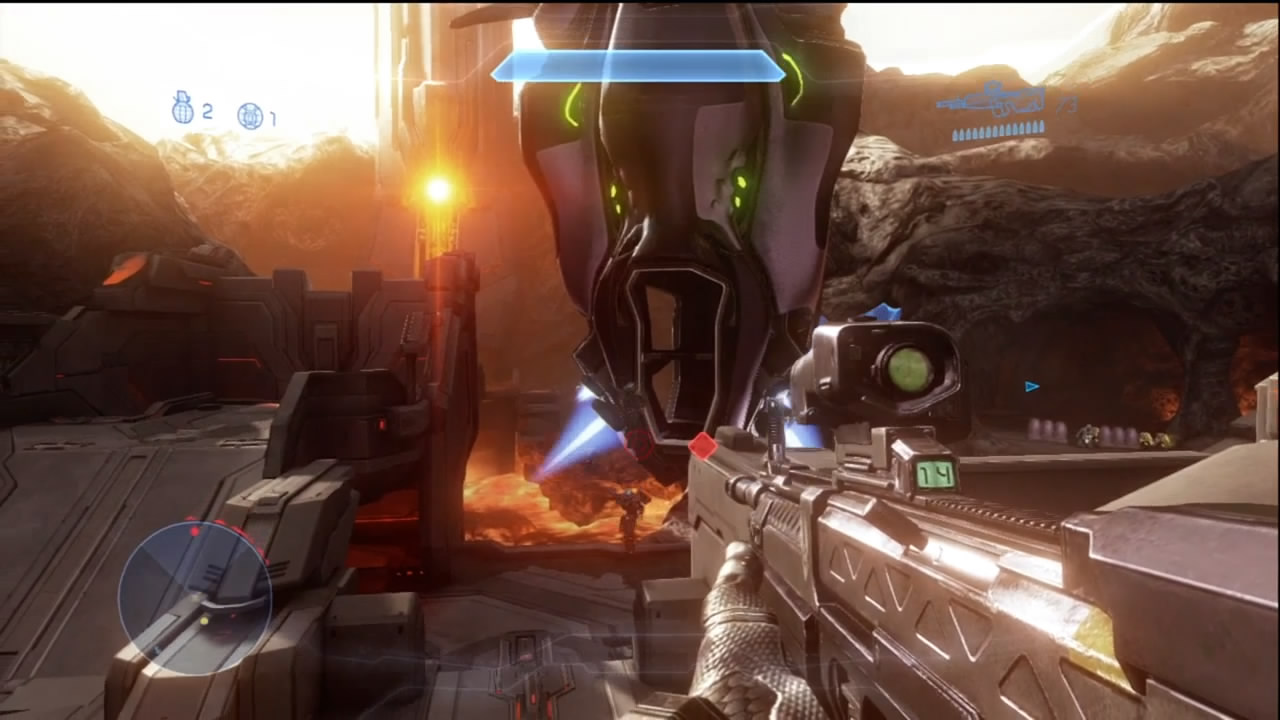
[3] You detect a UNSC beacon a short distance away from the Comm Array. By this time, more Covenant have converged near the Array and around the beacon.If you’re playing with multiple players, now is the time to use the Plasma Cannons you just acquired. You can easily beat back the rush on the Array, and advancing on the beacon should be a fairly simple affair with a coordinated team. If you’re running solo, you probably do not want to use the Plasma Cannons, even if you’re using the Gunner upgrade. Focus on bringing down the Elites that will rush you once they make visual contact. Try to get your hands on a Needler in those instances, as Elites tend to just walk right through barrages and trigger supercombines on their own.
The forces around the beacon also have Plasma Cannons at their disposal. It is not a bad idea to snipe the gunners before you even make your assault through to the beacon.
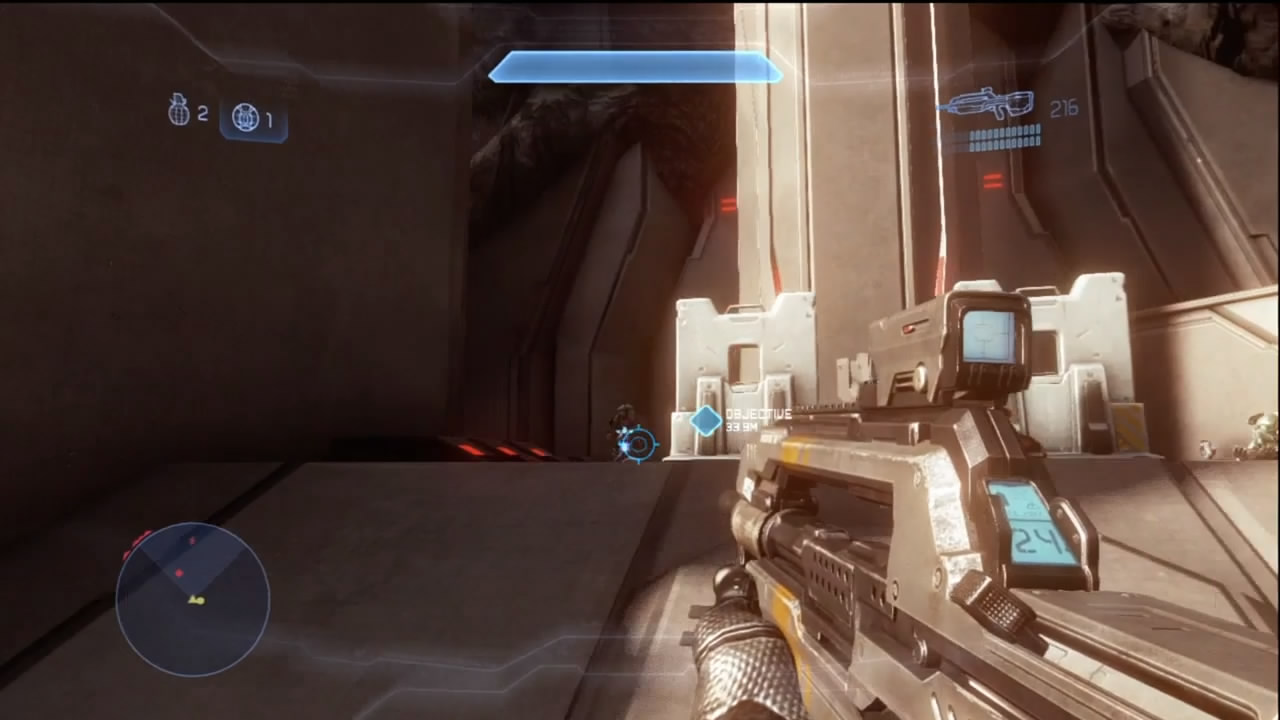
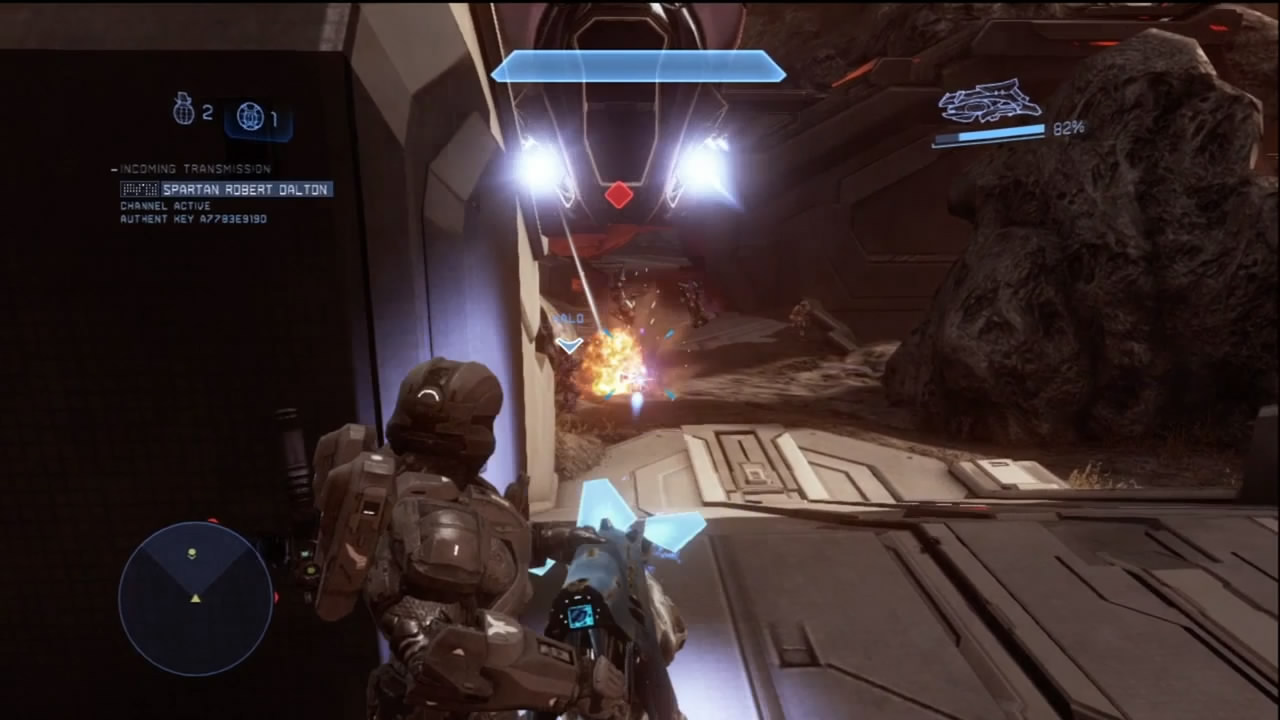
The beacon is an IFF tag with a recording that lets you listen to the apparent fate of the science team. Near the beacon is a significant UNSC weapons cache, which includes the hard-hitting Rocket Launcher. After the recording finishes playing, another Drop Pod deploys troops [4] nearby. While dealing with the new threats, the science team finally calls in. They’ve managed to survive but are in danger of being located and wiped out.
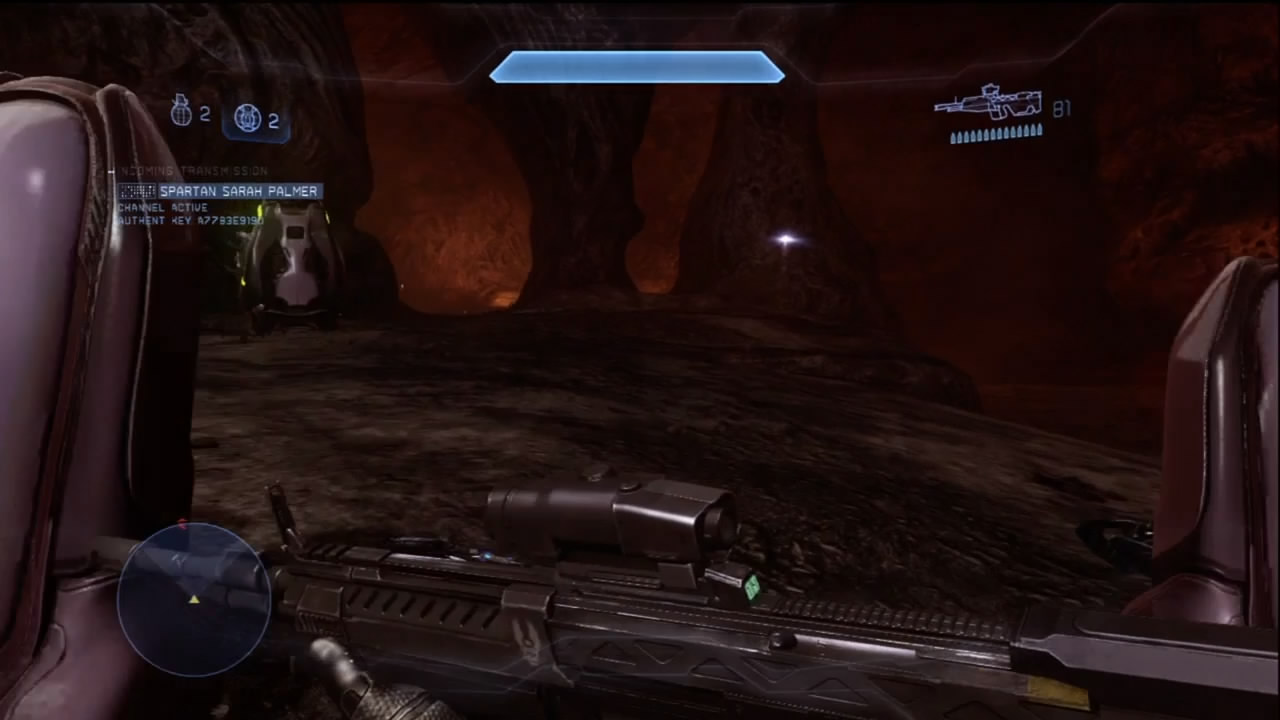
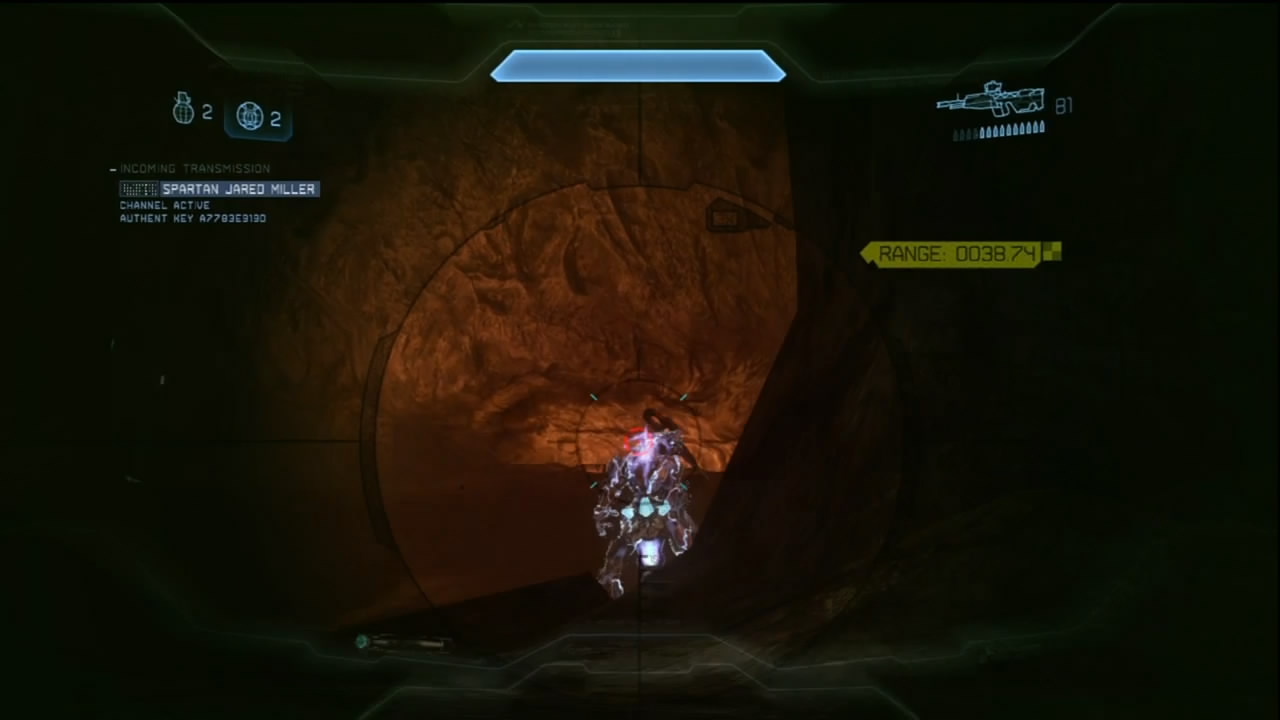
After you deal with the Drop Pod reinforcements, advance toward the cave at [5] and wipe out the Covenant resistance along the way, being mindful of yet another Plasma Cannon manned by an Elite. A shield blocks your forward progress.
Objective Four: Deactivate Shields
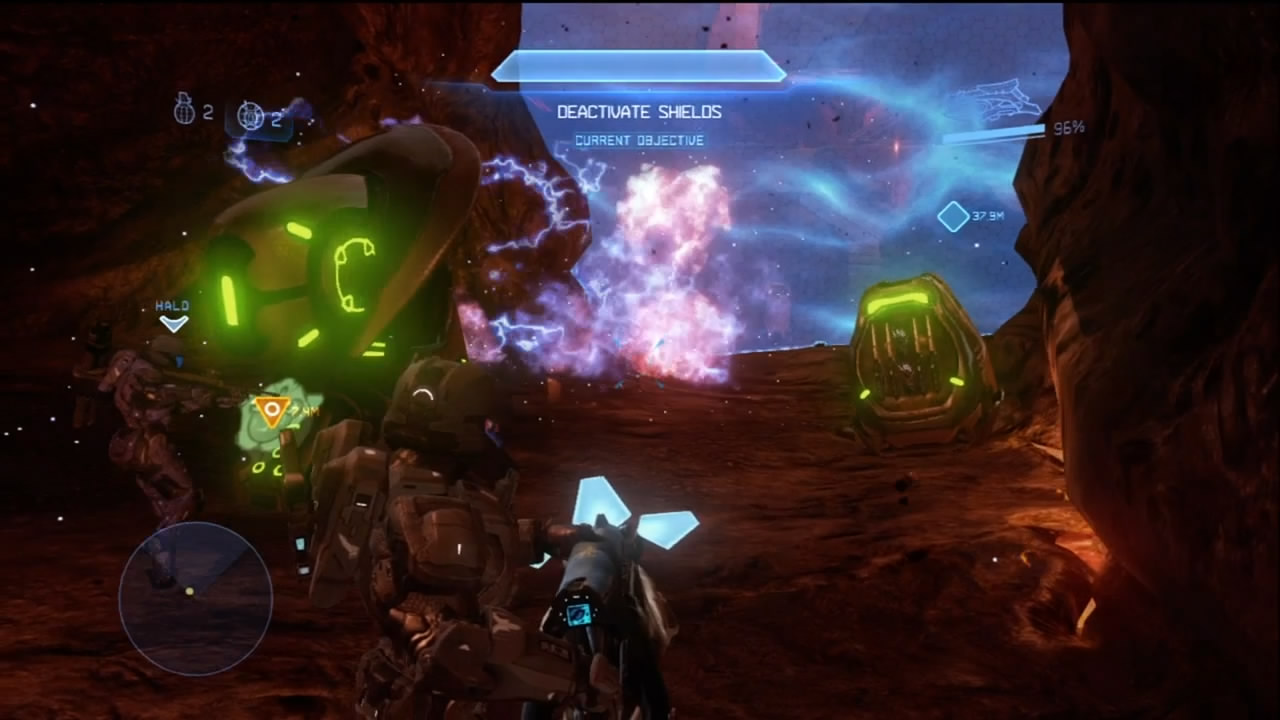
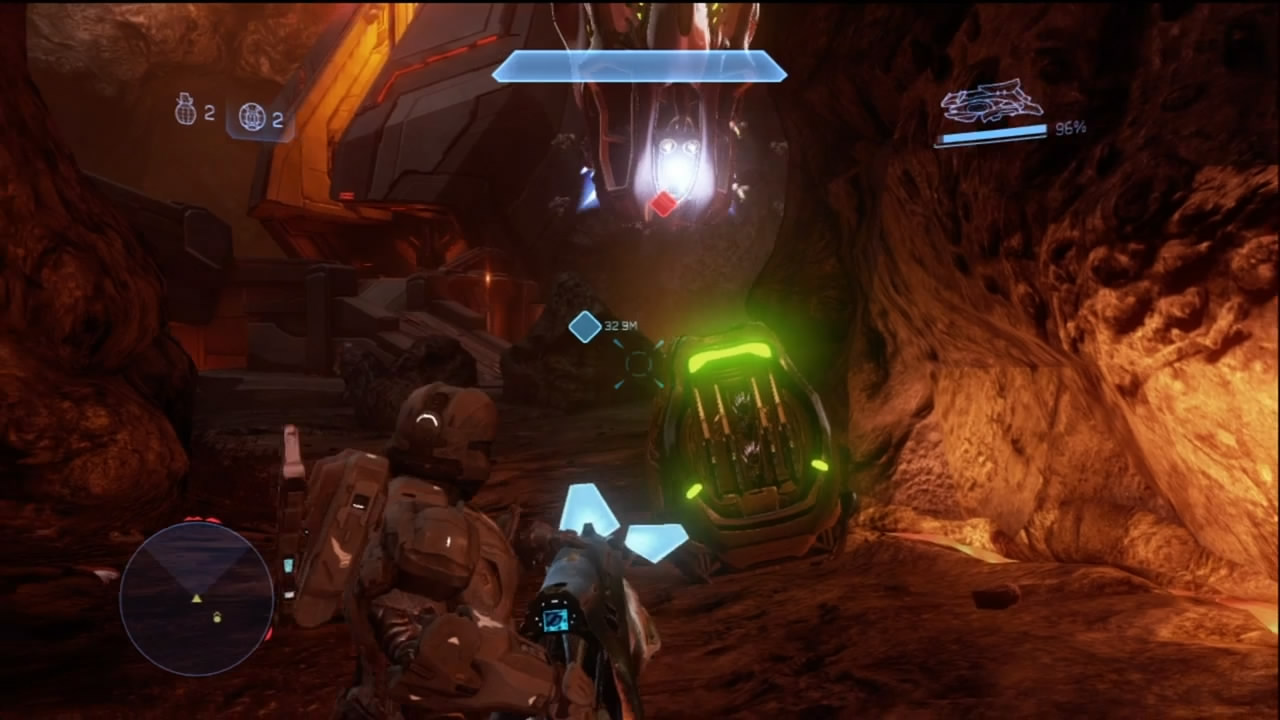
[5] To slow down the Covenant, the science team has reactivated the shield barriers of the Forerunner base in hopes of slowing down the enemy. This has bought them some time, but it’s also stymied your progress. The controls to lower the shields are next to the first barrier you encounter. With the shields down, expect a serious Covenant assault, with Energy Sword–wielding Elites introduced to the mix. Fortunately, the caves provide an elevated position you can use to your advantage while you whittle at the Covenant numbers and shields. A coordinated group of players should be able to prevent the Covenant from even reaching the caves. A lone wolf might be forced into a running gun battle, retreating throughout much of the area while taking shots as the opportunity arises.
Objective Five: Rescue Scientists
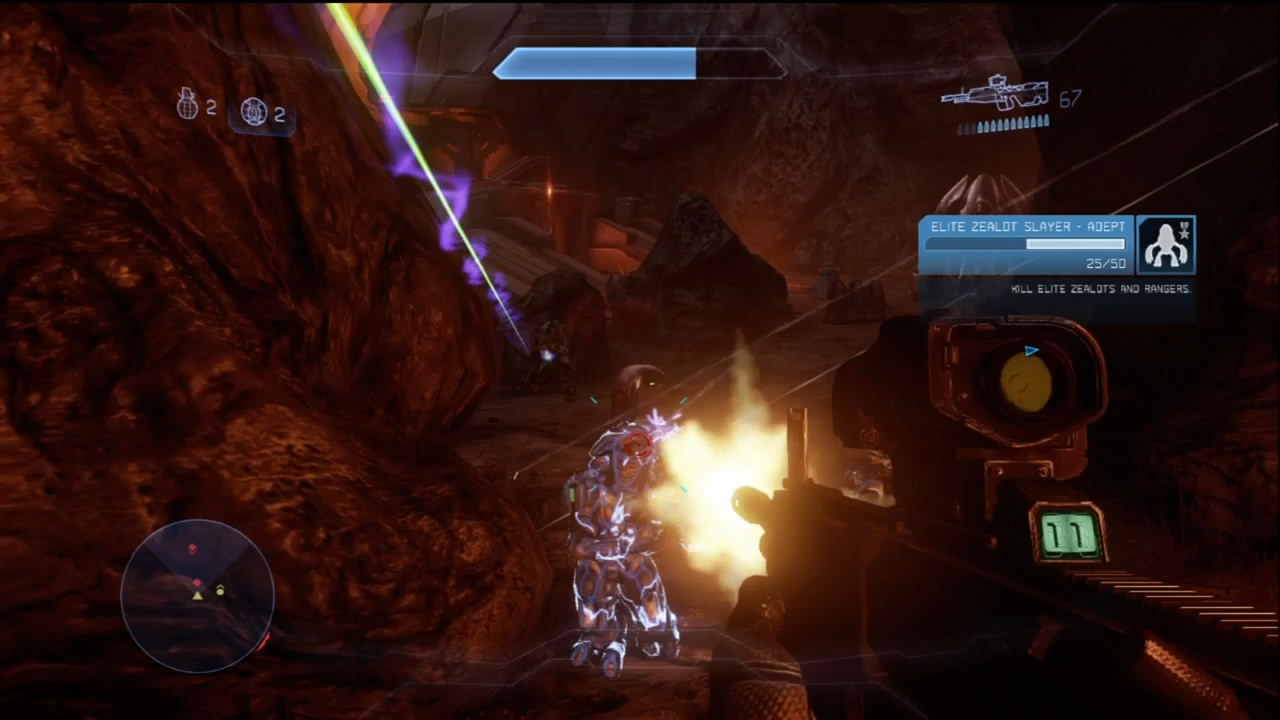
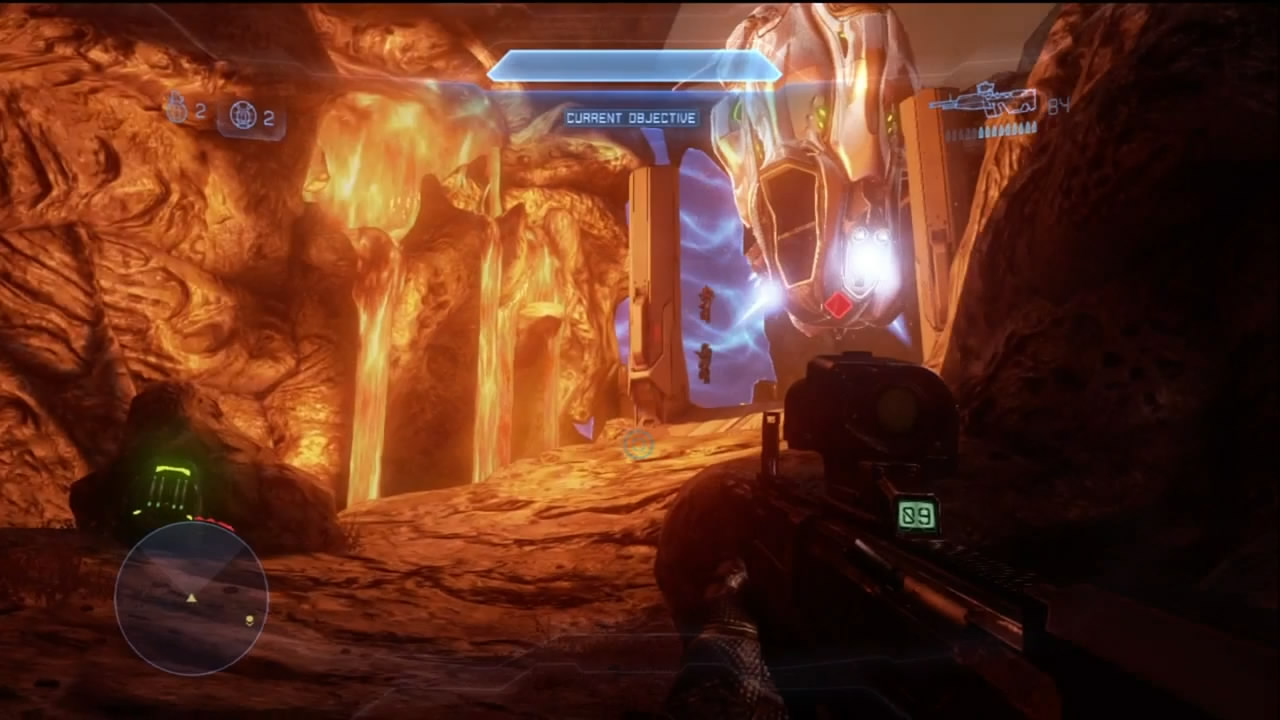
Shortly after deactivating the shields and the firefight begins, this objective pops up on the screen, and the scientists position is marked for you. After dealing with the attack near the shield controls, advance into the next part of the cave network [6] and fight your way through more Covenant.
Objective Six: Eliminate Covenant
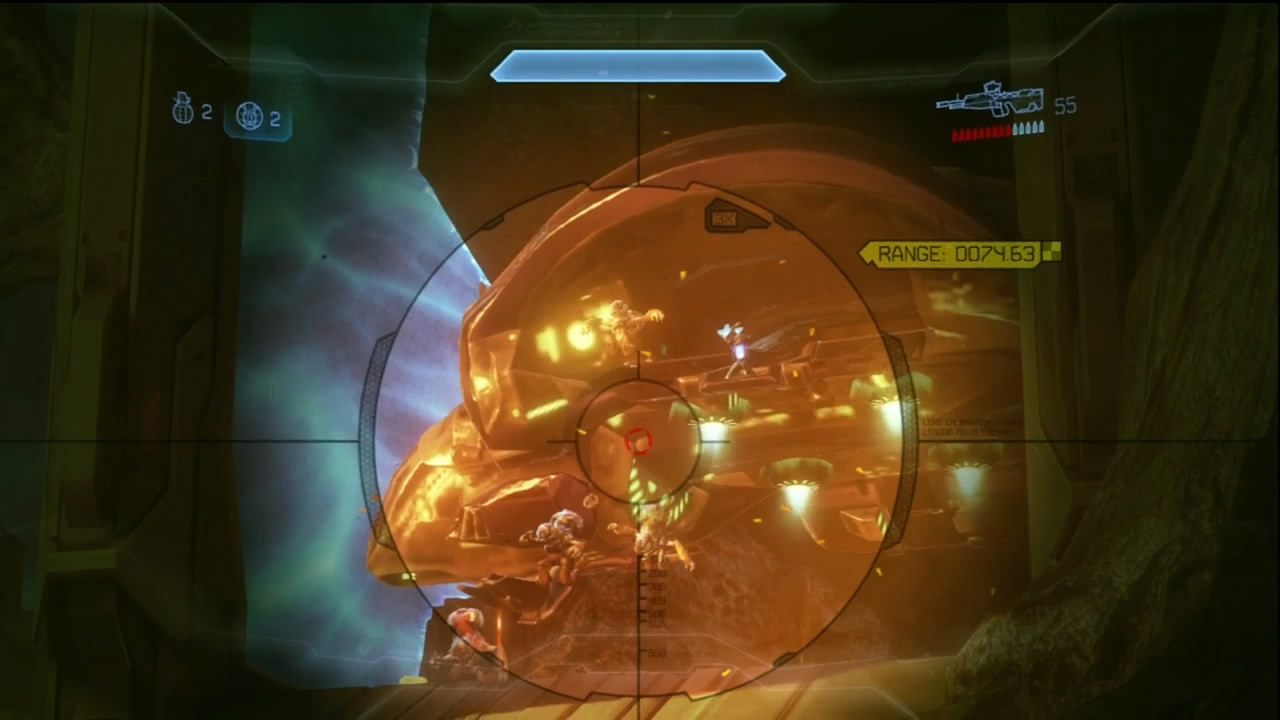
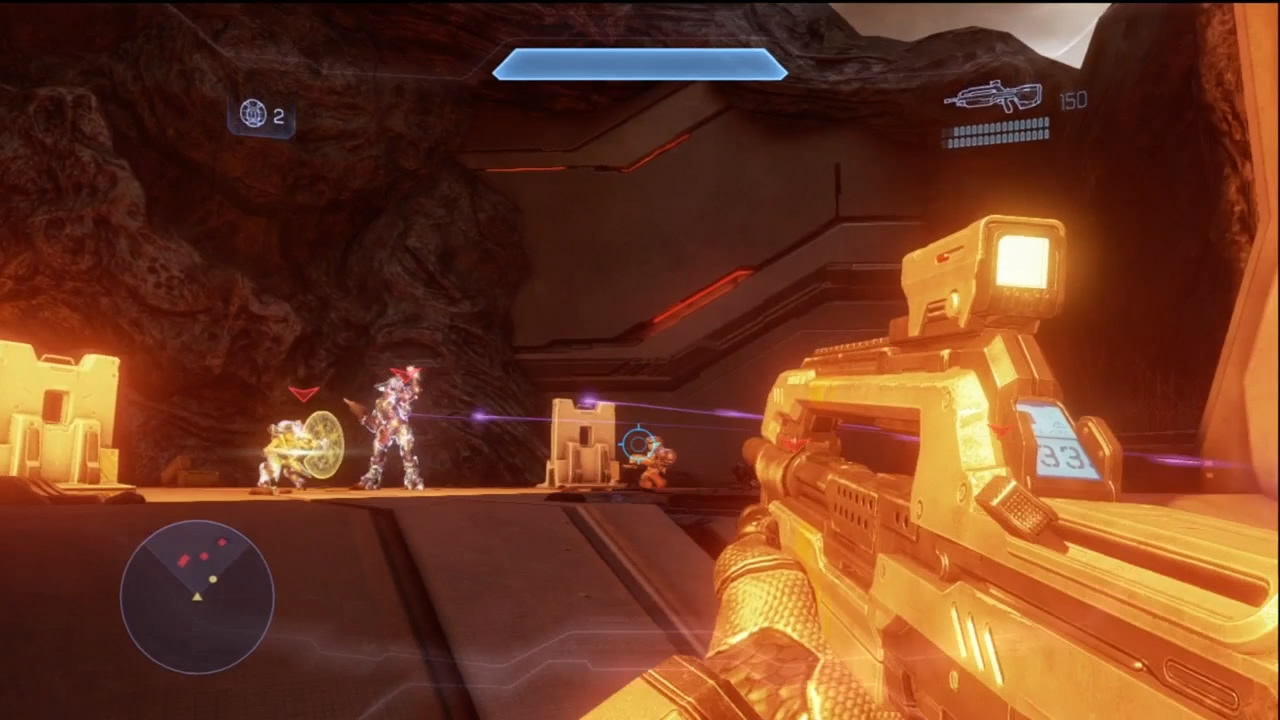
[7] A large Covenant force has reached the final barrier that is protecting the scientists. They’ve set up some defenses to fight you off while they try to deal with the shield. Before you can rescue the scientists, you must eliminate every Covenant soldier in this location. With the threats neutralized, your rescue mission comes to a successful end.
Chapter Three: Hacksaw
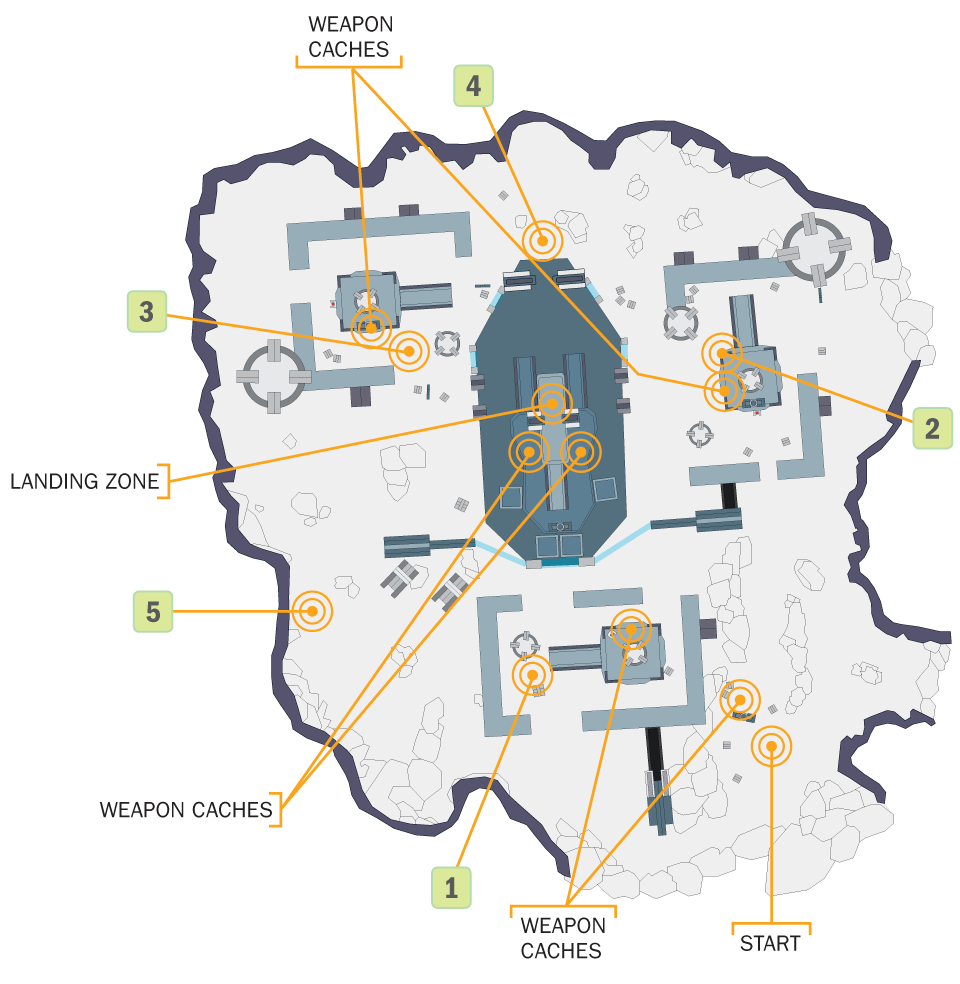
The fortress where Fireteam Crimson and Majestic had their little competition was recently occupied by a Marine fireteam, call sign Hacksaw. Covenant troops have inflicted serious casualties and have the survivors pinned down. They have radioed for extraction, and Commander Palmer has called up Fireteam Crimson to respond to their distress calls.
This is a knock-down, drag-out brawl. The Marines you are trying to save are scattered across three separate locations and are already in contact with enemy troops. After you relieve pressure off of the scattered elements, you’ll have to fight off waves of hostiles while waiting for extraction. Drop Pods will land near the Marines, often times deploying Elites right next to them. The evacuation zone is atop the central structure, which you will need to hold against a persistent series of reinforcement waves the Covenant will throw into the area.
Map Location: Fortress
Recommended Loadout
If you have not been using the Jet Pack armor ability, this mission is a good place to try it. The Marines have scattered Rocket Launchers and Spartan Lasers throughout weapon caches around the whole map. The top of the central structure contains the largest supply of these weapons, and you can quickly reach them with a Jet Pack. The Jet Pack also allows you to get a positional advantage on hostiles, letting you rain down rockets or headshots with relative ease. The Jet Pack enhances the effectiveness of any precision weapon by giving you access to superior positions faster compared to having to slog your way around on foot.
Objective One: Rescue Marines
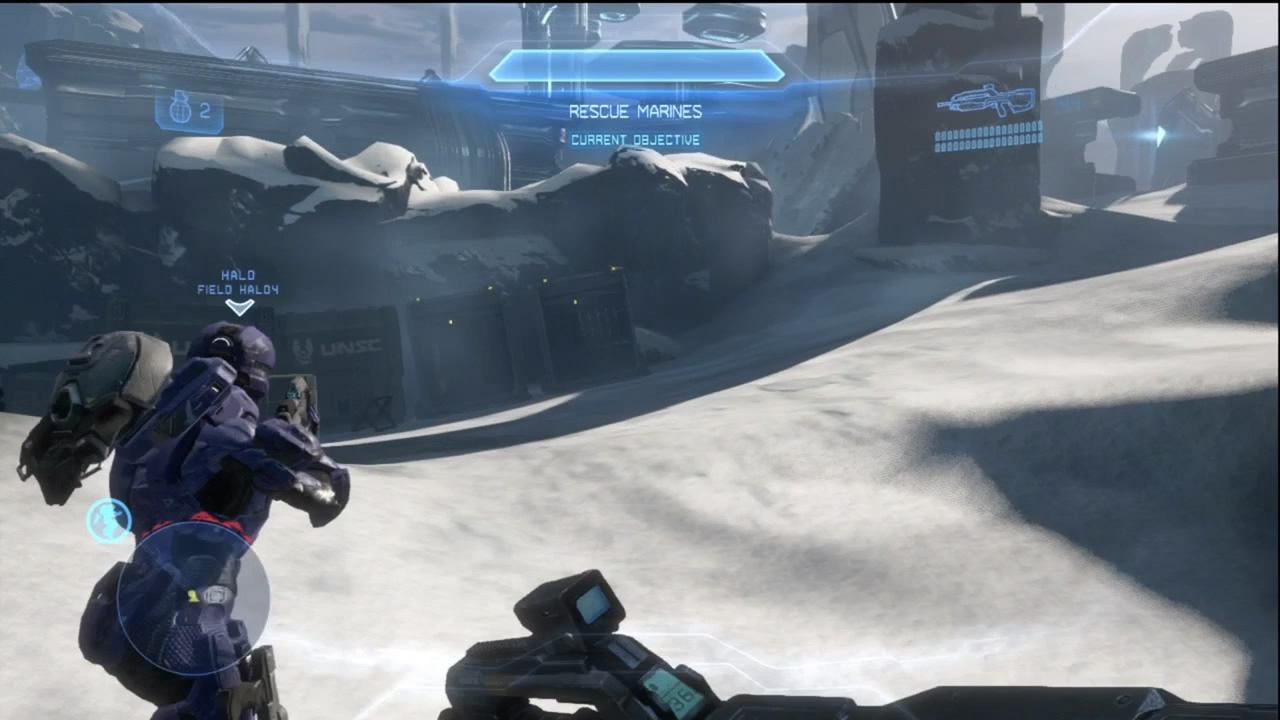
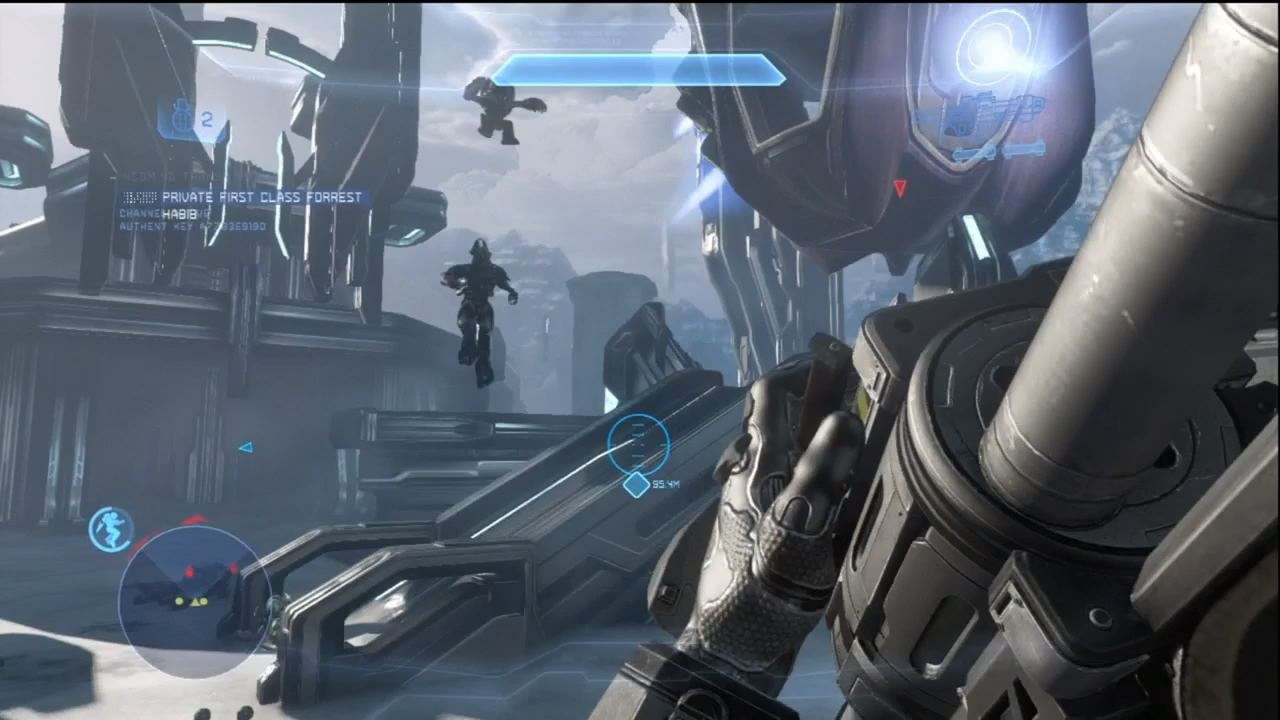
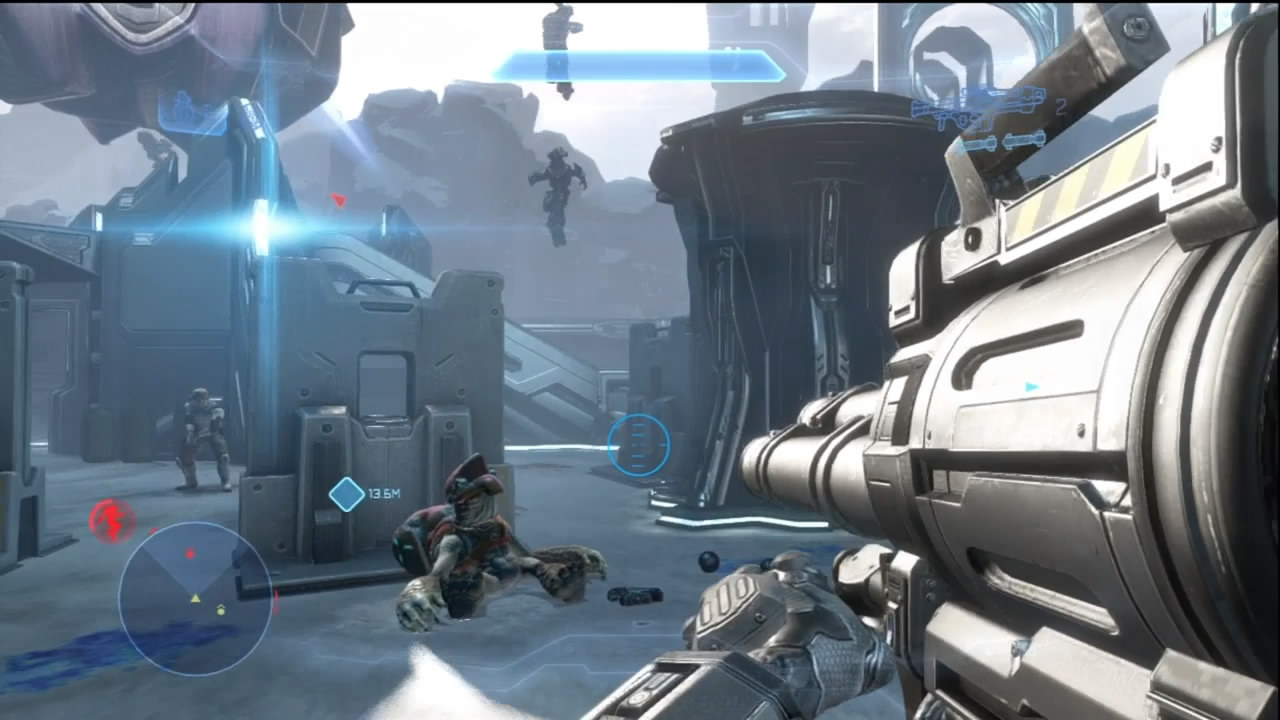
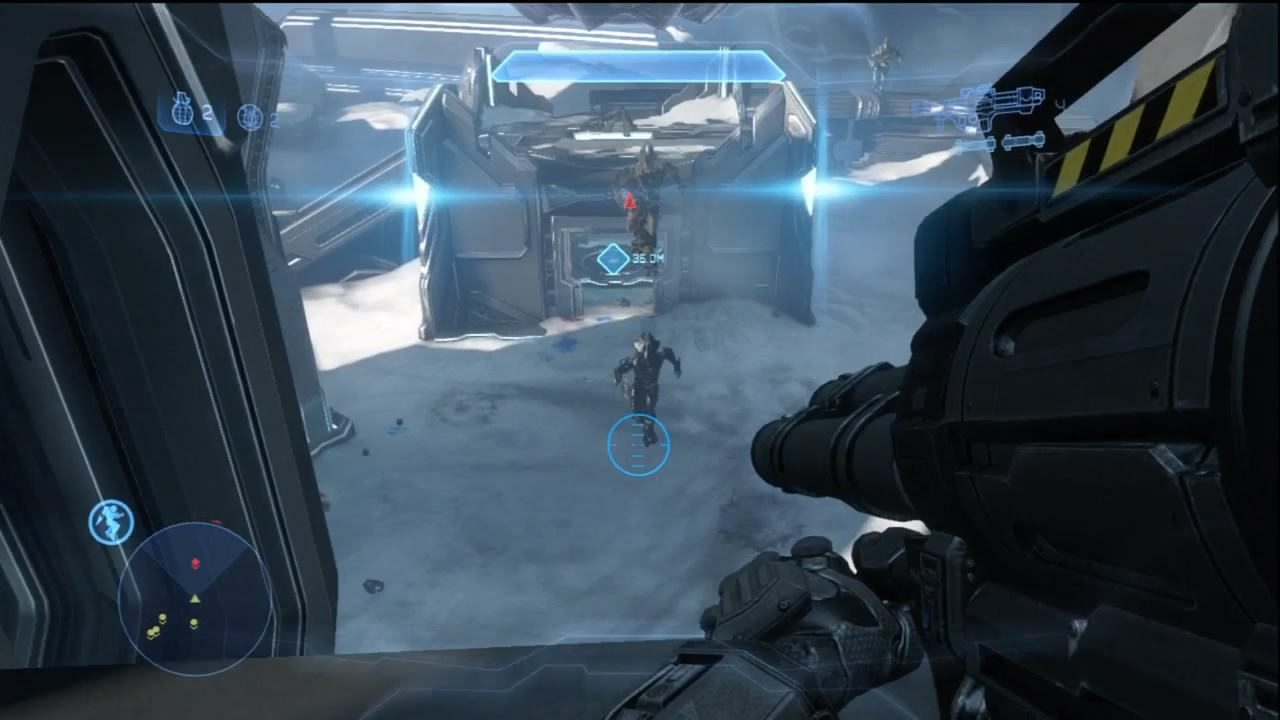
[1] [2] [3] The Marines are all located near the small substations surrounding the central structure, with hostiles already close by. You begin this mission near a weapon’s cache that includes a Rocket Launcher; take this immediately to supplement your primary weapon of choice.
Whenever you approach any of the Marine locations, a Covenant Drop Pod will make a deployment close to their position. As the Elites jump down from the Drop Pods, catch them with explosives of any kind in order to strip away their shields or outright kill them before they can react. Each Marine squad is located near UNSC weapon caches that can help equip you for any of the fights to come. While new objectives do not appear after rescuing a squad, you will be notified once a squad has been relieved by your efforts.
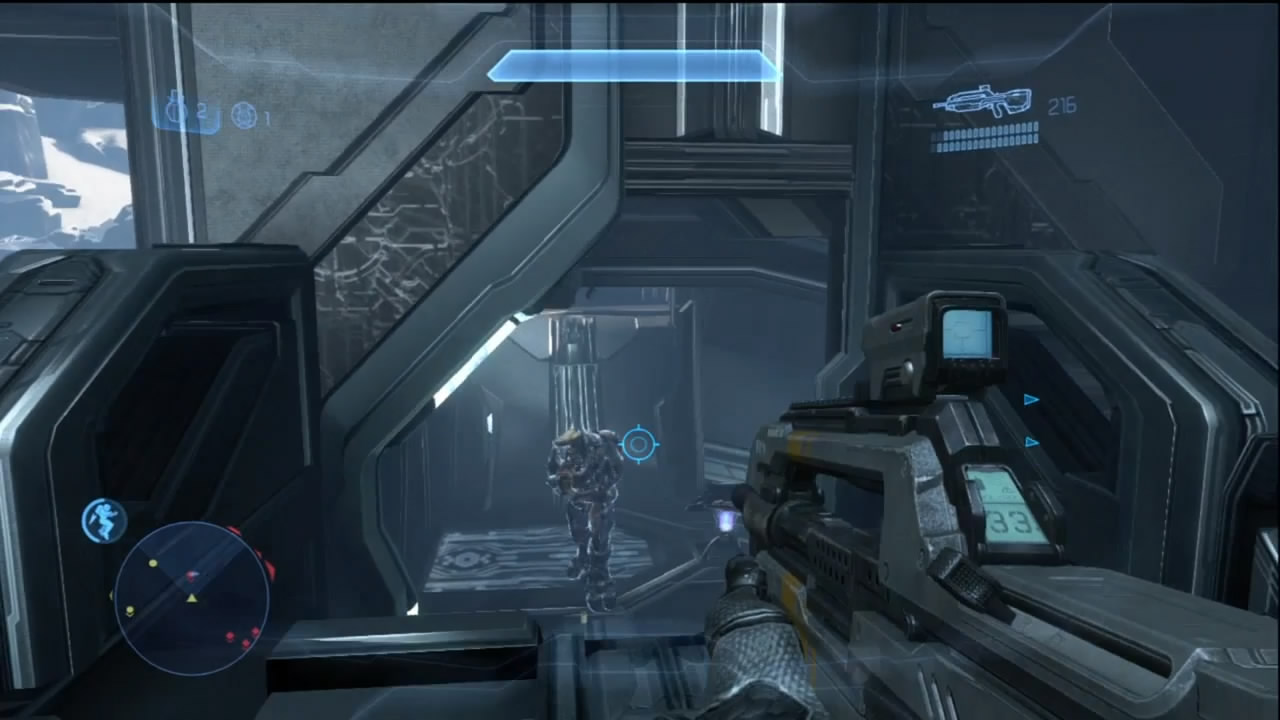
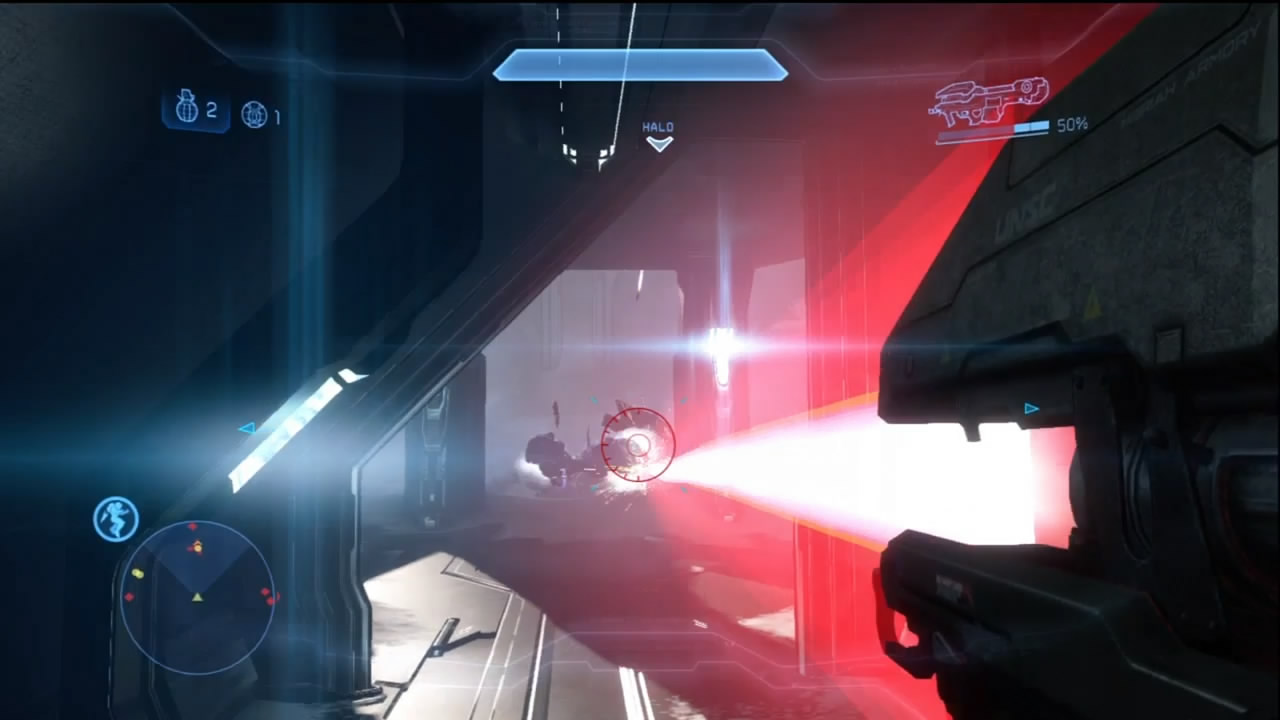
It isn’t necessary early in the mission, but we recommend using a Jet Pack to reach the midl-evel of the central tower to kill the Elite manning the Plasma Cannon atop the ramp that leads down to the ground level. From there, you can clear out the Hunters and Ghosts at the foot of the tower [4] with Spartan Lasers and Rocket Launchers you find at the top of the tower. You also have excellent positions on the hostiles massing near each beleaguered Marine squad.
Objective Two: Destroy Enemy Forces
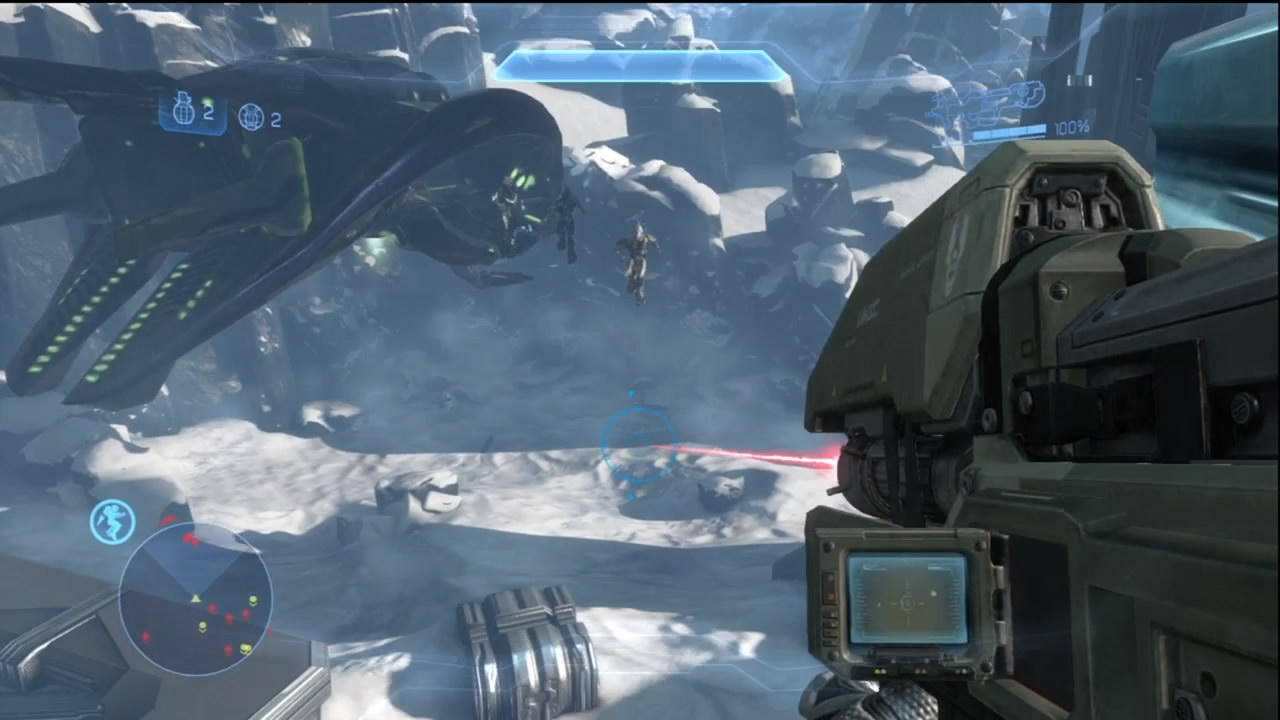
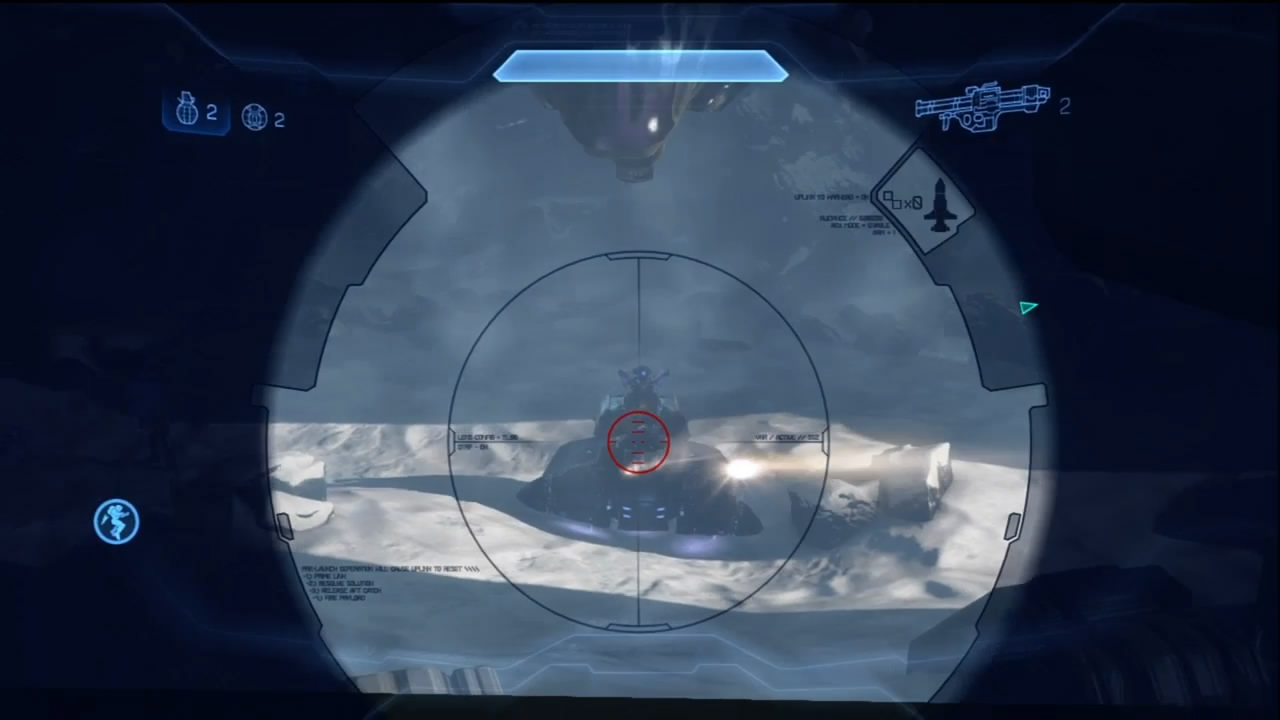
Phantoms begin dropping in more troops throughout the entire zone; a Wraith [5] is among the forces deployed. If you have been diligent about arming the Marines with Rocket Launchers and Spartan Lasers, this phase of the battle can go very quick. The the Spartan Laser–equipped Marines will often quickly defang the Phantoms, which lets you concentrate on wiping out the Wraith personally. We recommend you move to the top of the central tower. Surviving Marines will follow you to this location, which gives them perfect lines of sight on any incoming Phantoms and hostile troops down below.
Objective Three: Move to Landing Zone
If you’ve been following the advice in this guide, you are probably already on the central tower. Being atop the tower triggers the appearance of the next group of hostiles.
Objective Four: Engage Phantoms
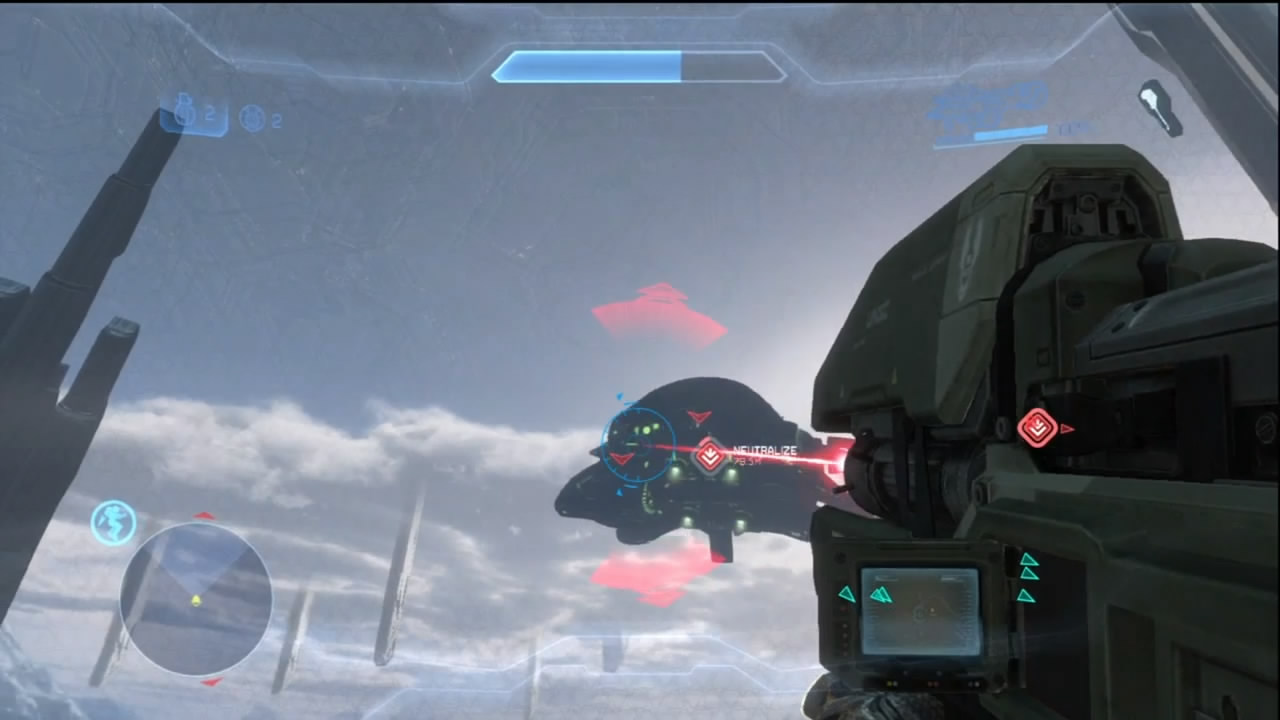
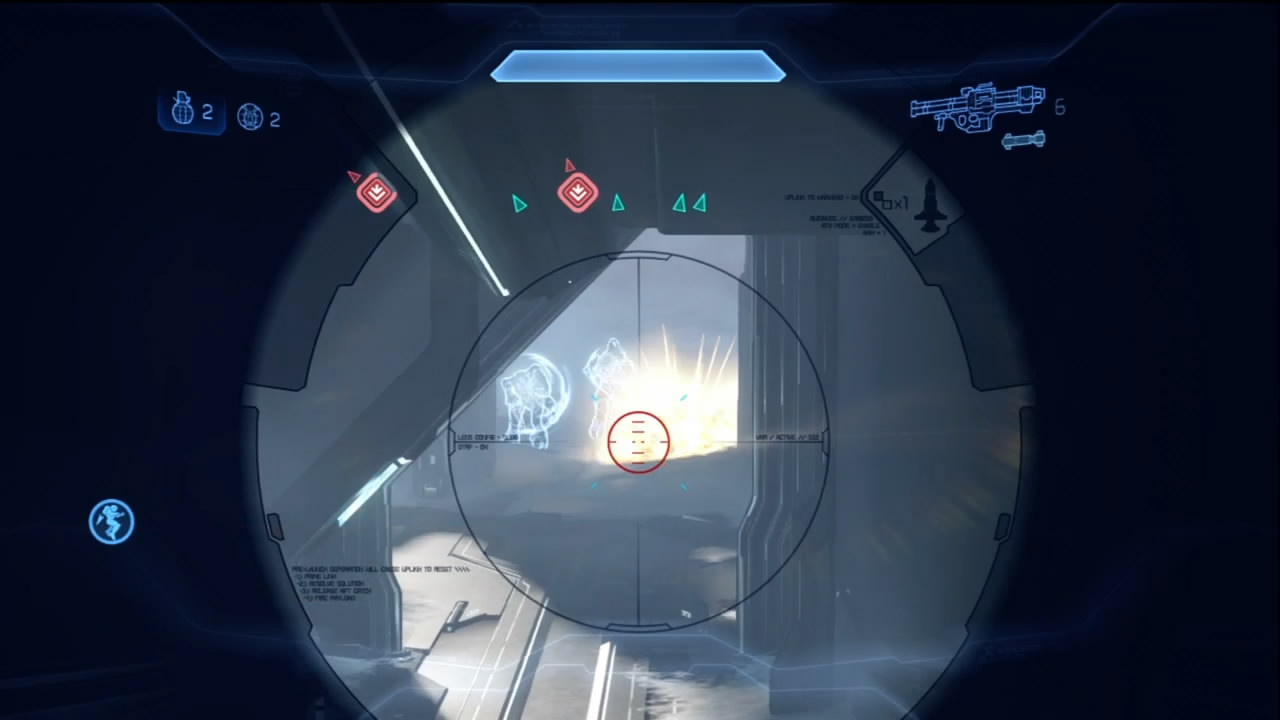
Two more Phantoms will drop off troops around the central tower, with one of the groups deploying right near where the Hunters and Ghosts once stood guard [4]. You can catch these hostiles off guard with well-placed rocket fire. After you eliminate the ground troops, the fight isn’t over just yet. This pair of Phantoms sticks around to bombard you and the Marines from above. You must destroy them before the evac Pelican arrives. The Marines will not survive extended exposure to the Phantoms’ weapons, so hopefully you’ve geared them up pretty well and are well stocked with a Rocket Launcher or Spartan Laser. You can use the Spartan Lasers to take out the Phantoms’ guns, which will let the Marines take their own shots without interference.
Objective Five: Move to the Evac Zone
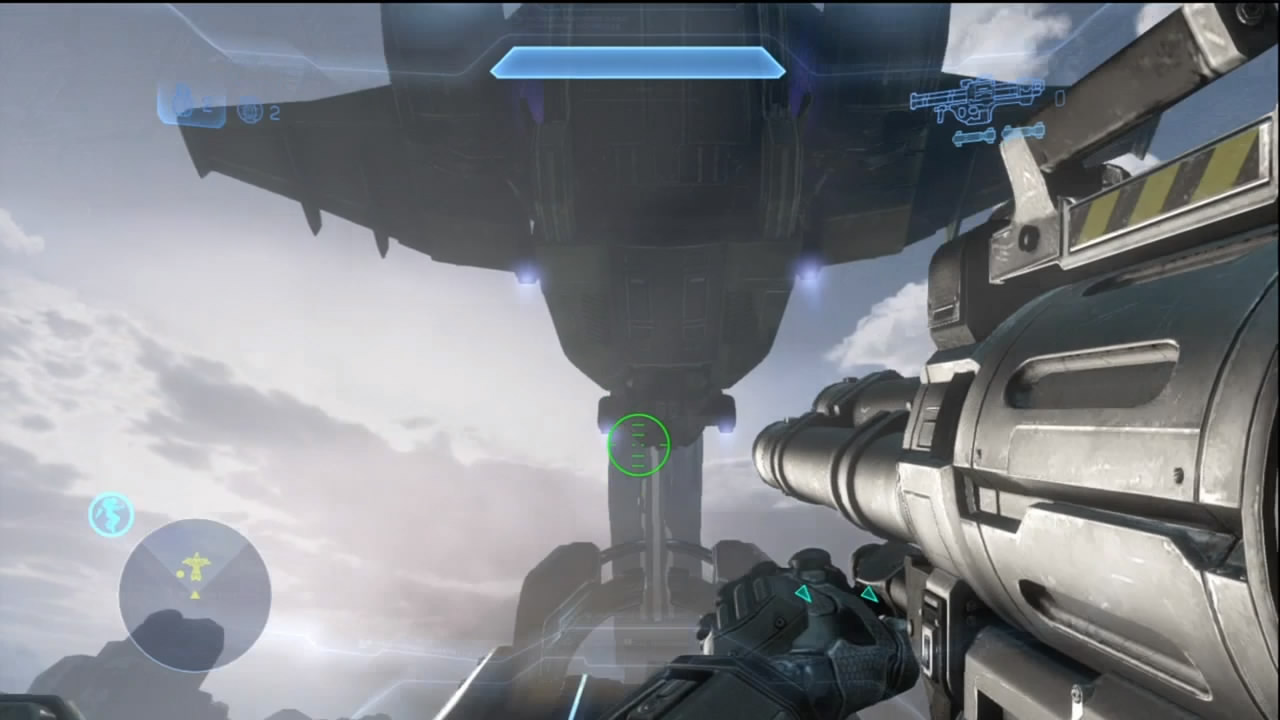
With the Phantoms dealt with, get back to the top of the tower for extraction, and the mission is complete.
Chapter Four: Pelican Down
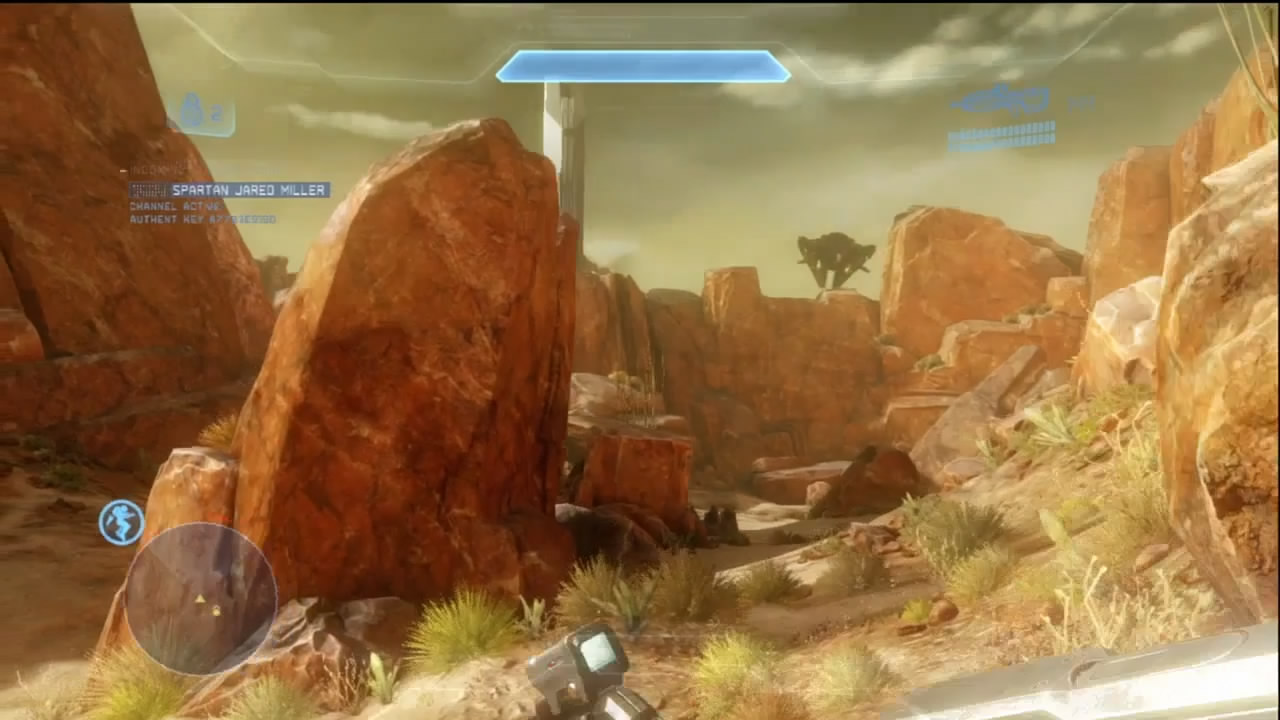
Science Team Gagarin has called for assistance, but while en route, the Pelican containing Fireteam Crimson was shot down by anti-aircraft guns near a Covenant-occupied Forerunner facility. Cut off from support, Fireteam Crimson is forced to fight their way through the Covenant forces converging on its position, locate the anti-aircraft guns, and destroy them before they have a chance to escape.
After clearing the area around your starting position, you have to fight up the canyon into the Forerunner facility. As you push forward, you have the disadvantage of almost always being at a lower elevation compared to where most of your enemies are posted. Once you locate the anti-aircraft guns, you will have to disable each one individually. This will in turn summon massive retaliation from the Covenant. Expect Elite Zealots to ambush your team at every step once you begin taking out the guns.
Map Location: Sniper Alley
Recommended Loadout
Countering the Jackal Snipers is very important, so your initial loadout should include some sort of precision rifle, like the DMR, Covenant Carbine, or the LightRifle. The Covenant Carbine is a good choice, simply because there are so many opportunities to reload it from weapon caches and from other Covenant Carbines dropped by the enemy. When you begin disabling anti-aircraft guns, Elites come out in force. The Plasma Pistol is ever the standby, but a Needler might do better for taking out Zealots using Active Camouflage.
You may be able to locate some Beam Rifles as you push through the enemy defenses. Consider dragging one with you to help take out harder targets from afar. This is particularly effective with multiple players, giving the Beam Rifle user a chance to line up shots on distracted targets.
Objective One: Locate Anti-Aircraft Guns
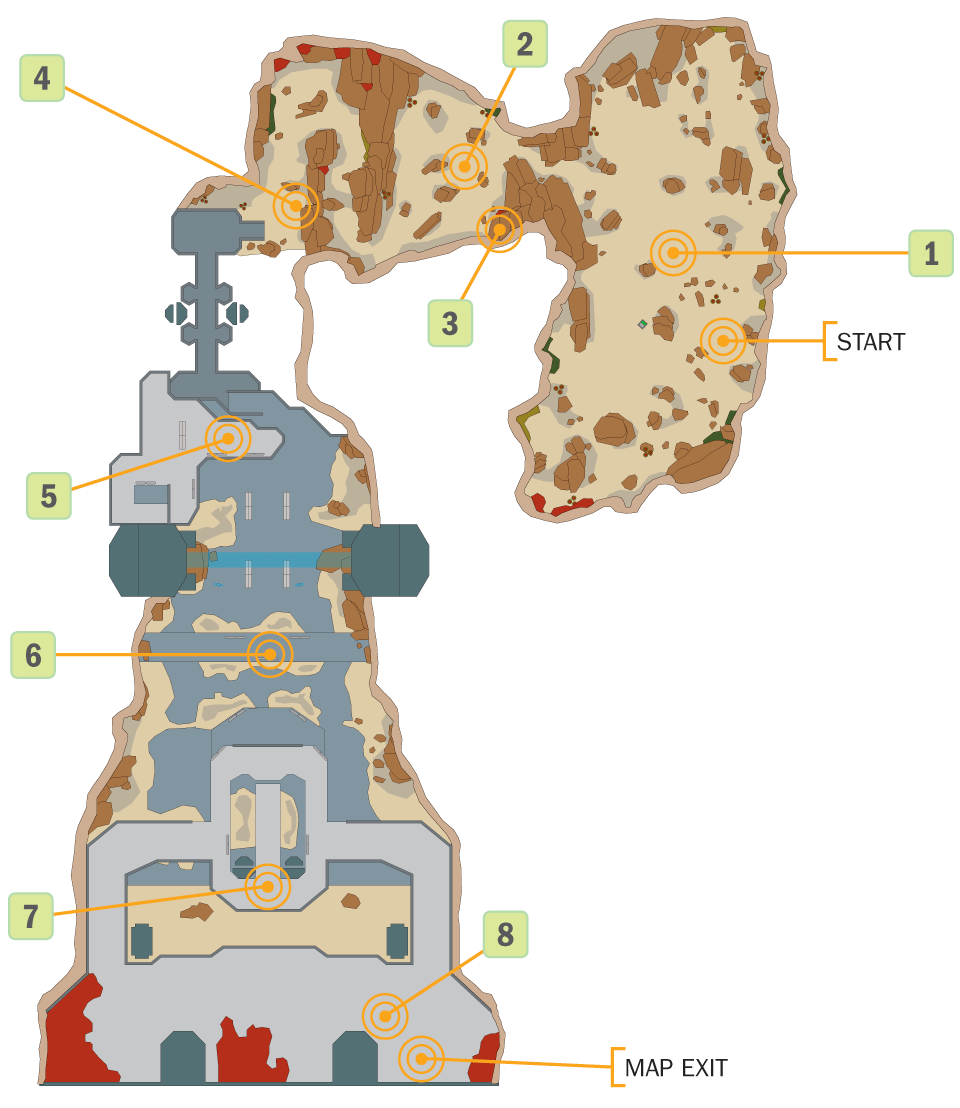
[1] You’re down but hardly out. Let the Phantom that shows up close to your starting point pass by, then make your way toward the mass of Covenant contacts [2].
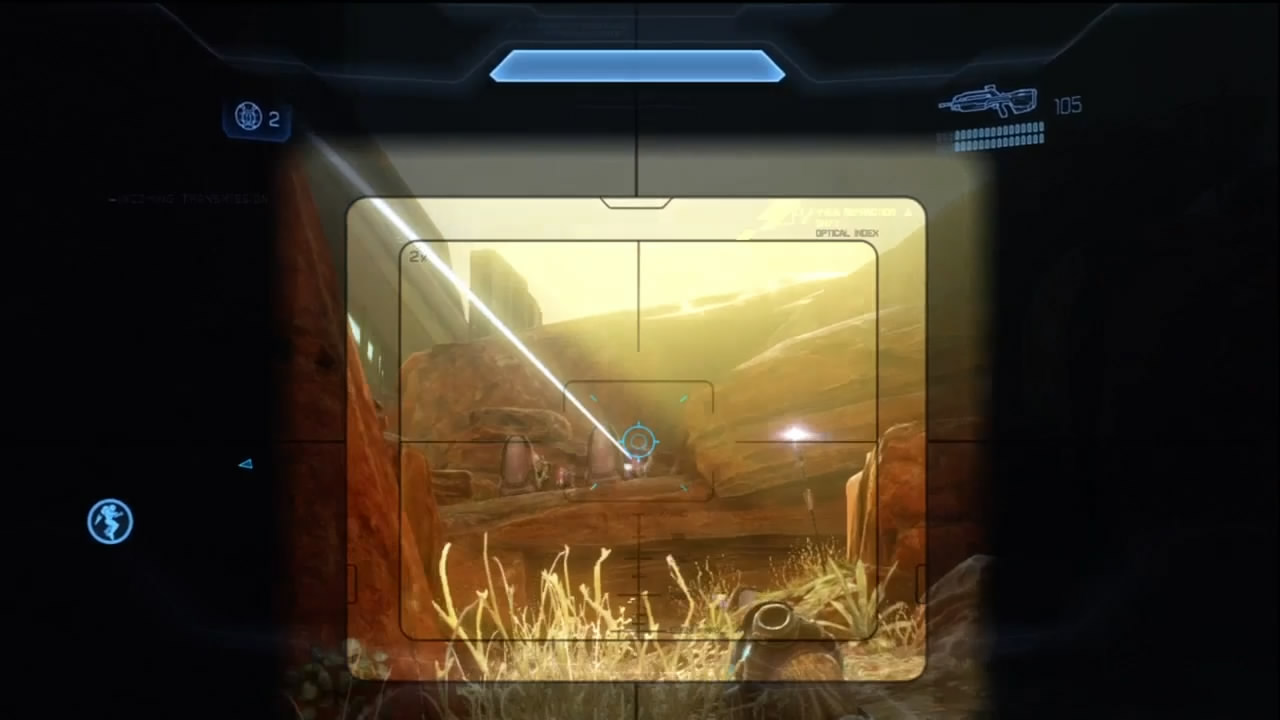
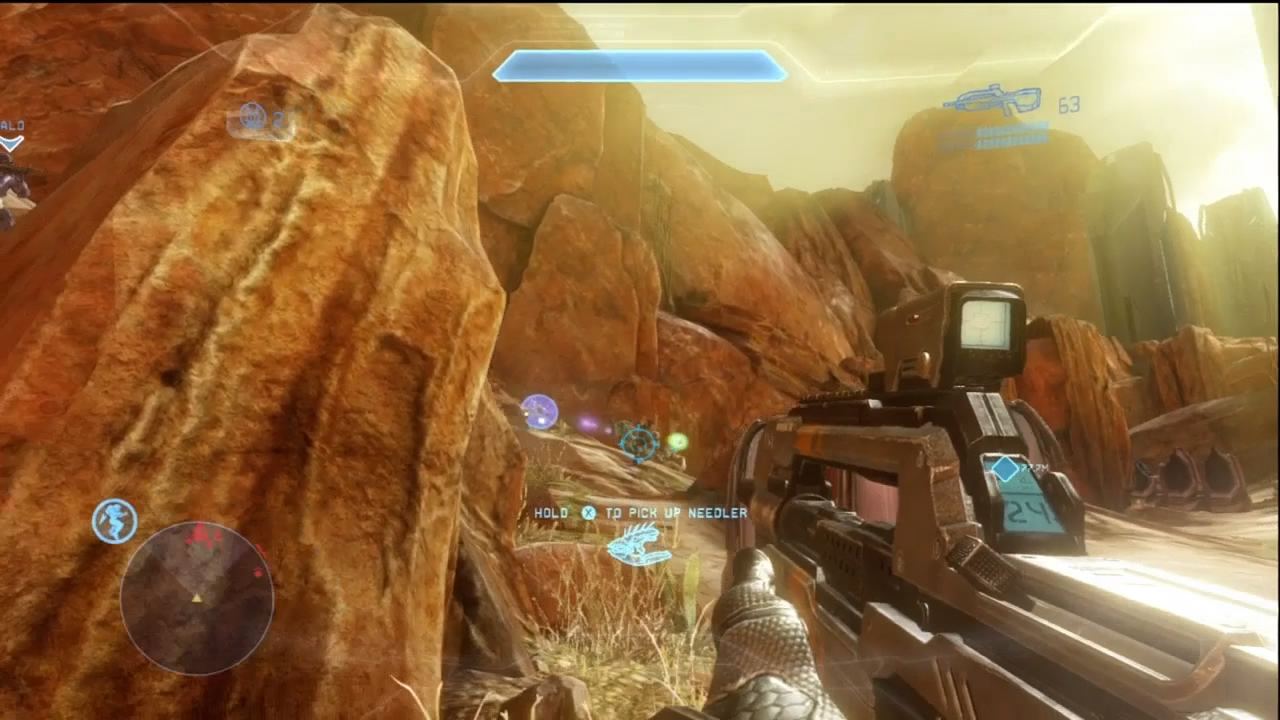
[2] Jackals and Grunts own this part of the canyon, while Jackal Snipers [3] support them from elevated positions. A Drop Pod will deploy reinforcements as you thin out the initial group. Take your time to clear out the opposition, make certain you deal with the snipers, and then move up.
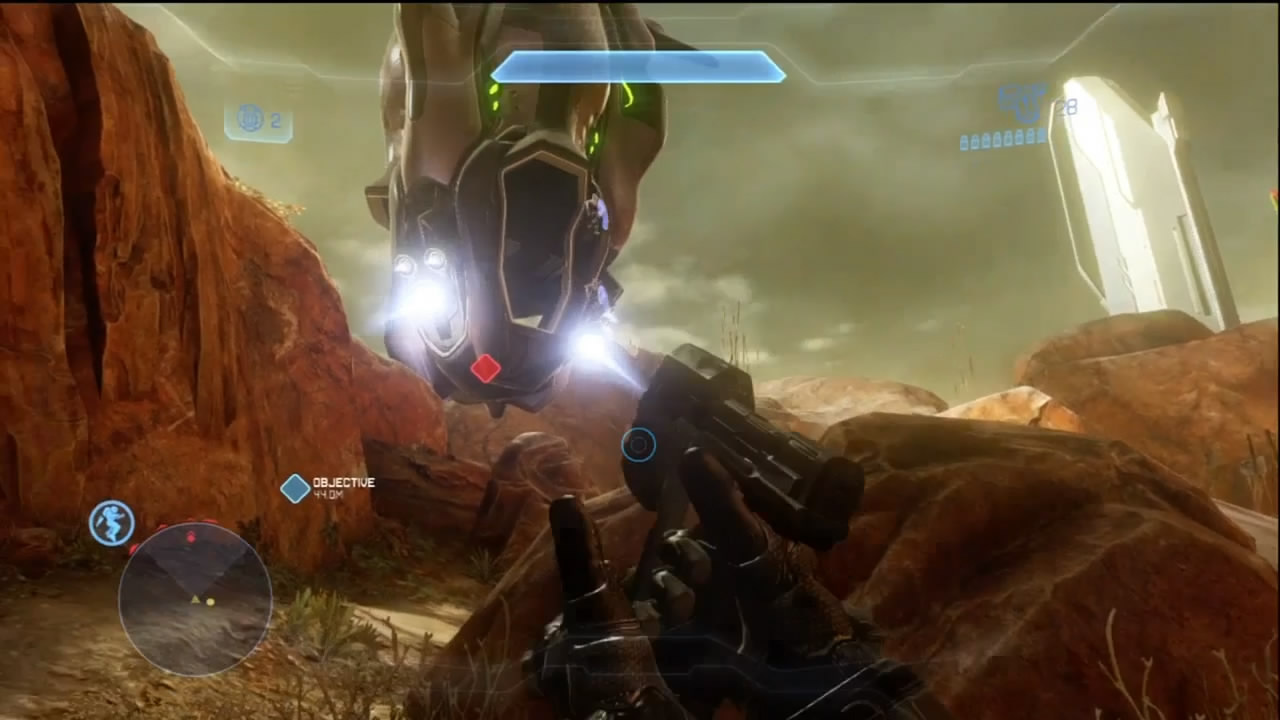
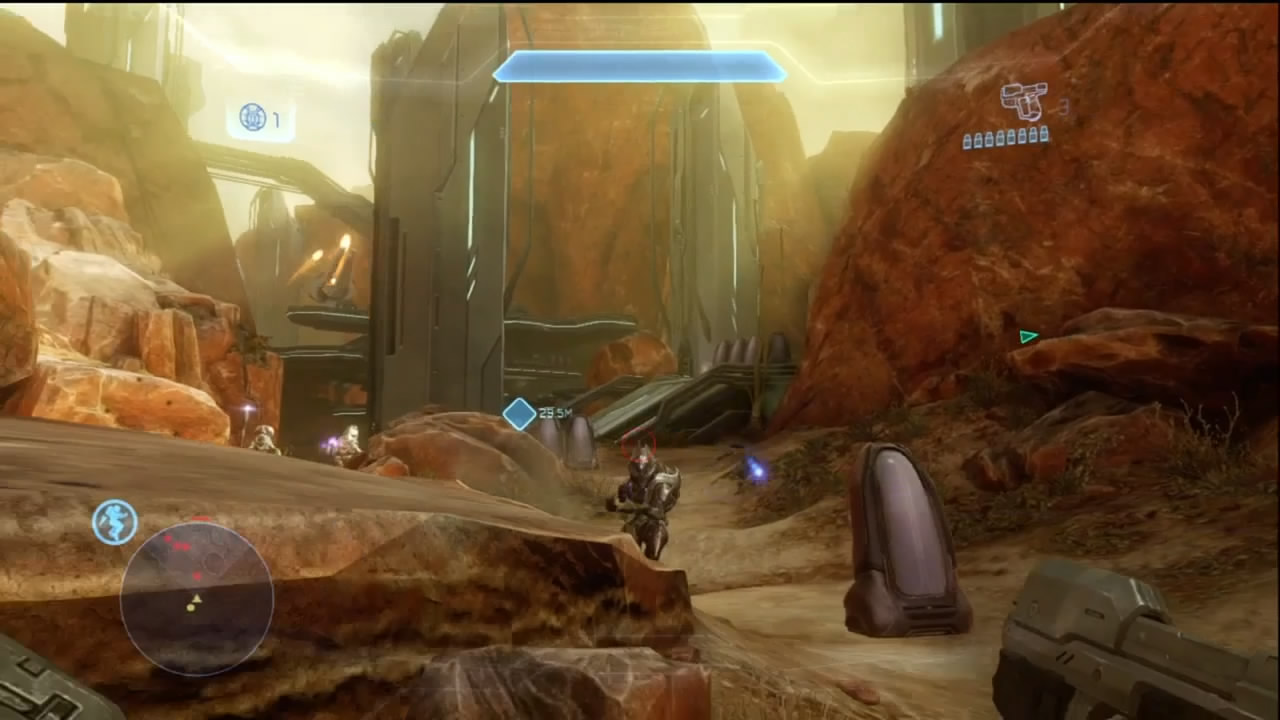
[4] This is where things get tough. Another Drop Pod deploys a large Covenant force near the paths that take you to the bridge connecting to the Forerunner facility. Meanwhile, Jackal Snipers take up position on raised ledges on the bridge’s other side, where the first of the three anti-aircraft guns is located [5]. At this time, you start running into Elite Zealots with Active Camouflage. Stay out of the open until Elites stop charging you, then use the terrain near [4] to countersnipe the Jackals at [5].
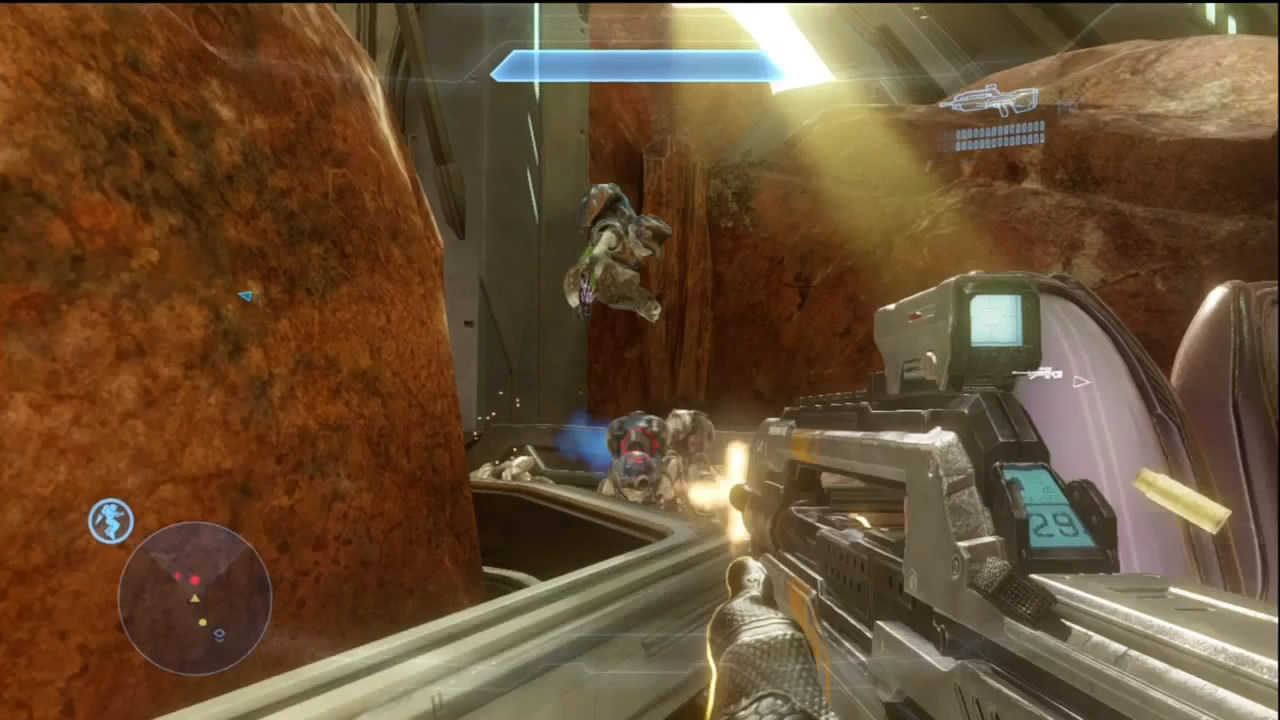
With the situation at [4] contained, you can run across the bridge leading to the first anti-aircraft gun, but first wipe out the Covenant on the other side of the bridge. This can be a pretty tense firefight, particularly if the Covenant brings Fuel Rod Cannons into the equation.
Objective Two: Destroy Anti-Aircraft Guns
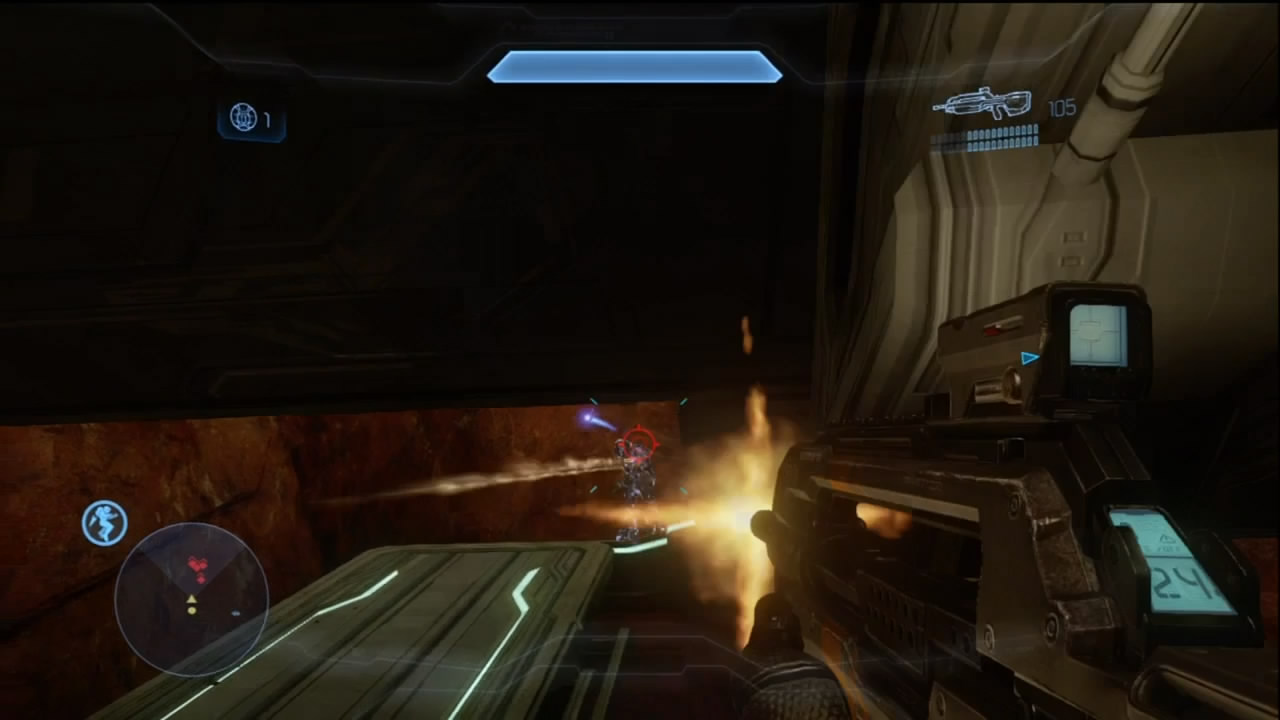
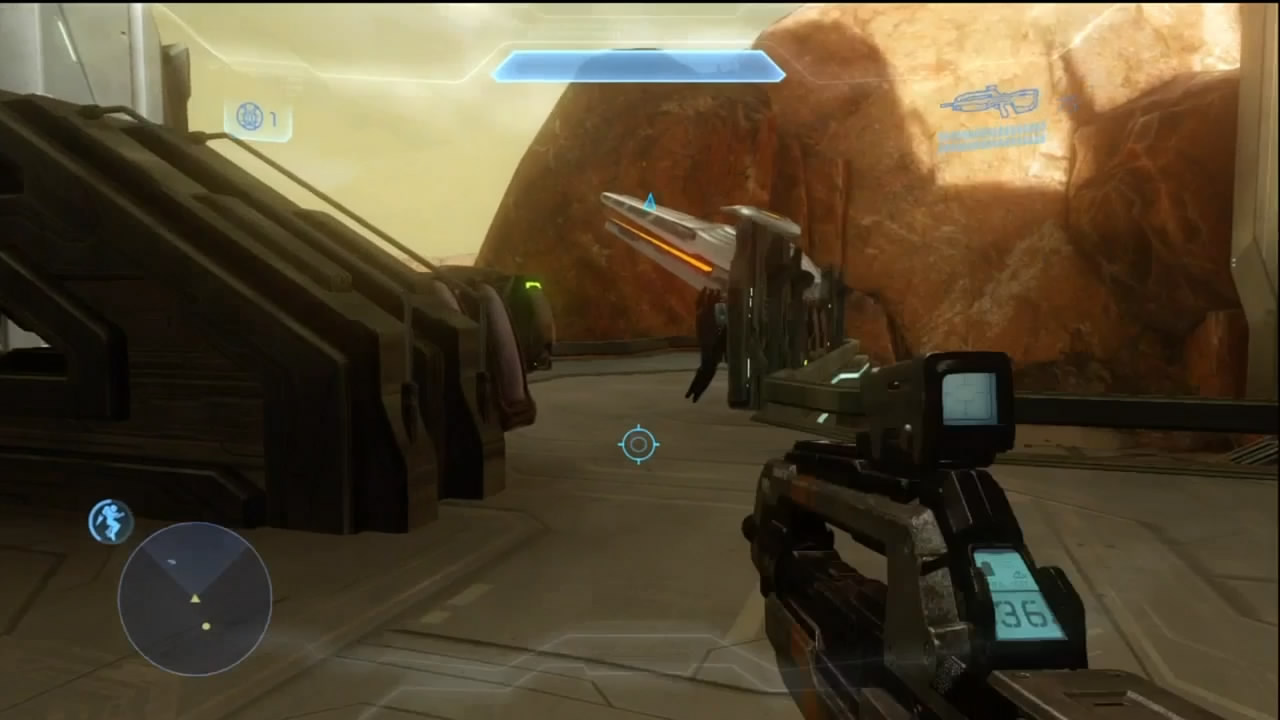
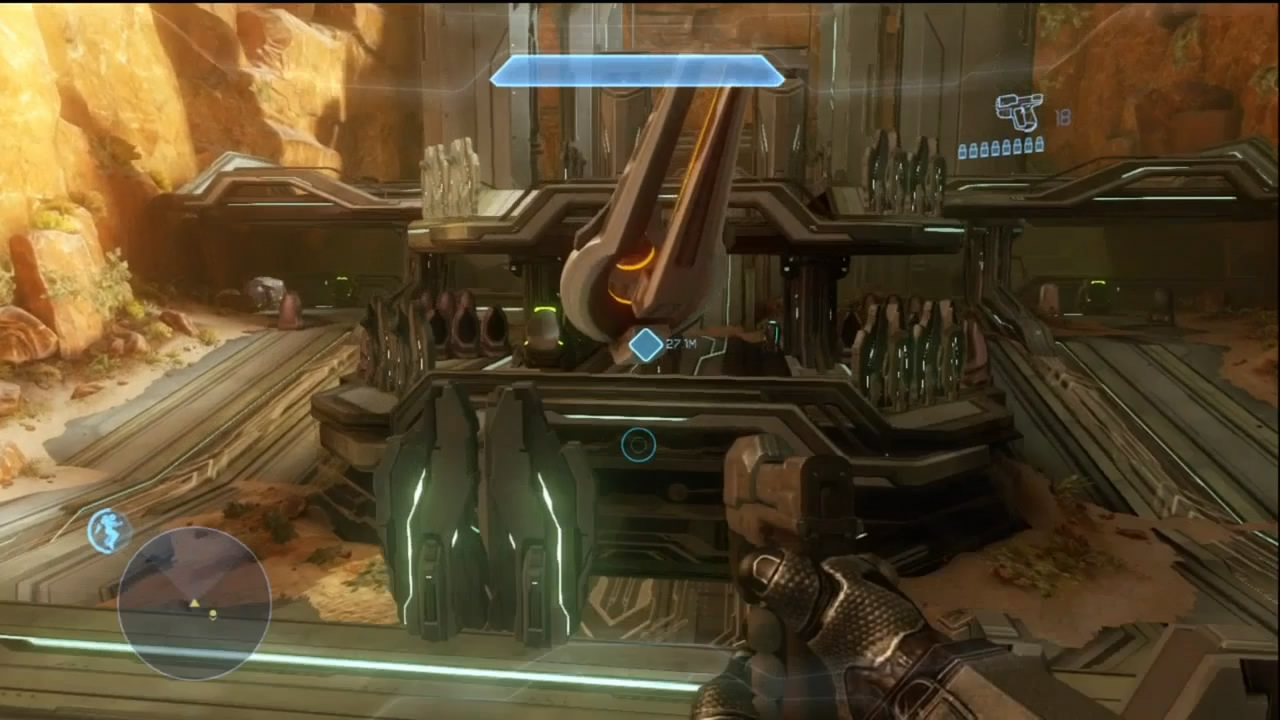
[5] [6] The two anti-aircraft guns have control panels next to them. You must access these to disable the guns. Each of these is protected by a large force of Covenant. This requires you to be patient as you slowly but surely cut your way through the oncoming defenders. Through the use of the Jet Pack or Active Camouflage armor abilities, it is possible to bypass some of the initial defenders of gun [6] to deactivate it early. This sounds good in theory. In practice, if you haven’t taken out the enemy defending the guns first, you have to deal with them and the inevitable reinforcements that appear with every gun you disable. This can make already frustrating firefights much worse, considering the alarming frequency invisible Elite Zealots appear among the throngs of hostiles.
Objective Three: Eliminate Hostiles
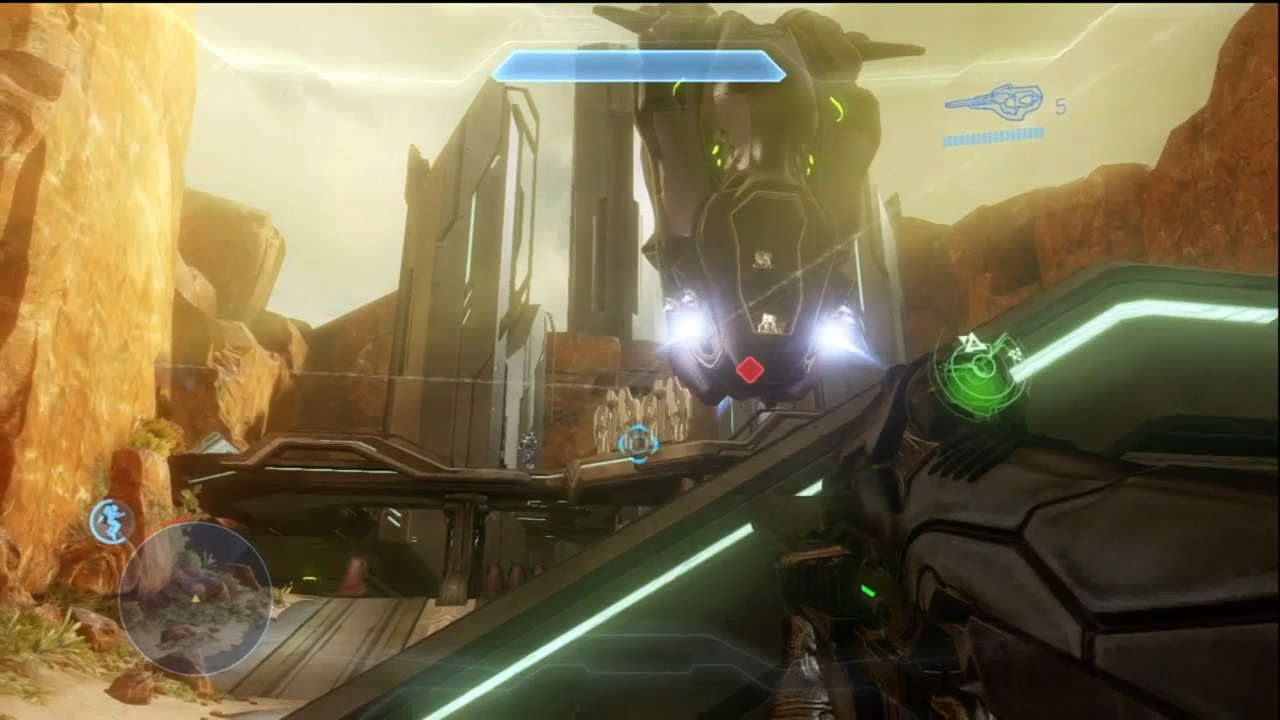
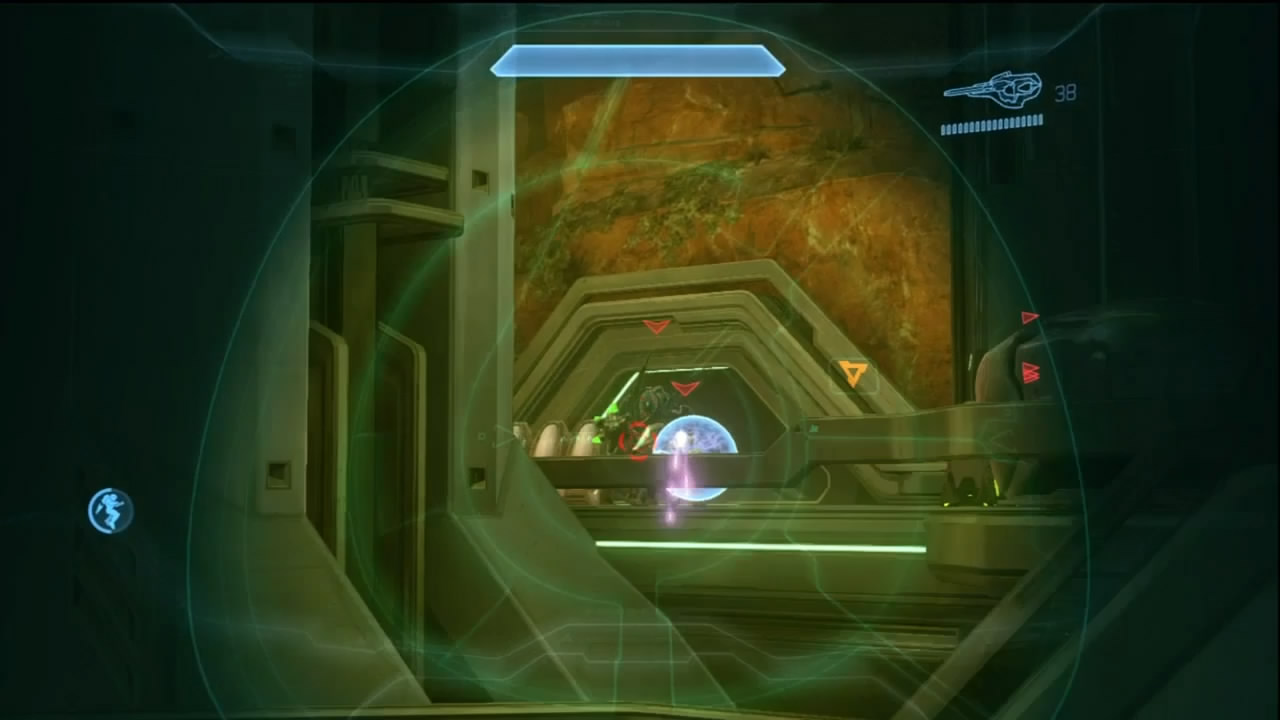
[7] Once the anti-aircraft guns are off-line, you now have to deal with any remaining Covenant in the area, including new reinforcements that arrive by Drop Pod and by Phantom. The reinforcements around [7] include Hunters and many Elites. Using the ramp to the upper level of the facility is tactically unsound, as the enemy can shoot you well before you have a chance to shoot them. We recommend hanging back at first to let the more aggressive hostiles throw themselves against your prepared positions. If you insist on charging to the upper levels, you can use the Jet Pack to get into place before the enemy finishes deployment.
The Hunters tend to stick to the upper level, close to the facility entrance [8], so you’ll likely need to engage them in close combat. Let the other enemies exhaust themselves coming to you first, so you can make the approach to the Hunters relatively painless.
Make no mistake, this can be a very tough fight even with good co-op buddies. Remember, there is no rush to complete this part of the mission. Be methodical, and avoid rushing into unwinnable situations just to score another kill, and you can get through this slowly but safely.
Objective Four: Move to Extraction Point
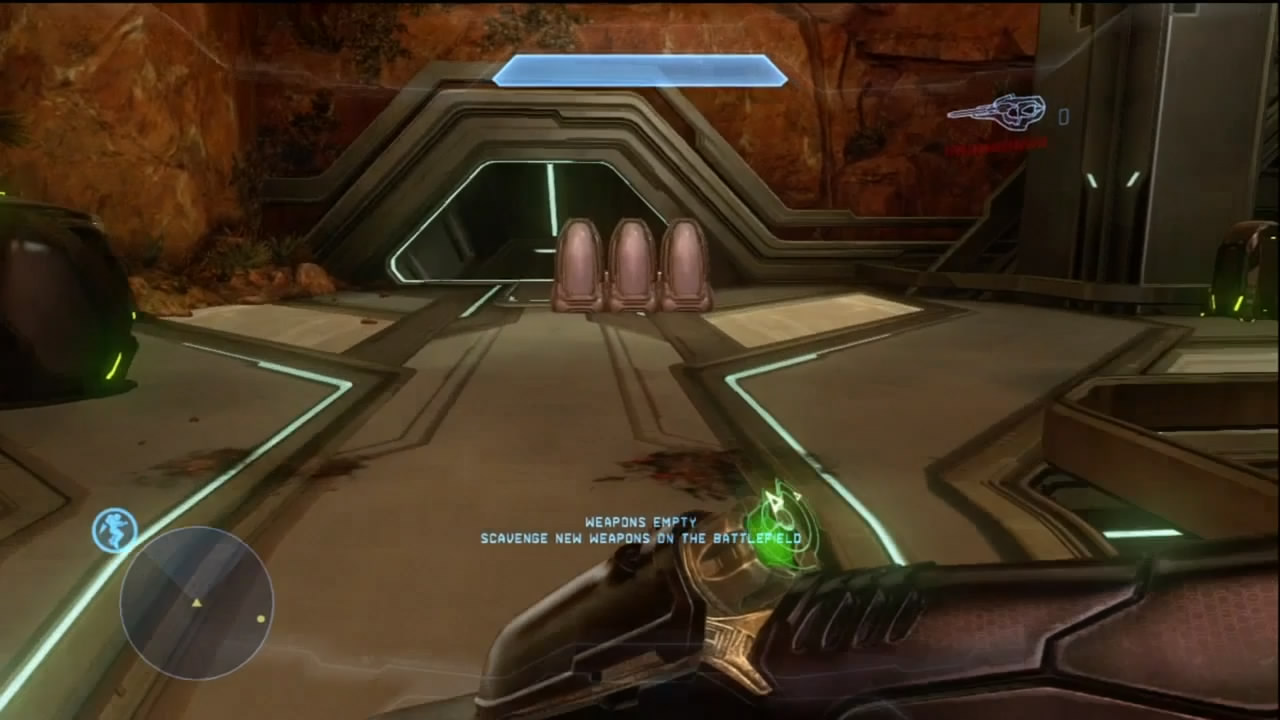
[9] When there’s no more hostile contacts in the area, you’re to proceed into the facility to rescue Science Team Gagarin.
Chapter Five: Gagarin
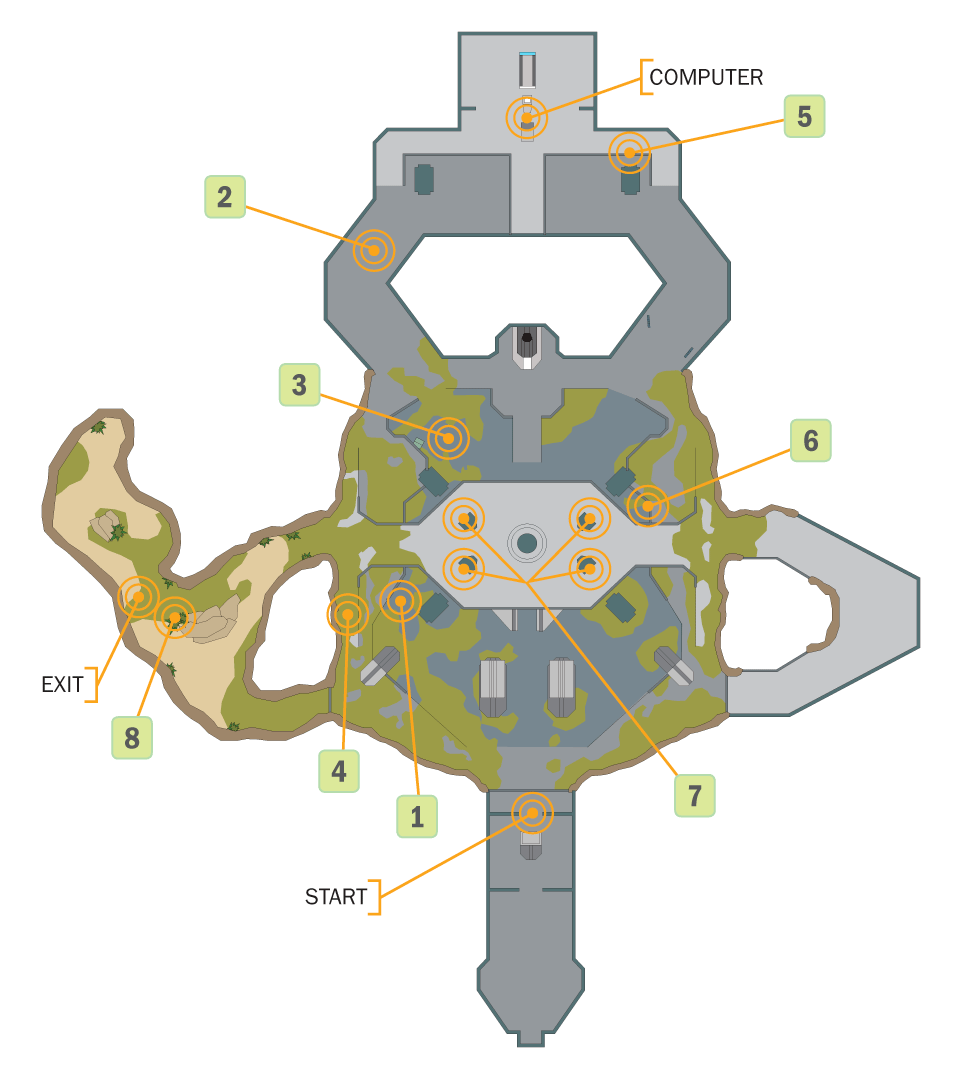
At last, Fireteam Crimson is able to begin the mission it was initially assigned. Science Team Gagarin vanished without so much as a distress call. The Forerunner facility they were assigned to investigate is silent when the Spartans arrive, with no signs of friendlies or hostiles in the area. This is undoubtedly going to change.
No Covenant to worry about during this mission. As you investigate the disappearance of Science Team Gagarin, you can expect Prometheans in many waves as you check Gagarin’s computers and the local Forerunner tech they activated before their disappearance. For each computer console you access, be prepared to face the wrath of the Prometheans.
Map Location: The Cauldron
Recommended Loadout
Due to the presence of UNSC scientists, this zone is filled with UNSC weapon’s caches, and the fact that the facility is of Forerunner construction means that you can also get your hands on their weapons. A LightRifle, DMR, or Battle Rifle are solid primary weapons to take into the fray. It’s possible to get your hands on the Binary Rifle and Incineration Cannon from the Forerunner caches, which can make dealing with the Watchers and Knights significantly easier.
Much of the combat occurs in the large main chamber of the zone, and there are plenty of good opportunities to use the ramps and ledges to get the drop on the enemy. A Jet Pack is a good armor ability to take with you.
Objective One: Investigate Area
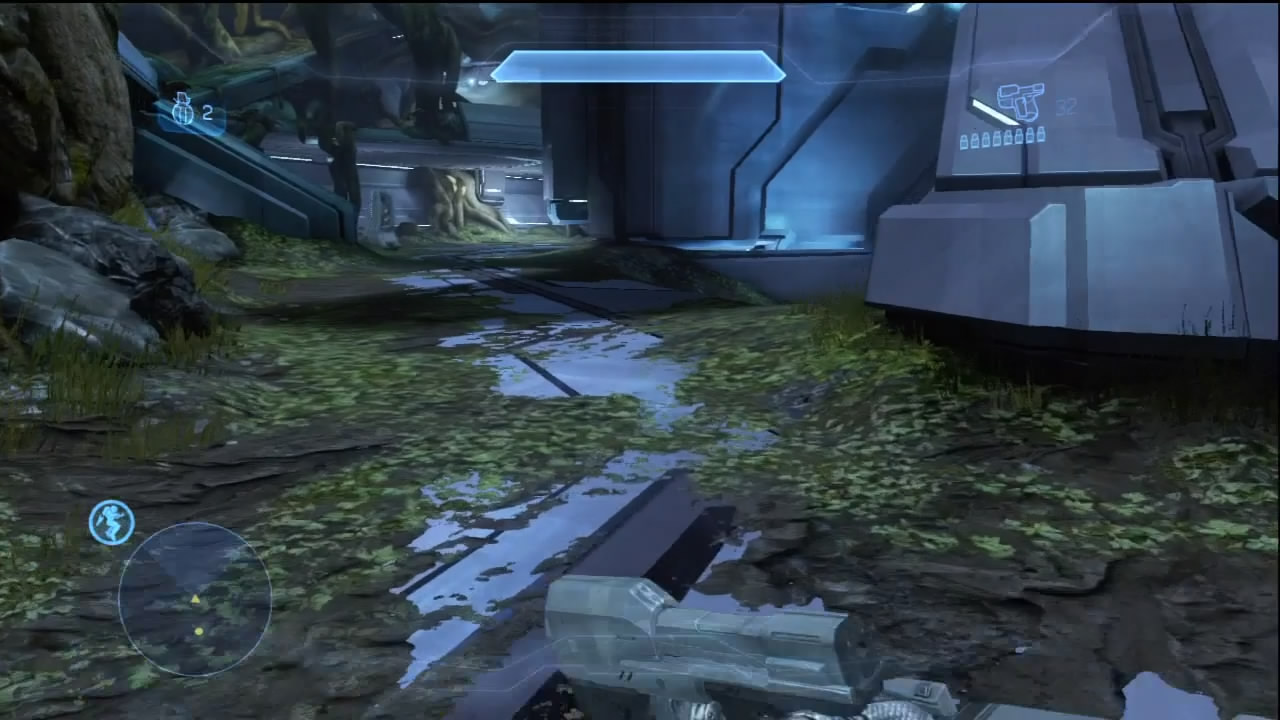
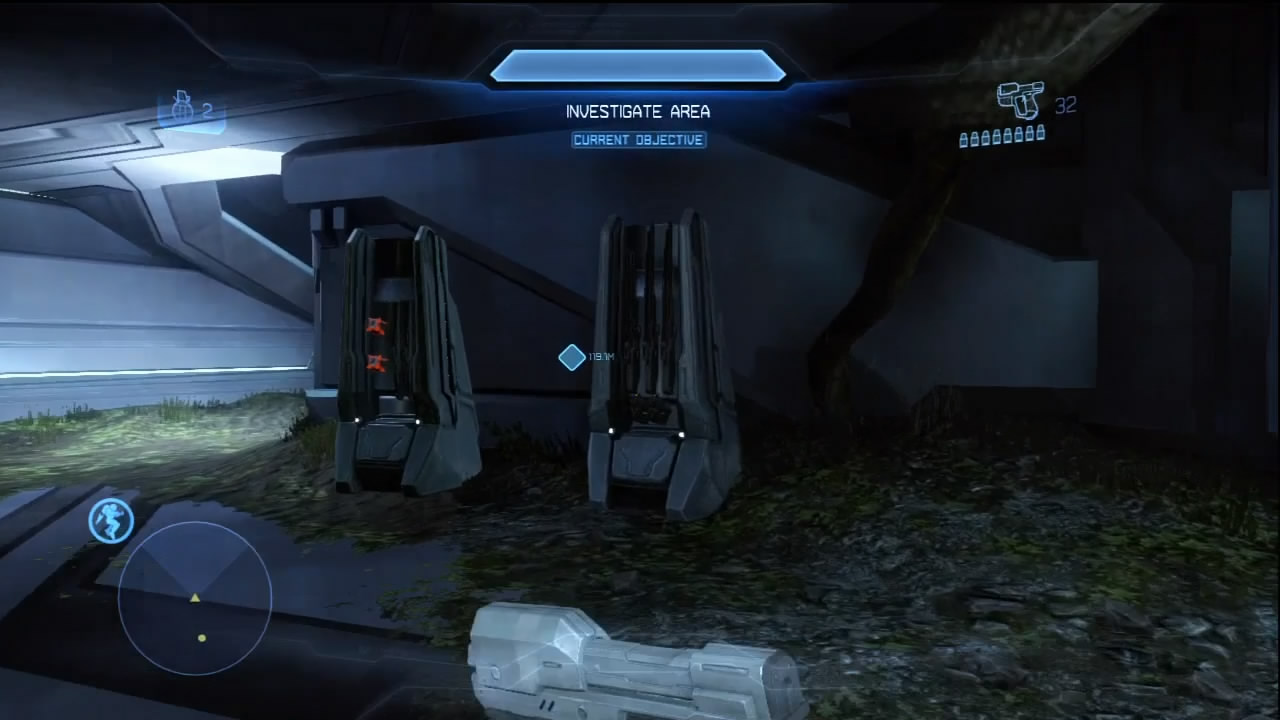
[1] When you begin the mission, be sure to check out the weapon caches to the left of where you start. An Incineration Cannon and some Binary Rifles can be recovered from the caches here. Afterward, head toward point [2] on the map to continue the investigation.
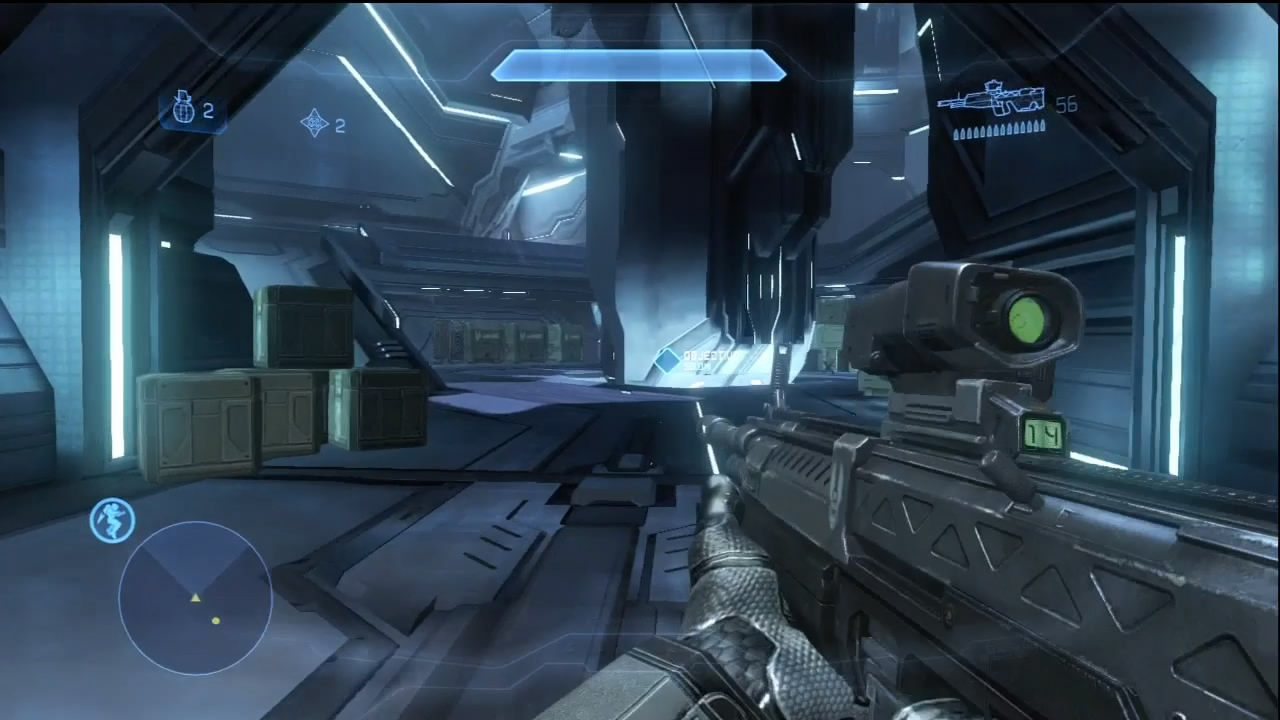
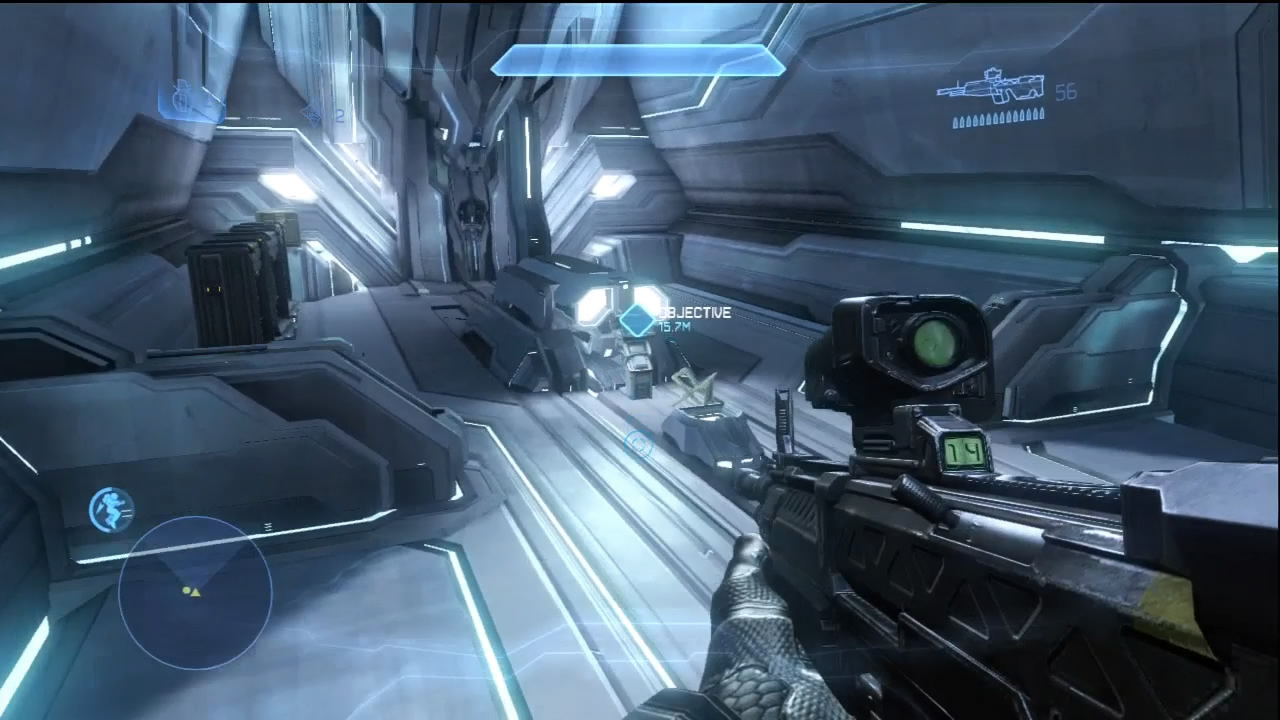
A computer console marked on your HUD contains a recording of the scientists’ final moments in this world. You’re then directed to a pair of Forerunner control consoles near the computer. Apparently Gagarin activated something they weren’t supposed to, and Commander Palmer wants it shut down.
Objectives Two, Three, and Four: Deactivate Forerunner Tech
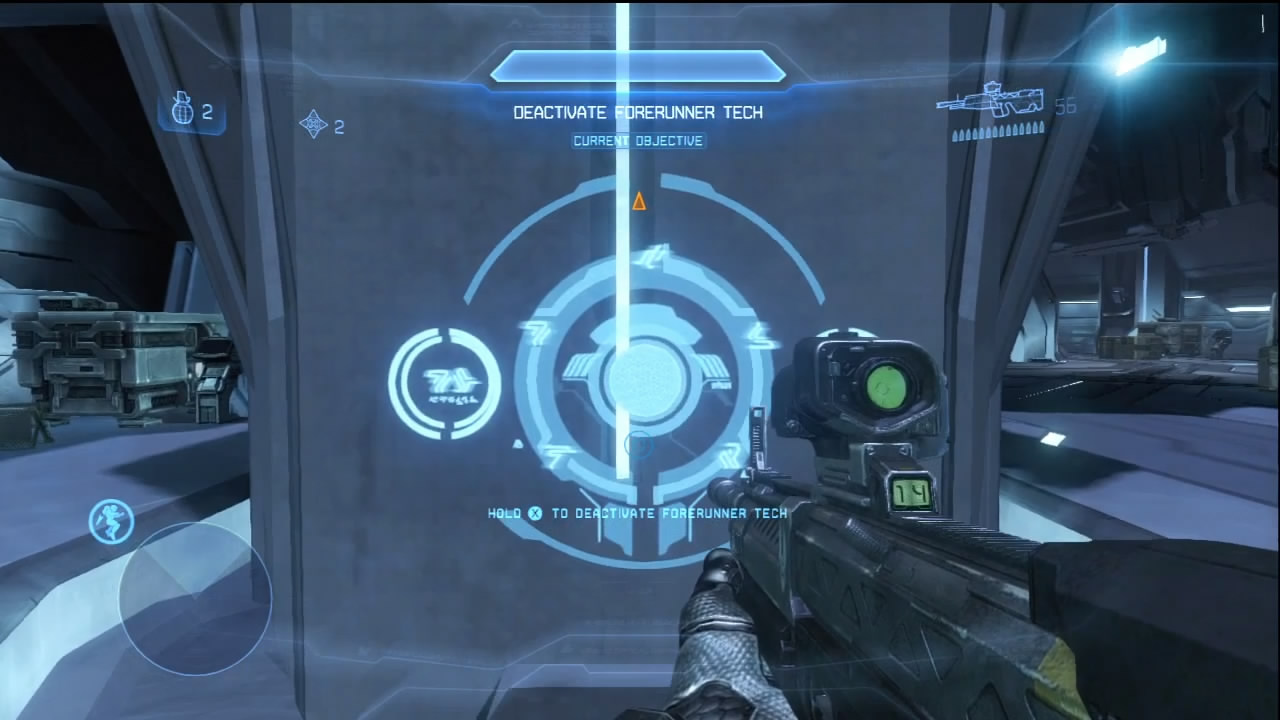

After shutting down the first two waves of the Forerunner attack, Crawlers and Knights teleport into the chamber. Fight them off, then head back toward the larger room [3]. The Prometheans are attacking in force.
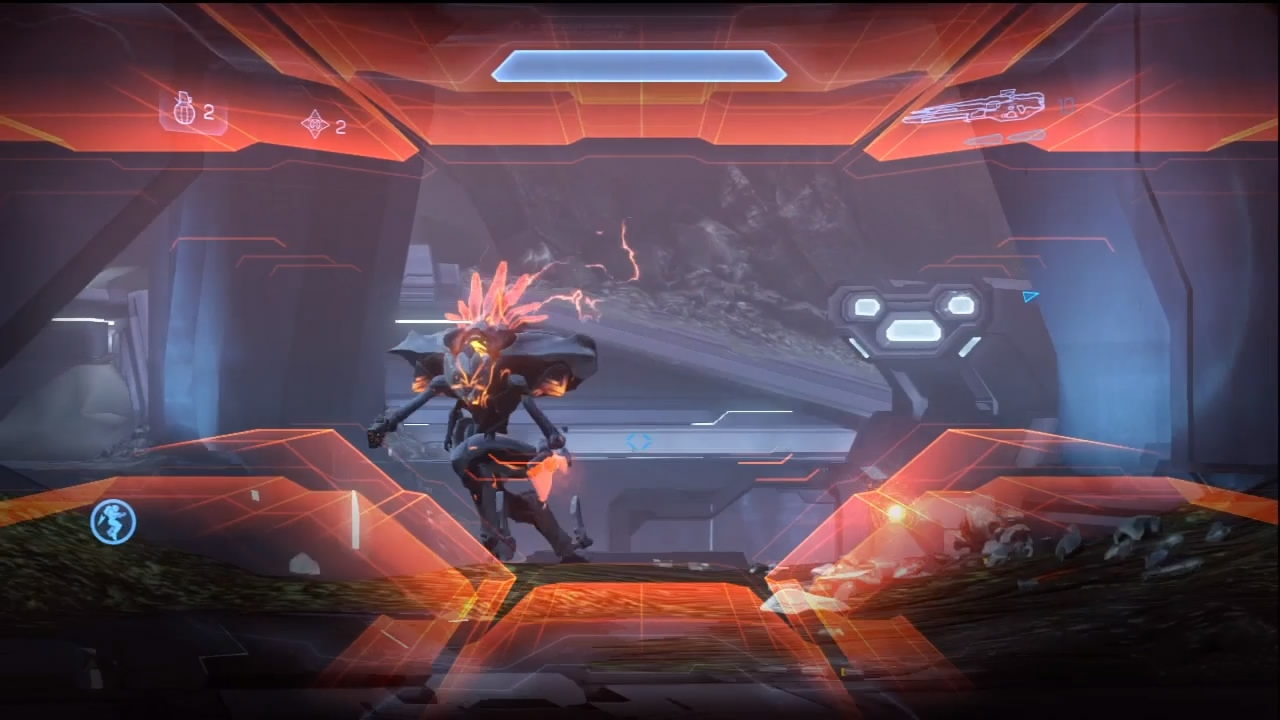
Knight Battlewagons are rather common among the first wave of attackers. Their Scattershots can be devastating up close, so engage them from afar whenever possible. Don’t forget, the main chamber of the zone has plenty of ramps and ledges you can use to gain an advantageous position on your enemies, but these can also be used against you.
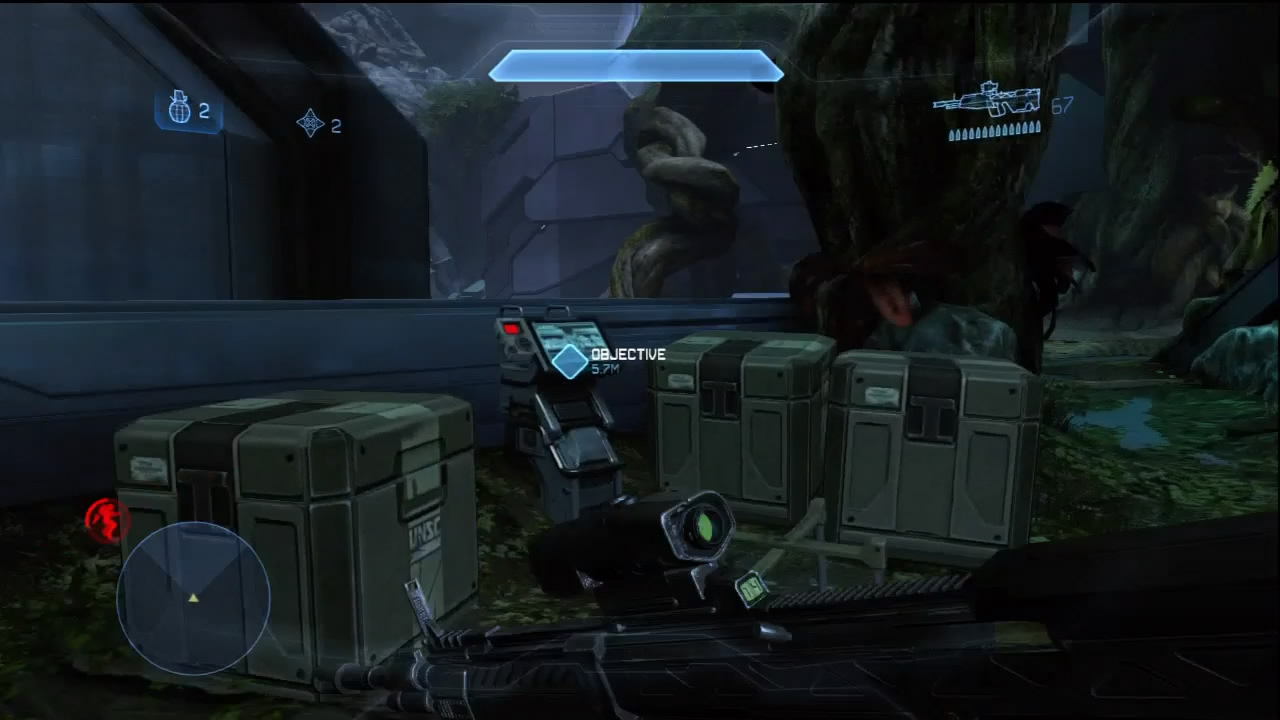
[4] Another of Gagarin’s computers is indicated on your HUD as you tear through the initial Promethean attackers, revealing more of the situation that befell the science team. Shortly after you listen to this new recording, another wave of Knights, Crawlers, and Watchers arrives in the main chamber. Keep fighting them until you’re given a new waypoint on your HUD.
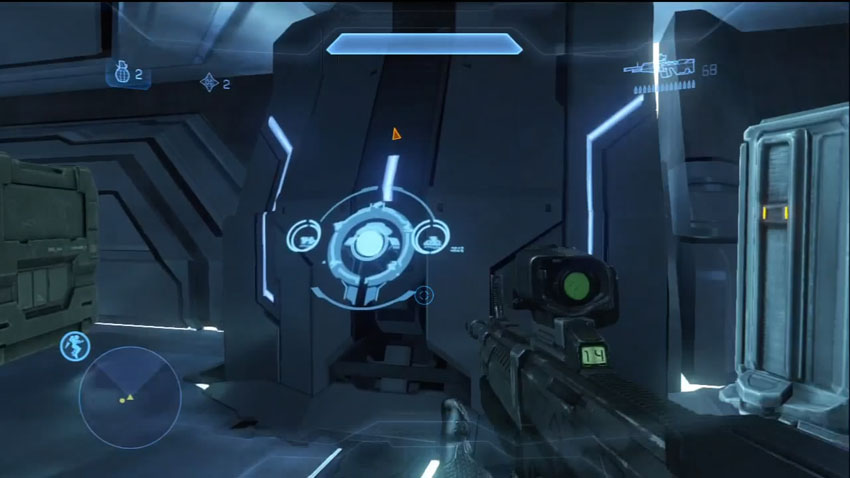
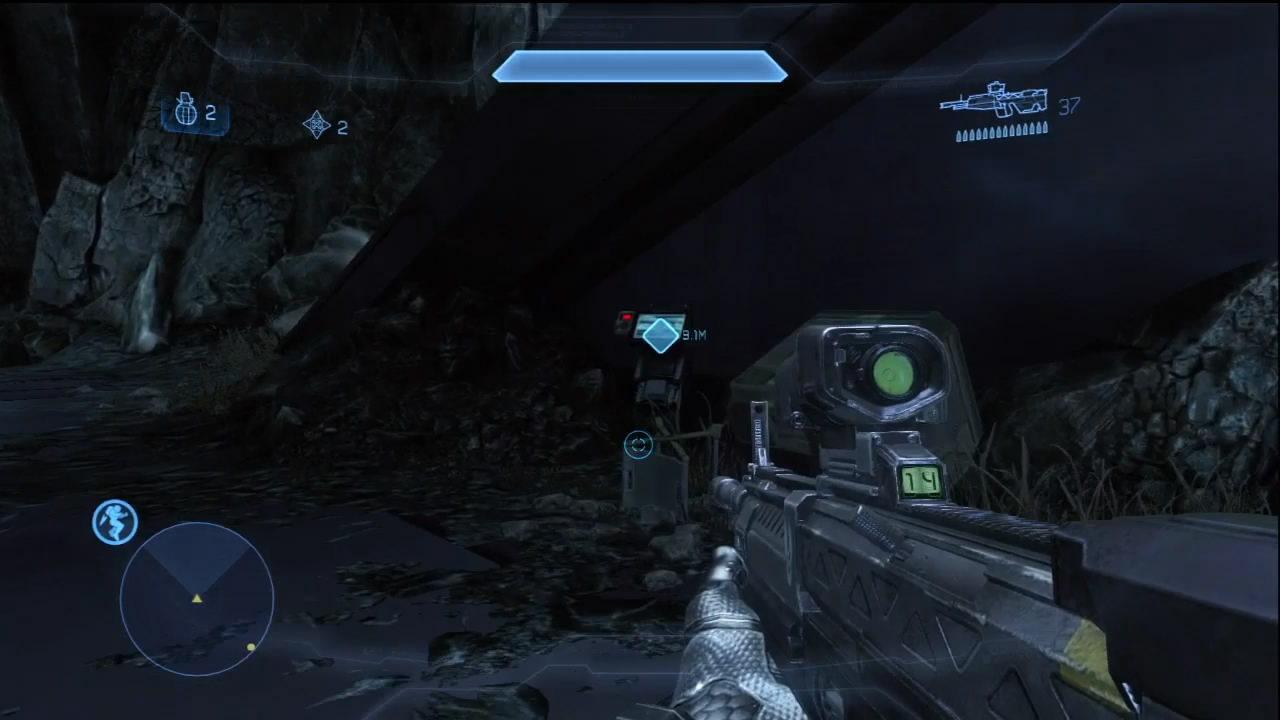
[5] Another piece of Forerunner tech to deactivate requires you to head back to the smaller chamber you first investigated. This is now guarded by a Knight and a Crawler pack. Deactivating this console in turn summons more Prometheans into the facility. You’re directed to return to the main chamber to continue wiping out the Prometheans. After you thin out the enemy, another of Gagarin’s computers is marked for you to investigate [6].
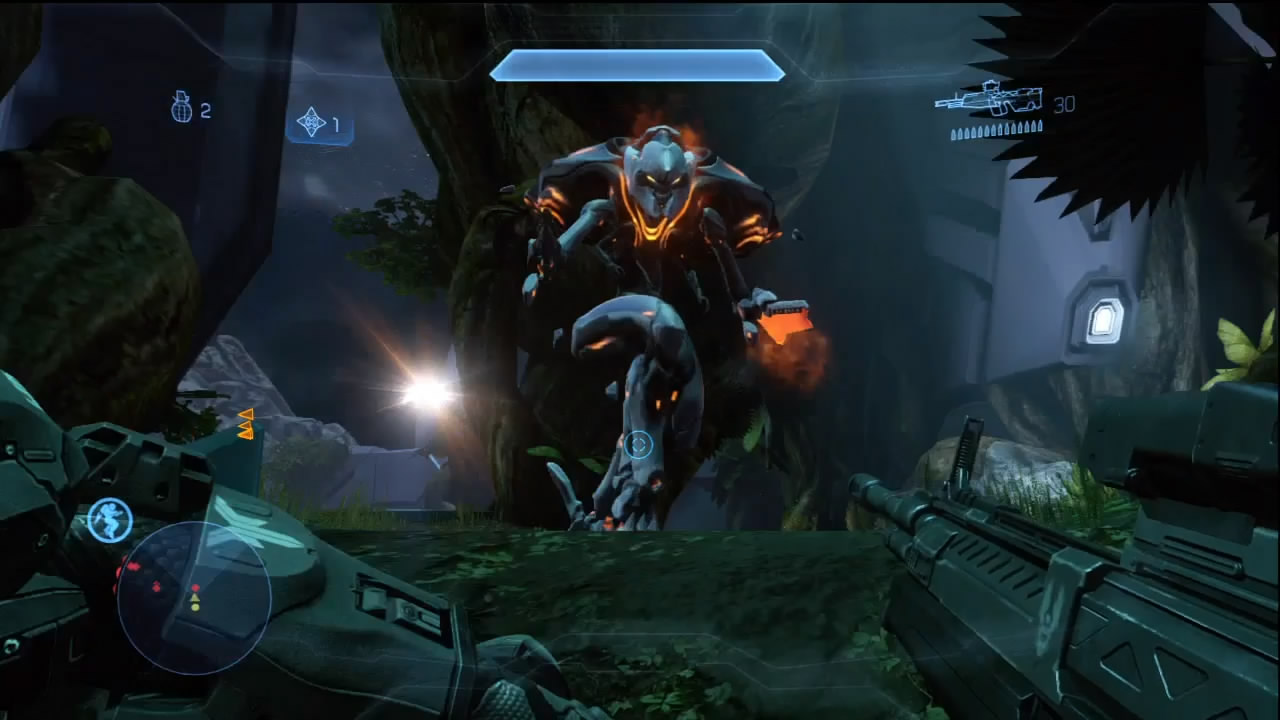
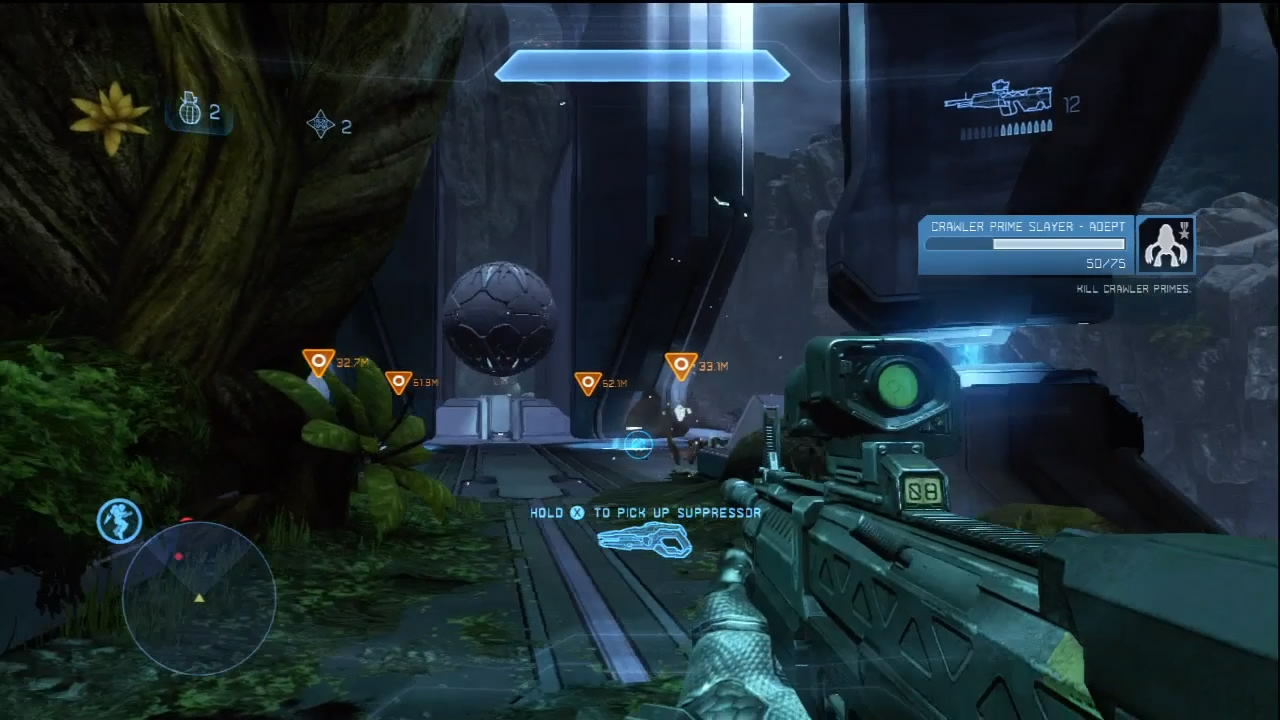
[7] After fending off yet another wave of Crawlers, your handlers on the Infinity mark a set of Forerunner consoles for you to deactivate. These are located in the main chamber on the bridge that connects both sides of the room. Go to them, but don’t get so focused on accessing the consoles that you ignore the growing numbers of Prometheans trying to defend them.
Objective Five: Defeat Enemies
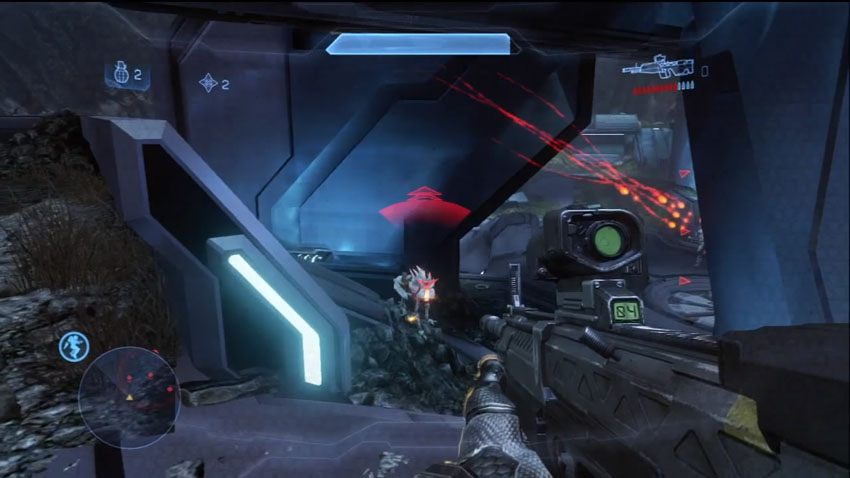
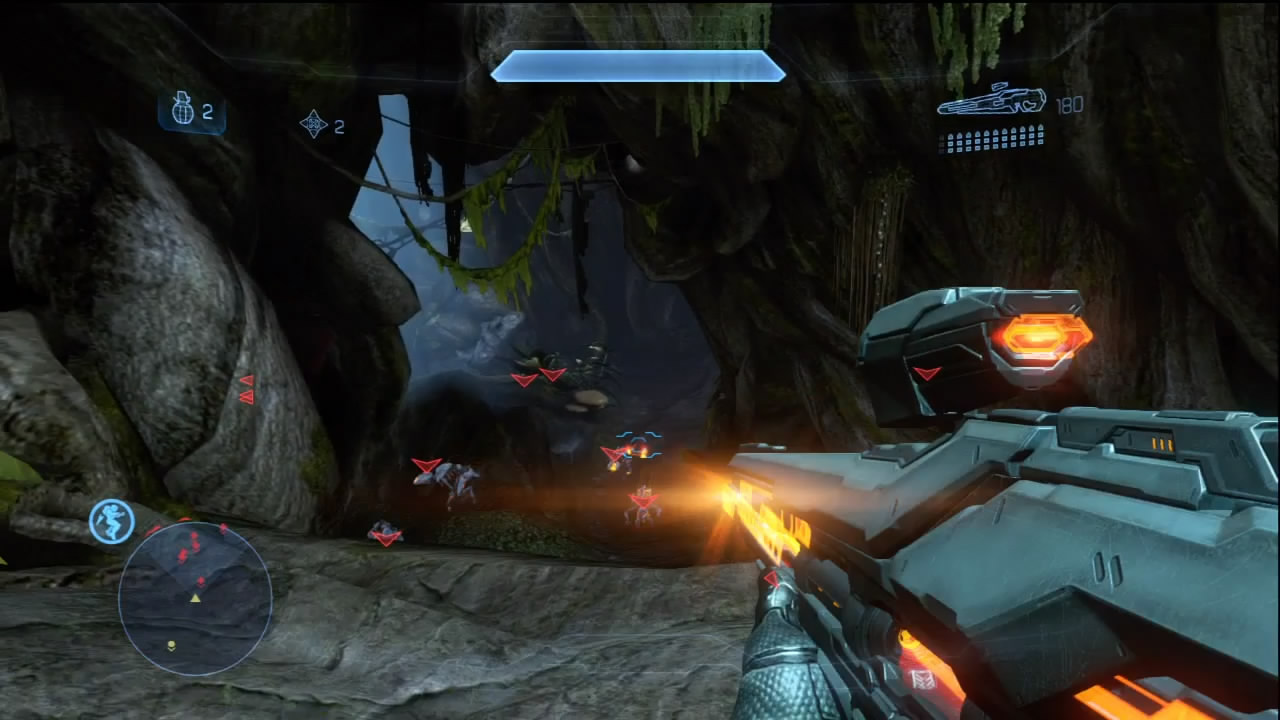
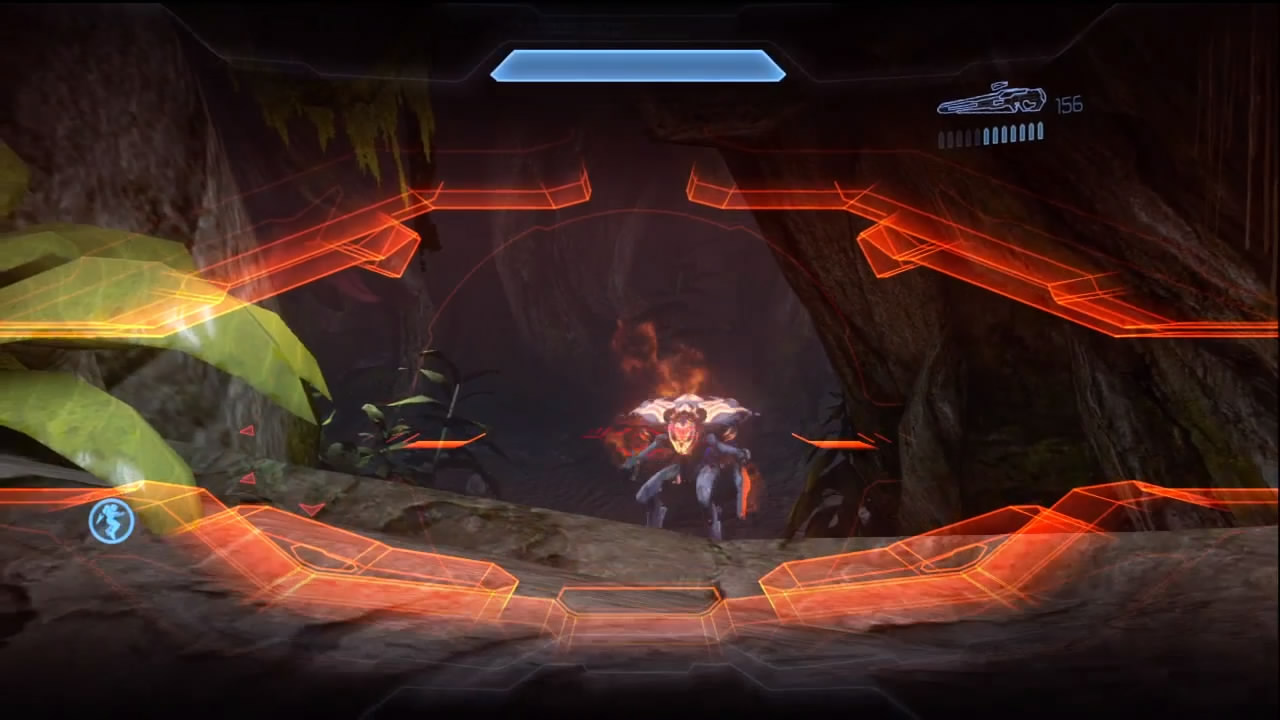
With the last pieces of Forerunner tech shut down, you’ve stirred up the hornet’s nest. Fortunately, things get a bit simpler from here on out. Your final combat objective is to perform a clean sweep of the entire zone to eliminate all Promethean resistance. As you beat back one wave of hostiles, another will take its place somewhere else in the facility. So long as you keep in mind the lessons you’ve learned fighting Prometheans in other situations, nothing here should be very surprising or even difficult to manage. You’ve got a facility full of spare weapons and lots of good ways to flank the enemy, even if you’re playing solo. Eventually, you will exhaust the Promethean’s numbers, and the facility will be back under UNSC control.
Objective Six: Get To Landing Zone
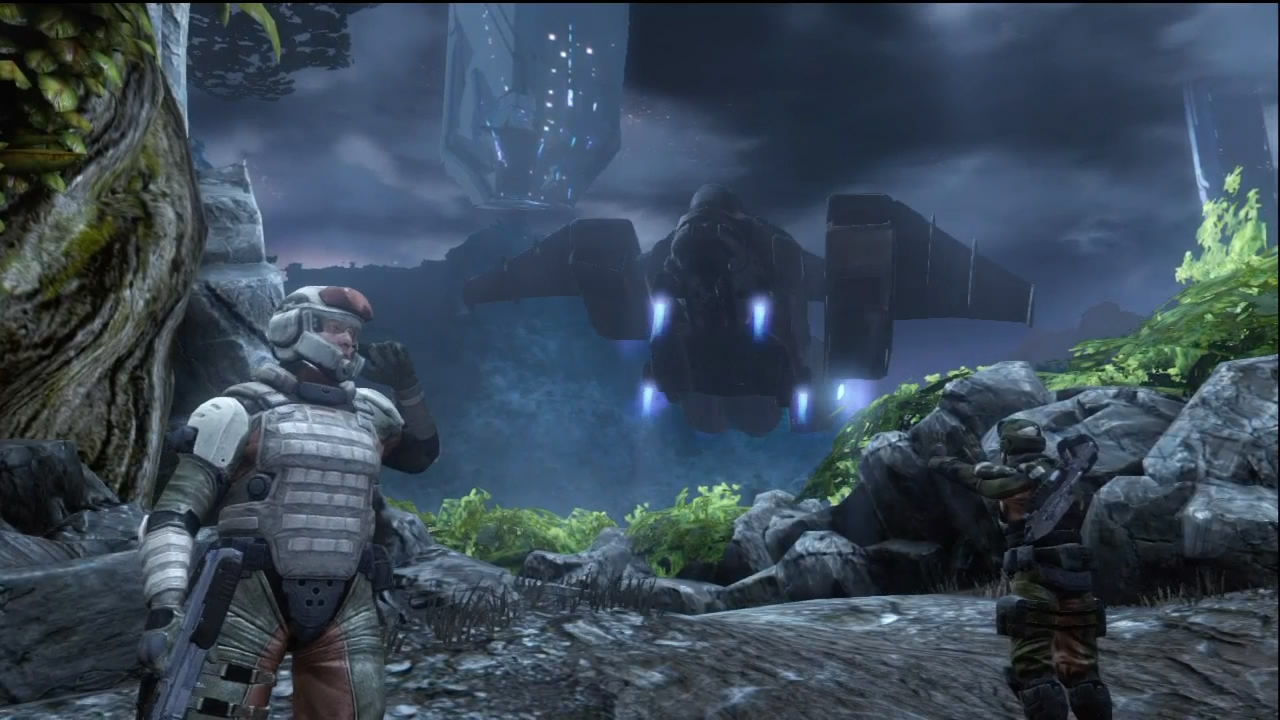
[8] With the facility cleared, head to the LZ for extraction. The episode ends with more questions than answers. What really happened to the science team? What did they activate? You’ll have to wait until the next episode to get some answers!