
Halo 4 Guide Campaign Mission 6: Shutdown
Mission 6: Shutdown
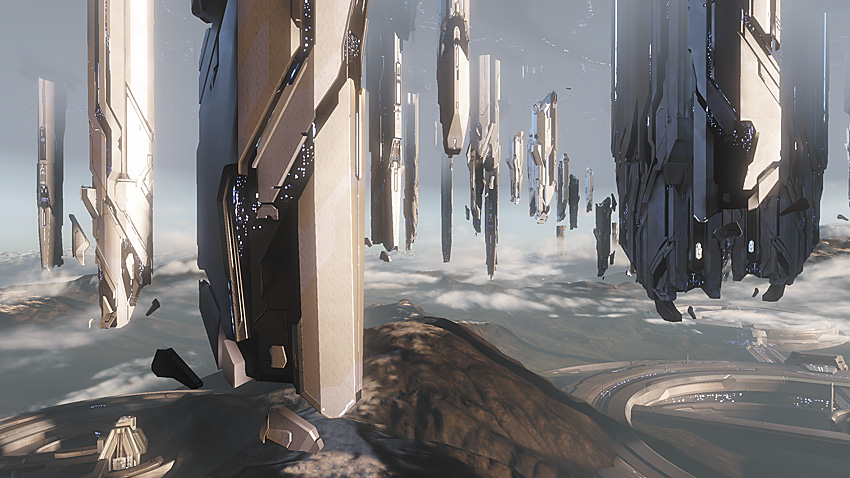
“Come on, Chief. Take a girl for a ride.”
With Cortana’s rampancy consuming her by the minute, both she and the Master Chief have elected to stay behind on Requiem even as the Infinity and the sniveling Captain Del Rio prepare to make a retreat. Lasky has been ordered by the captain to prevent the Master Chief from leaving the ship at any cost, but he doesn’t intend to stop him. Taking control of a Pelican Dropship armed for combat, the Master Chief must brave the skies of Requiem, shut down the Mission Briefing
Didact’s defenses, and take the fight against the Forerunner personally, all without backup from the UNSC.
Without the support of the Infinity, your life just got a whole lot more difficult. You need to get access to the Didact’s ship, but to do so requires that you penetrate the air defenses near two spires that are controlling his shielding. Once inside the spires, you will have to fight your way past the most fanatical defensive effort put forth by the combined Covenant and Forerunner forces. Even after the shields are down, the defense ships around the Didact will make approaching him impossible. A third spire, with the means to restrain the Didact, will then need to be infiltrated, and with luck, you can manage all of this before Cortana’s rampancy gets the best of her.
Enemies Encountered:
- Elites
- Grunts
- Jackals
- Hunters
- Watchers
- Crawlers
- Knights
Vehicles Encountered:
- Phantom Dropships
Once More Unto the Breach
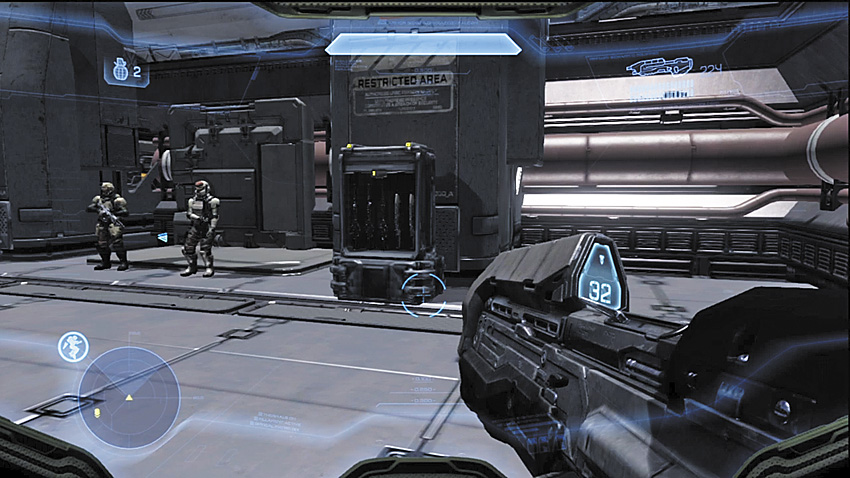
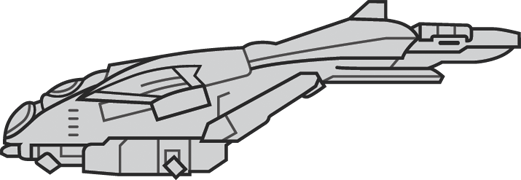
After Lasky leaves you to your own devices, you can head straight to the Pelican and continue your one-man assault on the combined Forerunner and Covenant forces. Inspect the hangar carefully, as every single Marine and Spartan in the hangar has weapons you can trade for. Combined with the two weapons racks on the Pelican itself, you will not be left wanting for UNSC firearms.
The Marines in the Corner
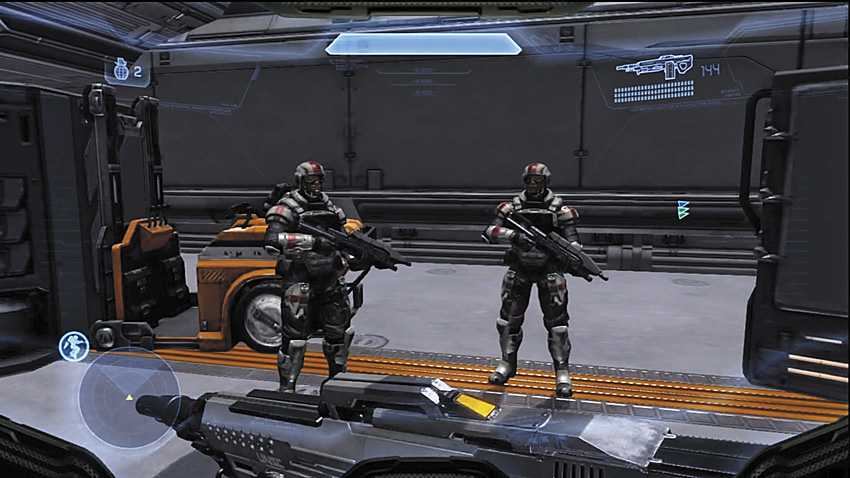
While not vital to the mission, you can find two Marines standing guard near some containers filled with equipment, on the lower level of the flight deck in front of the Pelican. Try chatting them up for a laugh.
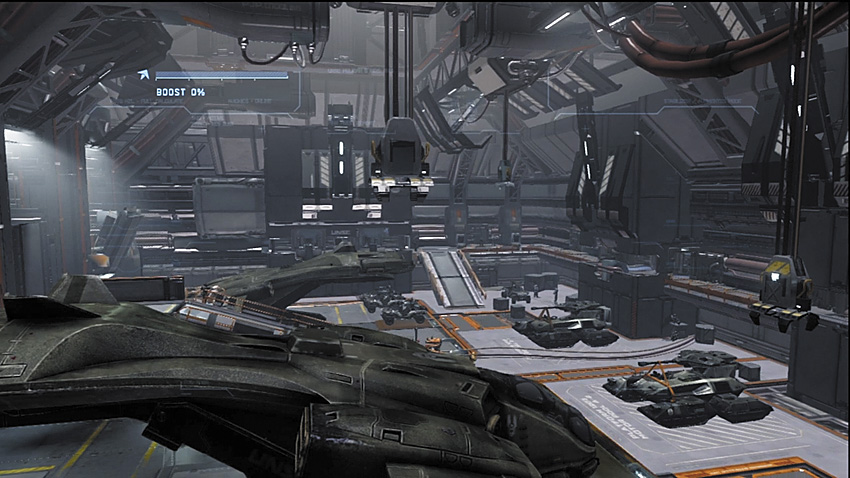
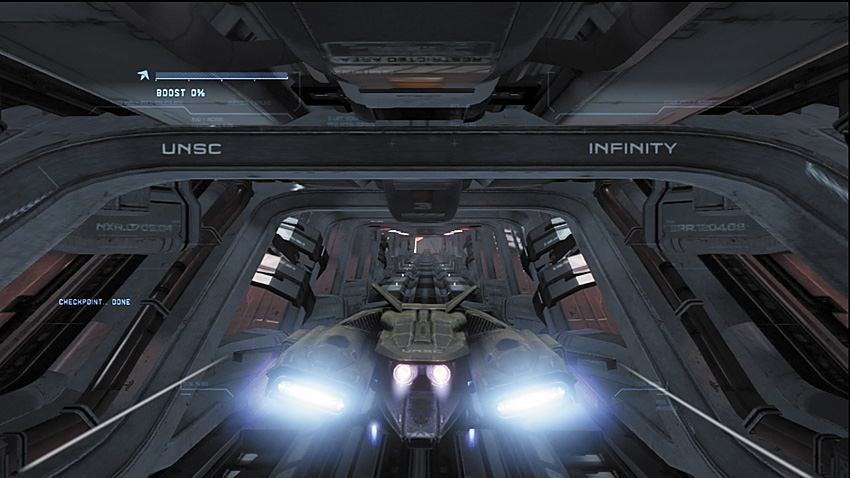
Getting airborne is simple. The Pelican is lowered into a launch tube. From there, command prompts appear on screen to help initiate the launch. With the Infinity left behind, take some time to get used to the Pelican’s controls and its arsenal. You’re going to need its arsenal in the next few minutes.
Key Combat Tip
Approaching the Didact’s satellite is suicide. In addition to active defense systems, a powerful energy shield blocks access to it. Cortana suggests that it may be possible for you to disable the barrier, but you’ll have to enter a pair of the floating tower structures to get access to the necessary systems Cortana has targeted for you, essentially flanking the Didact’s satellite. You can tackle them in the order you wish, but you will have to fight your way into the towers, and through them, if you’re to reach your objective. We do feel that the order the towers are presented here is the ideal order, however, as it allows you to make the best use of resources presented to you.
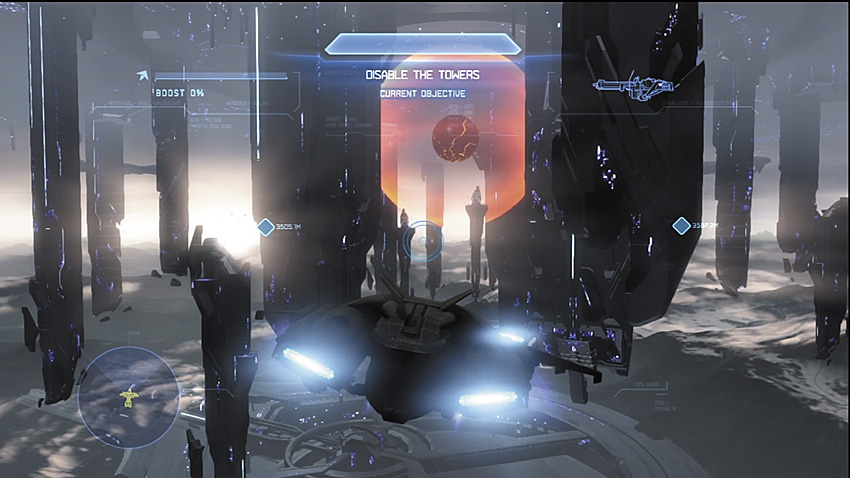
Both towers are guarded by squadrons of Phantoms. Quite frankly, these poor guys are in the wrong sky at the wrong time. Even flying solo, you’ve got more than enough firepower to turn these dropships into scrap metal fragments, and if you are flying with some company along for the ride, you’re even better off. Just avoid giving them a easy target by staying mobile, and don’t let the Pelican get surrounded. Once the skies are clear around a tower, set down on the marked landing pad and go inside.
Major Firefight: The Left Tower
The left tower initially seems completely abandoned and without any form of defense, but this is only the calm before the storm. You need to cross a massive gap to reach the target point by means of a gondola, of sorts. However, the Covenant and the Prometheans have two special stops they will force the gondola to make before you can reach the carrier wave generator.
Recommended Loadout
You have a good variety of UNSC hardware to pick from on the Pelican. A DMR can be extremely effective at the first stop, though you may want to quickly replace it with a LightRifle found on one of the weapon racks on the gondola. The two platforms the gondola is forced to stop at can also favor close-range weapons like the Boltshot, Scattershot, or the SAW found on the Pelican. The gondola also contains a Binary Rifle, but you probably will want to save it for hard targets like Knights or Elites, as the ammo for it is limited. You can also bring a Railgun from the Pelican, but again, you’ll have limited ammunition to work with. You can make up for the limitation with a LightRifle as your primary weapon. Make certain you have a Jet Pack; the vertical mobility will come in handy.
First Stop: Snipers, Grunts, Elites, and Prometheans
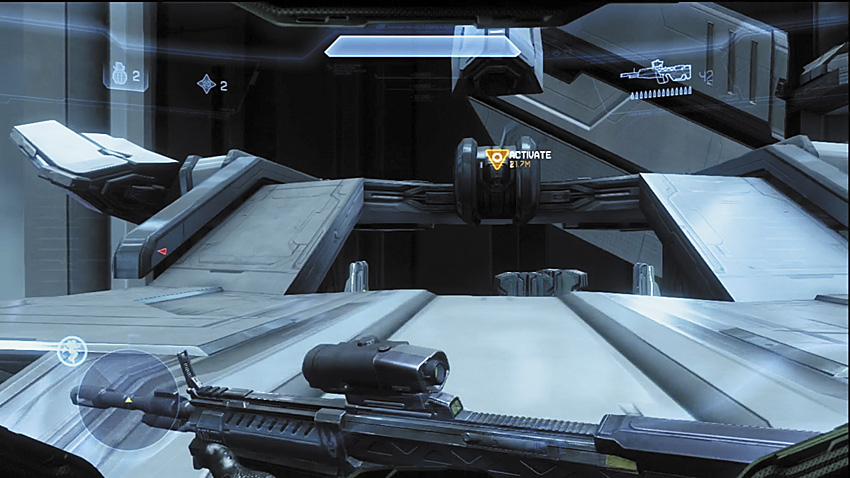
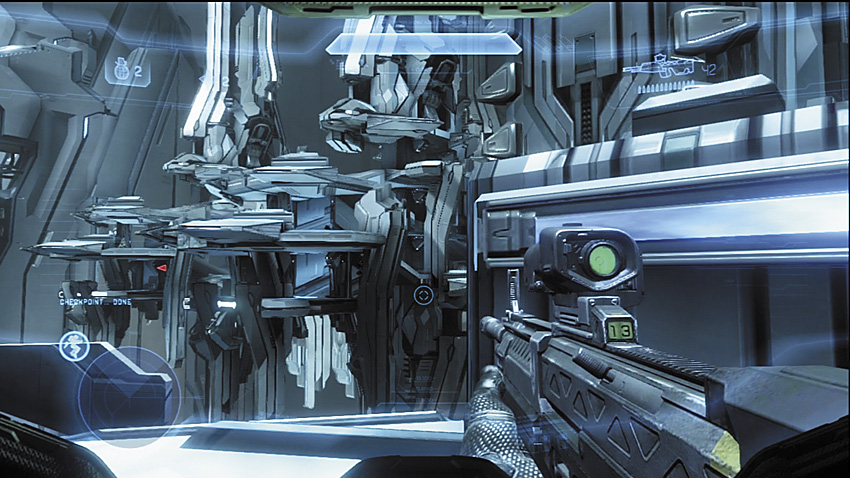
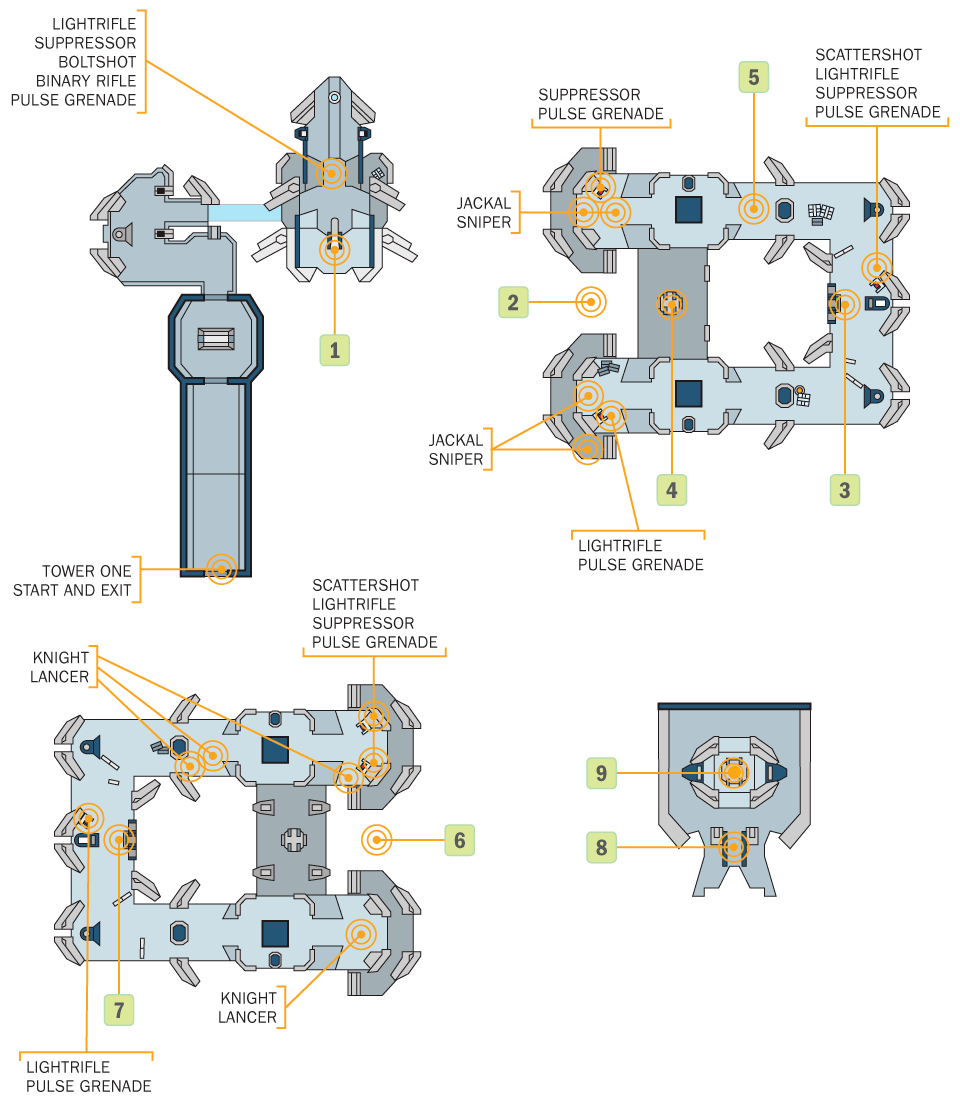
After climbing aboard the gondola and sorting out your weapons, hit the switch [1] and make sure you find some form of cover from assaults to your right. Within a minute, the gondola approaches its first stop [2], and before the ride comes to a halt, four Jackal Snipers take up positions at the station and open fire with Beam Rifles. Counter-snipe with a DMR or LightRifle, and try to eliminate these enemies before the gondola stops. At the stop, the gondola extends a light bridge for you to cross, but consider waiting until you take out any visible hostiles at the station. Focus on easy picks like the Grunts or Jackals, as their numbers can be troublesome in close quarters.
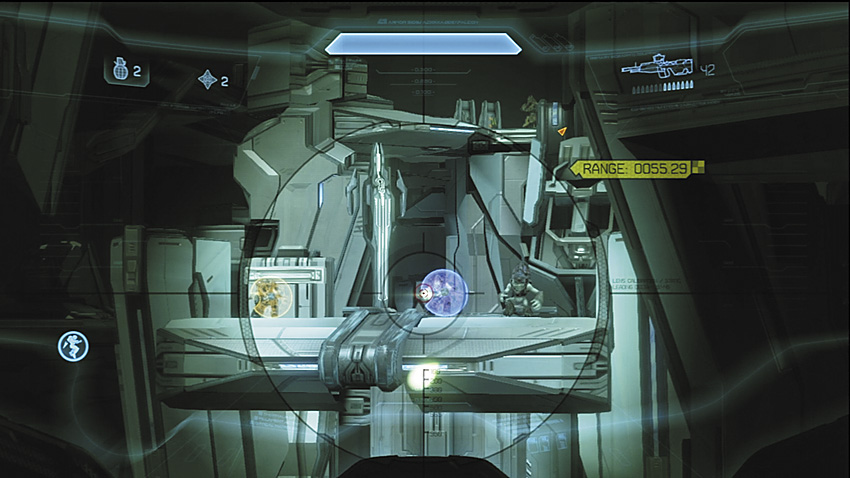
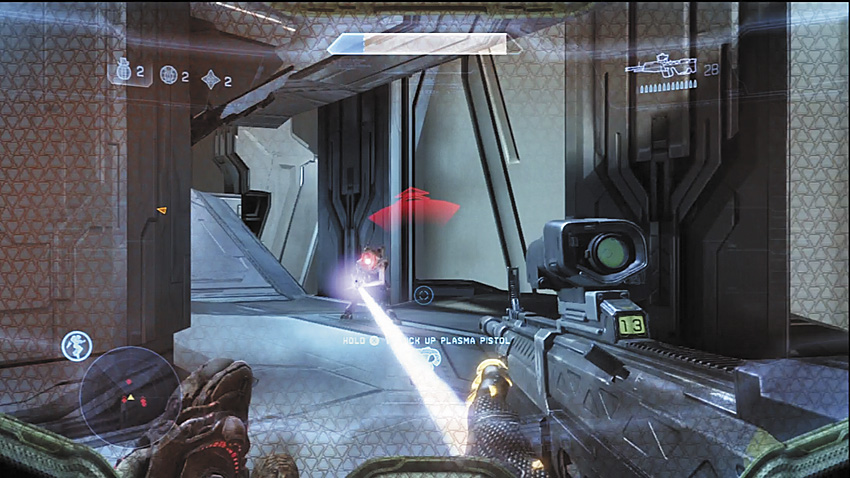
The station consists of two short ramp towers connected by a central bridge at their lowest level, each providing access to the platform where the gondola’s override is located [3]. The ramp towers are crawling with Grunts and Jackals and are actually quite dangerous. Their construction makes it difficult to rely on your motion sensor’s readings on enemy positions, and there are lots of blind corners. Be especially mindful of suicide Grunts trying to creep up on you via the ramps.
Key Combat Tip
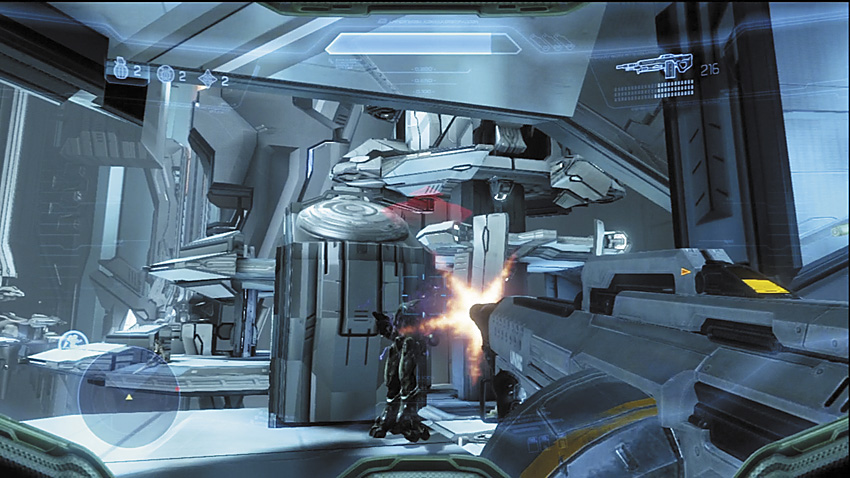
The lower connecting bridge [4] is frequented by an Elite that is stalking the lower levels of both ramp towers. Once you find him, take him out quickly. Losing track of him might mean he gets the drop on you. The battle around the switch includes multiple Elites. By now you should have plenty of Plasma Pistols to pick up to deal with them. With the Plasma Pistol combined with a LightRifle, you’ll find they’re relatively easy to kill. Once you’ve cleared out a path to the override switch, hit it, and get ready for round two.
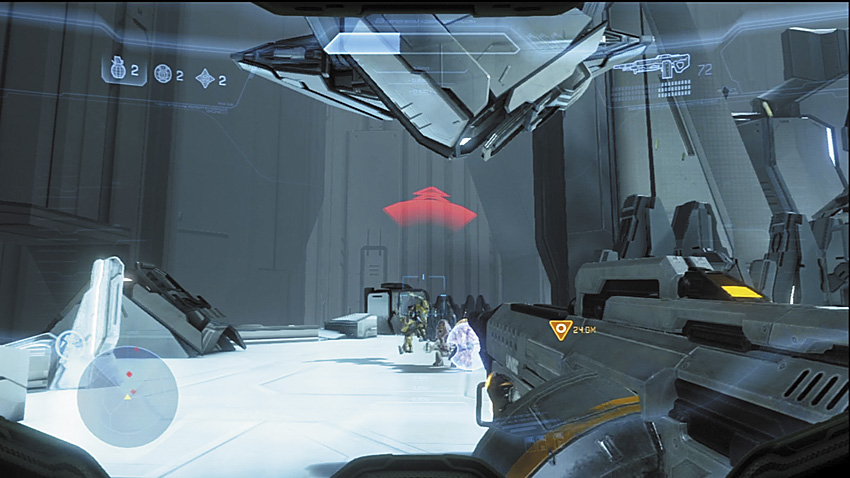
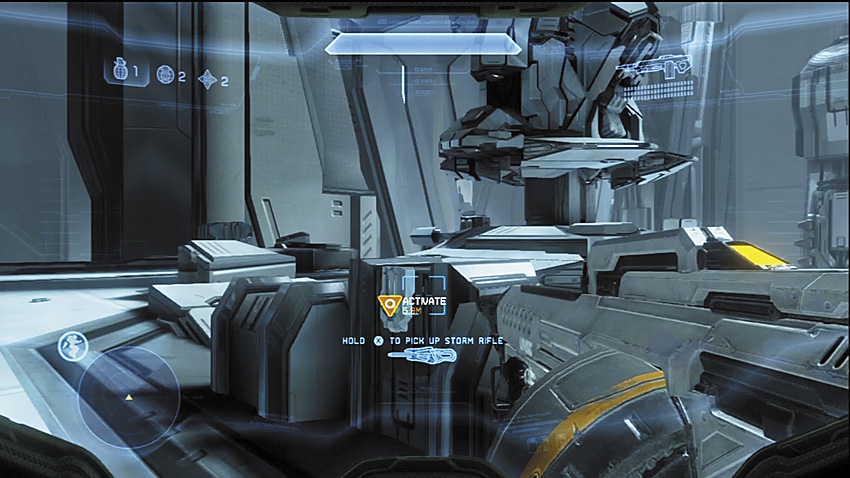
The battle around the switch includes multiple Elites. By now you should have plenty of Plasma Pistols to pick up to deal with them. With the Plasma Pistol combined with a LightRifle, you’ll find they’re relatively easy to kill. Once you’ve cleared out a path to the override switch, hit it, and get ready for round two.
Alternate Approach
It is possible to ignore many of the goons on the lower levels of this section by using the Jet Pack to fly to the upper platforms. Just be sure that you’ve taken out the Jackal Snipers before you take flight. This tactic can help expedite your mission, but it can make the next bit a little tougher, especially if the enemies you ignored start climbing up the ramps to get to you.
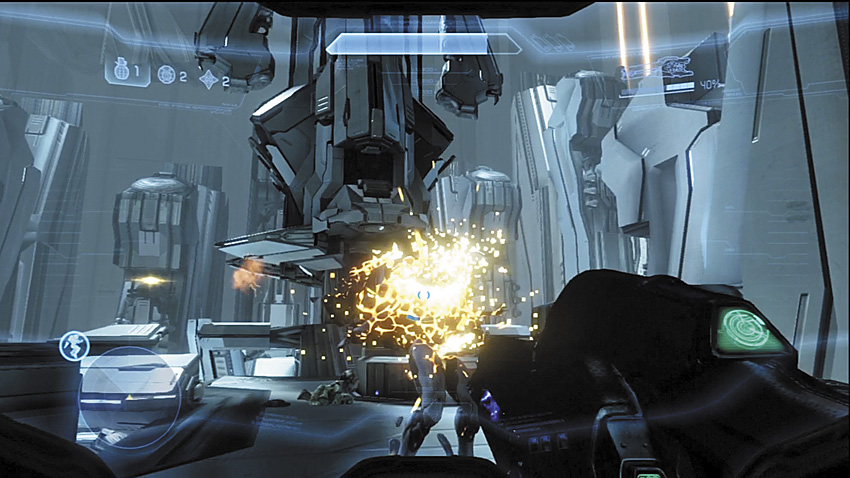
Knights begin teleporting into the station after the override is activated, taking up positions near the override itself [5], the gondola, and at the second stop itself. If you brought the Railgun from the Pelican, these are excellent targets for it. But the Promethean attack doesn’t end here. A Knight Battlewagon has also teleported onto the gondola itself, and Crawlers now stalk its walkways and the wall opposite to the tower it is connected to. After clearing out the gondola, hit the marked switch to restart it. Two more Knights appear at the front of the gondola halfway to the second stop. Try to put them down quickly; you’re getting in range of the next ambush.
Legendary Strategy
Welcome to the hardest chapter in the game on Legendary. This first ambush can be a harsh roadblock before you actually step off the gondola. Jackal Snipers are accurate enough on Heroic, but on Legendary, they’re even more dangerous. Grazing hits can be followed up by a lethal shot within a second, so anticipate their appearance and locations [the same as on Heroic] and snipe them first.
On Heroic, you could have charged off the gondola as soon as it came to a stop to engage the enemy up close, if you wanted, but this isn’t encouraged here. With relatively little room to move on the towers, and considering how grenade happy the Covenant are, you could find yourself pretty dead, pretty quick. We recommend the LightRifle as your primary weapon for this whole encounter, with the Railgun specially set aside to help take out Elites and later, the Knights. The Plasma Pistol makes a good substitute in place of the Railgun. But on this difficulty the enemy is more apt to dodge charged shots, though they might also throw themselves into the abyss if they’re too zealous about their evasive moves. Elites and most Knights are actually able to survive a direct hit from a Railgun on Legendary, so bear that in mind should you take the weapon with you. Lastly, if you are able to, take a Plasma Pistol with a decent remaining charge with you when you return to the gondola. You will want to have access to its charged shot for the next stop.
Legendary Gameplay Video
Second Stop: Knights and Binary Rifles
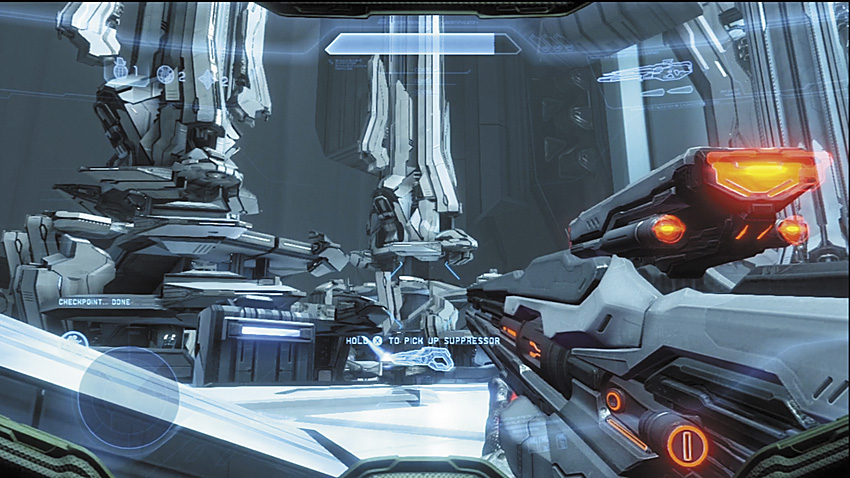
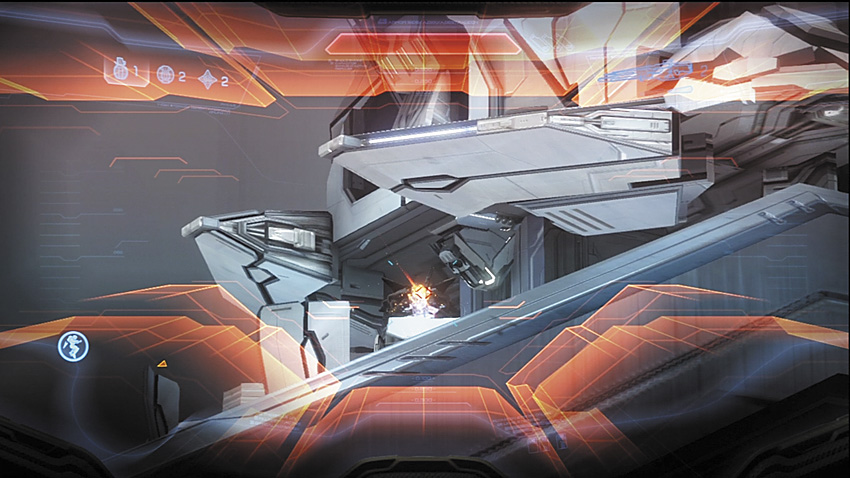
To the gondola’s left, near the carrier wave generator platform, is another structure that shares its design with the previous ambush point. As the gondola hovers closer to this second stop [6], Knight Lancers, armed with Binary Rifles, begin to bracket your position. Hopefully you’ve conserved the Binary Rifle on the gondola weapons caches because it’s the best response available. Watchers and Crawlers also fill the various walkways and connecting bridges. If you can take out the Knight Lancers before a Watcher starts to provide shield protection to them, do so. If a Watcher positions itself close to a Knight Lancer, shoot it out of the air with your LightRifle. Once you take out the Knight Lancers, you can take the light bridge onto the platforms to reach the newly marked override switch, or continue to snipe Crawlers and Watchers.
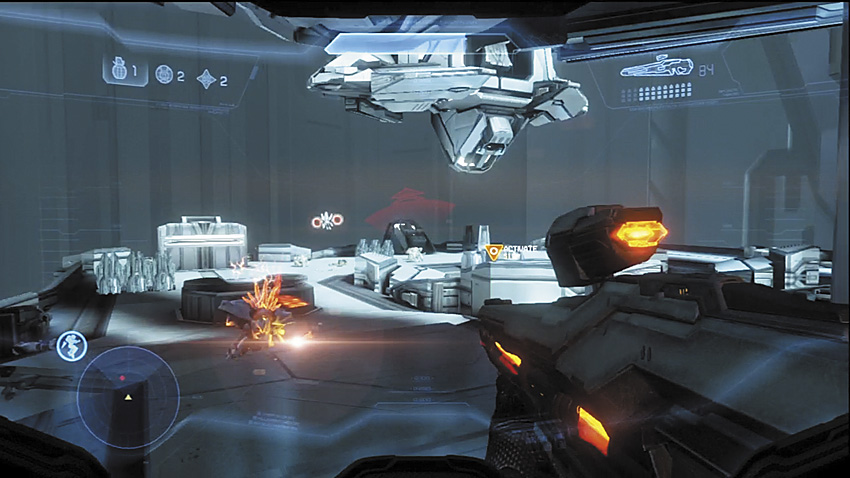
The switch itself [7] is protected by another Knight Battlewagon, a Crawler pack, and possibly another Watcher or two. Remember that eliminating Watchers can spur the Battlewagon to take the fight up close, where its Scattershot can and will destroy you in a single point-blank burst and you’ll also contend with its deadly melee attacks. Hit the switch to push the gondola close to your ultimate goal.
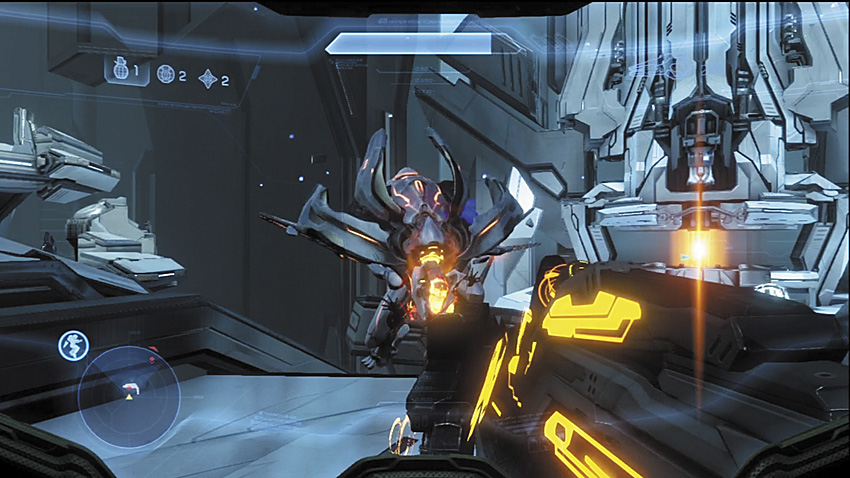
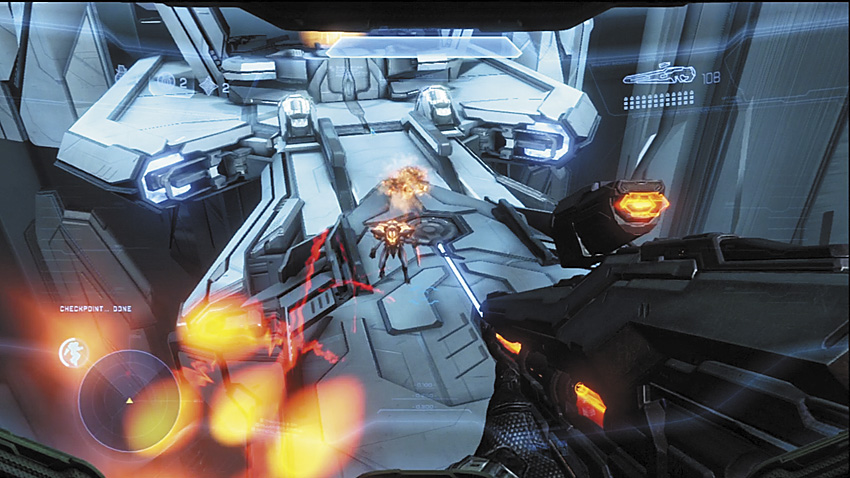
It’s far from over. As the gondola connects to the platform with the generator, more Knights, including a Knight Commander armed with an Incineration Cannon, flash into place [8]. This Commander is not fooling around. The shot fired by an Incineration Cannon can disintegrate a player as fast as a Binary Rifle shot, and it has a wider area of effect to make up for the slower shot. If your Binary Rifle still has a few rounds, put them through the Commander.

Key Combat Tip
Legendary Gameplay Video
Legendary Strategy
Now things get brutal. There are relatively fewer enemies to deal with at the second stop, but Knights are always problematic on Legendary, particularly Binary-equipped Knight Lancers. This is easily one of the most frustrating battles in the Legendary campaign. The platforms’ design gives the numerous Watchers plenty of places to hide from your wrath, which means that they can sneak around and reconstruct fallen Knights the moment your attention is pulled elsewhere. Of course, the Binary Rifles carried by the multiple Knight Lancers in the area are all capable of one-hit kills, which further complicates matters.
You may be tempted to counterattack with your own Binary Rifle, but we actually recommend using the six shots you get with the weapon to guarantee that the Watchers are killed. With the Watchers dead, you can concentrate on eliminating the Knight Lancer threat from afar with careful counter-sniping with a LightRifle. Or, if you took a Plasma Pistol with you, try to get close enough to blast them with a charged shot, then finish them off with unscoped LightRifle shots. Both methods run the risk of your being destroyed by a single Binary Rifle shot [even from a random ricochet], so it’s really a matter of whether you prefer to die at the feet of your enemies or at a distance. Regardless of your approach, the Crawler infestation at the second platform should be whittled down as much as possible before you try to reach the override switch.
The Incineration Cannon-wielding Commander near the carrier wave generator is also significantly more threatening. The shot the Incineration Cannon fires is blisteringly fast compared to on Heroic mode, so treat it with greater respect, even from a fair distance.
Legendary Gameplay Video
The Carrier Wave Generator
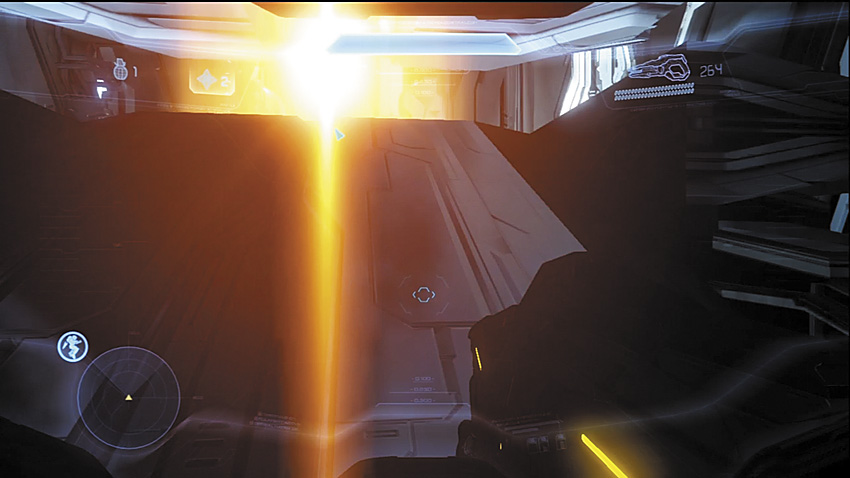
Even with the ambushes beaten, the danger is far from over. Stand in the carrier wave generator beam [9] to to use your shields in an EMP blast, and then immediately take cover! Your shields are taken down, and a swarm of Watchers rises from beneath the gondola. Their Boltshots are not particularly threatening, normally, but in these numbers and with your shields temporarily offline from the EMP, slow reactions can prove fatal. Let your shields recharge a bit, then go out and knock the Watchers out of the air. Afterward, restart the gondola to make a peaceful, if not quiet, trip back to the Pelican.
Major Firefight: The Right Tower
There are no gondola rides in this tower, just a lot of interconnected platforms filled with Prometheans protecting the target attenuator that must be destroyed to further interrupt communications between the Didact and his servants. Disabling this tower, however, will require a bit more effort than standing inside an incandescent beam of light.
Recommended Loadout
The LightRifle once again is your best friend. If you hit the left tower first, you could possibly have an Incineration Cannon, which trivializes the normally intimidating presence of Knights. The LightRifle can easily dispatch any other foes, while the Incineration Cannon can be used on harder targets. If you lack that weapon, you can always pick up a Railgun from the Pelican’s weapons caches.
Revealing the Attenuator
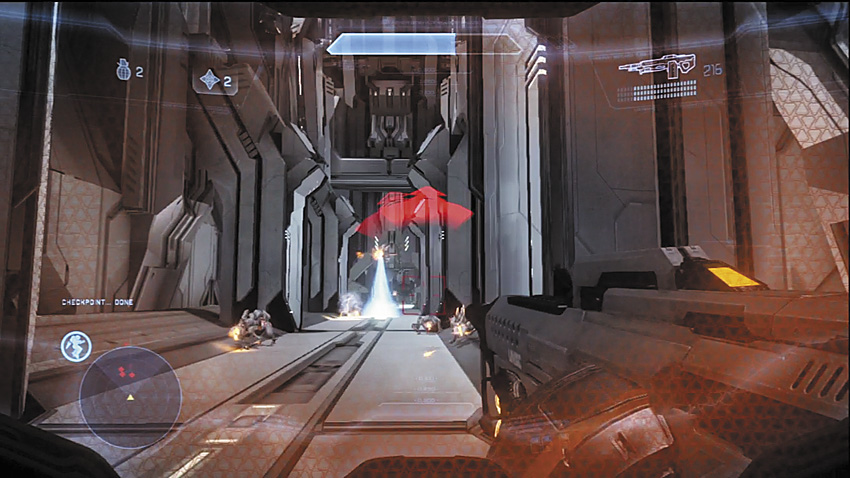
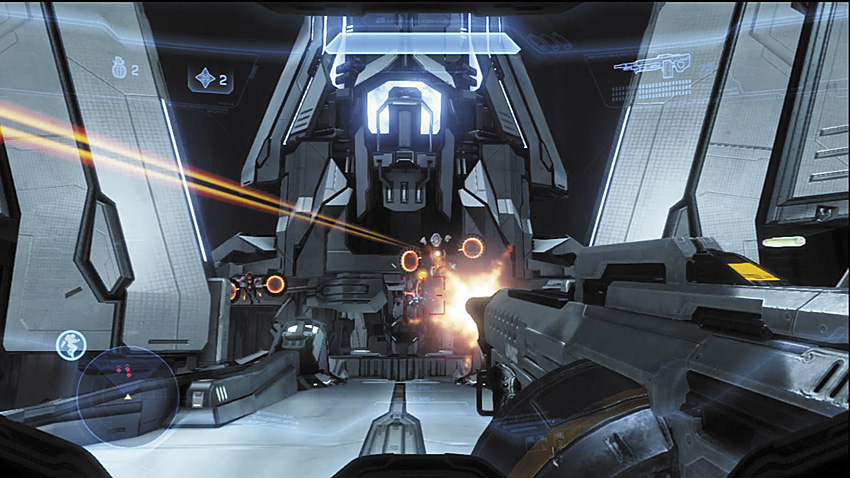
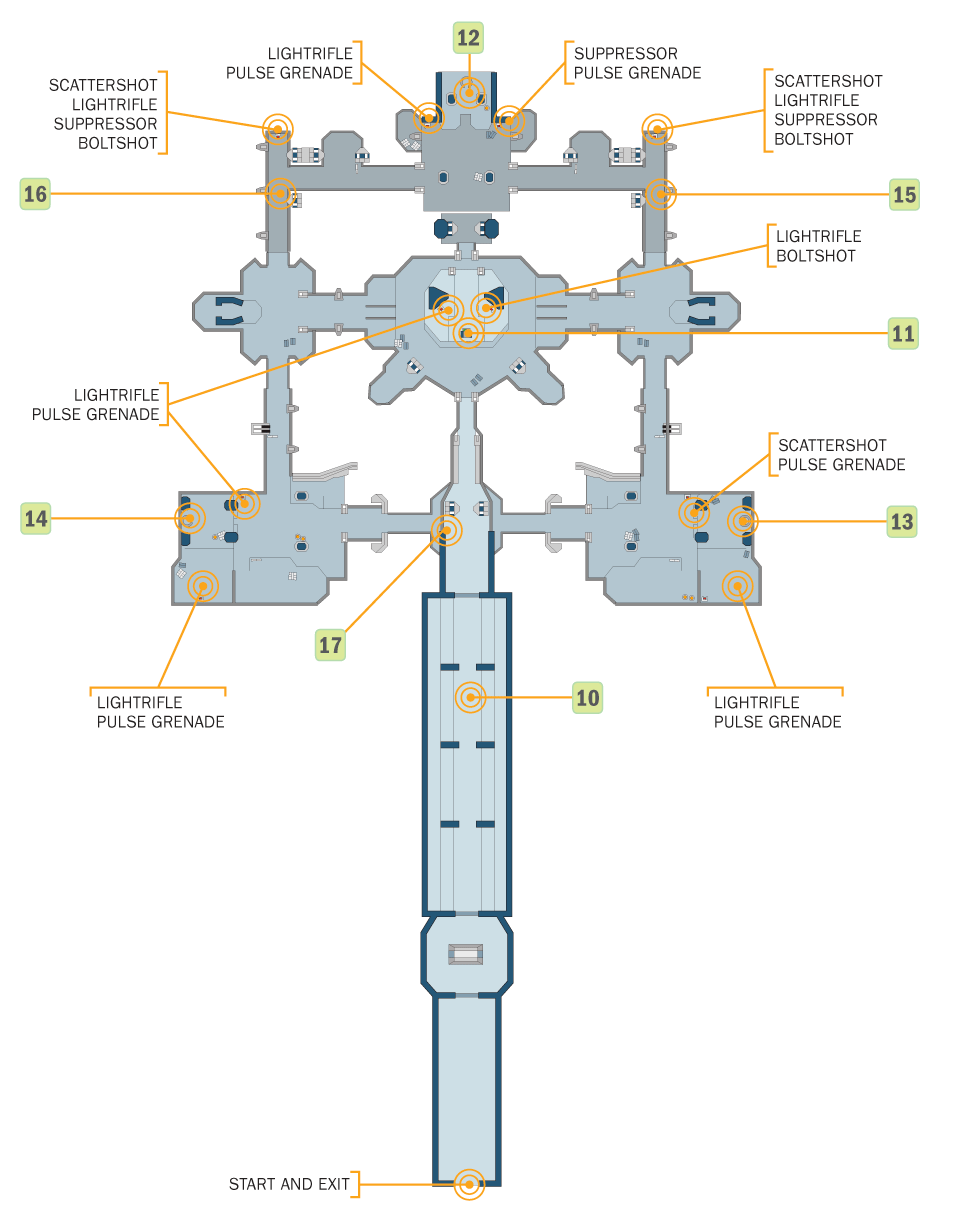
[10] Entering the tower takes you to a hallway dotted with pillars. It is guarded by a Crawler pack and a Watcher that tries to add more Crawlers into the mix. As you exit this hall, more Watchers buzz overhead, which heralds the fun that lies ahead. Cortana initially believes the tower attenuator is singular in nature, but when you hit the switch she marks for you [11] she reveals that there are three targets scattered throughout the platforms [12] [13] [14].
Key Combat Tip
Attenuator One
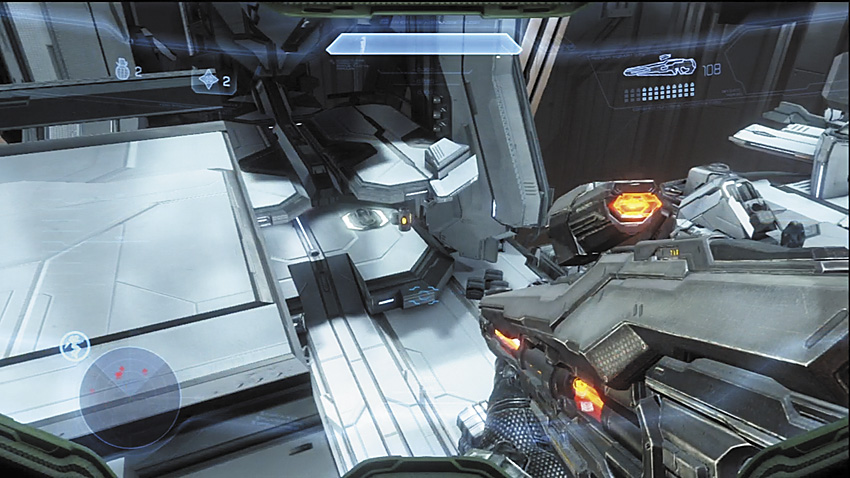
[12] The closest attenuator to the central switch can be reached easily by dropping down to the lower platforms opposite where you first entered this chamber. Don’t be so quick to make the leap. A Knight phases into existence when you approach, along with two Watchers and a smattering of Crawlers. Pick off the Watchers, then put down the Knight with an Incineration Cannon, if you have it. As a bonus, you might also take out nearby Crawlers with this shot.
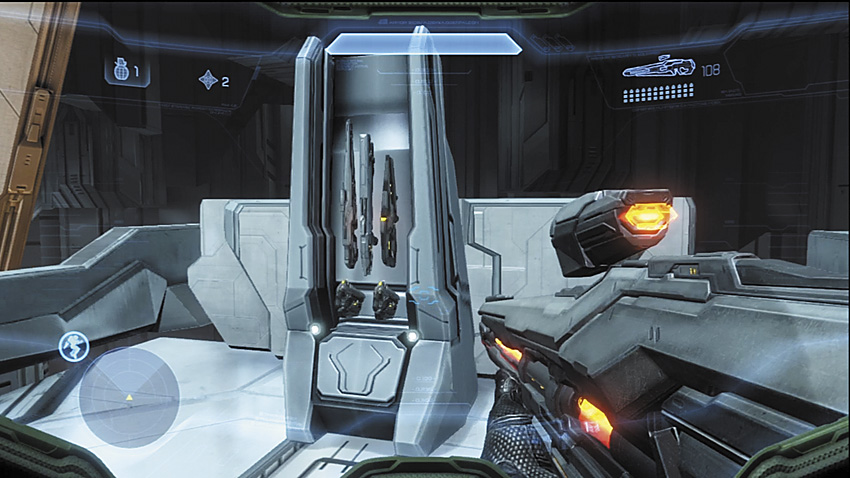
If you lack an Incineration Cannon or a Railgun to take out the Knight quickly, you can still take it out with a LightRifle or with the Scattershot found in one of the weapons caches near the center switch. In this case, you’ll want to thin out the lesser foes first to allow you to focus on the Knight exclusively. With the Knight down, the attenuator reveals itself from behind its shielding, and you can take out the energy satellite in a single melee strike. From here you have two routes to follow to reach the remaining attenuators. Both mirror each other in appearance and general opposition.
Key Combat Tip
Attenuator Two
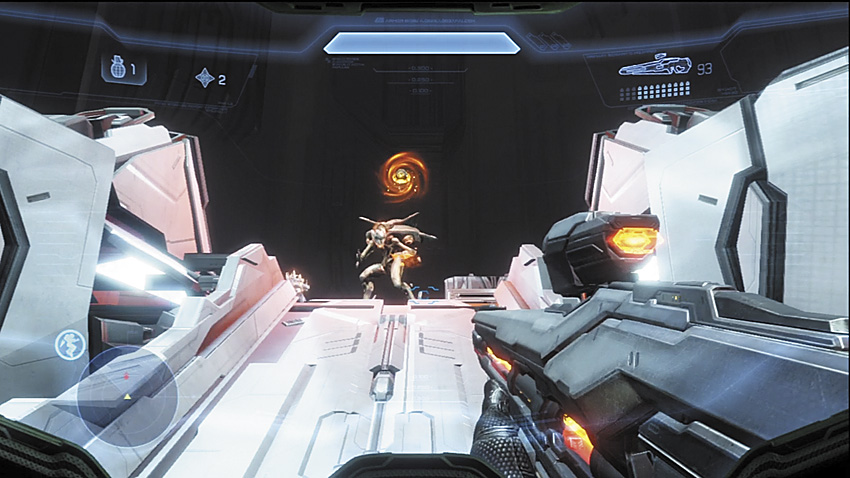
[15] Facing the central platform from attenuator one and following the path to the left, you will encounter multiple Knights along the walkways, along with any Crawlers or Watchers that you didn’t snipe from the central platform. The narrow paths can make Knight encounters more dangerous, so hopefully you still have Railgun, Incineration Cannon, or Scattershot ammo to deal with them quickly before they get too close.
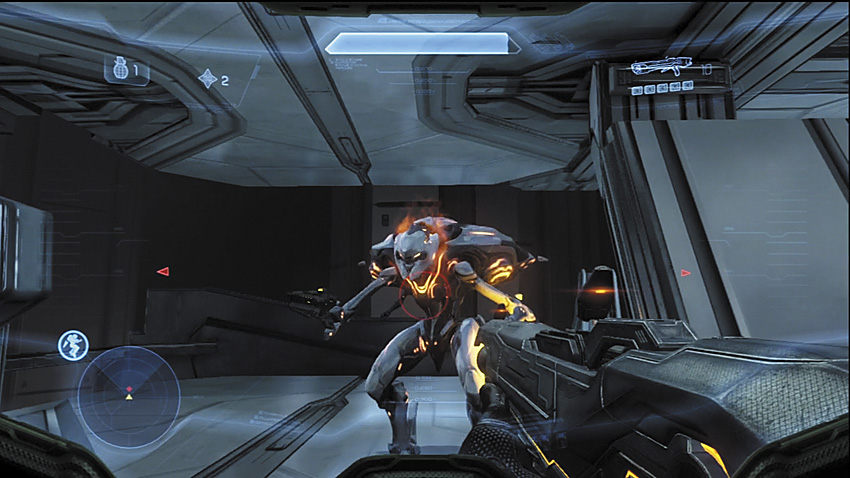
[13] The second attenuator’s Knight appears in front of it as you draw closer. The L-shaped platform can make fighting it tricky, thanks to the pillars it can use for cover. Before approaching the device and triggering the Knight, eliminate any local Watchers at least before you make your move.
Attenuator Three
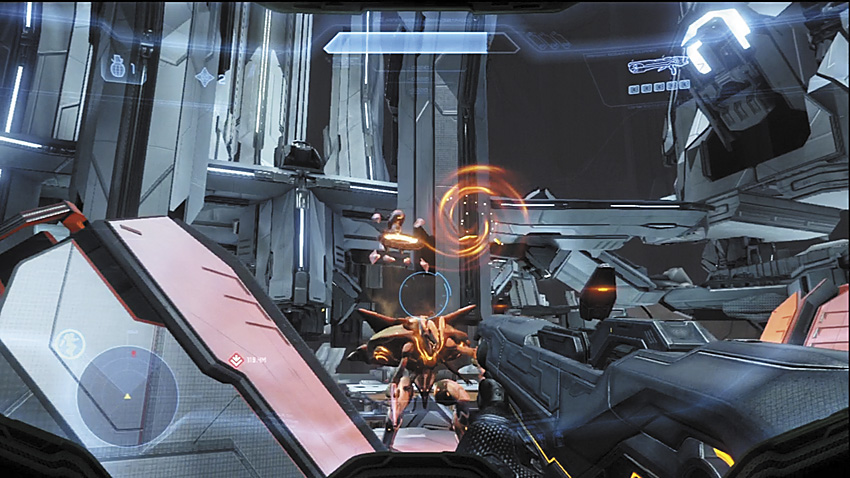
If you approach this attenuator from the first target, you’ll find this path [16] is a mirror of the one you can take to attenuator two, right down to the sort of resistance you face on the route. It even includes weapons caches in the same locations. If you’re traveling over from attenuator two, you’ll have to cut across a platform below the entrance [17] to the whole chamber, if you’re taking the direct approach. A Watcher tries to construct a Forerunner anti-infantry turret on the platform itself, while another Knight guards the ramp that connects to the platform.
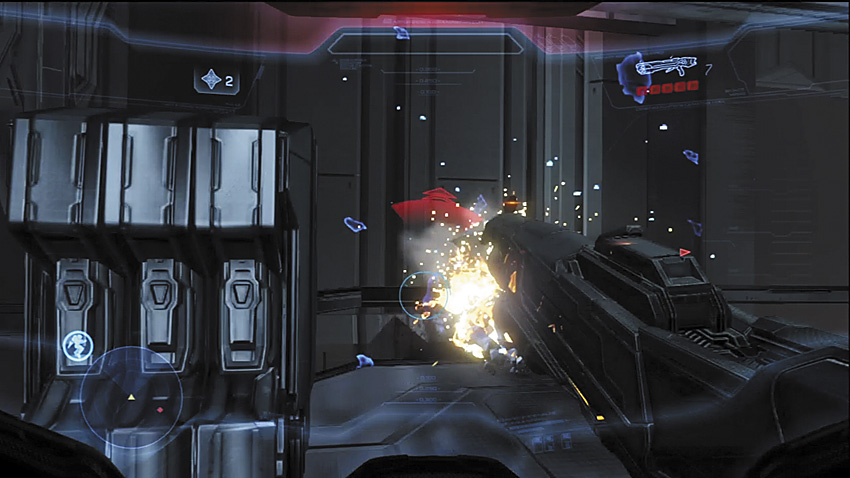
[14] Similar to the second attenuator, the third is found on an L-shaped platform that can complicate the fight against the Knight guardian. Any surviving Crawlers and Watchers on the platform also attempt to block your path.
Getting Out
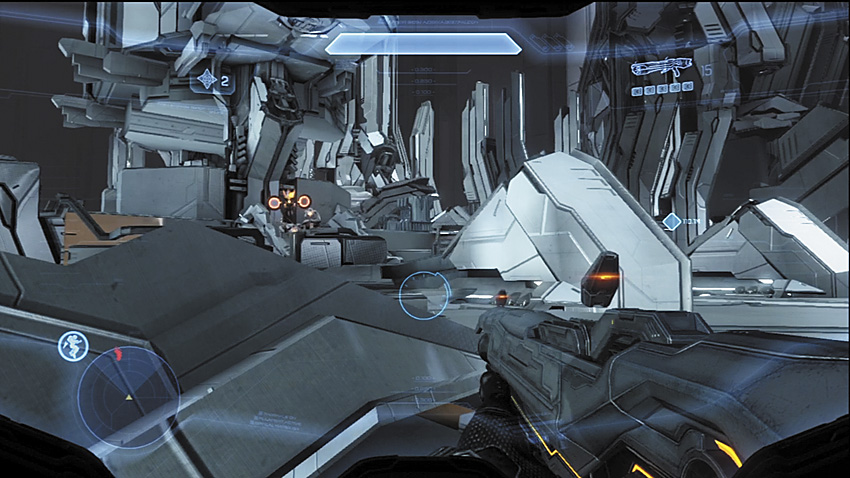
As there is no correct order to taking out the attenuators, your exit strategy will depend on which generator you tackled last. A Knight, Watcher, and Crawler pack typically appears on the connecting walkways that take you to the central platform. From there, get to the bridge that takes you back to the entry hallway.
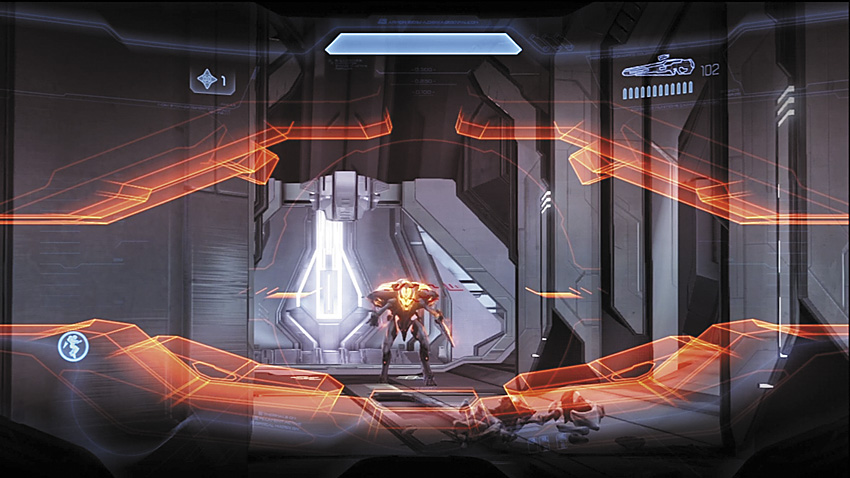
Your way back to the Pelican is be blocked by Crawlers and a Knight Commander wielding an Incineration Cannon. This fight can be surprisingly annoying, as the Commander’s shots can find plenty of places to hit that kill via splash damage. Without a Railgun or Incineration Cannon of your own, you’re forced to play a dangerous game of chicken while you try to make the kill with whatever else you have available. Collect his Incineration Cannon, it will be invaluable in the coming battles.
Legendary Strategy
The biggest problem with the trek between attenuators is the amount of open space that you must travel through while vulnerable to incoming fire. To mitigate these dangers, it’s crucial to take advantage of the elevated central platform and the bridge connecting it to the entrance of the spire and kill as many Crawlers and Watchers as possible from that position. It’s not the bravest plan, but it is more likely to keep you alive. Direct combat against the Knights on these narrow walkways is generally a bad idea, as they are able to quickly close the distance and kill you with their melee attacks. Even Crawler packs are more dangerous if you are not able to quickly defeat them with headshots.
Hopefully, you have managed to horde Incineration Cannon ammo for yourself to deal with the knights near the attenuators faster, but try to make sure you leave at least one shot for the final Knight Commander. If that’s not an option, you’ll have to use the pillars in the entrance hall and run from cover to cover until you get close enough to make the Knight Commander refuse to fire his weapon, but not so close that he charges in to beat you down. To that end, a Scattershot, if you’ve managed to locate one, is not a bad option. You can quickly fire three or four shots into its face once you get in close range, which is enough to cut through shields and nail its skull before it can do anything about it.
Legendary Gameplay Video
Change of Plan
With both towers disrupted, Cortana marks a third tower for you to infiltrate. If she can gain access to the systems in the tower, she may be able to prevent the Didact from leaving Requiem. It’s a long shot, and unfortunately Cortana’s conditioning is worsening. Time is running out to stop the Didact—either Cortana fully degrades, or the Didact’s own armies will put a stop to the Master Chief. Inside the tower, you enter an antigravity lift that takes you to the first level of the tower.
Major Firefight: Tower Three, Level One
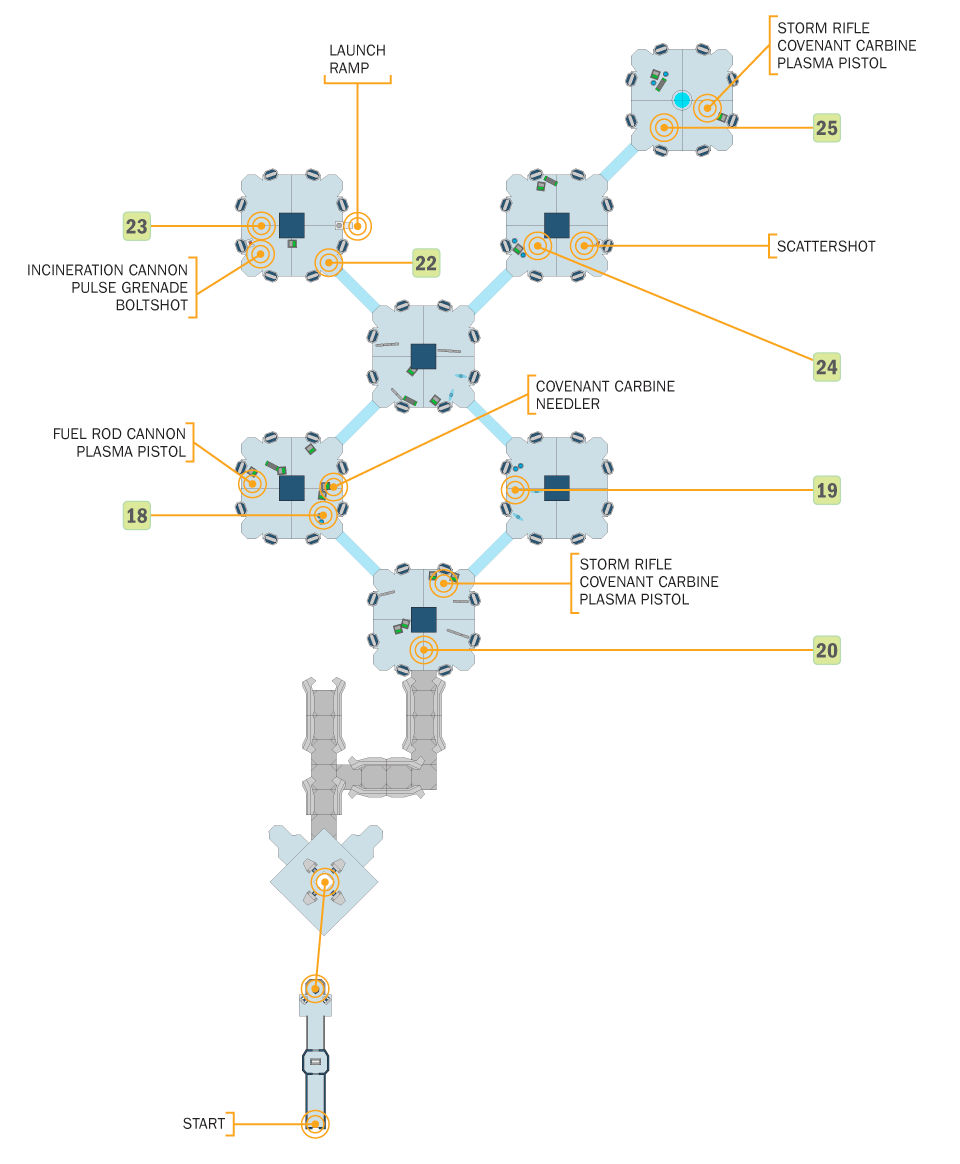
The Didact is reconfiguring the walkways in an attempt to deny you access to its inner workings. Small platforms, interconnected with thin light bridges make up the terrain here, and the Covenant presence is only slightly more dangerous than the constant risk of falling to your death.
Recommended Loadout
The LightRifle and DMR are always welcome weapons for these platforms and the open spaces between them. You can find a variety of Covenant weapons here, with Covenant Carbines and Plasma Pistols being among the shining stars. Fuel Rod Cannons are also readily available, as they are carried by Grunts and Elites alike. The Fuel Rod Cannon and the Incineration Cannon can quickly take out plasma turrets, Elites, and the Hunters you’ll face before escaping this level of the tower.
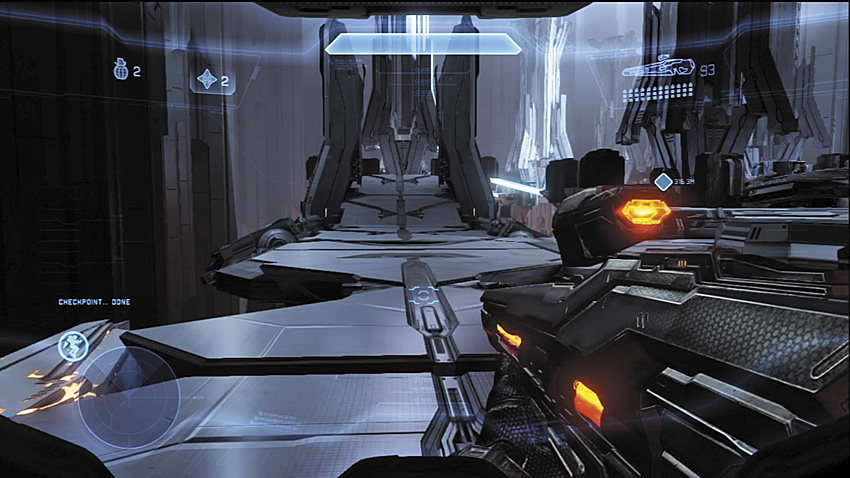
Your ultimate goal is to reach the designated antigravity lift at other end of the chamber. Expect extensive resistance along the way—the common mix of Grunts and Jackals, with Elites among the crowd.
The bridges that lead to the first platform [20] begin to collapse into the chasm below, and you must make it to the first solid platform quickly or fall to your death. Grunts occupy this first platform while mounted Plasma Cannons [18] [19] try to bombard you from adjacent platforms. The central pillar can be used for cover while you work on killing the gunners.
Domain Terminal
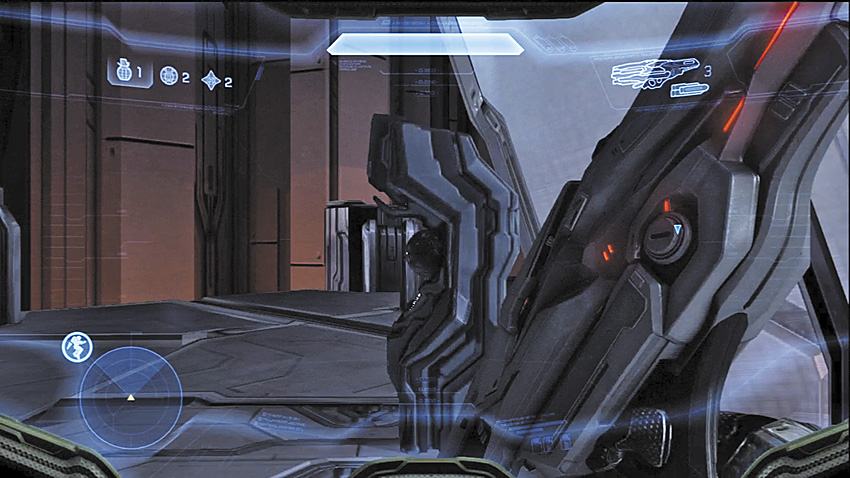
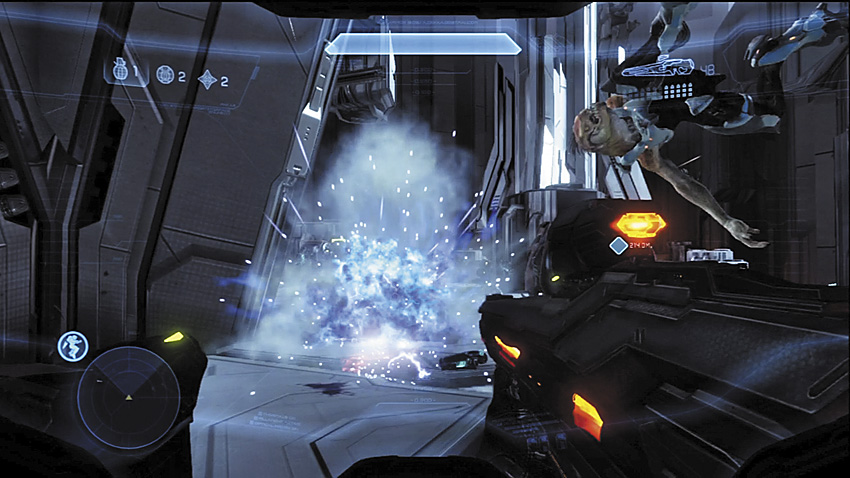
[23] This platform contains an important weapons cache: an Incineration Cannon with a full ammo load. Additionally, you can find the Domain Terminal for the chapter hidden against the central pillar here.
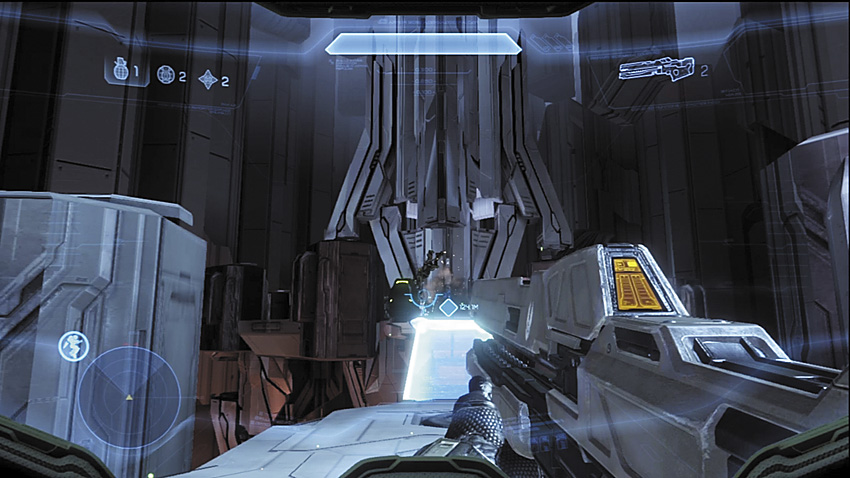
[24] Things get a little hairy here, with a high-ranking Elite rushing to the light bridge in the hope of taking you out as you cross. There’s a good chance he is armed with a Fuel Rod Cannon, which makes crossing the bridge a tough prospect until he’s out of the picture. If you picked up that Incineration Cannon from the other platform [23] you should be able to put him and any other Covenant near him out of your misery.
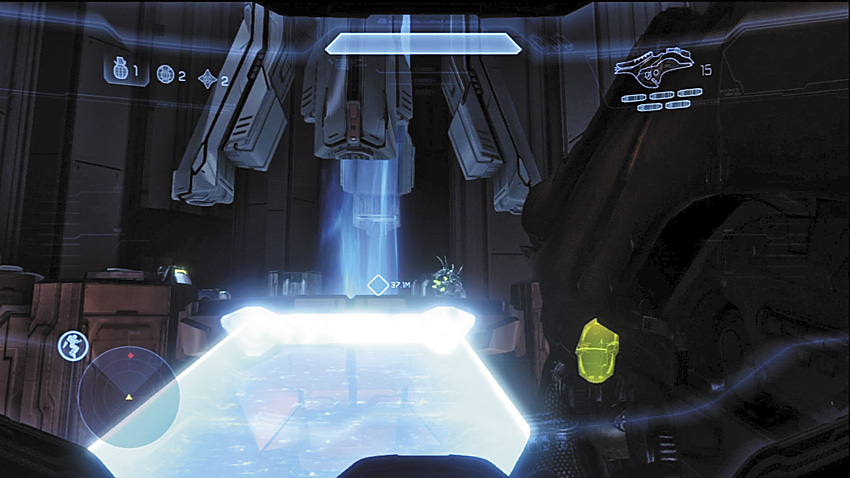
[25] The antigravity lift is your destination, but a pair of Hunters make an entrance and drop down from the upper level. With the Incineration Cannon, you can easily put one down, even by means of a frontal assault, and then concentrate on flanking the other. If you’re quick, you can convince the Hunters to expose their vulnerable flesh, and a well-placed Incineration Cannon shot destroys them easily. When they are out of the picture, consider going back to the Domain Terminal platform to recover any remaining ammo for the Incineration Cannon, then take the lift up to the next level. A Fuel Rod Cannon can also work well, in a pinch.
Key Combat Tip
Legendary Strategy
This is another battle where you have a serious risk of falling to your death, which also translates to a lack of hard cover against shooters positioned on adjacent platforms. The opening part of the fight can be rather tough, as you have to deal with two Plasma Cannon gunners who will take you down in seconds if allowed, and headshots are not at all easy to score. It’s not a bad idea to take a Railgun into the tower for this first battle, if only to take out decisively any mounted guns. As always, Elites become a more serious problem, but you can always resort to the charged shot combo. Stick to this to conserve the Incineration Cannon or Fuel Rod Cannon for more specific use against the Hunters, assuming you stick around for the brawl.
Legendary Gameplay Video
Major Firefight: Tower Three, Level Two
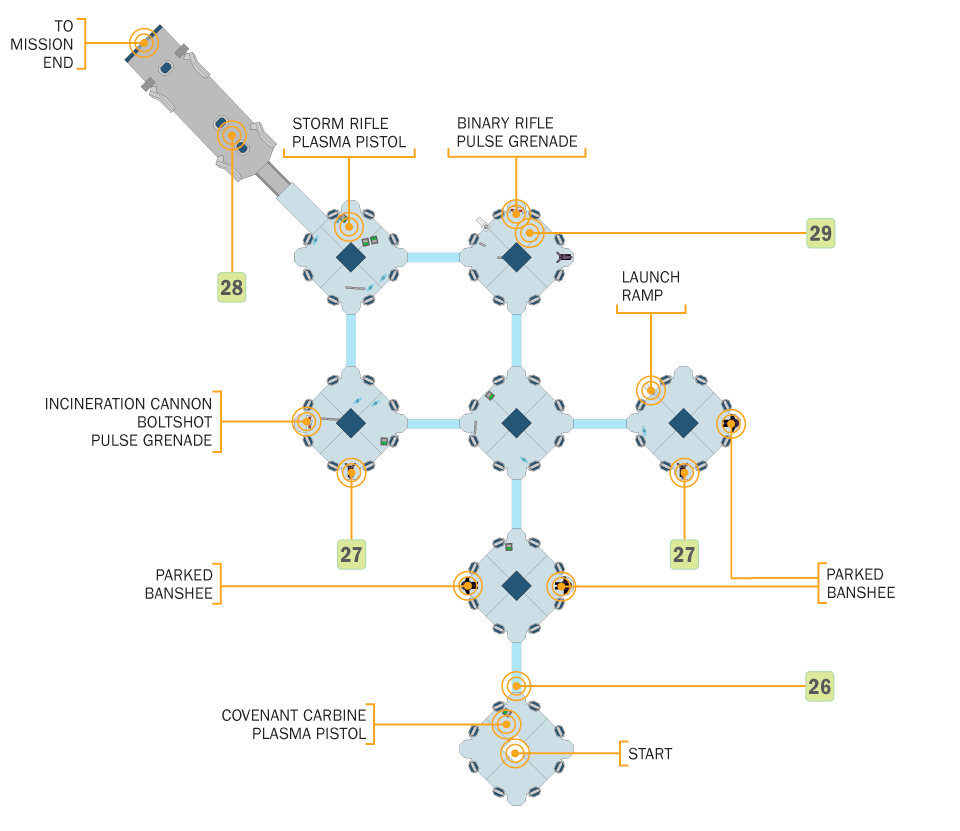
An even larger group of connected floating platforms fills this chamber, and the defenses have increased to match. Banshees now patrol the local airspace, and the Covenant have placed a number of Shade Turrets around many of the platforms, in addition to the usual infantry patrols. The control station lies at the end of the platforms, preceded by a long bridge that is protected by a final defensive line of more Shade Turrets and troops led by high ranking Elites.
Recommended Loadout
Grinding your way from platform to platform is neither easy nor quick. Elites are more numerous, so you’ll want to address them with charged combos or power weapons like the Incineration Cannon or Fuel Rod Cannon, if they’re available. Banshees are a big threat and you don’t have a Rocket Launcher available to take them down. You can used a charged Plasma Pistol on them, but you have an even better option: Take a Banshee for yourself. Several platforms have Banshees parked and waiting for a pilot.
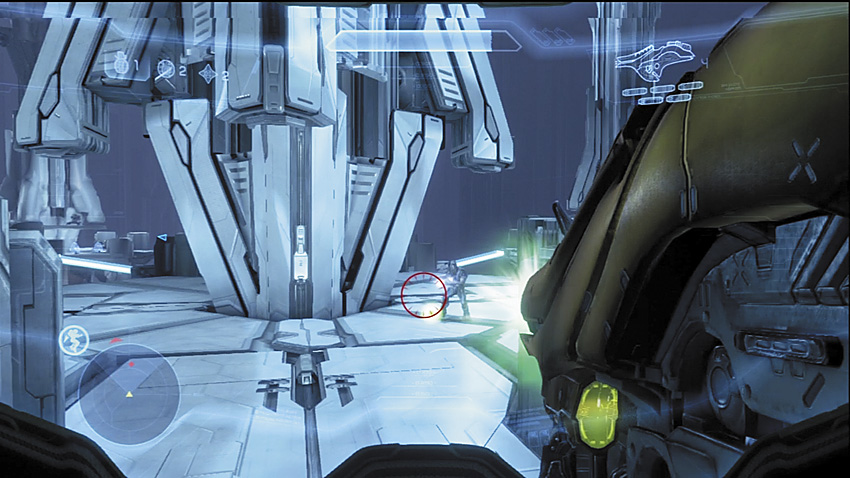
[26] As soon as you leave the lift, you can find a weapons cache with Covenant Carbines and Plasma Pistols. The platform connected to it is guarded by an Elite who may see you arrive; he’s guarding a pair of parked Banshees. Take him out, then weigh your options.
By Air
Don’t kid yourself, taking a Banshee may sound like the easy way out, but you are still in serious danger if you do. Shade Turrets are the ground threats to your craft, but also plenty of hostile Banshees are in the air and ready for a dogfight. It’s almost inevitable that you’ll take some damage over the course of the fighting, so know where any spare Banshees are.
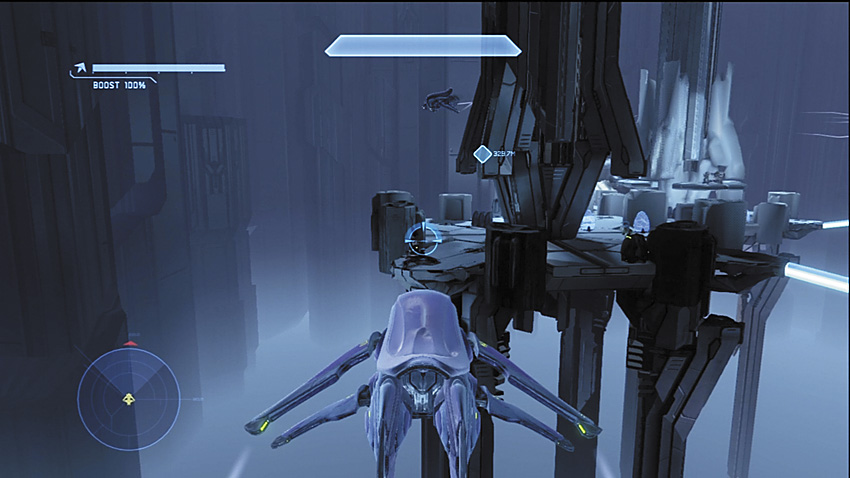
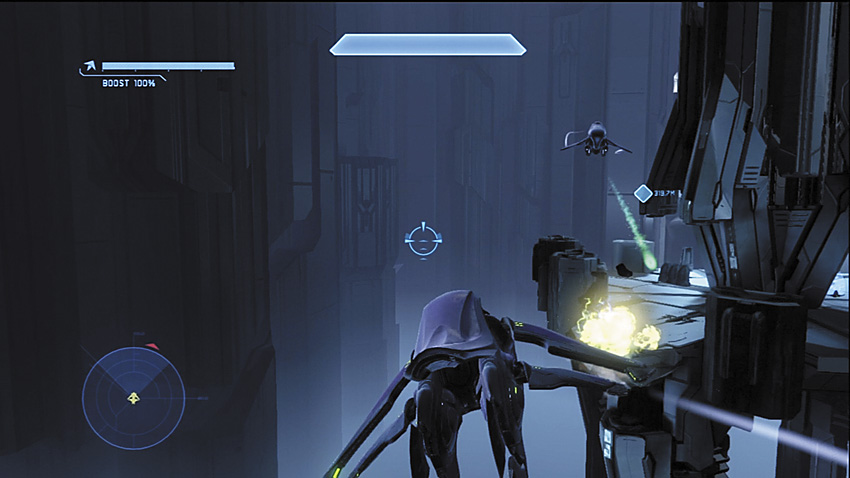
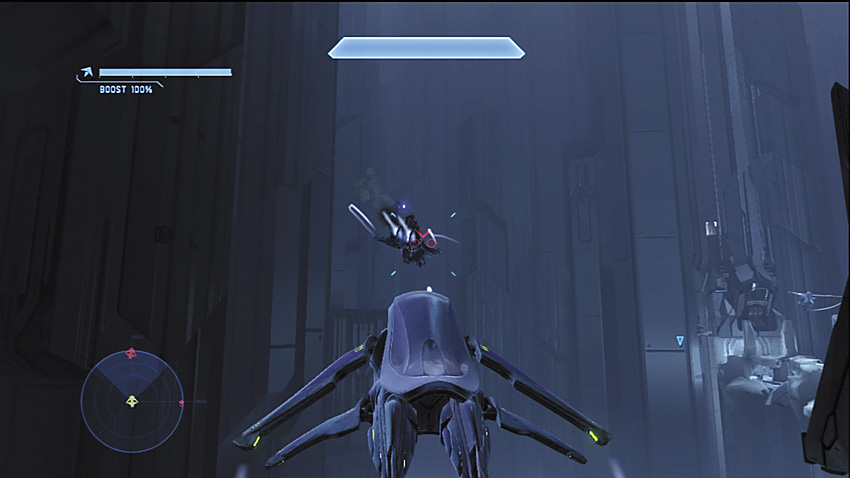
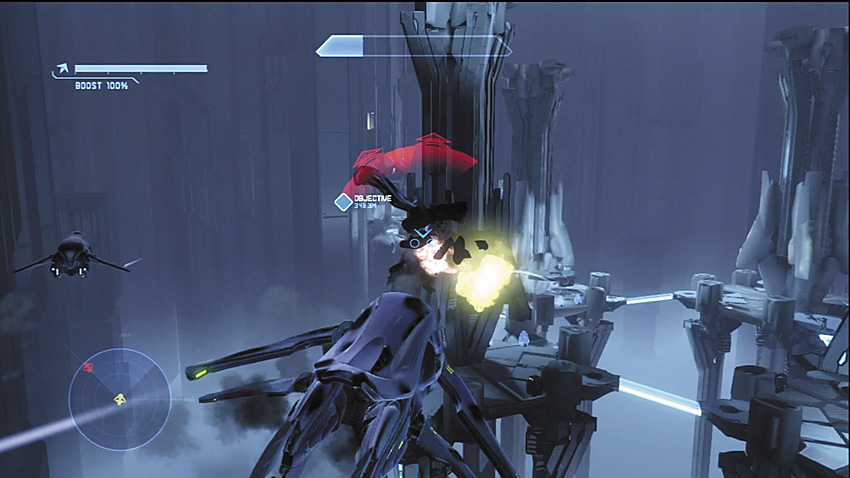
Dealing with the hostile Banshees requires bit of finesse and strategy. They will try to drag you into areas where the ground troops can add their two cents to the fight, but turning your back on them to fly away from those danger zones isn’t much better—they’ll just turn around to shoot you in the back. Track enemy fire back toward the sources and award them a fuel rod for the trouble before you turn your attention back to the flier. Above all else, do not let yourself be put in a situation where it’s multiple Banshees against you.
Key Combat Tip
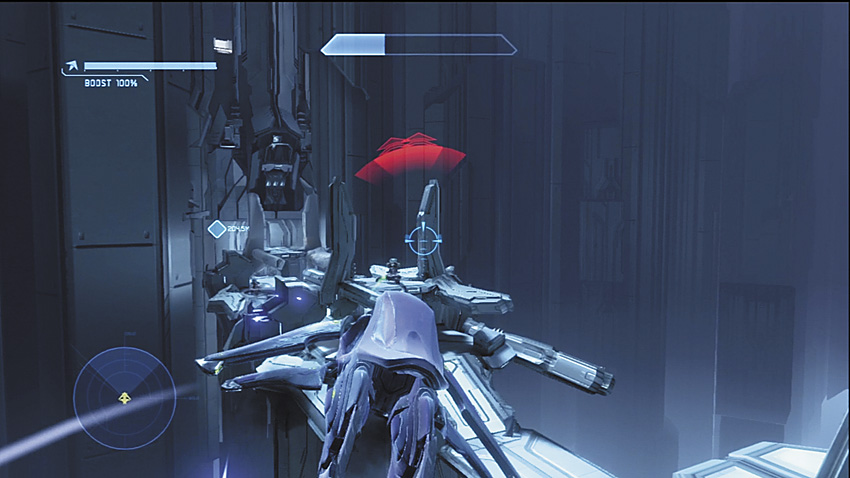
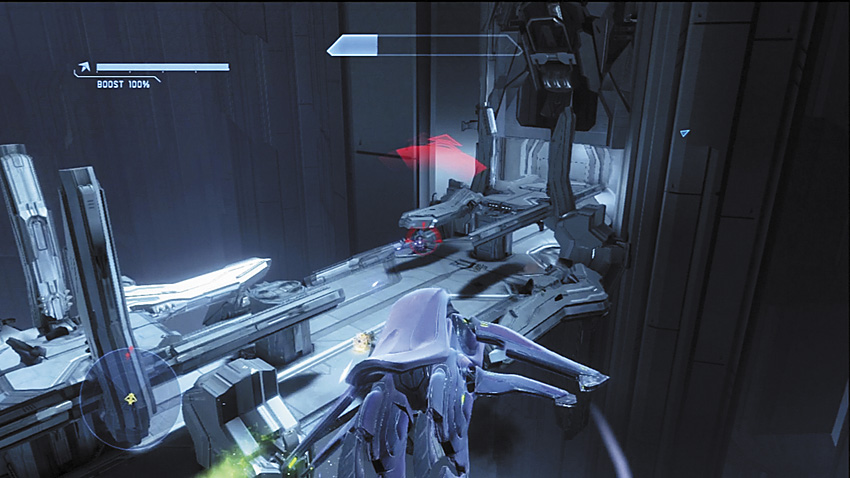
[28] The final defense line bridge is guarded by three Shade Turrets and a smattering of Jackals, Grunts, and a high-ranking Elite. It is possible to completely bypass these foes as well, but the approach to the bridge will not be easy. Getting past this last group of Covenant grants you access to the control station Cortana needs to access.
On Foot
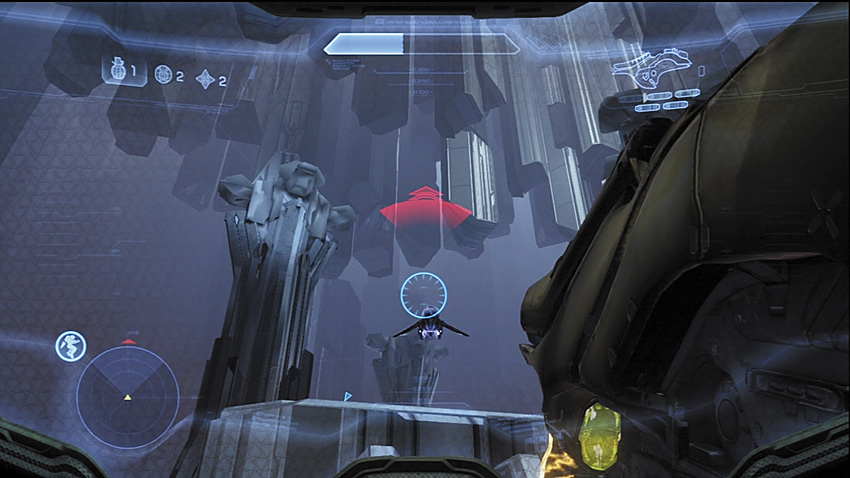
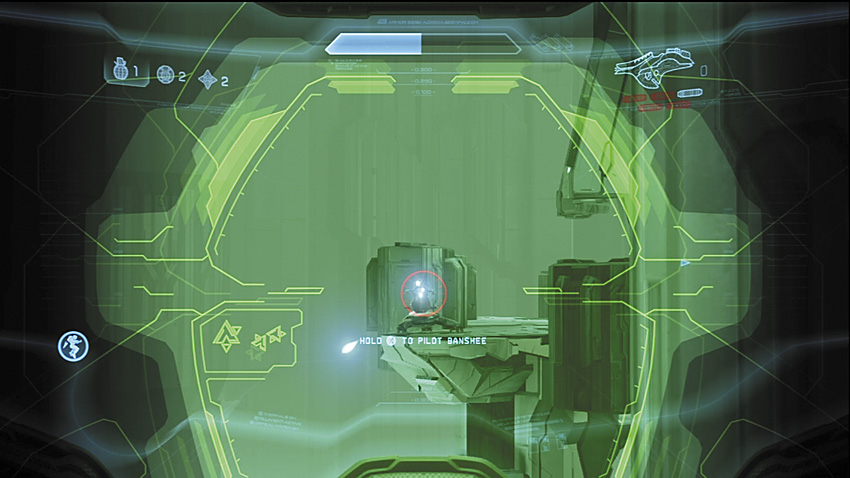
If you’re the type of player who really likes a challenge, the only choice for you is to be the ultimate foot-slogger the Master Chief was born to be.
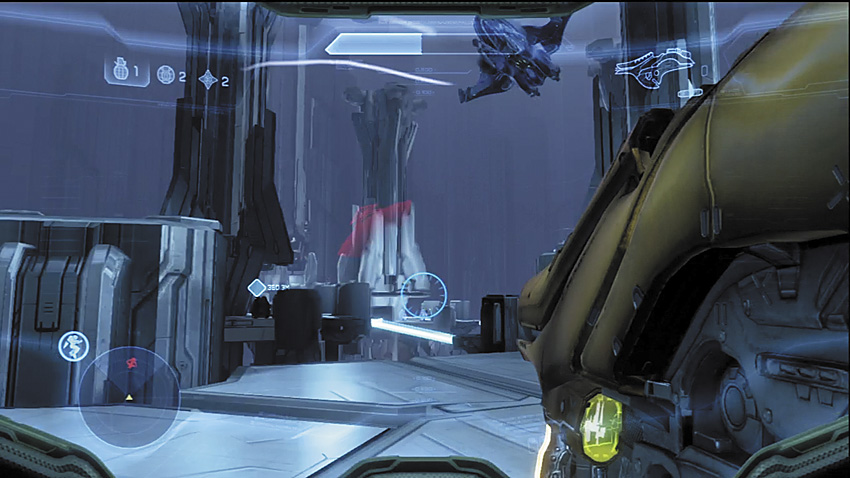
Look for weapons caches to locate firepower you can use to take out the Banshees and any Shade Turret gunners, any light bridge crossings should be made only if you’ve ensured you’re not about to get dive-bombed, or blasted by the Shade Turrets or by hostiles just on the other side of the bridge. Charged Plasma Pistols can disable the fliers, but they can also stun Shade Turrets, giving you a chance to take out the gunners while not getting shot at. You can find a Binary Rifle one of the platforms [29]; it goes a long way toward dealing with Shade Turret gunners from afar. Binary Rifles aren’t quite as effective at handling Banshees.
Legendary Strategy
The air option is much harder on Legendary, as the Banshee you pilot isn’t as durable as the ones the Covenant are flying. This makes taking on the ground forces more dangerous. When you take your first Banshee, kill the closest Shade Turrets. Next, fly high and concentrate on wiping out the enemy aces, then you can work on eliminating the remaining Shade Turrets in the area. Do yourself a favor and don’t mess around with low strafing runs against infantry. Fly in, hit your target with a fuel rod, and immediately pull away. On Legendary, enemies armed with Plasma Pistols are prone to use the charged shot more often, and they are incredibly accurate with their shots. If your disabled fighter doesn’t fall on a island, you’ll most likely die before you can recover from the attack. If you proceed on foot, the usual warning about Covenant foot soldiers on this difficulty applies. Frankly you’re only making things harder on yourself, not to mention more time-consuming by trying to fight your way to the control room this way, but it’s not impossible.
Keep a Plasma Pistol handy at all times to knock the Banshees out of the sky, and do not proceed to another platform until you’re certain you have eliminated the welcoming committee at your destination, and that you do not have a Banshee or two setting up strafing runs on your position. You will have to be the paragon of headshot efficiency with the Covenant Carbine if you want to take this fight on foot, as you can’t afford to be fooling around with infantry if the Banshees are still in the air.
If you’re not at all interested in killing every last Covenant in the area, you can cut the time spent here by simply taking out the hostile Banshees, then eliminating the Shade Turrets and infantry closest to the exit. Once you’ve cleared the bridge near the exit, there’s no need for you to pick fights with the other Covenant in the area.
Legendary Gameplay Video
Desperate Measures
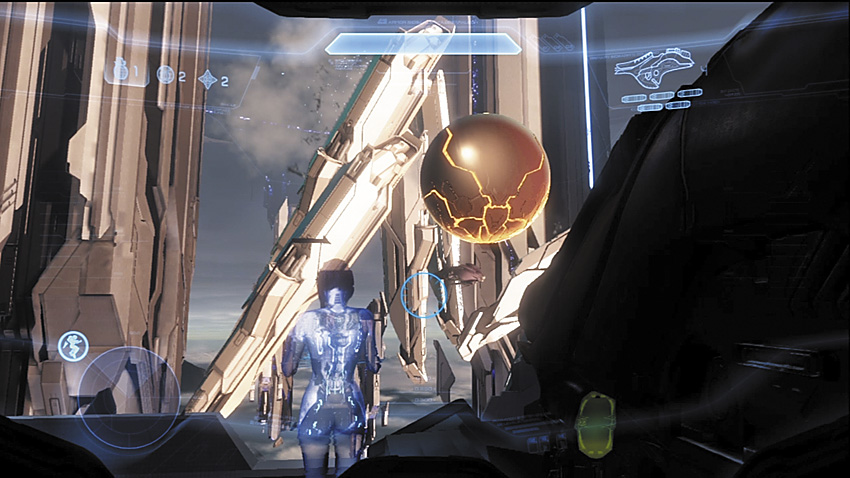
Cortana swiftly assumes control over most of the automated defenses once you place her within the control console, manipulating towers to try to halt the Didact’s escape. But her rampancy is growing more and more overwhelming, and she’s unable to complete her task. When you tear her free from the system, the Master Chief devises a desperate plan: Cross over the top of a formation of Liches traveling near the third spire, in the hope of following the Didact’s ship to its next destination. As soon as the room lowers enough to allow you access to the landing pad, sprint out and leap off the marked ledge.
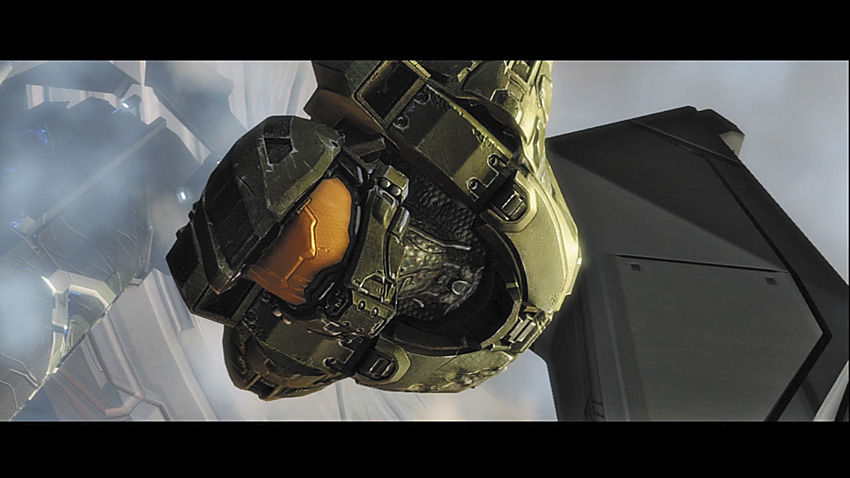
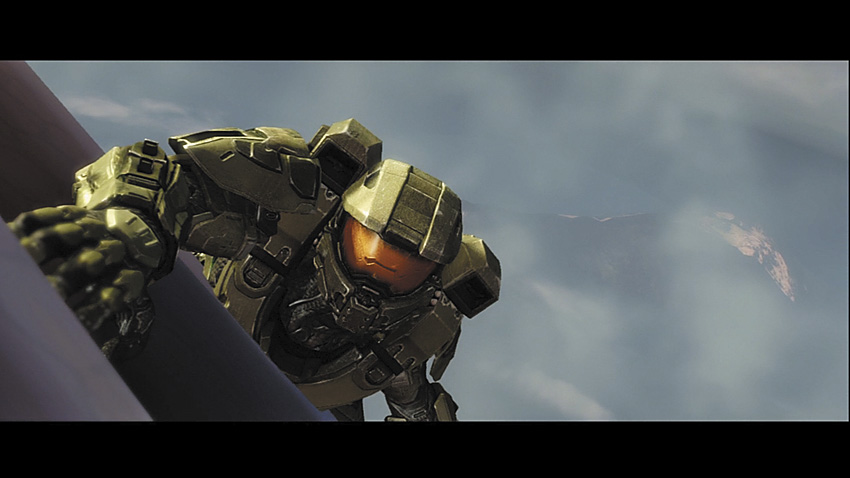
The Master Chief manages to cling to one of the Liches just as the Didact’s new ride begins to blast away from Requiem into a massive slipspace rupture, with the Covenant fleet following closely. The fight to keep the Forerunner away from the Composer is entering the final stages.