
Ragnarok
Now integrated into the War Games simulation, this curiously hidden gorge was once the site of a Spartan deployment.
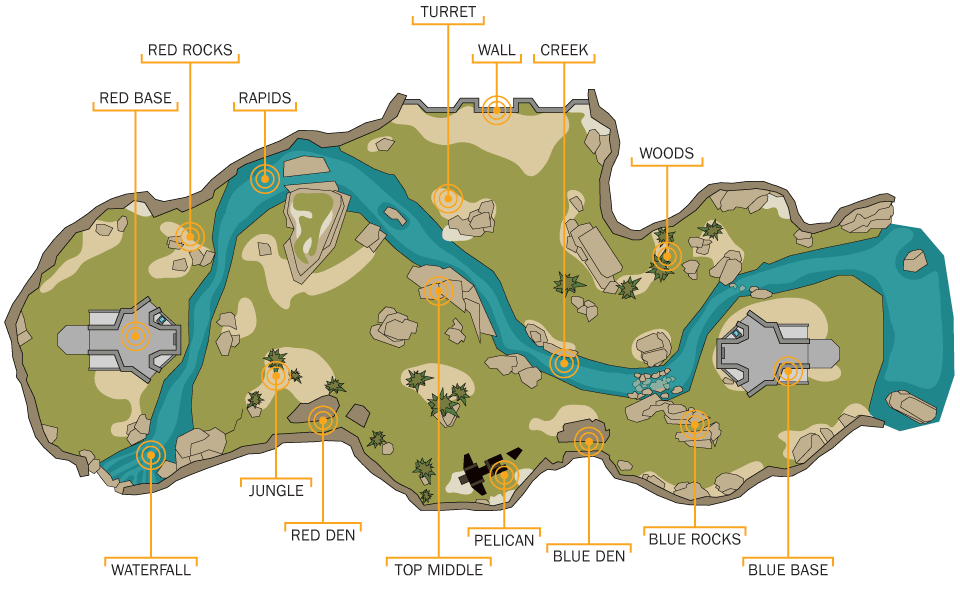
Choke hot spot: Expect high traffic, numerous enemies, and a well-used thoroughfare. Combat usually occurs here, and the location may be watched by enemy snipers.
Danger hot spot: This is an area of ground that is difficult to defend, has poor visibility for shooting angles, is sunken or low to the ground, or is in the open. Expect to be shot at if you’re here. Avoid if possible.
Mirrored hot spot: This location features an identical (or mostly identical) facsimile, almost always on the opposite side of the map. Expect tactical advice to be the same for both locations. Usually these are “blue” and “red” variants of a hot spot.
Sniper hot spot: This location is excellent for sniping, as it has numerous angles and views across much of the map. Expect long-range fire from these areas.
1. Blue Base
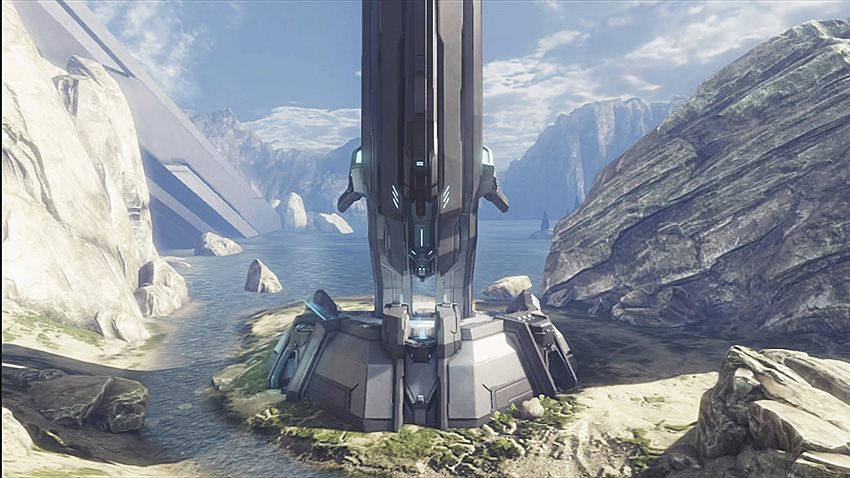
This is where you retrieve your vehicles, but try not to remain here for long periods of time; you run the risk of becoming spawn-trapped by a cunning enemy.
2. Blue Den
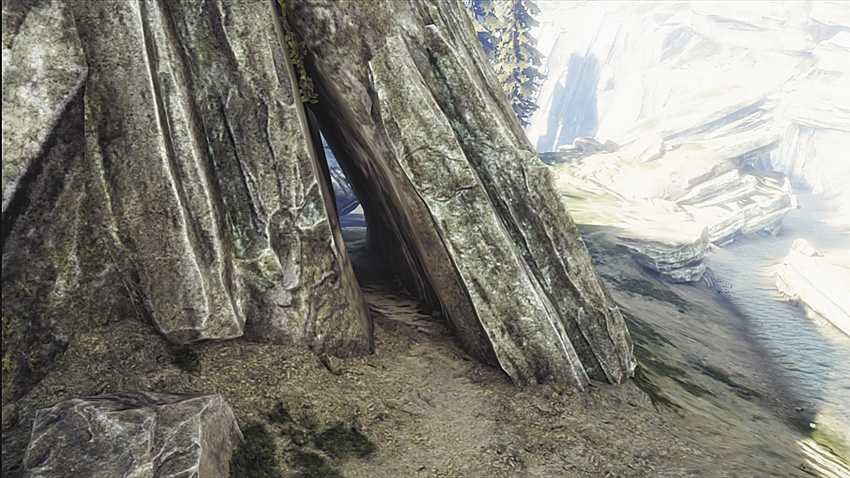
This is a sneaky way to maneuver toward the downed Pelican (6).
3. Blue Rocks
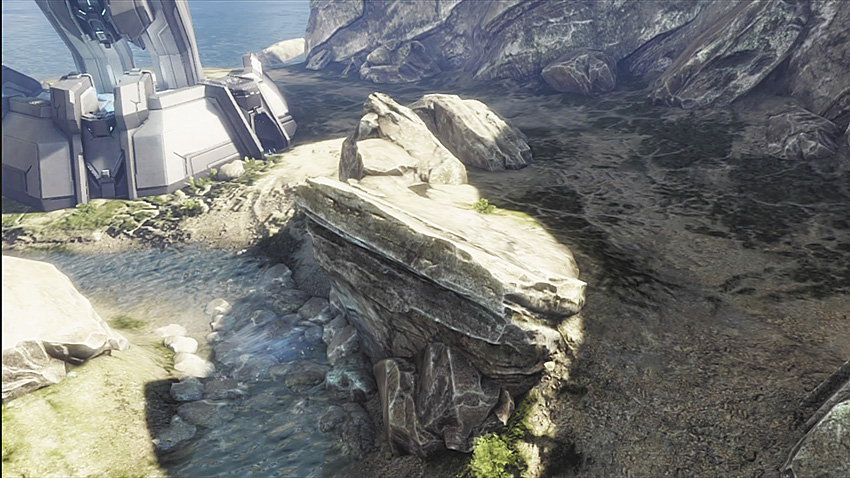
This rocky outcrop has good cover opportunities and should be a stop during a push out of your Base (1). If you’re on the red team, you can also set up here to attempt to spawn-camp the blue team.
4. Creek
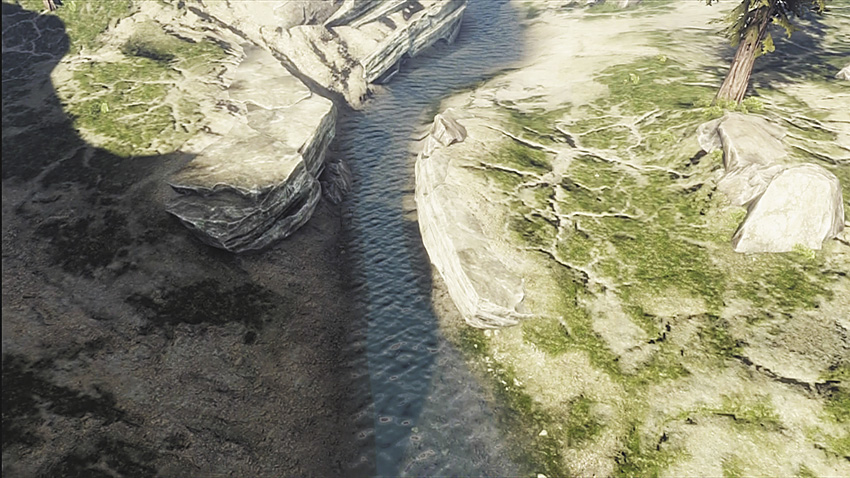
This Creek is a sneaky pocket or indent through which to drive your Mongoose or Warthog when you’re attempting to maneuver out from your Base (1).
5. Jungle
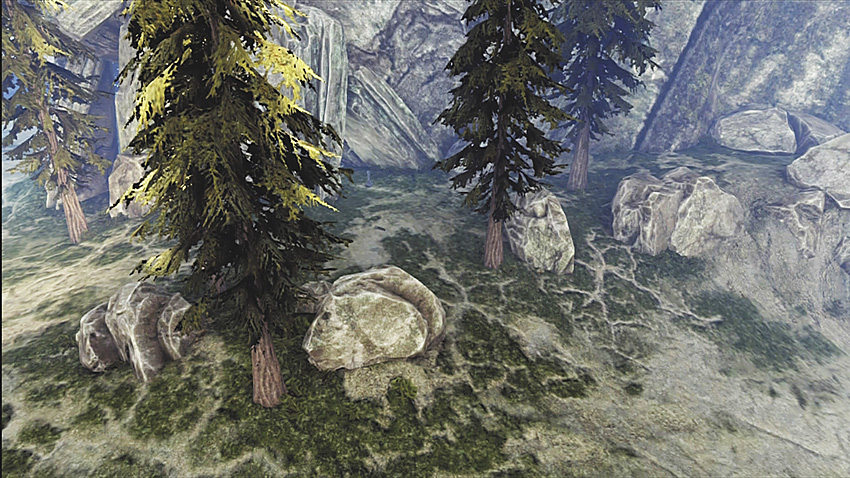
Utilize the lift from your Base (1) to reach this area, and maneuver to the map’s top for viewing and sniping opportunities.
6. Pelican
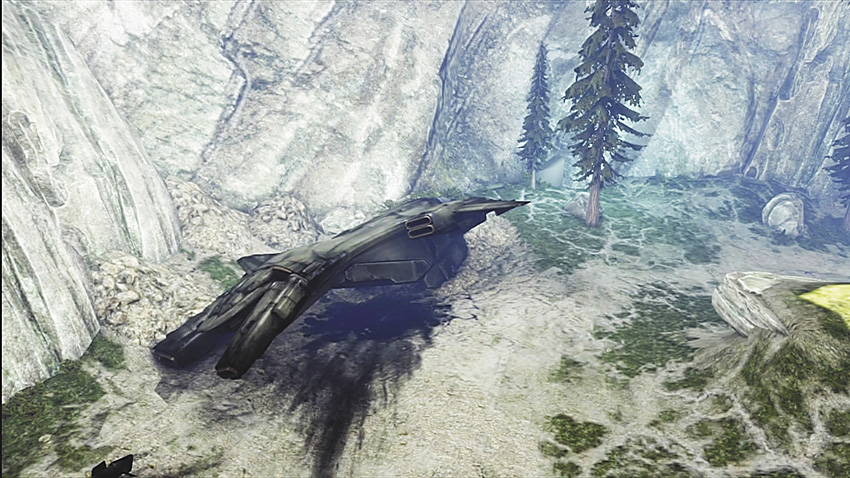
This is a preferred location to hold down and keep the red team pushed back into the Red Den (9). You have exceptional cover, and firing from here can be a huge annoyance for the opposition.
7. Rapids
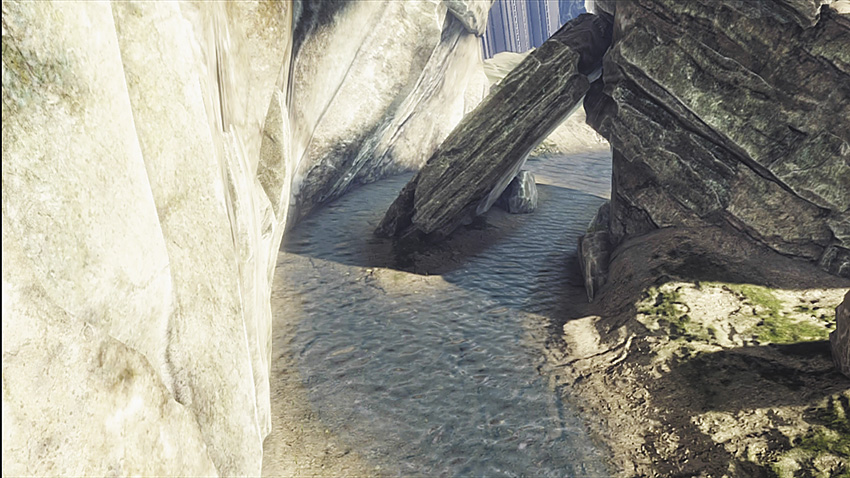
Lift to here from the Red Base (8), and sneak your way around to Top Middle (11).
8. Red Base
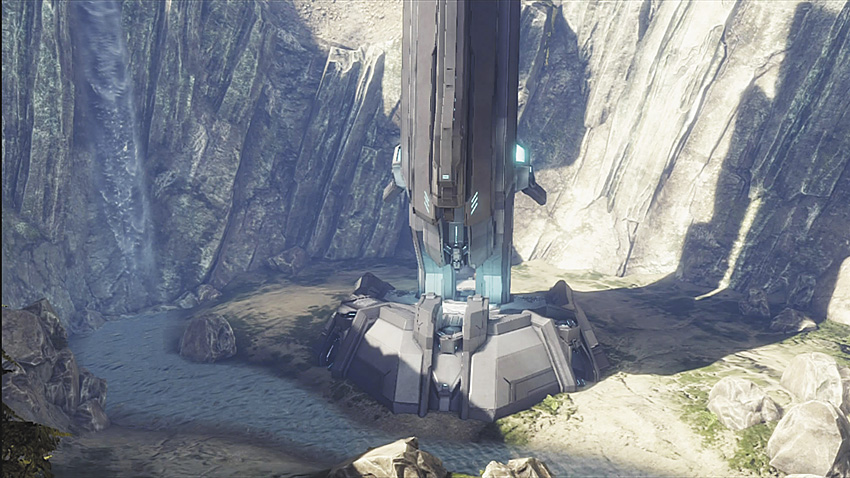
This is where you retrieve your vehicles, but try not to remain here for long periods of time; you run the risk of becoming spawn-trapped by a cunning enemy.
9. Red Den
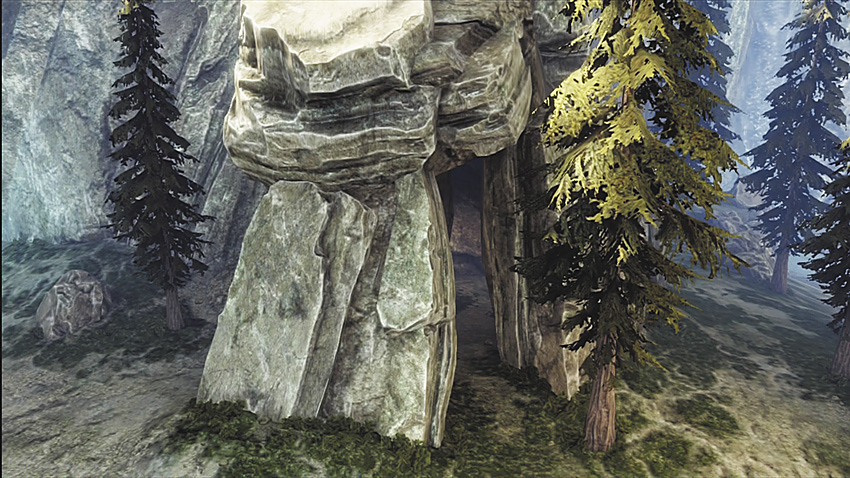
This is an extremely enclosed area and is problematic if you’re here for too long, as it’s easy for your foes to kill you while you’re milling about in here.
10. Red Rocks
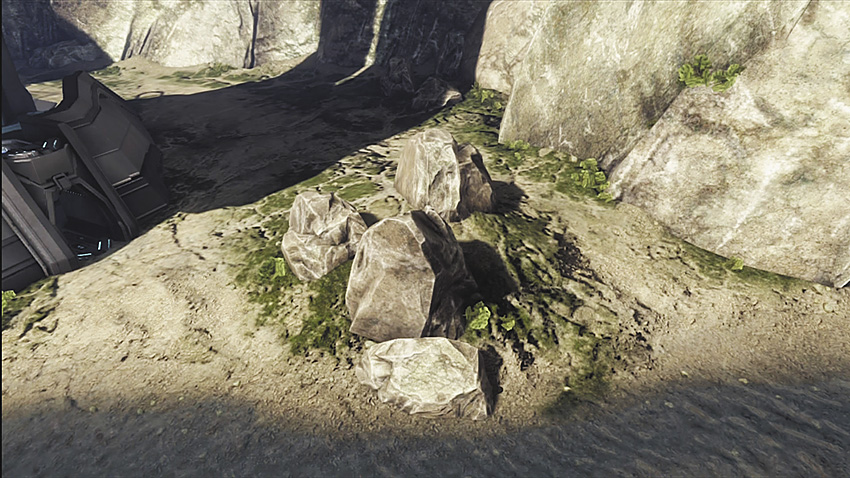
Race to this position and use it to aim at the red team as they spawn at their Base (8).
11. Top Middle
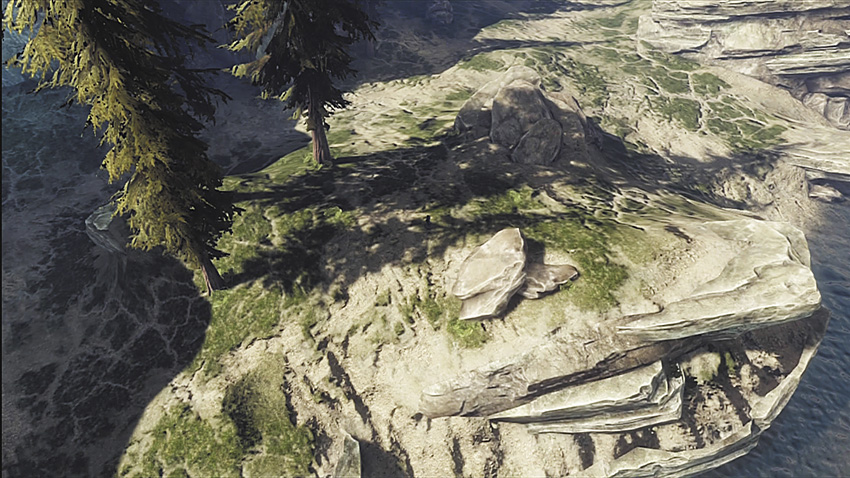
Be sure you have one or more of your team attempting to claim this area: It allows you to give great covering fire and provides a commanding view over both bases. This is a sniper’s paradise.
12. Turret
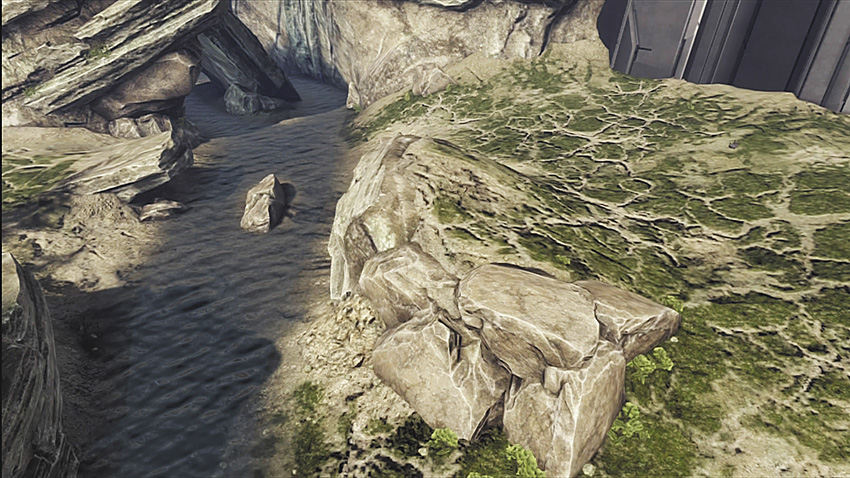
The Sniper Rifle spawns here, so you only need to head to this location when it appears. After grabbing the Rifle, move to a different location, such as Top Middle (11).
13. Wall
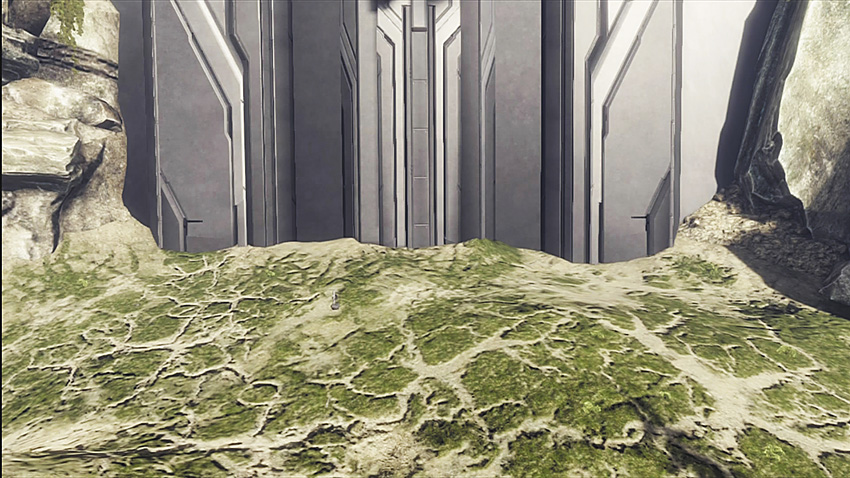
Unfortunately, there’s no cover at all; you don’t want to be caught out here by yourself, so this area is best avoided.
14. Waterfall
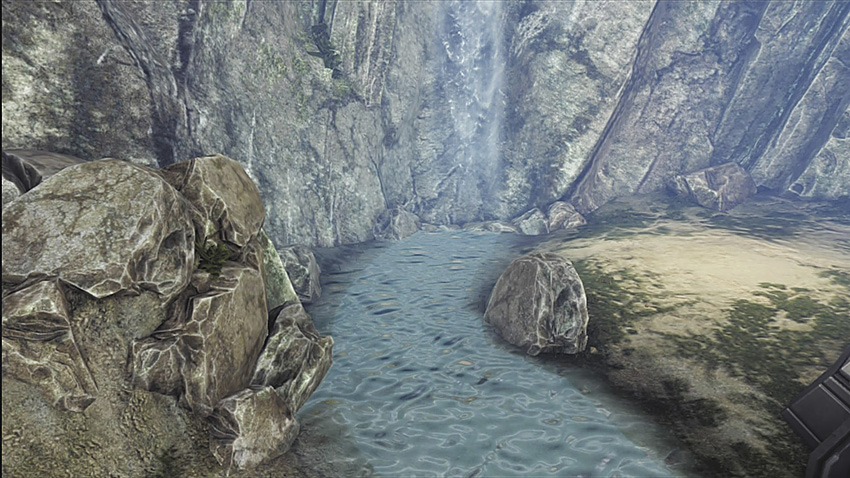
Although the water is clear and fresh, there’s no need to do any paddling around here; there’s rarely any action in this location (and it doesn’t have Top Middle’s [11] line-of-sight opportunities for a sniper). Not an important location.
15. Woods
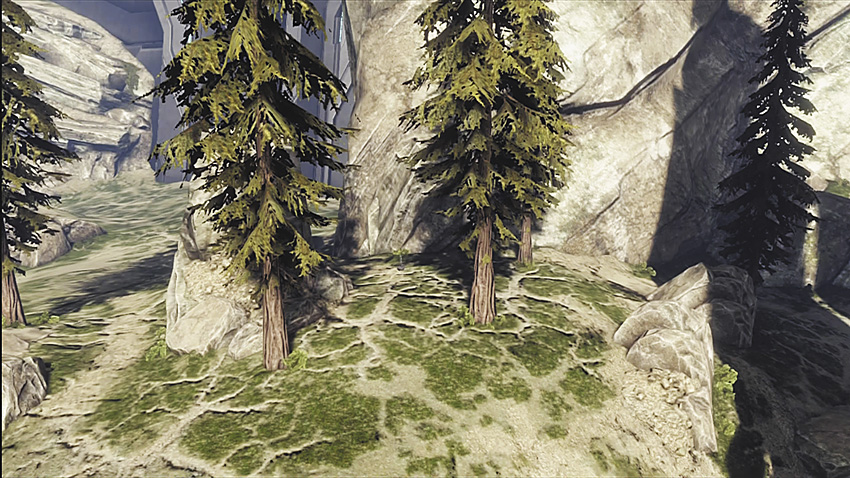
Lift from the Red Base (8) to reach here, and use this on your way toward a battle for control of Top Middle (11).
General Tactics
.jpg)
A well-piloted Mantis can dominate the skies and and the ground across all of Ragnarok.
Top Middle Ground Control
Controlling the top of the hill (Top Middle) is imperative: You can see every location on the map. This is the most important power position on the map. Avoid moving to the Wall if the opposition is atop the Top Middle hill; you have no cover to utilize once you’re spotted and they start shooting.
Vehicles Rule
Make sure vehicle drivers and pilots come equipped with Wheelman: This is important for both the Mantis and the Banshee. The Banshee needs to give the Mantis cover from the air so you can control both the ground and air game.
Drive a Mongoose or Warthog near the top of the Top Middle hill; use either vehicle to move the flag back to your base after lifting from the enemy’s base to Top Middle.
The team that controls the vehicles wins the game, so vehicle command is imperative. Destroy or steal your enemy’s vehicles when they spawn (your team should be driving or piloting the Banshee, Mantis, Warthog with a driver and gunner, and Ghost). Have one or two teammates on foot, depending on how many vehicles you have; their role is to cause distractions.
Need a plan for completely destroying your enemy? Control all the vehicles and power weapons. Once you’ve reached this goal, it becomes nearly impossible for your adversaries to drive the vehicles out from their base when they have only their starting weapons.
Other Advice
Antivehicle Plasma Pistols are a wise choice when choosing a secondary weapon. When playing Slayer variants, avoid pushing into the opposition’s base. You want to keep them trapped at their base for as long as the game lasts while your team holds the Top Middle. Control the Pelican area; the cover afforded is excellent and you can really annoy the enemy from here.