
Haven
Hidden deep within the clouds, harmonic resonance platforms are believed to sustain the existence of artificial stars.
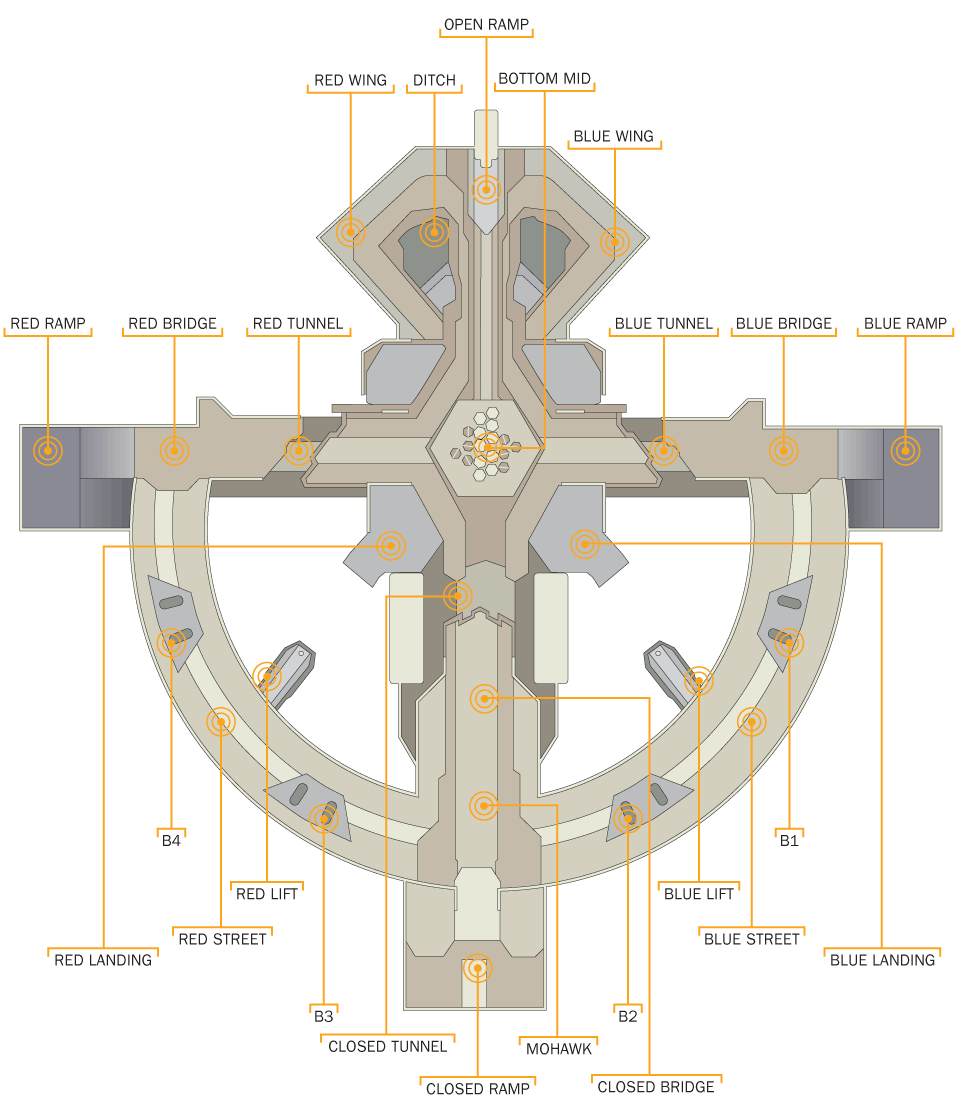
Choke hot spot: Expect high traffic, numerous enemies, and a well-used thoroughfare. Combat usually occurs here, and the location may be watched by enemy snipers.
Danger hot spot: This is an area of ground that is difficult to defend, has poor visibility for shooting angles, is sunken or low to the ground, or is in the open. Expect to be shot at if you’re here. Avoid if possible.
Mirrored hot spot: This location features an identical (or mostly identical) facsimile, almost always on the opposite side of the map. Expect tactical advice to be the same for both locations. Usually these are “blue” and “red” variants of a hot spot.
Sniper hot spot: This location is excellent for sniping, as it has numerous angles and views across much of the map. Expect long-range fire from these areas.
Hot Spots
1A. Block 1 (B1)
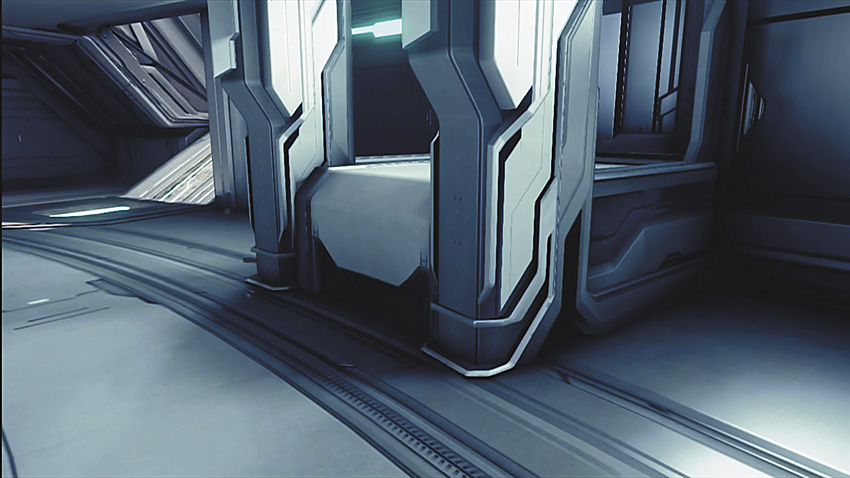
1B. Block 2 (B2)
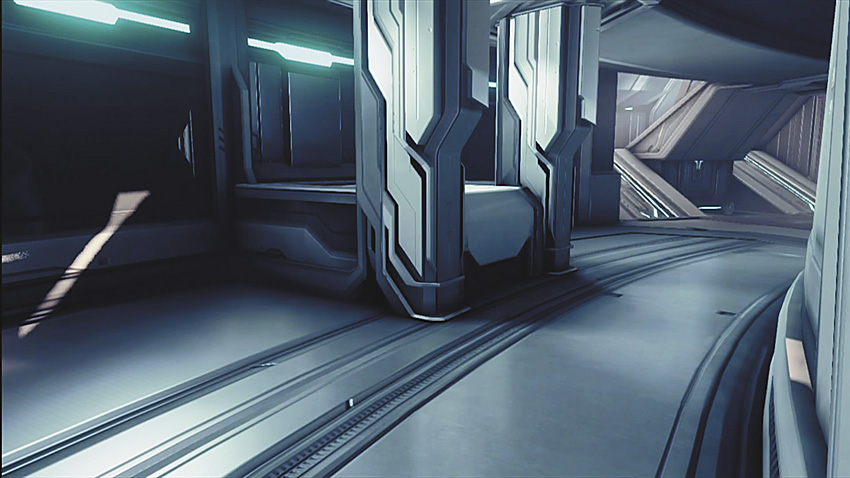
1C. Block 3 (B3)
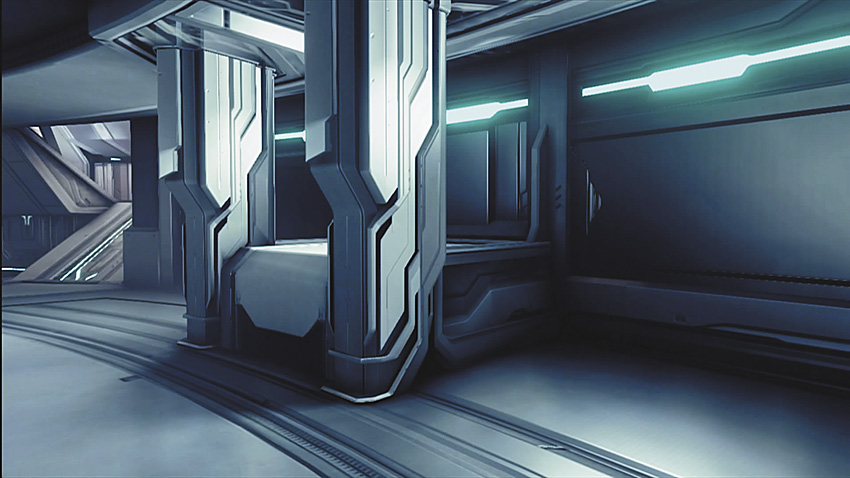
1D. Block 4 (B4)
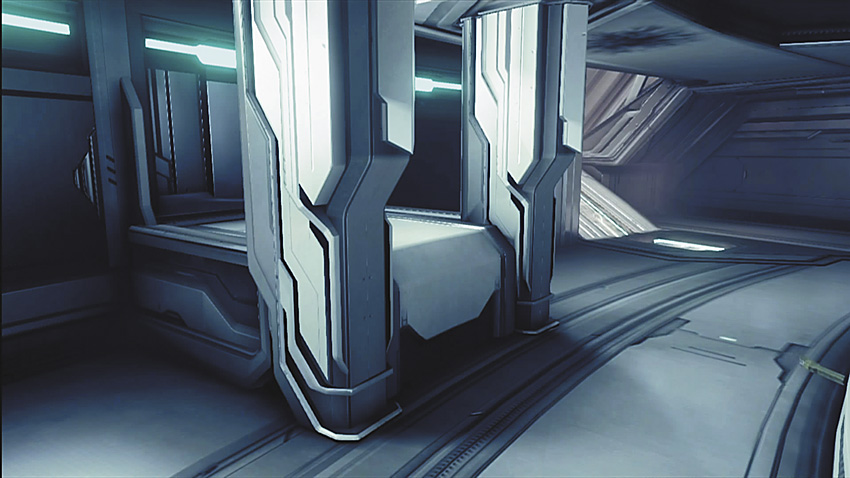
Any of these four block outcrops are excellent for using as cover and for peek-and-shooting. Use them to hide and crouch in a corner if your opponent is running by, and tag them with an easy assassination before you’re spotted.
2A. Blue Bridge
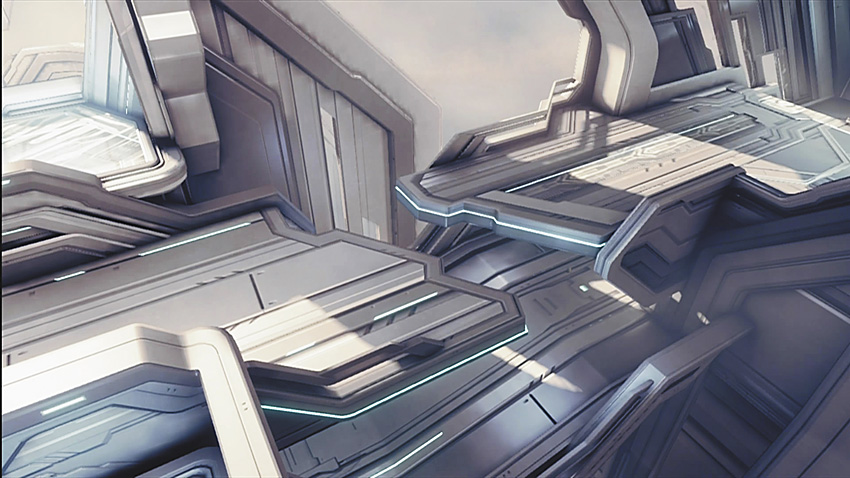
2B. Red Bridge
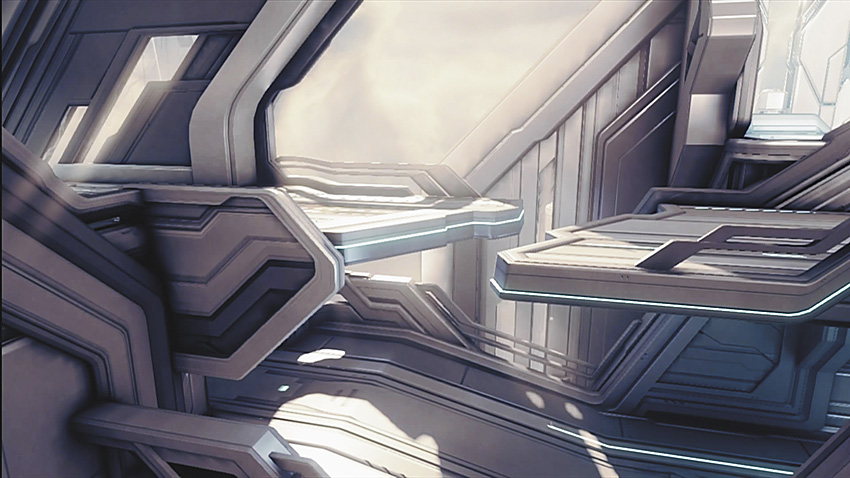
This is the main thoroughfare to Top Middle (14A). If you see an enemy heading this way, attempt to plant a grenade under their feet once they’ve committed to the jump needed to reach Top Middle.
3A. Blue Dropdown
3B. Red Dropdown
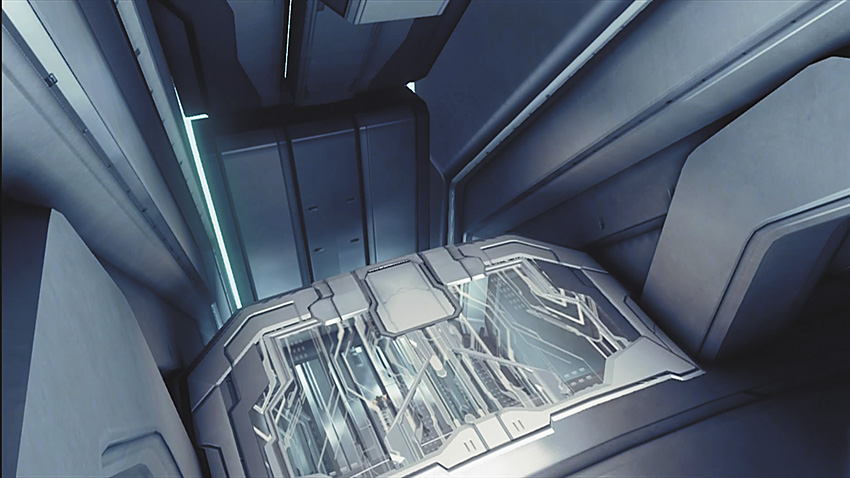
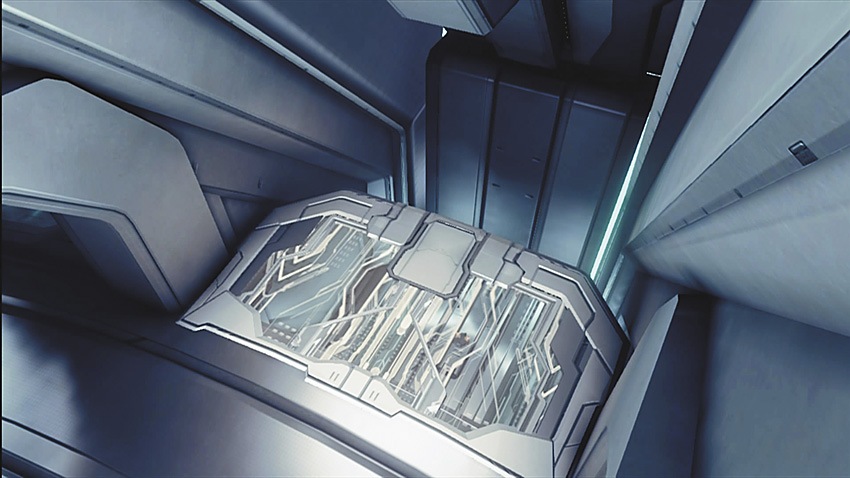
Both Dropdowns are excellent to as escape routes—just drop down and sprint away. This area is also good to traverse with a Jet Pack, so you can lift up behind an opponent.
4A. Blue Landing
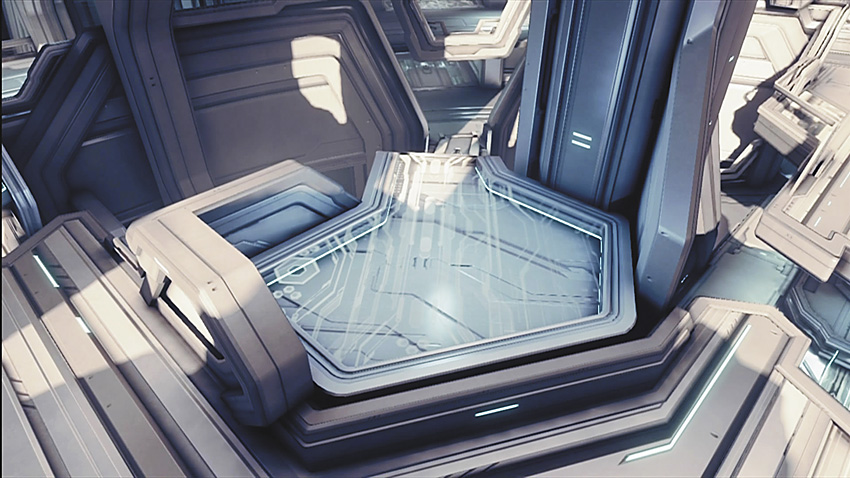
4B. Red Landing
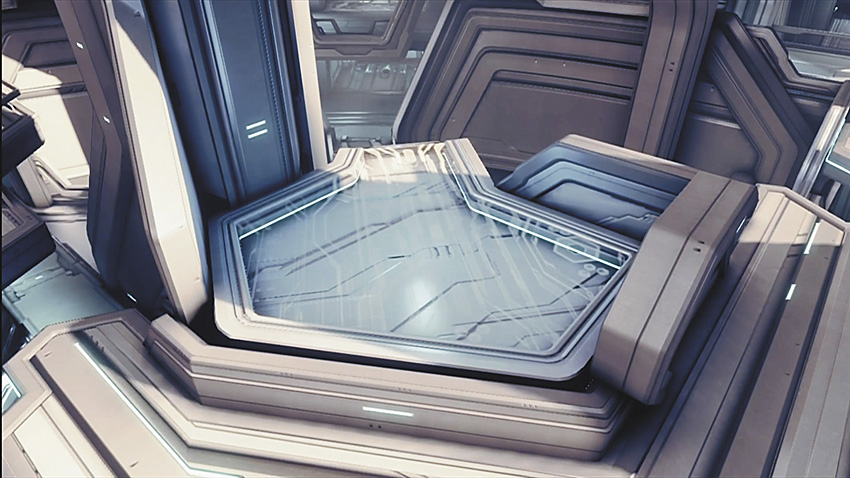
This is an excellent spot to take cover in; peek and shoot from any of the walls.
5A. Blue Lift
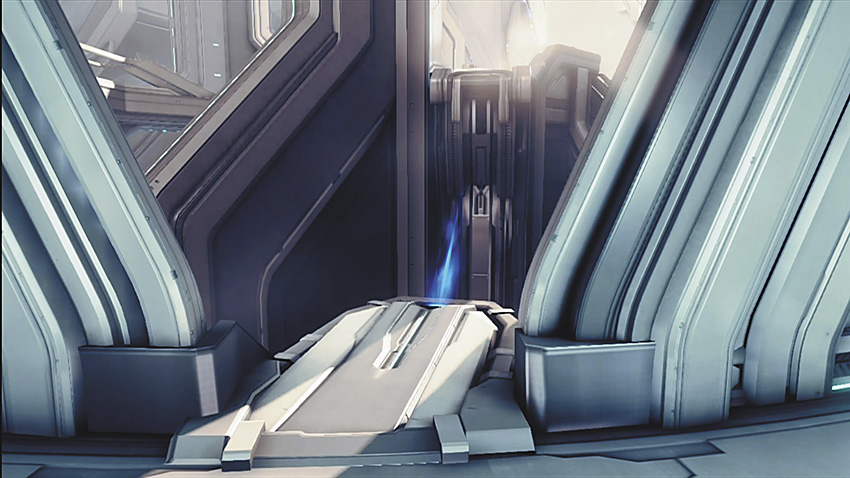
5B. Red Lift
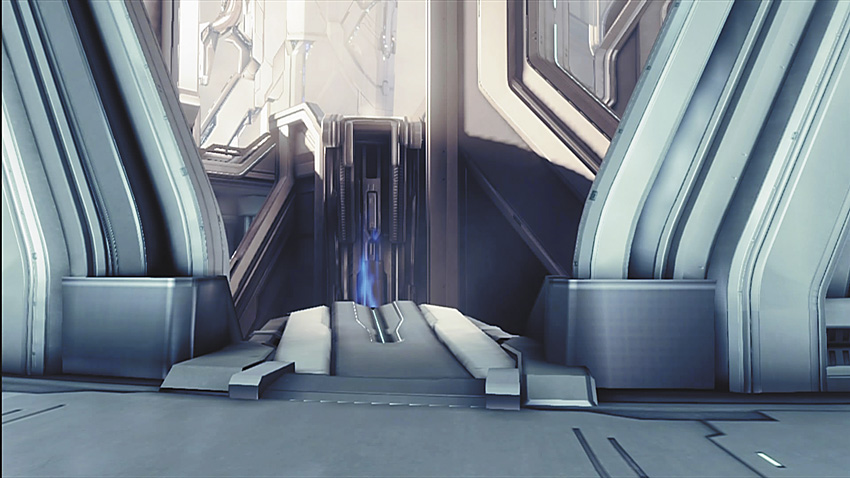
Either Lift is another rapid pathway to Top Middle (14A); include the Lifts in a coordinated push. You can also jump past this Lift from Top Middle, making for a great escape route. Throwing grenades in the Lift is a recommended way of weakening foes at Top Middle. Either Lift takes you to Landing (4).
6A. Blue Loop
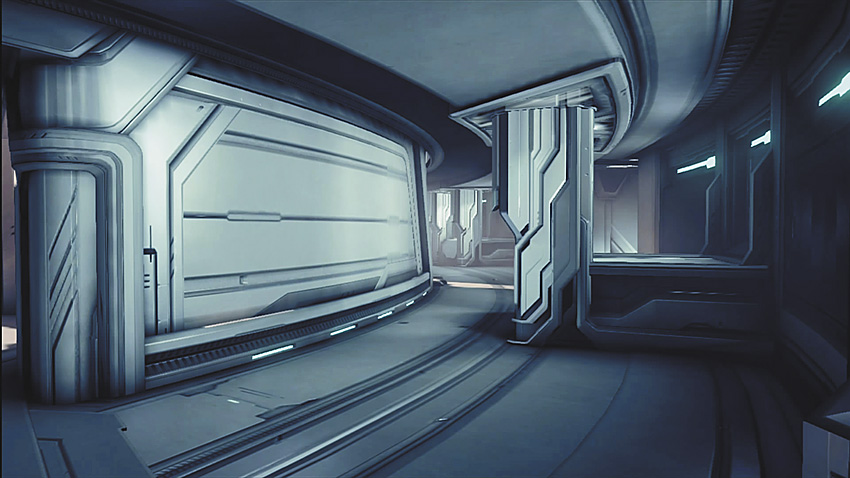
6B. Red Loop
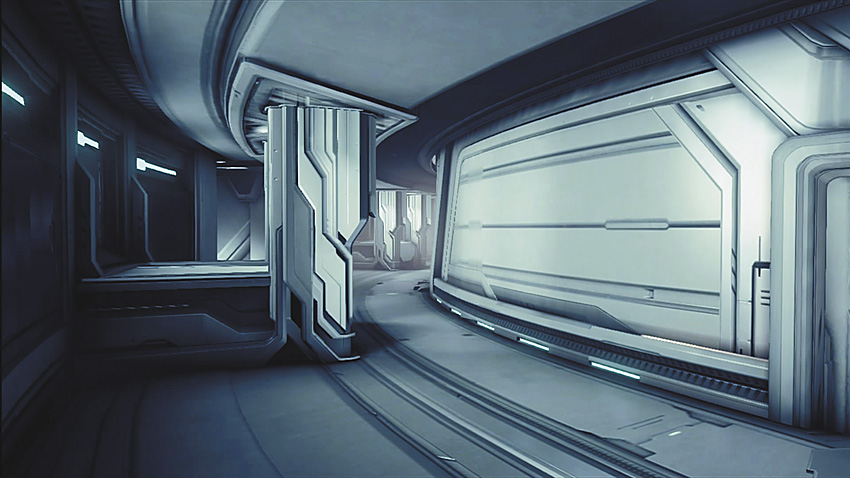
When you’re not moving through this area, constantly check it when you’re holding down Blue or Red Ramp (8), and look for foes trying to flank you from underneath.
7A. Blue Plat
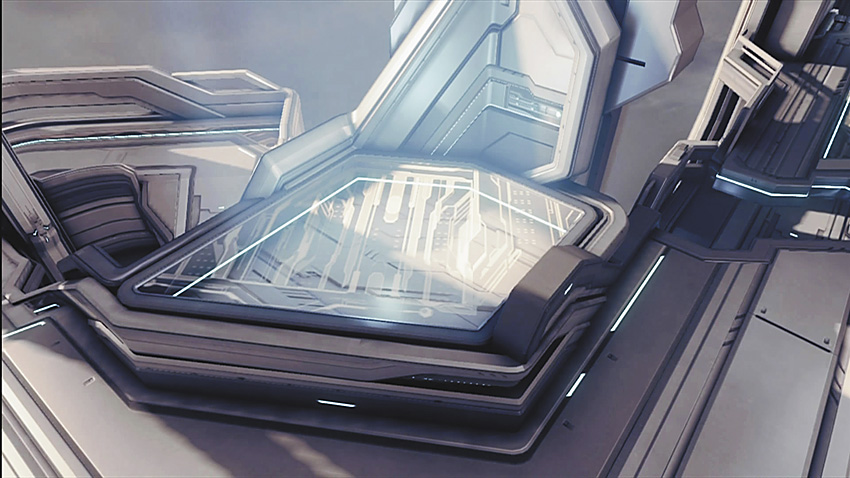
7B. Red Plat
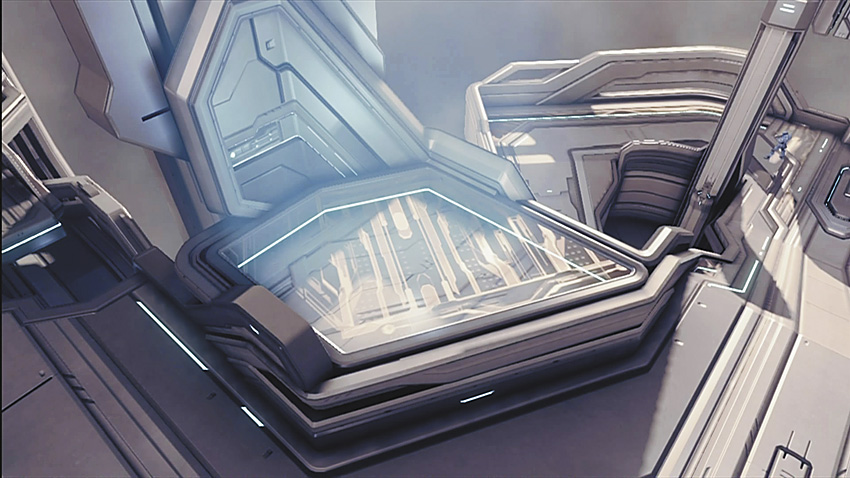
Either of the Plats (platforms) offer excellent line-of-sight opportunities across to Mohawk (18) and both bridges: This is a good place to watch foes and react accordingly.
8A. Blue Ramp
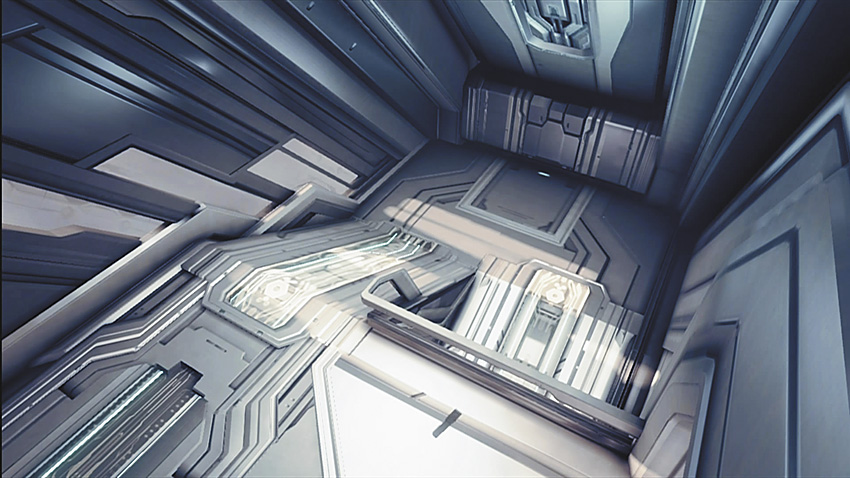
8B. Red Ramp
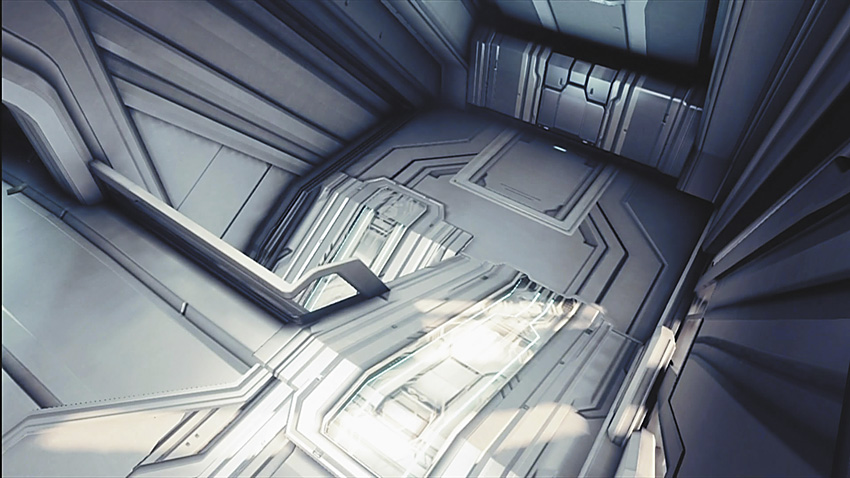
This is an important area to control; it’s a power position because you have the luxury of many escape routes and a view of a large portion of this map, so you can spot or predict the locations of foes.
9A. Blue Sneaky
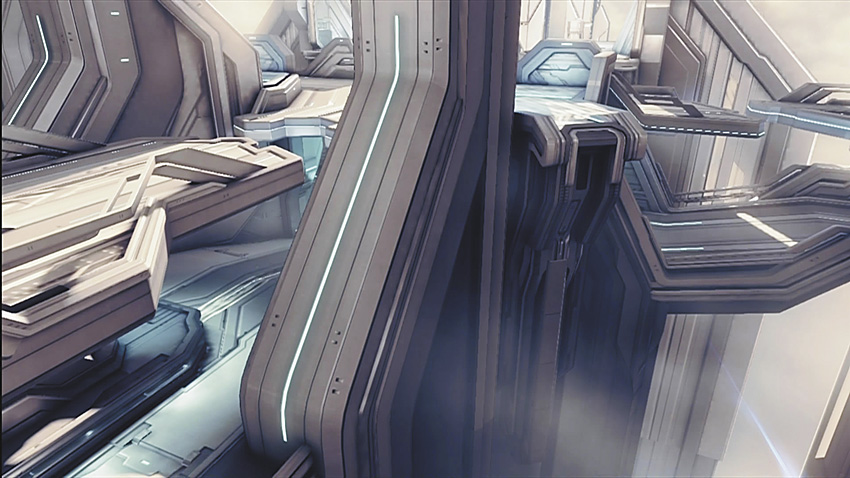
9B. Red Sneaky
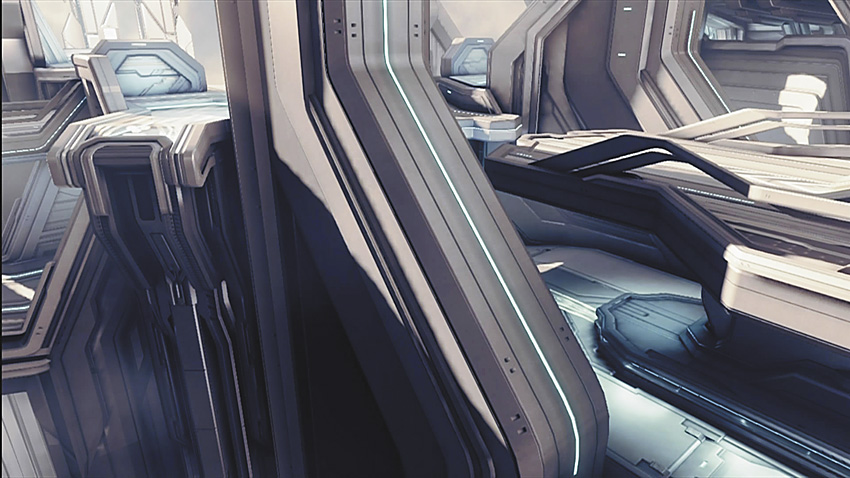
As the name suggests, this is the preferred way to sneak up on the enemy when they’re at Top Middle (14A) or on the Landings (4).
10A. Blue Street
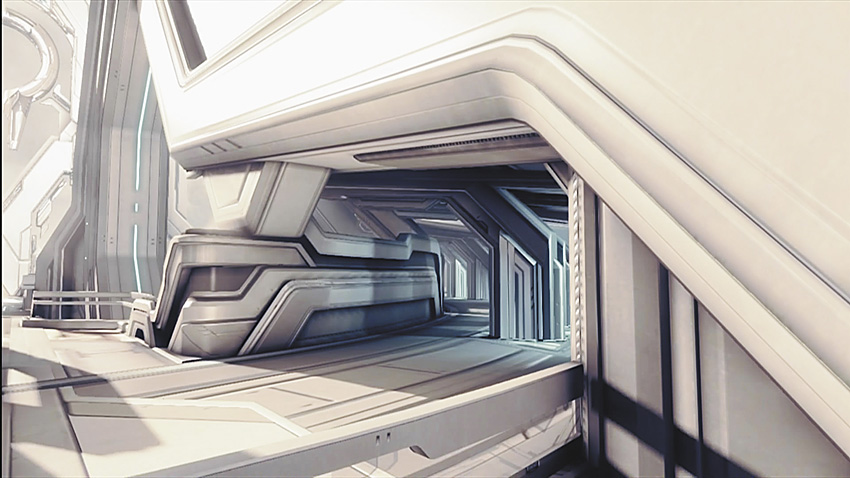
10B. Red Street
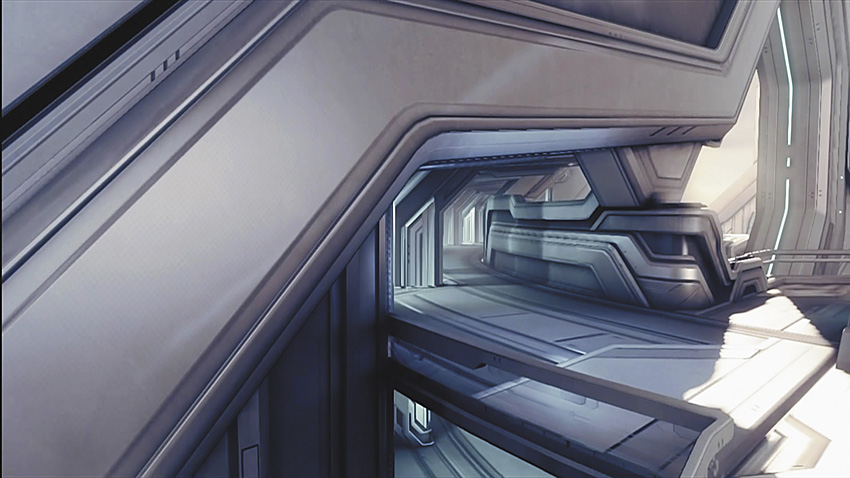
Try either of the Streets; they’re great routes to take when you’re maneuvering your way over to the Blue or Red Ramp (8) and offer a lot of cover along the way.
11A. Blue Tunnel
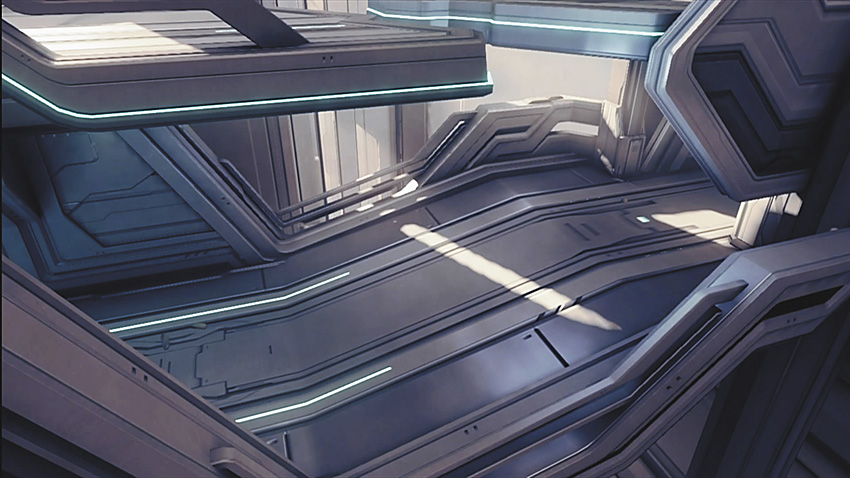
11B. Red Tunnel
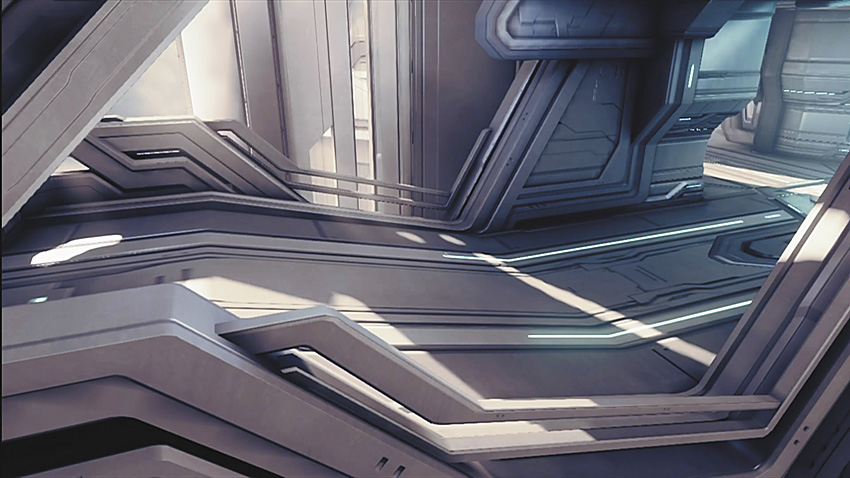
This is attached to the Bottom Middle (14B) area, and the enemy loves to try and outflank you by moving through here. Watch for them!
12A. Blue Window
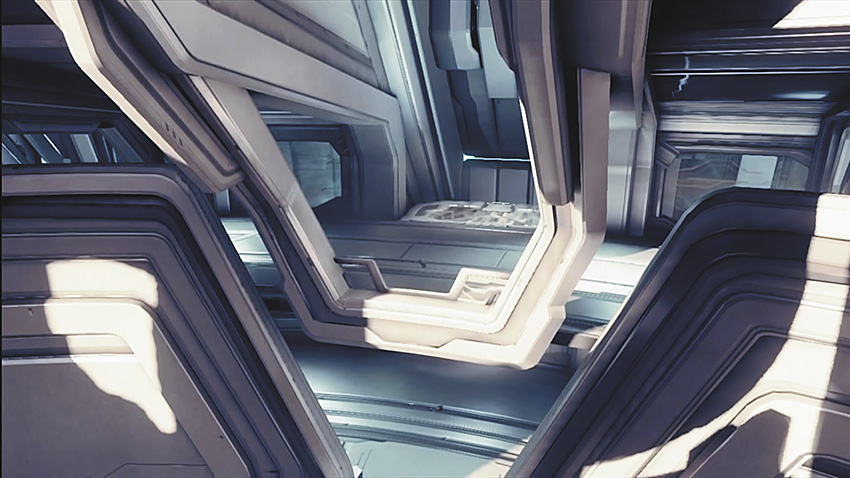
12B. Red Window
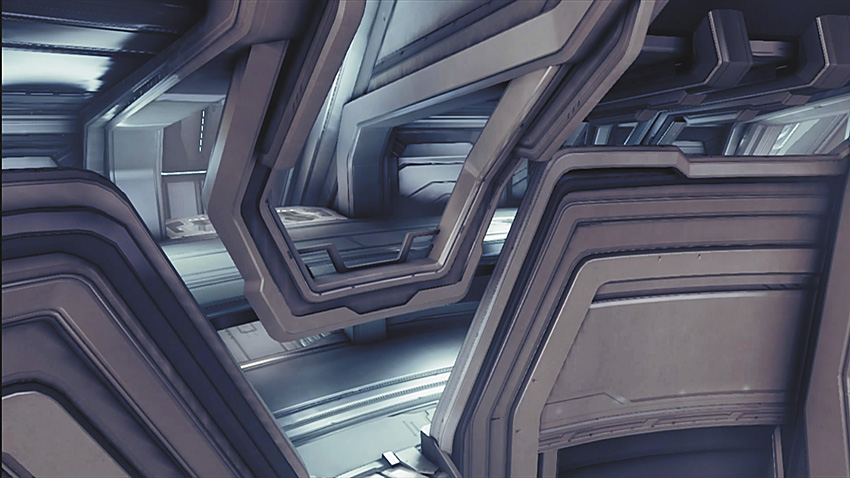
Either of the windows are power positions, because you can block off a number of routes, such as the Mohawk (18) and Blue/Red Bridges (2), by hiding and firing from here.
13A. Blue Wing
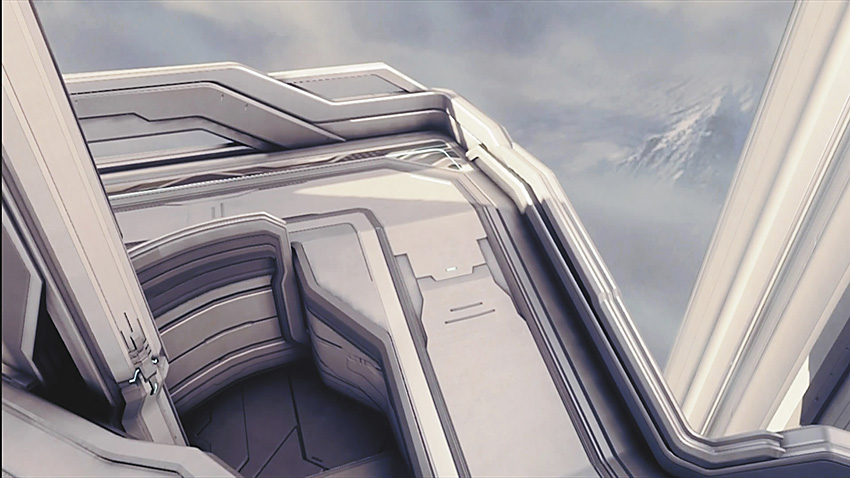
13B. Red Wing
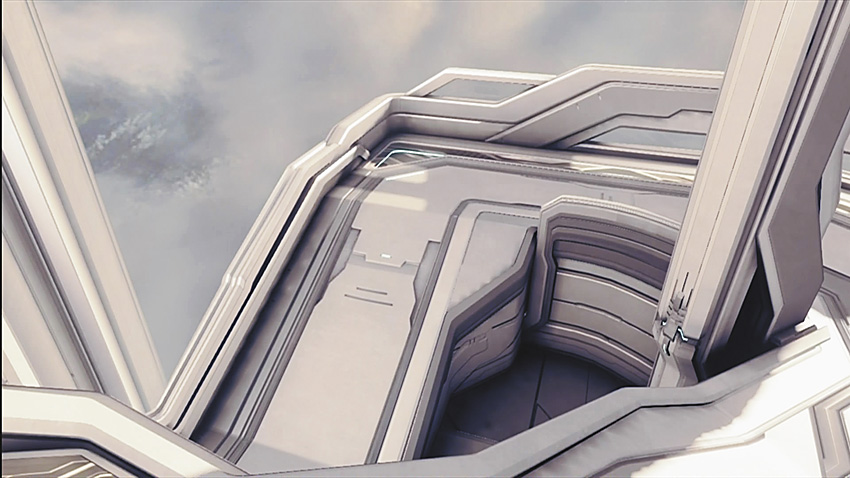
The Wings offer a way for you to sneak up on your opponents located at Top Middle (14A) by taking the lower route. Use the Blue/Red Wing pillar to peek and shoot, causing a distraction as your foes turn their attention to you: Meanwhile, your team should make a push into Top Middle from above.
14A. Top Middle
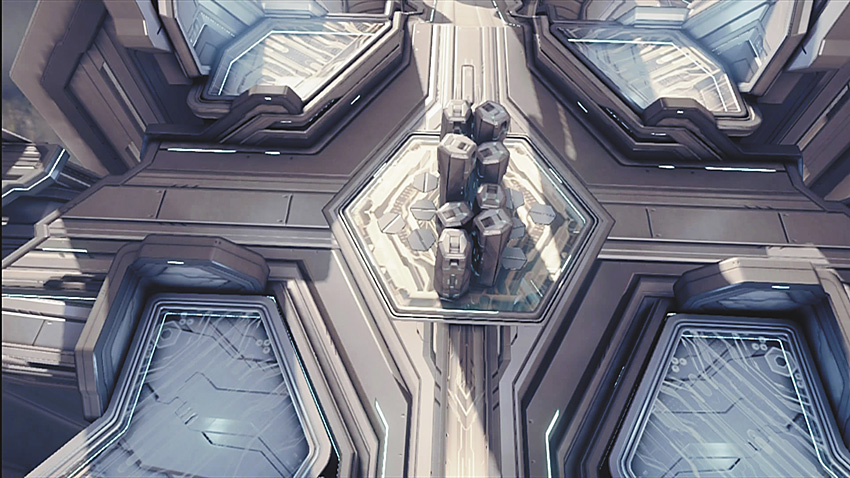
14B. Bottom Middle
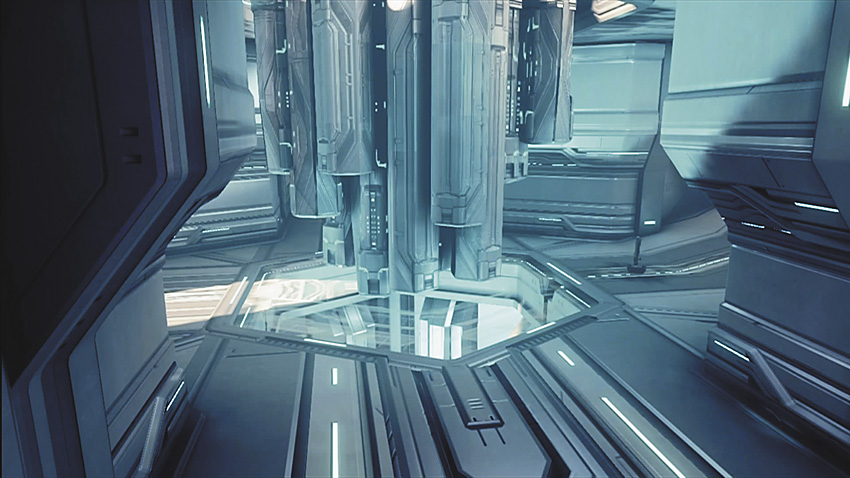
Top Middle is a very important power position, as you can see everything from the top of the map and pick off numerous foes with one-shot kills. Bottom Middle is more dangerous; you don’t want to be caught down here at any time. There isn’t much action, and you suffer from being too low down compared to your enemies when aiming and fighting.
15. Closed Ramp
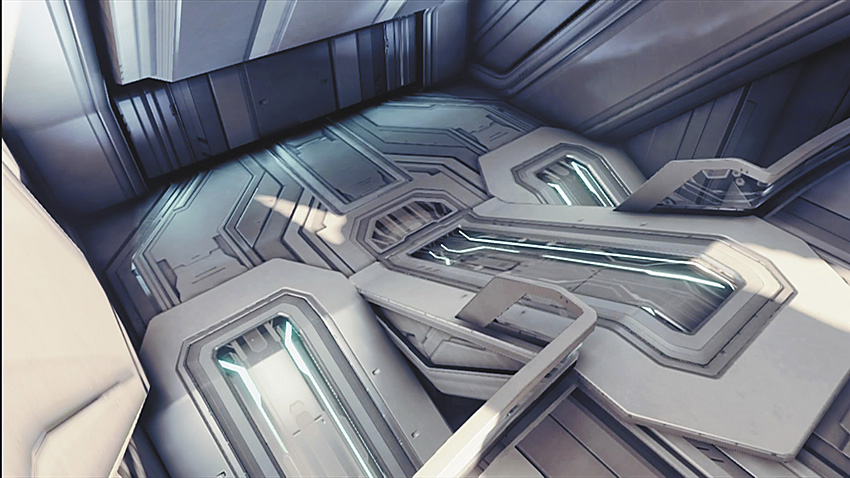
This is another power position if you’re holding the ball or holding this down in Slayer. There are many escape routes, and you can pick off kills from almost anywhere on the top of the map.
16. Closed Tunnel
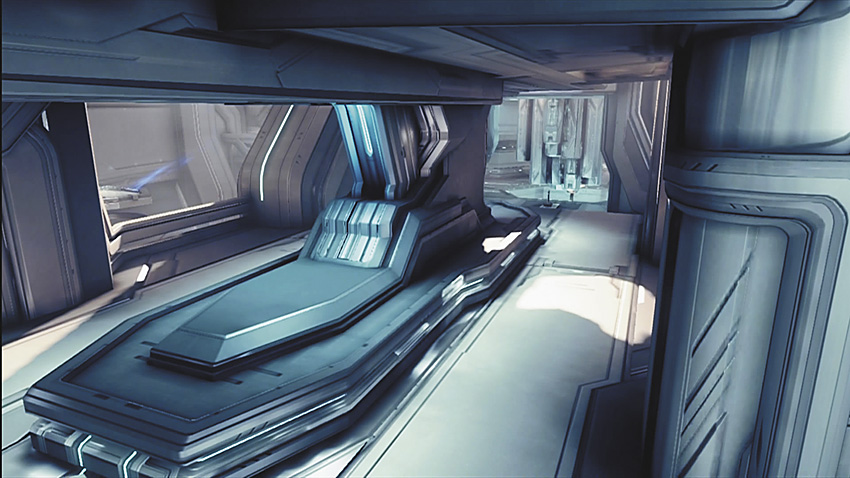
Head in here when you’re planning to sneak up through the nearby Sneaky (9) hot spots.
17. Ditch
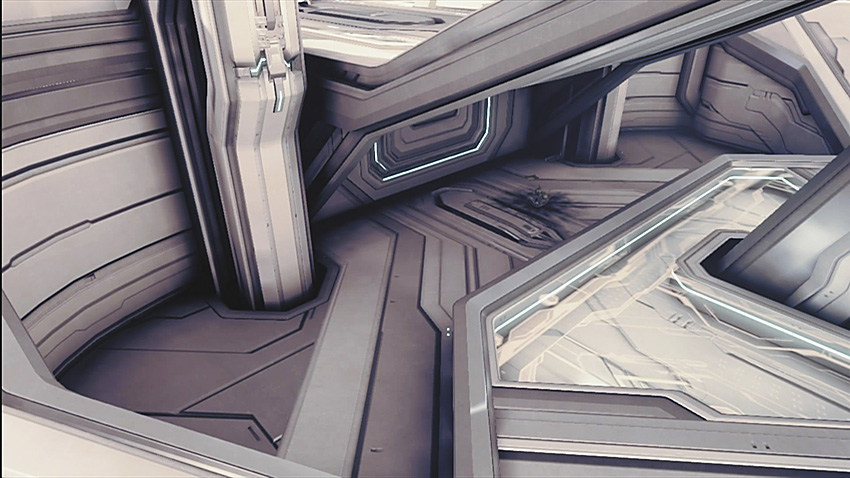
Stand here only as a last resort, such as if you’re weak and don’t want to expose yourself to further punishment. However, maneuvering and ambushing from here can win you the battle.
18. Mohawk
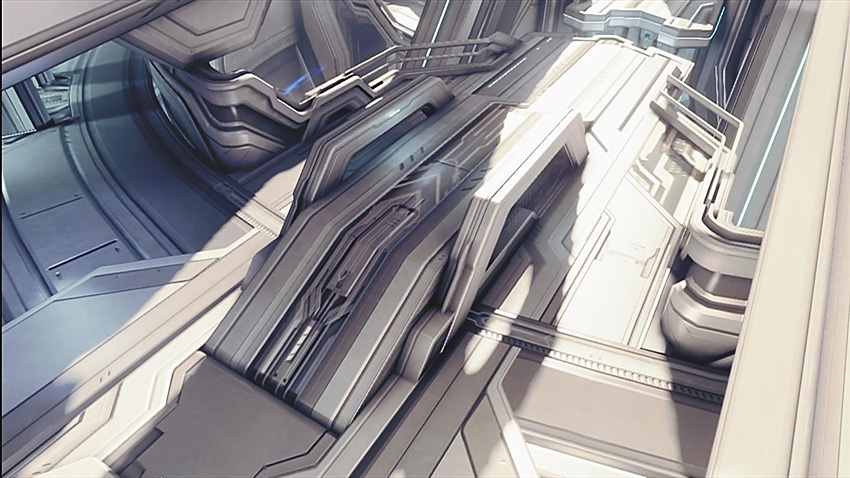
Utilize this area when you’re trying to push into Top Middle (14A); it has great cover opportunities.
19. Open Ramp
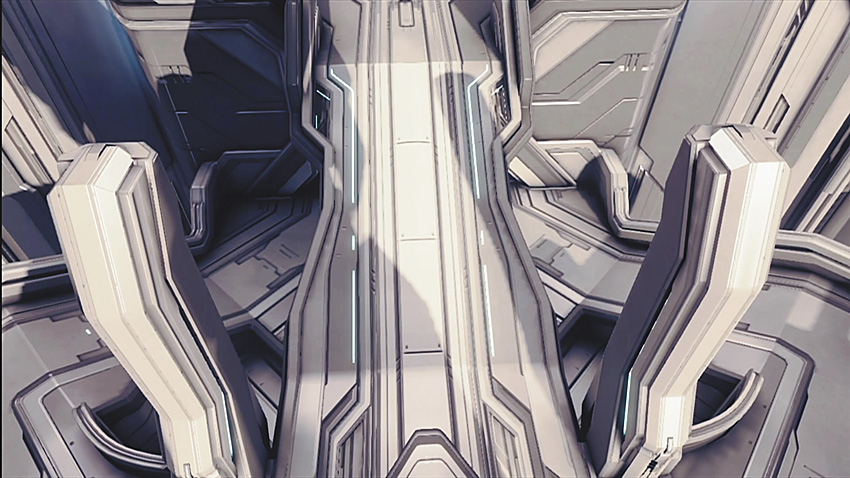
This area is risky to move about in, as it’s easily naded, and there’s little cover to use.
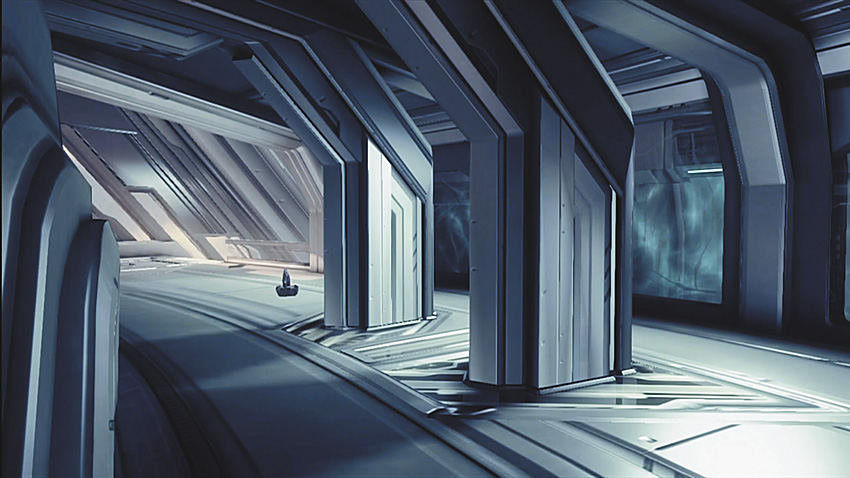
20A. Pillar 1 (P1)
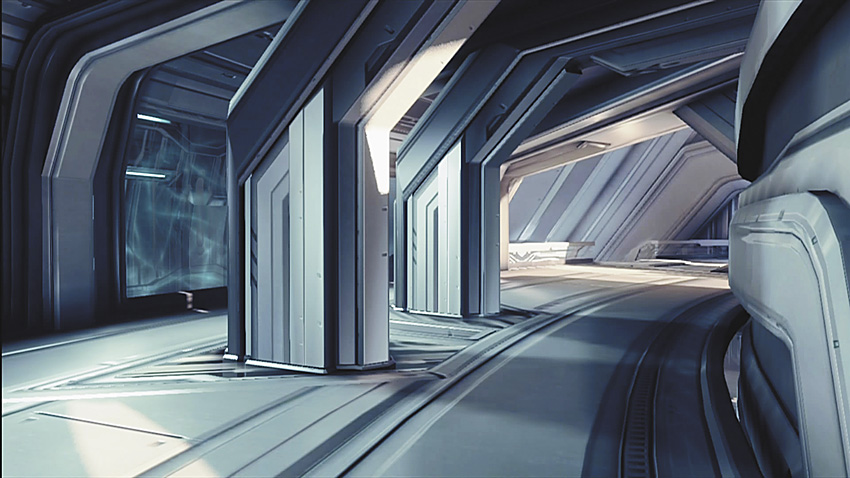
20B. Pillar 2 (P2)
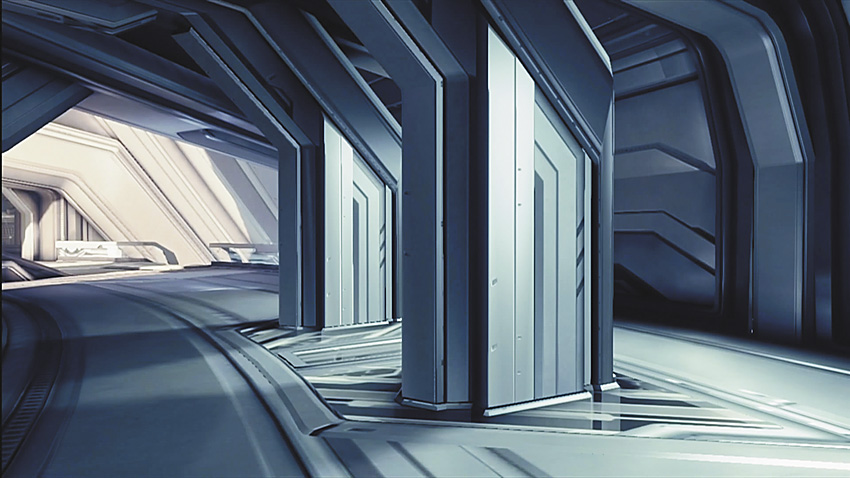
20C. Pillar 3 (P3)
20D. Pillar 4 (P4)
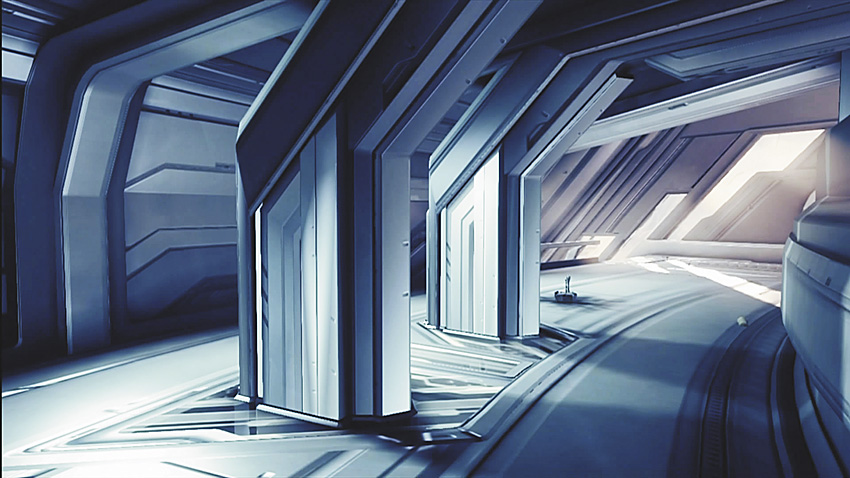
Each of the four pillars around this map are excellent to use for peek-and-shooting or for sneaking up on an opponent.
General Tactics
The Strongest Survive
Stalk the weaker players first; it is always better to pick up a kill from a shieldless or damaged foe than engaging in a 1v1 duel.
Tip for the Top Middle
Although tempting, it’s almost never a good idea to rush Top Middle for kills unless you spawn at the Open Ramp. Top Middle is where incompetent players leap around, waiting to be shot. However, charging Top Middle from Open Ramp allows you to pick up a kill or two by stealing them from weakened players already fighting one another. This is quicker than heading to Bottom Middle and taking a longer route looking for kills.
Sneaky Ledge Clambering
Use the Sneaky ledges to your advantage as much as possible when engaging and disengaging the enemy. The two ledges in question allow you to reach Top Middle at two different locations: the Blue/Red Landing or the lower Tunnels on both sides.
Where to Nade
Employ grenades at the Ramps whenever possible. You can pick up easy kills by throwing Frag Grenades into these areas (where players are spawning or fighting). Top Middle is a heavily trafficked area where constant fighting occurs; this is another option for easy nade kills with Frag Grenades.
Hide and Sneak
You don’t need to fully expose yourself to the entire field of battle by jumping out to finish off kills. There are windows on the Blue/Red Streets, and these gaps allow you to see the Top Middle and bottom Tunnels; search for foes here and pick up some safe kills. You stay healthy with these takedowns, instead of being weakened through pointless fights. So, sit at one of the Street windows, popping off foes. When one enters the Street near your position, engage them in a 1v1 duel with a full shield and with a rack of kills already completed!
Tactics: Team Games
.jpg)
Setting up for the Win
When playing with teammates, holding the Closed Ramp is important, as the side of the map with Mohawk gives you more cover opportunities. While holding the Closed Ramp, control either the Blue or Red Street: This enables you to shoot through Window to Top Middle, damaging the enemy as they jump across the Bridges.
With the Streets claimed, your teammates can jump to Top Middle and finish off any kills before retreating back to your team’s starting positions and holding the Closed Ramp and Streets once more.
Players positioned at Window should always check the Bottom Middle for foes trying to flank. Just because it appears most of the action is happening up at Top Middle doesn’t mean you can forget about the sneakier foes heading along the Bottom Middle of this map.
Similarly, the player positioned on the Closed Ramp needs to head up and down the stairs to help bring down foes at Top Middle while checking for flankers at Bottom Middle.
Carnage at Top Middle
As you might have guessed, Top Middle is usually a death trap. There’s always fighting and foes milling about here. But the previous strategy yields better results than leaping about in the open: If the opposition is set up as described, heading into Top Middle usually leads to you becoming trapped and flanked by the enemy.
If you’re at Top Middle, don’t stay here for long, as you’ll be picked off: You want to storm one side of this map with all your teammates in a massive push to overwhelm and claim the side for yourself.
Landings are great to hold when you’re at Top Middle and pushing toward the Closed side, if the other team is set up. From Landing, you have cover from Closed and can put shots into foes at Windows, enabling the push to occur.
Open Ramp Advice
Avoid the Open Ramp; it is usually a one-sided battle against foes with a better line of sight than you. If the other team is keeping you back on this ramp, drop and push toward one of the tunnels to infiltrate either the Red or Blue side of the map.
Tactics: Infinity/Pro Slayer
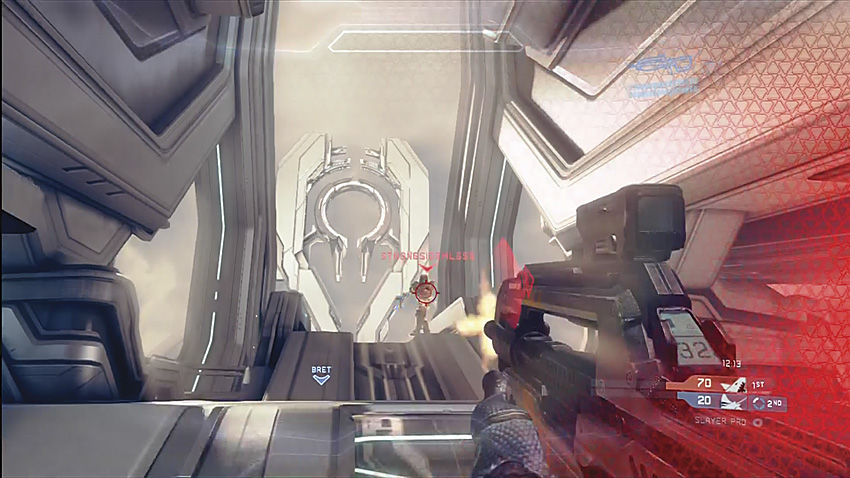
The ramps leading to the center of the map are often the sites of fierce battles.
Trapped in the Middle
Choose a couple of your team to control Top Middle, putting fire into your opponents and keeping them pushed back into the Closed Ramps (Red and Blue). Meanwhile, your other teammates should be flanking from other directions or sneaking under the map through the Tunnels. Trap foes in the middle of this map, with nowhere to run!
Spawn Slaughtering
Figure out where the opposition is spawning; it takes some time on this map. Once you kill a foe, you’ll have an idea of where they’re going to appear: Now take time to set up and throw primed grenades that explode as your foe spawns or catches them (or the opposing team) off guard.
Knowing When to Nade
Grenades play a vital role to your Slayer strategy: You want to lob nades at the right time and not just waste them. Lob them at a location where you know your opponents are or before you make a push; this “pops” your opponent’s shields before you pick them off with a headshot. Don’t get into the bad habit of mindlessly throwing all your grenades across the map as soon as you spawn!
Tactics: Oddball
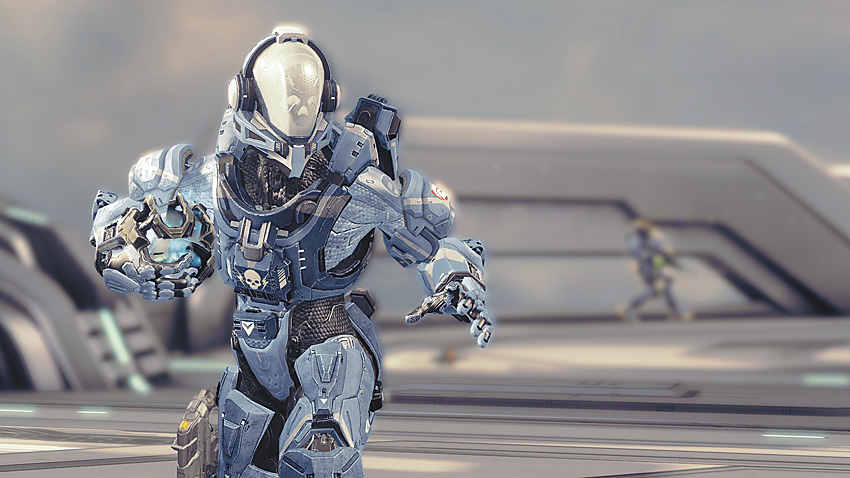
Look who’s got the ball.
Five Steps to Victory
Step 1: Hold the ball on the Red or Blue Ramps while watching for enemy attacks from the Top Middle and Bottom Middle.
Step 2: Have two teammates at the Window or Street hot spots and watch the closed bridge and Red/Blue Bridge. One of the players can move toward the Red/Blue Bridge to cause enemies to split their fire.
Step 3: Position one teammate on the Closed Ramp: They should be constantly checking the Closed Bridge and Closed Tunnel areas for infiltrators. They always need to be giving the ball carrier covering fire to funnel the enemies into the Red/Blue Bridge, as there’s no cover on those bridges once they’ve jumped over.
Step 4: One teammate must move from the ball to the Loop. Head toward Blocks 2 or 3 to ensure the enemy isn’t coming from the opposite Loop. If this player has a confrontation, you need to put shots into your foe and drop them as you back up to your own Loop; do this until your teammate on the Closed Ramps radios that he’s coming in to help. Then double-team the enemy. The player on the Loop also checks the Ball Tunnel to see if anyone is sneaking underneath.
Step 5: Continue with this plan until enemy dominance is complete!
Elumnite
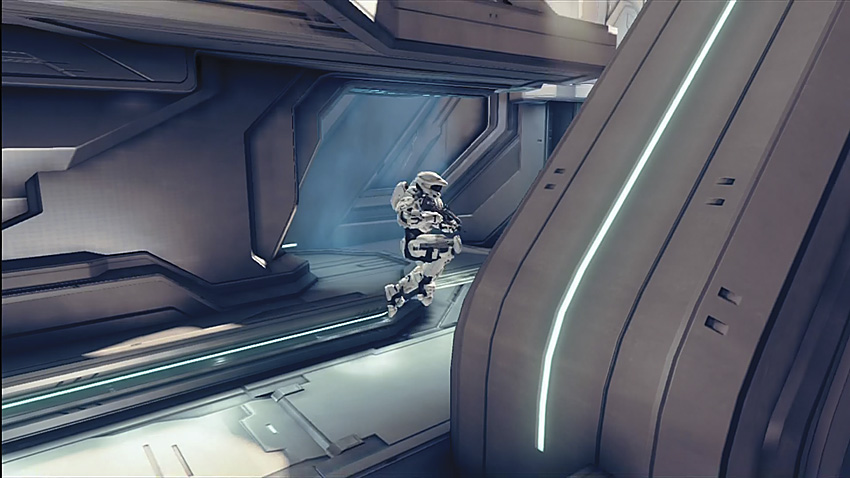
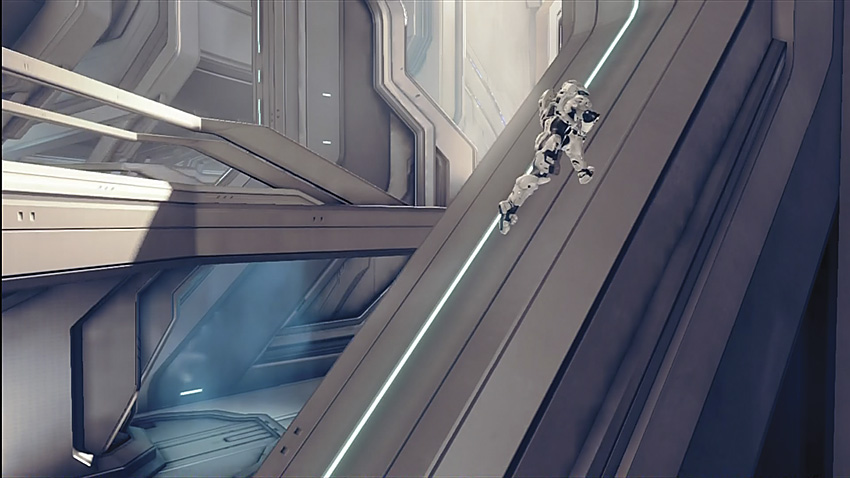
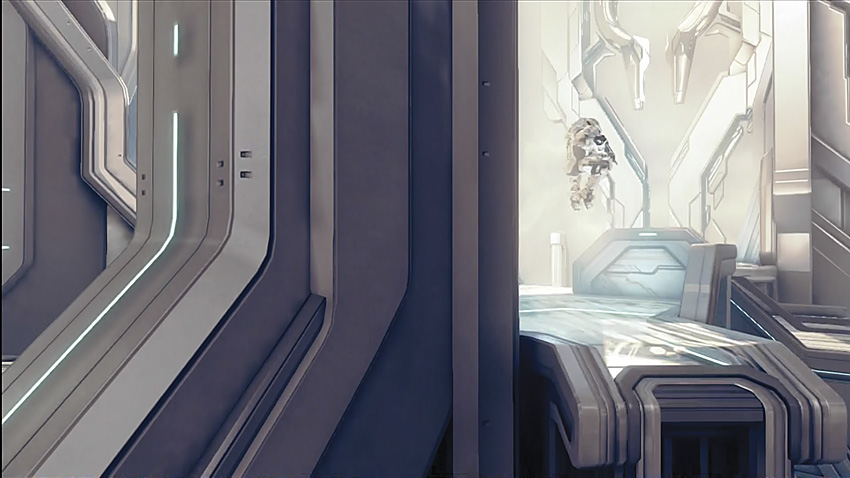
Third-person perspective: Jump to Top Middle.
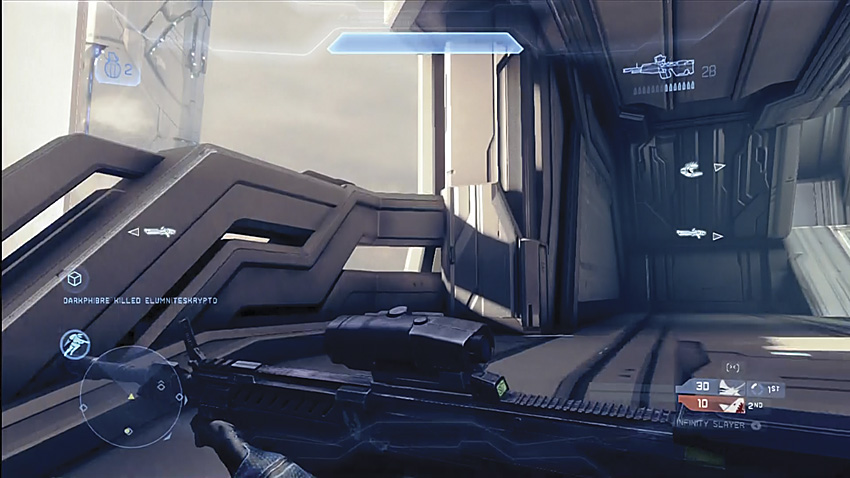
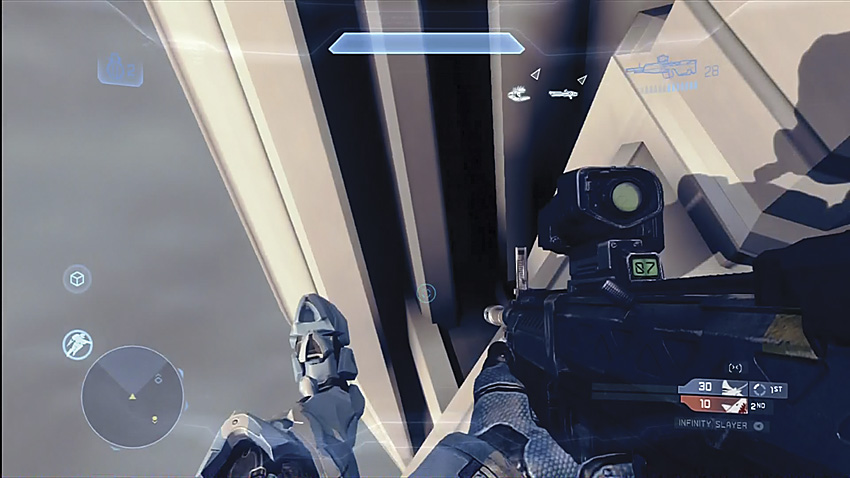
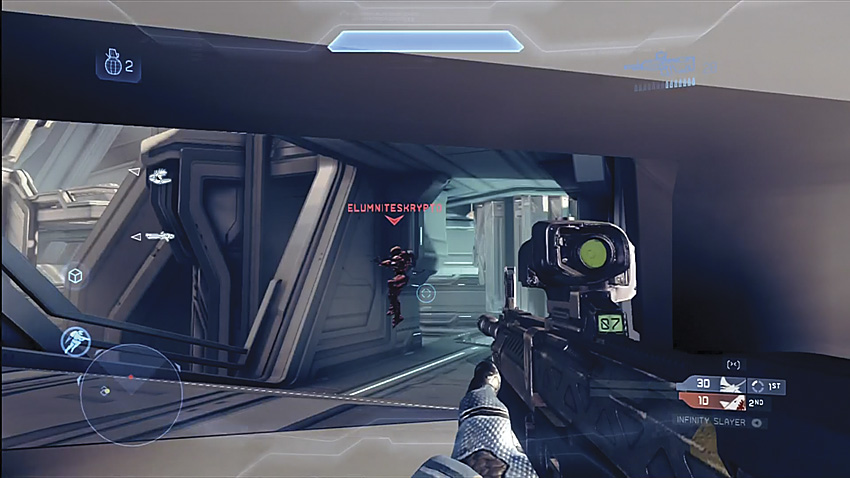
First-person perspective: Sneaky Ledge.
Strongside
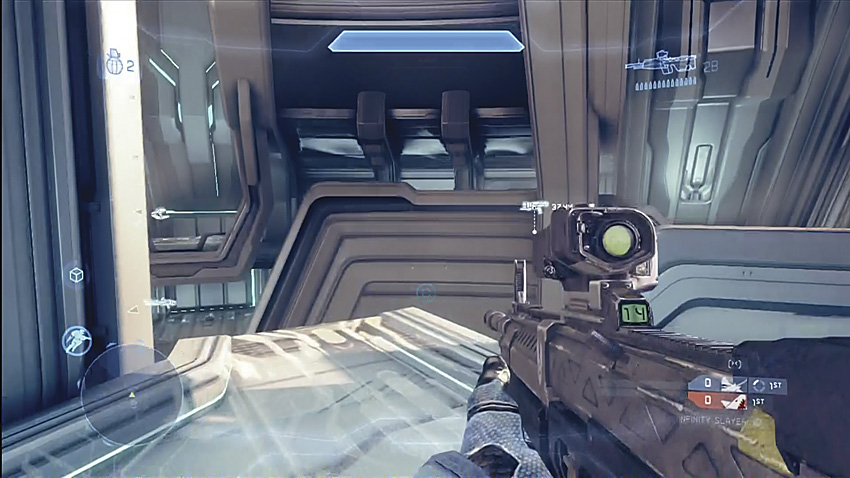
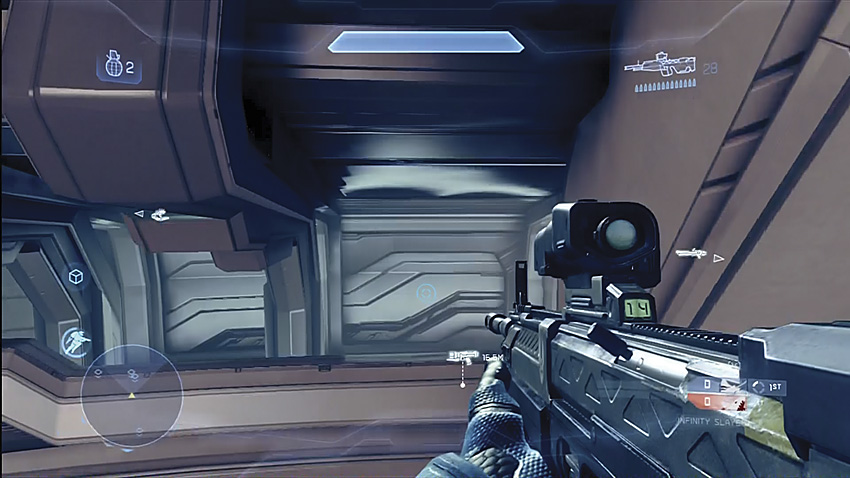
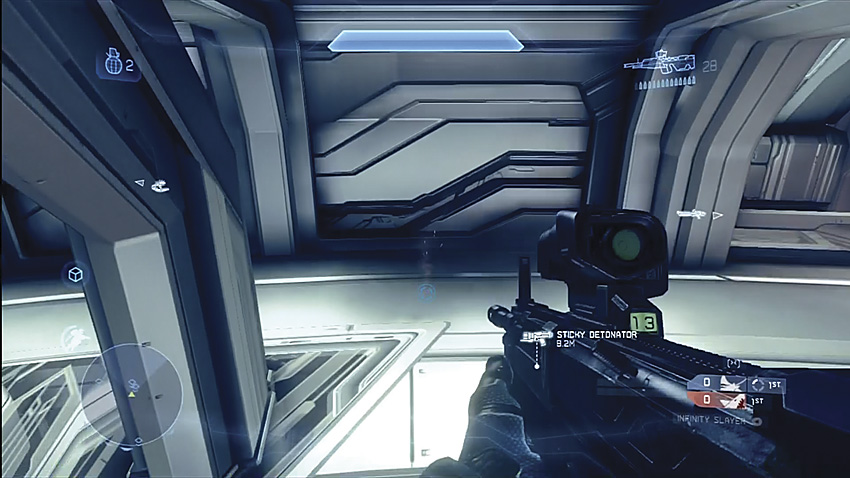
First-person perspective: Jet Pack into crack above street.
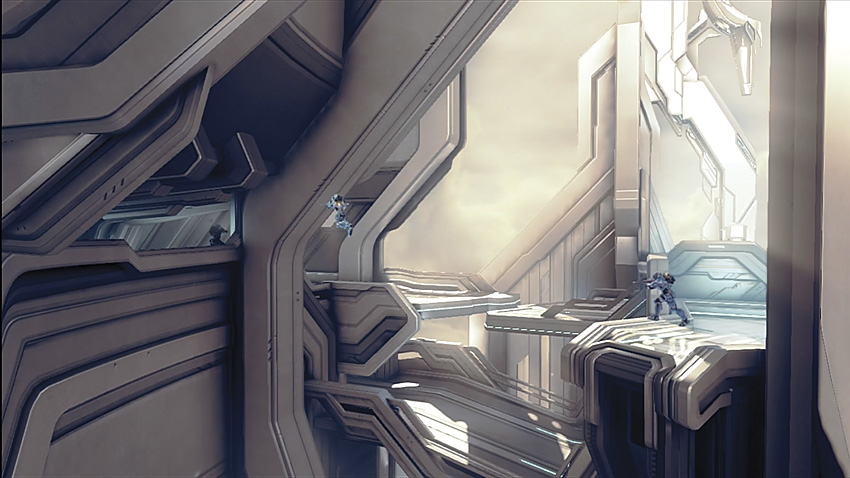
Third-person perspective: Jet Pack into crack above street.
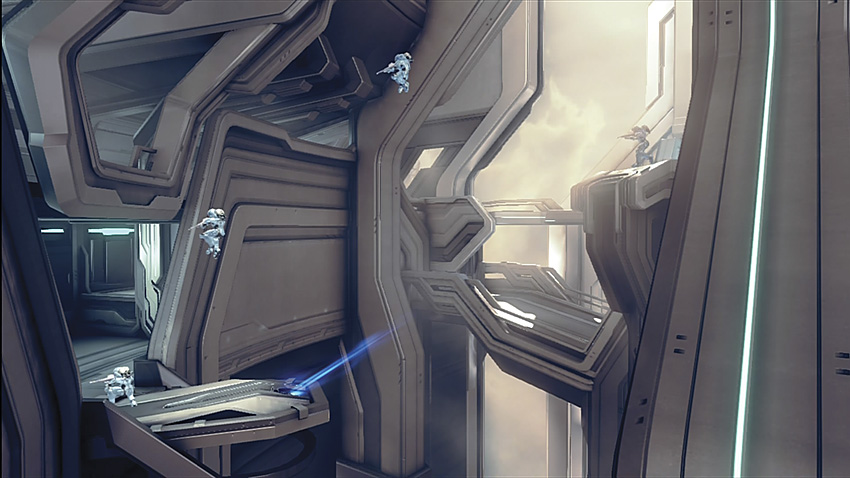
Third-person perspective: Sprint from Landing to fall on Red or Blue Tunnel.
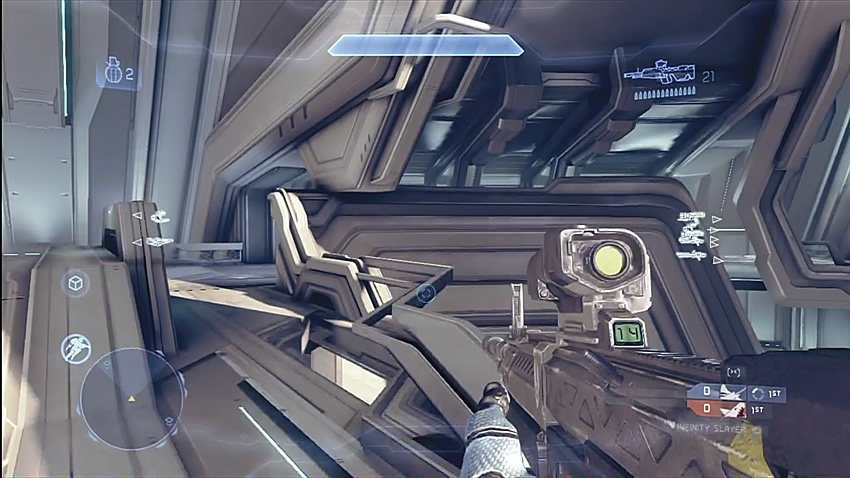
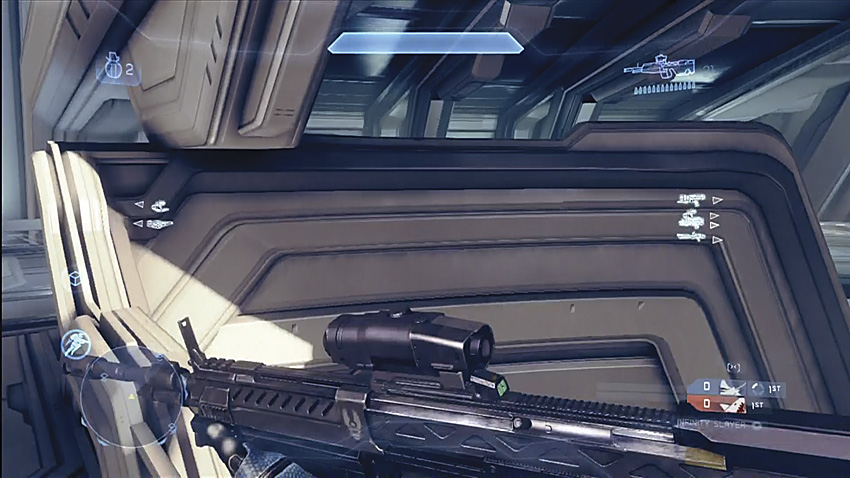
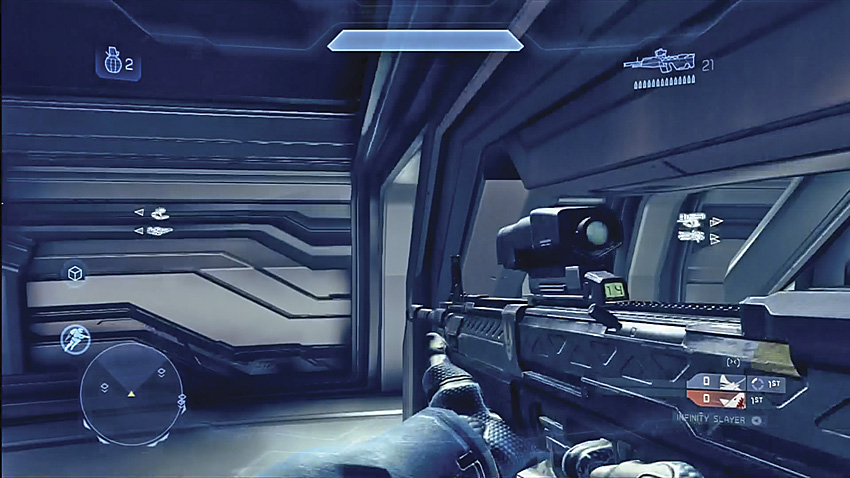
First-person perspective: Mohawk jump to street jump.
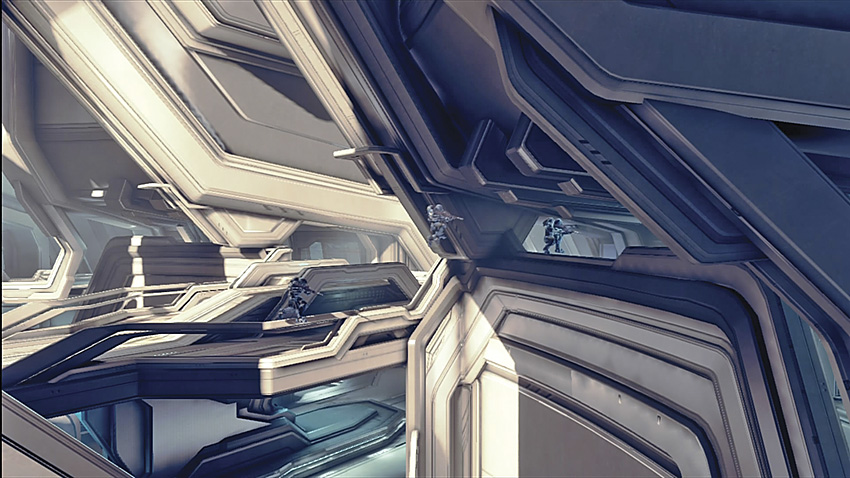
Third-person perspective: Mohawk jump to street jump.
Strongside
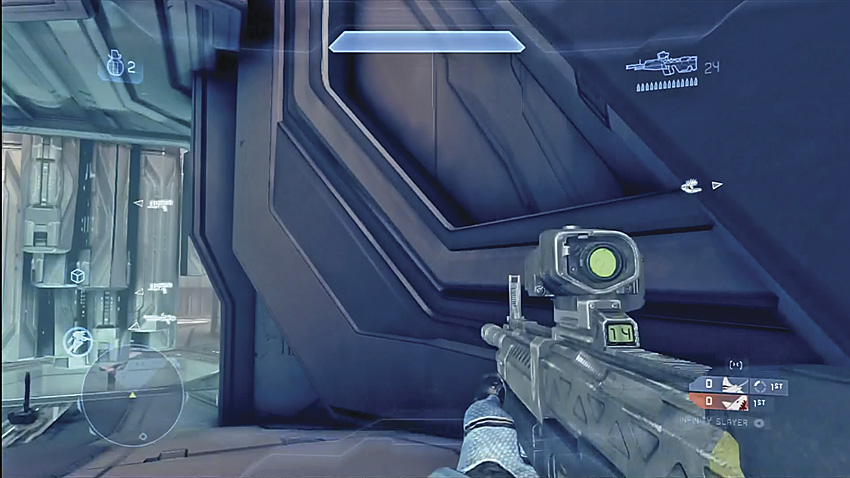
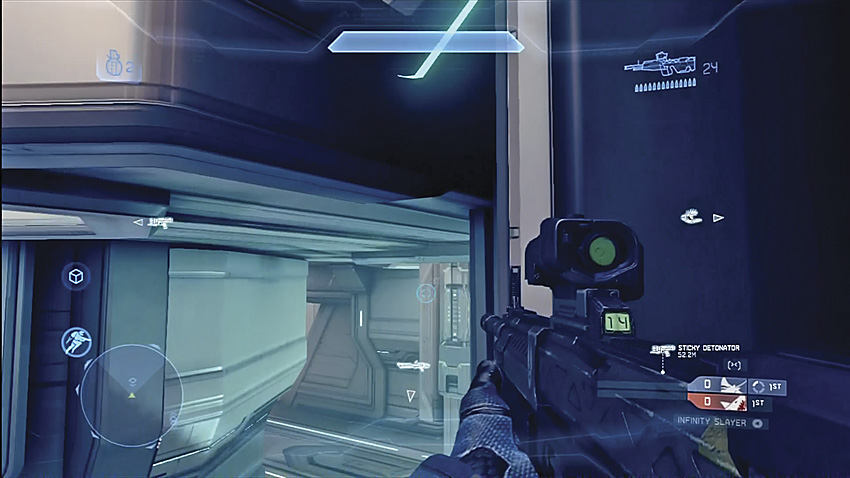
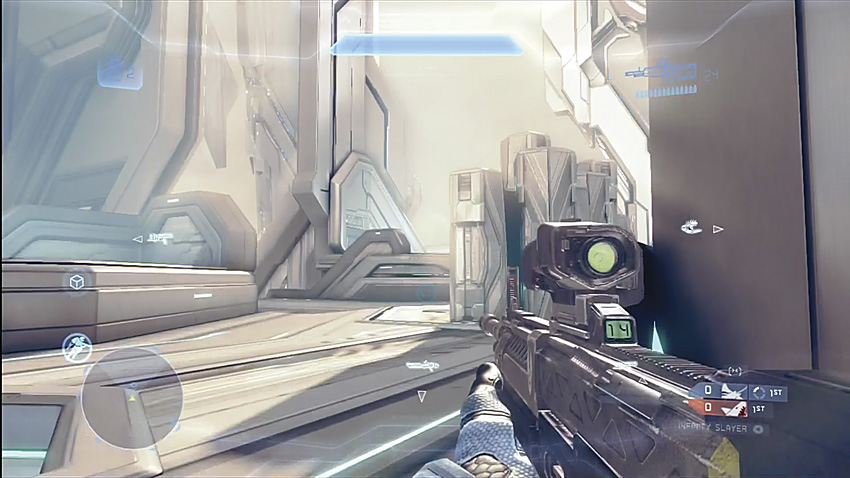
First-person perspective: Sneaky jump from Closed Tunnel to Top Middle.
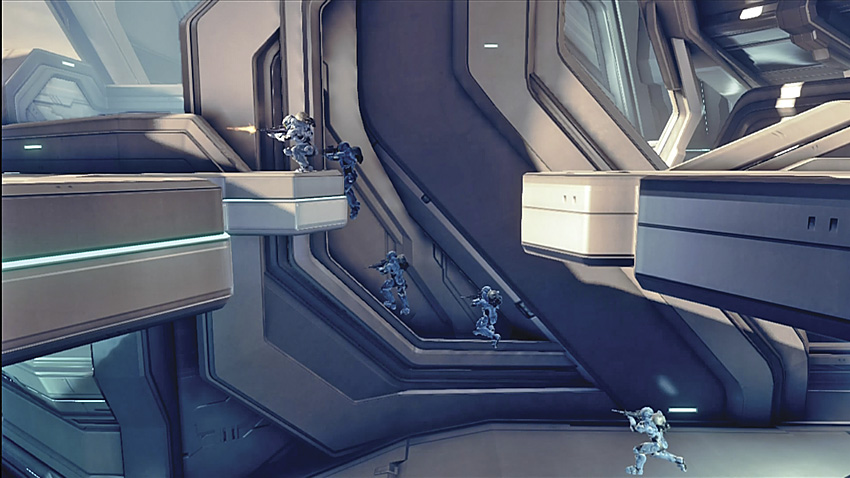
Third-person perspective: Sneaky jump from Closed Tunnel to Top Middle (1).
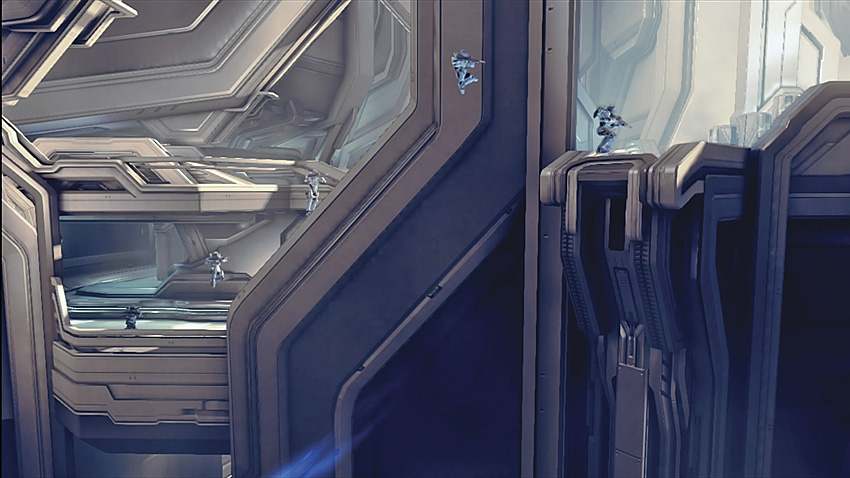
Third-person perspective: Sneaky jump from Closed Tunnel to Top Middle (2).
Strongside
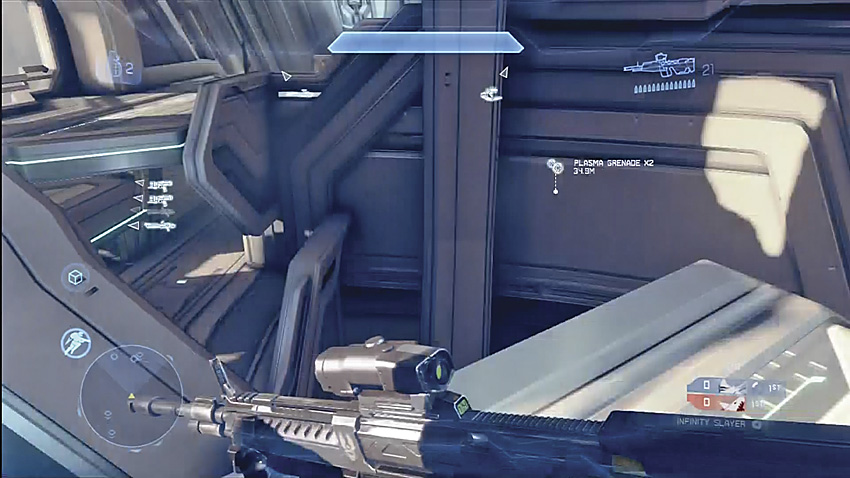
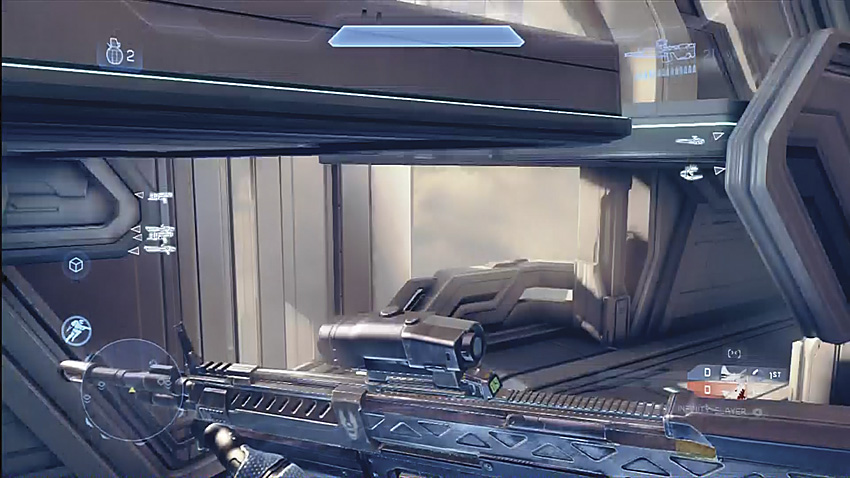
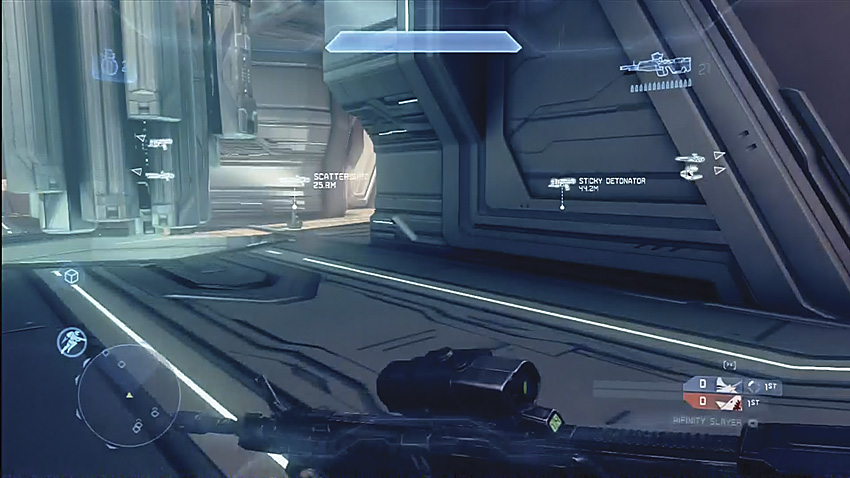
First-person perspective: Sprint from Landing to fall on Red or Blue Tunnel.
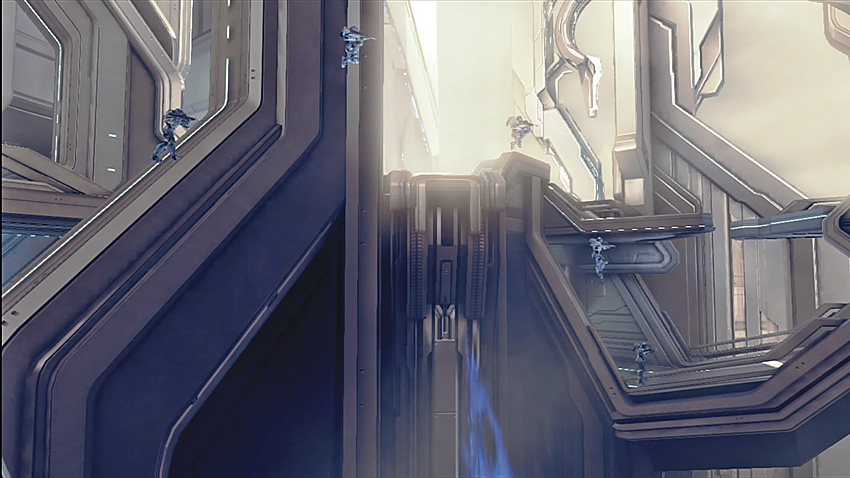
Third-person perspective: Sneaky jump to Red or Blue Tunnel.
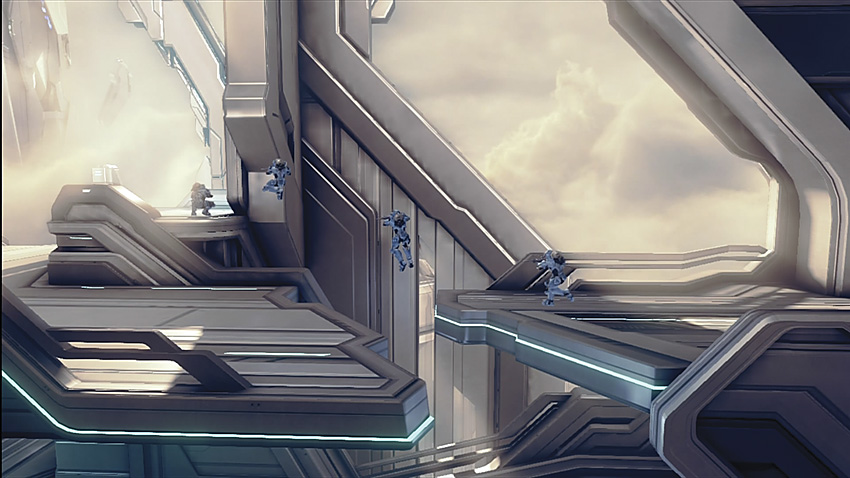
Third-person perspective: Bridge to Plat.
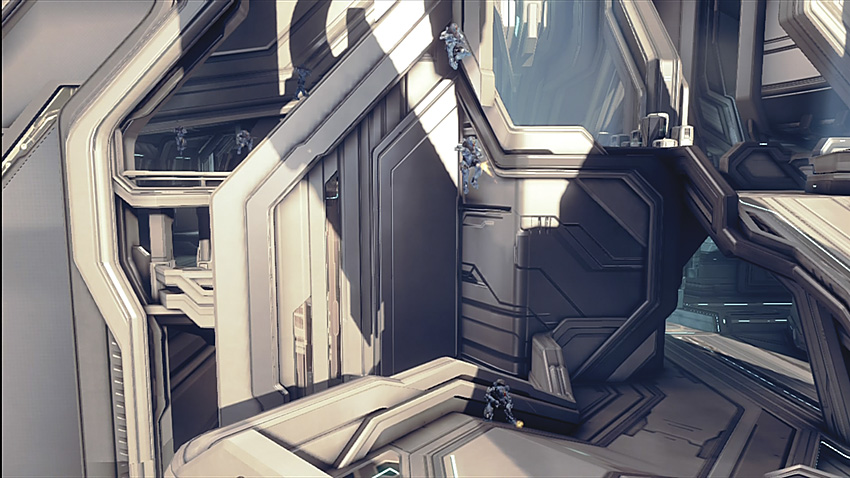
Third-person perspective: Bridge to Wing.