
Halo 4 Guide Campaign Mission 4: Infinity
Mission 4: Infinity
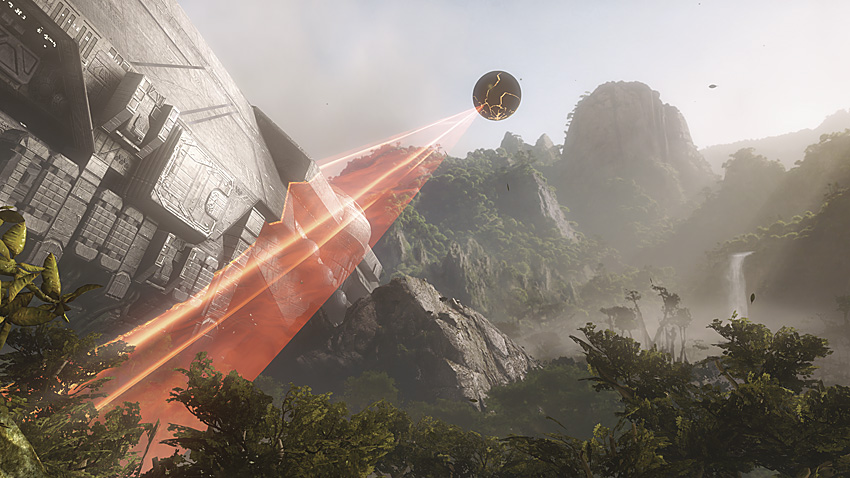
“It’s not all right. Nothing about it is all right.”
The Infinity has crashed onto Requiem and is being assaulted by Covenant. Meanwhile, the Master Chief and Cortana make their way on foot through a perilous jungle. Scouts from Infinity have tried to establish forward bases to recon the area around the ship, but they are being overwhelmed by the vicious Knights and their Crawler packs.
Mission Briefing
The first section of this mission does not contain the massive battles that you’ve probably come to expect, but this does not make the enemy any less dangerous than usual. The Prometheans and the Marines are scattered throughout the jungle, with the former hunting the latter. Once contact with the enemy has been made, expect to come across squads of Prometheans in regular succession. Things heat up quickly after joining up with a combined Marine-Spartan force led by Commander Lasky as you lead a push through Promethean territory to reach a Landing Zone to evacuate casualties. Afterward, you lead an armored assault at the besieged Infinity , into and through it, ultimately reaching the ship’s outer hull, where you make a final stand against the combined forces of the Didact and the Covenant.
Enemies Encountered:
- Elites
- Grunts
- Jackals
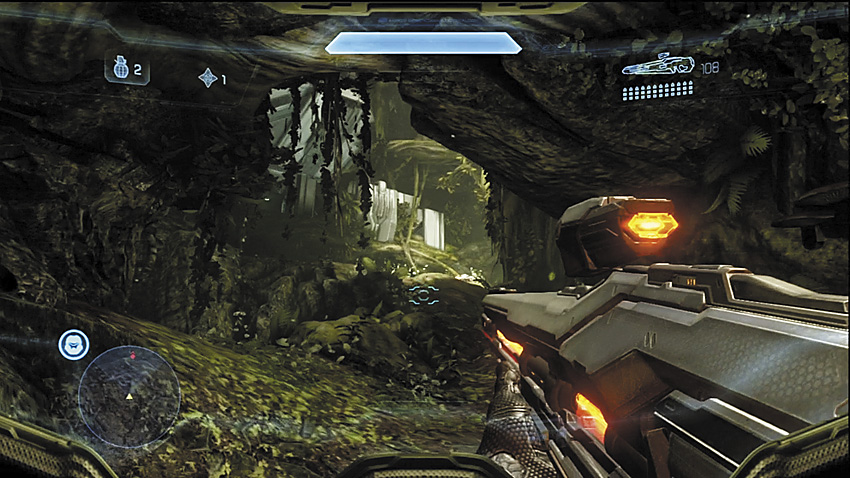
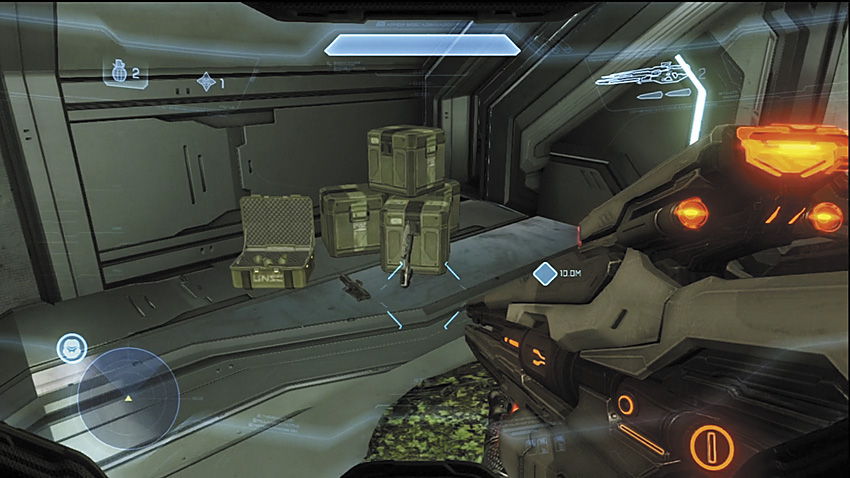
- Hunters
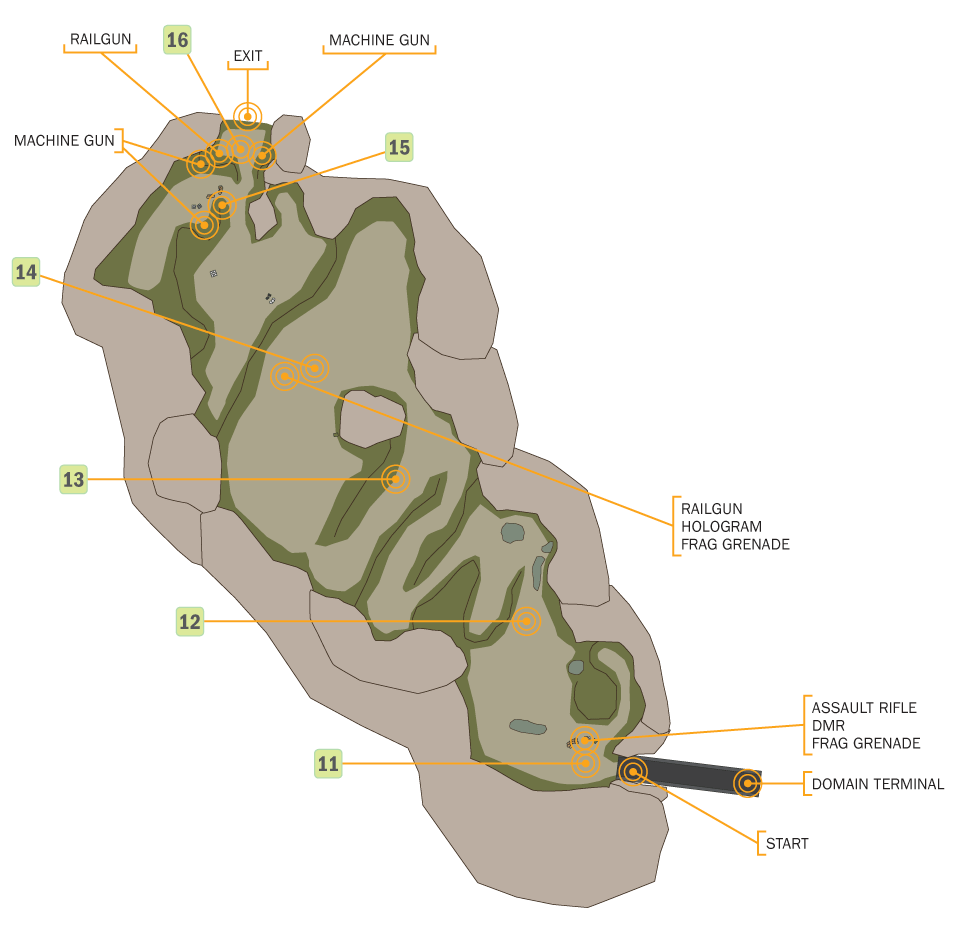
- Crawlers
- Knights
- Watchers
Vehicles Encountered:
- Phantom Dropships
- Ghosts
- Banshees
- Wraiths
On the IFF Trail
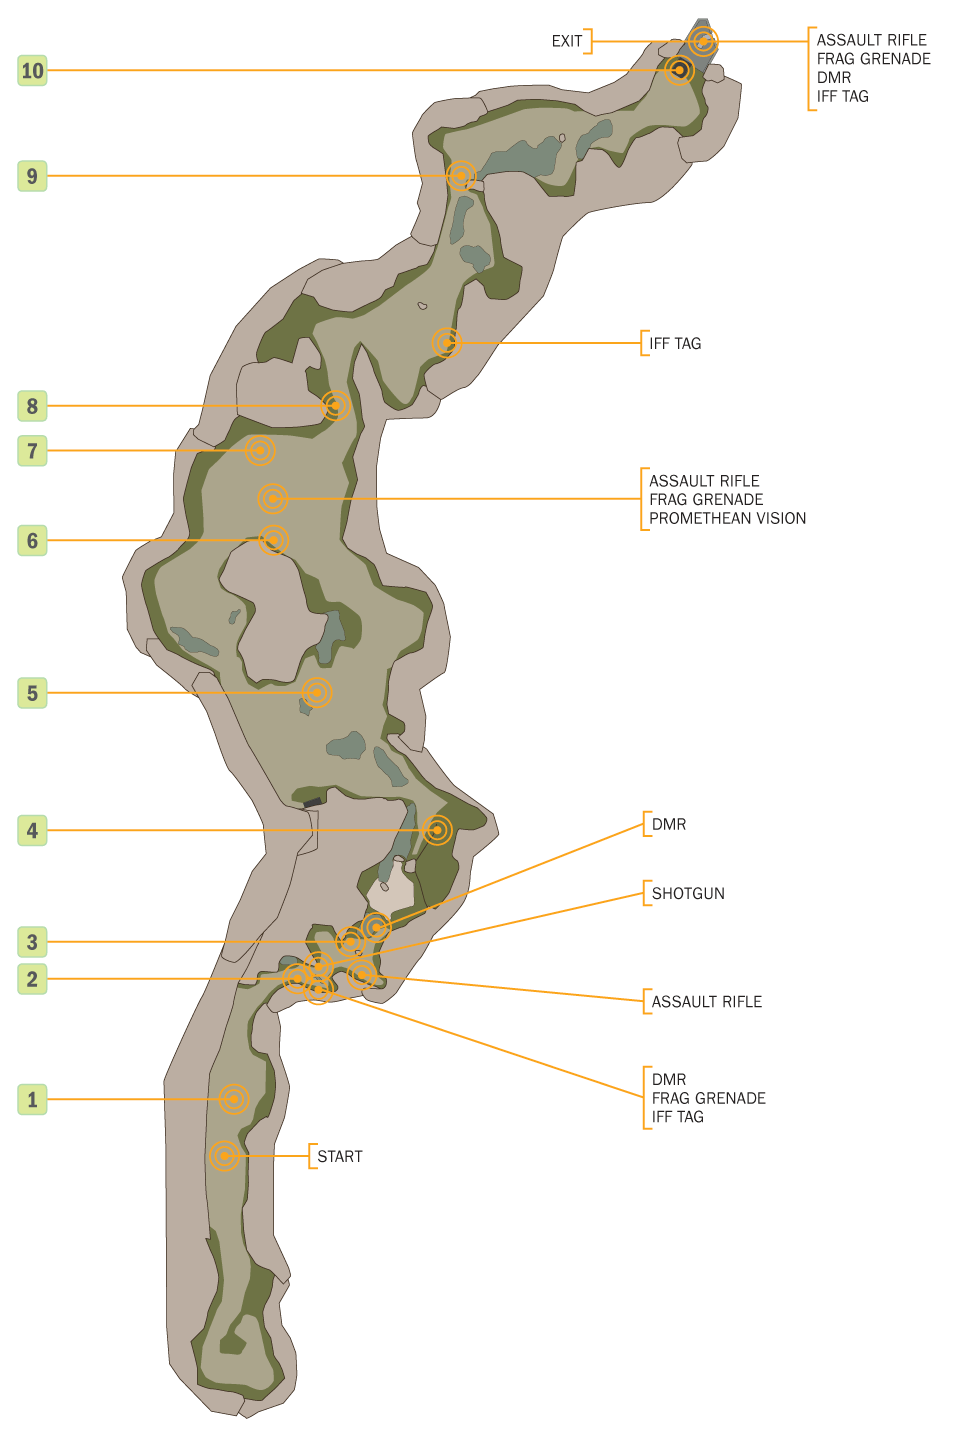
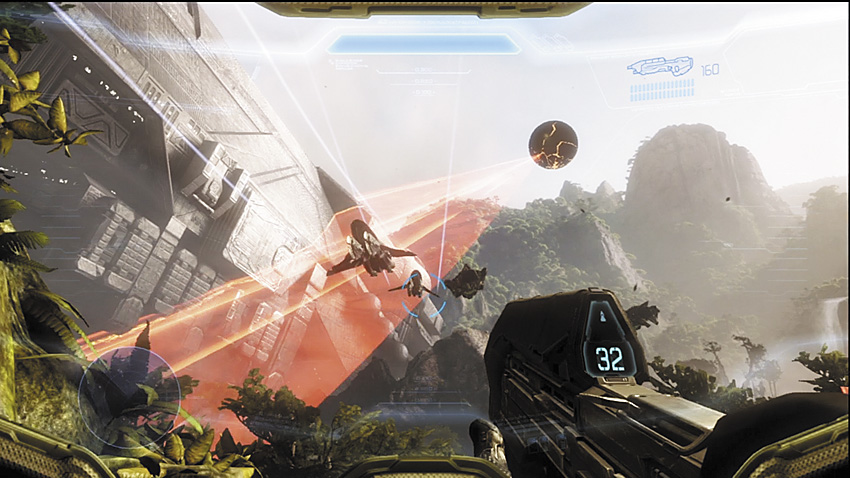
[1] When you regain control of the Master Chief, the Infinity is in dire straights. Covenant ships roar overhead to join their brothers in the assault on the vessel, and in the distance, the Didact’s satellite flits across the sky, scanning the Infinity , searching for something. Over the open UNSC network, beleaguered Marines are requesting assistance. Cortana marks the nearest Friend/Foe Tag (IFF Tag). Run into the jungle to assist!
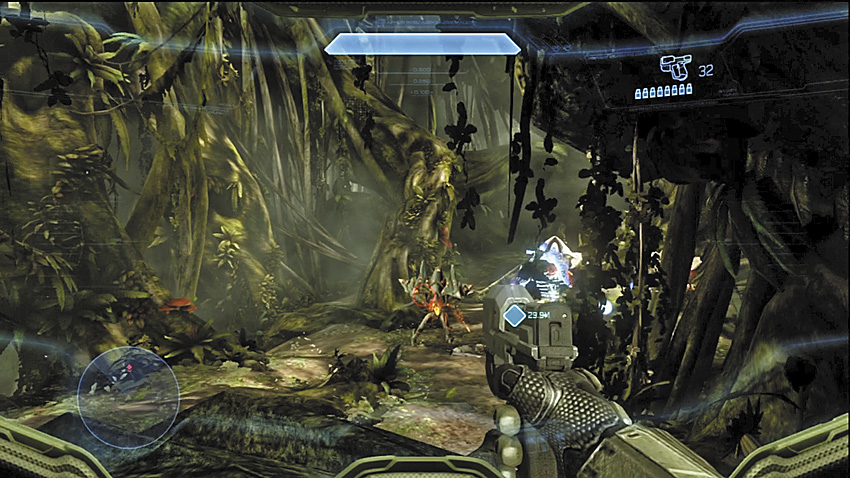
[2] Unfortunately, you’re already too late to save at least some of the Marines. The Knights responsible for killing this squad teleport away just as you arrive. Pick up the IFF tag to listen to the Marines’ final words, then scour the area for weapons. Most importantly, each Marine in this squad carried a DMR. Take the weapon and all the ammo you can carry, these Marines don’t need it any longer.

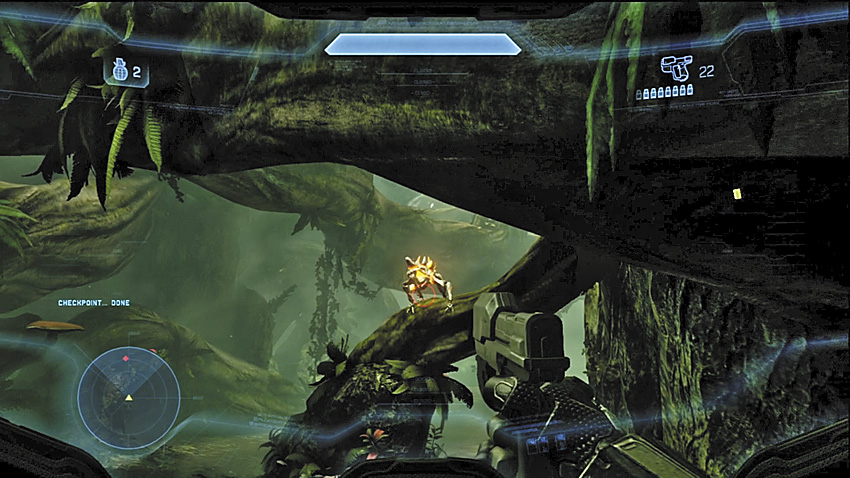
[3] A pack of Crawlers rushes forward to ambush you here. With a Magnum or a DMR, they are at best nuisances. Even pulsed fire from an Assault Rifle can be effective.
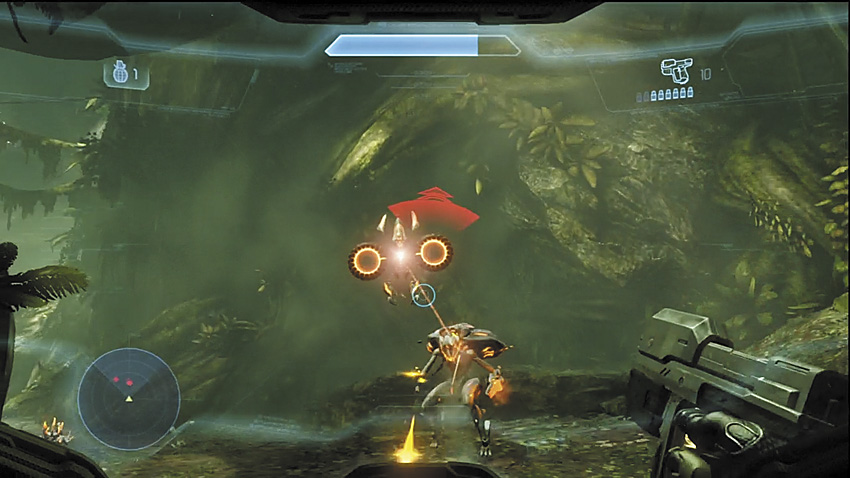
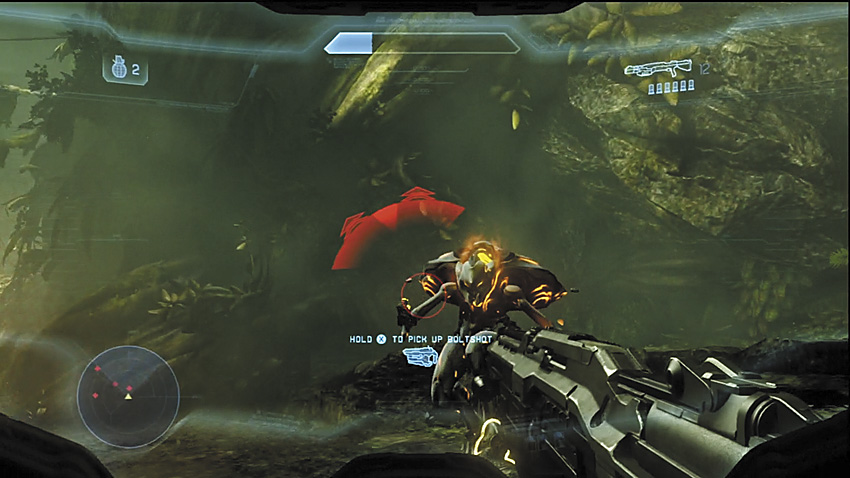
[4] Now for some real resistance. A Knight deploys a Watcher here, and is joined by more packs of Crawlers. If you can take out the Watcher immediately, do so. Otherwise fall back a short distance and pick off the Crawlers that give chase. When an opening presents itself, take out the Watcher, then go to work on the Knight. To the left of where the Knight is encountered, the jungle path is guarded by more Crawlers.
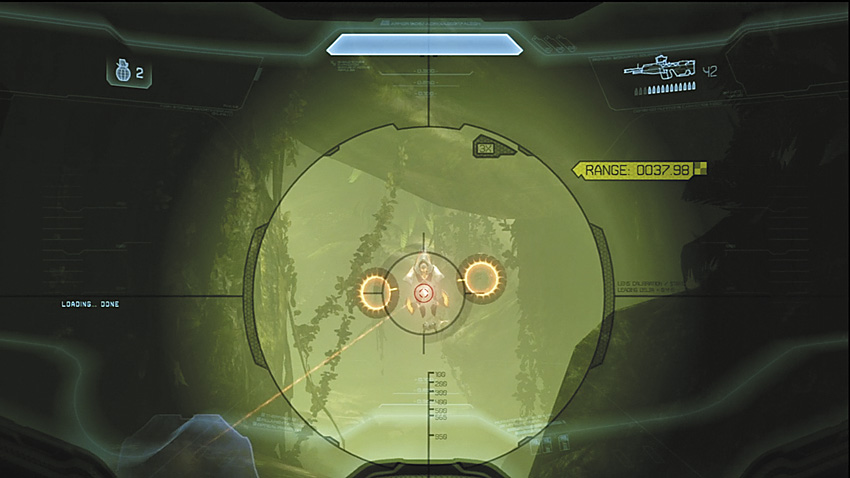
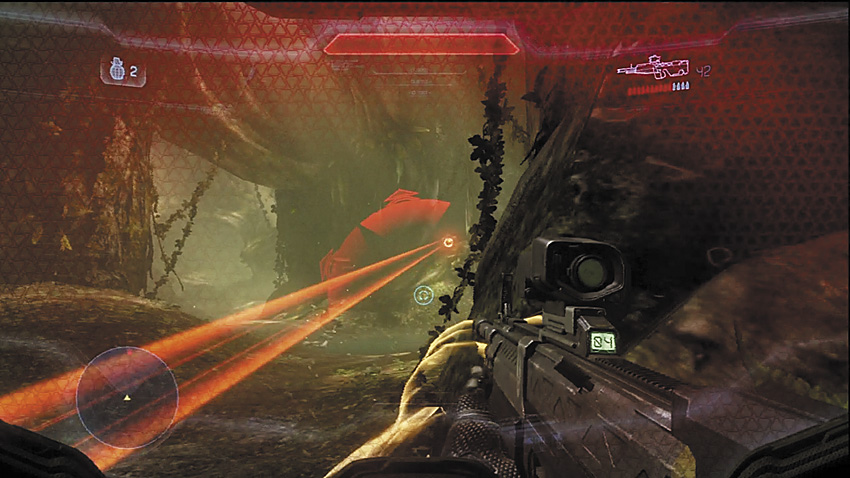
[5] A Watcher hovers into view here, attempting to construct reinforcements from the remains of fallen Crawlers. If it’s put down quickly enough, you can prevent the resurrection, but this isn’t the only threat here. More Crawlers leap down from the trees, and farther down this path is the most dangerous of all Crawler variants: the Crawler Snipe. Armed with Binary Rifles, these Crawlers are priority targets. Their heads have a telltale halo effect that signifies their readiness to fire. Farther down this section [6], a Knight and a Marine kill each other in final acts of defiance. The Knight drops something that Cortana wants you to pick up. Check out the surrounding area to restock on Frag Grenades and Assault Rifle or Magnum ammo.
Key Combat Tip
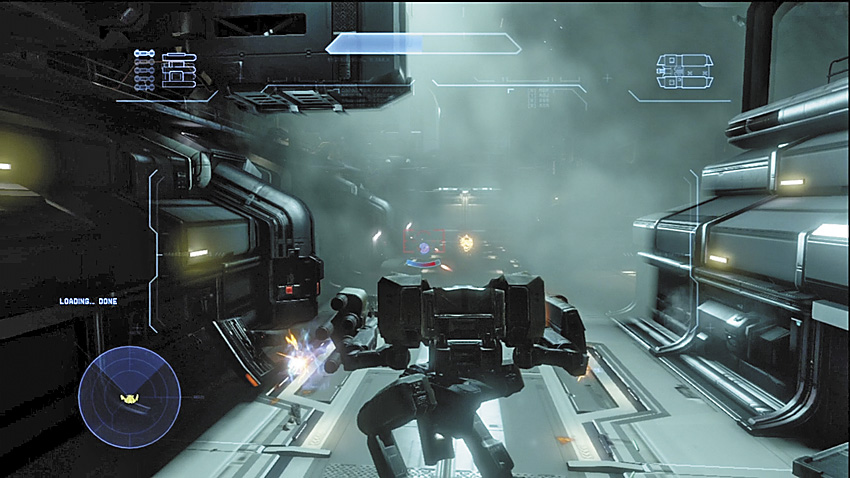
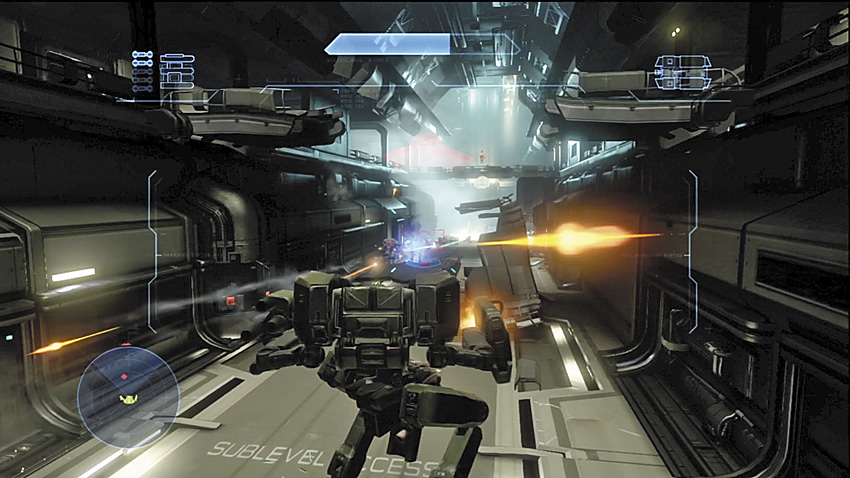
Into the Fog
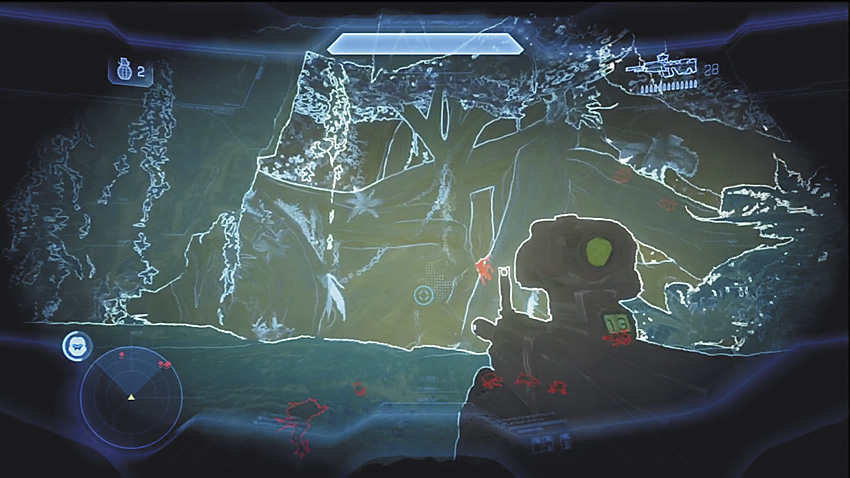
[7] With the Promethean Vision now in your possession, you have the perfect opportunity to use it against the enemy in the portion of jungle below. You do not want to jump blindly down there, however. Crawler Snipes hang in the trees, while another pack of Crawlers as well as a Knight hold the ground. Before even approaching the ledge that overlooks this area, use the Promethean Vision to locate the Crawler Snipes and put them down immediately. Once you’re certain it’s clear, maintain your superior position and gun down the Crawlers below before focusing on the Knight.
You may remember that there were Crawlers just before you got to this overlook, and at least one was a Crawler Snipe. Consider taking its Binary Rifle with you if you can locate it, as it can make short work of any Knights you encounter, and you can stock up on ammo for it from the Crawler Snipes that you’ve killed.
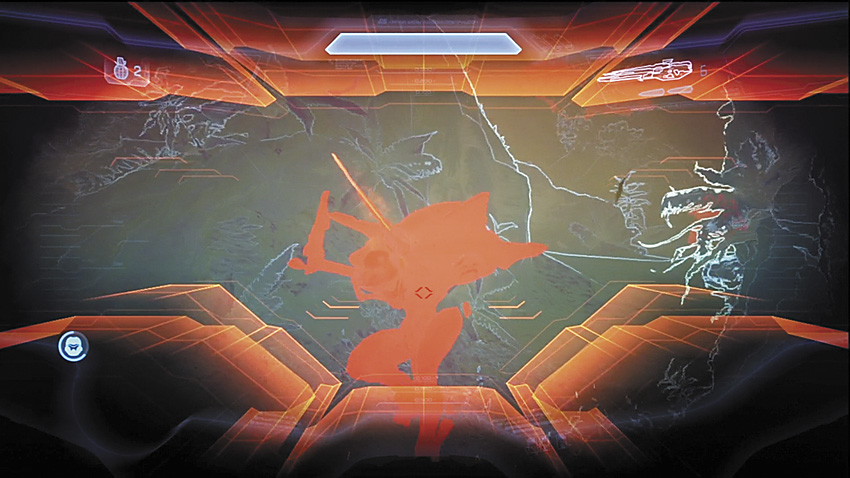
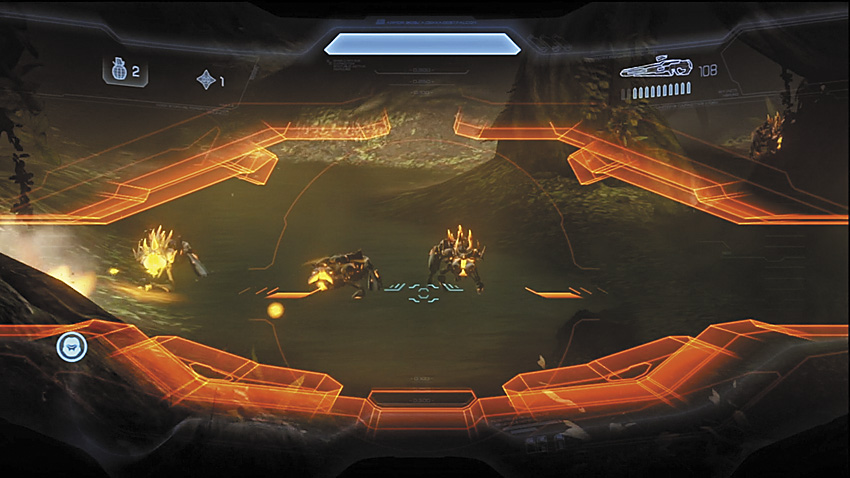
[8] Another Knight and pack of Crawlers ambush you here. After working your way past them, keep moving forward until Cortana marks another IFF tag to inspect. Beyond the tag [9], yet another Knight and Watcher pair in command of a large pack of Crawlers (including some Snipes) await you. Do yourself a favor and activate Promethean Vision before rounding the corner to spot the Crawlers in the trees: The Crawler Snipes tend to favor higher ground, and picking them off early is the key to success.
[10] Cortana correctly describes this path filled with winding tree roots as a chokepoint. Crawlers infest the trees, making the path more perilous. Frequently toggle Promethean Vision to avoid the unpleasant surprise of a Crawler dropping from the tree branches and delivering a melee strike to the back of your head. Eventually, you reach a locked facility door, with the IFF tag belonging to another Marine. If you’re interested in switching over to a DMR, you can find one next to an Assault Rifle and a UNSC crate full of Frag Grenades. Once you make your picks, inspect the IFF tag.
Reunited (May Not Feel So Good)
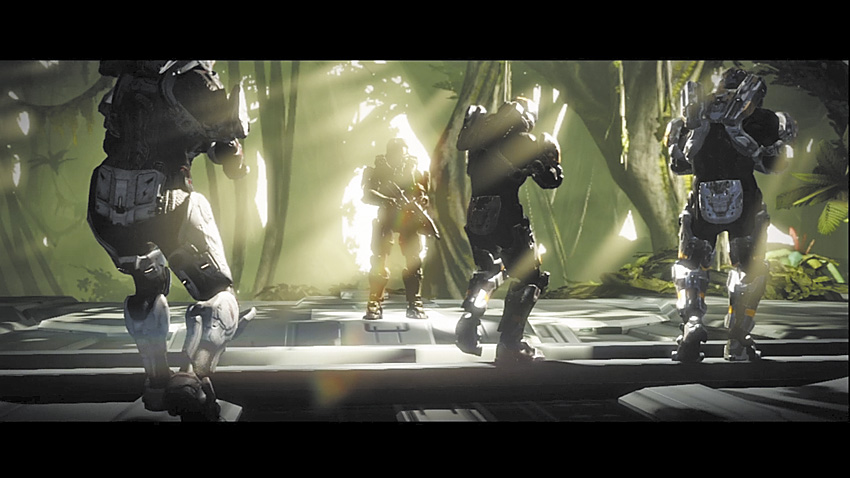
Marines, as well as what appear to be new Spartans, are gathered on the other side of the door. They are lead by Commander Lasky, the first officer of the Infinity . In a questionable tactical decision, Captain Del Rio had sent out ground troops as the ship came under attack in the hope that the forward units could locate the gravity well pinning down the ship, while Infinity provided fire support. Now the Captain wants the gravity well that brought the ship down disabled, but Sarah Palmer, commander of the Spartans, knows that what is left of this ground team will likely not survive a trip back to the ship on foot. The Master Chief and Cortana are requested to help clear out a landing zone to evacuate the wounded and get the combat-ready troops back to the Infinity to provide assistance.
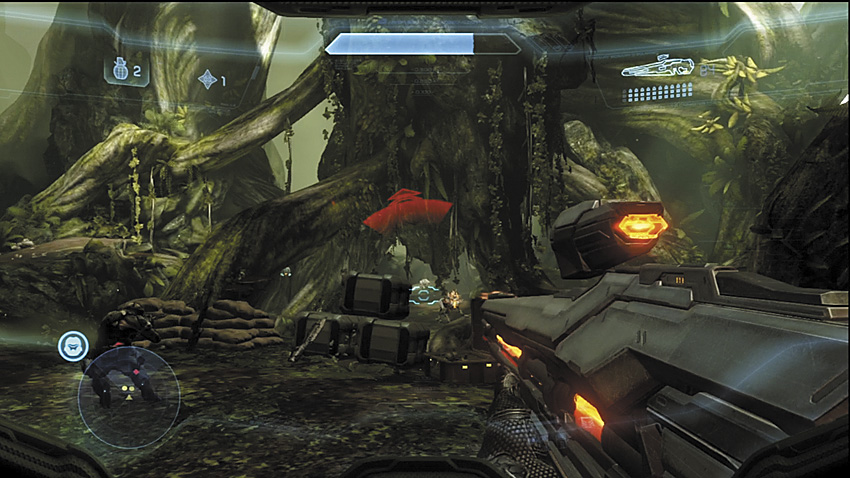
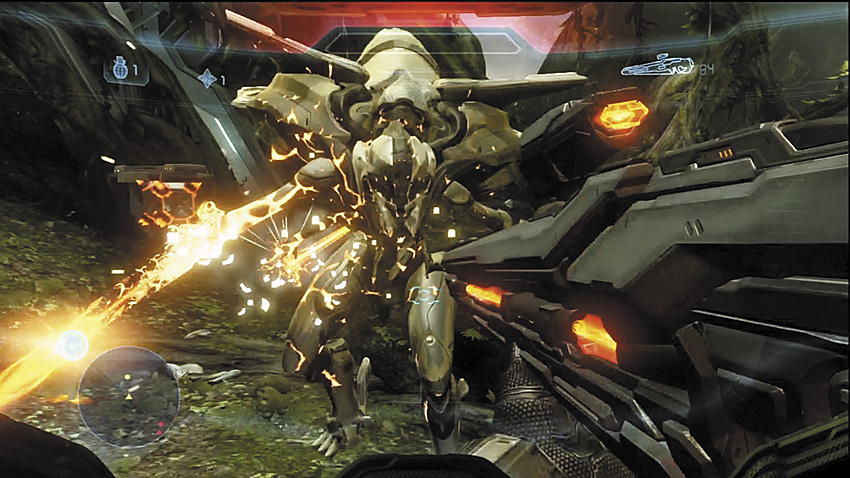
[11] With Marines in tow, the Master Chief exits the makeshift triage to begin the push to the designated landing zone. Another Knight just outside deploys a Watcher and calls in a pack of Crawlers to stymie your advance. Sandbags have been set up near the ramp leading back into the facility, which contains additional weapons and ammunition. Because of the canopy of tree roots, it’s not a bad idea to use a Binary Rifle shot to eliminate a Watcher quickly, just to prevent it from fleeing and using the environment to hide and regenerate.
Key Combat Tip
Domain Terminal
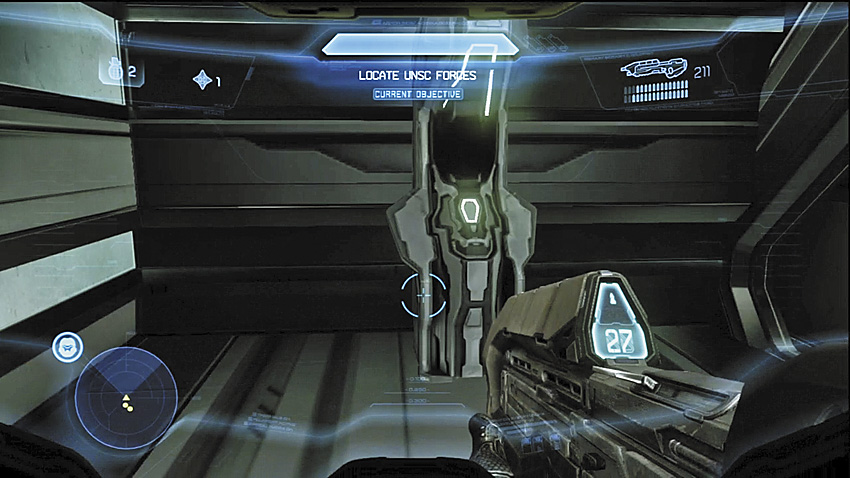
This terminal is amazingly easy to miss. Right after you regain control of the Master Chief and before the firefight begins, turn around to find it sitting right behind you.
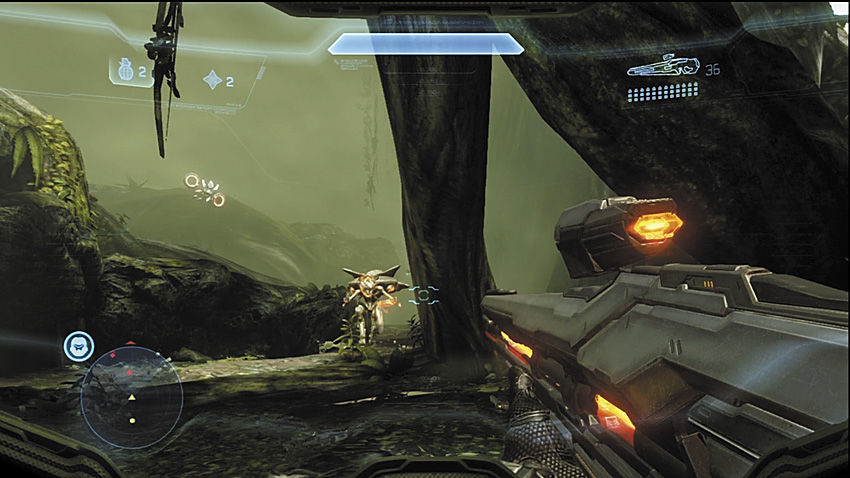
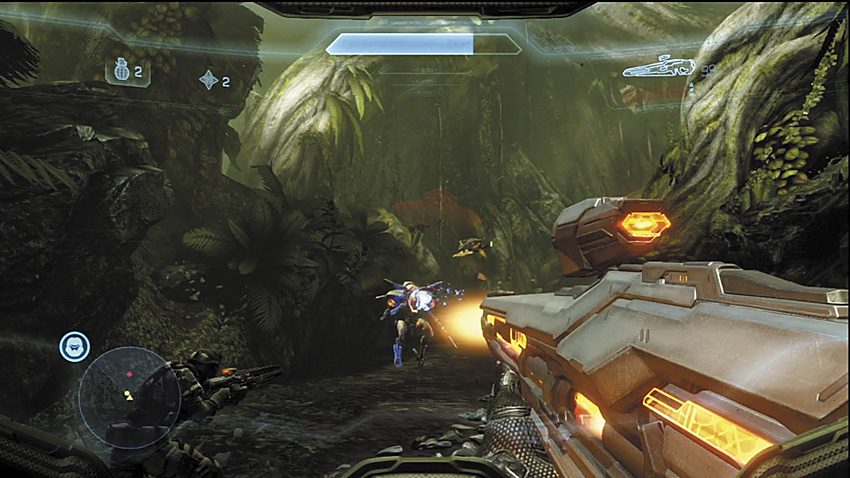
[12] Another Knight deploys a Watcher a little farther away from the first attackers at [11], but they tend to stay out of direct contact unless you or their allies draw close to their position. A little farther up the path [13], a Knight attempts to warp in behind you and any Marines with you, while a small pack of Crawlers charges in from the front.
Major Firefight: Pushing to the LANDING ZONE
[14] Commander Lasky radios in with some bad news: Another Marine squad up ahead is in dire straights and is about to be overrun by a large force of Knights and Crawlers. Originally these Marines were set up to guard the door that lead to the emergency LZ, but they were driven back to this point. If you hurry, you can save some of these Marines, work with them to retake their positions by the door, and, while Cortana works the lock, help them defend against the inevitable counterattack.
Recommended Loadout
The LightRifle and DMR are both solid choices for wiping out Crawlers and Watchers that any Knights spawn. As soon as you reach the Marines, you can get your hands on a Railgun, one of the most powerful weapons in the UNSC arsenal. You’ll want to save all of the ammo for this weapon to bring down Knights quickly. If you manage to arrive to this battle with a Binary Rifle, you will find that there are a number of Crawler Snipes you can kill to resupply it, and while it doesn’t have the same sort of power that the Railgun has, its shots reach a target faster and more accurately.
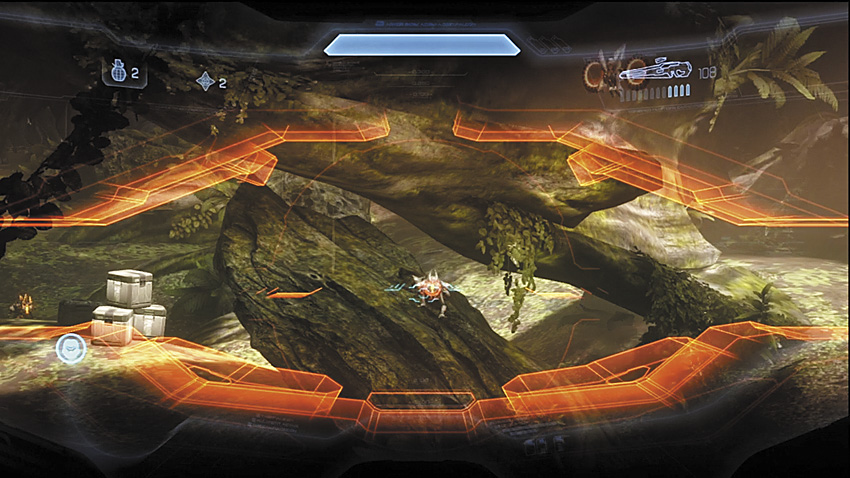
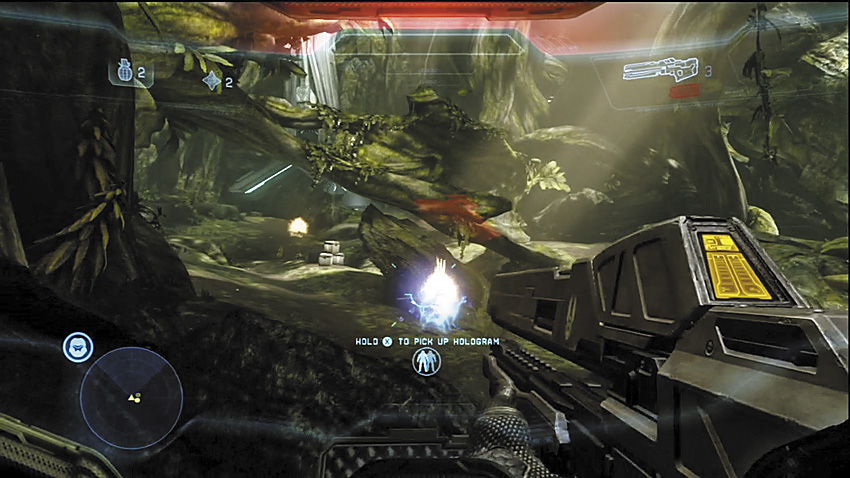
[14] To put it succinctly, these Marines are screwed. More specifically, while the Knight and Watcher combo is always dangerous, the Crawler pack includes a number of Crawler Snipes among them. If your allies have any hope for seeing the end of the day, much less the rest of this battle, the Crawler Snipes must go as soon as you take out or drive off the Watcher. You’ll probably still lose Marines while hunting down these snipers, but you can track the tracers from the Binary Rifles back to the source. Once you are certain that the snipers are gone, get rid of that Knight. Before you begin the charge up the next hill, collect the Railgun, and the Hologram armor ability, if you wish. Things are about to get bad.

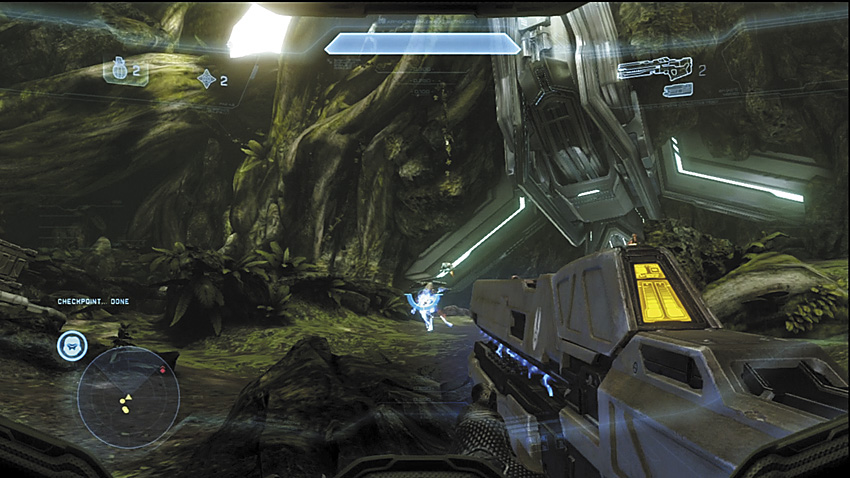
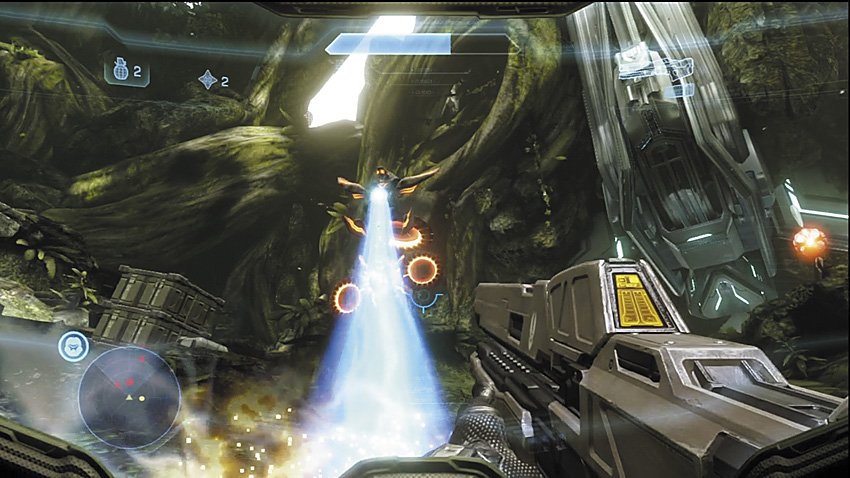
[15] Two Watchers flank Knights that warp in just in front of the barricade the Marines originally held. The Watchers immediately begin attempting to construct a pair of Forerunner anti-infantry turrets, and then attempt to summon additional Crawlers to join the group that charges down the hill from the sealed door. If you’re lucky, any surviving Marines may actually pitch in and try to shoot the Watchers down. Chances are you will not be so lucky. If you manage to down the Watchers, this fight gets much easier.
If the Watchers get the turrets up, they have got to go first, as they close down many viable flanking routes and can slaughter any Marines you’ve got left. Punish the Watchers, then get rid of the Crawlers. Don’t feel pressured to stay at the top of the hill, fighting tooth and nail. Fall back if you feel you’re about to get overrun. When you get the opportunity, make the Knights eat Railgun shot. With the barricade retaken, get Cortana to the marked door lock, and then man the sandbags and mounted machine guns with any allies you have left. The counterattack will be vicious, so be ready.
Perishable Knights
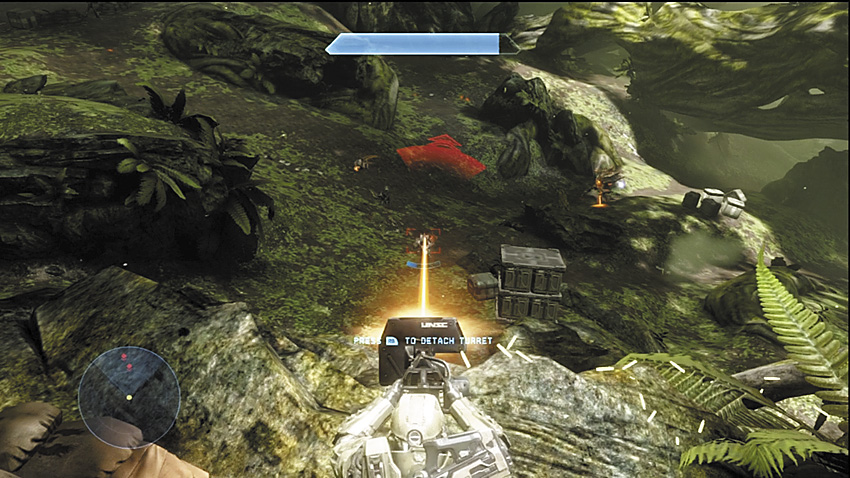
[16] Cortana places the new objective “Defend the Hilltop” at the top of your HUD, signaling the attack of seven Knights, supported by a Crawler pack and the ever-present Watchers, all coming from the hill you just fought your way up. You can describe a fight as being “hard” only in so many ways, but it is what it is. Your best bet is to shut down the Knights before they can get close.
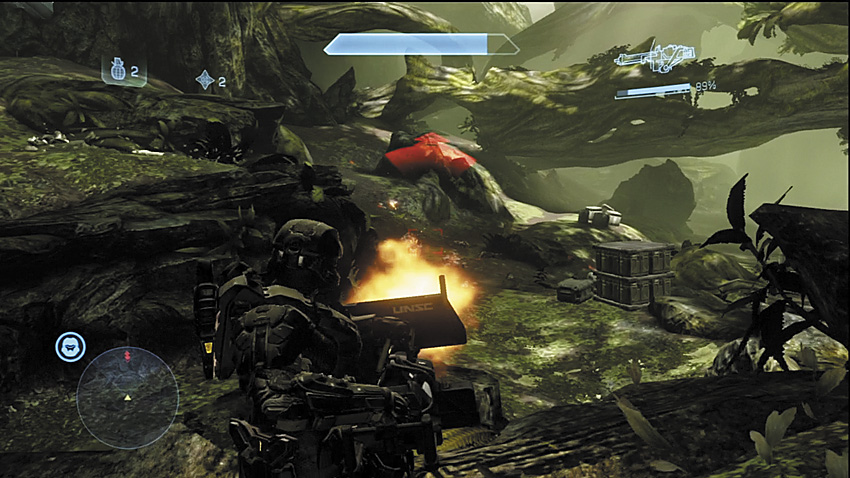
If you have any Marines with you and they take up the mounted machine guns, force one of them off and take the gun for yourself. You will be more effective than the Marines, who tend to fire in short bursts that are barely a threat to the Knights. Hose the Knights down as they reveal themselves. Don’t forget, you can tear the Machine Guns off of their tripods and carry them into battle with the enemy.
The Watchers try to revive any fallen allies, which gives you a chance to kill them (or the Knights they are supposed to protect) with some ease. Don’t feel as though you need to stick to the machine guns. Break free if you are about to get flanked. Cortana calls for you to retrieve her from the AI plinth once the area is clear. The cave beyond the door is where the landing zone is located. Gather up any Railgun ammo you can find, but if you have too few shots, consider taking up a Binary Rifle to replace it.
Alternate Approach
It’s also possible to play a more mobile game against this attack. There’s a good supply of Railgun ammunition to use against the Knights. A single shot is almost a guaranteed kill. Combined with proper use of a Hologram, the Railgun will let you get many free shots at enemy backs. Also, rather than abandoning a machine gun when the enemy draws near, you can detach the gun from its mount and fall back while firing. This costs you the unlimited ammo a mounted gun enjoys, but it can save your life.
Legendary Strategy
Don’t get attached to the Marines at [14]. If the snipers don’t get them, the other Crawlers don’t overrun their meager defenses, or the Knights don’t kill them outright, they still have the rest of the fight to try to survive and the odds are against them. For the first section, the Crawler Snipes can prove to be the most frustrating threats. Don’t be surprised to fall more than a few times at this juncture.
Before even considering pushing forward to [15], crush any and all resistance from every last Promethean you can find. Winning the next portion of the battle is all about minimizing your risks, so try to avoid having stragglers join up with the reinforcements. The second phase of this fight plays out in similar fashion to Heroic difficulty, with the usual Legendary twist—all the enemies are much tougher.
For the last stand, manning the guns in a stationary position is nearly suicidal. You simply can’t kill the enemies fast enough to avoid getting overrun. If you take up a gun, use it from its tripod for as long as you can safely manage. If the enemy appears to be flanking you or just getting too close, rip the gun free of its mount and try to make use of the terrain to funnel the enemy into your kill zone while minimizing your exposure to incoming fire. Better still, stick with a LightRifle to put down the Crawlers and Watchers, and lean on the Railgun or Binary Rifle to kill the Knights quickly. Even at this difficulty, a fully charged Railgun can still flatten a Knight, or at least weaken it so that a follow-up LightRifle shot can finish the job.
Legendary Gameplay Video
Major Firefight: Clearing the Cave
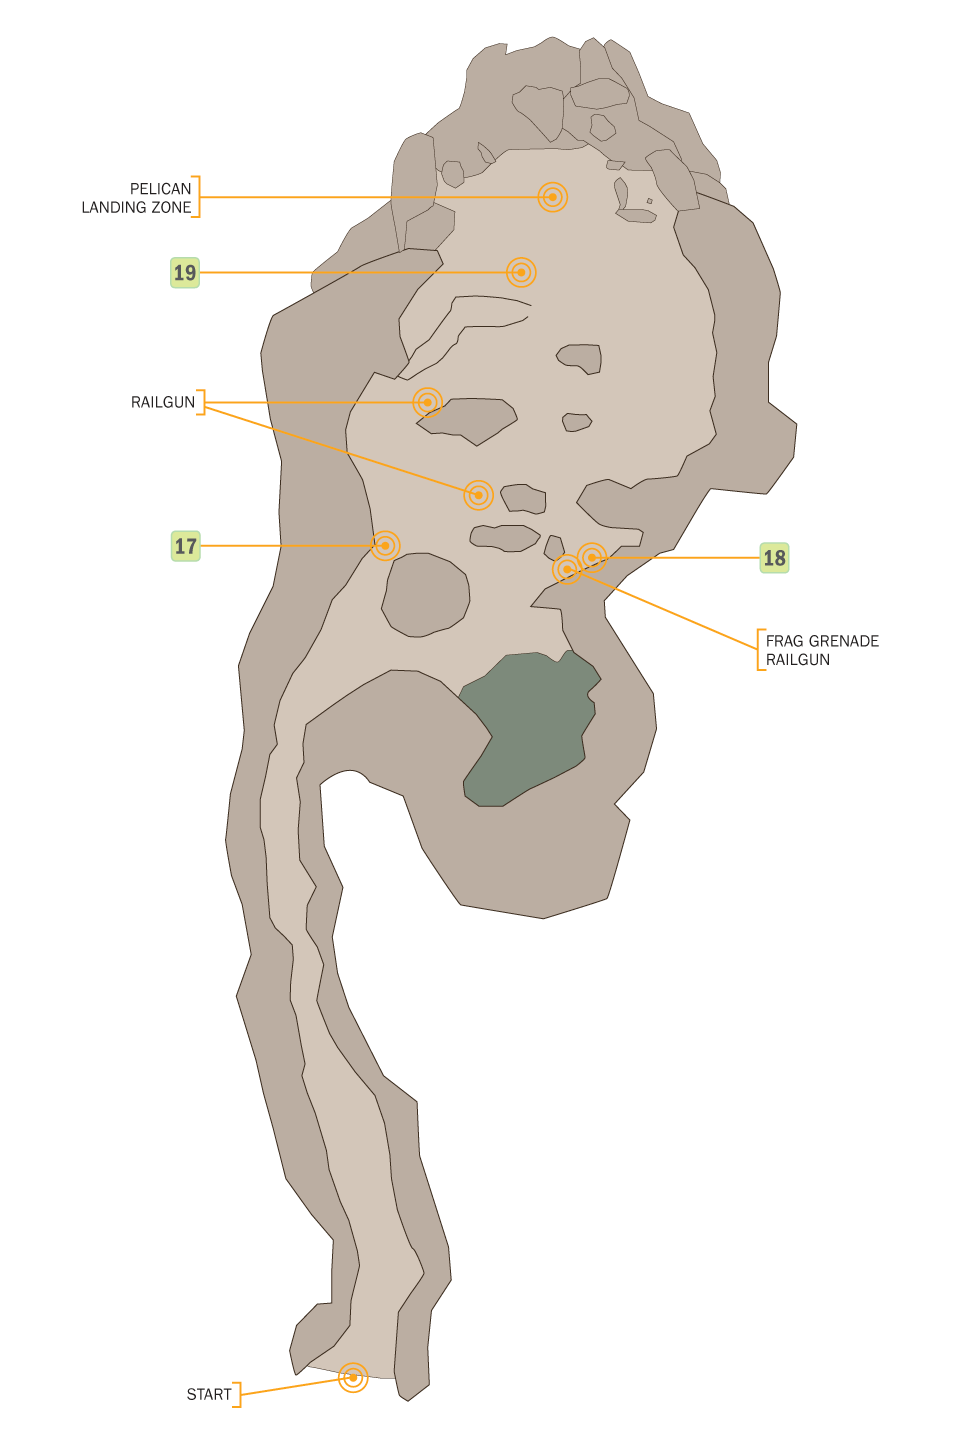
[17] The Covenant were clearly held under the thrall of the Didact when he made his grand appearance, and now you face both Promethean and Covenant forces working together. Knights and Elites command a small army of Grunts, Jackals, Watchers, and Crawlers, and before the fighting is done, Phantoms will bring another wave of hostiles to deny the Pelicans a place to pick up Lasky’s survivors.
Recommended Loadout
Any Railgun or Binary Rifle ammo you have should be appropriately distributed to Elites and Knights. For the rest, the LightRifle once again is more than sufficient. Alternatively, the Plasma Pistol or Covenant Carbine can work here as proper replacements, though they are arguably less efficient at killing Knights.
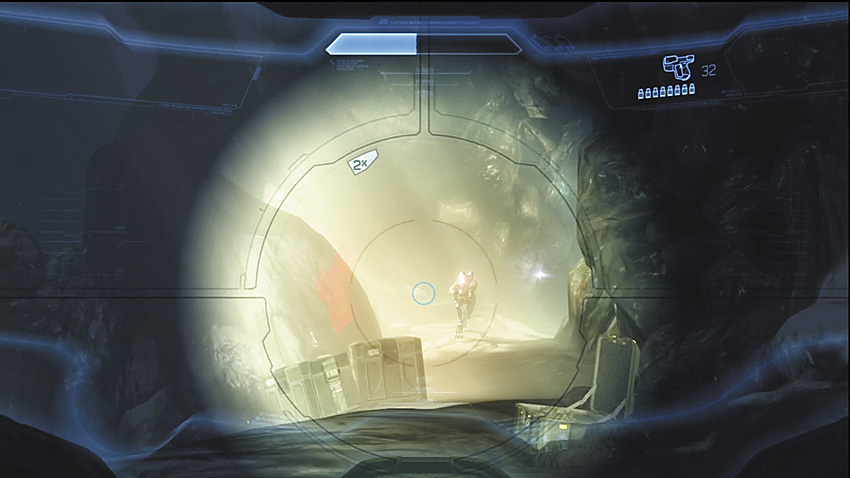
[17] Initial contact with Grunts and Jackals starts here. A Knight is attempting to direct them to attack you. Killing it outright causes panic among the Covenant enemies, so be prepared for potential Grunt suicide charges. You’ll find more Covenant scattered throughout the cave as you go deeper. [18] You can try to use this side path, which is guarded by a Jackal Sniper, for cover and flanking maneuvers, and another cache of Railgun ammunition can be found here.
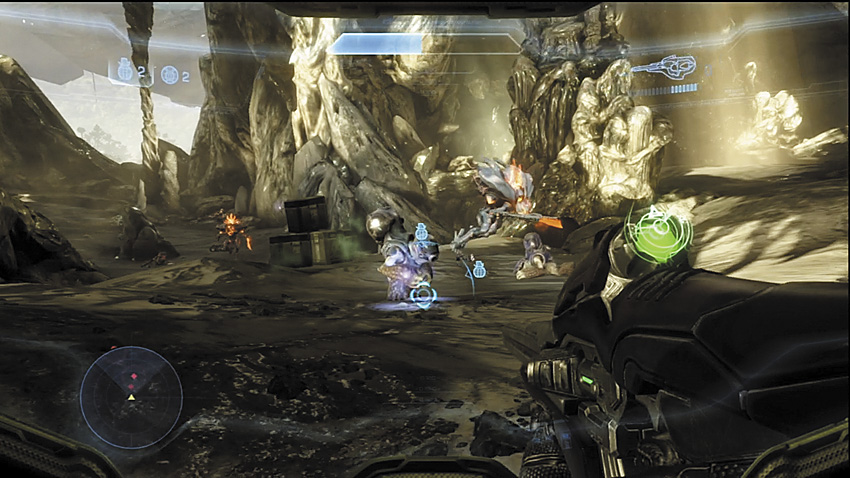
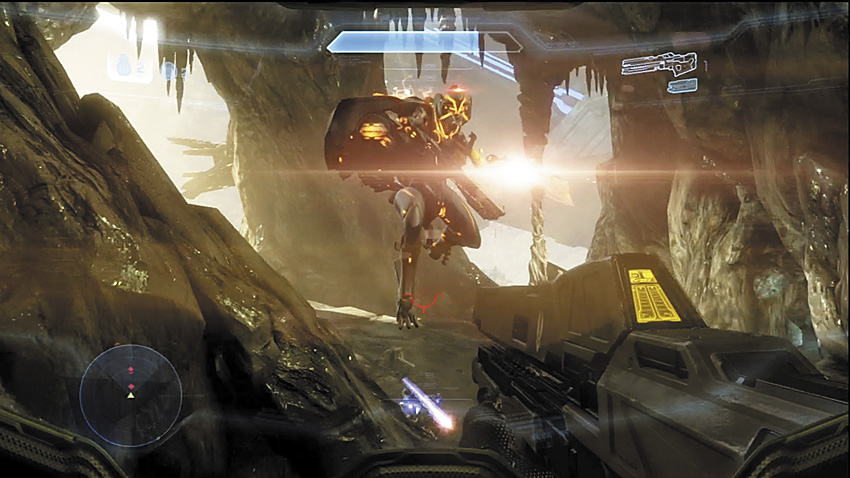
[19] After eliminating the first group, the Knight and Watcher pair in the back of the cave receive a Phantom’s worth of reinforcements, which brings Elites into the fray, along with more Jackals and Grunts. Elites are smaller and more maneuverable than Knights, which means they are tougher targets for the Railgun. Because there’s so much spare ammo available for the weapon, you can afford a few misses, but you should use that surplus to make certain that any Watchers in the air are taken care of. Watchers have a tendency to sit still when protecting their allies. As a bonus, any enemies near the Railgun shot’s blast will also sustain some damage. The most dangerous enemy, a Knight Battlewagon, is a part of this group. So long as you keep it at a distance, its Scattershot will not be a serious threat. Remember, Battlewagons are far more resilient than the basic Knight; they are able to survive at least one fully charged Railgun shot.
A Pelican Dropship arrives once the area is clear. Infinity ’s forces are losing ground against a determined assault, and any able troops under Lasky and Palmer’s command, along with the Master Chief, are needed for the fight.
Legendary Strategy
The Railgun’s lack of a scope makes it tough to do, but you can reliably snipe if you have some patience. While the opening sections are relatively easy, things get complicated when the Phantom arrives. The Knight Battlewagon, once its Watcher support is destroyed, becomes very aggressive and tries to chase you down. You can retreat back toward the cave entrance, if necessary, in order to try another approach. A well-placed Hologram is also effective at drawing enemy attention on any difficulty, and so long as they don’t notice you deploying it, this can make a tricky fight easier.
Legendary Gameplay Video
The Gun Show, AKA Tank Beats Everything Once Again
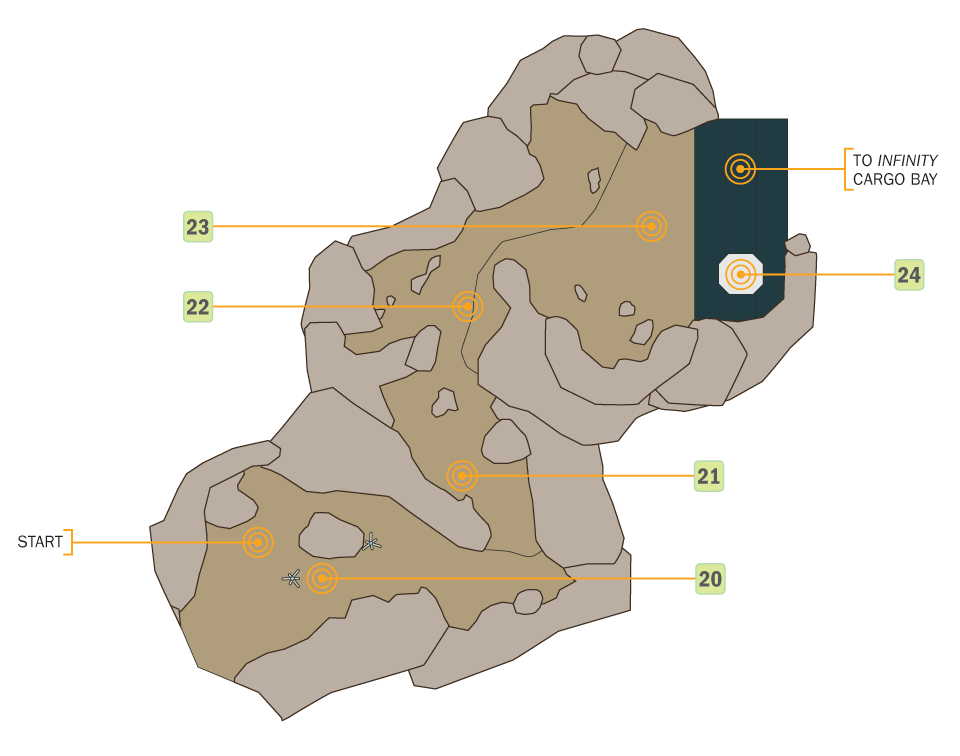
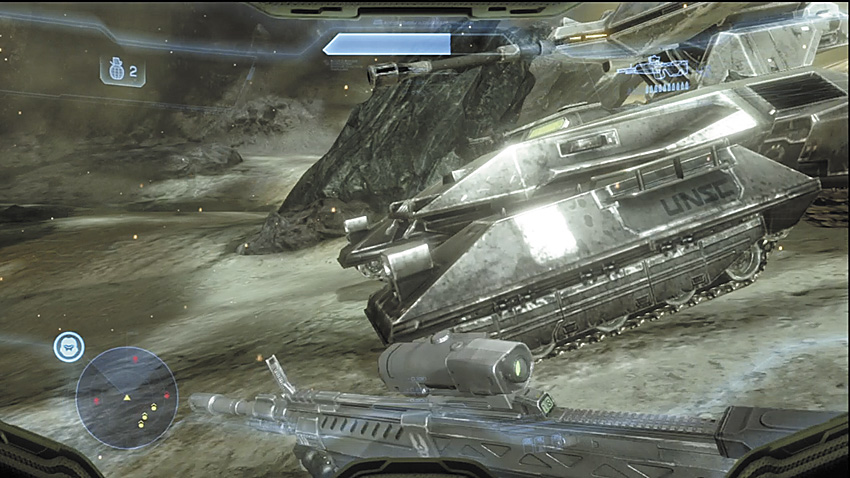
[20] The Pelican drops you off in the middle of an intense firefight. Marines and Spartan-IVs are under fire from Ghosts supported by infantry and a Phantom. Fortunately, the Marines have more than just a Warthog at their disposal. A Scorpion tank is parked near the LZ, and you are offered to take the controls. Use the tank to annihilate the Covenant troops, but watch your fire and avoid hitting the friendlies in the Warthog. No need to ditch your support/distraction just yet. Any surviving allies who aren’t on the Warthog climb aboard the Scorpion to provide additional fire support.
Key Combat Tip

Legendary Strategy
There is a major difference to the start of this engagement on Legendary, and that is the presence of a Wraith directly ahead of where the tank is parked. Don’t charge at the tank just yet. Work on clearing the immediate area of Covenant troops while you’re on foot, letting the Wraith fire plasma mortar shots at you while you remain on the move. The reason for this is to avoid getting killed before you even climb into the cockpit, as well as to prevent Covenant from stunning your vehicle using charged Plasma Pistol shots.
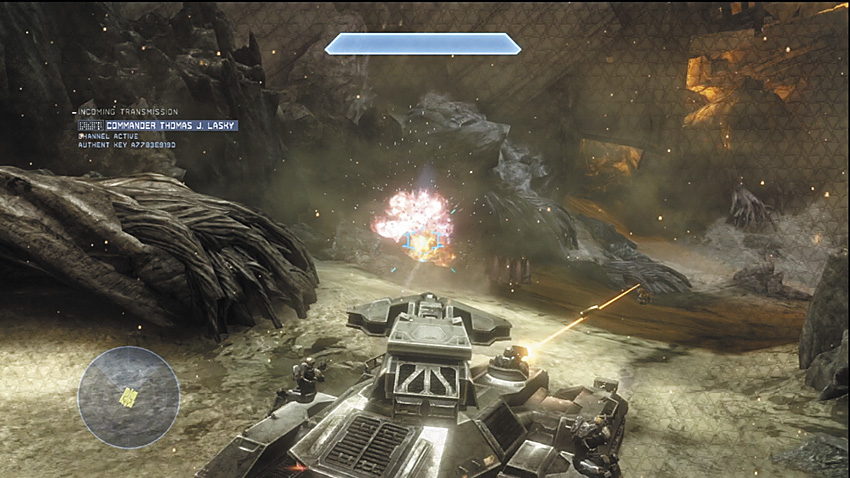
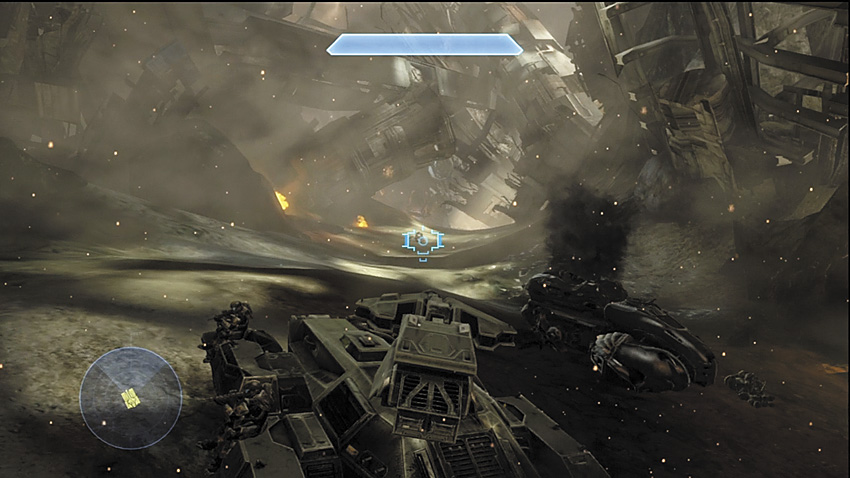
Small outposts encountered along the path forward should be obliterated to prevent any nasty surprises from behind when you come across real resistance, such as Wraiths [21]. Their plasma mortars can ruin the Scorpion. Use the superior accuracy and range of your main gun to safely deal with the Wraiths.

Key Combat Tip
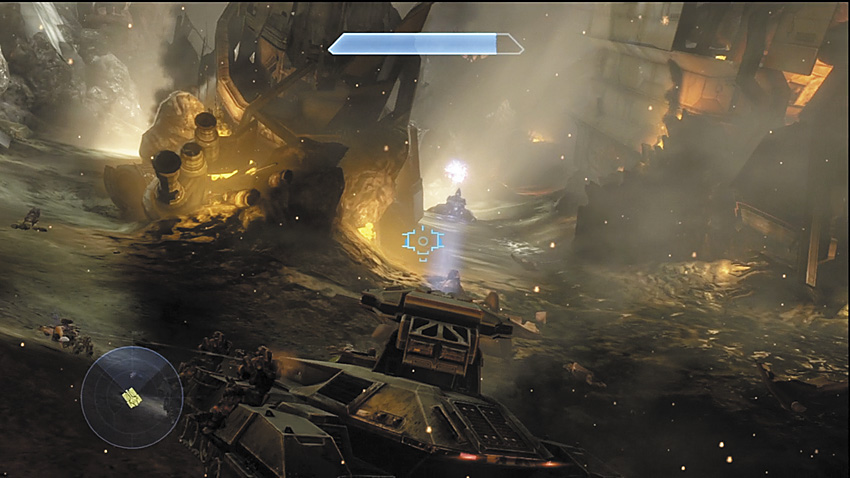
[22] Another Phantom drops off a Wraith to help defend the series of Covenant outposts in this area. Be especially careful of the floating guard platforms here, as there may be hostiles wielding Fuel Rod Cannons perched among them. Being thorough equals being safe!
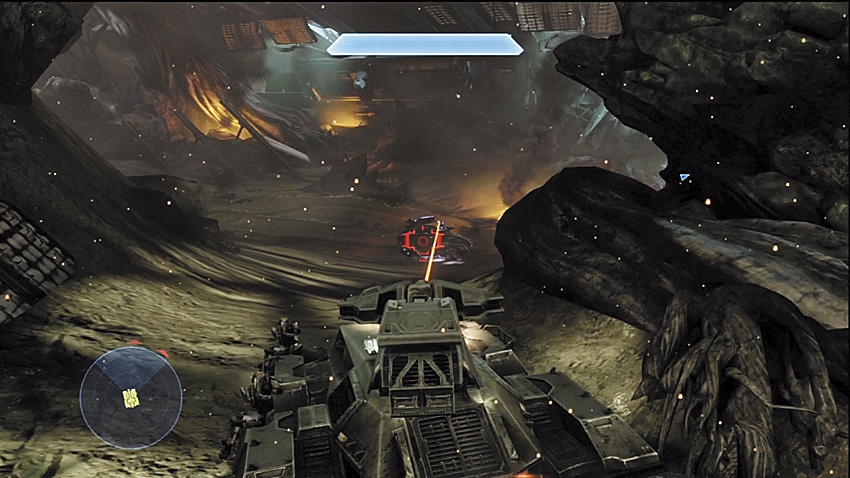
[23] The last of the Covenant ground forces, including another Wraith, is throwing itself against a meager defense line set up by the Marines trying to prevent any more hostiles from entering the Infinity ’s vehicles bay. Once the enemies are clear, follow the path to the cargo elevator that takes the tank up into the ship to help repel the boarders.
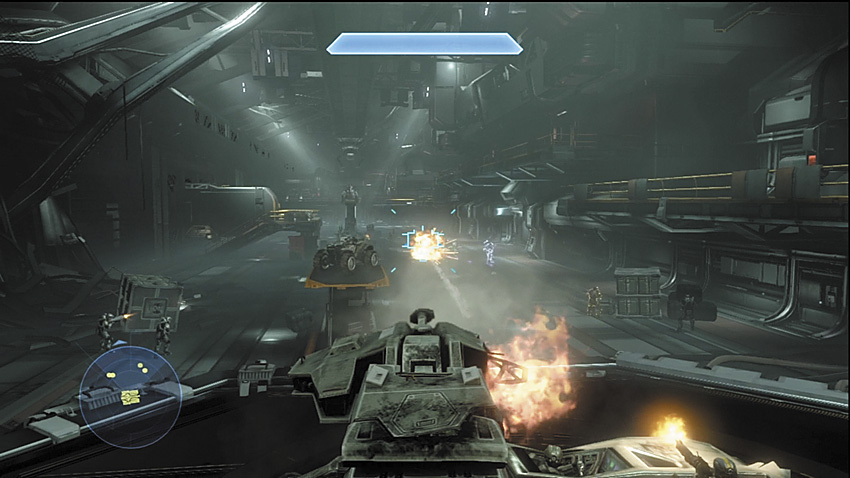
[24] Inside the cargo bay, a stalwart few Marines are breaking under the Covenant assault lead by Elites and a pair of Hunters. Now that you’ve brought a tank into the equation, the battle should turn in the favor of the UNSC. Prioritize the Hunters as targets to knock their Fuel Rod Cannons out of the mix, then deliver high-explosive justice to anything else not human. Captain Del Rio radios in, saying that the ship is currently disabled and helpless against the Covenant assault. He wants you to get to the ship’s outer hull to help repel the enemy, and he’s got the perfect ride for you to use in a nearby dock.
Shining Armor (Mechs Beat Everything, Harder)
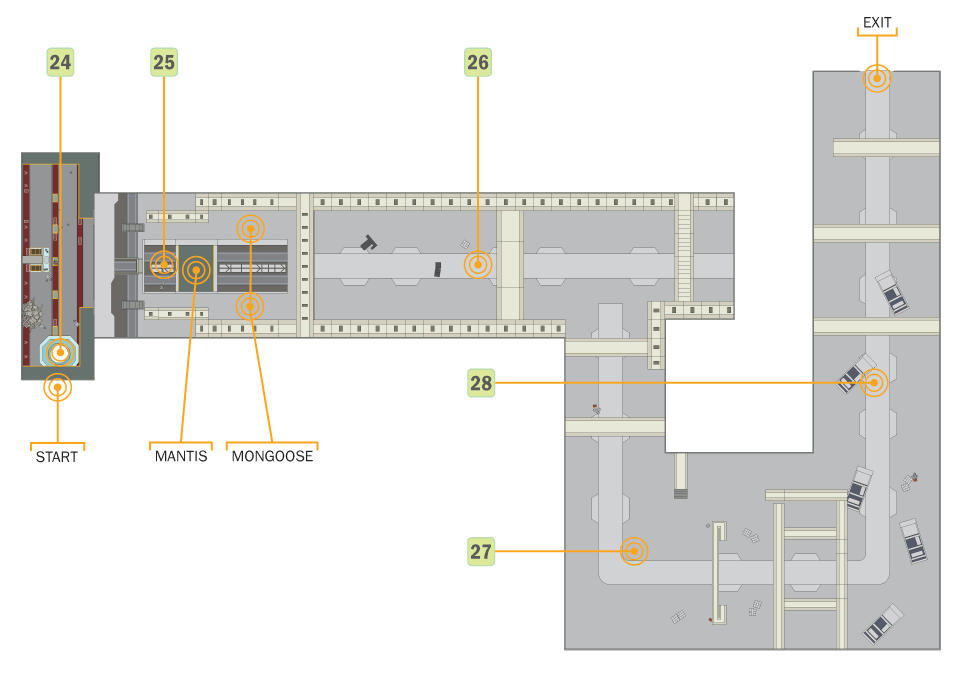


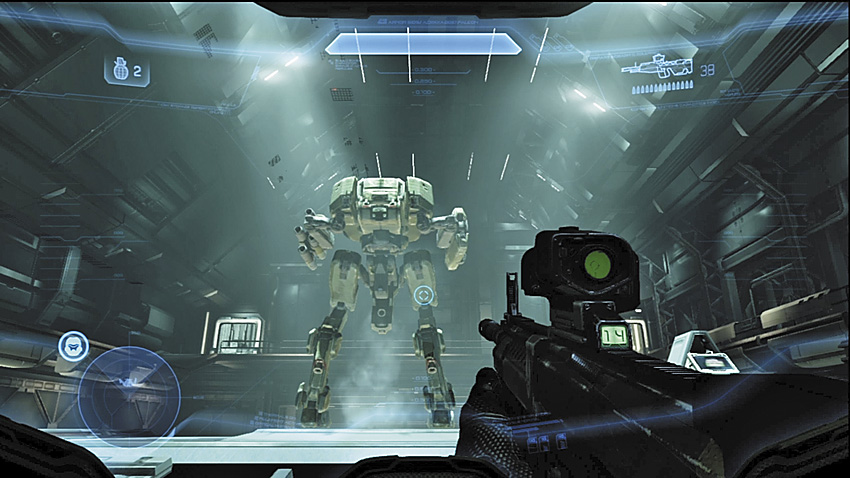
[25] After you activate the designated control console, the Mantis dock unseals, revealing the massive combat mech. Climb aboard and get acquainted with the controls and weapon systems. You’ll have to shoot your way through the doors that lead to the rest of the ship.
[26] You have spent the majority of this adventure so far outnumbered, outgunned, and possibly out of your mind from trying to survive. The Scorpion was nice, but the Mantis is a monster in combat, and it’s the perfect stress relief after everything you’ve been through. This section of the cargo holds is a lengthy, winding corridor. All manner of Covenant troops and Prometheans attempt to stop you. And yet, you’d have to try to lose for them to stand a chance. Even the dangerous Fuel Rod Cannons held by Grunts, Hunters, or Elites can pose a threat only if you give them a chance to fire, and the Mantis’s weapons can easily outrange them all.
Key Combat Tip
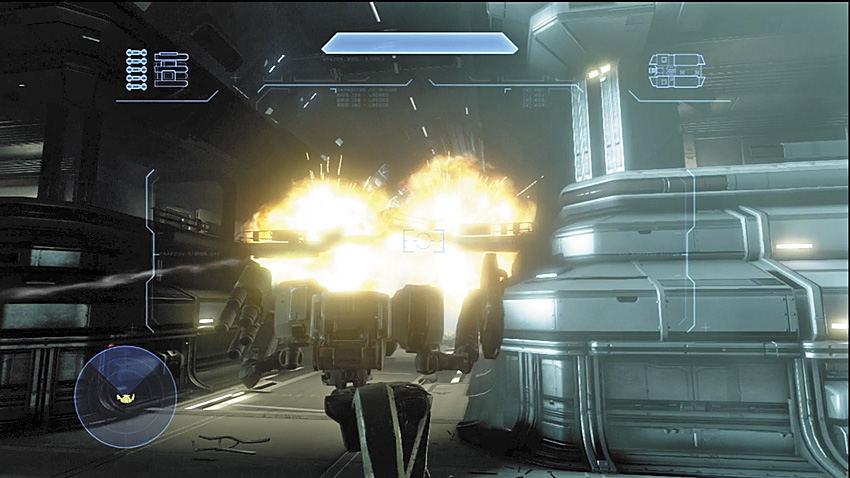
Forerunner turrets are more dangerous. The constant damage they can dish out can quickly overload the Mantis’s shields. Any time you see Watchers attempting to build, it’s most likely going to be a Forerunner anti-infantry turret. The turrets are often placed atop destroyable platforms or walkways.
Speaking of walkways, destroy every last one you see. Grunts with Fuel Rod Cannons like to use them to try to get the drop on your Mantis. A little collateral damage can be explained away when it’s done in the line of duty.
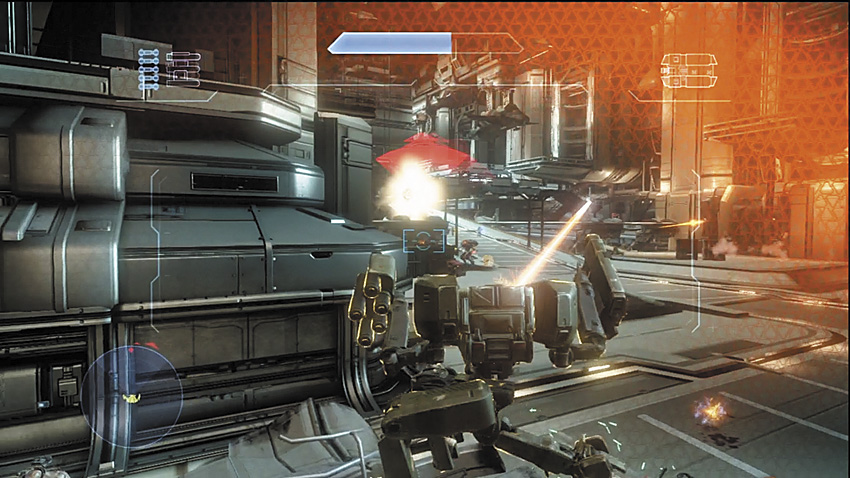
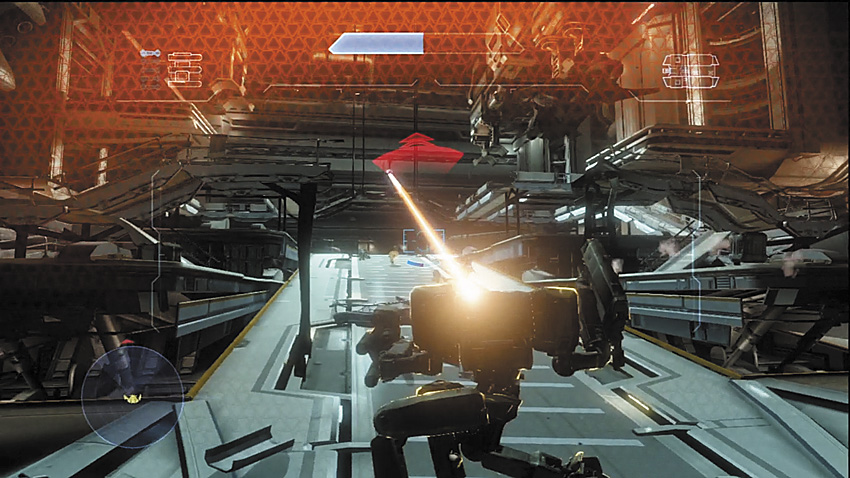
[27] This ramp area is the site of a series of defenses marked by Forerunner anti-infantry turrets, Grunts, Jackals, and Knights. Be careful not to charge too quickly up the hill without ensuring that you have eliminated anything that could potentially flank you. Charged Plasma Pistols can completely disable the Mantis.
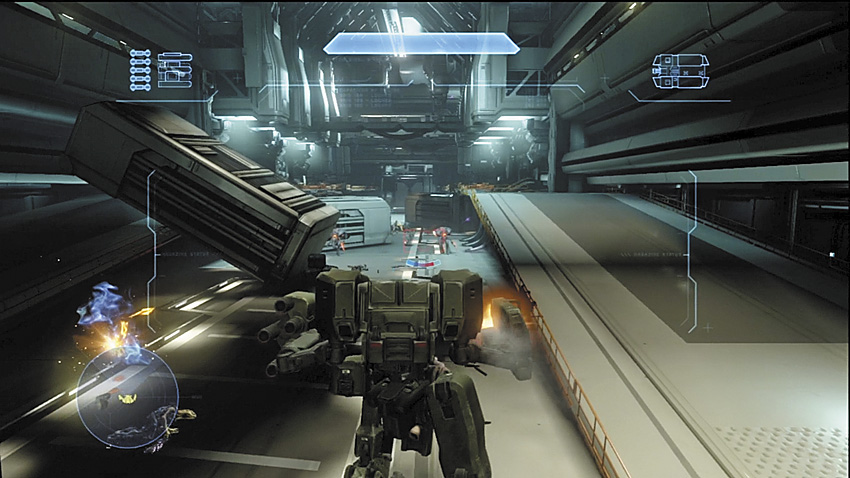
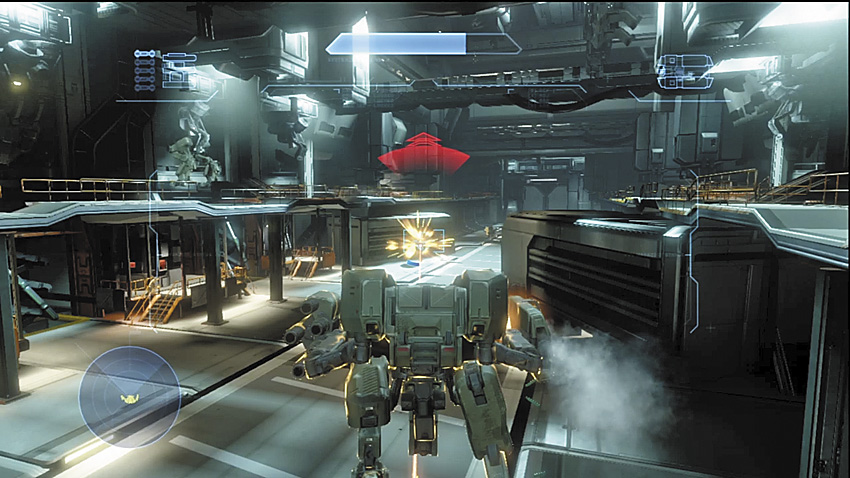
[28] This section is actually quite dangerous. The narrow passage is fiercely guarded by Grunts, Knights, and Forerunner anti-infantry turrets. You have little room to maneuver, so keep your guns trained and firing on the enemy as you maneuver around obstacles to prevent them from getting off any free shots. The last door between you and the cargo elevator to the deck of the Infinity opens to reveal a squad of Grunts ready to make a final suicide charge on your Mantis. Don’t get blindsided by this.
Major Firefight: Eviction Proceedings
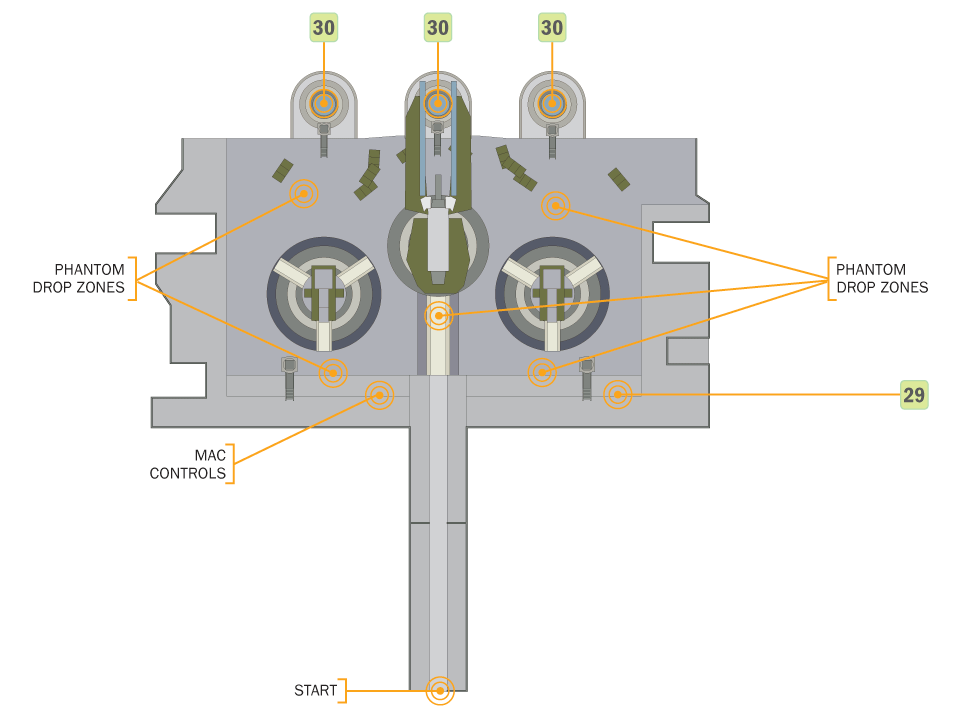
The Covenant have established a presence on the hull of the Infinity and placed jamming devices that are preventing the automated defenses from activating. You need to destroy all three jammers, and then eliminate every last Covenant soldier on the hull while dealing with any hostiles that try to arrive via Phantoms. Banshees also prowl the skies over the deck, which can threaten the Mantis from above. After destroying the Covenant, activate the MAC emplacement and get the Infinity ’s hull defenses online.
Recommended Loadout
The Mantis solves all manner of problems, and even if it doesn’t work and your mech is about to go up in flames, there’s always a second Mantis on the deck [29]. If you’re stuck on foot, grab a Fuel Rod Cannon to use on clusters of enemy infantry, though on Legendary you might want to just stick with the Plasma Pistol and any headshot-capable weapon.
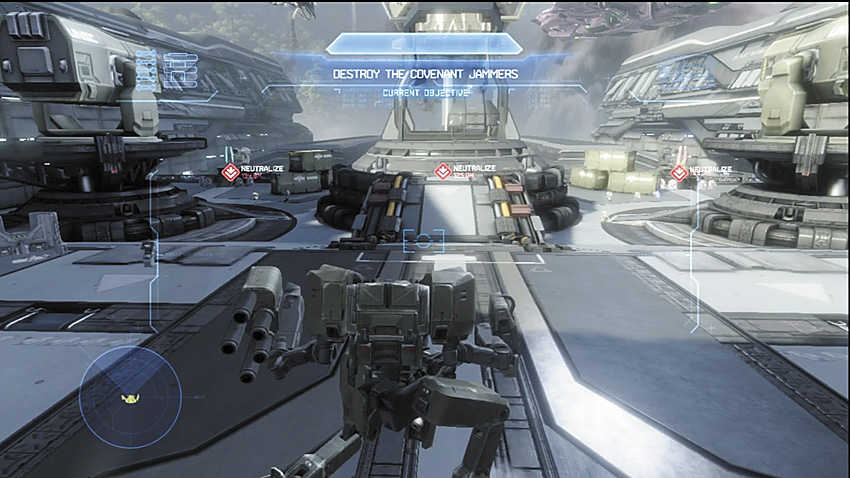
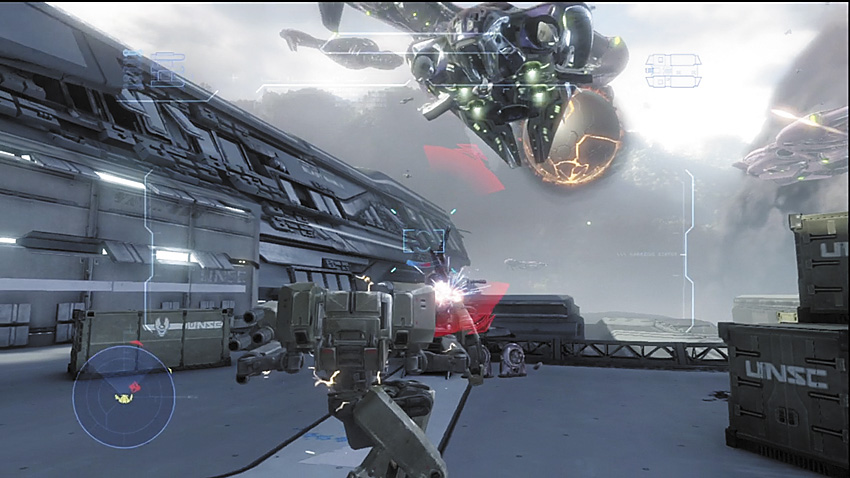
The three jammers [30] on the hull can be taken down in any order. There’s honestly very little that the Covenant ground troops can do to stop the Mantis from dominating them, despite their combined efforts to take it down with charged plasma bolts. Elites may try to surprise you with Fuel Rod Cannons, but their shields can not stand up to your firepower.
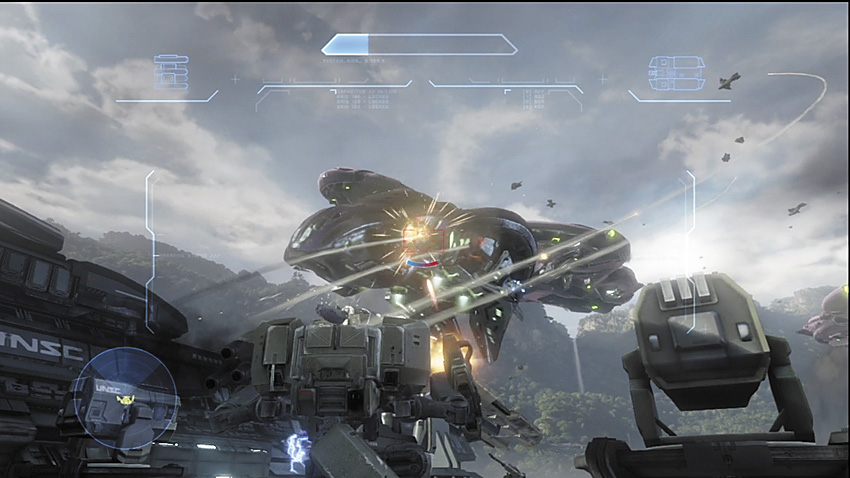
With the jammers pounded to dust, the Covenant get desperate and start sending in waves of Phantoms to drop more troops in the hope of overwhelming you. The Infinity ’s defenses help to soften up the Phantoms, and it’s possible to shoot them down. The real threat comes from Banshees. They may try to fly over the firing arcs of the point defense guns to dive-bomb you. Always take a moment to scan for these surprises while stomping your way over to the next Phantom drop site. Eventually, Captain Del Rio radios in to let you know that, as usual, the solution to his ship’s defensive network woes requires your direct intervention via a control panel. Cortana marks the spot near the doors where you entered the deck. With the main guns online, the Infinity quickly drives off the Didact, and Del Rio orders the ship to stand down.
Legendary Strategy
Things are a bit different on Legendary. While dealing with the jammers is still pretty easy, the Phantoms are a much more credible threat and are tougher to shoot down. Your best bet is to take out the guns on the Phantoms, particularly the nose-mounted concussion cannons, but also the side-mounted plasma turrets, which can do a real number on your shields and should not be ignored. You can also use the various obstacles on the deck as defensive cover from any of the Phantoms.
Banshees are very dangerous, as always, and they can actually attack from such an angle that you cannot bring the Mantis’s weapons to bear on them. Keep scanning the skies for Banshees to catch them in advance.
Surprisingly, what you should fear most is not the larger threats, but the little Grunts armed with Plasma Pistols that blend in among their comrades. The Mantis takes longer than any other vehicle in the game to recover from the EMP effects of a charged shot, a recovery time that swiftly proves fatal around a determined Covenant foe.
Legendary Gameplay Video
Aftermath
Despite the rough landing, the Infinity is still flight-and-fight-capable, and is more than ready to take it to the Covenant and the Didact.
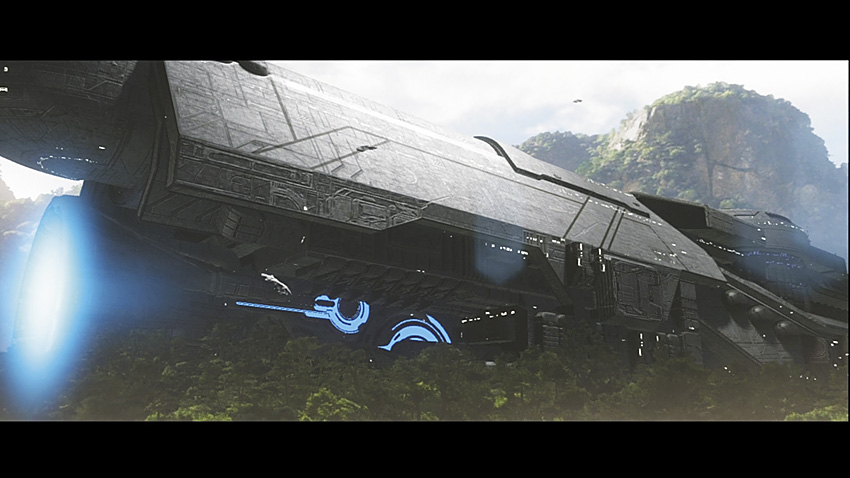
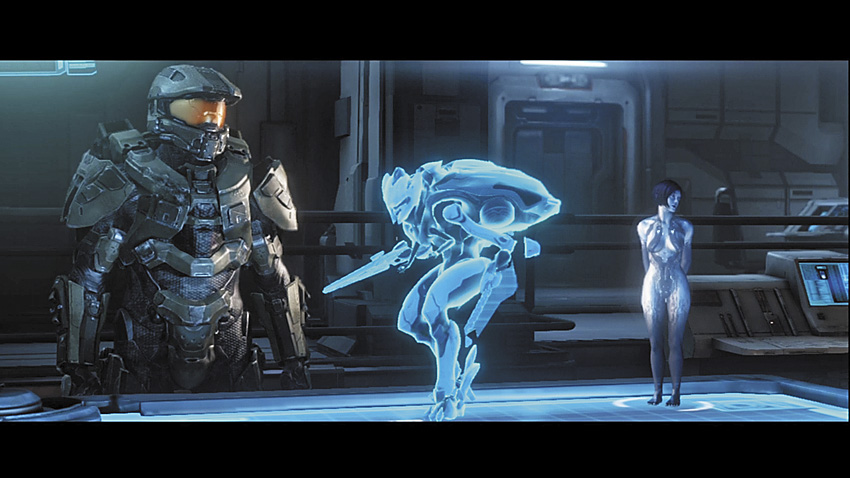
Or it could flee back to Earth without doing a thing to stop the Didact, which is what Captain Del Rio insists on doing. It’s clear that there is some disagreement among the officers gathered on the ship’s bridge, but the Captain’s orders are absolute, despite being against the suggestions of the Master Chief. The Captain wants the gravity well that is holding down the Infinity disabled so that they can retreat. Orders are orders, so the Spartan must prepare for his new mission.