
Halo 4 Guide Campaign Mission 2: Requiem
Mission 2: Requiem
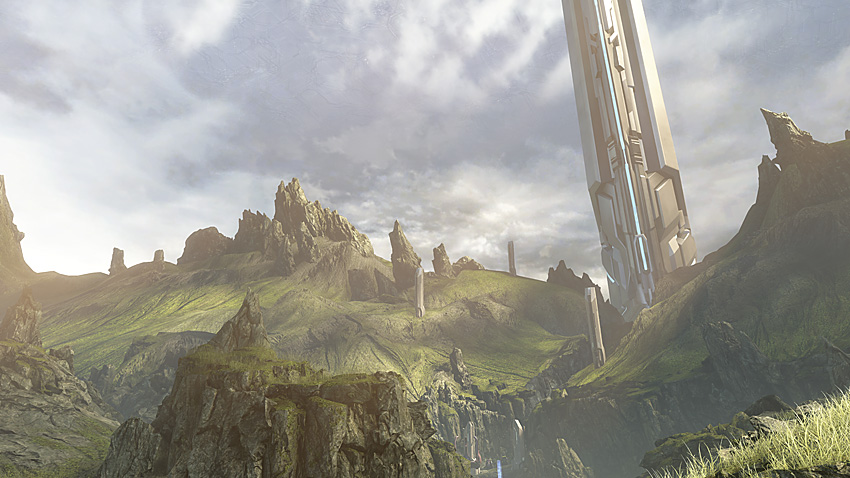
“I was put into service eight years ago. AIs deteriorate after seven, Chief.”
Against all odds, the Master Chief survived entering the planet’s atmosphere and the ensuing tumble through the sky down to the ground, accompanied by the remains of the Dawn and a massive portion of the Covenant fleet. Waking inside of the new graveyard of ships and souls, the Master Chief and Cortana are stranded in a new environment, without any support. It soon becomes apparent that Covenant forces have survived the unexpected disaster in great numbers, but this new challenge only signifies an opportunity to the pair; the Covenant presence means that there may be plenty of ships to hijack for a trip back to Earth. They must hurry, for Cortana is falling toward a condition known as rampancy, and only her creator may be able to save her now.
Mission Briefing
After escaping the initial crash site, acquire a means of transport and prepare to perform some aggressive reconnaissance. The Covenant have moved quickly to take advantage of the opening in the planet’s outer surface, deploying infantry throughout the canyons leading away from your starting location. After you push through the enemy defenses to reach a Forerunner facility, the Cartographer found within reveals that a UNSC ship, the Infinity , may already be on this planet. You’ll cross over a bridge linking the Cartographer facility to a terminus that contains a transport system that will hopefully lead to a way off the planet.
Enemies Encountered:
- Elites
- Grunts
- Jackals
- Hunters
Vehicles Encountered:
- Shade Turrets
- Ghosts
- Banshees
- Phantom Dropships
Ship Graveyard
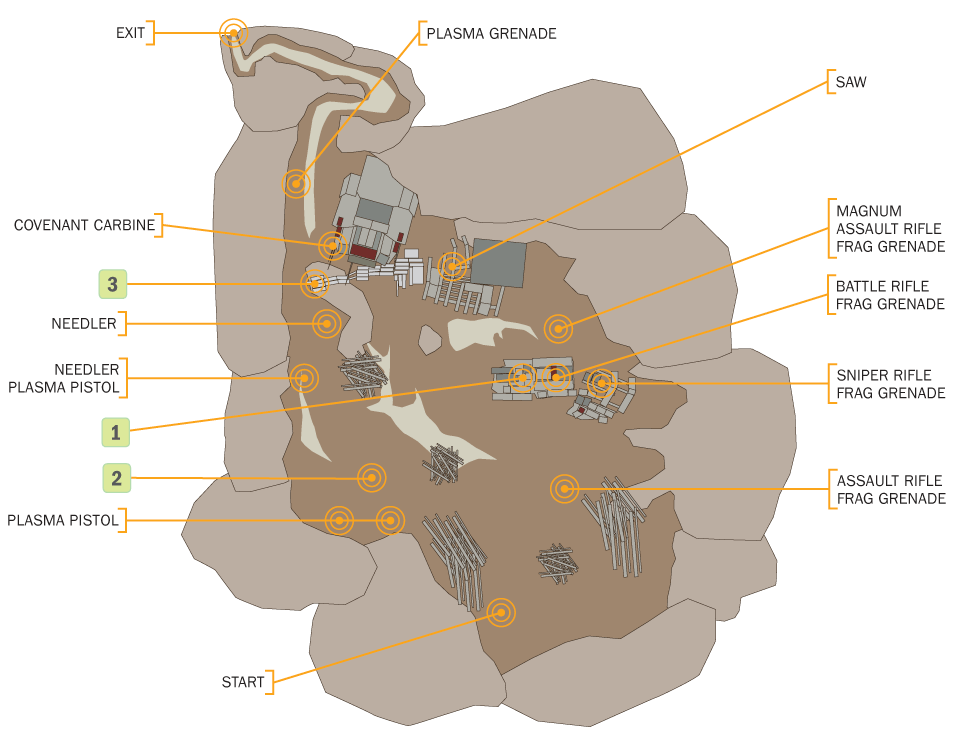
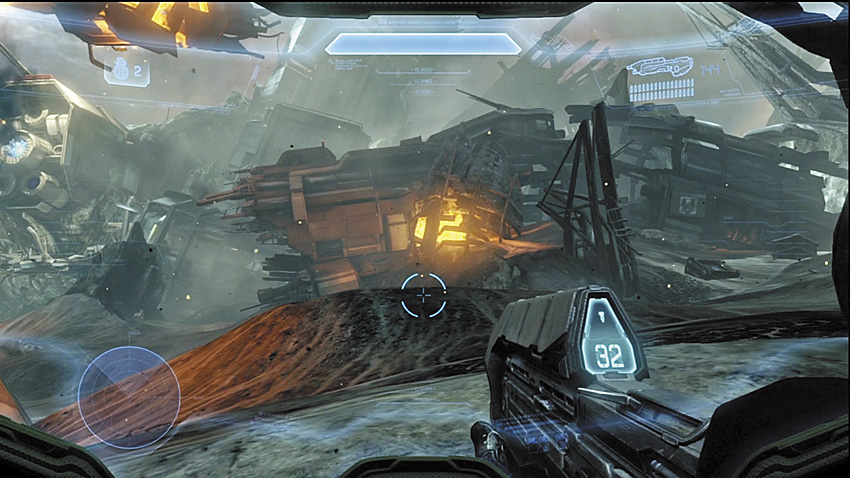
The Master Chief starts off with an Assault Rifle and a Magnum. Fortunately, the shattered vessels that crashed down all around him came with an arsenal of weapons, both human and Covenant. While exploring the destruction, there are three data terminals [1] [2] [3] you can reach, and each provides some new information about your current situation. Cortana’s translations of Covenant transmissions reveal that their fleet hovered outside of the planet’s shell for three years before the incident that occurred minutes ago gave them access. It seems patience and misguided piety go hand in hand.
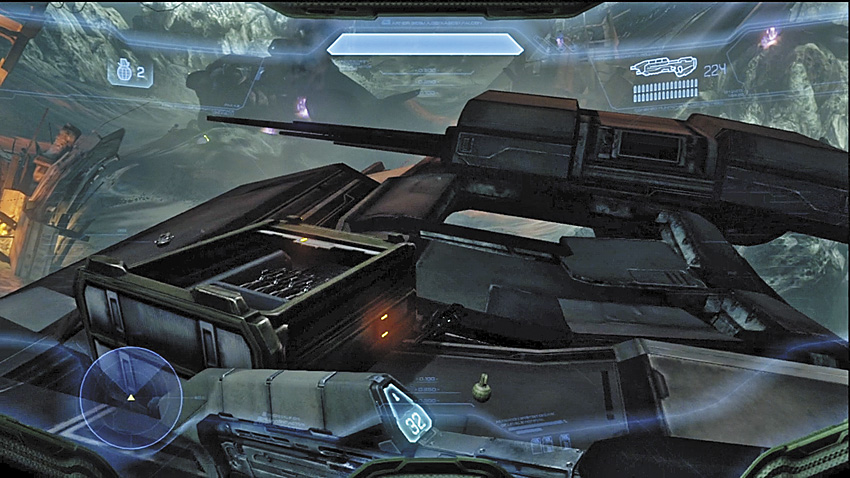
You can find a variety of weapons among the wreckage. Terminal [1] is found inside a portion of the Dawn that you can climb onto, revealing weapons like the Sniper Rifle and the Battle Rifle. Next to terminal [3] a set of Covenant Carbines can be found, an excellent complement to the smattering of Storm Rifles and Plasma Pistols in the area. You can even find a Fuel Rod Cannon among the Grunt corpses in the area. If you follow the makeshift bridge from this terminal into another portion of the wrecked Dawn, you can find a SAW with a full load of ammo. If you’re interested in a direct upgrade to your Assault Rifle, this is more than acceptable. Just be aware that you’re not going to find a whole lot of spare ammo for this weapon. As you explore the wrecks, you might encounter Covenant survivors of the crash. These guys are hardly in condition to fight, much less even be standing.


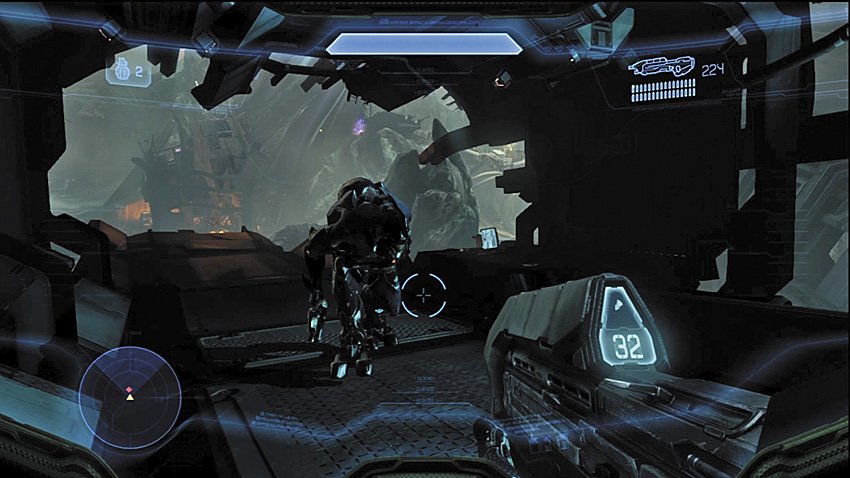
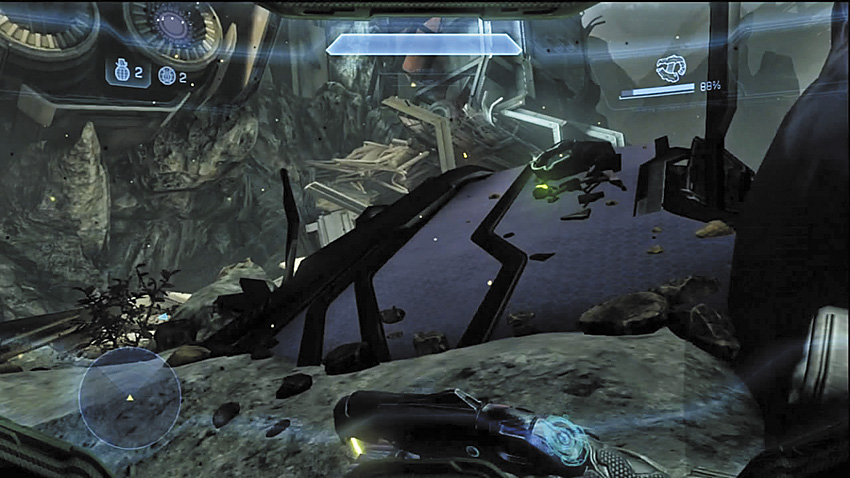
To leave the ship graveyard, you’ll need to follow a tunnel in the direction the Master Chief faces at the start, through a winding canyon.
Towers in the Sky
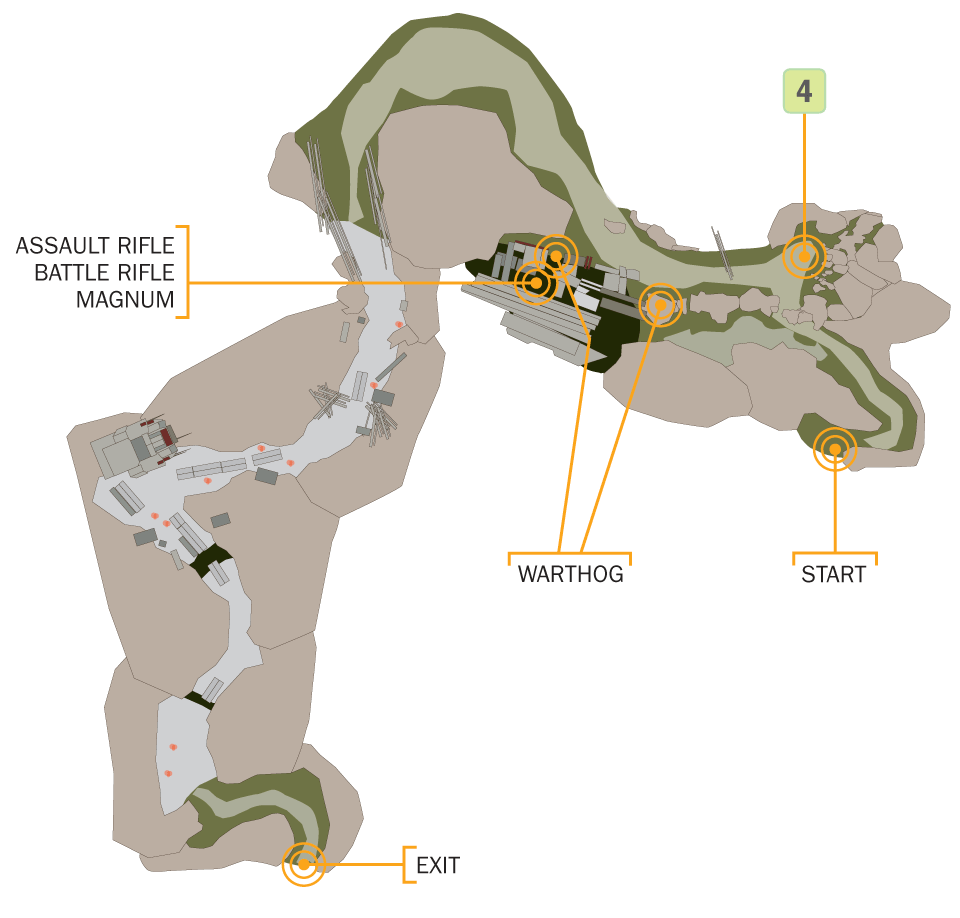
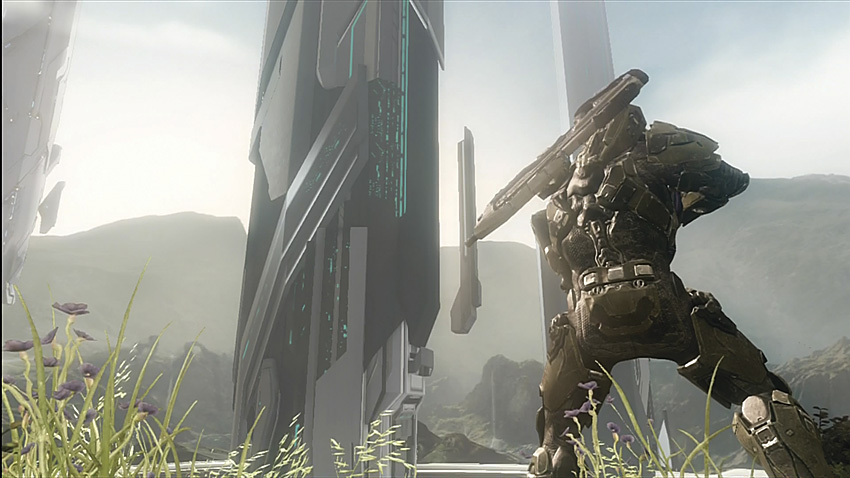
[4] Take in the staggering vista, then proceed along the cliff edge to reach another part of the fallen Dawn . The Warthogs here will definitely come in handy, and there are enough to carry four players in a full Co-op session. The path winds through more remains of your ship but is more or less a simple and safe drive—safe, at least until you reach a box canyon filled with rocky side paths and a trio of Covenant outposts with Covenant watchtowers.

Major Firefight: The Outpost Canyon
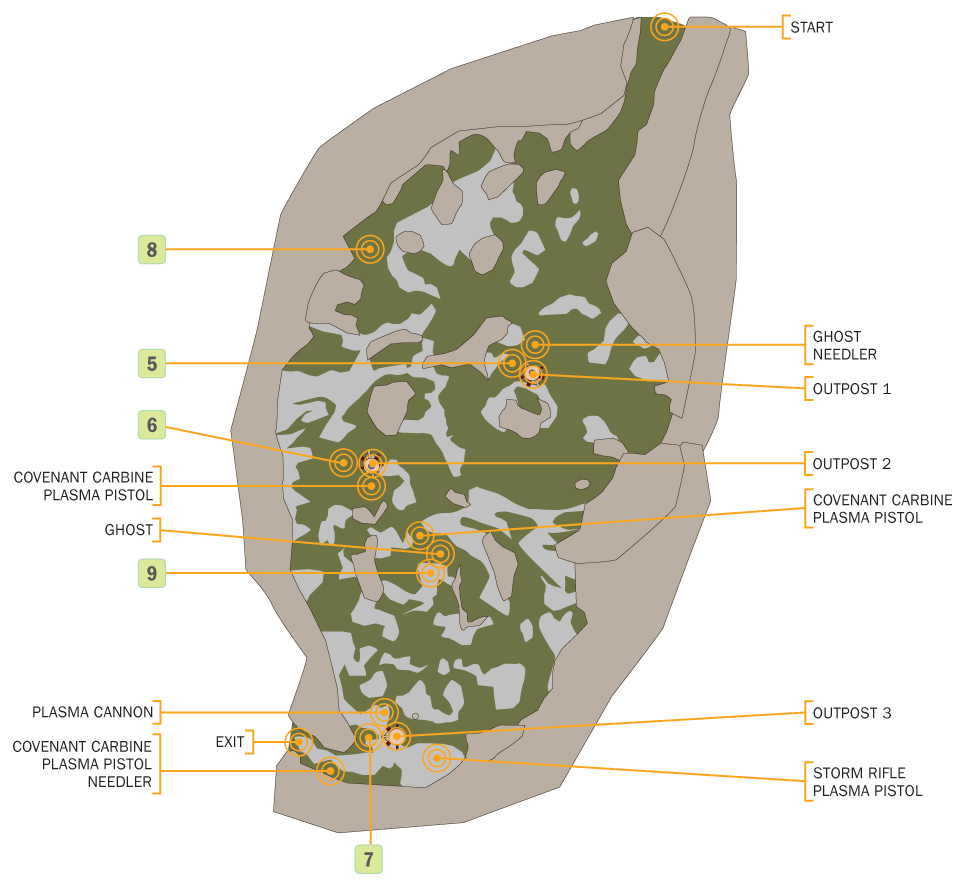
The Covenant have wasted no time establishing an extensive presence throughout this world. Three Covenant watchtowers dot the canyon at locations [5], [6], and [7], where the enemy will be most concentrated. You’ll likely have arrived just in time to see Phantoms dropping off Covenant troops across the entire area, Elites of various ranks in command of a wide assortment of Grunts and Jackals. This firefight introduces the Ghost as a new factor to consider in combat. You’re significantly outnumbered, as always, but fortunately you’ve got a lot of say on how you can approach this situation. It’s even possible to ignore two of the outposts altogether if you move quickly enough.
Recommended Loadout
The Covenant Carbine you should have picked up at the ship graveyard will serve you incredibly well here, but if you skipped it, you can find a cache of these weapons at next to the guard platform at outpost [6]. The Covenant Carbine will be your weapon of choice to cull the unshielded herd of Covenant. The Elites that drop in throughout the canyon tend to play a ranged game, but you’ll still want to try to get close enough to make a Plasma Pistol’s charged shots home in.
Alternatively, it is possible to steal the Ghost from outpost [5], or locate another parked at point [9] and guarded by a number of Grunts. Its twin Plasma Cannons and speed boost ability can carry you through every single fight in this canyon, so long as you don’t allow yourself to take too much incoming fire. Co-op players may wish to keep the Warthogs to use their blistering firepower. Even solo players can position the Warthog in such a way that you are safe from most sniping attempts while using the mounted gun.


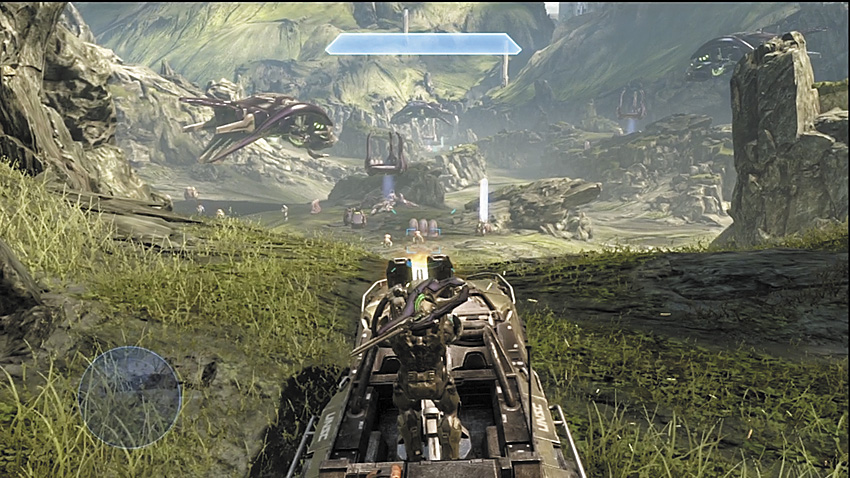
Outpost [5] is the closest to where you enter the box canyon, and it is also where the first Ghost can be located. As with all of the outposts in the canyon, the hovering guard platform provides enemies with an elevated position from which to shoot at you. You can sit with a Warthog atop the hill overlooking this outpost and use the mounted gun to destroy the platform, as well as hose down any Covenant who dropped from the Phantom. As a rule, you generally want to make sure nobody gets a chance to ride the parked Ghost, unless you’re the one doing the riding.
Alternate Approach
Rather than sitting back and giving the enemy time to get set up, it’s possible on both Heroic and Legendary to drive the Warthog at top speed into the outpost and steal the Ghost for yourself. This has the obvious drawback of putting you into close range of the enemy as they drop from the Phantom, not to mention the mounted turrets on the Phantom itself.
Another option is to ignore outpost [5] and drive along the side path [8] on the right from where you enter the canyon toward outpost [6]. This elevated position provides good cover and sniping positions against [5], but the enemy is more likely to turn the Ghost on you. It’s also possible to more or less ignore outpost [5] altogether.
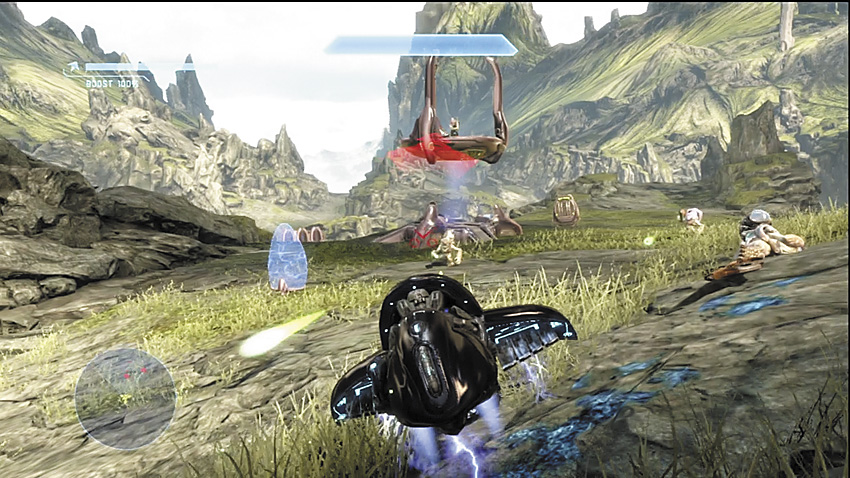
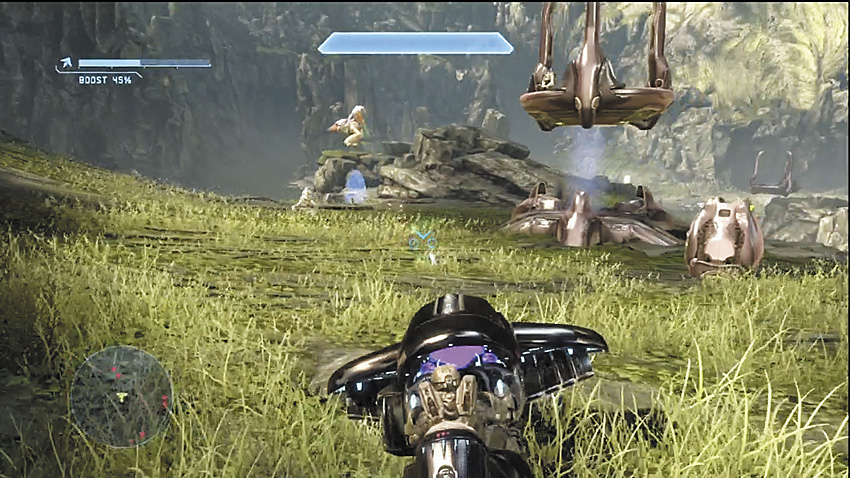
Outpost [6] overlooks a small path on the canyon floor. Part of the elevated area acts as a stone ramp that can help you flank [7]. If you’re in a hurry you can also fly though this area, but we recommend that you take out the guard platform at the very least.
The path this outpost watches over is protected by Grunts, and on Heroic or Legendary, there’s a good chance you’ll find them armed with Fuel Rod Cannons. Don’t take the little guys lightly, particularly if you’re intending to charge through them to reach the Ghost at [9].
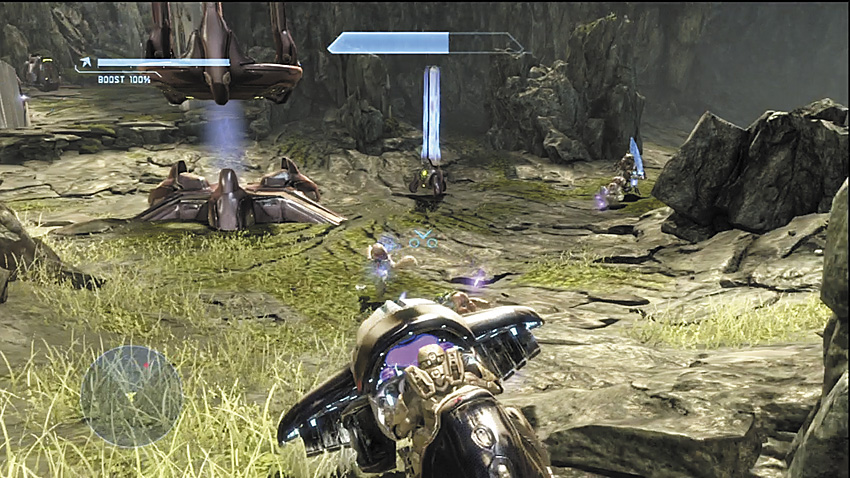
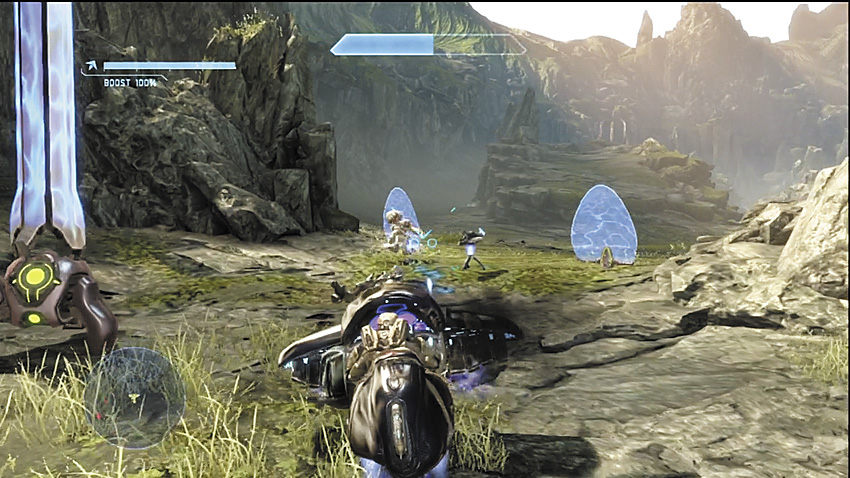
The real challenge will be centered around outpost [7], and this place might possibly be the scene of several deaths. In addition to the raised platform held by Jackals, the Covenant have set a mounted gun that covers almost every approach from the first two outposts. Should Grunts man the gun, they can be easily sniped, but if one of the Elites at this outpost takes the gun, he can prove to be a real problem to dislodge.
The camp itself is filled with Grunts and Jackals that will be taking your attention away from the Elites. Taking a Ghost to this position can make clearing the kill zone in front of the mounted gun much easier, and also help you handle any poor shmuck who tries to take up the weapon.
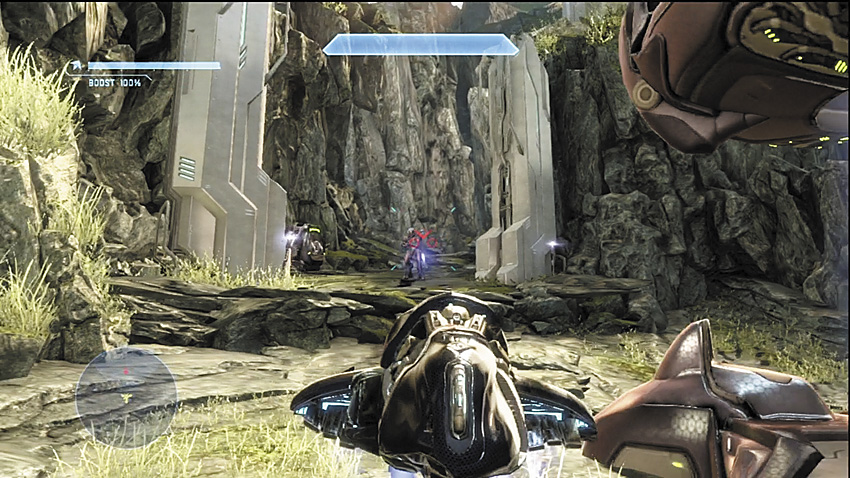
Unfortunately, you aren’t meant to leave this canyon with a vehicle and you’ll have to climb up to a ledge that leads you through another tight pass to the next area (though with perseverance it is possible to force a Ghost or even a Warthog up the ledge and through the pass). An Elite, usually armed with a Concussion Rifle, tends to stick to this slightly elevated position near a weapon cache. If you’re gutsy, after you clear out the rest of the camp you can dance between his shots with a Ghost while returning fire. Restock at the cache once you’re clear.
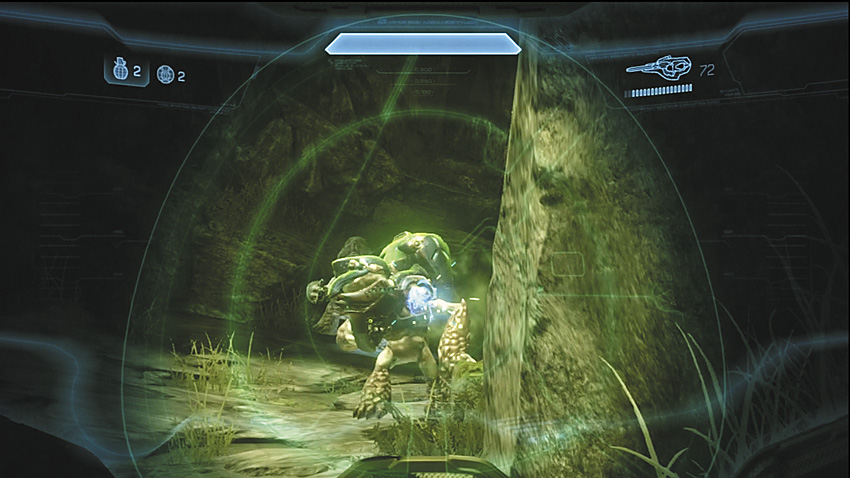
Watch out for the squad of Grunts in the narrow pass leading to the next section. One of them might be packing a Fuel Rod Cannon, and in these tight quarters you don’t have a lot of time to react to these weapons.
Legendary Strategy
This canyon can be brutal on Legendary. Any brash tactics you might have tried before tend to just get you in trouble here. You can still open up the battle by driving straight to the Ghost parked at [5], but if your timing and luck are off, you can just get blasted by the Phantom and any ground troops it has deployed. Taking up the Warthog gun near the canyon entrance looking toward [5] is very unsafe, as the Phantoms tend to pick you up at greater ranges, and their turrets are deadly accurate. It’s almost a better idea to let the Phantoms depart before you mount your assault. If you can’t take the Ghost at [5], make sure the enemy doesn’t get to either. The Elites dropped at this location tend to try to meet up with their allies at [6], so keep that in mind while taking the paths to that outpost.
Outpost [6] isn’t so rough if you’re patient and don’t give the Jackals on the platform good sniping chances. The real craziness is going to go down at [7]. The sheer number of hostiles here, combined with the fact that the Covenant occupies some of the best cover inside the outpost, makes going on the offensive a real pain.
Legendary Gameplay Video
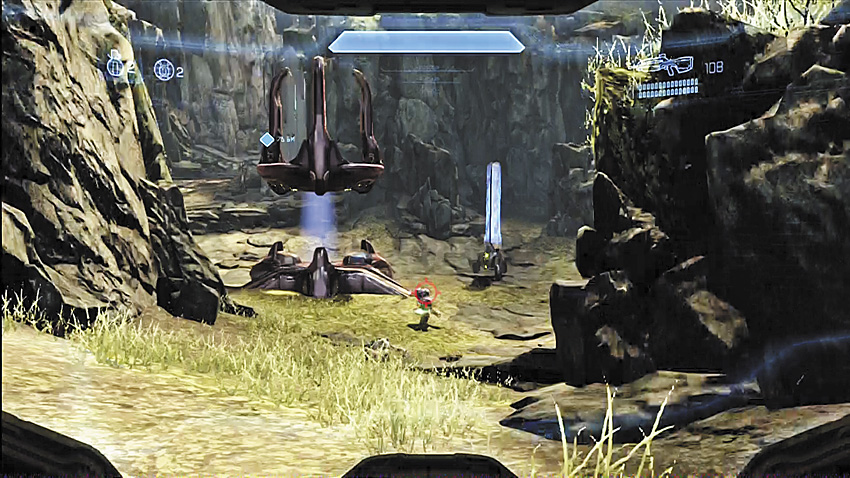
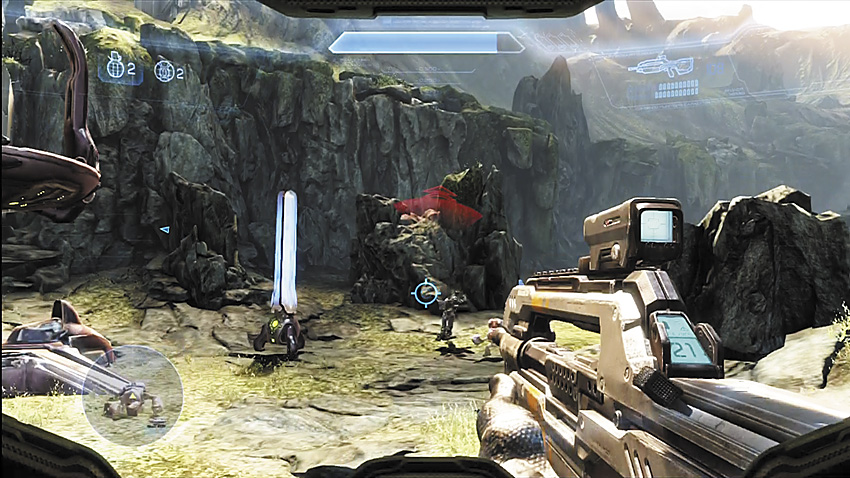
Try to flank this outpost from your left to deny the mounted Plasma Cannon opportunities to lay into you. From there, methodically pick your way through the Grunts and Jackals with a Covenant Carbine. A Plasma Pistol is absolutely essential here: the Elites can and will likely rush your position, save for the one guarding the canyon exit. The charged shot/headshot combo can save you a lot of grief during those moments.
Be particularly aware of Grunt positions as you work through the canyon. Armed with either Plasma Pistols or Fuel Rod Cannons, they can quickly disable and destroy any vehicle you choose to take into the fight.
Major Firefight: Climbing the Forerunner Construct
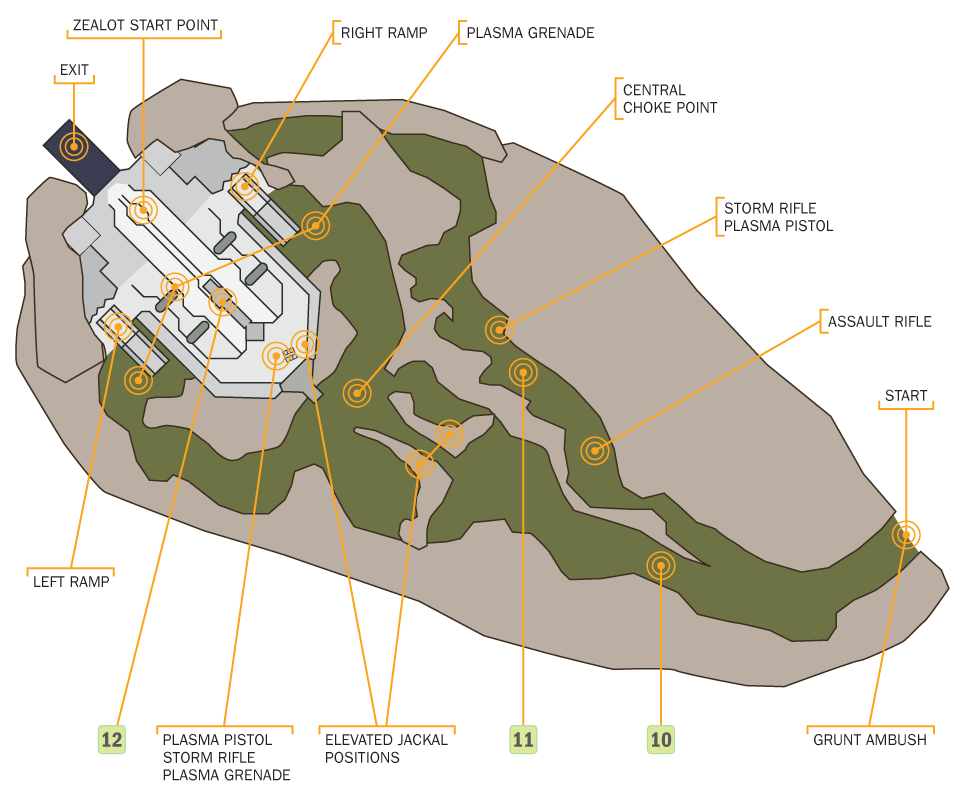
There’s not much time to catch a break after fighting your way out of the box canyon. You encounter a massive Forerunner structure built into the stone, with ramps leading up to the top. Entry into the construct will require you to fight your way past another army of Covenant, and make a choice to assault up the tower from the left or right set of ramps. At the top of the tower, an Elite Zealot commands the forces centered around the entrance, and he’s got his hands on some vital equipment that will help you guide the Master Chief and Cortana through the rest of this mission.
Recommended Loadout
A Covenant Carbine and Plasma Pistol are safe and effective weapons to rely on for this fight, though a well-timed super-combine from a Needler barrage can be effective at wiping out groups of enemies, and can set off grenades dropped by the fallen. Just be sure you’re not too close to the enemy when setting up the big bang.
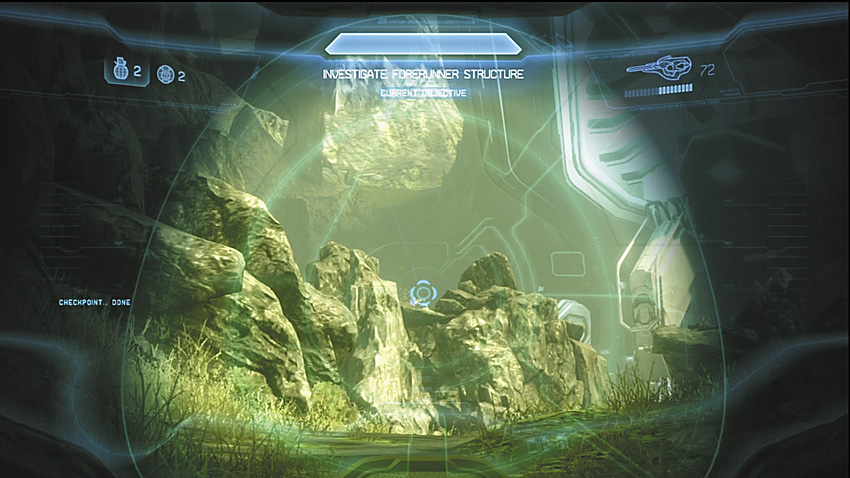
[10] Start this fight by eliminating or driving off the Jackals taking potshots at you from the nearby raised ledges and from the tower itself. (Although the tower sniper may not actually have an angle on you, which means you will not have an angle on him.) An Elite leading a patrol of Grunts and shield-equipped Jackals will be approaching you from a path directly ahead of you as you enter this arena, so be prepared to greet him with a charged shot/headshot combo. The panic you instill in the Grunts may encourage them to attempt a suicide charge with Plasma Grenades, so keep your eyes open for that.
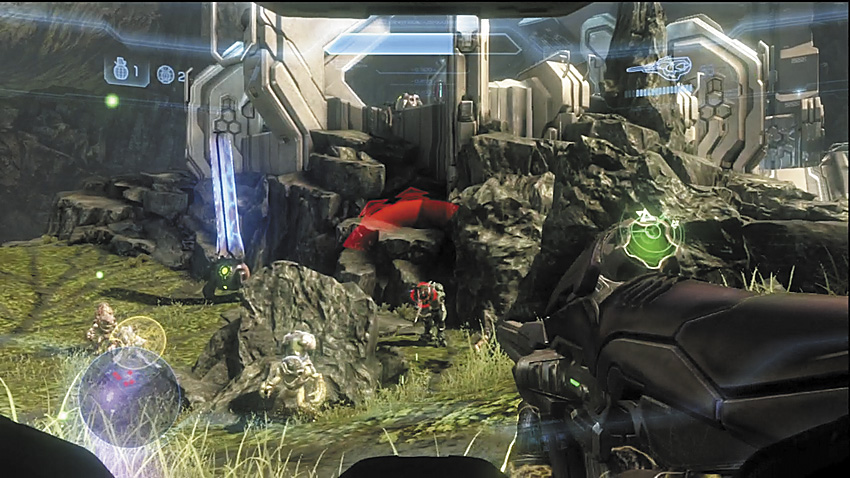
After beating back the initial attack, the enemy will congregate near the base of the construct. Expect more Elites on the other end of the path the first group marched through. It’s possible to tackle them head on, but you’d be restricting your maneuverability. Instead, consider flanking that pathway to the right [11], using the elevated position to continue picking off Jackals and Grunts. You can find a cache of human and Covenant weapons here to restock with. If you weren’t able to take out the sniper in on the second level of the construct, be especially on guard here. Elites may try to rush your little camping spot, or lob grenades up toward you, but you should be able to remain relatively safe so long as you stay mobile and alert. Once you clear out the area at the front of the tower, you have a choice to make: the left ramps, or the right ramps.
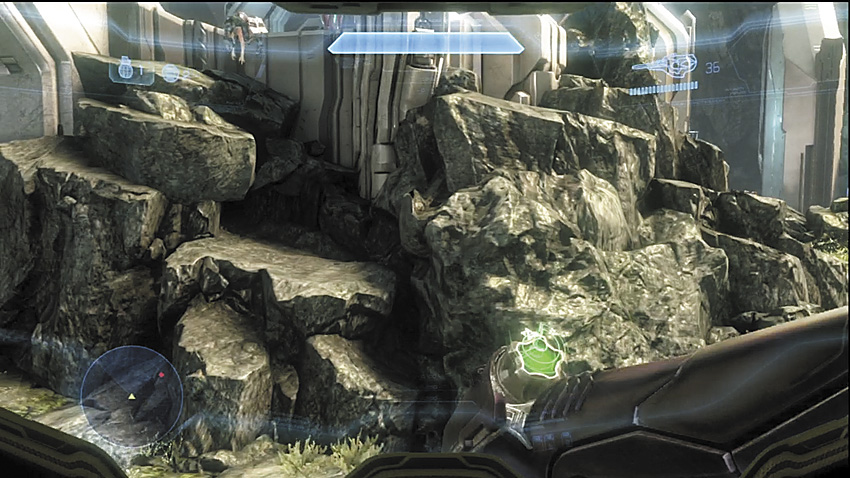
There is a third option here. Using the rocks, you can climb up the wall at the foot of the construct. This lets you bypass the enemy forces guarding the ramps to the flanks, but a few enemies may try to pursue you. Be prepared for that!
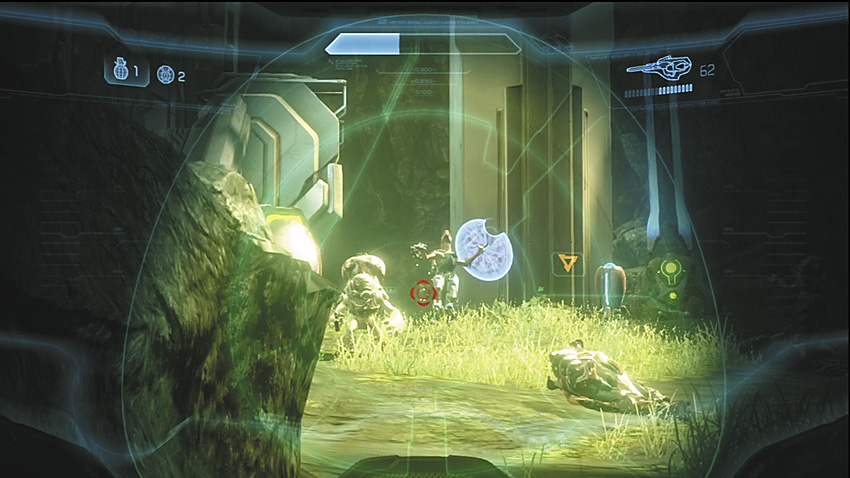
In terms of the forces encountered on either side, you’ll face a more or less even distribution of Grunts and Jackals. The right path is lit up by the sun, which can help you spot enemies easier. The left path rests in the shadow of the Forerunner construction. Whichever you choose, be thorough when clearing your flanks as you make your way toward the ramps.
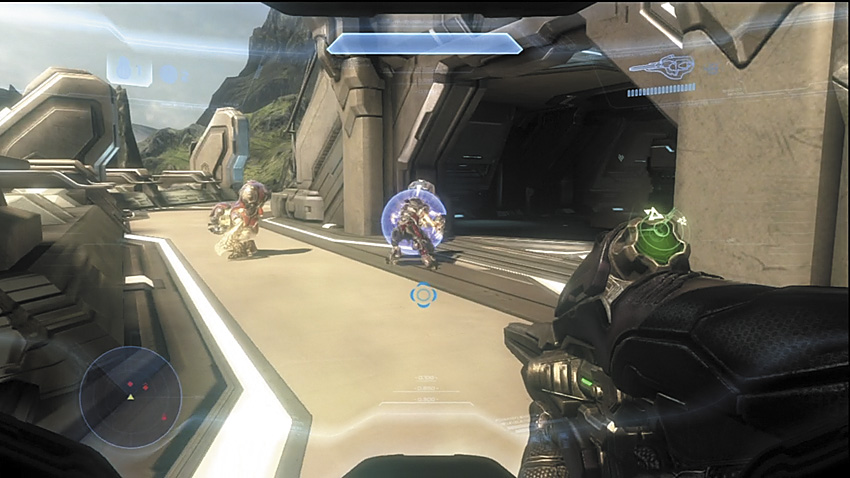
The middle level of the construct contains the ramp leading up the final defensive line set up by the Covenant. Grunts and Jackals will be guarding this level, and they’ll make use of a passage beneath the central ramp that connects the left and right halves of the tower. Watch your motion sensor to detect flanking attempts early.
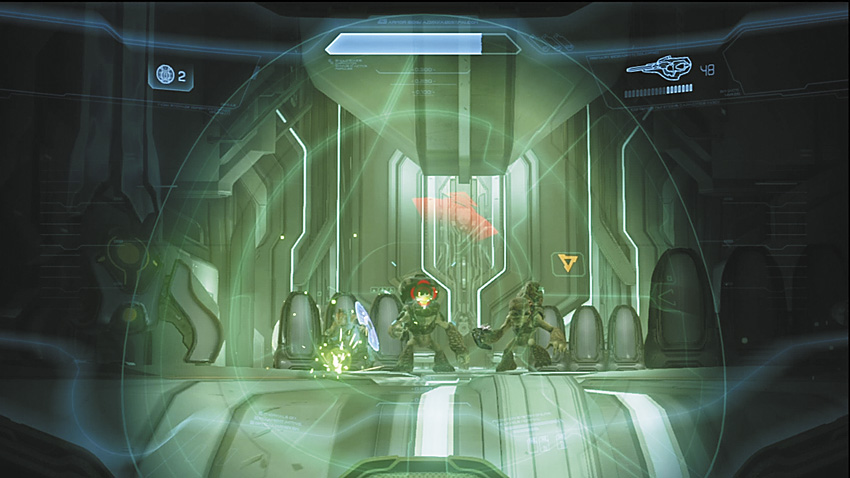
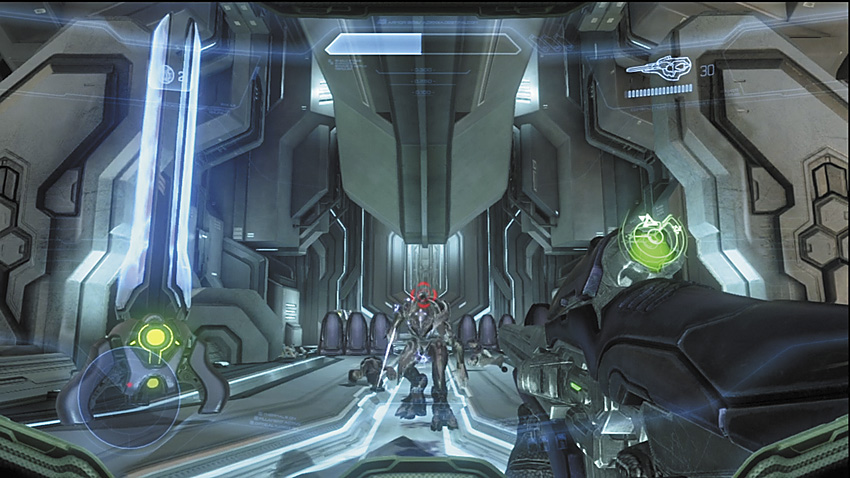
[12] The final group of Grunts and Jackals here are led by an Elite Zealot that is armed with a Energy Sword and Active Camouflage. The Zealot can snuff out your life in a single swipe of his blade and he’s more than willing to charge head-on at you to make his attempt count. Draw him out by hugging the ramp and picking off his soldiers. Once he rushes out to stop you, pop his shields, switch to your Covenant Carbine (assuming you have ammo for it), and drill one between his eyes. Clear out his remaining troops, then pick up the Active Camouflage he dropped. This is your first armor ability, and you are going to be very best friends with it for the duration of this chapter!

Key Combat Tip
Legendary Strategy
You’ll more or less be able to apply much of the same strategies you put to use in the Heroic difficulty, but you’ll have to be much quicker to react to enemy fire. This is made difficult by the fact that the fighting ranges here are relatively short. Be methodical. After clearing out the initial assault, don’t even think about rushing the base of the tower until you are certain you have cleared out the Elites. Also be aware that the Jackal Sniper on the middle level of the tower may be armed with a Beam Rifle, a powerful Covenant weapon likely not yet seen on a Heroic playthrough. Beam Rifles can take out your shields in a single shot, even if they aren’t fully charged, and the follow-up shot will almost certainly be fatal.
The Elite Zealot at the top of the tower moves even faster, so it’s imperative that you save a Plasma Pistol and at least some ammo for a Covenant Carbine to deal with him. Everything else in the area can be killed adequately with any other weapon, but the Elite Zealot must be dropped quickly, or he’ll one-shot you back to the start of this battle.
Legendary Gameplay Video
The Cartographer
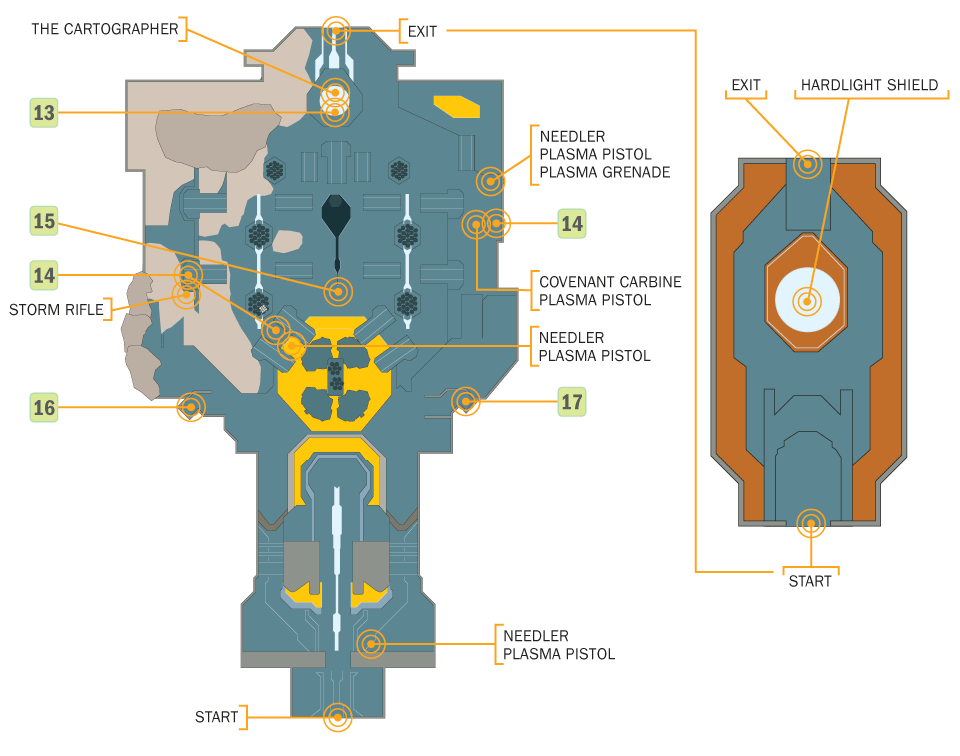
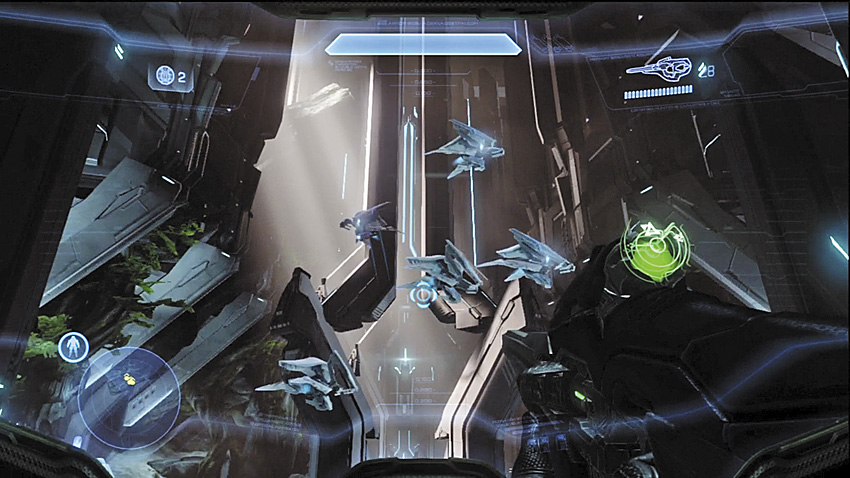
You’re greeted by Sentinels just as you enter the Forerunner construct. Fortunately, the Sentinels are not hostile, and only vanish through portals if they are attacked. They ignore the Master Chief and fly toward the back of the symmetrical hall, as though attempting to guide you toward something. Platforms will rise from the ground, allowing you to jump your way across the center of the room toward a control panel, which is guarded by the corpses of unlucky Covenant troops. However, don’t be too hasty to activate the console [13] that you’re led to. Numerous weapons racks [14] are placed throughout the room, and also there are the weapons next to the fallen Covenant soldiers, so make sure you are fully stocked with your weapons of choice.
Forerunner Artifact
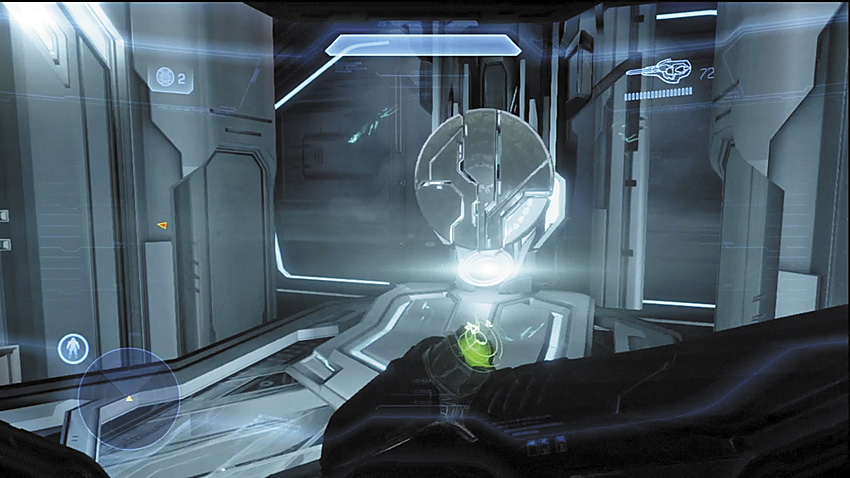
[15] Underneath the central dividing platform in this room lies a hidden Forerunner artifact. When you inspect it, Cortana is able to translate a message from the artifact regarding a creed: the Mantle of Responsibility.
Sentinels
The Forerunners left Sentinels to protect and maintain their various hidden installations around the whole galaxy, and the shield world of Requiem is no exception. Unless otherwise commanded by their central AI construct, Sentinels have no interest in the actions of organics, unless they threaten the Sentinels or the Installation they are assigned to guard, or unless they are the Flood. The dead Covenant troops near the Cartographer are most likely the work of the Sentinels.
Cartographer
First encountered on Halo Installation 04, the Cartographer was a computer system that contained a map of the Forerunner installation. Cartographers have been found on nearly every Forerunner installation yet encountered by the UNSC. As they are connected to many other systems on a Forerunner installation, locating a Cartographer can give UNSC AIs such as Cortana the run of an entire installation.
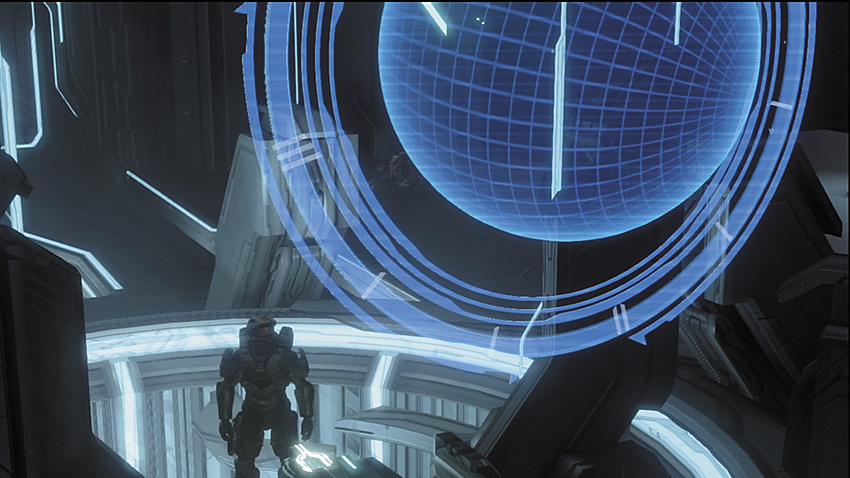
After activating the terminal marked by Cortana, you discover that this shield world is known as Requiem, and the Cartographer of this facility is able to provide some data to help the duo better understand their situation. However, before Cortana is able to pull more information from the ancient network, her access is stripped from her and the Cartographer shuts down. Reactivating it will require you to trigger a pair of control panels [16] [17] to provide power to the system. You can trigger them in any order. Just be ready for the inevitable Covenant ambush that ensues when you activate one of the switches.
Major Firefight: Reactivating the Cartographer
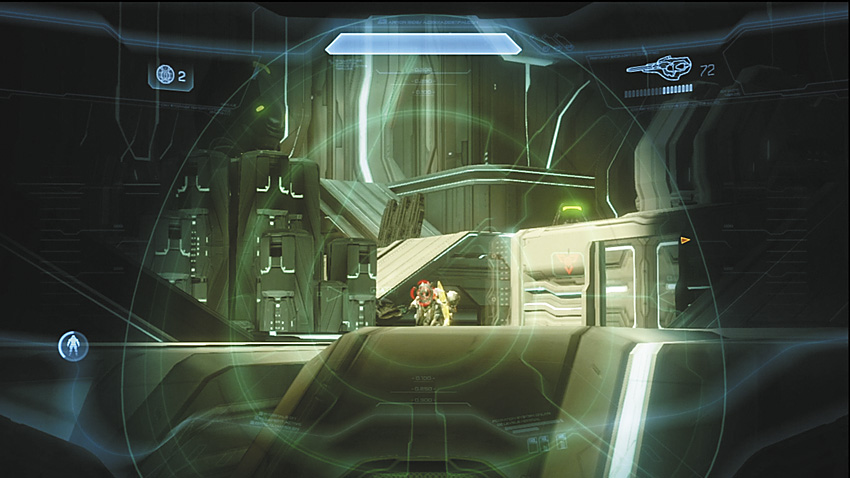
The Covenant arrive in two waves, one wave for each activated switch. Elites, Jackals, and Grunts—nothing you haven’t seen before. There’s no correct order for the switches, but one will be recommended simply to make the second wave a little less troublesome to manage. This battle is made significantly easier by virtue of having the Active Camouflage armor ability equipped. The Master Chief and Cortana have been hunted almost since the moment he awoke aboard the Dawn . It’s time to return the favor.
Recommended Loadout
You can acquire a Covenant Carbine and a fresh Plasma Pistol from one of the weapon racks [14] found throughout the room. However, a Needler still makes a good impression against clusters of Grunts, and can even be effective against the Elites.
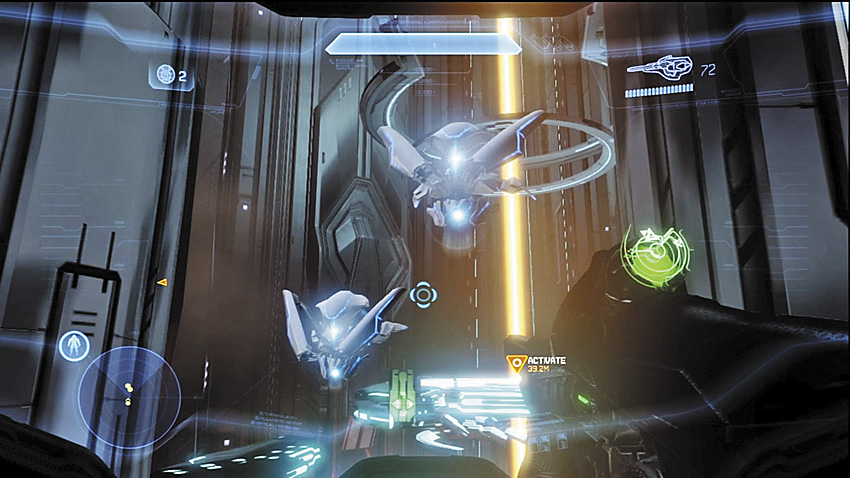
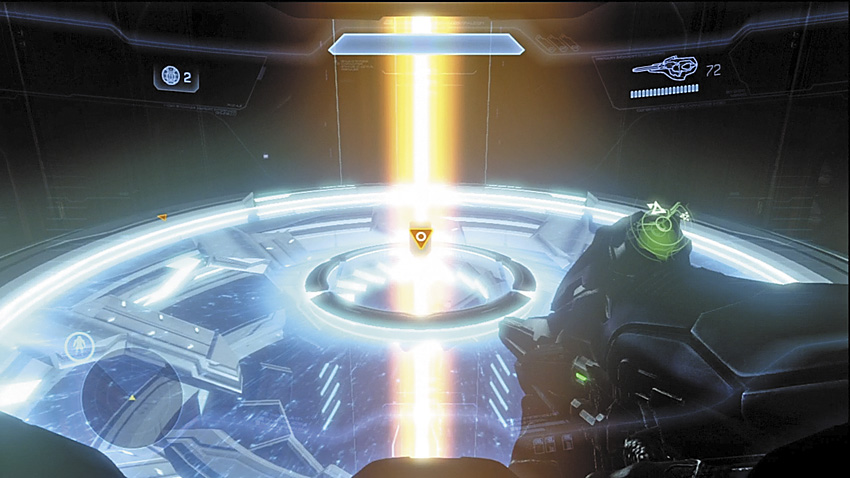
[16] From the Cartographer and facing the direction from which you entered the room, the switch on the right is an ideal starting point. You can find a Covenant Carbine on the ground near the weapon’s cache close to the switch chamber. As you approach this switch, a flight of Sentinels hovers from the chasm and flies past the Master Chief. This first switch activates a light bridge that allows you to cross the pit and activate a second switch. The column of energy behind the second switch flares up briefly, completely draining your shields. Don’t panic, you’re not under attack—yet.
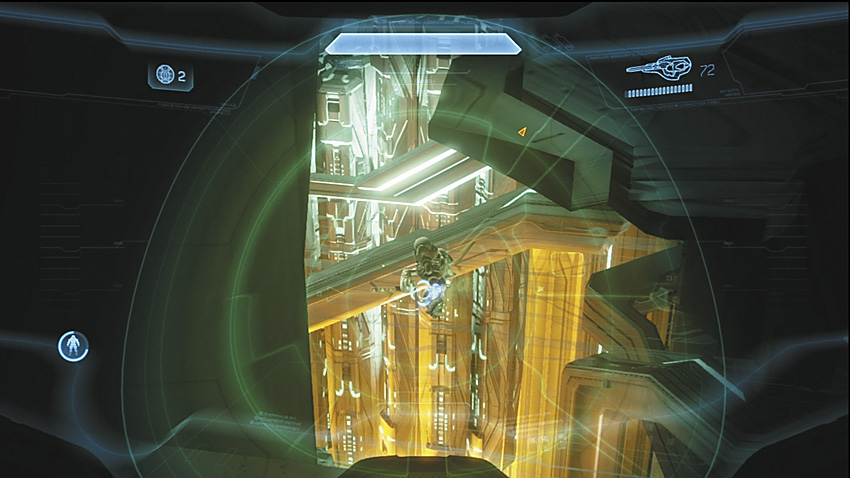
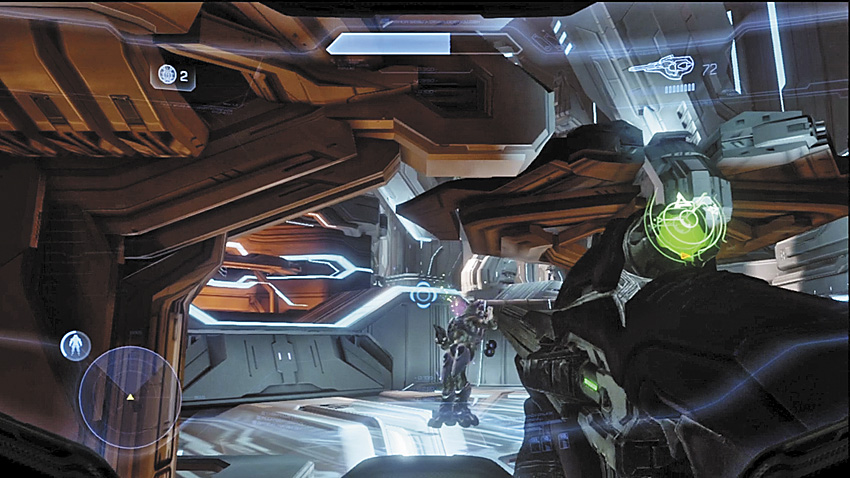
The platform where you hit the second switch lowers down to a floor below, and a new light bridge eventually allows you to cross back over the pit and reach the part of the main chamber where the platforms originally raised to allow you to reach the Cartographer. Grunts now patrol this area, with Jackals guarding the ramp that will take you over to the second set of switches that must be activated to restart the Cartographer. Use your Active Camouflage to help with wiping out these hostiles. You can fire while cloaked, and as long as you remain crouched while moving, you can stay hidden.
Key Combat Tip
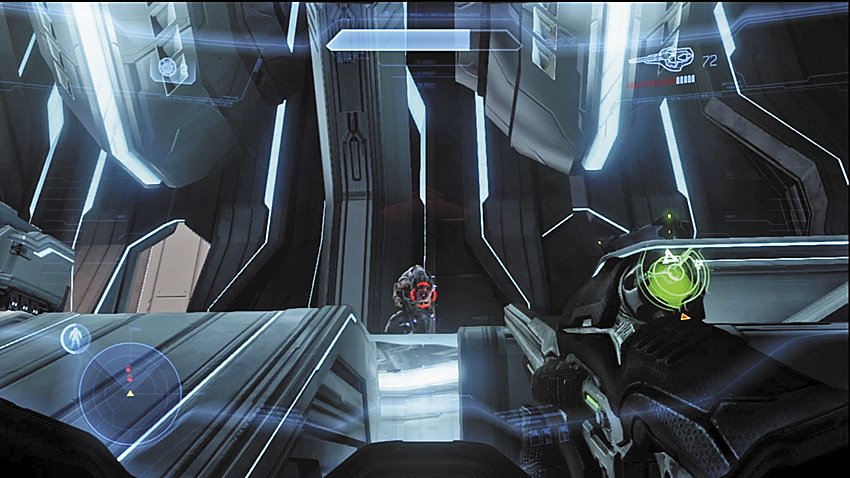
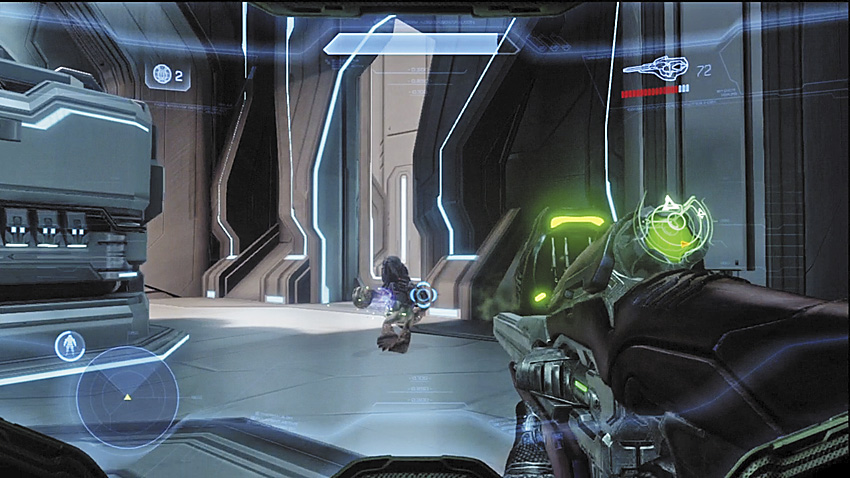
Behind the Jackals at the top of the ramp, more Grunts and an Elite will probably be moving to investigate the death cries of their comrades, while a second Elite stalks the next set of ramps that lead to the switches at [17]. After killing them, make your way to the next switches.
Alternate Approaches
It’s entirely possible to stealth your way around the vast majority of the enemies here with careful movement and use of the Active Camo, or simply by taking the long way around. This isn’t advisable simply because the second wave will enter the room as soon as both sets of switches have been hit, and the combined force will be that much harder to deal with.
You can also attack these switches in opposite order. The enemies that arrive after the first switch has been activated are the same regardless of which switch you press first. The author’s preference is to hit [16] first mostly because lighting conditions on the [17] side of the room make it easier to pick up targets visually. Also, one of the weapon racks on that side of the room contains a supply of Covenant Carbines, and being closer to them at the start of the second wave is much more beneficial.
Switches Activated
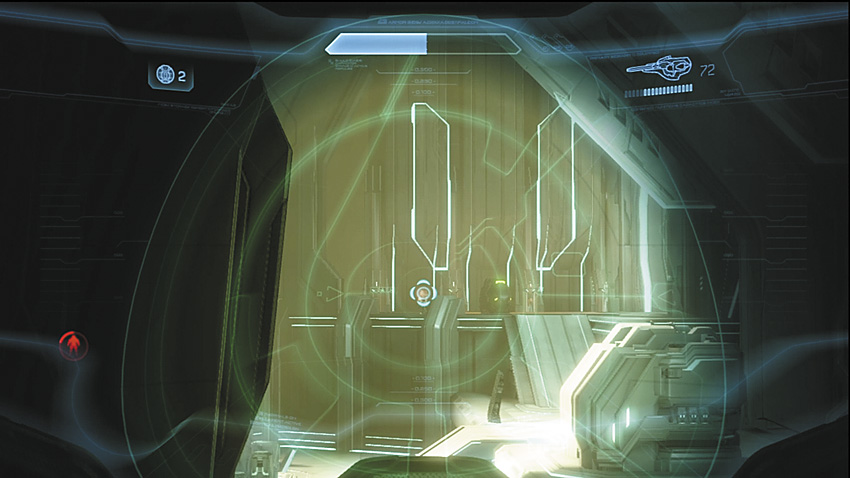
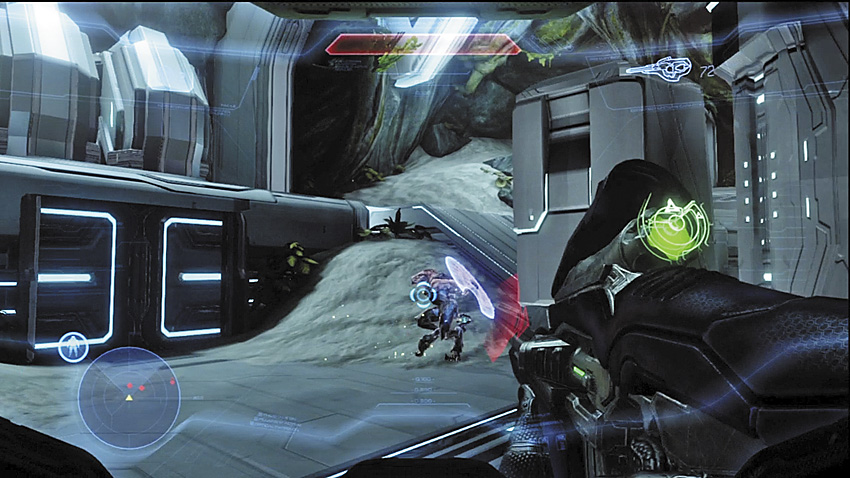
The second wave of enemies arrives as you ride the platform down to the lower level from the second switch, and it’s a much larger force compared to the first group. Expect well over a dozen Grunts patrolling the ground levels and central platform near the artifact, accompanied by some Jackals. Jackal Snipers also guard the side routes to the Cartographer, where a small team of Elites now waits for you. Knock out the Rangers and Snipers, then go to work thinning out the rest of the foot soldiers, leaving the Elites close to your objective for last.
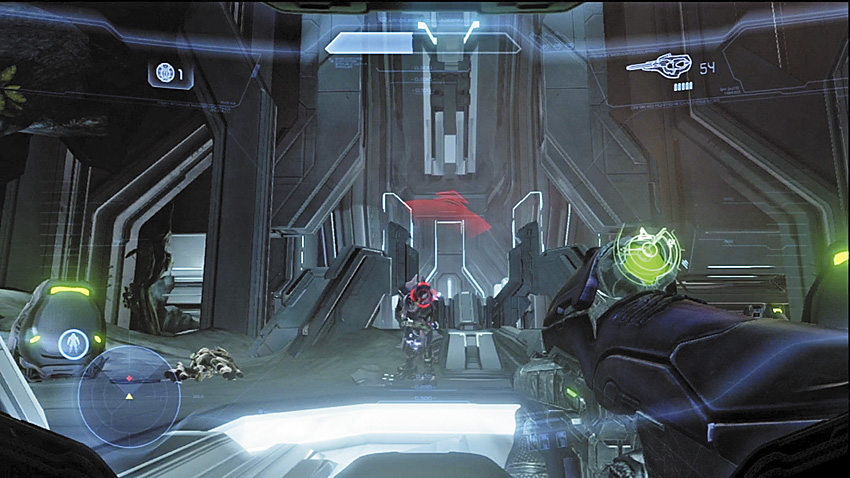
The Cartographer’s Elite guards have the advantage of terrain to hide behind, but the Active Camouflage will let you set up charged shots to pop their shielding with near impunity. You should have more than enough Covenant Carbine ammo to take on the whole chamber, thanks to the weapon rack closest to [17]. After the room is clear, reactivate the Cartographer.
Legendary Strategy
As with the Heroic tactics, you’ll want to make extensive use of your Active Camouflage to help with cutting down the resistance. Whichever switch you hit first, consider making an extra sweep of the room to make sure you haven’t missed any stragglers before triggering the second switch and the reinforcements that come with it. The fewer hostiles you have to deal with at once, the better.
Be especially careful about the Elites close to the Cartographer. On Legendary every enemy has upgrades and rank promotions. The area around the Cartographer is prime territory for Elites with Concussion Rifles or Fuel Rod Cannons to make your life really miserable if you’re unlucky with the splash damage. If you’re feeling uncertain about your remaining Active Camouflage time, don’t press your luck, and fall back to let it recharge. So long as you’re standing still or are crouched, the enemy will not pursue you unless they know for certain where you are.
Legendary Gameplay Video
The Cartographer Restored
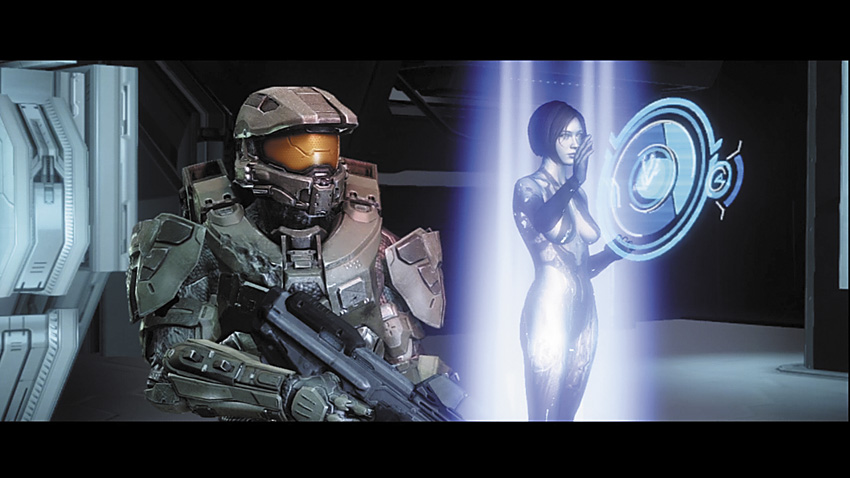
With the enemy no longer a threat, reinsert Cortana back inside the Cartographer. She discovers the source of the garbled transmissions being heard throughout the mission are the UNSC Infinity . The shield world appears to be interfering with Cortana’s ability to triangulate its location. It also appears that the shield world consists of multiple layers. Fortunately, Cortana has been able to locate potential means for signalling the Infinity .
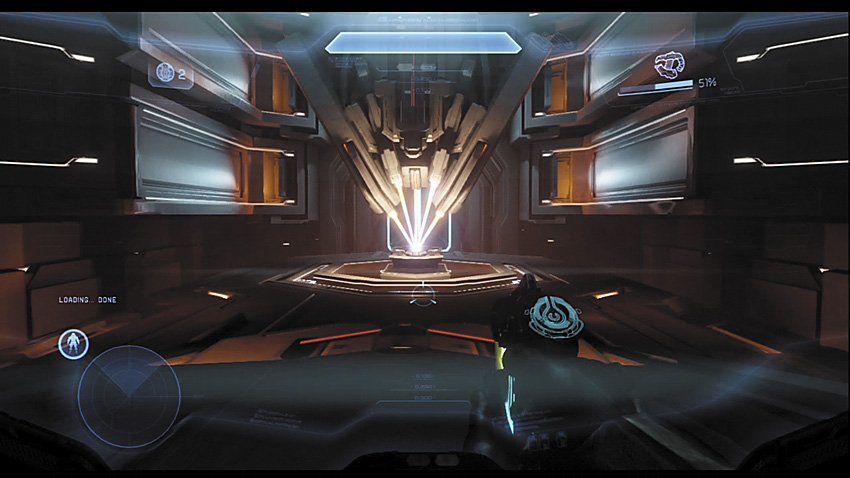
The next room contains a new armor ability for you on top of a pedestal, at the cost of giving up your Active Camo. Once you’ve made your choice, step through the next door to come across an elevator that overlooks a bridge that leads to where you want to go. The Covenant are one step ahead of you, and Phantoms begin disgorging troops across the whole bridge, joining a group of Jackals and Grunts at the base of the elevator. The Covenant knows you’re coming, and that you need to cross this bridge to get to the tower that Cortana says may contain the means to travel quickly around Requiem.
Key Combat Tip
Major Firefight: The Bridge
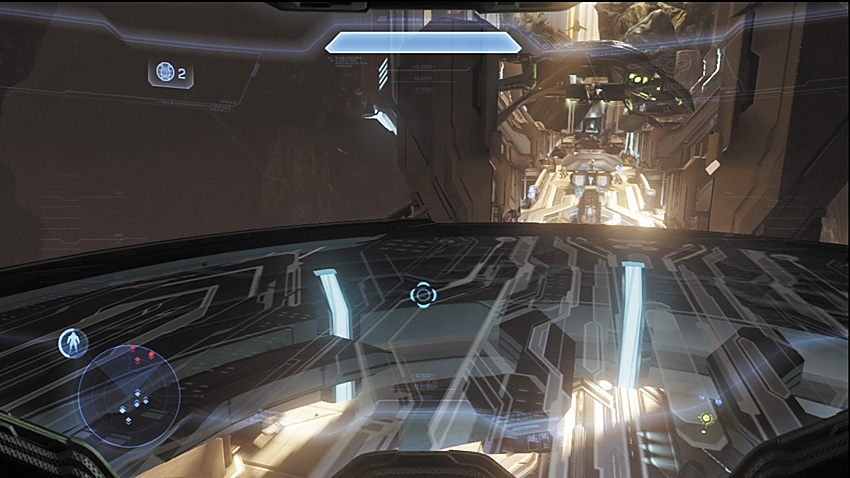
Welcome to one of the harder battles in the entire game, if you’re unlucky. Covenant Grunts, Jackals, and Elites populate much of this narrow span, with Phantoms dropping in more reinforcements the farther you advance. Complicating things are the presence of Banshees, the standard Covenant fighter, patrolling the skies above and sometimes below the bridge. The enemy presence here is substantial, to say the least.
Recommended Loadout
The staples of a Covenant Carbine and a Plasma Pistol always will serve you well here, but you can find a UNSC weapons cache that comes with the Battle Rifle very close to where the elevator lowers at the start of the bridge. Ideally you’ll have kept the Active Camo. The real coup to aim for here is to hijack one of the Banshees. If you can pull that off (and then survive long enough to climb out of range of enemy fire, you can repeatedly bombard the enemy with Fuel Rod Cannon shots or the twin Plasma Cannons. Just make sure you don’t commit yourself to a bombing run where the enemy can focus too much fire on you, or that first you have eliminated any other hostile Banshees in the air.
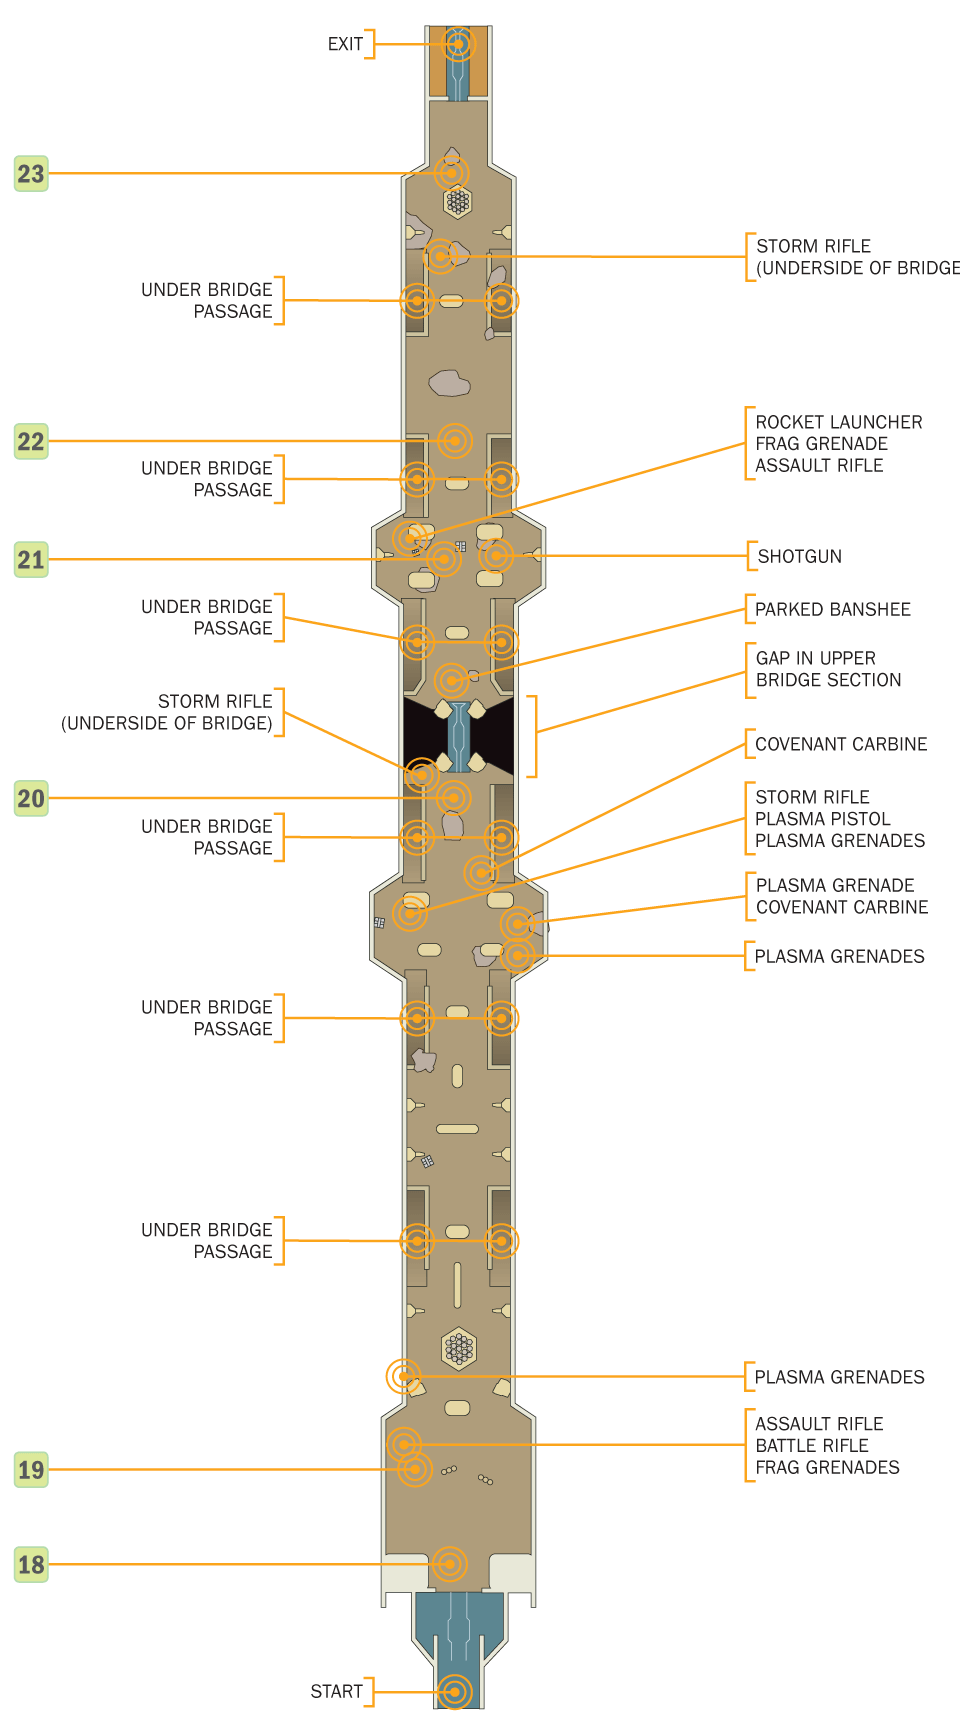
[18] As you walk onto the elevator, you’ll see the Phantoms in the distance beginning their deployments. The one closest to you may take some potshots with its mounted guns, so use your Active Camouflage and go into a crouch while the elevator drops down to the bridge. Eliminate the Grunts and Jackals that are swarming nearby. The UNSC weapons cache [19] contains Battle Rifles and Assault Rifles. Don’t take both at once. If you still have Covenant Carbine ammo, use it up entirely in conjunction with a Plasma Pistol, then fall back and replace the Covenant Carbine with the Battle Rifle. This weapons cache also includes Frag Grenades, and they are perfect for bouncing off the ground and beyond any cover the Covenant uses.
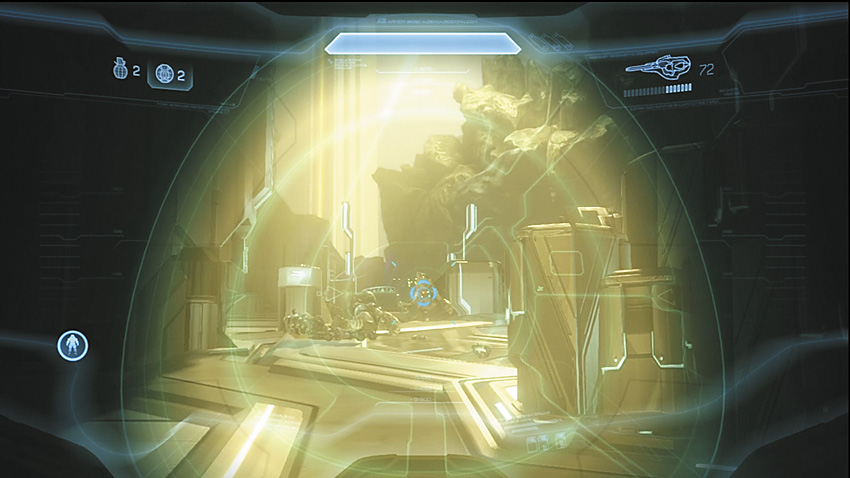
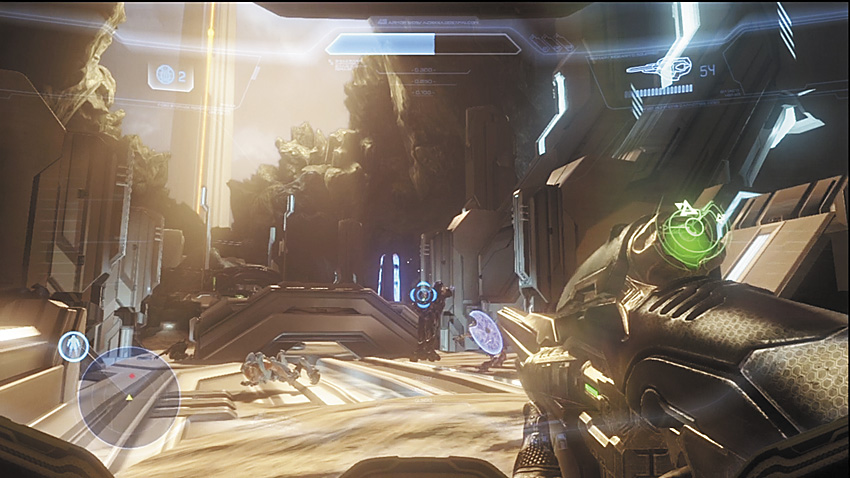
You can work your way forward, ignoring the side ramps that take you to the lower bridge level, but you may have to contend with the Phantoms’ turrets supporting the ground troops, and Banshees join the effort on the latter half of the bridge, providing close-air support. Give them a couple of seconds and they can melt careless players into puddles of goo with their Plasma Cannons. This is what your Plasma Pistol is for, specifically to swat these fliers out of the sky before you can get access to the Rocket Launcher at [21]. A short distance from the launcher, a Banshee is parked at the center of the bridge.
There are two major methods for dealing with The Bridge: By land, or by air.
Crossing On Foot
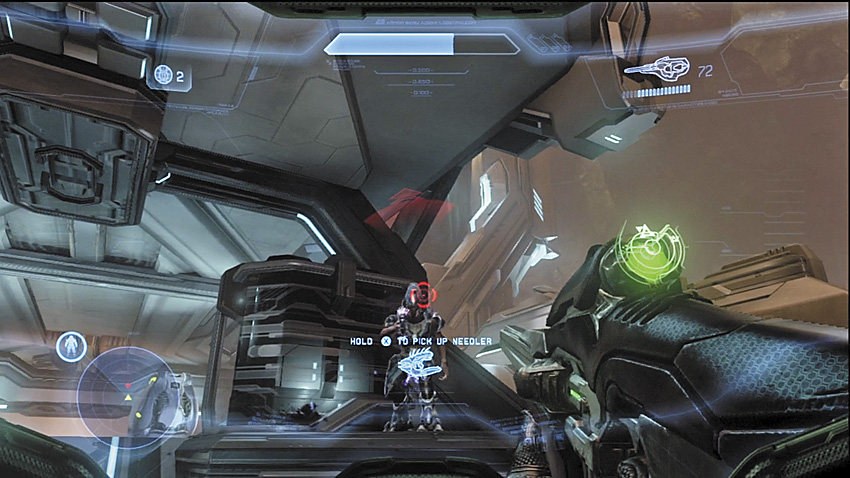
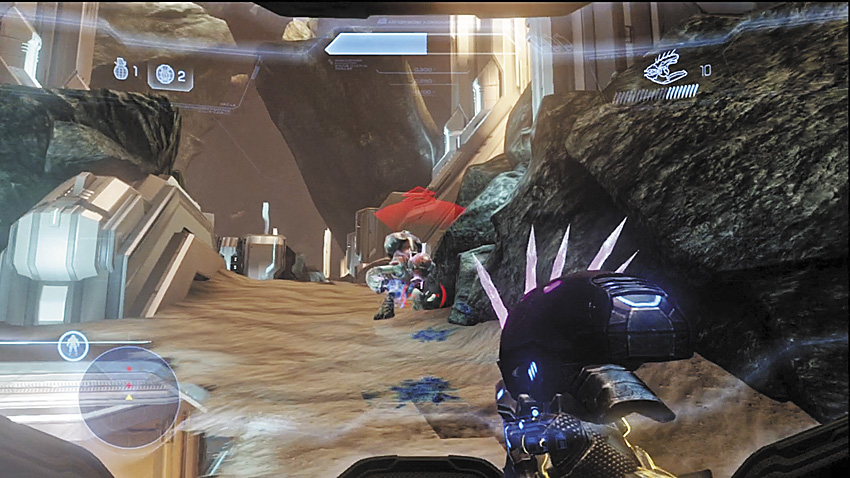
Sticking to the bridge results in a grueling cover-to-cover slog through a stiff layered defense. You’ll still need to deal with those Banshees, so you’ll want to keep Plasma Pistols handy whenever you’re on the upper bridge level. Elites pose a serious threat throughout the fighting here, as you’ve got limited room to maneuver. The bridge is filled with lots of small pieces of cover that can easily conceal enemy movement or give Elites a chance to recover their shields. The Active Camouflage can give you a chance to set up quick kills on Elites, so don’t be shy about using it.
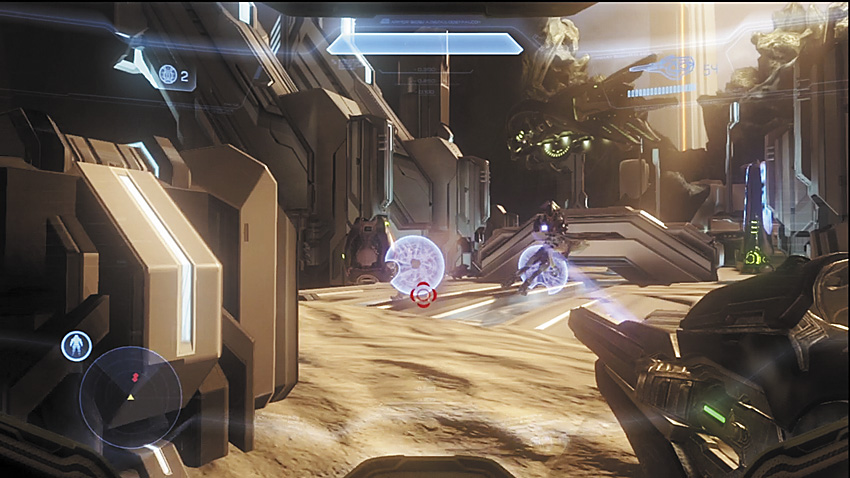
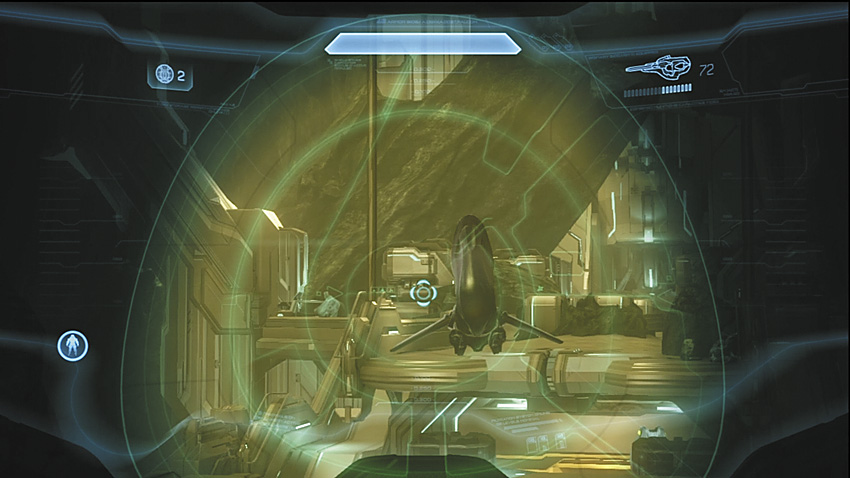
[20] At this point you can’t progress across the top of the bridge and must drop down to the connecting light bridge on the lower level. Don’t just jump down here! There are many Grunts and Jackals here, including an Elite. Before crossing the light bridge, make sure you’ve eliminated the threat. This is an especially dangerous crossing to make, as a stray grenade can easily knock you into the abyss. If you did switch to the Hardlight Shield, you could potentially reflect the grenades back at the Covenant, but this isn’t a very reliable tactic.
Take note of the Banshee parked across this gap.
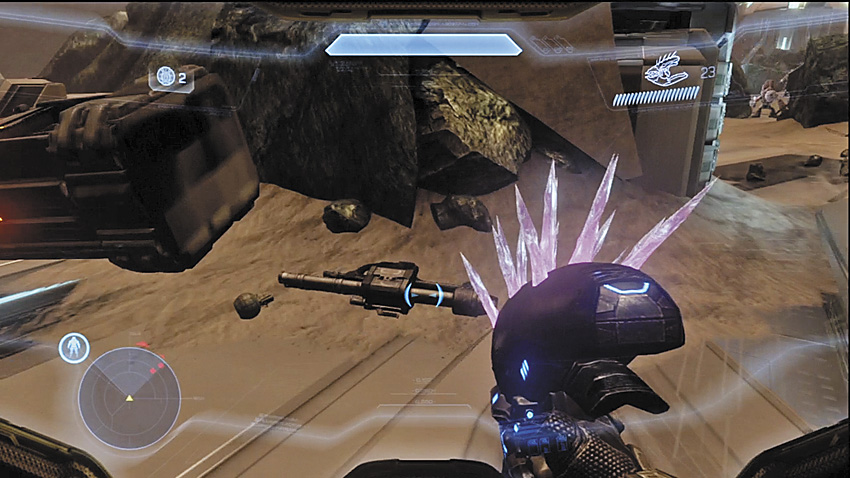
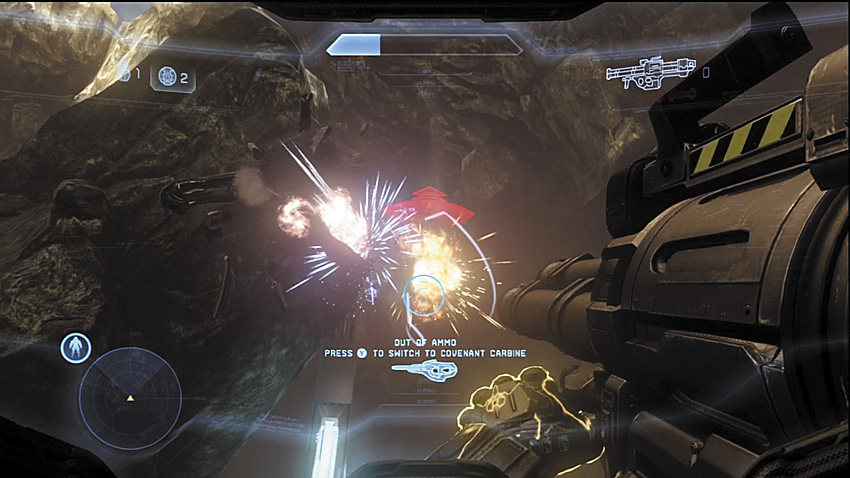
[21] When you reach this Rocket Launcher, this is your chance to finally swat those Banshees out of the sky decisively. Typically, there are two of these fighters in the general area. Beware of the Grunts that are among the troops dropped from a Phantom that swoops in just as you arrive. They try to rush this position when you finally reach it. On the other side of the bridge next to the Rocket Launcher, you can find a Shotgun to handle any short-range surprises. Do NOT use rockets on the Phantom! You can’t hope to take it down with the limited ammo you have, and ideally you’ll save them for Banshees or the Elites as you progress closer to the bridge exit.


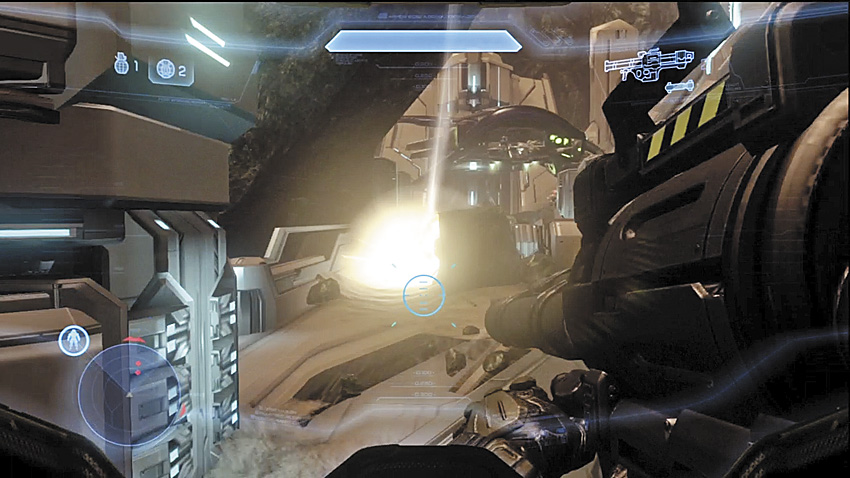
[22] After dealing with the immediate Banshee threat, advance forward cautiously. Consider using any remaining rockets you have on clusters of light infantry, or on Elites, but remember that you may still have another Banshee or two to contend with. Scarier still, there is another section under the bridge where many Grunts and Jackals hide. Killing Elites may inspire them to flank you from behind with suicide charges, so watch your motion sensor.
Key Combat Tip
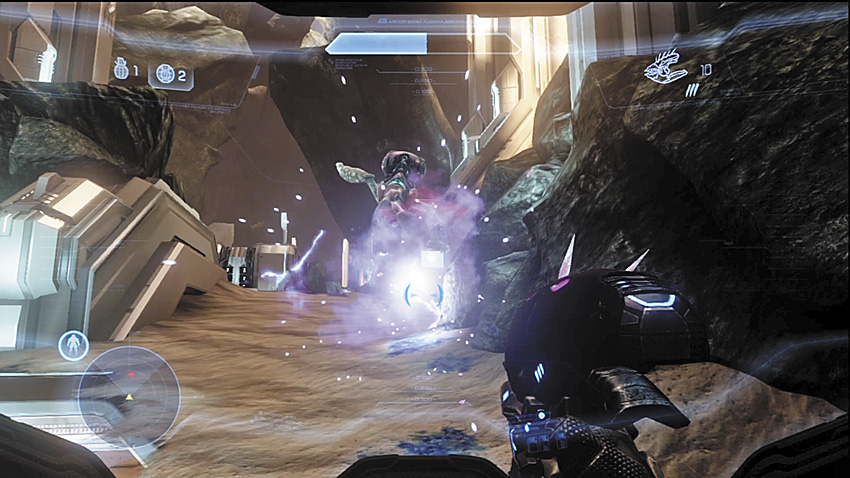
[23] A final group of Grunts and Jackals, lead by higher ranking Elites, stands as your final obstacle before exiting this kill zone, while another Banshees menaces you from above. If you get past them on your first try, go get yourself a soda. Pet a dog. Take a walk—something, anything—you’ve earned it.
Taking the Banshee

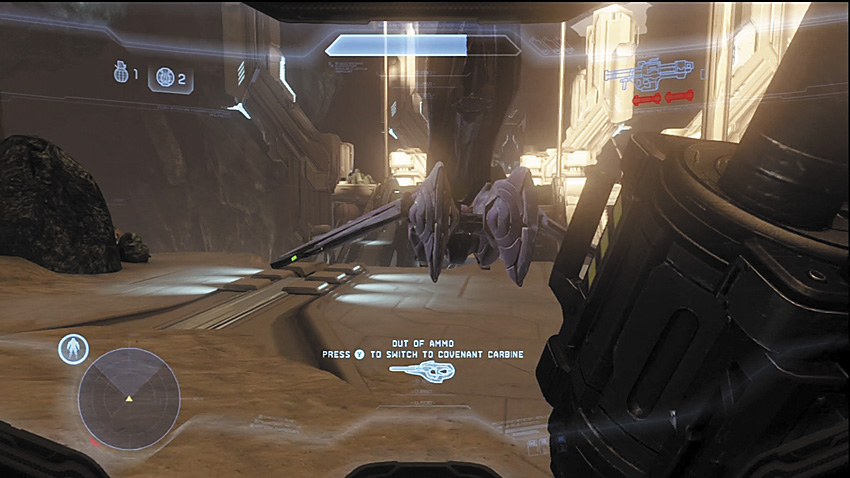
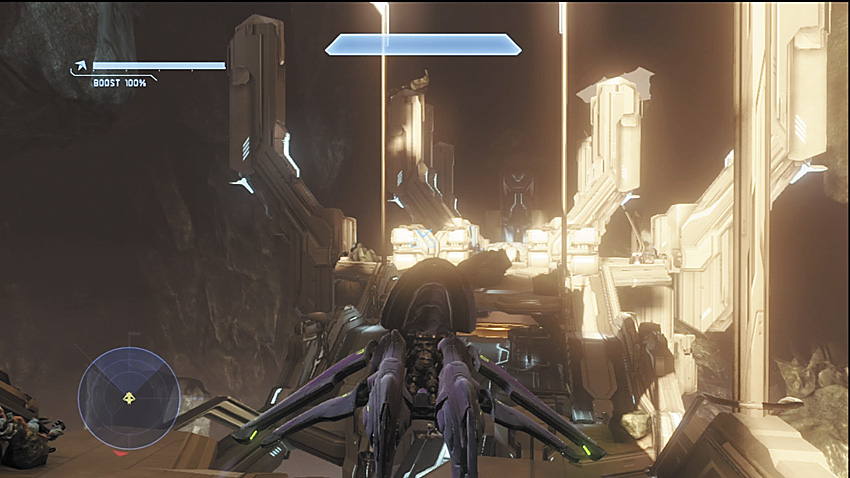
It’s not particularly safe, but it is possible to capture a Banshee for yourself by taking the one parked near [20], on the opposite side of the gap on the upper level of the bridge that forces you down to the lower area.
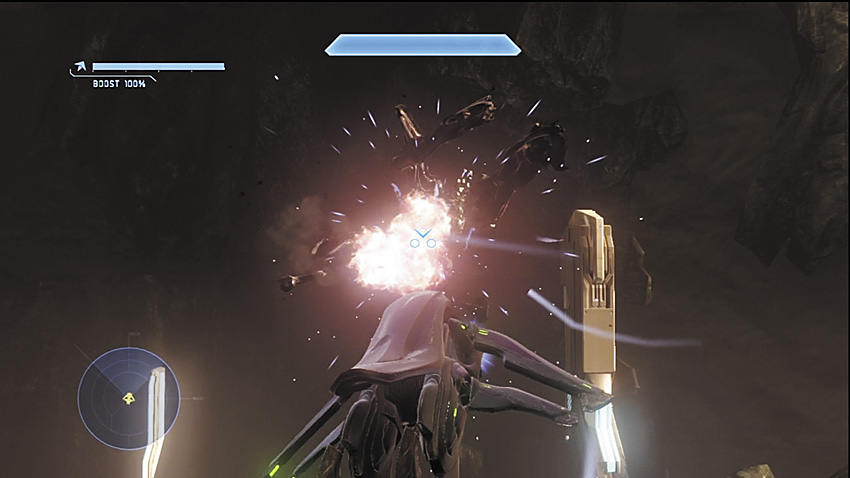
If you do this, your major threats are other Banshees, Phantoms, and the small arms fire from Covenant infantry. In particular, the Covenant will try to use charged Plasma Pistol shots on you as well, so be alert. Banshees are quite fragile; they succumb to sustained fire in just a few seconds. Make sure you’re being proactive at eliminating enemy Banshees, and don’t test your luck hunting Phantoms. They have too much armor for you to reliably take one out, and their mounted guns are quite accurate.
If a Banshee gets the jump on you, you’re already in serious danger. You can use the melee button to trigger some special stunts, but this doesn’t do a whole lot to get them off your tail, and neither does hitting the boost and flying straight. Turn as fast as you can on the enemy fighter and try to drive it off with plasma fire or a fuel rod shot. Always make sure you confirm the kill so you don’t get surprised by the Banshee again.
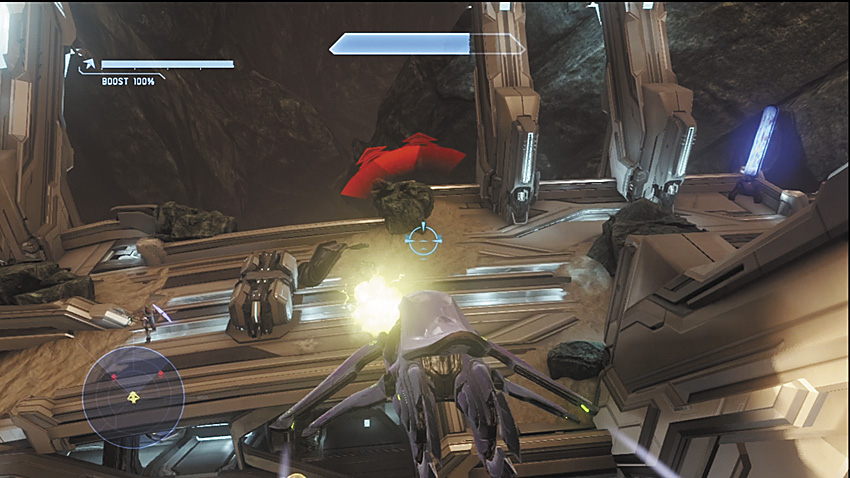
When clearing out infantry, try to stick to the Fuel Rod Cannon. It’s murderous on Grunts and Jackals alike, and while Elites can evade each shot, you can still score hits and kills through splash damage. Getting close enough to them to use the Plasma Cannons only exposes you to return fire that your ship can’t sustain for long.
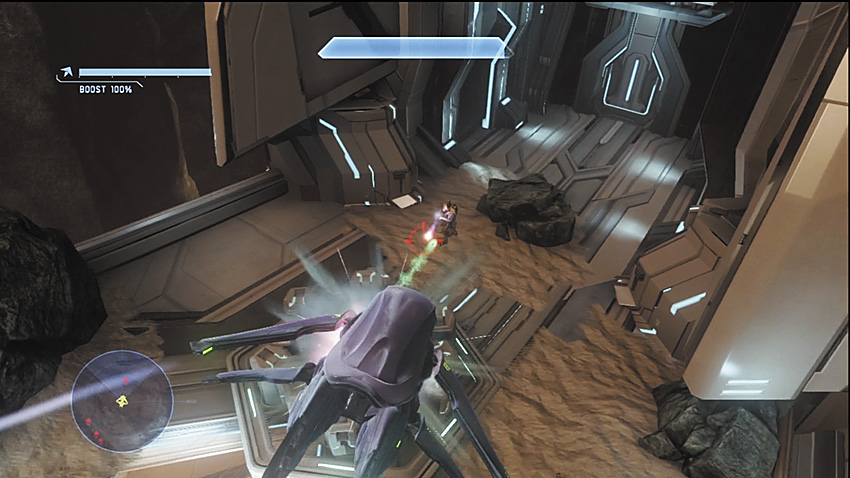
Lastly, remember that you don’t need to kill absolutely everything to get through this section! If you’re only just trying to make it through, you can bypass much of the enemy’s ground units and concentrate your efforts on other Banshees and the final group of infantry closest to the exit.
Whichever method you choose, once you break through this Covenant position, Cortana chimes in with some disappointing news. The Covenant have ordered all of their troops to defend the tower, and they are converging there as you leave bridge behind. It’s not over yet.
Legendary Strategy
The Banshee strategy is still an effective and easier method for completing the crossing, but on this difficulty the Banshees seem even more vulnerable to incoming fire when you’re behind the wheel (despite being tougher for you to take down when you’re shooting them). You can still make it work, but you’re in for a relatively slow grind as you constantly dance out of the extended enemy ranges. Hostile Banshees can destroy you even faster than on Heroic difficulty, so you’ll have to constantly scan the skies for them and ignore everything else until you know you’re safe.
The Active Camouflage is life on this bridge if you take the ground route. You absolutely must control the pace of combat and make certain you don’t bite off more than you can chew. Use it to score quick stealth melee kills (do not trigger the assassination animation!) on Elites if the opportunity presents itself. The Rocket Launcher at [21] will most likely be limited entirely to anti-Banshee duty, but if you’re lucky, you can use it on ground troops.
Make certain you leave this bridge with a healthy amount of Battle Rifle or Covenant Carbine ammo, as well as a Plasma Pistol!
Legendary Gameplay Video
Major Firefight: The Gateway
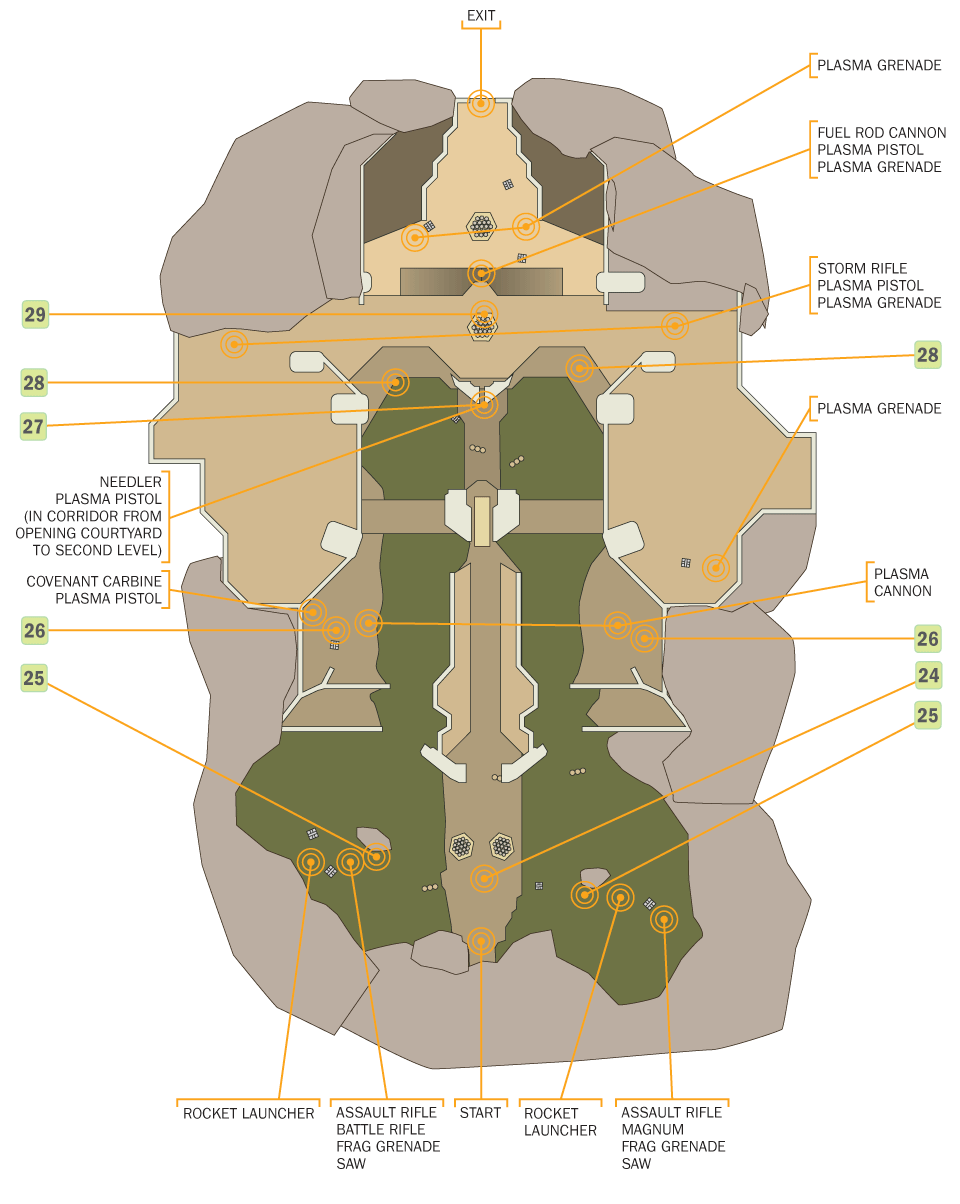
The passage leading from the bridge takes you to a field that sits before a massive Forerunner facility connected to the tower destination. The Covenant are already here, and the field is being patrolled by Grunts freshly deployed from a Phantom, with snipers and Shade Turrets on either side of the symmetrical fortification. Ghosts deploy as soon as your presence is detected, and the minimal cover in the field makes you vulnerable to sniping. The center of the field is dominated by a raised walkway, where more Covenant have gathered.
The starting ground level is just a taste of things to come, it only gets worse the farther you climb up toward the facility entrance. The second level starts with a Grunt and Elite Zealot sandwich, and then you pick between two routes to climb up to the third and fourth levels, where you encounter your most dangerous Covenant foes yet.
Recommended Loadout
You’ll want a good headshot-capable Covenant Carbine or Battle Rifle for the opening gambit, which means taking out the Grunts closest to where this battle begins and dealing with the snipers and Shade Turret gunners. A Plasma Pistol is good medicine for handling the Ghosts, and you might want to hijack one to make clearing out the first area easier.
The pair of UNSC weapons caches near the point you enter from [25] both contain a Rocket Launcher, an effective weapon against the Ghosts and the Shade Turrets.
Opening Gambit
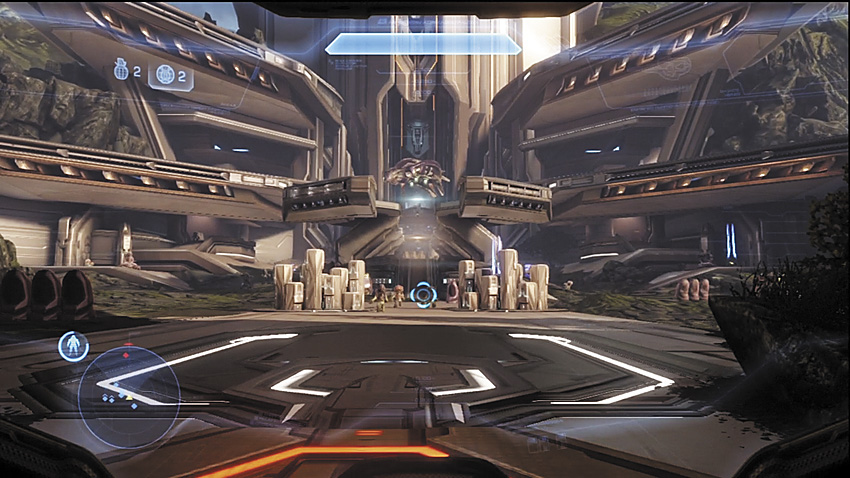
[24] Hopefully, you kept your Active Camouflage armor ability. The ability to vanish from sight makes handling ranged threats easier. Activate it as soon as you enter this field. To your left and right are two raised balconies, each guarded by a Shade Turret on the ground level. Above them, Jackal Snipers are on patrol. They all have potential line of sight on you as soon as you enter this arena.
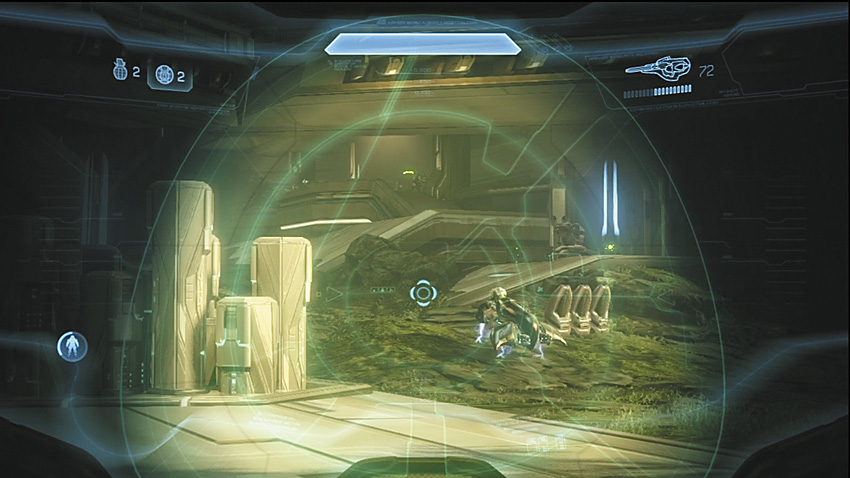
In front of you, being dropped off by a Phantom, are Grunts. Deal with them quickly, and take cover near one of the small barriers.
By now, Phantoms have thrown Ghosts into the mix, but if you were quick at getting to cover and killing the first group of Grunts, you might have a chance to counter-snipe one or both snipers. If you’re even luckier, you can try for the Shade Turret gunners. If you don’t have a sniping weapon, you’re kind of in a tough spot, but it’s still workable.
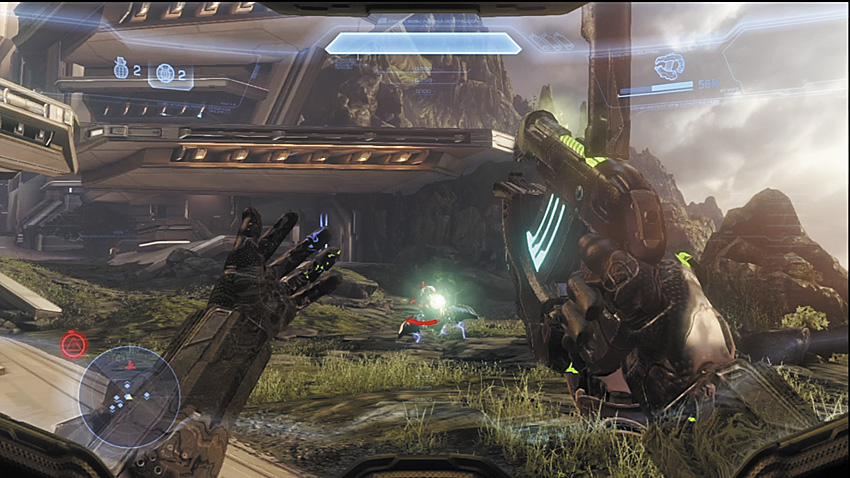
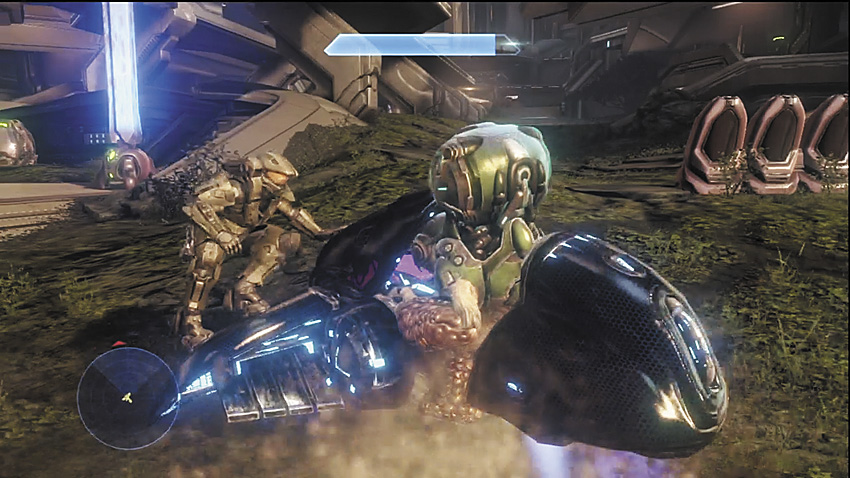
When the first Ghost attacks, and it will attack, quickly disable it with a charged Plasma Pistol shot, then take it for yourself. If you haven’t wiped out the Shade Turret gunners or Jackal Snipers yet, now’s the time! A second Ghost will make an appearance shortly after you encounter the first, so time is of the essence. Don’t forget that Ghosts leave you exposed to incoming fire, so drive defensively to avoid taking hits.

Key Combat Tip
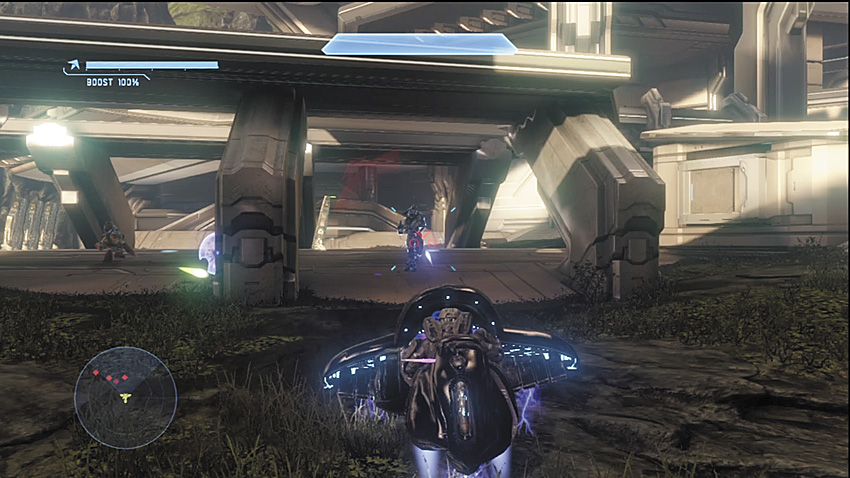
With a Ghost, the rest of this opening battle is a simple matter of cleanup. Wipe out the stragglers, including the Elite, at the central structure, then proceed closer to the main building and finish off another Elite/Grunt team. You’ll have to part ways with the Ghost for now, sadly. Before you follow the ramps up to the next level, check out the balconies that the Jackal Snipers and Shade Turrets guarded [26], and make sure you pick up a Covenant Carbine and a fresh Plasma Pistol.
Legendary Strategy
This opening section on Legendary can go badly once the enemy is on to your position. Because of the lethality of Jackal Snipers, and the possibility that one or both snipers may be carrying Beam Rifles, taking them out becomes one of your top priorities. Be especially aware of the Ghosts in the area as you make your way to one of the weapons caches near the start of this firefight. If you’re caught out in the open, they will cut you down almost as fast as the Jackal Snipers can. You might be tempted to destroy them with a Rocket Launcher, but it would be wasteful to destroy them both. Having a Ghost available makes the fighting after the Shade Turrets and snipers are down much easier. Deal with the nearest Shade Turret gunner, then take out the sniper as soon as you get an angle. Then rip up the Grunts near your starting point and work your way in relative safety back toward the other side of the field to kill off the sniper and Shade Turret pair. Remember to move and fire while cloaked by Active Camo, if possible, until you’ve dealt with the all of the snipers and Shade Turret gunners!
Level Two
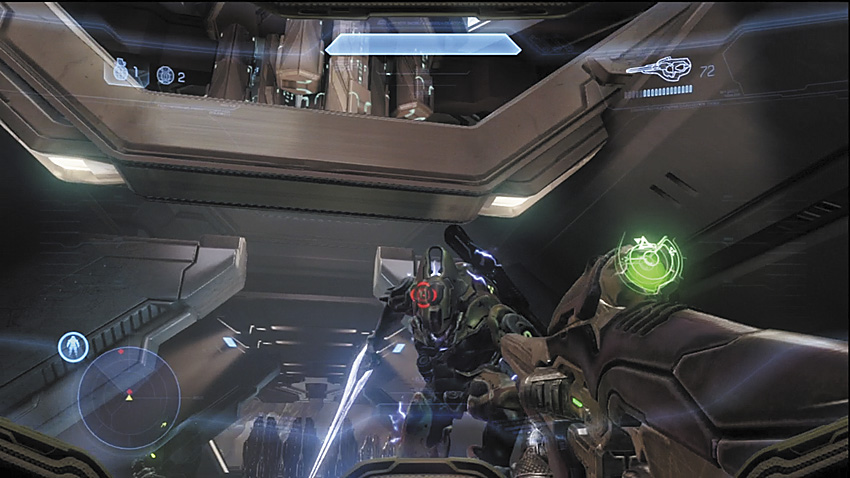
[27] As you head toward the ramps leading up to the second level, Cortana warns of more enemy reinforcements along the way. Four Grunts and an Elite Zealot stand guard here. Use grenades to wipe out the Grunts while drawing out the Elite, and used a charged shot/headshot combo on him. Alternatively, you can burn a rocket to take him out, but a miss could lead to a Energy Sword-assisted restart of the battle.
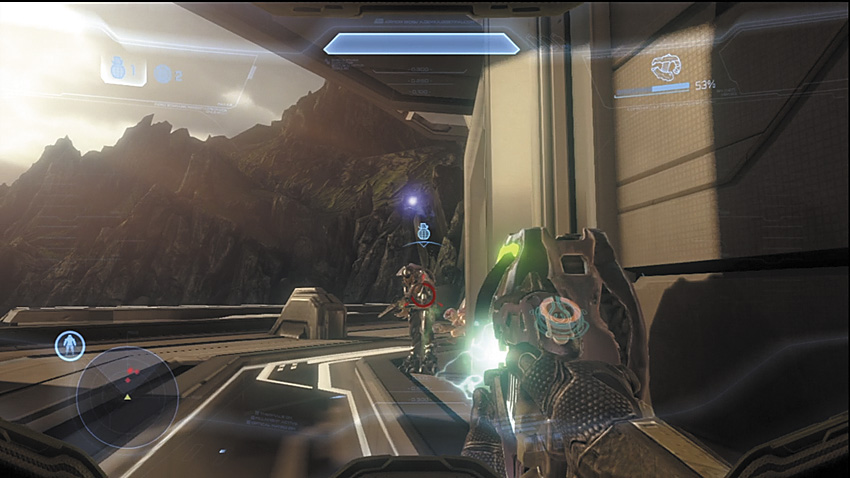
[28] You’ve now got a choice to go to the left or right. Both sides are more or less identical in design and enemy composition. Expect shield-equipped Jackals and a few Grunts lead by an Elite. When you reach the ramps, there typically is a trio of Jackals, one of whom could be a Jackal Sniper with a Beam Rifle. Atop the ramps on either side of the base are more Covenant weapons caches that include Covenant Carbines, Storm Rifles, and Plasma Pistols.

The Hunters
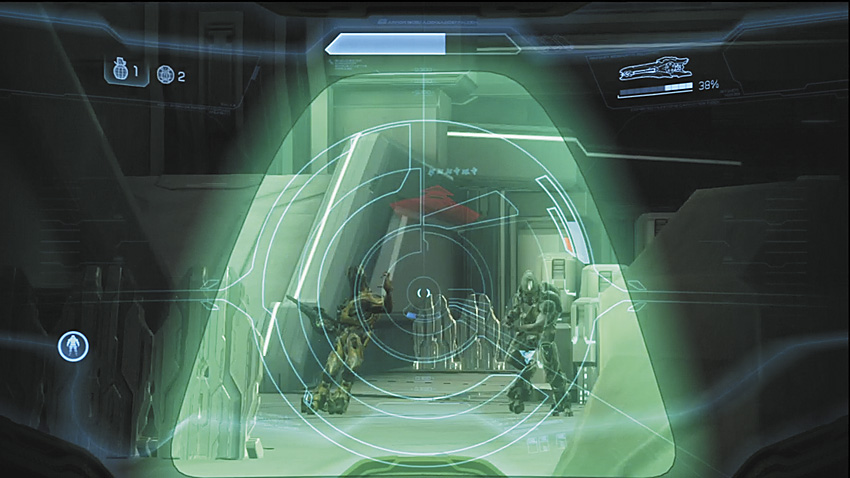
[29] The last section of this firefight starts with a Phantom dropping off a pair of Elites that are ordered to guard the ramps that lead to the entrance of the Forerunner facility. It is driven off by a concentrated assault by Sentinels, who are fighting the Covenant alongside you. Meanwhile, the courtyard in front of the door is occupied by a pair of massive Hunters, who are taking on a swarm of Sentinels and are winning quite easily. Ensure that the Elites are no longer a problem, then pick up a Fuel Rod Cannon from the cache at the base of the ramps leading up to the Hunters, and prepare to go to work.
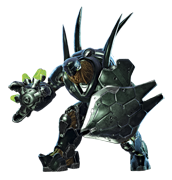
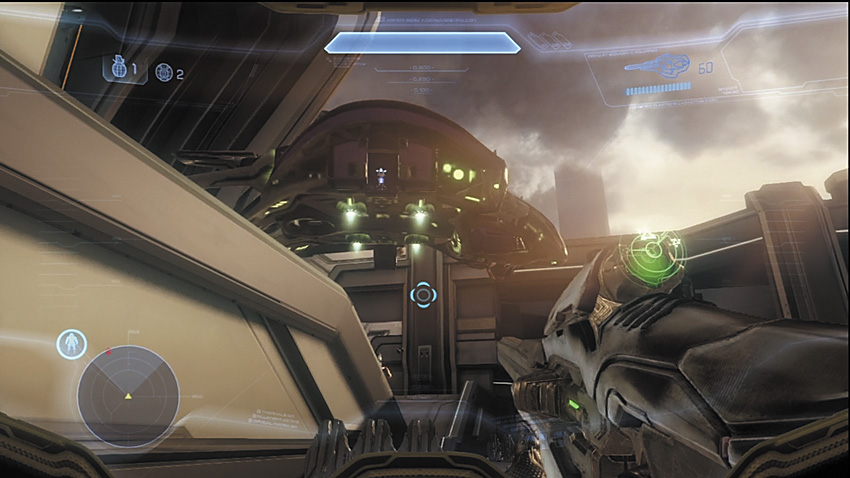
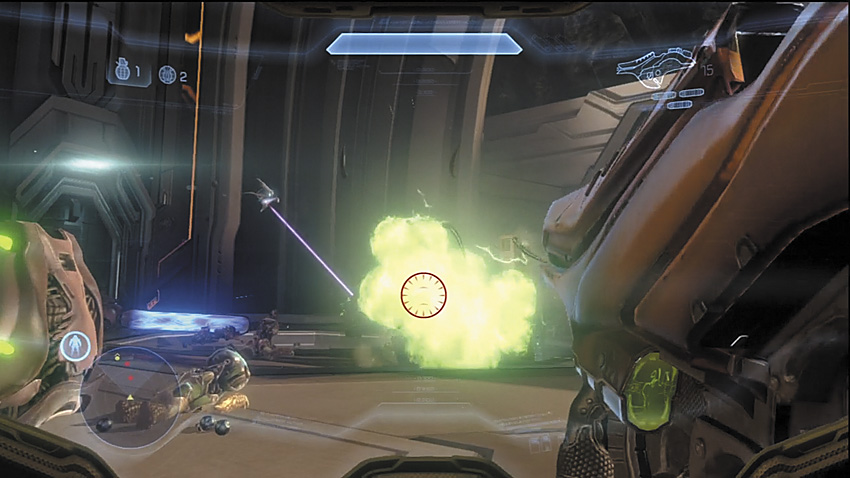
Hunters are always a problem when they show up, but they can be especially frustrating here. They often refuse to chase you down the ramp to where the pair of Elites are assigned, and the area they command has little in the way of solid cover you can use to avoid getting pasted by fuel rods. Focusing on only one will often get you blind-sided by the other, and they are not afraid to shoot fuel rods at one another if it means they can kill you.
Concentrate on one Hunter at a time. If you’re lucky and hit the exposed orange flesh with a full load of fuel rods, that should end it. If it survives, try to stick it with a Plasma Grenade or four, if you can. If it looks like the Hunters are getting too close, retreat from the platform and use Active Camouflage to break free, then close in once again and attempt to flank them. You want to get shots on their flesh, and any weapon you can scrounge up can potentially do the job.
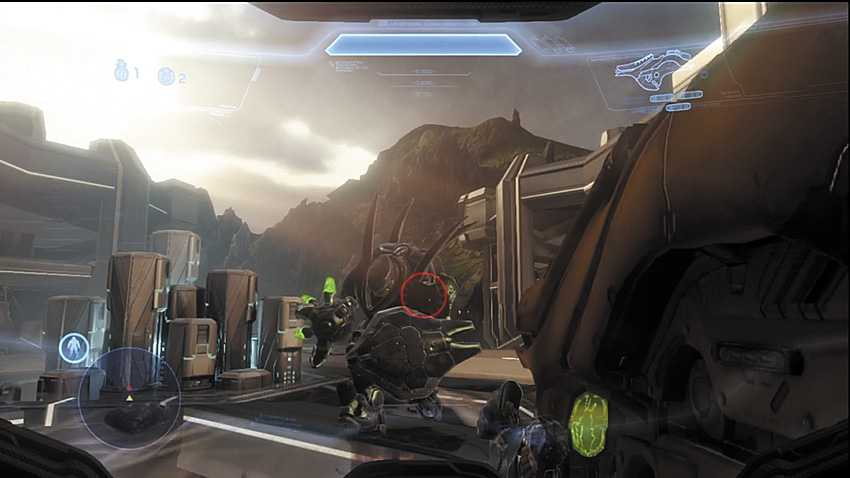
Once a Hunter goes down, you can fight its partner a little more safely. Stay mobile, and keep circling around it. There’s a sweet spot, about one and a half Hunter-lengths away, where you’re not too close that you’ll get punched to death, but still not likely to get a fuel rod in your skull. It will just keep trying to spin and punch at you. If you want to play it safer, retreat using Active Camo, and then circle around behind it after it stops pursuing you. If you keep landing shots onto its weak point, the second Hunter will eventually succumb. The path into the facility is clear. Do your preferred victory dance; that’s the last battle of the chapter!
Legendary Strategy
Hunters are jerks on this difficulty: faster to attack, faster to react, and as always incredibly resilient. You will be disappointed to see Hunters surviving far more rockets or fuel rods than they would on Heroic. The same basic strategy can be employed, but you’ll have to be smarter about your firepower and not waste your chances. If you’re lucky, you can still eliminate or severely weaken one Hunter before they both turn on you. If you run short on ammo, you must play the most dangerous game, that is, getting close enough to the Hunter to bait it into melee combat before slipping behind it and striking the exposed flesh on its back. If you’re quick about this, you might also be able to distract the Hunters for any surviving Sentinels to fire their cleansing lasers directly into their weak spots as they lumber after you.
Legendary Gameplay Video
The Portal
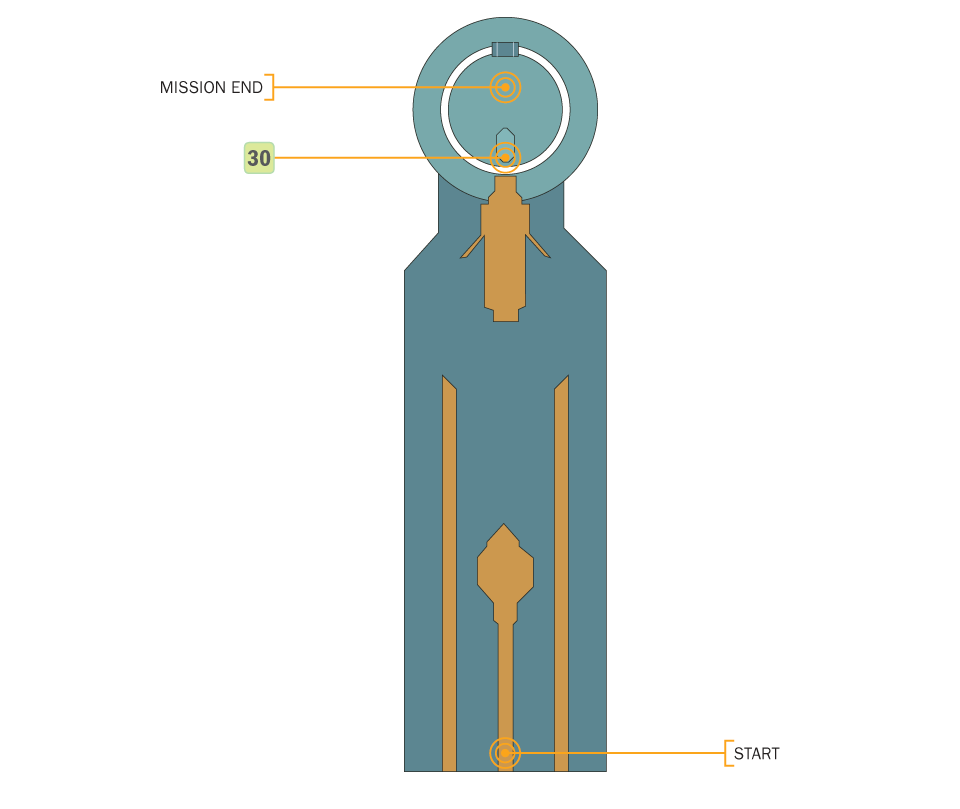
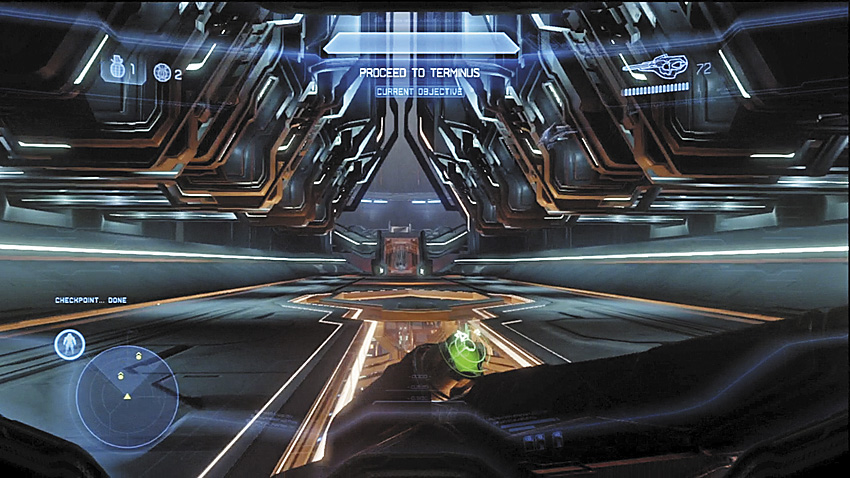
After crossing through the door to enter the facility, an elevator takes you into the depths of the tower. You see a massive hall with constantly shifty geometry hanging from above. Head toward the elevator at the central platform dead ahead.
Domain Terminal
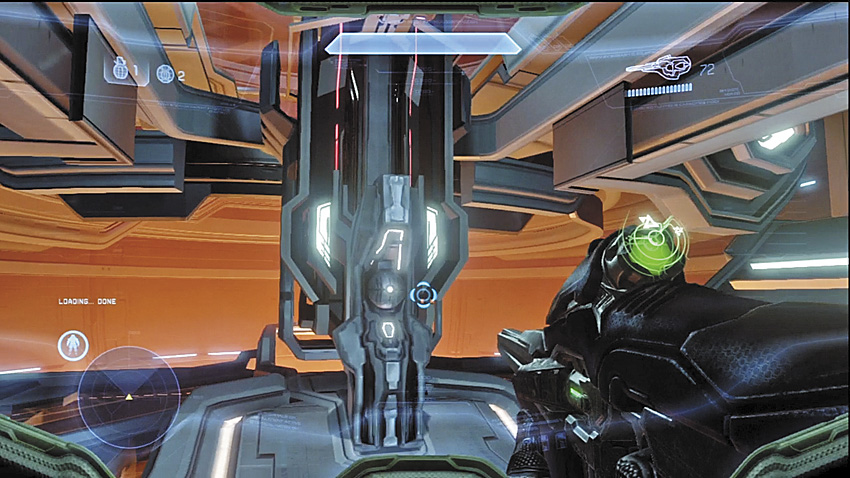
[30] But don’t climb that ramp just yet. Check underneath the ramp to find a Domain Terminal, and inspect it to unlock special information on Halo Waypoint .
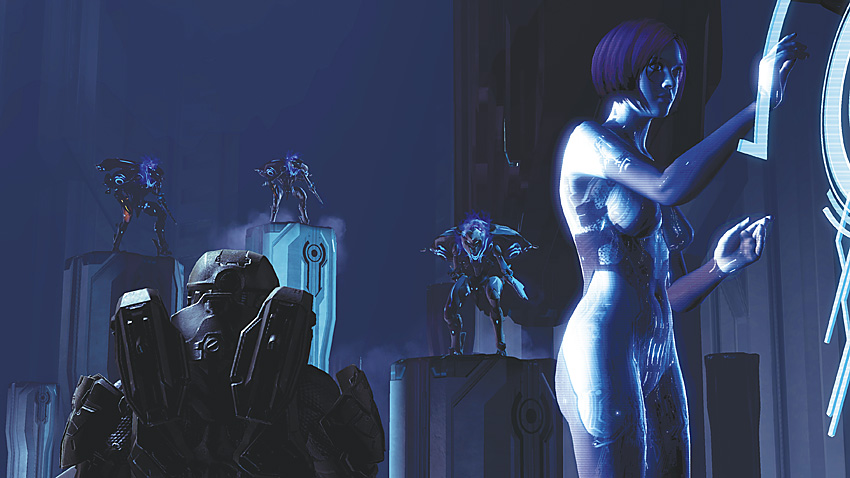
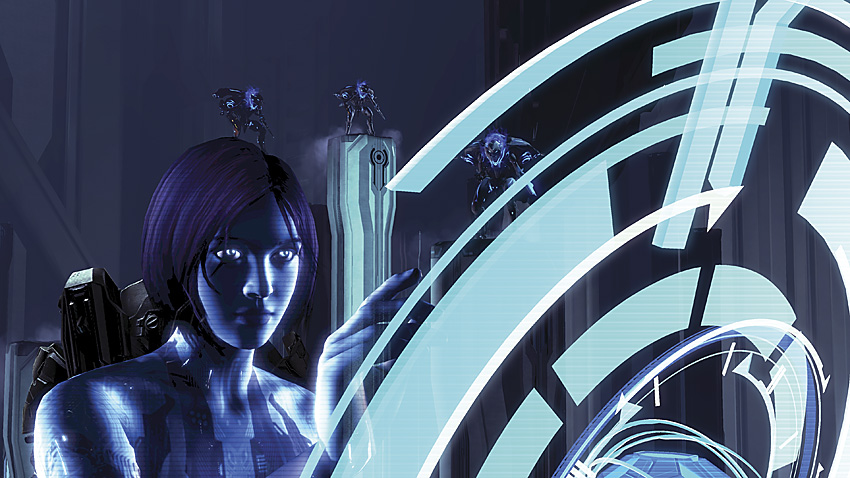
After taking the elevator up, the Master Chief and Cortana arrive in another massive hall surrounded by pillars. The Master Chief inserts Cortana into the system as she attempts to pinpoint the Infinity ’s location, in the hopes of using shield world’s portal system to get aboard the vessel. Unfortunately, she is unable to determine the Infinity ’s whereabouts. Things take a turn for the worse when the pillars behind the Master Chief light up, revealing new aliens never encountered before—but it is obvious that they are not friendly. Activating the portal grid, Cortana urges the Spartan to hurry and get them both out of there before they learn just how unfriendly these aliens can be.