
Meltdown
The catastrophic effects of this reactor’s systemic breakdown will eventually rend this icy moon into pieces.
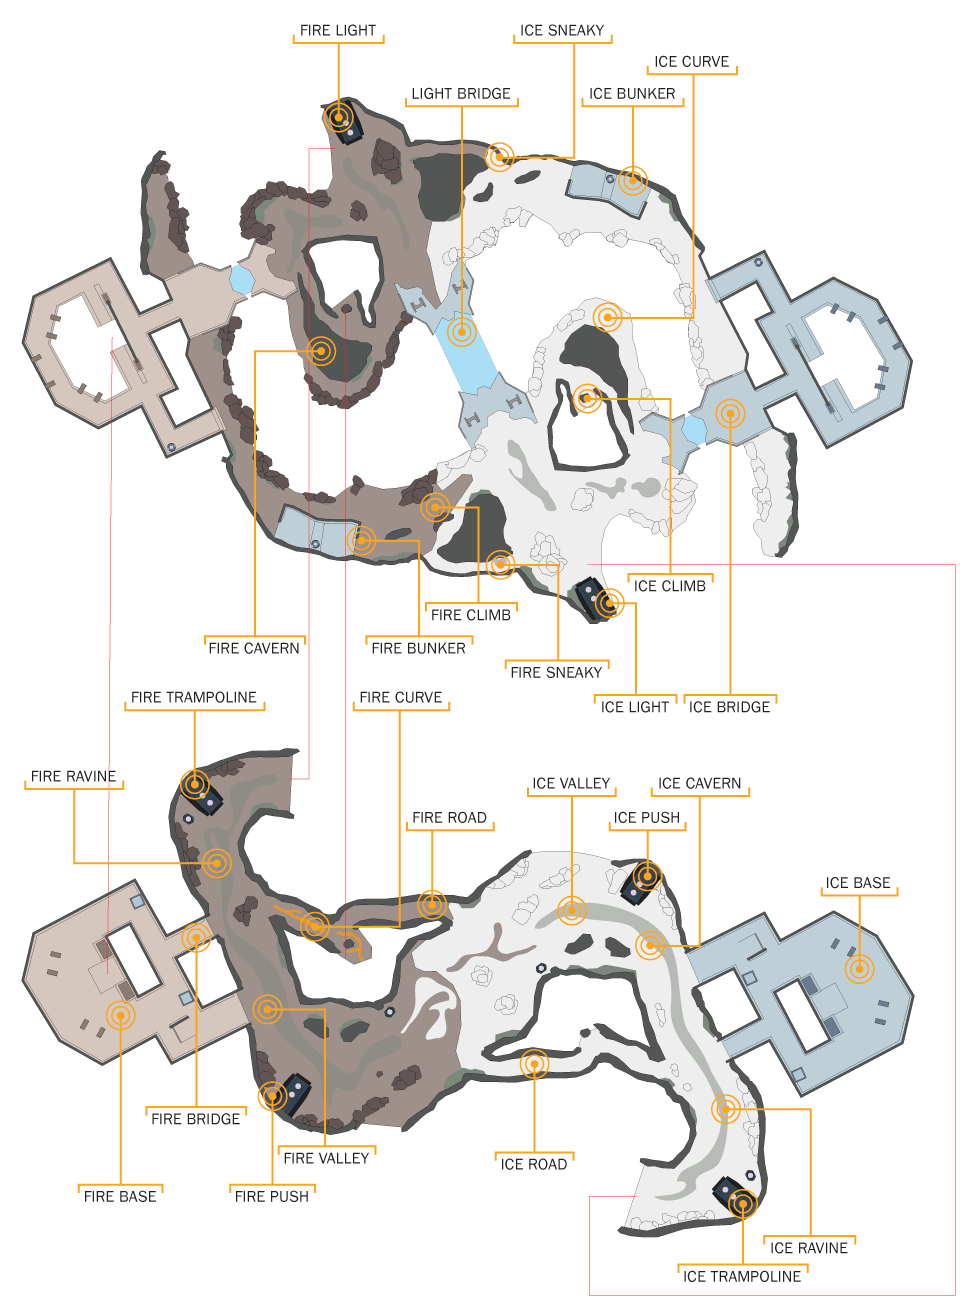
Hot Spots
1A. Fire Base
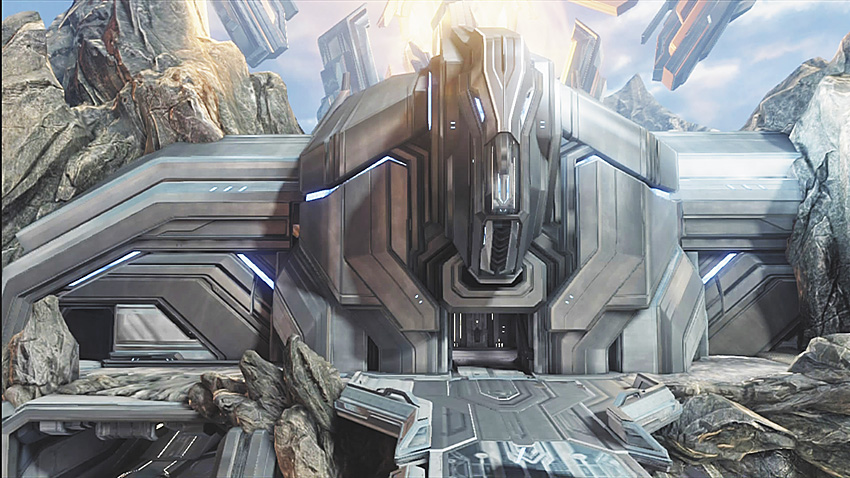
1B. Ice Base
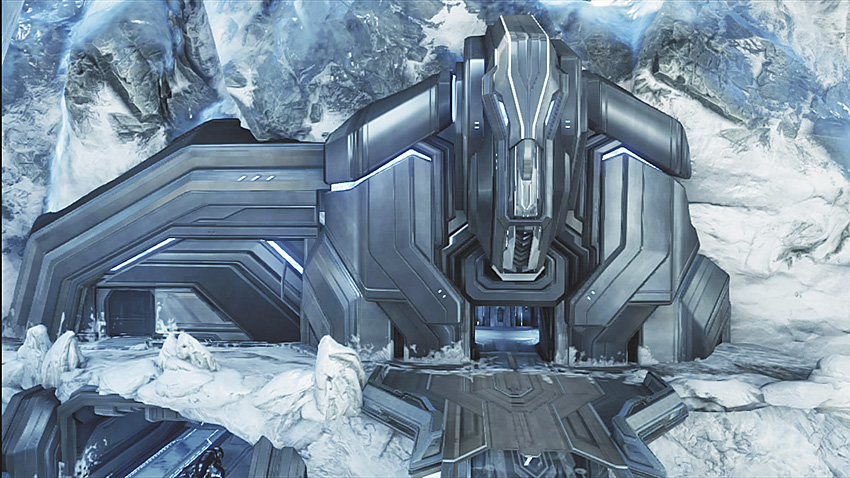
This is the starting point for the red/blue team. Each base has an arsenal of vehicles that you want your team to discuss before the game so you know who is doing what. You only want teammates in here if they are defending the objective or forcing opponents to come in (if you’re playing Slayer game types).
2A. Fire Bridge
2B. Ice Bridge
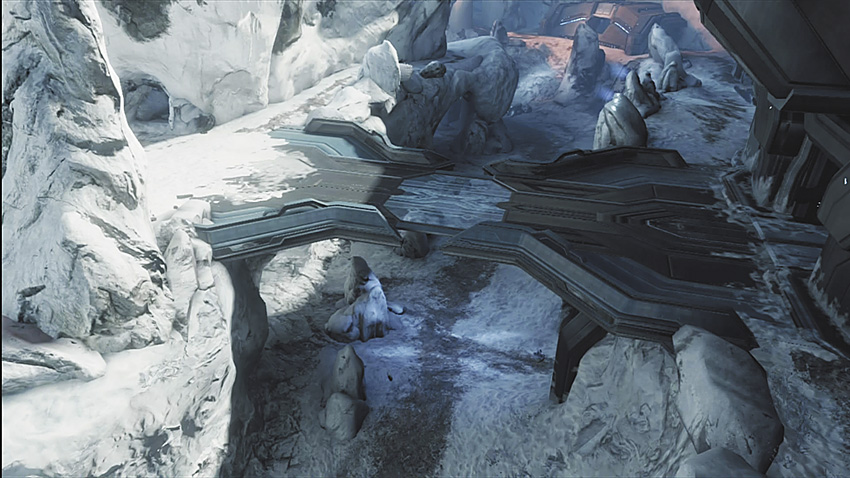
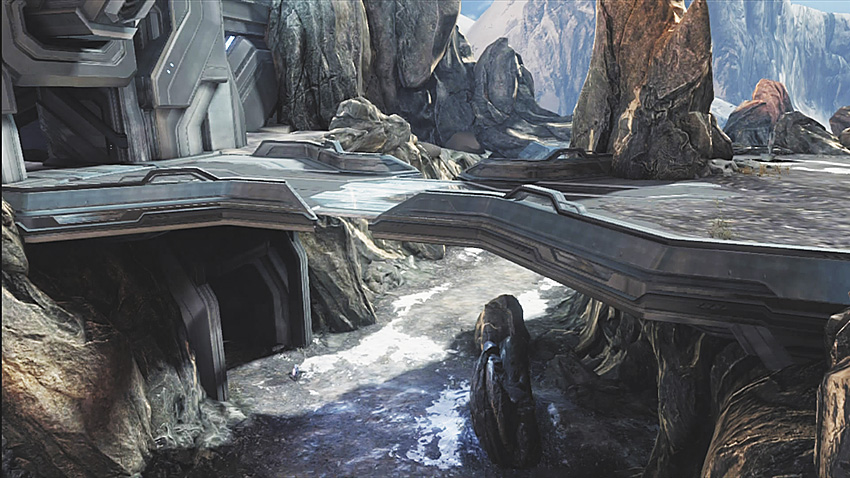
This connects the Base (1) to the road in front of each base, respectively. Only use these bridges to reach Light Bridge (12) or Curves (5). There’s no point in holding, as you are wide open and away from cover. Walk out here only if you are escorting your team’s flag carrier out of the enemy’s base or into your own.
3A. Fire Bunker
3B. Ice Bunker
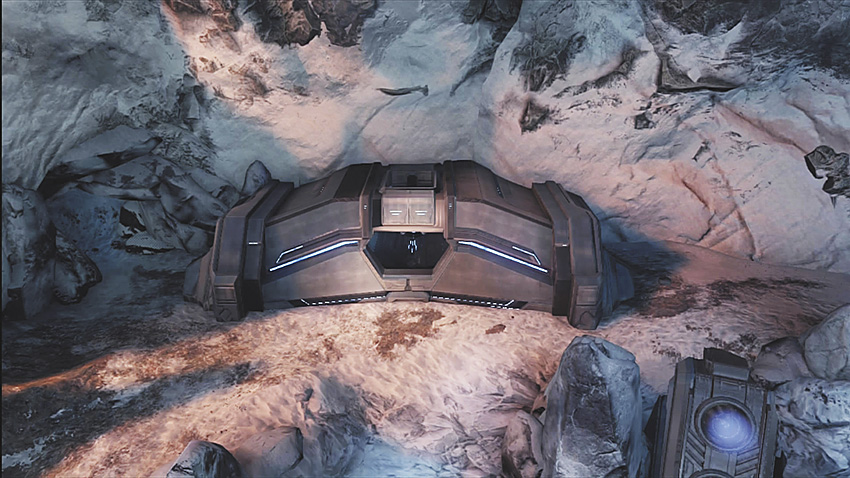
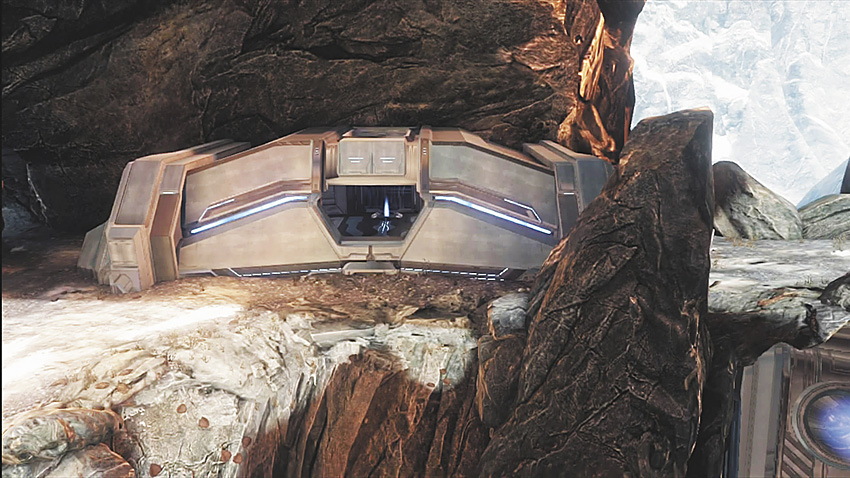
Use this to take a breather if you’re running a flag. This is also a good stopping point if you need to recover your shields or you’re waiting for other teammates to respawn and help you finish a flag capture or a push. This is a good place to control, as the Bunker has a little window that you can shoot out of, granting you good weapon-aiming angles.
4A. Fire Cavern
4B. Ice Cavern
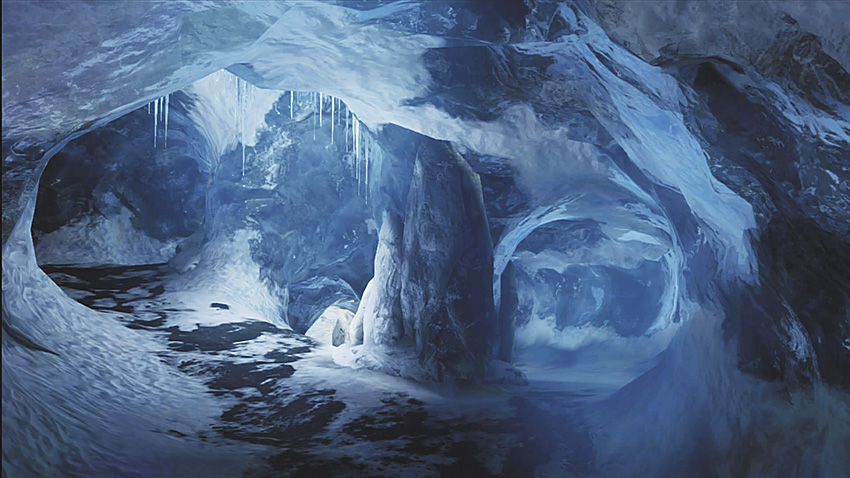
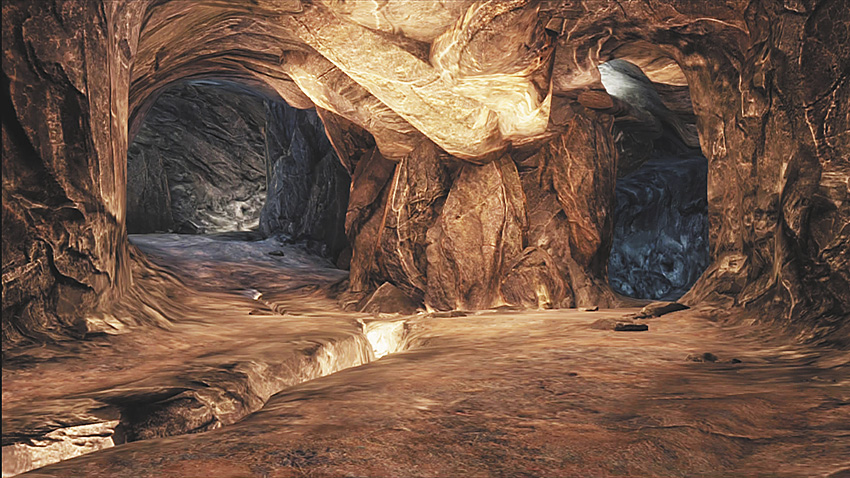
These caverns are used primarily for escape routes, as you can lose your opponents around all the little corners. Use this area to switch positions from Roads (9) and Curves (5); trick your opponent by holding them back in their base. There are times an objective may be inside, so be prepared to enter and melee everything in your path.
5A. Fire Curve
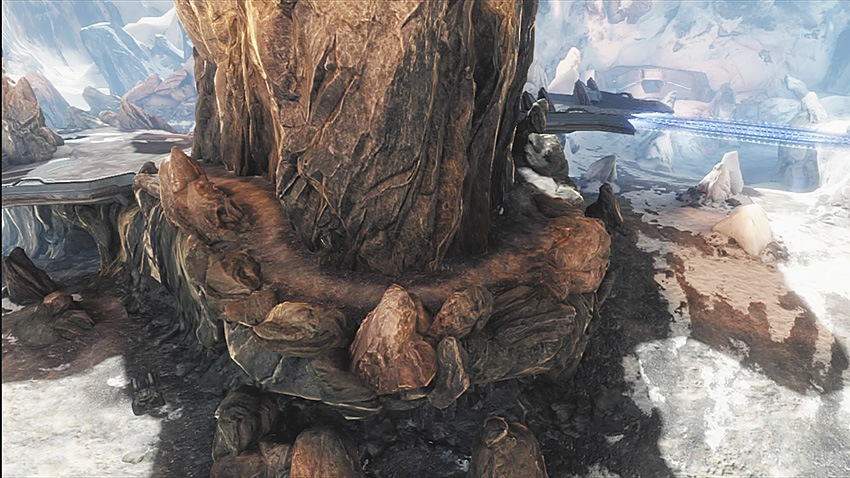
5B. Ice Curve
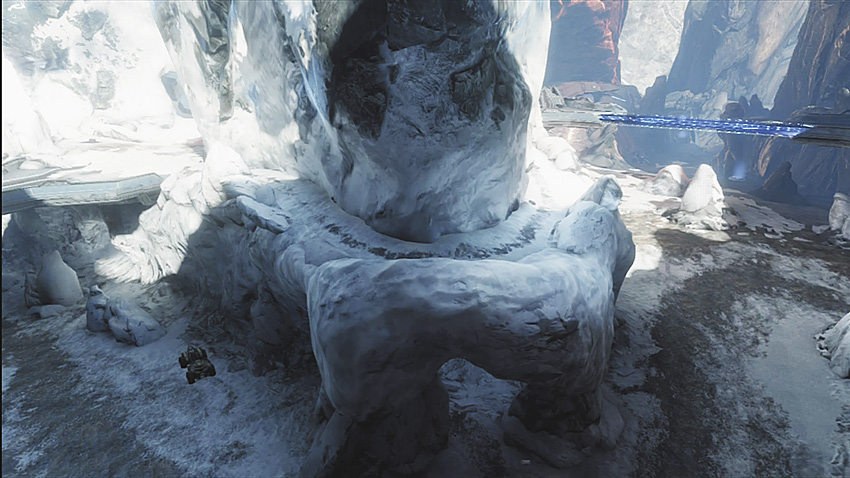
This hot spot wraps around the central part of the map and is mainly used for getaways, as it’s right above the Fire/Ice Cavern (4). Use your Curve for getaways and to keep your opponents stuck in their base. For easy kills, wait for them to cross their Bridges (2) and then unload on them while they have no cover.
6A. Fire Light
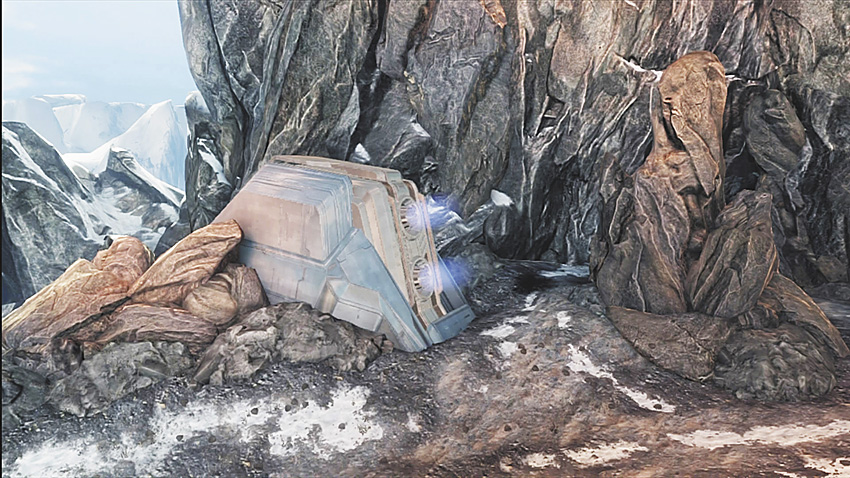
6B. Ice Light
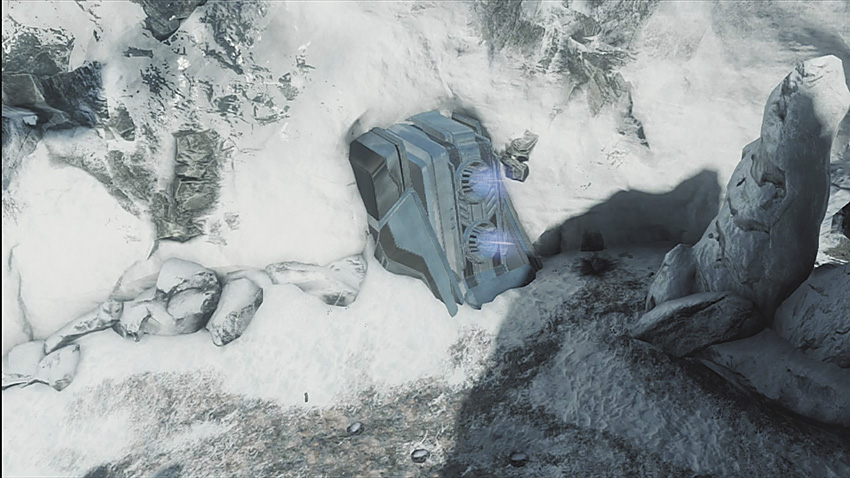
These lights lift you in the direction of the Light Bridge (12). Push this side of your base if you are trying to reach the center of the map as quickly as possible.
7A. Fire Push
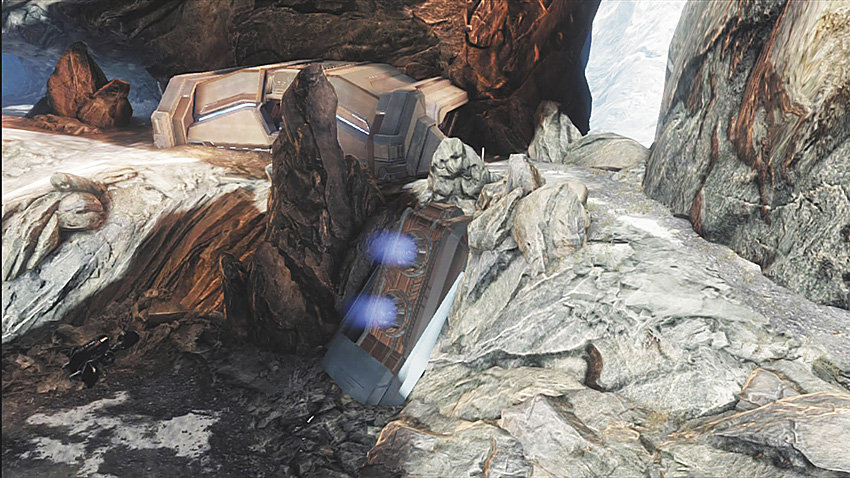
7B. Ice Push
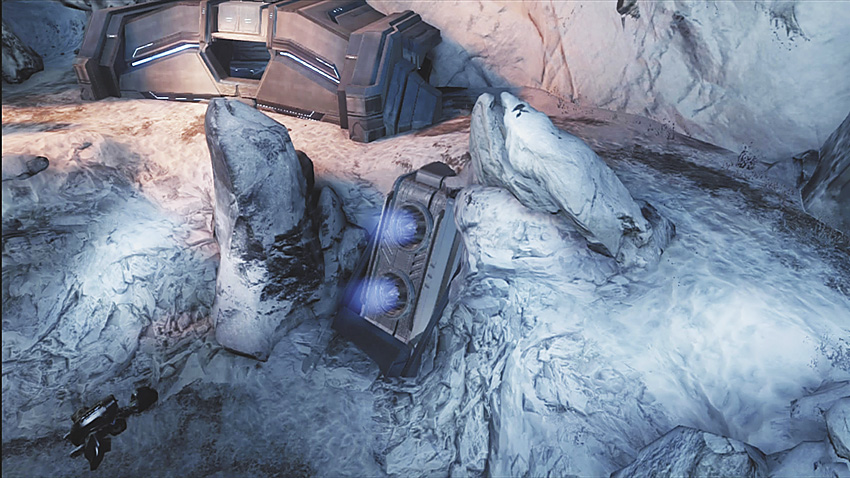
This is the lift right outside of the Bunkers (3) that sends you to Ice or Fire Curve (5). Use this to quickly make your way to the top middle part of the map and surprise your opponent.
8A. Fire Ravine
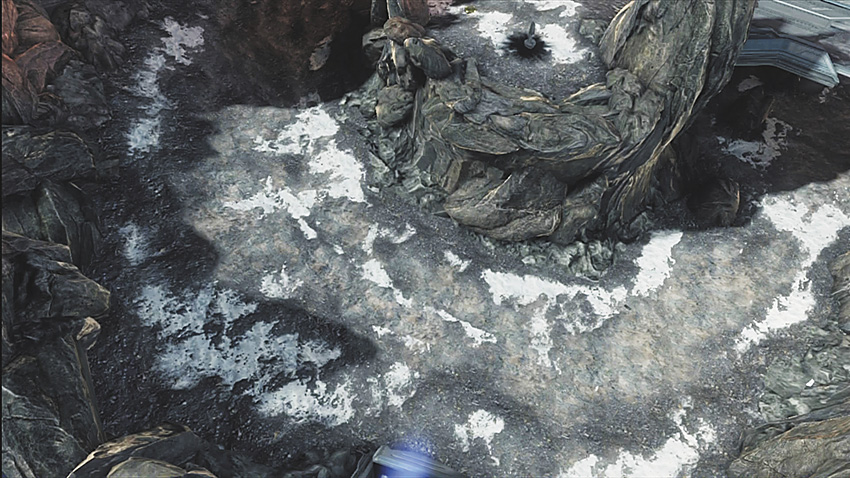
8B. Ice Ravine
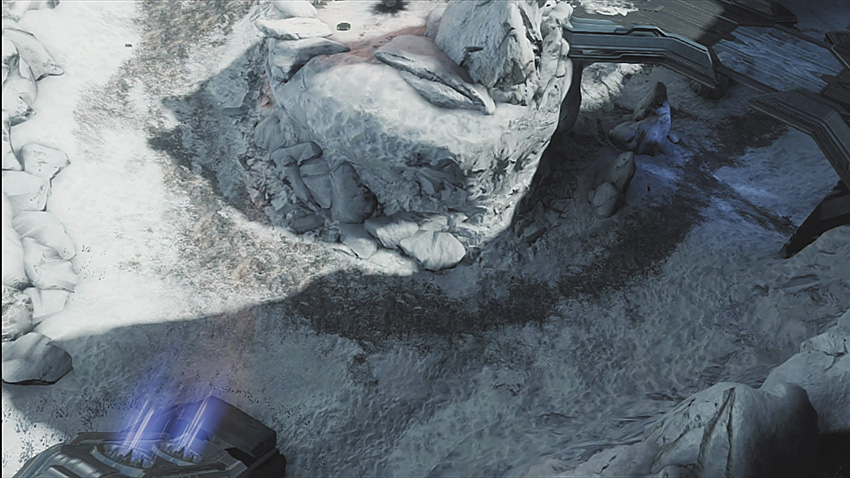
This is directly below the Fire/Ice Bridges (2) that connect to the Fire/Ice Caverns (4) and the Base (1). Each has access to a Ghost and a Warthog, enabling vehicular dominance. You can use either Ravine as your starting spot for your drive-by with the Warthog all the way through your opponent’s Valley (11) or vice versa.
9A. Fire Road
9B. Ice Road
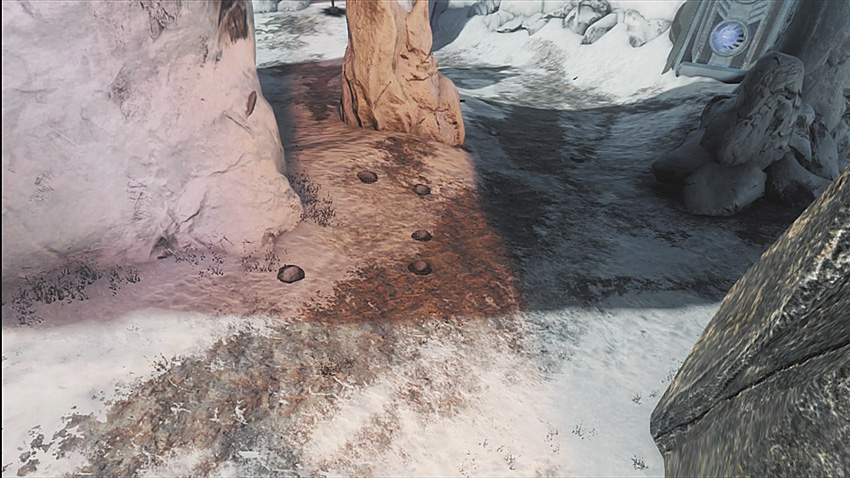
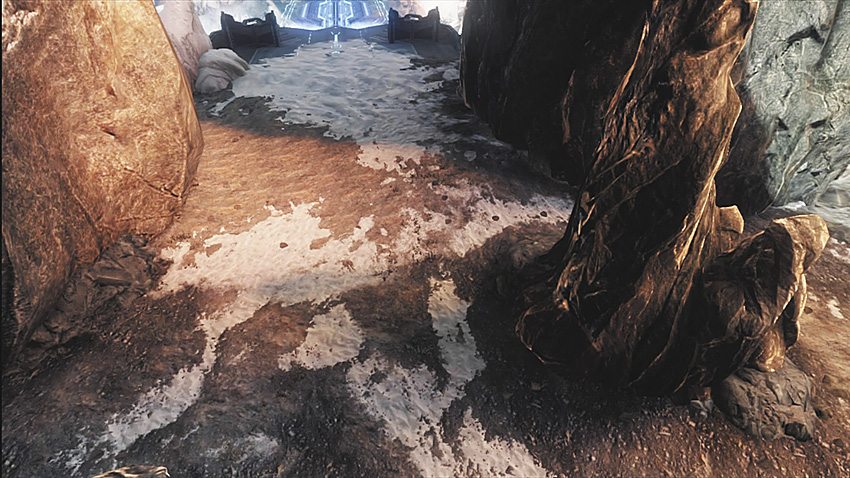
This section of the map is the main thoroughfare when you run the flag in a vehicle. Crossing the Fire/Ice Bridge (2) is dangerous, but if you can reach the Road and Fire/Ice Sneaky (10), it might just be the fastest path to score the flag.
10A. Fire Sneaky
10B. Ice Sneaky
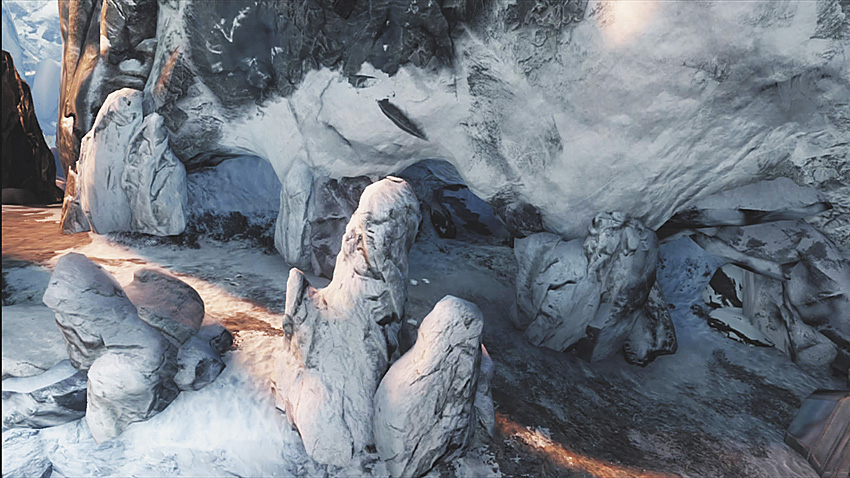
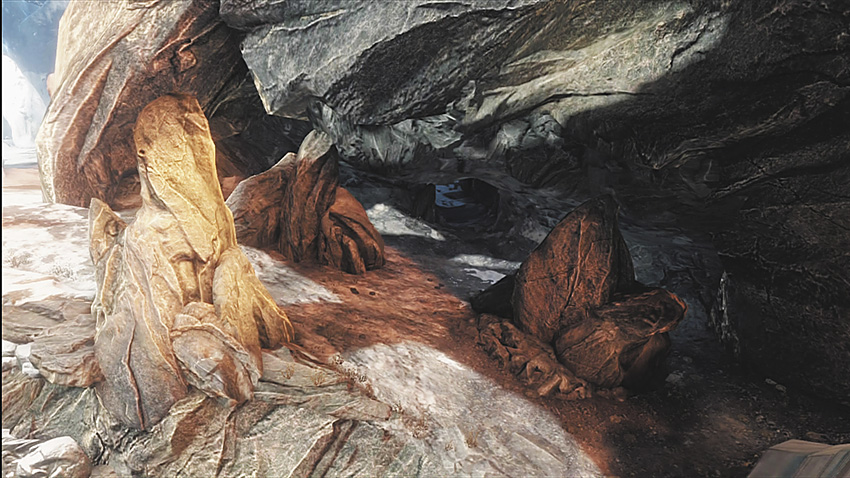
Both these locations have a few rocks protruding up from the ground and are mainly used to hide from enemies while you’re planning a push or recovering your shields after a fight.
11A. Fire Valley
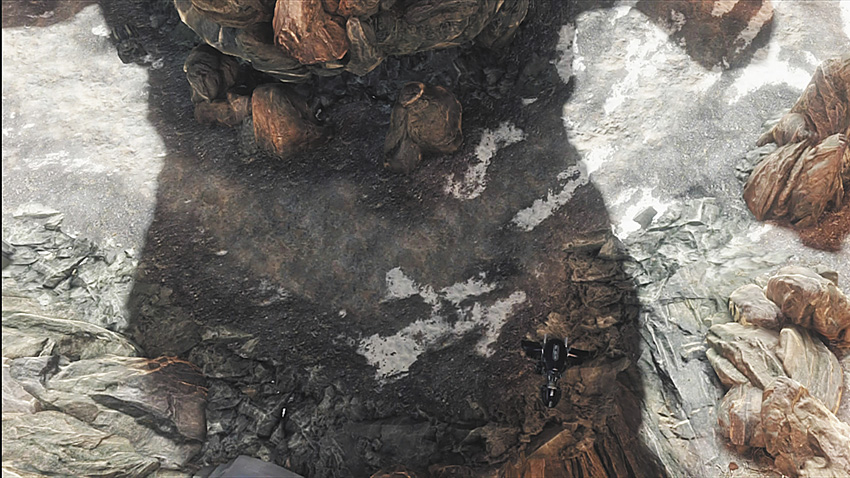
11B. Ice Valley
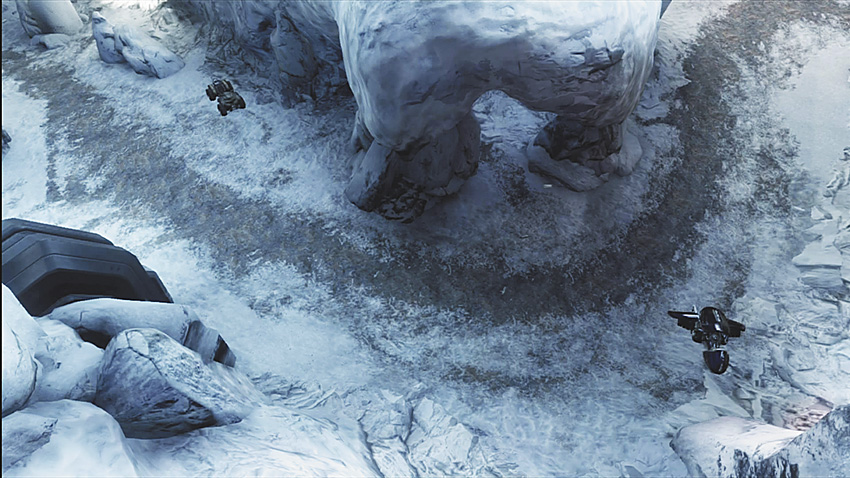
Both Valleys are open areas with little cover, but they are excellent if you’re using vehicles such as the Ghost or Warthogs and you need to cover the ground quickly.
12. Light Bridge
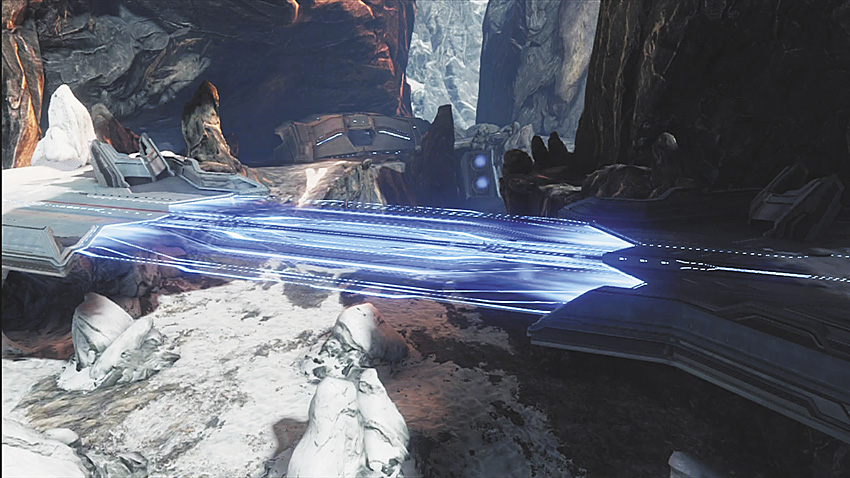
This bridge is the center of the map. It’s an advantageous place to be, as the bridge has two little barricades on each side that can lead to good cover as you stay up top at this power position. No matter what side you are on, you have the Caverns (4), Roads (9), Curves (5), and Sneaky (10) hot spots nearby; pick the one you think will give you the best chance of escape.
General Tactics
.jpg)
Expect the zones just outside of the bases to always be fiercely contested in team-based game types.
Power Positioning in the Center
Taking control of the central part of this map is most important. You want to be near the Light Bridge and either the Fire or Ice Sneaky hot spots. Holding the center area affords you many lines of sight, and with the barricades on the Light Bridge, you have the cover and the Sneaky areas close by to flee to if the area becomes too dangerous to continue defending.
The Bunkers are useful, as they afford you a lot of cover. With correct teamwork and proper patrolling of the middle of the map, you can assist extremely well from here.
During CTF games, being on your opponents’ Curve is hugely important, as you have both cover and the ability to lay down a vast amount of oppressing fire to keep your foes stuck at their base. If you get into trouble, you can enter the Fire or Ice Cavern (depending on where you are), and change locations while still maintaining a threat to the enemy base with your continuous supporting fire.
Vehicular Vengeance
This is another large map, meaning that once again, vehicle control is the key to your success. Place a Warthog around the enemy to keep your adversaries from escaping their base. Have the Warthog driver work with a teammate around the door entrance area, so the vehicle baits a foe out to attack the vehicle before the teammate at the door ambushes and unloads on them.
When playing CTF games, keep a Mongoose outside the enemy bunker; a driver can hold down the bunker, locking that side of the map down while a second team member goes in for the flag and moves to the portal in the base to reach their Bunker. Then simply hop onto the Mongoose, drive through Sneaky, and retrieve the flag for the win.
During CTF play, if your team is winning and the game is close to finishing, place a Warthog or a Ghost inside your own base above or behind your flag, with a few teammates close by. This makes it almost impossible for your foes to kill you all and take your flag. Welcome to the wonderful world of base camping!
Demolition Advice
If you’re playing Demolition, overload the Caverns with a few teammates to keep control of the arming spot. Make it difficult for your foes to take all of you out before they have a chance to defuse.
Other Advice
Use the Caves and Caverns to sneak behind the enemy as you try to outflank your foes and fire on them from another (disparate) angle. Take a teammate with you to shoot opponents; this map is so large, there’s likely to be numerous long-range battles, and two of you taking down foes is an incredible threat to your enemy and an advantage to your team.