
Halo 4 Guide Campaign Mission 8: Midnight
Mission 8: Midnight
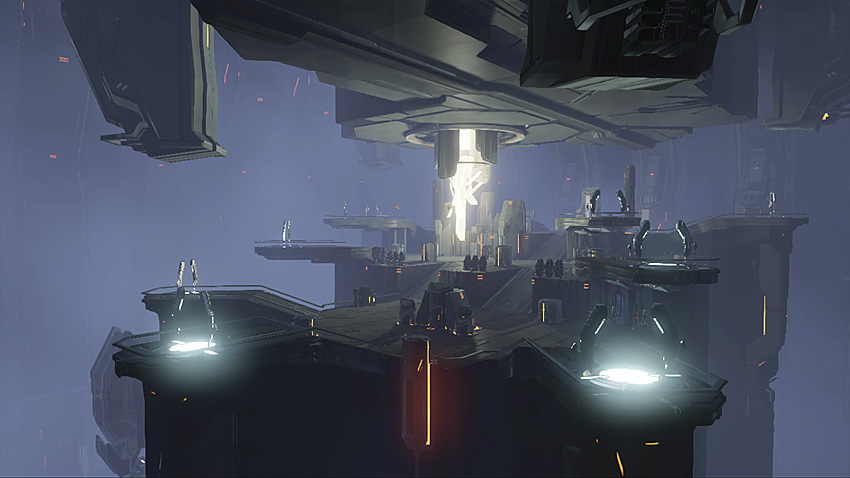
“I’ve got to do something you’re not going to like.”
The Didact’s ship is en route to Earth. Having survived the events at Ivanoff Station, the Master Chief takes control of a Broadsword fighter and pursues the Forerunner vessel in a desperate bid to destroy it from within. The fighter is armed with a Havok nuclear weapon, and the Spartan knows that the best chance to destroy the enemy ship is to get as deep inside as possible before triggering the device. He’ll need a little help from his friends and the badly ailing Cortana to stand any chance.
This is your last chance to put an end to the Didact’s plans. You know what he is capable of now that he has the Composer. You must fly your way to the core of the Forerunner vessel, evading anti-aircraft defenses as best you can, all while ensuring that you stay within its shielding to avoid being exposed to slipspace. The Didact’s destination becomes obvious very quickly, as the ship enters real space in front of Earth. You’ll be unable to get the Broadsword into the core of the Forerunner ship, but the UNSC fleet will provide assistance. Your ultimate goal is to get the Havok warhead as deep into the Forerunner vessel as possible, and you will have to fight your way through waves of Knights, Watchers, and Crawlers.
Enemies Encountered:
- Crawlers
- Knights
- Watchers

One Last Shot
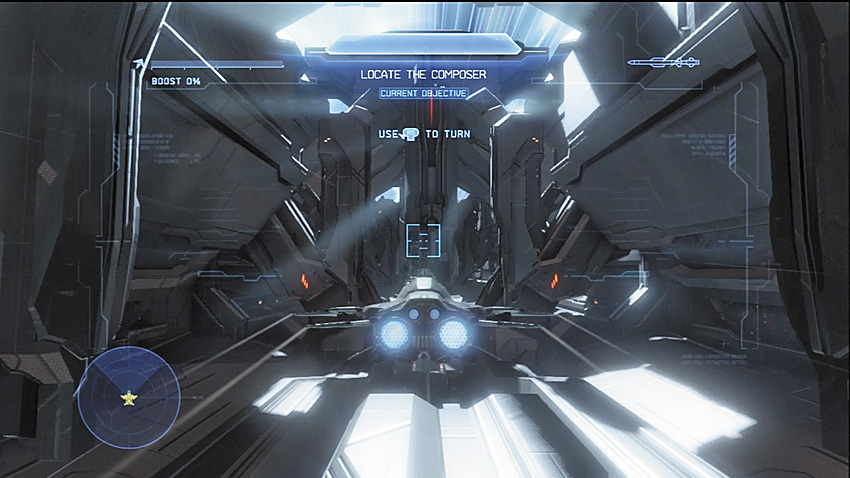
Take some time to properly acclimate to the controls of the Broadsword, and get a feel for how sharp it can turn with and without rolling to one side or the other. You’re about to get a literal crash course on how to handle a proper trench run. Defensive turrets are positioned throughout the ship. Unless you’re flying straight at the incoming fire, you generally can just fly past it all without violent maneuvering using the fighter’s afterburners.
Try not to get distracted by the radio chatter from the UNSC fleet. When the Forerunner vessel emerges over Earth, that’s not your cue to hold down the boosters on the Broadsword. You’re not going to get there faster if you’re smashed against the moving walls of the ship.
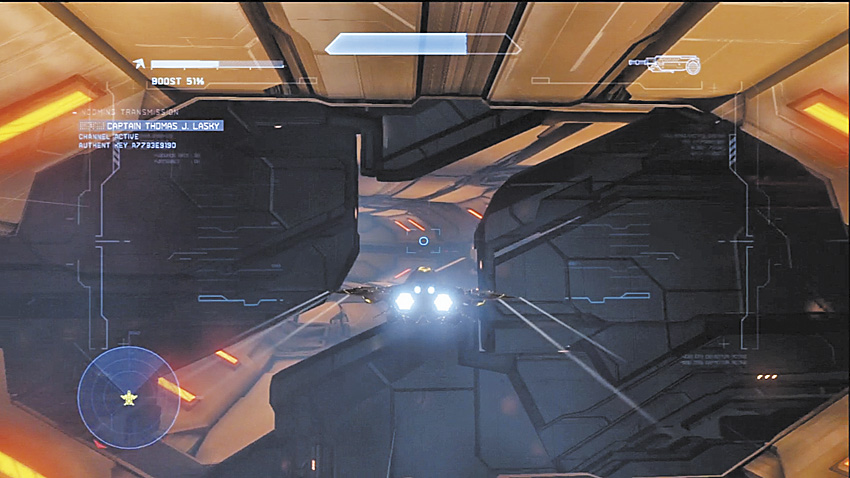
Your gravest threat will come in the way of energy barriers and the moving parts of the Didact’s ship. A head-on collision is almost certainly fatal. Occasionally, you’ll come across doors that look as though they’re about to block the entire corridor, but they almost always have some sort of gap to fly through. As a general rule, using the afterburner in restricted areas is not the best call. Concentrate on maneuvering as opposed to raw speed, unless you know you can get away with it.
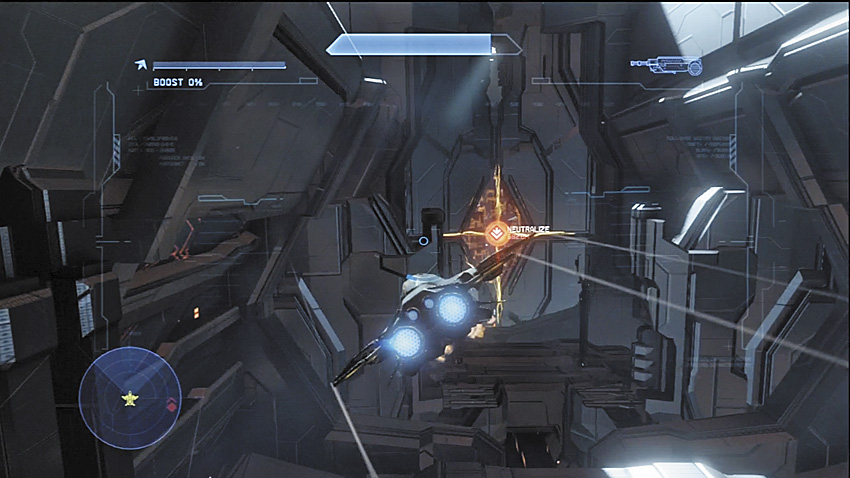
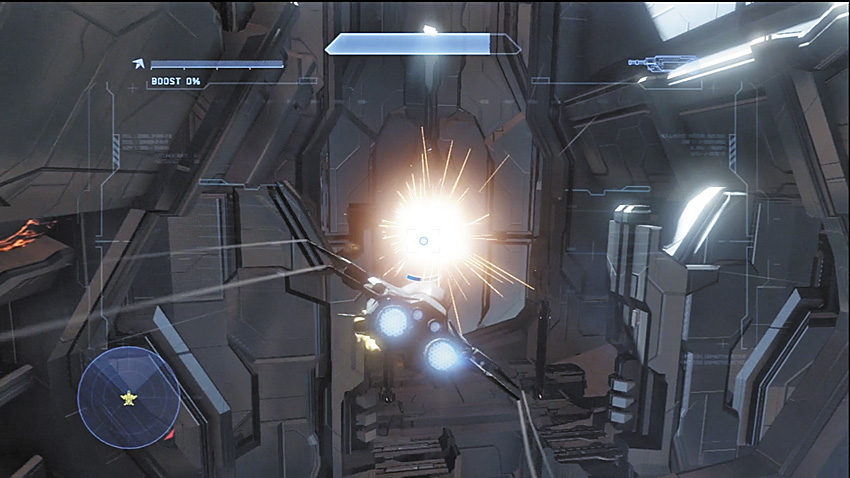
Your primary targets as you pass through the trench are these spheres of energy. Destroying them causes sealed passages to open, which allows you to continue deeper into the ship.
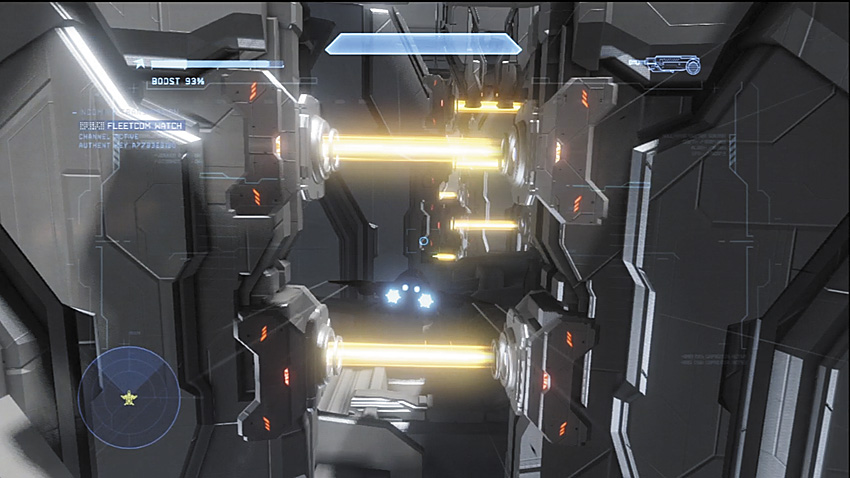
The danger picks up when you reach a section where a series of energy beams fill the trench as it narrows. It’s easy to be driven farther down toward the hull when trying to avoid the beams, but do your best to maintain some height to set up your entry into the next section.
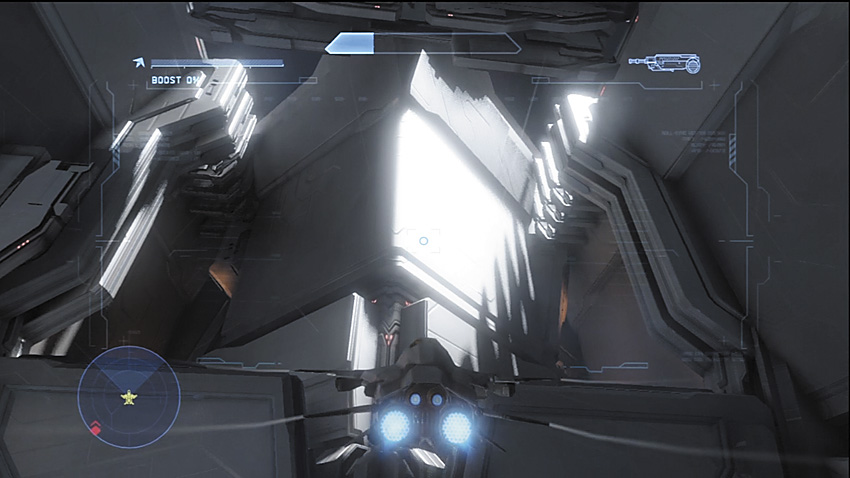
Beyond the beam barriers, turrets line the walls of another short trench section that leads to narrow forks in the flight path. These passages are filled with obstacles that can end your trip, so decelerate and concentrate on your maneuvering here.
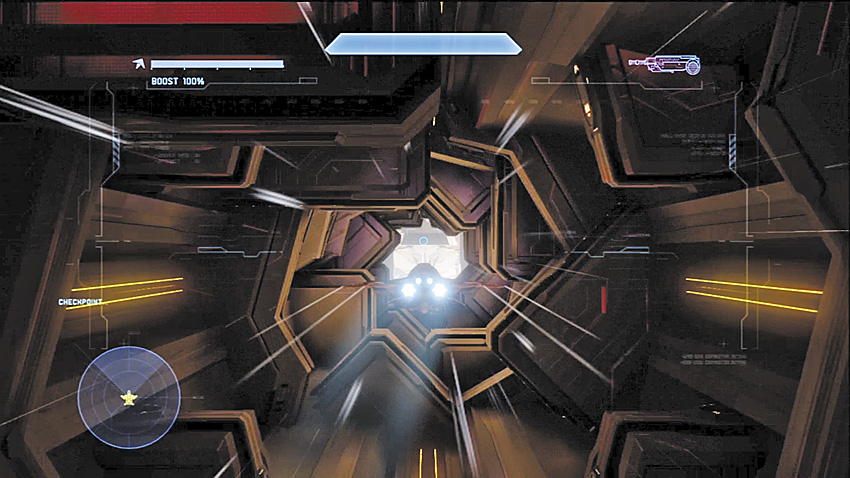
This fork is followed by another split in the trench, but the choices now are to take an upper or lower path. These sections start off narrow, but the upper route eventually opens up significantly. You’re nearly out of the trench at this point, one last spiralling corridor remains, and then you arrive at your target.
From the Cradle ...
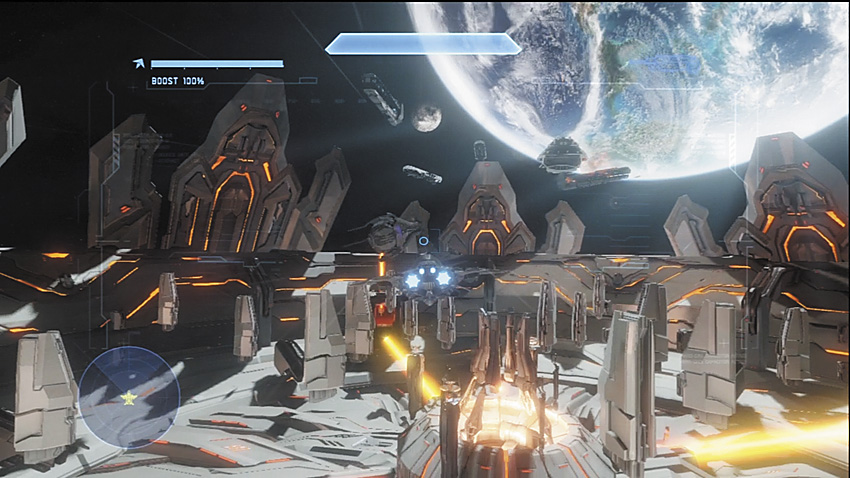
You burst free from the trench to discover a massive space battle taking place directly over the swiftly sealing Cradle that leads to the deeper portions of the Forerunner vessel. Forerunner particle cannons, similar to those found on Requiem, line the cradle and are busy turning UNSC vessels into short-lived flashes of flame. The Infinity , having returned to Earth in advance of the Master Chief, is now on station to provide some assistance, but you have to get those particle cannons offline or she’ll never have the chance to blast open a path for the Spartan to take.
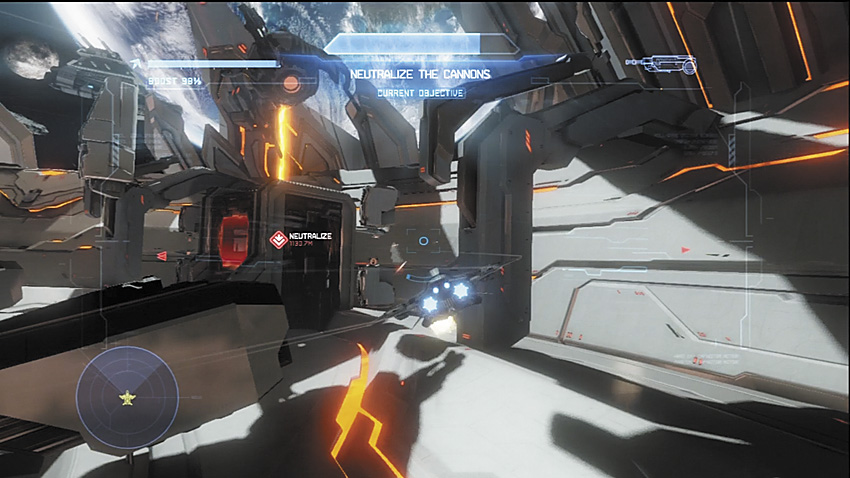
The particle cannons are powered by energy sources that look exactly like the ones you thrashed throughout the trench run, but to gain access to them, you must destroy the central power source. It’s not an easy shot to make and it’s guarded by multiple turrets. Use missiles to take it out, then move on.
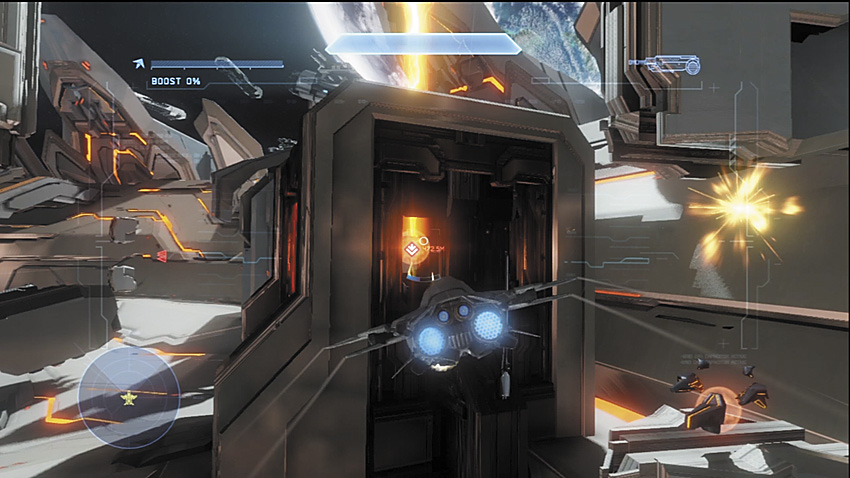
There are four particle cannons to neutralize. You’ll have to approach them from their opened sides to get clean shots. Anti-aircraft guns protect both entrances to each energy source, so you’ll have to be careful on your approach to and exit from each target. The Autocannon takes longer to kill each energy source, so we recommend that you switch to missiles for quicker target destruction.
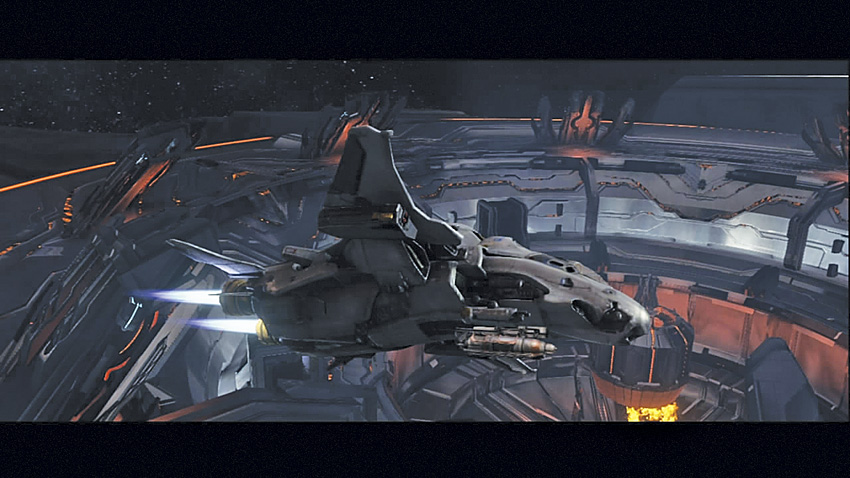
Once all four Particle Cannons are disabled, the Infinity blasts open a hole in the Forerunner vessel’s armor during the ensuing cinematic, and the Master Chief flies into the gap just as the ship begins resealing itself, almost as though it were alive. The Chief and Cortana narrowly make it into the vessel, just prior to it sealing up. Now they’re in the belly of the beast.
... To the Grave
Domain Terminal
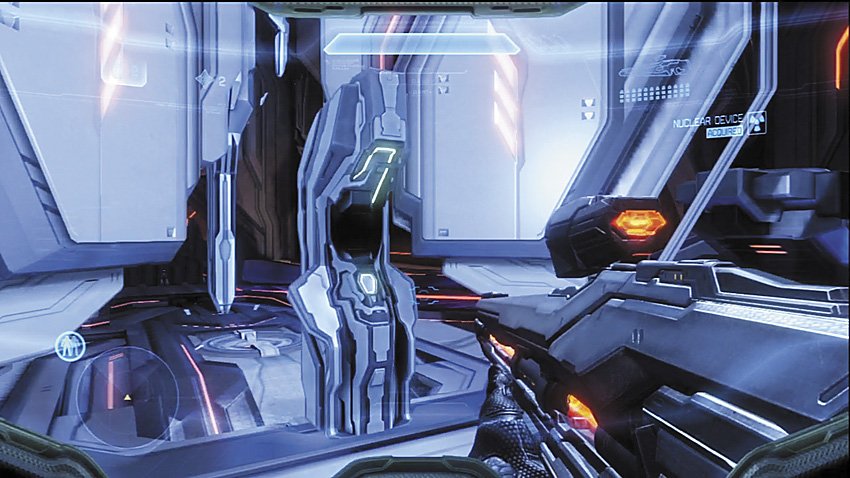
[4] The seventh and final Domain Terminal is found at the center of the T-junction room. It blends in somewhat with the rest of the odd geometry in the area and can be easy to miss.
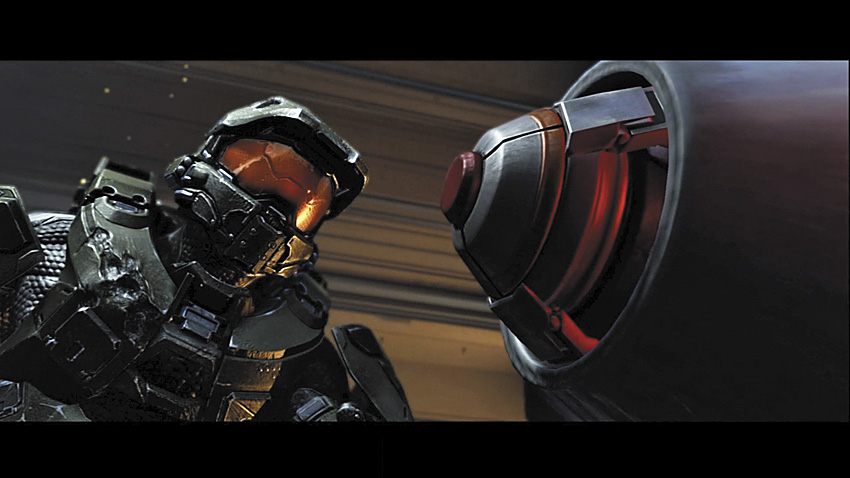
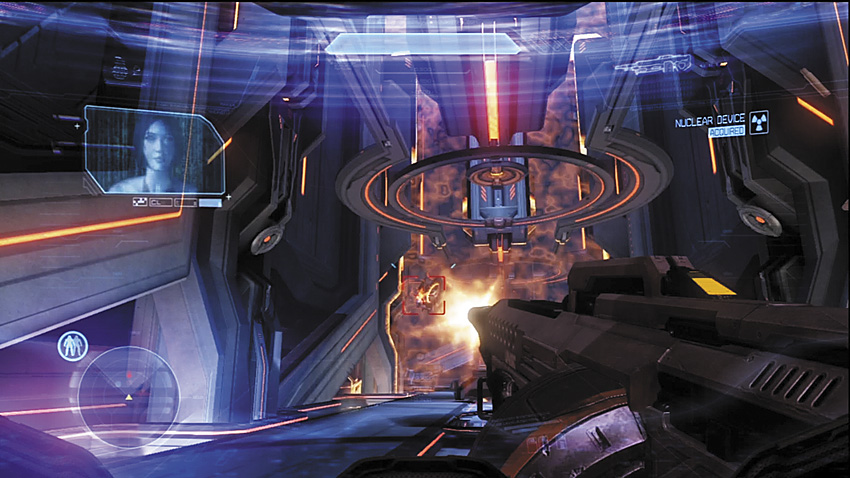
The Broadsword is no longer a option for the Havok warhead, so the Master Chief takes it upon himself to deliver it directly to the Didact.
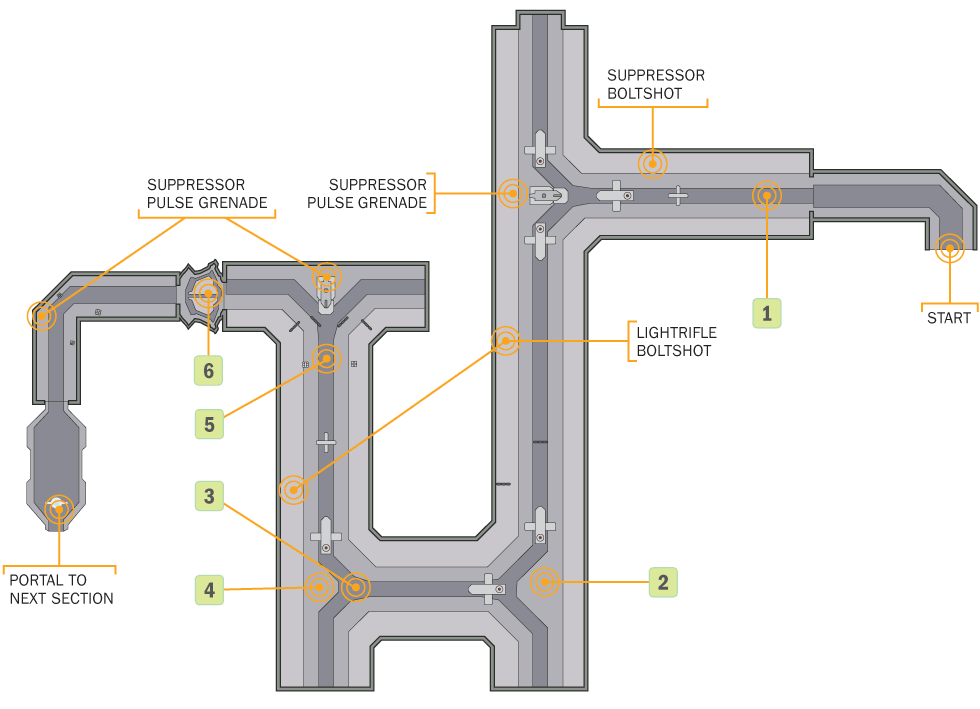
[1] You start this portion of the mission with a Battle Rifle and a SAW, excellent weapons for the time being, and a Hologram armor ability. You’re nowhere near any UNSC weapons caches at this point, so once your guns run dry, you’ll have to replace them with Forerunner weapons. Your first encounter in the starting corridor is a group of four Watchers. They try to build Forerunner anti-infantry turrets, but the process of doing so makes them sitting ducks for your Battle Rifle. Try to conserve the SAW for the moment. You can pick up a LightRifle from a weapons rack if you want to lose the Battle Rifle early.
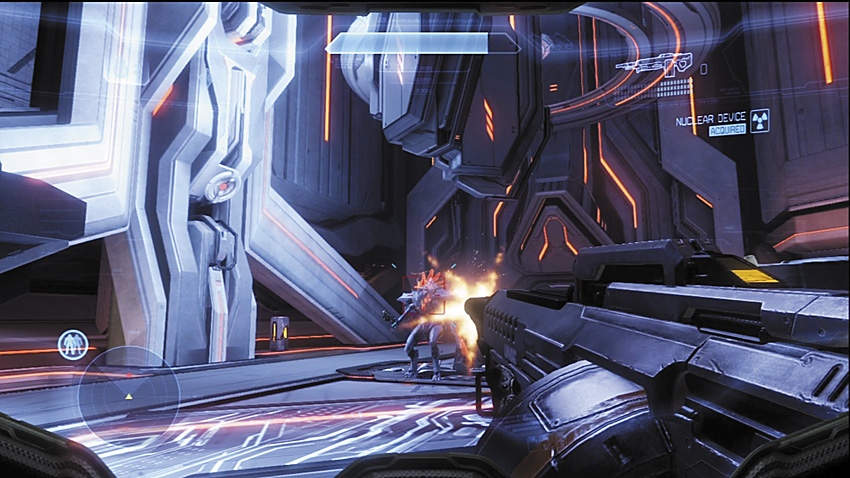
[2] A lone Knight Battlewagon controls this next corridor section. As soon as it detects you, it tries to deploy a Watcher. You might be able to stop it with Frag or Pulse Grenades. Failing that, down the Watcher, then hose down the Knight with the SAW. Keep a safe enough distance to avoid getting killed by its Scattershot. Another Knight enters the room from a newly unlocked doorway.
Key Combat Tip
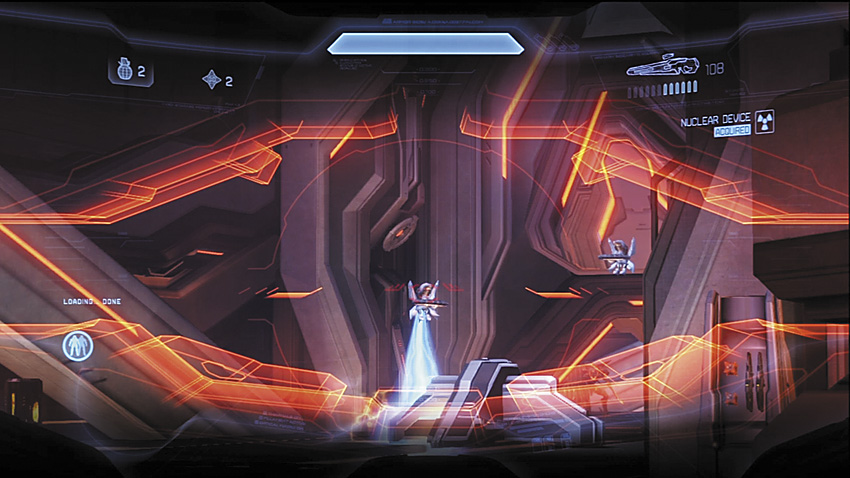
[3] Two more Watchers occupy this T-intersection. They can summon Crawlers, so kill them fast to prevent this.
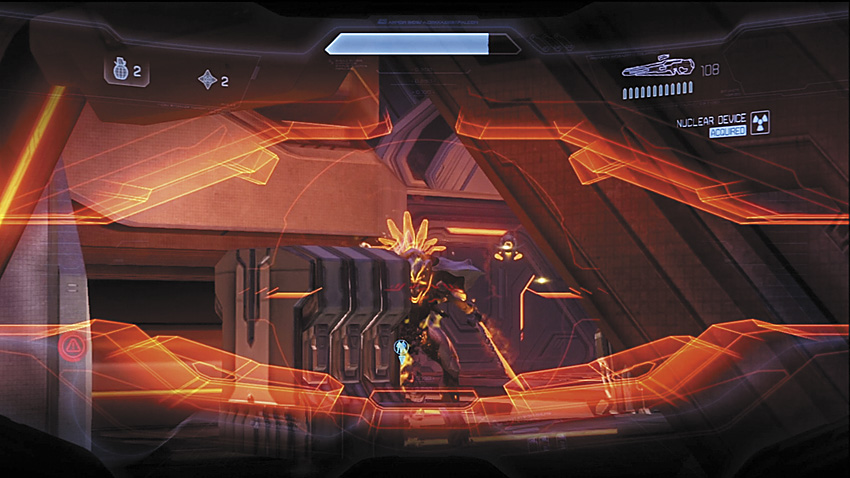
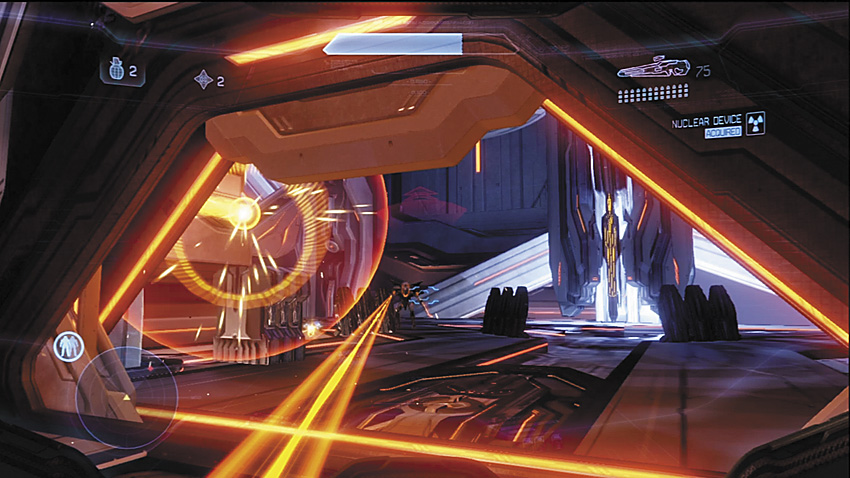
[5] Another Knight Battlewagon, along with two standard Knights, are the protectors of this room. This can be a rough skirmish if you lose track of any of the Knights. Focus on taking down the Knight Battlewagon first. It tends to stick closest to the door, while its two cohorts sit farther back in the room, tossing Pulse Grenades and plinking away with LightRifles. If you’re lucky, you can get them to inadvertently help you kill off the Battlewagon. After it is out of the picture, this engagement is a simple matter of shooting it out with the remaining Knights, easily accomplished with a LightRifle. If you can convince them to come to you, a Scattershot can utterly ruin them. The Hologram is also quite useful here, allowing you to set up kill shots with a Scattershot, or assassinations while the enemy is distracted.
Key Combat Tip
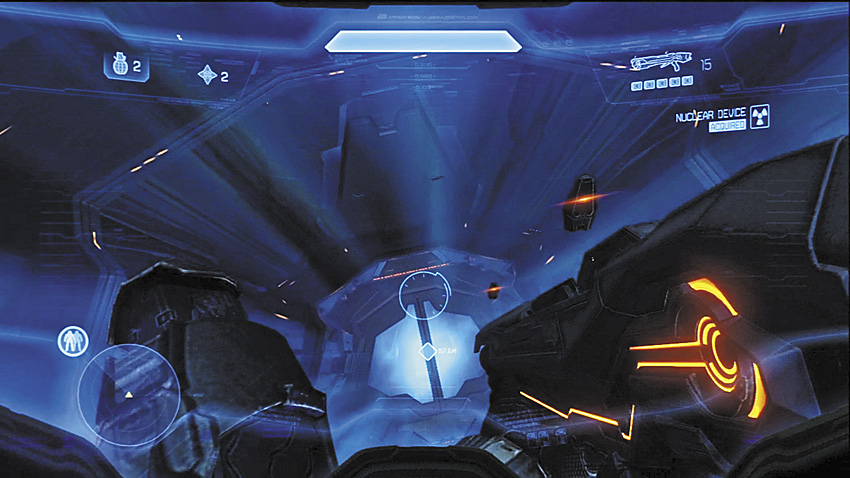
[6] After dealing with the enemy, head through the door to the left from where you enter the Knight ambush to find a long drop awaiting you. An antigravity lift slows you down before you hit the ground far below.
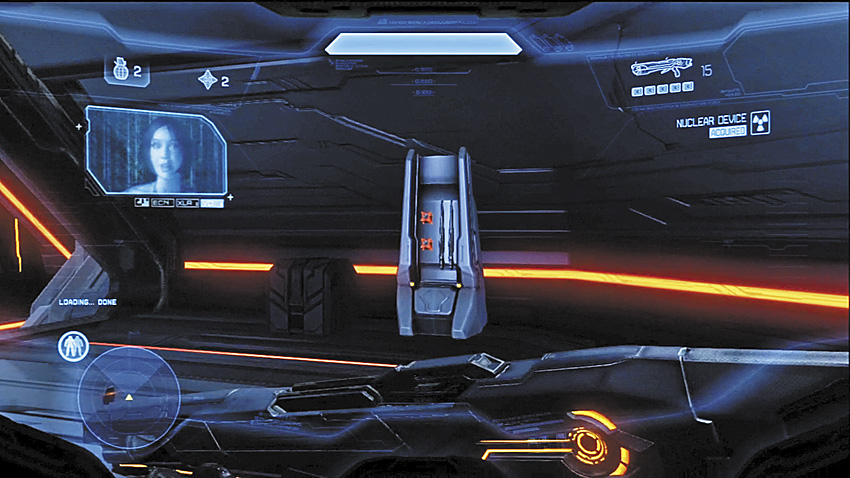
On the lower level, the corridor contains a weapons cache with more LightRifle ammo, if you’re hurting for some. The door leading out of this corridor takes you to a small platform that overlooks another larger chamber with seemingly nowhere else to go. The only other visible platforms have no apparent way to reach them. Cortana asks to be put inside a nearby console to try to find a way to teleport you closer to your goal. The first portal activates after Cortana struggles with the system for control.
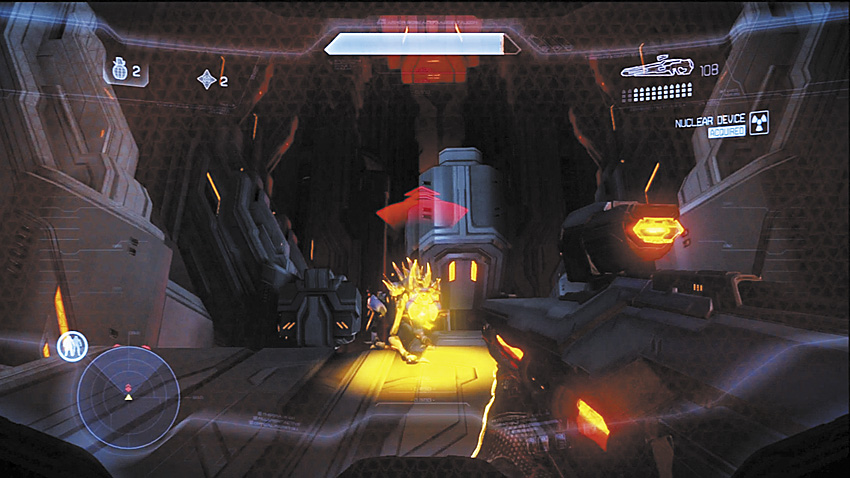
[7] On the other side of the portal, you emerge inside a much smaller chamber with a small pack of Crawlers. Once they are eliminated, proceed through the new portal.
Major Firefight: Ramps and Knights
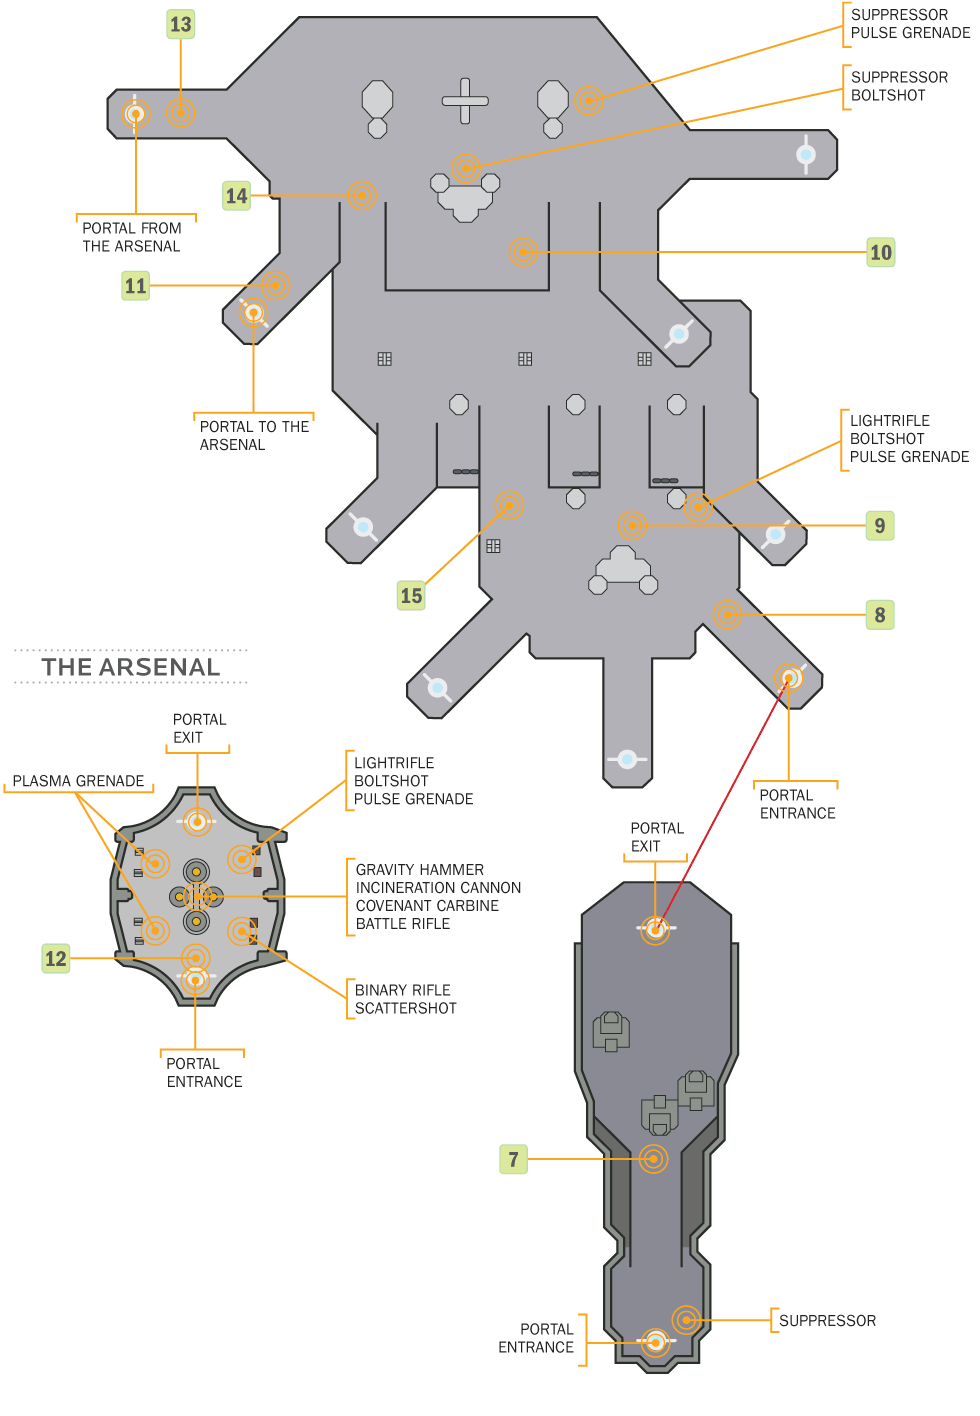
[8] The portal from the smaller chamber takes you to the larger platform you saw in the distance when you first inserted Cortana into the system—and right into the waiting arms of a Knight-led ambush. Every variety of Knight is represented, including a dreaded Knight Lancer armed with a Binary Rifle. The enemy controls the ramps leading up to each successive level of this section, so they have a positional advantage on top of their numbers. Your portal destination will require you to defeat every last Promethean in the area before it opens.
Recommended Loadout
The LightRifle gives you the best all around success against most of the Knights, but the Knight Lancer and its Binary Rifle is still a major problem. You need to distract it with a Hologram, if that is an option. Or, you may have recovered a Autosentry ability from earlier battles, which can provide a temporary decoy. A Hardlight Shield can also help deflect shots for a short time. A Scattershot also makes a convincing argument for close encounters, so long as it’s not up against a Battlewagon with one of its own.
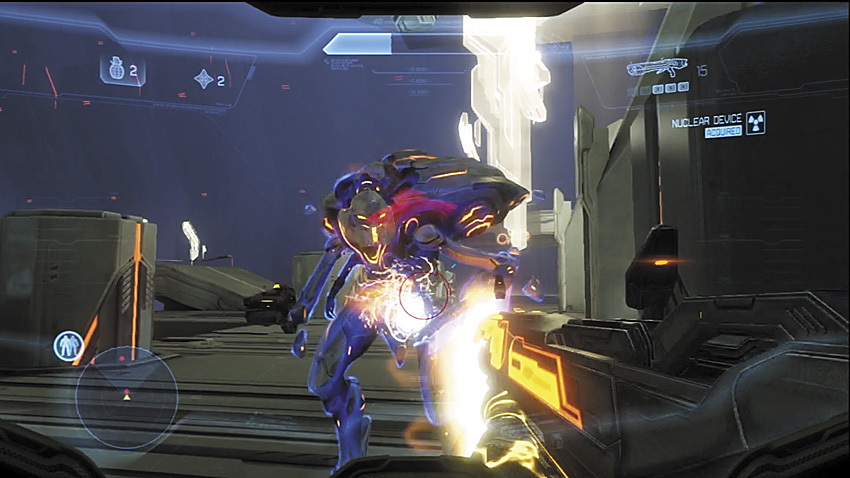
From where you begin this firefight, two Knights man the ramps leading up to the next level, paired up with Watchers. The Knight farthest from you is likely a Battlewagon, so avoid running headlong into it. If you rush the ramp closest to you [9], you might be able to catch the basic Knight as it summons its Watcher. If you’re carrying a Scattershot, one double tap is all you’ll need for it. If the second Knight is a Battlewagon, drive away its Watcher, then empty a scoped LightRifle magazine into its face. With the two Knights dead, restock the LightRifle at any of the nearby caches.
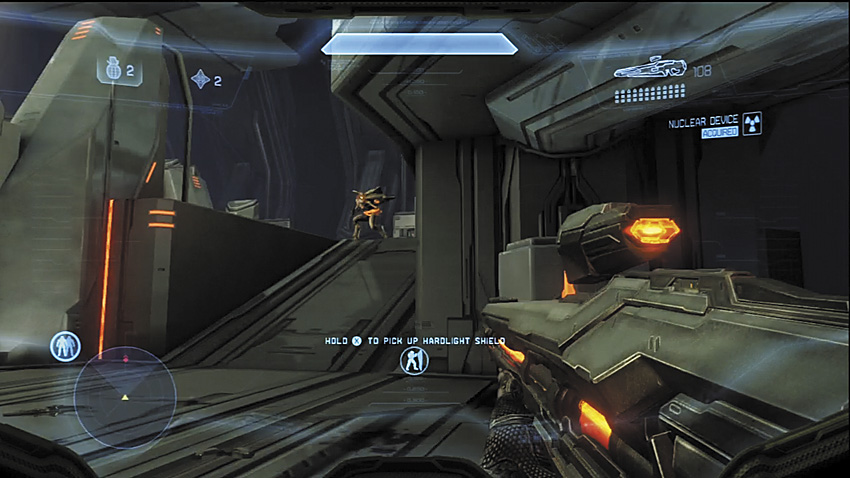
[10] This is where things get scary. A Knight Commander (with Incineration Cannon) and a Knight Lancer (with Binary Rifle) control the upper level, with Watcher support. The Commander tends to stick near the portal as its main defender, while the Knight Lancer camps close to the ramps. It is entirely possible to bull-rush the Knight Lancer if you’re armed with a Scattershot, but it helps to have a Hologram handy to distract it. Without a Hologram, you’re likely to get sniped before you even get close to it. Pick up the Binary Rifle to take out the Knight Commander.
Alternate Approach
Another trick that can help is simply to plug away with a LightRifle, and make sure you reload just as the Knight Lancer’s shields begin to flare blue. When the shields finally break, the Knight Lancer will stagger. Having a fuller magazine in your weapon can help finish it off before it recovers. Just keep an eye on its skull, if the red halo glows bright, it’s about to fire and you had better not be visible.
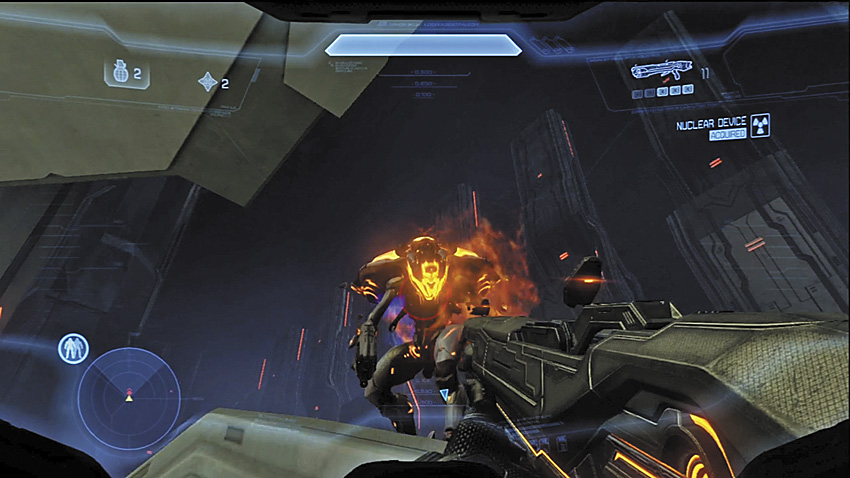
The Commander presents a unique problem: One Incineration Cannon shot is enough to end your life. Fortunately, you’ve got a lot of cover on the upper level to duck behind and thereby evade direct hit. The Commander isn’t dumb, and will try to aim shots near your feet, so keep moving once a shot is in the air, preferably to the next safe spot. It is possible to get close enough to the Commander that it will not use the Incineration Cannon, but this also puts you within melee range. When the Commander dies, the portal to the next section opens [11].
Legendary Strategy
Well, the good news is that you can still probably kill the first two Knights with relative ease. The real problem is the Knight Lancer. With the enhanced perception of all enemies on Legendary, coupled with the Knight Lancer’s Promethean Vision that can spot you through terrain, there’s a possibility you could be taking shots from its Binary Rifle throughout the opening scuffle once it finds you. Stick to the lower level when destroying the first two Knights, then make certain you know if the Knight Lancer is pointed toward you before you decide to push up to the second level. Repeatedly use the Hologram armor ability if you still have it to turn the Knight Lancer’s attention away from you.
The Commander is a more serious threat because of how fast Incineration Cannon shots travel on Legendary. They are difficult to evade. Stick to ranged combat when dealing with the Commander.
Legendary Gameplay Video
The Arsenal
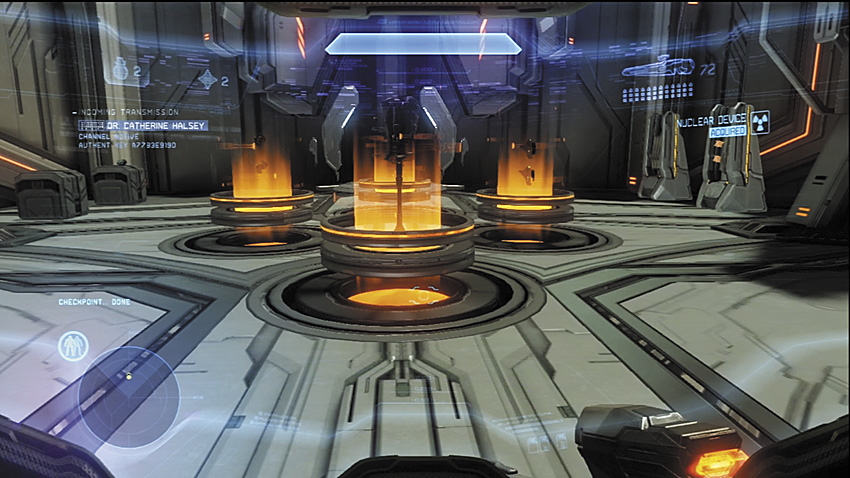
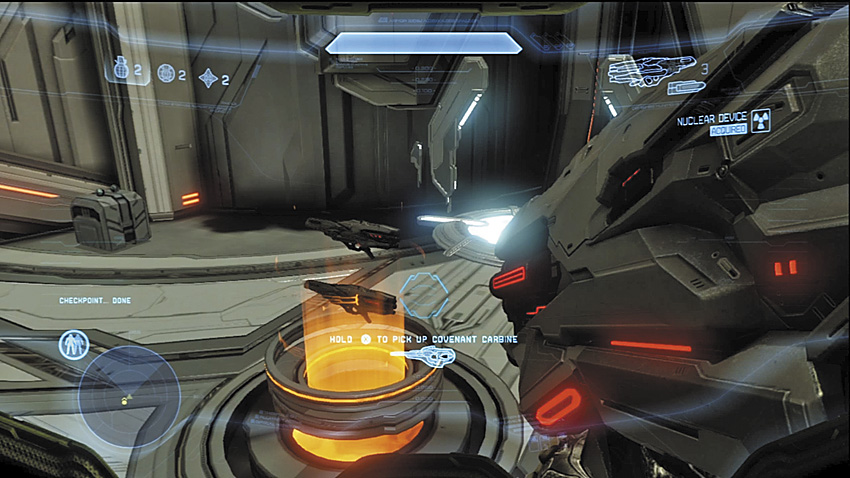
[12] The portal takes you to a small room filled with weapons from the UNSC, Covenant, and Forerunner arsenals, including a rare melee weapon that makes its first and only appearance in Halo 4 ’s campaign.. Once you feel properly stocked, take the new portal that activates.

Key Combat Tip
In Reverse, Knights, and Ramps
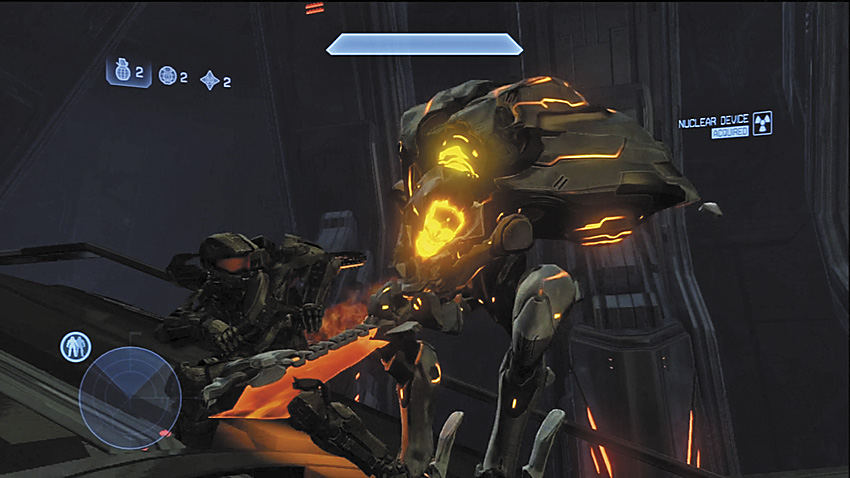
[13] The portal places you behind a Knight that is completely oblivious to your presence. Assassinate it.
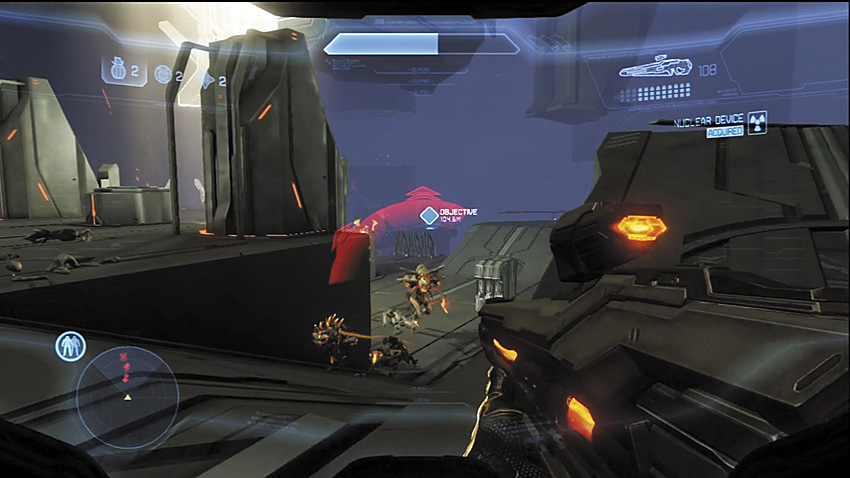
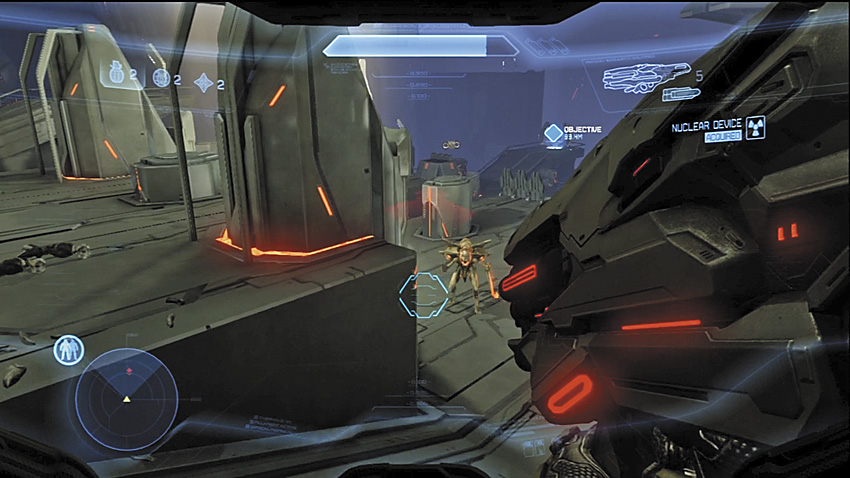
[14] Crawlers begin to rush up the ramps to the upper level, while two Knights hold position on the middle level. Using a LightRifle, execute the Crawlers with headshots until they retreat back toward the Knights. Before taking them on, destroy any nearby Watchers. Try to conserve your Incineration Cannon shots; the LightRifle should suffice for this first pair.
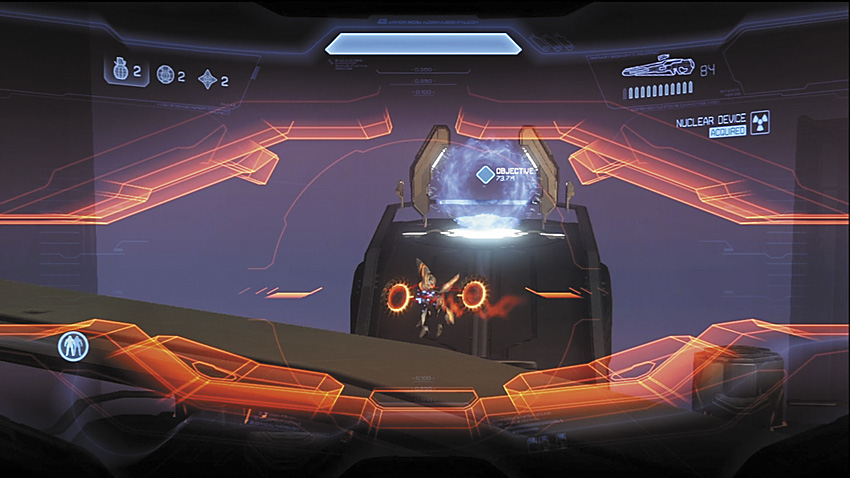
[15] The lower level is patrolled by a standard Knight and a Knight Commander, accompanied by more Crawlers and Watchers. Snipe the Watchers, then annihilate the Knights with your Incineration Cannon. Recover any ammo for this weapon from the remains of the Commander, then move through the portal.
Legendary Strategy
While this isn’t a particularly section if you’re properly equipped, some things are worth mentioning. Watchers are much more aggressive at placing Hardlight Shields in front of their allies. These barriers can deflect even the Incineration Cannon or Binary Rifle. Save yourself an embarrassing restart and knock out the Watchers first so you can incinerate things in relative safety.
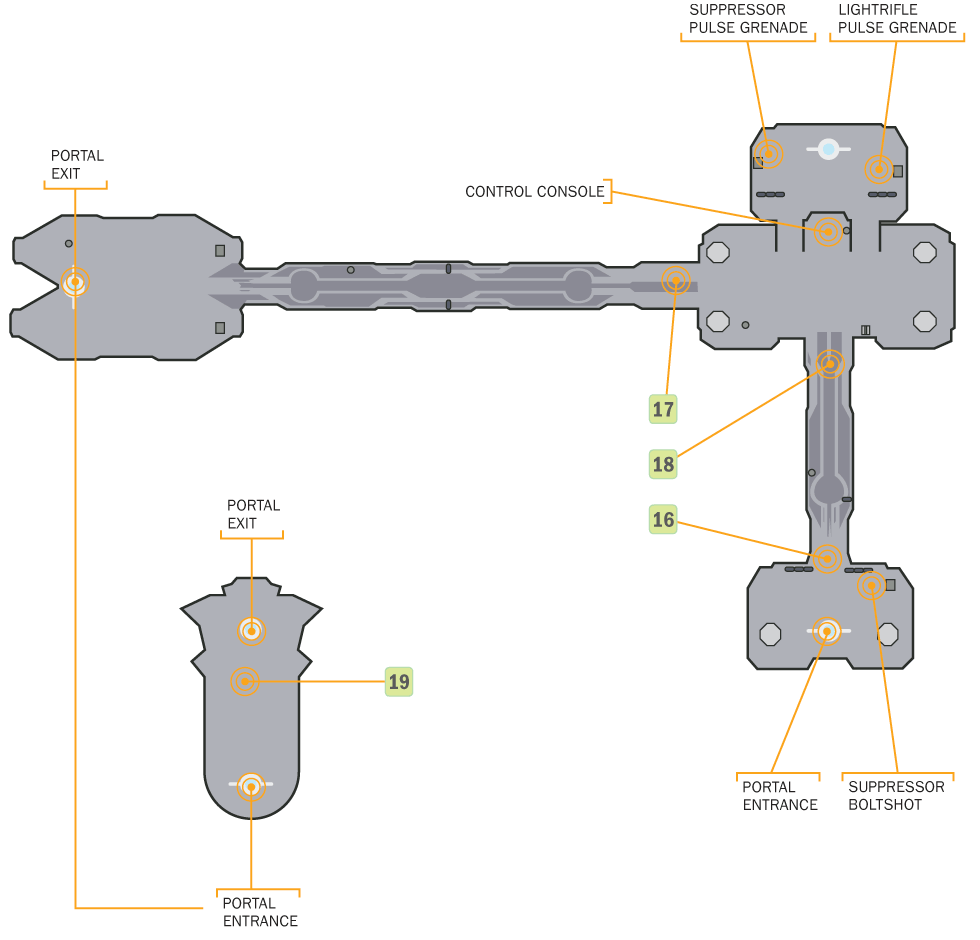
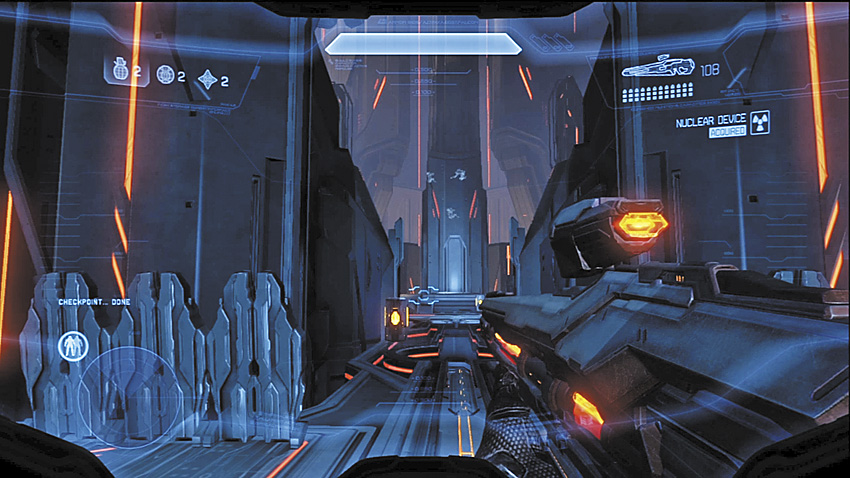
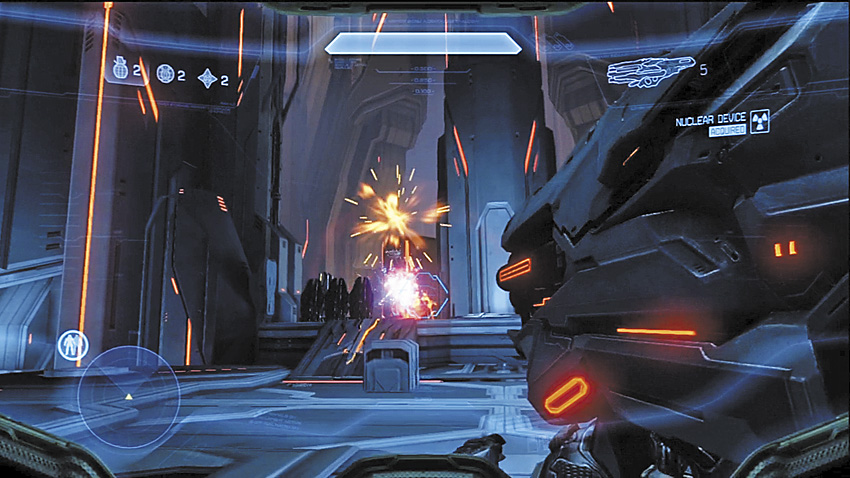
[16] The portal sends you to a new chamber. Explosive energy cores line the walkway that leads to a pillar in the distance with Crawlers climbing around it. As you approach, a Knight Lancer teleports in front of the pillar. Greet it with an Incineration Cannon shot, then finish off any surviving Prometheans. A small control console teleports in front of the pillar; it contains Cortana, who is still trying to pinpoint the Composer’s new location. Take note of the long bridge that stretches into the distance to the left of the control console.
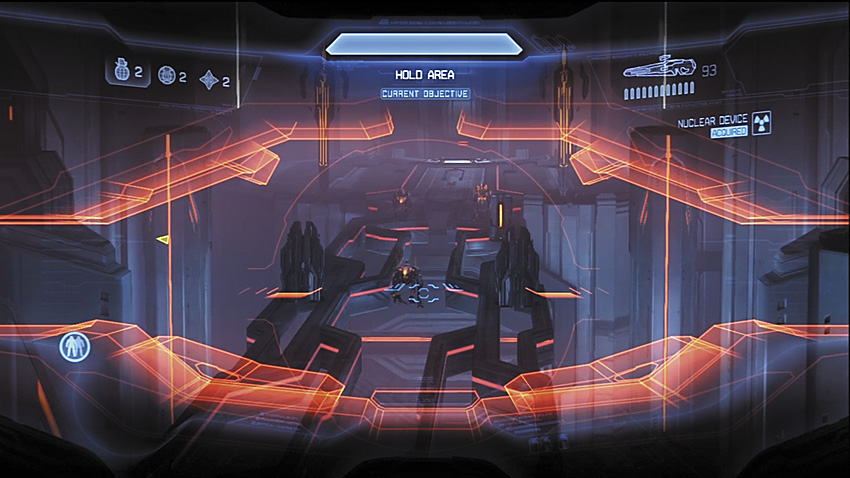
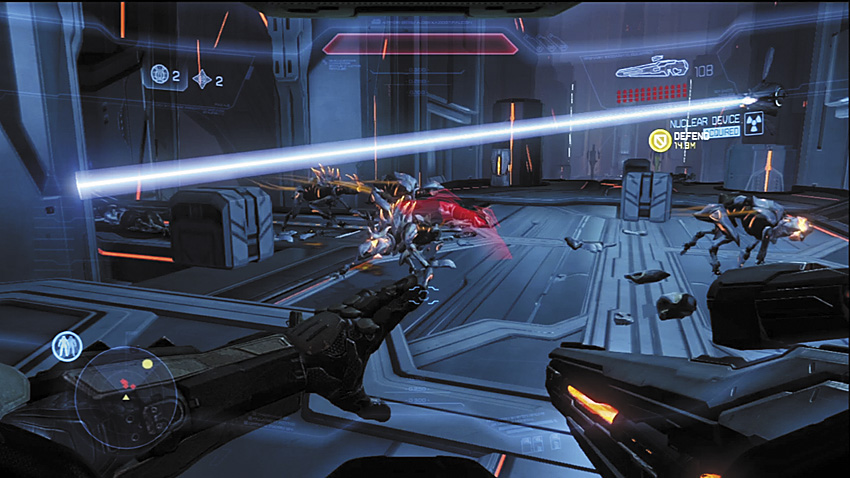
This marks the start of a defensive battle against waves of Crawlers. The LightRifle is more than a match for them, and there’s a weapons cache near the central pillar containing additional ammo for the weapon. The Crawlers come in waves, first from the long bridge [17], then from the pillars that flank the path you arrived from [18]. As you continue to fight off the Crawlers, Cortana activates Forerunner anti-infantry turrets to help with the defense. So long as you are consistent with your headshots, holding your ground here isn’t particularly difficult.
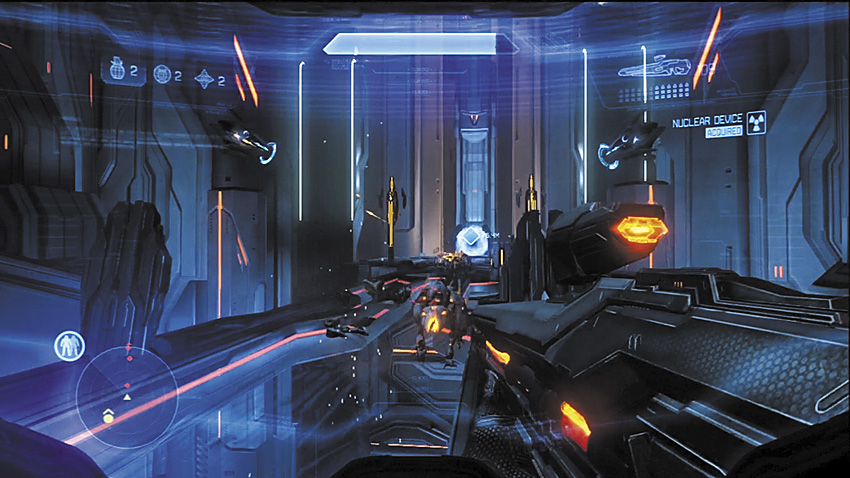
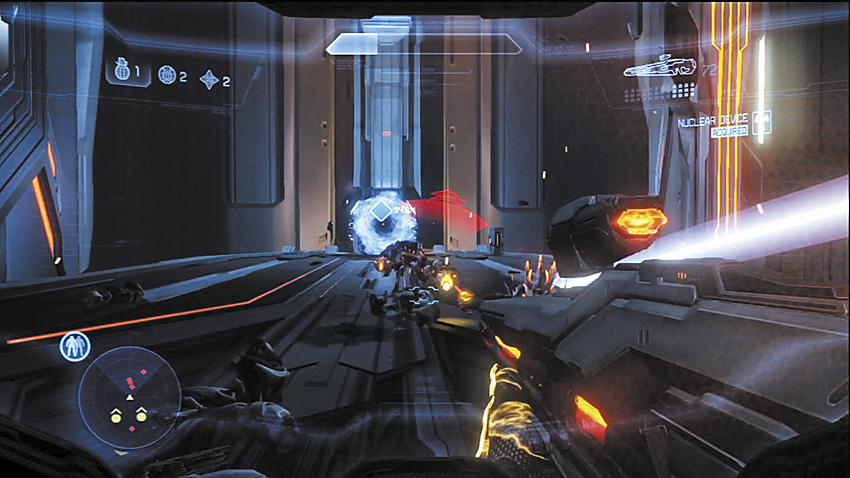
Eventually, Cortana succeeds in her task, and needs you to pull her free from the console. You have to fight your way down the long bridge through an army of Crawlers to reach the portal that will take you ever closer to the Composer.
Old Friends
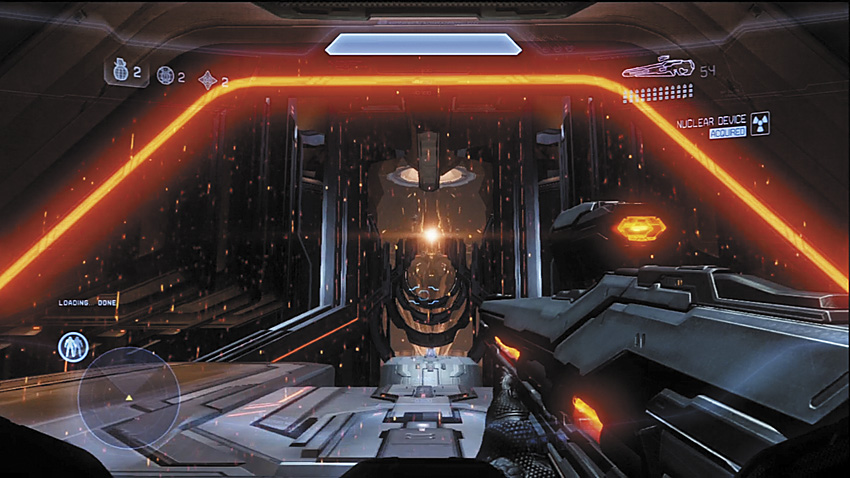
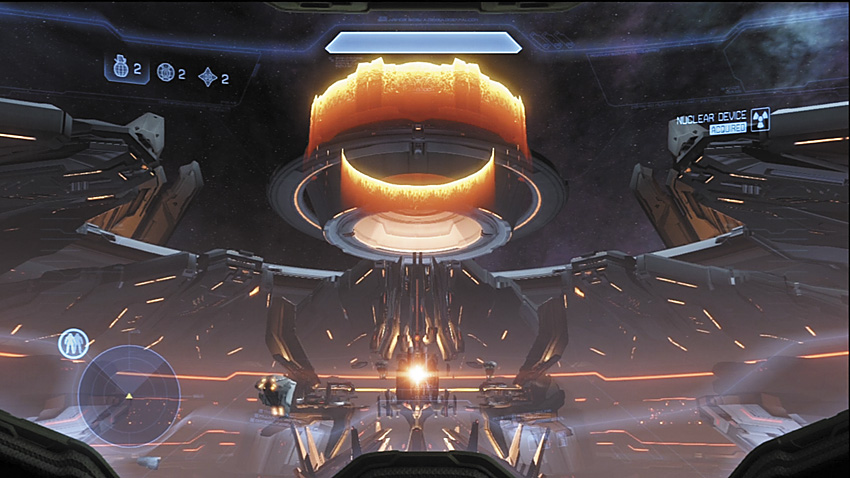
[19] The portal takes you to an antigravity lift that pushes you back toward another platform somewhere deep inside the ship’s Cradle. Run toward the massive chasm in front of you to be launched across the gap toward the Composer. The roof to the Cradle suddenly opens, revealing that the Composer is now aimed directly at the Earth, and the device gives off an ominous glow as you draw close. Time is running out.
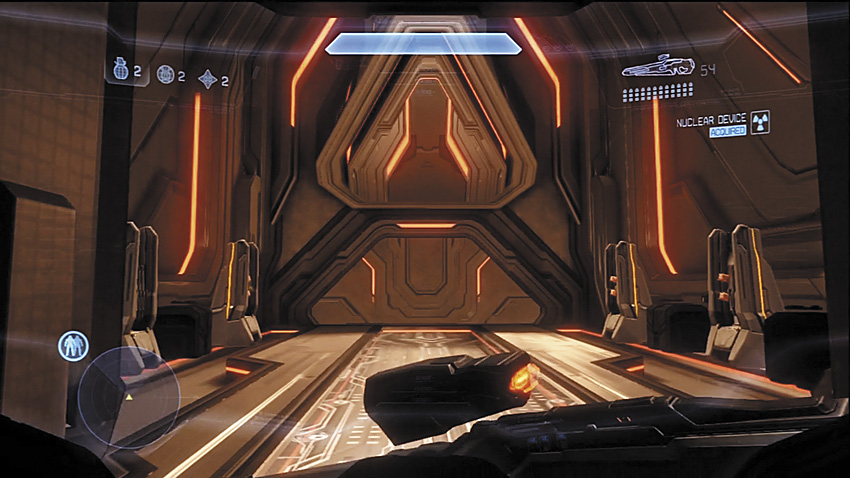
Arriving at the center of the Cradle, you find another large weapons cache. Every type of Forerunner weapon, save for the Incineration Cannon, is represented here. If you’re still packing some Incineration Cannon ammo, keep it handy. If not, consider taking a LightRifle and Binary Rifle loadout for the battles to come.
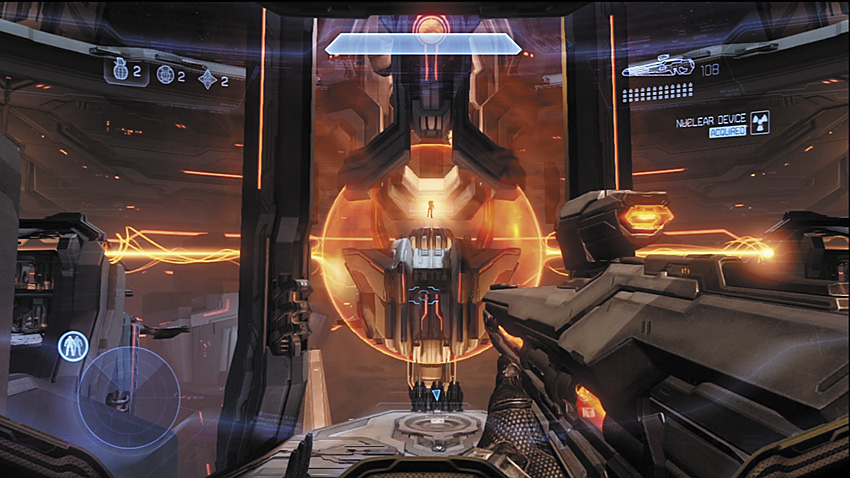
[20] At the next computer terminal, Cortana does something “you’re not going to like” in order to try lowering the shielding around the Didact and the Composer to make them vulnerable to the nuke. With that done, two objective markers appear on the HUD. Cortana needs to access the Forerunner systems from two more consoles located on floating islands flanking the Composer. They can be reached by taking the indicated antigravity lifts that launch you across the chasm. You can choose left or right. Ultimately you will be taken on a loop around the Composer. The islands containing the consoles are nearly identical in design. For the sake of simplifying things, the guide assumes you choose the left island first.
Major Firefight: Island Hopping
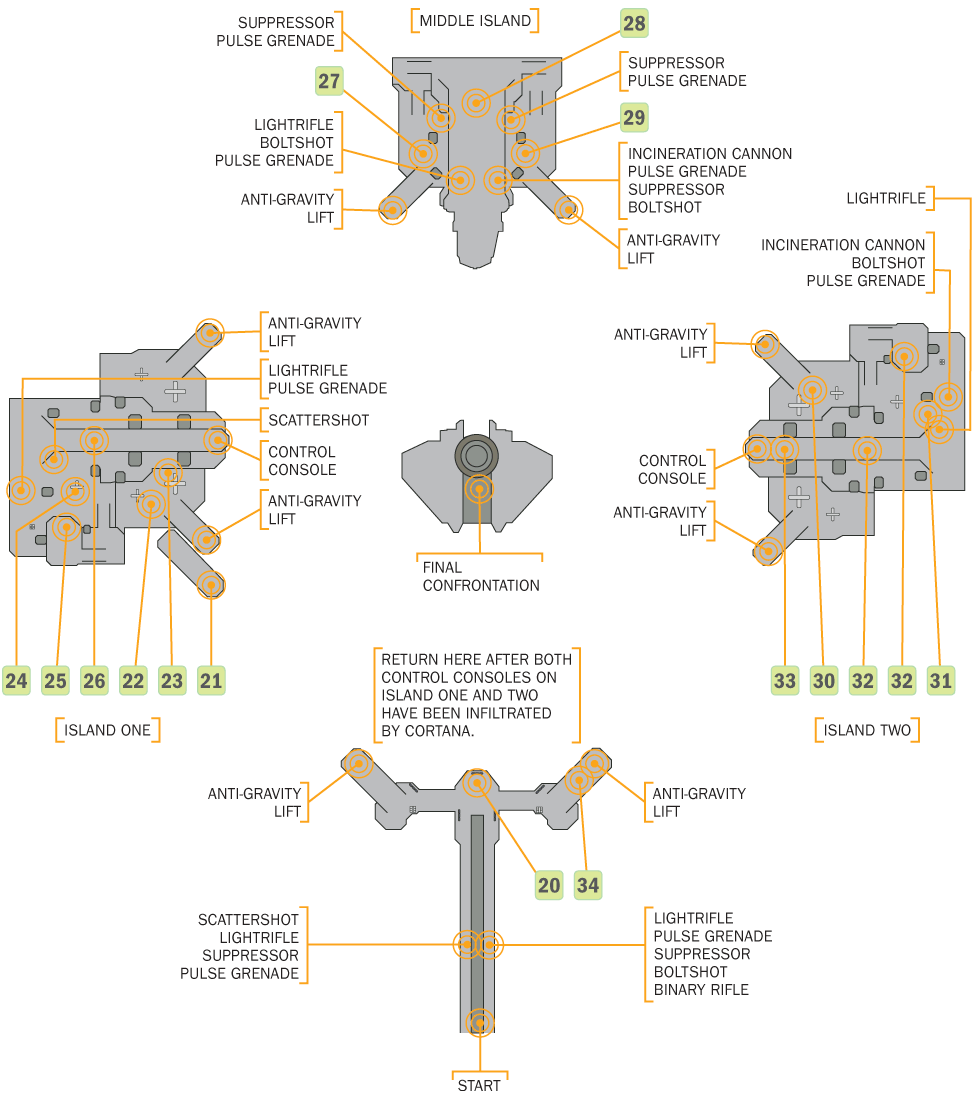
[21] Taking the left antigravity pad to the first island, you are immediately confronted by Knights, Crawlers, and Watchers. You must fight your way up to the island’s top level to get Cortana access to the control systems. It’s nothing you haven’t seen before, but that doesn’t make it any less dangerous. After injecting Cortana into the first console, you travel to a smaller island between you and the second large island, which is where you’ll have to fight to the top level to make use of the second control console.
Recommended Loadout
The LightRifle once again is your staple weapon for cleanup duty against Crawlers and Watchers. If you’ve managed to preserve some Incineration Cannon ammo, you can make early parts of this battle much easier. The Binary Rifle is a good secondary weapon as well: Two shots are a guaranteed Knight kill if the second shot hits the head. Clever use of the Hologram can give you plenty of point-blank Scattershot opportunities also.
Island One
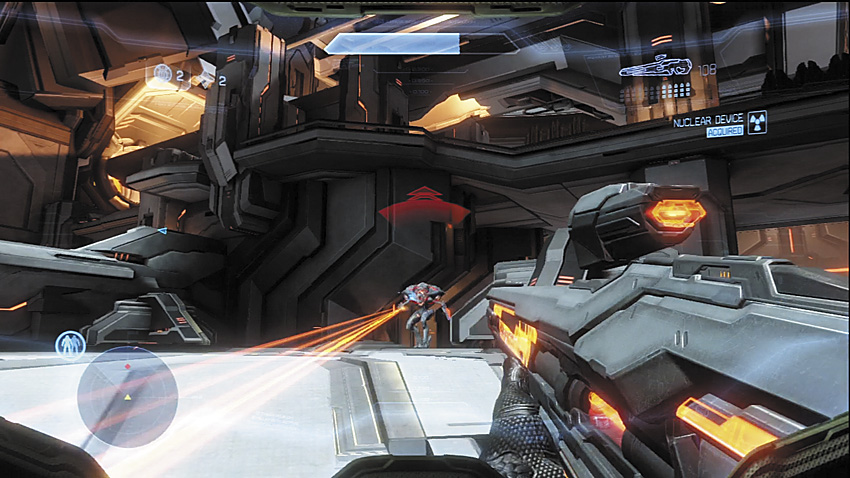
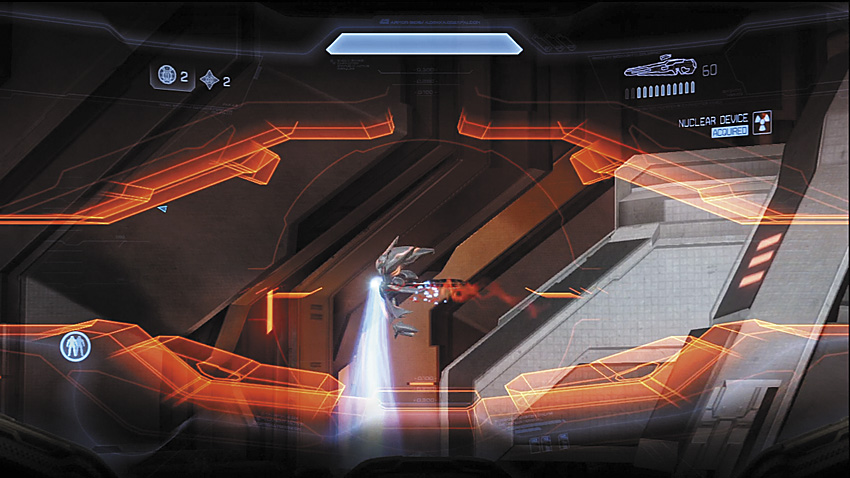
As soon as you arrive on the island [22], the Prometheans teleport in to start the brawl. A Knight appears almost directly in front of where you land. Another Knight and some Crawlers appear under the central arch next to the ramp leading up to the second level [23], while more Prometheans appear on a ledge overlooking the landing site. Put down the first Knight, then immediately take cover against the wall behind it to get out of the line of sight of the hostiles on the second level. The Crawlers on the lower level are most likely intervening at this point. Once they are dealt with, finish off the second Knight and climb up the ramp.
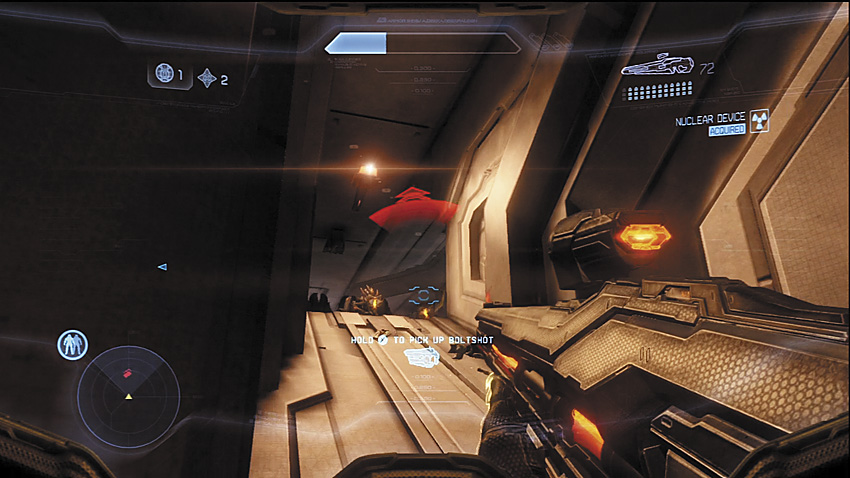
More Crawlers infest the ramp leading up to the middle level.
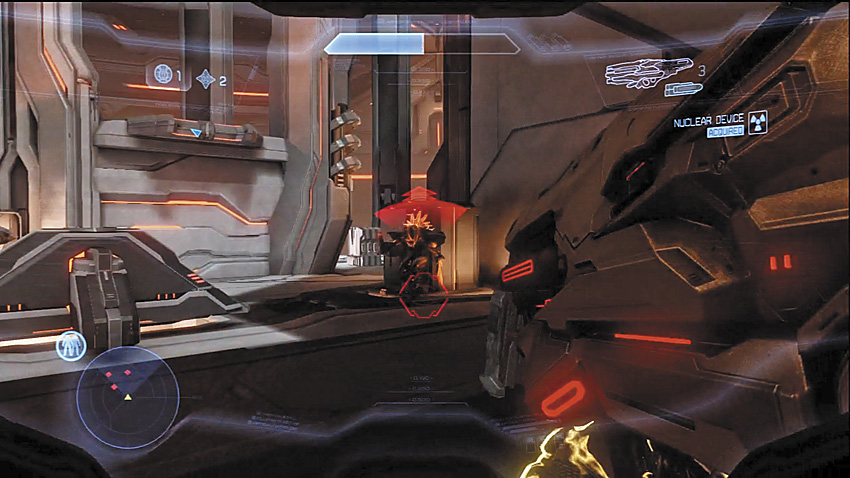
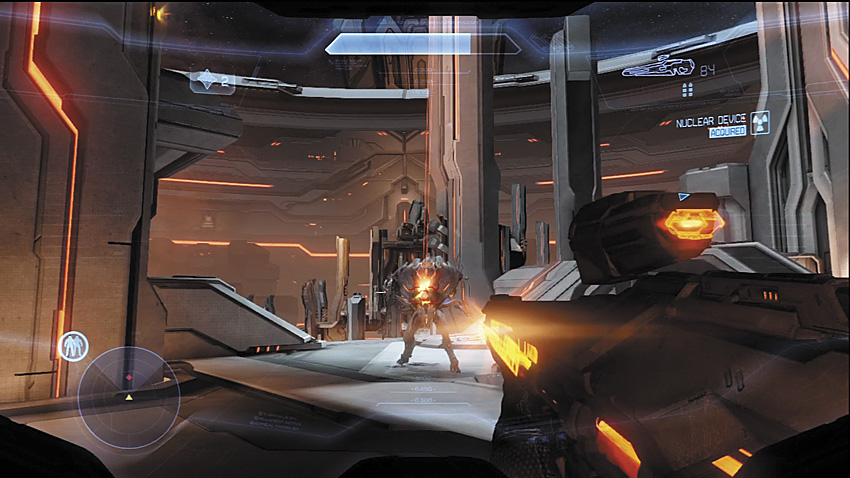
[24] A Knight and Knight Battlewagon control the middle level. Scattershots can be found in a side room, but this fight is won most easily at range due to the sheer lethality of the Battlewagon at close-range. With the Knights out of the way, climb the next ramp to reach a switch [25] that will activate a light bridge to the final section where the control console is located.
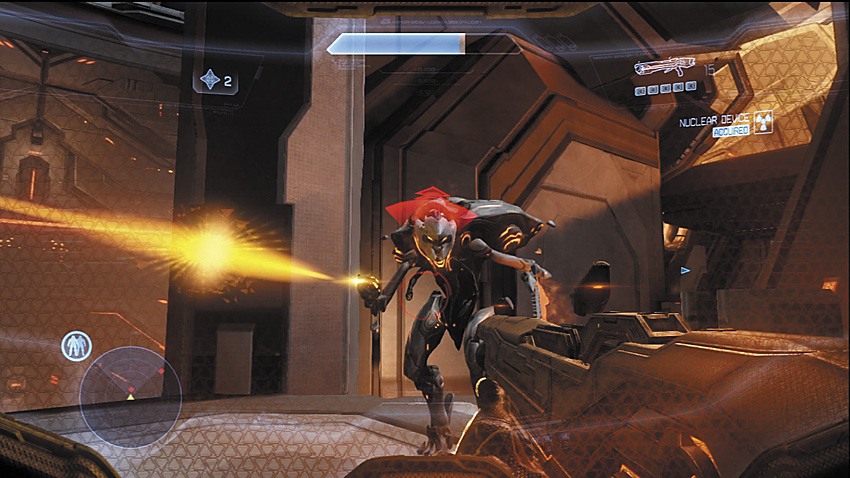
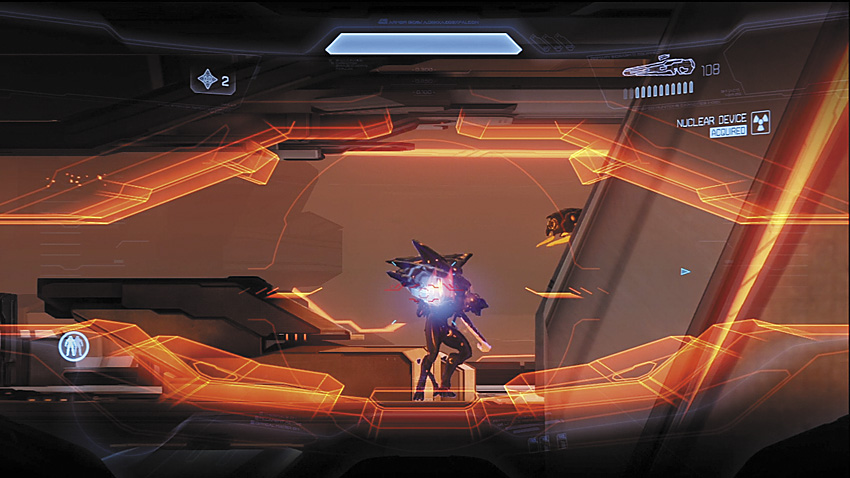
As soon as the light bridge is activated, Knights teleport to the platform it connects to. One of them tries to cross the bridge to engage you up close. A Scattershot makes a good answer to this sort of boldness. The other Knight hangs back on the other side of the bridge, making a good target for your LightRifle.
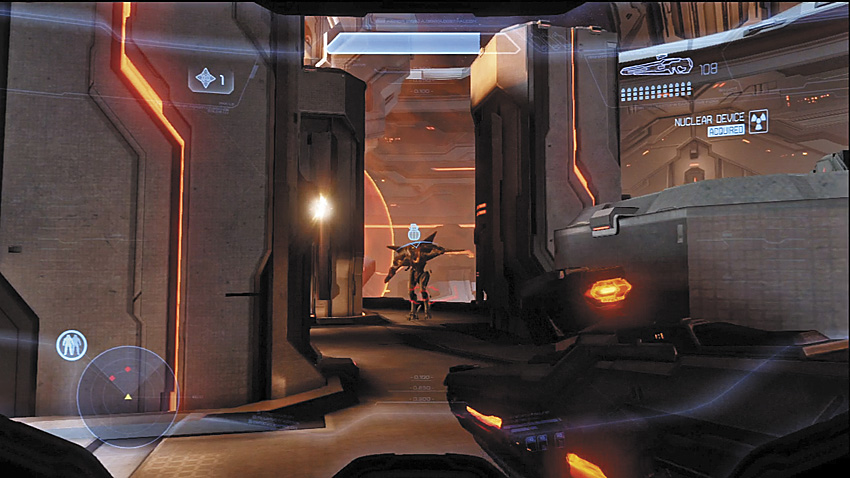
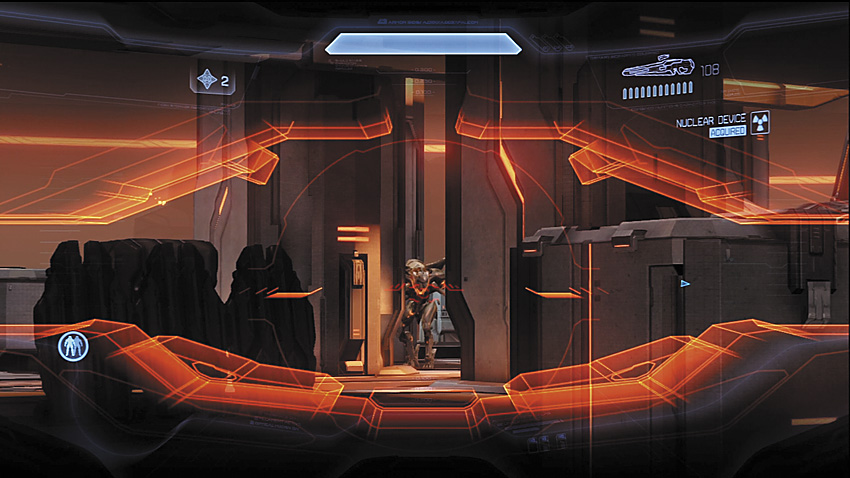
In addition to the first two Knights, three others appear on the central platform [26], using the pillars as cover and concealment. This can be one of the hardest fights in the whole game—one worthy of all the Incineration Cannon ammo you might have left. As you whittle down this group, a Knight Battlewagon teleports in at the end of the platform, where the control console is. After you’ve cleared the area, let Cortana work her magic, and follow the HUD to reach another antigravity lift to the next section.
Legendary Strategy
On Legendary, you should be coming into this fight with as much ammo for an Incineration Cannon as possible, specifically for the final encounter near the control console. The lower and middle levels are manageable with just a LightRifle, but things take a turn for the crazy as soon as you reach the light bridge and activate it. With so many Knights in such close proximity, the amount of firepower headed your way can melt you in seconds. Make each shot with the Incineration Cannon count and go for direct hits to guarantee kills. But should the Knights manage to survive, switch quickly to the LightRifle to finish them off.
Legendary Gameplay Video
The Isle in Between
Legendary Gameplay Video
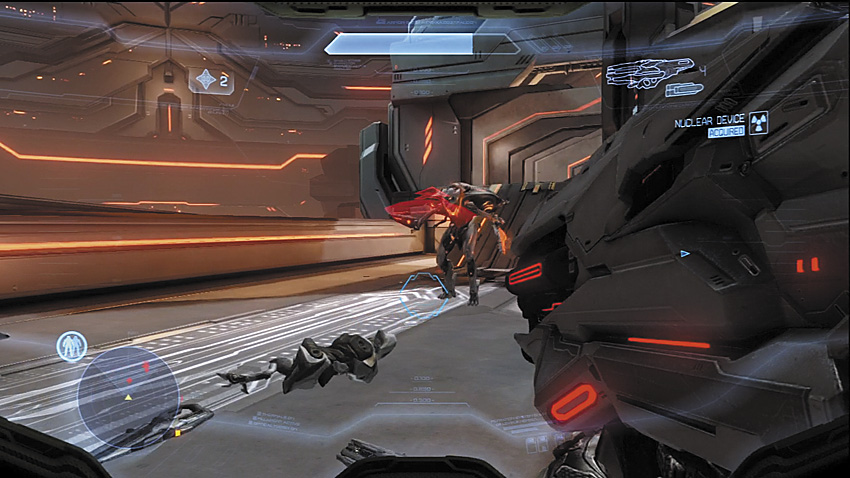
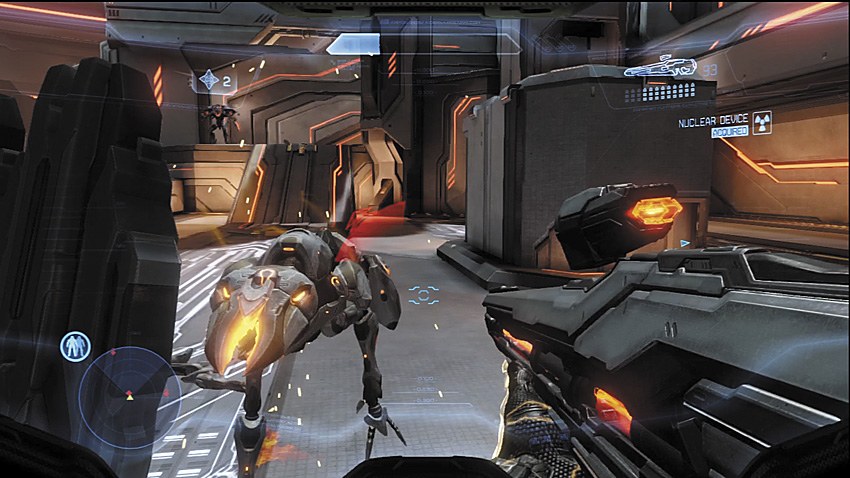
[27] This smaller island floats is your stop between the two large islands. You’re immediately accosted by another Knight and a Crawler pack as you come in for a landing.
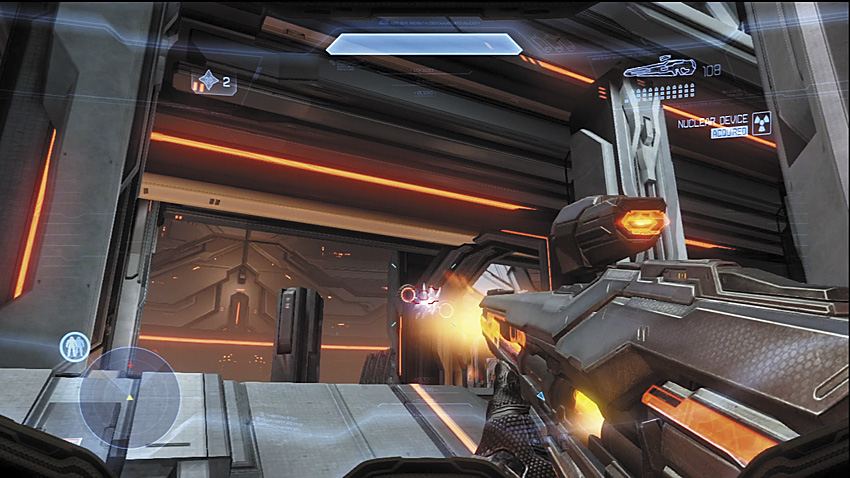
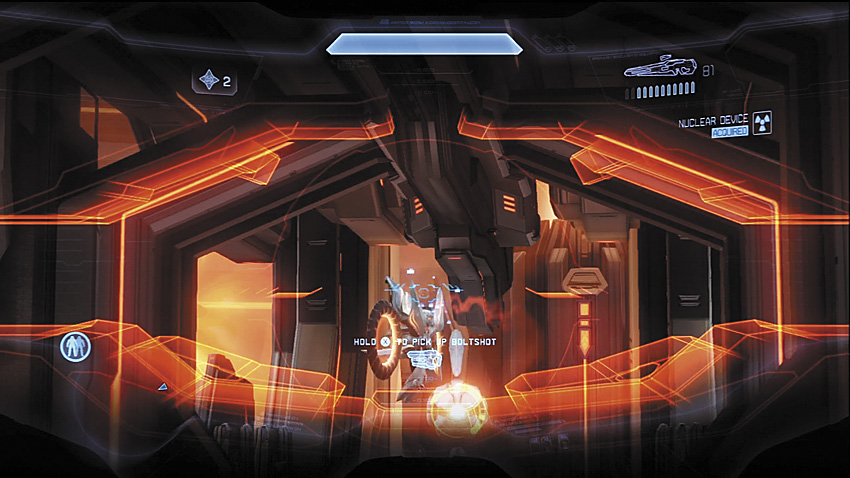
[28] More Crawlers and a Watcher cover the top level, along with a Forerunner anti-infantry turret. The weapons racks guarded by the turret hold another Incineration Cannon, so restock if necessary!
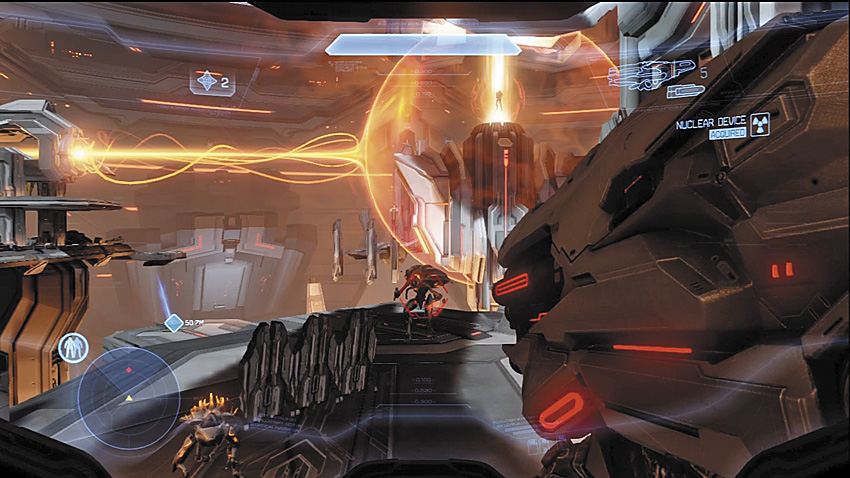
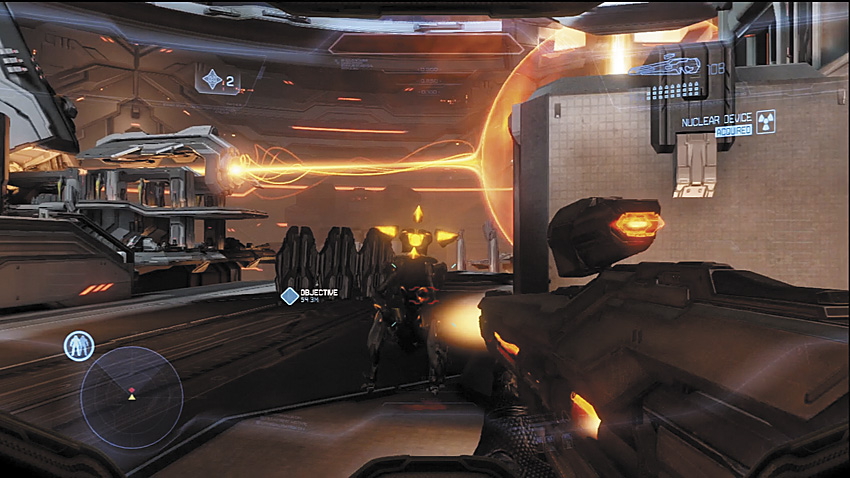
[29] The antigravity lift to Island Two is guarded by another Knight and Crawler pack.
Island Two
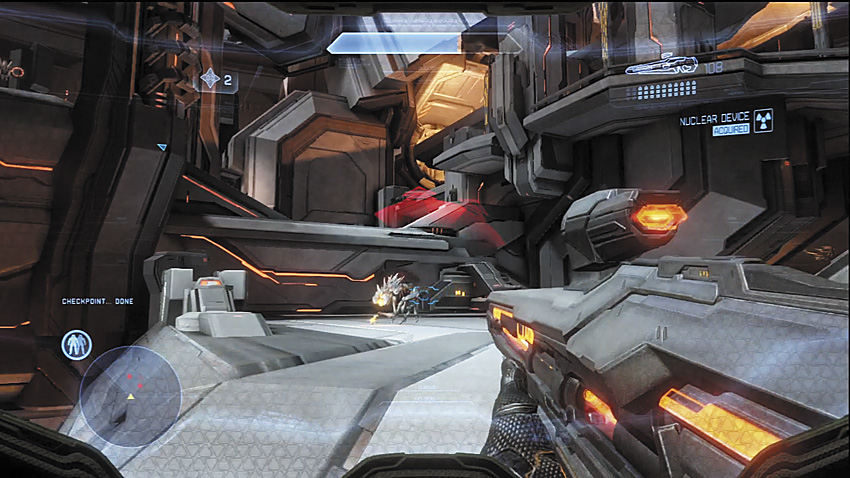
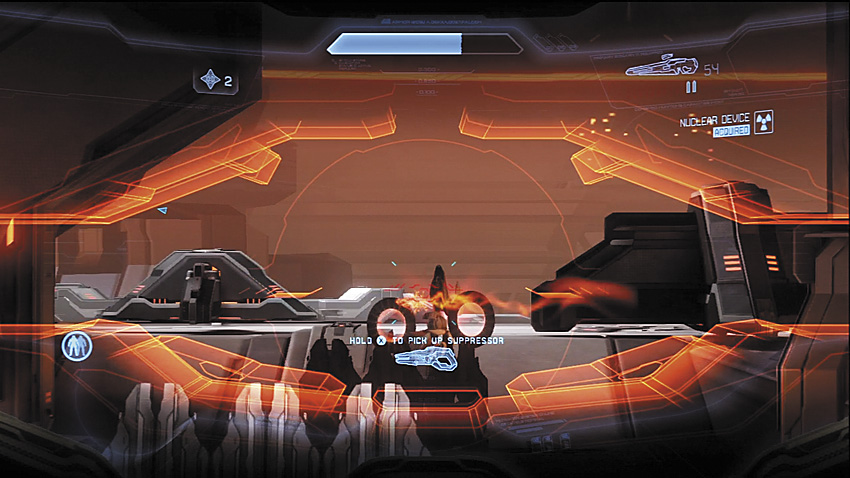
[30] A mirror image of the first island, your primary threats on the first two levels are the Crawler packs, all of which are supported by Watchers.
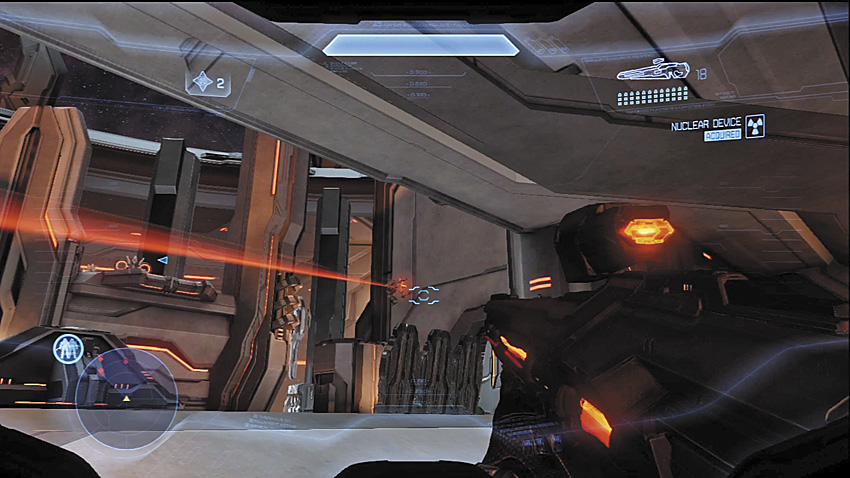
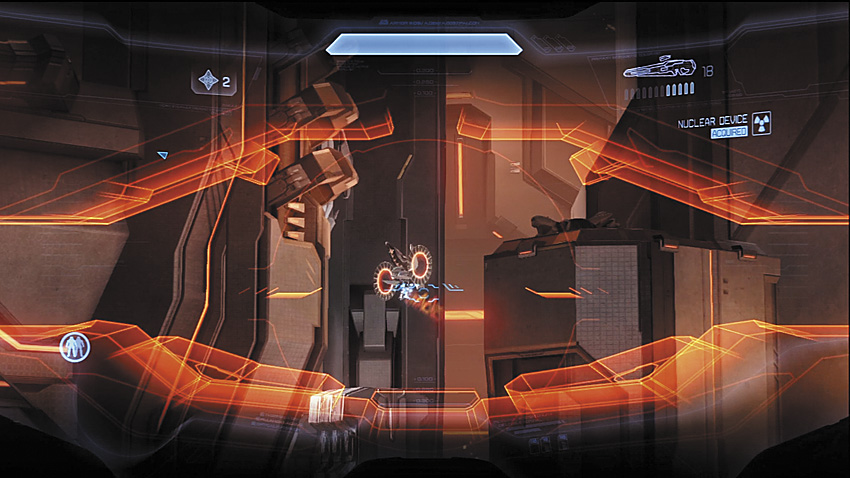
The middle level does throw a bit of a curve ball at you in the form of Crawler Snipes mixed in among other Crawlers. Check the walls carefully to ensure that you don’t get blindsided by their Binary Rifle shots.
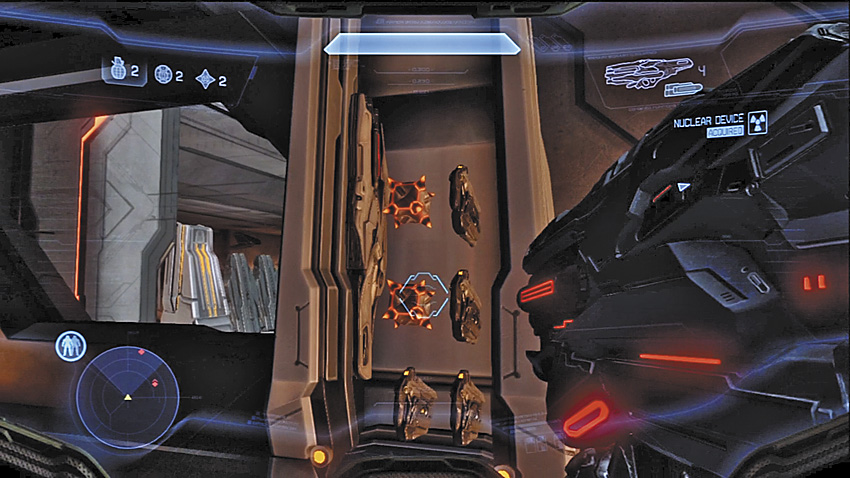
[31] As with the first island, a similar side armory is on the middle level, where you can locate more Incineration Cannon ammo.
Key Combat Tip
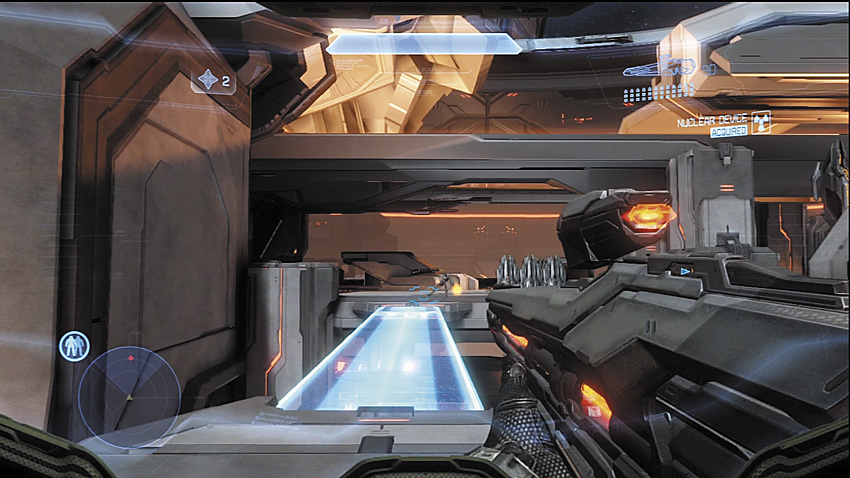
[32] The fight to the switch on the upper level starts off the same: by activating a light bridge to reach the platform. You’re attacked by a large group of Crawlers with Watchers on support. You can slaughter them en masse with an Incineration Cannon, but save at least two shots for the final opponent near the control console.
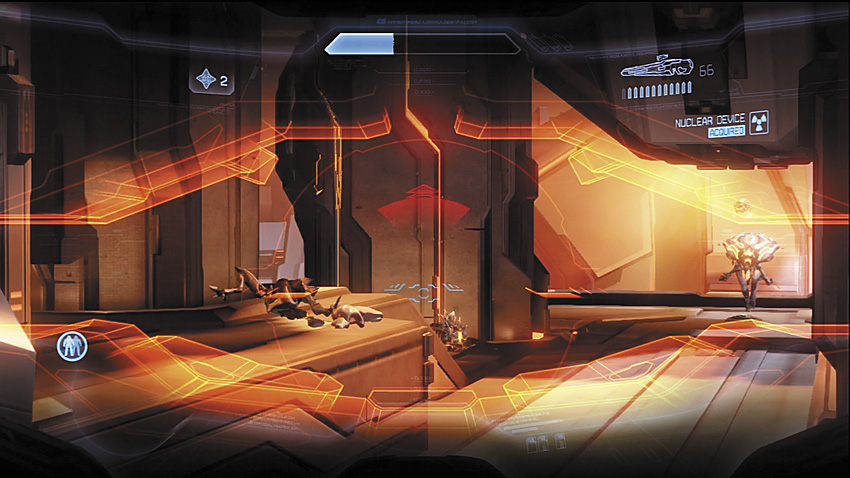
[33] A Knight Commander with its own Incineration Cannon appears as you cut down the Crawler horde. Introduce it to your own brand of incineration, then mop up any surviving resistance. Do not miss out on collecting the Incineration Cannon dropped by the Commander! Then insert Cortana into the control console.
Legendary Strategy
While it is not nearly as rough as the first big island, having so many Crawlers on the field means being out in the open is a bad idea. Recklessness is suicide. Concentrate on solid headshots with a LightRifle, and if an ammo shortage demands it, a Boltshot. The final battle near the control console can be surprisingly frustrating if you lack patience, so hang back and practice your accuracy. Save yourself some trouble by putting an Incineration Cannon round into the Knight Commander the moment you see it teleporting onto the upper platform. Then you’re all but home free.
Legendary Gameplay Video
“It’s all right. But you must hurry ...”
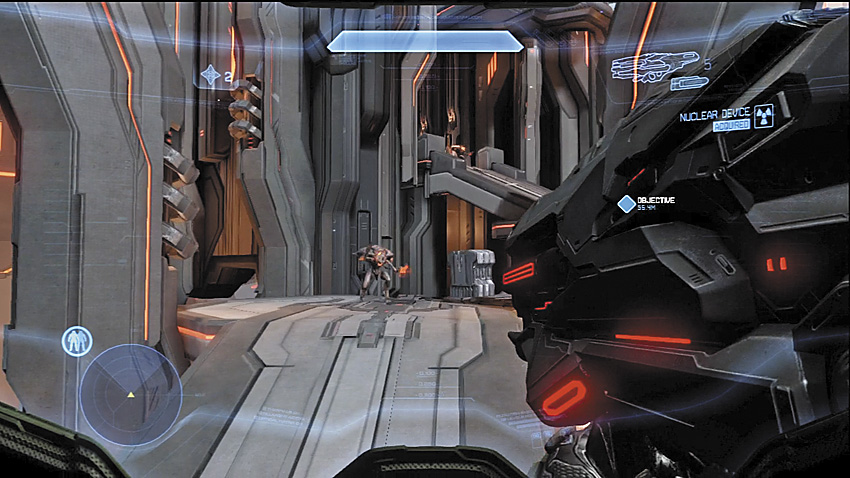
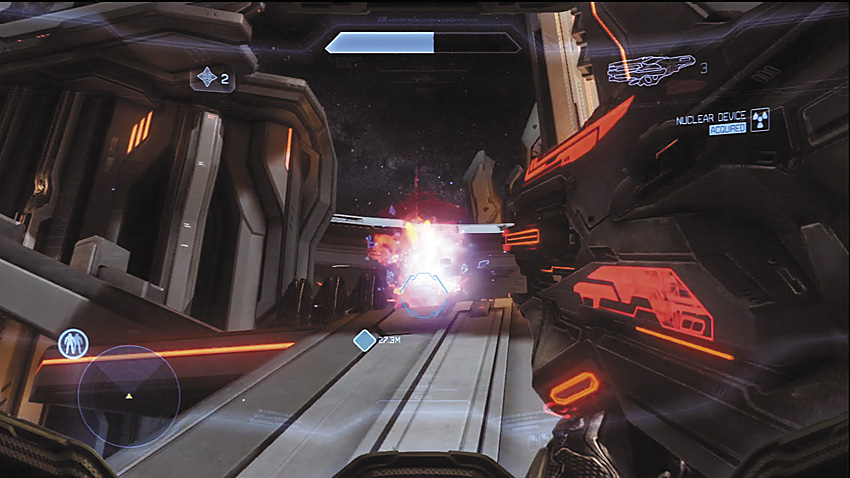
[34] After the Cortana successfully shuts down the shields, you are prompted to hurry back to the indicated antigravity lift to return to the island where all of this hopping started. Three more Knight Commanders stand between you and the final indicated lift. Fortunately, you probably still have an Incineration Cannon to fall back upon. Use everything you can to get past this last line of defense. You’ve come too far to fail now!
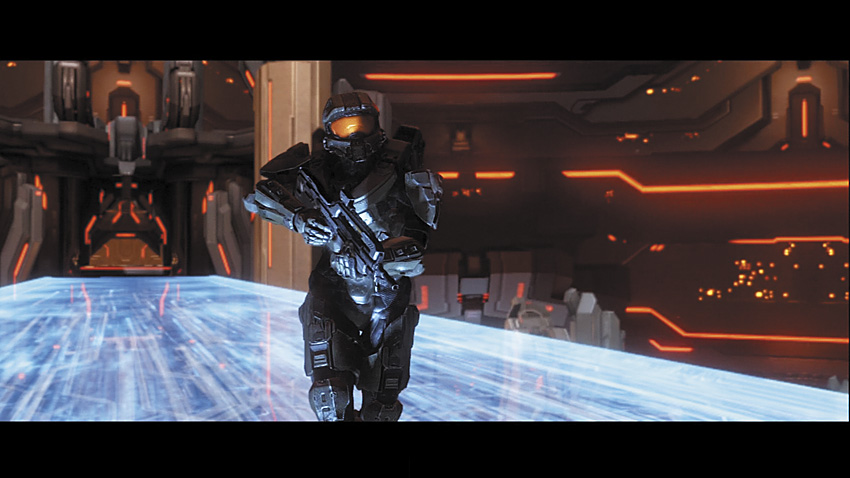
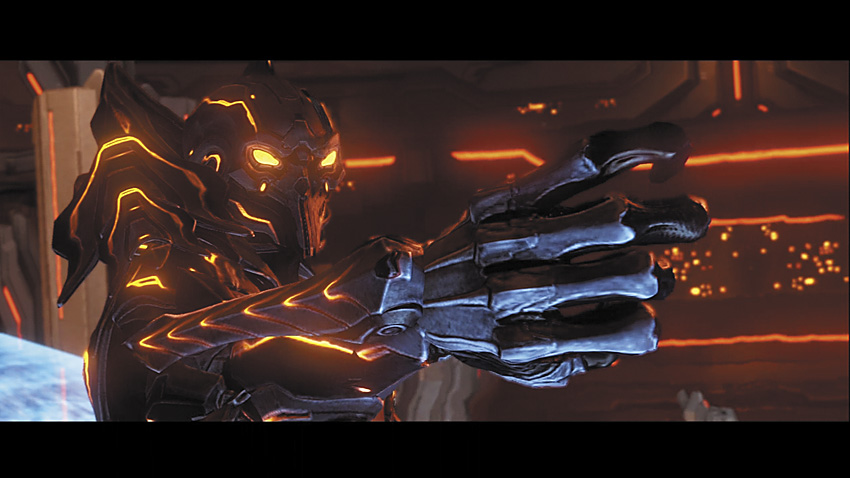
Nothing more stands between you, the Didact, and destroying the Composer.
We’ll be as vague as possible to avoid spoiling nature of the last duel: Although the enemy may seem to overpower you, follow the prompts on screen to put an end to the Forerunner’s plans for “containment,” and witness the dramatic ending to Halo 4. You’ve certainly earned it.
Congratulations for having made it all the way—nothing less could be expected of a Spartan! Now, do it all over again on Legendary with all the Skulls activated.