
Halo 4 Guide Campaign Mission 5: Reclaimer
Mission 5: Reclaimer
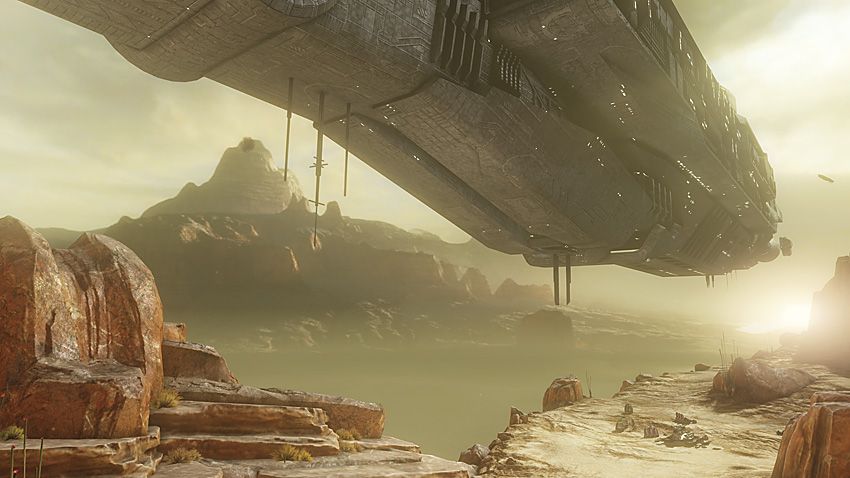
“I don’t know about you, but I usually like a little bit more intel with my intel.”
Requiem’s gravity well currently denies the Infinity the ability to escape through the planetary shell, and a series of massive Particle Cannons are locking the ship into a kind of corridor from which there is no safe escape, as its shields are down. Captain Del Rio is sending the Master Chief, the Spartans from Gypsy Company, and a compliment of Marines led by Commander Lasky, into a direct ground assault on the cannon positions. Del Rio is clearly desperate to escape, so much that he’s neglected to send in Force Recon to gather intel on what lays ahead of the ground units, an omission that Cortana is not shy to criticize. The mission will have to succeed, regardless.
Mission Briefing
Captain Del Rio’s “Blowthrough Op” is a disaster almost from the start. The lack of intel sends you through a series of ambushes. Fortunately, you have heavy armored support to rely on in the form of a Mammoth, but even the largest land vehicle in the UNSC arsenal is not safe from the sheer numbers the Covenant will be throwing at you. After you clear out a portion of the beam cannon network, you will have to enter the Forerunner control facility to bring down the remaining cannons. Afterward this, a UNSC ground team is on station, with Scorpion support, to clear out a canyon filled with Covenant defenders blocking the best observation point overlooking Requiem’s gravity well generator.
Enemies Encountered:
- Elites
- Grunts
- Jackals
- Hunters
- Crawlers
- Knights
- Watchers
Vehicles Encountered:
- Ghosts
- Banshees
- Wraiths
- Lich
- Phantom Dropships
- Mammoth
Size Matters
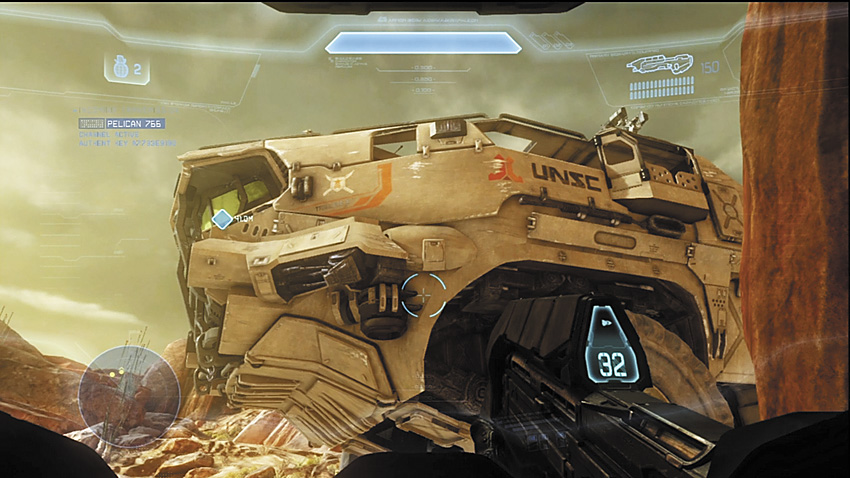
After the Pelican drops the Master Chief off near the Mammoth, follow the rest of the squad aboard. The Spartans use Jet Packs to reach the top of the Mammoth. You’ll have to make your way up to the top deck via the stairs to speak with Commander Lasky. The enormous siege engine is well stocked with Assault Rifles, Battle Rifles, Sniper Rifles, Magnums, and Rocket Turrets, so you’ll be able to custom tailor your loadout with great ease.
After talking to Lasky, Spartan Palmer will radio in to remind the Chief that there are Jet Packs available for use. Once you’ve retrieved the pack, Del Rio says the mission is a go, and the Mammoth trundles toward its first objective.
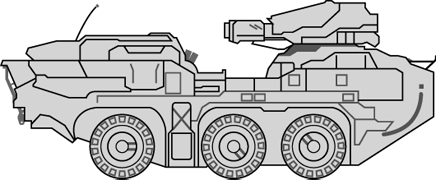
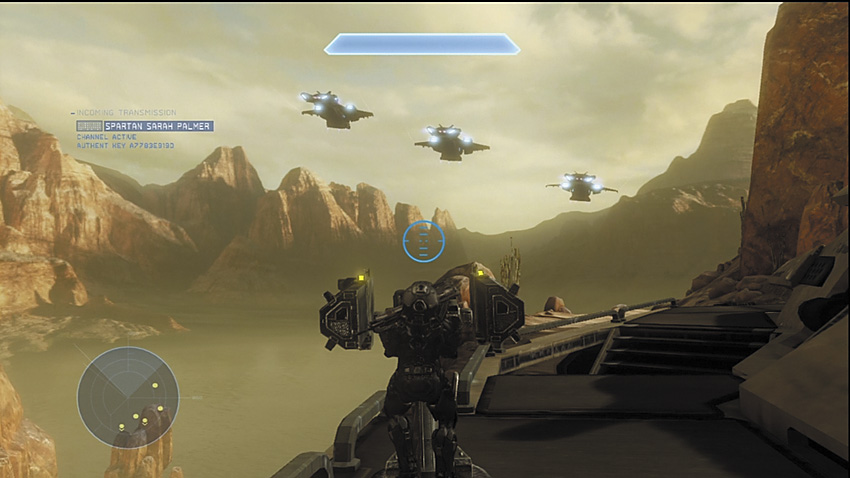
Atop the Mammoth are two Rocket Turrets that can be manned. Take up the one mounted on the left side of the vehicle. Keep your view pointed toward the front of the Mammoth to scan for hostiles, and also to witness the flight of Pelicans get shot down by one of the massive Particle Cannons that hover over the nearby lake. Now you know why the Infinity is not keen to get into firing range with it’s own MAC guns: That shot was fired by only one gun among an entire battery of them. Unfortunately, Infinity cannot fire on the gravity well without eliminating these particle cannons first. The only reason your Mammoth hasn’t been glassed along with the entire area is that these cannons do not seem to be willing to damage the planet—much.
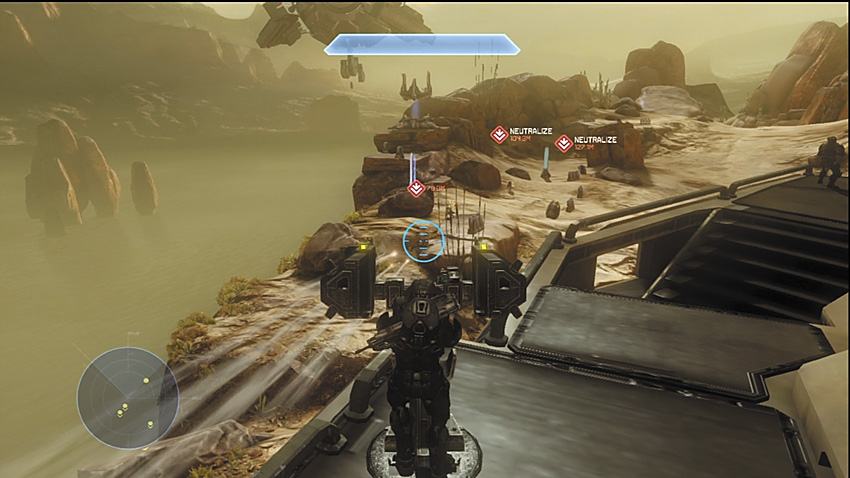
At any rate, one of the Pelicans got lucky and survived the shot, crashing into enemy-held territory. Familiarize yourself with how the Rocket Turret works, and then prepare to repel Covenant forces on the left of the Mammoth [1]. They try to use the cliffs and rocky terrain for cover. Jackal Snipers try to shoot you specifically, so look out for their distinct weapon tracers and red glowing helmets. Shade Turrets are set up throughout this area, and the Covenant forces are dangerous not just to the Master Chief, but to the Rocket Turrets also. If these Rocket Turrets are destroyed, they are gone for the rest of the mission, and you’ll have lost an offensive and defensive option.
Key Combat Tip
Major Firefight: Retrieve the Target Designator
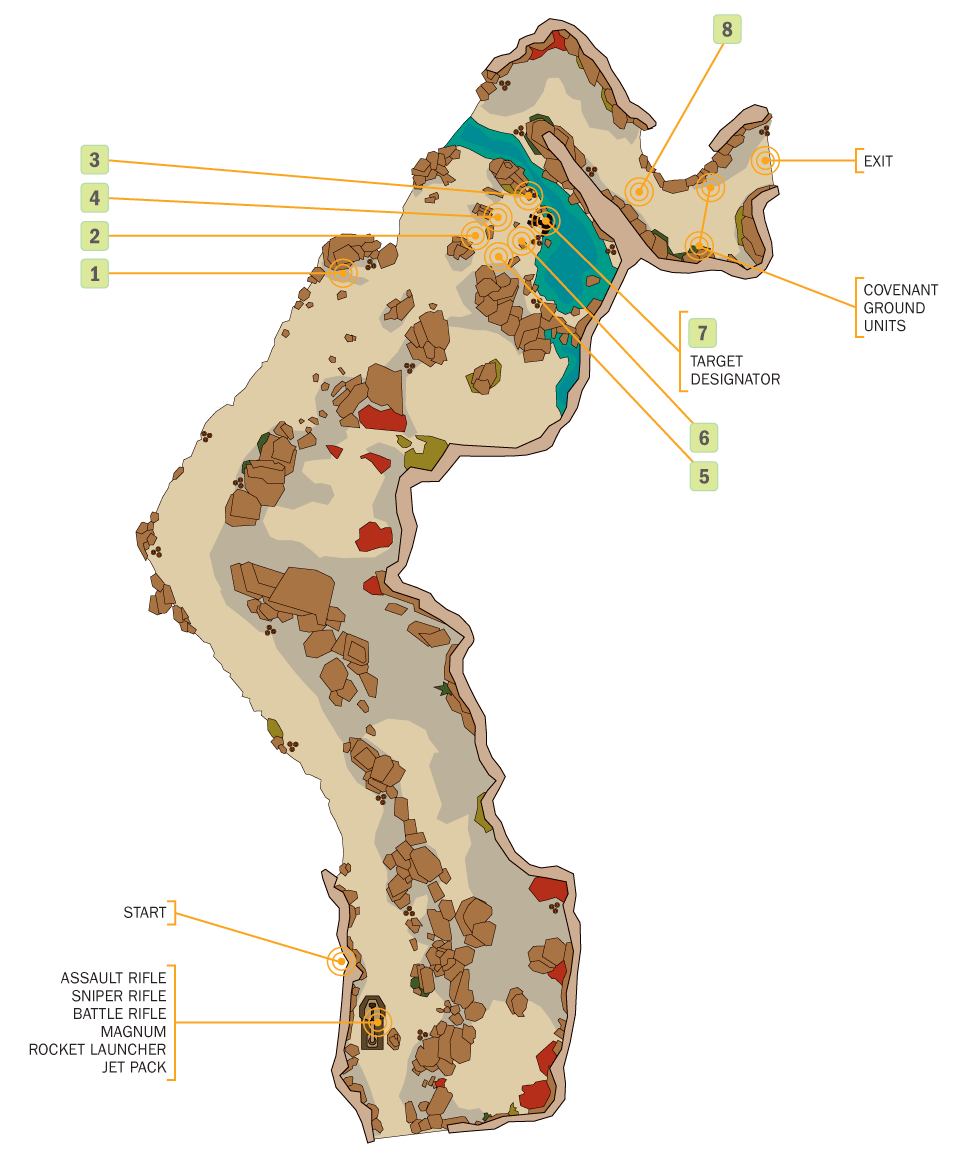
The surviving Pelican crashed behind an outpost to the right of the first ambush [2]. The Covenant send ground troops and Phantoms to reinforce the position against the Mammoth’s firepower and soldiers. While the men at the Pelican may not survive the next minutes, it is imperative that you cross the terrain between them and the Phantom and retrieve the Target Designator, which will allow you to personally direct the MAC on the Mammoth against aerial targets. This position is apparently important to the Covenant. Expect Phantoms to bring in multiple waves of reinforcements, which will include multiple Wraiths and Ghosts mixed in with the infantry.
Recommended Loadout
This fight can be quite frustrating, but there are many weapon options available. Some players may prefer to use up the Sniper Rifle ammo on the Mammoth, in combination with the Rocket Turrets, to take out as many troops as possible before venturing away from the massive vehicle. More aggressive players may take to the ground immediately, using the Battle Rifle and Plasma Pistol combo to deal with the Elites in the area while also counter-sniping Jackals. Other players still may take one of the two Warthogs in the Mammoth’s bay, with their guns manned by Spartans or Marines. The Covenant Ghosts that are parked at [3] and manned during the battle are also solid choices, if you can get them away from their riders.
Starting from the Mammoth
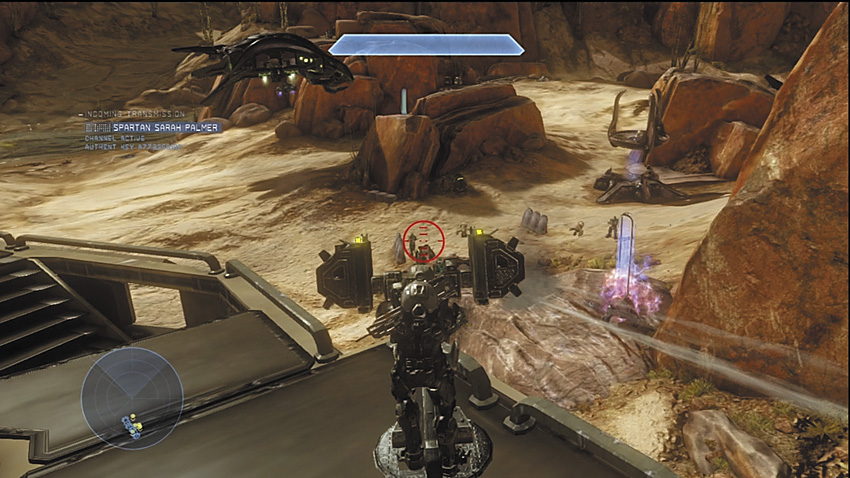
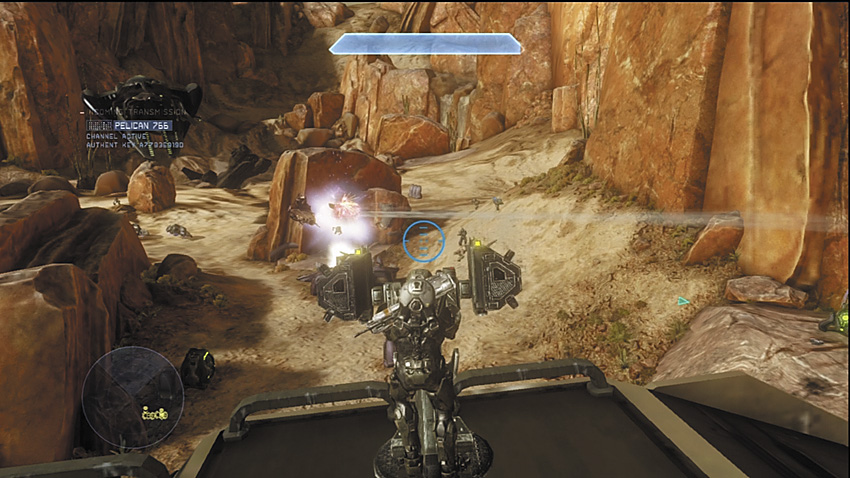
[2] The outpost to the right of where the Mammoth halts its advance must be dealt with quickly. The Covenant troops here can reinforce others throughout the area. The fastest way to eliminate the outpost is to bombard it with the Rocket Turret. Unfortunately, this exposes you to vicious counterfire, which may shorten how much time you spend on the battery. Make sure you take out the hovering guard platform at least, which will hopefully eliminate the closest snipers.
A single shot from the Rocket Launcher or Rocket Turret can let you accomplish the same task more safely. You can also snipe safely from the upper decks, and then retreat when enemy fire becomes too intense.
Phantoms introduce pairs of Ghosts among the reinforcement waves, and they have a tendency to use the small stone pillars behind the outpost [4] as cover from your weapons. You can attempt to thin them out somewhat before taking to the ground, but this can take time.
Going All In
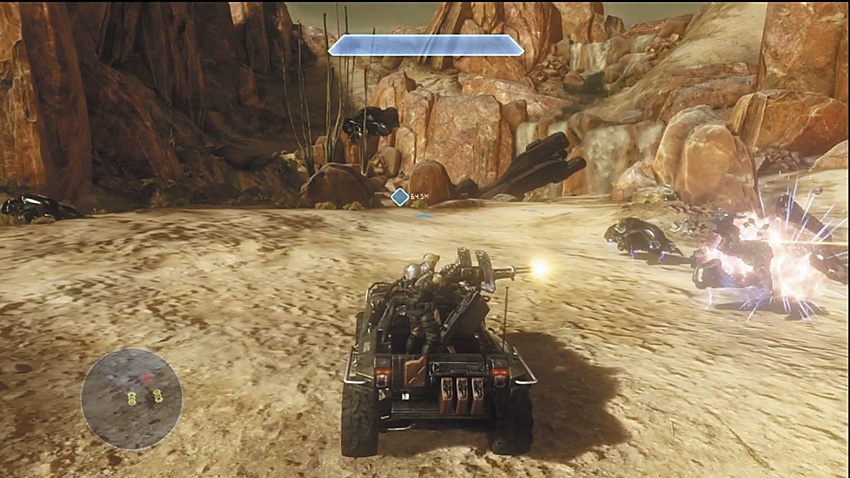
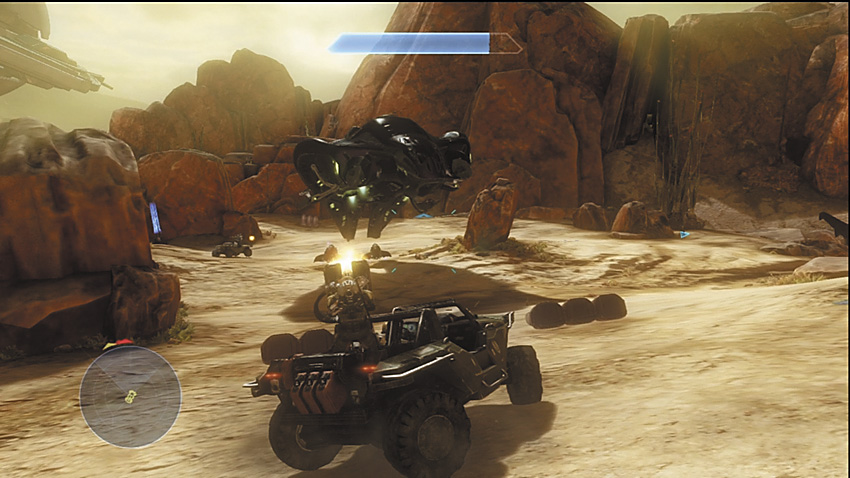
The Warthogs in the Mammoth are excellent vehicles to take into this fight. The Marine or Spartan on the gun is very accurate, which means you can concentrate entirely on defensive driving. You’ll need to concentrate, as you will likely end up driving around or through the middle of a very hot kill zone to reach the Target Designator: Elites guard parked Ghosts at [3], a smaller contingent of Covenant with mounted Plasma Cannons is at [5], and another group of Elites and other Covenant waits at [6]. The center of this circle of death is not where you want to be for long, not without first doing some work to thin the odds. Most troublesome is that eventually the Phantoms drop multiple Wraiths at the very center of this circle, all of which can easily destroy a Warthog with one plasma mortar shot or simply by using their boost to ram the vehicle at high speed. Their Plasma Turrets are also very dangerous, and the gunners manning them can cover the entire frontal arc in front of a Wraith.
Key Combat Tip
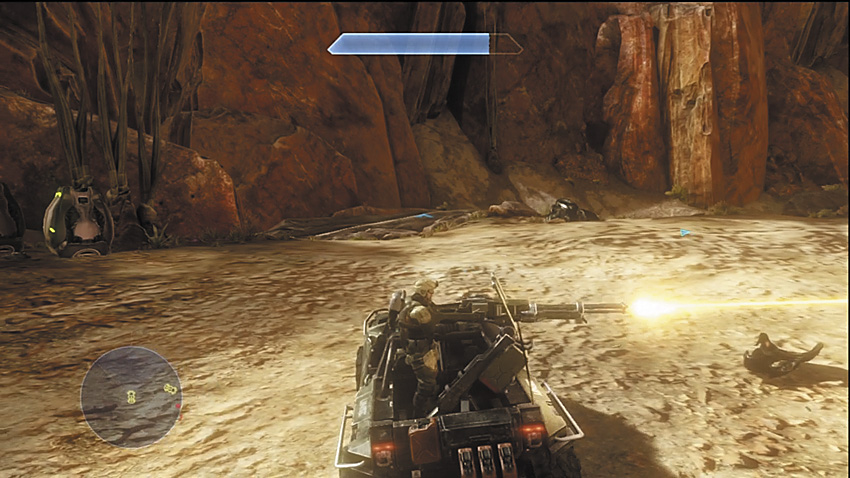
[3] If you lose your Warthogs, a Ghost makes a good replacement for anti-infantry work, but you’ll lose much of your effectiveness against the Wraiths. The Elites you face during this firefight are all very tough customers of high rank; they are highly resilient. If they are manning a Ghost, they are an even greater threat, so you have to stay on the move regardless of your vehicle choice.
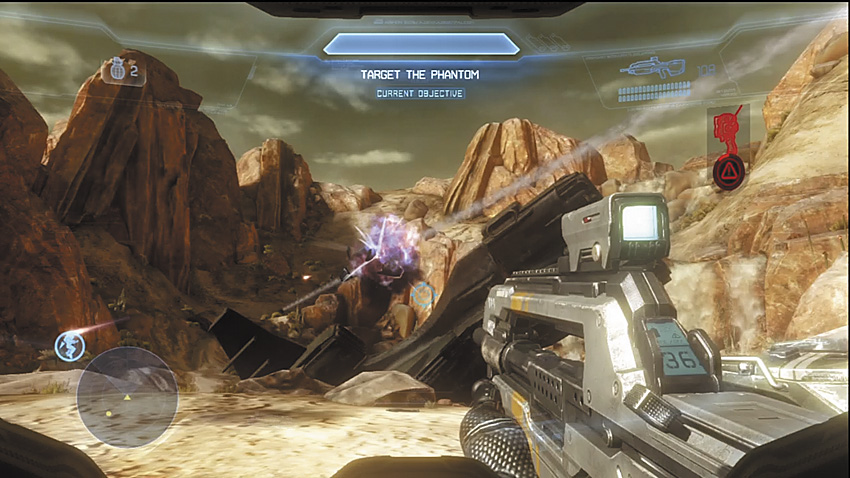
[7] The Pelican crash site, when you manage to reach it, is likely to already be suffering bombardment by a Phantom, so your approach to the Target Designator is problematic. Once you do retrieve the Target Designator, you can put down the Phantom that is bombarding the area from the nearby water by targeting it with the device. The Mammoth turns the big MAC on the unsuspecting dropship and blots it out of the sky with all the subtlety of a sledgehammer on a glass sculpture. Cortana then marks the Particle Cannon for you to target, and once it is destroyed, it’s time to move on.

Legendary Strategy
The Rocket Turret should not be relied upon for long, as you will likely not be able to kill the enemy at [2] quickly enough to prevent lethal counterfire. No vehicle you can man will last all that long under the sort of firepower you will be surrounded by if you charge straight in. It’s possible to skirt around most of the enemy by taking a side path that takes you behind [5], but if Ghosts are present, they are likely to give chase. It is still possible that if you duck into the Mammoth as soon as it comes to a halt and pick up a Warthog, you can then try blitzing past the Covenant at [3] for a straighter shot at the Target Designator. This is even harder to pull off now, however, as the enemy reinforcements arrive much sooner, in addition to every enemy being that much more lethal on Legendary.
Don’t commit your Warthogs to the center of the circle. Your gunner is still pretty deadly on Legendary, but they aren’t very likely to survive if you perform the same crazy antics you could get away with on Heroic. When the Wraiths get involved, you need to do everything in your power to not be anywhere inside their frontal arc. Their Plasma Cannon is almost as lethal to Warthogs as their plasma mortars, and unlike those, the turret can easily track a Warthog even when it’s moving at full speed. Taking your time to eliminate the reinforcements is somewhat safer than rushing for the Target Designator, but the caution you must exercise during the process will make this battle take longer.
Legendary Gameplay Video
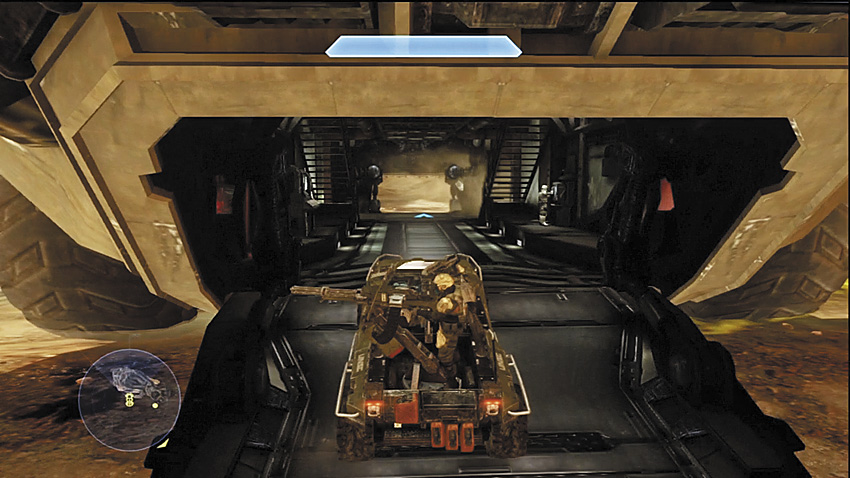
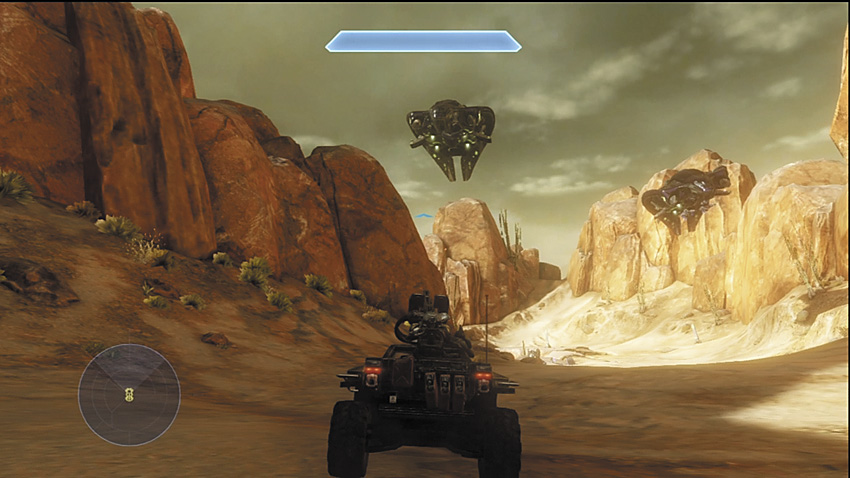
A river prevents you from moving to the next target on a Warthog, so the Mammoth opens its bay to allow you to pass through. You can follow the suggestion and lead the way for the Mammoth on a Warthog, or you can park inside and climb to the top deck, which will get the Mammoth moving. More Covenant try to attack from both sides of the machine as it moves through the canyon, and Phantoms, escorted by Banshees, try to drop reinforcements ahead of it [8]. You can target one of the Phantoms with the Target Designator if the MAC has reloaded.
Major Firefight: Disable the Shield Wall
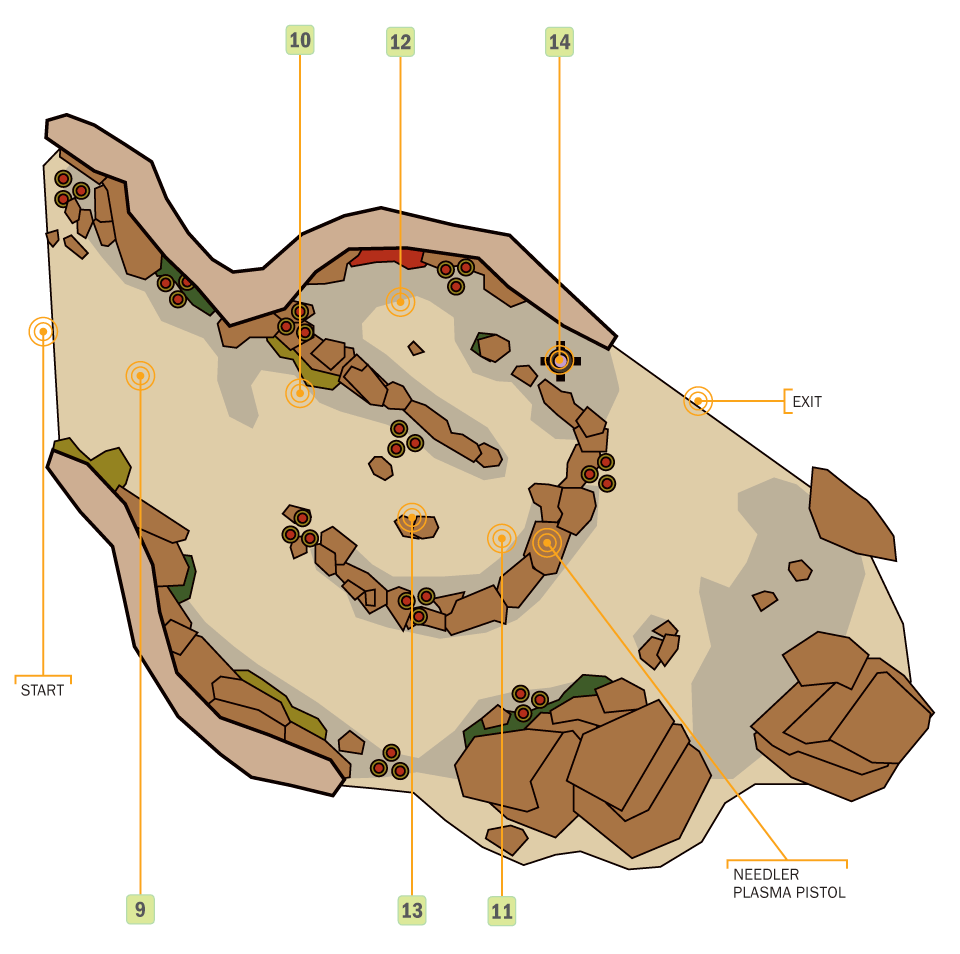
[9] The Mammoth rolls to a halt, spotting numerous obstacles in its path that must be dealt with. A massive energy shield blocks the only viable route for the Mammoth and it needs to be removed. Cortana has detected three generators protected by shielding, which requires you to get up close and personal to destroy them. The Covenant have deployed a substantial force to protect them, and are willing to throw even more forces into the fray to halt your advance.
Recommended Loadout
If you’re in a situation where you no longer have Warthogs available, the Sniper Rifle and Battle Rifle are a great way to take out gunners manning the various Plasma Cannons mounted throughout the zone, while a Plasma Pistol gives you a chance to disable Covenant vehicles to set up hijackings or to destroy them. If you’re willing to keep hoofing it back to the Mammoth, you can also bring out the Rocket Launcher when a Wraith becomes a factor. Do not forget the Target Designator to help take out Phantoms before they unload their cargo.
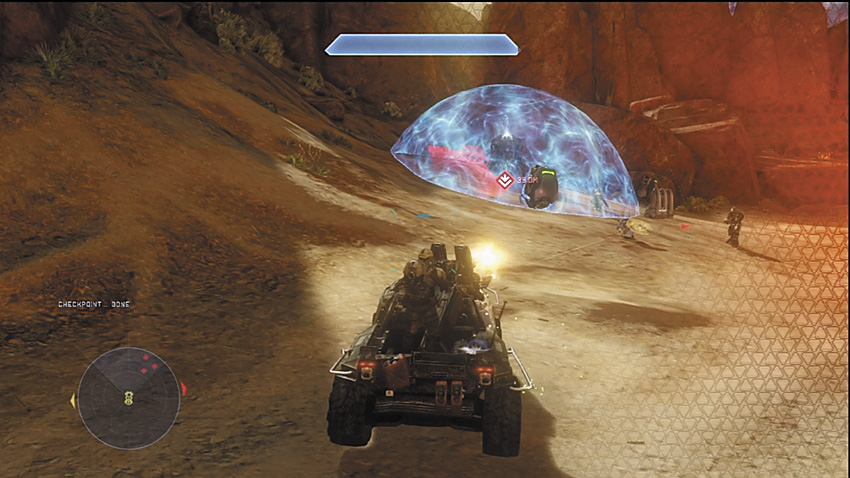
[10] [11] [12] The three generators are spread out in this part of the canyon, which can make hoofing it time-consuming and difficult. In addition to the Covenant squads, led by Elites, standing guard at each generator, Ghosts patrol the ground between the generators, which makes a Plasma Pistol almost too useful to pass up. The shields protecting each generator act as a double-edged sword. Anything inside them is protected from outside threats, but anything inside can’t interact with anything outside.
The real challenge starts after you take out one of the generators. Phantoms start bringing in reinforcements, including new Ghosts, Grunts, Jackals, and Elites. Try to use the Target Designator on them. If you’re stuck on foot, your best bet is to fight a retreating action toward the Mammoth, which moves farther up the road with each destroyed generator. A vehicle really makes this easier, so if you’ve preserved a Warthog or can steal a Ghost, use it.
It’s also possible to make use of the Mammoth’s left-side Rocket Turret, if it has survived the fighting to this point. It can’t pierce the shields of the generators, but it can make wiping out the enemy troops in the area simpler. Just remember that the Wraith can and will lob a plasma mortar directly at your Rocket Turret if given the chance.
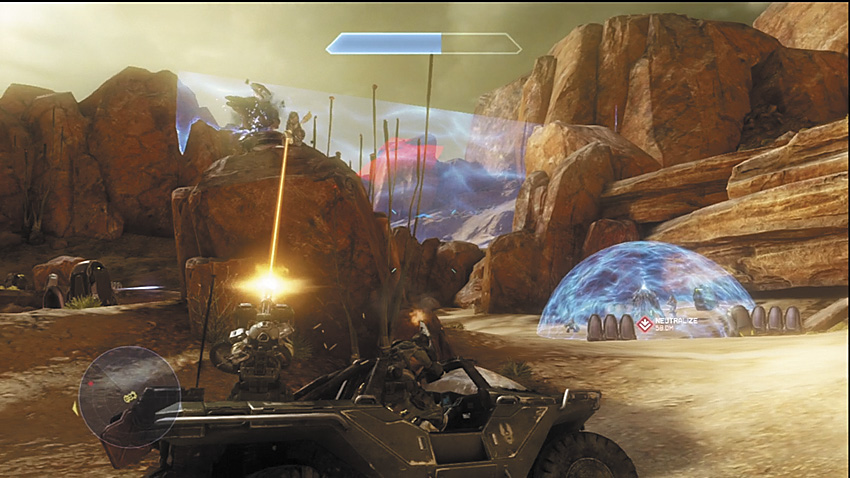
[13] This Shade Turret provides overwatch for generators [10] and [11]. Taking it out should be an early goal.
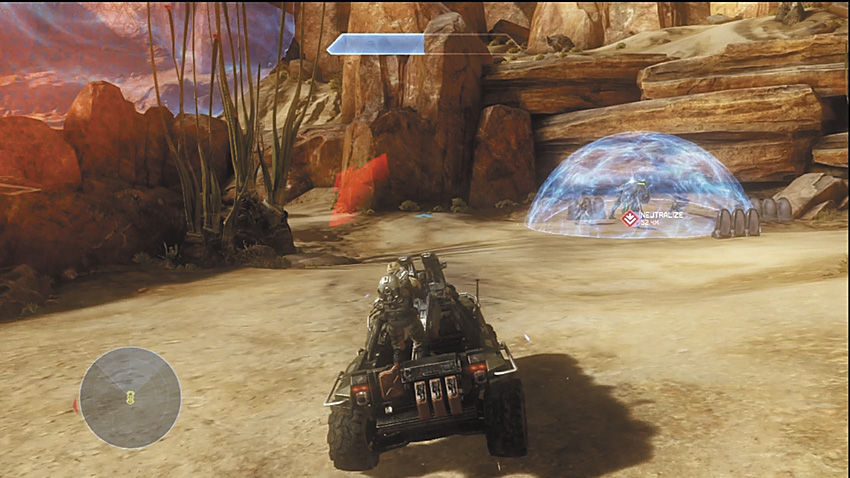
[12] This is most likely the last generator you engage, and it’s also the hardest to get to. A Wraith guards the area near this generator, combined with any additional troops in the area, and you can expect to see the death camera a few times. Adding to the good news is a guard platform [14] that overlooks the area surrounding this generator. The plasma turrets on the platform can reach out and touch you accurately from as far away as the generator. When you finally take out the three generators, return to the Mammoth and get ready to move forward.
Key Combat Tip
Legendary Strategy
The cautious approach will have you enjoying the accuracy of a gunner in a Warthog while you work your way toward the generators, but only after extensive sniping. If you don’t have a Warthog, you still want to have a proper go at sniping. Put a rocket into the Shade Turret [13] if possible, just to ensure that it can never be a problem, and do the same for the guard platform [14]. It might be nice on Heroic to use the Target Designator on Phantoms here, but on Legendary, it’s essential. It can mean the difference between success and failure. After taking out a generator, scan the skies for a Phantom, and hope the Mammoth is ready to take the shot.
As you might expect, the Wraith demands special attention and respect. If you notice it making a move to close in on you while on foot, and you don’t have the means for a quick kill or a Plasma Pistol to go for the disable, you’re probably already dead.
Legendary Gameplay Video
Major Firefight: The Second Gun
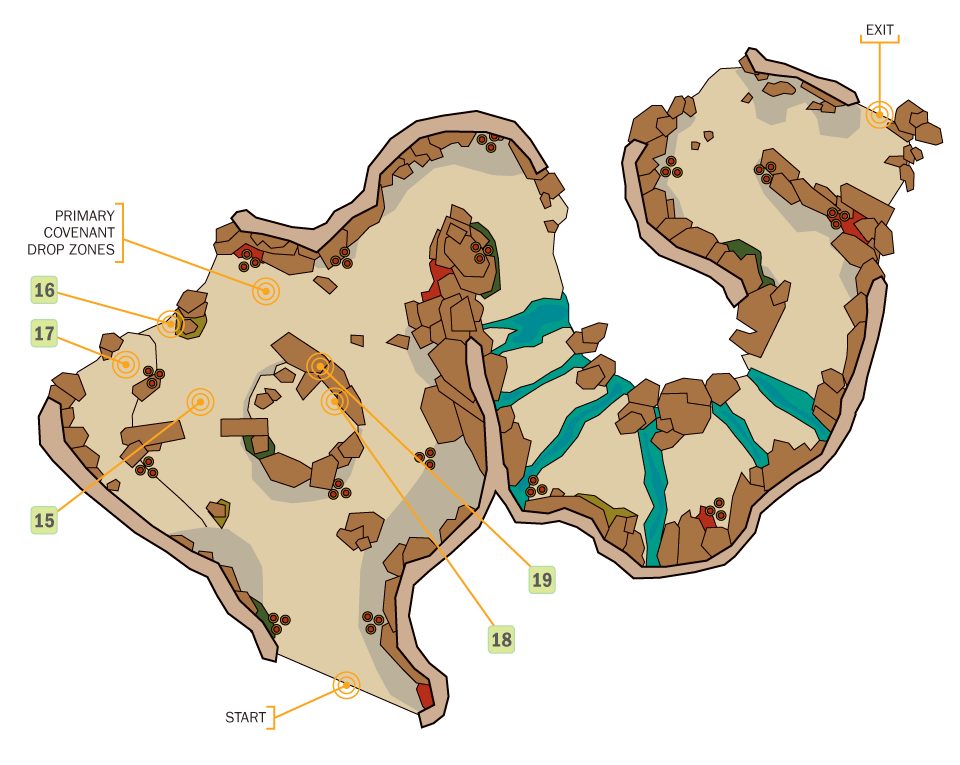
[15] There’s not a lot of time for rest after the last big firefight. The Mammoth eventually rolls into range of the second Particle Cannon. Mark it with the designator and enjoy the fireworks. Before you can move on, a new type of Covenant ship flies into view and opens fire on the Mammoth, disabling the MAC gun . In the ensuing chaos, Phantoms begin to drop troops, Ghosts, and multiple Wraiths into the area. The new ship, a Lich, takes position over a hill to the right of the Mammoth [18]. Lasky needs you and the rest of Gypsy Company to somehow board the Lich and take it out from within.
Recommended Loadout
This is a battle divided into three distinct phases, and there are weapons that can make all three phases much easier. To deal with the initial Ghost and Wraith rush, Cortana marks a Gauss Warthog. It’s possible to take this Warthog into the next section, which involves your rushing the hill where the Lich is disgorging troops. When you finally manage to clear the hill, you want weapons that are solid for close-range combat on board the Lich. Plasma Pistol headshot combos are always a solid choice for the Elites on board, but consider also the power of Needlers and their super-combine ability. In close quarters and combined with grenades, you can score multiple kills in rapid succession.
Phase One: Ghosts and Wraiths
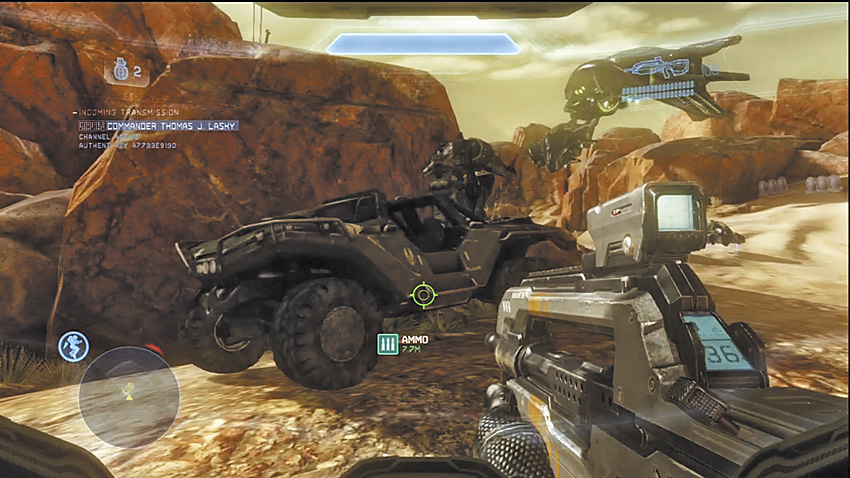
Phase One: Ghosts and Wraiths
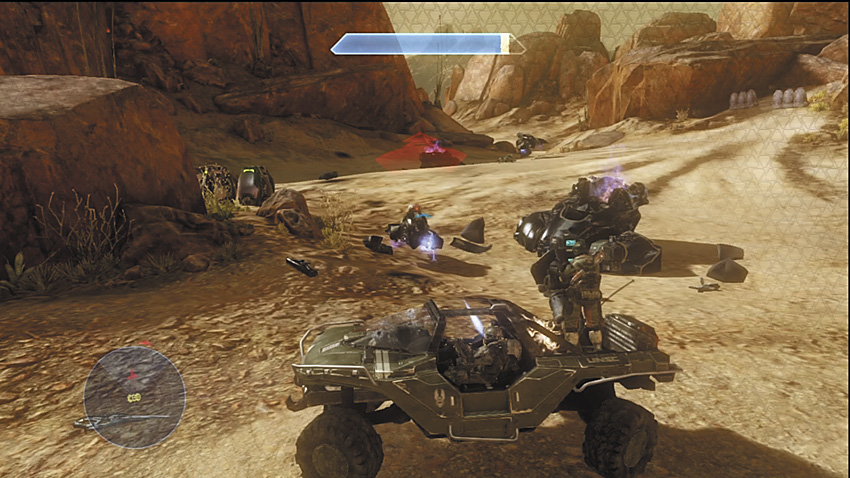
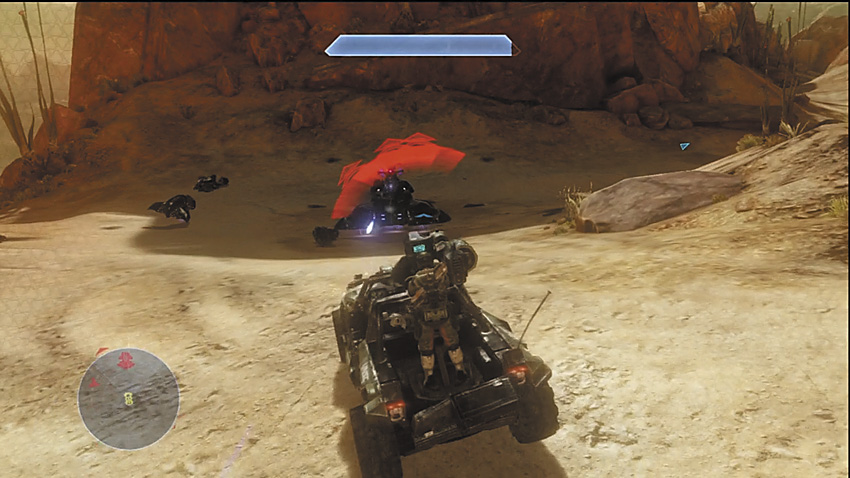
[15] The initial rush is harsh. Ghosts are dropped into the area in pairs by Phantoms, who also add their own firepower to the fray for the brief moments they are overhead. Cortana quickly calls out the Gauss Warthog, marking it on your HUD [16]. Get down there to drive the Marine gunner around the area, giving him clean shots on the Ghosts. Eventually, Wraiths join the assault; one is dropped on the hill to the left of the Mammoth [17]. It takes, on average, three Gauss shots to destroy a Wraith, which gives it plenty of time to fire multiple mortars at you. Make sure you give the Marine good lines of sight on the enemy armor and stay on the move.
Alternate Approach
If you still have rocket turrets on the Mammoth, you can use them to try to soften the initial enemy assault, but the moment Wraiths get involved you should break free from the gun. This option poses the risk that the Gauss Warthog gets destroyed while waiting for you to get to it. This is a better Co-op strategy, where a player on the rocket turrets can support the allies in the ’Hog.
Phase Two: Taking the Hill
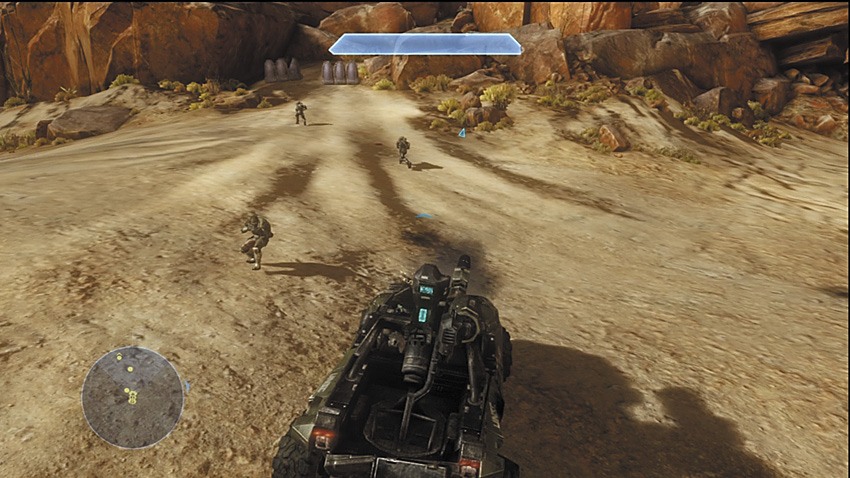
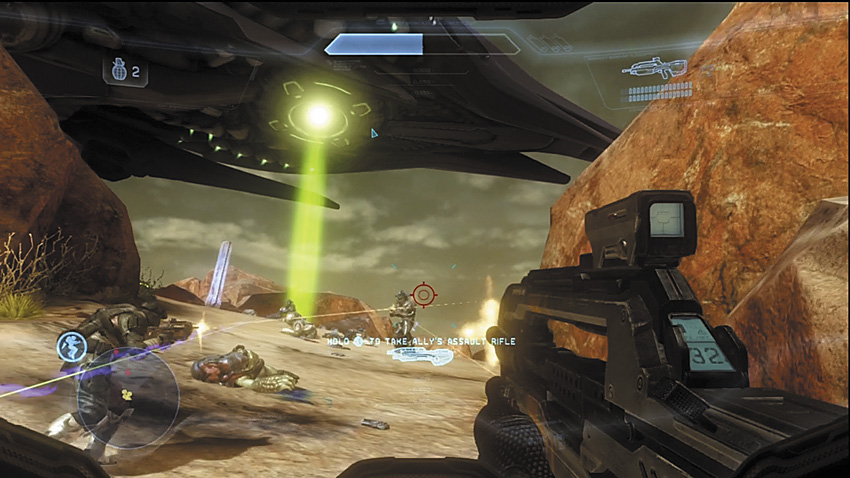
[18] After pacifying the enemy vehicles with copious amounts of Gauss Cannon shots, they eventually stop coming, which leaves the Spartans and Marines of Gypsy Company free to push up the hill and take the fight to the Lich. If you have a Marine or Spartan gunner aboard the Gauss Warthog, they may abandon the gun to join the assault on foot. Feel free to curse this recklessness. The Covenant troops try to stream down the hill in an effort to keep your allies from breaching the barricades and taking the path up to the hilltop. It’s possible to annihilate this counterattack simply by placing the Warthog a short distance away from the barricades and manning the gun yourself if necessary, but that runs its own risks of counter-fire. The Covenant are remarkably accurate at throwing Plasma Grenades long distances at unmoving targets.
With the path leading up to the hill secure, you can either join the rest of the troops on foot, or try to force the Warthog up the hill and leverage the Gauss Cannon against the enemy. If you still have a gunner, the latter option is absolutely preferred. Expect plenty of Covenant at the hilltop itself, but after a single wave of reinforcements, the Covenant will cede the hill to the UNSC, leaving the Lich hovering ominously over the battlefield.
Phase Three: Wrath of the Lich
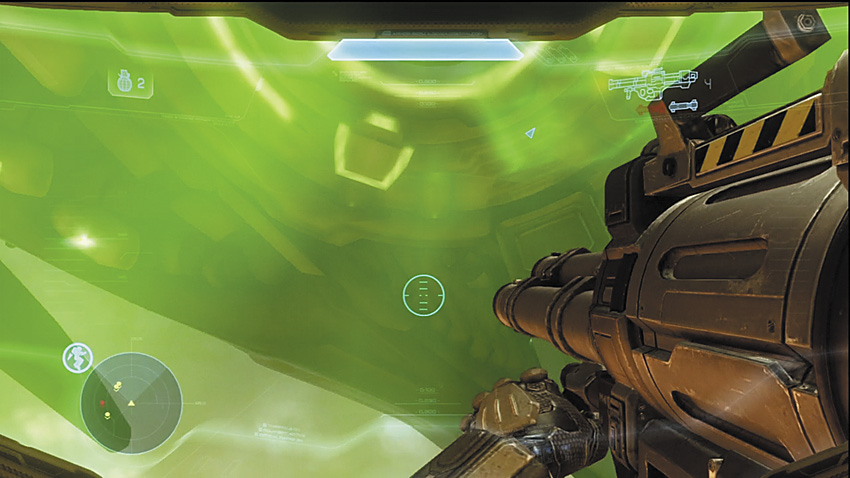
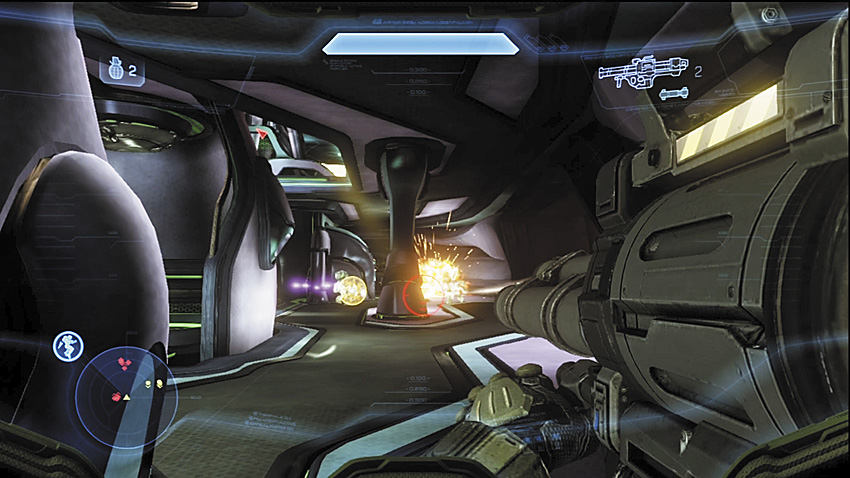
[19] The Lich can be considered a super dropship. It has already dropped onto the hill a large number of now-deceased Covenant, but rest assured that there are many more still aboard the vessel. You have two methods of boarding it: The gravity lift underneath the ship can be used, or you can board by flying up to one of the gun platforms on the side of the ship by using your Jet Pack to climb up the nearby rocks, and then flying up to the Lich from there. Both have their drawbacks. The first method potentially places you in the middle of a large number of Covenant, possibly Elites. The second method has you flying into view of mounted Plasma Cannons, and you’ll want to take out those gunners to survive the landing.
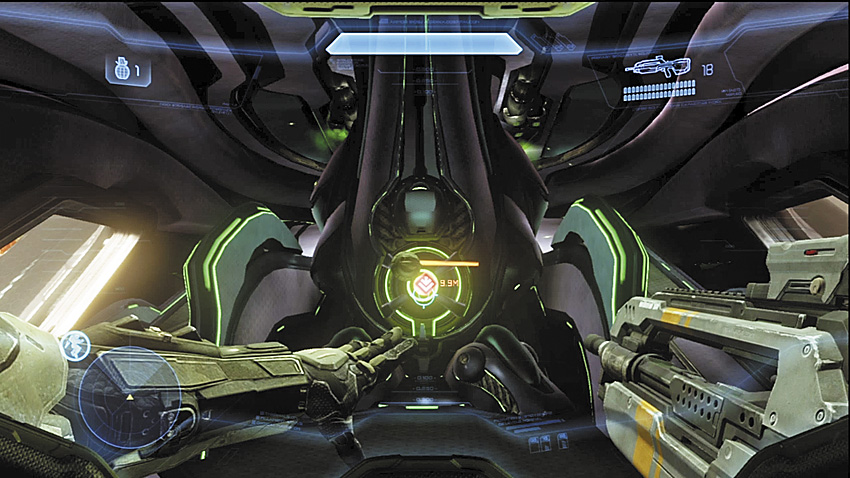
Once aboard, you must get to the upper deck of the ship to gain access to the reactor and destroy it, thereby eliminating the Lich threat. You can try to rush onto the upper deck without clearing the lower one of hostiles, but to fly up there too quickly may expose you to fire from above and below. The upper deck itself is extremely dangerous due to the high number of Elites there, including a Zealot at the main control station at the bridge. Take note: Once the reactor has been destroyed, you must escape from the ship. At this point, ignore any remaining Covenant and leap to safety. Just make sure you pulse the Jet Pack to slow your descent to the ground and survive the landing.
Alternate Approach
It is entirely possible to throw a Frag Grenade to the upper deck from the lower one and destroy the reactor with it. Of course, this isn’t easy, but Cortana does mark its location on the HUD, so you do have a point of reference to work with. There also a chance that the Covenant, in their zeal to kill you, will accidentally blow the reactor themselves!
Legendary Strategy
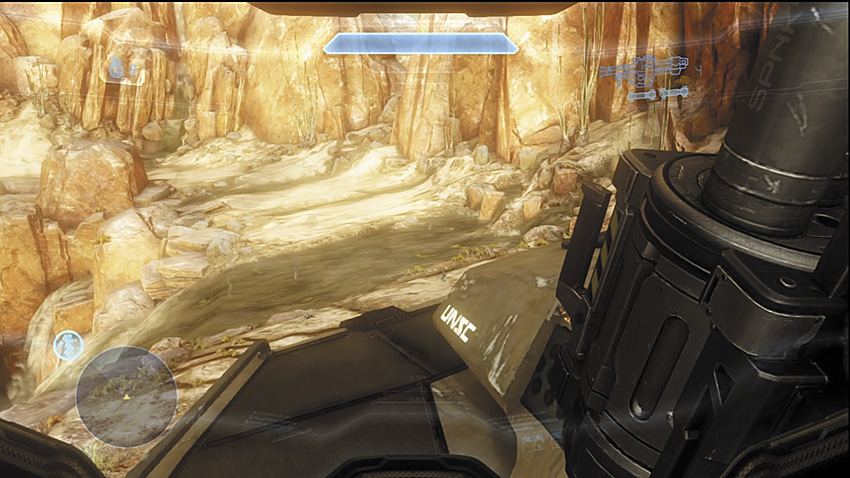
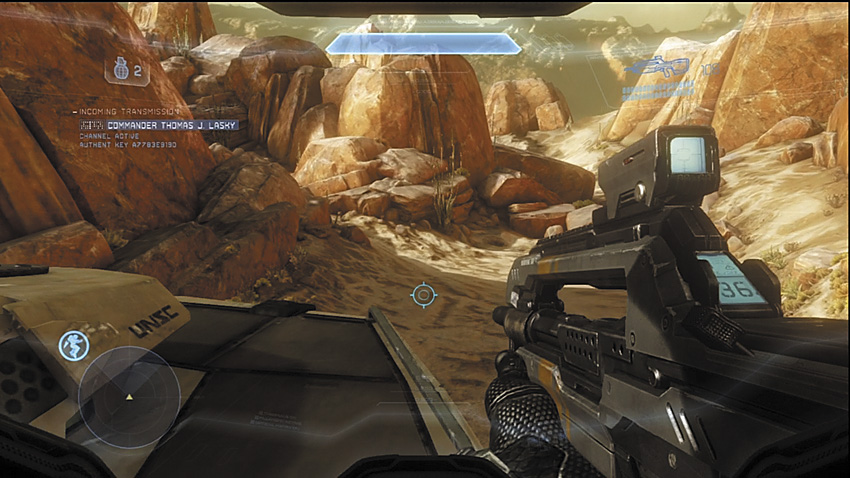
The first phase of the battle is arguably the hardest, simply because of how hard the Ghosts and Wraith Plasma Cannons can hit. The Gauss Warthog can be turned to scrap very fast, and sadly there’s no quick way to take out the Covenant vehicles that doesn’t involve putting yourself into serious danger. Even if you place yourself at the top of the ramp near [17] and try to force the enemy to come up to you, you still must be able and willing to move to avoid being strafed by the Phantoms or getting mortared by Wraiths.
You should still attempt to get the Warthog atop the hill for the second phase if you manage to keep a gunner. If not, you might be forced to join your fellow Marines and Spartans on foot, using them as distractions while you pick off the gravest threats. Your allies will not last very long without your direct intervention, so work quickly.
The fight aboard the Lich is hard, even if you make use of the charged plasma combo to eliminate the Elites swiftly. With so many enemies in close proximity, it should be no surprise that you have very little room for error. If the Mammoth still has Rocket Turrets available, it’s not a bad idea to take one with you as you board the Lich, to help deal with crowds and the Elites. Just watch your proximity to the enemy if you do this.
The Mammoth recovers from its battle damage, and you’re to board the Mammoth for the rest of the trip through another canyon filled with dangerous rivers, until it eventually reaches a dead end. A Forerunner facility lies at the very end of the canyon, but as you might expect, the Covenant are ready to throw their lives away to defend it.
Legendary Gameplay Video
Major Firefight: Approaching the Facility
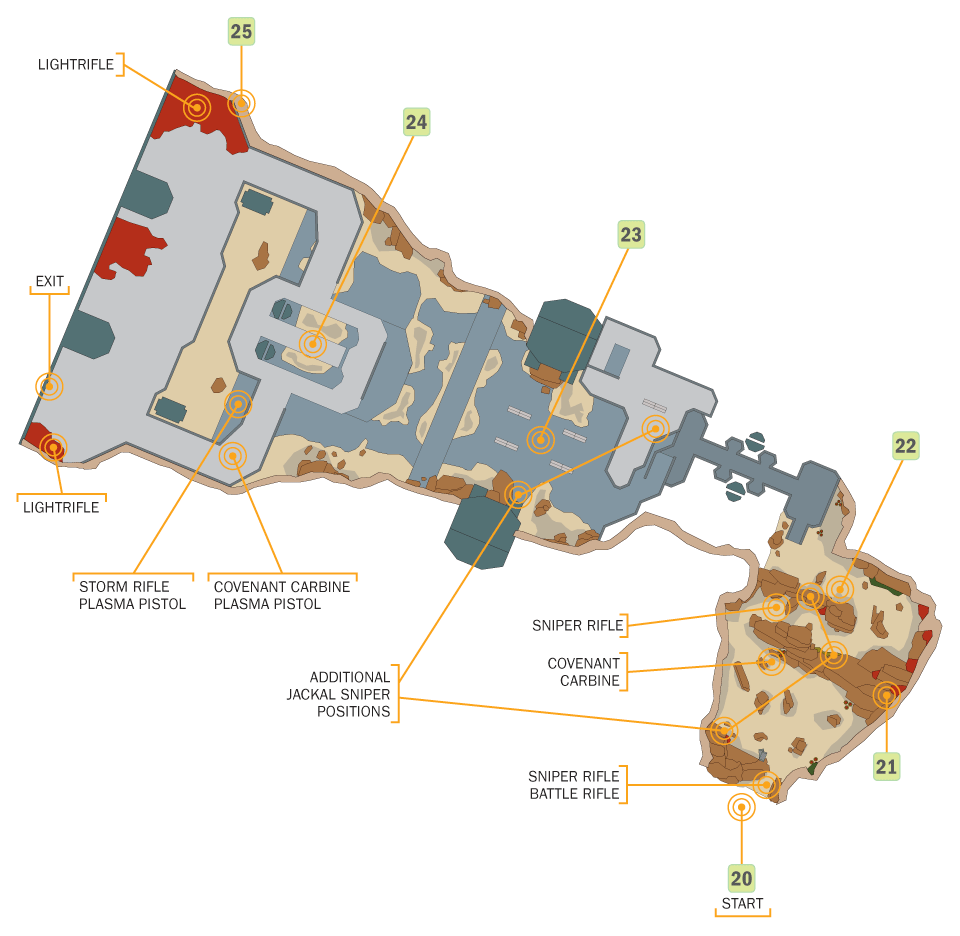
[20] The Mammoth cannot progress beyond this point, and the Master Chief elects to press on by himself while Gypsy Company tries to locate another route. You should already get a good idea as to what lies ahead when the first deployed ordnance pod you come across contains a Sniper Rifle and a full load of ammunition. The area before you even cross the bridge leading into the Forerunner structure is infested with Jackal Snipers. Once they’ve been taken out, you still must contend with a combined Covenant-Promethean force, with a heavy Knight presence making itself known the closer you get to the base entrance.
Recommended Loadout
Early on, the Sniper Rifle and its ammunition is readily available among the ordnance drops, and it’s recommended that you use it for counter-sniping as well as anti-Knight duty. When Sniper Rifle ammo runs low, you might be able to scavenge a Beam Rifle from fallen Jackal Snipers. You might consider taking on a Battle Rifle or Covenant Carbine to help put down close to mid-range threats so you don’t waste Sniper Rifle shots. When Knights become a serious factor in the latter portion of the battle, you can also try out a Plasma Pistol to strip them of their shielding.
Counter-Sniping
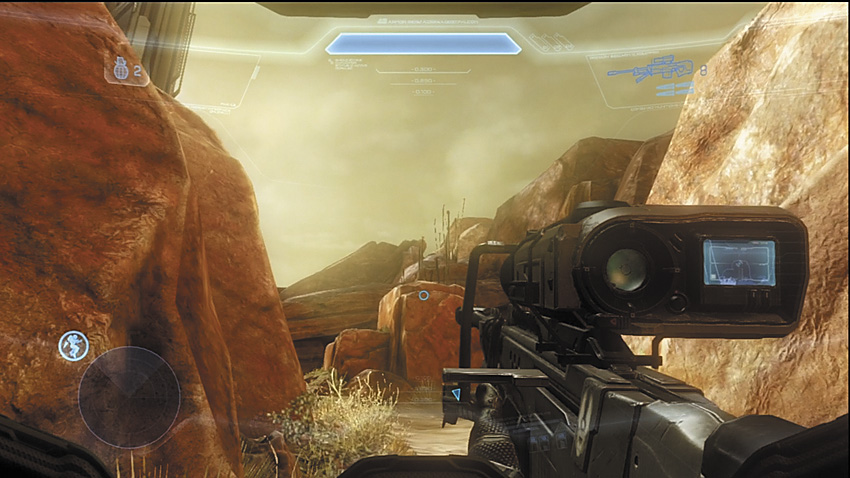
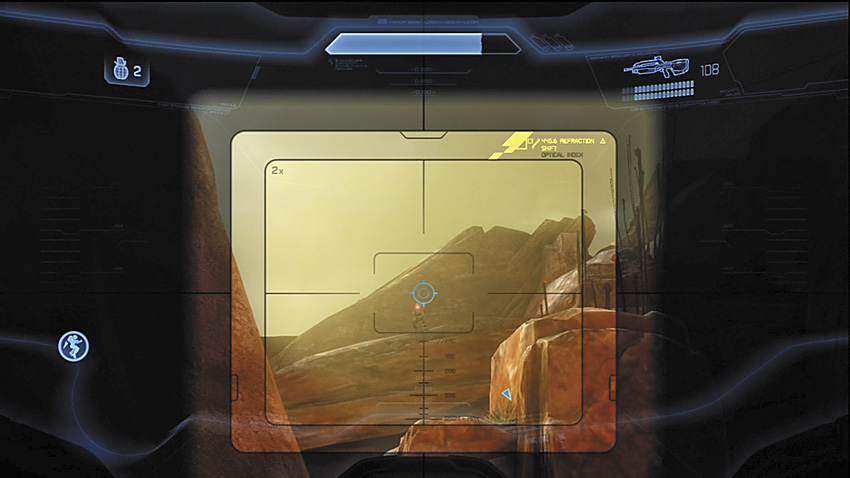
[20] The Jackal Snipers are not limited to long-range positions and Beam Rifles. Some of the snipers are mixed in at the ground level among the Grunts and shield-equipped Jackals. This first area has three snipers covering it. The range is short enough that the Battle Rifle or Covenant Carbine is still quite effective on these guys.
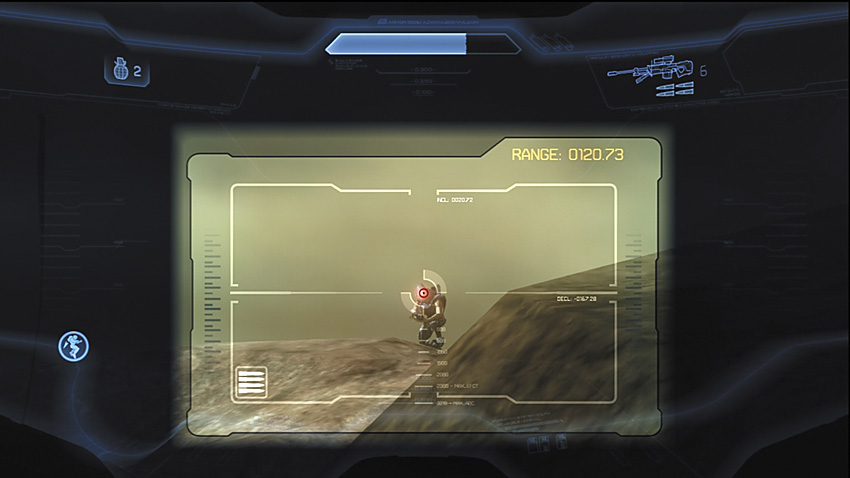
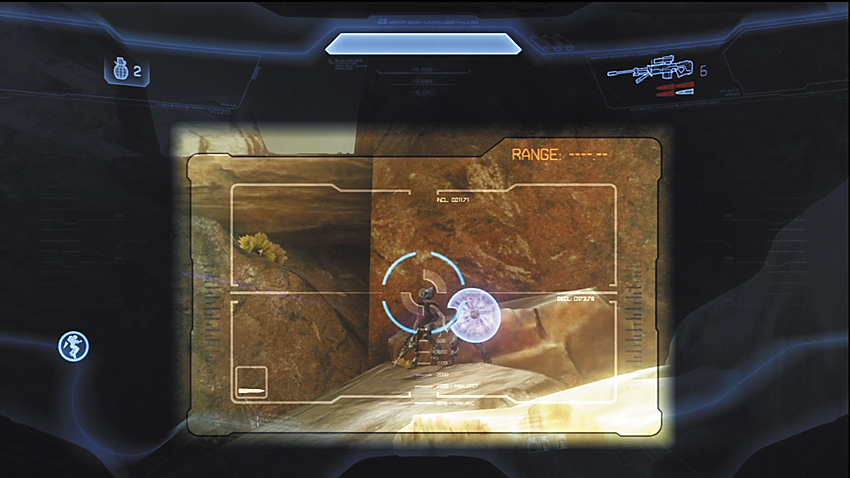
As you follow the hill leading farther into the sniper alley [21], another pair of Jackal Snipers shows up on the mountain in the distance, and more join up with the Grunts and shield-equipped Jackals charging down the hill. Be careful about how you take on this section. While in cover, you want to take out the ground threats if it appears that they are going to get to you before you can outshoot the mountainside snipers.
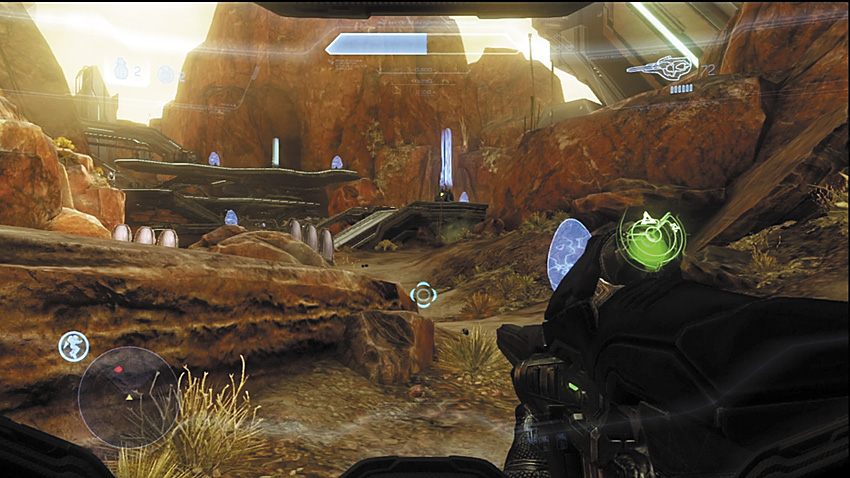
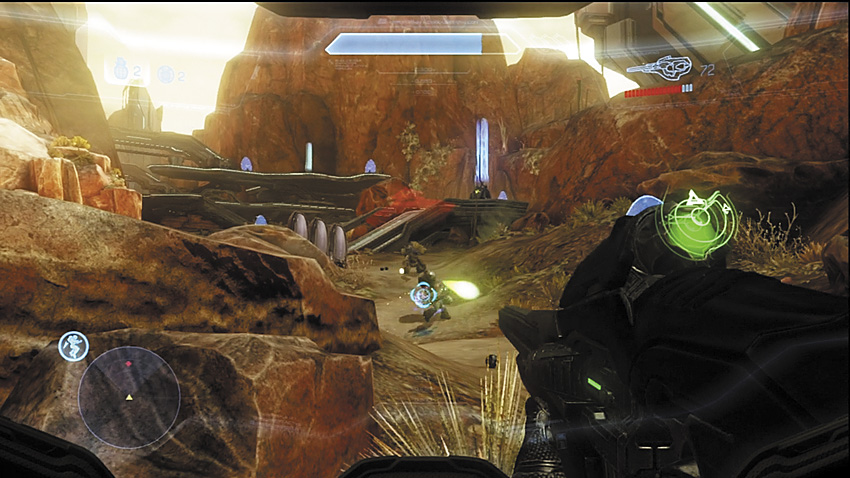
[22] Making the left just as you reach the top of this hill puts you face to face with another Jackal Sniper leading a small squad. In the distance, across the bridge and positioned throughout the opening ramps and walkways of the facility, are five more snipers, all of whom potentially have clean lines of sight over the bridge. You absolutely want these snipers dead before you even consider the idea of crossing the bridge. After they are down, you can cross the bridge, but exercise caution, as the Grunts here may come equipped with heavy weapons like the Fuel Rod Cannon. It is safer to snipe at the remaining enemies before crossing.
Promethean Intervention
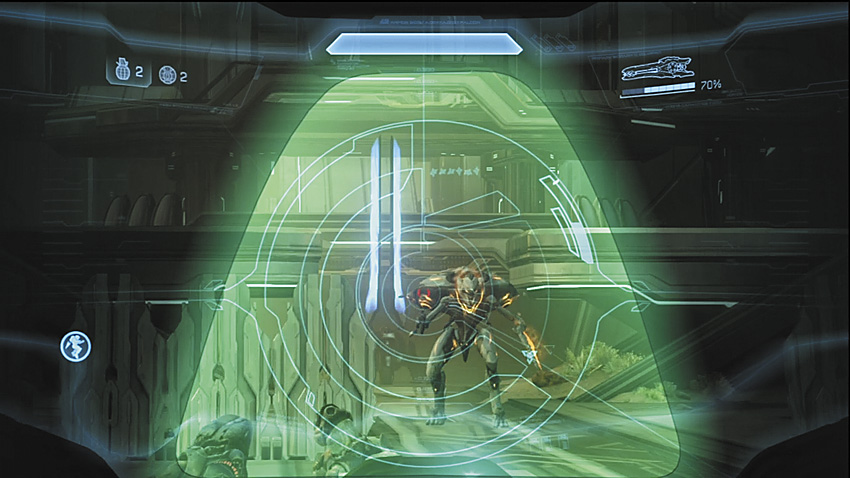
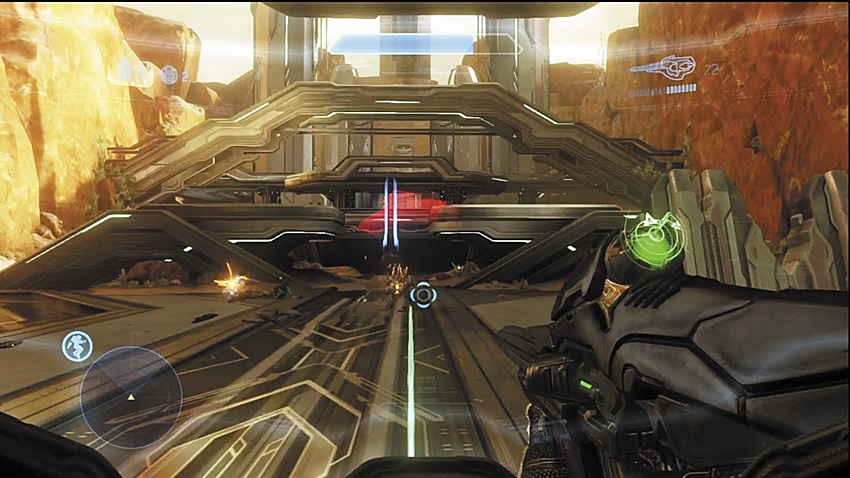
[23] A Knight and a small group of Crawlers make their appearance here, and as you go farther up toward the ramps that lead to higher levels of the facility, you’ll encounter more Crawlers mixed in with Grunts and Jackals. Keep an eye out for any hostiles using charged Plasma Pistols. If you’re in close combat with Crawlers, a charged shot can quickly lead to you getting beaten to death.
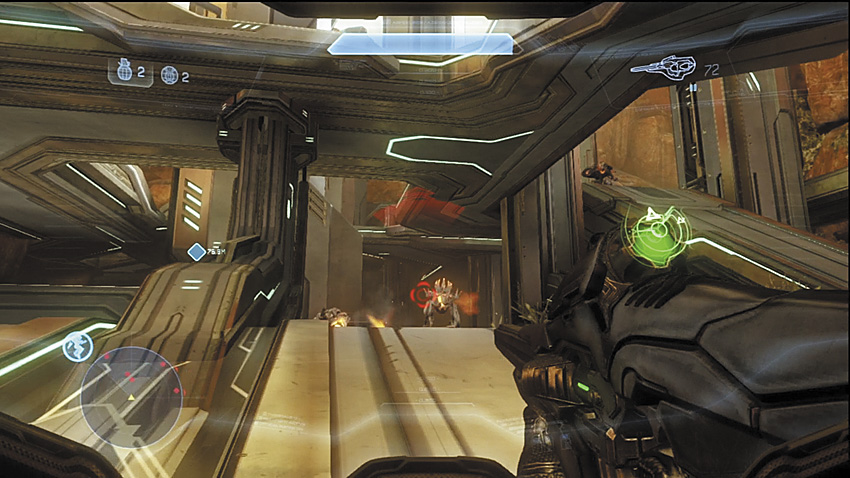
Watch your surroundings as you crest any ramp in this area because any enemies in this area have a distinct advantage over you. If you’re too hasty, you’ll just run into the middle of an enemy squad and get cut down.
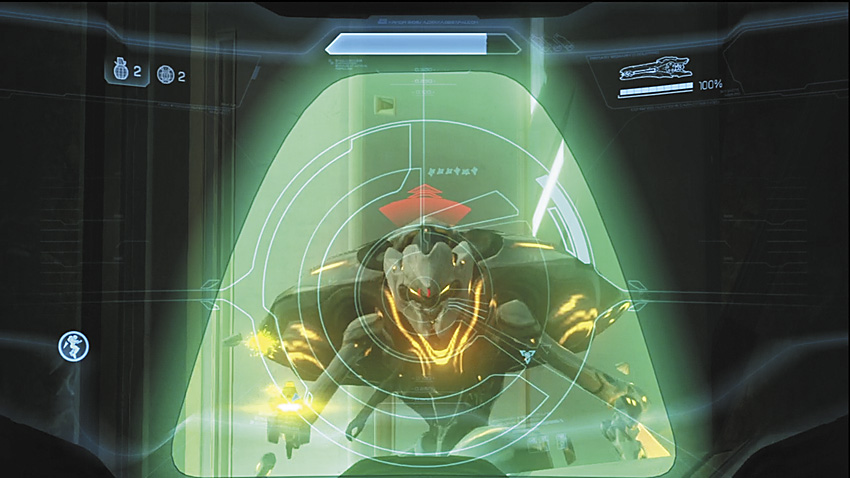
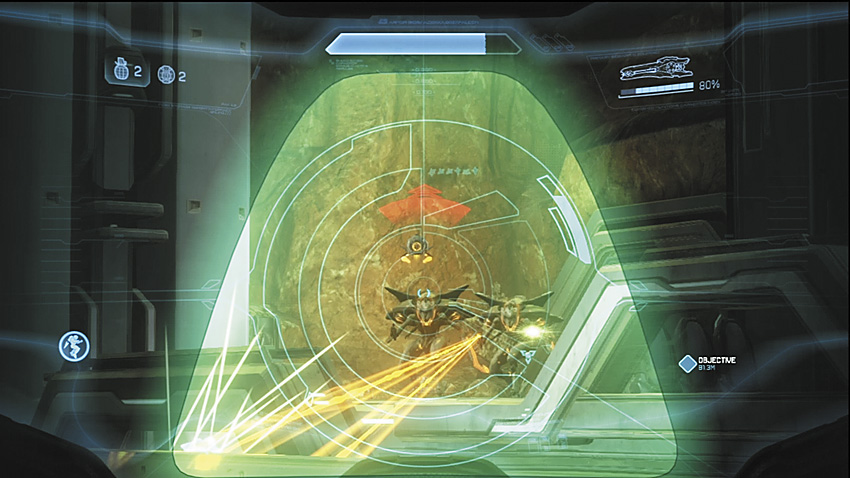
[24] The upper level of the facility is a perfect example of why ramps are unsafe: Knights and Crawlers have great sight lines on these narrow points of entry, and the walkways near these ramps are also populated by Grunts. If the Grunts panic and elect a to execute a final suicide rush, you will not have much room to maneuver and may be forced to retreat to the lower levels if they get too close. If you’ve kept your Jet Pack, you can use it to help avoid suicidal Grunts while lining up headshots on them.
[25] As you work your way across the upper walkway, watch out for this Jackal Sniper. He’s in a prime position to be missed if you’re moving quickly and are not paying attention to the ledges on the cliff face to the far right of the last walkway. He can actually be taken out from the lower levels with clever positioning. Two Knights and a final Crawler pack make up the final line of defense before you finally breach the facility.
Legendary Strategy
Snipers armed with Beam Rifles are awful jerks who deserve no sympathy or mercy, but unfortunately their sheer killing power on Legendary forces you to play a cautious game. The opening section is frustrating if you’re not good at watching your flanks while also dealing with the snipers.
It’s helpful to save up Sniper Rifle ammo or Beam Rifles to deal with the Knights. Whenever you’re about to enter an area where you know a Knight is present, it’s best to locate a Plasma Pistol and go for a charged combo on them. After their shields are down, a Sniper Rifle doesn’t need to score a perfect headshot for a kill. Getting rid of Knights quickly will make the final run to the facility entrance much easier.
Legendary Gameplay Video
Forerunner’s Legacy
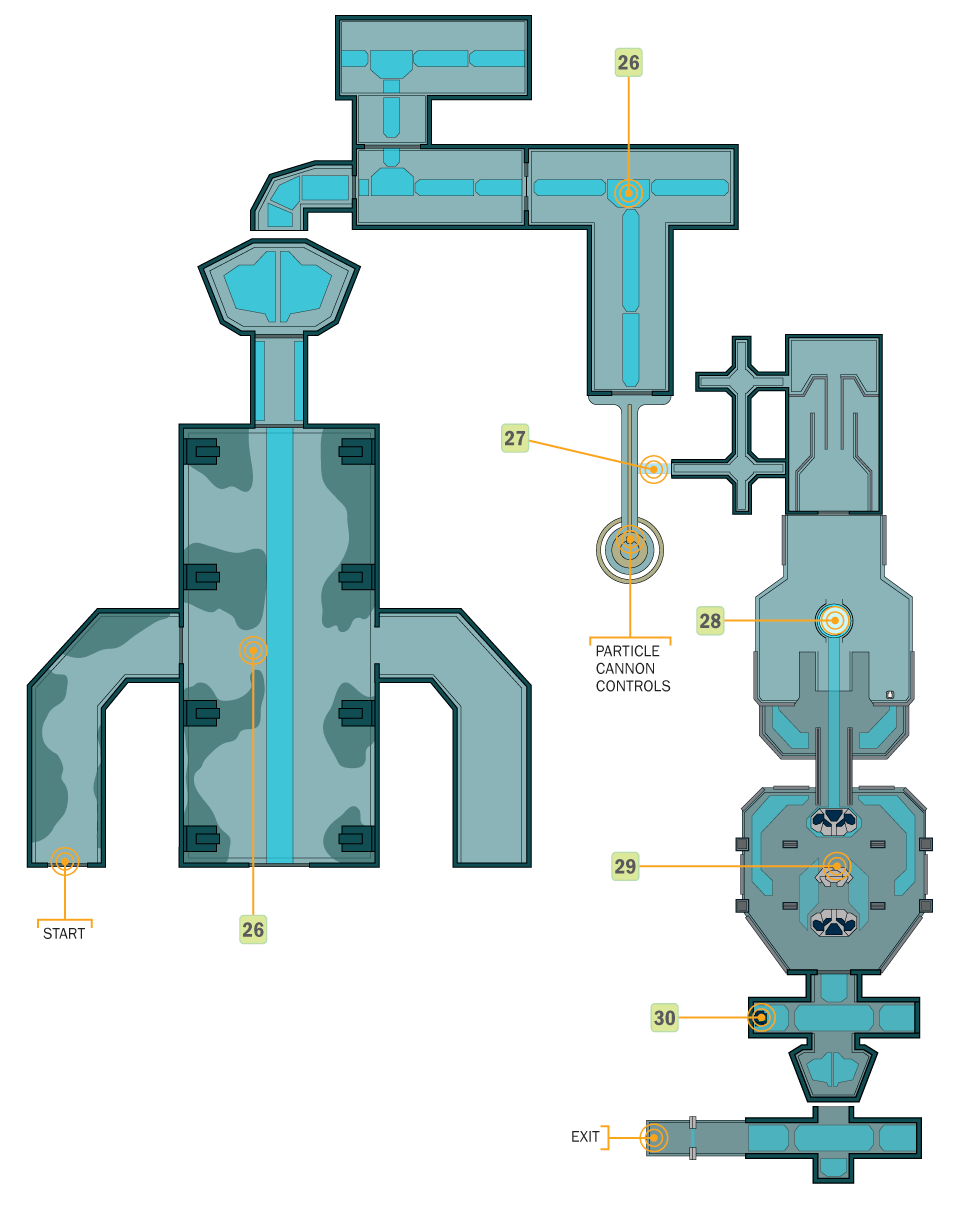
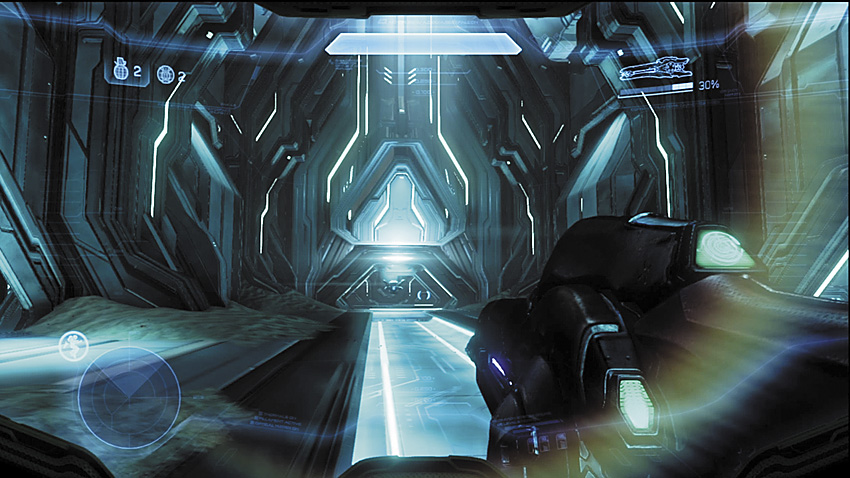
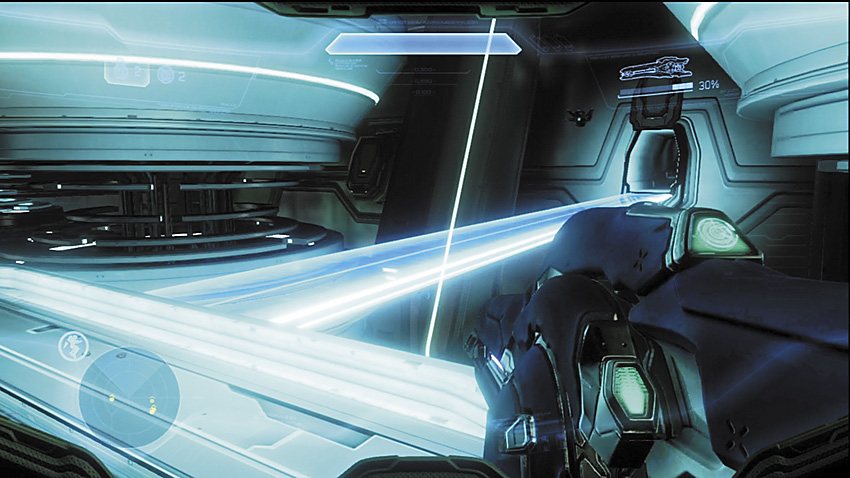
[26] This facility is protected by docile Sentinels who lock doors you are not meant to pass through, while opening others for you. For the next few minutes, you have no real concerns other than to follow the path set before you. An elevator drops down deeper into the structure, and after a series of peaceful corridors, you reach the controls to disable the particle cannon network. Cortana easily accomplishes the task, but is suddenly “taken” away from the AI plinth. A new light bridge [27] takes you through the Sentinel passages to a new area. Keep following the path until you encounter a column of light with the faint image of Cortana inside it [28].
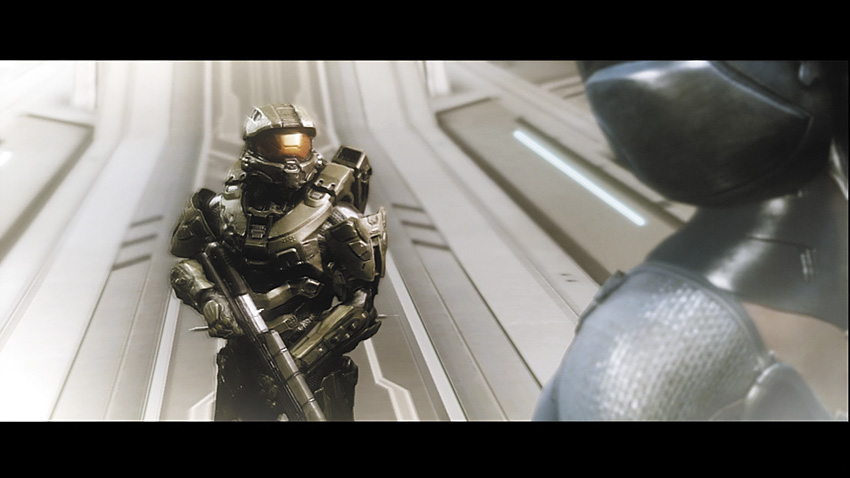
It is here that the Master Chief meets an imprint of the Librarian, an ancient Forerunner with ties to the Didact. She reveals more about the past of her people and the galaxy, and give more information about the Didact and his ultimate goal: to retrieve a device known as the Composer. The Spartan is forced to make a decision just as the Didact enters the picture.
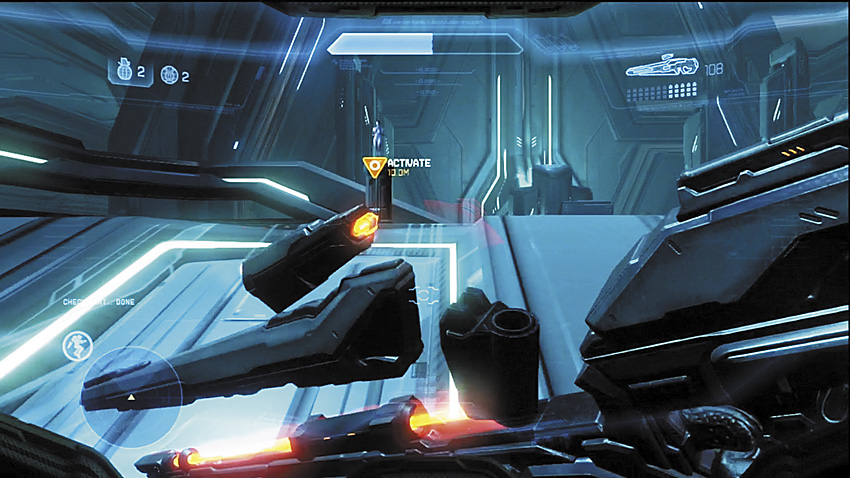
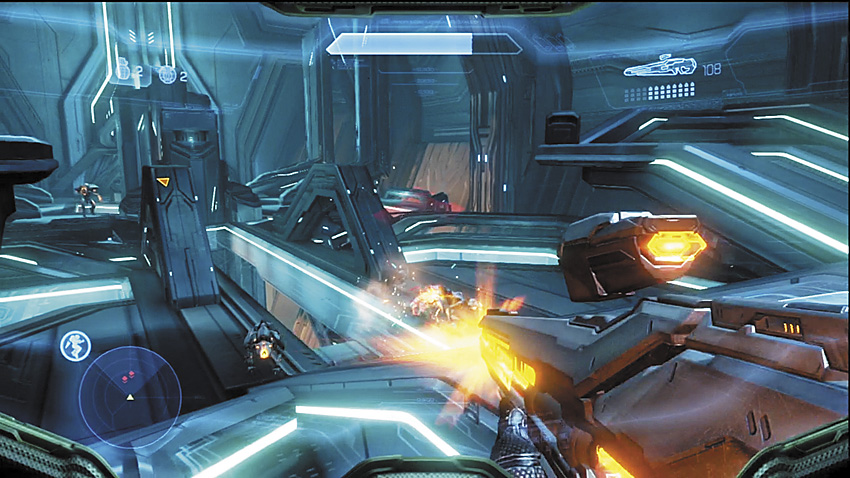
[29] After your conversation with the Librarian, retrieve Cortana from the marked console, then get ready to fend off a Crawler pack and a Knight duo. Stick to the higher ground, force the Crawlers to come to you until they’ve been whittled down enough to start hanging back, then press the attack. Make sure you don’t move in so quickly that you find yourself flanked by the Knights. Domain Terminal
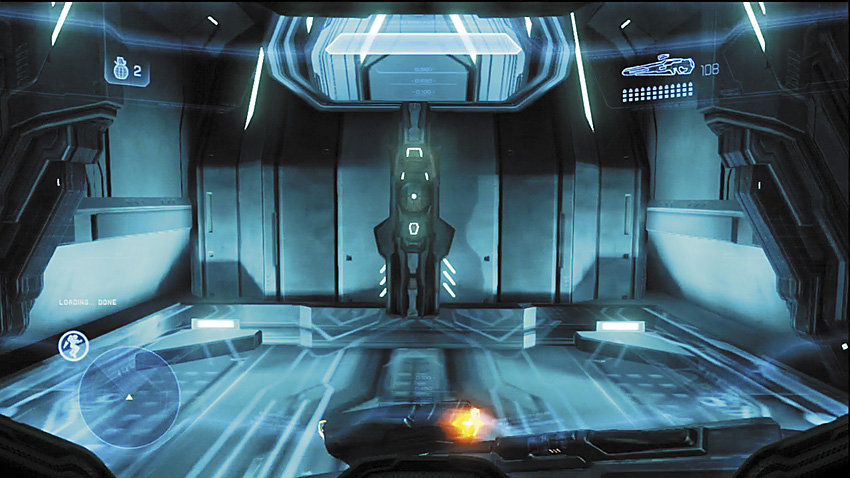
This Domain Terminal can be found just after you retrieve Cortana. After defeating the enemy ambush at [29] you can enter a corridor that leads directly to another elevator. Go to the right of the elevator in this small passage to find the terminal [30].
After locating the Domain Terminal, take the elevator down to the next level, where another teleporter awaits you.
Major Firefight: The Gravity of the Situation
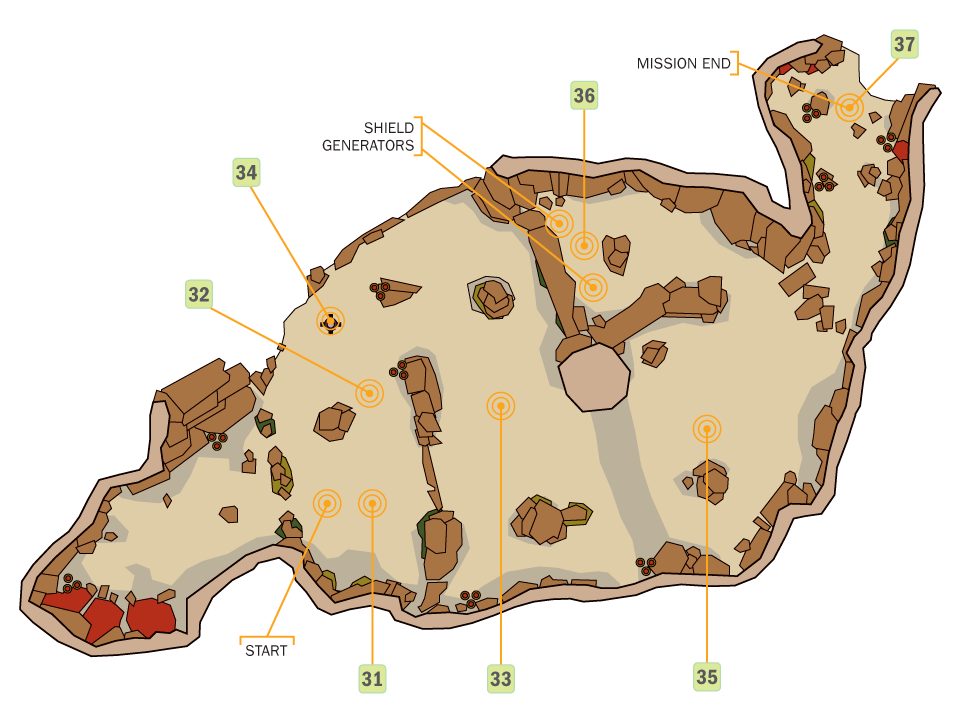
[31] The teleporter drops you right in the middle of a large-scale ground battle, and the odds aren’t looking good for the UNSC troops. Fortunately, one of them knows what’s good, and parks his Scorpion tank right next to the Master Chief. You need to blast your way through an extensive Covenant armored ground force that consists of Ghosts and Wraiths, reinforced by Phantoms with replacement armor and infantry.
Recommended Loadout
The best thing about tank battles like this is it exemplifies just how hard a tank can beat, well, just about anything, given enough high explosives and some decent backup.
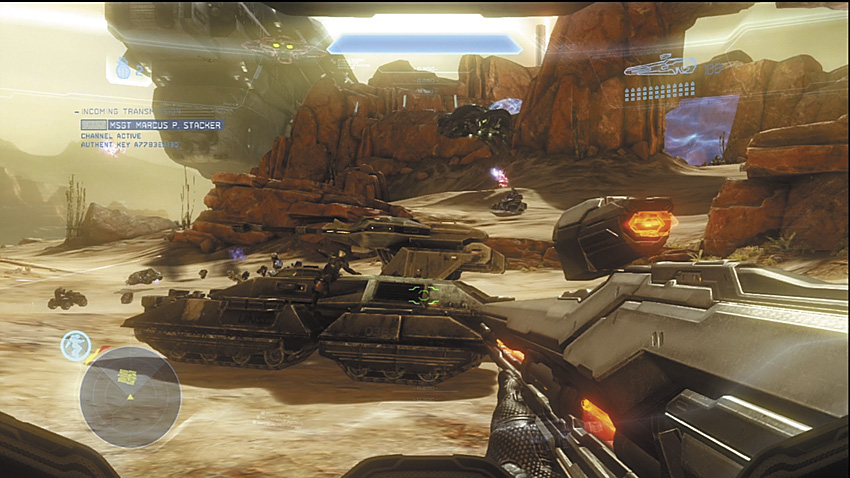
[32] Ghosts fill the area just in front of where the tank is dropped off, and a pair of Wraiths is on the raised area to the right [33]. Take out the Wraiths first, if terrain permits. Then maul the Ghosts, taking care to avoid any allies, and move up to where the Wraiths were. Watch out for the guard platform [34], as there may be Grunts and Elites wielding Fuel Rod Cannons on and around it.
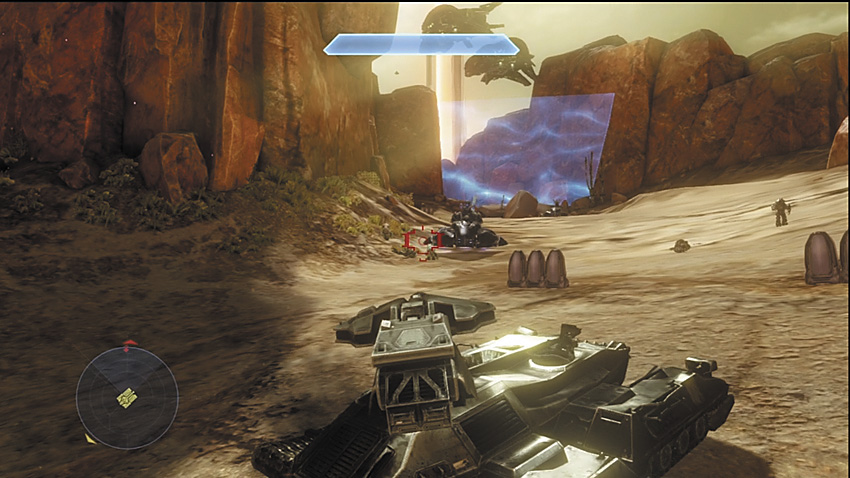
[35] Another shield prevents you from moving on toward your objective, and this small valley is being held down by a squad of Wraiths. This is the most dangerous part of the battle yet, as a single well-placed mortar can ruin your Scorpion to the point where you can’t even fire its main gun! Stay mobile and at range to avoid getting glassed, and be sure to prioritize any Wraiths that attempt to rush in close for a point-blank mortar strike.
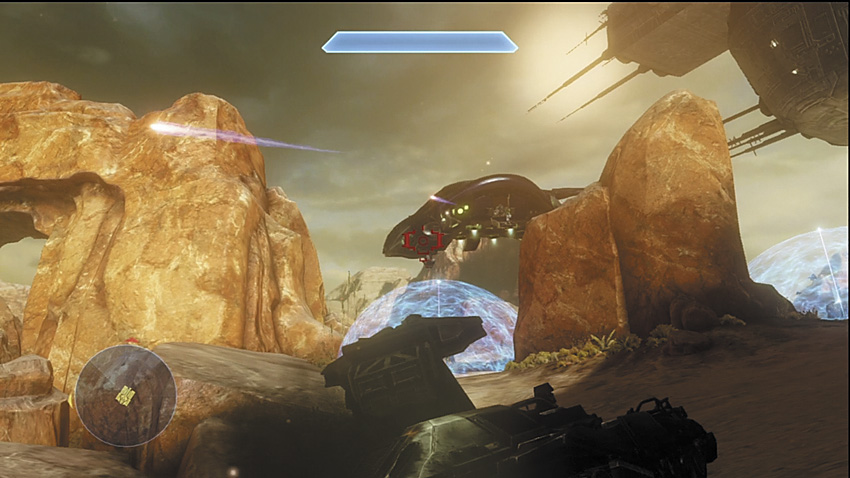
[36] After you manage to destroy the Wraiths and reinforcements stop entering the valley, climb up the hill to the left of the shield to reach another trio of power generators. It’s tempting to try to enter the protective shields with the tank to take a point-blank cannon shot, but you can accidentally kill yourself in the process. Instead, take them out on foot, then fall back to the location where the shield once stood.
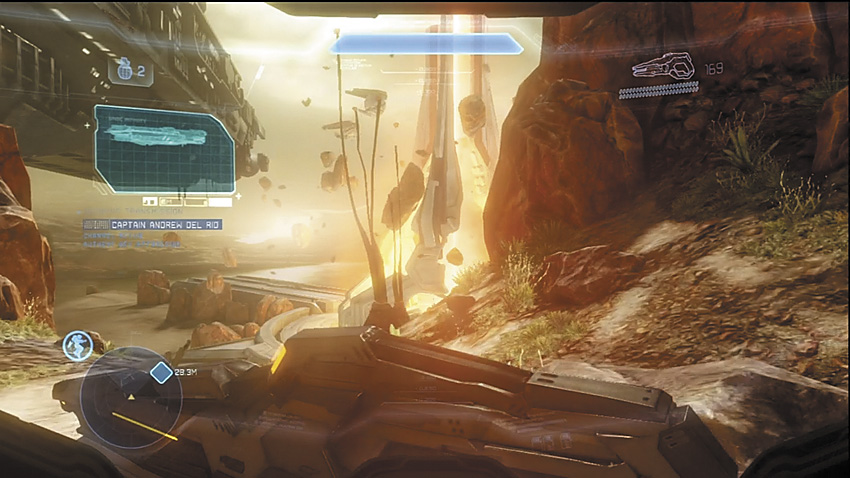
[37] The tank can’t proceed any farther, but you’ve reached the final destination. Cross through the canyon on foot to reach another Target Designator, and then paint the gravity well generator in the distance. The Infinity receives the targeting data and launches a missile that you must guide in manually.
Legendary Strategy
The hardest part of the battle is dealing with the Wraiths. There are so many more of them than there are UNSC tanks, and they are all much more accurate with their mortars on Legendary. In fact, the opening section can start off really badly if a mortar falls on the Scorpion just as you’re boarding it!
You need to stay on the move as much as possible, but you can’t afford to get too close to the Wraiths, much less leave any infantry at your flanks. A single plasma mortar will kill a Scorpion on Legendary, no questions asked. Don’t feel bad if you just sit back during the big brawl in front of the energy shield and constantly retreat to avoid getting killed, this is the safest way to guarantee that you won’t be overwhelmed by the number of Wraiths being thrown at you. Survive this, and the ride to the generators is a cakewalk by comparison.
Legendary Gameplay Video
Strategic Cowardice
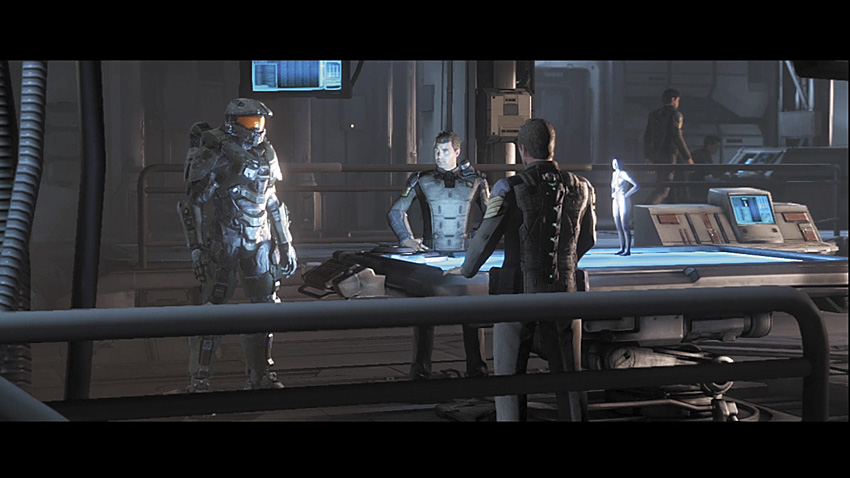
Captain Del Rio has had enough of Requiem and wants to leave now. The Master Chief insists that they must stay to finish off the Didact, as he is vulnerable. Del Rio isn’t having it, and Cortana, with her rampancy worsening, doesn’t appreciate his attitude. Del Rio commands Lasky and Palmer to restrain the Spartan and to take Cortana’s control chip, but nobody moves to follow the order. The Master Chief knows what his responsibilities are, and he stalks off the bridge with Cortana’s control chip to continue his mission.