
Exile
Stranded on a remote world, a handful of survivors managed to use their ship’s debris to thrive long after the crash.
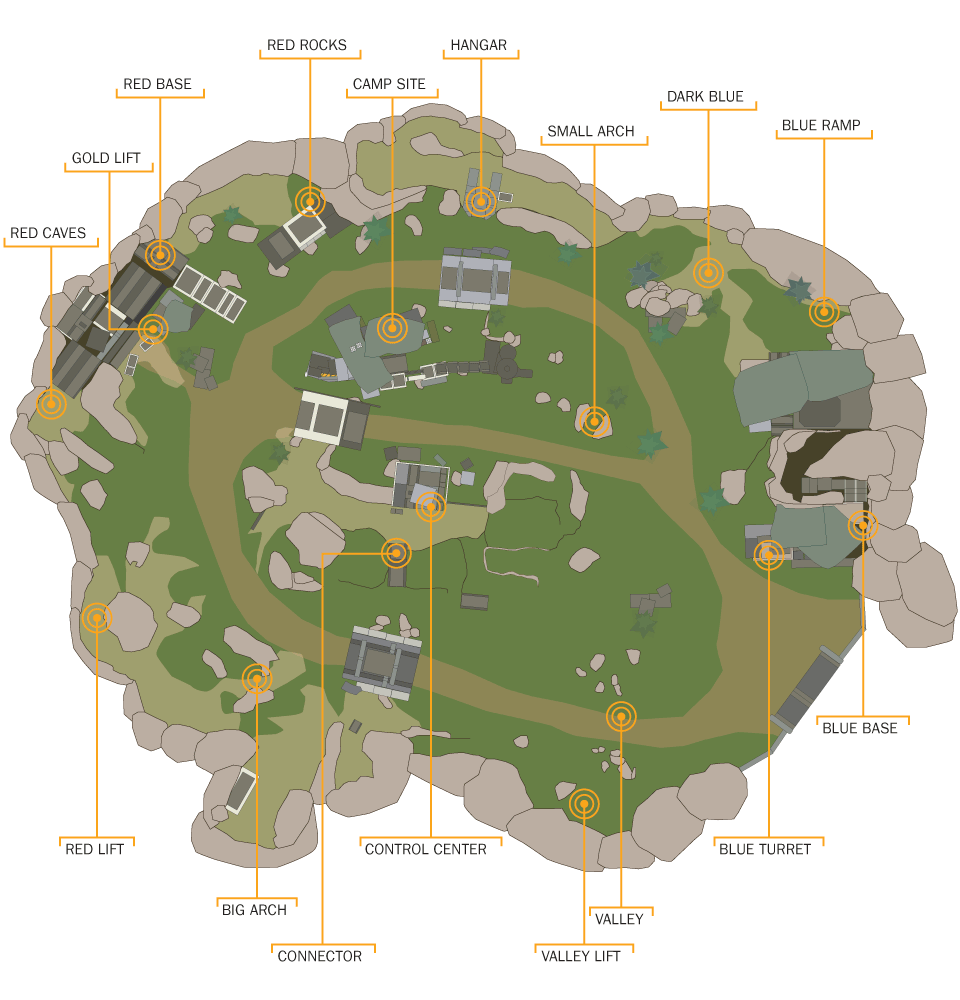
Choke hot spot: Expect high traffic, numerous enemies, and a well-used thoroughfare. Combat usually occurs here, and the location may be watched by enemy snipers.
Danger hot spot: This is an area of ground that is difficult to defend, has poor visibility for shooting angles, is sunken or low to the ground, or is in the open. Expect to be shot at if you’re here. Avoid if possible.
Mirrored hot spot: This location features an identical (or mostly identical) facsimile, almost always on the opposite side of the map. Expect tactical advice to be the same for both locations. Usually these are “blue” and “red” variants of a hot spot.
Sniper hot spot: This location is excellent for sniping, as it has numerous angles and views across much of the map. Expect long-range fire from these areas.
Hot Spots
1. Big Arch
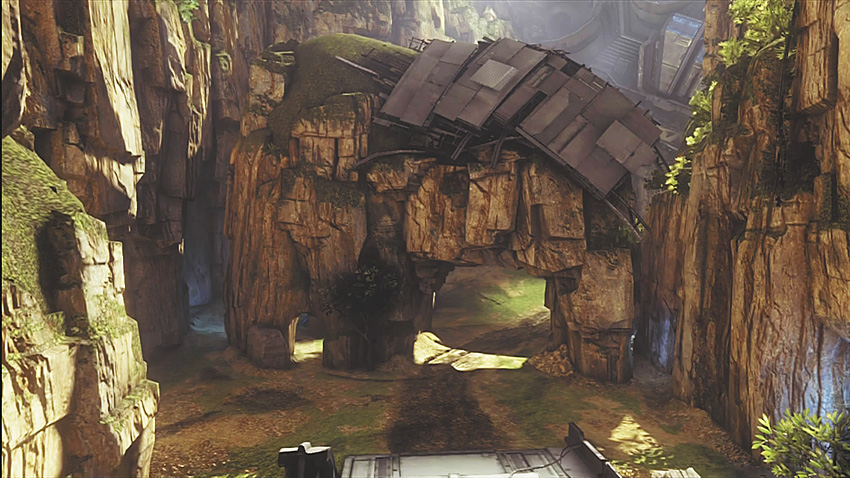
You’re exposed to the enemy unless you stay by the arch’s pillars that lead toward the Red Lift (15) and Control Center (9). This is also a good place to run to if you’re receiving fire from a flying Banshee. Stay away from here during Capture the Flag matches if you’re on the blue team, as it forces the red team to run toward the Valley (19), which is exposed to the turret atop the blue base, giving the blue team a leg up in controlling this area.
2. Big Bridge
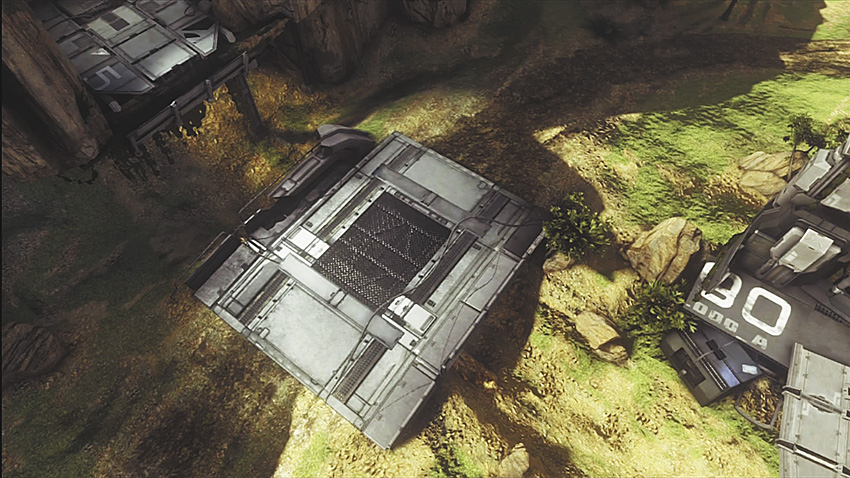
Utilize the sides of the bridge for cover, and the tiny path underneath as a route if you’re heading to the Hangar (12) or Camp Site (7), assuming you’re trying to evade the enemy.
3. Big Door
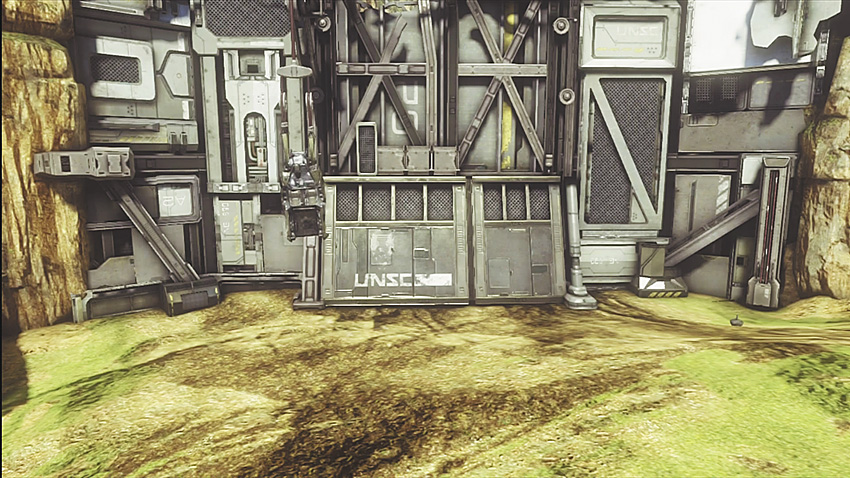
You don’t want to be caught here by the enemy at any time: If you spot an opponent spawning here, don’t push in toward them. Instead, sit back and shoot them for as long as you’re able. This is a great spawn trap...as long as you’re not the one spawning!
4. Blue Base
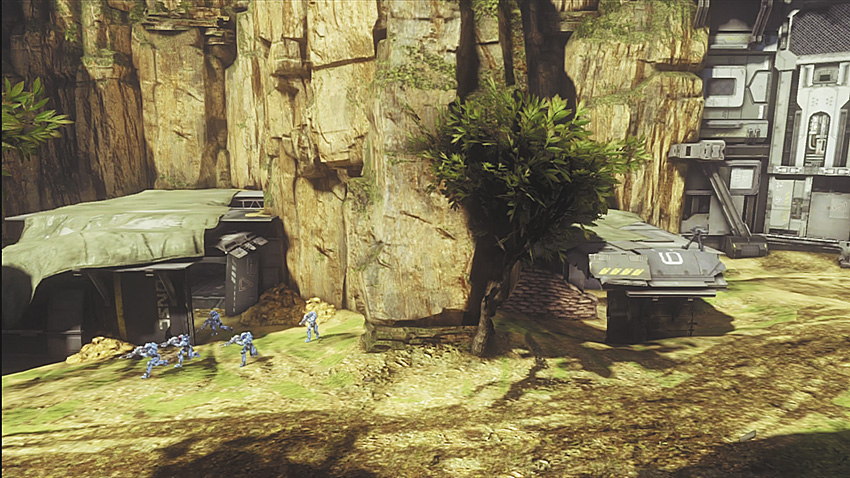
This is where the blue team usually spawns during team games. Use the vehicles parked here to immediately charge the enemy, or sit back and use the stationary turret on top of the base, depending on the situation.
5. Blue Ramp
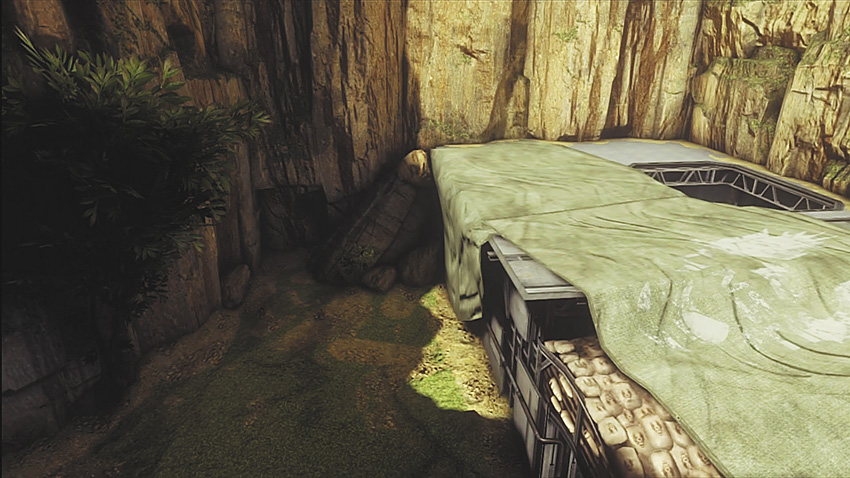
If the opposition becomes trapped at the Blue Base (4), this is a useful route to take, as it allows you to reach the top of the base and gain the necessary height advantage to rain death down from above.
6. Blue Turret
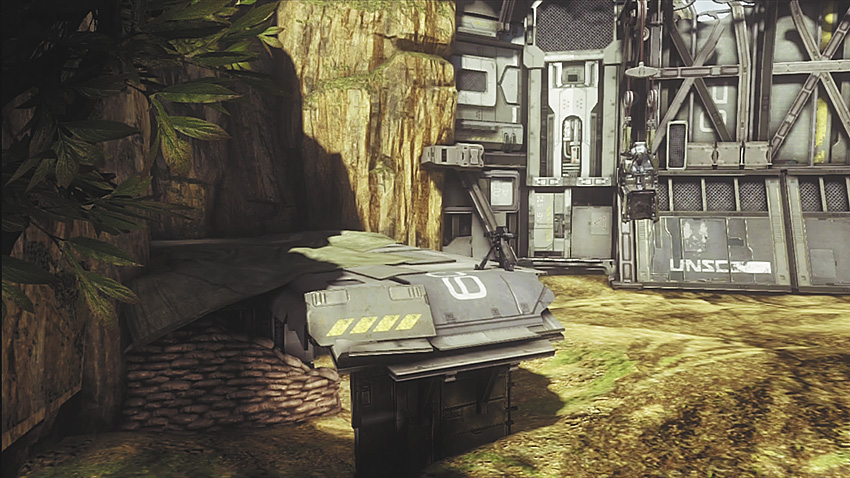
This is a powerful weapon, but it’s wide open to incoming fire. However, it’s useful if you’re trying to stop or slow an enemy charge from the Valley (19).
7. Campsite
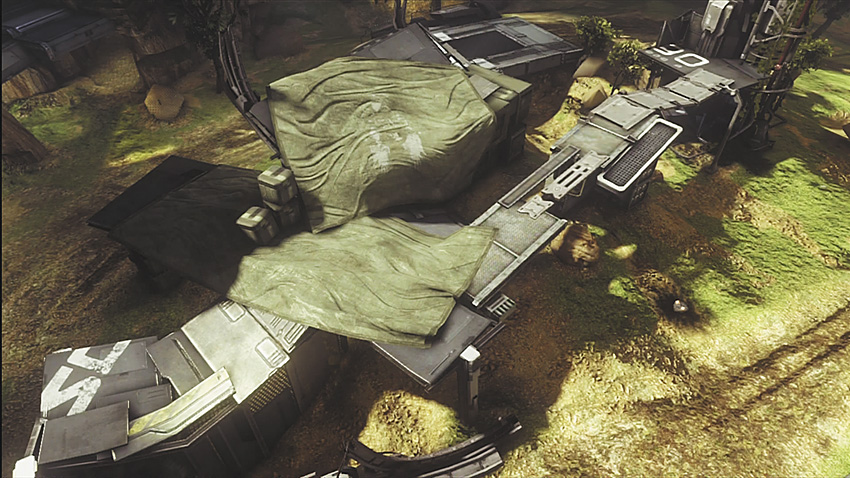
This small camping area has numerous exits to use if you need to flee. You can also use all the cover if you’re attempting to fire down on your opponents.
8. Connector
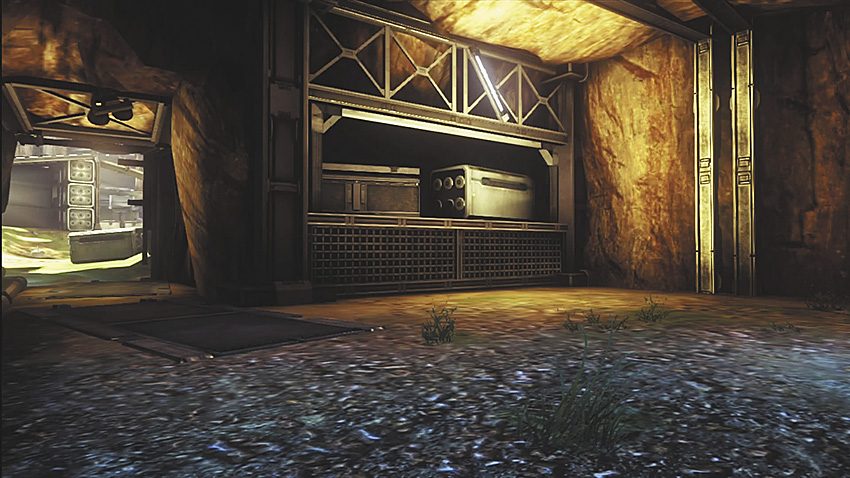
This is the quickest route if you want to head from the Valley (19) to the Campsite (7). This is a commendable escape route, as no matter which side you appear from, you have either ramps or jumps to reach the Control Center (9).
9. Control Center
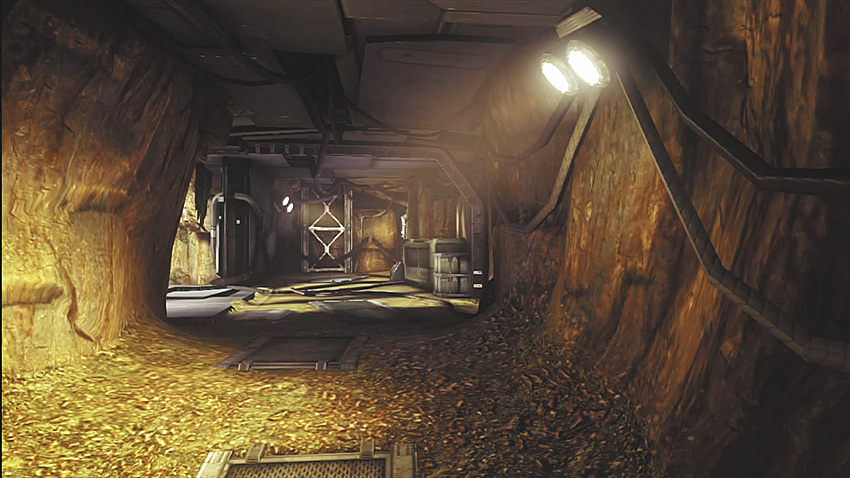
The Control Center is one of the finest power positions: You’re free to shoot pretty much everything on the map and secure flag routes.
10. Dark Blue
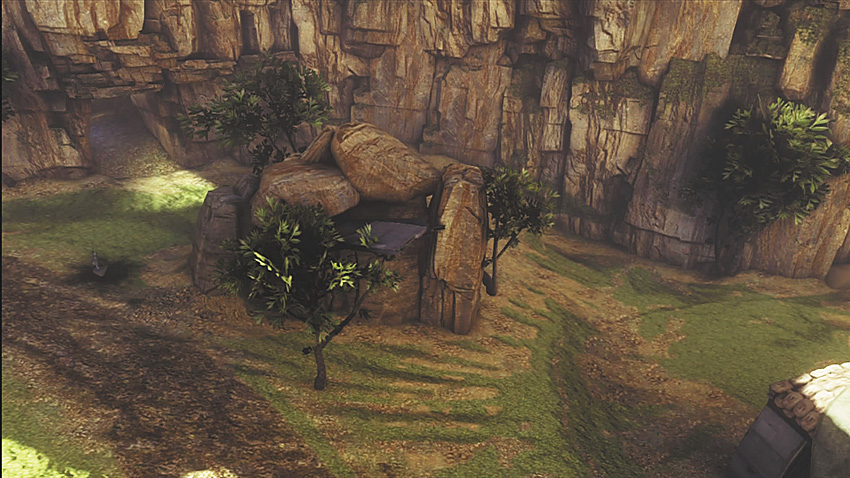
This is a good sniping spot toward the Red Base (13) and Control Center (9). If you utilize this hot spot correctly, you can catch your opponents off guard as they leave the Hangar (12), heading toward the blue areas.
11. Gold Lift
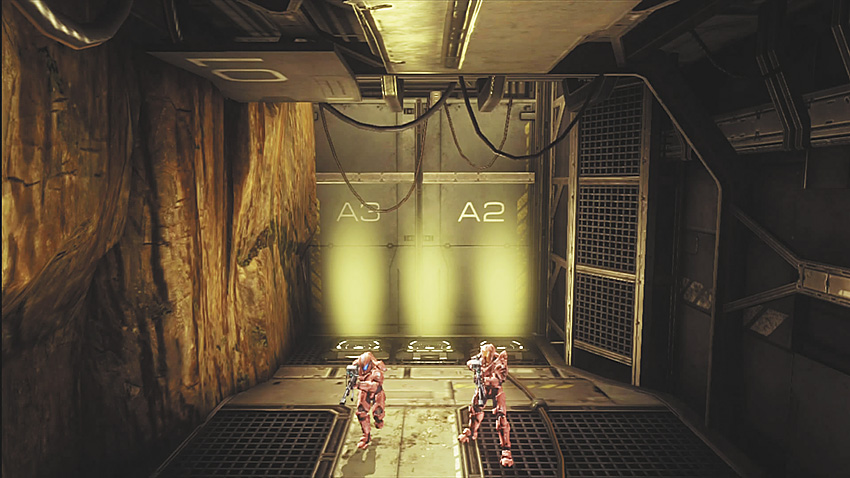
Hide here when you’re around the red hot spots; the Lift is useful when ascending to the upper red levels.
12. Hangar
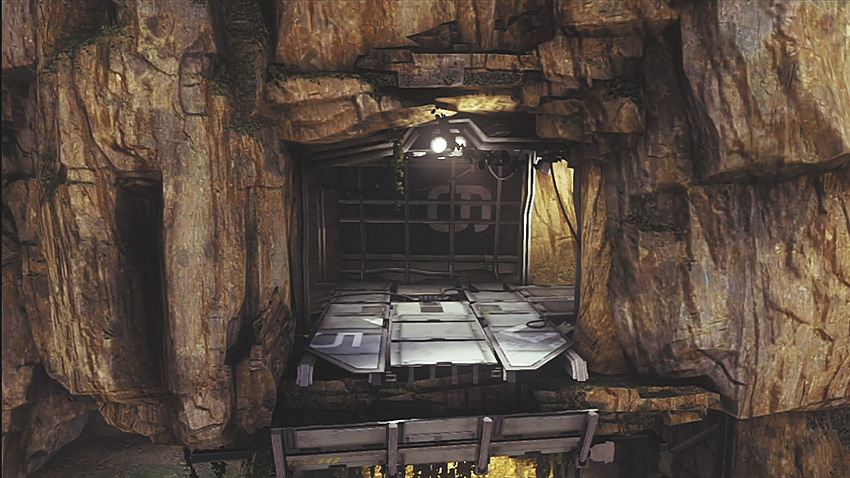
Like the Control Center (9), this is another power position. This places you in a higher location, allowing you to fire down toward the Blue Base (4), Campsite (7), Control Center (9), Big Arch (1), and the Red Lift (15).
13. Red Base
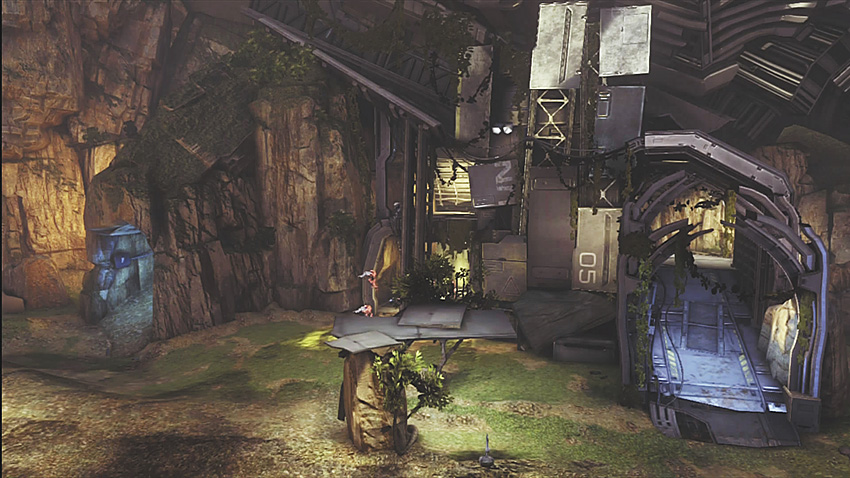
This is the initial spawn point of the red team. There’s a stationary turret on the second level that allows a teammate to rake the map with heavy covering fire in many directions.
14. Red Cave
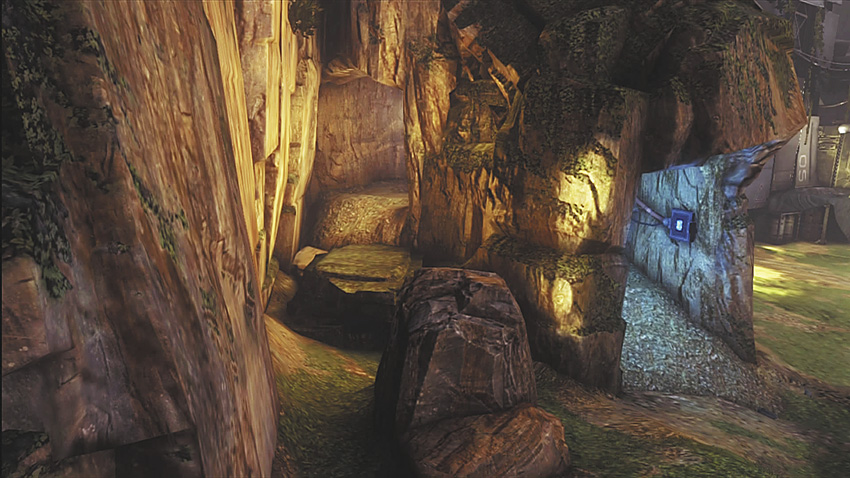
This is where you land after using the Red Lift (15). Don’t hang around here, as this offers enemies an easy opportunity to grenade you. You should land and immediately make a push for control of Red Base (13).
15. Red Lift
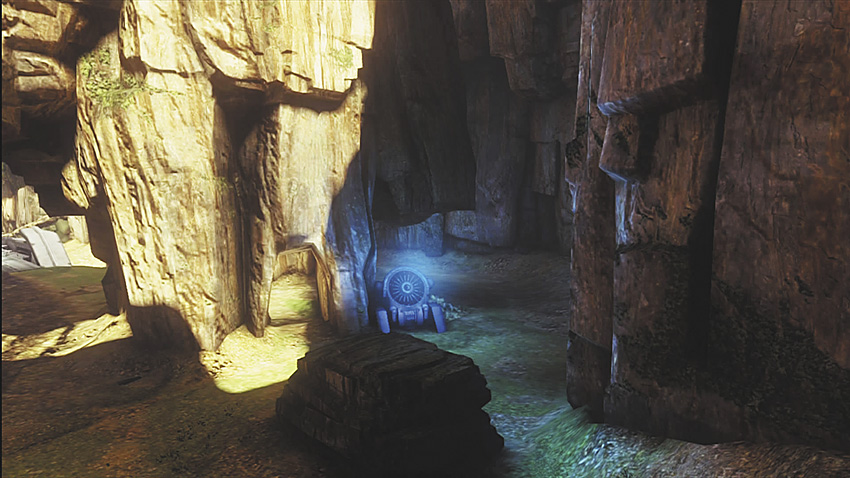
If you need to reach the Red Rocks (16) quickly, utilize this Lift. If you have a sniping weapon, try to get an MLG Top 10 Clip as you soar across the map!
16. Red Rocks
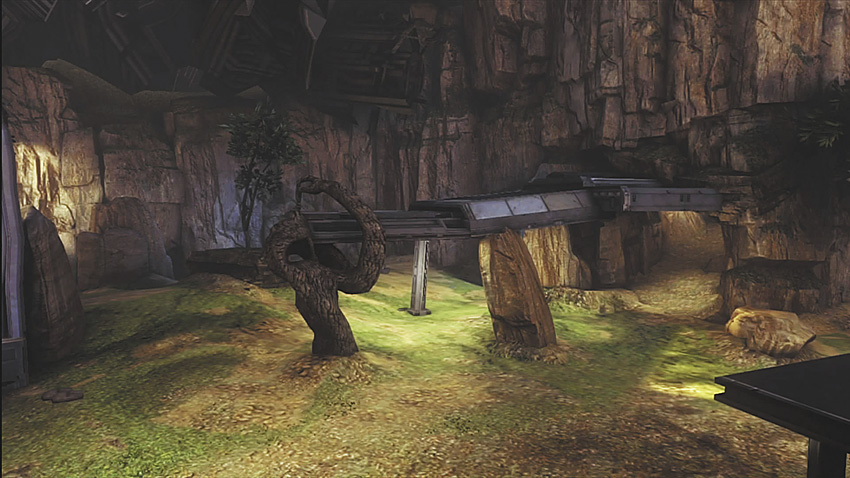
This is a small area with rocks to use as cover. There’s a passage that leads to the Hangar (12) as well. The bigger rock can be used as part of a jump into the Red Base (13).
17. Short Arch
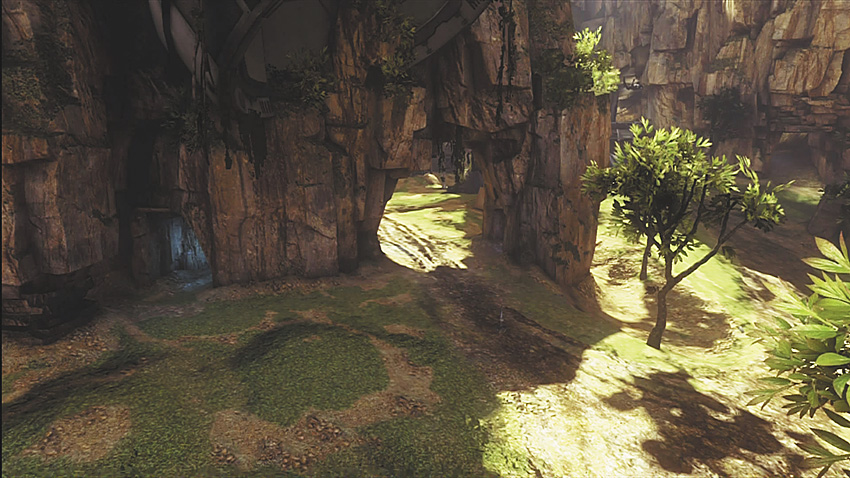
The Short Arch is an excellent place to head for, as there are several rock pillars that grant you cover. This enables you to head up the Control Center (9) ramp without too much difficulty and allows access to the Connector (8).
18. Small Bridge
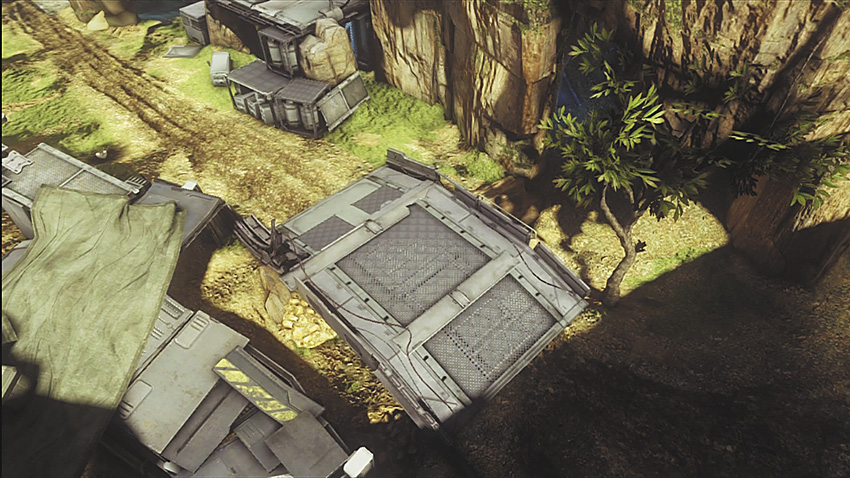
The Small Bridge is more compact than the Big Bridge (2), so don’t confuse the two, but they both serve the same purpose. Take cover by heading underneath the bridge, then use the path to reach the Campsite (7) or Control Center (9).
19. Valley
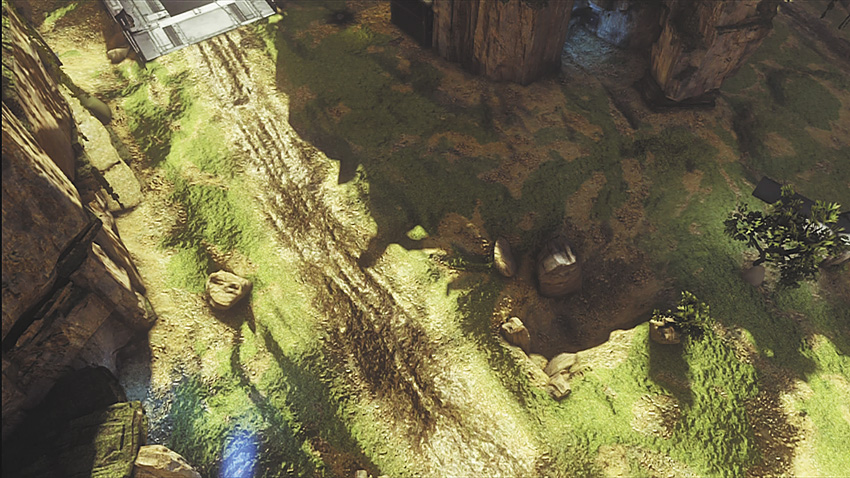
You should steer clear of this area, as it leaves you out in the open and susceptible to enemy fire. You should rush toward the Valley Lift (21) or Valley Bridge (20) as quickly as possible.
20. Valley Bridge
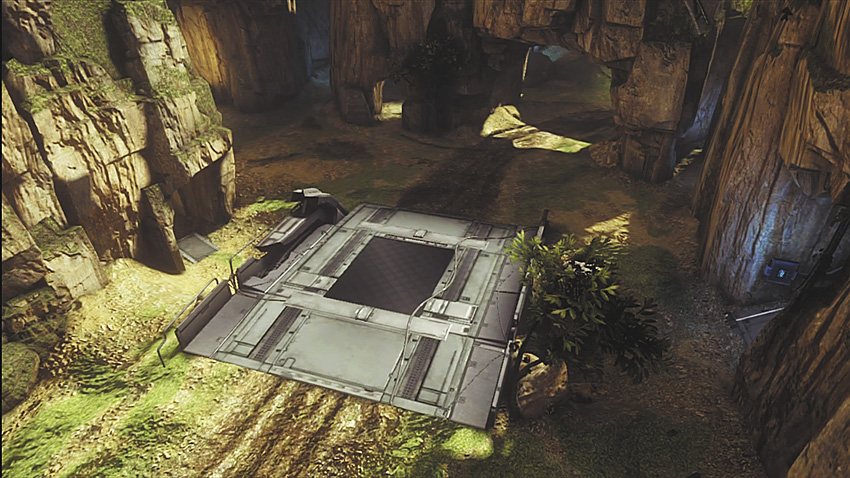
If you’re caught in the open, use this bridge for cover. Try wall-shooting as you wait for your shields to recharge and then make your escape.
21. Valley Lift
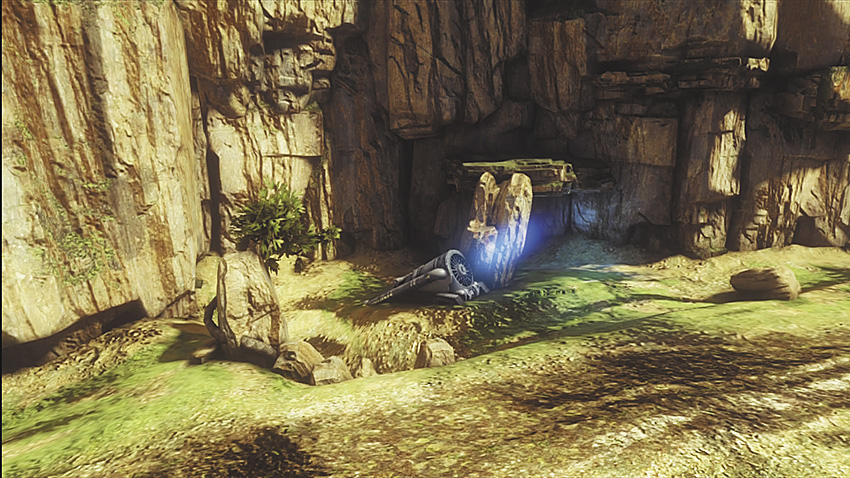
This is the fastest way out of the Valley (19) if you’re on the side with this Lift. You’re propelled up to the Control Center (9) and placed back into the action.
General Tactics
.jpg)
Sniper Rifles and Rocket Launchers
As soon as the match begins, you always want to send one of your team to your Sniper Rifle pickup. In addition, a couple other teammates must reach the Rockets and the Control Center. If you’re on the red team, you spawn farther away from the Rockets, so don’t attempt to reach them. Instead, use them for bait and slay the enemies when they try to reach them.
Avoiding the Valley
When you’re pushing toward your opponent’s base, you must head through the Hangar section of the map and through the Campsite and Command Center. The Valley is an unwise option; it’s so open, you won’t be able to make it across without the other team spotting you. However, you can try the Valley route if you’re feeling sneaky; just don’t do it too often!
Vehicular Victory
During Capture the Flag games, the preferred vehicle is the Warthog. Use it to drive to the enemy base, and when the moment arrives (after you’ve killed a few enemies and the immediate area is relatively quiet), hop out and pick up the flag, return, and make a clean getaway.
In order to control this map, be certain one or more of your team is commandeering the Scorpion. You can take complete control of the game and escort the flag back to your base. The vehicle spawns under the Big Arch. This is an excellent map to use the Wheelman armor ability and then drive or pilot the Scorpion, Warthog, or Banshee.
Key Strongholds
The most intense hot spot on this map is the Command Center. It is accessible from every side of the map. The Center offers an excellent view of the Campsite, and you can watch for flanking foes heading toward you through the Valley, under the Big Arch, and even as you reach the Center. Try to keep two of your team here to commandeer the Control Center; it’s the heart of the map and everyone maneuvers through it at some point: unless you’re here to stop them!
The other main location to reach and hold is the Hangar. You have a commanding view over the empire Campsite side of the map. This is a premium spot for sniping and sneaking around to infiltrate your opponent’s base. You’re able to offer covering fire and really attempt a large distraction to benefit your teammates.