
Halo 4 Guide Campaign Mission 3: Forerunner
Mission 3: Forerunner
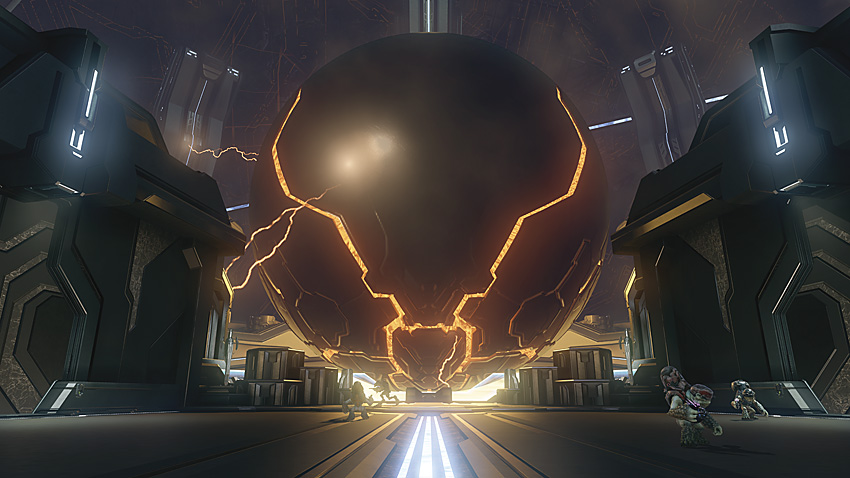
“Hope you don’t mind hoofin’ it a little.”
The strange armored constructs that suddenly surrounded the Master Chief and Cortana only moments before their narrow escape appear to be related to the Sentinels, but unlike the typically docile drones, the new arrivals appear intent on hostilities. The Master Chief has no choice but to keep moving forward, in hopes of finding the means to pinpoint the Infinity ’s location and get him and Cortana off the shield world.
Mission Briefing
To locate the Infinity , you’ve got your work cut out for you. Cortana reveals that the central satellite producing the interference preventing communications with the ship is protected by a shield. That shield is being projected by two large emitter towers. Unfortunately, to reach each tower, you will have to fight your way through rough terrain guarded by the new Forerunner constructs that appeared at the end of the previous mission. After disabling the first tower, Covenant forces once again make themselves a problem by attacking the second tower. This opens up a three-way battle between the Covenant, the Forerunner warriors, and the Master Chief. The final objective has you tearing through battles being waged by Covenant forces and the Forerunner machines on the central satellite, as you attempt to make contact with the Infinity .
Enemies Encountered:
- Elites
- Grunts
- Jackals
- Crawlers
- Knights
- Watchers
Vehicles Encountered:
- Phantom Dropships
- Ghosts
- Banshees
Buried and Forgotten
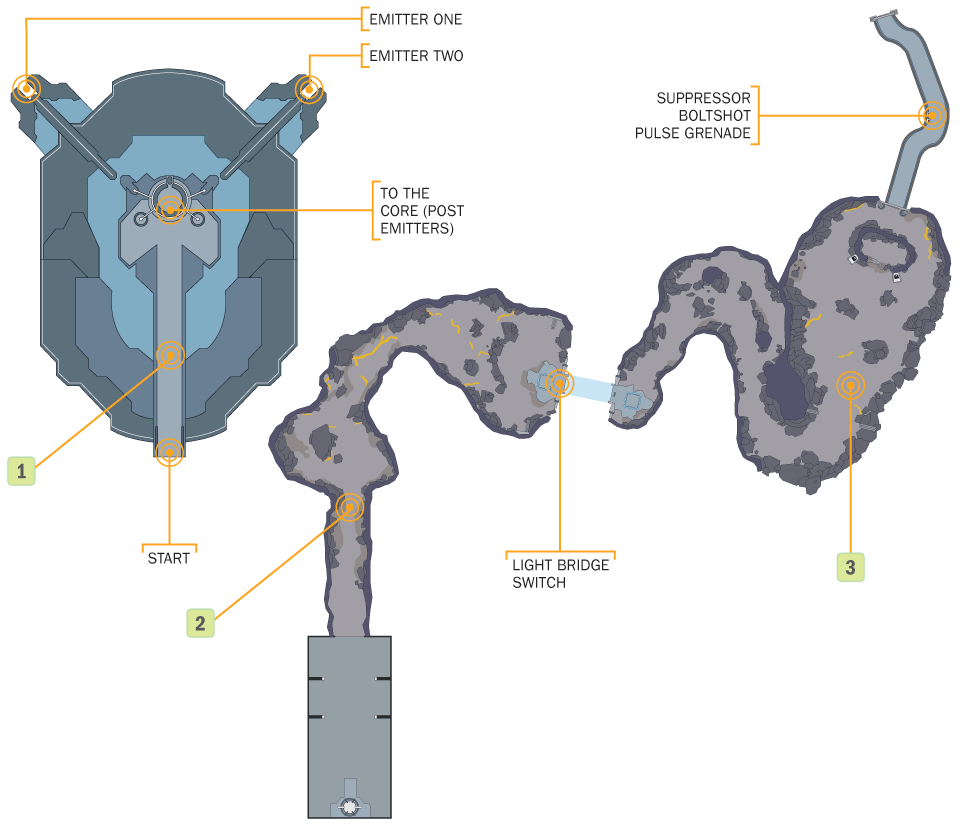
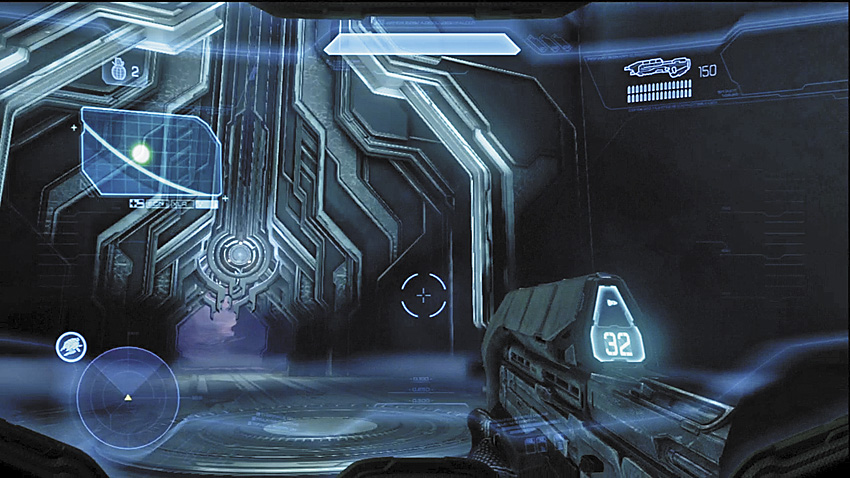
[1] Shortly after passing through the portal to escape the new threat, you arrive in a small chamber—lacking the ever-so-useful Active Camouflage armor ability from the previous mission. It has been replaced by a Hardlight Shield armor ability. In the very chamber you start in, you can find an Autosentry armor ability, and we highly recommend it over the Hardlight Shield. You also begin with an Assault Rifle and a Magnum, with modest ammunition for both.
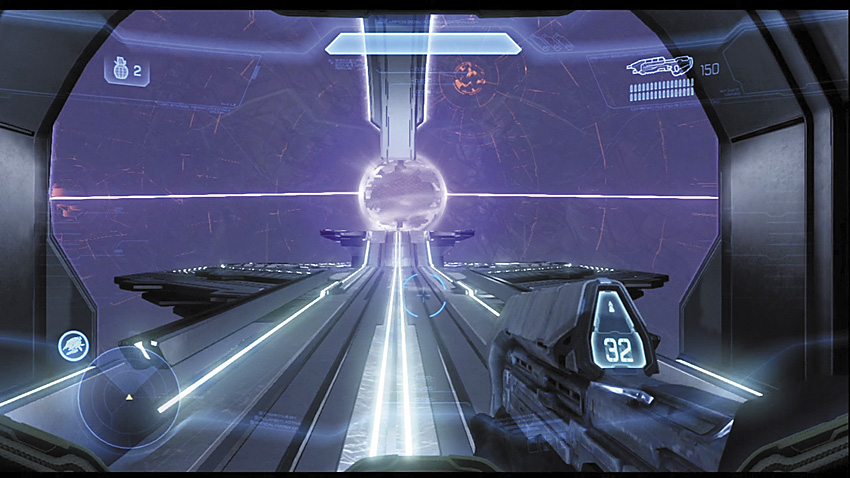
Leaving the starting position, you enter a massive hall with a control panel that Cortana asks to be plugged into. She gives you the basic tactical and strategic rundown: The UNSC Infinity is not on Requiem. A satellite in the visible distance is scrambling the signal, making it impossible to pinpoint. Two power stations are beaming energy toward the satellite, and Cortana believes that by shutting it down she will be able to finally contact their potential saviors. She then opens a portal that leads to the first power station.
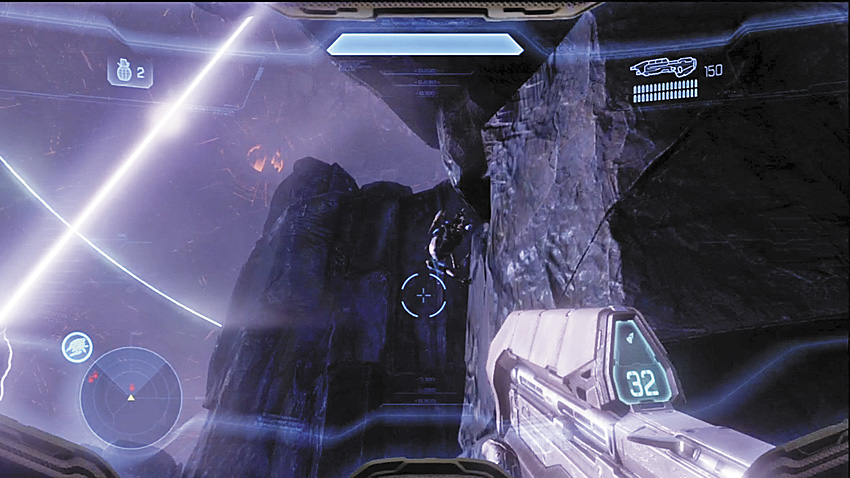
[2] Or at least within (lengthy) walking distance of the station. Just as you exit the portal room, you encounter strange, wolflike creatures crawling all along the stone walls surrounding the Master Chief. They chatter and observe him for a moment before scattering and running away.
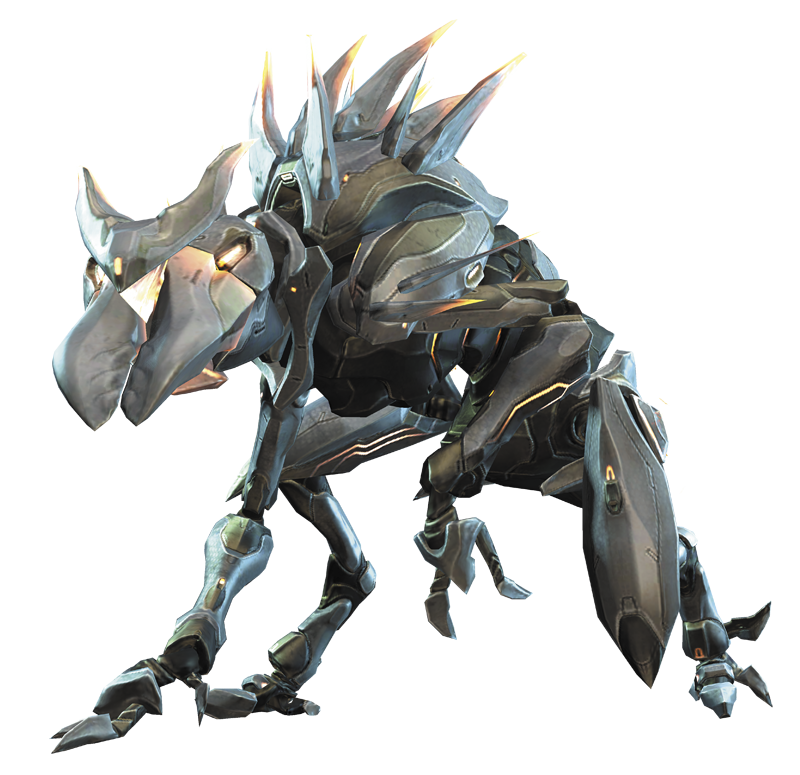
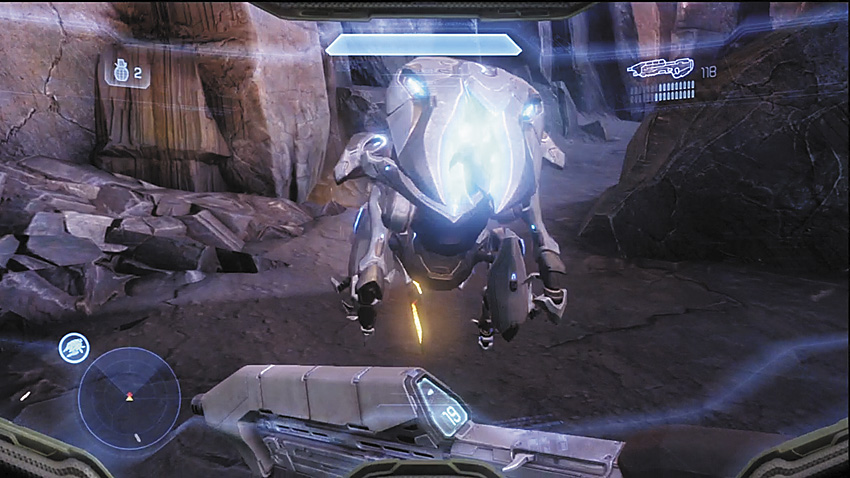
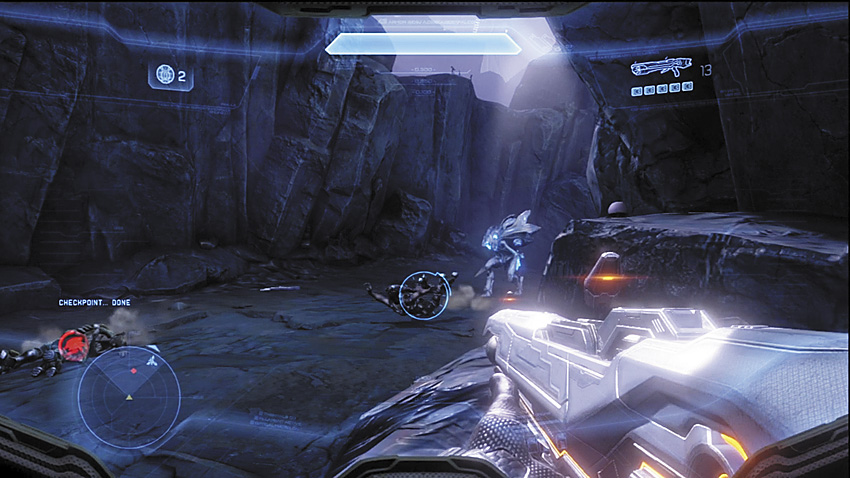
Following the Crawlers around the bend, you find that they haven’t retreated, but have instead regrouped for a combined assault. When combatting Crawlers of any variety, weapons capable of headshots are best, such as the Magnum you start the mission with, or a Battle Rifle. Crawlers move quickly while on land, but when clinging to walls, they are much slower and can be easy targets to score headshots. Use your Magnum to pop as many Crawlers as possible, then switch to the Assault Rifle. Short bursts from the AR can land many shots on their vulnerable heads, putting them down fairly quickly. Once they are finished, you should seriously consider picking up the two new Forerunner weapons that they left behind, the Boltshot, and the Suppressor. Afterward, proceed to the marked waypoint to activate a light bridge to the next section.
Legendary Strategy
While this isn’t a major firefight, it’s worth mentioning that on Legendary, Crawlers are far more difficult to deal with due to the increased speed and accuracy of their projectiles and the overall increase in their aggression. Headshots are still excellent solutions, but the Assault Rifle loses a great deal of its effectiveness. Avoid pursuing retreating Crawlers too far, they are excellent at setting up lethal ambushes.


Major Firefight: Enter the Knights
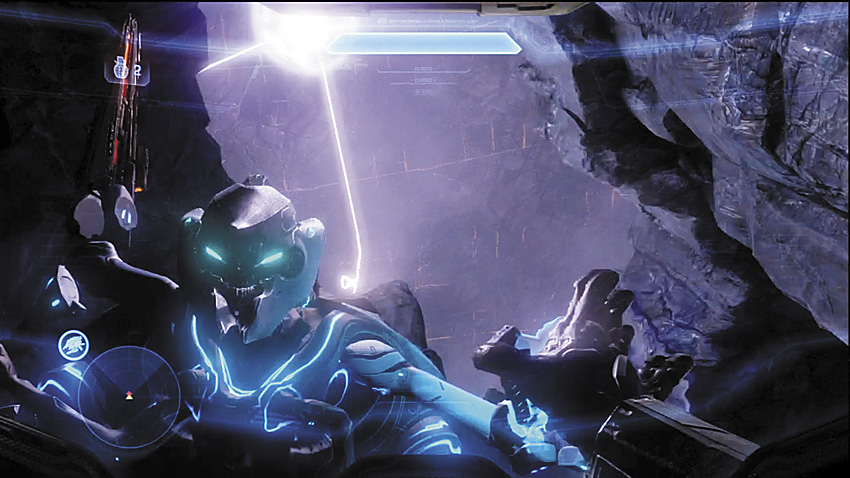
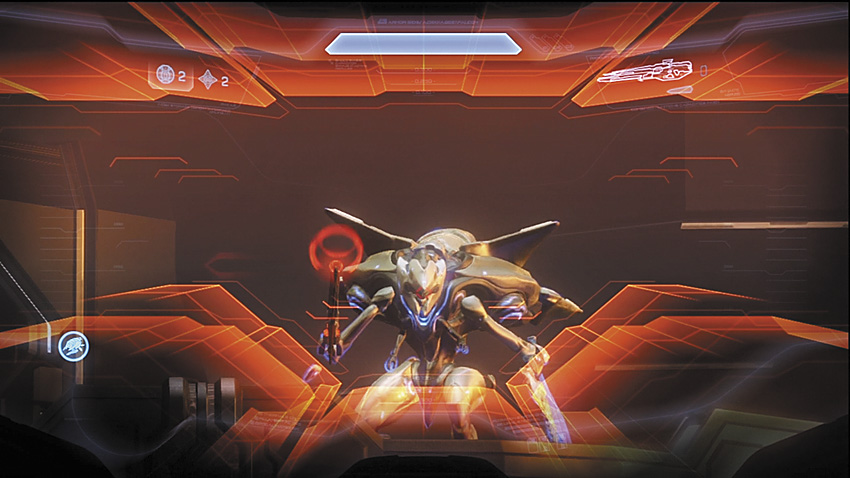
[3] After crossing the bridge, you are attacked without warning by one of the constructs seen at the end of the previous mission. The meeting is short, and almost fatal for the Master Chief, but the Knight suddenly teleports away after the close encounter. You’re not nearly done with it yet. After a short walk, with more of the creatures phasing in and out of existence on the cliffs in the distance, you reach a wall where one of the Knights stands on a ledge, roaring a challenge. Crawlers stream over the walls to your left. This marks your first battle with the Knights and the floating constructs that their kind are capable of deploying: the Watchers.
Recommended Loadout
If you were able to keep a hold of a good supply of Magnum ammo, you probably want to use that alongside the Suppressor or the Assault Rifle. The Magnum is capable of taking out the Crawlers and Watchers quickly, while also providing the needed punch to finish off a Knight once its shields are down. The Boltshot can earn its keep here as well.
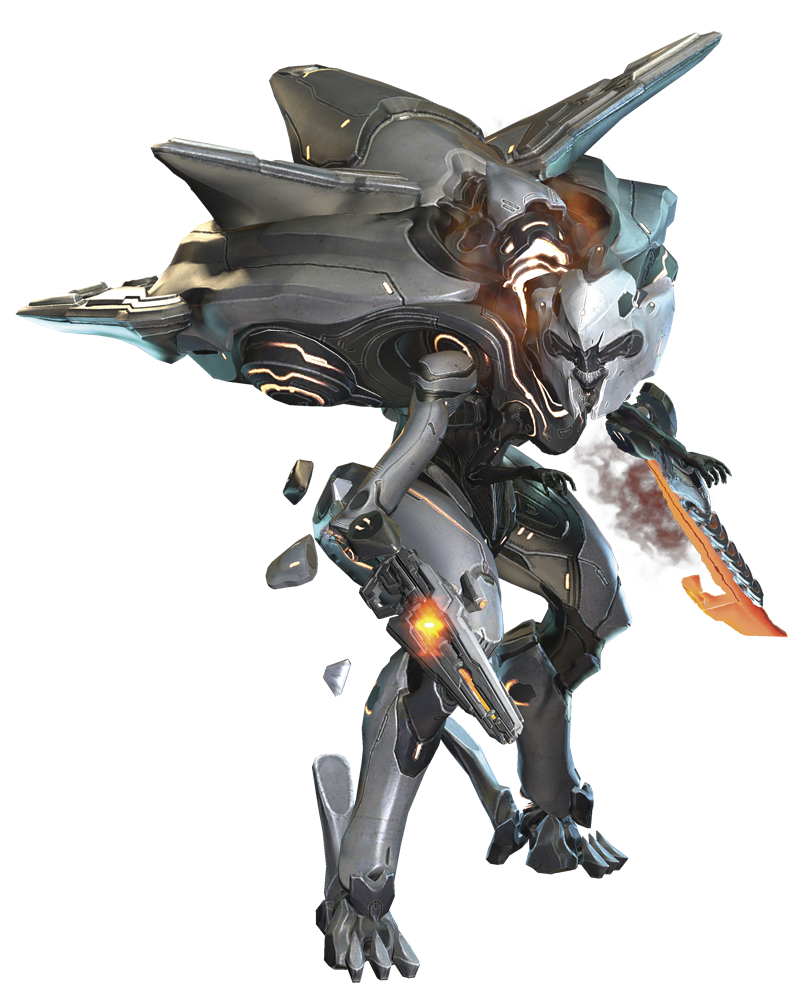
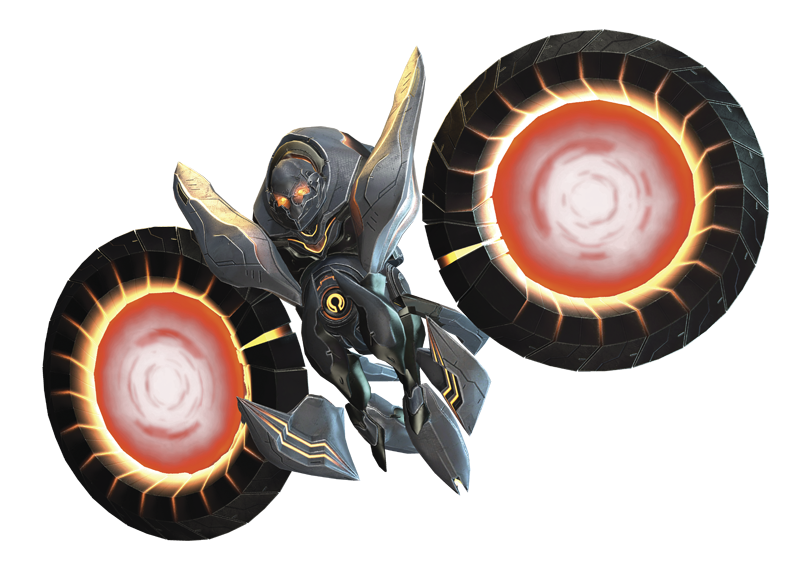
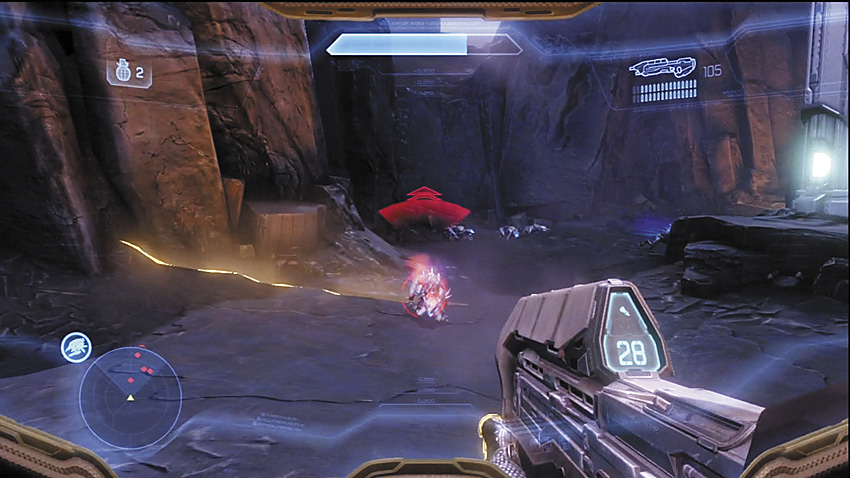
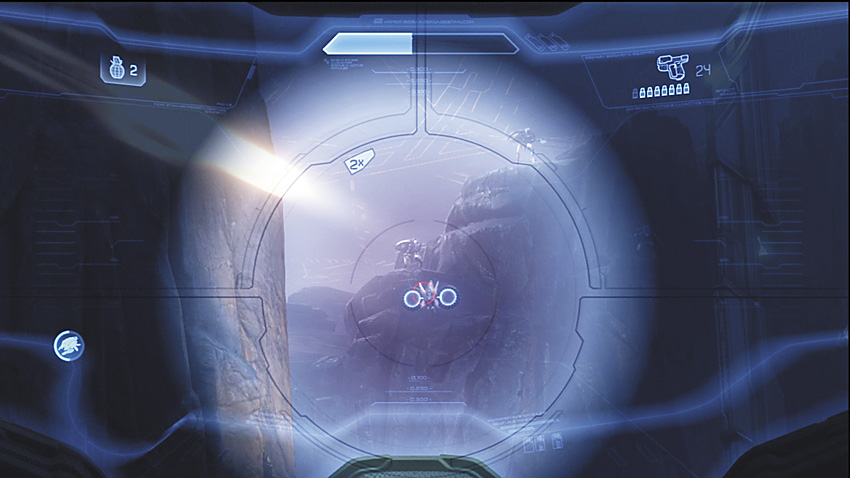
The Knight will attempt to deploy a Watcher after it leaps down to confront you. This can be prevented with well placed Frag Grenades, which also can break its shields and allow for quick headshots. The Knight is likely to be armed with a LightRifle or a Suppressor. If it’s the former, it will hang back and bombard you with accurate fire, which makes staying out in the open a mistake. A Suppressor-equipped Knight will try to take the fight to you.
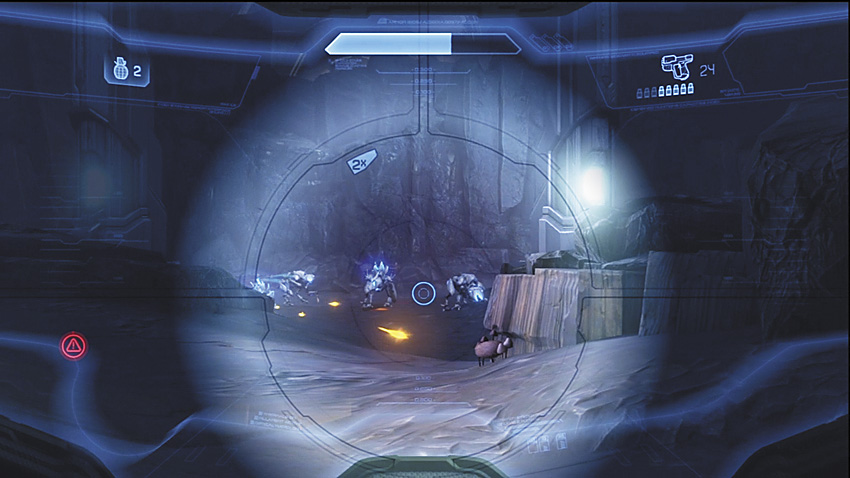
Of course, there is fairly limited cover in this field, and what exists is easily flankable by the Knight and the Crawlers. Despite the obvious threat of the Knight, focus first on bringing down the Crawlers to get as many hostile guns off the field as possible, then take on the Knight.
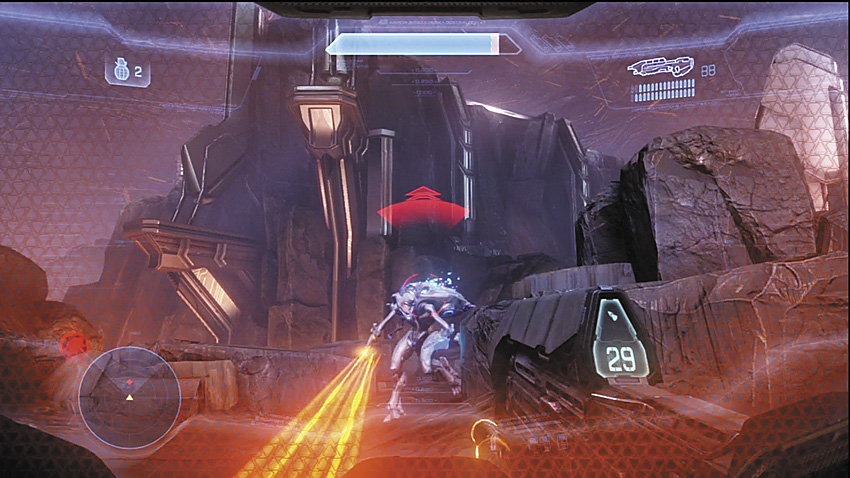
When fighting a Knight, know that they are rarely dissuaded from their attacks unless they are hit with sufficiently powerful weapons, or if their shields are broken. Based on your loadout, Knights can be tough to defeat. A good method that baits a Knight into standing still longer is to use an Assault Rifle or Suppressor and fire in rapid bursts. They tend to soak up these barrages for as long as their shields hold out, only sidestepping occasionally.
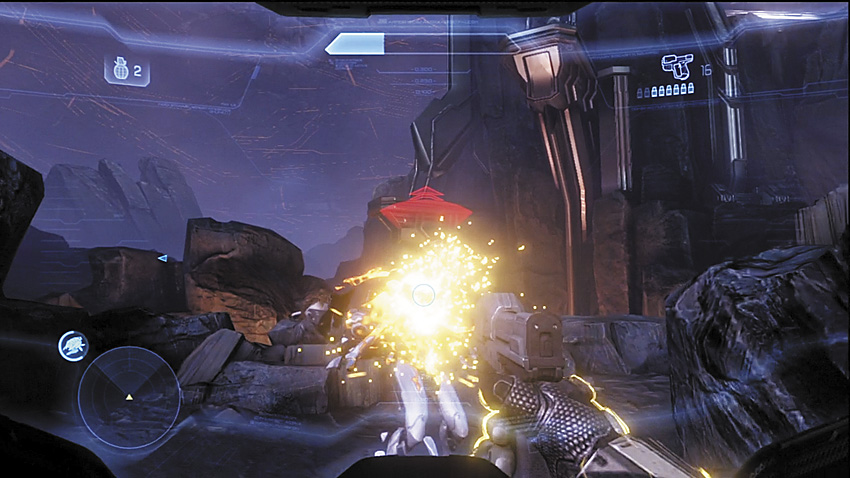
When their shields are down, Knights will either teleport to safety behind nearby cover, or they will teleport at you to melee attack. They also may stand in place and roar, exposing their skull at the Master Chief, though certain Knight variants, such as the Knight Commander and the Knight Battlewagon, do not reveal this weak spot. This is a prime opportunity to drill one or two in between the glowing eye-sockets with a Magnum. A Boltshot’s charged shot is also capable of staggering or outright killing an unshielded Knight, allowing bolder players to fight these hostiles in close quarters. It’s also possible to continue to open fire on their now exposed torso and limbs with the Suppressor or Assault Rifle to bring them down.
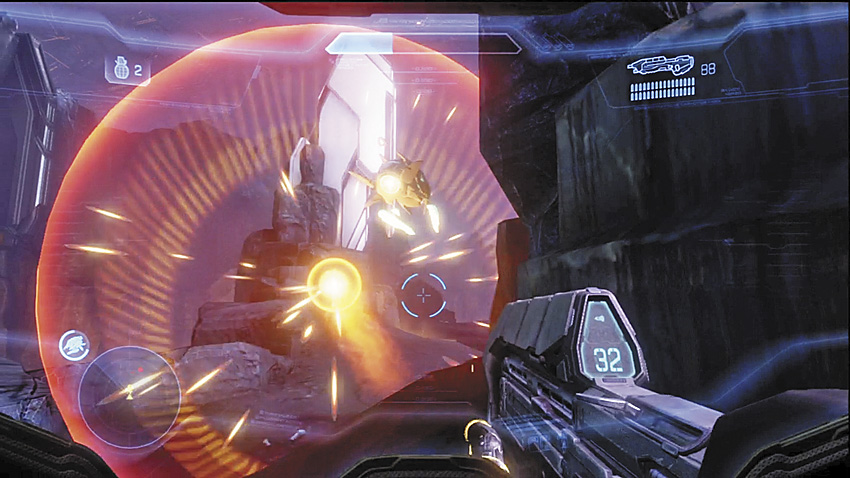
Be mindful of their grenades. While not as immediately lethal as the Frag or the Plasma Grenade, the Knight’s Pulse Grenades rapidly damages anything in its area of effect. After several seconds, the Pulse Grenade detonates, destroying unprotected targets.
Alternate Approach
If you took the Autosentry, it’s possible to distract a Knight with this armor ability, and sprint behind it to attempt an Assassination melee attack. It’s a risky tactic for risky players to be sure, but beware that all Knights have amazing peripheral awareness and will often detect you sprinting at them from angles up to 90 degrees to the left or right!
Legendary Strategy
Your first Legendary encounter with a Knight can be almost heartbreaking at first if you struggled with them on Heroic. Their tendency to teleport away just as their shields fail gives them enough time to completely restore their defenses while you frantically search for them. The order of engagement should remain similar to how it was on Heroic, but the Knight should be treated with much more respect, as even this standard Knight can put you down in one swift strike. Additionally, Knights on Legendary are much more willing to throw Pulse Grenades as though they were handing out candy—explosive candy that dissolves unlucky players in seconds.
Legendary Gameplay Video


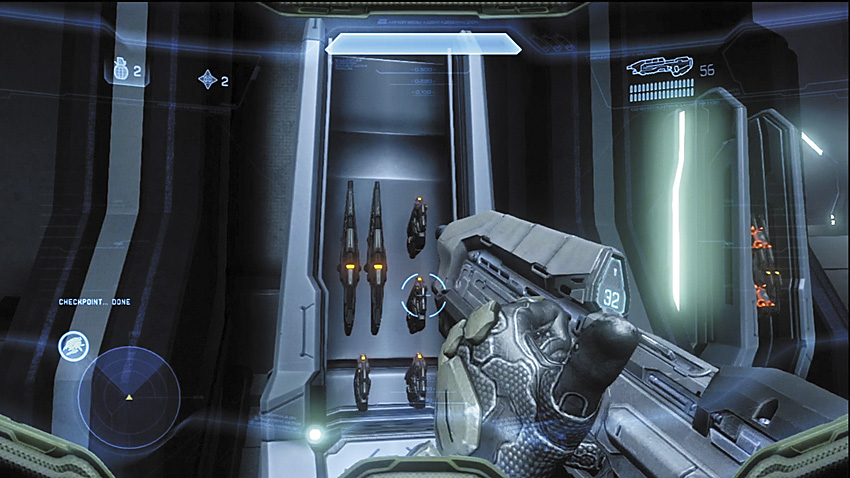
After this first Knight battle, the wall that the Forerunner machines protected reveals a passage that contains a weapons cache. Fill up on Suppressor and Boltshot ammo.
Major Firefight: The Split Canyon
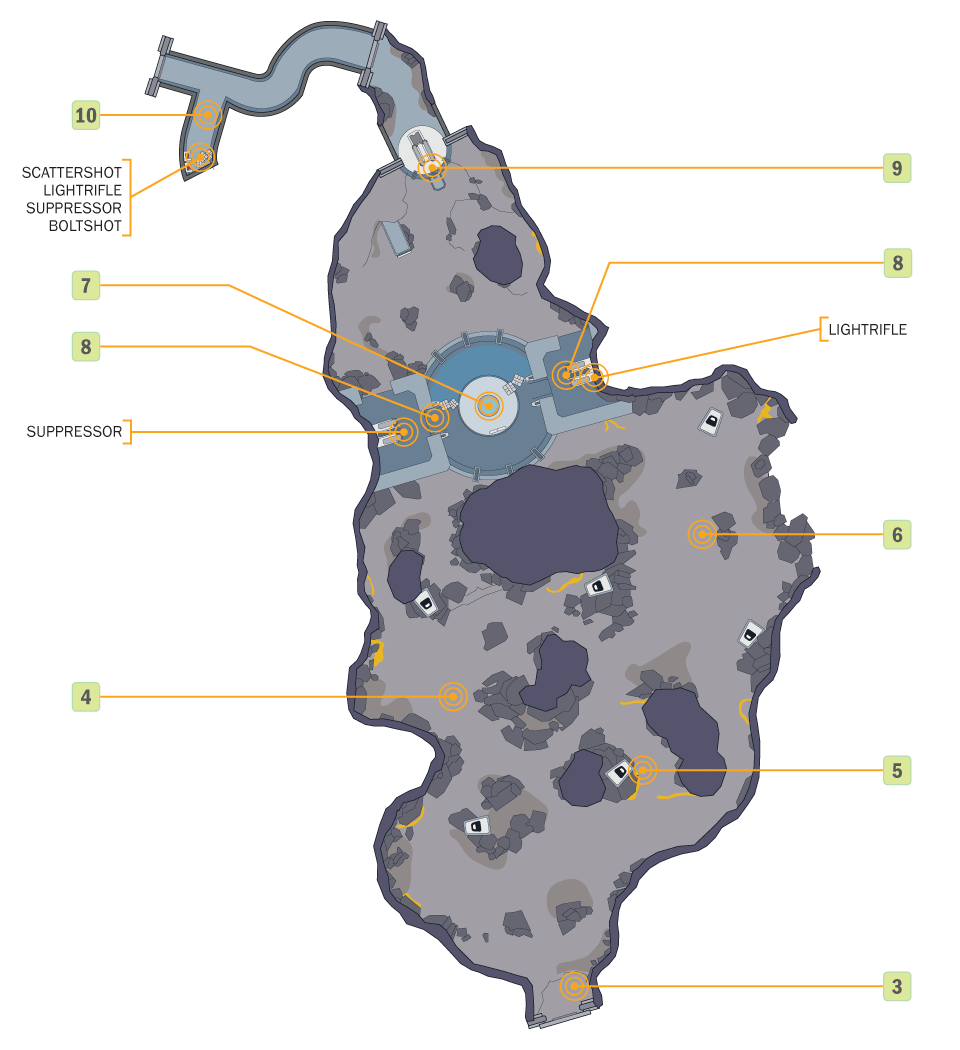
[3] This next series of battles can be frustrating because the Checkpoints in between each section can set you back quite a bit if you die, as they are spread quite thin. The canyon is split into two major paths that eventually intersect atop a Forerunner Structure, where further progress is challenged by a Knight Battlewagon. The whole time, you will run into increasingly larger packs of Crawlers.
Recommended Loadout
If the first Knight of this section carries a LightRifle, and you passed it up after your first Knight encounter, consider picking it up now. The LightRifle can easily replace the Boltshot as your ranged headshot machine because it’s perfect for culling herds of Crawlers, and useful at putting down Knights stripped of shields. Keep a Suppressor handy for closer Knight encounters. While a fully charged Boltshot can wreck their shielding, the weapon also puts you in range of their blades. LightRifles are also very good at scoring headshots on Knights after their shields fail. In fact, if the shot that breaks their shielding hits directly on the face of a standard Knight, it can result in an immediate kill.
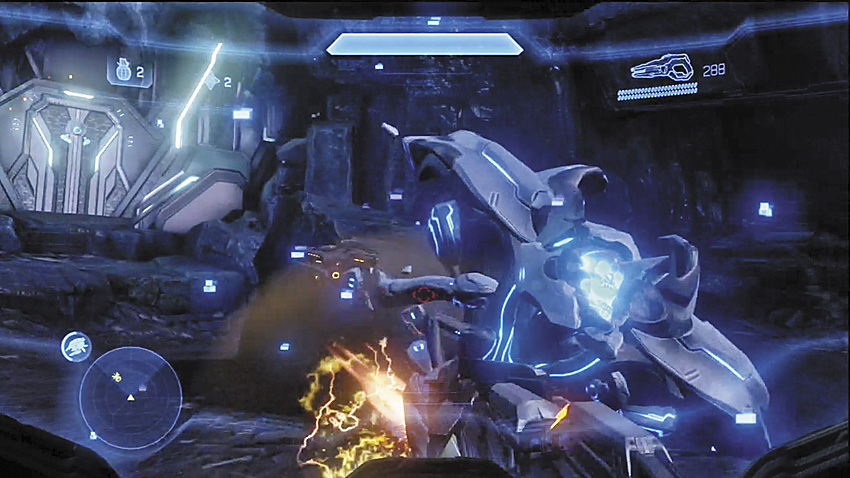
At the end of the passage, the door opens to a canyon with a path straight ahead and another path that branches off to the right. A pair of Knights warp into view and split off to guard each path. You can take this pair down, one at a time, and it’s even possible to ignore the Knight that teleports to the right path. If you’ve obtained the Autosentry, it’s possible to use the small stone just in front of the passage door to cover your flanking attempt by setting the Autosentry right at the door. The Knight usually tries to shoot the turret down, and if you’re fast, you can assassinate it. From this position, you can choose your route.
Going Straight
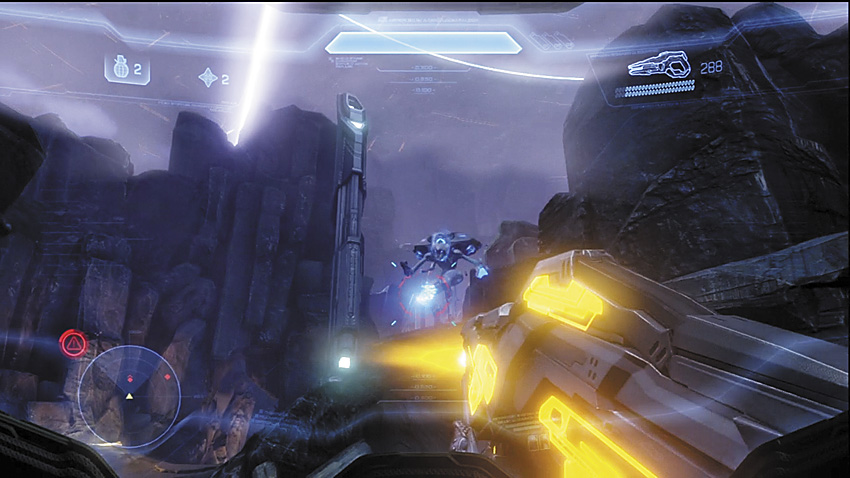
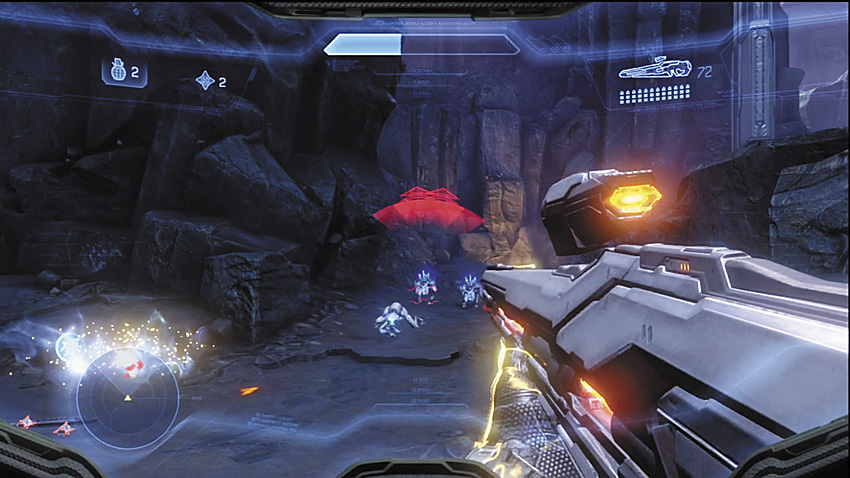
[4] Going straight is the quickest way to reach the next major firefight. A Knight will appear on the rocks just beyond the first Knight. Then it will retreat further into the canyon to join a pack of Crawlers to try to hold you off from point [7], where another major encounter awaits.
To the Right
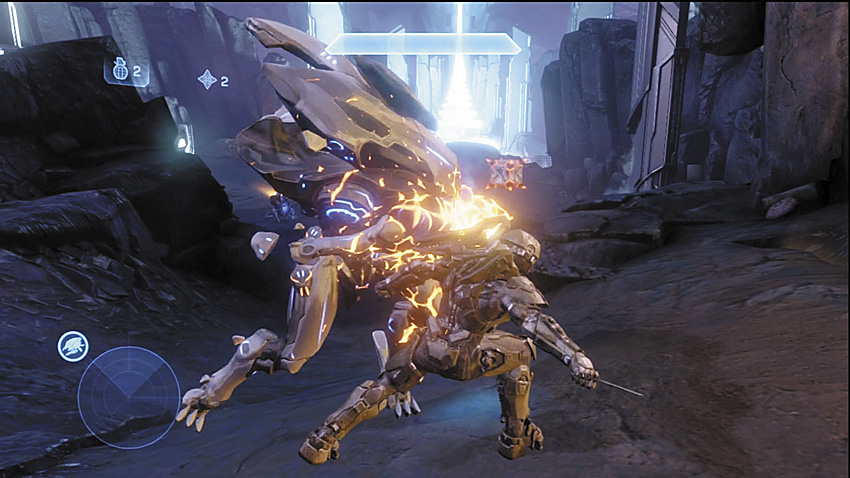
[5] The second Knight, if given time alone, will begin patrolling the right path, which means there is a good amount of time where its back will be turned. If you are fast, it’s possible to take advantage of the Knight’s slow movement and assassinate it. If it notices you, it will try to teleport down the hill further to the right, into a more open section of the canyon [6], where another set of Crawlers, another Knight, and Watchers are on patrol. You can avoiding fight two Knights at once here, by falling back and letting the first Knight come back up the hill toward you. The roaming Crawlers may try to intervene on the first Knight’s behalf, but careful Boltshot or LightRifle action can deal with them.
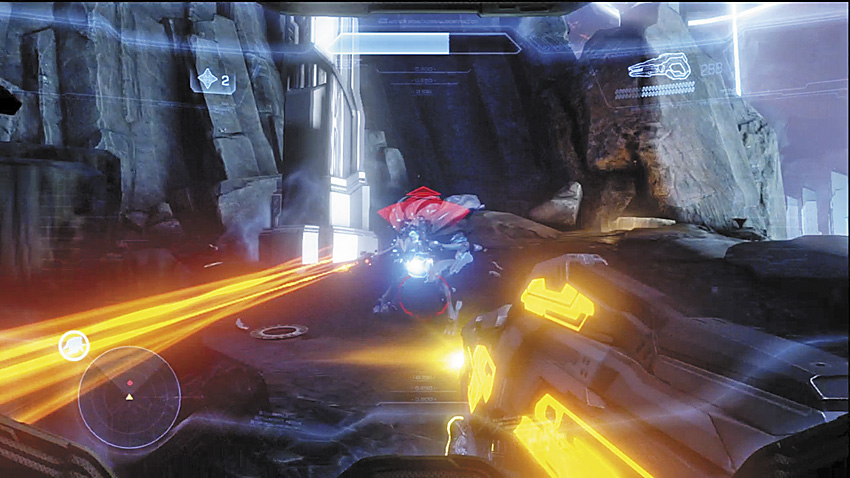
With the first Knight down, you can take on the second group [6]. Make sure the two Watchers go down first!
The Knight Battlewagon and the Watcher
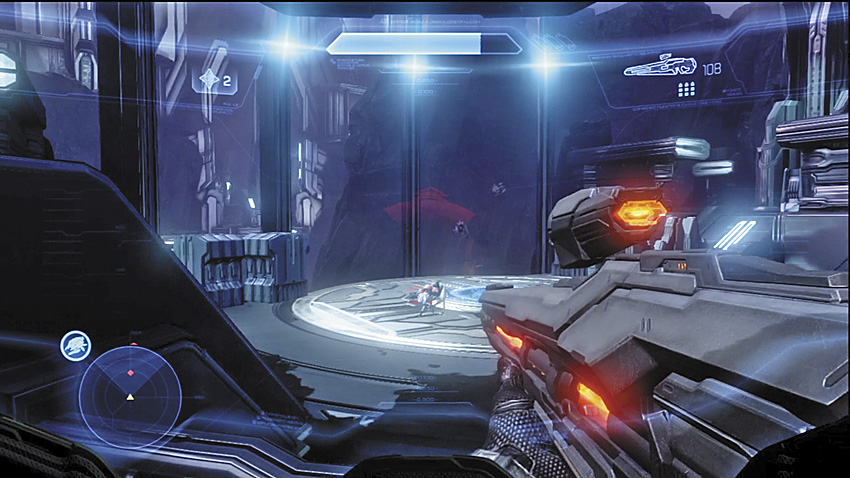
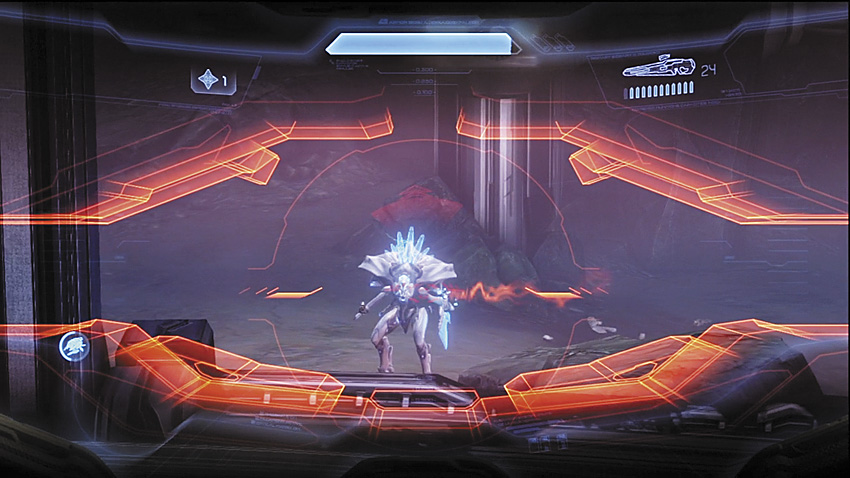
[7] This platform is flanked by a pair of ramps with weapon caches atop the balconies [8]. The field you must travel through to continue beyond this point is where a Knight Battlewagon stands guard, protected by a Watcher it deploys. Meanwhile, two Crawler packs infest the cliff sides to the left and right of the Knight, while another smaller pack roams the grounds near it. With so much convenient LightRifle ammunition available in the racks, wiping out the Crawlers should be a first priority. Should the Watcher move to protect a Crawler, ignore that one and move on to another target. So long as you don’t rush the Knight, it will most likely stand back and fire ineffectually at you with its Scattershot from afar.
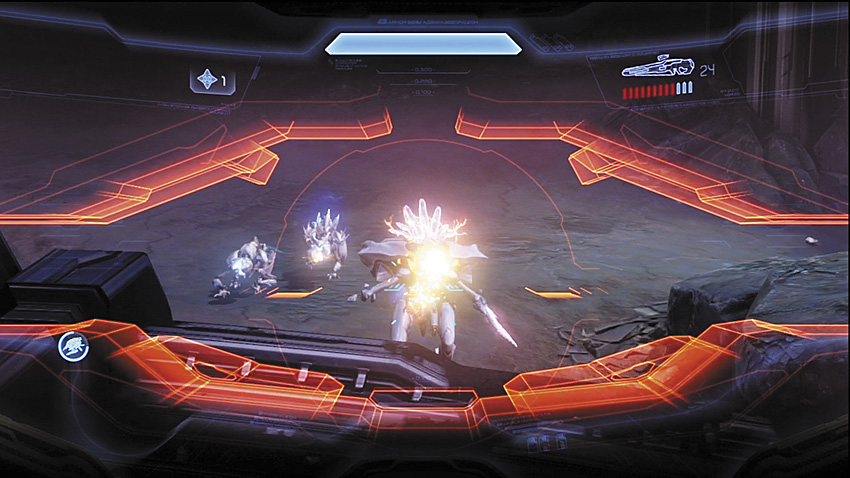
Once the Crawlers no longer present a significant threat, take out the Watcher, then go to work on the Knight Battlewagon. Its Scattershot is incredibly dangerous, and once the Watcher is dead, this will inspire the Knight to come forward and deliver hot death up close and personal. Do not let it get close, and make sure that you keep it distracted with an Autosentry if you need to retreat quickly. Alternatively, you can shoot at the Watcher once, which will cause it to clam up and not help any of its allies while it tries to regenerate. The Knight will still hang back a safer distance away. If you’re on point, keeping the Watcher suppressed with the occasional LightRifle shot while putting in the work on the Battlewagon, this last fight can go slower, but much safer.

Legendary Strategy
You’ll can generally follow the tactics used on Heroic, but anything that involves you closing in on a Knight is generally not encouraged. They’ll just cut you to ribbons while you struggle to bring down their shields. You absolutely must do your best to keep the Knights from working in tandem. For the final battle, the alternate suggestion for Heroic difficulty becomes the most recommended for Legendary. Drive the Watcher off, but don’t kill it! The Knight Battlewagon will try to charge you if you kill the Watcher. The Scattershot held by a it will be almost certain death for players at close range, and the Knight is keen to leap directly on the platform at [7] to do just that.
Legendary Gameplay Video
Domain Terminal
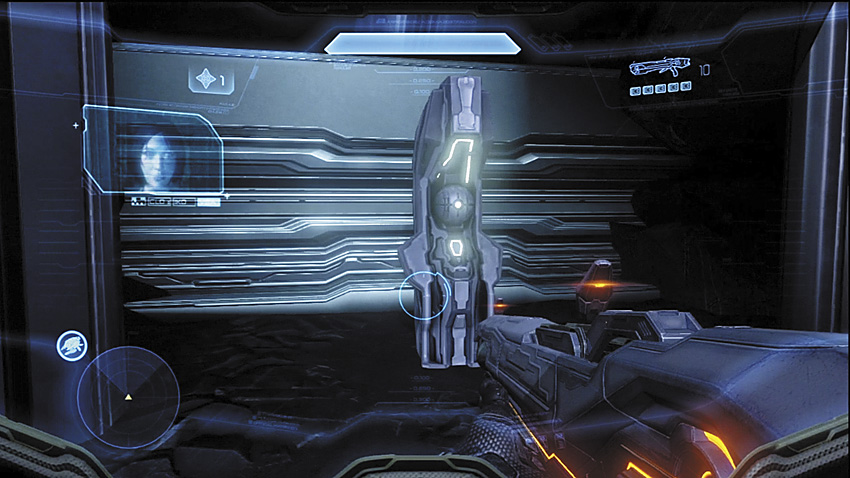
[9] After killing off the last group of Prometheans near [7], don’t miss this Domain Terminal sitting underneath the balcony that leads to the next section.
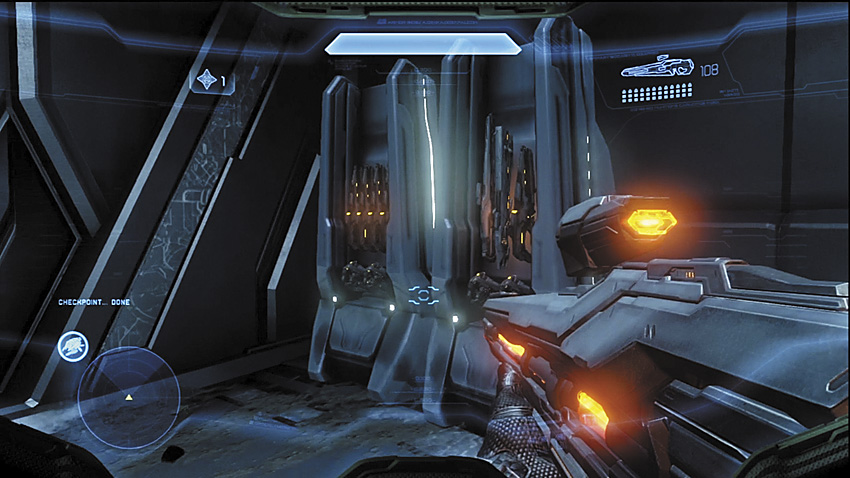
[10] Another corridor will take you past this weapons cache. You should consider keeping a LightRifle for this next section, but a Scattershot is not a bad idea if you’re interested in more aggressive play against Knights.
Major Firefight: The First Shield Emitter
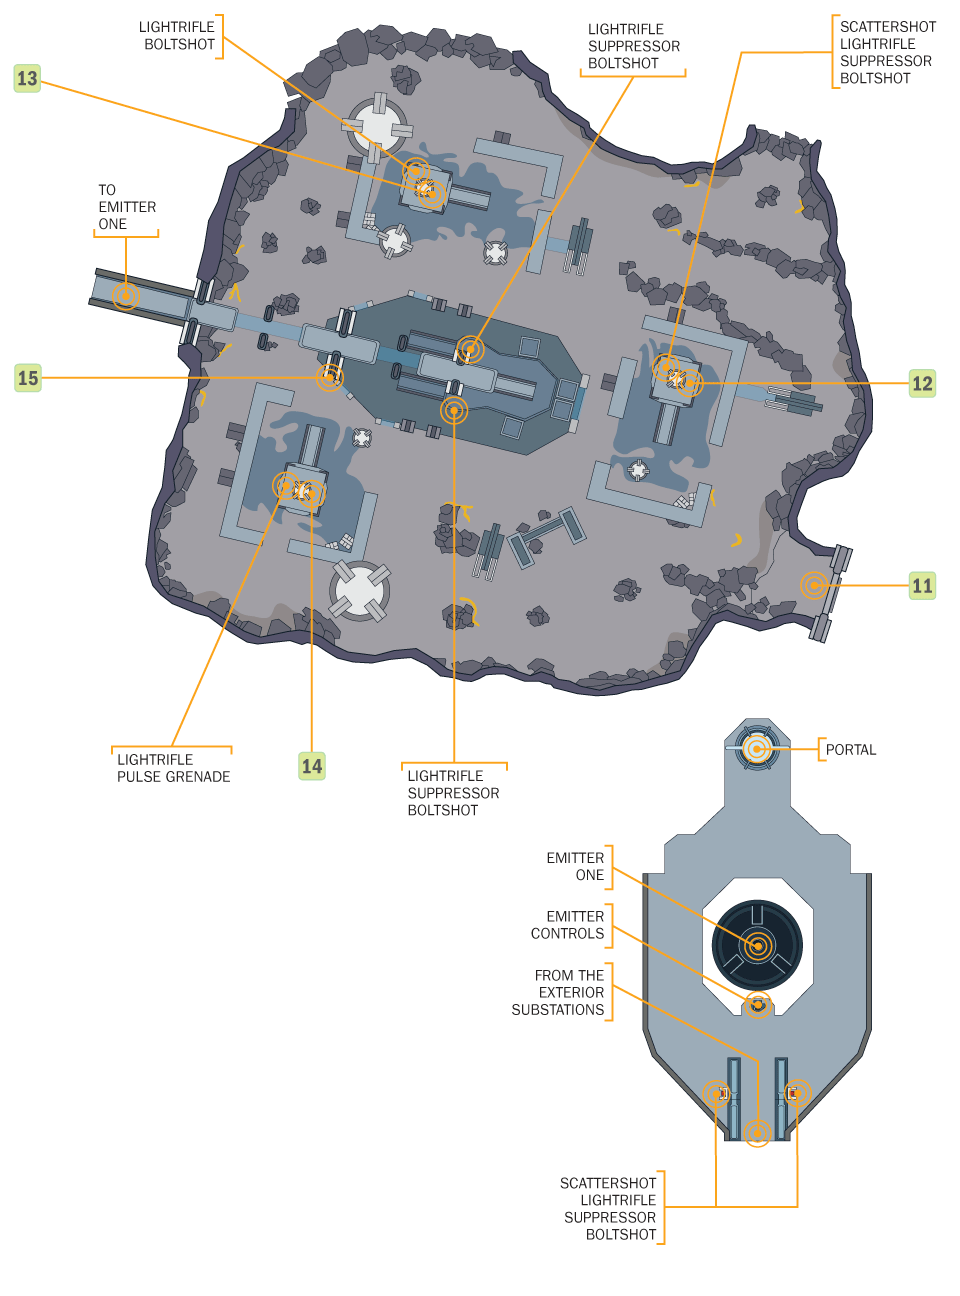
[11] The first target is very close now, but you’ve got your work cut out for you. Access to the main conduit that is powering the shielding around the main satellite is powered by defensive barriers, and those have their own power stations scattered across this valley. In addition to roaming packs of Crawlers that prowl the areas in between the substations, Knights and Watchers protect each station. The Master Chief must destroy the power source at each substation, then climb the massive central structure, fighting off more Knights until he can cross the light bridge that will lead him to the first main power core that must be disabled.
Recommended Loadout
The LightRifle should be your primary weapon throughout this section, as the infestation of Crawlers is best solved by this weapon, and any Watchers in the air will hardly have the time to be the nuisance they are designed to be. While the Scattershot is clearly a risky weapon, it is powerful enough to break a Knight’s shielding at close range (even on Legendary), and can stagger most Knight variants long enough to allow a follow-up kill shot.
Ideally, Pulse Grenades can devastate Knights and Crawlers, but in practice most of the time the enemy tends to dive right out of its area of effect. You have to lure or force enemies into a Pulse Grenade’s energy field to get the most out of the weapons.
Crawler Cleanup
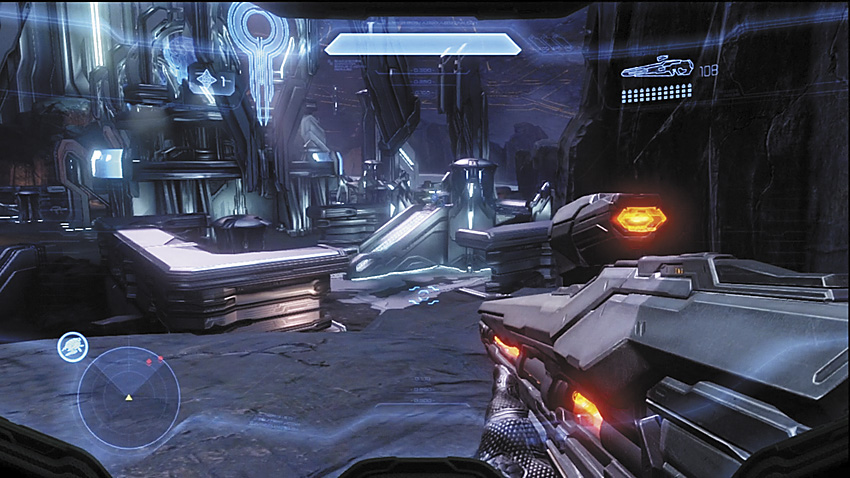
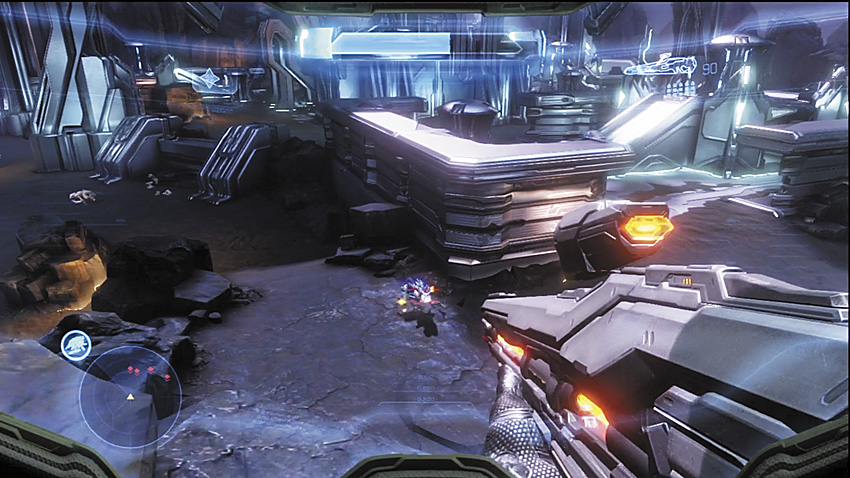
[11] The moment you pass through the door to enter this valley, you can see the first substation [12] to your right on the ground below your perch. You’ll most likely see a Knight patrolling atop the substation, deploying a Watcher. Meanwhile, along the ground at the foot of the cliff, you can spot the Crawler packs already converging upon your position. You need to take out the Crawlers as quickly as possible, preferably before the Knight and its Watcher decide to join the fun and pepper you with LightRifle shots.
Key Combat Tip
Substation One
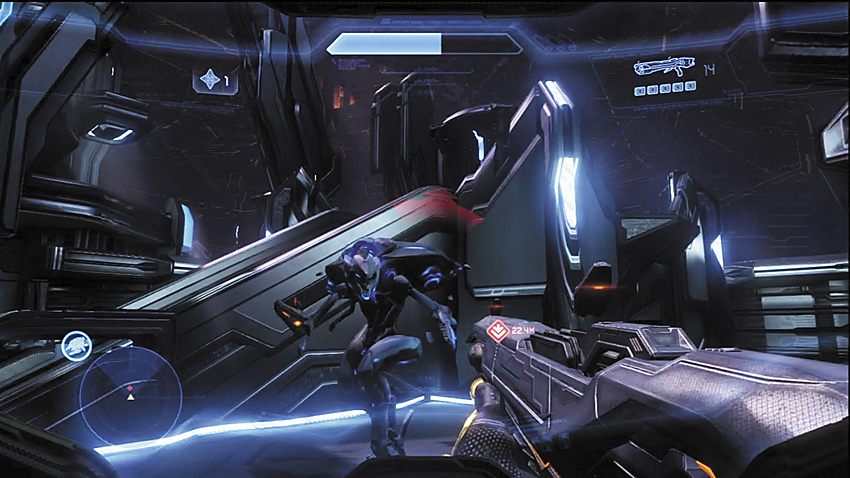
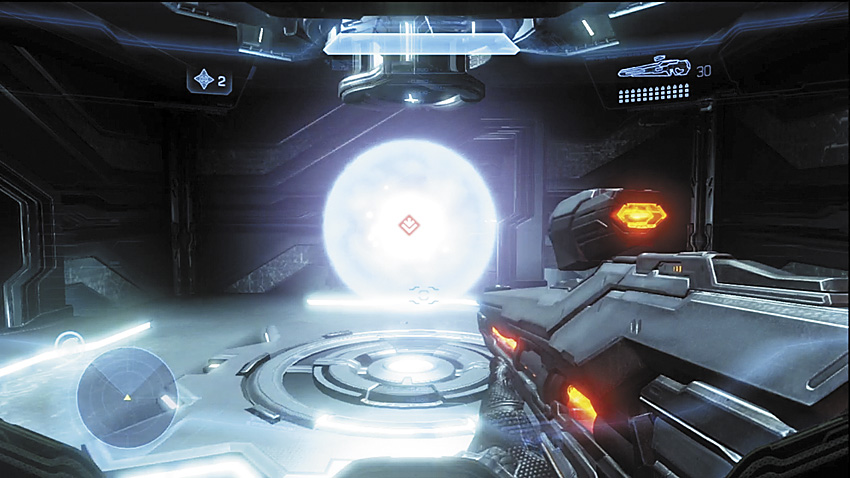
Once you’ve eliminated enough Crawlers that you have a good amount of open space, drop down and get to one of the protective walls surrounding the first substation [12] and finish off the stragglers. Now you can take on the Knight and Watcher team in relative safety. If you’re willing to take the risk, the Scattershot can kill a Knight in two close-range shots. Once you’re clear, enter the substation and attack the glowing orb inside with a melee attack to disable the station. Two more to go!
Substation Two
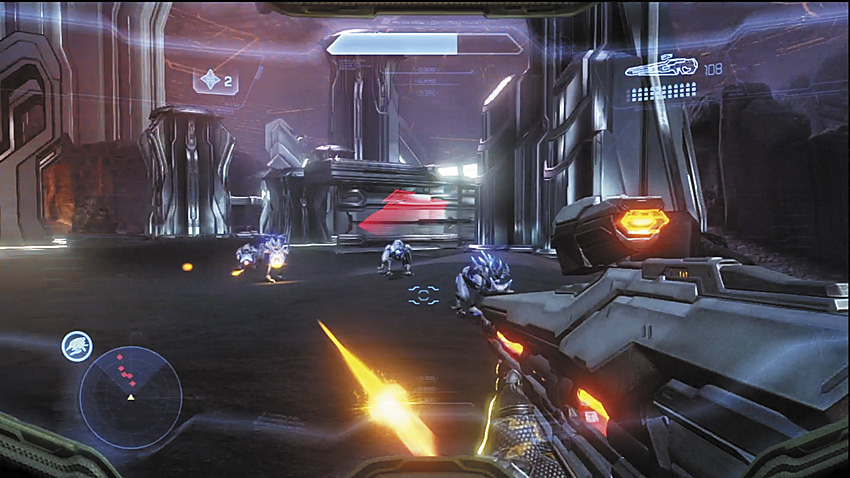
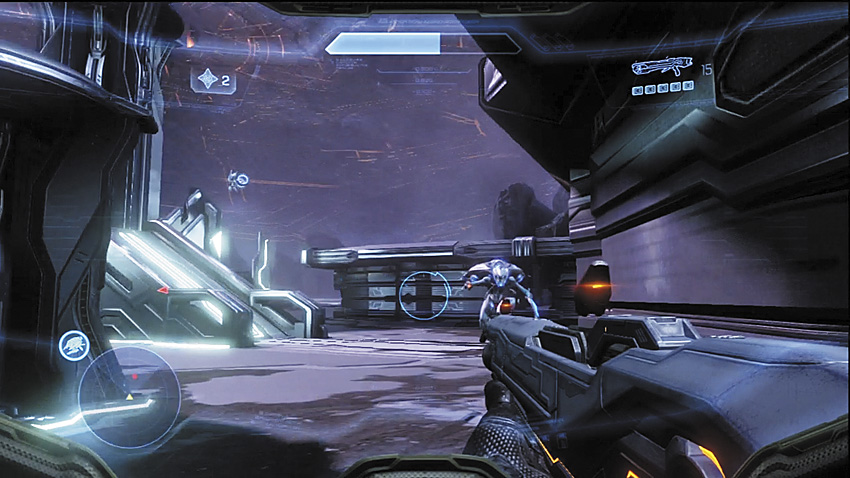
[13] At each substation, you can expect at least one Knight who will deploy a Watcher upon noticing you, and Crawler packs in the general vicinity.
Substation Three
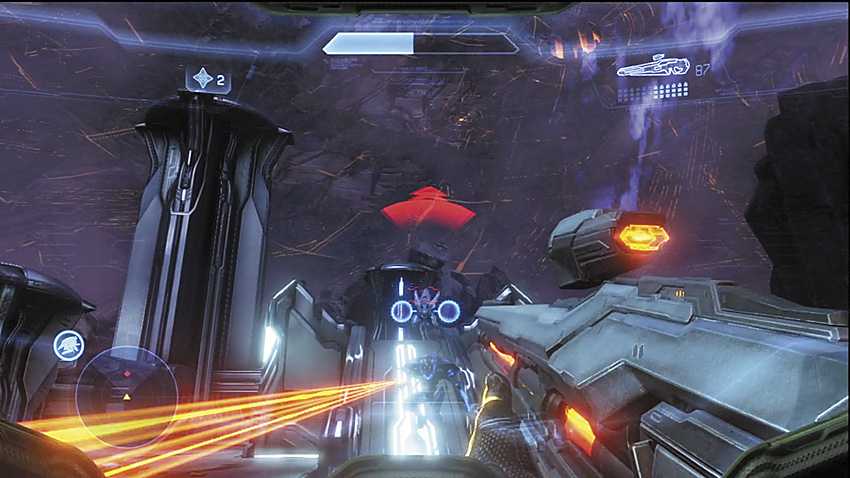
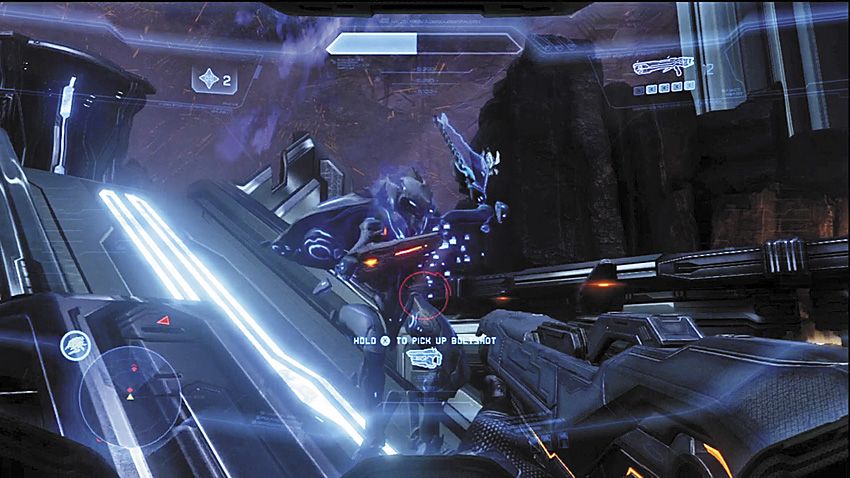
[14] This particular substation presents a greater challenge than the others. There are more Crawler packs prowling the area close to it, and you’ll want to deal with them before you disable the last of the substations.
Alternate Approach
Some players may actually want to take out substations two and three first, and there is a benefit to doing so: When all three substations are taken out, multiple Knights spawn near the entrance ramp to the tower [15], close to the last two objectives, and they can be tough to fight from those locations after they spawn relatively close to you.
Tower Climb
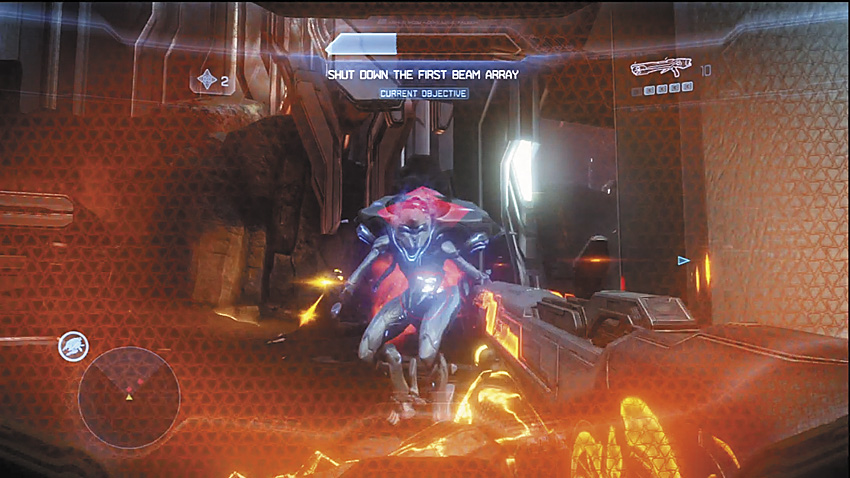
[15] With all of the substations disabled, you now need to climb the tower. Your first obstacle spawns right near the foot of the ramp you need to take to get to the mid level: two Knights. At the same time, a Knight Battlewagon spawns on the balcony overlooking substation [14]. Even at that range, the Scattershot it has can be very dangerous in combination with the two Knights on the ground. As always, you can expect at least one Watcher to be deployed.
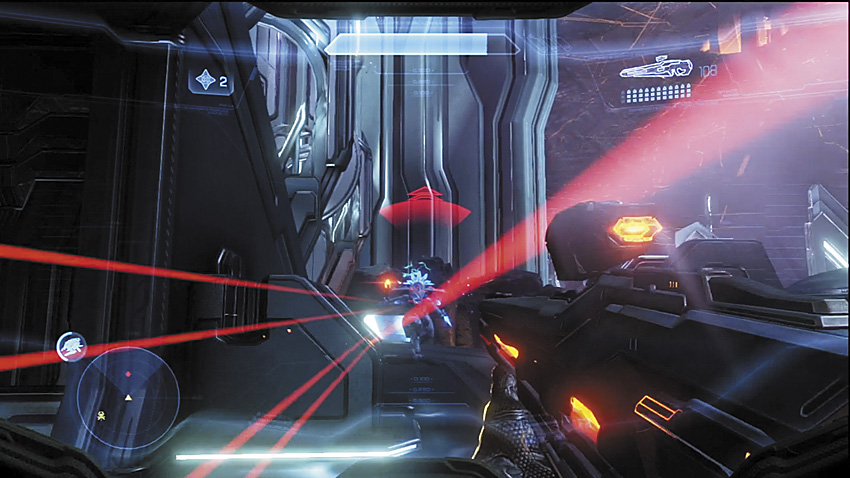
The Knight Battlewagon has the advantage in speed, strength, and defense. Getting close to you is its goal. Bust out the LightRifle and lead it on a chase around the platform. Shoot it in the face a lot, and it can’t hurt you nearly as bad as it can with its Scattershot. Once you finish it off, the way to the first main power generator is clear!
Legendary Strategy
It’s possible to pull off the Scattershot gambit against Knights on Legendary, but you have much less room for error, and because you’re often not able to separate paired Knights from each other, charging at one just exposes you to fire from multiple sources. Just save yourself the wailing and gnashing of teeth, and focus on smart and relatively safe ranged tactics. You can tackle the substations in any order you please, but the key thing to remember is to be thorough when clearing out a substation. You trigger a quicksave for each one you disable, so you can take some solace in that. It cannot be stated enough: Kill those Crawlers! With them out of the picture, you can handle the Knight guardians of the substations in battles you can more easily control.
When it’s time to climb the tower, your first challenge is to get past the two Knights that warp in right in front of the tower’s ramp entrance. Set up an Autosentry to add to your own fire and to provide a momentary distraction while you try to land hits. Once inside the tower, be especially wary of the Knight Battlewagon that is carrying a Scattershot. In any close-range duel, it has a distinct advantage. It’s possible to lead it through a Pulse Grenade field, which will help you bring it down that much faster.
Legendary Gameplay Video
One Beam Down
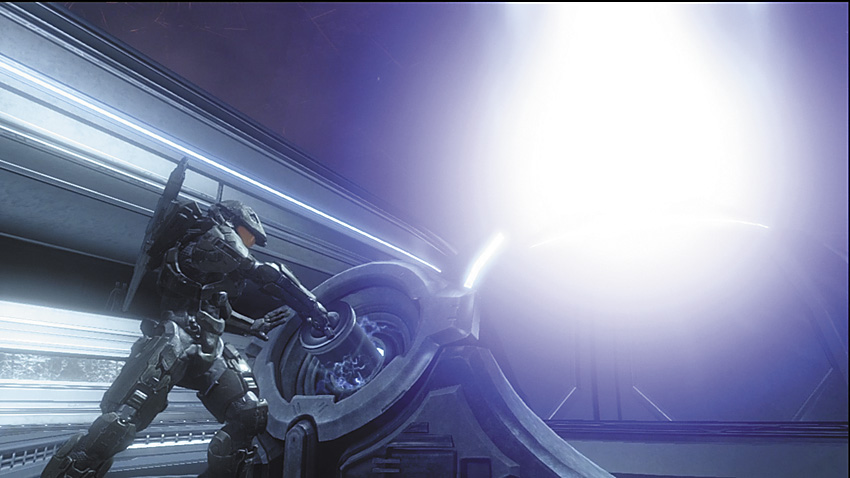
Enter the elevator on the other side of the light bridge to reach the beam control and disable the device. Cortana learns that Infinity is actually now in orbit outside the shield world, and is now in danger of being drawn in just like the Covenant and the Master Chief were. Before taking out the generator and leaving this room, check the weapons caches on either side of the elevator to stock up on Forerunner weapons. Cortana will open a portal that takes you back to the very first portal room, where she opens another portal that drops you close to the second power station. As you soon see, the Covenant apparently have the same idea as the Master Chief, and are racing toward the same destination.
The Road to Station Two
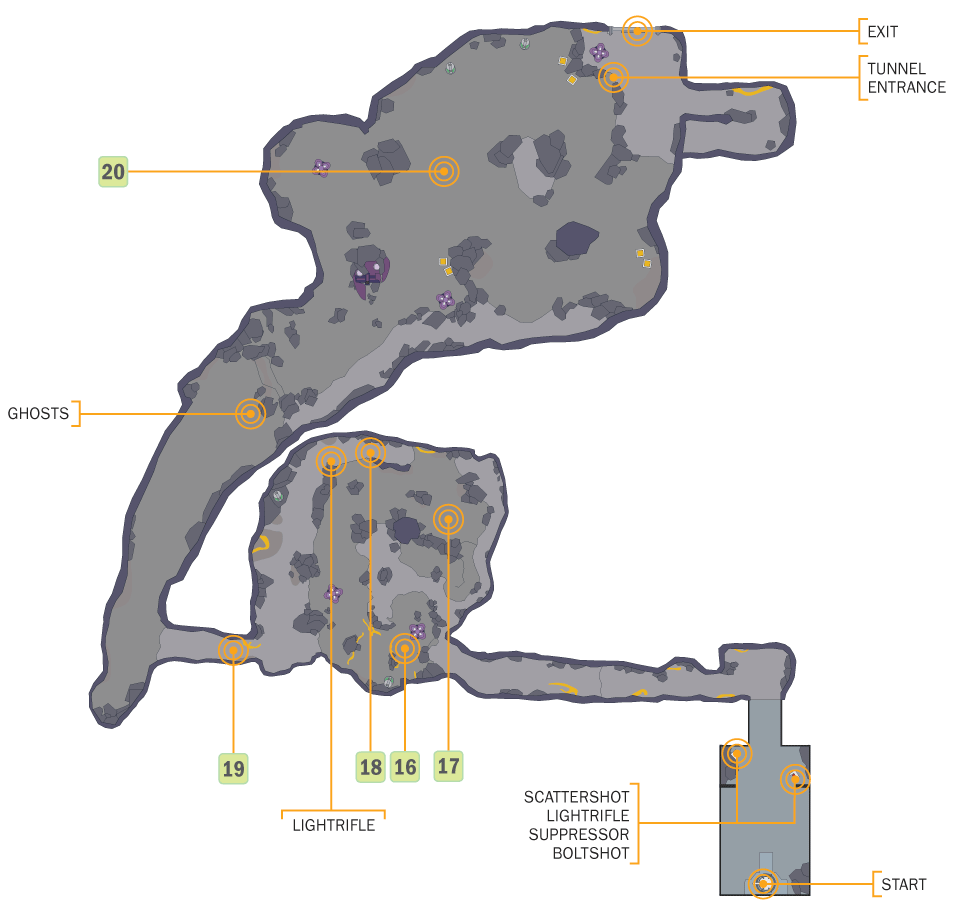
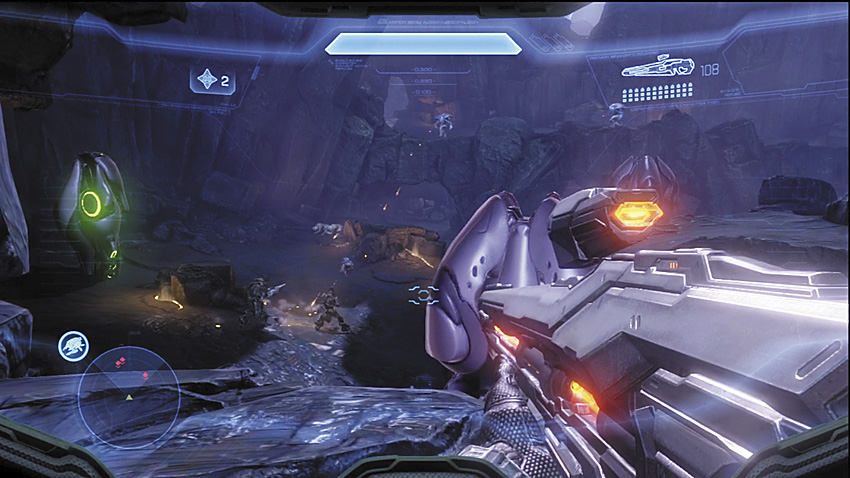
[16] Fortunately, the Prometheans do not appear to discriminate. Covenant drop pods land throughout this canyon and are immediately beset by a vicious Knight counterattack. You’re under no obligation to help one side over the other, but as you may have learned in previous encounters, the Knights are made of annoyingly resilient stuff. The first battle here, however, almost always goes poorly for the Covenant, no matter how much you try to “help.”
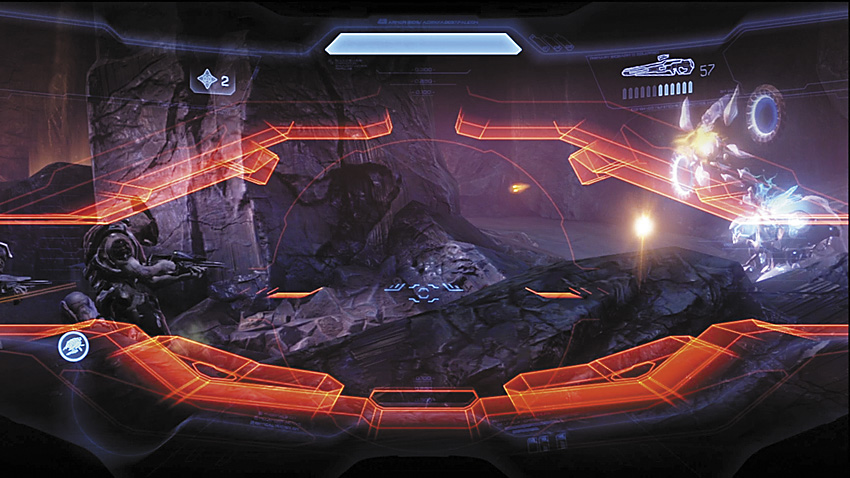
[17] This fight, however is much more even, but it still tips somewhat in favor of the Knight Battlewagon. Higher ranking Elites are having trouble breaking down the defenses provided by a pair of Watchers. If you take the Watchers out, you can force the Battlewagon to get more aggressive, which will lead to Elite casualties eventually, particularly if you take out a few for yourself.
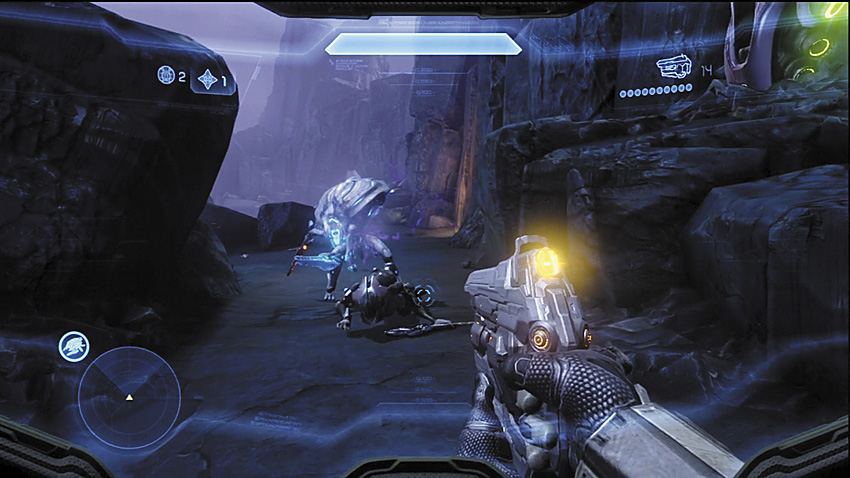
[18] After clearing the initial kill zone in the valley, you can climb along this cliff-side path, where you encounter an Elite getting utterly dominated by a Knight. If you sprint quickly along this path and are armed with a Scattershot, you can possibly interrupt the Knight and prevent the initial escape. If not, it will pull back toward the next part of the route. A pair of Watchers will teleport into the area [19]. The Watchers are priority targets! They will both try to craft new threats for you to face. The Watcher trying to craft on the path itself will make a Knight, while the Watcher at the top of the cliffs will summon a powerful Forerunner anti-infantry turret.
Key Combat Tip
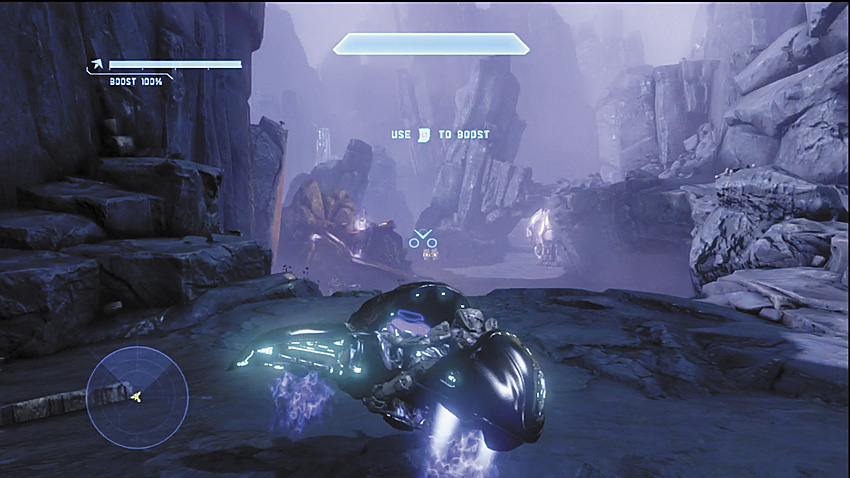
[19] As you leave the cliff-side path and pass through the gap in the wall, a pair of Elites on Ghosts suffer Knight-induced road rash and are relieved of life and vehicles. The Knight will teleport next to the Ghosts, as though to guard your new rides. Eliminate the Knight, and take one of the Ghosts for yourself.
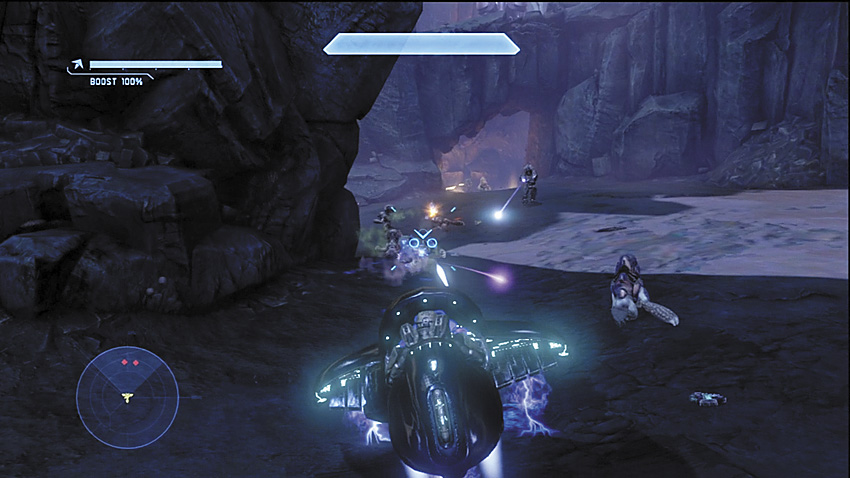
[20] Another Covenant-Promethean battle goes very poorly for the Covenant here, but you’re able to make things go badly for everyone. The Ghost gives you a lot of flexibility to flank and otherwise harry both sides of the conflict. If you’re in a hurry, you can actually blitz past most of the hostiles here by heading straight for the tunnels.
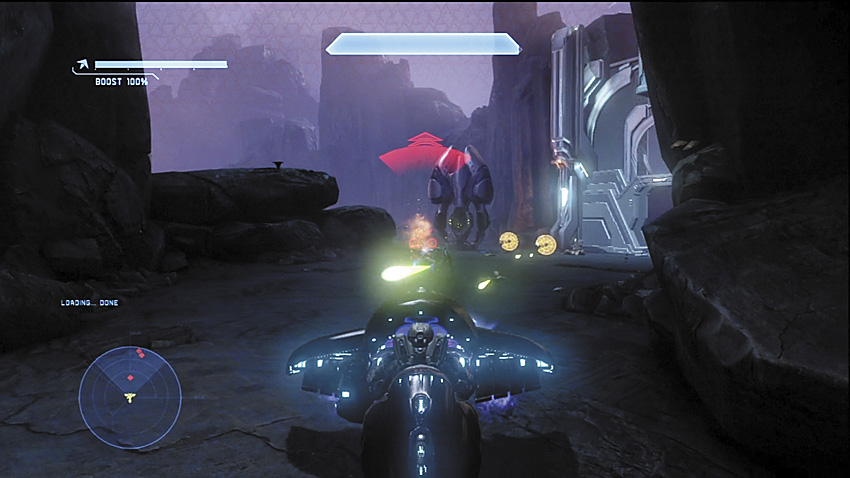
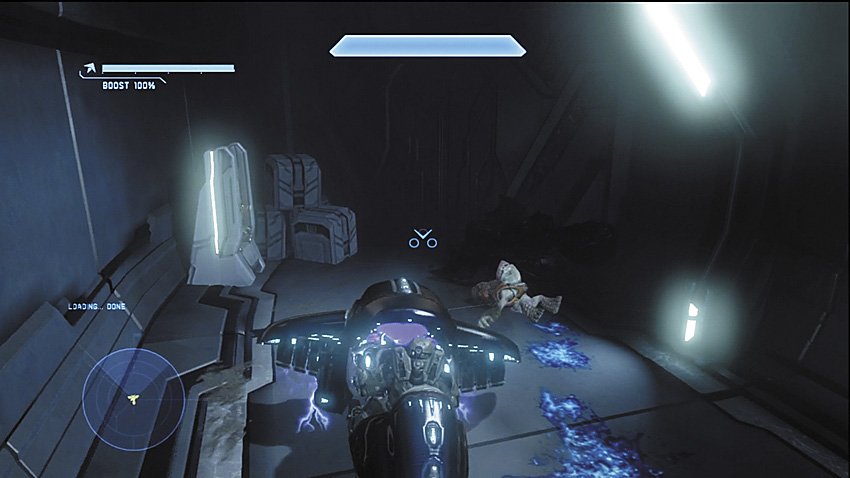
[21] After breaking through another small battle featuring Grunts and Jackals against Crawlers, you enter this tunnel, which is another chance to rearm and prepare for the next power facility. You can pick through multiple weapons caches here, and can find another Ghost at [22], if your current means of transport is looking a little roasted by plasma.
Major Firefight: The Second Shield Emitter
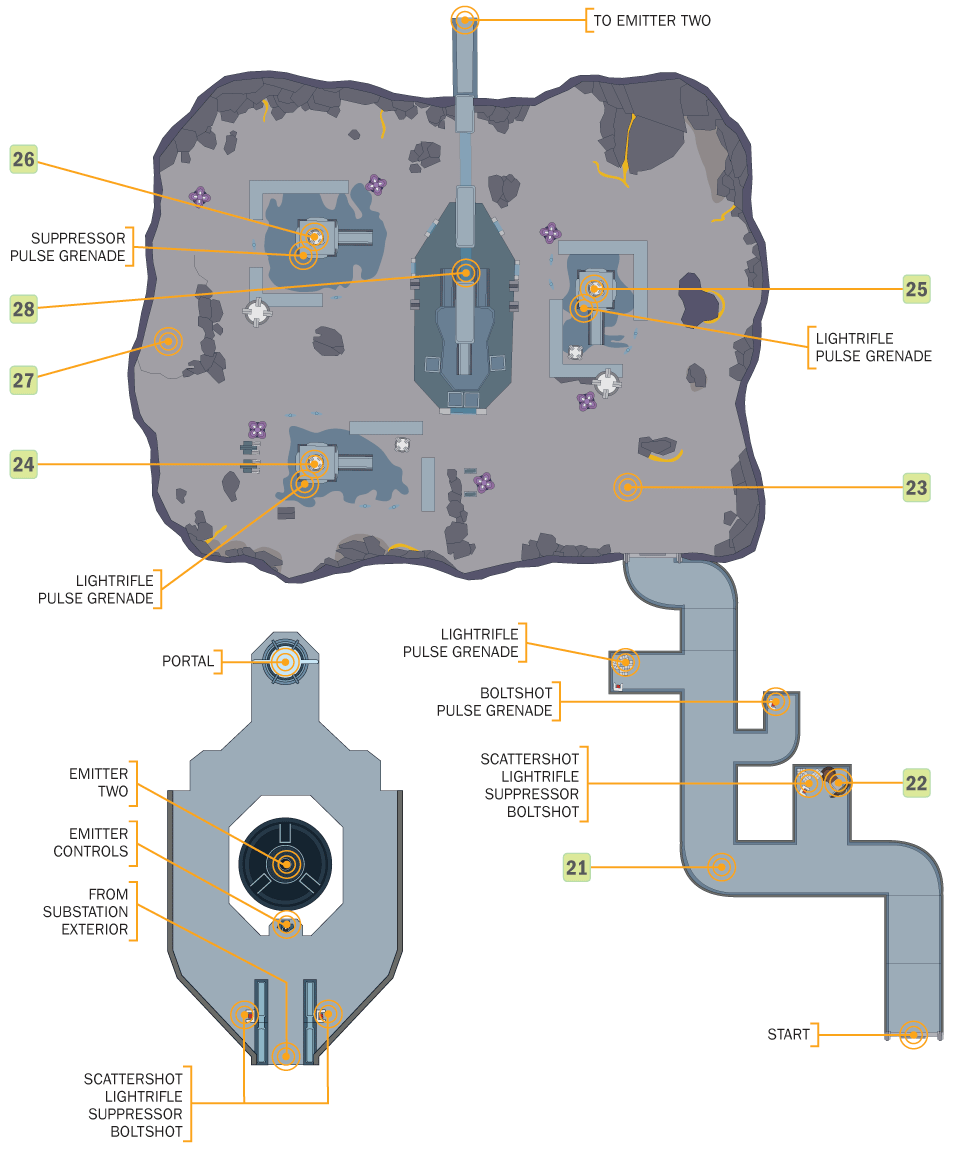
As with the previous shield emitter, there are three power substations scattered around a valley, with a central structure that has a connecting light bridge leading to the emitter controls. These facilities are currently being occupied by an extensive Covenant presence, including a small squadron of Banshees providing air cover. Fortunately, there are plenty approaches that enterprising Spartans can take to quickly run roughshod over the defenders.
Recommended Loadout
It’s possible to beat this assault with a LightRifle and Plasma Pistol combo, and there are plenty of Covenant packing the Plasma Pistols, so you can keep rearming on the run. The Covenant vehicles in the area can be easily disabled with charged shots, which allows for hijacking. If you have arrived on a Ghost, then aside from strafing runs from Banshees, the defenders around the substations will be hard-pressed to deal with a skilled driver. There is, of course, always the option to steal a Banshee of your own.
One Banshee Down, A Good Start
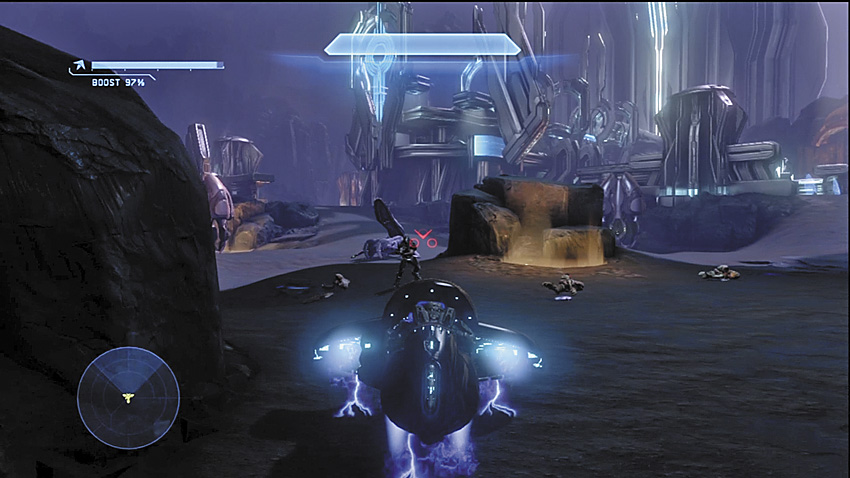
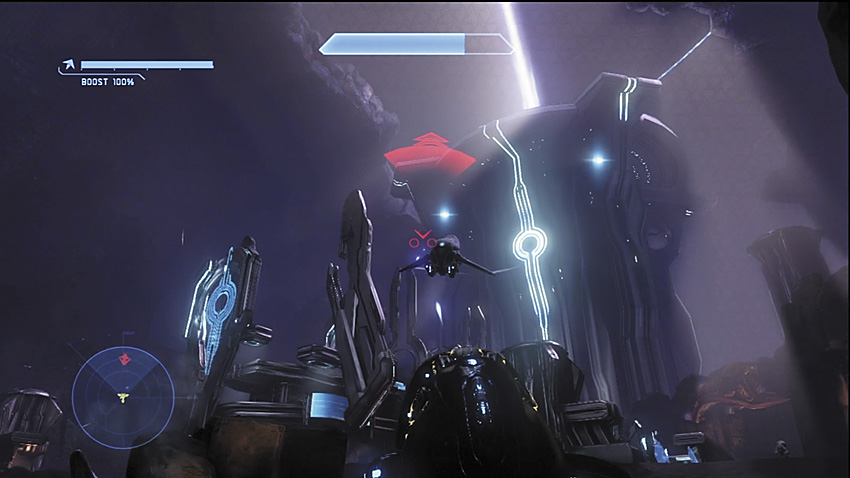
[23] As soon as you enter the valley, an Elite near the door will start to fall back toward a parked Banshee. There is no reason to let him make it to the flier. With him out of the picture, you have a number of options. You can take the abandoned Banshee immediately, but by this time a hostile Banshee will likely already be closing in from above. Stick with the Ghost to evade the first strafing run, and then proceed with your chosen plan.
Key Combat Tip
Option One: The Ghost
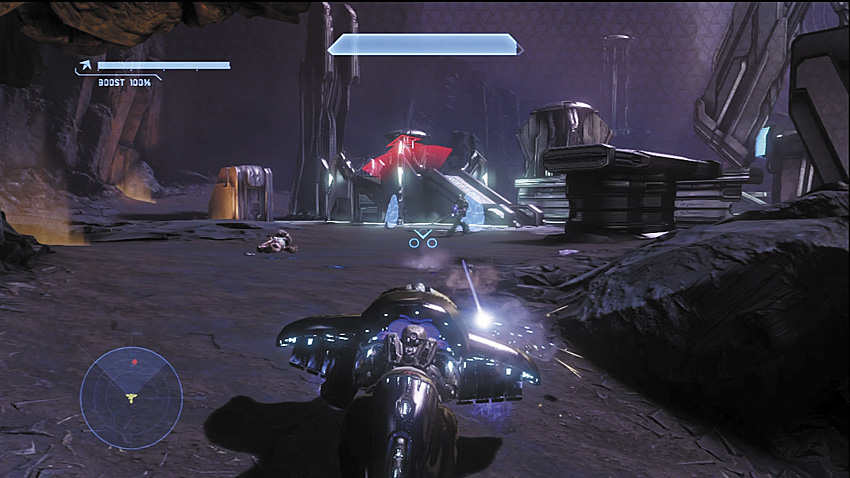
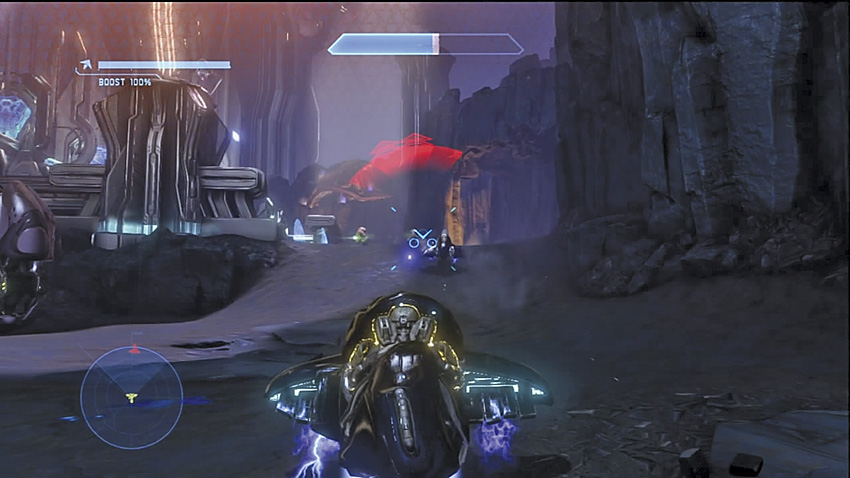
To reach the three substations [24] [25] [26] the quickest, the Ghost is a solid option. Your greatest vulnerability will be from above, either from Elites and other Covenant in the central structure sniping down at you, or from the Banshees in the air. Both of these are relatively easy to negate. For the former, you can use the terrain and other Forerunner constructions to deny snipers clean shots. Taking a Ghost up against a Banshee isn’t a safe option. The Banshee Plasma Cannons can melt your ride very quickly, and their pilots are deadly accurate, preferring to attack your Ghost from angles from which you can’t shoot back. Speed and movement are life if you’re insisting on the ground game.
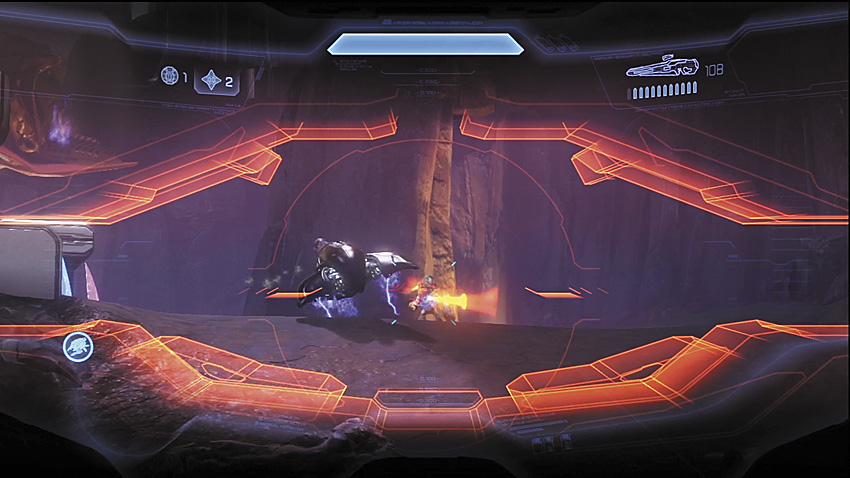
Multiple hostile Ghosts are patrolling the substations, and they can be problematic if they flank you. Elites can hijack you if you let them get near, so be sure that you gun them down from afar, and if you have to get close, it should be because you hit them while holding down the speed boost for your own Ghost. The last problem with the Ghost is that you don’t have the means to easily take out all the Covenant protecting the central building, so you’re forced to hoof it.
Option BYOB: Bring Your Own Banshee
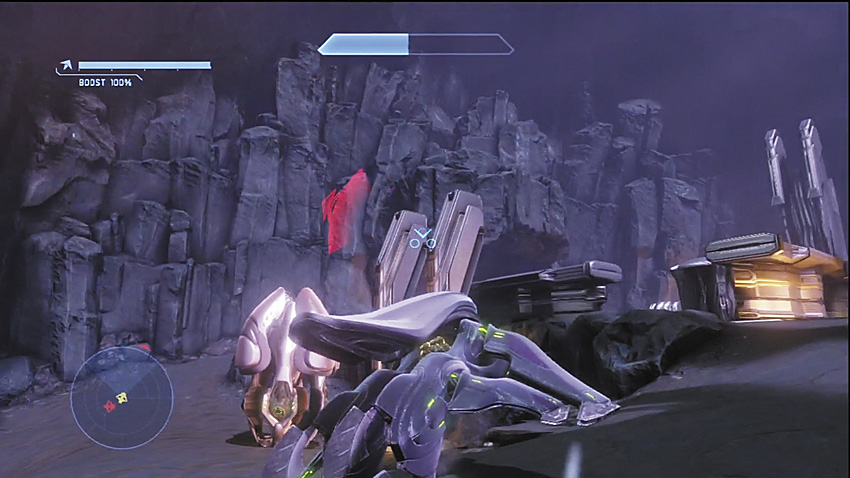
[23] [27] There are two Banshees you can get quick access to. The first is obviously the one you prevent from being manned as soon as you enter the area. The second is on the other side of the valley from where you begin. On a Ghost, you can quickly make your way to it, but doing so early on is asking for trouble, as there are hostile Banshees in the air, not to mention the numerous Covenant infantry on the ground defending the two substations near it.
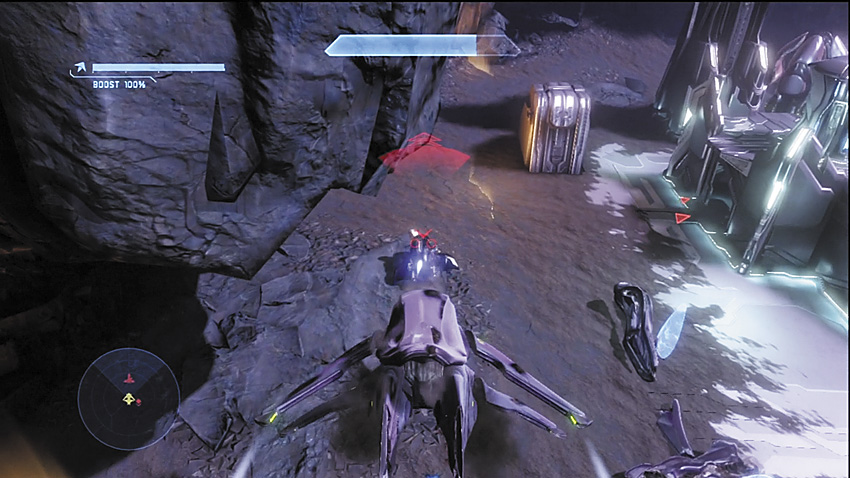
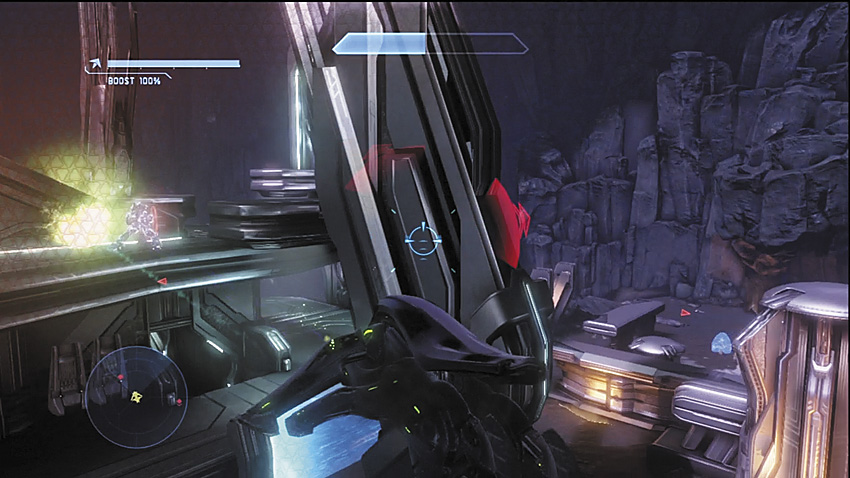
Banshees are incredibly fragile to incoming fire, and if you steal the first Banshee you find, you’re in a tight spot because multiple Banshees are in the air close by, ready to shoot you down. Get some altitude immediately to get out of range of Covenant infantry, and then make hunting down all the hostile fliers your top priority. The hardest part of this option is literally right at the moment you take off, when you’re in range of many angry Covenant firing from almost every direction.
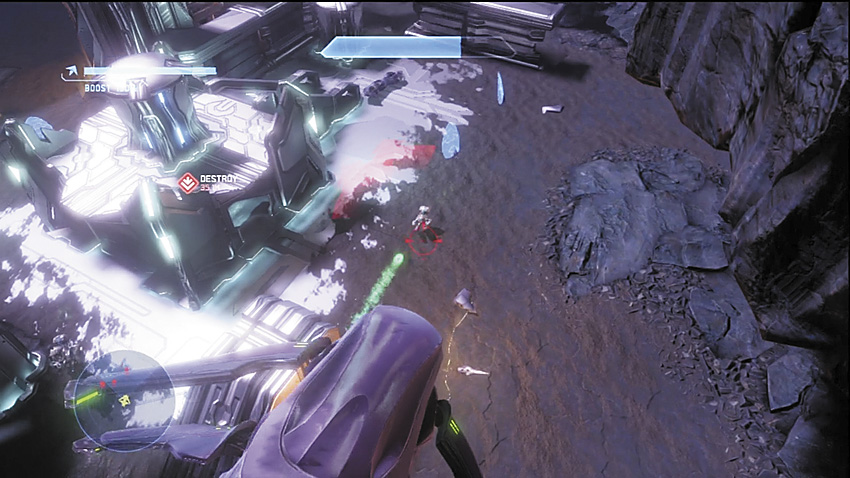
With air superiority yours, you can bomb every single defender next to the substations into submission. Just make sure that when you land your Banshee, there aren’t any Elites loitering close by to turn your ride against you. Avoid loitering at low altitudes when battling infantry from above, Grunts are savants when it comes to using charged Plasma Pistol shots to bring down hostile fliers. Whatever option you pick, as soon as you disable all three substations, get to the top of the central structure and make your way to the second shield emitter to shut it down.
Key Combat Tip
Alternate Approach
One thing you can try on any difficulty is to use a Banshee’s Fuel Rod Cannon to destroy the substations from above. It’s not easy to thread a shot to hit each generator, but if you do, you can avoid a lot of hassle once they are destroyed and just land your Banshee atop the tower and flee across the light bridge to safety.
The Central Structure
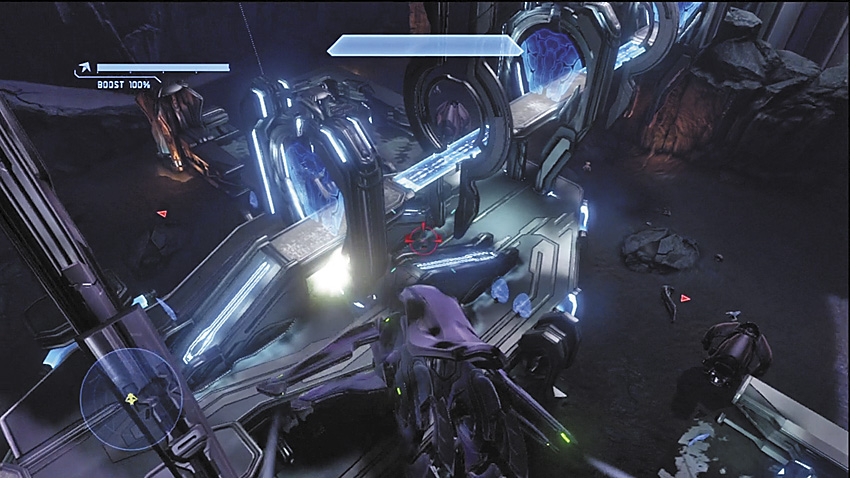
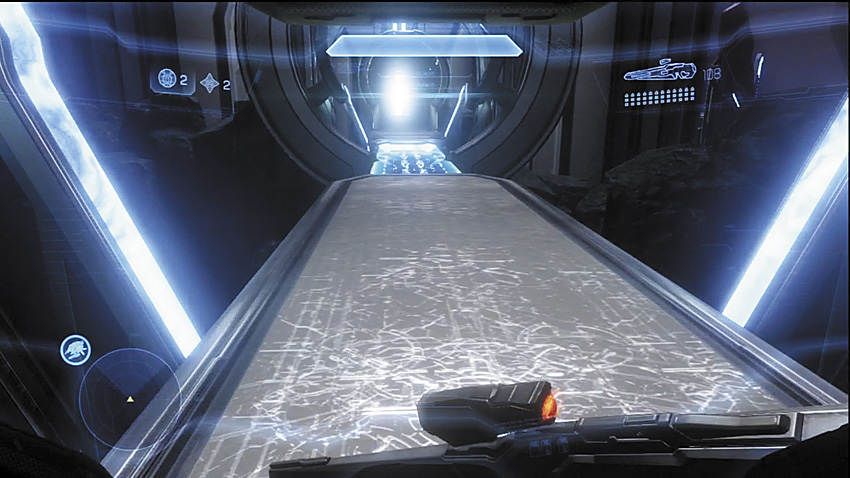
[28] Multiple Elites control all of the central ramps that lead up to the light bridge. You can bypass or destroy much of this resistance by using a Banshee, but if you’re stuck taking them on while on foot, you can’t beat the LightRifle and Plasma Pistol combo for sheer efficiency.
Legendary Strategy
A major problem with your starting position is that you’re essentially surrounded by enemies, and you can’t ignore the fact that there’s a Banshee you can prevent from taking to the sky and joining ones that may already bearing down upon you. However, trying to take the Banshee for yourself stands a good chance of ending within seconds of your boarding it. Ghosts aren’t much safer, but they are faster and smaller targets, which can give you a chance to keep the first Banshee grounded while evading the others. Do what you can to clear the skies directly over the starting point [23] from the ground. From there, you have to make sure that you deal with the hostile Ghosts protecting the two closest substations. If you take out the troops from substation [24], you’ve given yourself a good window to take to the skies in some measure of safety.
Legendary Gameplay Video
Almost Home
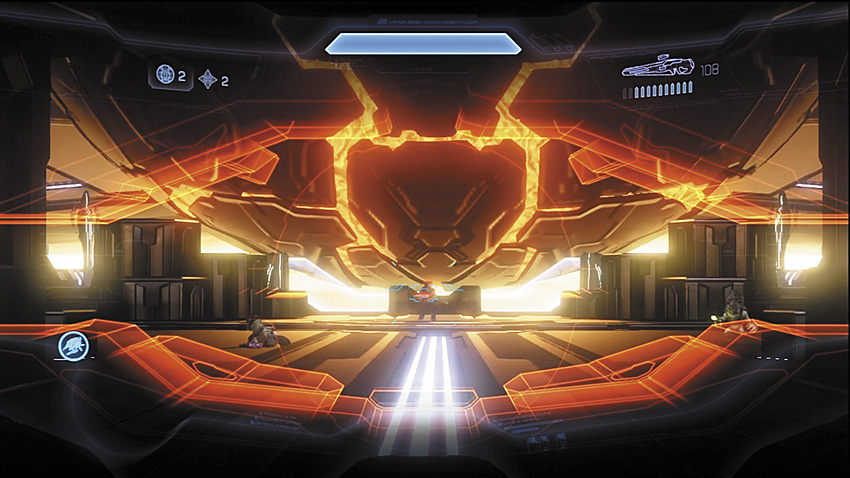
As you reach the final emitter and shut it down, the worst-case scenario happens in spite of your efforts. The Infinity begins its descent to the planet’s core, where it will inevitably be trapped by Requiem’s gravity well. Restock at the nearby weapons caches, then travel through the new portals Cortana opens. You reach the central satellite just as the Covenant begin their assault. You have to choose which path you want to fight through to reach the controls.
Major Firefight: The Core
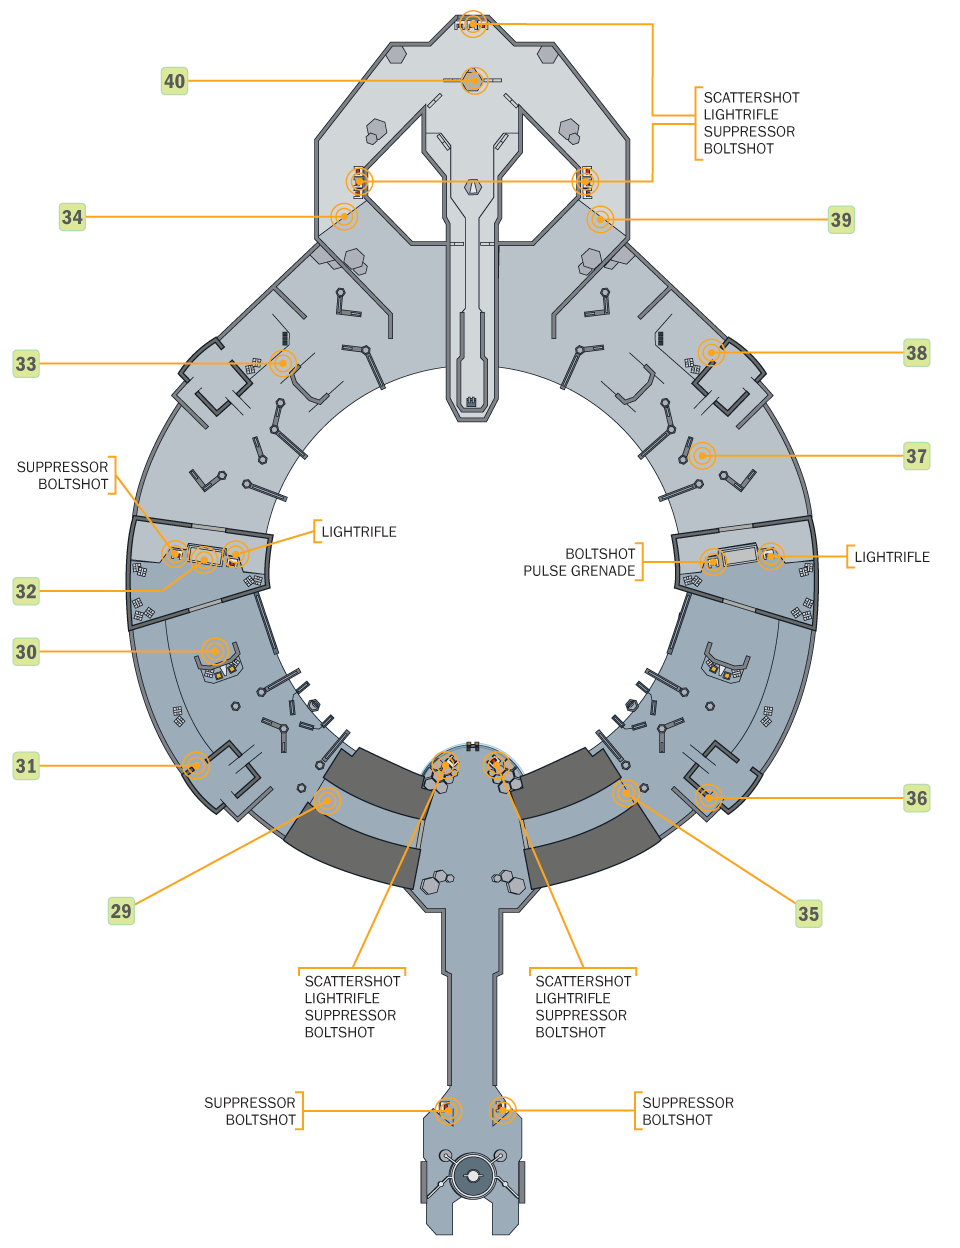
This is the last chance to warn off the Infinity , and the odds of making it in time to a system that will let you contact the ship are not good. There are two paths to the controls on the opposite side of the satellite: The path to the left [29] sets you up against a large Knight contingent that is holding out well against a Covenant assault. The right path [35] has you taking on the Covenant as they finish off the last of the Prometheans. Whichever you choose, you are in for the hardest fight of the mission by far.
Recommended Loadout
Hopefully you’ve kept your Autosentry. Having the extra firepower and distraction is going to be crucial. You can always rely on the Plasma Pistol to break through shielding quickly, and on either route you’ll have the opportunity find replacements for this gun to keep loaded. LightRifles compliment the Plasma Pistol well, and you’ll eventually encounter the incredibly useful Binary Rifle, the most powerful sniping weapons available. A Scattershot is also useful for putting down Knights and Elites alike.
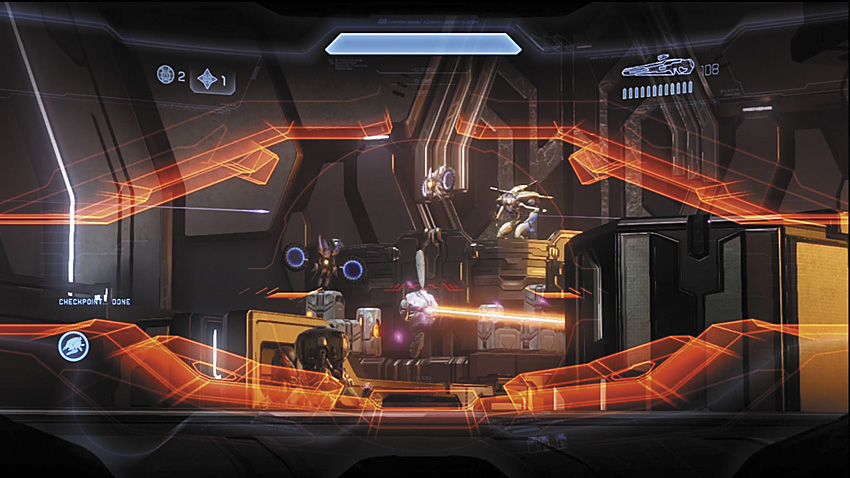
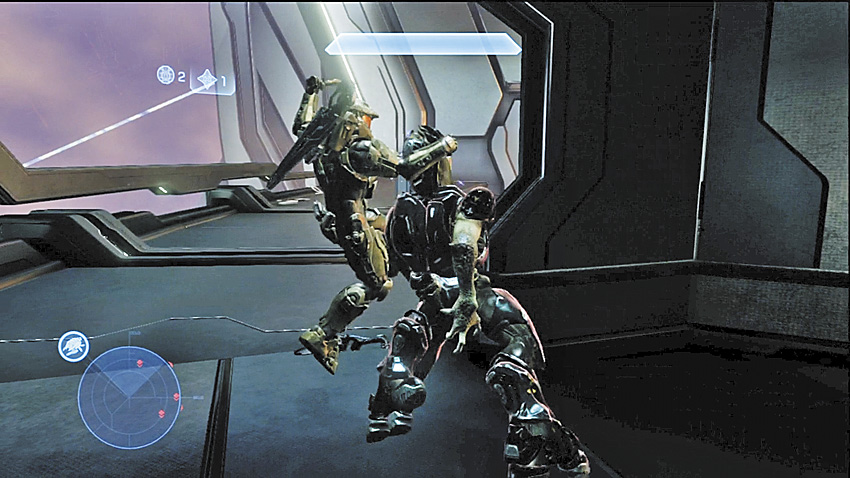
To the Left: Knight Lancers, Forerunner Turrets, Dying Covenant
[29] As you crest the ramp leading to this room, your first sight may be an Elite getting disintegrated by a single shot from a Binary Rifle, which is wielded in the distance by a Knight Lancer that is protected by a Watcher. More Knights flank the Knight Lancer, charging into the Covenant and fighting to take back the balcony to the left, while a Forerunner anti-infantry turret tries to lock down the lower level in conjunction with the Knight Lancer. There are a couple of ways to handle the threat from the Knight Lancer. One is to use the Covenant in the area as a moving, living shield while you move from cover to cover to get close enough to it to put it down. The Grunts and Jackals will not last long against the Knight Lancer, but they aren’t meant to. Use them to help take out the Watcher and Forerunner anti-infantry turret first. If you’re lucky, you can scrounge up Plasma Grenades to try to stick the Knight Lancer.

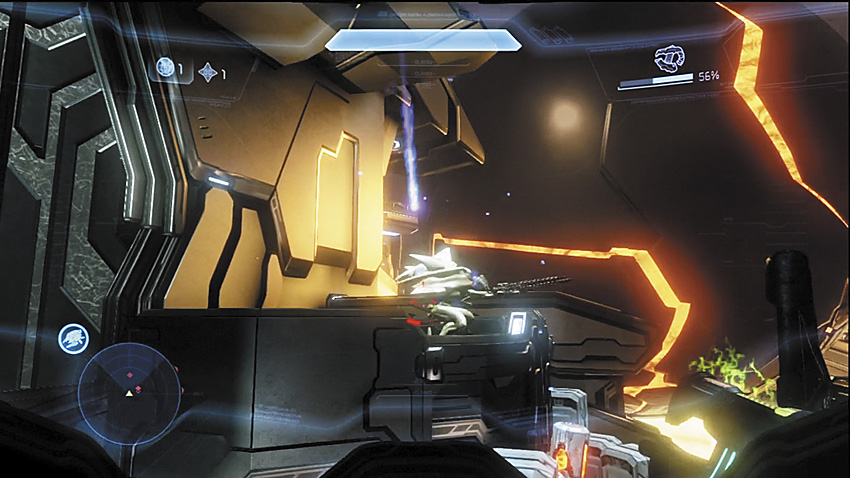
[30] The Knight Lancer’s Binary Rifle can pop your shields in a single shot, and the lethal follow-up is almost always within seconds. Do not stand out in the open! Destroying the Forerunner containers can clear out the turret and nearby enemies.
[31] The other is to use your Autosentry as a distraction to try to close in on the Knight Lancer via the balcony. Assuming it hasn’t been sniped, there will likely be an Elite along with a couple of Grunts taking on a Knight. By taking the balcony you get a chance to take on the Knight Lancer from an elevated position.
Key Combat Tip
Legendary Strategy
The biggest change to this battle on Legendary—aside from the usual increased speed and accuracy of enemy fire, the increased health of all enemies, and the improved shielding on enemies that have shields—is that the Binary Rifle is a one-shot kill regardless of your shield levels. As you might imagine, this ... complicates matters. If standing in the open was a bad idea before, it’s a guaranteed death sentence now. While it’s possible to advance forward using the Covenant as a distraction, they will not last even half as long as they did on Heroic, and that Knight Lancer has such a lockdown on the lower level that even if you manage to get close, you’ll have next to no support, and you still have to contend with the Knights guarding the ramps that lead up to the Knight Lancer’s perch. Its split-second reaction times at close range will probably grant you a trip back to the last checkpoint, where you get to fight your way back to it all over again. You should still start this battle by eliminating the Watchers and the Forerunner anti-infantry turret. If you’re lucky, the Covenant might be able to hurt the Knight Lancer, giving you an opening to finish the job.
The balcony route is “safer.” You need to “rescue” the Elite from the Knight on that level. It, combined with an Autosentry, can provide a reasonable enough distraction that you can try to stick the Knight Lancer with Plasma Grenades, assuming you have any.
If you don’t, you can still shoot it out with the Knight Lancer. It tends to try to stick to its post. You’ll just have to be extremely careful.
Whatever you do, take the Binary Rifle from this dead Knight Lancer if possible. It is incredibly useful for the next section.
Legendary Gameplay Video
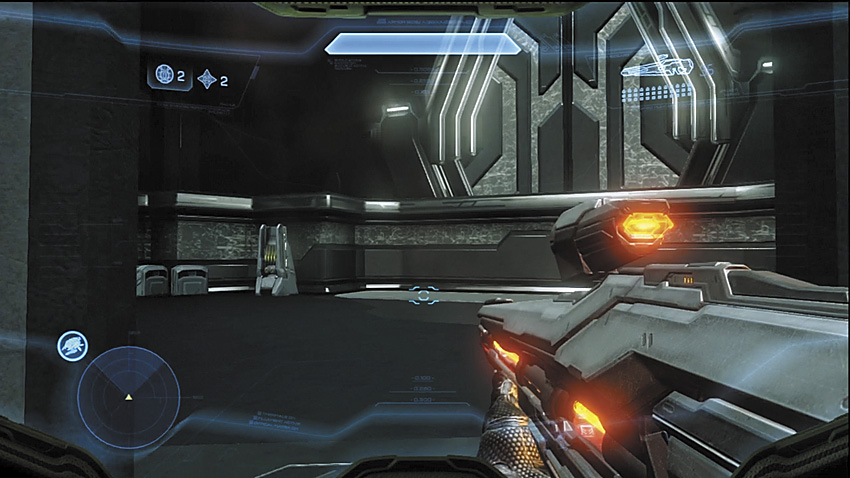
[32] The room that the Knights were protecting contains weapons caches that feature Suppressors and LightRifles. It’s recommended that you take a LightRifle to compliment the Binary Rifle we hope you have acquired. Once you ride the short elevator up to the door, you can’t come back for the weapons stored here.
Room Two
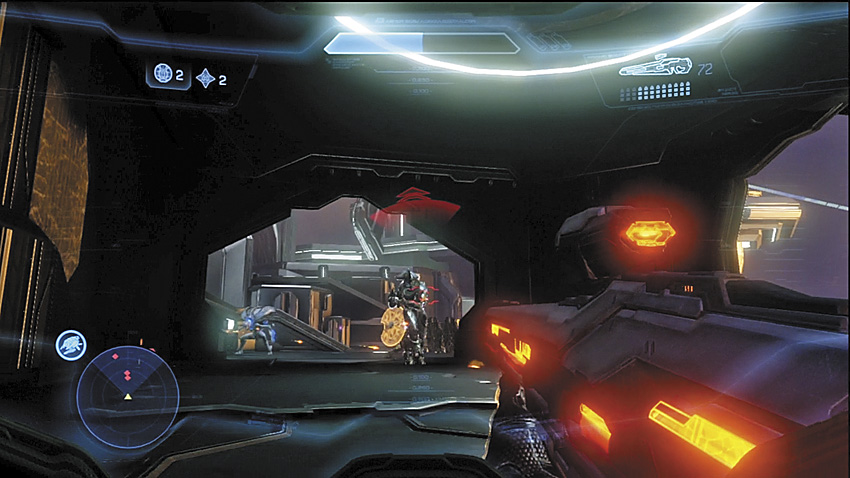
[33] A similarly designed arena to the previous battle, the same problems apply here. The Knights hold the far end of the room, with a Knight Lancer on a central platform. Unlike the previous room, they have a place to fall back to: the ramp leading up to the core. Ideally, you should not let them retreat that far, as the ground between their previous position and their new one has less cover for you to use. With the LightRifle, you should be able to take out the Watchers, as well as any Covenant who turn their guns on you. You especially want the Watchers dead to prevent them from rebuilding a Knight. Save the Binary Rifle for the Knights, particularly that Knight Lancer, which should be your first target after eliminating the Watchers. Two consecutive Binary headshots can bring down a Knight Lancer quickly, the trick is to land those shots.
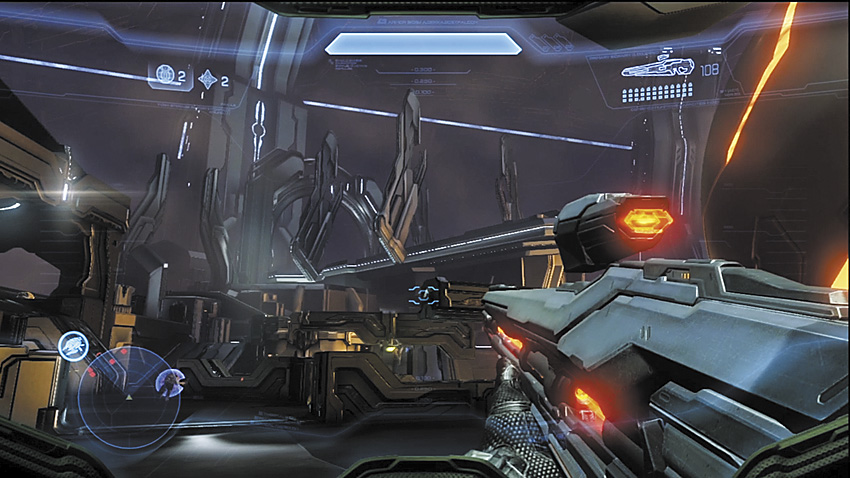
To make things a little easier, you can stick to the door near the elevator. So long as you don’t actually cross into the arena, you have a good safe spot to snipe from. Once the area is clear, proceed up the ramp toward the top of the satellite core. You have the opportunity to stock up at weapons caches located on the ramp [34].
If you should push the Knight Lancer back toward the ramp leading out of the area, you’re now somewhat in a bind because it can get good angles on you regardless of how you approach. You’ll have to go from cover to cover to get into position to disable its shields, most likely with a Plasma Pistol or LightRifle. Body shots are still lethal for an unprotected Knight.
Legendary Strategy
Another Knight Lancer and its Binary Rifle dominate the center of this area. Unlike the previous Knight Lancer, this one has a lot of room to fall back and recover its shields, and can even retreat to higher ground to maintain a positional advantage. It is still the priority target after you’ve eliminated the Watchers. You have a very limited window of opportunity to take out the Knight Lancer, as the Covenant that are bravely sacrificing themselves will not provide a distraction for long. After the Knight Lancer is out of the picture, the rest of this battle can more or less fall into a predictable, though still dangerous, pattern of exploiting the surviving Covenant to help bring down the Knights.
Legendary Gameplay Video
To the Right: Fallen Prometheans, a Resurgent Covenant
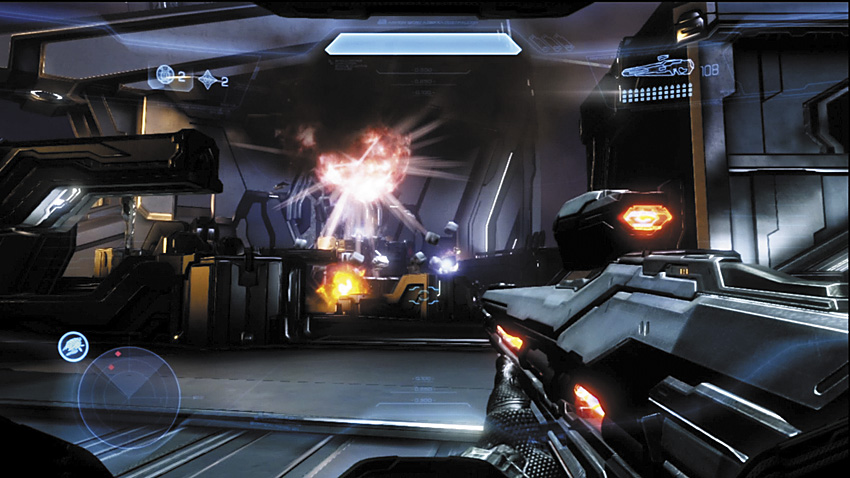
[35] The right route mirrors the left route in terms of appearance. The only changes are in enemy composition. After a Phantom crashes into the last vestiges of serious Promethean resistance, the first room falls under the command of a squad of Elites, with shield-equipped Jackals and Grunts patrolling the area. The Covenant knows you’re coming. Gather up a Plasma Pistol, as well as any headshot-capable weapon, and go to work. The Elites here are all high ranking, so expect to contend with Fuel Rod Cannons and Concussion Rifles.
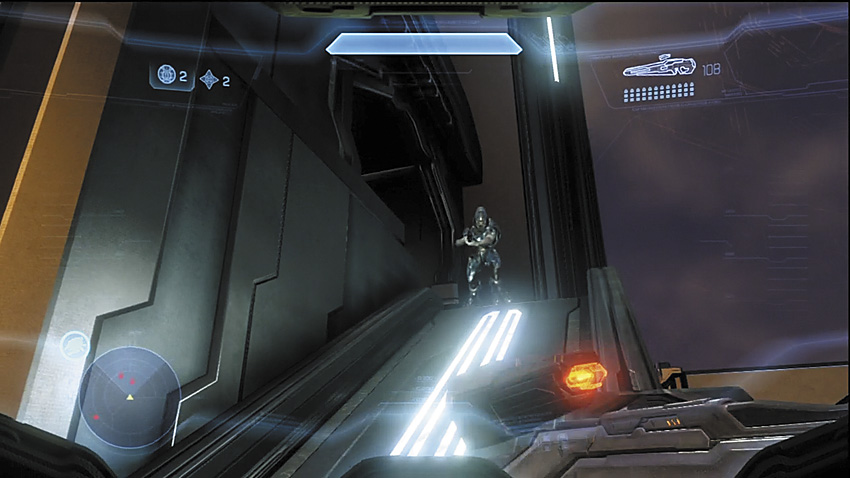
[36] The balcony is not necessarily a safe spot. The Covenant tend to charge aggressively into the balcony to try to dislodge you, and the close-quarters fighting against the Elites is always a dangerous prospect. If you post yourself up there, watch your Motion Sensor for flanking maneuvers. As soon as you eliminate all resistance, travel through the locked doors to the elevator room. As with the left route elevator, you have a set of weapons caches to rearm yourself. Make sure to take a LightRifle.
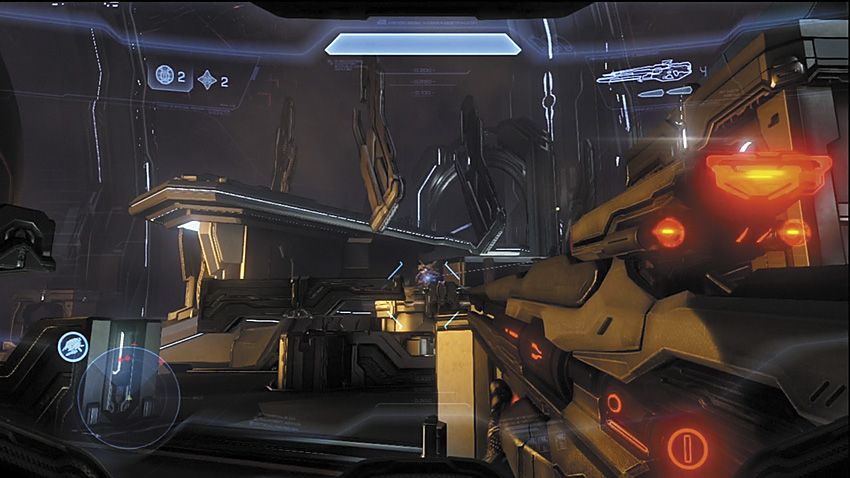
[37] You actually have a major advantage entering this room. Covenant on the ground level are concentrating on the remaining Prometheans at the central platform. Take out the Elite leading the ground level team to incite panic or suicidal rage among the Grunts, and punish them accordingly. Jackals will likely fall back to take up positions on the central platform, while the balcony [38] will possibly have more Grunts and Jackals to deal with.
Key Combat Tip
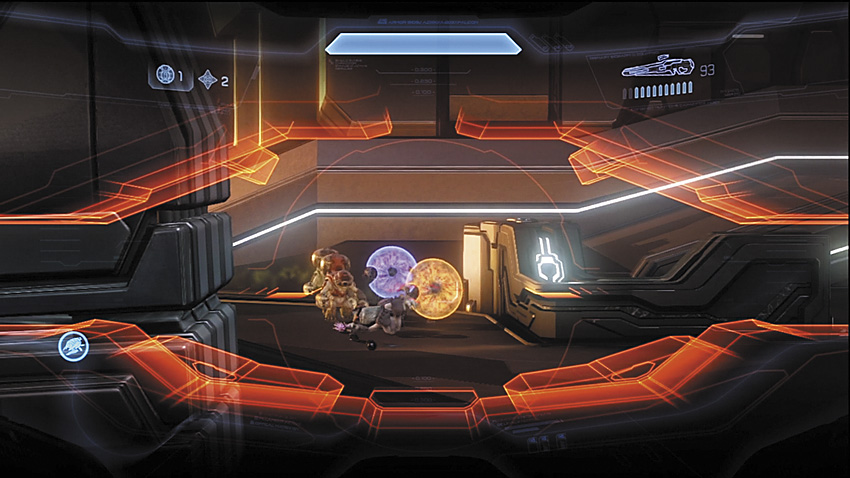
Mop up the Covenant that are guarding the rear of this room, then take the ramp up to the top of the satellite and be ready for a final brawl. Rearm at the weapon caches along the way [39].
Legendary Strategy
You’ve fought the Covenant enough by now to know what to expect from the Elites, and in a sense the right path is a test of your ability to manage larger numbers of Elites while still suppressing other types of Covenant infantry. While you always want to focus on reducing enemy numbers quickly at the start of any battle, keep an eye out for any Elites carrying heavy weapons like the Fuel Rod Cannon. If they get gutsy and charge you, be ready with a charge shot combo to take them down. On Legendary, you have a poor chance of survival if they get the first shot.
A LightRifle, if you have one available, is the best all-around weapon for these rooms, providing a good mix of range, damage, and safety. If you ever are unable to use the Plasma Pistol to take out Elite shields, you can still put them down relatively fast with the LightRifle alone. While it might be tempting to turn a Fuel Rod Cannon against the enemy, they tend to be too evasive for the weapon to achieve its full potential.
Legendary Gameplay Video
The Last Line
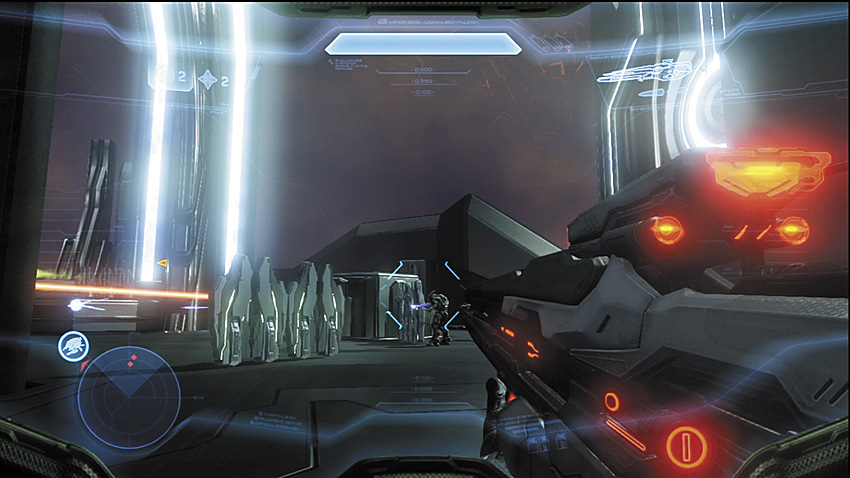
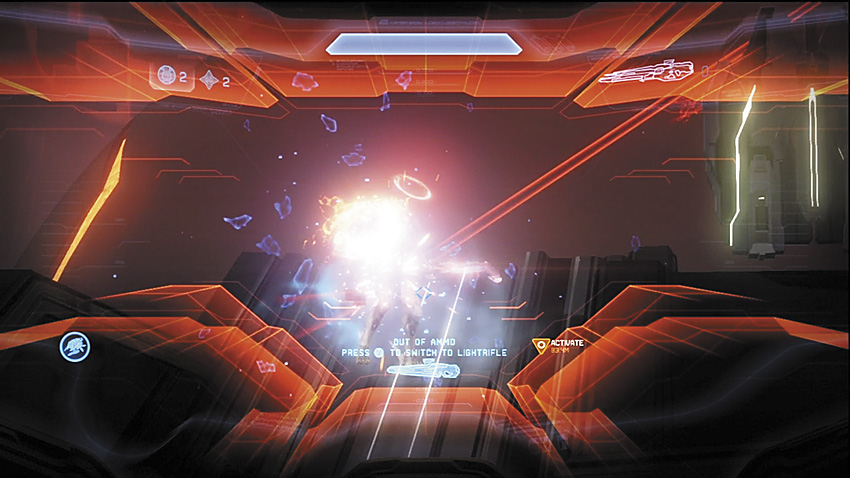
[40] A squad of Elites takes on a determined defensive line consisting of Knights, Knight Battlewagons, and a Knight Lancer, and it appears to be at a temporary stalemate. The Elites here are all high ranking and are able to survive most of what the Knights can dish out. Use this to your advantage, and take out a Knight or two to encourage them to push forward. This can distract the Knight Lancer and give you the opportunity to eliminate it before it becomes a problem. If you’re too proactive at killing Knights and leave the Elites alive, they in turn will take up positions to try to block your advance on the communications controls. Share the love equally amongst your enemies!
Alternate Approach
It is entirely possible to reach the target control pillars by taking out the Knights and Elites on the side of the arena you enter from, then making a mad dash toward it. On Legendary this tactic is much less likely to work due to the increased perception of all enemies.
Next Stop, Certain Death
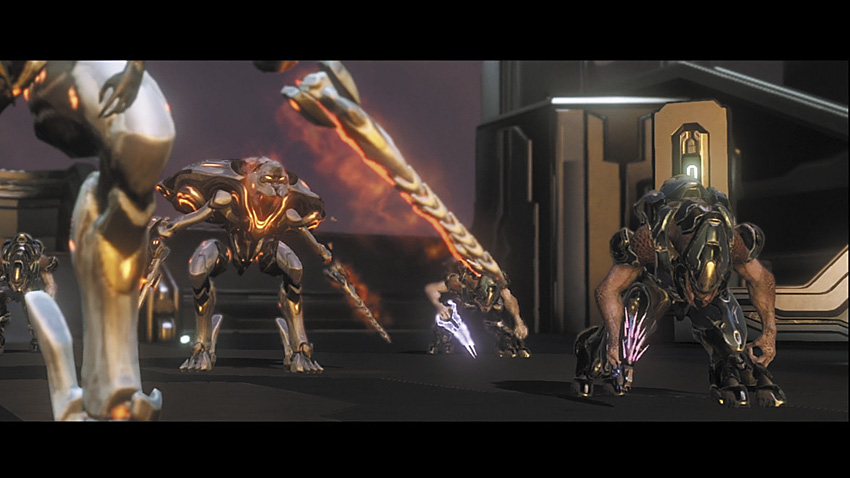
You have been deceived. Disabling the shielding around the core and trying to use it as a communications interface has only unleashed something—someone—ancient, and utterly furious at his apparent betrayal and imprisonment. Declaring that the Forerunners have returned, he easily brushes aside the Master Chief, while the Prometheans and surviving Covenant all kneel to this being’s professed authority.
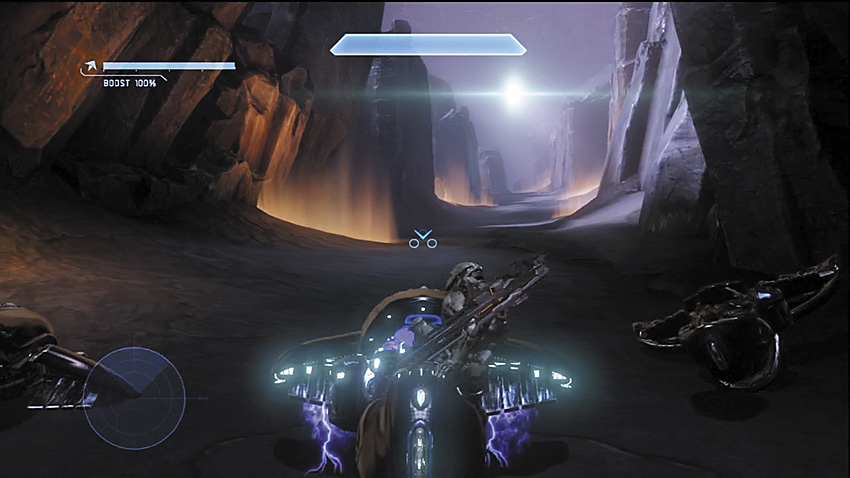
After barely escaping, the Master Chief comes to as a gravity well begins drawing everything toward the satellite core. There is no time to discuss the issue further. Calling the new enemy the Didact, Cortana urges you to get on a Ghost and make a run for a portal.
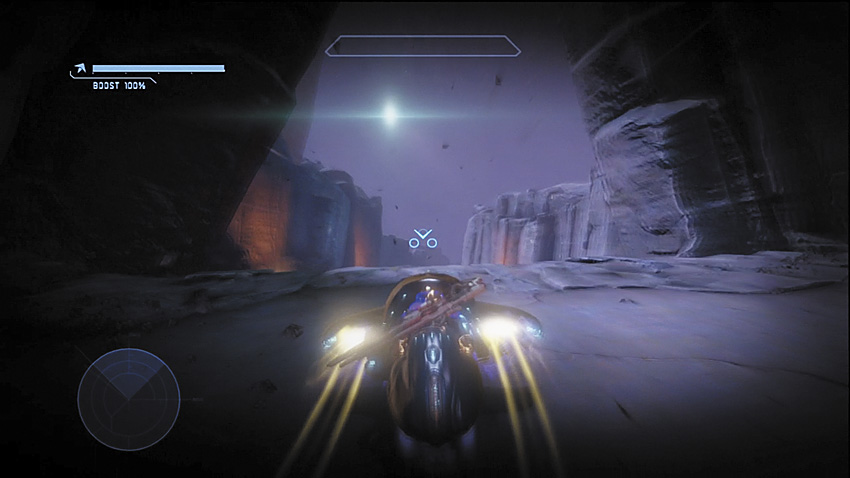
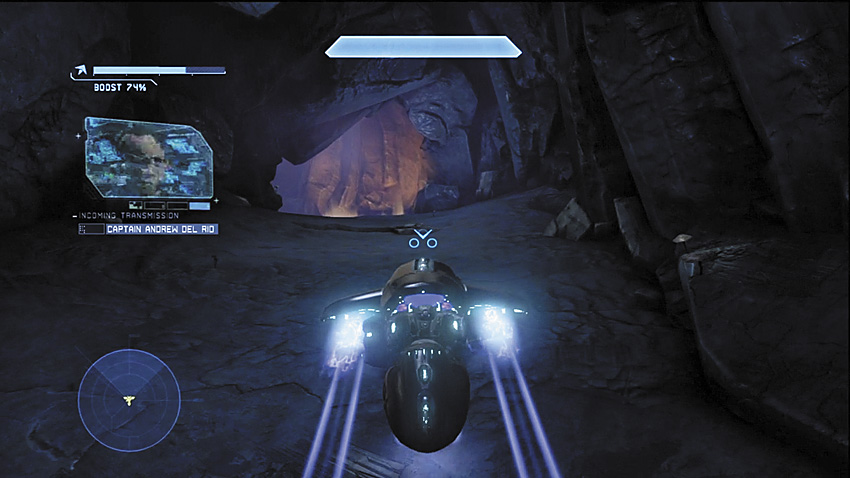
Because you’re in a hurry, Cortana shifts your shield generator to power the boost function on the Ghost. This gives you unlimited boost, but serious crashes can easily kill you. Dawdling will also kill you, so you have to take the risk and ride as hard and fast as you possibly can. It’s possible to get turned around after a bad crash, but if you are ever lost, just pay attention to which way the Grunts are running.
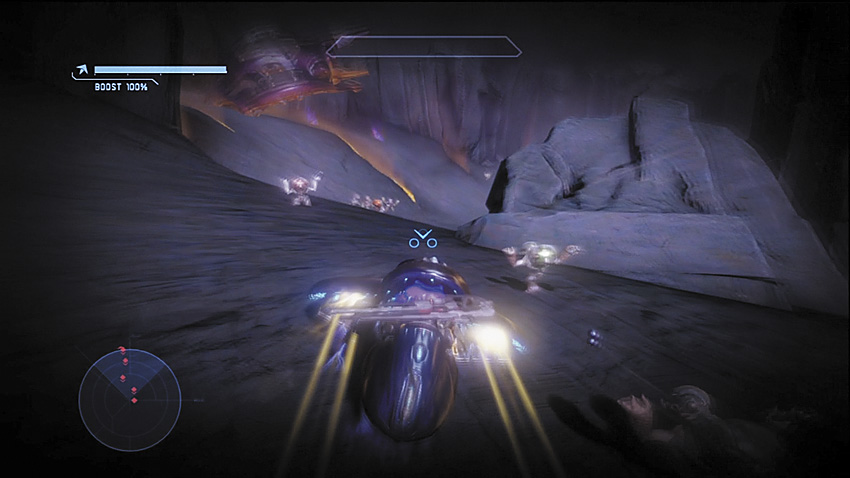
Fortunately, there are no special side routes, and no special items to locate along the way, you would have maybe seconds to try to collect any of it as is. The best advice would be to avoid the walls by laying off the boost to regain sharper turning, and to take every major jump at full speed and as close to straight on as you can manage, what with the ground in upheaval all around you as you race through the narrow canyons.
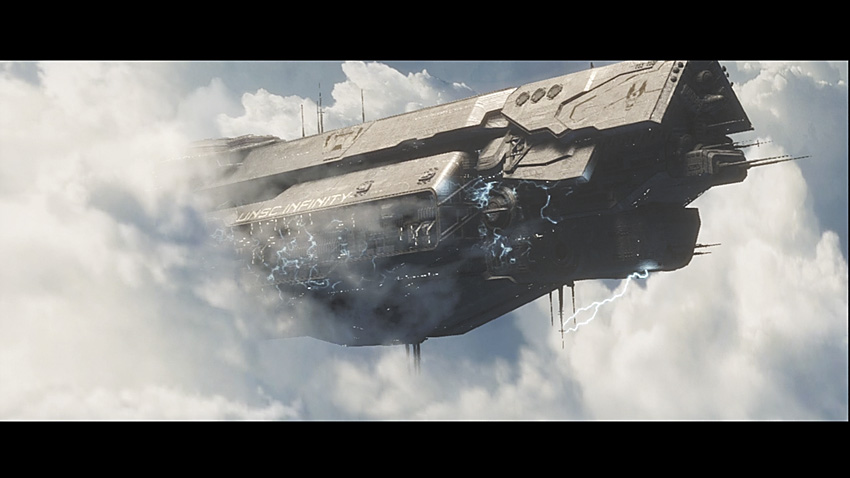
You eventually reach a portal and fly through it, which takes you to the planet at the center of the shield world. The UNSC Infinity streaks overhead toward the horizon. The Didact’s satellite flies after it in hot pursuit. The Master Chief orders Cortana to plot a route to the Infinity ; the survivors will need their assistance.