
Longbow
Powerful channel-based mass drivers like these were once used to launch monitoring relays deep into space.
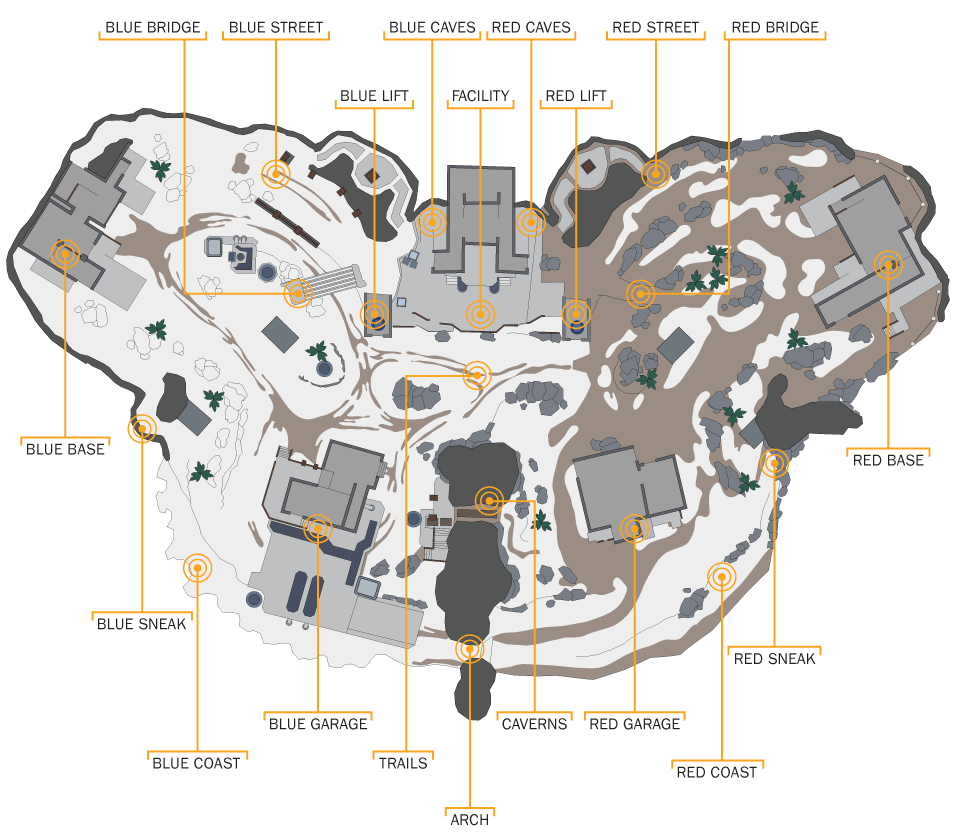
Choke hot spot: Expect high traffic, numerous enemies, and a well-used thoroughfare. Combat usually occurs here, and the location may be watched by enemy snipers.
Danger hot spot: This is an area of ground that is difficult to defend, has poor visibility for shooting angles, is sunken or low to the ground, or is in the open. Expect to be shot at if you’re here. Avoid if possible.
Mirrored hot spot: This location features an identical (or mostly identical) facsimile, almost always on the opposite side of the map. Expect tactical advice to be the same for both locations. Usually these are “blue” and “red” variants of a hot spot.
Sniper hot spot: This location is excellent for sniping, as it has numerous angles and views across much of the map. Expect long-range fire from these areas.
Hot Spots
1. Arch
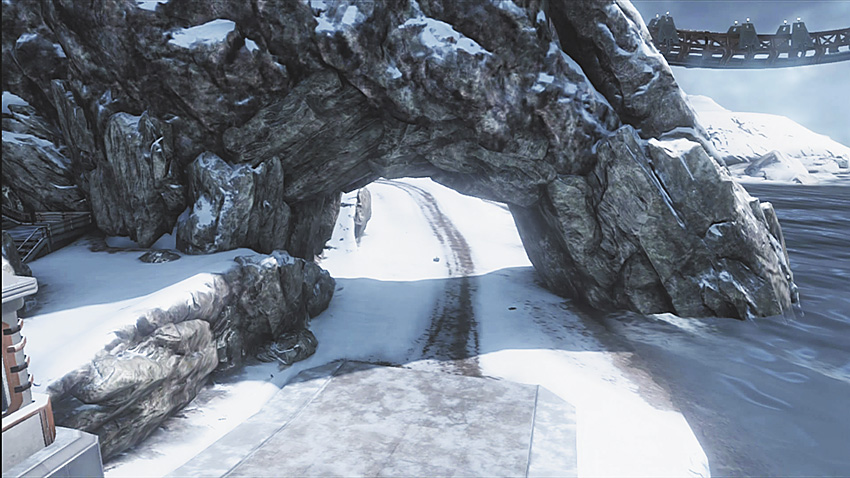
This enclosed area provides an overhead pathway on the map’s coast side. A lot of fighting happens around the Facility (11), so you can employ stealth play and drive vehicles through this back route to reach the garage on either side of the map. This makes an ideal spot to hide your vehicle if you need your shields to recharge. It’s also a solid location from which to snipe and keep the opponent back at their coast and cave.
2A. Blue Base
2B. Red Base
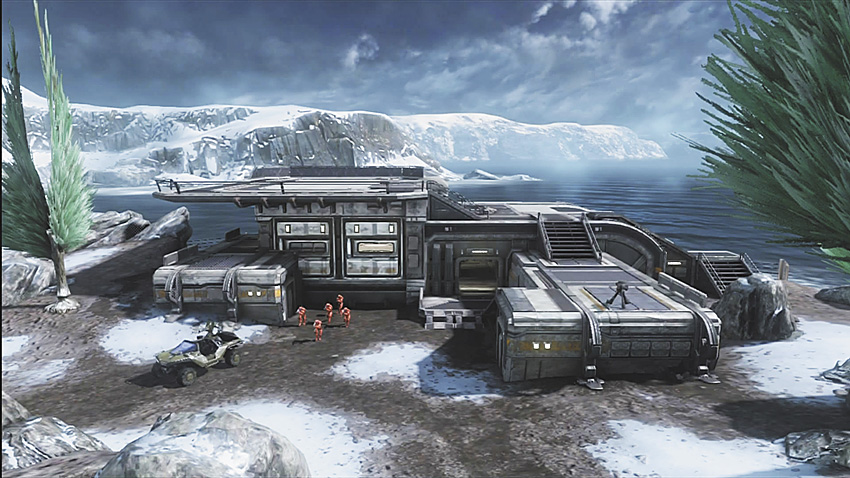
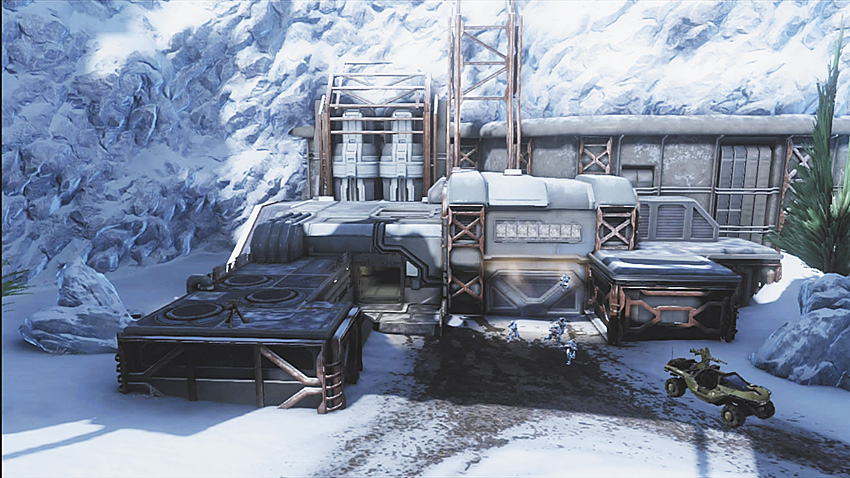
These are the spawning points for both the red and blue teams. There are numerous locations inside each base, so if you’re playing Team Slayer and have the lead, be sure to act like the king of these castles and force the opponent to come inside! Stay aggressive at your opponents’ base, as you gain the best line of sight for support fire.
3A. Blue Bridge
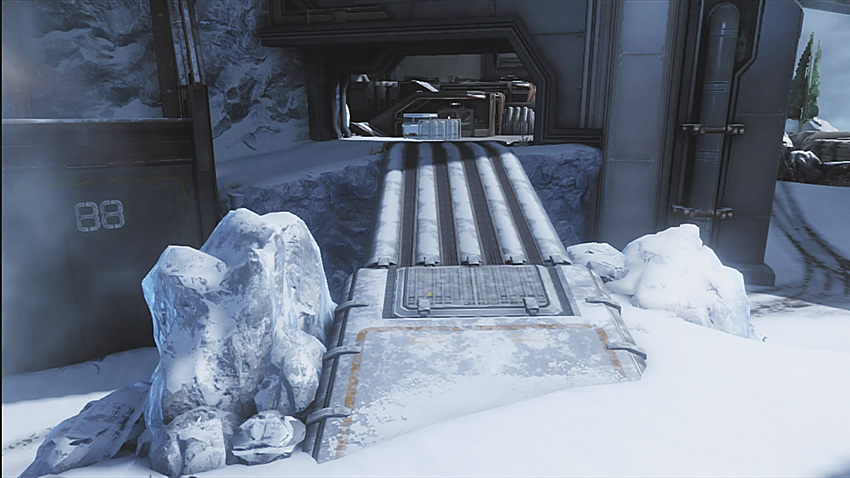
3B. Red Bridge
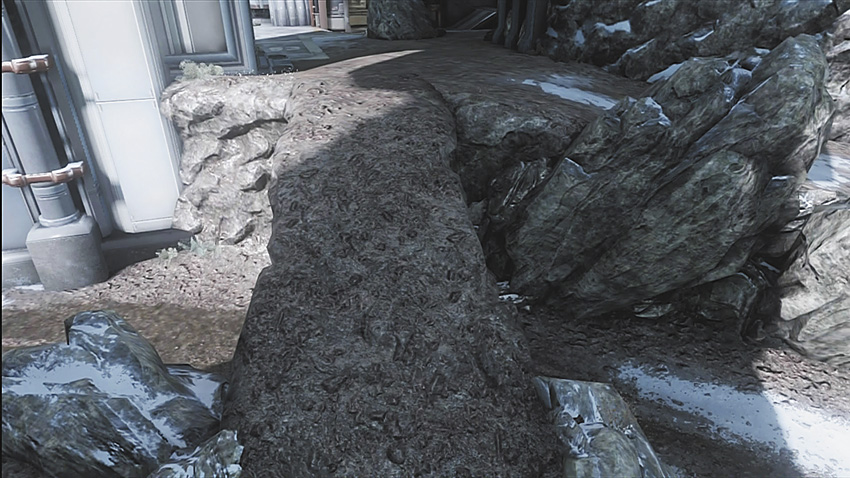
This long bridge connects to the Red or Blue Base (2); cross it to easily access your base, but you mainly want to use it to drive over or run by rapidly. However, this places you in an open area with no cover, and if there are enemies in the area, your only escape is by winning the fight or dropping underneath this locale.
4A. Blue Cave
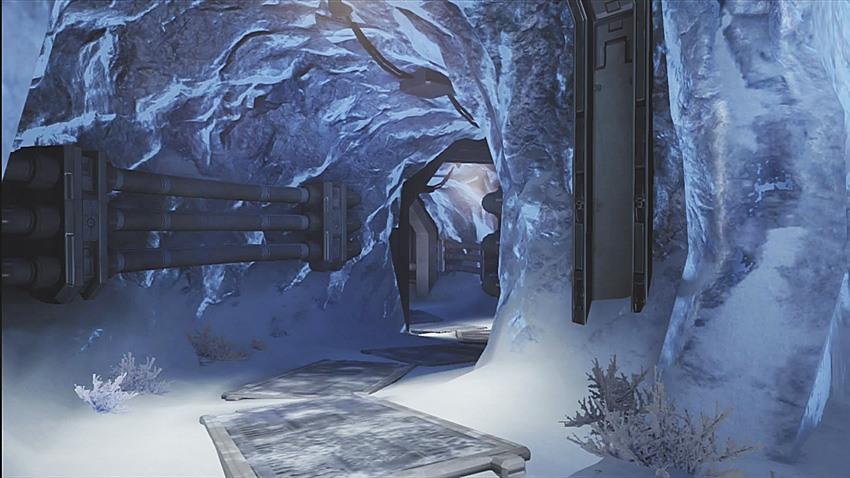
4B. Red Cave
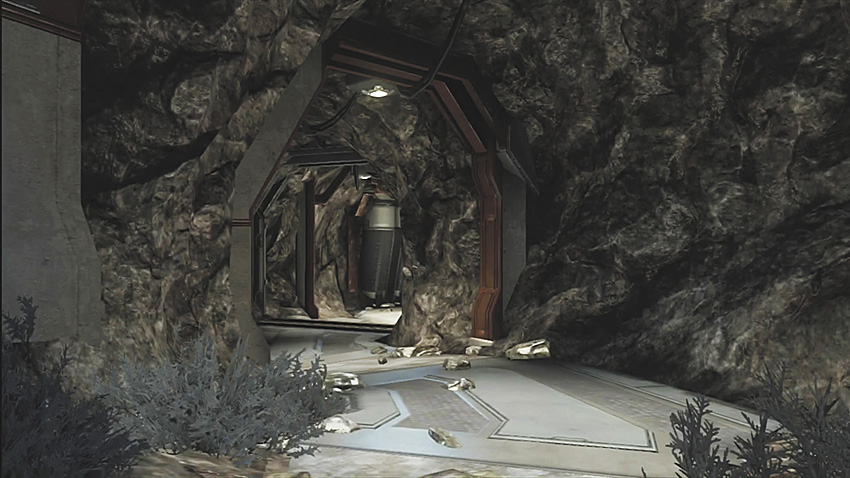
Use the Cave to sneak across from your base without being spotted or shot at as you try to gain control over the Facility (11). Head to this location when carrying the flag, as it gives you perfect cover: Just make sure your team has control of the Facility or you might be walking into a massacre you won’t survive.
5A. Blue Coast
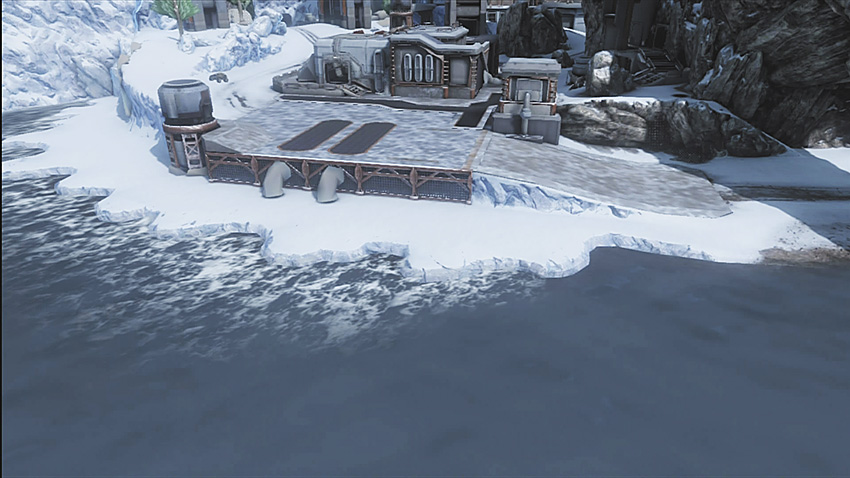
5B. Red Coast
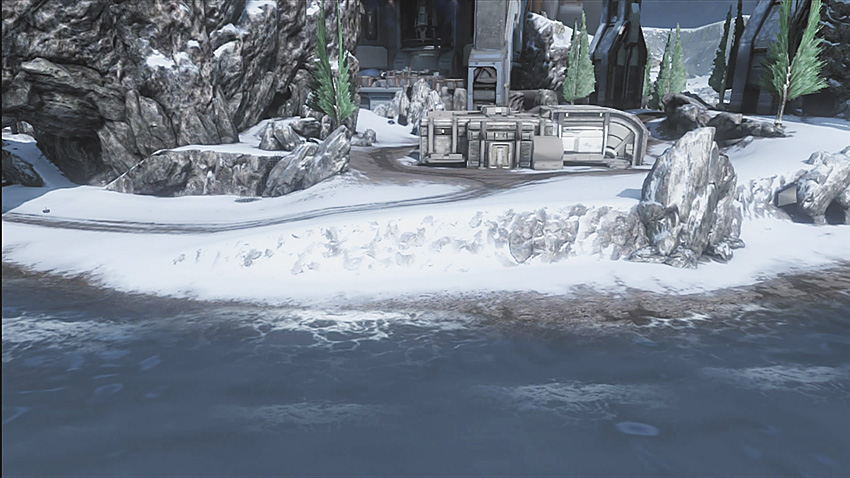
An area behind the garages by the sea, the Coast is very vehicle-friendly. However, don’t ever walk out here unless you’re heading to the Caves (4) and making a sneaky push into the opponents’ base.
6A. Blue Garage
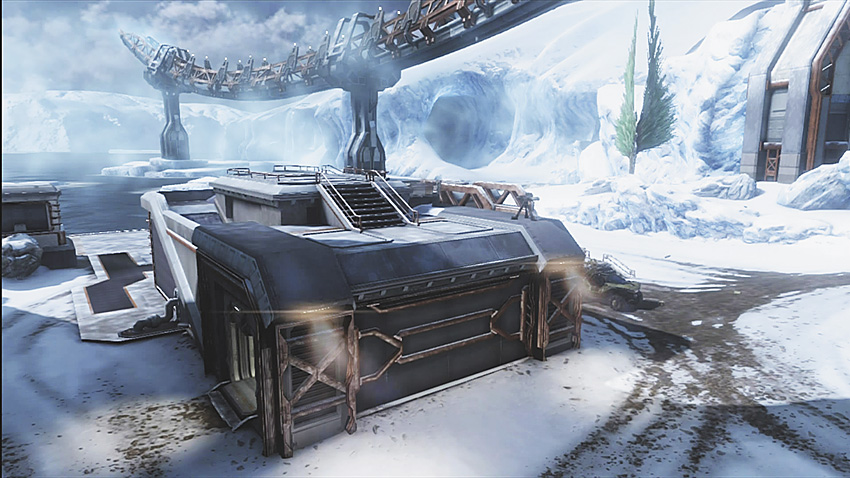
6B. Red Garage
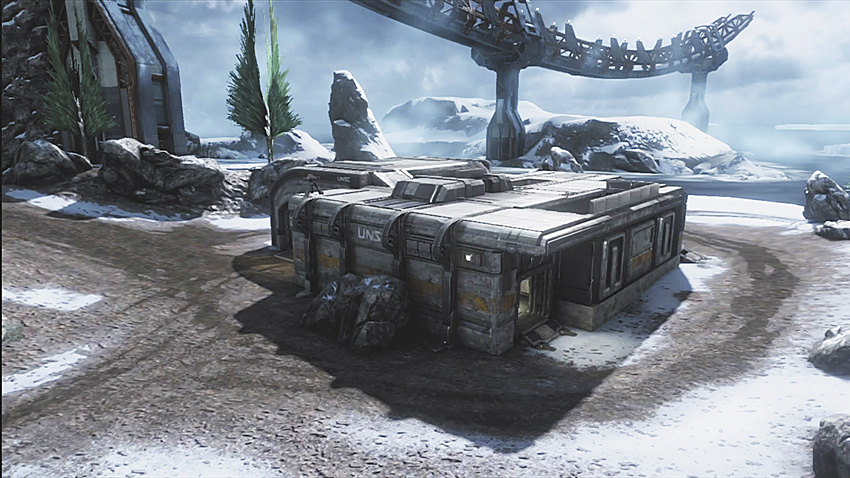
This is basically a secondary base for red and blue. These garages usually have a vehicle for you to operate. The roof of these garages are just as helpful as the roof of the main bases (and even better if you have both), as you can lay cross fire on spawners.
7A. Blue Lift
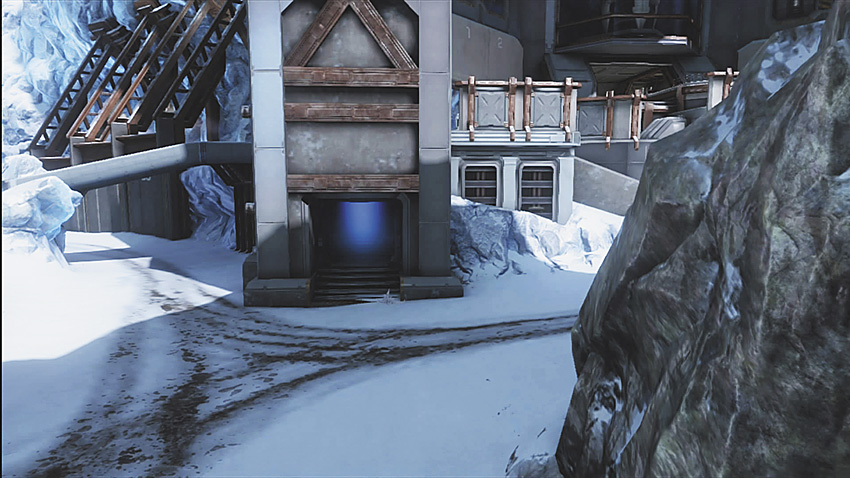
7B. Red Lift
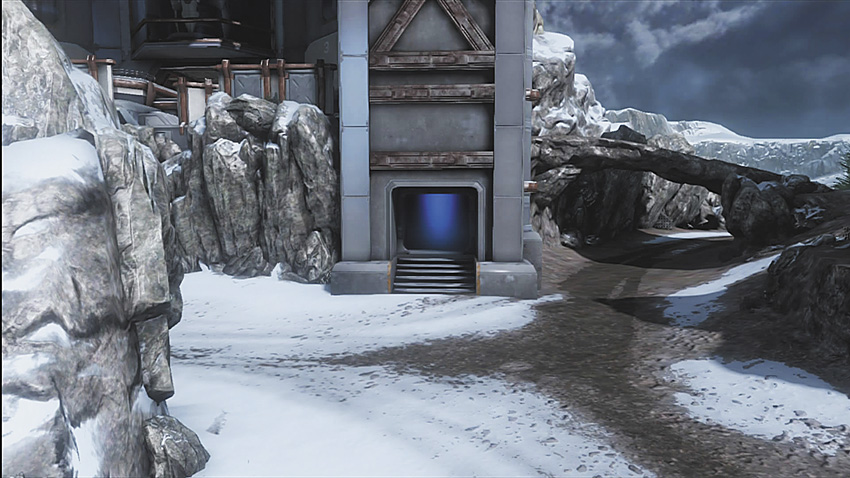
These are little rooms on both sides of the map that allow you to lift to one of the sides of the Facility (11). They are good to use when you’re near them and an adversary is shooting you from afar. The lift brings you right to cover, unless an insanely brutal firefight is under way for dominance of the Facility.
8A. Blue Sneaky
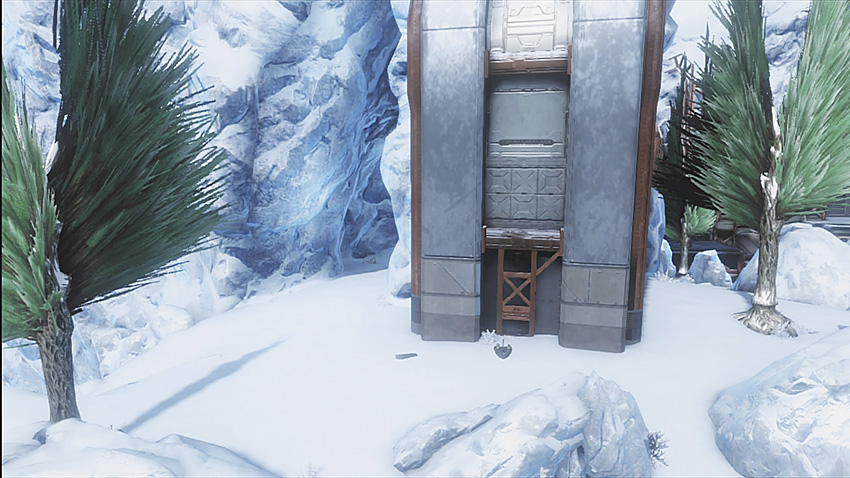
8B. Red Sneaky
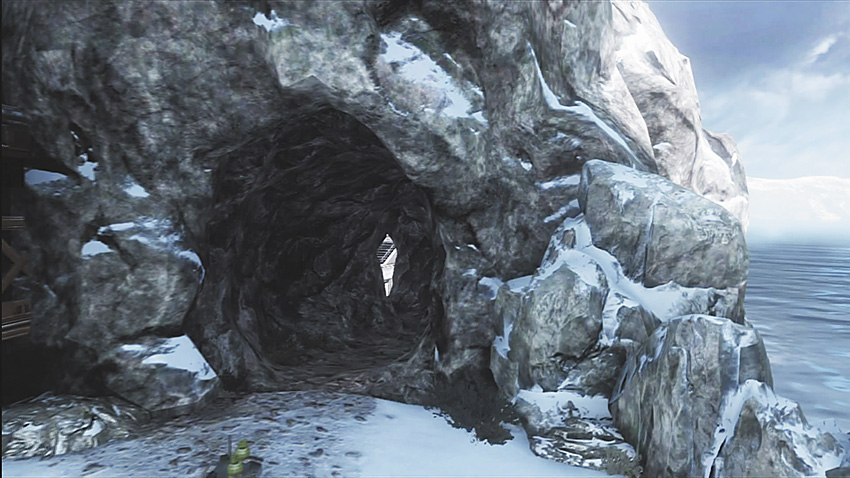
This is a pleasant place to hide. If you find yourself in a battle you can’t win, try escaping to here. It’s also a recommended position to run the flag to. Have a teammate with a vehicle waiting for you, as you can easily drive down the Coast (5), watching the sunset before capturing your flag.
9A. Blue Street
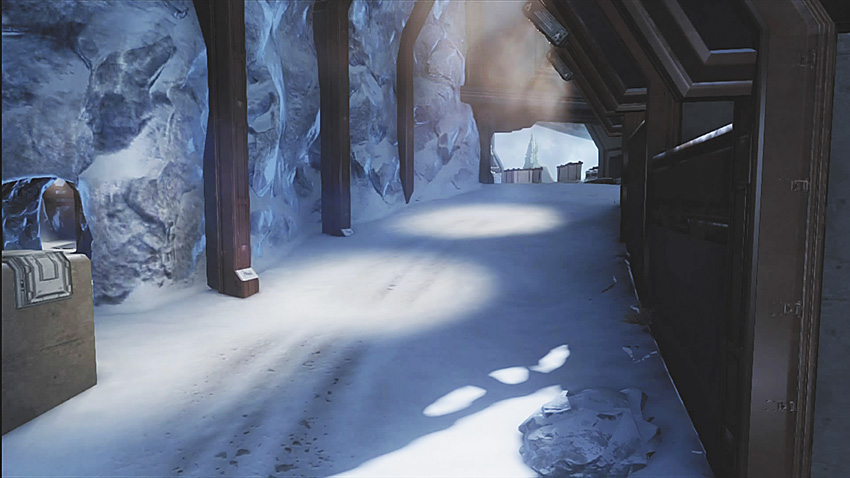
9B. Red Street
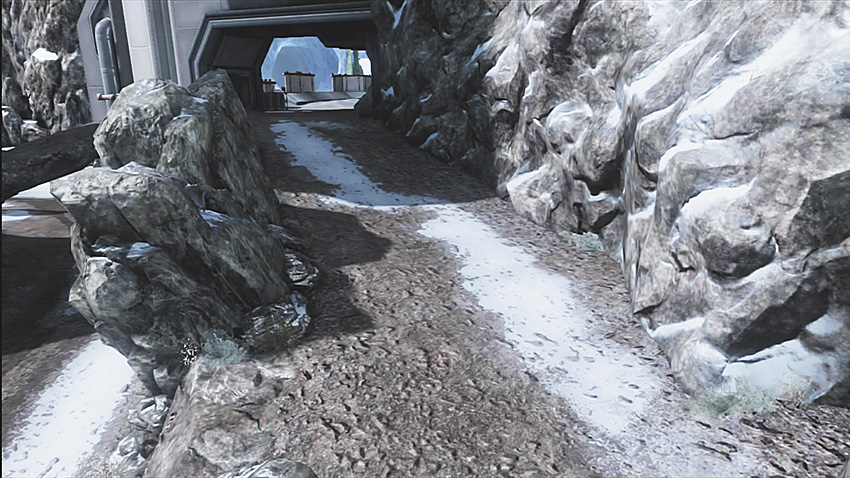
This is covered by a wall with excellent protection (there are only two angles from which to receive fire). The ramp leads to the Facility (11) or the Blue and Red Bases (2), depending on which way you’re headed. This is the preferred path to the Facility, compared to the Blue and Red Bridge (3), as you actually have cover and can sprint into the Blue or Red Cave (4) as you make your escape.
10. Cavern
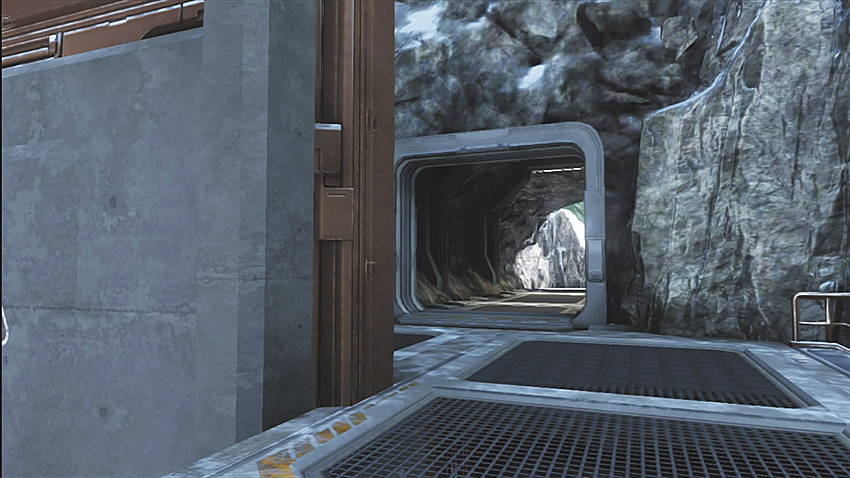
A hideout with massive protection that’s great for hiding a king in Team Regicide.
11. Facility
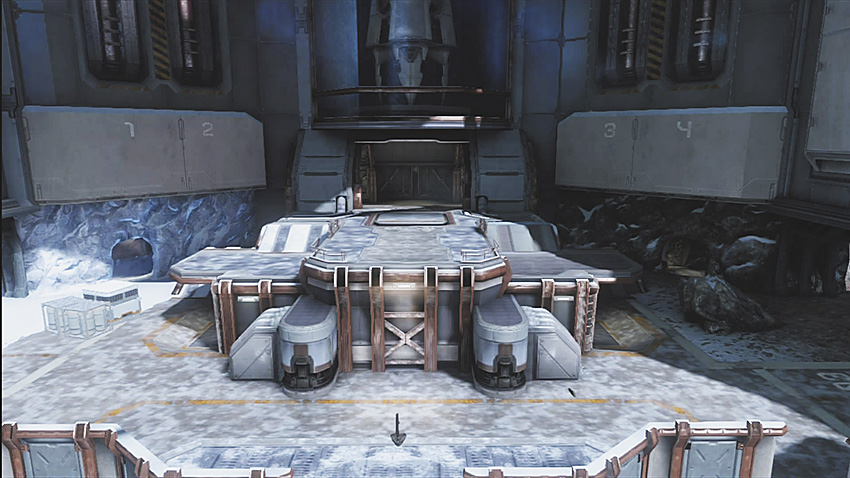
This compound is in the middle of the map, a separate base between the Blue and Red Bases (2). It is a shortcut and a power position to have when pushing to the other team’s base. Having control of it allows you to force the opponents to go around the outskirts of the map, unless they want to keep attempting to break your team’s dug-in positions.
12. Trails
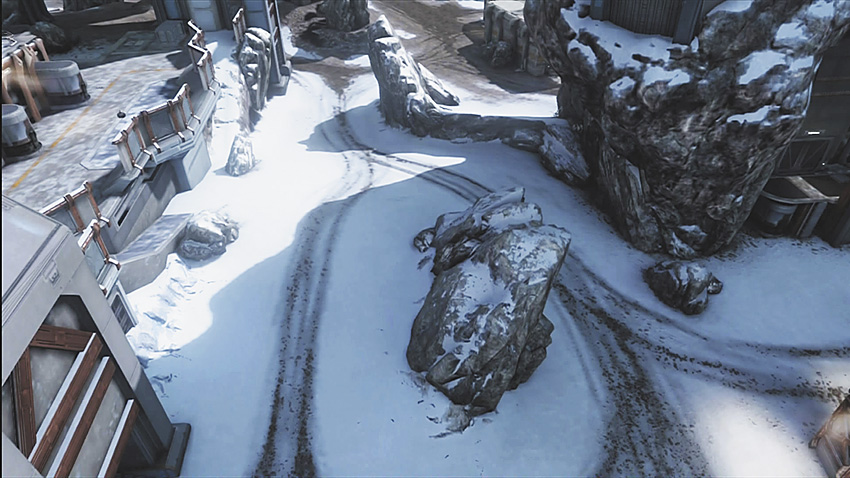
These are the roads that cross in front of the Facility (11) and run from one base to the other. When you’re trying to capture the flag, these roads are a quick way to run the flag in a Warthog. There are various rocks and hillocks to put support fire where necessary.
General Tactics
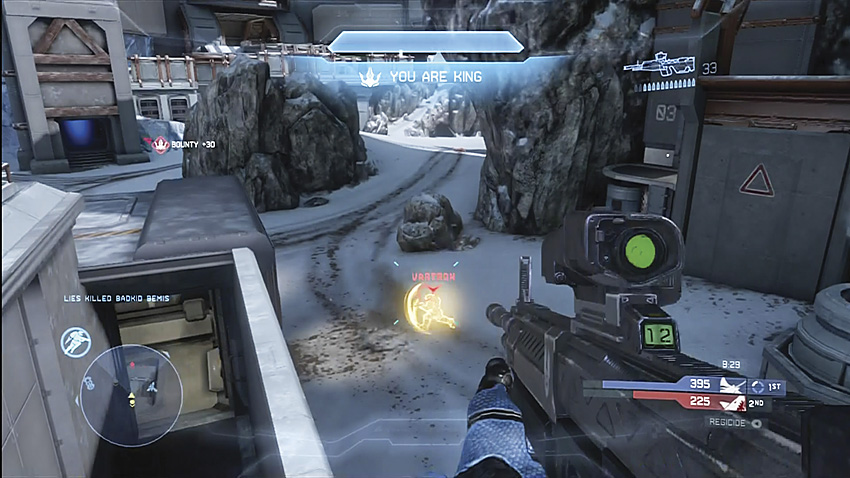
Take advantage of the long paths between the two halves of Longbow, and pack long-ranged firepower at all times.
Power Weapon Planning
There are Sniper Rifles that spawn at both of the bases. The top of the Facility is a great place from which to snipe, as you have a commanding view over both sides of the map. Another sniping spot is the Blue/Red Sneaky, mainly because no one expects you to be there! You can also pick off spawning foes, assault their base, and enter it from the Sneaky hot spots.
Rockets spawn at both the Blue and Red Bases. These are great for taking out any vehicles causing your team trouble or storming into a base full of enemies. Try not to waste them shooting at enemies across the map, but keep a hold of them until you reach areas of clustered enemies.
The Facility Choke Point
Facility is the main hive of activity on this map; your team should attempt to reach this hot spot and control it. You will have views over most of the map. During CTF, keeping Facility makes it very straightforward to run the flag back to your base. Move it to the Blue/Red Street, and then head to the Blue/Red Caves that are attached to the Facility.
Two Spartans Are Better Than One
Work with a teammate when you’re moving to and from the hot spots on the map. This is a large map, and you’re likely to be shot at from many different angles. However, you can also pick off many kills if the enemy team makes the mistake of having players running solo.
Sneaking Around the Coast
It isn’t wise to move about the Coast locations, unless you’re trying to sneak around to your opponent’s base. If this is your plan, be sure to head through Blue/Red Sneaky to ease your access.
Base Assaults
Try to reach the top of your opponent’s base and kill or wound every foe who is spawning. This gives the rest of your team time to push up and catch your foes in a cross fire. This plan also pulls the enemies back into their base. Try your best to stay alive while attempting this sandwiching maneuver, or your foes only need to worry about one place to focus their fire on.
If you’re part of the blue team, try to control the red team’s spawning areas by ascending to the top of their base. There’s great cover here—fall back to the top of the ace and crouch, and your opponent won’t see you. Let your shields recharge, and then pop back out and weaken or kill your foes.
If you’re part of the red team, stay away from the top of the blue base and instead make your way to their Sneaky; you have great cover and you can get numerous shots on foes who are spawning or running up to their Street hot spot.
Flamesword
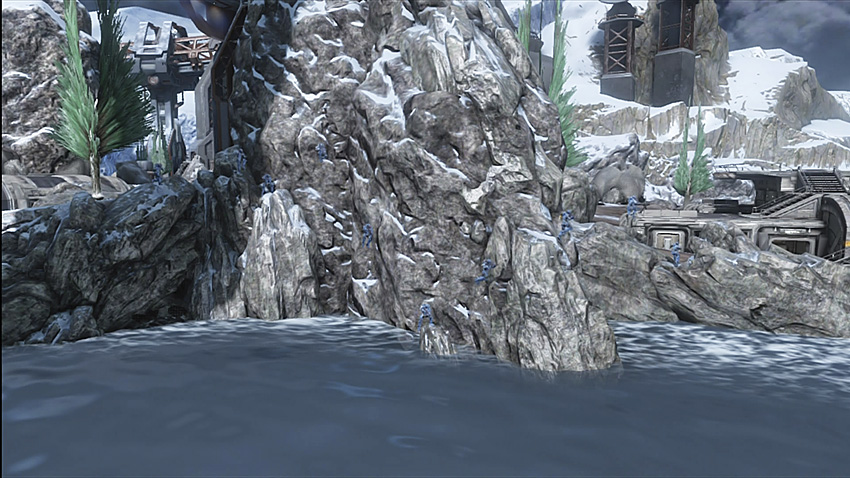
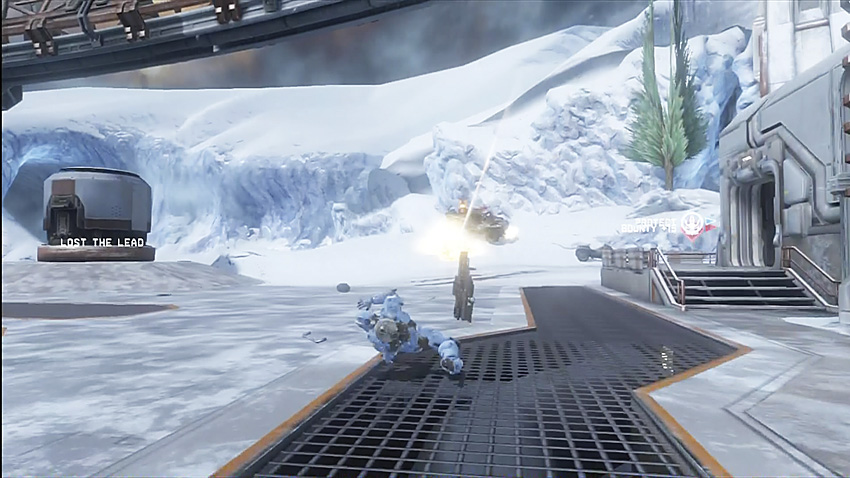
Third-person perspective: Jet Pack jump.
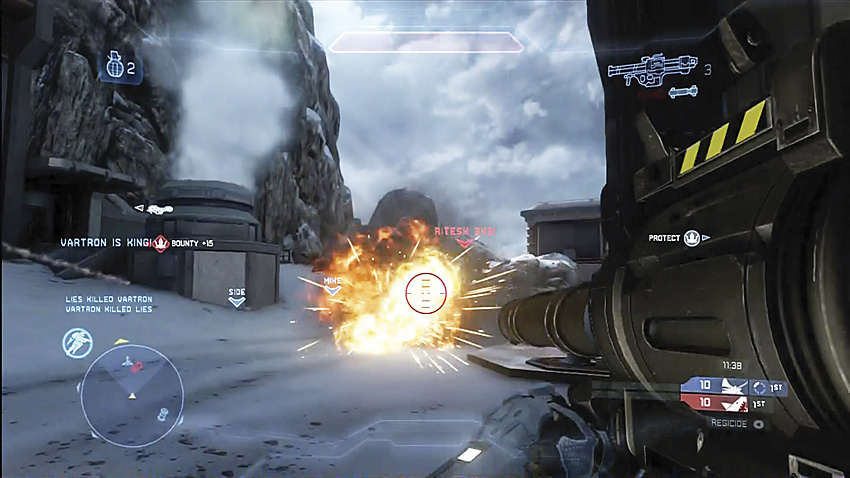
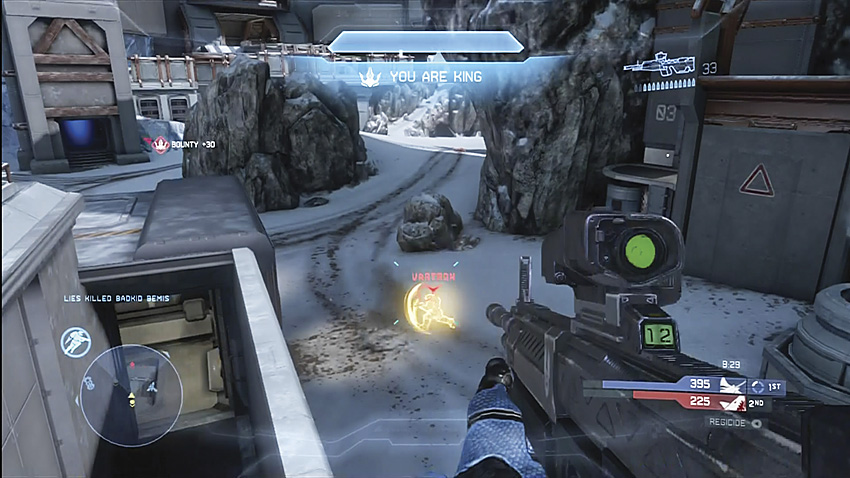
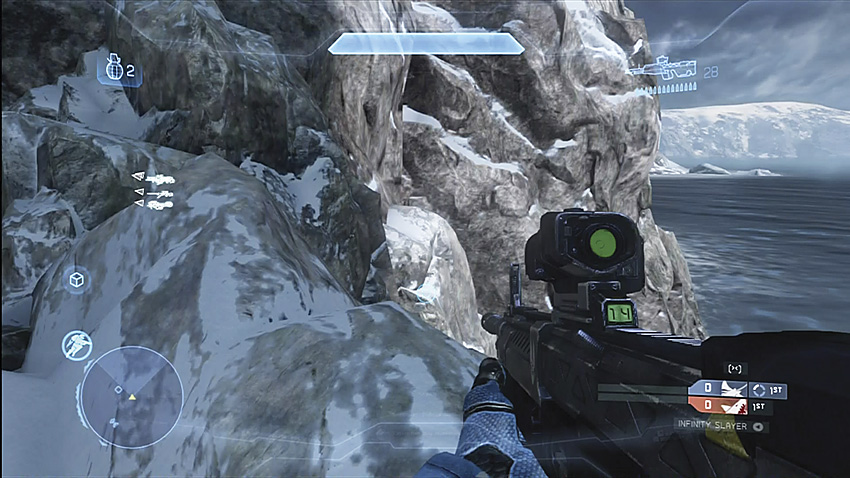
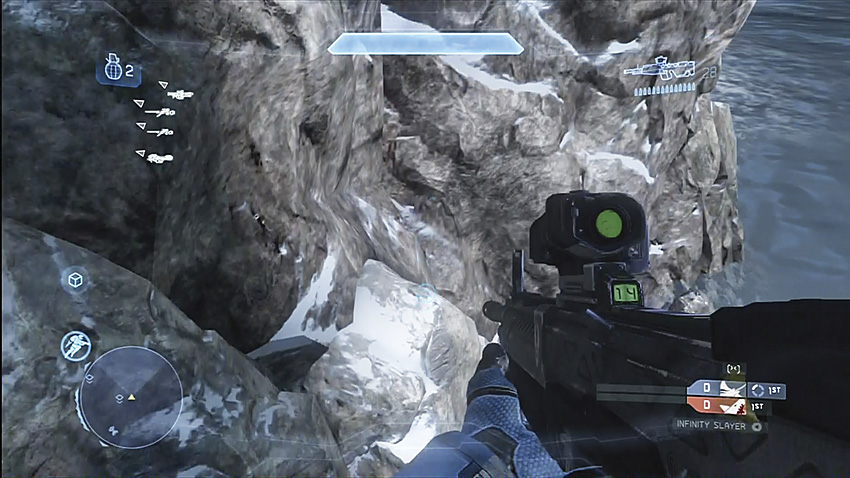
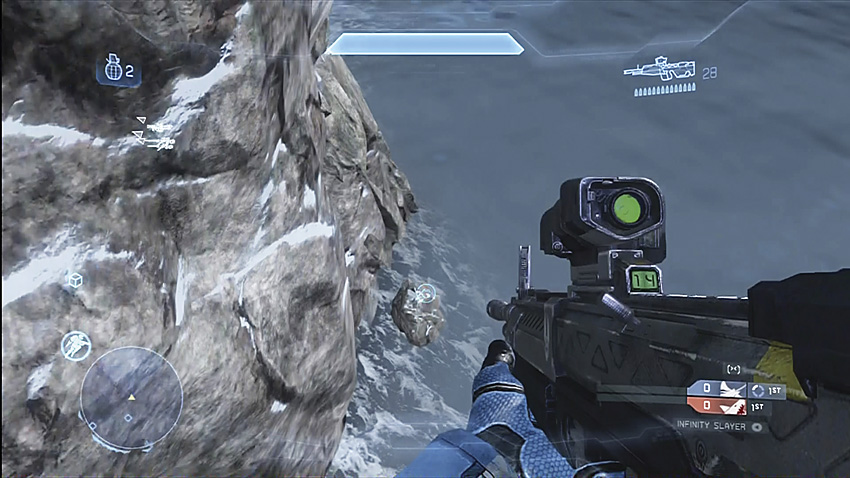
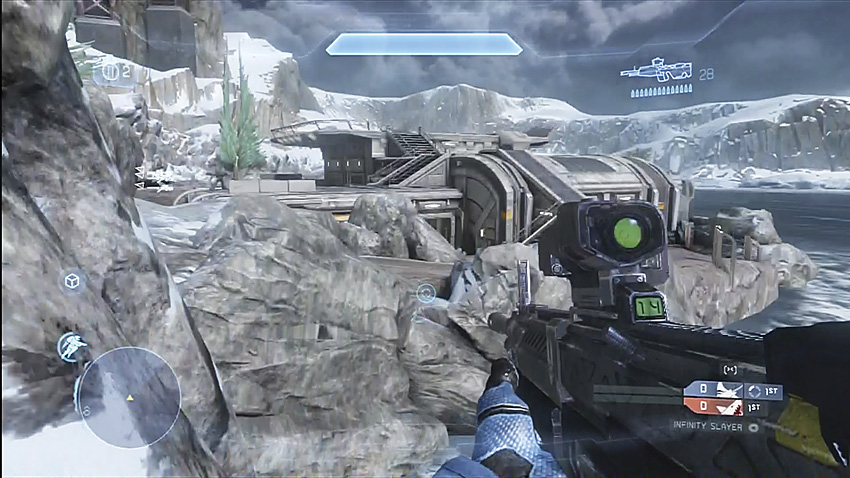
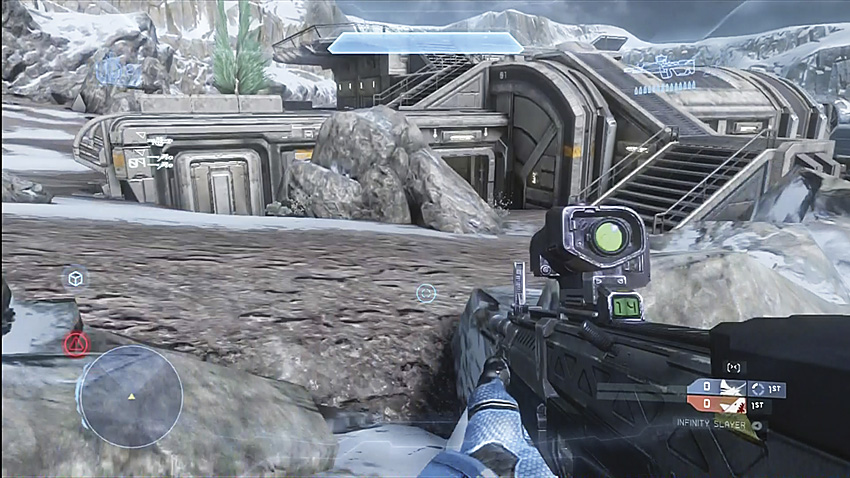
First-person perspective: Jet Pack jump.