
Halo 4 Guide Campaign Basics & Skulls
Basics & Skulls
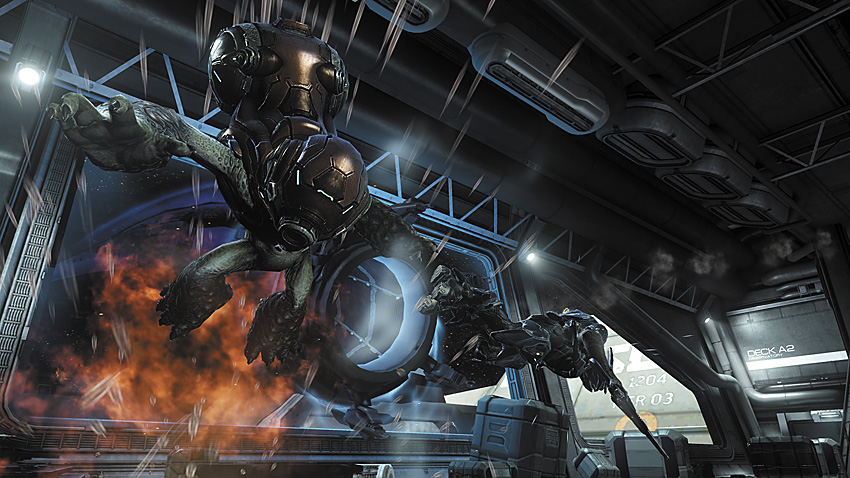
Halo 4’s Campaign mode consists of eight missions of increasing length, complexity, and challenge. Whether you are a seasoned Halo veteran, or rookie making your first foray into this first-person shooter (FPS) franchise, Halo 4 will provide you with a variety of tactical challenges for all skill levels. As the Master Chief, you will be expected to fight on land and in the sky, fielding any weapon or vehicle you can get your hands on. You will certainly be outnumbered, and definitely outgunned. If you’re going to survive, you’ll need to know how and when to pick a fight, and how to handle yourself when the fight inevitably comes to you.
Difficulty Level
When you first begin Halo 4 , you are able to select from four distinct difficulty settings, allowing you to determine how much of a challenge you want out of the game, or at least to show off how much confidence you have in your abilities. Whether or not that confidence is warranted, the game will determine, with torrential rains of plasma fire and possibly repeated views of the swirling camera angle of death.
Changing the difficulty affects attributes like enemy reactions to immediate danger, the speed in which they decide to act, their overall accuracy, the power of their weapons, the speed their projectiles travel in, how much damage enemies can sustain, and how much they can dish out. There is a marked difference in the overall speed of the game between Easy and Legendary.
Easy

A difficulty suited to players new to the genre or for those with general inexperience with video games, Easy is set up to field the weakest of all enemy types, and the most challenging foe is often only a few steps up the food chain. The Master Chief is more resilient to damage, allowing his shields to absorb enormous levels of punishment before failing, and his own personal vitality is greater than that found on other difficulties. This is a great setting for learning the levels and enemy locations, or for those more interested in the story than in a test of skill.
Normal

You’re no longer the sharpest proverbial hot knife cutting through Covenant flesh. Fights against many enemy types have become more tactically demanding, and you can expect to see a greater variety of ranks among them. The enemy becomes tougher, more accurate, and lethal. In particular, enemy snipers become a much greater concern. You’ll start to see the benefits of becoming skilled with more weapons than just your favorites. If the difficulty levels stopped at Heroic, this would be a great middle ground for the average FPS player. You’re still able to run and gun, but you’ll have to dial it back somewhat.
Heroic
The difficulty described across the entire franchise as the way the games are meant to be played, and the setting this guide sets much of its focus upon. Heroic mode is where the gloves have not just come off, they’ve already been slapped across your face several times. Expect the highest-ranking foes to show up sooner and more often, and expect the lethality of every enemy to have greatly increased. Don’t be surprised when a sniper takes you out from beyond your visual range, or when a Ghost runs you down faster than you can react. The enemy will leverage superior numbers and positioning against you to great effectiveness. Make no mistake: Heroic is hard, but it is still fair. Your mistakes will have amplified consequences, but your deaths here will still definitely be your fault. On easier difficulties, you may have felt comfortable wading into the thick of battle, running head-on into tough foes and putting your fists firmly into faces. This tends only to get you killed faster here. Aggression is still rewarded, but only in measured amounts when correctly and precisely applied.
Legendary

If you’re a first-time Halo player, we really recommend that you don’t start off with Legendary. Even veterans are encouraged to start with Heroic, if only to become better acquainted with the areas you fight through and the locations of all major enemy encounters. Legendary difficulty rewards cautious, methodical players who have learned the lessons taught in other difficulties, and are able to apply them even when the world is crashing down around them. Legendary is not harder because it throws more enemies at you; it’s harder because every individual foe provides greater challenge, with the most devious and aggressive tactical mind-set when it comes to dealing with you and any friends you might have with you. This is Halo 4 at its hardest and fastest. You’re going to die, but if you’re lucky, it might seem glorious.
Legendary could be confused for some sort of misplaced vendetta the developers have against you, your friends, your family, your controllers, and anything you might throw them into. Your margin for error is incredibly narrow, and you will definitely find yourself relying on some of that luck our Spartan is supposedly blessed with. The hardest enemy ranks come out to play even earlier and more often than they did in Heroic, and they tend to kill you with alarming speed and frequency. Hiding behind cover will become a reflex, and you’ll spend a good amount of time doing this in every firefight while waiting for your brief chance to shoot back. You’ll be switching guns often, and your emphasis here is definitely not on what you think is cool, but on what is most effective for your current situation.
Co-Op Campaign
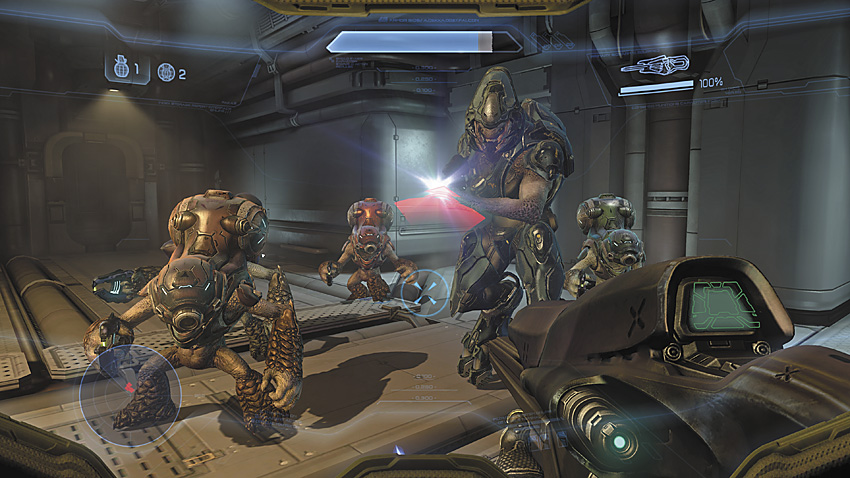
A longtime staple of Halo , the Campaign can be played with up to four players on the team, working as a precision strike force that can flank the enemy, advance while providing cover fire, and call out to each other trouble spots or surprise enemy attacks. Or they could run at the enemy as a uncoordinated mob, “spot” snipers by letting their friends run out into the open first to get picked off, or “accidentally” stick Plasma Grenades to each other while on the attack. Whichever works.
Co-op in Halo 4 ’s Campaign does not change the story outcome, but it can make certain trouble spots much easier to deal with when you can set up attacks from multiple angles. You can turn up the challenge by activating Skulls, so if Legendary with four players just isn’t getting your blood (or rage) pumping, there’s options for rock stars like yourself.
Skulls
Halo 4 difficulty is comfortably layered into four specific settings, but this is not the only way that players can customize their gameplay experience. Skulls are special difficulty modifiers that provide different effects, typically making the game much harder.
Iron

The Iron Skull disables all forms of quick respawning in the Campaign. In single-player, what this means is that death sends you back to the very beginning of the level. As you might imagine, this Skull can be very frustrating to deal with. In Co-op Campaign, this sends your group only to the last checkpoint—nowhere near as crippling as it is in single-player, but this can still be incredibly demoralizing, especially if you’re “that guy” who happens to get stuck with a Plasma Grenade just moments before a firefight draws to a successful close. Activating this Skull while playing on Legendary is not for the faint of heart. Don’t say we didn’t warn you.
Black Eye

As Skulls go, this one isn’t the worst, but it still provides a special brand of pain. Black Eye disables the natural shield regeneration of your armor. The only way to recharge your shields is to melee an enemy. Not exactly the friendliest Skull to activate during Heroic or Legendary difficulty, as you’ll be having a hard enough time during ranged combat that rushing the enemy to melee them is tantamount to suicide.
Tough Luck

The sixth sense of every enemy receives a healthy boost with this Skull active, ensuring that all enemies will do their best to avoid damage and death. In particular, the Tough Luck Skull vastly reduces the effectiveness of all manner of grenades, as enemies tend to run or dive out of range before the grenade even lands at its intended point. You may get lucky with chain reaction detonations of grenades, or the enemy may dive off a cliff, but don’t expect miracles.
Catch

This is the Skull by which you are more likely to catch all manner of grenades (especially Plasma Grenades) with your face. The enemy is certainly not lacking in their chosen favorite explosive, which can turn all firefights into a lethal pyrotechnic display within seconds of contact. Safety no longer is about finding a good spot to hole up, but is now about moving frantically to avoid the blasts from the massive barrage of grenades.
Cloud

Losing your motion sensor is one of the more crippling disadvantages to suffer, and this is exactly what this Skull does. You’ll have to keep scanning the area around you all the time if you want to survive, and the enemy is always eager to flank you and any friends you’ve got with you.
Famine

Weapons dropped both by allies and by enemies fallen in combat contain much less ammunition. Suddenly, every shot counts that much more, as resupplying is more difficult during combat. Careful management of weapon caches, the only source of fully loaded weapons, becomes paramount.
Thunderstorm

Enemies in Halo 4 come in many types, and there are multiple ranks in each type. The Thunderstorm Skull gives all enemies many promotions. On Legendary, this can lead to whole battlefields filled with the best of the best of every species arrayed against you, armed with even heavier firepower.
Tilt

An interesting Skull that essentially forces players to make the best use of each type of weapon to cause very specific types of damage. With Tilt active, weapons like the Assault Rifle and the DMR become practically useless against shielding of any type. Weapons such as the Storm Rifle and Plasma Pistol become invaluable resources that can strip away these defenses, but lose their utility against actual flesh and metal. This can be mitigated during Co-Op games very easily if you always make sure at least one player has the heaviest energy weapons available to help tear down shielding.
Mythic

In the event the game just wasn’t hard enough with other Skulls activated, you can always toggle the Mythic Skull and give all enemies double their standard health. Marvel as Jackals survive multiple Sniper Rifle shots, and Hunters, already known for their ability to soak up damage, eat full loads of grenades and entire magazines of ammo before going down. Sticking Elites with Plasma Grenades no longer guarantees a kill, and you’ll even see enemies survive multiple Needler-induced explosions.
Secondary Skulls
These Skulls provide additional effects that add a little extra flavor to a firefight. Two of these Skulls are definitely more for amusement, while the other two can really up the challenge.
Cowbell

The Cowbell Skull makes all explosions have three times their usual force. A well placed grenade could send a victim flying literally hundreds of feet. As you might imagine, this is very funny to watch. Less amusing is that this applies to any moveable object on the field. Guns can be sent flying out of reach, crates can be launched at lethal velocities through enemies and allies alike. Light vehicles, like the Warthog and the Ghost, become many times less safe to use. Combine this with the Catch Skull, then find a good place to hide.
IWHBYD

This Skull makes all uncommon dialogue more common, while common dialogue becomes rarely heard. You might be surprised at some of the things Marines say in battle!
Blind

Blind takes away all of your HUD elements, and hides your character’s arms and the weapon they are holding. This is a very tough Skull to play under, since you can’t tell what weapon you have out, or how much ammo you have left. You can somewhat cheat the system by hitting the Back button on your Xbox 360 Controller to see which weapon is equipped, but you still can’t determine your ammo levels.
Grunt Birthday Party

The best birthday present for a Grunt is to have them automatically explode like grenades if they are killed without a headshot. This can be averted by scoring a headshot, which causes them to explode into confetti. This Skull is obviously quite amusing, but it can add some danger to any firefight. Suicide Grunts become much more dangerous to deal with if they are in close range and you are not armed with a headshot capable weapon. This is very exploitable to use among large groups of enemies, particularly if the Cowbell Skull is active!
General Combat Tactical Advice
Across any difficulty, these basics can make the difference between winning a fierce battle, or looking at another panoramic sweep of the area surrounding your virtual corpse. With these hints, you should have a few good ideas on how to approach the war looming over the horizon.
Key Combat Tips
How to Use This Walkthrough
The Campaign Walkthrough divides each mission of the game into specific sections, based on the major checkpoints or areas of the levels. The opening pages of the walkthrough include an overall map of the level, with callouts that show you where hidden data terminals and major firefights are located. A mission briefing provides essential intelligence for the situation you’re entering, and what you can expect throughout the mission.
General combat tips are provided as part of the walkthrough, but when you reach major firefights, the guide goes into more detail. A major firefight is broken down into multiple subsections. We go over the types of enemies to expect at these points, and we discuss which enemies are particularly troublesome and explain why they are priority targets. We’ll also recommend a loadout that is effective during that firefight. After you’re briefed, we walk you through a general approach to the battle, with special data boxes that suggest alternative actions or threats to focus on as you progress through the fight.
On top of this, we include special tactical advice for Legendary difficulty at each of these major firefights.