
Halo 4 Guide Infinity Spartan Ops
Season One: Episode One
Chapter One: Land Grab
The Infinity has returned to Requiem to contest ownership of its potential wealth with the rapidly expanding Covenant presence. Army, Navy, Marine, and Spartan assets are being deployed all over the shield-world to begin a systematic campaign to dislodge the enemy from wherever they are, while providing protection to UNSC non-combat assets there to study the Forerunner installation. Spartan Miller is on hand to provide Fireteam Crimson with tactical and strategic support over the radio.
Mission Briefing
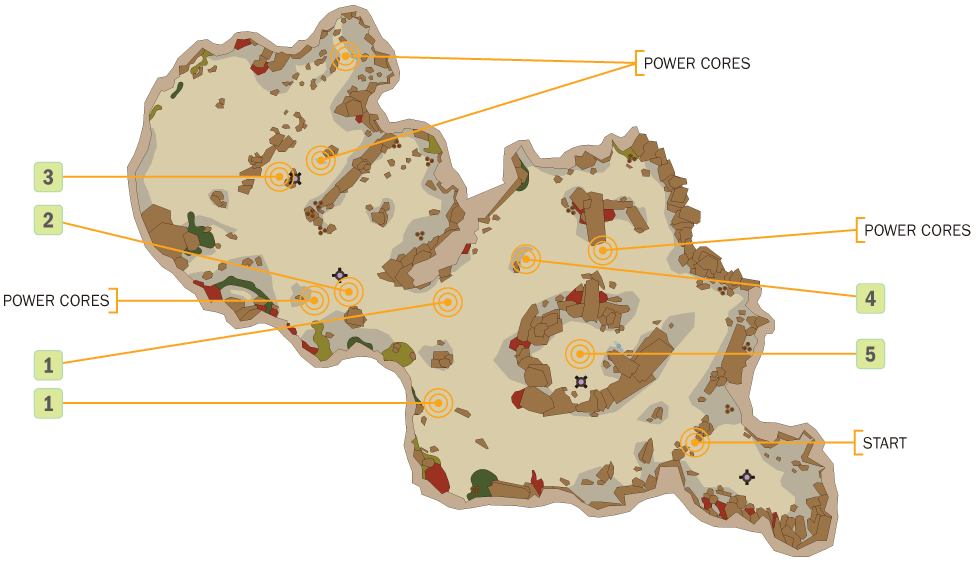
Your first operation on Requiem as a member of Fireteam Crimson is going to set the tone for all Spartan Ops going forward. Expect extensive foot and armored presence throughout the sector. The Covenant have had some time to set up before the Infinity arrived. Your primary targets are a set of wireless distribution power cores scattered throughout the area. With the cores down, you’re to clear the area of all Covenant, as well as any reinforcements that may show up in response to your assault.
- Map Location: Quarry
Recommended Loadout
If you’re just starting out, the basic kit every Spartan-IV starts with is not a terrible liability. However, not having a vehicle is. This map has a lot of ground to cover, and trying to do so on foot is neither fun nor fast. The Pelican drops you off at a makeshift UNSC depot where there are plenty of Warthogs to choose from, along with a score of Marines ready to man their guns. You can also find Ghosts parked close to the Warthogs. It’s highly recommended that players upgrade to Wraiths as soon as possible to leverage their plasma mortars against the enemy.
Objective One: Destroy the Power Cores
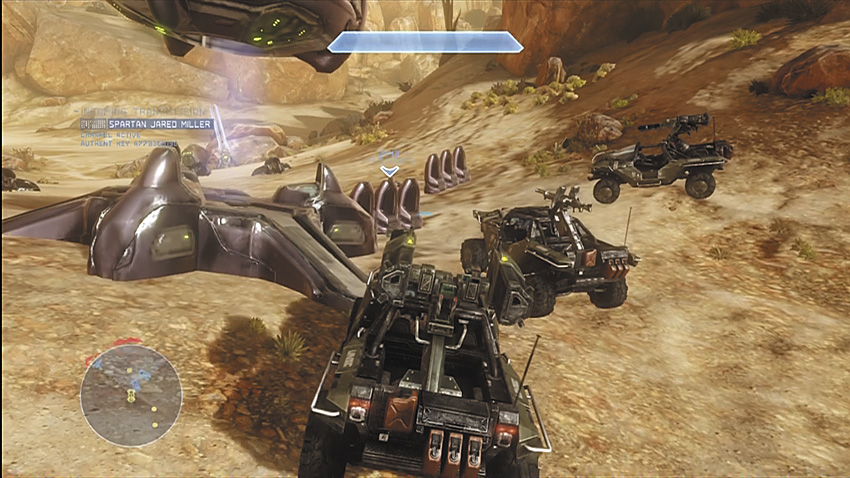
The starting zone has plenty of good vehicles to open up with. If you’re playing with additional players, It’s not a bad idea for one player to choose the Gauss Warthog. If you don’t have a full squad, you can use the nearby Marines to man the guns on any of the Warthogs.
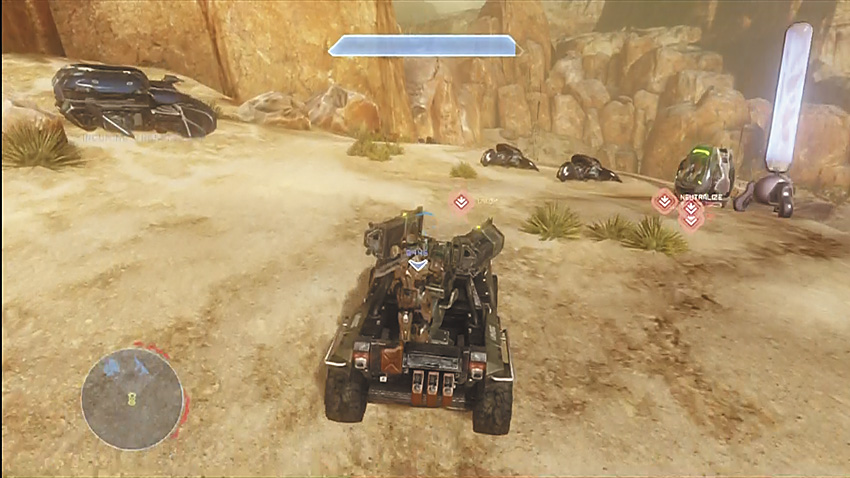
You’re quickly given your orders to destroy a series of power cores that are currently at the heart of local Covenant communications. Their locations are indicated by HUD navigation markers. Before you rush off into combat, look for Wraiths parked throughout the valley. A good “all-around” set up for a four-player game would have at least two Wraiths, a Gauss Warthog, and a Machine Gun or Rocket Warthog. The gunner positions on the Warthogs would be manned by the Marines. This provides a good, balanced setup that lets the Warthogs protect the heavier Wraiths from troops that get a little too brave. Another good set up is for the four players to each take a Wraith of their own, and rain plasma mortars from afar.
Key Combat Tip
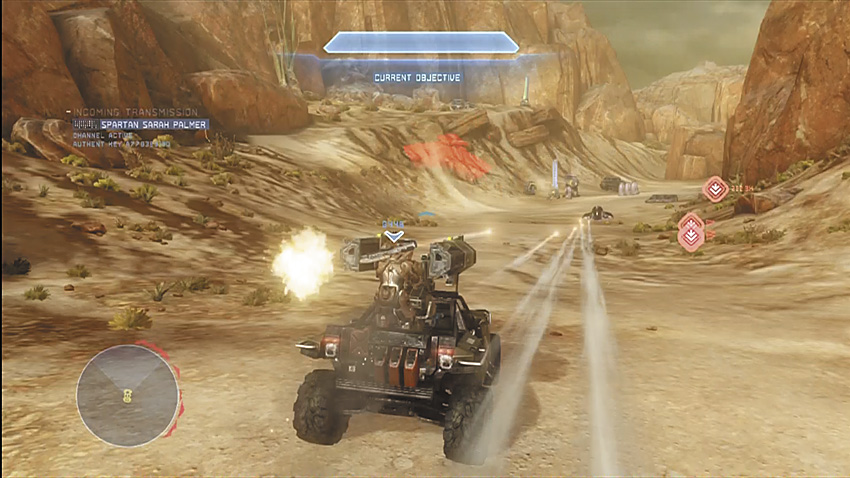
You can expect extensive resistance from the Covenant, and this mission will provide a taste of things to come. You face larger than average resistance, and depending on your difficulty setting, you will be seeing tougher enemy variants than you would see on equivalent Campaign difficulties.
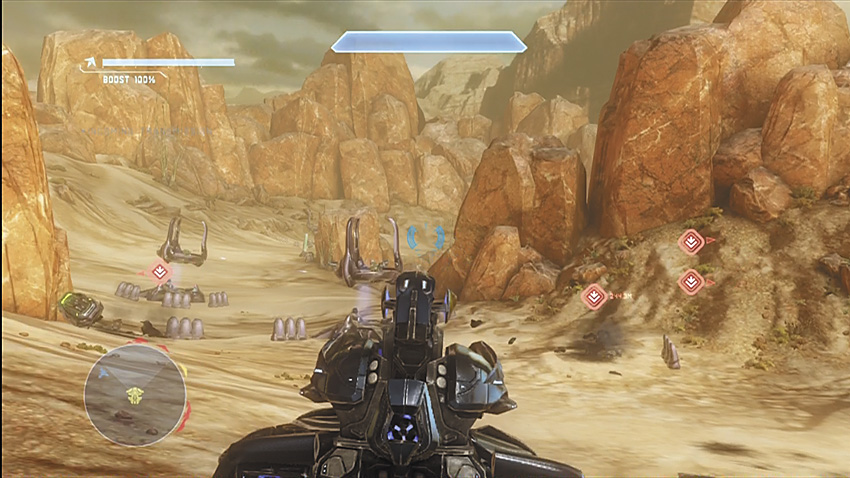
[2] Two guard platforms and a hostile Wraith protect this position next to one of the power cores. It’s the natural chokepoint that leads into the valley section where other power cores are located. Another is found outside the smaller enclosed valley. If you’re playing on a team, you can split your attention between objectives to destroy them quicker.
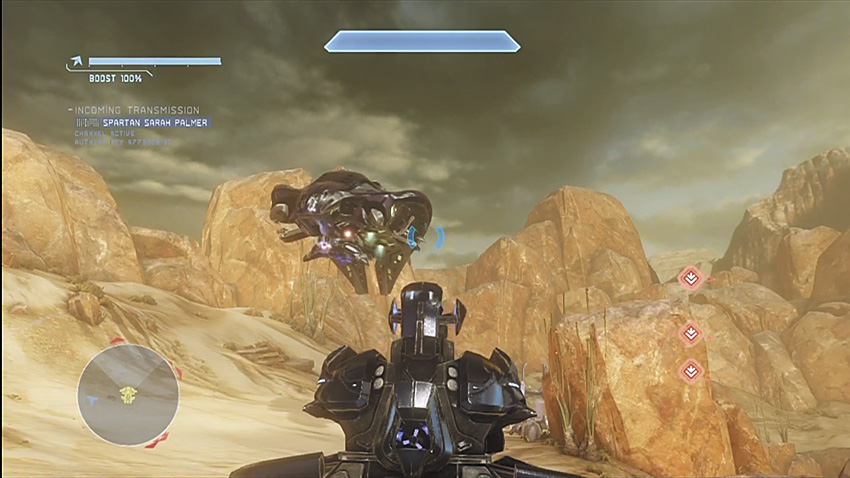
Expect Phantoms to start arriving regularly throughout the fighting once you start destroying power cores. They typically bring Ghosts and Wraiths to the fight, as well as high-ranking Elites and Grunts. After the first core goes down, you can expect that the surviving cores will see regular reinforcements until they too are destroyed. This isn’t a problem if you’ve got a Wraith or two on your side. You can easily destroy reinforcements and cores from a safe distance. Just don’t get careless and let an enemy Wraith blast you with its mortars.
Objective Two: Neutralize the Incoming Covenant
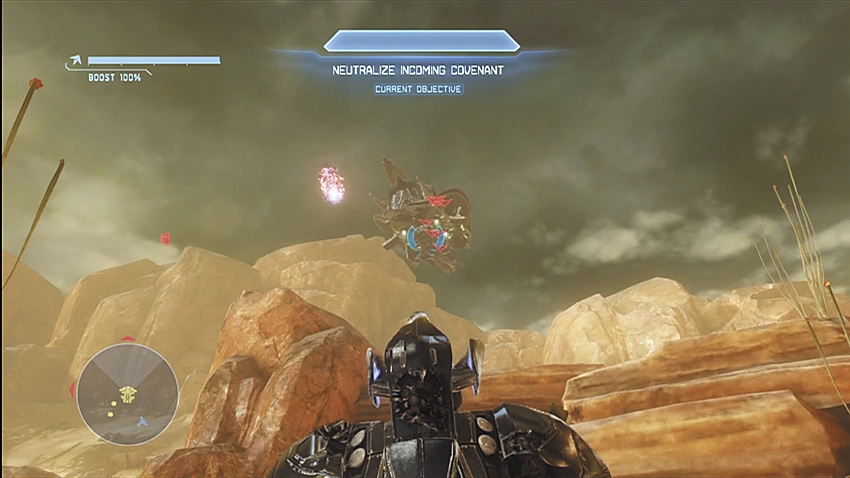
As soon as the power cores are destroyed, Phantom Dropships begin arriving in the smaller valley [4]. There’s nothing fancy here: This is simply a battle for survival that ends only when every last Covenant scum is dead. With four players, this next section can become a rout. You might have so much firepower available that a targeted Phantom may not even have the chance to deploy any troops.
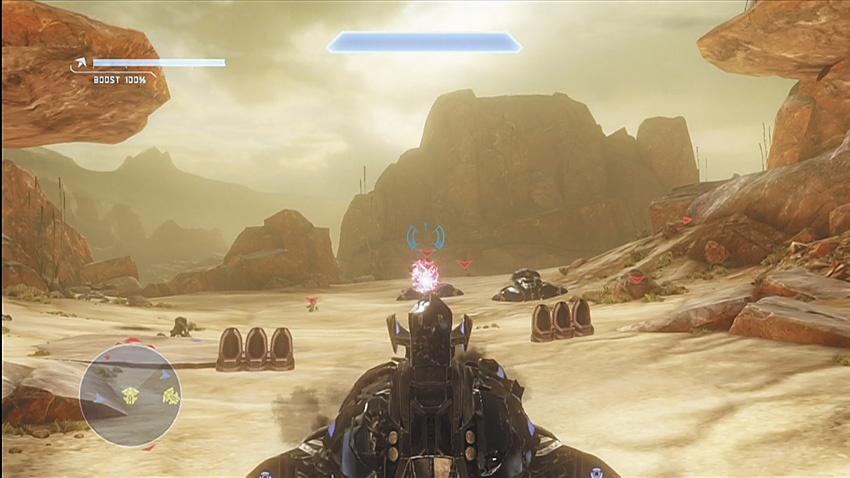
More troops begin arriving throughout the valley by Drop Pods [4]. At this point, all hostiles should be marked with a red marker on your HUD, which makes finding them a lot easier. Generally, the enemy presence here is guiding you to your ultimate destination.
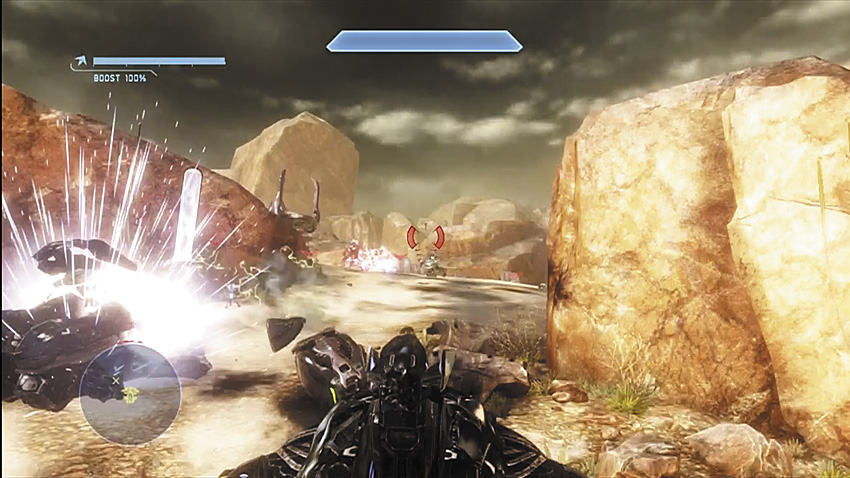
[5] A Phantom drops a large contingent of Covenant on top of this hill, with more hostiles gathering at the bottom of the hill, including a hostile Wraith. Be careful on your advance up this hill, as Hunters are among the Covenant deployed. Avoid charging up the hill unless absolutely necessary. If possible, rain plasma mortars from your Wraiths onto the hilltop. Some groups of players may elect to send up a spotter to ensure the mortars are hitting the right targets.When the enemy’s numbers fall below a certain threshold, they receive new markers on your HUD to help emphasize their locations. Once the quarry has been pacified of all threats, your Pelican will arrive at the top of the hill for extraction.
Chapter Two: Sniper Alley
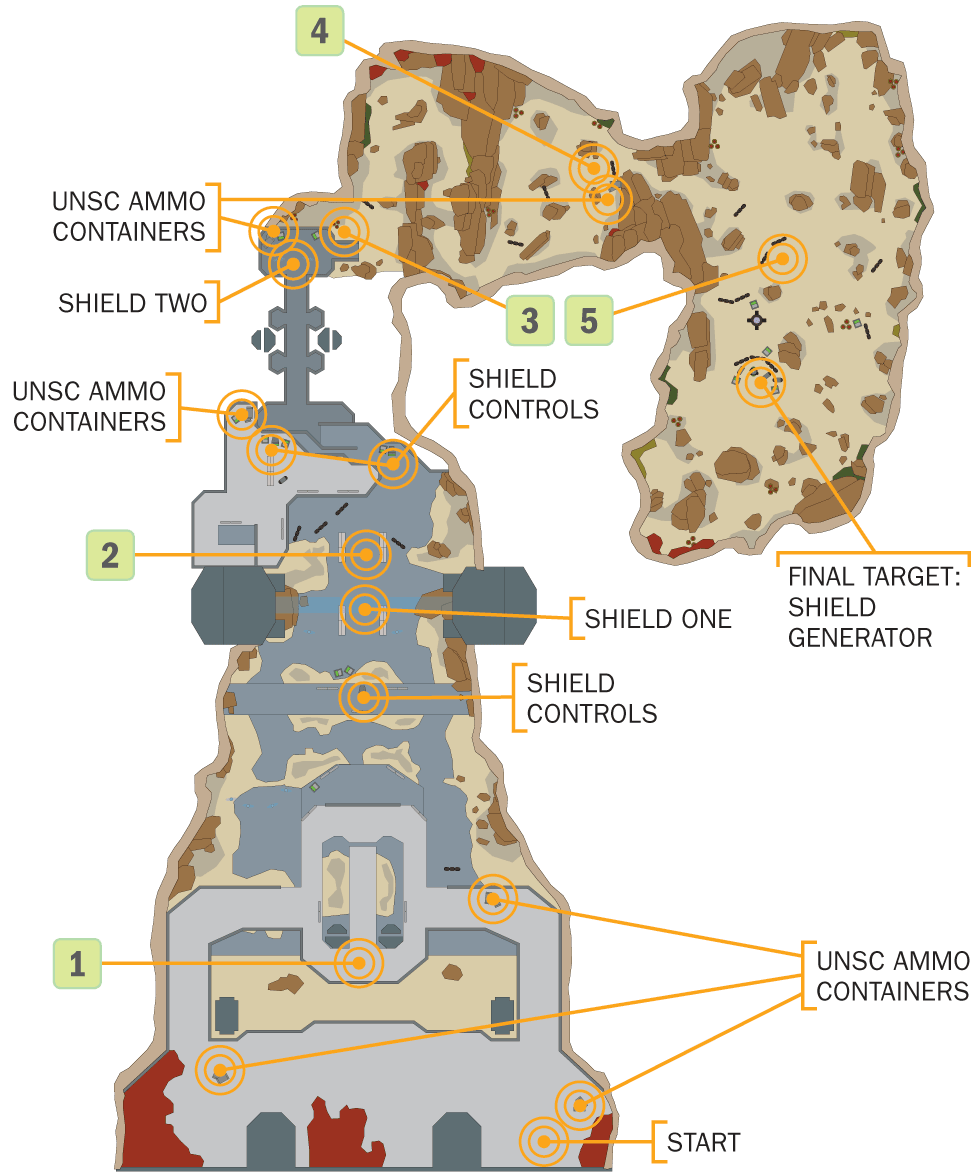
Having proven your worth to Commander Sarah Palmer, Fireteam Crimson is specifically selected for a new mission. A Forerunner facility has been occupied by the Covenant forces, and the Marines have been unable to to dislodge the enemy from their positions. Palmer wants your Fireteam to drop directly behind their defenses and eliminate the hostiles, layer by layer, until the facility is open to the UNSC.
Mission Briefing
This mission is named Sniper Alley for a reason. After breaking your way through a series of defense lines enhanced by barrier fields, you’re exposed to Jackal Snipers firing from a multitude of positions, and there are no convenient Wraiths or Warthogs to help you clear out the enemy. After breaking through the defenses, you’re to call in artillery to destroy a shield generator located in the canyons outside of the facility.
- Map Location: Sniper Alley
Recommended Loadout
Take any precision headshot weapon you can get your hands on. The starter Magnum is fine, and you can take a Plasma Pistol from the enemy to enable headshots on Elites. Depending on your chosen difficulty, you might expect the Grunts to be packing Fuel Rod Cannons, which can be a good weapon to take for yourself. They make great crowd-clearing weapons, though the enemy is more keen to avoid being hit directly by this weapon. Close to your starting position, you can find ammo crates, one of which contains a Battle Rifle. Near the first shield barrier, you can also find a DMR. It’s even possible to get your hands on a Beam Rifle or a Covenant Carbine from your dead enemies. The UNSC weapons are preferred, as the ammo crates in the area can replenish them to full ammunition.
Objective One: Secure the Area
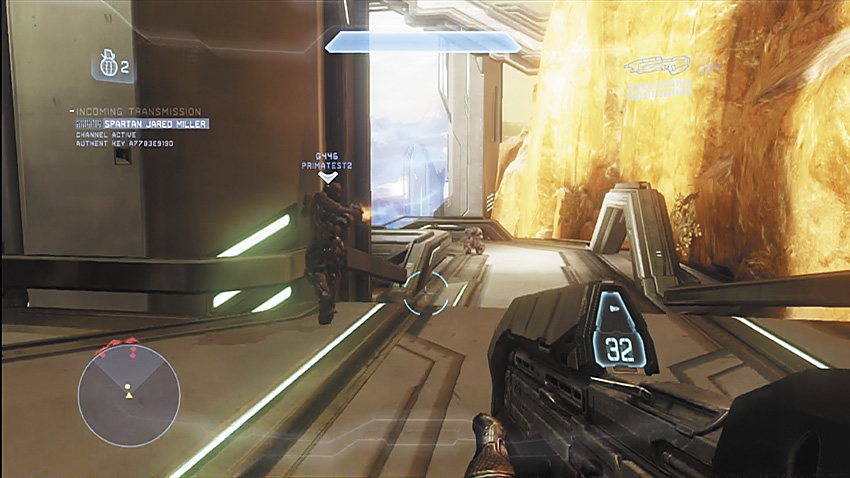
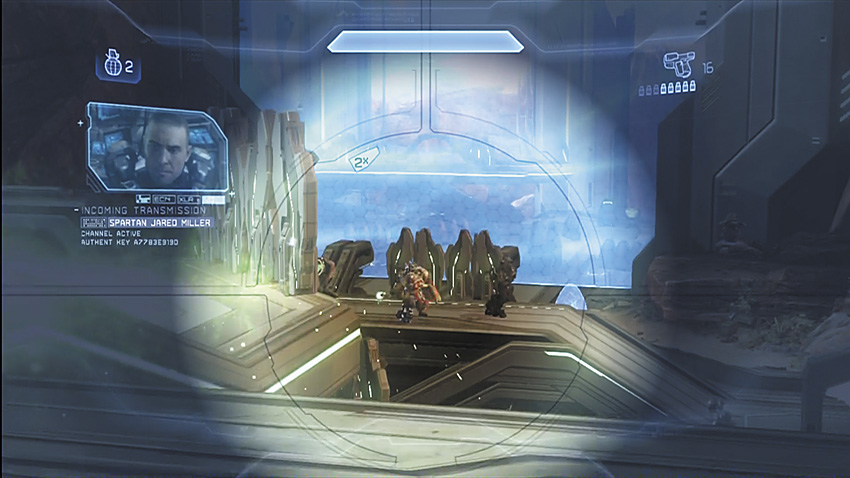
[1] You start near the facility entrance atop a walkway, with connecting ramps leading down to a lower area. Grunts initially make up the resistance found on the walkway itself, with more Grunts led by Elites positioned on the lower level. An energy shield blocks the way beyond these enemies, with Shade Turrets flanking the barrier and providing fire support for their allies. This can be a brutal start for newer players, specifically because the ranges are short enough that on higher difficulties, the Grunts with Fuel Rod Cannons can be suffering incarnate.
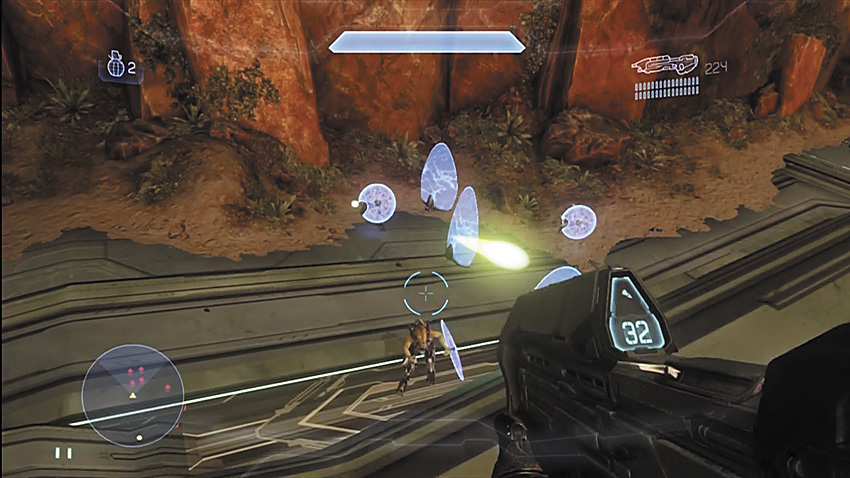
Be careful about advancing down the ramps from the upper walkways. Jackals have positioned themselves to have overlapping fields of fire on the ramps. You can use the walkway to safely engage them from above. In general, the starting walkway is a very good place to engage the enemy from. There are two ammo crates near where the mission begins which will help people armed with weapons like the Battle Rifle, Magnum, or DMR stay topped off for ammunition.
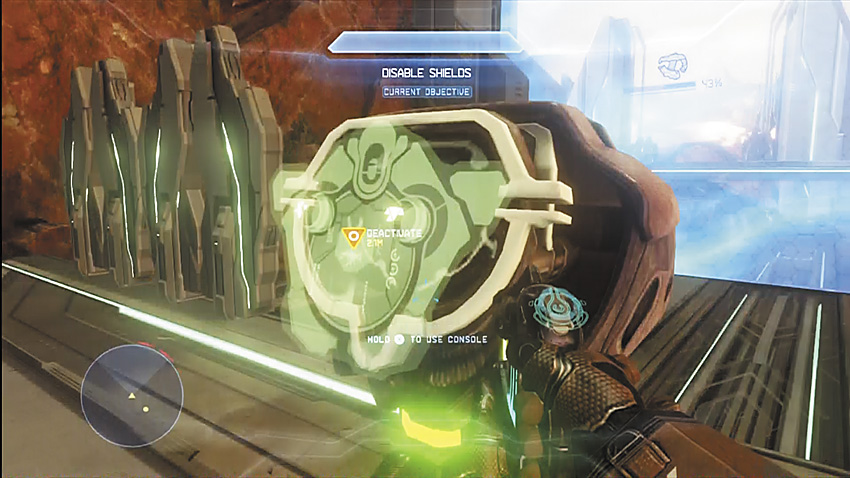
Once the enemy is cleared out of the sector, a waypoint marking the controls to the energy barrier will appear on your HUD. Interact with the controls to lower the barrier and press on.
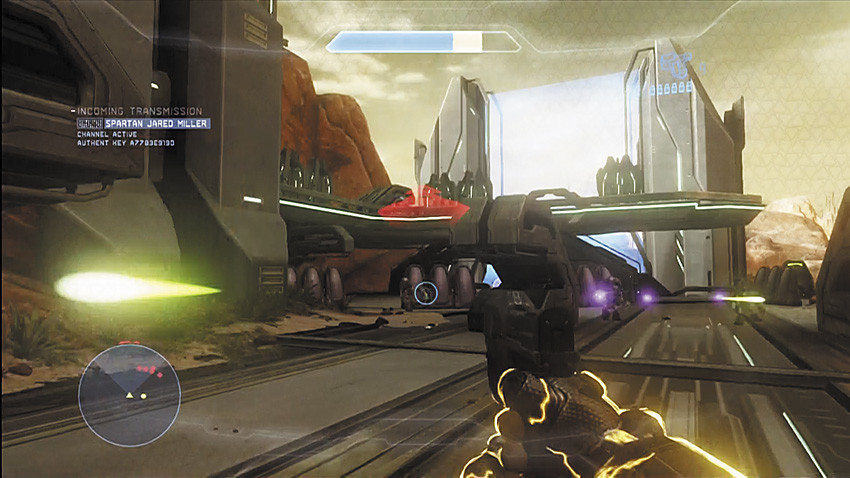
[2] More Grunts and Elites greet you on the other side of the barrier, and you can clearly see another barrier in the distance that prevents you from continuing beyond the bridge leading to the canyons outside of the base. This time, two control panels are marked on your HUD.
Now that you’re out in more open space, you can expect to start taking fire from Jackal Snipers with Beam Rifles on the same platform where one of the switches is located. If you’re with a team, try to have at least one player counter-snipe the Jackals while any other teammates focus on bringing down the enemies near the controls, or enemies rushing towads the team on the ground level. When its safe, use the two control panels to lower the next shield.
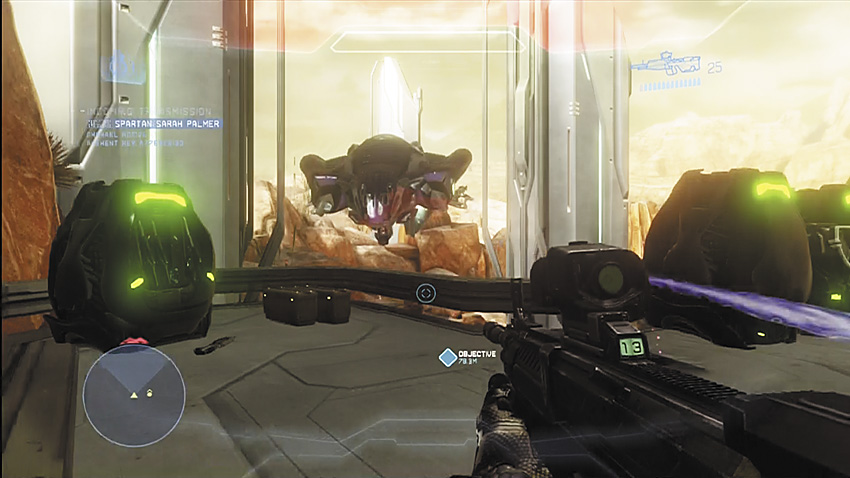
[3] With the way across the bridge now opened, a Phantom drops in to try to deny your crossing. Simultaneously, Jackals on the other end of the bridge, with Jackal Snipers farther into the canyon, attempt to coordinate a defense against your assault. Drop Pods land on the other side of the bridge to deploy more troops once the Phantom retreats.You have a significant positional advantage if you use the walkways and ledges near both control panels, with clean lines of sight directly over the bridge.
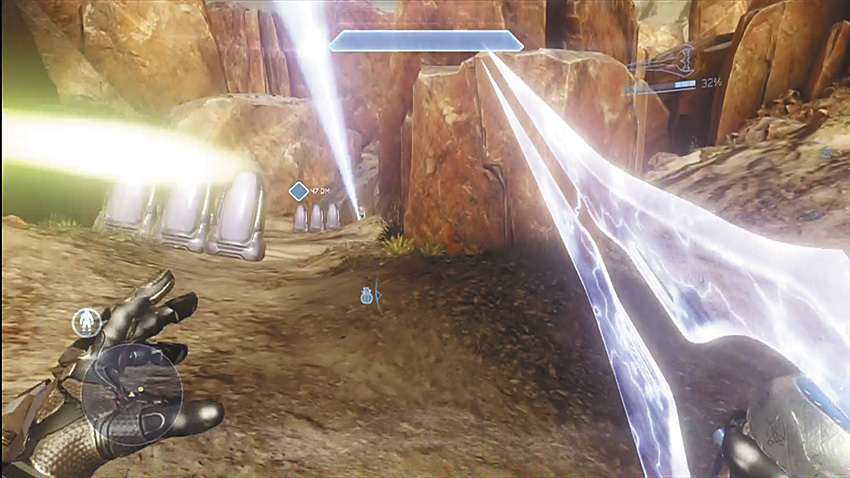
[4] With this latest wave of hostiles defeated, cross the bridge into the winding canyon path beyond. Elites rush up the path toward the bridge, while another Phantom and some Drop Pods deploy reinforcements farther downhill. Expect a significant number of Jackal Snipers to be among the enemies in this section. Try not to peek over the hill recklessly. It’s almost better if you force the Covenant to advance uphill toward you. The Elites are much easier to handle when they have to walk into a hail of your fire.
As you clear out groups of enemies, slowly advance down the hill, watching for Drop Pods or Phantoms to bring in reinforcements. Elites will almost always charge uphill after you, so when you see reinforcements arrive, you and any team members you have should position yourselves in such a way that keeps you safe from sniper fire and also ready to mow down Elites if they come at you in numbers.
Objective Two: Clear the Area
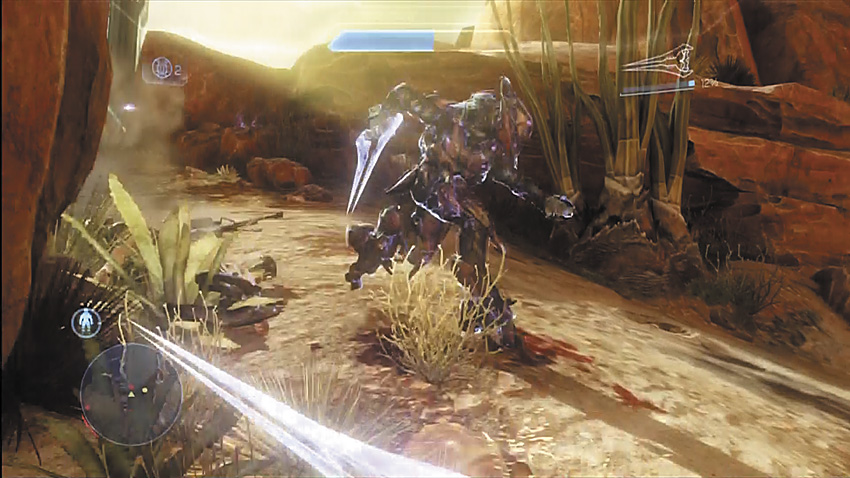
[5] At the bottom of the hill, a Shade Turret and multiple Jackal Snipers are positioned throghout the lower valley with a sizeable contingent of Covenant troops. Do not recklessly charge out into the open. Make sure you deal with Shade Turret gunner and Jackal Snipers first. Fortunately, you get an ordnance drop that may contain some extremely helpful weapons to deal with the coming storm. Phantoms and Drop Pods bearing more Covenant troops begin making deployments throughout the valley.
Expect heavy Elite presence. The enemy tends to be deployed near a guard platform a little ways away from the foot of the hill. The ordnance drops should include weapons like a Rocket Launcher or Railgun. With a single rocket you can take the guard platform out of the game, while a Railgun is excellent for bringing down Elites quickly.
If things are looking too grim in the valley itself and the enemy is pushing you back, you can fall back up the canyon towards the bridge. Doing so will funnel the enemies through a more confined space, and you can leverage a height advantage against them. This may be a good time to pick up a Plasma Pistol to set up headshots on Elites.
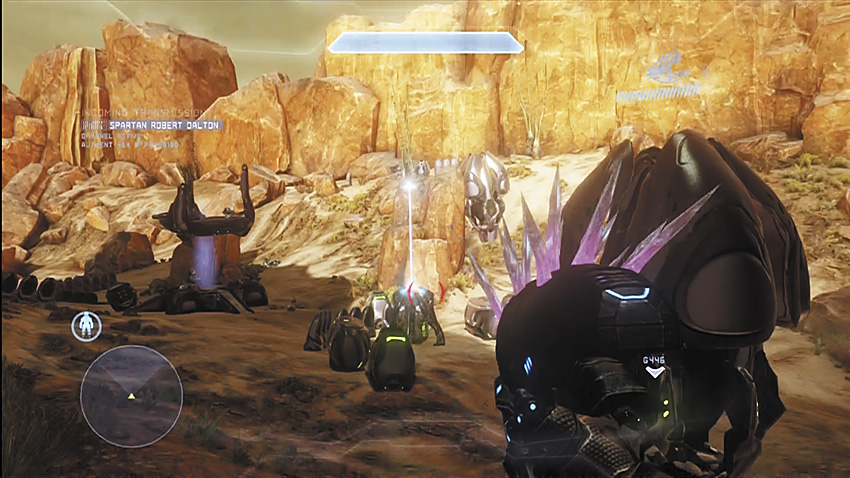
Your objective in this area is to paint a shield generator so that it can be destroyed by friendly artillery, and once the area is clear of hostiles, it is designated on your HUD. Once it is destroyed, Commander Palmer orders your team to a Pelican for extraction.
Chapter Three: The Challenge
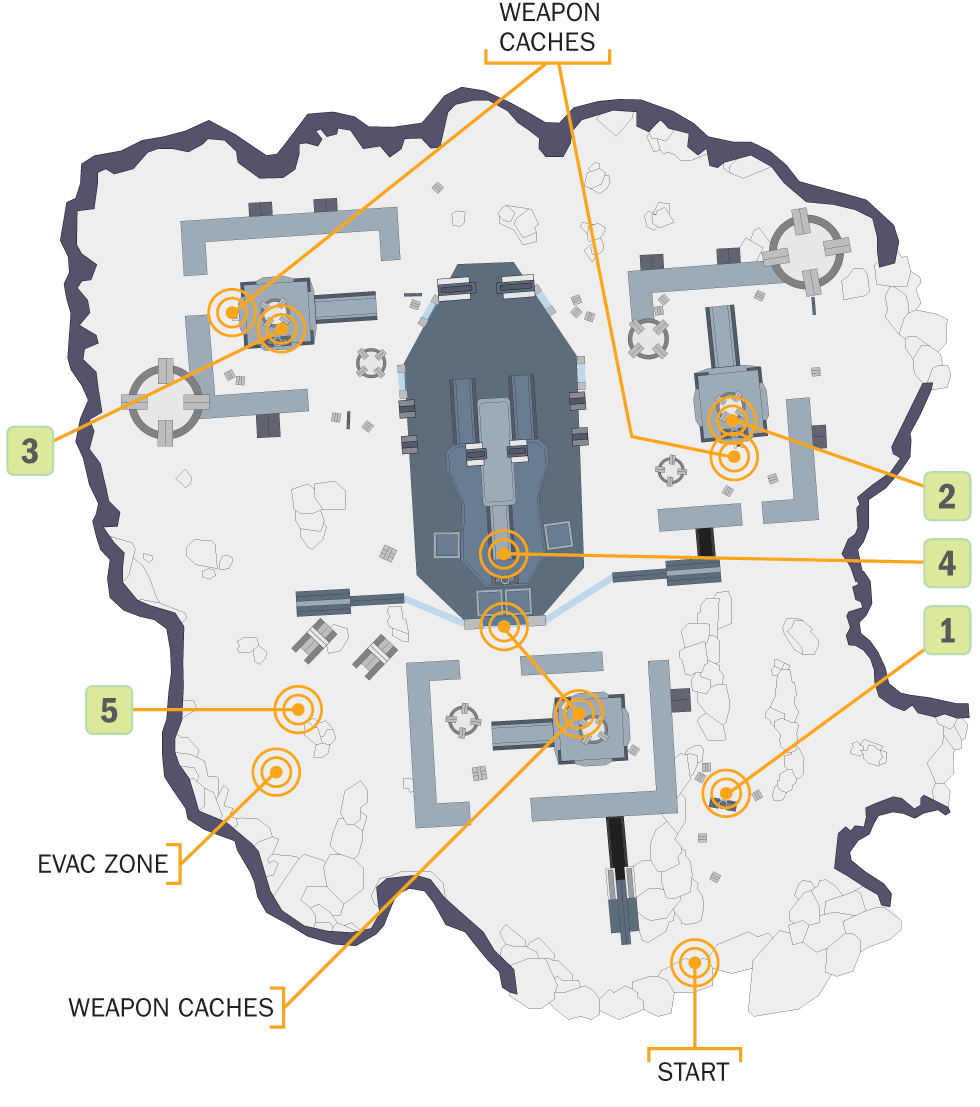
Fireteam Crimson and Fireteam Majestic are being deployed to a pair of identical Forerunner constructs north of the Spartans’ primary operations in order to clear out Promethean resistance at either structure. Commander Palmer decides to make a bit of a contest out of the mission: Whichever team clears out their respective combat area first will be awarded the respect of their peers.
Mission Briefing
Don’t let the early banter fool you, this is a serious operation. Early waves of Promethean Crawlers and Watchers arrive with numbers that even the Chief didn’t face on his own. Communications interruptions will require you to destroy local jamming equipment, then power down the Forerunner structures in the area. Expect significant Promethean resistance to build up as soon as you begin disabling their equipment. After your objectives are complete, clear the evac zone of hostiles so the Pelican doesn’t get shot down.
- Map Location: Fortress
Recommended Loadout
You need a headshot-capable weapon nearly at all times to keep the Crawler hordes culled to manageable levels, and for this we recommend weapons like the DMR or Battle Rifle. If you’re stuck with a Magnum, you’re still effective against them, though you may want to try and locate a LightRifle from weapons caches hidden throughout the area. In a pinch, the Boltshots recovered from the Crawlers make good backup weapons against all threats. A good secondary weapon to upgrade to is the Binary Rifle, found in the remains of Crawler Snipes. One Binary Rifle shot will kill a Watcher, a quick way to prevent them from supporting the Crawlers.
Objective One: Investigate the Area
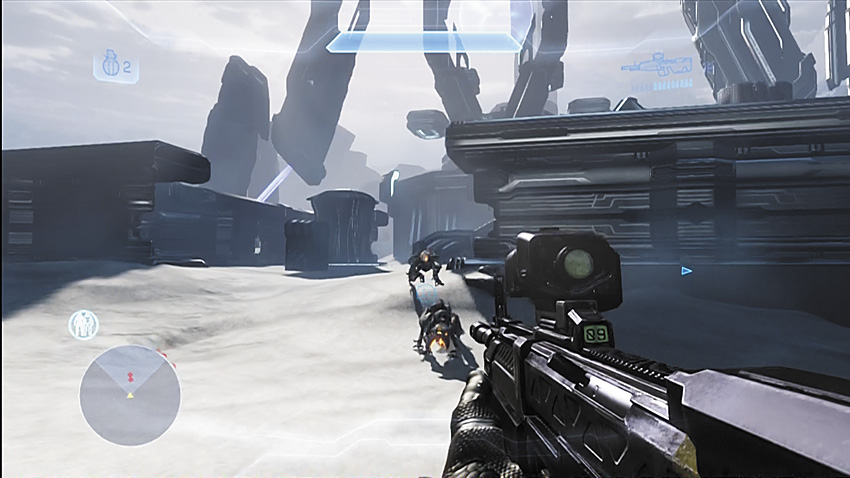
Things start off relatively peaceful. The Crawler and Watcher presence is minimal, so work on clearing them out. Communications between Majestic and Crimson are being disrupted by a jamming device, but you can’t do anything about it until you destroy the first wave of hostiles. There aren’t many, but be mindful about charging ahead recklessly. Even a small number of Crawlers can ruin your day if they surround you. Keep them outside of melee range and concentrate on headshots.
Objective Two: Destroy the Jammer
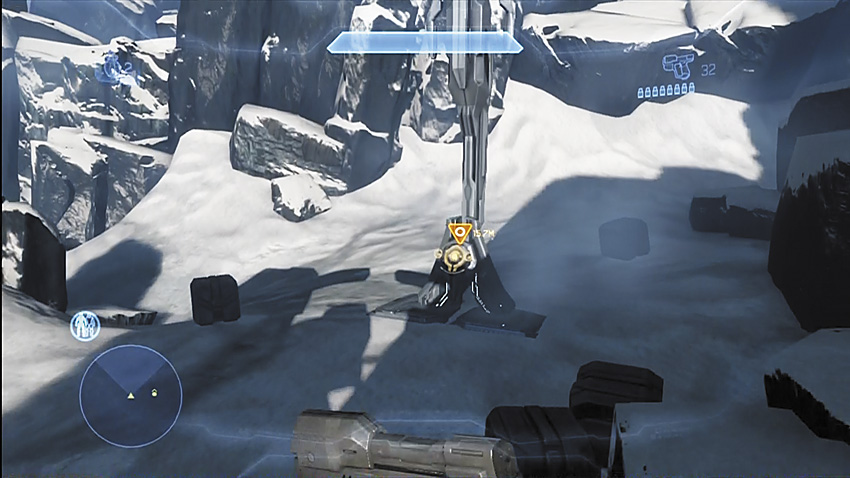
[1] The jammer is marked on your HUD, and by now should be undefended. Destroy it by interacting with the control console. A pleased Commander Palmer announces that the competition between the Fireteams can begin.
Objective Three: Turn Off the Jamming Arrays
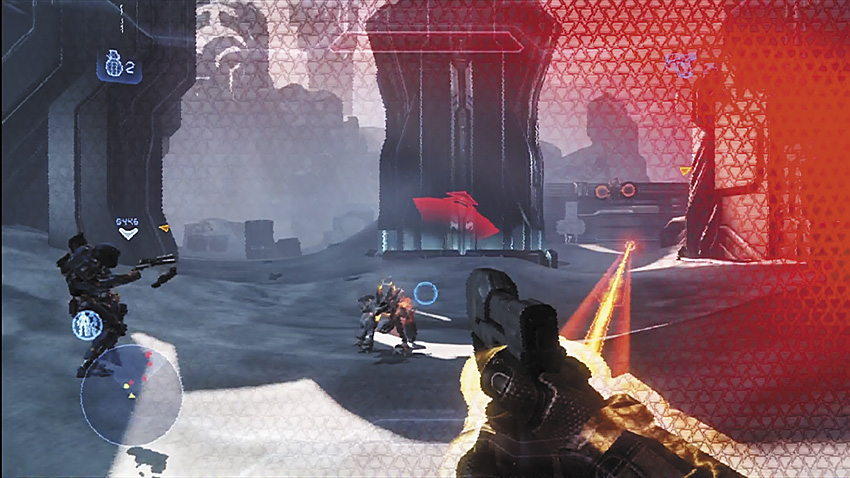
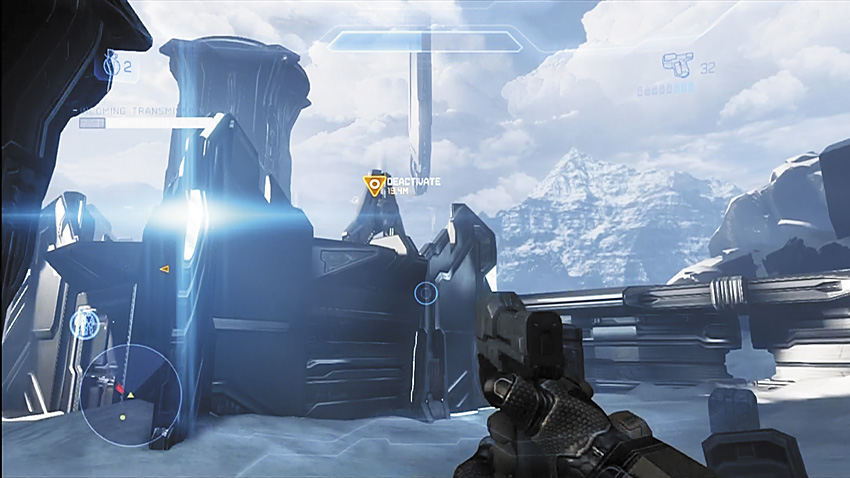
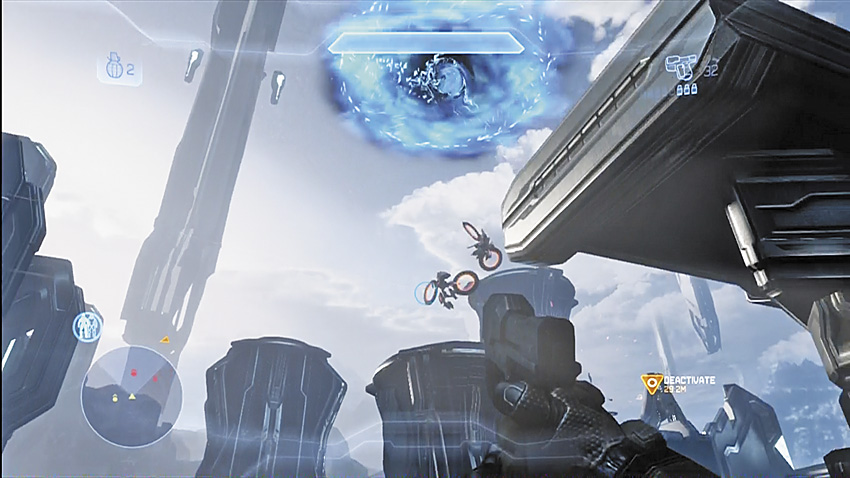
[2] [3] Two more jamming arrays are marked on your HUD, and a sizeable force of Crawlers warps into the area. As you approach the arrays, small slipspace portals open over the targets, disgorging Watchers. If you’ve brought precision weapons like the Magnum, DMR, or Battle Rifle, you can easily wipe them out with headshots. Try to avoid staying out in the open, as getting surrounded by Crawlers can lead to a swift death.
All varieties of Crawler will arrive in defense of the jamming arrays, with the most lethal of them being the Crawler Snipe. Find cover! Even on Heroic difficulty in Spartan Ops, the Crawler Snipe can one-shot a fully shielded Spartan-IV.
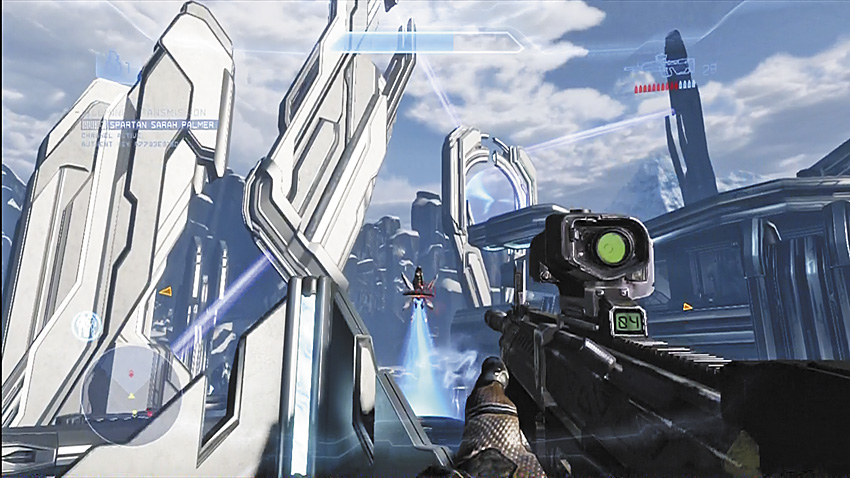
Regardless of whichever jamming array you deactivate first, expect more Watchers to arrive to reinforce from a portal above the array. Don’t forget that Watchers can reconstruct the fallen remains of Crawlers, so if you see them beginning the reconstruction process, kill them before they can finish. Listen for Palmer to call out that more Watchers are arriving, and prioritize them.
Key Combat Tip
Once you have deactivated the jamming arrays, a considerable Crawler and Watcher force shows up to try to exact revenge, usually near the array you took down last. Be somewhere other than near the array itself, somewhere defensible and relatively safe, before they swarm you.
Objective Four: Turn Off the Main Power
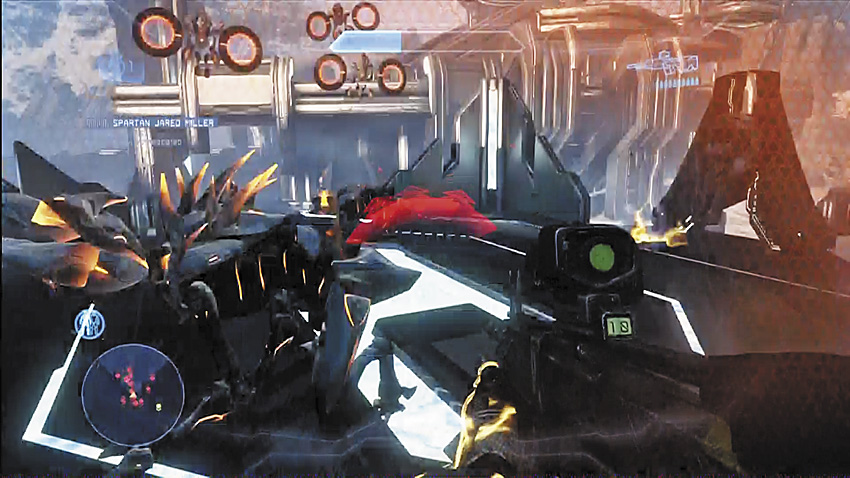
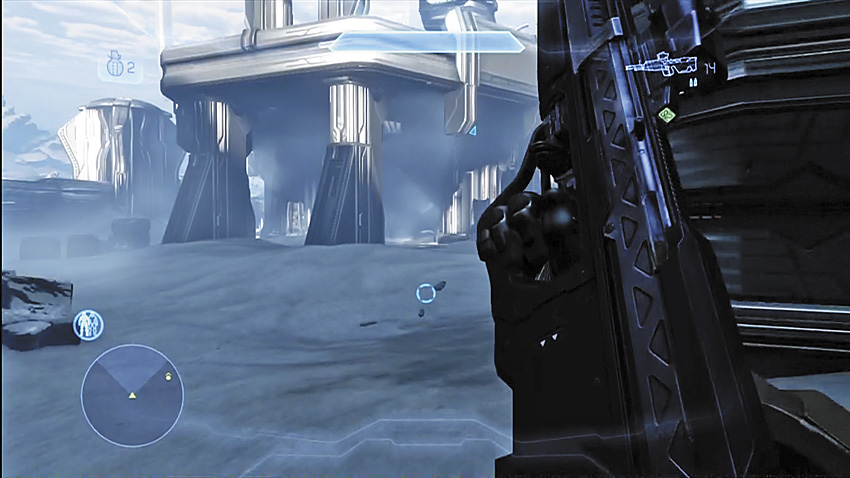
[4] The central tower is marked with your next objective once the jamming arrays are down. By now, the Promethean presence is starting to reach dangerous levels. You’ll want to hoof it to the central structure as quickly as possible so you can have somewhere safe from which bring down the enemy numbers.
Key Combat Tip
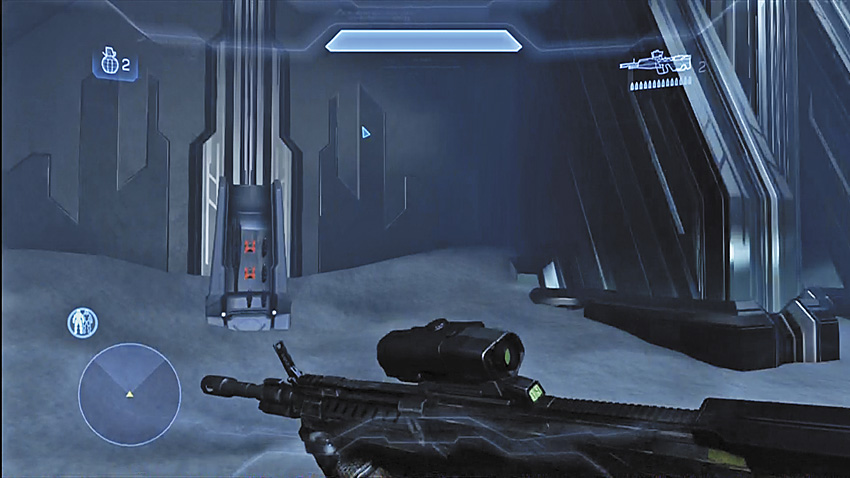
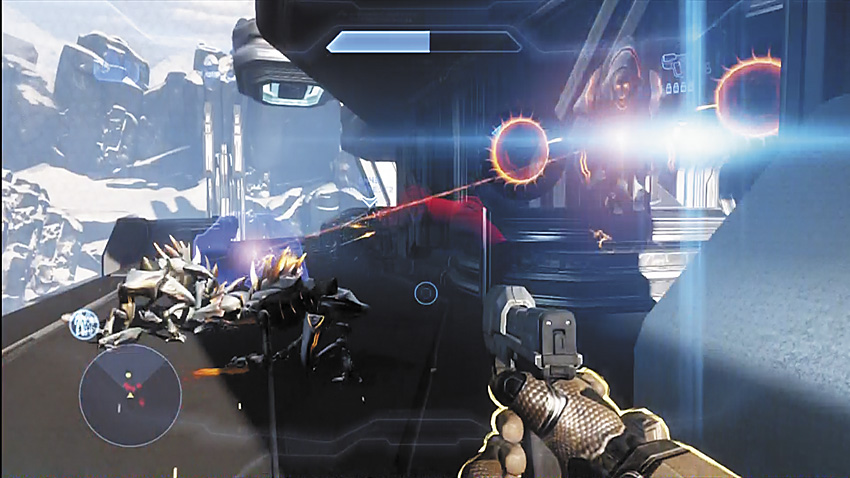
Climbing the tower, you meet even more Crawlers and Watchers at nearly every step of the way.
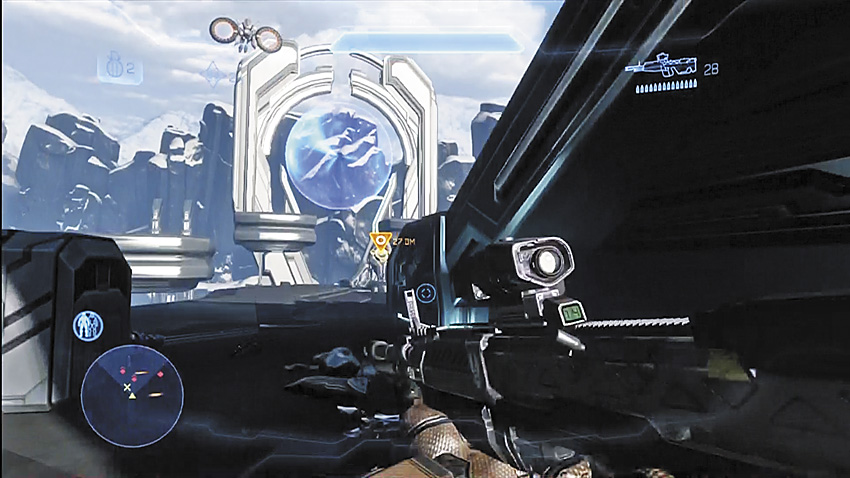

More Crawlers and Watchers greet you at the top of the tower, near the main power controls. Deal with them, and then use the console to complete the objective.
Objective Five: Move to the Evac Zone
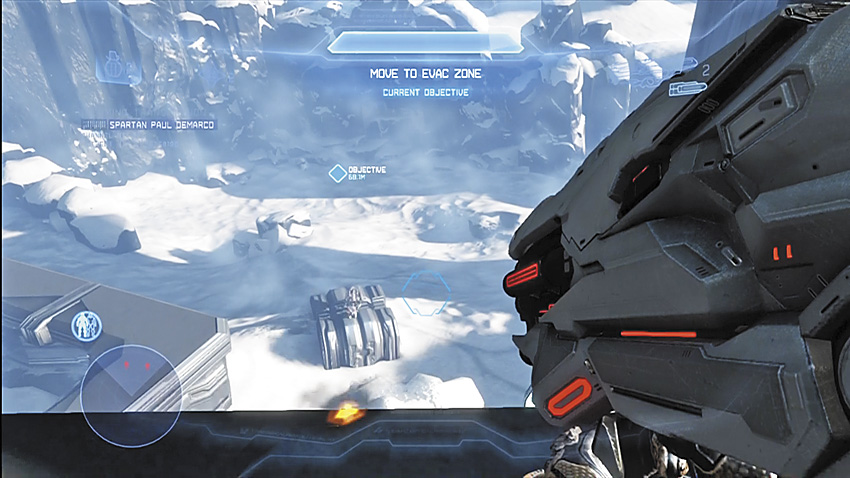
[5] Much to Fireteam Majestic’s annoyance, you have finished your mission well before they have, and Commander Palmer wants you to move to an evac zone for pickup. More Crawlers assault the tower in an effort to stop you. Clear them out and get to the evac zone!
Objective Six: Clear the Evac Zone
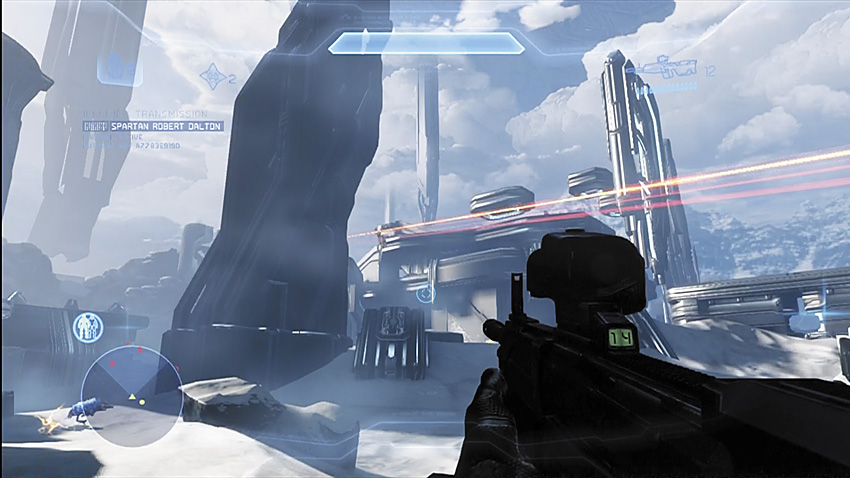
You’re not done yet. Crawlers and Watchers begin swarming the evac zone, and you’re ordered to clear the area of hostiles before the Pelican arrives to pick you up. Actually defending the zone from within it can be brutal due to the sheer number of enemies and lack of good cover. Consider looking for cover at the small structure where one of the jamming arrays once stood. You can make use of the walls there for protection.
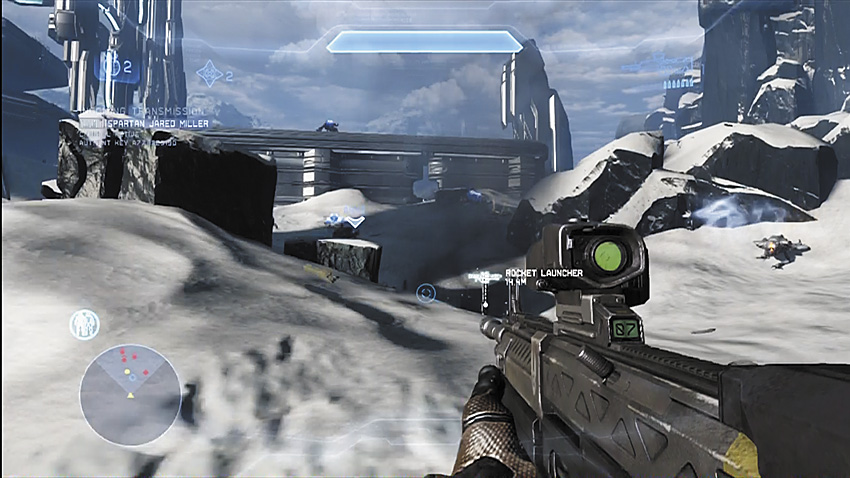
As the fight around the evac zone wears on, ordnance drops are regularly delivered to help you even the odds, but these are at the evac zone itself. If you’re playing in a four-Spartan team, you can have one or two members break off from the group and cover the evac zone from the central tower. This can cause the enemy to split their attention between two sets of threats, which can make this last attack more manageable.
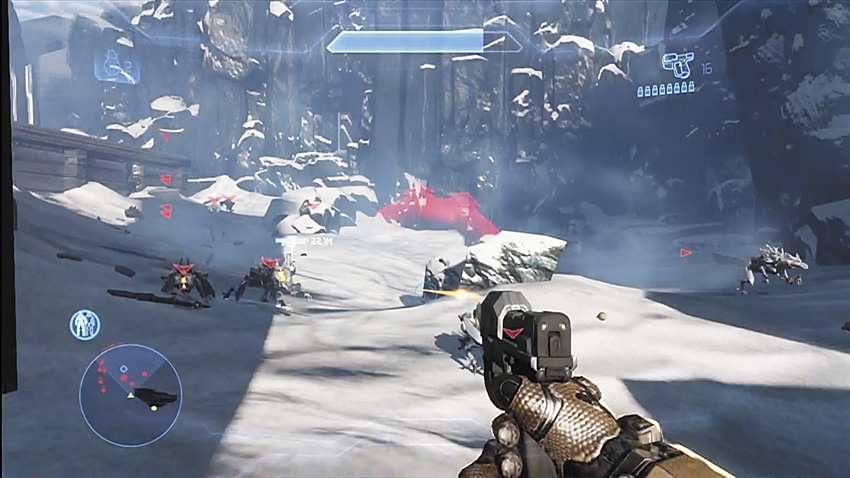
Other teams of players might just retreat as a squad directly to the tower as soon as “Clear the Evac Zone” flashes onto their HUDs. This isn’t a bad call either, The central tower can provide good protection from the swarm of Crawlers and Watchers. Whatever you choose to do, once you eliminate the enemies and reinforcements stop arriving, the mission is complete.
Chapter Four: Sacred
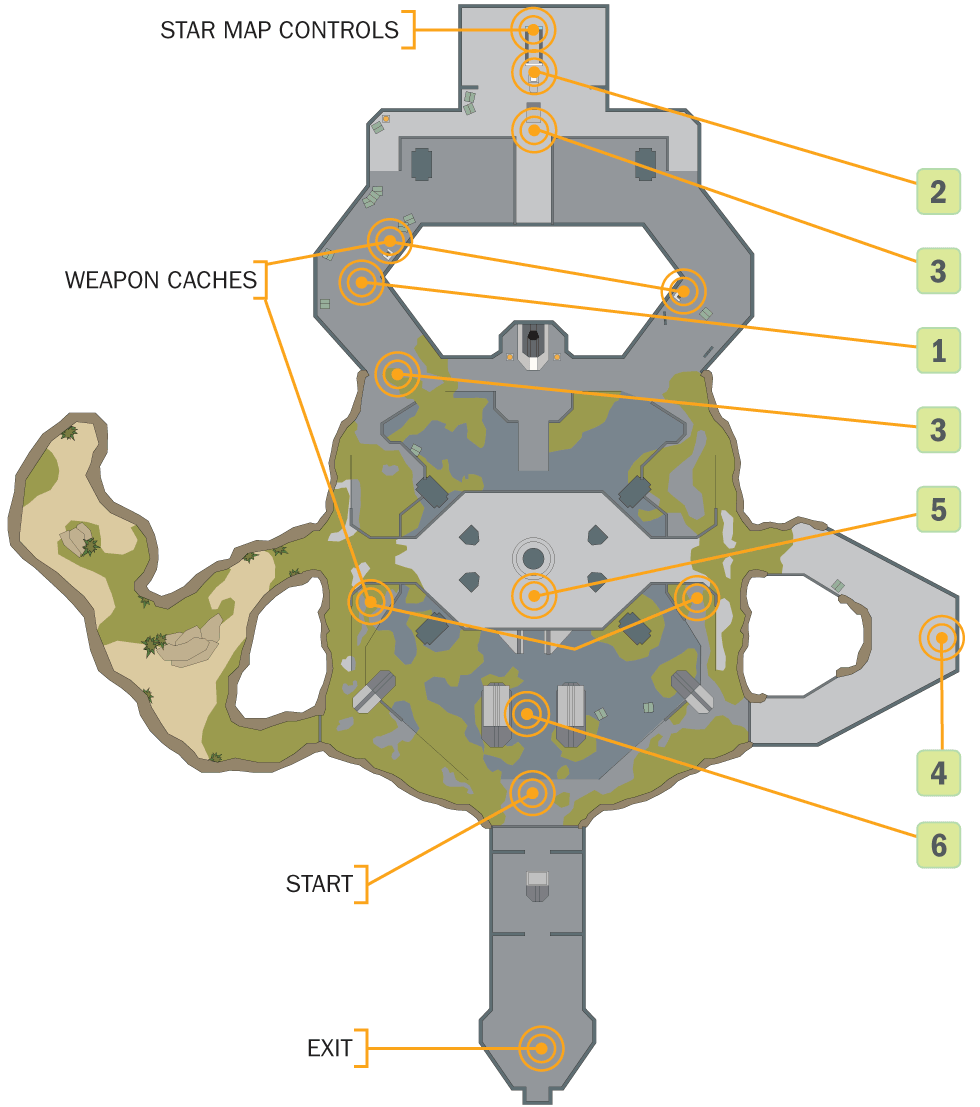
Commander Palmer decides to lean on Fireteam Crimson more, after embarrassing Fireteam Majestic during the previous mission. The Infinity ’s science division has identified a Forerunner structure within Requiem’s jungles that they would like to investigate, but it must first be cleared of the hostile presence.
Mission Briefing
If you’re being sent somewhere, it’s almost always for a good reason, and there is definitely a good reason for it today. The Forerunner facility appears dormant at first, but the mission quickly devolves into your fight for survival against a determined Promethean defense force. The Prometheans clearly control the facility, and may attempt to lock it down to deny you a chance to retreat. This will be Fireteam Crimson’s first encounter with the Promethean Knights, so prepare your gear accordingly.
- Map Location: The Refuge
Recommended Loadout
Crawlers, Watchers and Knights mean that weapons like the DMR, Battle Rifle, LightRifle, and the Magnum are essential. We would normally recommend the Plasma Pistol earnestly, but in this mission the only way you’d get replacements for it is if you died and respawned with one, or if an ally died and you picked up theirs. A Scattershot is also a great anti-Knight weapon, if you’re quick on the draw and the Knight isn’t armed with one of its own. There are a number of weapons caches positioned throughout the facility that grant you access to fully loaded Promethean weapons.
Armor abilities can be a major deciding factor in your survival. The Hologram can turn Knights backs to you for quick assassination, and having a Hardlight Shield is good for falling back while trying to buy time for your shields to recharge. Another good armor ability is the Jet Pack. There are a number a raised ledges and walkways you can quickly reach to gain positional advantage on enemies like the Knights.
Objective One: Investigate the Area
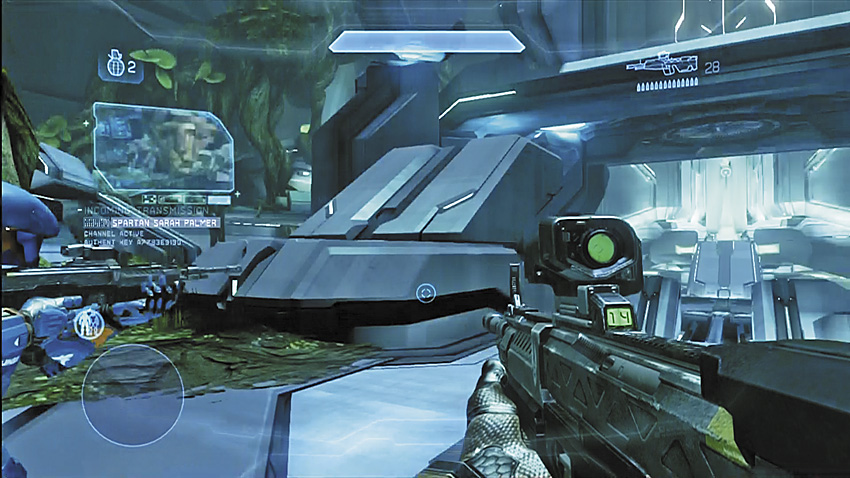
It’s all quiet as you arrive at the facility, but power fluctuations have been detected farther in. You’re given a waypoint marker to head toward, so get walking. Be sure to check out the main chamber you start in thoroughly. Weapon caches filled with LightRifles can be found on the lower level. This will be an incredibly dominant and useful weapon in the fighting to come.
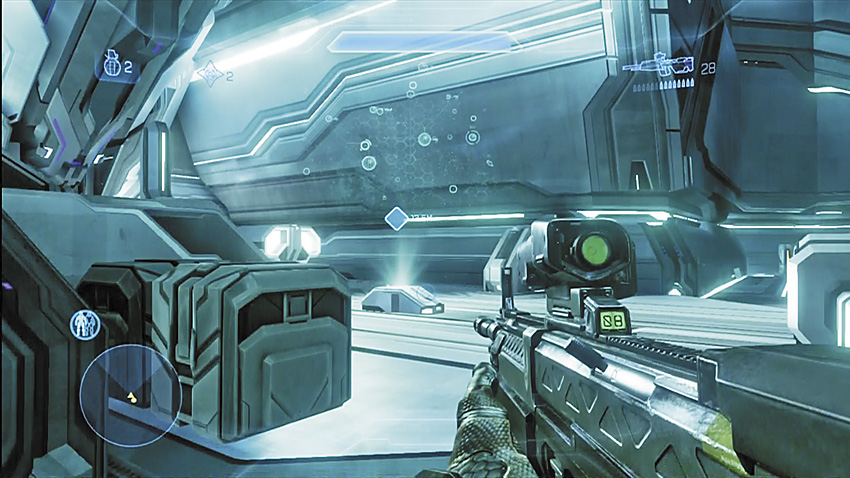
[1] Just around the corner is an ambush led by Crawlers. It’s officially “go time.” Put down the Crawlers and investigate the new waypoint. You locate the source of the power fluctuations: a star map. To recover the star map, you need to access a separate control panel located only a few meters away from the map itself. [2] When you hit this switch, things get really interesting.
Objective Two: Regroup at the Exit
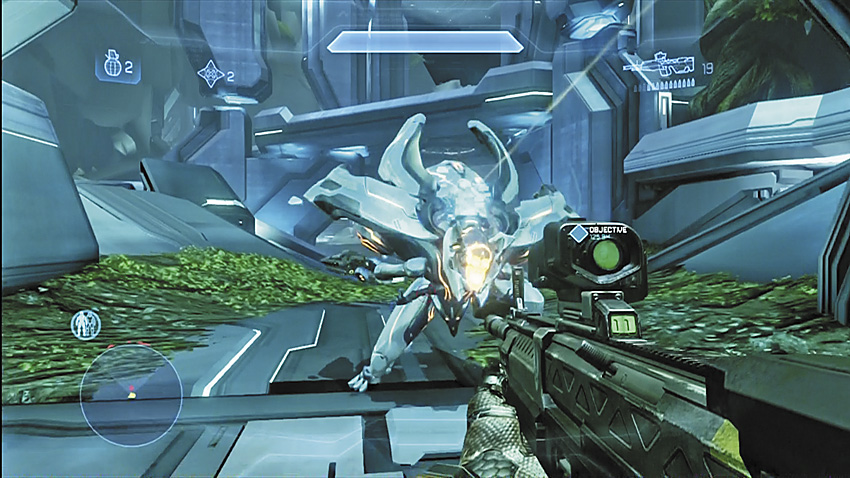
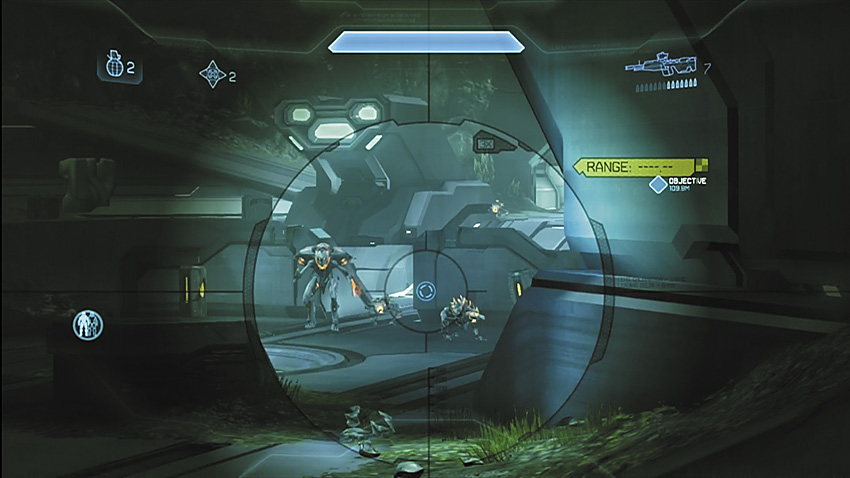
[3] Spartans, we are leaving! Crawlers begin to flood into the room the star map was in. After the first wave is toast, a new waypoint is brought up. As you advance down the hall you entered the star map room from, more Crawlers and a pair of Promethean Knights teleport into the area to stop you. The larger chamber you started in becomes filled with more Crawlers and Knights after this first group is dealt with. If you feel that the ground level of the large chamber is becoming too hot, you can take to the upper ledges and ramps. If you’re playing in a team, you can split your people between the upper and lower levels to set up some pretty nasty killzones.
As you continue fighting, the exit to the facility is suddenly cut off.
Objective Three: Find Door Controls
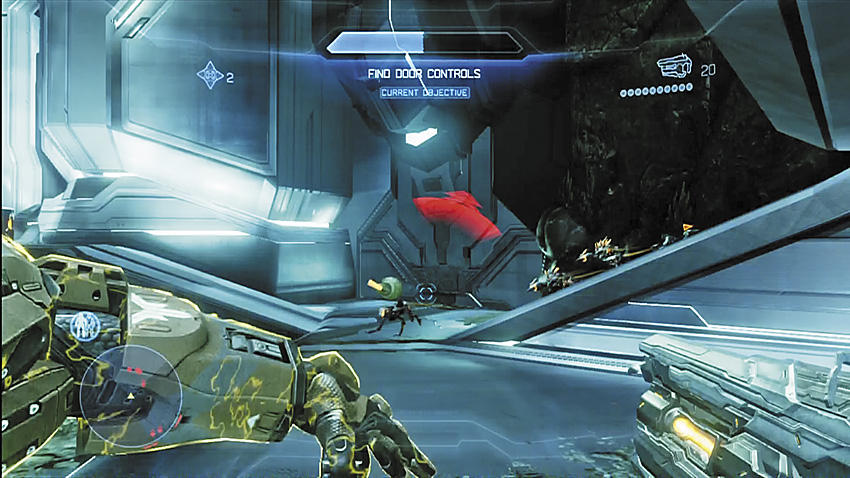
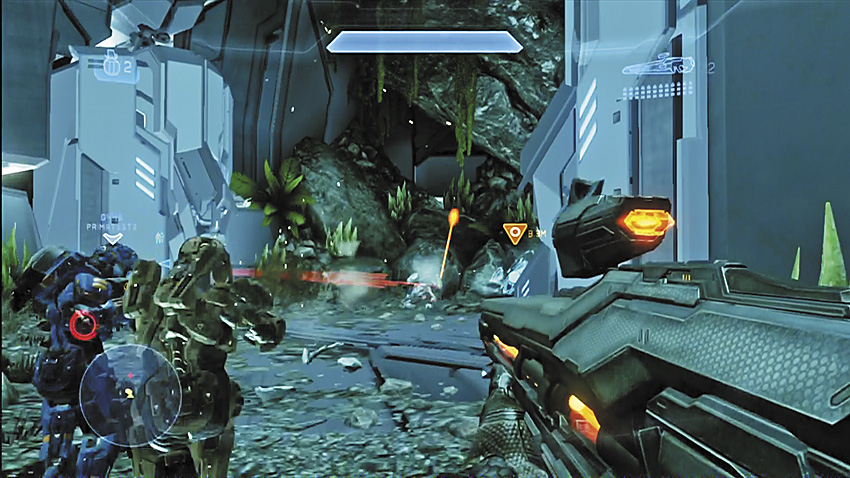
[4] You’re not out of luck yet, though. Spartan Miller marks the location of a set of controls that will reopen the facility and allow the Fireteam to escape. Now it’s just a matter of cutting through the hordes of Crawlers, Knights, and their Watcher guardians to reach the controls.
Don’t forget: the multiple ramps and walkways you use to funnel hostiles into advantageous positions can also be used against you, if you’re the one climbing up the ramps. Be vigilant and keep your eyes at the top of each ramp as you advance to avoid unpleasant surprises.
Objective Four: Eliminate Hostiles
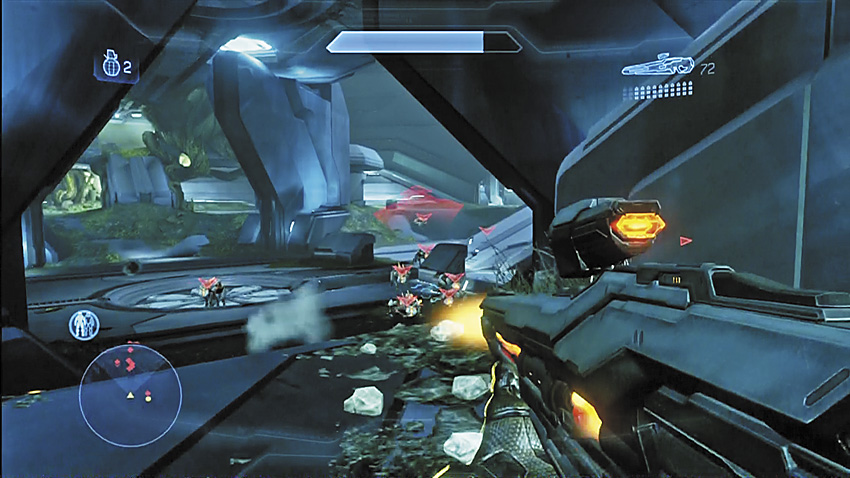
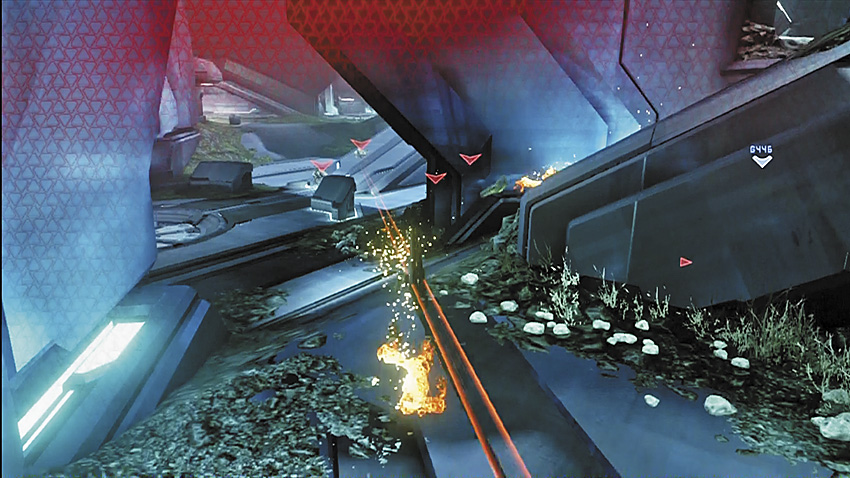
[5] The way out is clear, but your mission isn’t finished until you make it safe for the UNSC scientists to enter the facility. Annihilate the remaining Prometheans, all of which are conveniently marked on your HUD. Crawler Snipes start making appearances during this last wave, so make sure you’re ready to quickly eliminate them.
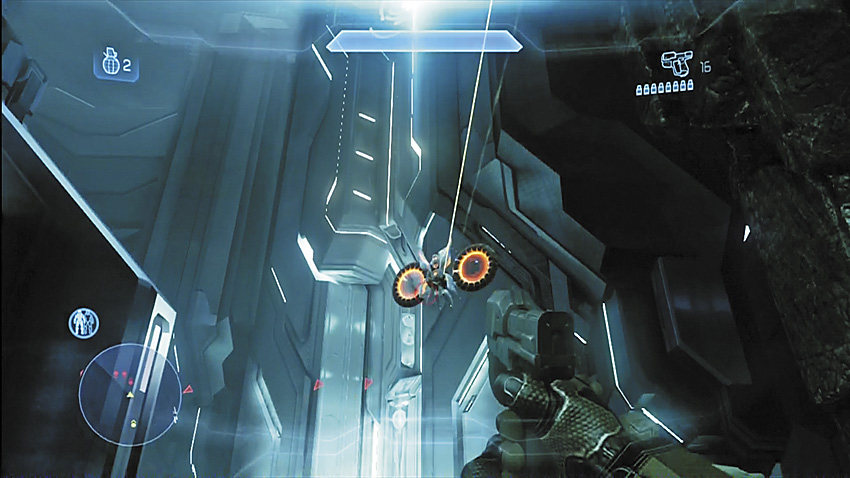
When Miller calls out a warning that Watchers are on station, this also marks the arrival of a squad of Knights at the main facility chamber. Palmer correctly orders you to wipe out the Watchers first. Doing so prevents any resurrection of fallen Knights.
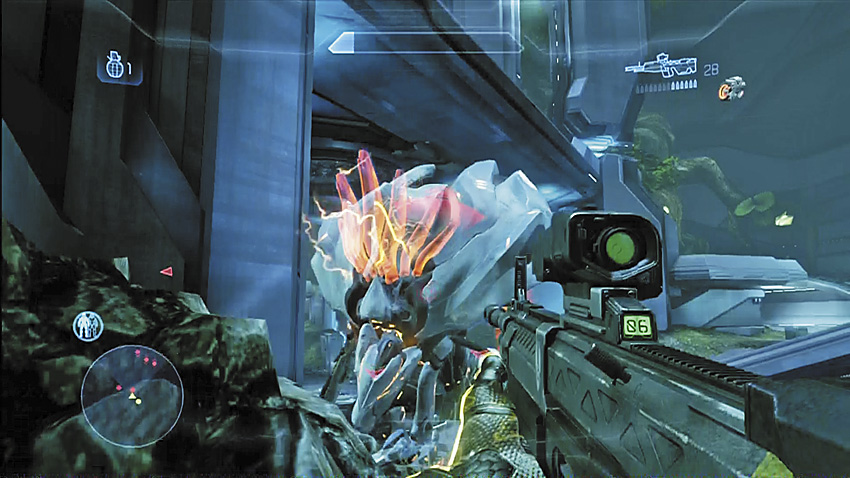
[6] With that wave beaten, two Knight Battlewagons and another group of Crawlers, with Watcher back-up, appear back at the facility exit. Once you’ve destroyed this last bit of resistance, the only presence remaining in the facility is that of Fireteam Crimson. The mission is complete!
Chapter Five: Core
Finding the map at the Forerunner facility has provided an unexpected windfall of valuable intelligence about Covenant movements across Requiem. An archeological dig being spearheaded by Covenant forces is close to a potential breakthrough, and Fireteam Crimson has been deployed to interrupt this operation and steal any information or artifacts that may have been recovered by the enemy. For all intents and purposes this sounds like a simple smash-and-grab operation, but if it really were simple, the Spartans wouldn’t have been deployed.
Mission Briefing
The Covenant are defending this site with the largest force you’ve seen to date. Expect multiple defensive lines standing between you and your objectives throughout the Forerunner facility, and multiple high-ranking Elites to be in charge of much of the defenses. In addition to the Covenant obstacles, the Prometheans also appear to be making a stand around a structure the where the Covenant were focusing their archeological efforts. The Prometheans will also need to be eliminated for the UNSC to uncover whatever it is that they are trying to protect.
- Map Location: The Cauldron
Recommended Loadout
We’re back to having the Covenant as opponents again, and by now you might be able to purchase the Plasma Pistol with your Spartan Points. Pack it and any headshot-capable weapon at your disposal to start with. This mission has plenty of long sightlines that allow players to snipe enemies in relative safety, so always try to have at least one weapon that takes advantage of this. There are plenty of Plasma Pistols and Needlers to snatch from dead Covenant, which make dealing with the Elites and Knights easier.
Objective One: Clear the Area
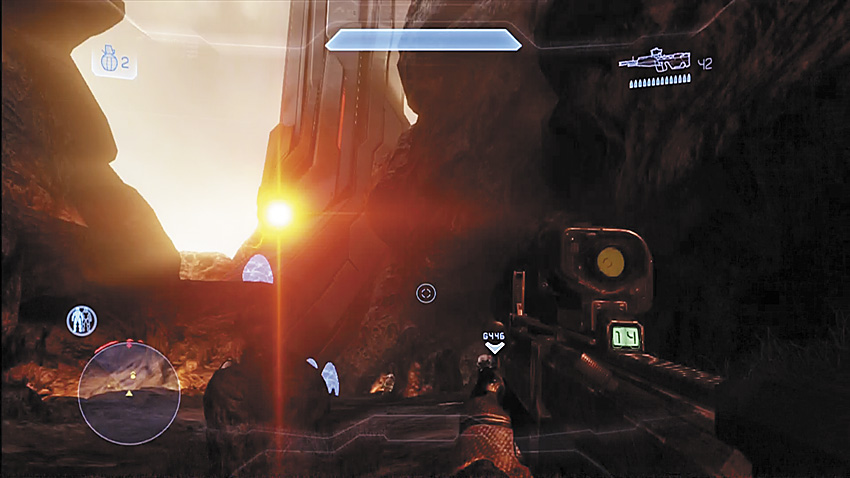
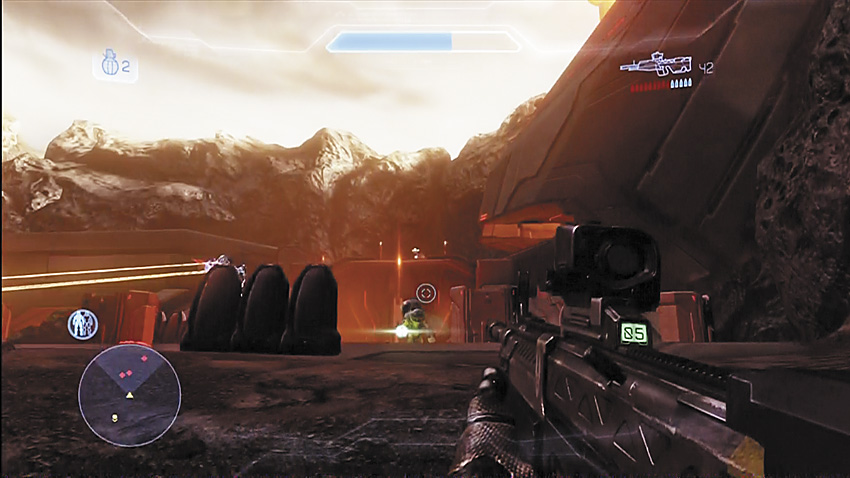
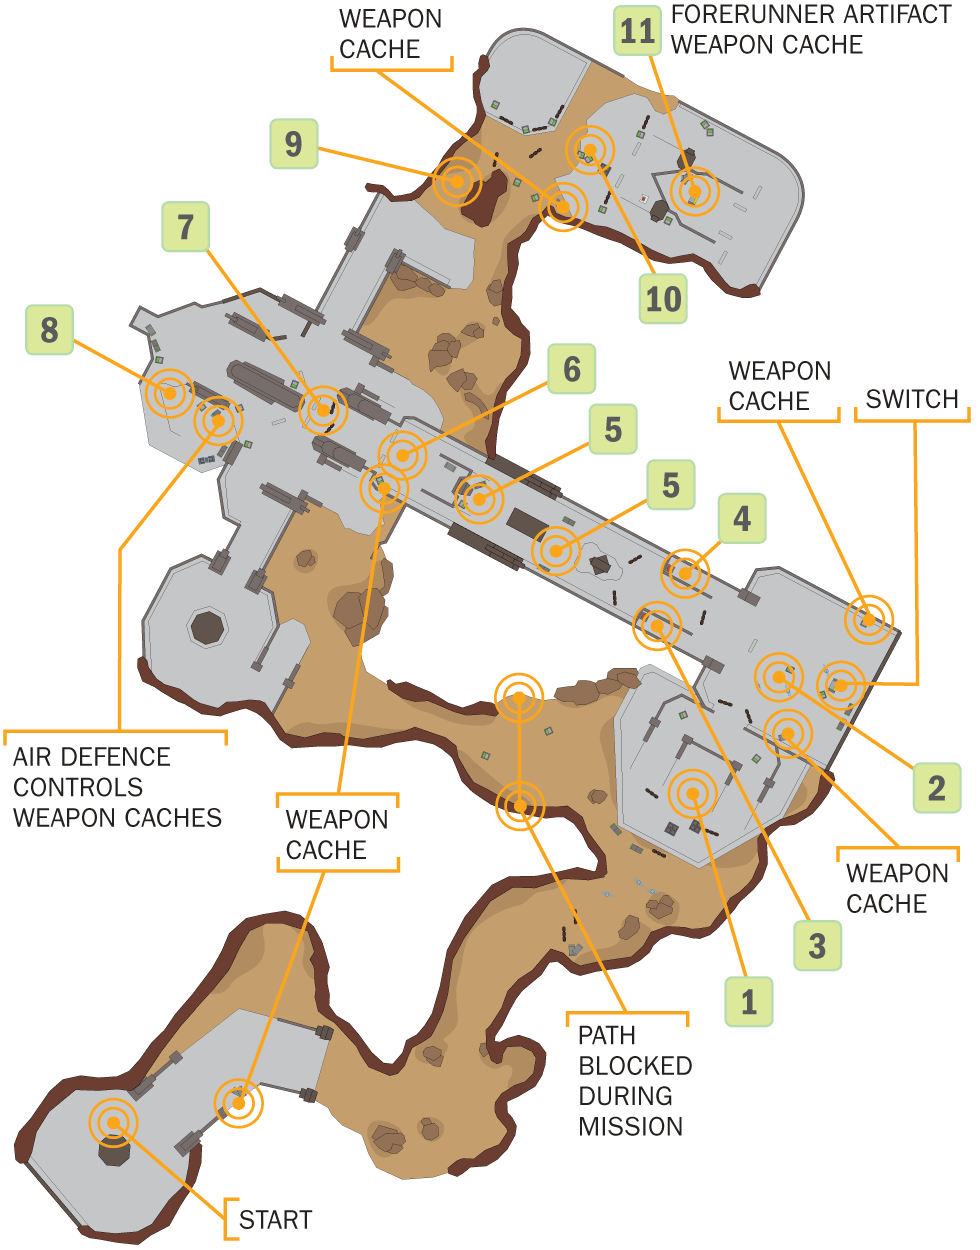
[1] You start out in a cavern, but quickly climb out of it and into the maw of a massive Covenant guard force of Grunts, Jackals, and Elites. A Grunt on a Plasma Cannon provides overwatch from a raised walkway, while a Drop Pod descends from above and deploys even more troops. Phantoms fly overhead, providing additional fire support with their Concussion Cannons. This should set the tone for the mission!
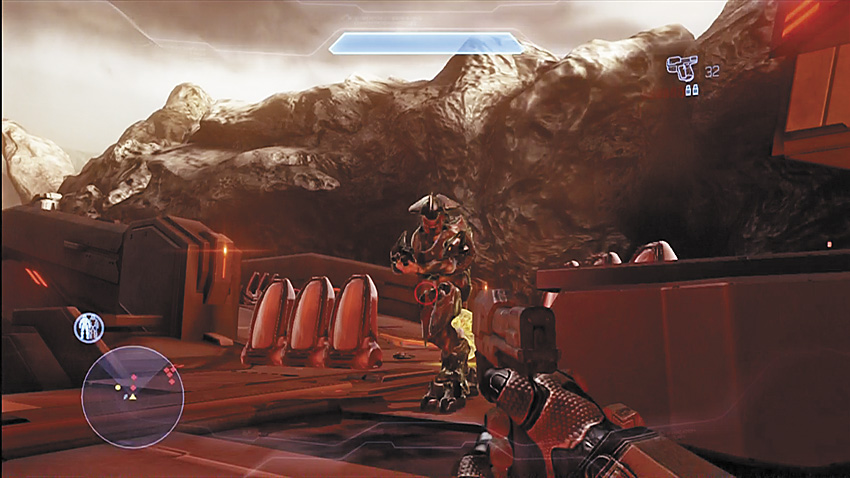
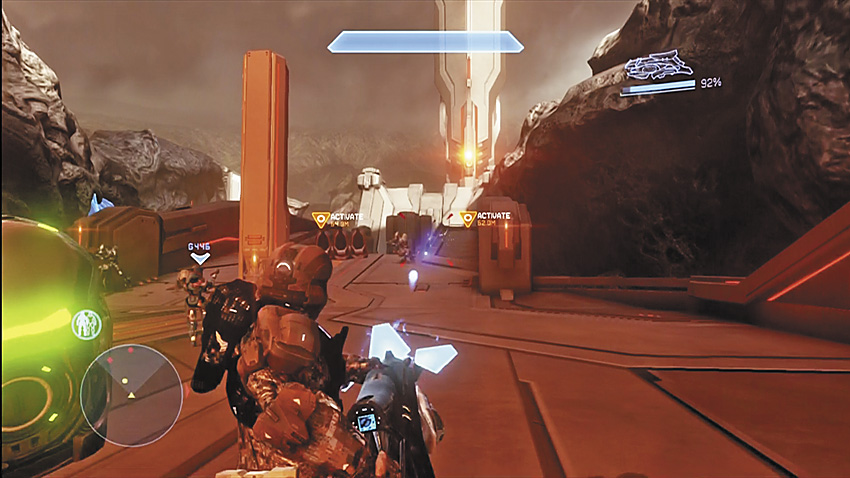
[2] Behind the Plasma Cannon gunner, more Covenant troops may potentially be lying in wait, if they didn’t charge down the ramps to the lower level.The ramps themselves are an excellent spot to split up a team of players, so that both ramps are occupied by Spartans. Each group provides overlapping fields of fire on the enemy.
Key Combat Tip
Whatever they are guarding behind the locked doors on the upper walkways must be extremely vital. When the enemy is defeated, a switch is marked on your HUD. Once it is depressed, two more switches [3] [4] are marked on your HUD, and they require you to advance up a set of ramps where Elites have been delivered via Phantom. Hit the two switches to open the sealed doors [5] and proceed with the mission.
Objective Two: Clear the Base
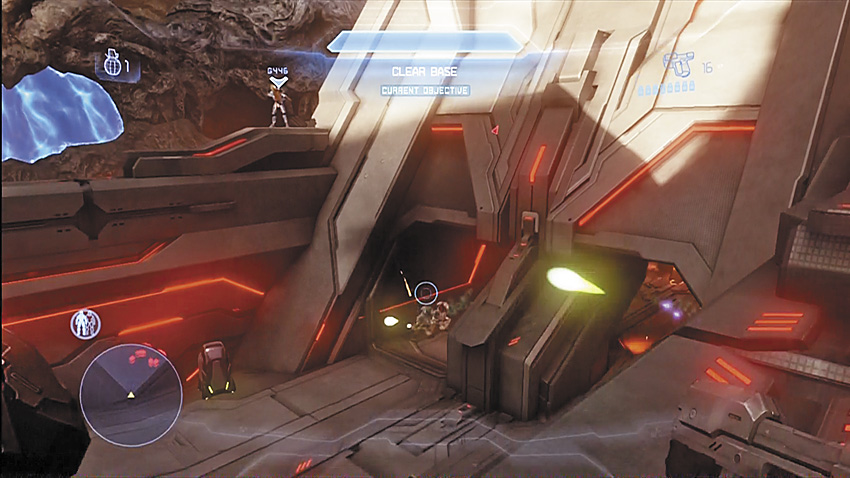
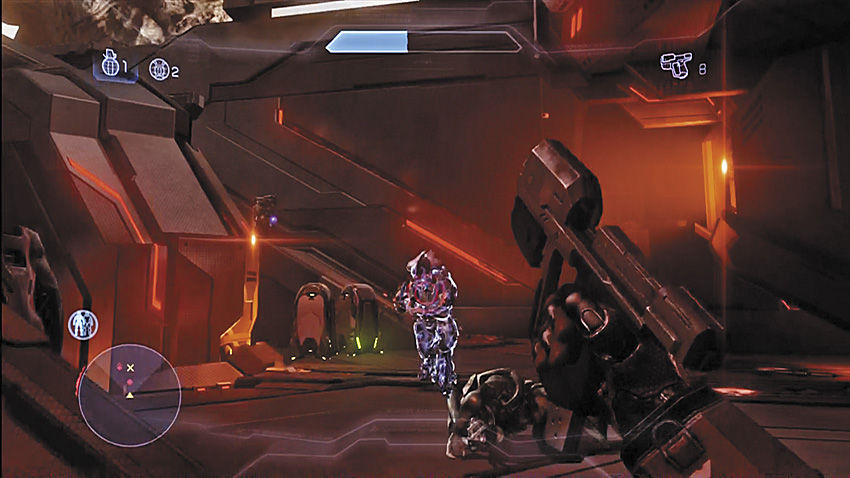
[5] More Covenant arrive on the other side of the wall from a Drop Pod, Elites use Jet Packs to fly over the wall to greet you, while another force rushes through the doors. Be careful about engaging them from the walkways where the switches were located. A careless jump can land you in the lava far below.
Past the doors, twin ramps lead up to where the Drop Pod deployed its troops, though by the time you finish dealing with the first group, the second is likely to be on their way down the ramps already. Expect at least four to six Elites between these two groups.
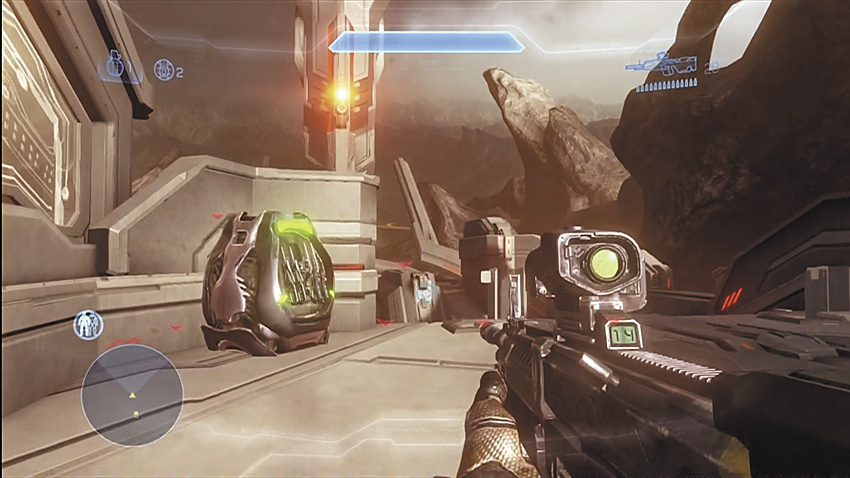
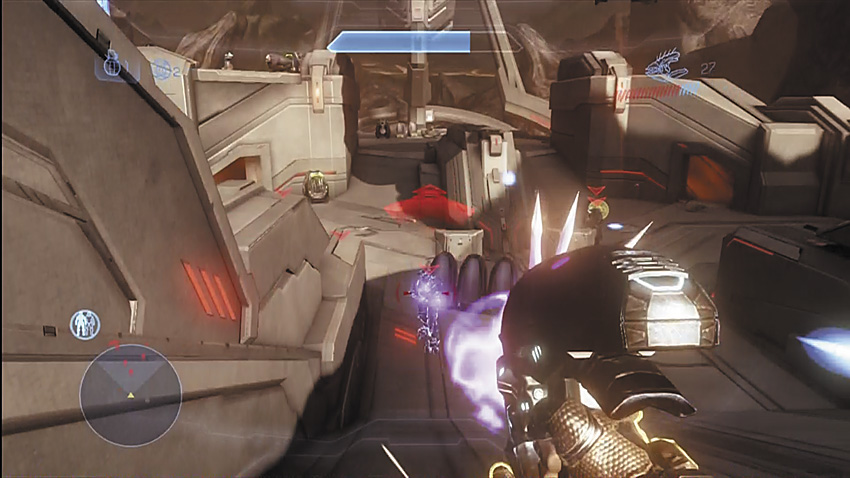
At the top of those ramps [6], you find a weapons cache filled with Covenant Carbines, Storm Rifles, and Plasma Pistols. This platform has another ramp that takes you down into the base, where another team of Covenant awaits [7]. Stick to the high ground while engaging them if at all possible, but beware of another Phantom strafing run.
Objective Three: Deactivate the Shields
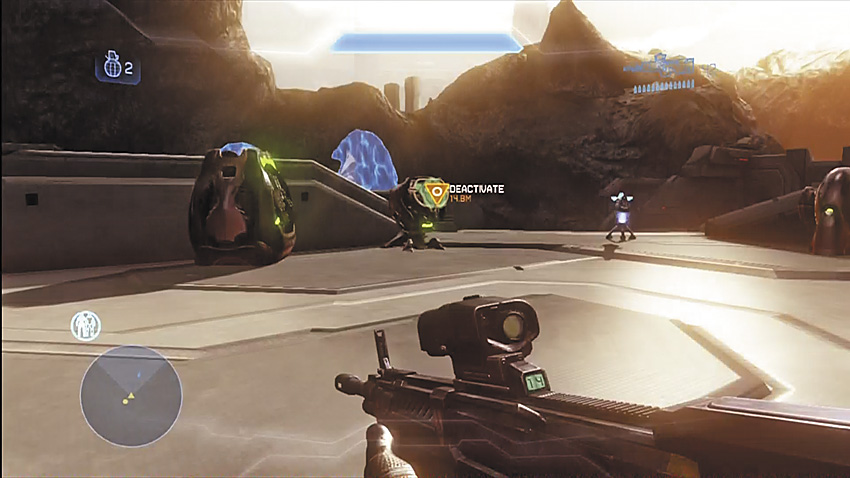
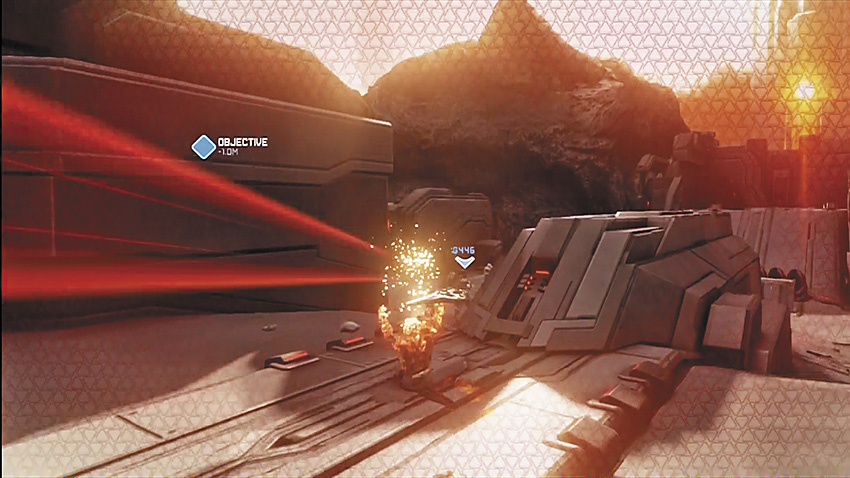
[8] Local defenses make extraction impossible. You must deactivate the shields to open an air corridor for the Pelican. As soon as you disable the shields, Prometheans Crawlers swarm into the area [7] where the last group of Covenant tried to make their stand. More stream in from a side entrance to the base [9], complete with Watcher support. Beware of Crawler Snipes among this assault!
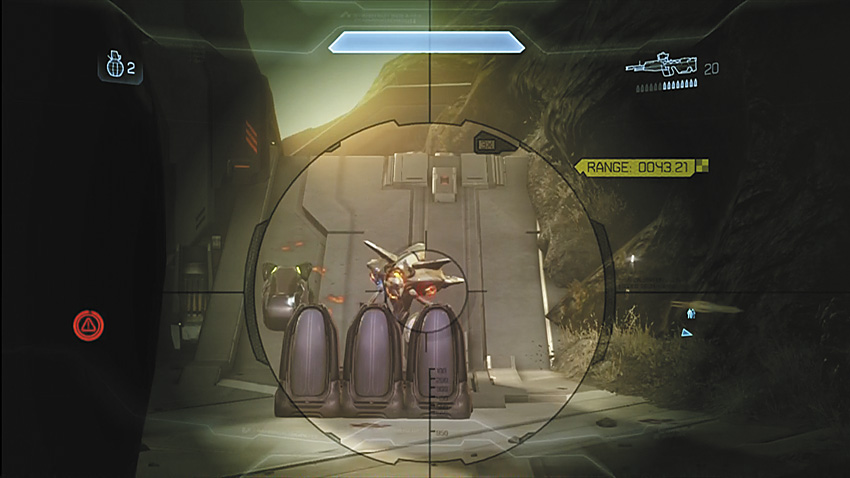
[10] When you’ve secured the area around the first switch, you can advance toward the next waypoint and handle the Watchers and Crawlers camped near it. As you crest the hill, be wary of the Knight presence, especially any Knight Lancers armed with Binary Rifles. If you’ve recovered a Binary Rifle from a fallen Crawler Snipe, you can try to pick off the Knight Lancers in two quick headshots, but don’t ignore the other Knights advancing toward you at the same time. Make no mistake, this can be a long cat-and-mouse battle until those Lancers are out of the picture. Fortunately, you have a good amount of cover to take advantage of. If you’re playing with allies, you set up overlapping fields of fire. The enemy is less fearsome when they can’t concentrate their wrath on one spot alone.
The structure that the Prometheans are protecting can be the source of additional frustration. Knights sometimes like to teleport up to the top of the building, using it for cover while they regenerate. Try to avoid rushing the building unless you are confident that you can survive the dash across open ground to close the gap with the enemy.
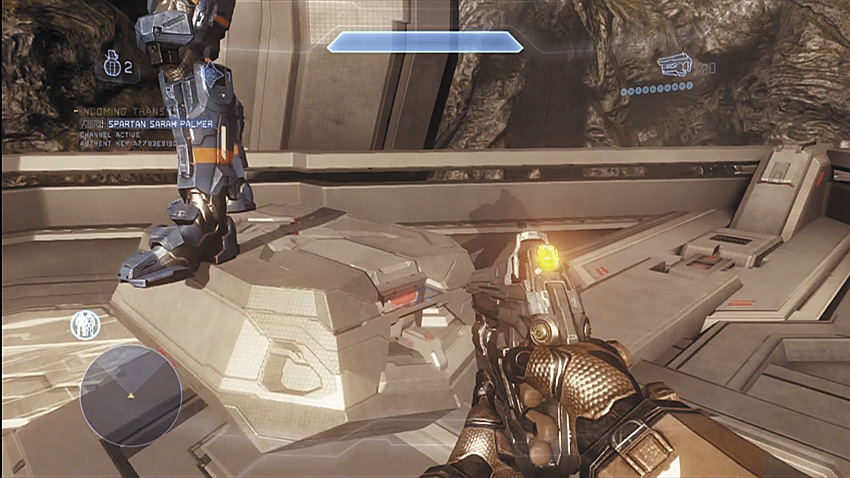
When you manage to defeat the Prometheans, a switch is marked for you atop the structure the Prometheans were protecting. Once you activate it, a Forerunner artifact is uncovered.
Objective Four: Defend the Area
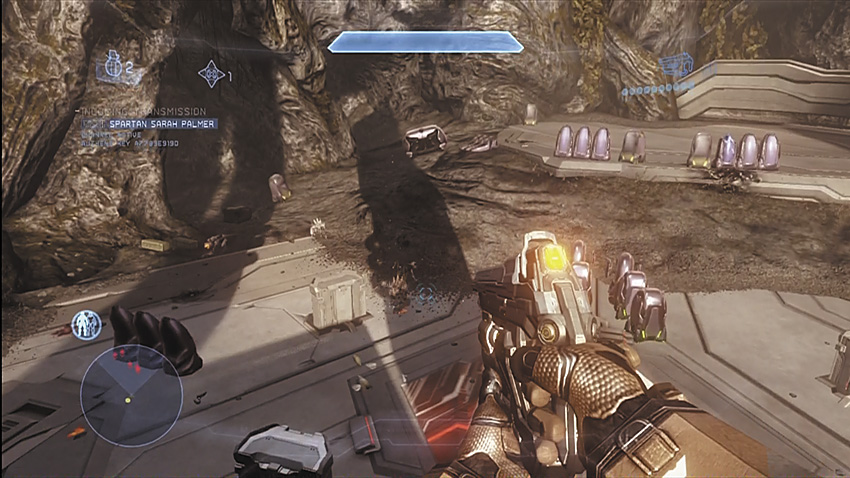
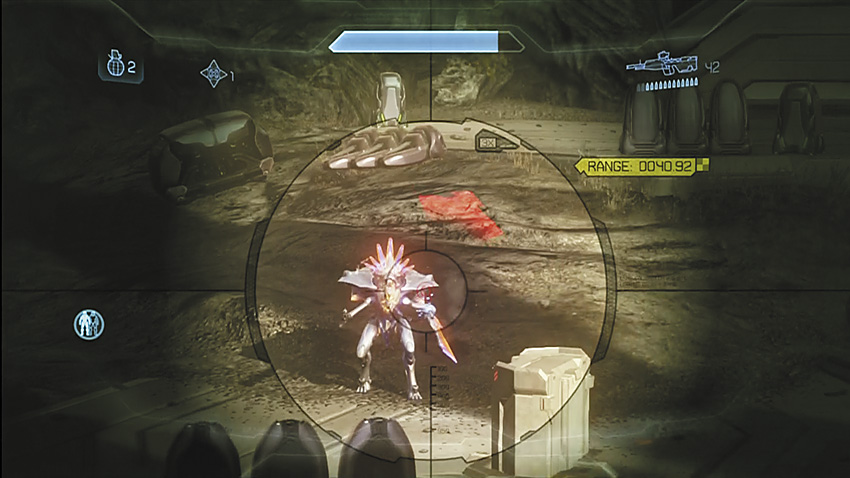
Fireteam Castle has yet to take care of their side of things with regard to the air defenses, which leaves your team stranded next to the artifact while an angry mob of Crawlers and a pair of Knights begin their assault in an attempt to retrieve it. Deal with them quickly, as Covenant craft are inbound as well. After you pacify the area surrounding the artifact, the Pelican arrives. Grab the artifact for extraction, and the mission is complete!