
Solace
A testament to the Forerunners’ technological prowess, this installation was designed to suspend the death of a star.
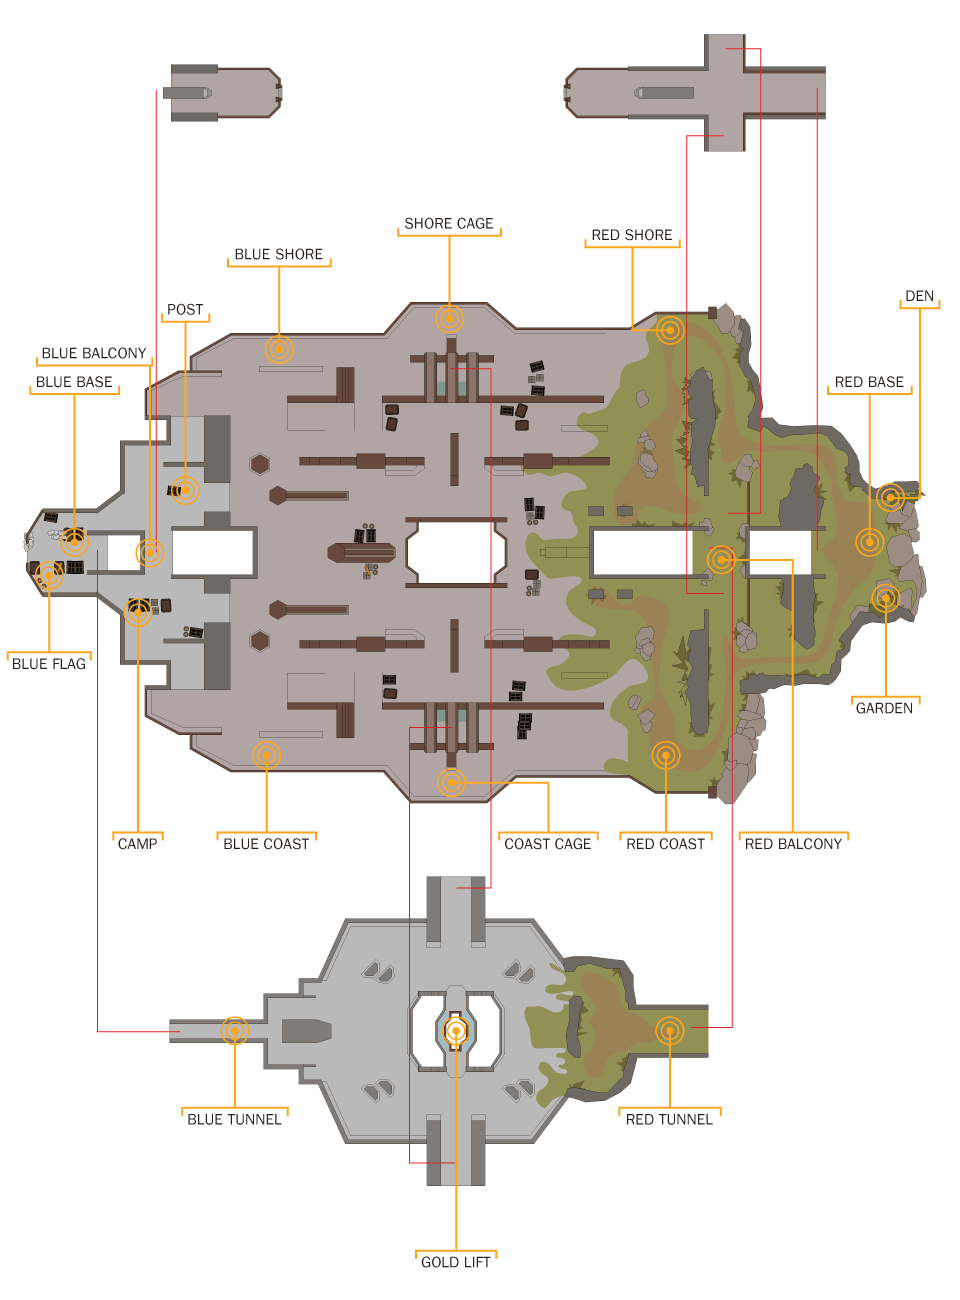
Choke hot spot
Danger hot spot
Mirrored hot spot
Sniper hot spot
Hot Spots
1A. Blue Balcony
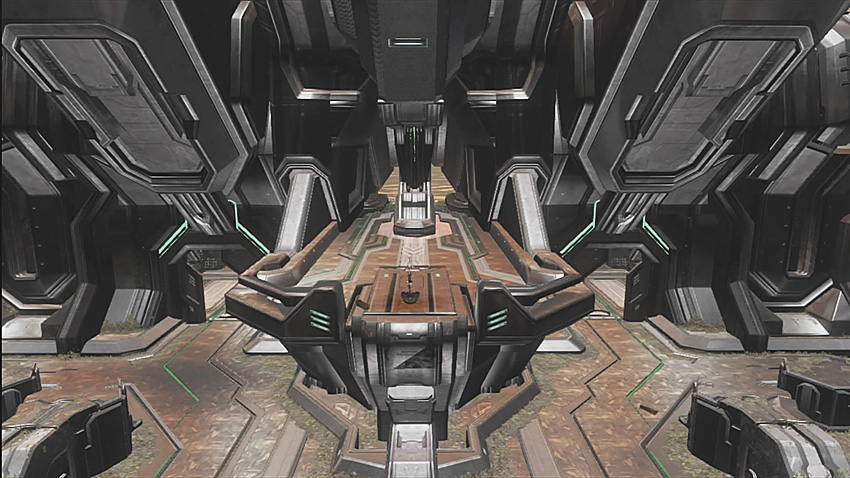
1B. Red Balcony
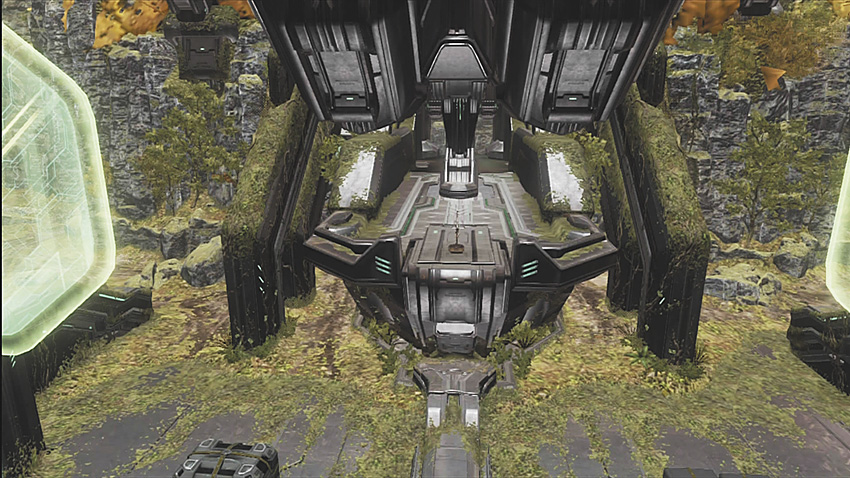
The Balconies are strong positions to hold, as you can place shots all over the top side of the map. You can also spawn-trap foes at the opposing Flag (3) location. This is a preferred location to prowl, in every game type.
2A. Blue Coast
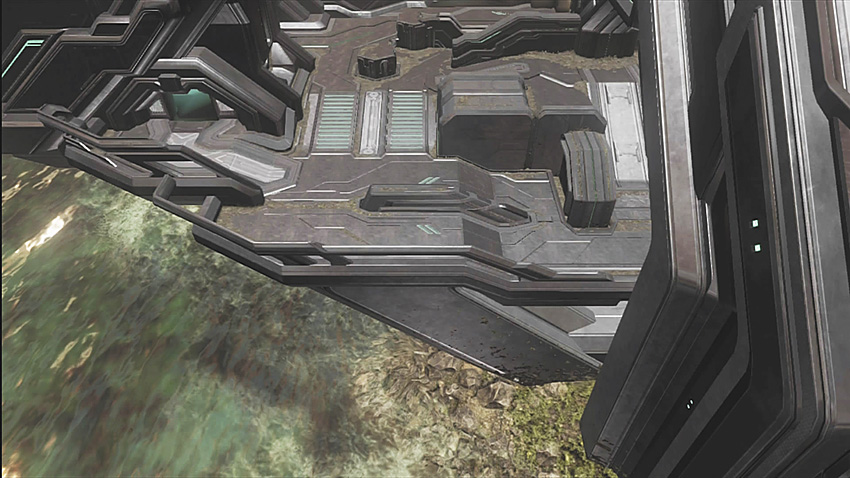
2B. Red Coast
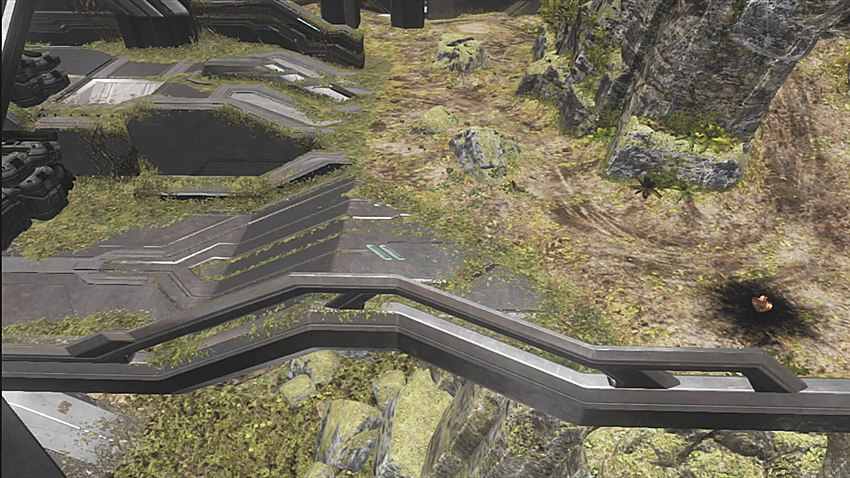
On either of the Coast sides of the map, there’s a divider you can utilize to take cover. From here, you can aim at foes on the opposite Balcony (1) and Coast (2).
3A. Blue Flag
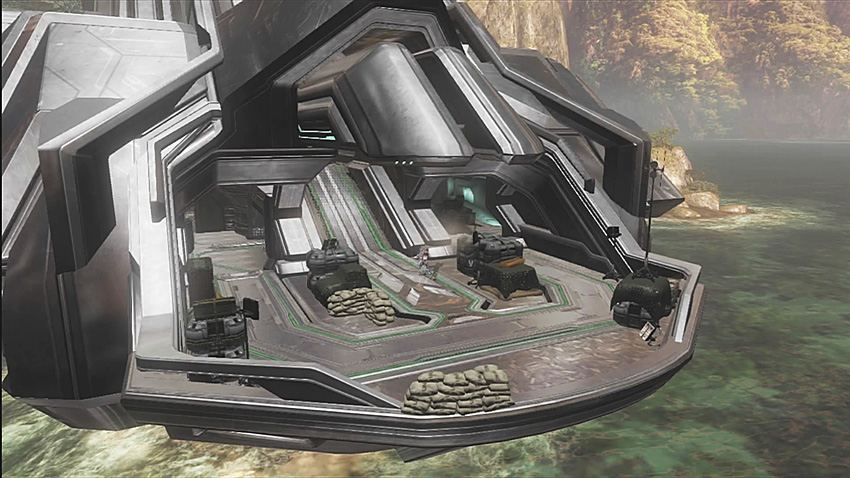
3B. Red Flag
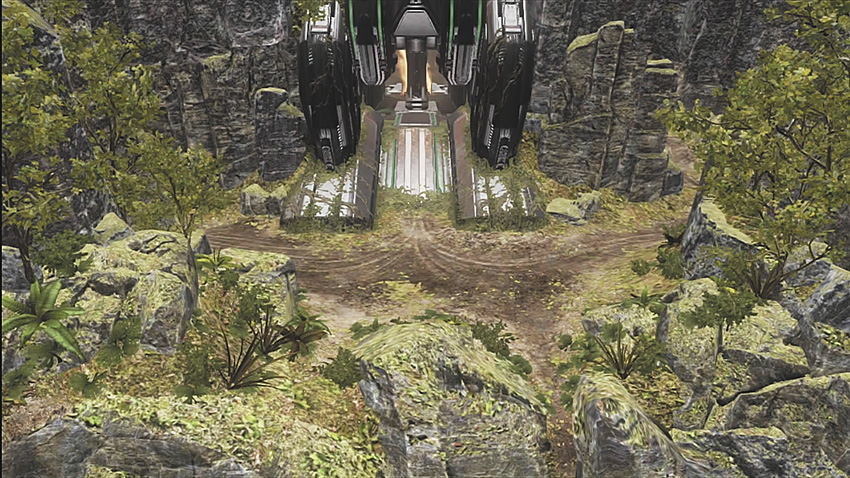
The rear of the base area is where the flag spawns during flag-based game types.
Blue Flag: This has crates in the back of the base; if you’re sneaky, you can hide back here and wait to catch opponents off guard.
Red Flag: This is a lot more open than the Blue Flag, so you don’t want to mill about in this area unless you’re watching the Garden (10) or Den (9) for your team as they hold down the Balcony (1).
4A. Blue Shore
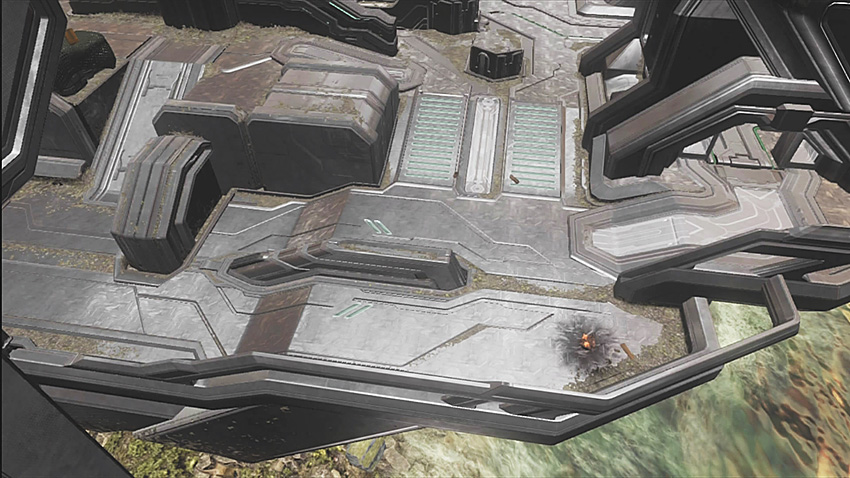
4B. Red Shore
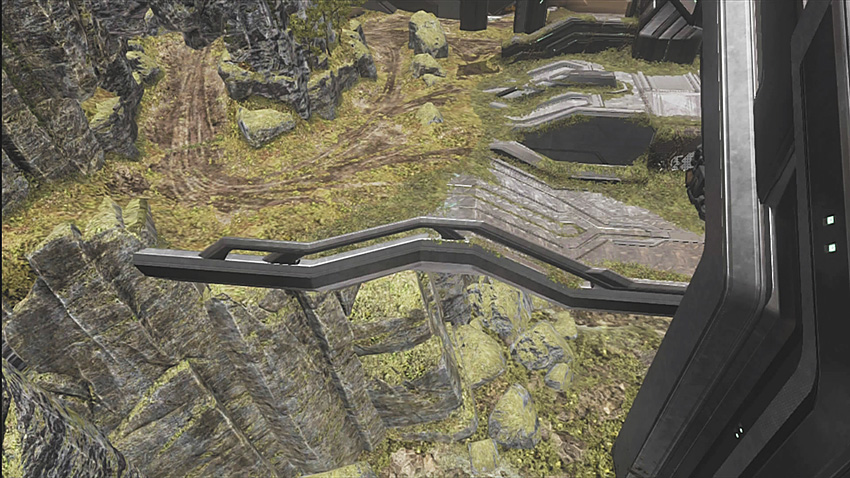
On each of the Shore sides of the map, there’s a divider that you can use as cover. From here, you can fire on opponents on the opposite Balcony (1) and Shore (4).
5A. Blue Tunnel
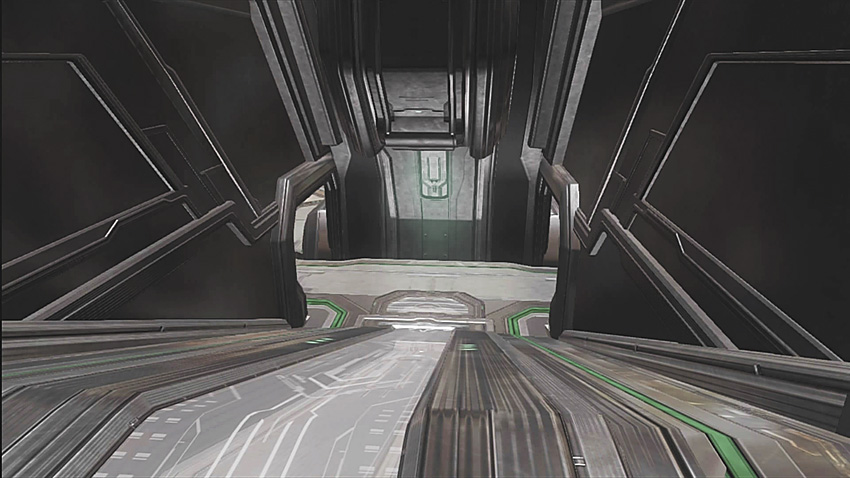
5B. Red Tunnel
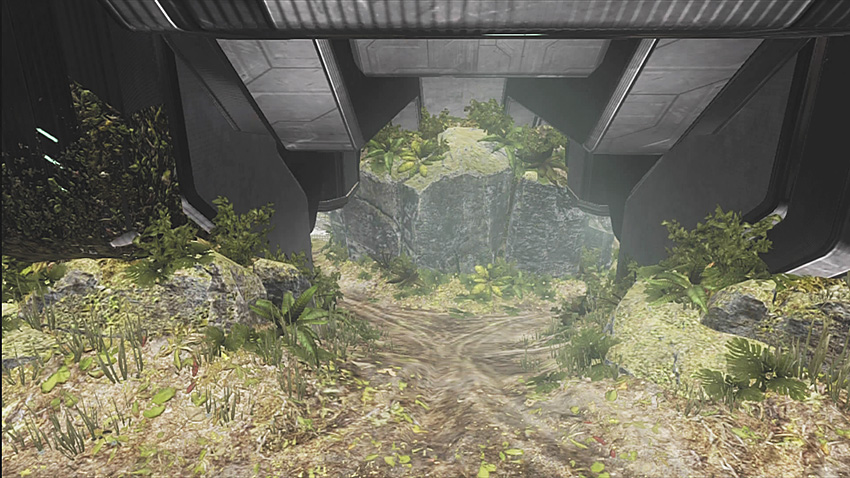
This is an underground passage that enables access to and from the Blue Base or Red Base to the lower side of the map. Try to avoid the Red Tunnel in particular, as there’s a ledge above it that gives the enemy the upper hand if they’re around the Red Base.
6. Camp
7. Post
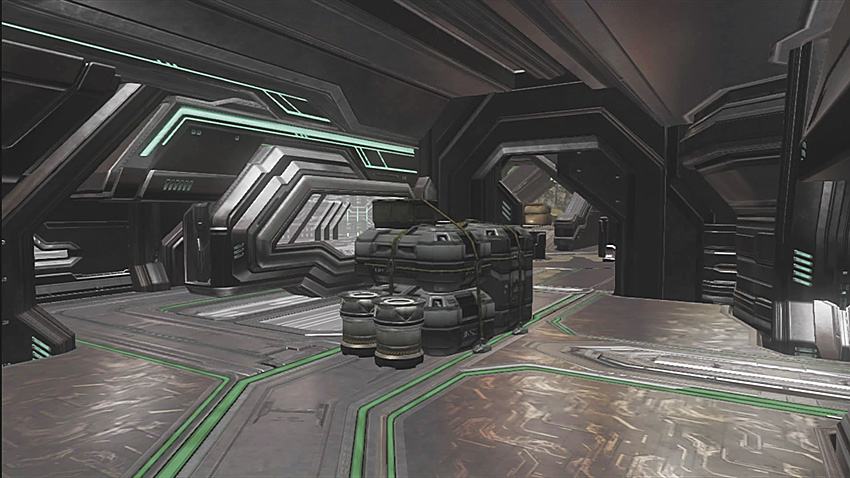
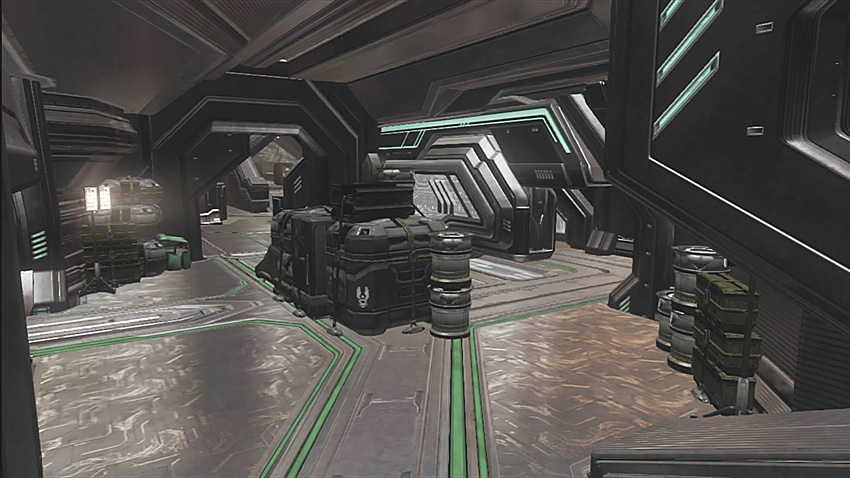
Both of these hot spots are in a section of the Blue Base that you don’t want to be caught in: They are easy areas to grenade. Try to catch your opponents in either area but don’t get caught here yourself! Camp and Post are good spots for Regicides, though, as you can patrol the entire base and move into this location to clean up any kills, just like the Den (9) and Garden (10).
8A. Coast Cage
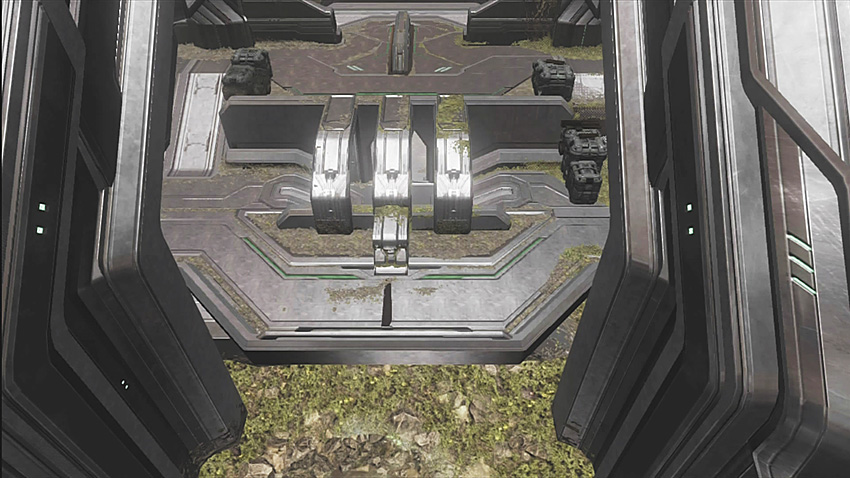
8B. Shore Cage
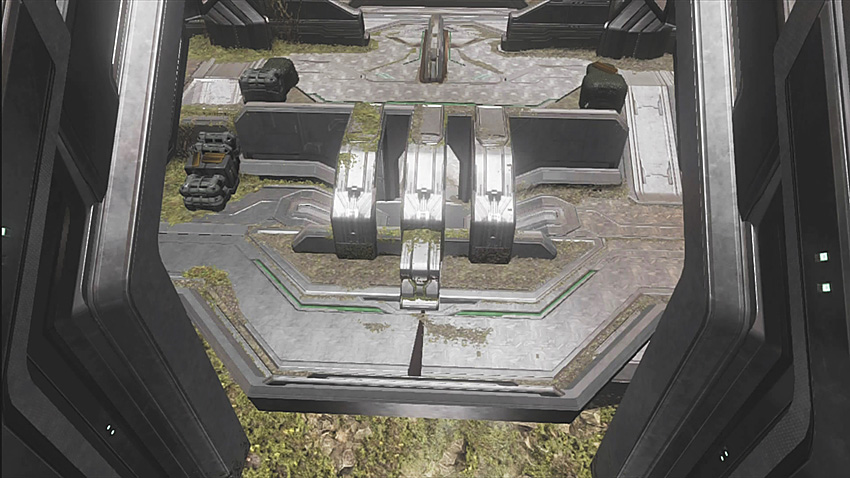
This is an area on the Coast (2), with a similar area on the Shore (4) that allows you access toward the bottom middle of this map. You can jump on top of this location and shoot foes on either Balcony (1) if needed. If a flag is being run along the bottom middle and you’re taking fire, don’t think twice about getting back to the top side of the map by walking through either cage.
9. Den
10. Garden
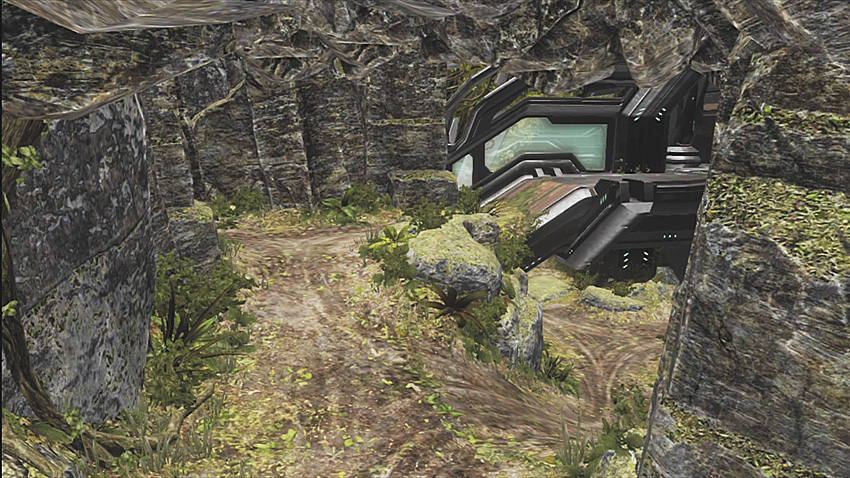
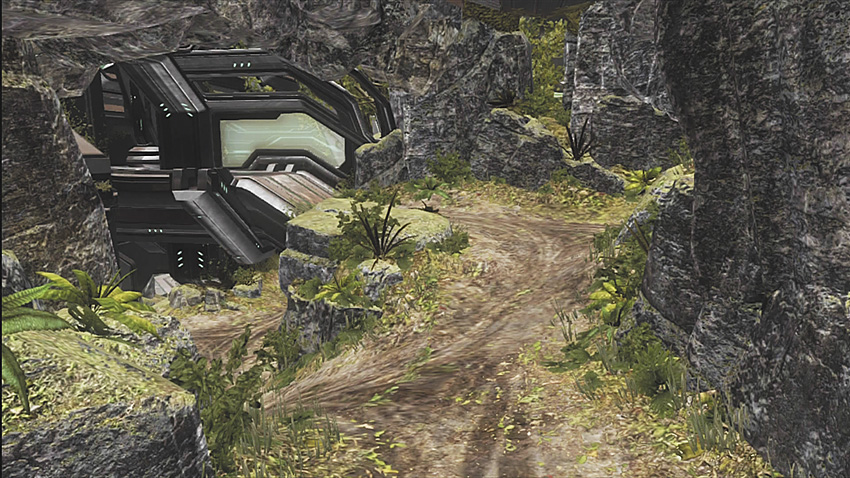
These are two sections of the Red Base you don’t want to be caught in; both areas are adjacent to the Red Tunnel (5B), and your opponents can be waiting above you on top to drop down and rake you with fire. However, this is a good place for Regicide matches, as you can patrol the entire base and move into the spot to clean up kills, just like the Camp (6) and Post (7).
11. Gold Lift
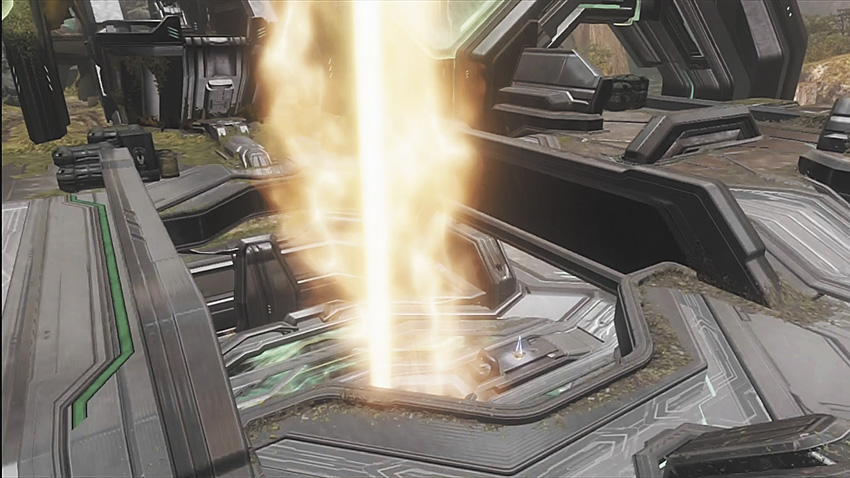
The Gold Lift in the map’s center allows you to ascend to the top middle and bottom middle areas of this map: Use this area only if you’re running away to drop down to Bottom Middle, or if you need to reach Top Middle immediately.
Tactics: Free For All and Regicide
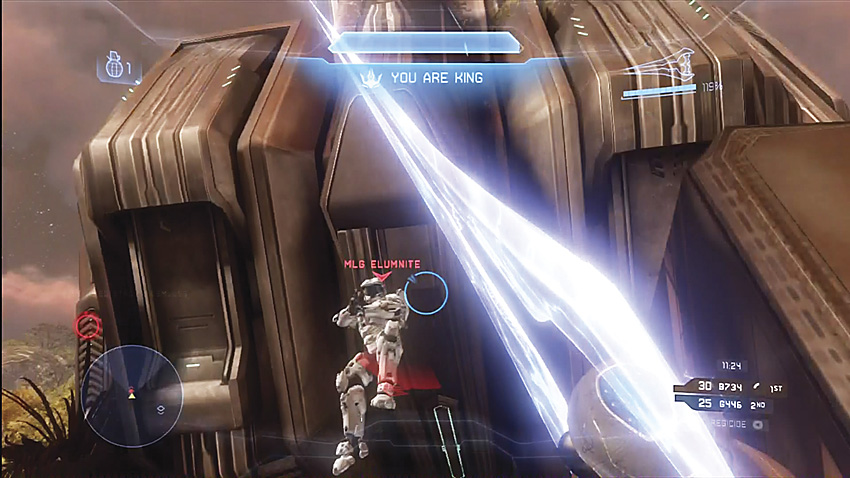
Bringing an Energy Sword to a gun fight.
Subterranean Strategy
Holding the tunnels and bases on either side of the map and having a power weapon to back you up makes it simple to pick off the enemies who are spawning. If you’re patrolling the Tunnels, the Scattershot is the weapon to carry.
General Tactics
.jpg)
The tight corridors inside each base can be deathtraps for both attacker and defender.
Running the Flag Top and Bottom
If you’re running the flag along the Bottom Middle of the map and you’re taking fire, scramble back up to the top side of the map to avoid further punishment; head through the Cage to get there.
There are several different routes to take with the flag on this map; figure out the ones that work well for you and your team. For example, have someone set up at your Balcony, and use the routes up top. Conversely, if top control isn’t happening, run the flag low and try to catch the other team by surprise; even if they react accordingly and try to thwart you down below, they’ll still leave their power positions up top, which your team can benefit from by moving to and holding them instead.
Backup from the Balcony
Another key is having a teammate to support you from the Balcony. They can place shots on foes across the map, ensuring you never need to start a fight on your own. Back everyone up!
Order a few teammates to the top of your Balcony to keep the opposition from reaching their Sniper Rifle. Meanwhile, seize control of your Sniper Rifle and cover your opponent’s Sniper Rifle position until you have a teammate who can infiltrate and grab theirs as well. This is easier if they have a Jet Pack to reach it. Snipers are very important on this elongated map.
Spawning Plans
Have another teammate on the Balcony to offer covering fire and watch the enemy spawn behind your team as they invade the other base. Keep the enemy spawning inside their base; position your team at Top Middle and on your Balcony, and watch both side exits to lock in the other team.
Side Control
Work in unison to control one base and one complete side of this map. You don’t want your team to be too spread out, as the map’s layout doesn’t allow for much help from your teammates if you’re on the left or right sides simultaneously. Instead, lock down territory you can keep.
Other Advice
Think about employing the Jet Pack as an armor ability; it’s very useful on this map. When the game starts, it’s also important to have a couple teammates moving toward Bottom Middle to grab the Incineration Cannon.
Although this may seem suicidal, a coordinated assault through Bottom Middle is an excellent plan. If you’re getting dominated up top, move the battle underground and rely on your close-range game instead.
Flamesword
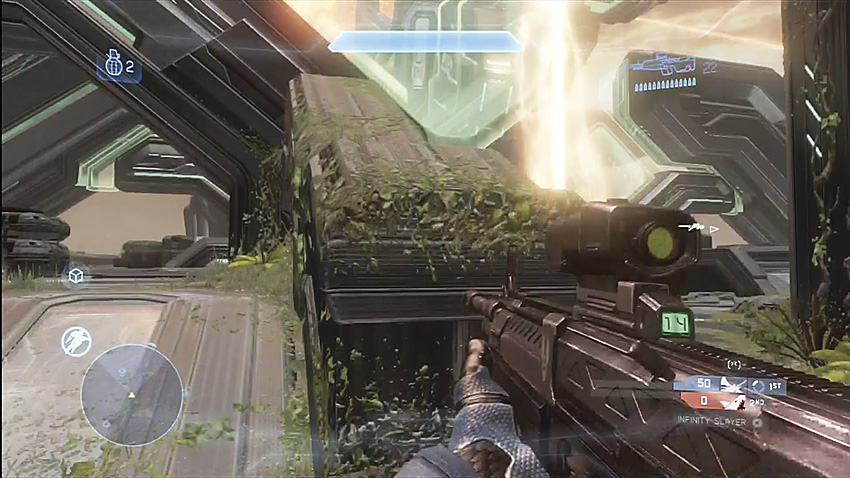
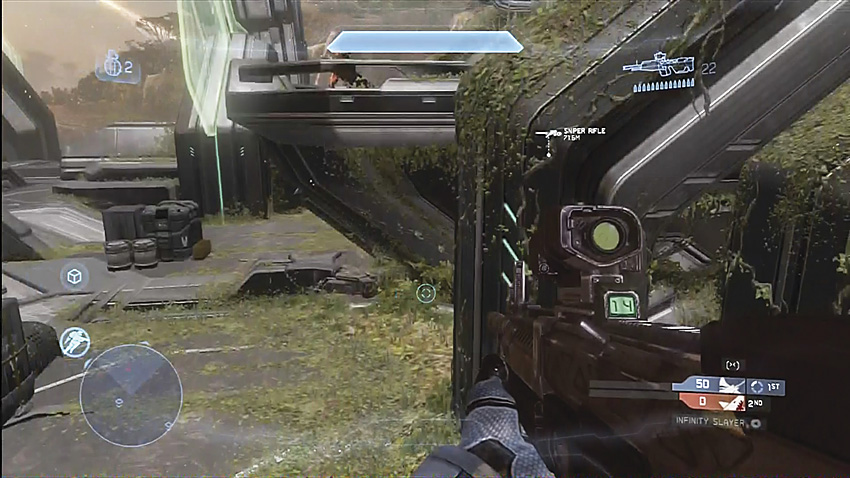
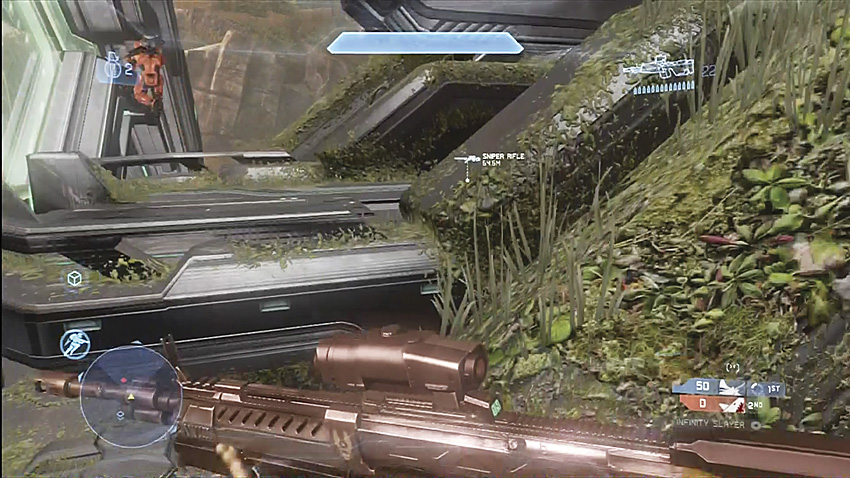
First-person perspective: Sneaky Jump to Top Red Balcony.