
Forge Map Variants
The final three maps are the named variants of the Forge maps you can mold and create your own versions of. The variant name is first, followed by the original Forge map name in parentheses.
Ascent (Erosion)
Sites like this allow researchers the ability to closely observe a world’s inner workings prior to colonization.
Choke hot spot: Expect high traffic, numerous enemies, and a well-used thoroughfare. Combat usually occurs here, and the location may be watched by enemy snipers.
Danger hot spot: This is an area of ground that is difficult to defend, has poor visibility for shooting angles, is sunken or low to the ground, or is in the open. Expect to be shot at if you’re here. Avoid if possible.
Mirrored hot spot: This location features an identical (or mostly identical) facsimile, almost always on the opposite side of the map. Expect tactical advice to be the same for both locations. Usually these are “blue” and “red” variants of a hot spot.
Sniper hot spot: This location is excellent for sniping, as it has numerous angles and views across much of the map. Expect long-range fire from these areas.
Hot Spots
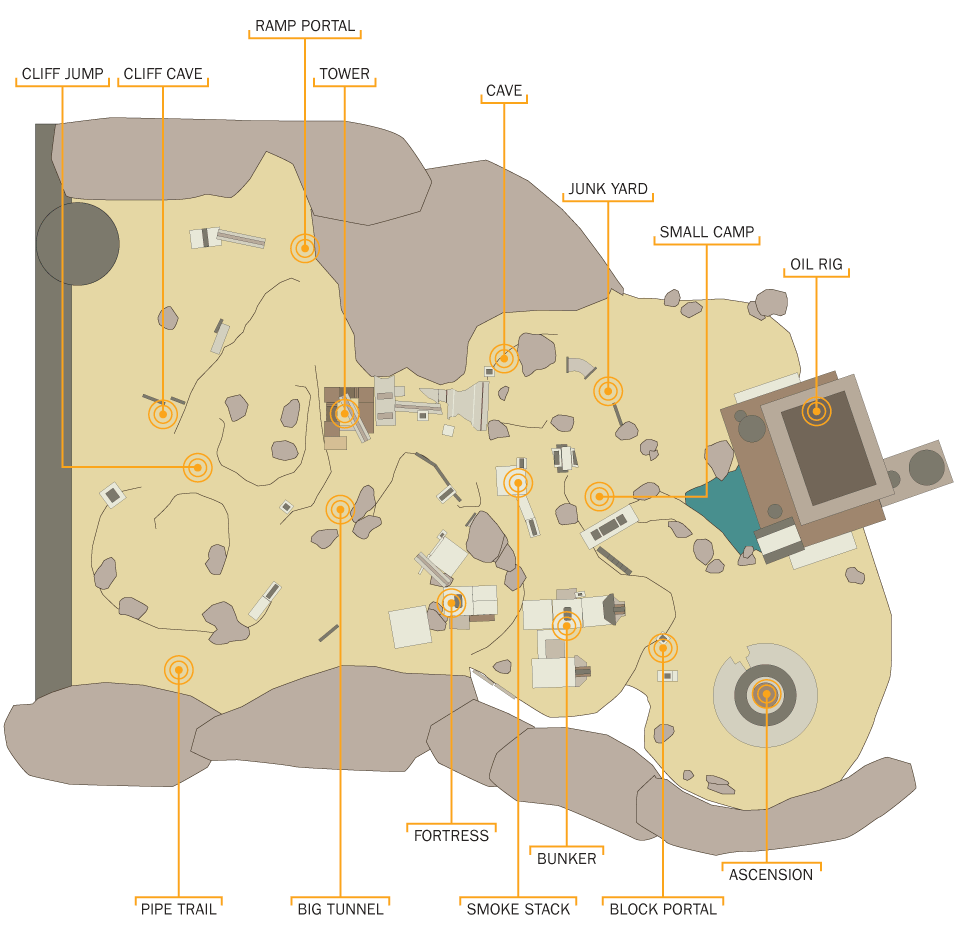
1. Ascension
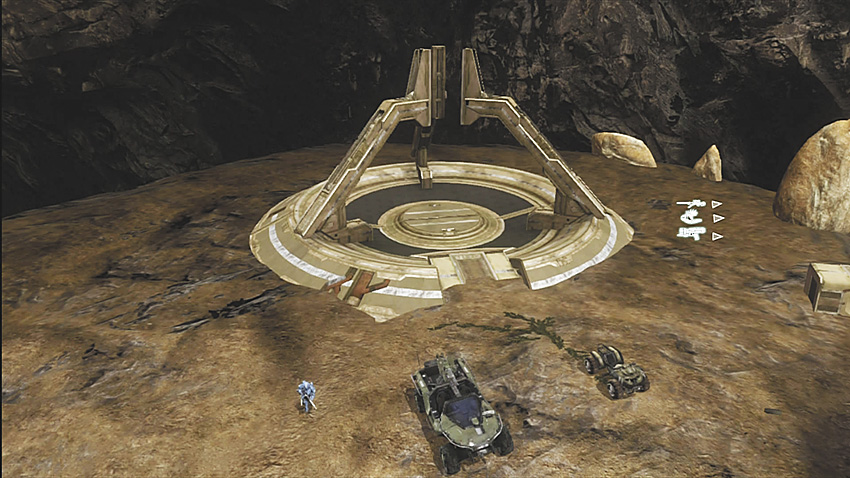
This area consists of three pillars that rise to meet each other; the top can be used for hiding or jumping purposes, if you want a better chance at catching a foe off guard.
2. Big Tunnel
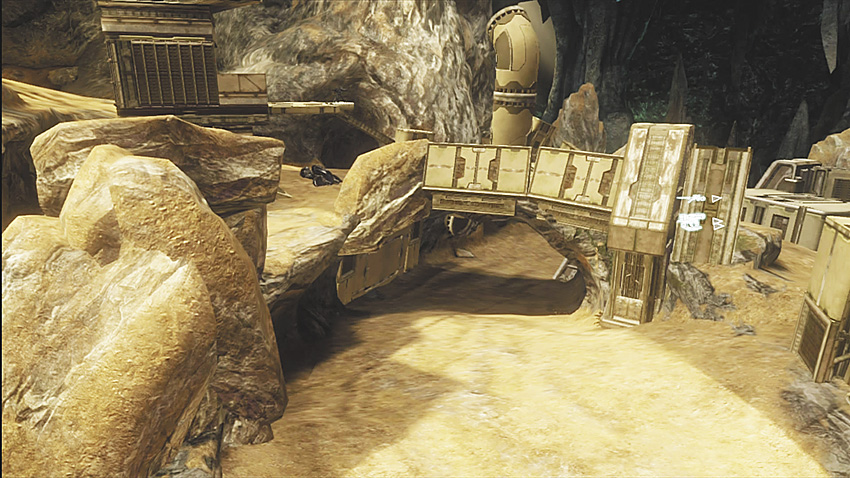
This is an excellent exit to escape down if you’re engaged in a close-range fight and taking damage. Flee and cut off your foe’s aiming angles.
3. Box Portal
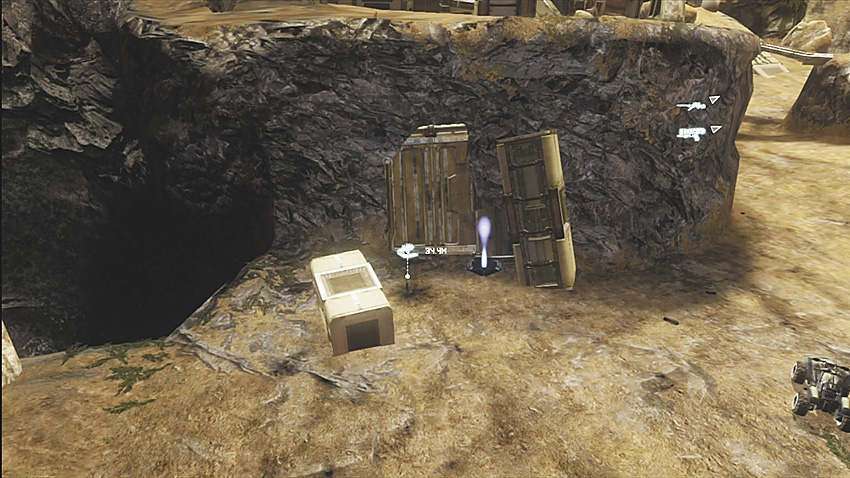
Utilize this to teleport to the Ramp Portal (12) on the map’s other side. Use it to cover a large area quickly, reach a teammate there more easily, or complete an objective with more haste.
4. Bunker
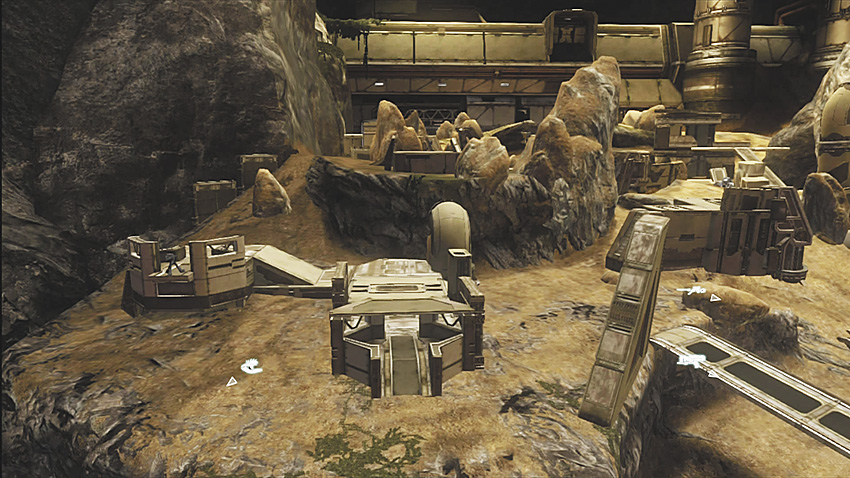
Attempt to hide yourself here and snipe at foes, picking up some easy kills. This is also an excellent place to hold the ball, due to the cover dotted around this hot spot.
5. Cave
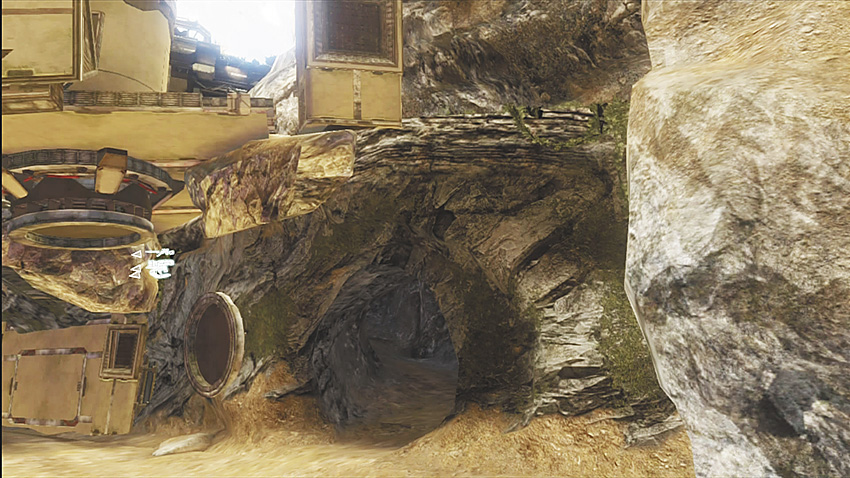
This enclosed area has cover potential if you find yourself engaged in a battle against two or more adversaries. This is a commendable place to hold, as it connects to two other power positions: Smoke Stack (14) and Tower (15). Escape to either of them or use the shortcut to reach higher ground.
6. Cliff Cave
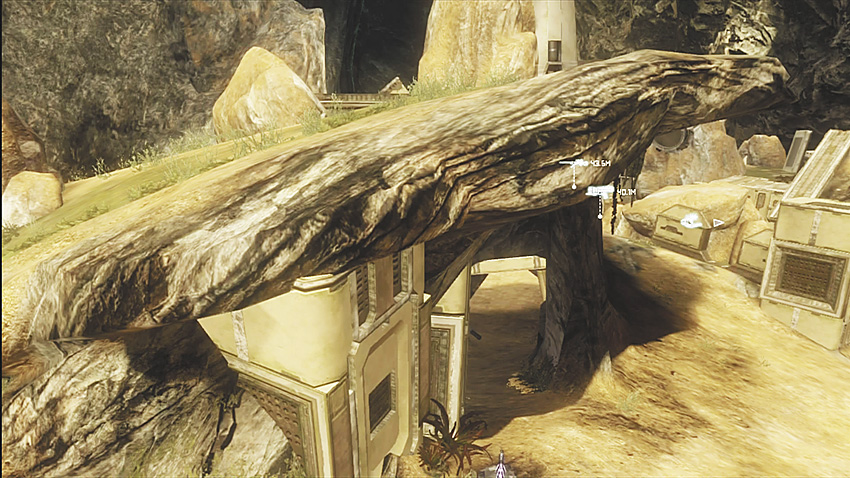
A great place to snipe from while utilizing the excellent vantage point. This is another key position to hold, as you’re able to see (and shoot at) anyone on the entire map.
7. Cliff Jump
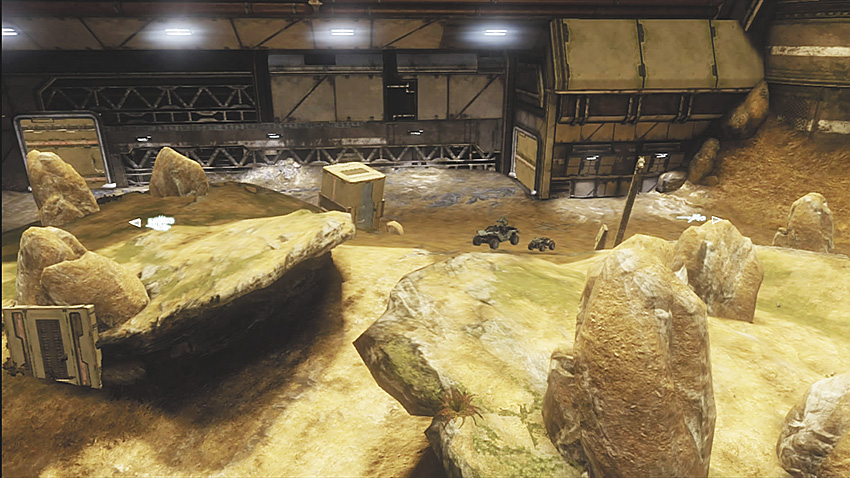
From here, you can jump up to the Cliff Cave (6) and connect to other areas of the map very easily.
8. Fortress
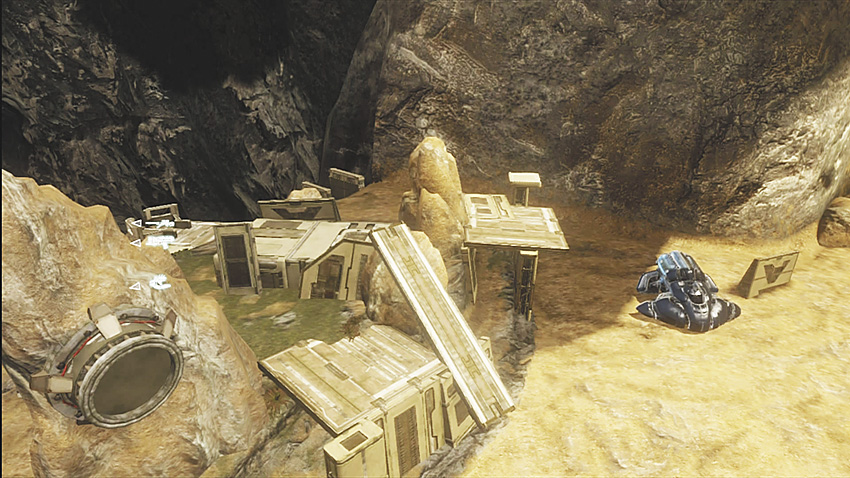
This two-level structure provides a lot of protection with some great lines of sight here from both floors. Fight from either of them. This is a power position.
9. Junkyard
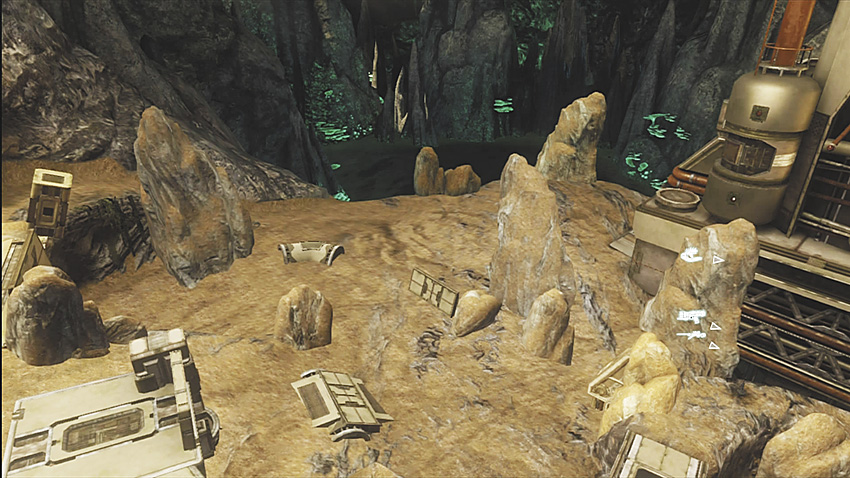
The array of objects and scenery in this section can be used to your advantage, either as cover during battles or as protection when you’re attempting to escape.
10. Oil Rig
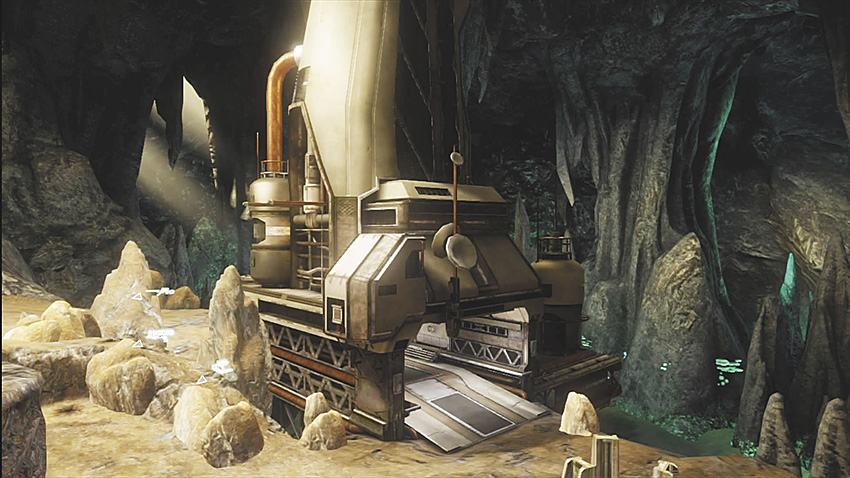
This massive, scenic hot spot is mainly used as cover, or you can climb it when fighting battles.
11. Pipe Trail
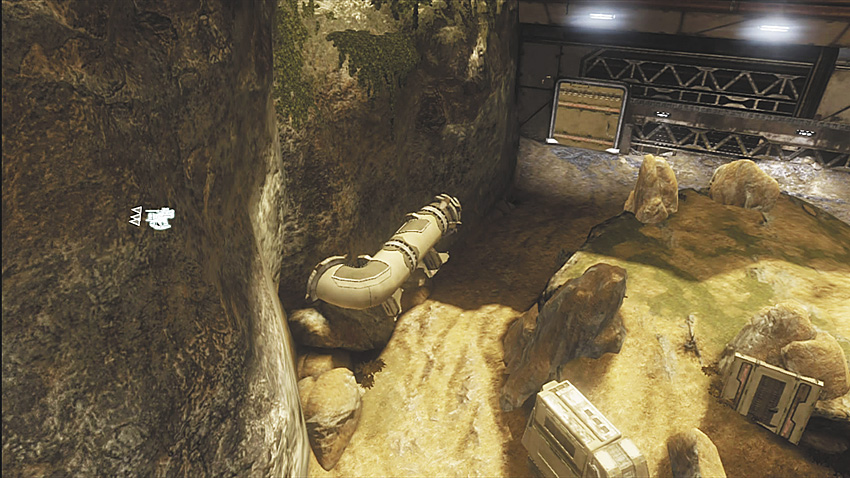
A lengthy pathway that you can use to run the flag; there’s little exposure to the enemy once you’re using the Trail.
12. Ramp Portal
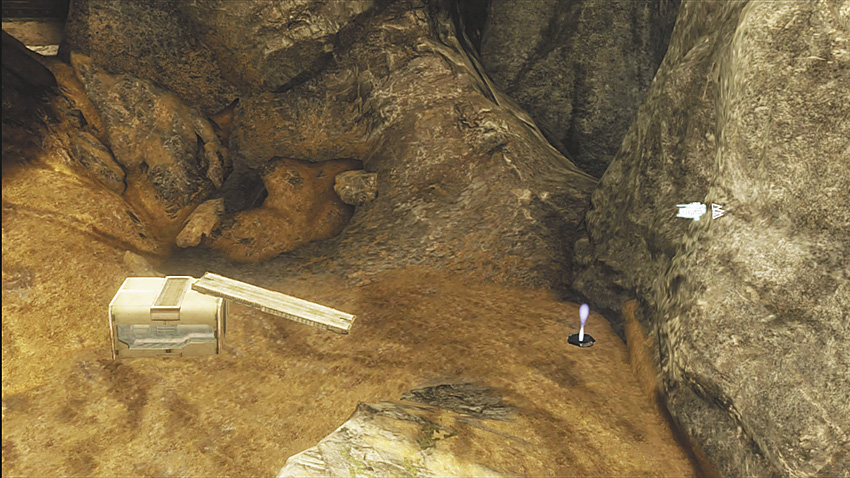
The second of the two portals on this map allows you to teleport to the map’s opposite side and the Box Portal (3). These are useful during flag runs; utilize them as often as you can.
13. Small Ramp
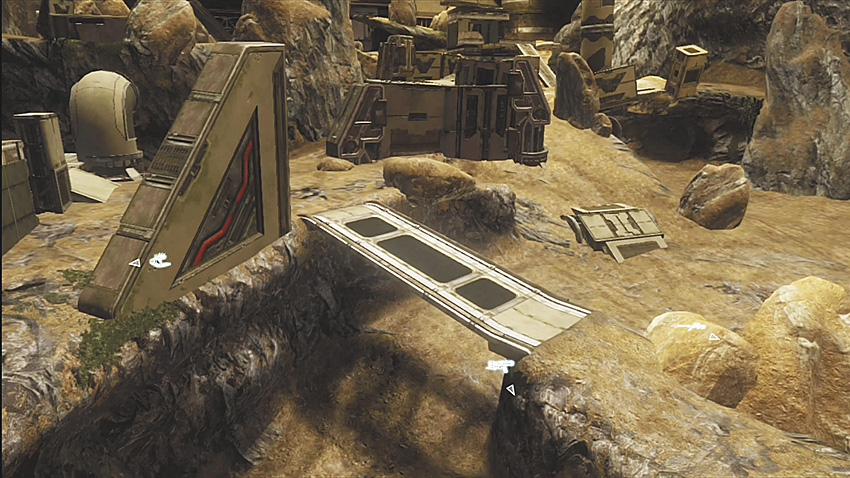
This ramp connects to the Ramp Portal (12), allowing easier access to the Portal itself.
14. Smoke Stack
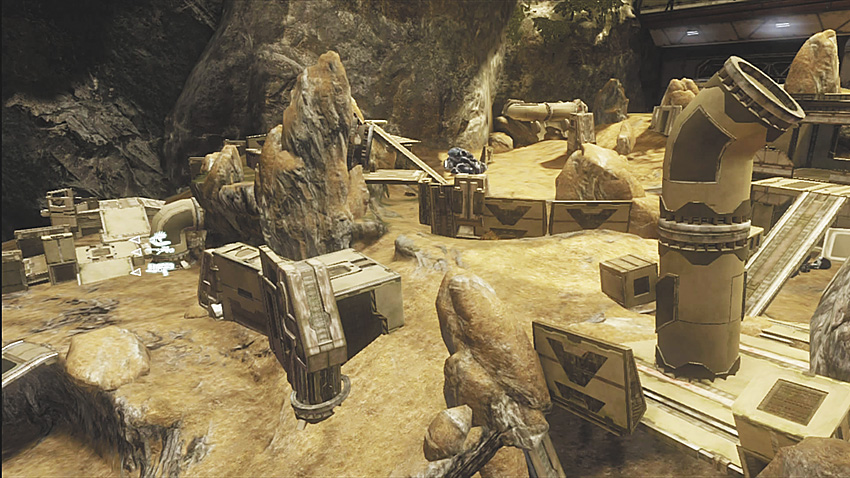
A scenic protrusion that has little strategic value to utilize, although you can spot players very easily in this area.
15. Tower
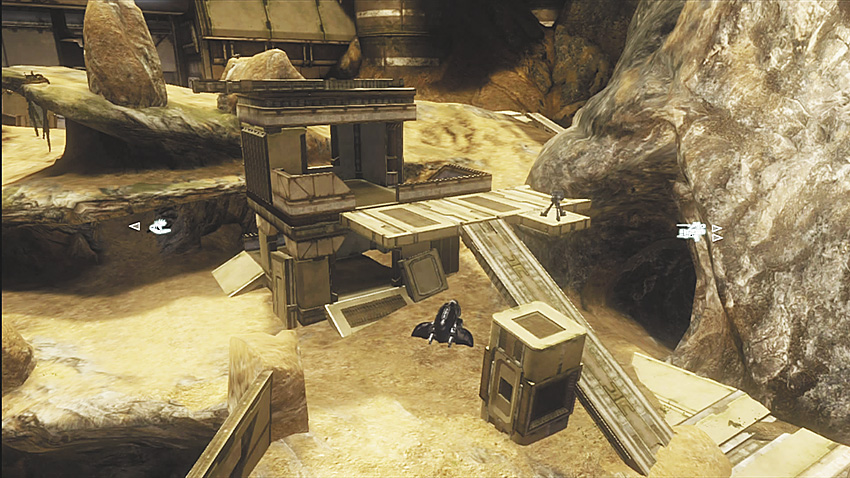
Arguably one of the most important power positions on this map; you must hold this at all costs. From this Tower, you can see across the entire map and fire across it too!
General Tactics
Feeling Your Wraith
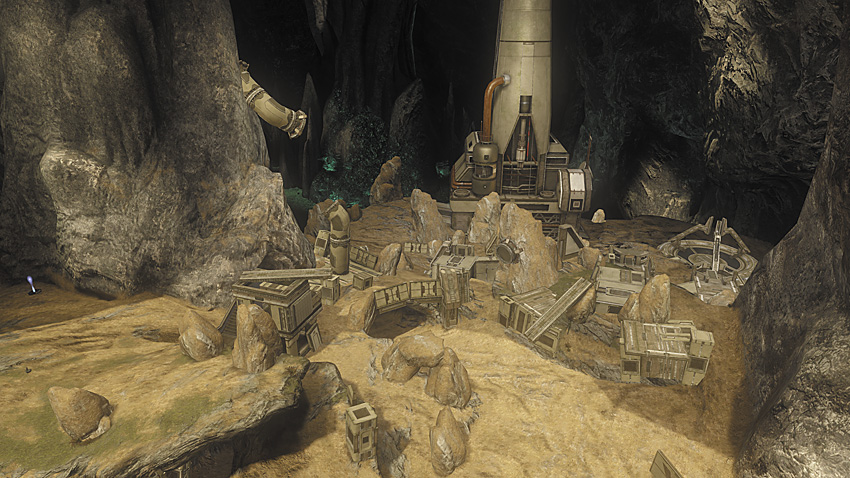
The large scale of this map means you must establish vehicle dominance immediately to stand any hope of winning. Controlling the Wraith is the key to victory, as you can rip through enemies when you’re close or repeatedly fire deadly shots across the map toward your enemy locations and trap them, ideally while the rest of your team keeps you safe from hijacks and finishes off the dug-in foes.
Optimal Vantage Points
Try sniping in the Tower; this location gives you angles of fire across most of the map. Both the Tower and the Fortress are optimal places to control, as you have protection and a large number of shooting angles from which to aim at the opposition. There’s great cover potential at either locale too.
Stay in the Caves
The few caves are yours to control and are especially important to take if you don’t have a vehicle. Use any cave to leap out at a passing vehicle while you EMP them with your Plasma Pistol. Caves also allow you to take a sneaky route to reach the Tower.
Dodge the Debris
Avoid the Junkyard if you hope to make a lasting impression with your team on this map; the only benefit to this area is the scattered debris to use for cover. Aside from that, this is simply an open field waiting for Spartan corpses to be added to the detritus.
Portal Ambush
The Portals are important to keep watching and are vital if you have the Wraith on the Cliff side so that enemies don’t sneak up behind you. This is the easiest and safest way for your foes to reach you, so stay one step ahead of them and deliver damage as they appear.
Relay (Impact)
Collision craters rarely elicit the need for embedded teams, but the contents of this particular site demanded it.
Hot Spots
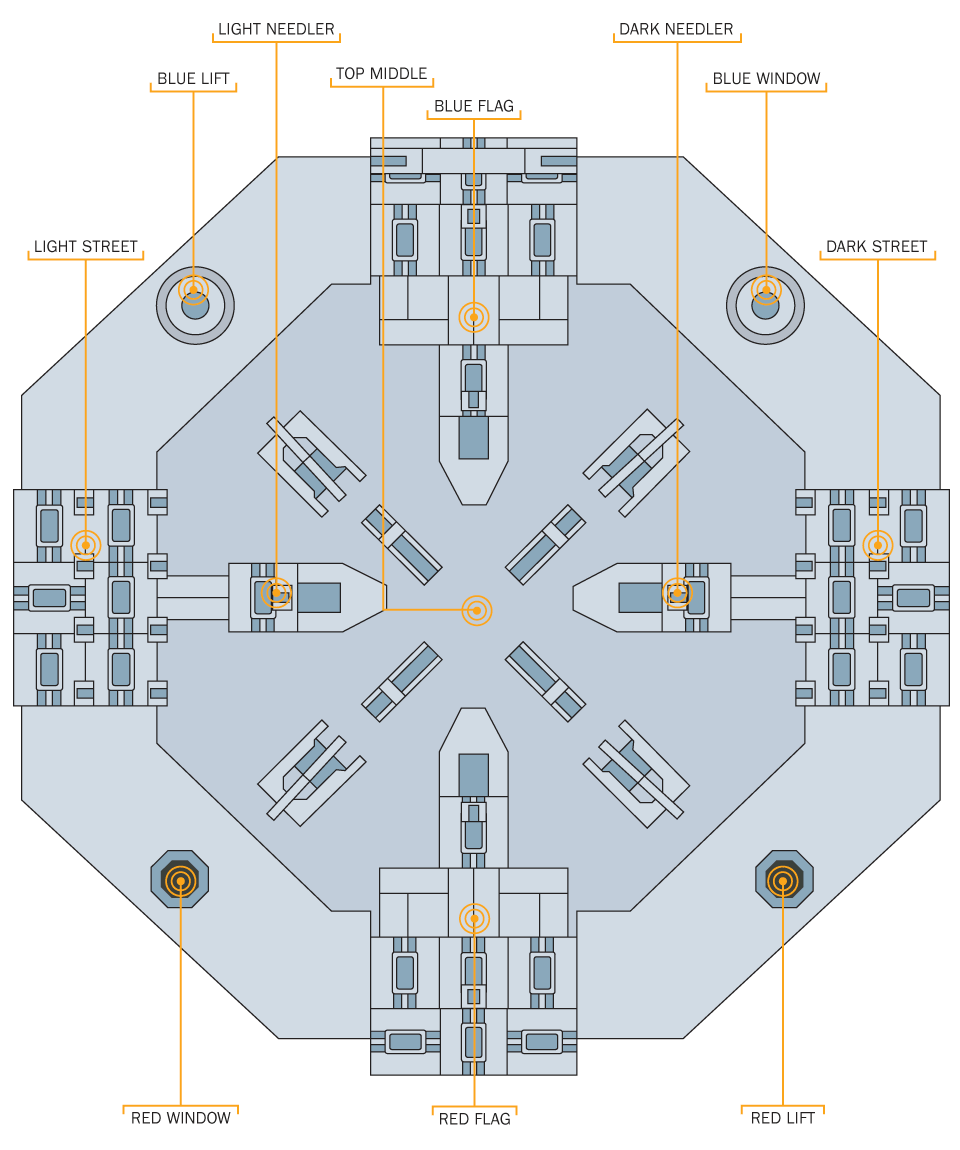
1A. Blue Flag
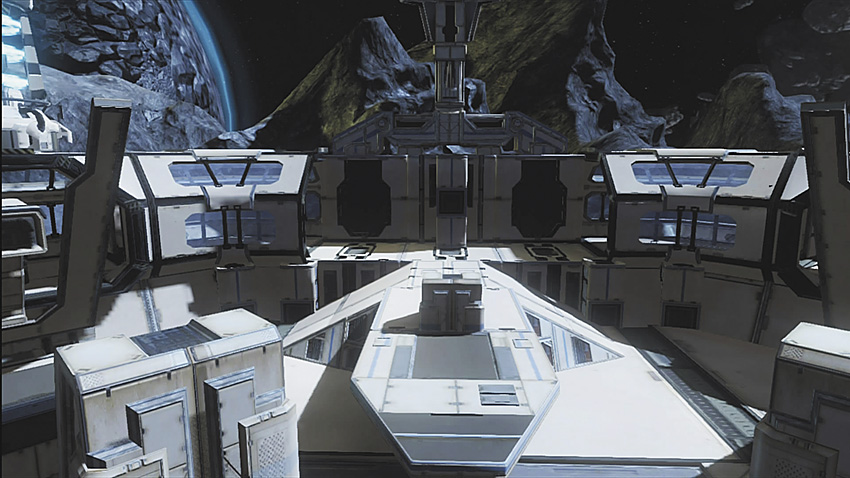
1B. Red Flag
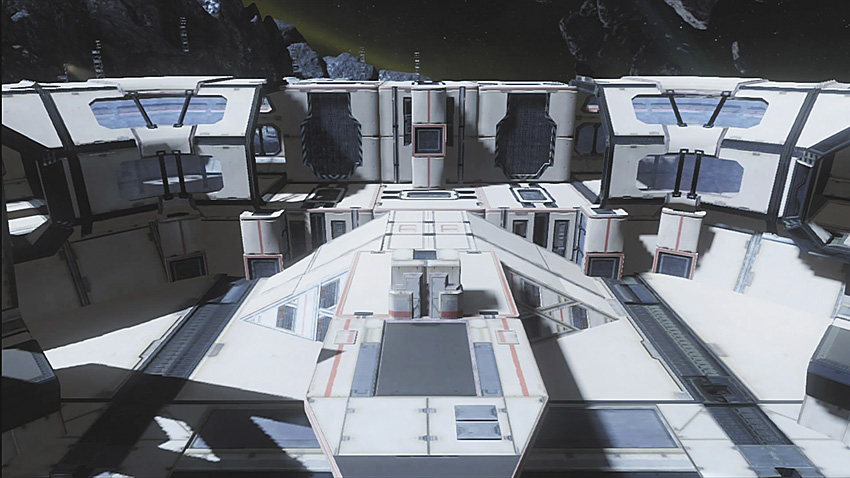
It’s okay to remain for a while at the location of your team’s flag. However, it isn’t wise to spend the entire match here. Aid your teammates as they push out by remaining here and locating incoming foes on your friends’ routes and attacking the enemy. Then push out yourself. When pushing into the other team’s flag area, feel free to remain on the prowl at this enemy location, quickly picking off enemies as they spawn before running an objective or looking to move elsewhere.
2A. Blue Lift
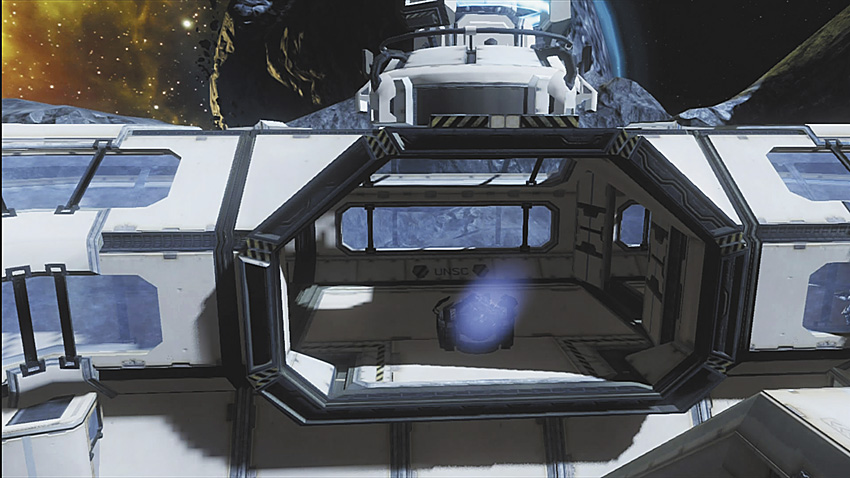
2B. Red Lift
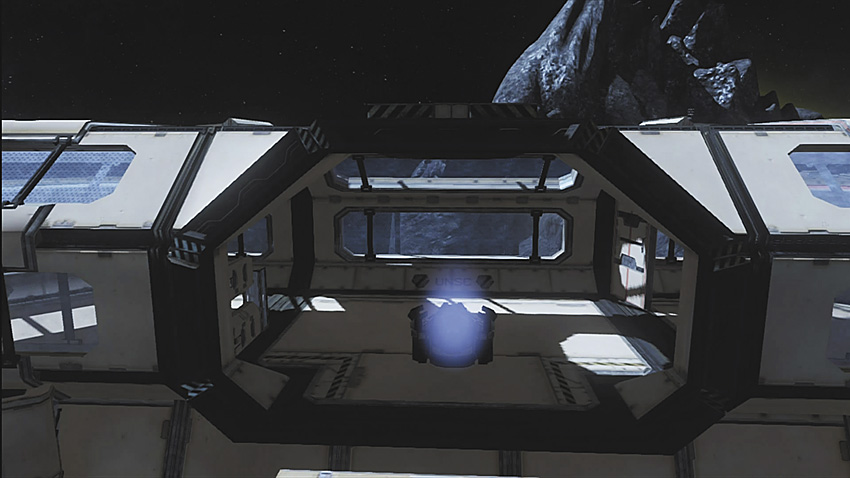
These Lifts shoot you through the central part of the map. If you use them, prepare to be peppered like a clay pigeon. In Free For All games, this can be a great way to pick off a few weak players from above as you sail through the air from the Lift launch.
3A. Blue Window
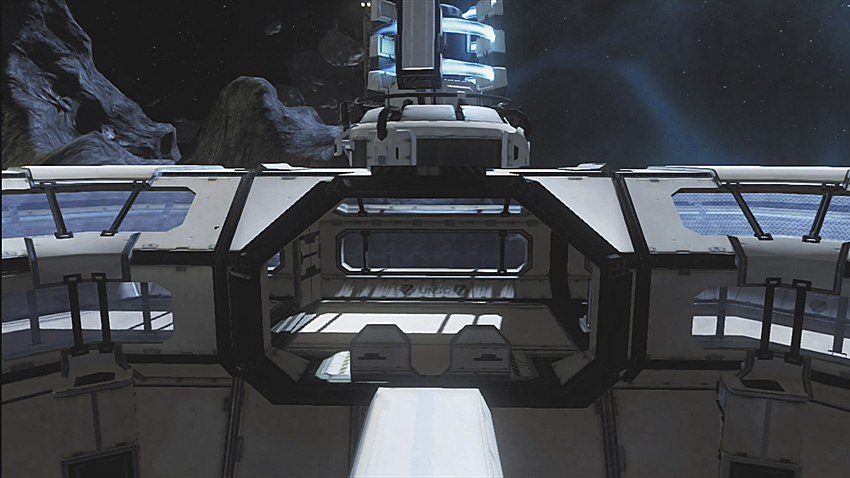
3B. Red Window
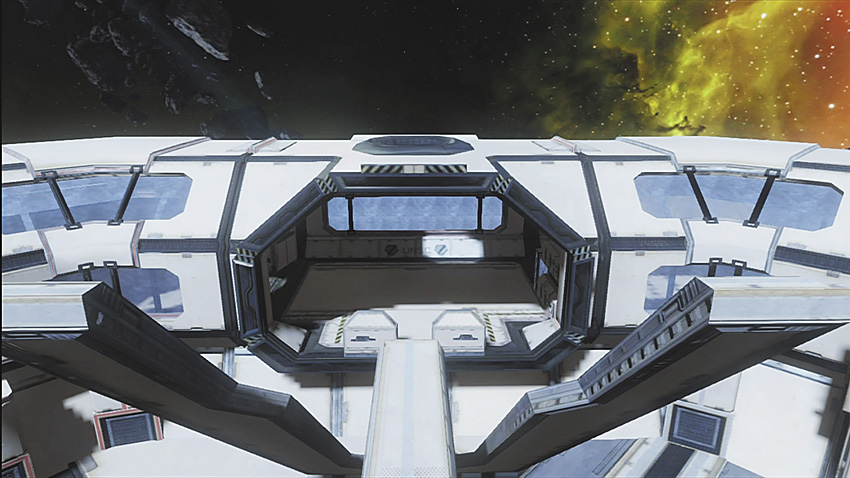
Controlling these Windows allows you to impose your will on anyone trying to move to a new location on the map.
4A. Dark Needler
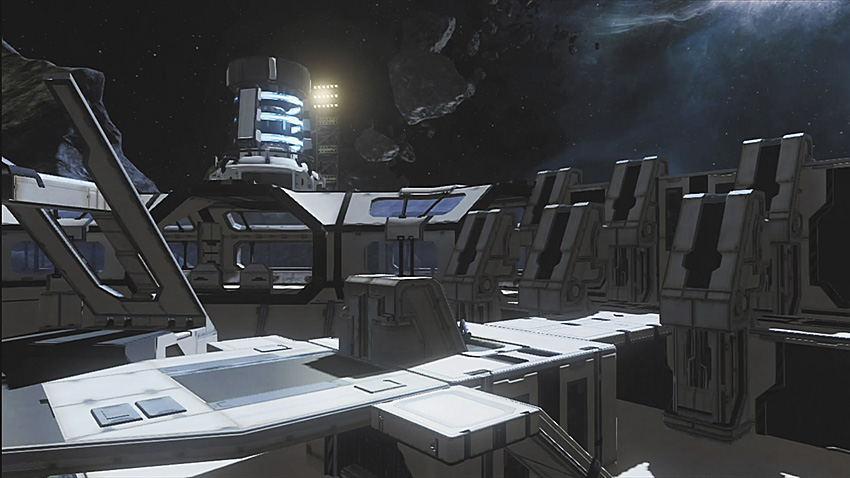
4B. Light Needler
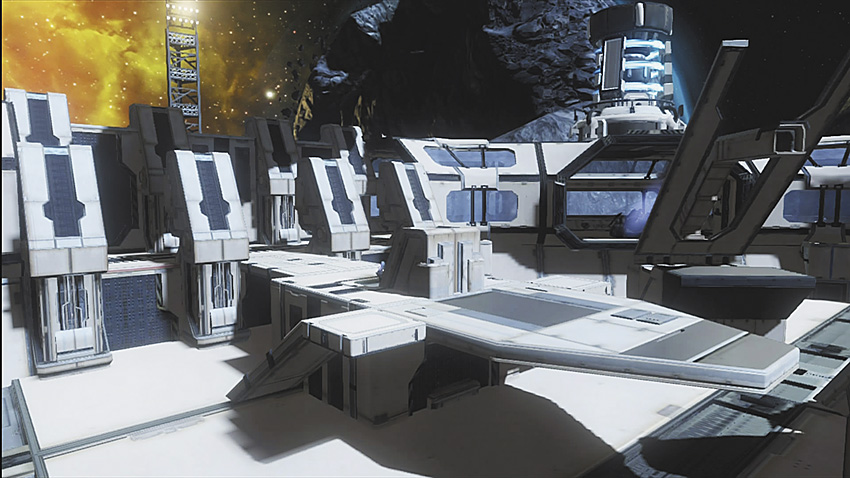
Avoid pushing out too far at these Needler locations, unless you’re confident you (or your team) have the advantage. This is a wide-open platform; you don’t want to be caught down on shots because you’re wandering out here, exposing your location and unaware of where you’re being struck from!
5A. Dark Street
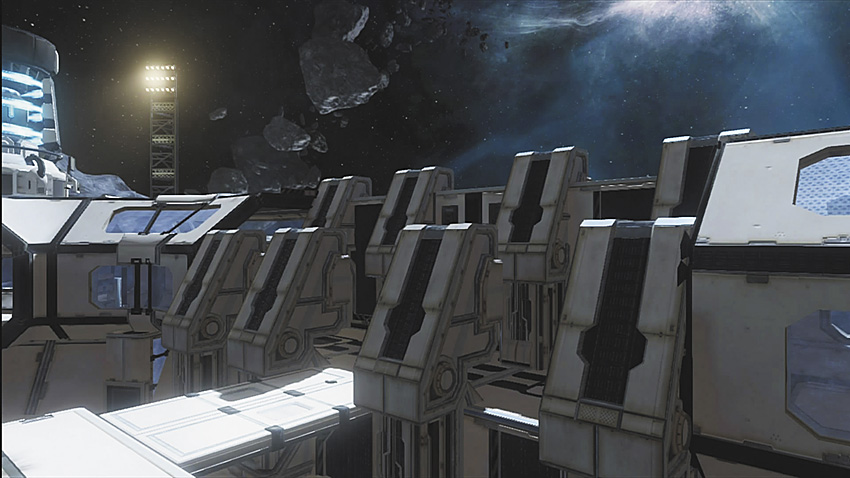
5B. Light Street
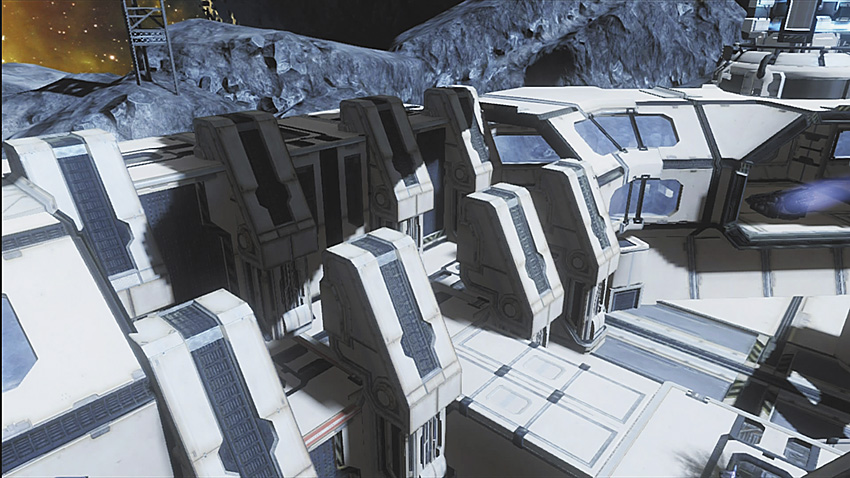
This is a narrow path with plenty of cover. Use this location instead of Dark/Light Needler (4); you get in just as many shots while avoiding incoming fire. Use this path to flank around your opponent if your team is pushing hard up the middle or the other side of the map.
6. Top Middle
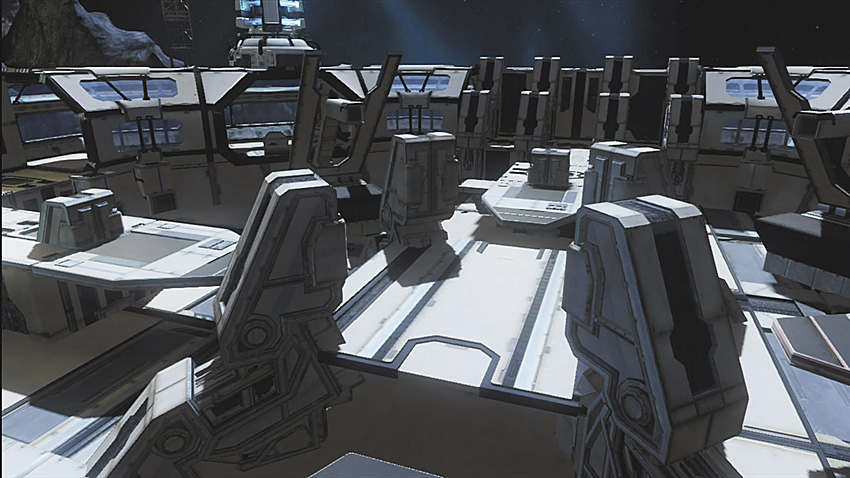
Top Middle is a great spot to hold if you have teammates at both Windows (3). If you’re at Top Middle, try rapidly firing shots at opponents, but make sure you can quickly back down when necessary. This is a very powerful position to hold, but without a lot of cover, you’re liable to be taken down quickly.
7. Bottom Middle
This has a good amount of cover due to the map’s structure, but it isn’t an optimal spot to be in, unless (in individual games) your enemies are running around here, fleeing from others; this allows you to get some easy cleanup kills. Your enemies will most likely be shooting down on you, so avoid being down here and at a height disadvantage, unless you’re trying for a sneaky play and attempting to flank behind your opponent.
General Tactics
Low-Down Tactics
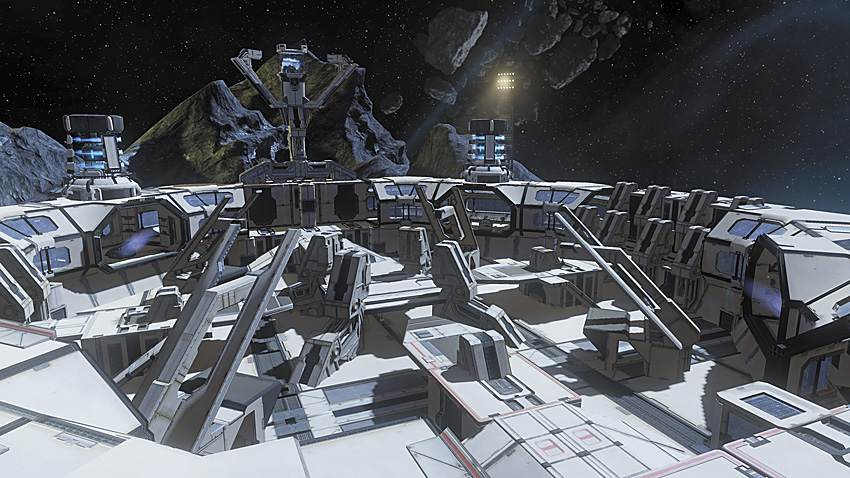
Try to use the lowest parts of the map to sneak around; this is the key to outflanking your enemy. Be sure you’re watching both Dark Street and Light Street throughout the entire game so foes don’t simply run straight into your base.
Dangerous Lifts
Don’t use the Lifts too often, with the following exceptions: Fly across and stay alive without getting either team hot. Try running the flag to obtain better coverage from teammates, or try moving the flag more quickly.
When playing team games, make sure you’re controlling the enemy team’s Lift as often as possible. This is important when playing objective-based game types, as you can fire a lot of rounds from the Lift. If you need to reach the other side quickly, you can simply use the Lift and respond to any of your teammates’ radio chatter.
It is worth considering the paths underneath the Lifts if you need cover or an escape route.
Window Watching
Controlling the Windows and the ramps in front of the Windows to reach higher ground enables you to strike with hard-hitting shots the enemies dotted everywhere on this map.
Relay is a completely symmetrical map, so controlling the high ground and using the slanted pillars in front of the Windows to obtain better shots on your enemy is the optimal position for your team to hold, especially if you’re trying to cover a flag runner.
Free For All Planning
In Free For All games, stay patient and move to the corners around the Lifts, Windows, and Streets. When the other players die, and with the new instant spawn, you can drop a great deal of your opponents in a spawn-killing frenzy. If you’re in one of the corners, you’re blocking the spawn area itself, and this usually leads to an opponent spawning across from you: easy pickings!
Tip for the Top
Controlling Top Middle is an effective method of distracting enemies. However, be careful when you’re stepping into open areas on this map, as there are numerous angles your foes (or you) can use to shoot opponents off the higher grounds of Top Middle and the slanted pillars.
Settler (Ravine)
Seismic scans indicate that these looming citadels only hint at the enormous structure which lies beneath.
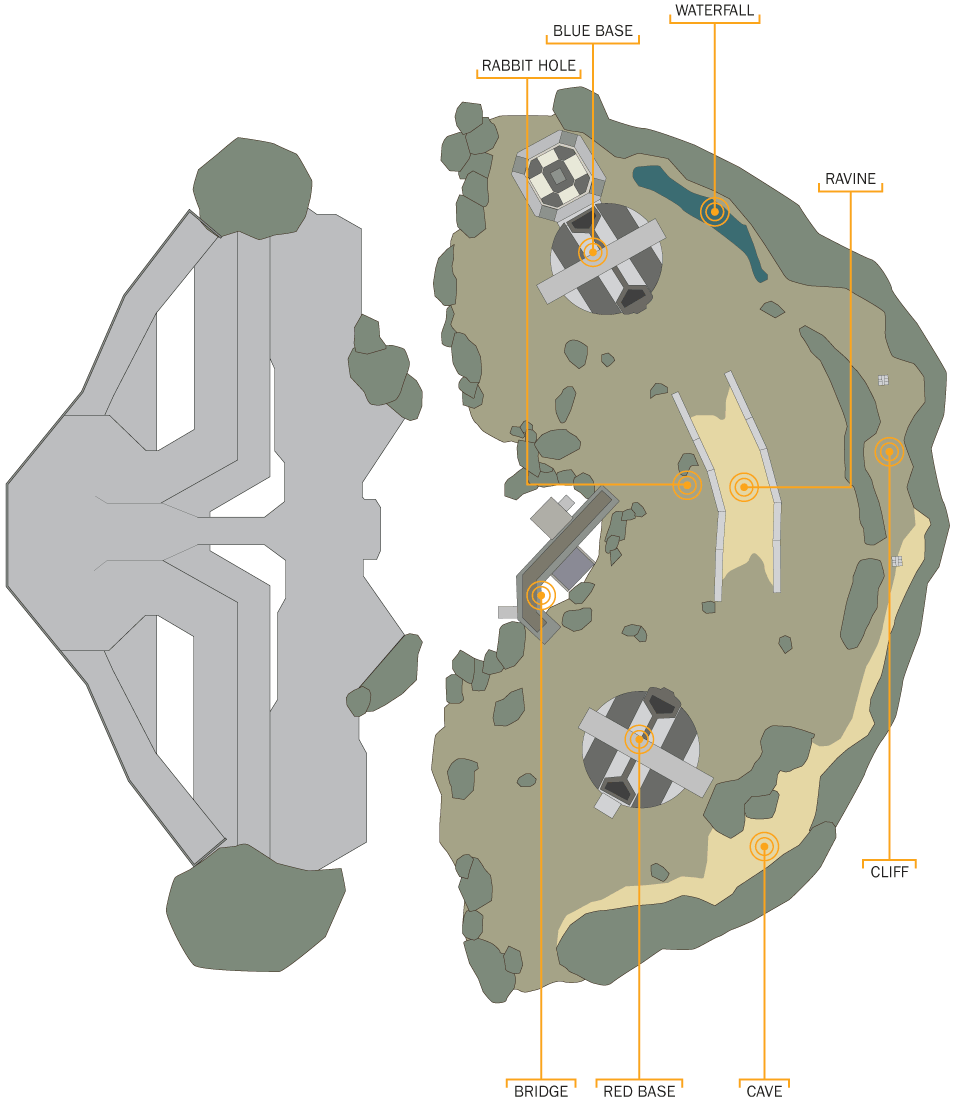
Choke hot spot: Expect high traffic, numerous enemies, and a well-used thoroughfare. Combat usually occurs here, and the location may be watched by enemy snipers.
Danger hot spot: This is an area of ground that is difficult to defend, has poor visibility for shooting angles, is sunken or low to the ground, or is in the open. Expect to be shot at if you’re here. Avoid if possible.
Mirrored hot spot: This location features an identical (or mostly identical) facsimile, almost always on the opposite side of the map. Expect tactical advice to be the same for both locations. Usually these are “blue” and “red” variants of a hot spot.
Sniper hot spot: This location is excellent for sniping, as it has numerous angles and views across much of the map. Expect long-range fire from these areas.
Hot Spots
1A. Blue Base
1B. Red Base
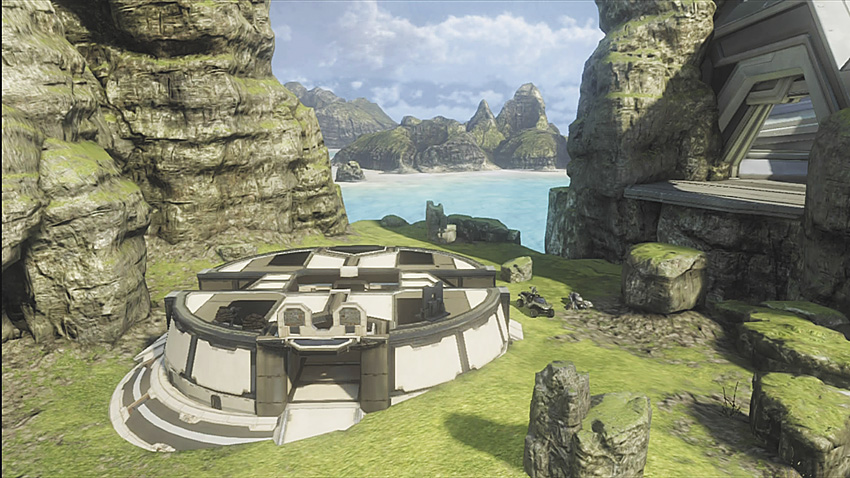
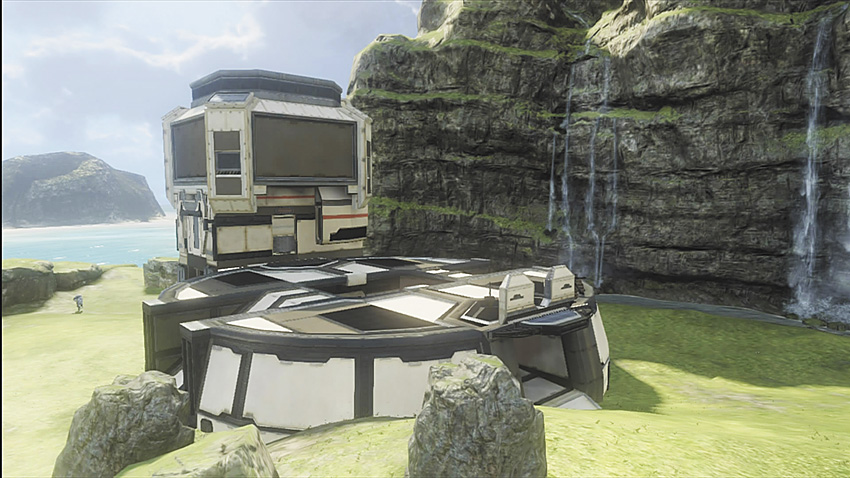
These are the locations where the blue and red teams spawn. Both provide extremely helpful cover opportunities if you’re holed up within.
2. Bridge
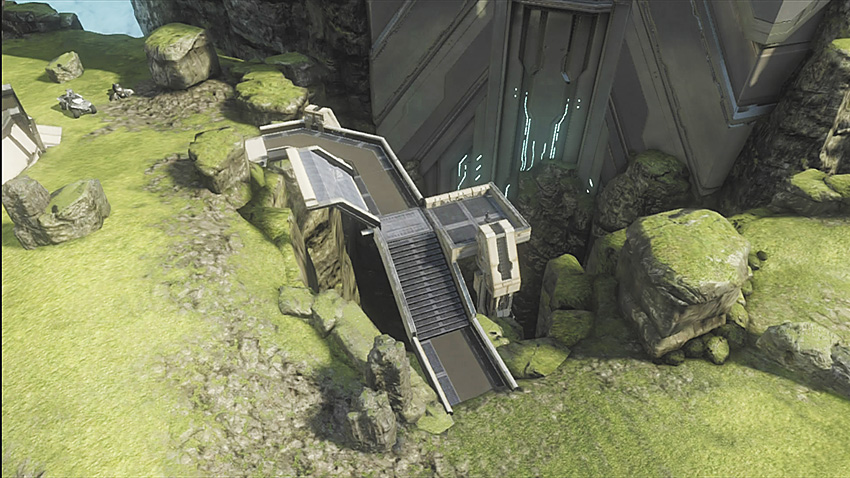
The bridge and immediate vicinity are located around the middle of the map. This is a power position: It is imperative that you control this locale, as you can start an exact reconnoiter of where the enemy team is located before moving out as a team and cutting off your foes.
3. Cave
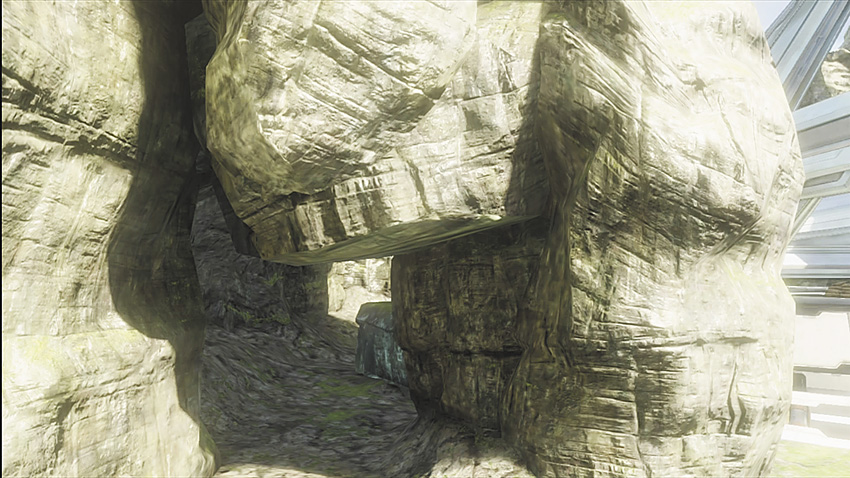
The Cave is arguably the most important power position and place to hold on this map. You’re afforded exceptional cover and numerous angles to view and fire on both bases.
4. Rabbit Hole
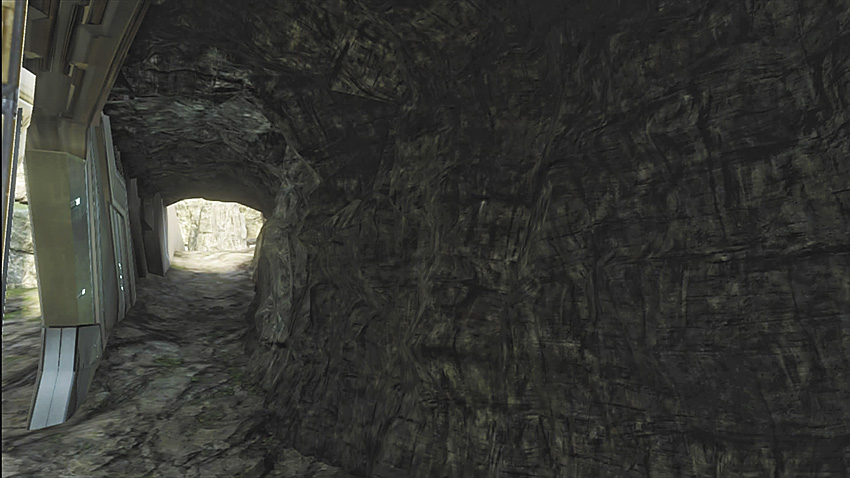
This is mainly used as an escape thoroughfare. It’s easy to escape here, due to its location on the map. Use this as an escape route when you’re in trouble and need to reach safety.
5. Ravine
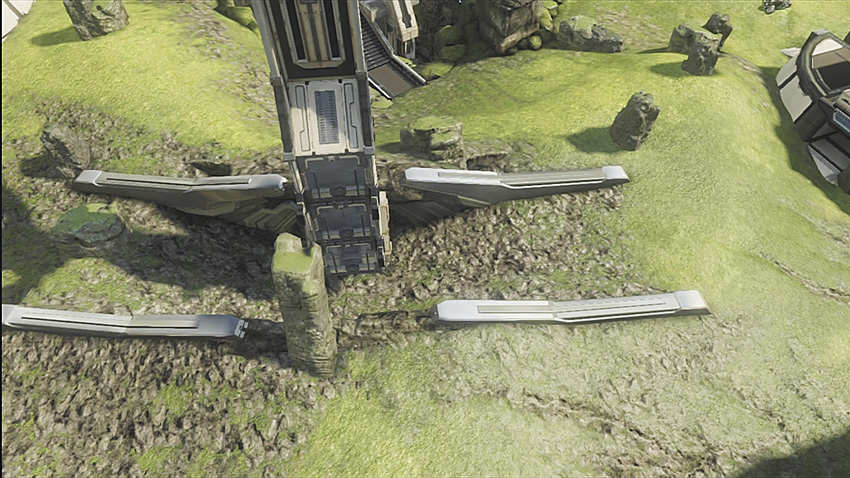
The Ravine is located underneath the central area of the map. Use it to flank over to the Bridge (2).
6. Cliff
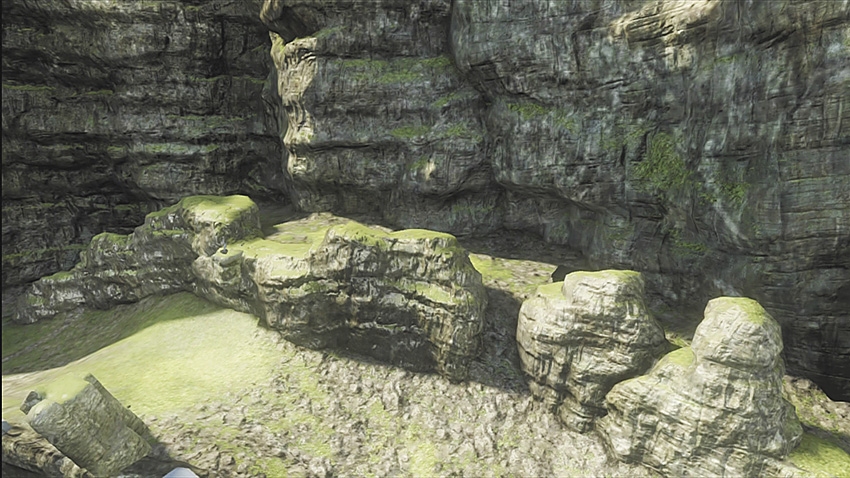
Use the Cliff to gain a height advantage over your opponent and scope out a majority of the map. If you’ve got a sniper, you can do some serious damage from here. Otherwise, don’t linger for too long, as you’re liable to be focused on and cut down quickly.
General Tactics
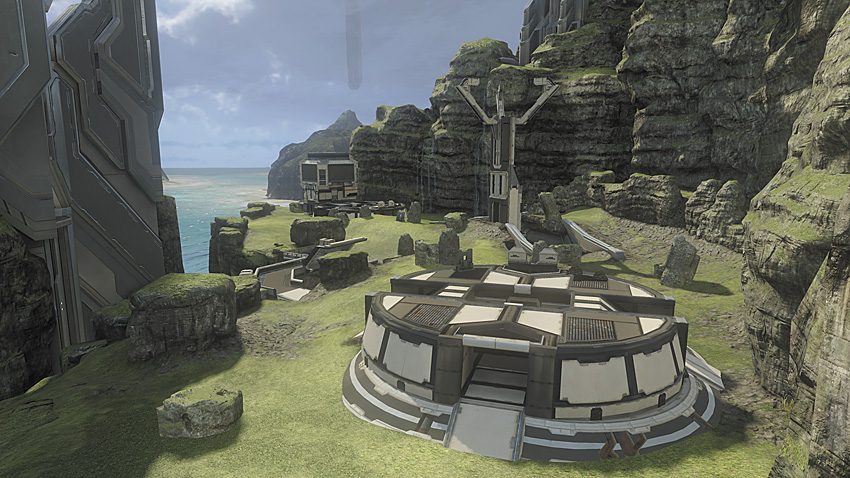
Cliff Control
After wandering around Settler for a few minutes, it becomes clear that this is a rather diminutive and basic setting, with only two bases. Therefore, expect the action to be frenetic and often confusing at times.
Utilize the cliff, as it’s the tallest place on this map. Controlling it gives your team a substantial advantage, especially if you have a sniper camping up here.
With a cliff sniper, flag runs are extremely straightforward, as your sniper is able to cover the rest of the team easily.
The Ravine, Rabbit Hole, and Bridge are all thoroughfares to try and sneak by when your team lacks cliff control. Vary the times you move into these locations so your team becomes less predictable.
The Ravine offers you a lot of cover opportunities. The Bridge has a large glass panel to hide behind: Making sure your team controls the Cliff as much as possible while watching the Ravine and Bridge is the key to consistently winning this map.