
Halo 4 Guide Infinity Spartan Ops
Season One, Episode Five
Chapter One: Spartan Miller
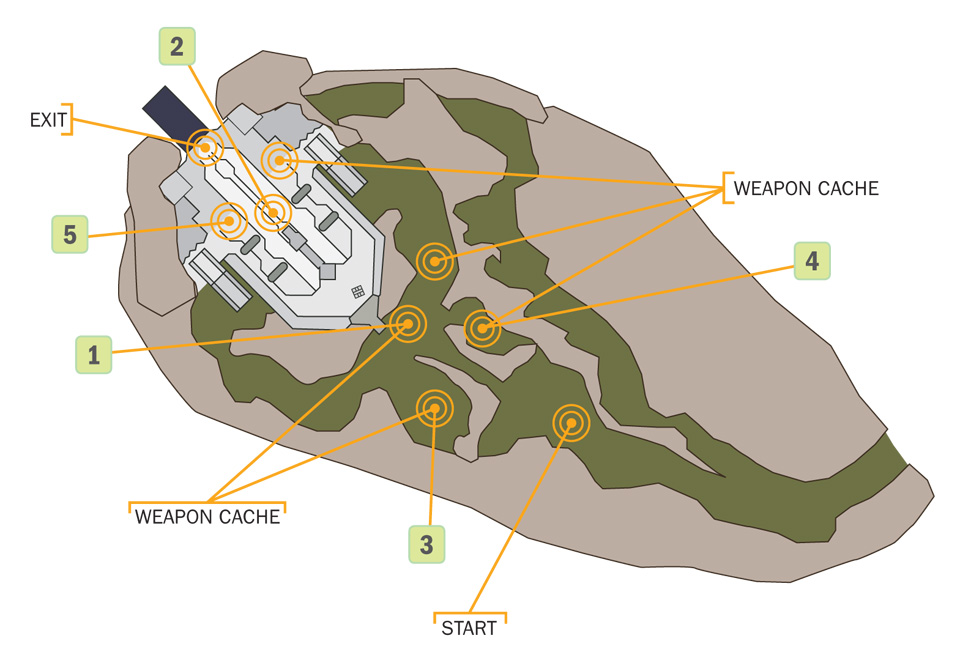
A UNSC Infinity science team has fled from a Forerunner facility they were investigating, citing mysterious power fluctuations in Requiem’s slipspace portal network. Fireteam Crimson has been sent to reconnoiter the facility and ensure that it is clear of any hostiles.
The Covenant have fortified this canyon with several Shade Turrets, making it difficult to climb up to the facility to tap the Comm Array. However, you need only activate the array, then fall back to the evac point. Of course, don’t expect the Covenant to give up simply because you achieved your primary objective.
Map Location: The Gate
Recommended Loadout
Early into the mission, you can get access to a Sniper Rifle or a Rocket Launcher. These are both excellent weapons to supplement your chosen rifle. The enemy presence is quite pronounced.
Objective One: Investigate Area
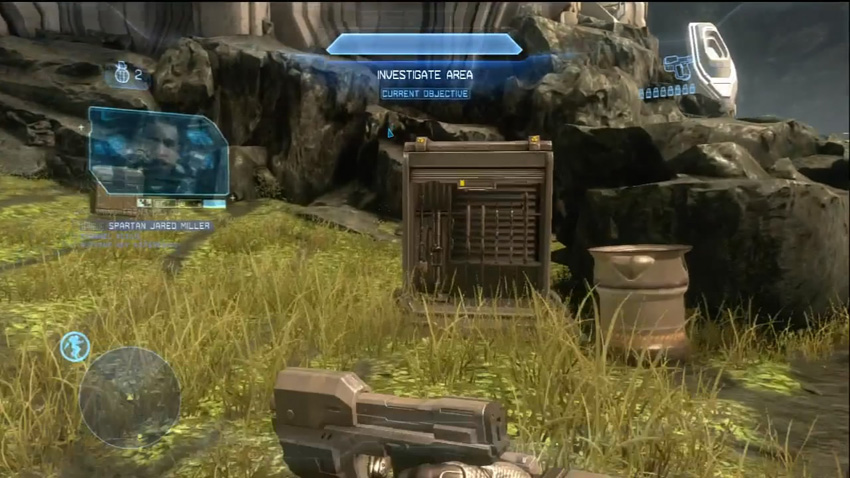
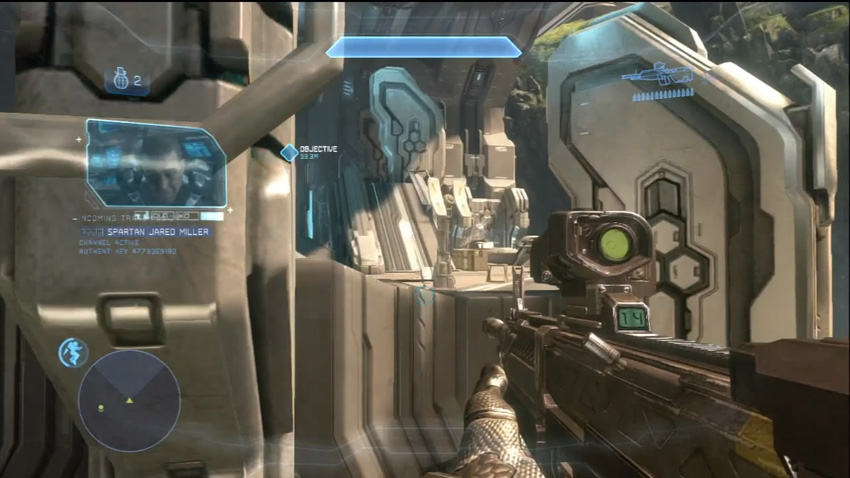
[1] The starting location for this mission places you directly next to some UNSC weapon caches, which include power weapons like the Sniper Rifle and the Rocket Launcher. The Sniper Rifle is excellent for putting down Watchers, so if you’re playing on a full team, at least one player should make sniping Watchers their new hobby. When you are ready to complete the investigation, head to the waypoint at the top level of the structure.
Objective Two: Defend Area
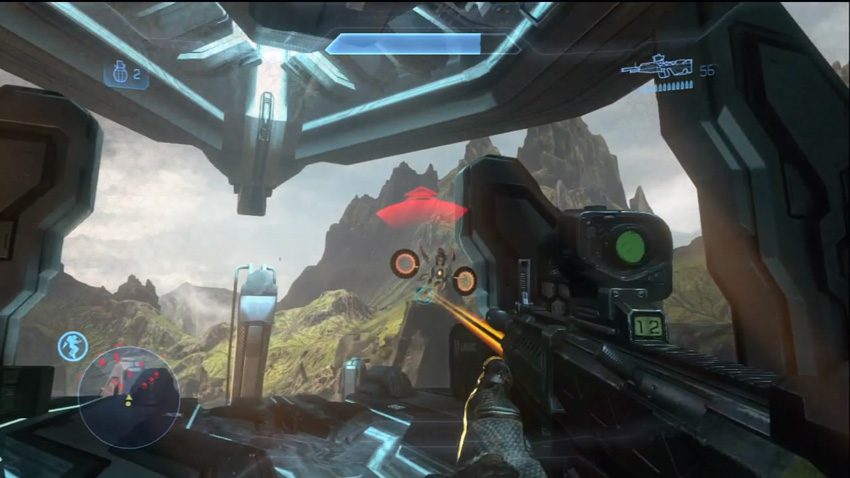
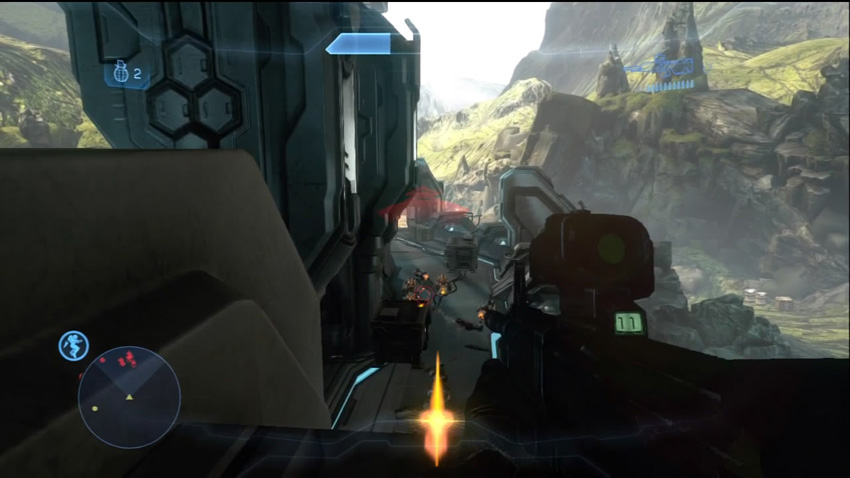
[2] Surprise! As soon as you reach the top level, Promethean Watchers begin to swarm into the area via slipspace portals located over the starting valley. They will descend toward the facility and attempt to summon up legions of Crawlers. Stick to the upper level and wipe the enemy out as quickly as you can. After you destroy enough Prometheans, the stragglers will be marked on your HUD.
Having a Sniper Rifle for this section can make your life easier. You can quickly put down the Watchers before they add additional enemy reinforcements.
Objective Three: Activate Sensors
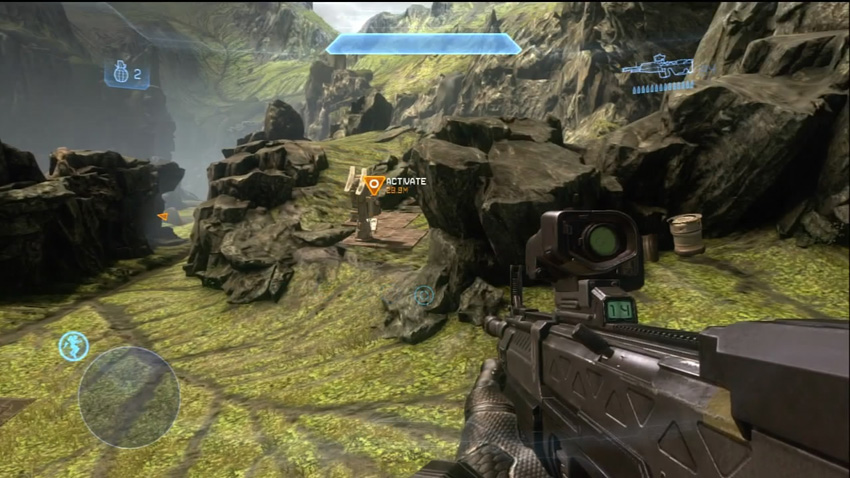
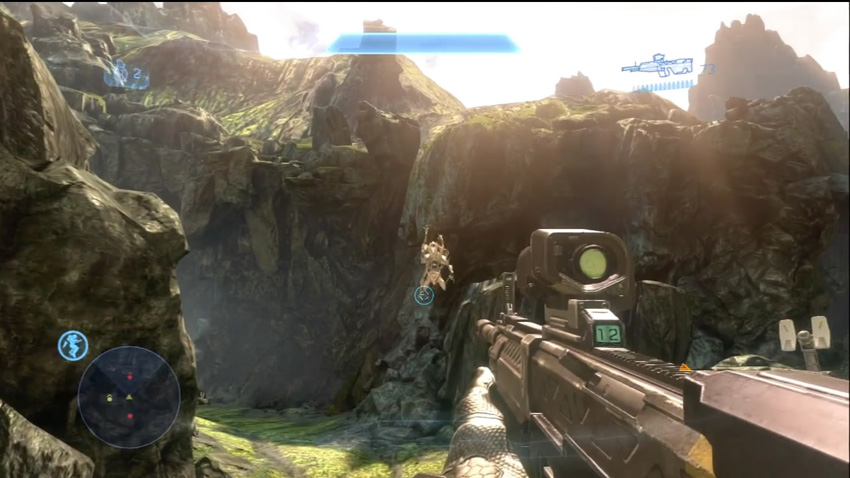
[3] [4] After eliminating the initial Promethean assault, Spartan Miller contacts a Dr. Leslie Boyd, trying to get a better handle on the power fluctuations situation. The good doctor requests that you activate a set of sensors for them manually. Naturally, shortly after you receive the locations of these sensors, more Crawlers warp into the vicinity of the sensors to halt your progress. Cut them down and get the sensors online! It turns out that the power fluctuations are,in fact, slipspace signatures, and Dr. Boyd confirms that measured activity is now occurring near Fireteam Crimson’s location. More Crawlers show up after activating the sensors, but this is only the beginning.
Objective Four: Defend Sensors
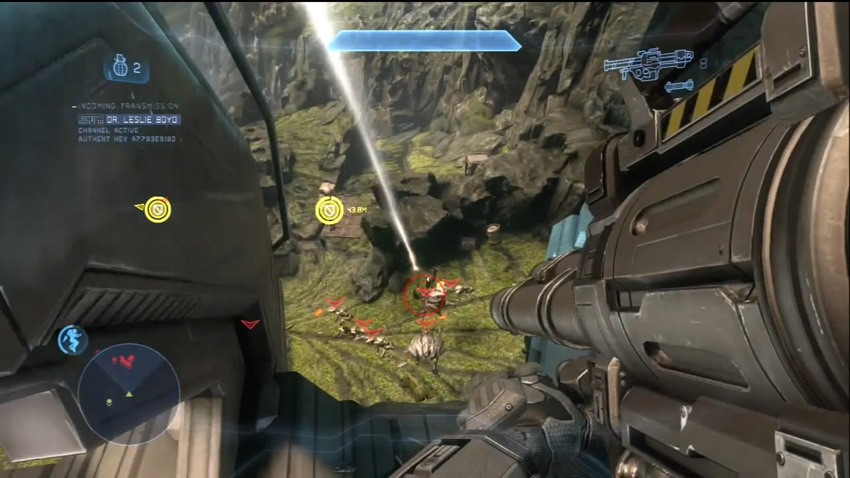
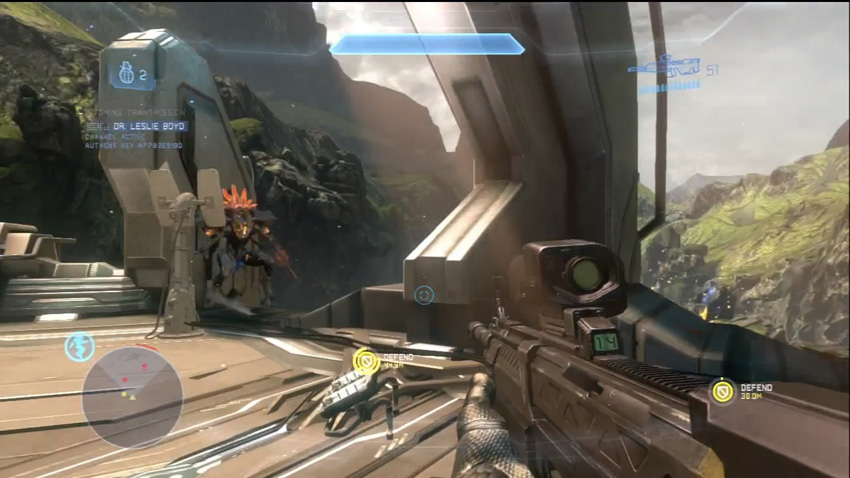
This is where those Rocket Launchers come in handy! Knights begin to join the Crawlers and Watchers, and now the enemy has a target: the sensors you just activated. Prometheans will keep teleporting into the area as you eliminate them, meaning you’ll have a steady stream of targets to deal with while you try to defend the newly activated sensors. The sensors will be marked on your HUD, and the icons will show you how much health they’ve got left. If both sensors are destroyed, the mission is a failure.
As always, make sure Watchers are not a factor, and save your rockets for Knights. We recommend sticking to the midlevel of the Forerunner structure, as it overlooks the sensors and the majority of the enemy deployment zones. Trying to fight it out with multiple Knights in the valley could get you killed. The midlevel perch also gives you quick access to another UNSC weapon cache at the top level, letting you stay loaded up on rockets for a bit longer.
Eventually, tougher Knight variants will begin making an appearance. Continue to use the midlevel perch to fight them off. Some Prometheans may try to teleport onto the midlevel itself, so watch your motion sensors for potential flanking maneuvers like this. This can be a very trying defense to manage, particularly when Crawler Snipes and Knight Lancers begin adding the power of their Binary Rifles to the equation. Just keep fighting until you hear that Dr. Boyd may have a solution to the Promethean deluge.
Objectives Five and Six: Activate Jammer, Investigate and Use Portal
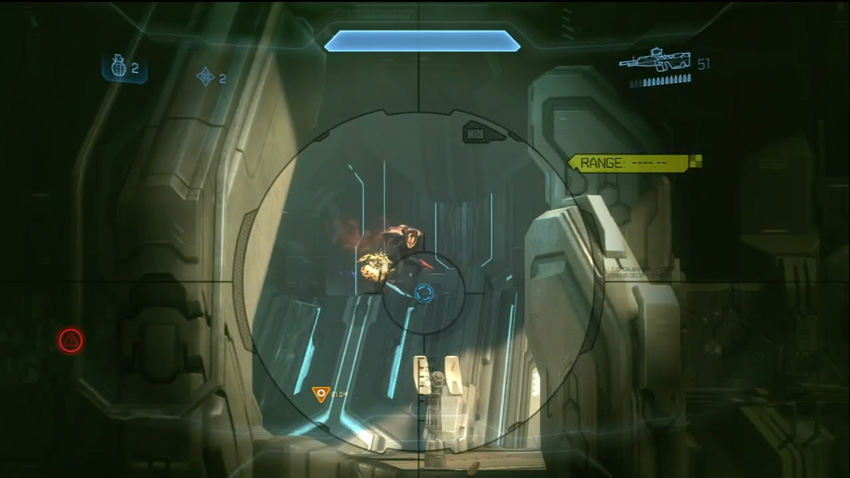
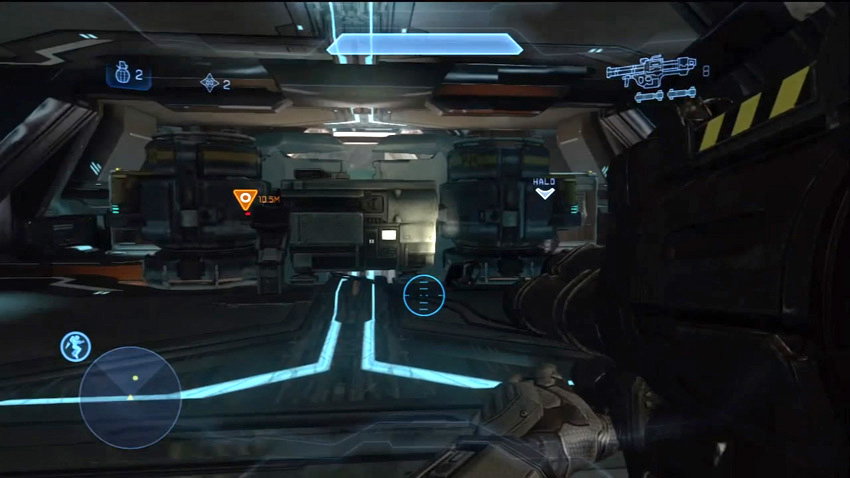
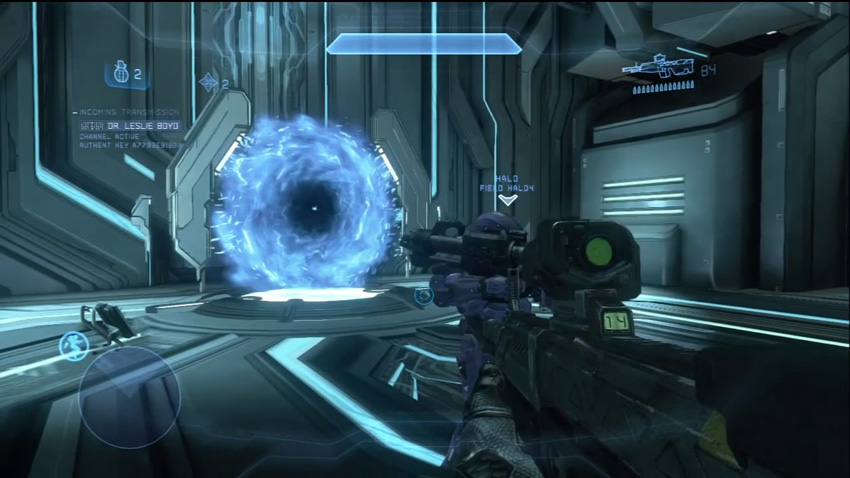
[5] You get word that there is a piece of equipment located in the Forerunner structure that may potentially stem the flow of Promethean reinforcements. More Knights teleport into the area, occupying the structure’s mid and top levels. Fortunately, this also marks the last bits of hostile reinforcements you must deal with. Kill off the enemy, then get to the designated piece of jamming equipment on the midlevel. After some short exposition, another slipspace portal appears on the tower’s top level.
“Jump in, what’s the worst that can happen?”
Very poor choice of words, Roland. Entering the portal completes this mission.
Chapter Two: Nothing Can Go Wrong
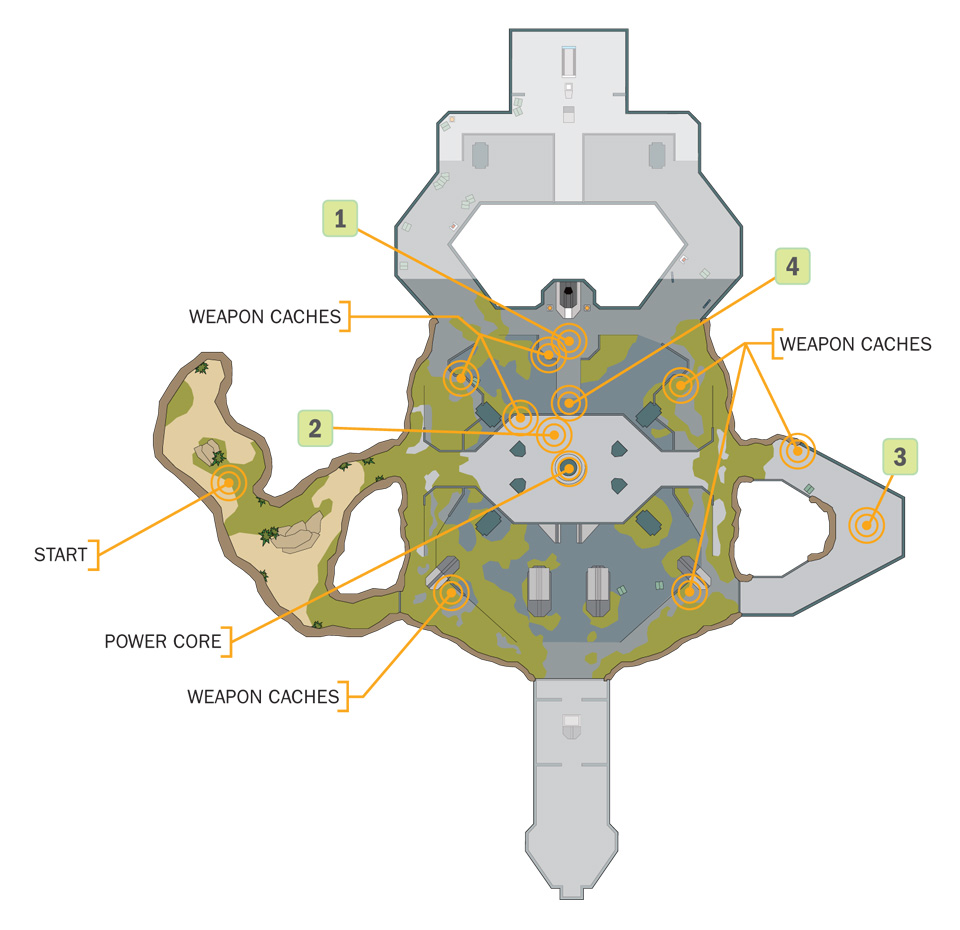
The portal launches you to a UNSC-held facility, and surprisingly you do not arrive already the target of hostilities. But when you rejoin the Marines protecting the science team, this mission’s name is proven thoroughly wrong.
The facility is compromised by an extensive Promethean incursion. You need to defend the scientists who are not fortunate enough to reach a safe room, then stem the flow of Promethean reinforcements by any means necessary, even if you must destroy the tech that the science team was studying.
Map Location: The Refuge
Recommended Loadout
Knights make a big showing throughout this mission, so consider bringing a Plasma Pistol specifically to help destroy their shields and set up headshots. Equip the Ammo Support Upgrade, as you may not have enough time to retreat towards one of the weapon caches to restock. The ferocity of the enemy assault may also warrant the Shielding Tactical Package for the shortened recharge delay.
Objectives One and Two: Regroup with Science Team, Neutralize Enemy
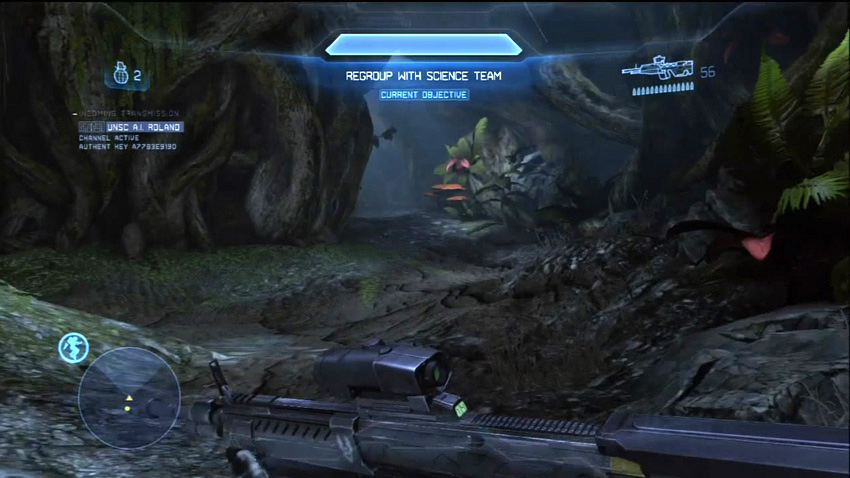
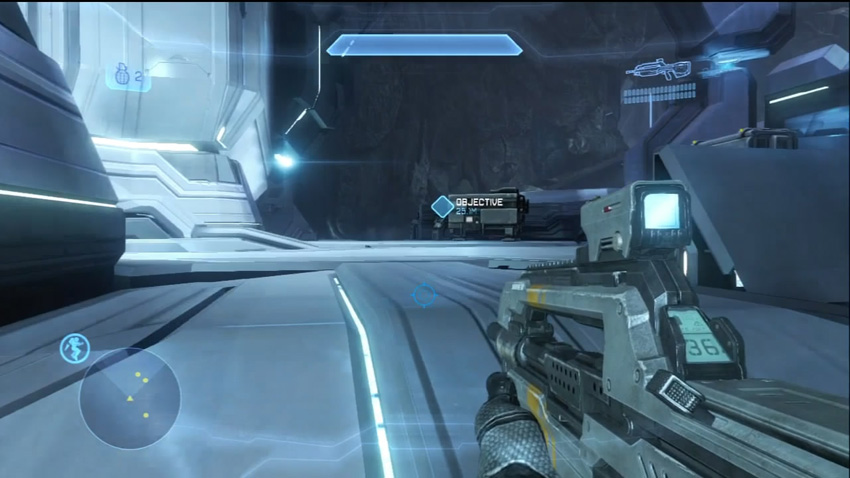
[1] You’re dropped into the Refuge without fanfare, and amazingly nobody has started shooting at you yet. You’re ordered to regroup with the local science team to begin running tests on the portal network, and a rendezvous point is marked on your HUD. As you approach this waypoint, dozens of Prometheans suddenly teleport into the area, and the fight is on!
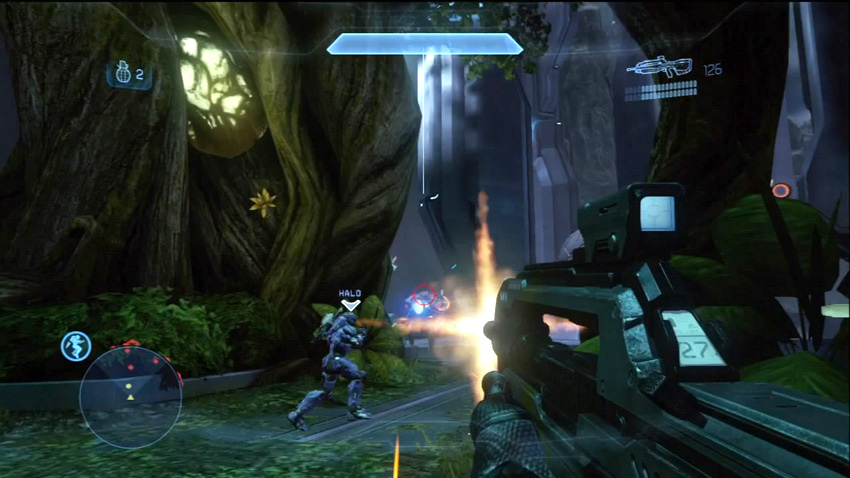
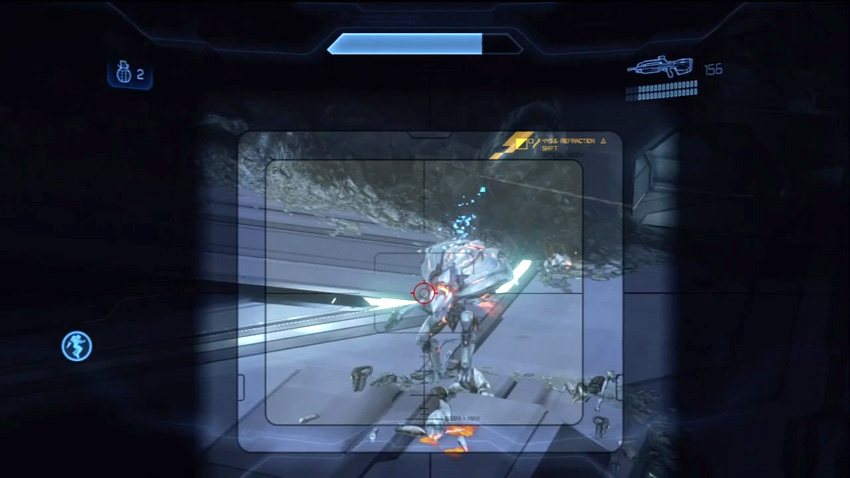
[2] The Marines are a distraction for the enemy at best. Your big concern is the swarm of Knights and Watchers that have taken up position on the raised balcony overlooking the initial waypoint. The Watchers quickly set up Beam Cannons, then go about assisting other Prometheans. The first wave contains a very large quantity of Watchers in general. Consider this a test of your accuracy on fairly small flying targets. After the first wave is defeated, Dr. Boyd reveals that he’s managed to survive the attack by running to a safe room. A second wave of Crawlers and Knights teleport into the area for you to contend with. Be watchful for Crawler Snipes skulking among the other Crawlers.
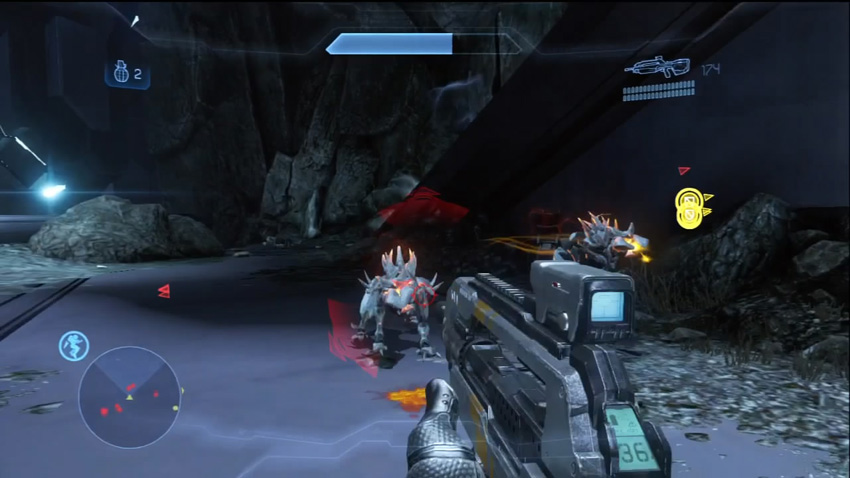
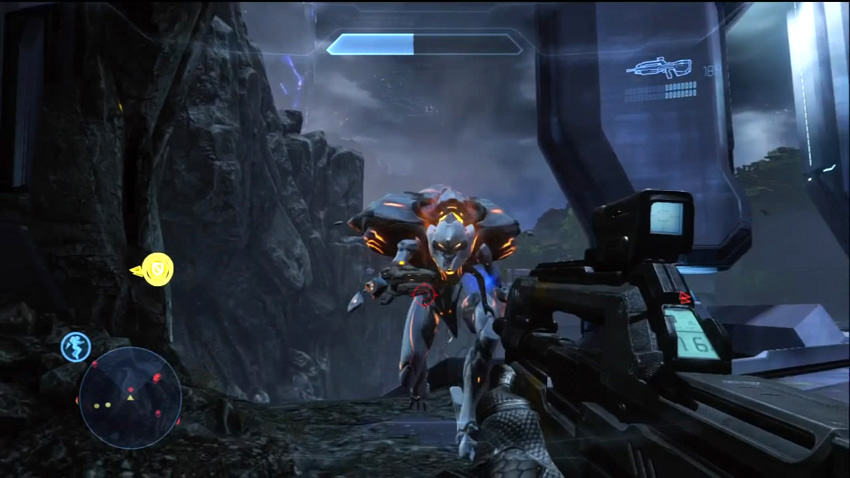
[3] After you finish off the second wave, your HUD will be marked by three Defend icons, indicating members of the science team who need your assistance. The bulk of their attackers on this wave consist of Crawlers, which are easy pickings if you’re a crack shot, and by now you’ve had extensive practice on these enemies. Remember, you don’t necessarily have to stick close to the scientists; you just need to make sure the enemy doesn’t get close to them.
Of course, things get more complicated when Spartan Miller announces that Knights have joined the attack on the scientists. The scientists won’t last very long if a Knight gets near. At this point, you should hunker down closer to the scientists. After defeating the final group of hostiles that arrive with the Knights, the area is safe...temporarily.
Objective Three: Close Slipspace Rupture
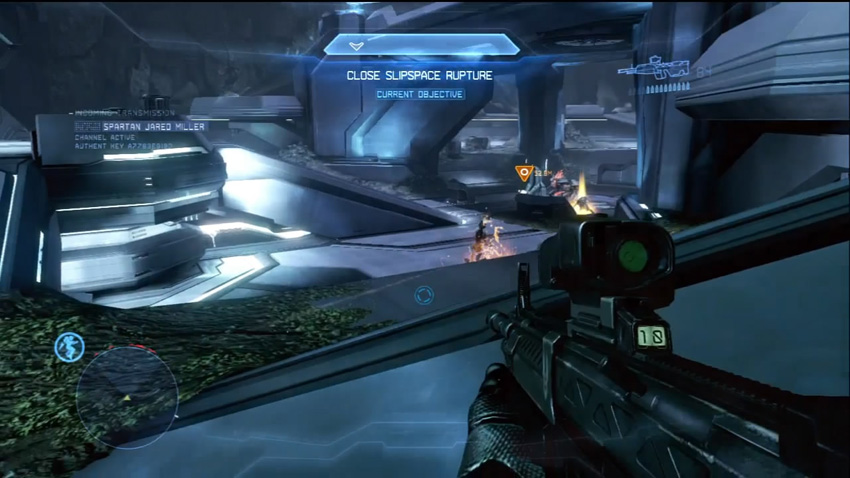
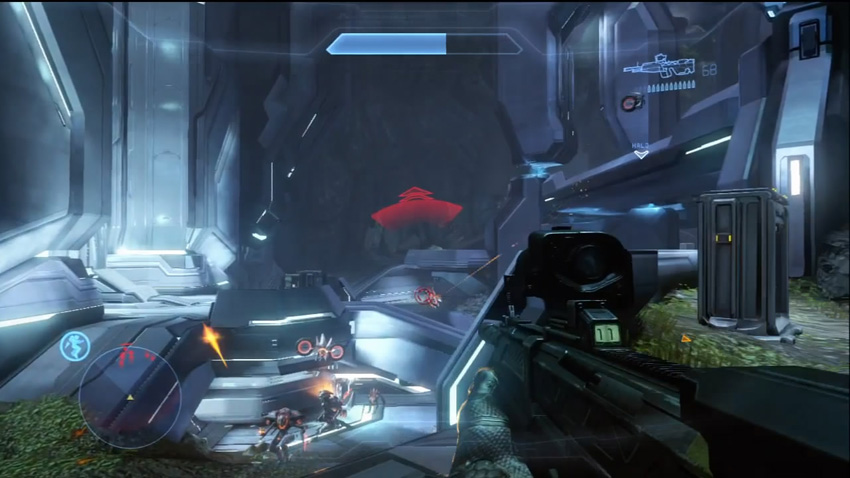
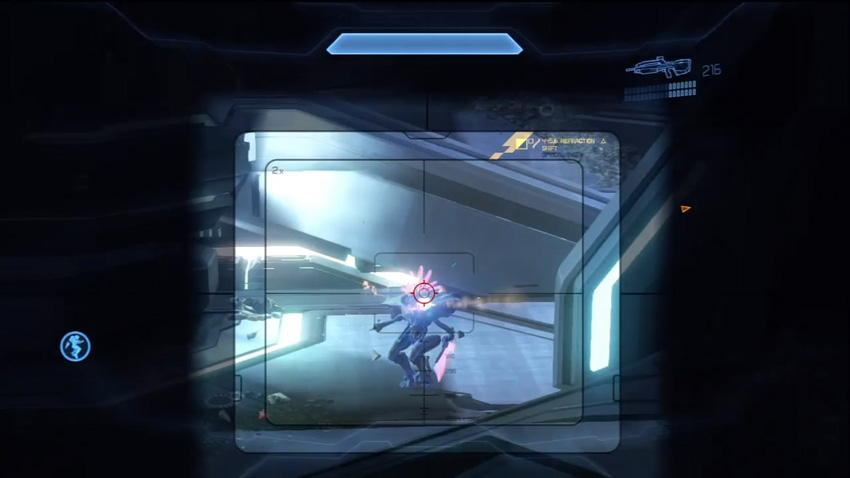
[4] At the center of the main room, underneath the raised walkway, is a device that will close the slipspace ruptures the Prometheans are using to attack the facility. Almost as soon as it is marked on your HUD, another Promethean assault begins. Expect all ranks of Knights and Crawlers to make an appearance here. Stick to elevated positions and wipe out the enemy before activating the device.
Objective Four: Destroy Power Source
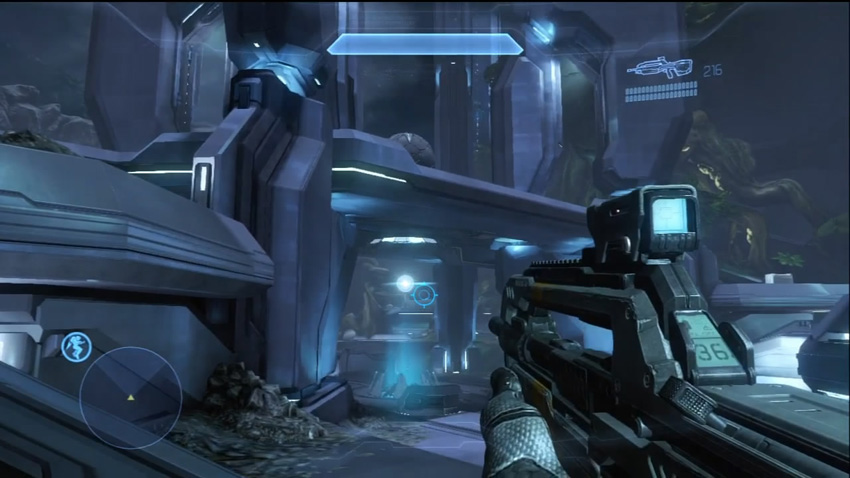
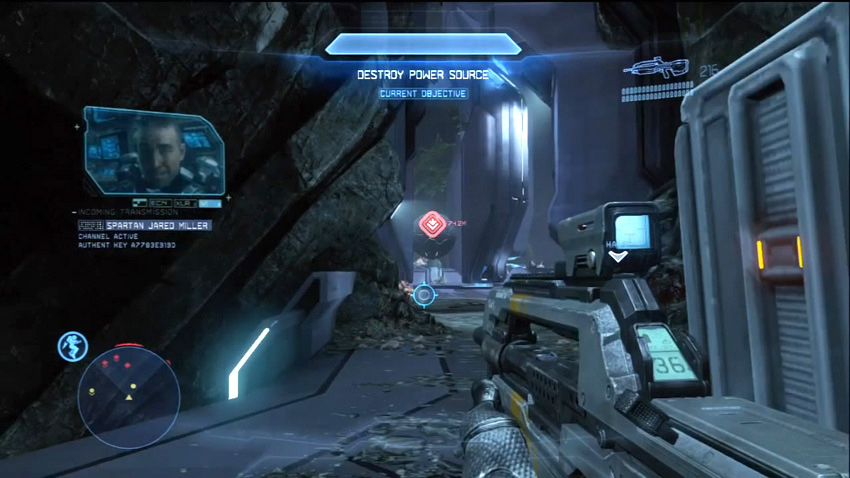
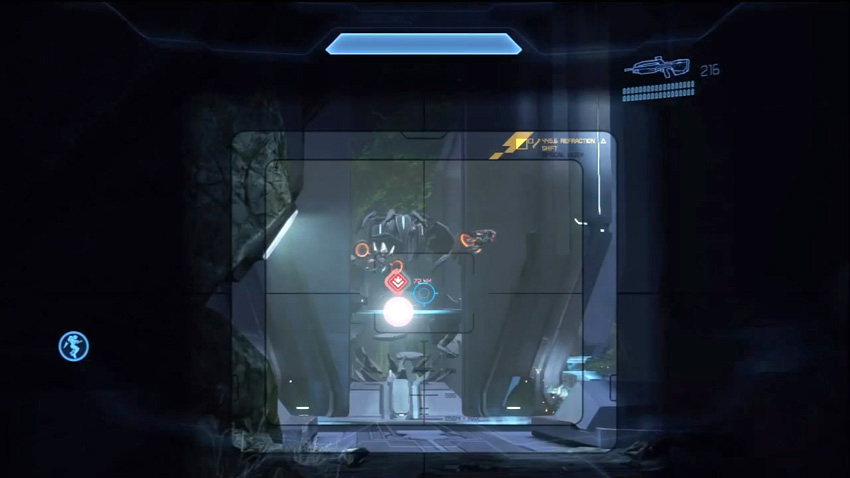
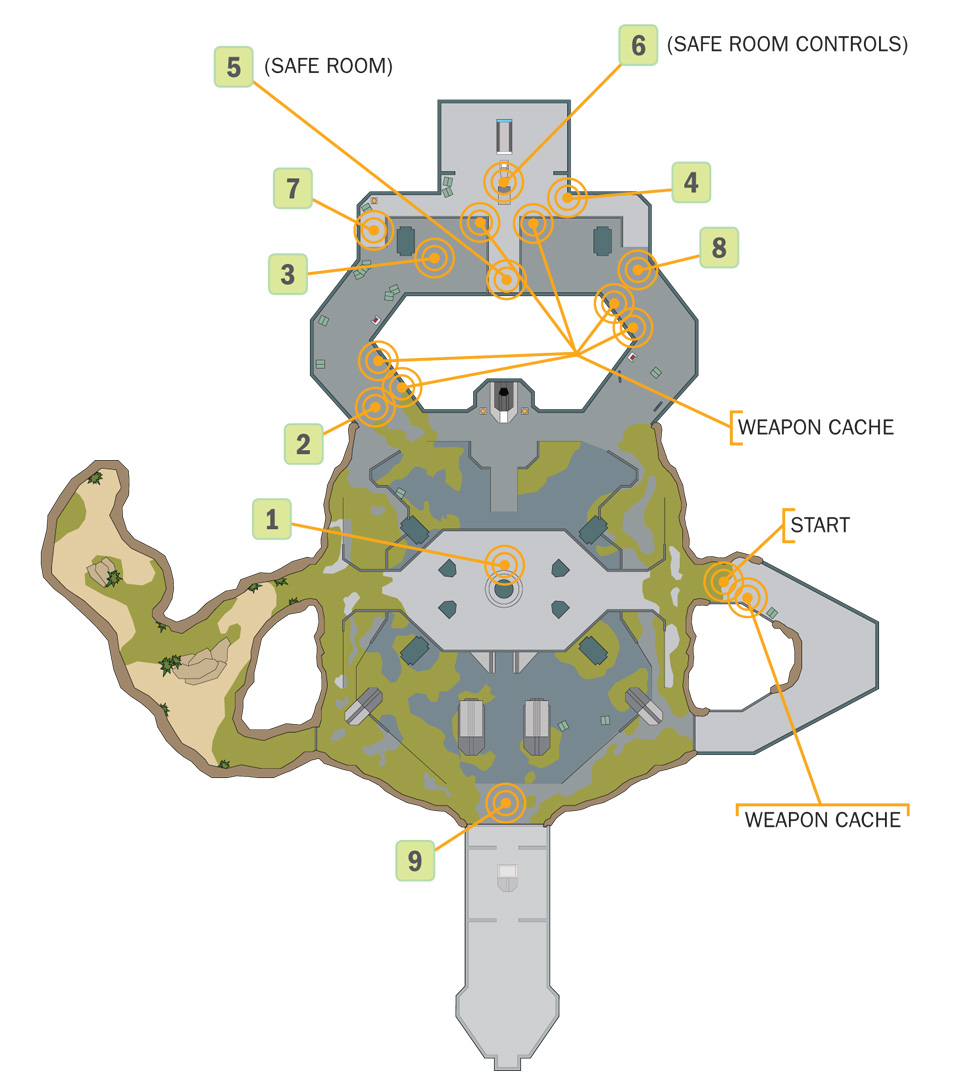
Surprise, surprise: Meddling around with ancient technology that is barely understood yields bad results! The device sends an orb of light to a sphere at the center of the raised walkway [2]. More Prometheans warp into the facility as though they are being summoned by this device. Your orders now are to destroy this power source before things get further out of hand. Doing so is a bit dicey, as multiple Knights defend the core, and this can be especially tough on high difficulties when any number of these Knights could be Lancers armed with Binary Rifles.
Still, you can play it relatively safe by shooting out the core from afar. The DMR and the Battle Rifle are both more than adequate for dealing with the Promethean attackers while also being accurate enough to target the core whenever it makes itself vulnerable. The mechanical pieces surrounding the energy sphere occasionally form a defensive shield around the core, but it only serves to delay the inevitable. With the power source destroyed, any remaining Prometheans will be marked on your HUD. Perform one last cleanup of the area, and the mission will be complete.
Chapter Three: Everything Has Gone Wrong
Your activities in the previous mission have only slowed the enemy down temporarily. Marine Fireteam Warbird arrives at the Refuge facility to take over guard duty, but is soon assailed by Elite Zealots. It seems now that the Covenant will have their turn at seizing the Refuge from UNSC hands.
You need to repel all Covenant forces while attempting to reunite with Fireteam Warbird. Once you’ve joined forces, assist any UNSC scientists, then hold off the enemy until Fireteam Shadow destroys the Covenant cruiser that is delivering the enemy to the Refuge.
Map Location: The Refuge
Recommended Loadout
There are many Elites to contend with throughout the mission, so it may not be a bad call to bring a Storm Rifle into the fray, supplementing it with a Magnum. You can always pick up a Battle Rifle or DMR to replace the Plasma Pistol during the actual mission, or you could use the Firepower Tactical Package to start the mission with two primary weapons. Even at higher difficulties, the Storm Rifle does a number on shielding and can be conserved to last longer than the Plasma Pistol.
Objective One: Repel Covenant
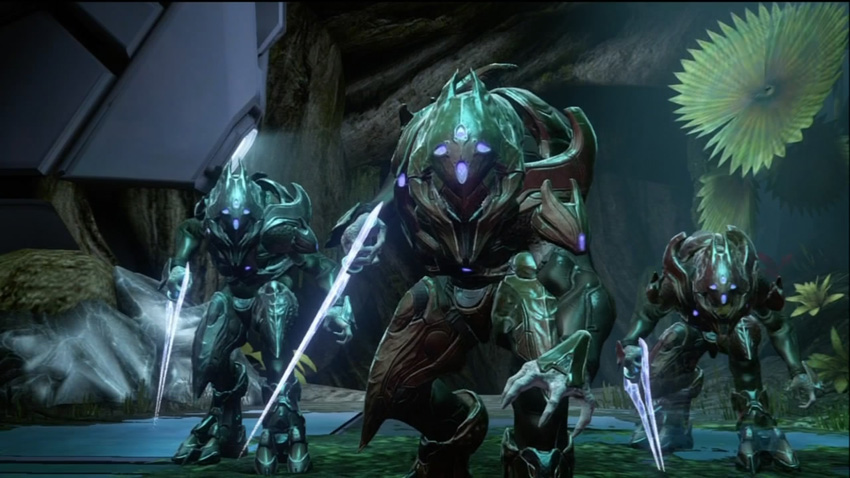
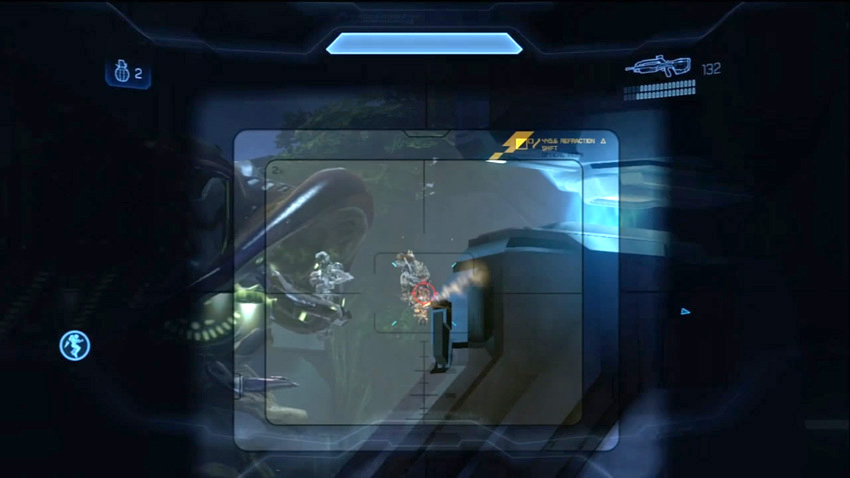
[1] The fight is on as soon as you select your loadout. Covenant Phantoms are deploying troops throughout the central chamber: Grunts, Jackals, and a large number of Elites. More bad news arrives when AI Roland indicates that the Covenant have dedicated a full cruiser to support their allies inside the Refuge, meaning you can expect a near constant stream of Phantoms! Do what you can to whittle away at the enemy infantry until you get an emergency call from Fireteam Warbird.
Objectives Two and Three: Go to Warbird, Destroy Shield Barrier
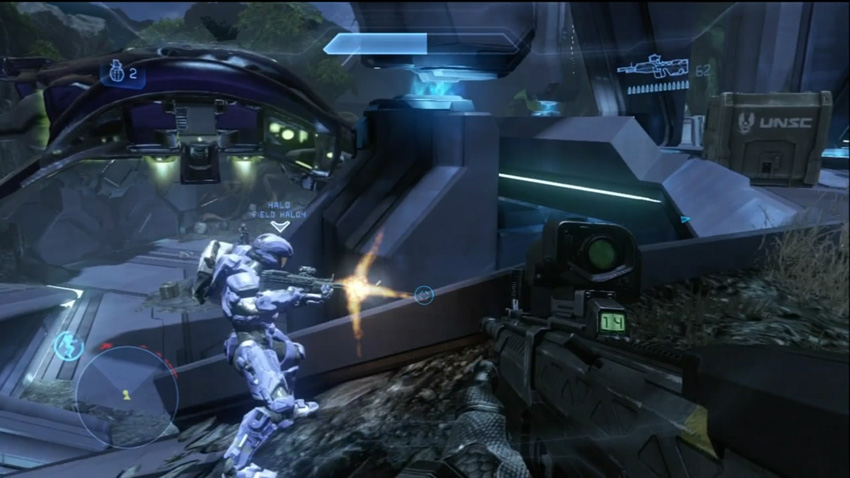
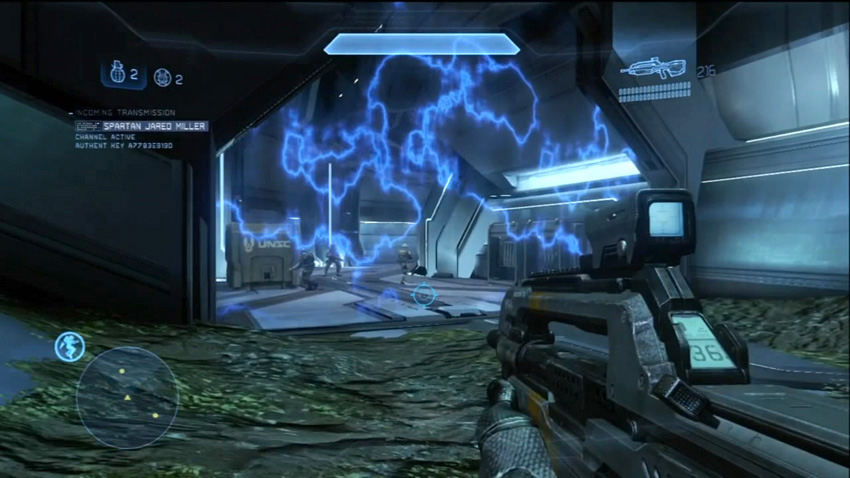
[2] Rushing to Warbird may sound like the right thing to do, but you could stand to maintain solid position near the raised center walkway and put down Covenant as they are deployed. Rushing to the indicated waypoint only has you run into a Covenant-deployed shield that will not go down until you eliminate the Covenant in the main room. Once you’ve eliminated the threats, Roland will hack the shield that separates you and Warbird. Bring it down and reunite with the Marines. During this time, Spartan Miller will task another Spartan Team to deal with the Covenant cruiser, in hopes of cutting off the enemy reinforcements.
Objective Four: Eliminate Covenant Spec Ops Team
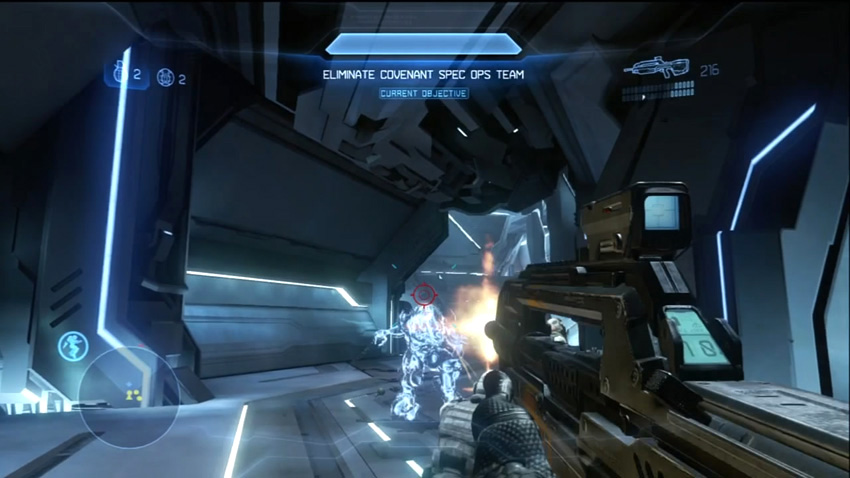
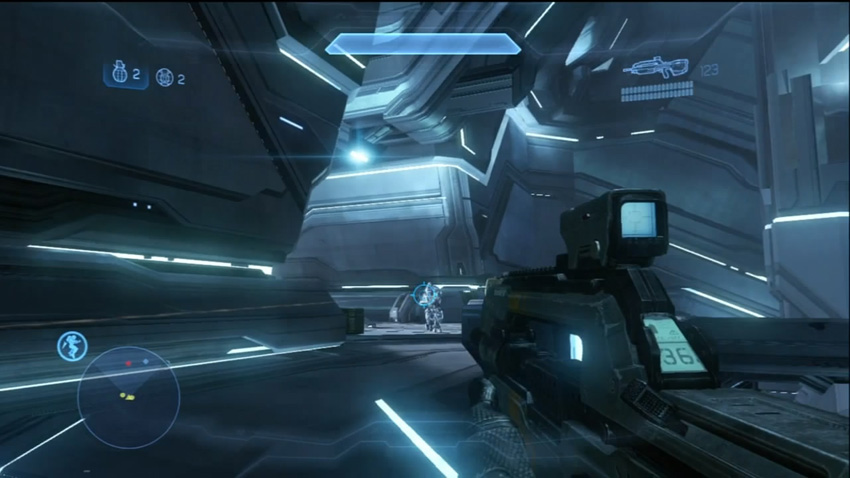
[3] Reuniting with the Marines gives you access to a hefty cache of UNSC weapons. You also receive word that “the Silent Blade” is operating inside the Refuge. This is a Covenant Spec Ops team, and you must eliminate them before you can even think that the base is secured. You confront the first of these Active Camo users almost as soon as you step into the secondary chamber of the Refuge. Other Elites stand on the upper balconies here [4] with heavier weapons like Fuel Rod Cannons at their disposal. Don’t rush forward blindly, and keep your eyes open for any cloaked hostiles; there are many to contend with. With the split-chin Spec Ops turned to worm feed, you get a frantic call from Dr. Boyd. He is apparently locked in the safe room and can’t get it opened.
Objectives Five and Six: Locate Dr. Boyd, Open Safe Room
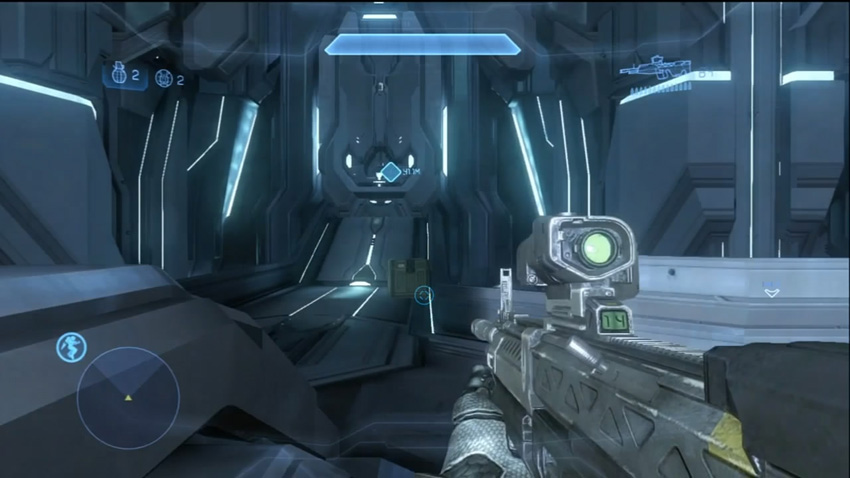
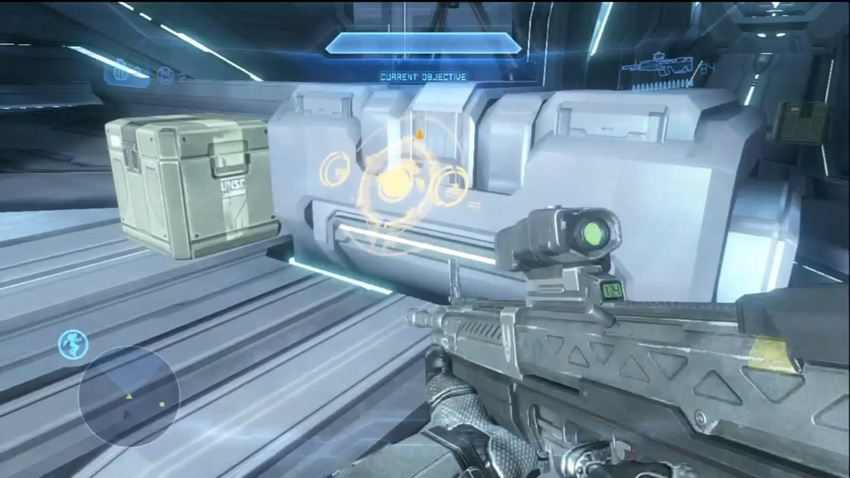
[5] [6] The safe room door is on the upper level of the secondary chamber, with the controls to open it located very close by. Before you open the safe room, take the time to restock at the closest weapon caches. Once you open the safe room, the enemy will begin another assault.
Objectives Seven and Eight: Secure the Area, Clear the Landing Zone
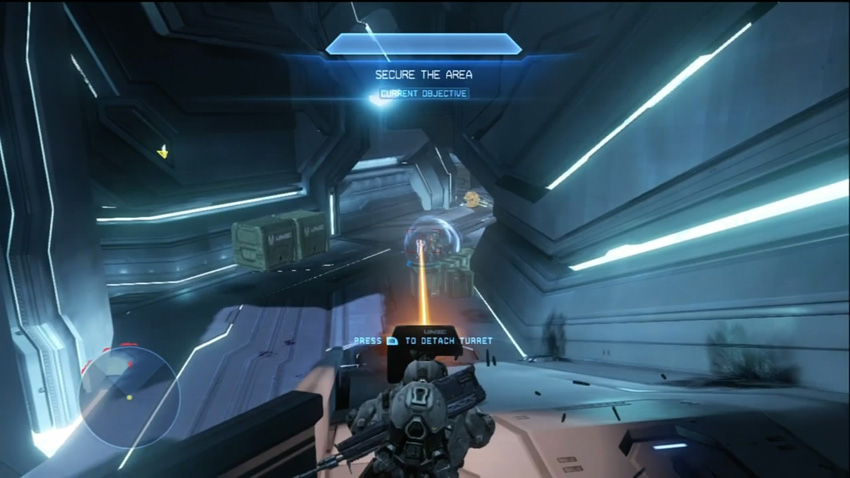
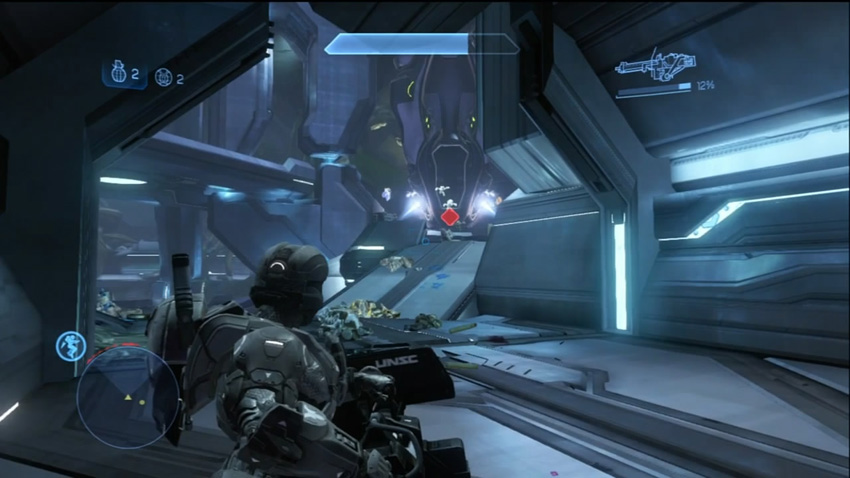
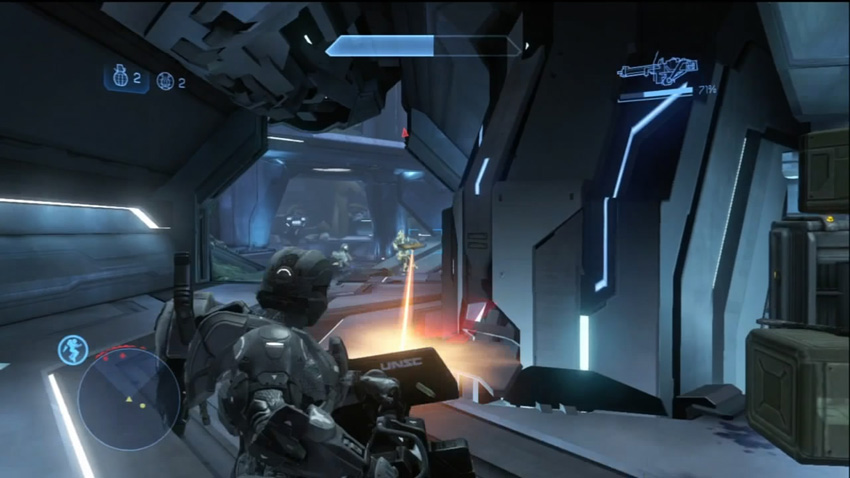
The secondary chamber comes under a determined Covenant assault. Fortunately, you can use the Machine Gun mounted on one of the ramps [7] to make short work of at least one part of the assault, if you’re playing solo. This isn’t as safe on higher difficulties because the hostiles streaming in from another direction [8] can still overwhelm you. On Heroic or Legendary, you need to have excellent teamwork to lock down the secondary chamber to prevent harm from befalling Dr. Boyd. Don’t expect a lot in the way of help from any Marines that might have survived up to this point, as grim as that sounds.
With the first assault blunted, you need to clear an LZ. As you return to the main room, Covenant Drop Pods begin deployments throughout the area. You can take the Machine Guns from the secondary chamber to help cut down the enemy, but the loss of maneuverability may prove fatal in the face of Fuel Rod Cannons. Stick to the corridors connecting the two chambers while engaging the enemy.
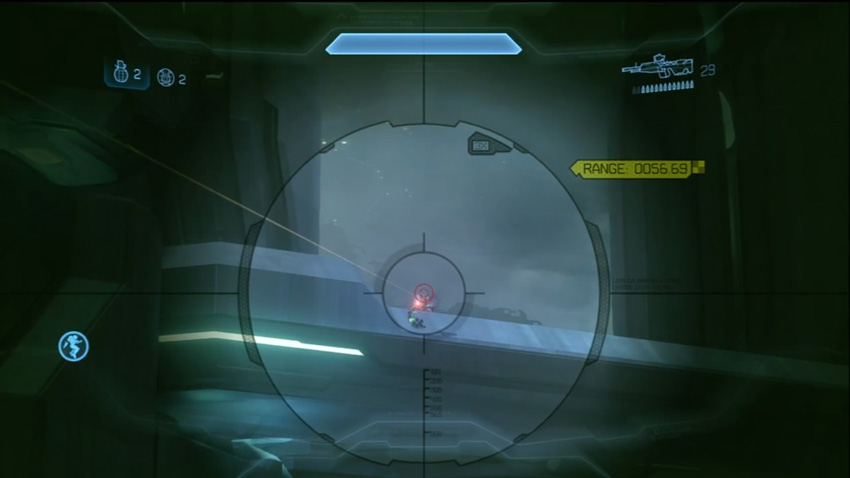
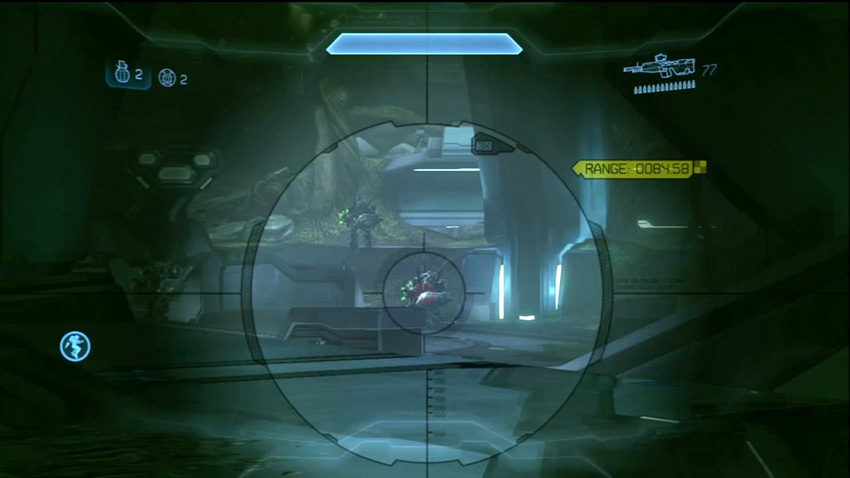
After multiple Drop Pods’ worth of Covenant have been dispatched, more will be deployed farther into the main chamber [9], with Phantoms starting to pick up the slack in deployments of even more troops. You can expect Jackal Snipers among these hostiles. Do not get so distracted fighting other enemies that you ignore the grave threat they present.
Eventually, four Hunters are deployed [9]. Hopefully, you’ve done good work at culling the other Covenant. Once their numbers are thin enough, the survivors will be marked on your HUD, making it easier to locate the Hunters and plan accordingly.
The Hunters mark the last gasp of the Covenant. Spartan team Shadow succeeds at hitting the Covenant cruiser’s power core, which means you’ll only need to finish off whatever is left on the field. Your day isn’t over yet. Forward Base Magma has come under attack and requests assistance. Fireteam Crimson is the closest available response, so it’s back to the Cauldron with you.
Chapter Four: The Cauldron Base
Forward Base Magma has been taking a serious pounding, and Fireteam Crimson is the only cavalry they can expect in the near future. Hopefully, that will be enough.
There’s nothing complex about this assignment: use the Mantis to fight your way to the forward base, and protect the base’s power generators from the ensuing Covenant assault. If any defensive turrets need to be brought online to help with the battle, get them up and running quickly!
Map Location: The Cauldron
Recommended Loadout
Two Mantis are available at the very start of the mission, and a lone player should only ever need one Mantis, even on Legendary, if they are cautious. If you’re stuck on foot for any reason, be aware that there are a ridiculous number of Elites joining the assault, so the Plasma Pistol charge combo may not be as viable due to the sheer odds against you. The Storm Rifle lets you drain shielding relatively quickly without having to wait for a charge to build up, and can be conserved to last longer than a Plasma Pistol even with the Ammo upgrade. Combine the Storm Rifle with the Dexterity upgrade to facilitate rapid switching between it and a headshot-capable weapon like the Magnum or even a Battle Rifle/DMR/Covenant Carbine recovered in the field. This sort of thinking only really matters if you've lost your Mantis or are playing with multiple players and don't have enough Mantis to go around. All precautions should be taken to avoid situations where you don't have heavy armor support.
Objective One: Move to Base
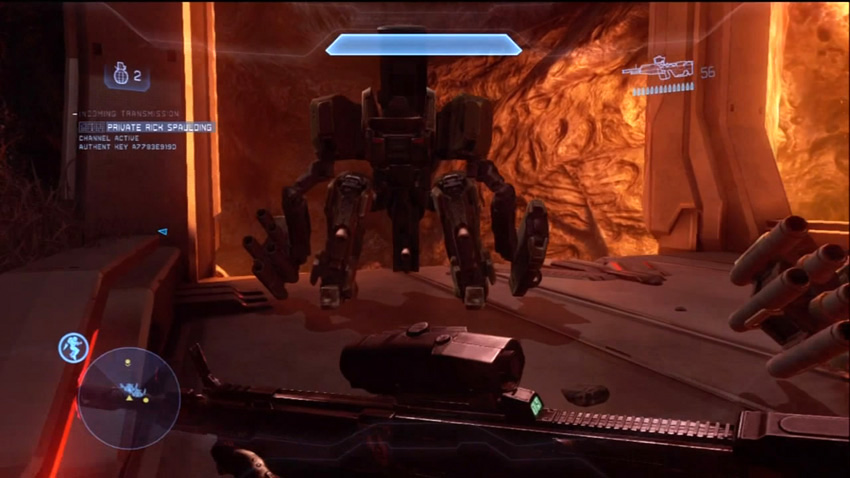
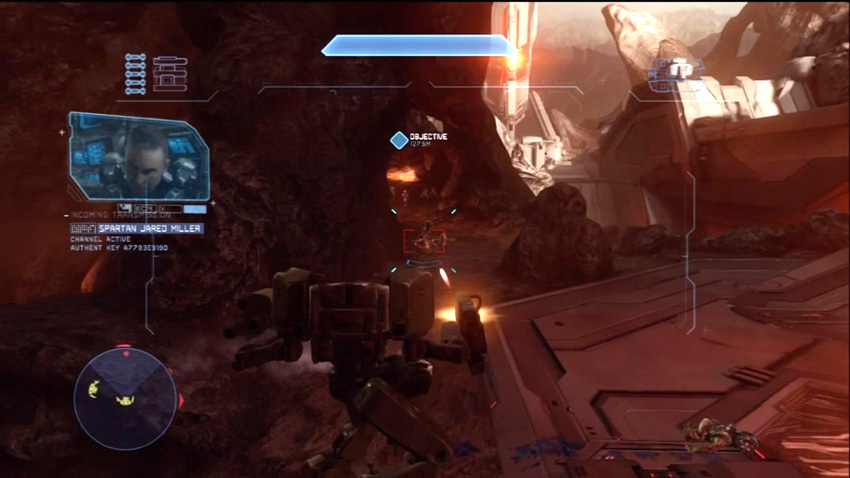
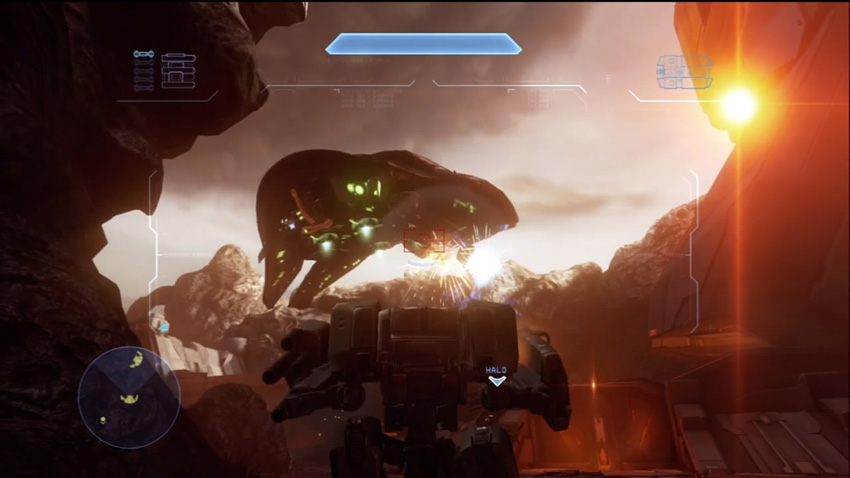
[1] The moment you land, hop into a Mantis and stomp toward Forward Base Magma. You will quickly come across a detachment of Covenant, which a Phantom will reinforce. Spartan Miller might give you some hell over it, but stick around and eliminate the Covenant. You want to do this because the Marines who start with you will then be able to survive the run to Forward Base Magma, and the extra bodies will help with what is to come.
Objective Two: Defend Base
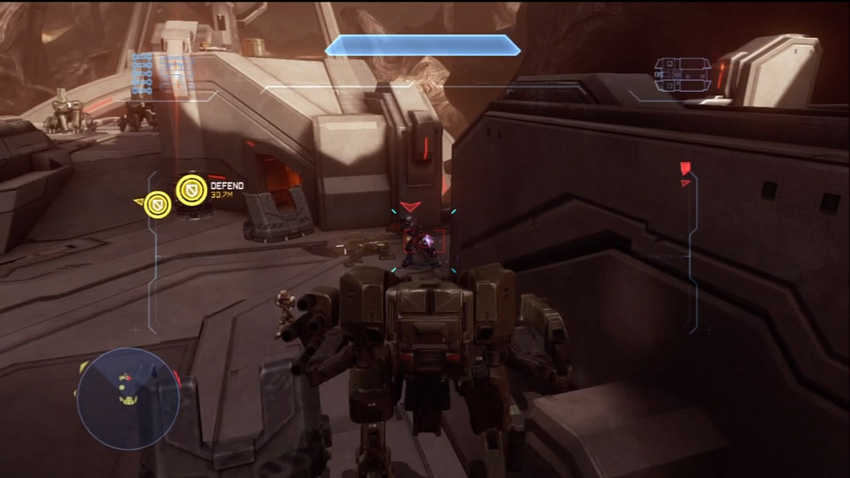
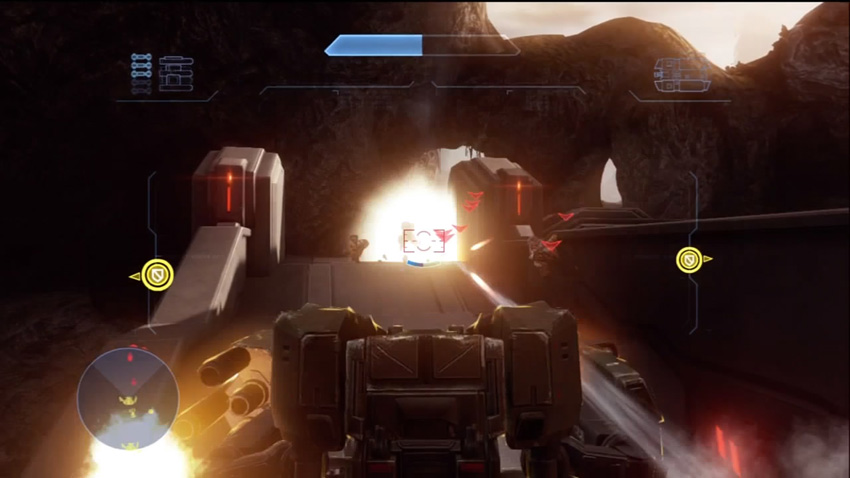
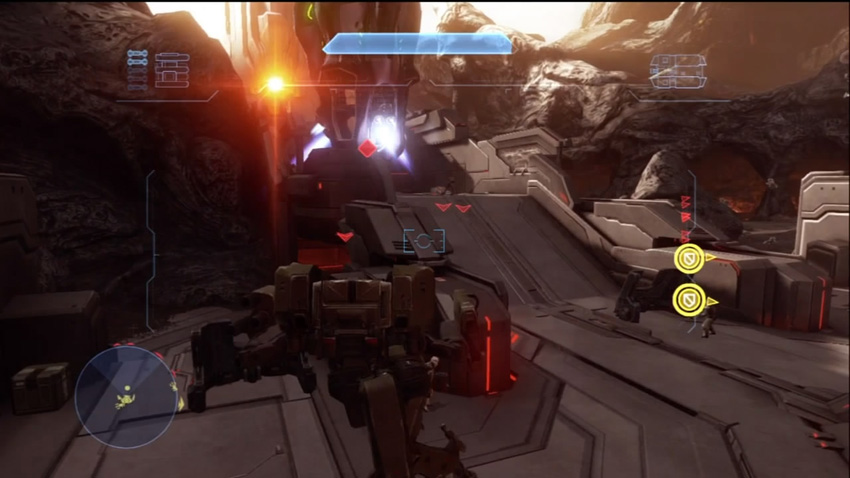
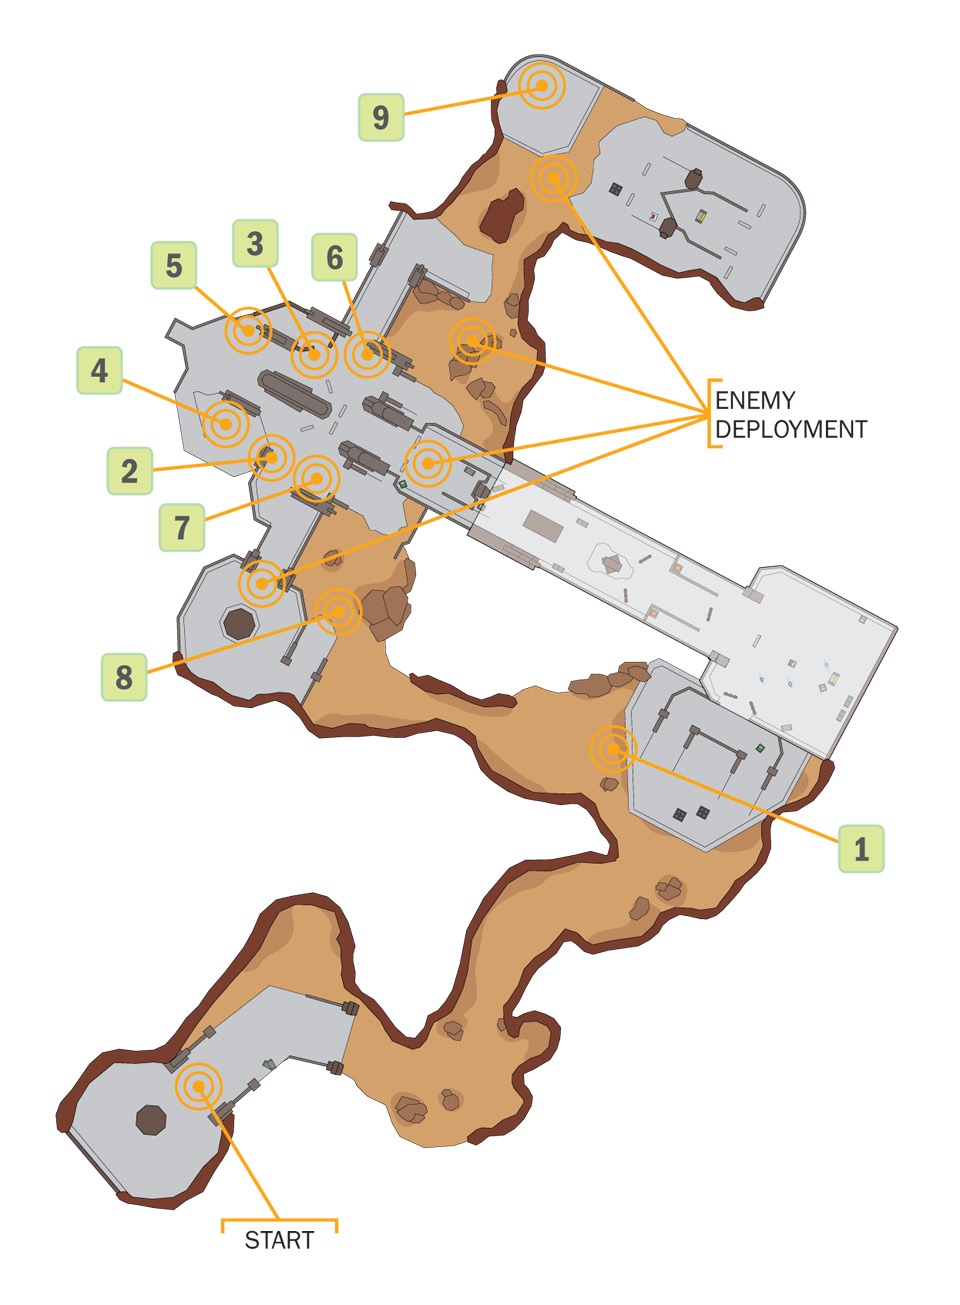
There are two power generators that must be defended at all costs [2] [3]. The Covenant will deploy many waves of hostiles at a series of predetermined drop zones throughout the Cauldron (see map for these drop zones). The initial assault consists of six Covenant squads deployed in succession, composed of Grunts, Jackals, and Elites. You can handle these attacks by proactively stomping your way toward their deployment zones and catching them as they leave their Drop Pods or Phantoms, or you can stick to the structures behind each generator [4] [5] and use the elevated position to observe the whole battlefield. This can be tough, as you’re a very obvious target on the rooftops. If the enemy gets close enough, you may not have firing angles on them with the Mantis.
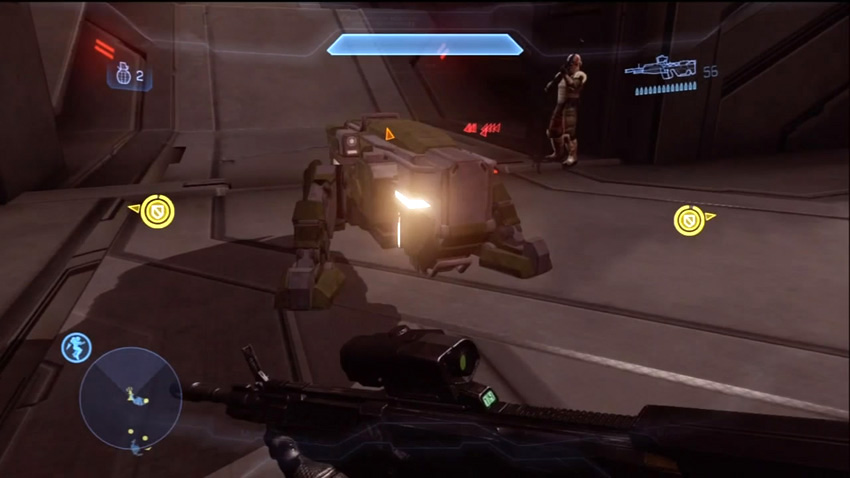
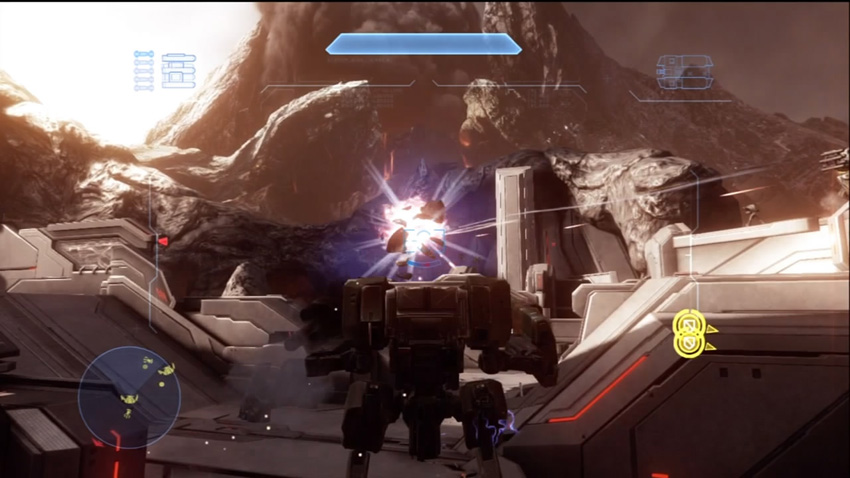
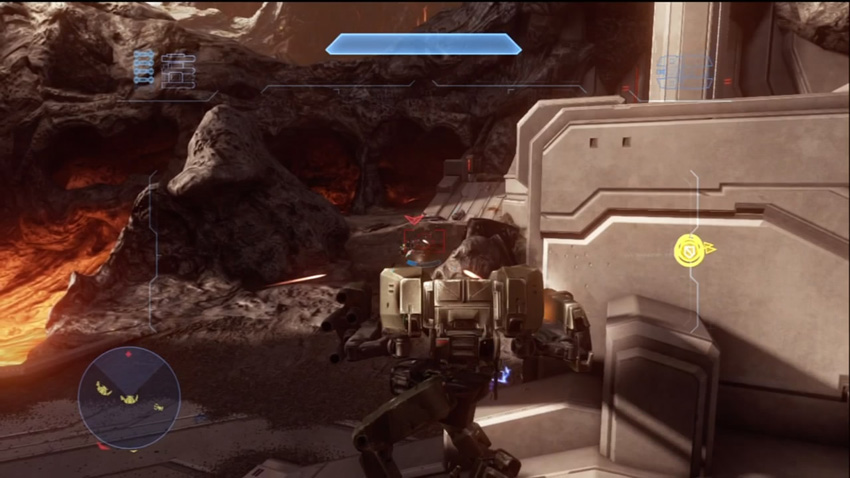
[6] [7] After the first six Covenant squads are destroyed, a pair of defense turrets are marked on the HUD for you to activate. They serve as a distraction at best, but they need to be up and running. Ten more Covenant squads are deployed throughout Forward Base Magma shortly after the guns are marked on your HUD. As with the first six waves, these don’t all arrive at once, but the firepower and composition starts to favor heavier weapons and Elites for survivability. The Covenant will even try to deploy Hunters fairly close to the generators [8]. Don’t let them shoot at the generators or this mission will be over really quick.
This is not a very complex or long mission; as always, the real challenge is just surviving. Even in a Mantis (unless you’re playing on Easy or Normal), there’s simply too many enemies to be recklessly charging into the thick of them. On higher difficulties, being lax costs you a Mantis and possibly the whole mission. The best tip is to use the local structures for cover, and if Phantoms get too close, take out their guns before returning your attention to the troops. If you try to shoot down every Phantom that crosses your path, you may let too many enemy infantry slip past you while your attention is elsewhere.
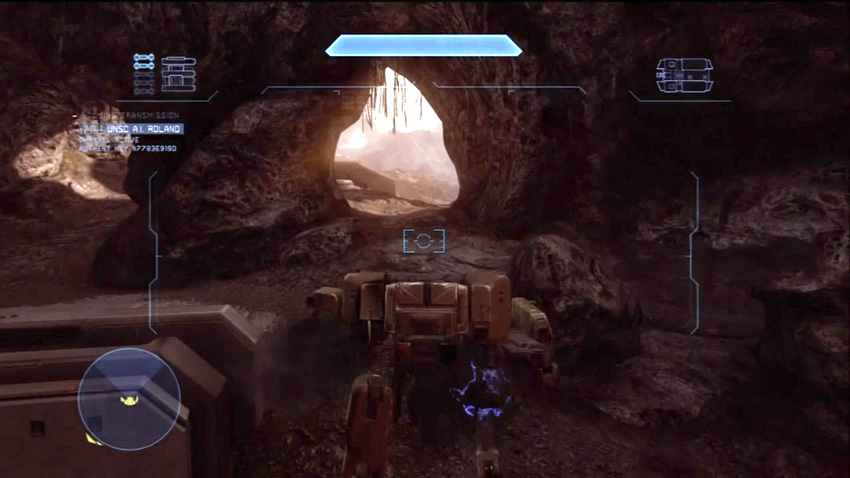
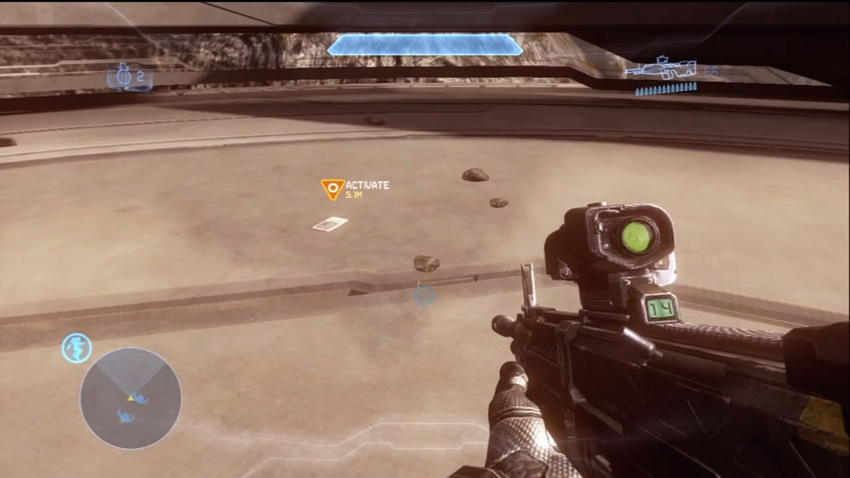
[9] When the last of the Covenant have fallen, you receive word that Spartan Thorne’s IFF tag has been located near the base premises. Head to the indicated waypoint to recover the tag for Roland to analyze. Some mysteries are afoot as this mission draws to a close.
Chapter Five: Spartan Thorne
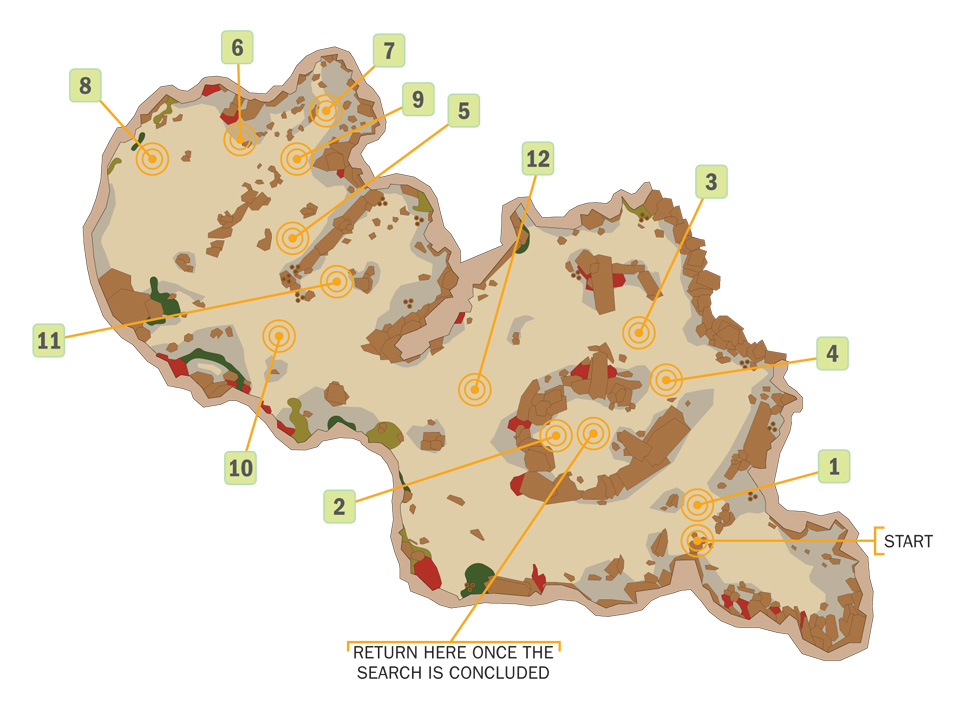
Spartan Thorne has somehow been transported to Requiem without the knowledge of anyone on the UNSC Infinity . While Spartan Miller continues his vain attempts to contact Commander Palmer, Fireteam Crimson is ordered to find Thorne and discover what the hell is going on.
It’s obvious that the Covenant have as much interest in Thorne as you do. They have an extensive series of defensive positions throughout the Quarry to prevent you from getting to him; these are centered around locations Thorne is believed to be. While it seems like an obvious set of traps, you will need to fight your way through these positions to confirm Thorne’s continued survival. Expect significant hostile reinforcements throughout the operation. The Covenant knows the threat presented by Spartans and are becoming more willing to spend vast amounts of material and manpower in hopes of inflicting casualties.
Map Location: Quarry
Recommended Loadout
A mix of power weapons, such as the Sniper Rifle, Spartan Laser, and Rocket Launcher, can all find a place in your arsenal. The DMR or LightRifle are your ideal primary weapons as the DMR offers sheer accuracy, and the LightRifle offers power while scoped. We lean more toward the DMR on this one. Take a Jet Pack for positioning purposes.
For the finale, you want to either lean on the power of a Wraith or use the power weapons the
UNSC Infinity
drops. In general, you want to rely on a Wraith as much as possible throughout this mission, simply because they are faster than walking and are capable of decisive firepower in combat. If you can hijack the first Wraith you encounter, your life becomes
much
easier.
Objective One: Find Thorne
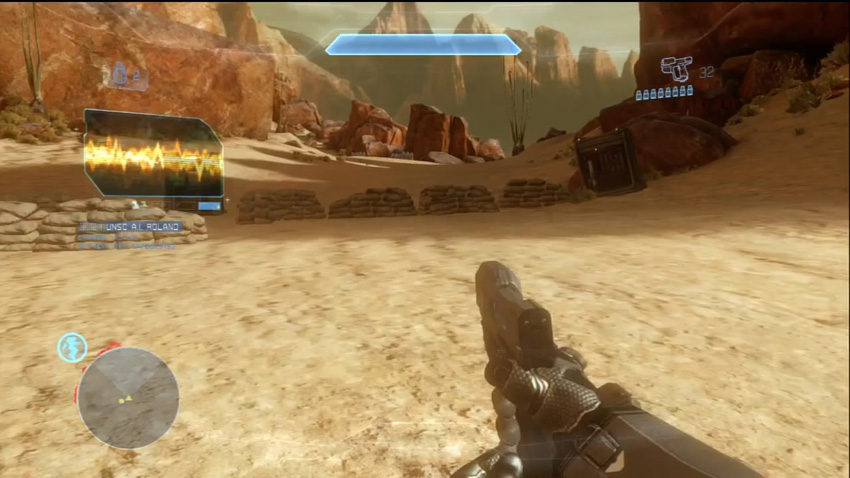
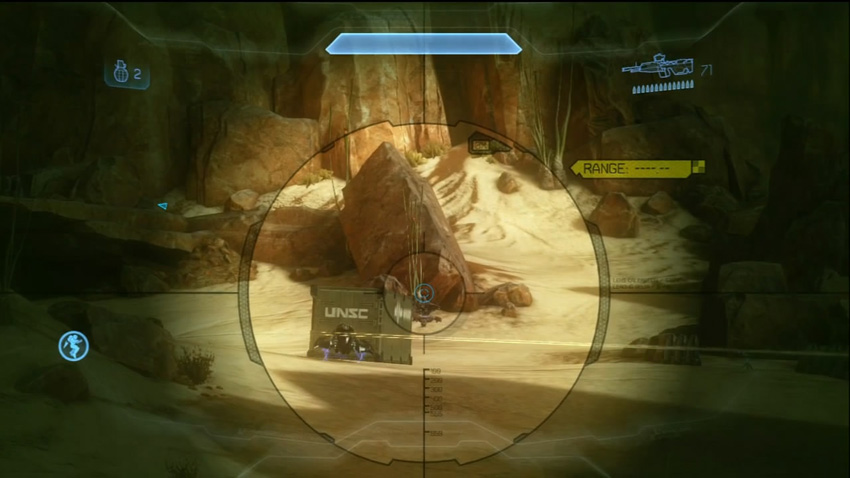
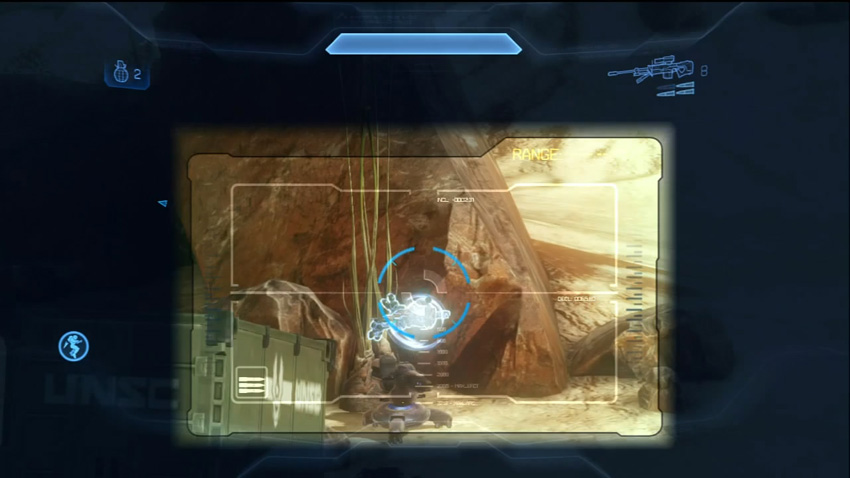
[1] You begin near a solid UNSC weapon’s cache, which includes a Rocket Launcher and a Sniper Rifle. You will soon receive your first waypoint to begin the search for Thorne [2]. You don’t have a convenient vehicle to hop into to start this operation. The early combat leading to the first waypoint is long-range in nature. You’ll encounter some infantry, a manned Shade Turret, and Jackal Snipers, but one of the bigger threats are the Ghosts deployed by a Phantom [3]. They can really stymie an advance.
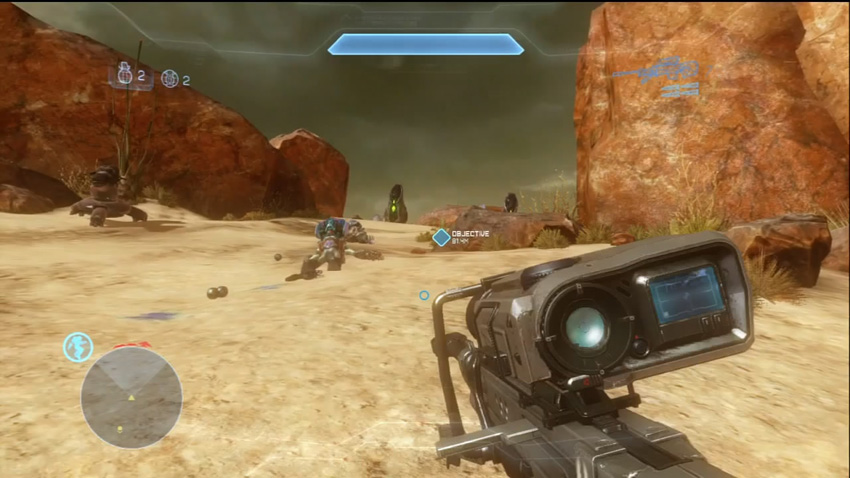
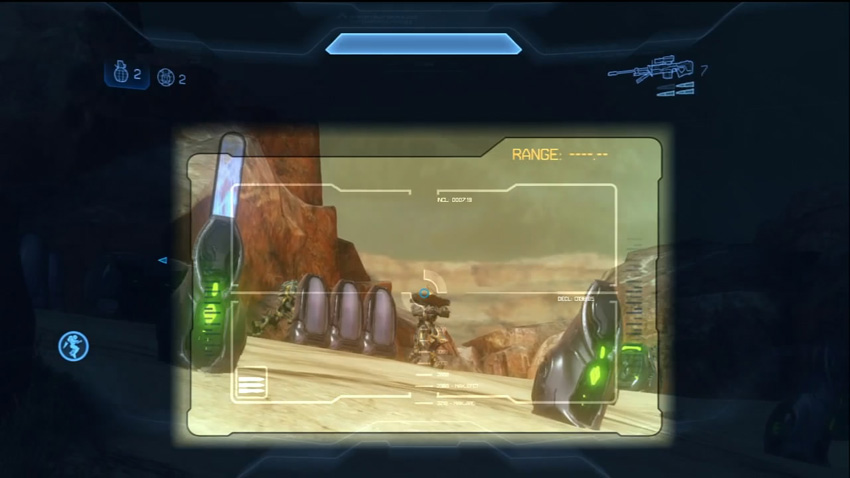
Thorne’s potential position is atop a hill, which gives the enemy located there a positional advantage as you try to make your way up it. Don’t be reckless; use the rocks on the hill to get the better angle on the Elites guarding the hilltop. After reaching the waypoint, you discover that Thorne is not there, and apparently never was. Covenant reinforcements begin to arrive at the foot of the hill.
Objective Two: Neutralize Enemy Resistance
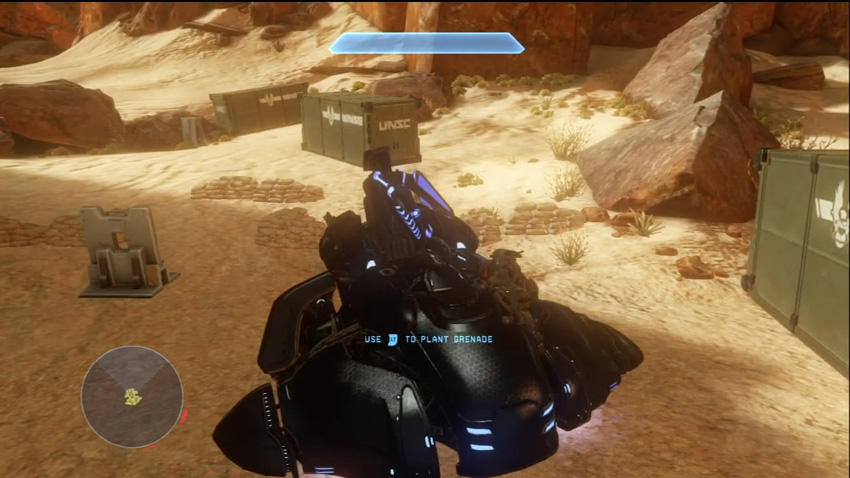
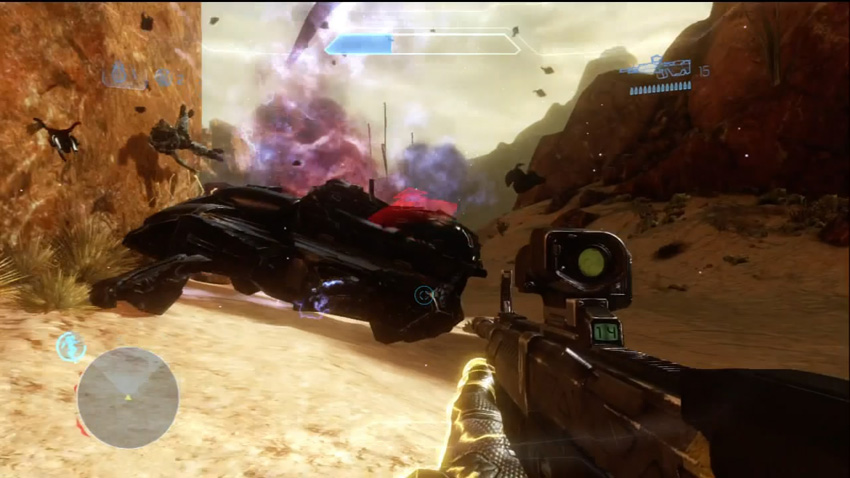
[4] The Phantoms favor the valley just at the foot of the path that leads to the hilltop. Expect the Covenant infantry to attempt to leverage against you the Plasma Cannons dotting the area. You can safely pick away at the enemy from afar, and this is the best way to guarantee your own security throughout the combat. During this assault, the Covenant will deploy a Wraith, so prepare to handle that situation. As you slice through the Covenant, you’ll be given a new waypoint to search for Thorne.
Objective Three: Search for Thorne
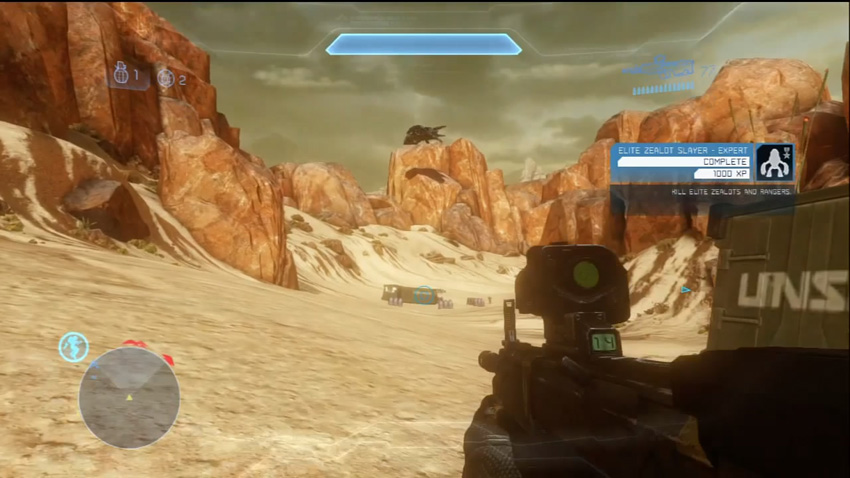
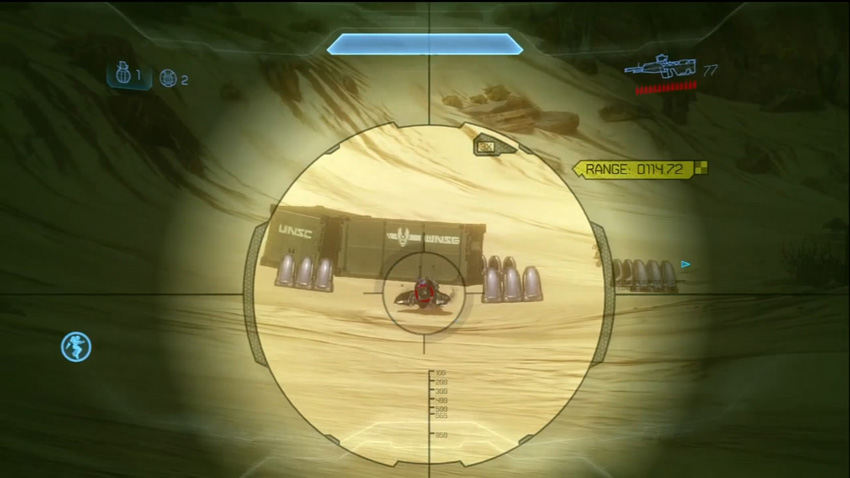
Phantoms just keep deploying more troops into the smaller box canyon [5], and that is where you’re headed next. Expect multiple Ghosts and Elites patrolling the area connecting both sections of the Quarry.
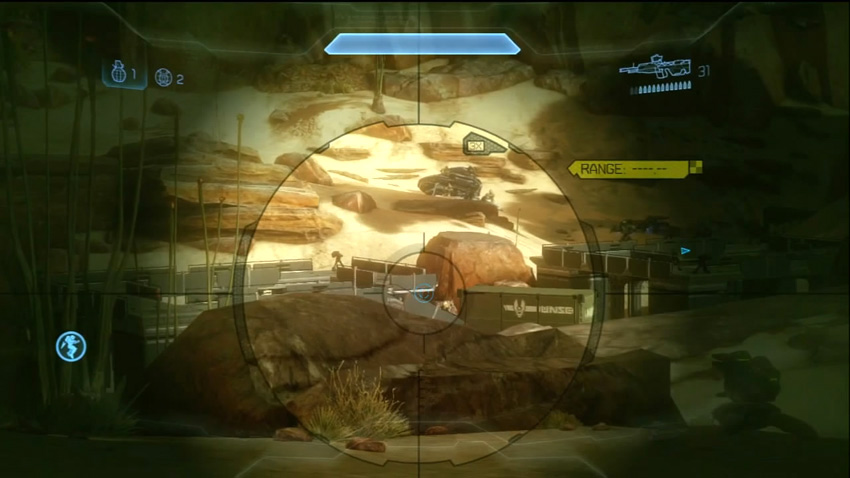
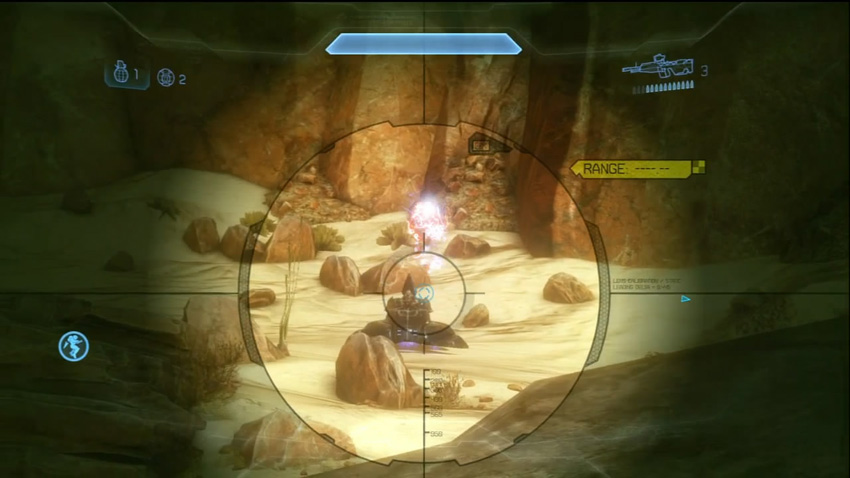
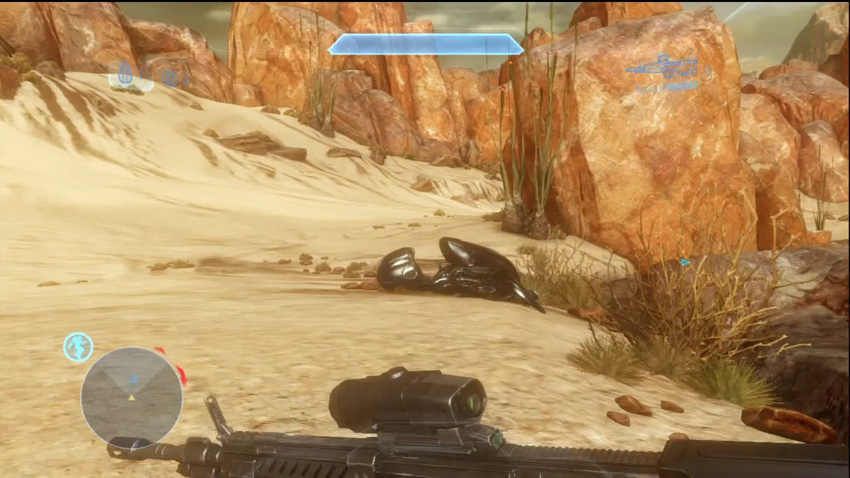
The central facilities of the smaller canyon are home to many Covenant, further compounded by the repeated Phantom deployments, including another hostile Wraith and a squadron of Ghosts [6]. Work from the perimeter and snipe while staying on the move. Until you can neutralize the Wraith as a threat, you do not want to sit still while plasma mortars are a factor.
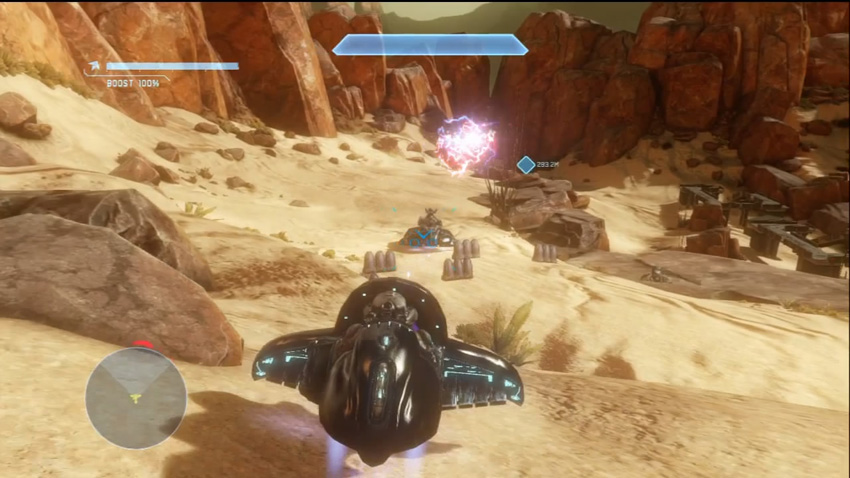
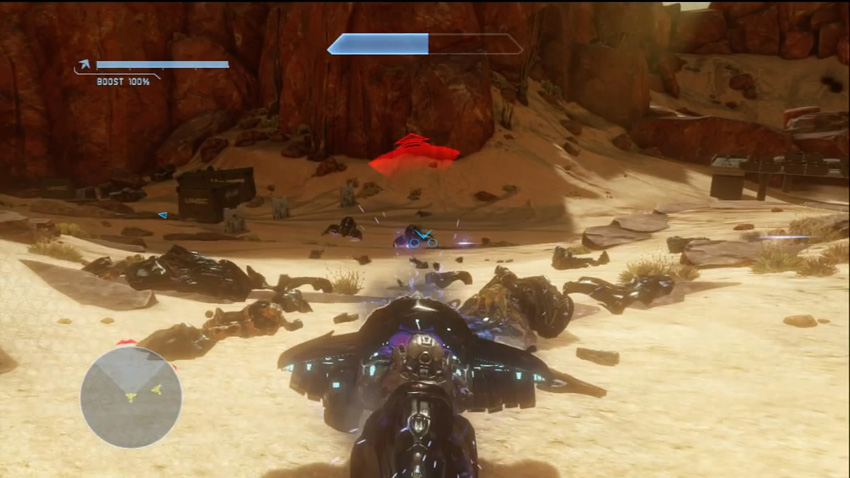
You can also take one of the many parked Ghosts in the upper areas of the smaller canyon, and use them to rush the Wraith. If you're playing with other players, you can quickly overpower the Wraith by using the speed and maneuverability of Ghosts to deliver a withering hail of Plasma Cannon blasts from multiple directions. However you manage the situation, once it is clear, get to the waypoint to search for Thorne [7].
Objective Four: Survive Until Evac Arrives
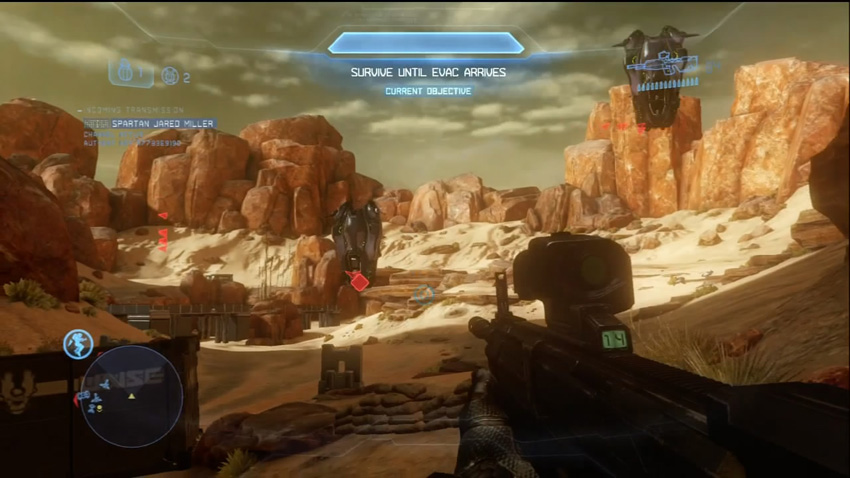
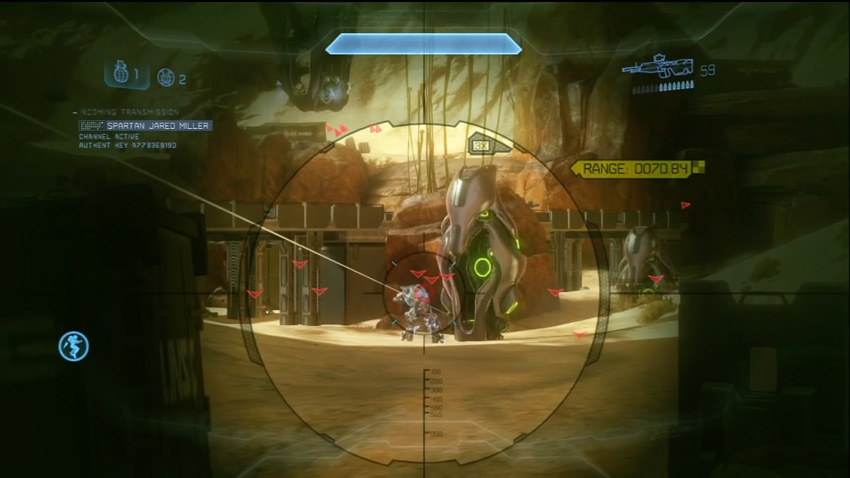
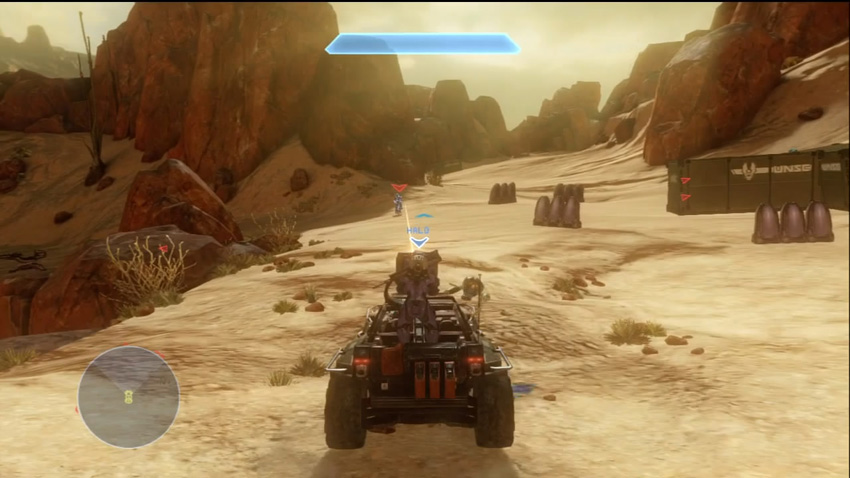
As you might have guessed, Thorne isn’t at the waypoint. There are many UNSC Warthogs and Mongoose abandoned in the area, though. Evac is a ways out, and you have many Drop Pods landing all around the small canyon. One group is almost exclusively Jackal Snipers with Beam Rifles [8], so be careful about charging out at the enemy. It’s actually not a bad idea to stick close to the abandoned UNSC vehicles and let the enemy come to you. More single-occupant Drop Pods deploy close to that position [9], but their troops tend to flee toward the center of the canyon to use the structures for cover. Sticking to the second search location [7] lets you put rounds into their backs as they retreat.
Another group of Covenant tend to stick to the large UNSC cargo container at point [10]. It may be tough to snipe at them from the second search location [7], so take a vehicle of your choice and eliminate them. After you take down the first waves of enemies, more will be deployed around the cargo container [10]. There is an abandoned Wraith parked near the central outpost of the smaller canyon [11] that you can use to make this entire section much simpler.
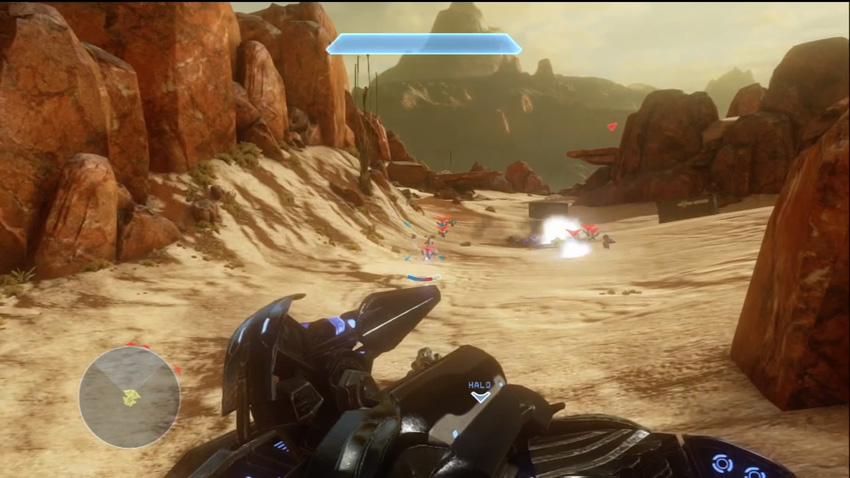
[12] Eventually, the Covenant try to send mass suicide Grunts after you. Hardly a real threat after all you’ve been through, so long as you don’t try dancing in the middle of them.
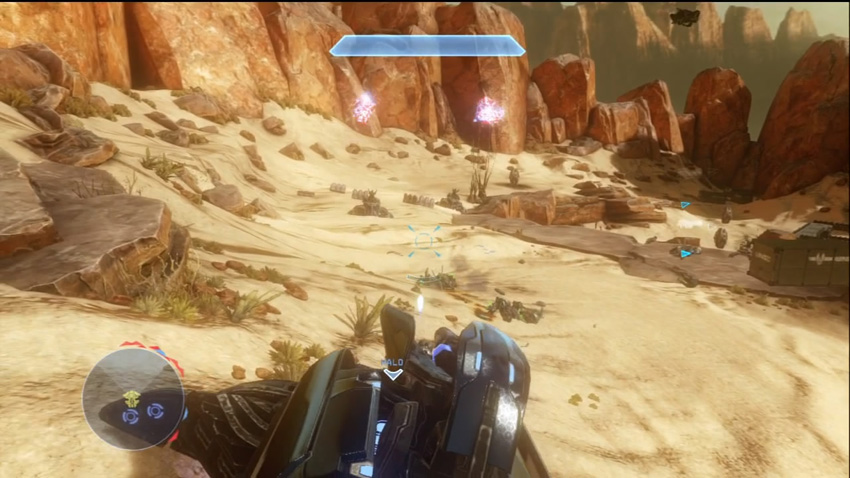
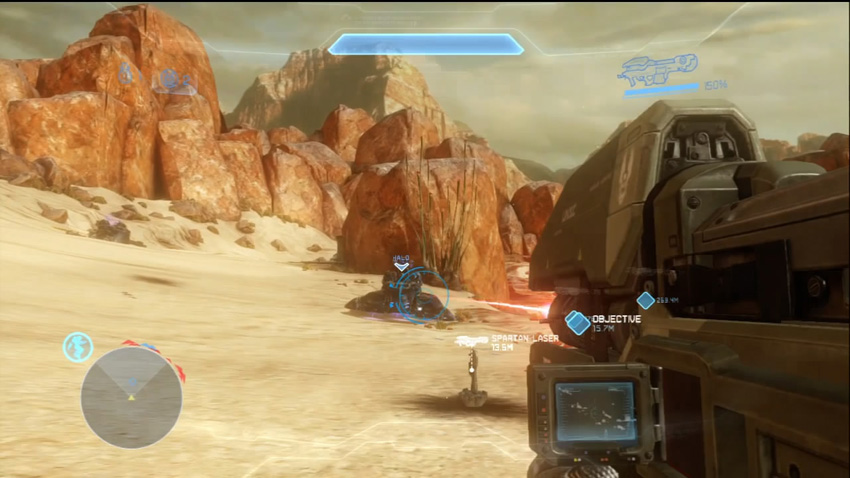
The Covenant eventually start to deploy multiple Wraiths, accompanied by Hunters, into the small canyon. This can be rough no matter how many allies you’ve got with you. Fortunately, the UNSC Infinity sends you some potent Spartan Lasers [10] in the event a Wraith of your own is unavailable. This last rush smells of desperation on the Covenant’s behalf. Stick to ranged combat if you’re without a Wraith, and use the Spartan Lasers judiciously. If it feels like you’re going to miss, let go of the trigger and try to line up a better shot.
Once you survive this gauntlet of armor and walking worm monsters, the Quarry is cleared.
Objective Five: Move to Landing Zone
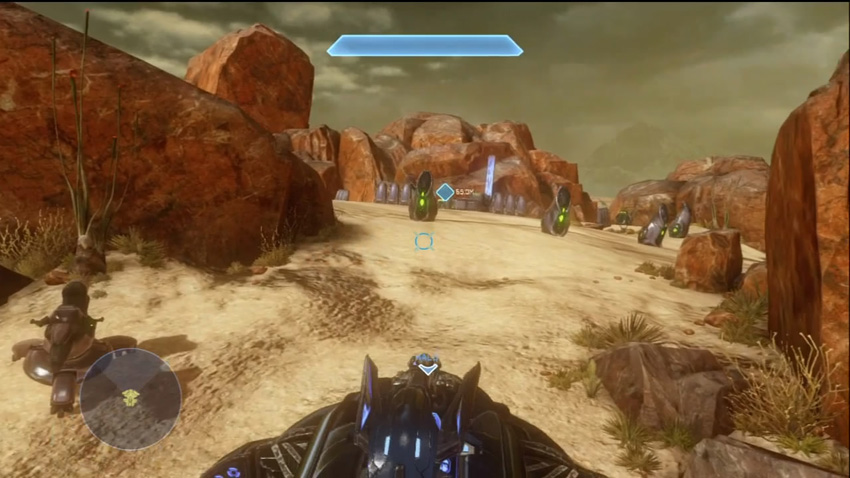
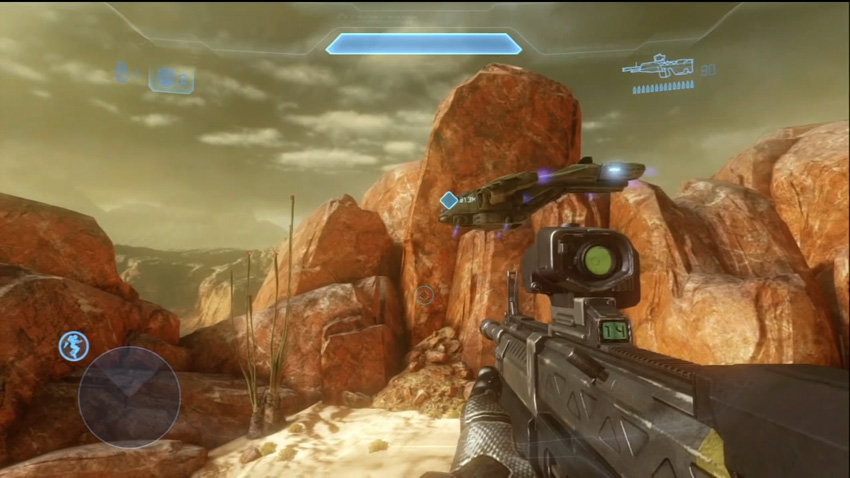
The landing zone for the Pelican is atop the hill you first searched for Thorne. Get over there and enjoy the ride back to the UNSC Infinity !
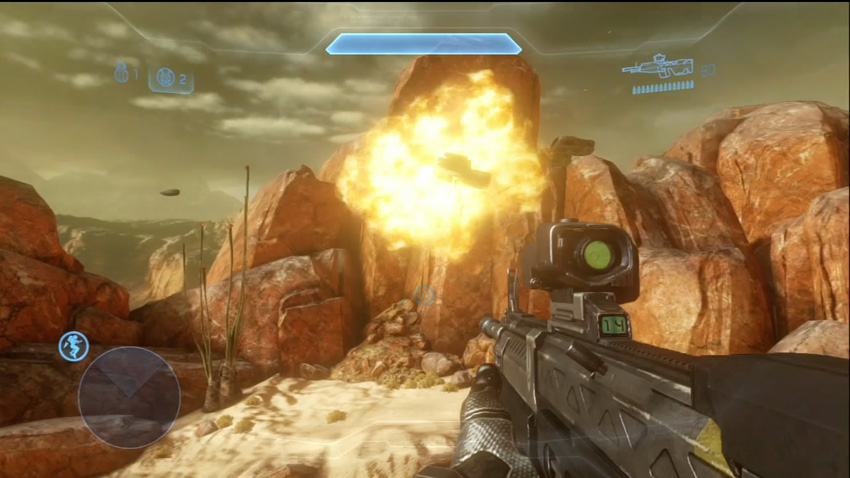
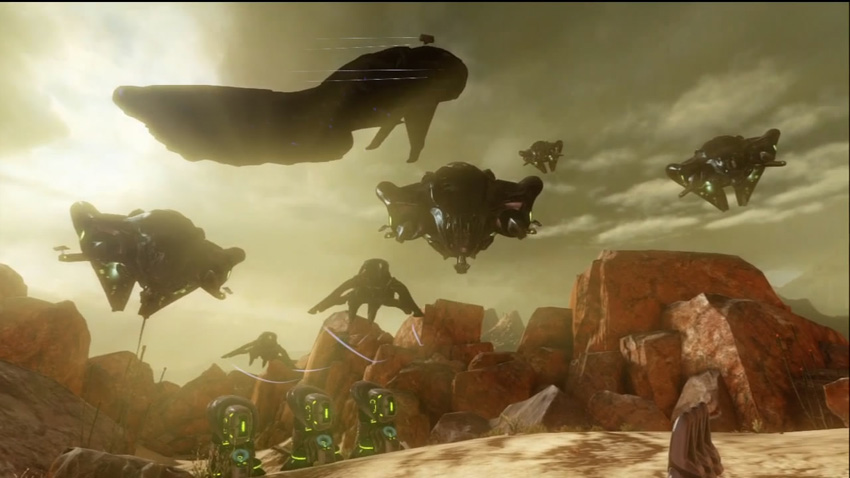
That ride is not meant to be. The Pelican is suddenly blasted out of the sky, and a massive squadron of Covenant Phantoms and Banshees begins to fill the skies, with a Covenant cruiser also hovering ominously in the distance. Not only was Thorne never in the area to begin with, it seems apparent that the Covenant actually created an elaborate trap that Fireteam Crimson fell right into. Spartan Miller's last transmission is to brace yourself, as things are about to get ugly.
This concludes our coverage for Spartan Ops Episode Five. Stay tuned to find out what fate will befall Fireteam Crimson in the remaining 5 episodes of the season.