
Halo 4 Guide Infinity Spartan Ops
Season One, Episode Four
Chapter One: Hairy Call
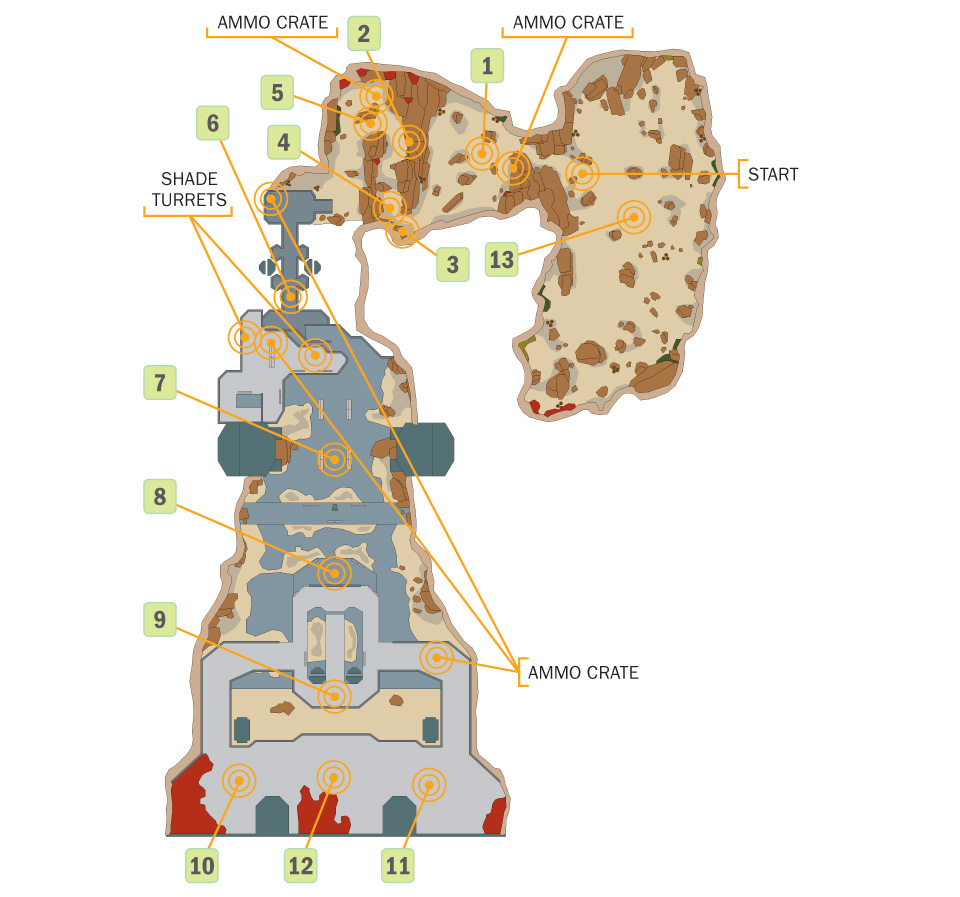
Jul ’Mdama’s Covenant splinter faction have finally struck back at the Spartans for the loss of Parg Vol. Commander Palmer will not leave this unanswered. To eliminate this high-value target, the Spartans must first try to locate him. Intelligence suggests that the Covenant are using a network on Requiem to communicate in secret. Palmer wants Fireteam Crimson to get access to this network to help find Jul.
The Covenant have fortified this canyon with several Shade Turrets, making it difficult to climb up to the facility to tap the Comm Array. However, you need only activate the array, then fall back to the evac point. Of course, don’t expect the Covenant to give up simply because you achieved your primary objective.
Map Location: Sniper Alley
Recommended Loadout
There’s no excuse to not use a Designated Marksman Rifle (DMR) or Battle Rifle for this mission, as there are many UNSC ammo crates located throughout the map that will keep these weapons loaded. A Jet Pack is definitely recommended for this mission, as it can help you maintain the positional advantage on the enemy, either when you are infiltrating the facility or trying to retreat from it.
Objective One: Clear Out Covenant
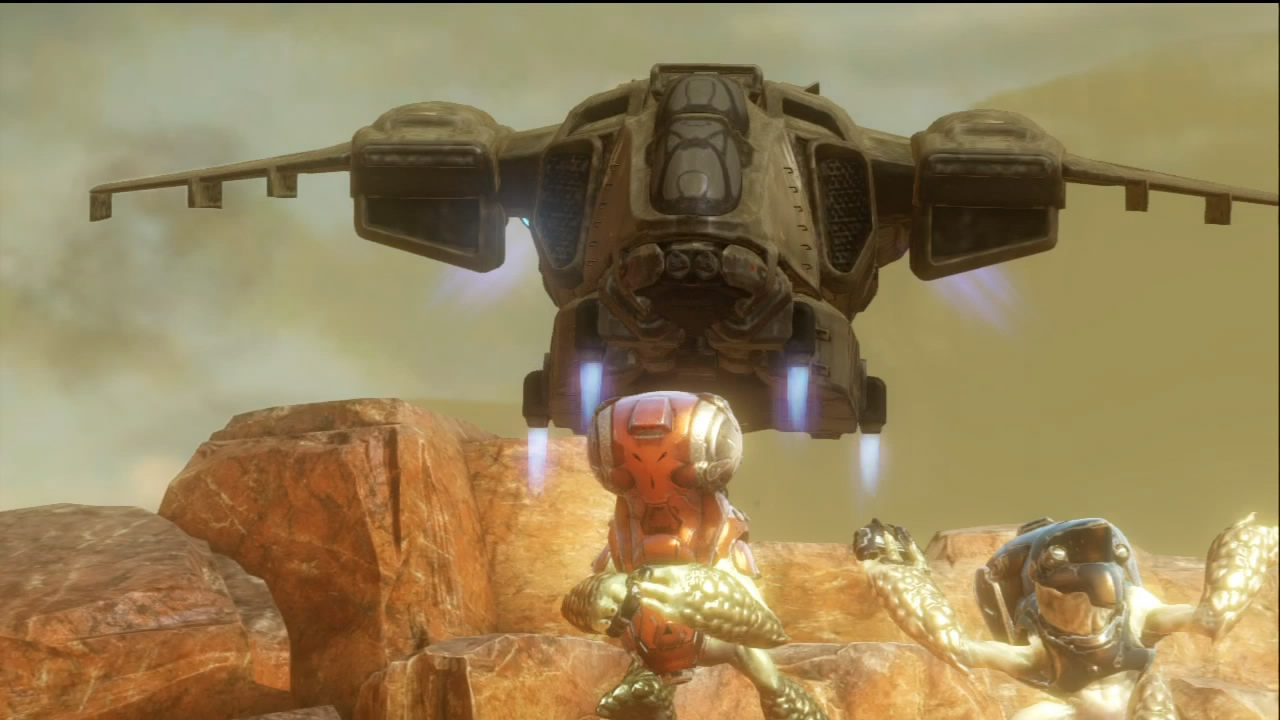
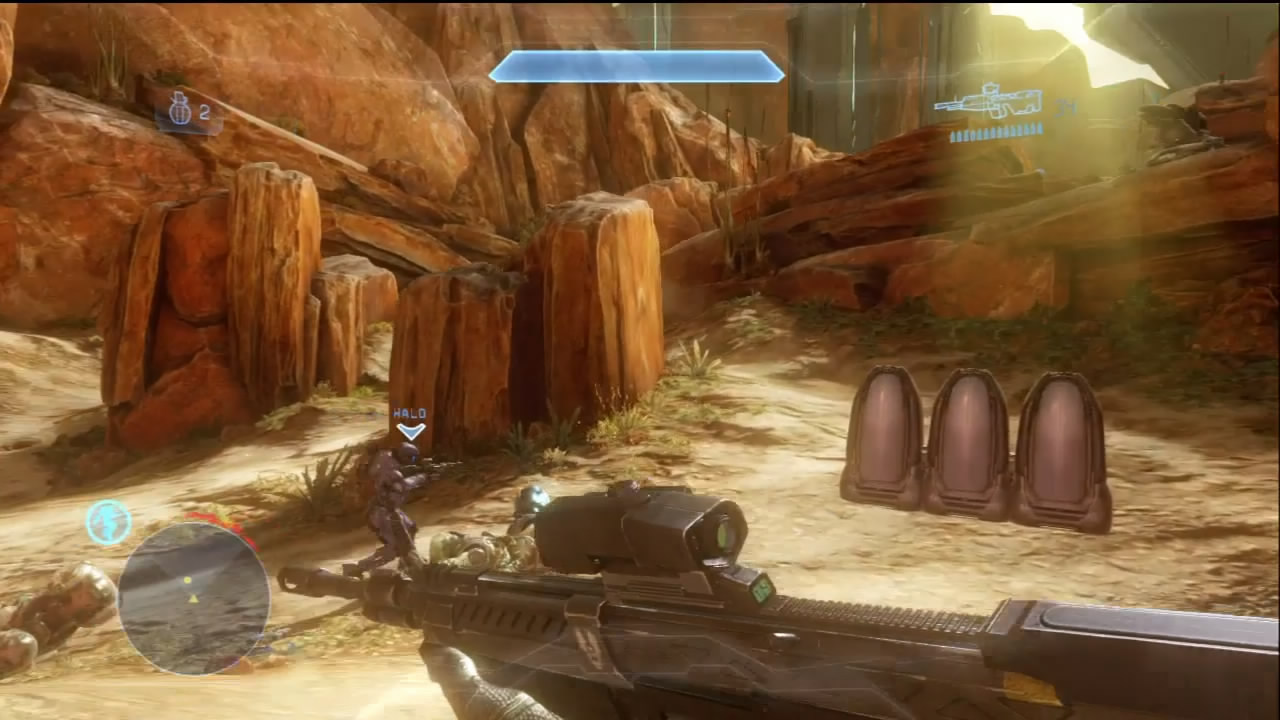
[1] The Pelican deploys you at the entrance to Sniper Alley. After a pep talk from Palmer, your first objective and waypoint are marked on the HUD. The narrow path you start on opens up immediately into an ambush of Grunts, with a Shade Turret covering the whole area [2]. The turret is manned by an Elite, which means you’ll have to put in some effort to eliminate him. A second Shade Turret [3] is set fairly close to the first, but the terrain blocks it from immediately hosing you down as you enter the area. Use that to your advantage as you eliminate the other Covenant in the zone.
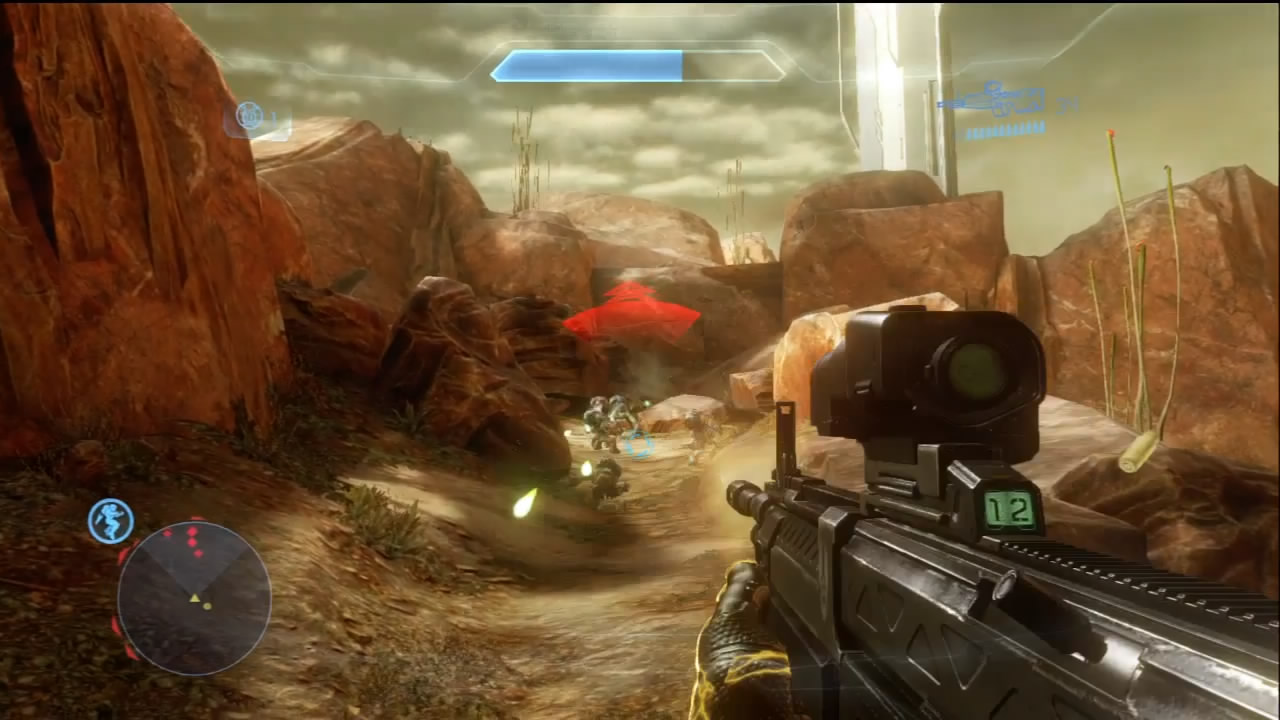
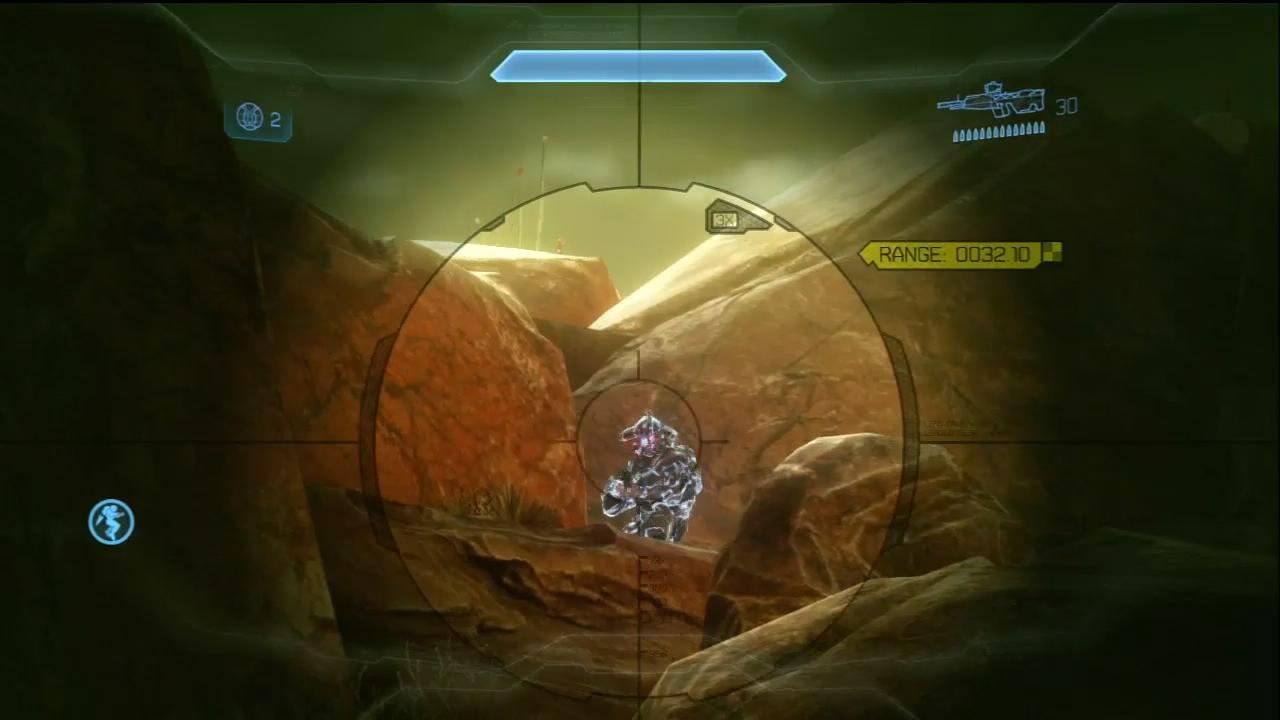
[4] The next path that the initial Covenant force protected is filled with Grunts. Ambitious Elites will often use the rocks on the left to provide overwatch to their minions. If this happens, use the terrain to protect yourself against the Grunts while you focus on killing or driving off the Elites.
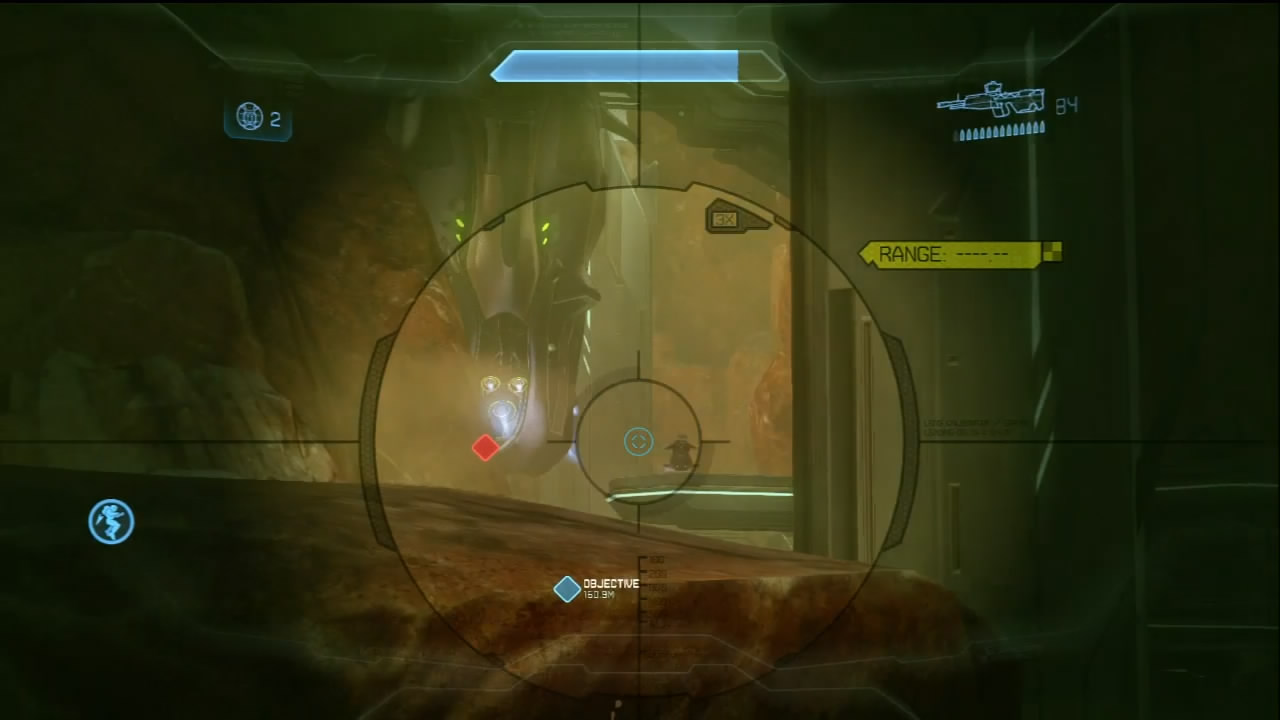
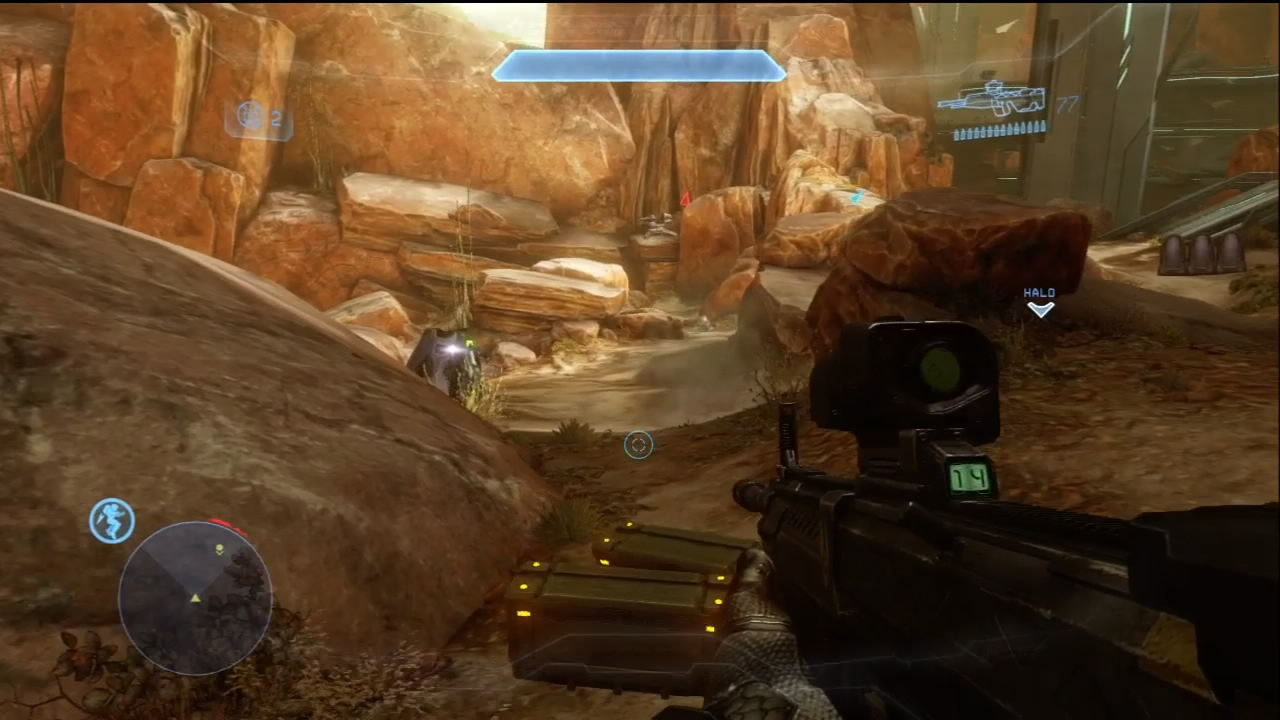
[5] You can save yourself some trouble at this point and snipe the Shade Turret gunners on the other side of the bridge. A UNSC ammo crate is located near this sniping position as well. Behind the Shade Turrets, you may also catch a glimpse of a Drop Pod deploying reinforcements.
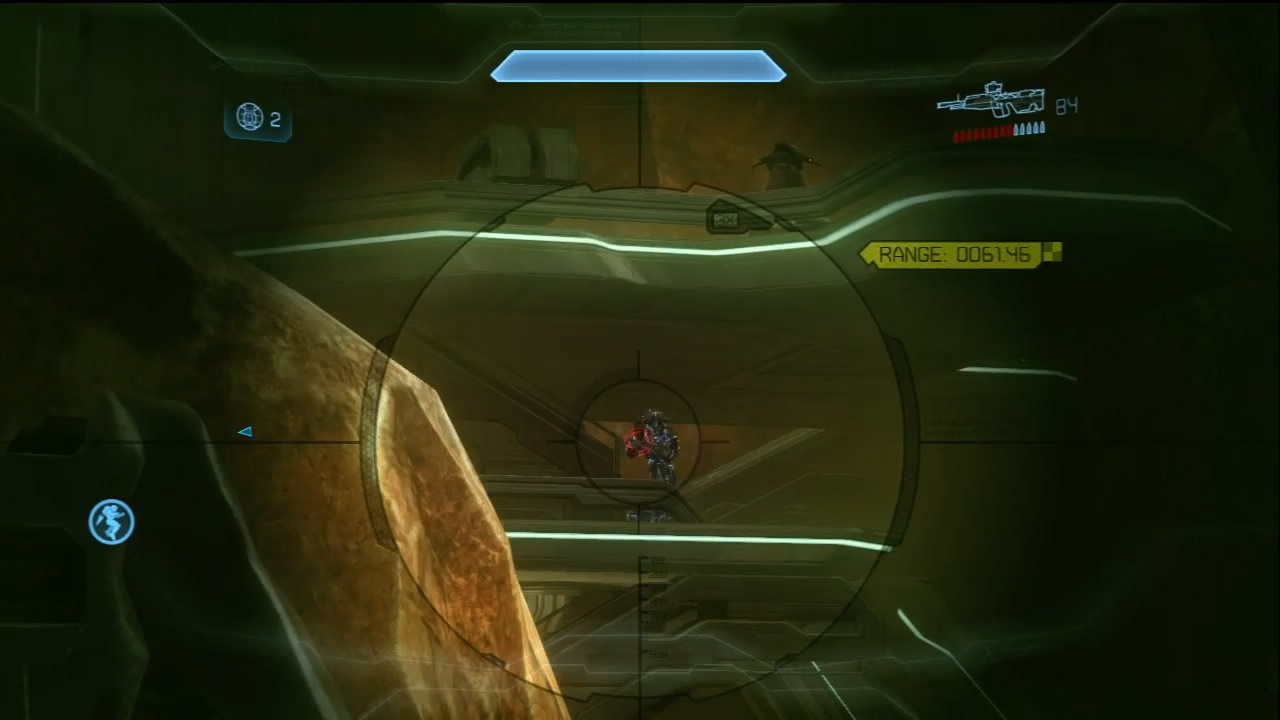
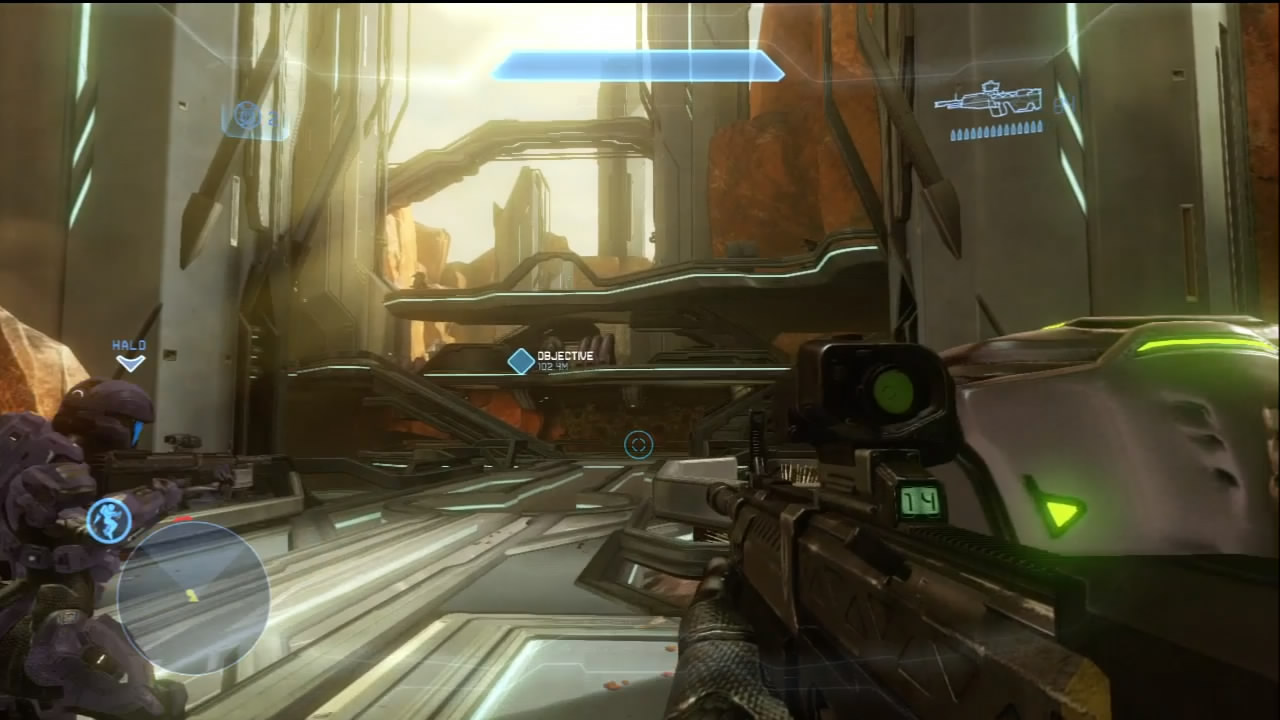
[6] At the bridge, you might see Elites infesting the platforms underneath the Shade Turrets. Crossing the bridge while they are still alive is dangerous. Make sure they’re no longer a factor before you cross. Another UNSC ammo crate is located next to this marked position.
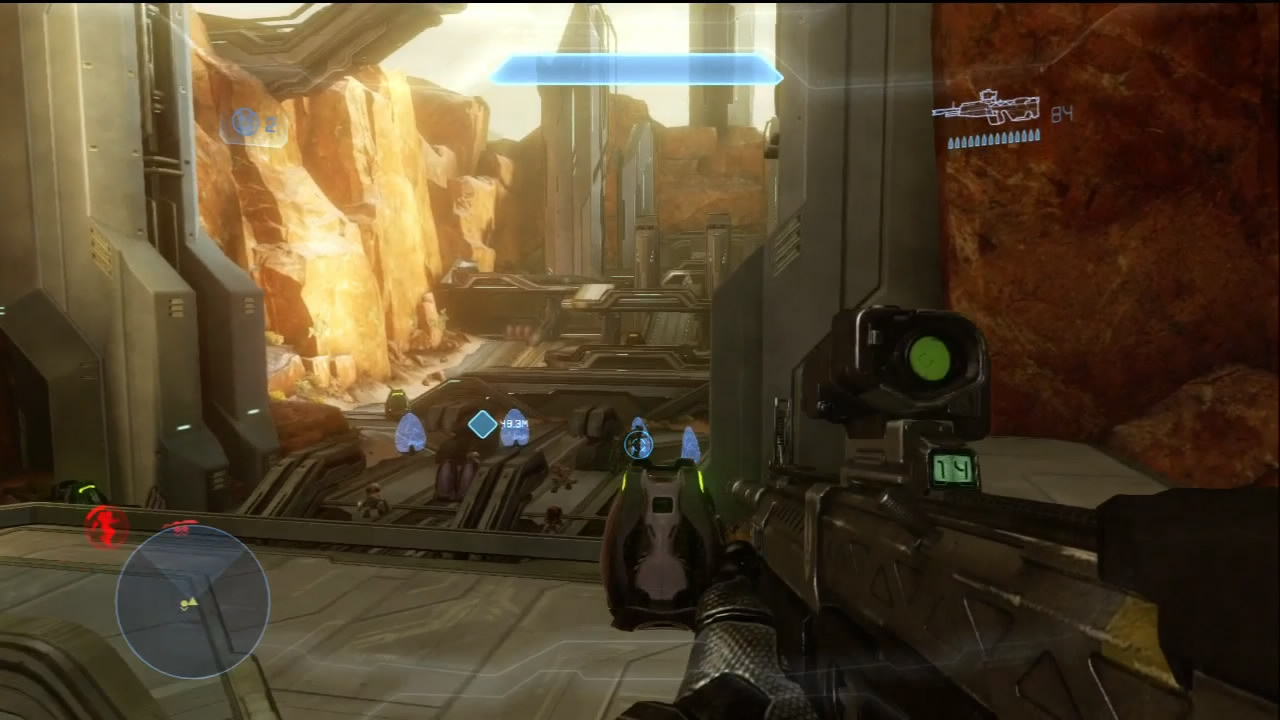
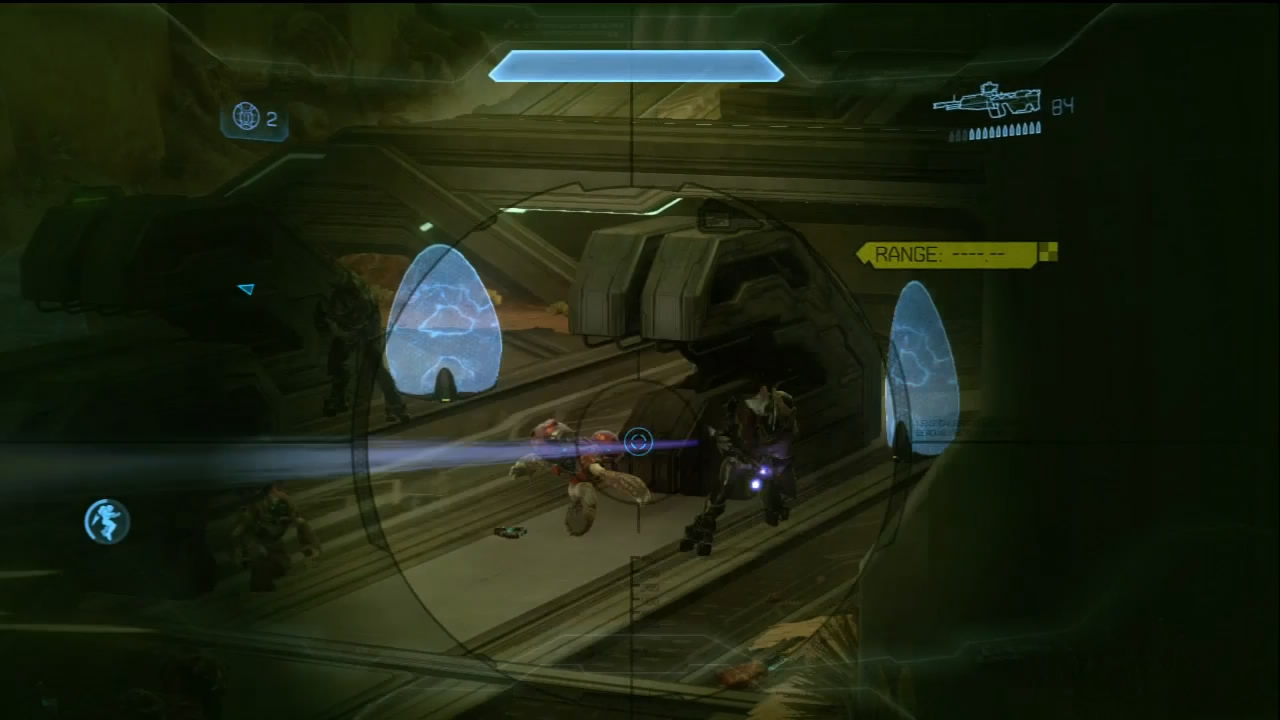
[7] Beyond the bridge guards, the Covenant left by the Drop Pods are holding their positions. Use the elevated platforms of the Shade Turrets to engage them in relative safety. The Jet Pack is immensely useful for gaining positional advantage throughout this mission. Shortly after you take out this group, another Drop Pod deploys more reinforcement in their place. Stick to the platform next to the Shade Turrets. If you’re using UNSC weapons, there is another ammo crate between both turrets to keep your guns topped off. Expect more Elites among this group. More Covenant are deployed farther into the facility [8].
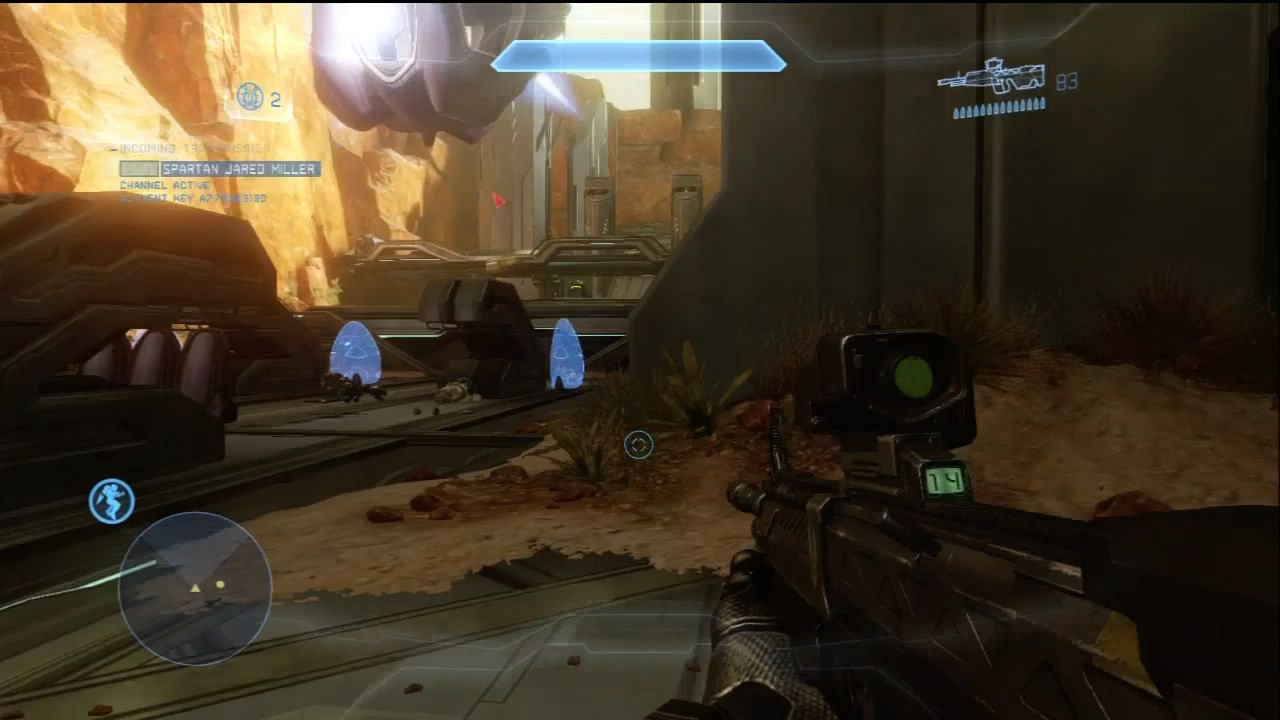
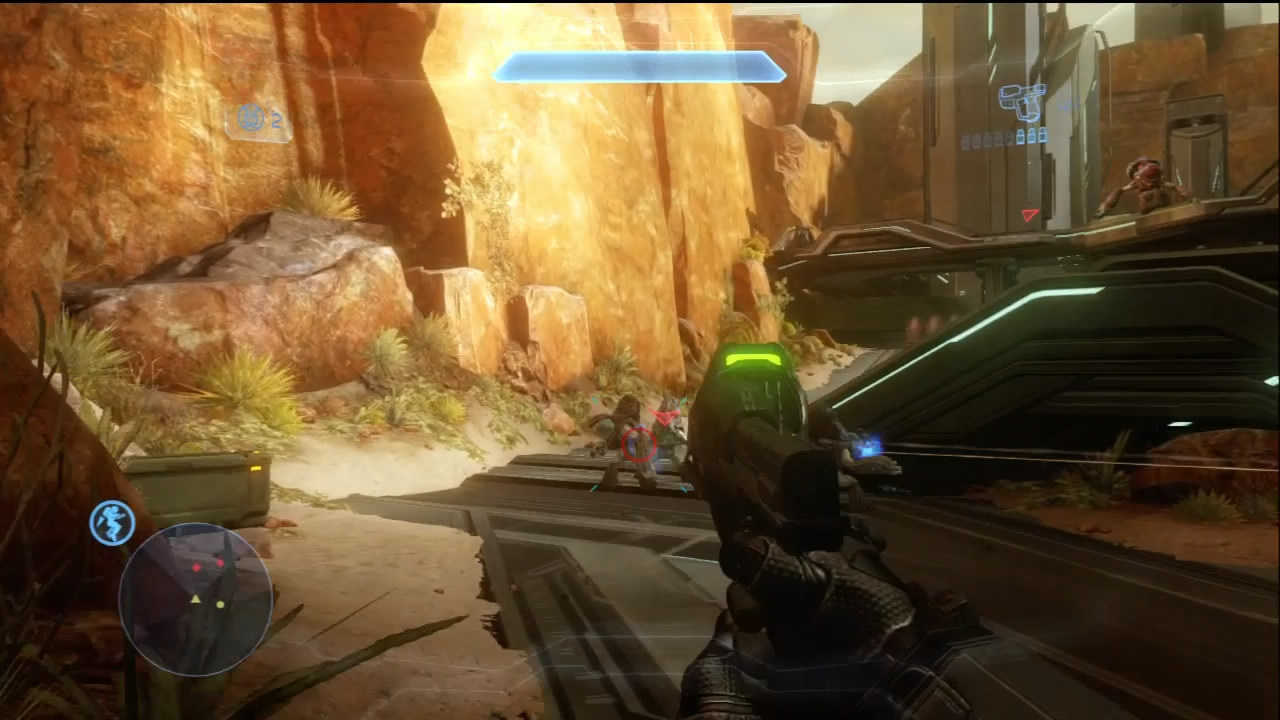
Eventually, you’ll whittle down the enemy numbers enough that stragglers will be marked on your HUD. You’re almost done with the first objective!
Objective Two: Access Comm Array
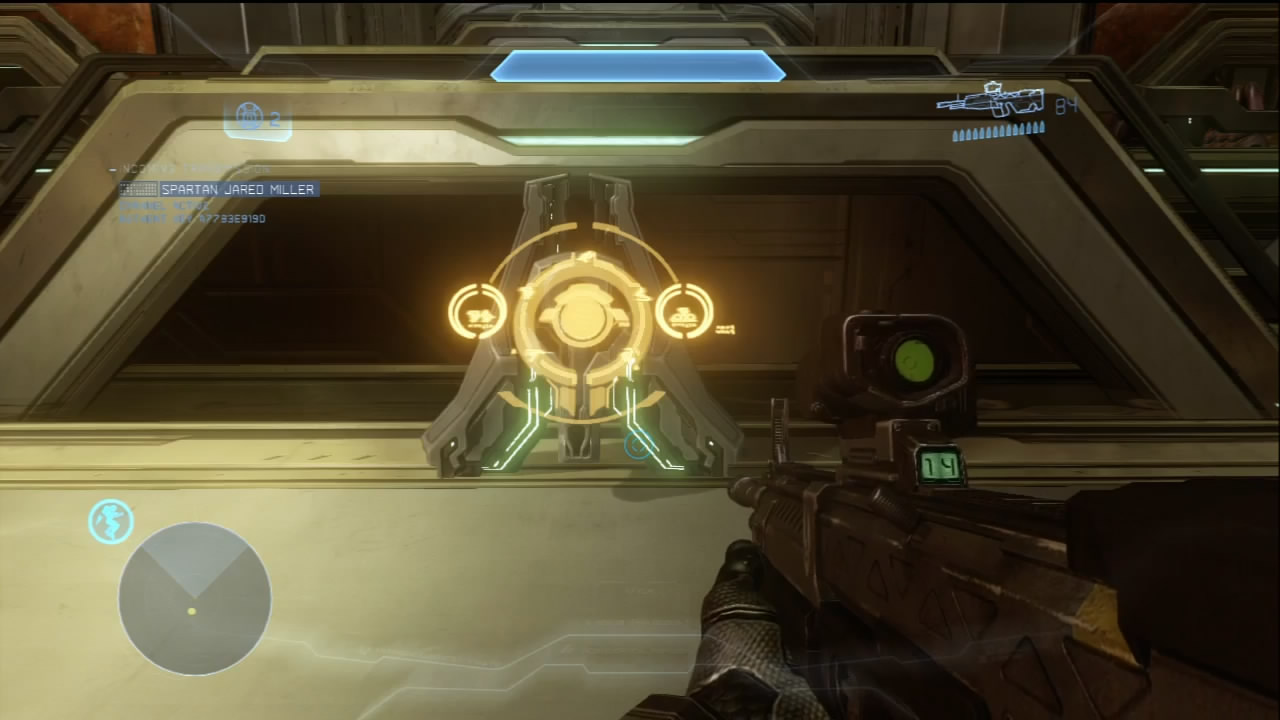
[9] At the top of this ramp, you can tap into the Comm Array the Covenant is using.
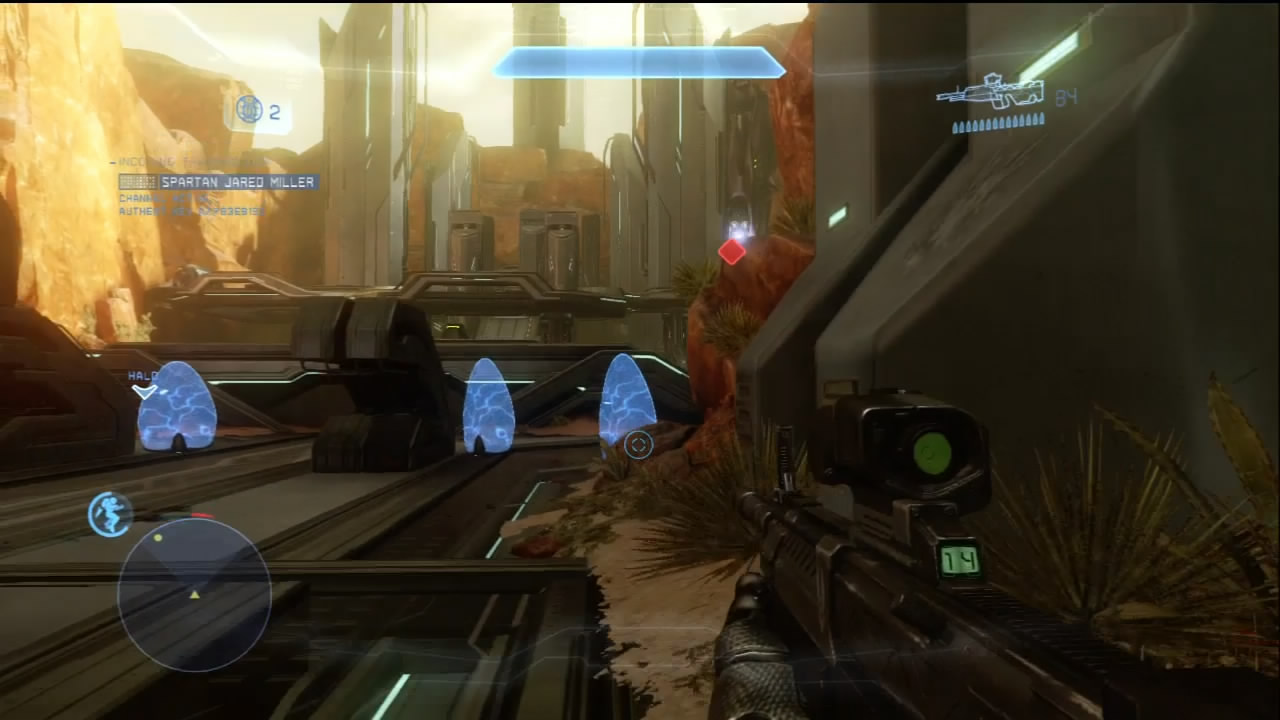
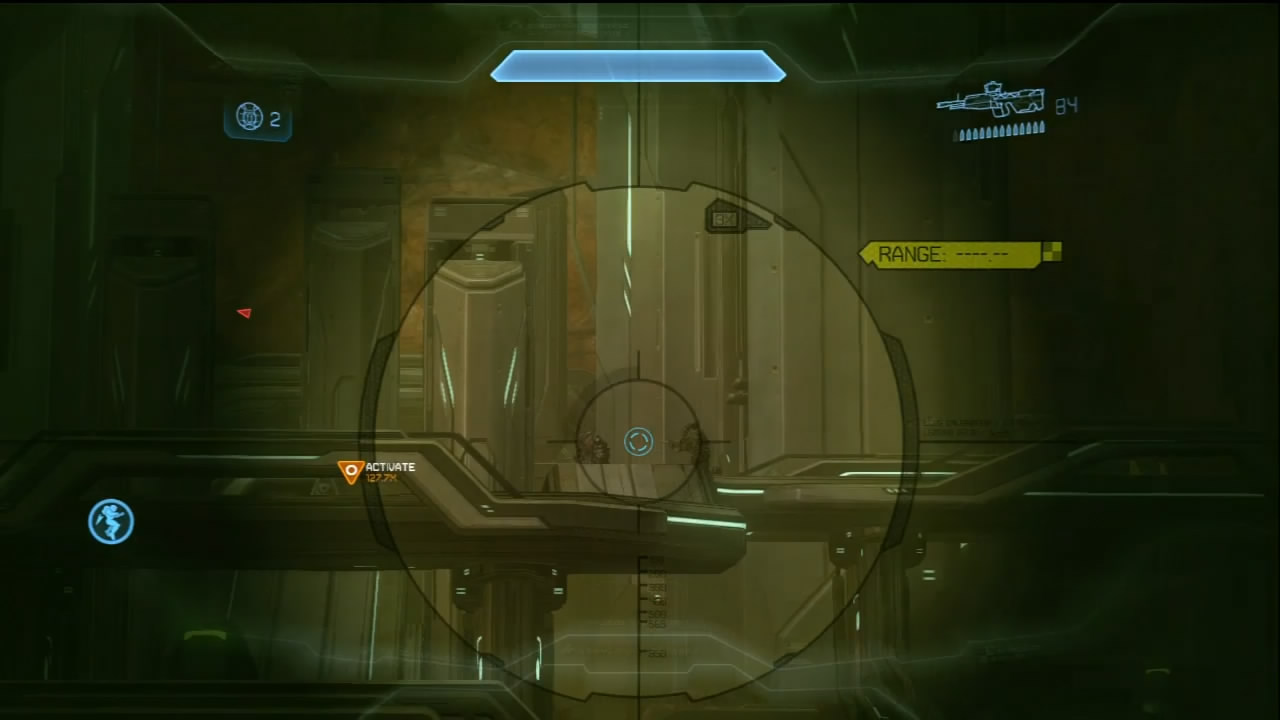
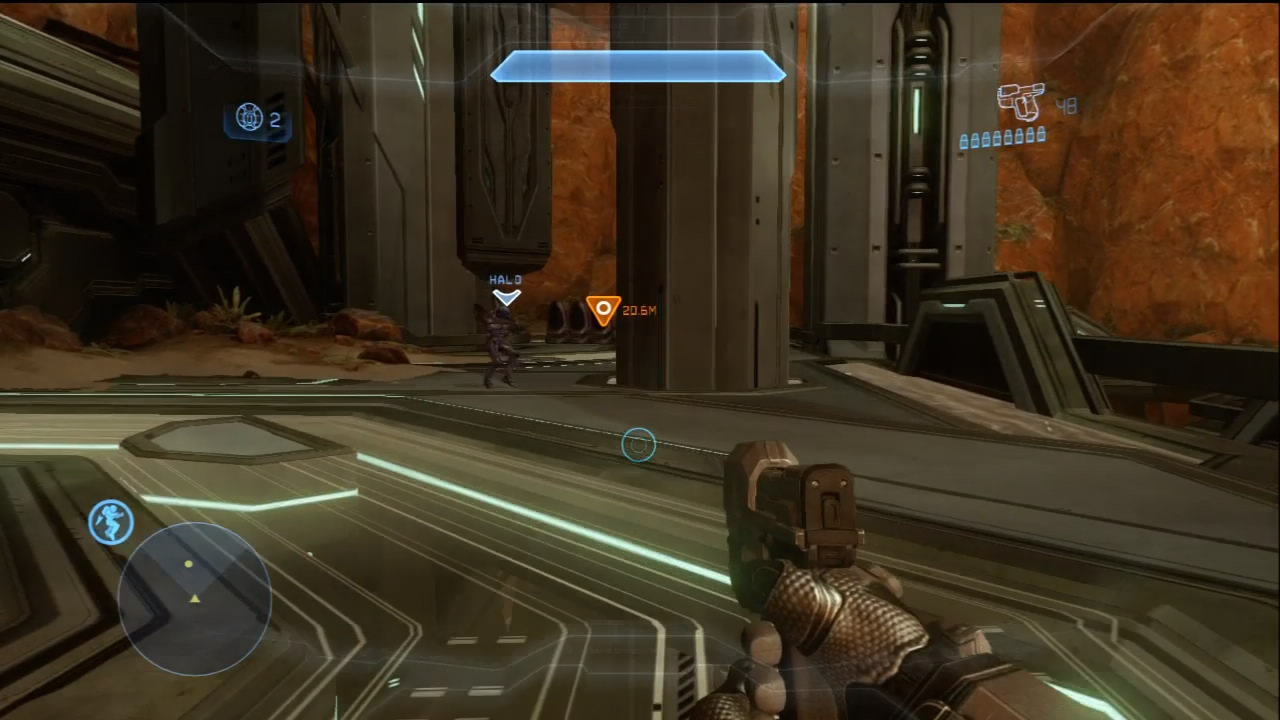
This triggers another Drop Pod deployment of troops [10] [11] more than willing to stand between you and the next panel that must be activated. It’s a very tough fight if you stick to the upper levels of the facility next to the actual drop points. Play it safe, get some good distance between you and the enemy, and let them come to you. Once you clear the way to the second control panel [12], activate that panel to tap into the Comm Array. The job’s done, and you just need to get back to the extraction point. By now, you probably know that this isn’t going to be a peaceful stroll to safety.
Objective Three: Get to Extraction Point
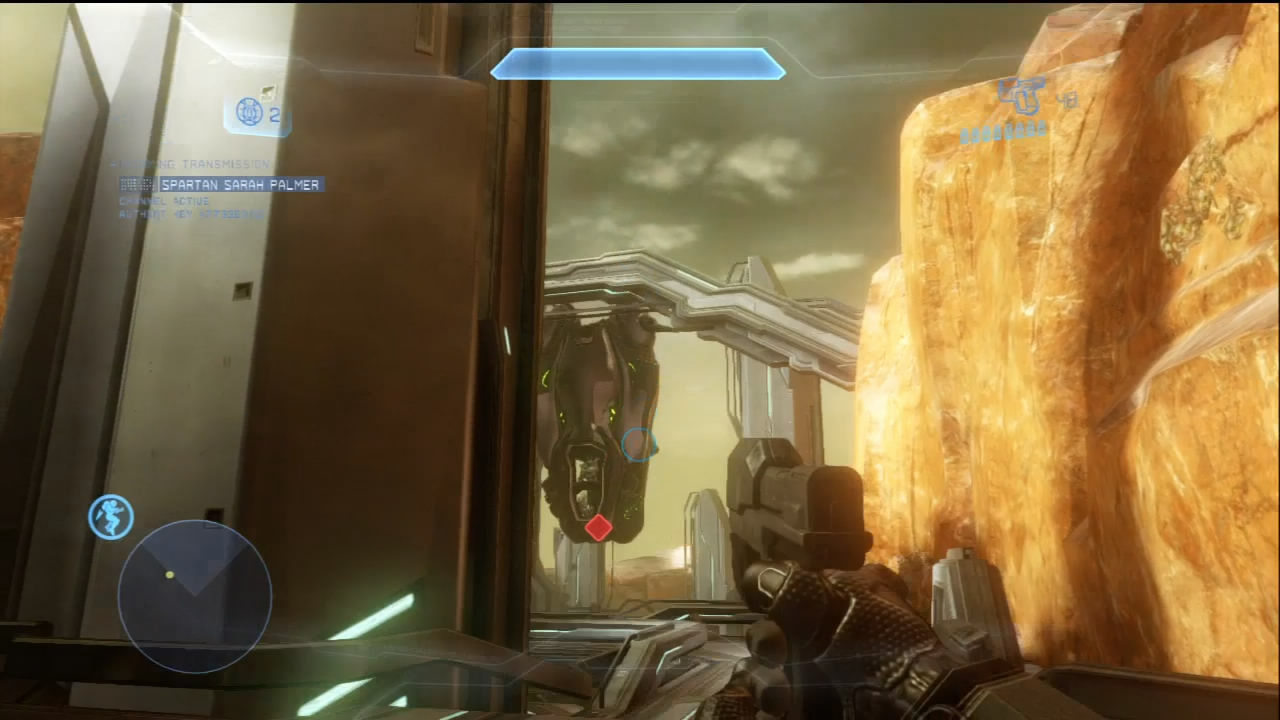
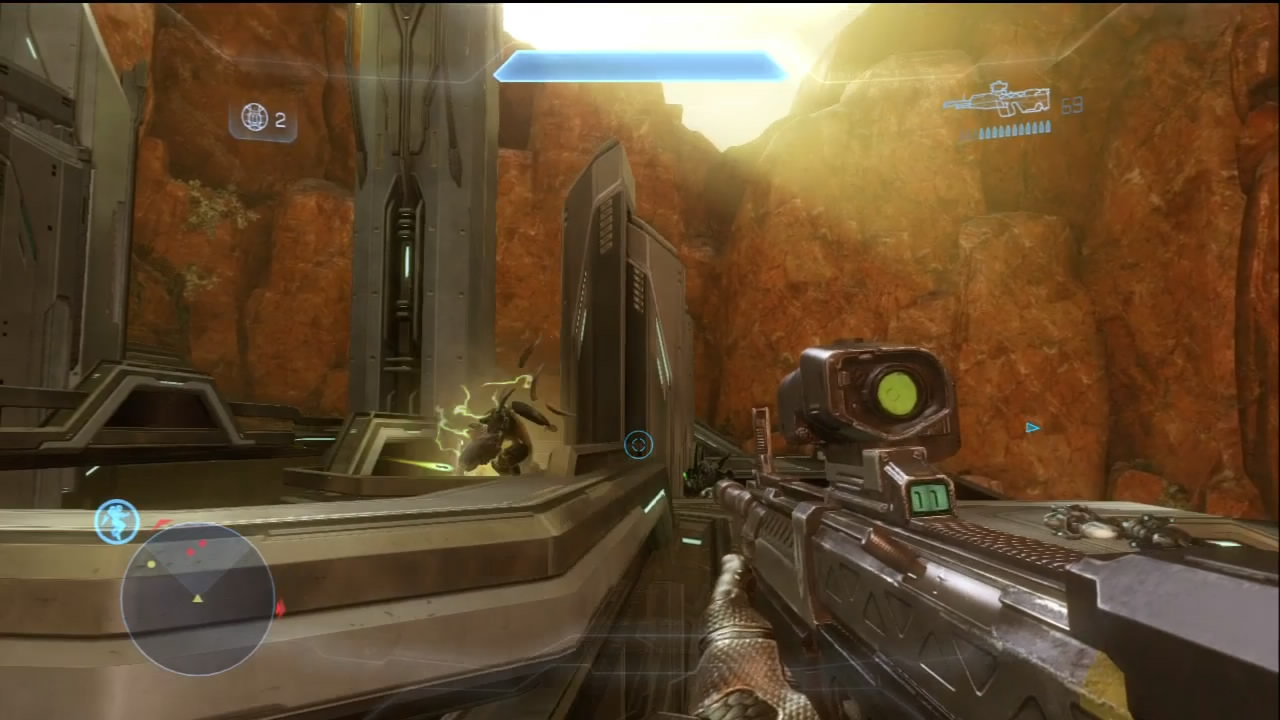
More Covenant arrive via Drop Pod at point [7], and shortly afterward a Phantom passes over that deployment, adding its own troops to the fray. Of great concern should be the Hunters it deploys near the control panels you had to access.
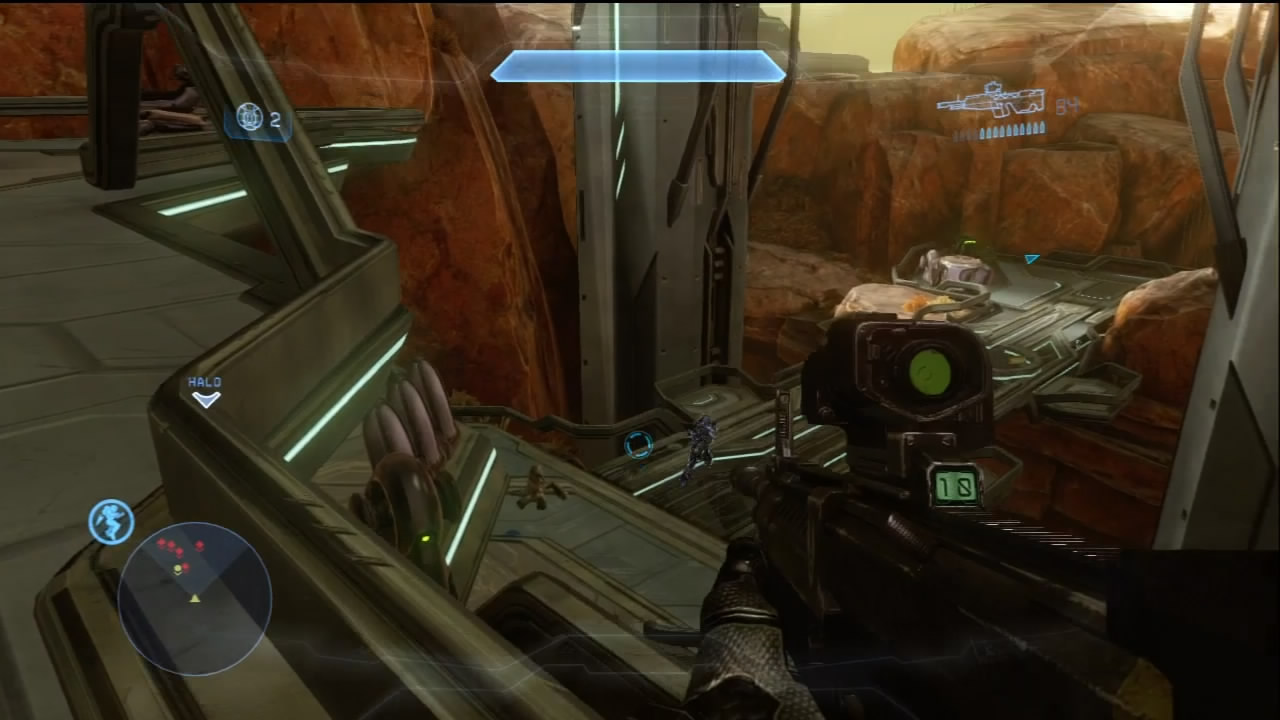
The Drop Pod troops fall back toward the bridge while you deal with the Hunters.
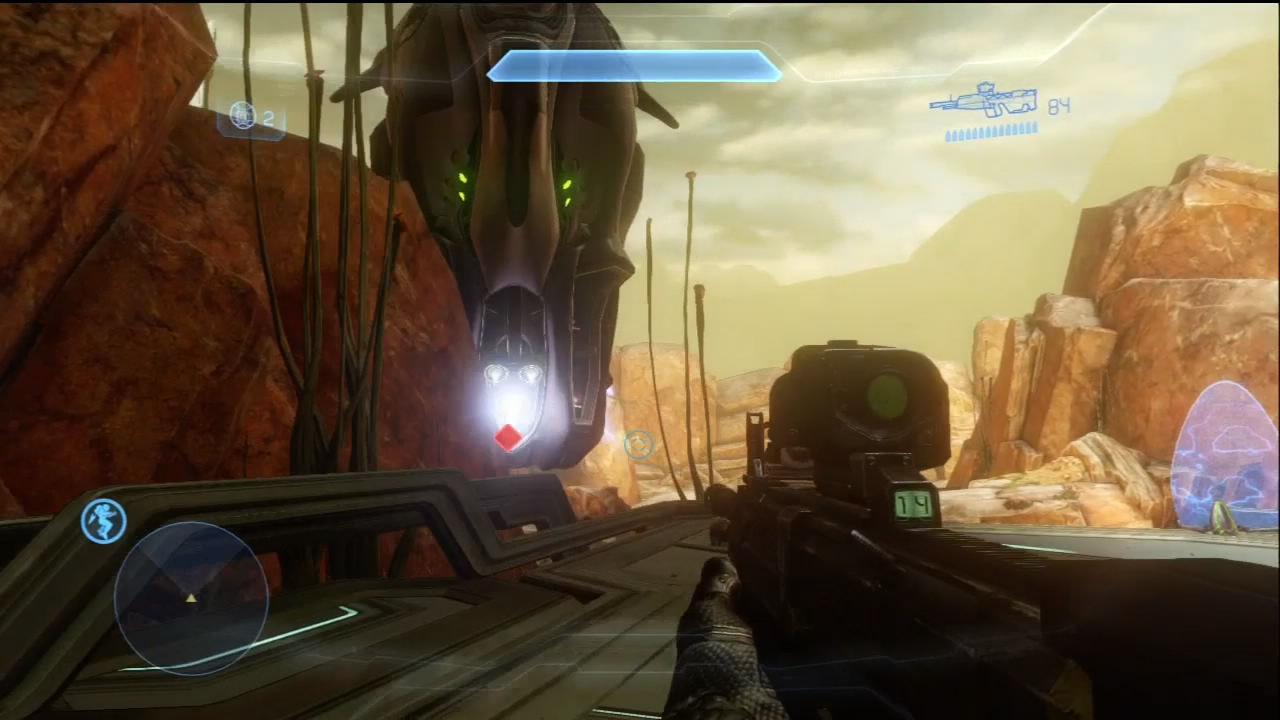
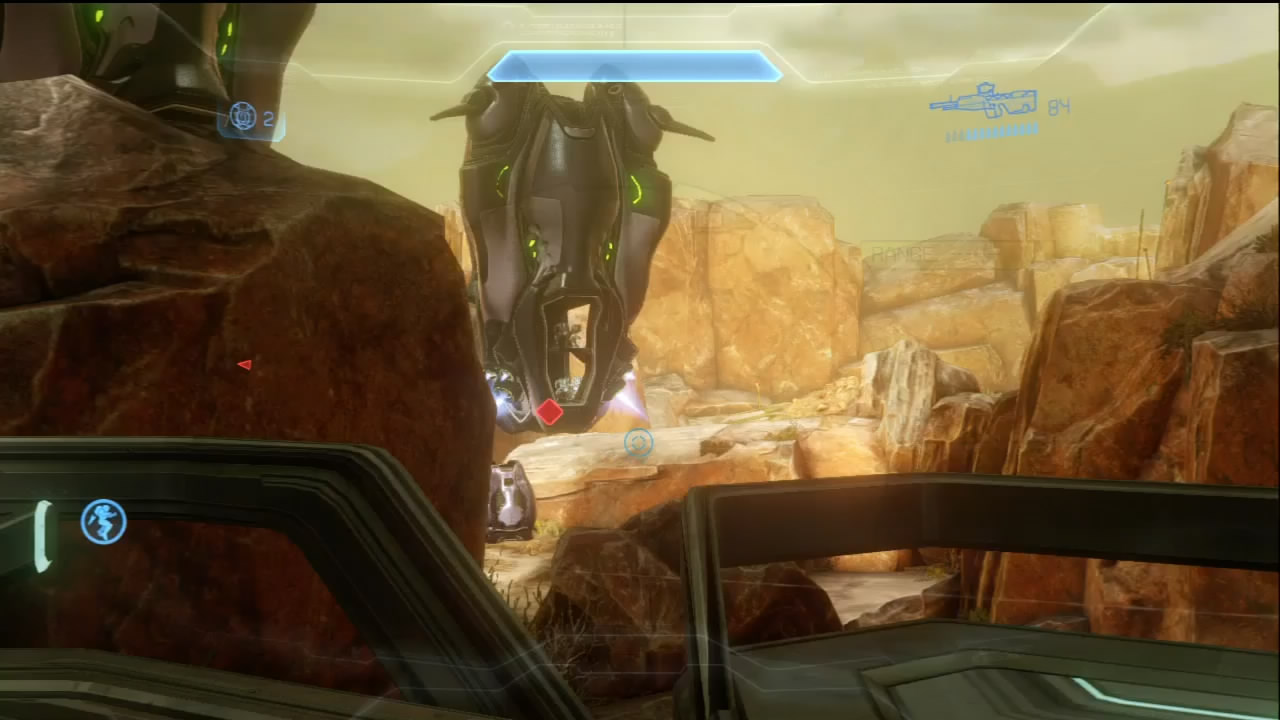
After crossing the bridge, a Drop Pod deploys Covenant near point [5]. Another pod drops off a squad close to [4]. These groups contain Jackal Snipers, and on higher difficulties there’s a good chance they’ll be packing Beam Rifles. Do not use Shade Turrets to engage these hostiles unless you are playing with a very coordinated team that is keeping the heat off you. Even then, the Covenant tend to prioritize weapon emplacements and their gunners, so it’s not a safe bet to make.
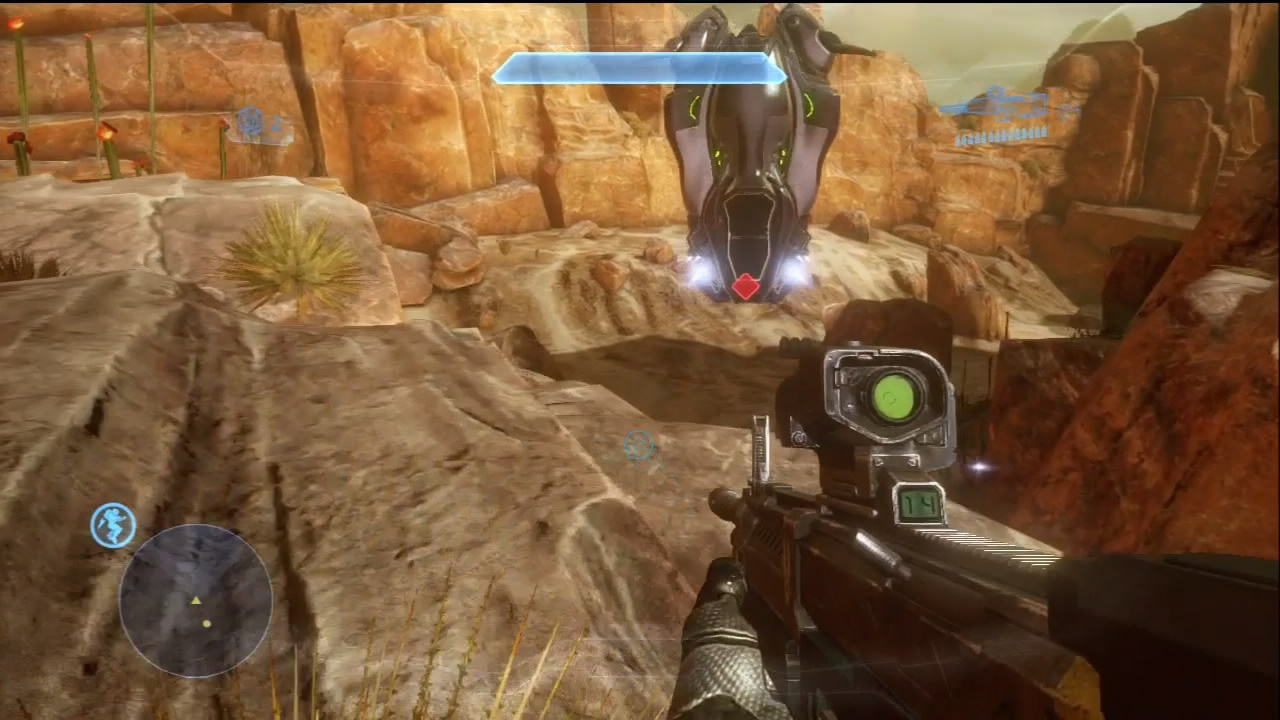
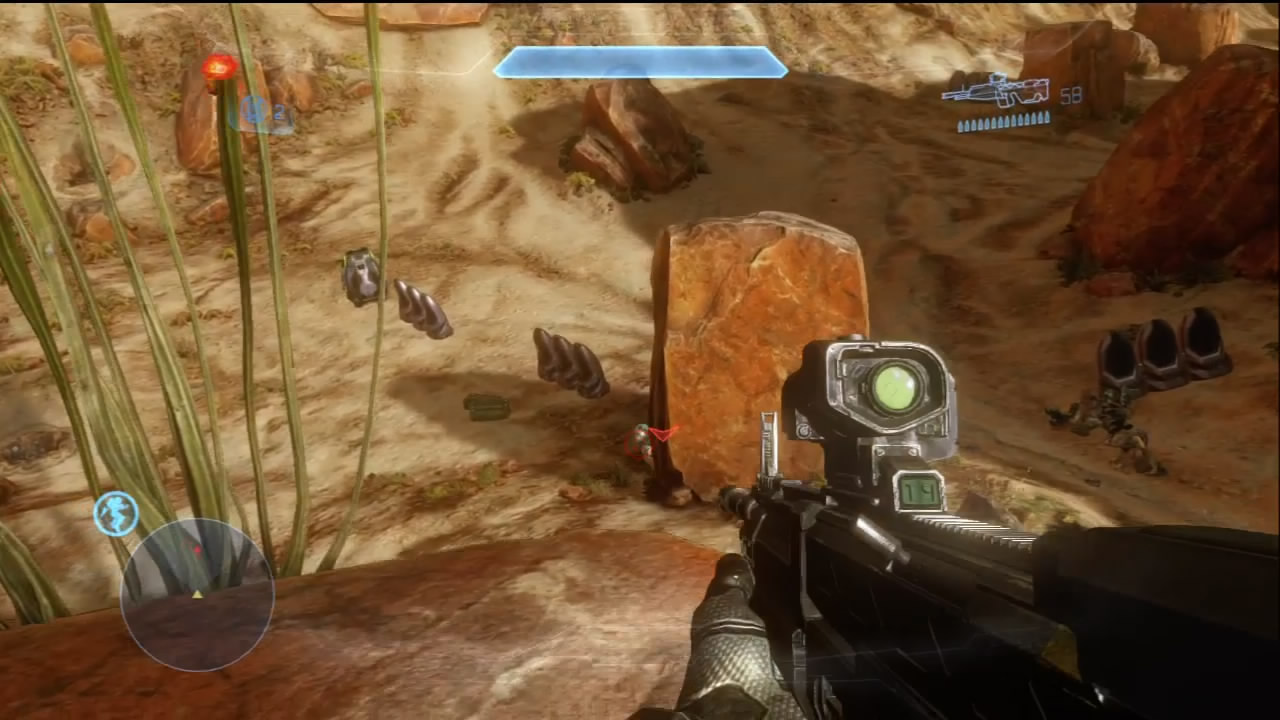
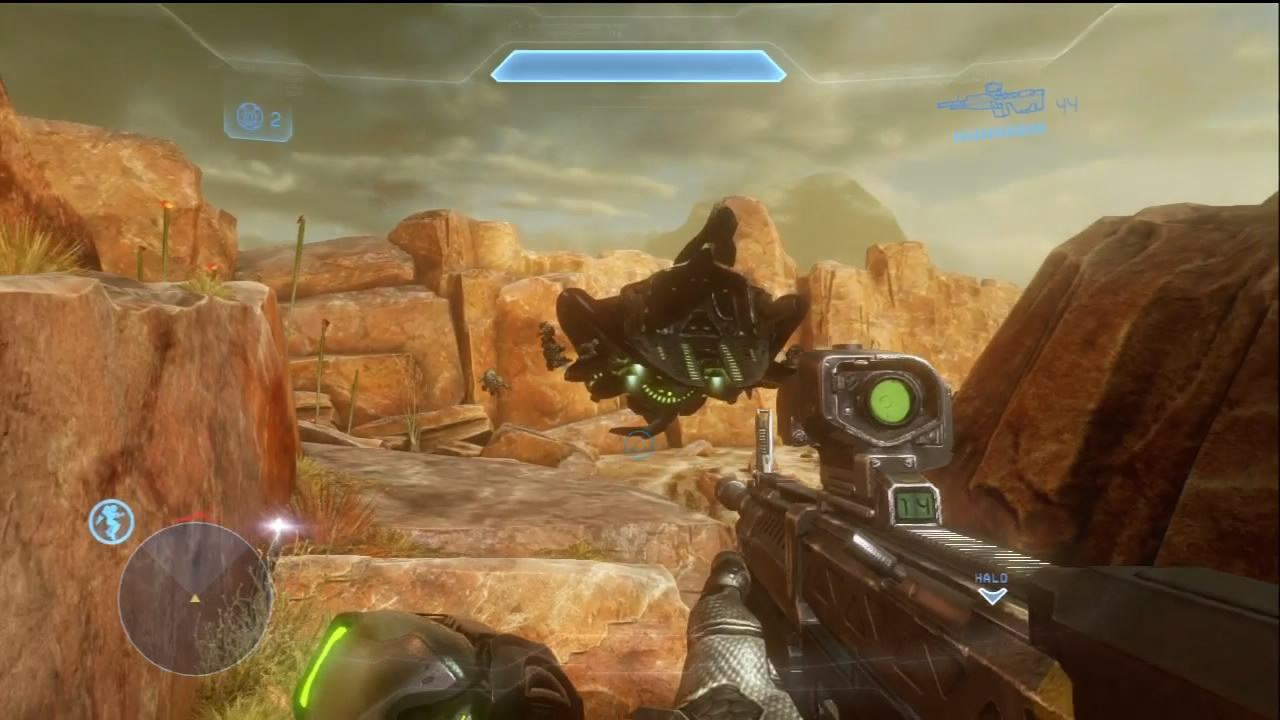
[13] The extraction point is inside the valley behind the mission start location. Drop Pods and Phantoms will steadily arrive and drop off their troops throughout this final battle. The Covenant’s newfound ability to evade UNSC surveillance means that you will have to make sure the area is clear of hostiles before a Pelican is committed to rescuing your squad. Remember, you don’t have to actually run into the valley to engage the Covenant. You’ve cleared out the elevated areas that have many perches overlooking the entire valley. Take advantage of this and try to pick Covenant off from higher elevations. If you are getting overwhelmed, you can always fall farther back toward the bridge and use the terrain to funnel the enemy into prepared kill zones.
Eventually, the enemy gives up on their pursuit of Fireteam Crimson, and the evac Pelican arrives shortly afterward.
Chapter Two: Rally Point
Tapping into the Comm Array has already paid off. Jul ’Mdama has been found at a Forerunner tower near the coast of an island. You’ve also found several other concentrations of Covenant troops at various other facilities. Every Spartan fireteam has been put into action to handle this operation, and Fireteam Crimson has been given the honor of being deployed at the facility where Jul is located.
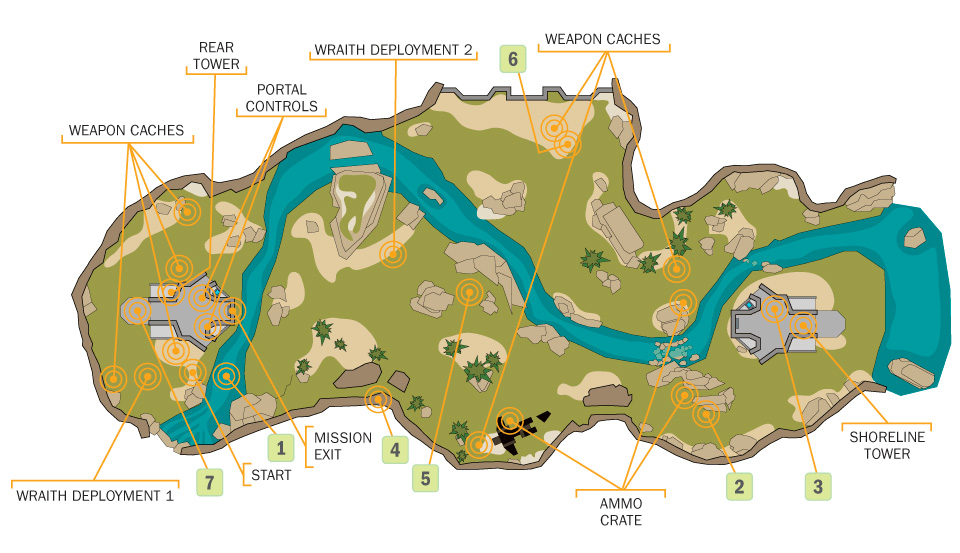
This is a very straightforward yet combat-heavy operation. From your insertion point, push toward the designated shoreline tower, eliminating all hostiles in your path. After confirming whether Jul is inside the tower, you’re directed toward the rear tower, which will trigger a combined Covenant/Promethean counterattack.
Map Location: Two Giants
Recommended Loadout
There’s several Warthogs available throughout the whole map, but their usefulness is debatable. The Promethean forces present include Crawler Snipes and Knight Lancers, both of which can wield the fearsome Binary Rifle. On higher difficulties, they are very capable of sniping drivers, passengers, and gunners out of a moving Warthog. If you have four players, this strategy might work better, since you can divide hostile attention. There are numerous UNSC weapon caches available throughout the map, so the staple Battle Rifle or DMR remain your go-to guns. However, try to secure a Binary Rifle, if only to make sure the Watchers that are present throughout the mission go down the moment you target them.
Objective One: Investigate Base
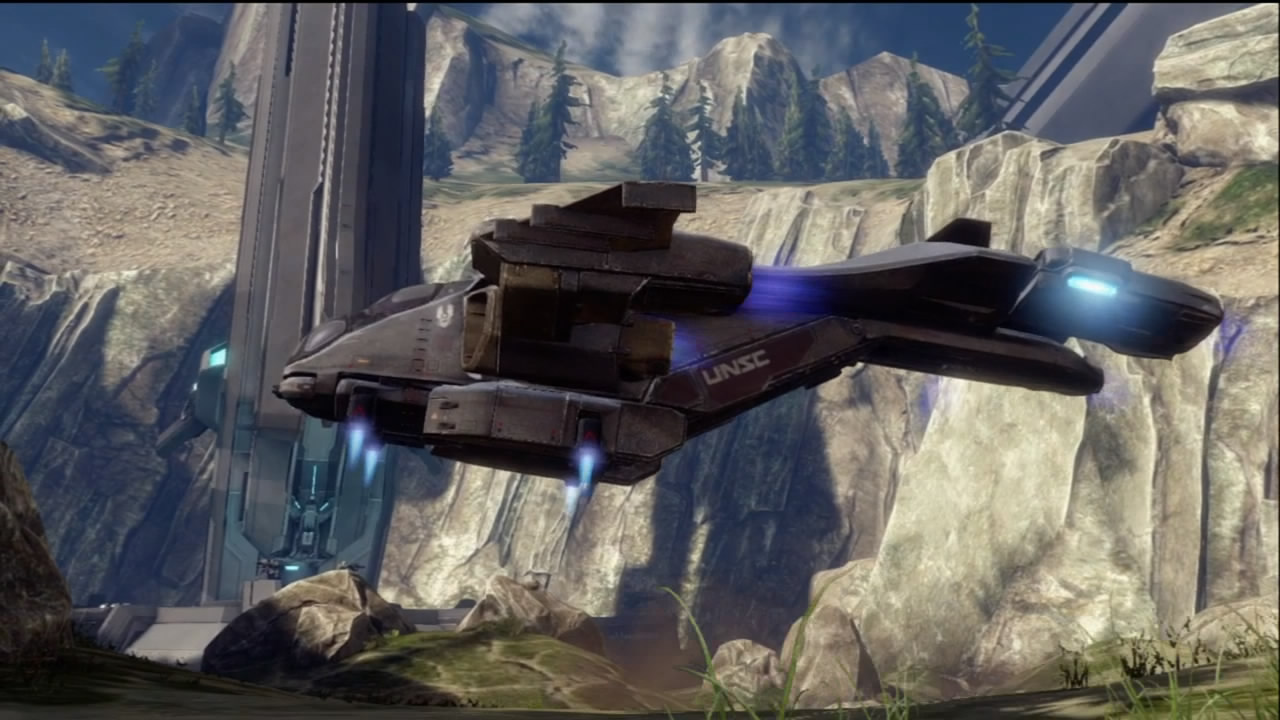
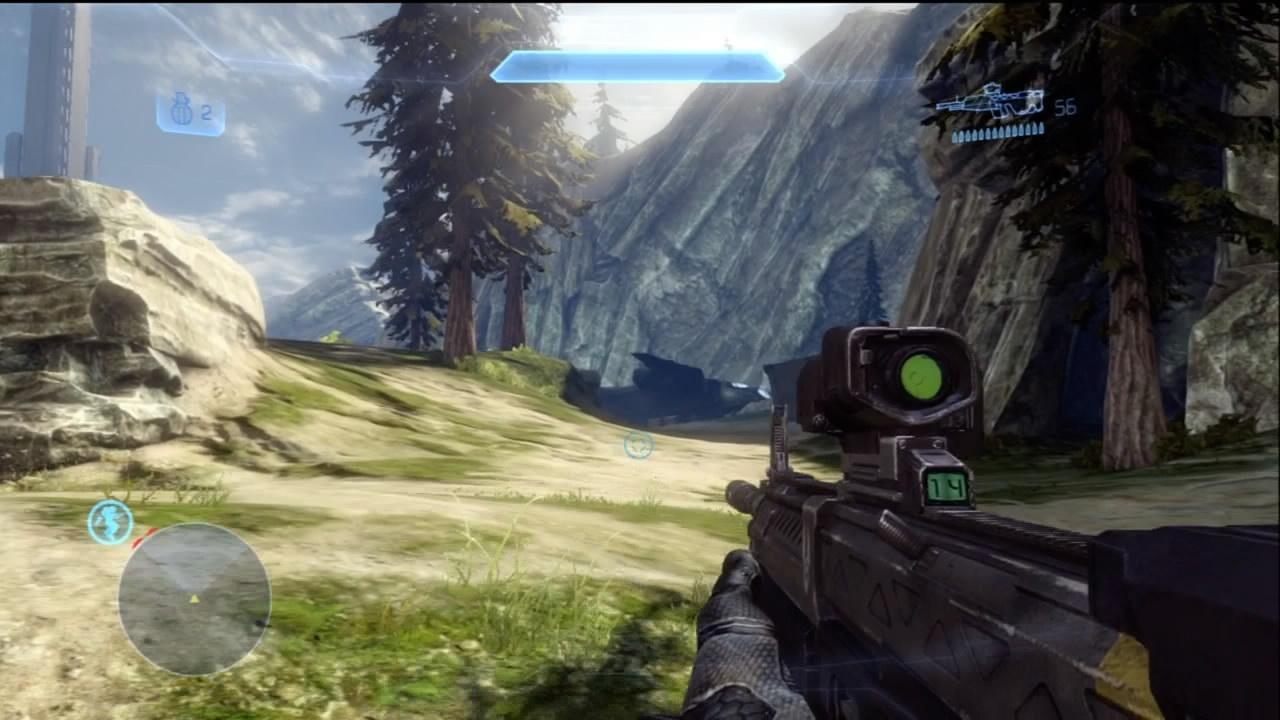
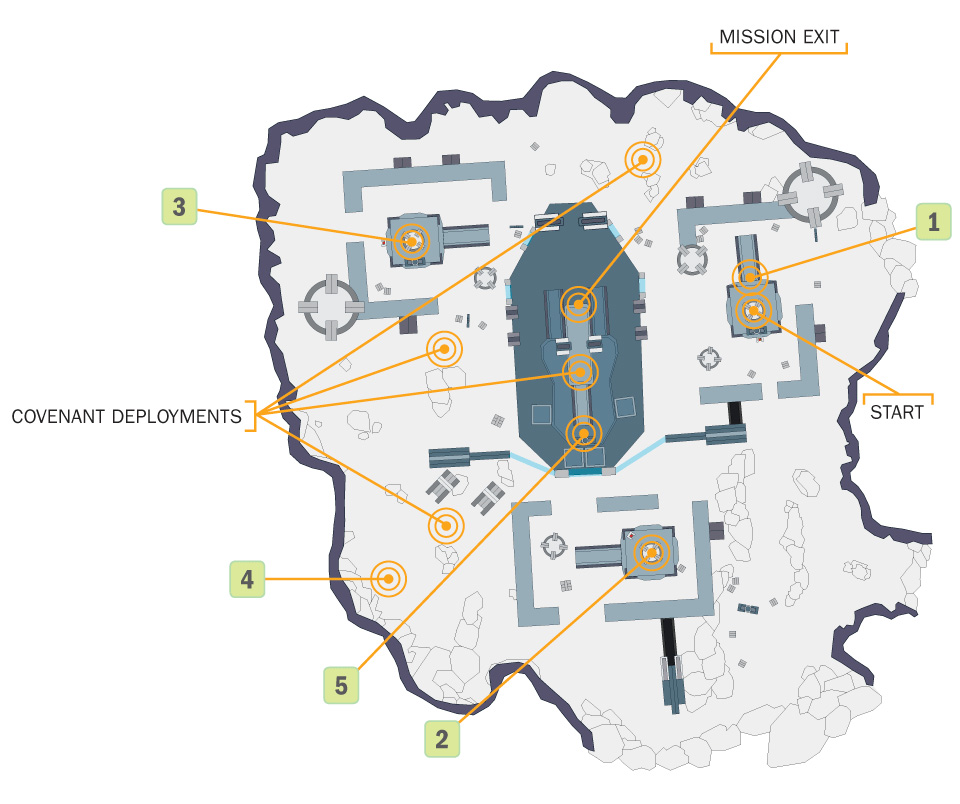
[1] You’re dropped off at the rear tower with no resistance. You can commandeer the local Warthogs or advance on the shoreline tower on foot. Note that the rear tower has two Machine Guns that you can tear from their mounts and take into the fight.
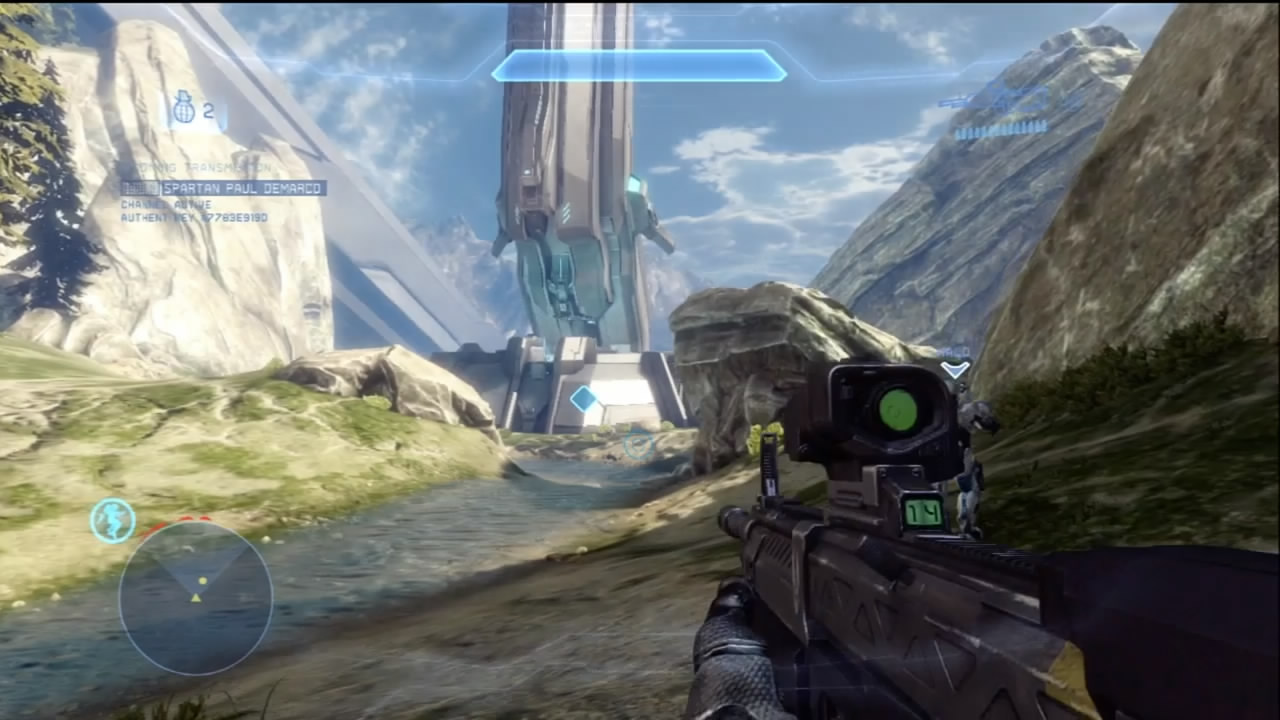
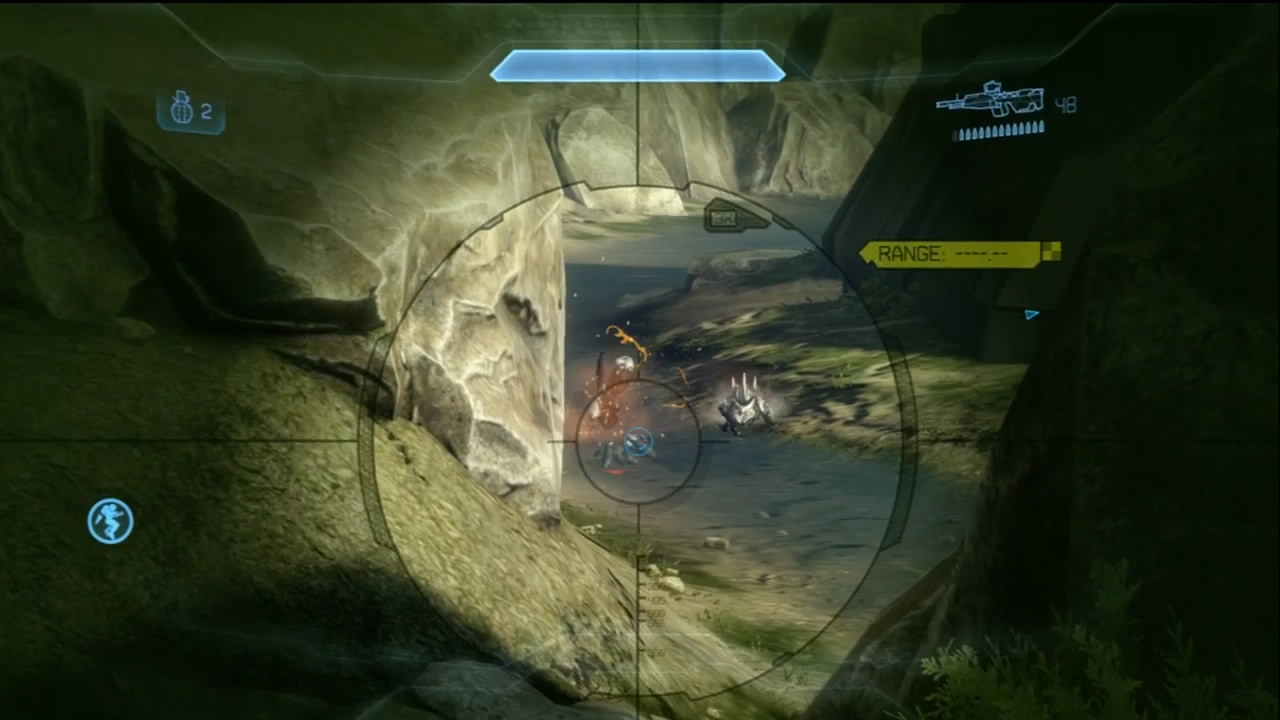
As you close in on the shoreline tower, Prometheans—a cavalcade of Knights, Crawlers, and Watchers—begin teleporting into its vicinity. Immediately take out the Crawlers on the tower; they could possibly be armed with Binary Rifles. Watchers will also construct beam cannons on the tower if you allow them to. If you use the rocks at [2], you can defend against sniping attempts and deal with Prometheans as they rush toward you from the shore.
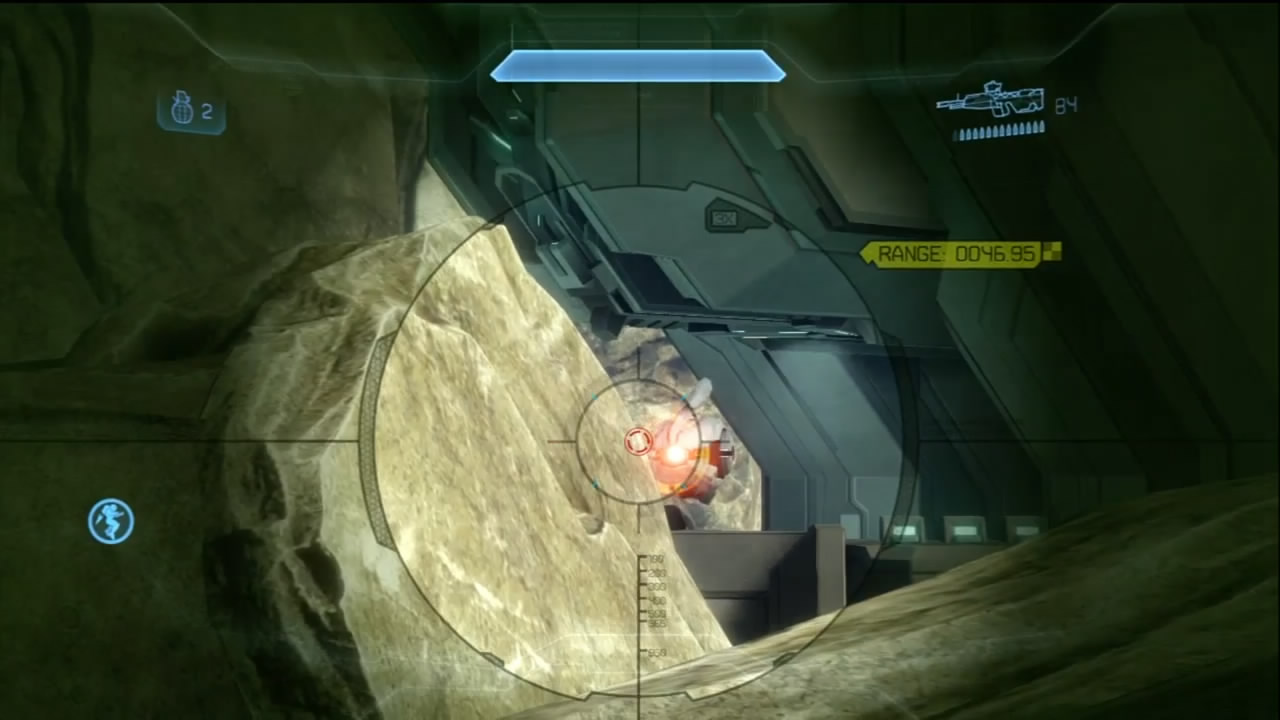
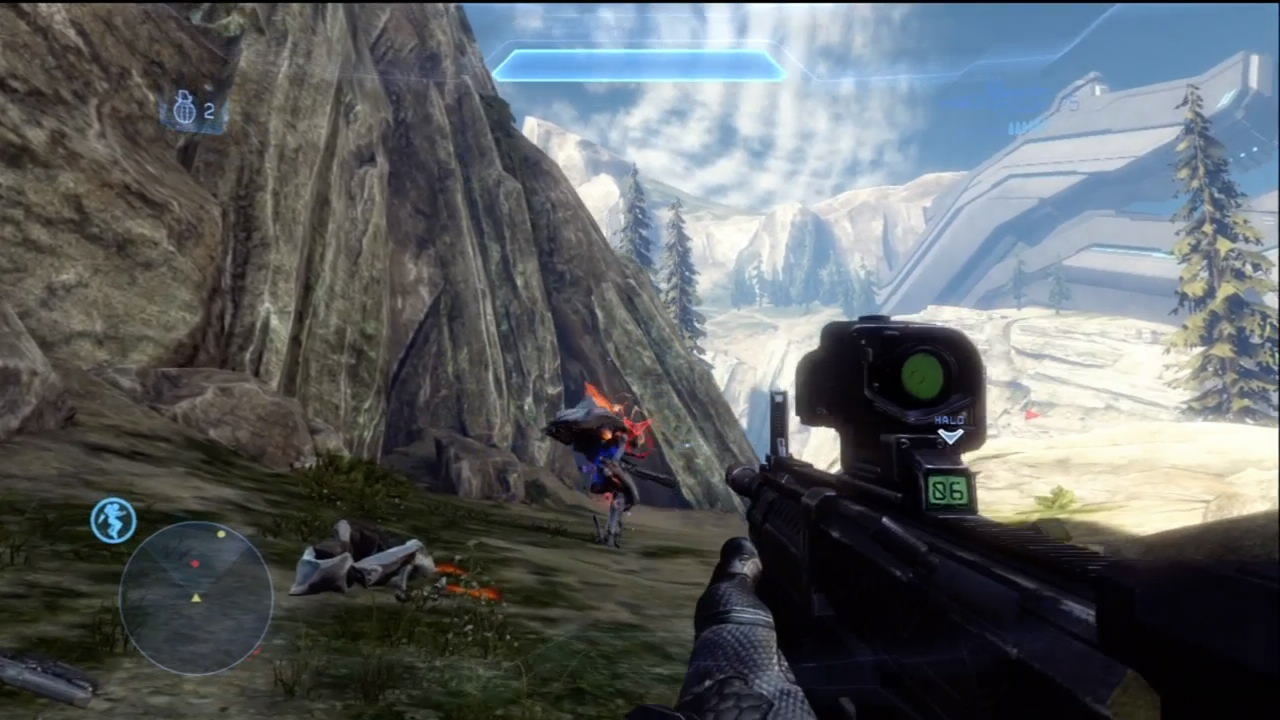
The Knights lose some of their threat when you cull the local Watcher population, but be wary of Knight Lancers with their own Binary Rifles manning the tower. Knight Battlewagons, armed with their Scattershots, are also among the horde of hostiles. They will always try to get into optimal range for those weapons, so make sure you keep them at a safe distance.
After destroying a certain amount of Prometheans, the last few will be marked on your HUD. Finish them off, then enter the tower and search for Jul.
Objectives Two and Three: Investigate Rear Tower and Defend Rear Tower
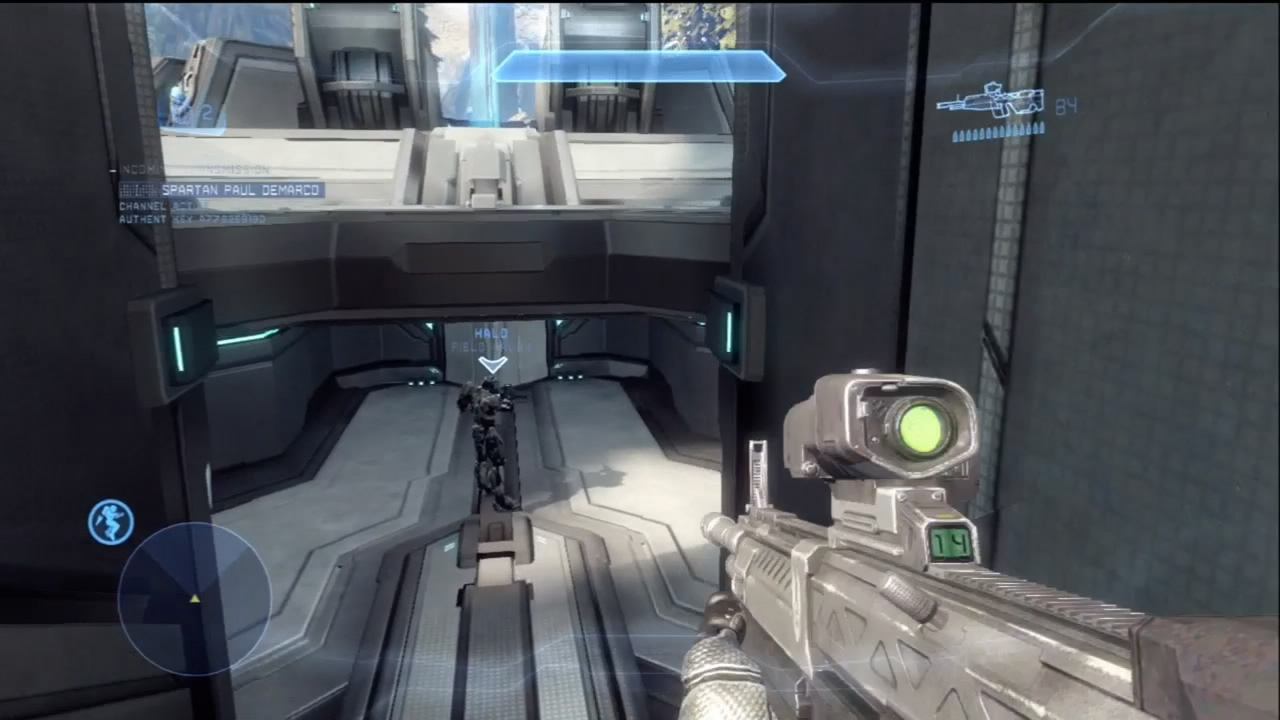
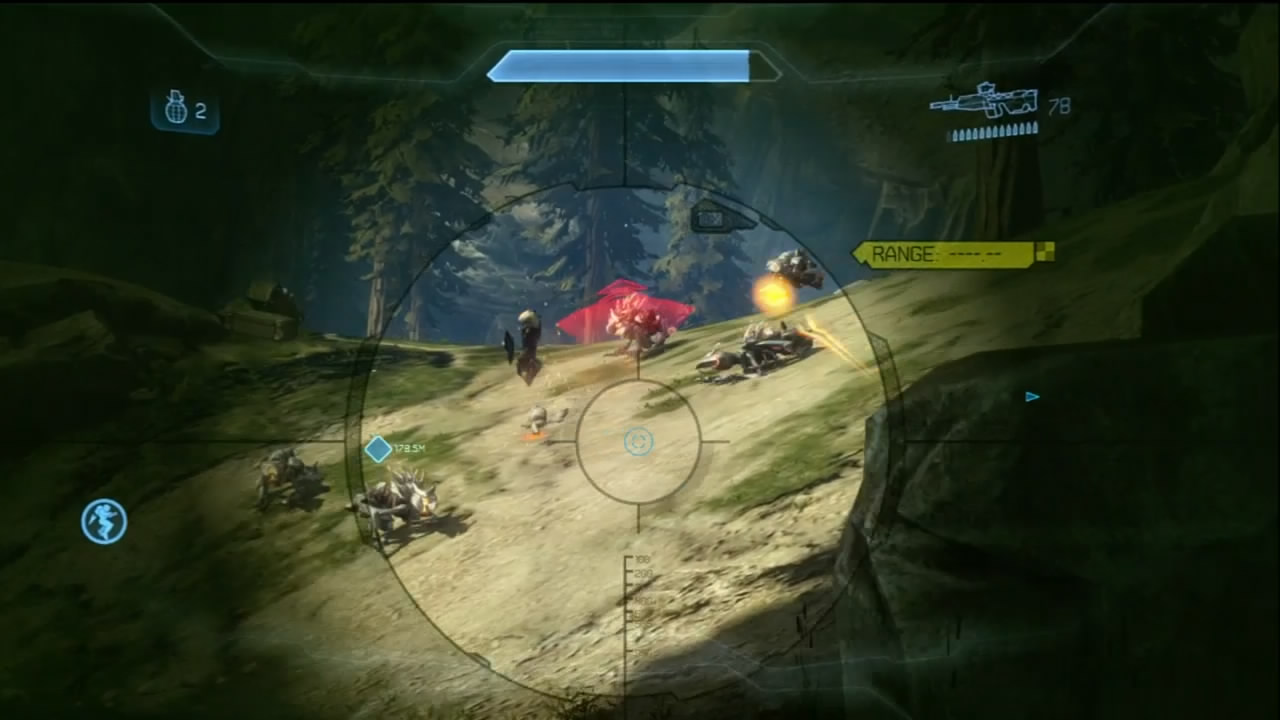
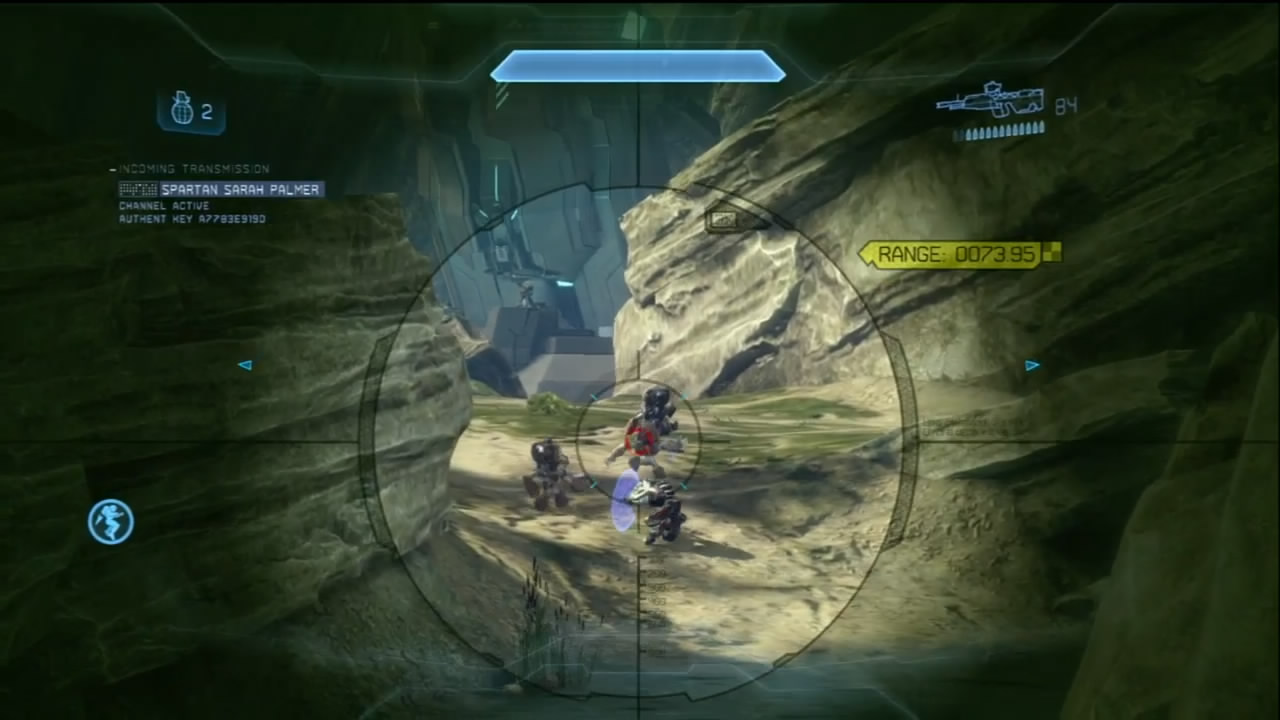
[3] Of course, Jul has already vanished from the facility, and your only reward is a significant counterattack from a mass of Crawlers, Watchers flying in from the flanking cliffs [4], and Knights holding the midfield [5]. We recommend sticking to the shoreline tower and using it for cover while letting the enemy come to you. Once the assault begins, don’t go into the tower’s lower level; it’s possible to get pinned down in this location if you can’t kill the enemy quickly enough. If you’re playing with teammates, call out any Binary Rifle–using hostiles, and call out when they’ve been destroyed.
As you draw close to the rear tower, a Phantom deploys Covenant at the midfield, marking the start of the next phase of this mission.
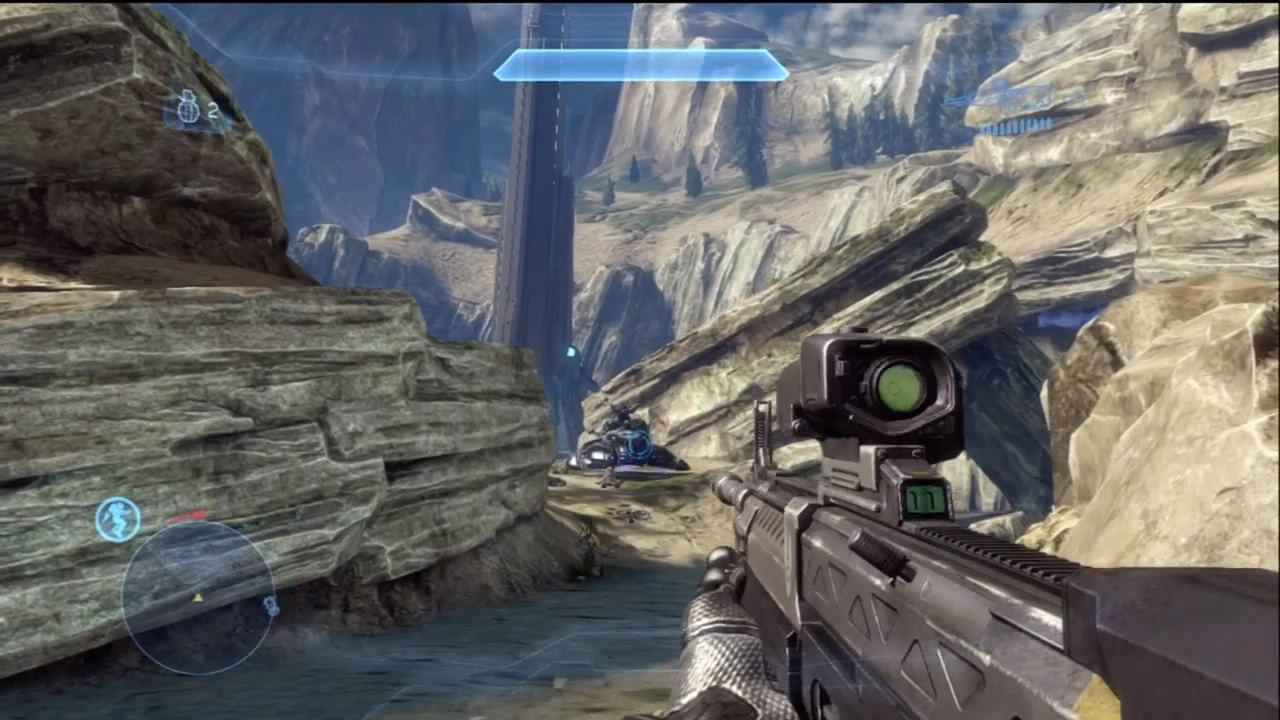
With the initial assault over, you can start moving toward the rear tower. Covenant and Prometheans begin landing near the rear tower and at the midfield, and your new orders are to defend it from them. Of concern is a Wraith at the rear tower. You can use Warthogs located close to the midfield [6] to try and deal with it. Be mindful of the gunner manning its Plasma Cannon, though.
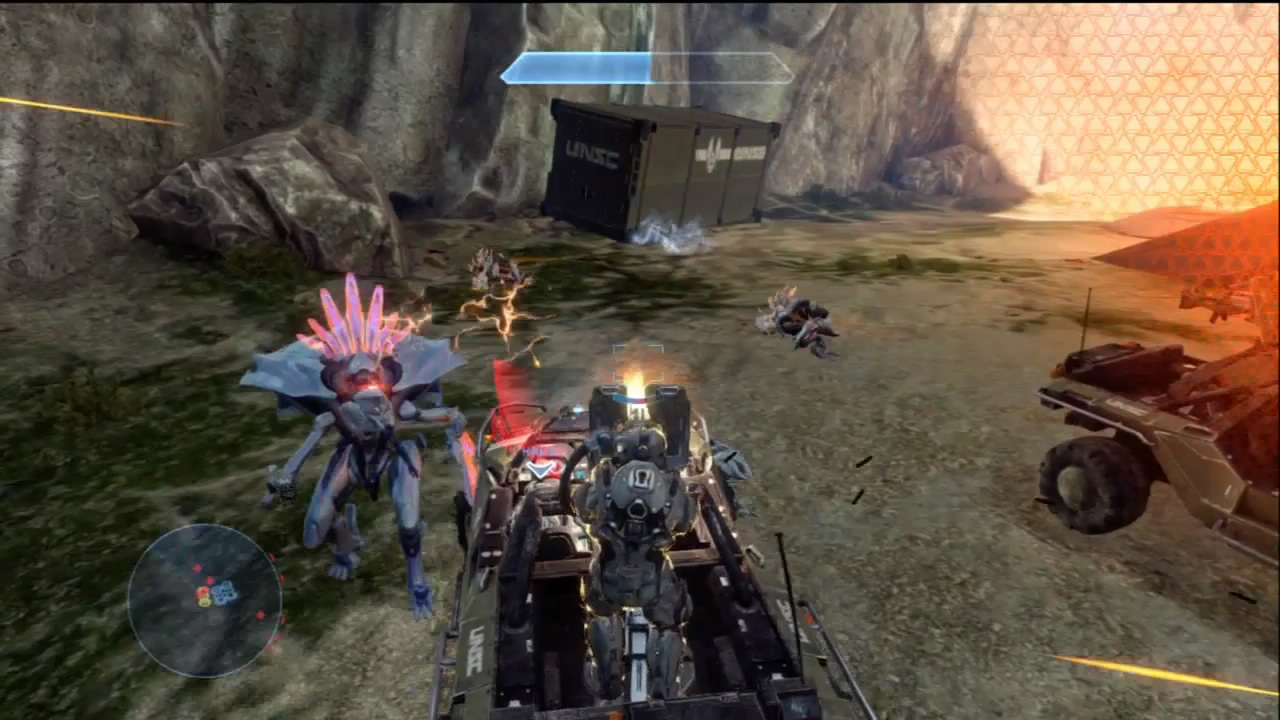
As you get closer to the rear tower, more Prometheans teleport into the area. If you insist on fighting your way through the enemy on foot, proceed with caution to ensure you’re not under threat of being flanked or sniped. If you take a Warthog and have a gunner handy, you must keep moving, particularly on high difficulties. A point-blank Scattershot blast, even on a Warthog, can be devastating to the occupants.
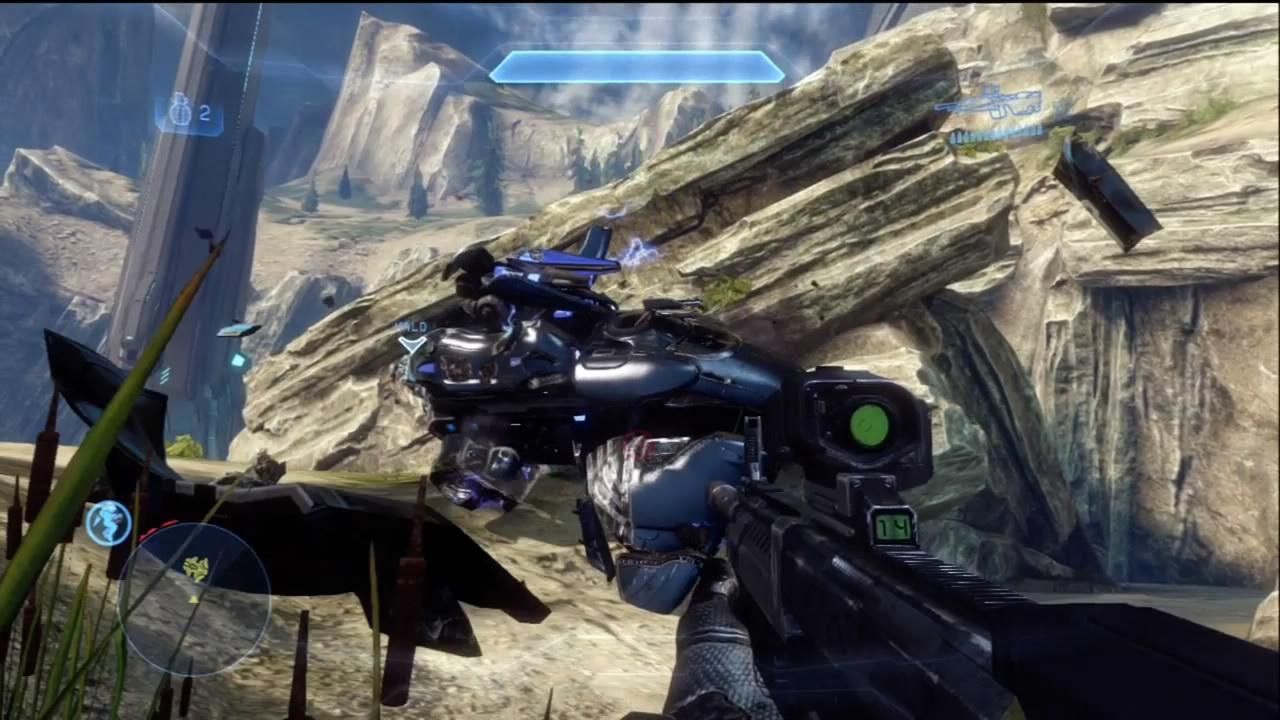
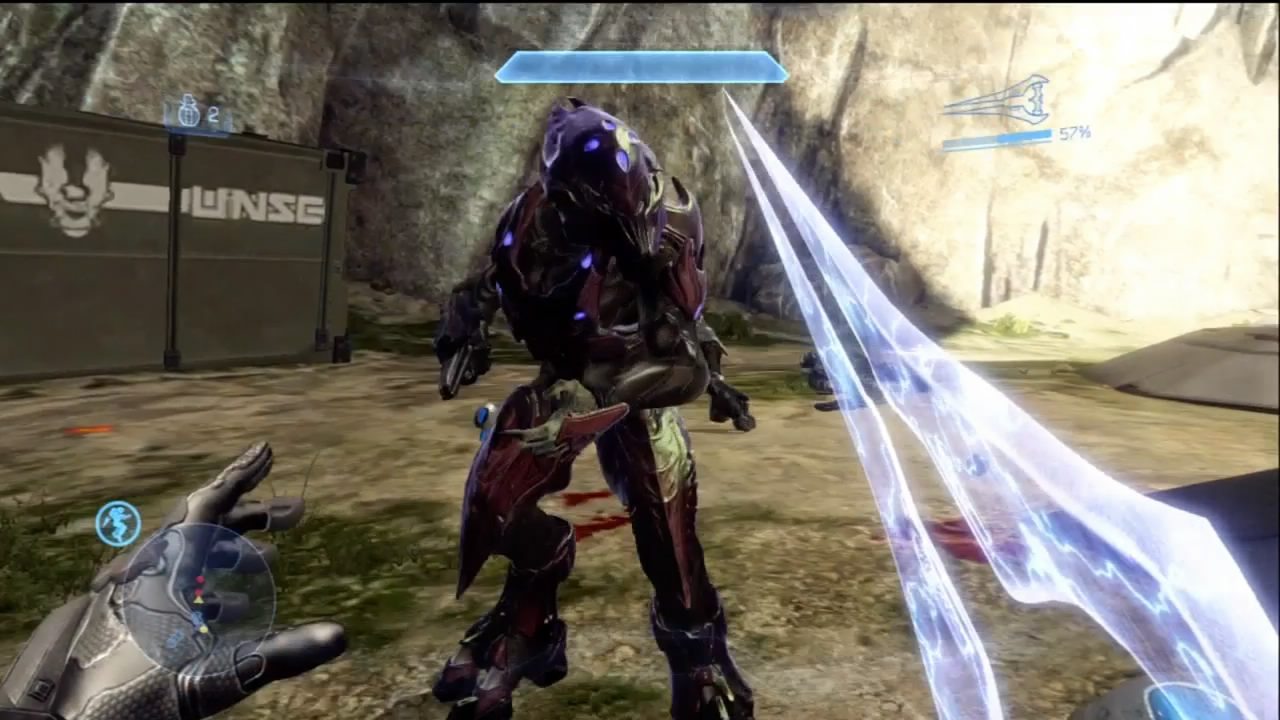
After you wipe out the Prometheans, the Covenant deploy another Wraith to the midfield, and another Phantom lands troops near the tower. Destroy or take the Wraith, then wipe out the Covenant troops. Once the area is cleared of hostiles, the combat portion of this mission is over.
Objectives Four and Five: Activate Portal, Enter Portal
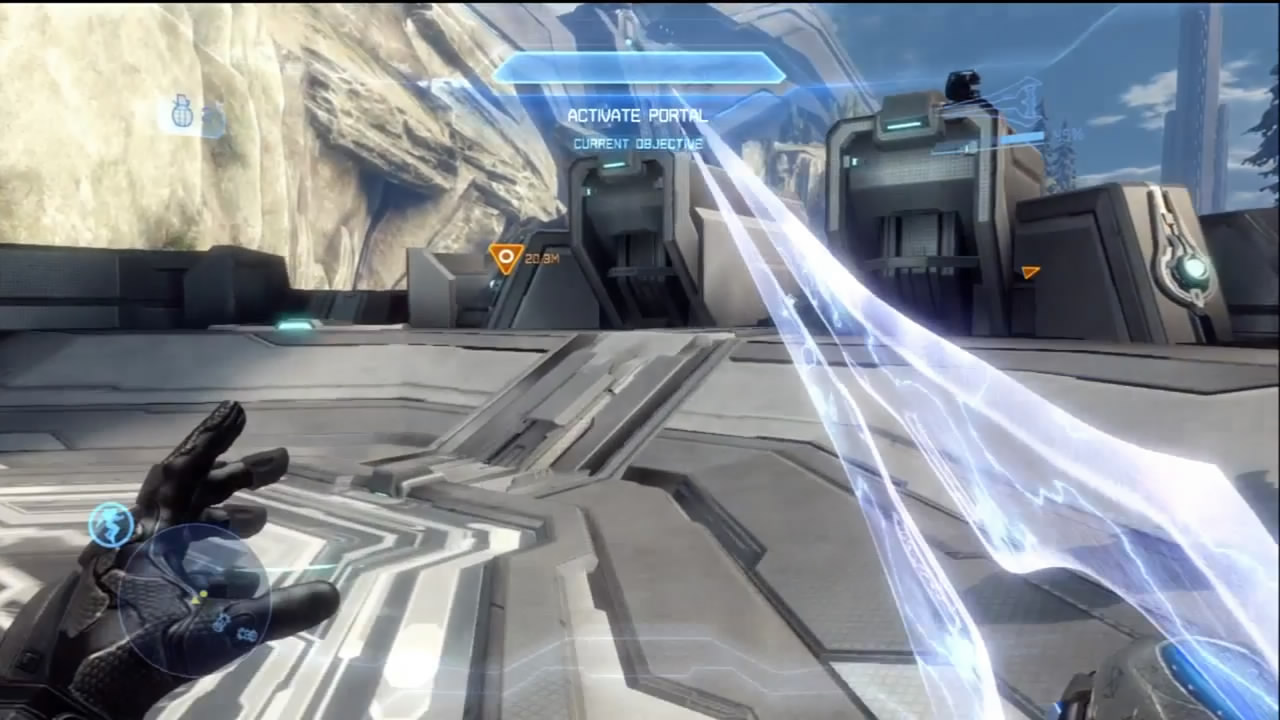
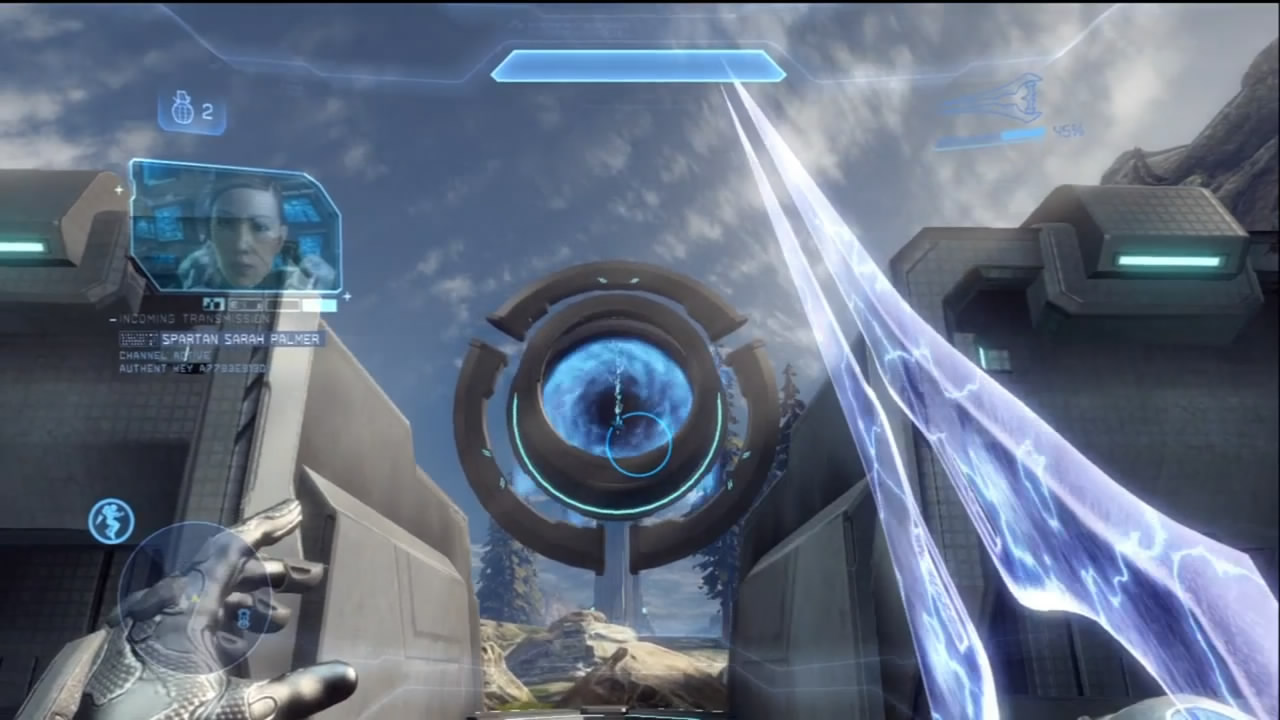
[7] It becomes apparent that the towers are a part of a portal network that spans all of Requiem. Commander Palmer wants Fireteam Crimson to activate a portal, then follow it through to the other side to see what lies in wait. It’s far from the safest plan, but orders are orders. Activate the two designated consoles, then use the newly activated launchpad to fling yourself into the portal to complete the mission.
Chapter Three: Random Transport
Fireteam Crimson disappeared from the Infinity ’s sensors the moment they traveled through the portal at the end of the previous mission. They fall into the lap of a Covenant strike force protecting a mountaintop Forerunner facility and are almost completely cut off from the Infinity ’ssupport.
The tower constructs that dominate both ends of this zone are valuable to the Covenant: This is the single largest deployment of Elites and Hunters you’ve faced yet. After securing Mountain Squad’s crash site, join these Spartans in taking the fight to the Covenant. After disabling a local comm jammer, the Spartans must investigate one of the Forerunner towers and fight off any Covenant that attempt to interfere.
Map Location: Fortress
Recommended Loadout
The portal starts you off in immediate contact with the enemy at one of three substations surrounding a central tower. If you have a Boltshot or Plasma Pistol in your loadouts, these make good close-quarters weapons against Elites, clearing out their shields to allow for follow-up headshots. The Jet Pack is a useful armor ability to bring to the fight and will give you the elevation advantage on the enemy. A Hologram or Auto Sentry can make good distractions while setting up flanking maneuvers.
Objective One: Contact Infinity
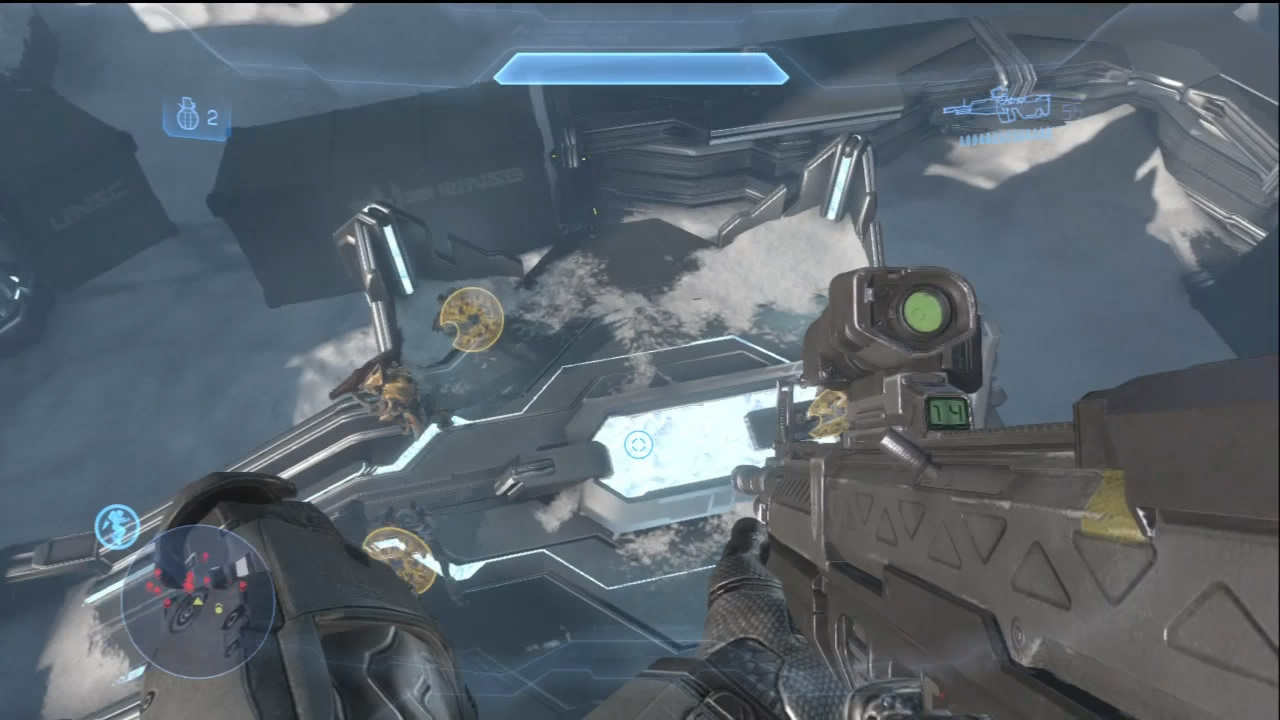
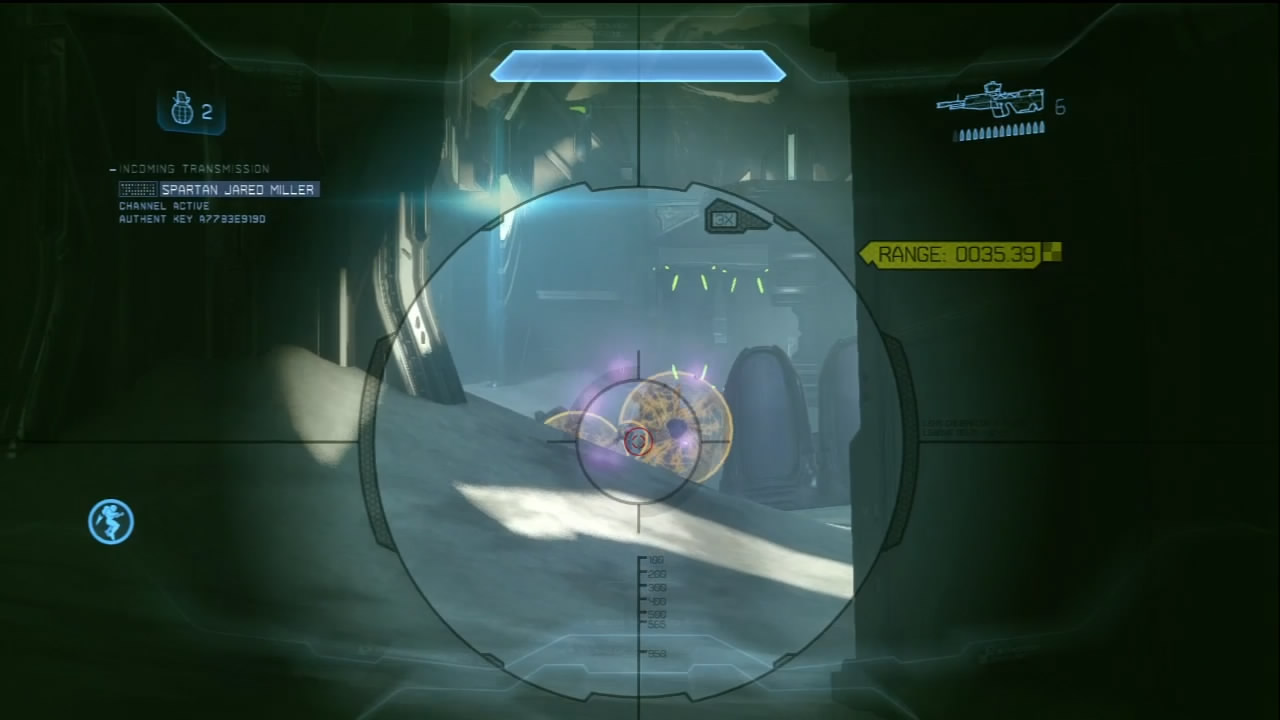
[1] As soon as you select your loadout to start the mission, you are unceremoniously dumped atop one of the substations surrounding the central tower and are surrounded by Jackals, Grunts, and Elites. You have seconds at best to immediately get away from the enemy and reach a safer position, preferably behind one of the nearby walls. Once you’ve gotten your bearings, proceed with eliminating hostile resistance. Garbled radio chatter from your allies aboard the Infinity eventually reveals that they’ve located your team’s Identification Friend/Foe (IFF) tags. Eventually, a waypoint is marked on your HUD, indicating where you must go to directly contact the Infinity .
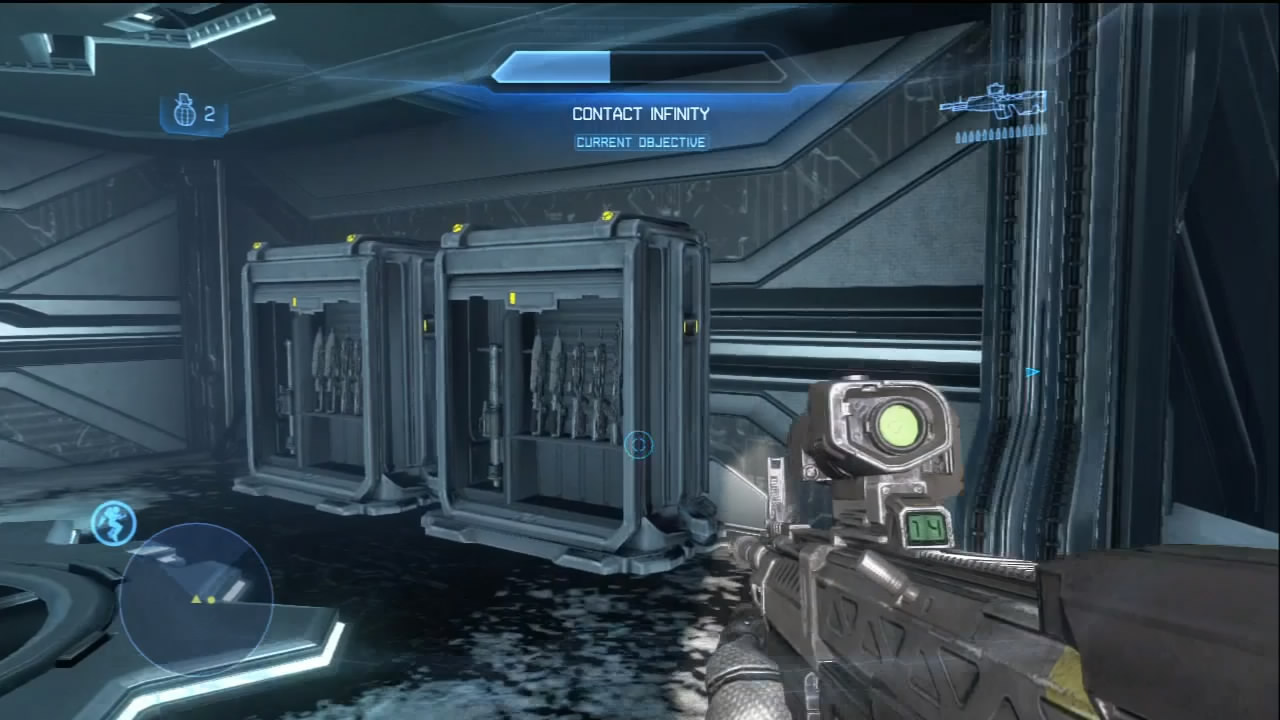
After clearing the initial enemy resistance, check underneath the substation you landed on for a sizeable UNSC weapons cache that includes Battle Rifles, Assault Rifles, and even a Rocket Launcher. You’re probably going to need these very soon. Before you head off to the waypoint, do a little exploration.
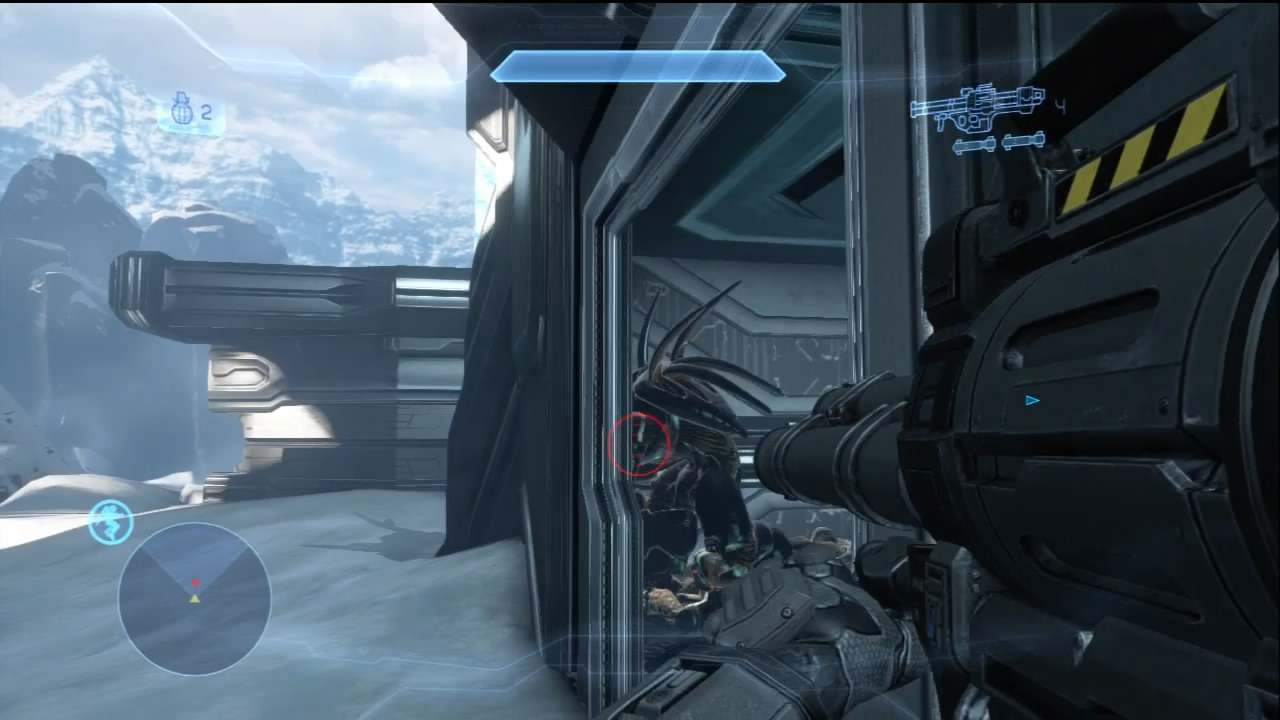
[2] Several Grunts have sealed themselves in at this substation, and as you get close, they blast open the barricades to try ambushing you. Among these assailants is a lone Hunter. The Rocket Launcher from the first substation can make short work of these aliens. This substation, like the other pair, contains a UNSC weapons cache.
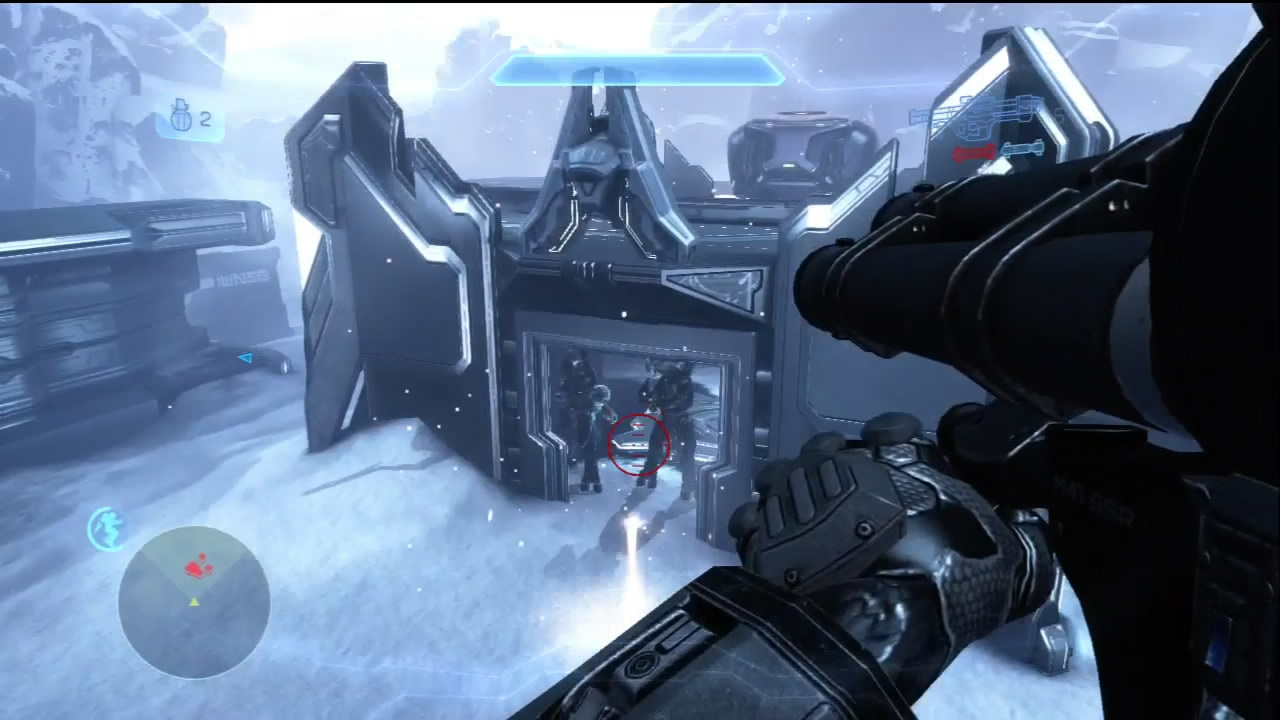
[3] The third substation contains another ambush. This time there are Elites in the group, along with the second Hunter. End them with rockets, then restock at the weapons cache as needed. It helps to clear these ambushes out first; you don’t want unpleasant surprises later in the mission.
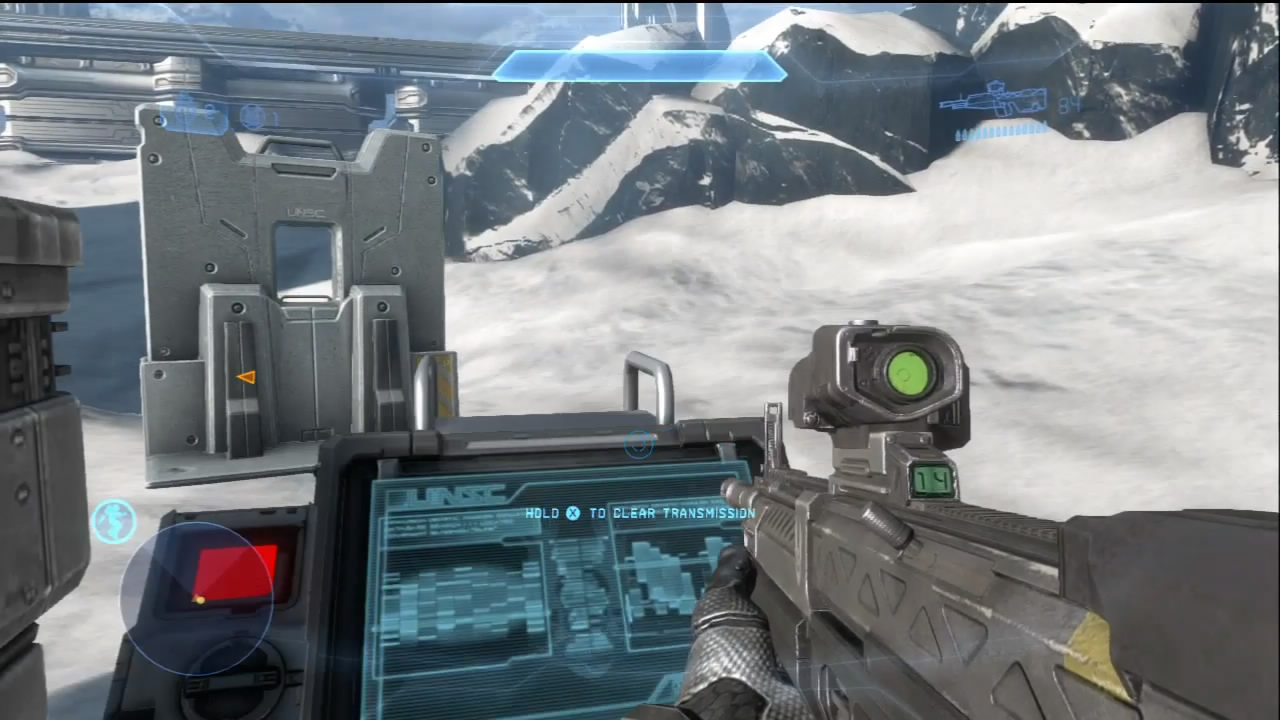
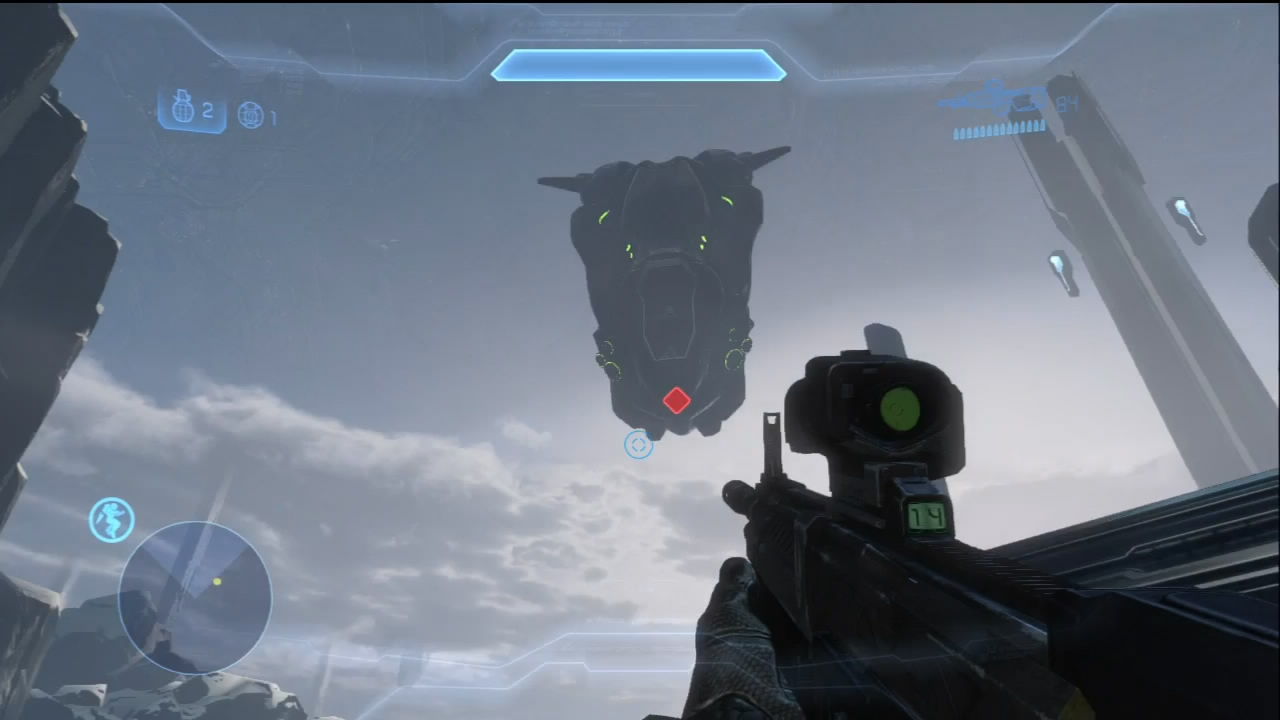
[4] The waypoint is located at a small UNSC station adjacent to substations [2] and [3]. It also contains another weapons cache at which to restock. Not long after you make contact with the Infinity , a Drop Pod deploys a squad of Covenant right next to the comm station. After you kill them, the Infinity ’s AI, Roland, will place a new waypoint at the top of the central structure as Drop Pods begin falling all throughout the facility.
Objective Two: Turn on Portal Hub
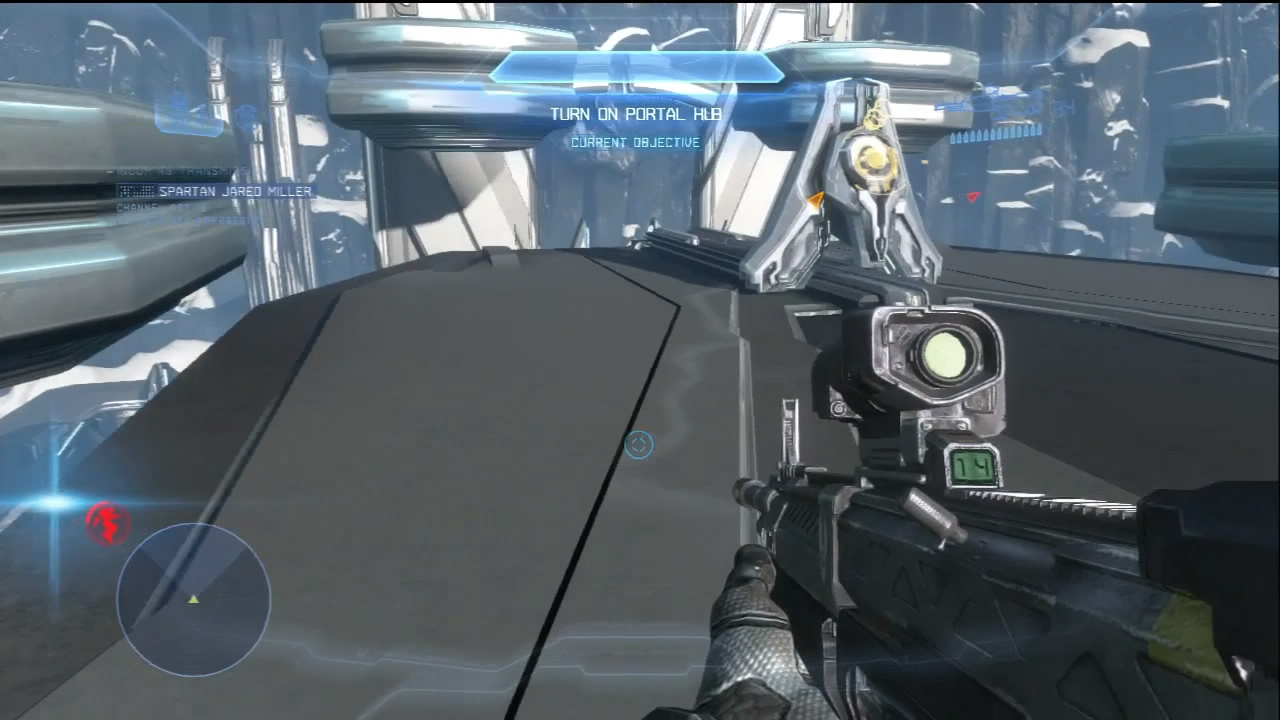
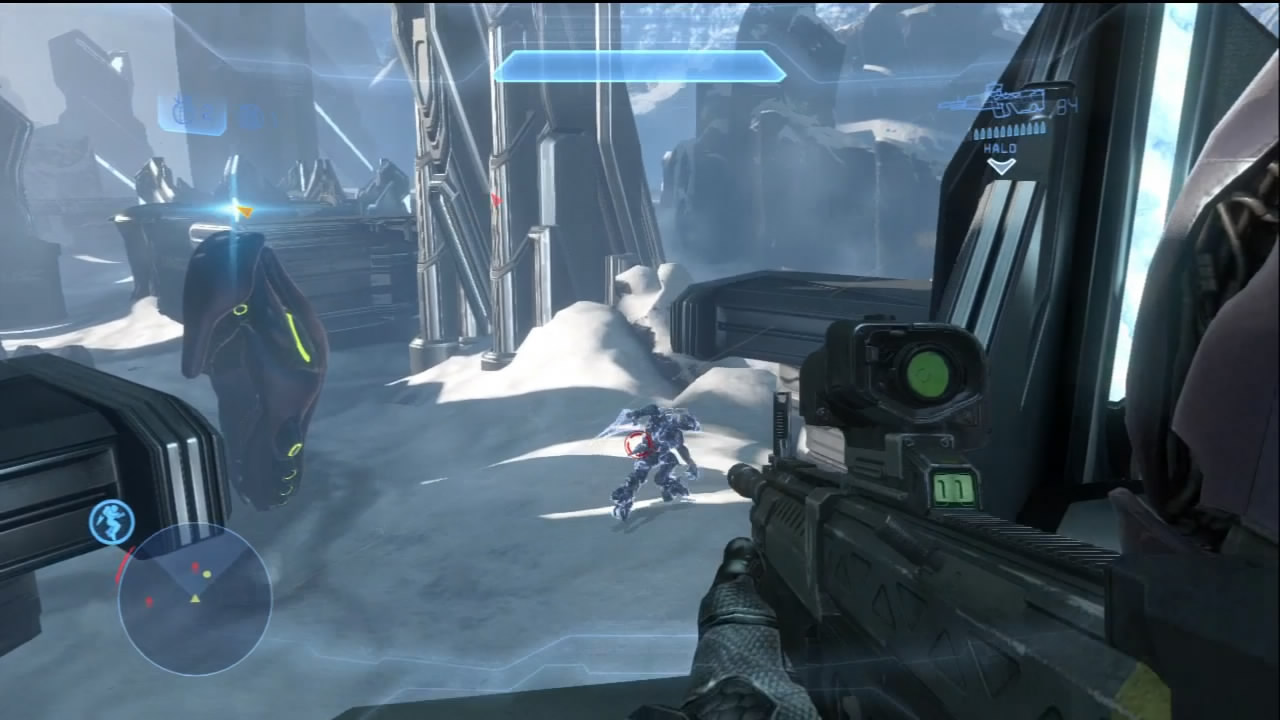
[5] If you have a Jet Pack, your next objective will be easy. Reach the top of the central structure to locate the controls that will activate the local portal hub. Of course, if you don’t have a Jet Pack, you’ll have to fight your way past the newly arrived Covenant delivered via Drop Pod. Expect many high-ranking Elites to be a part of this group. It’s worth taking the time to eliminate the enemies first; the XP benefits are hard to pass up if you’re still trying to increase your Spartan Rank.
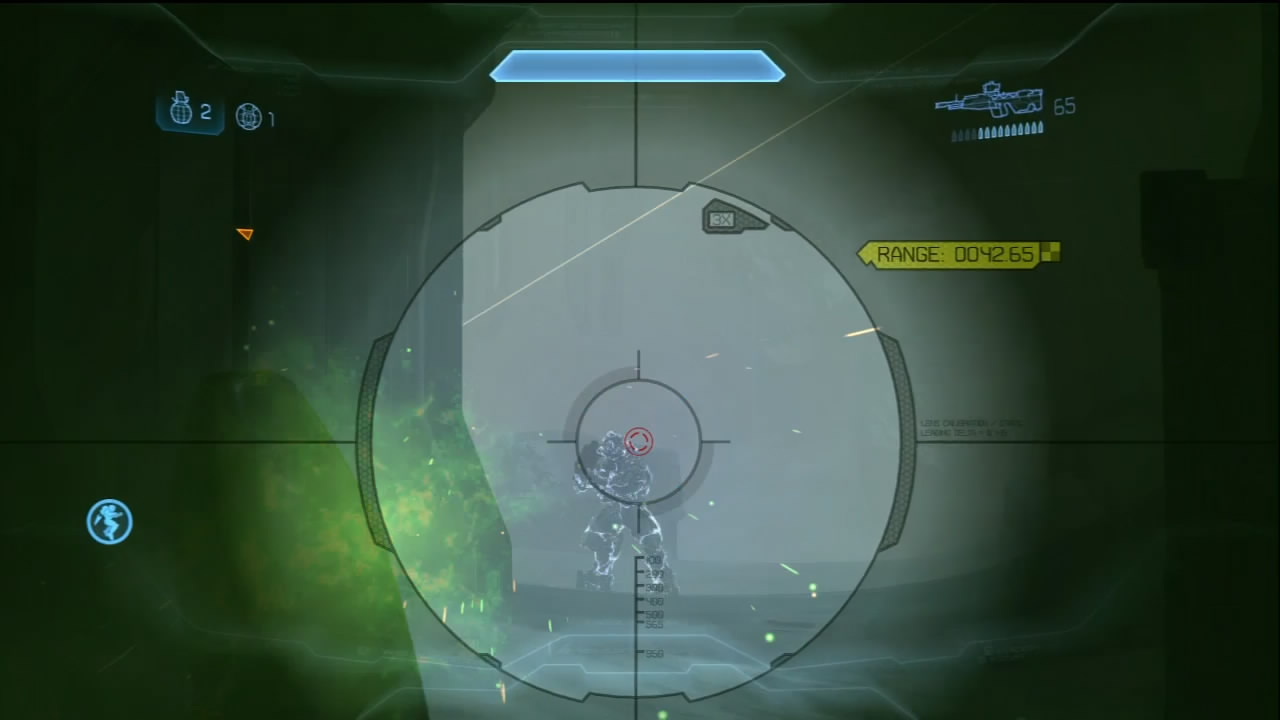
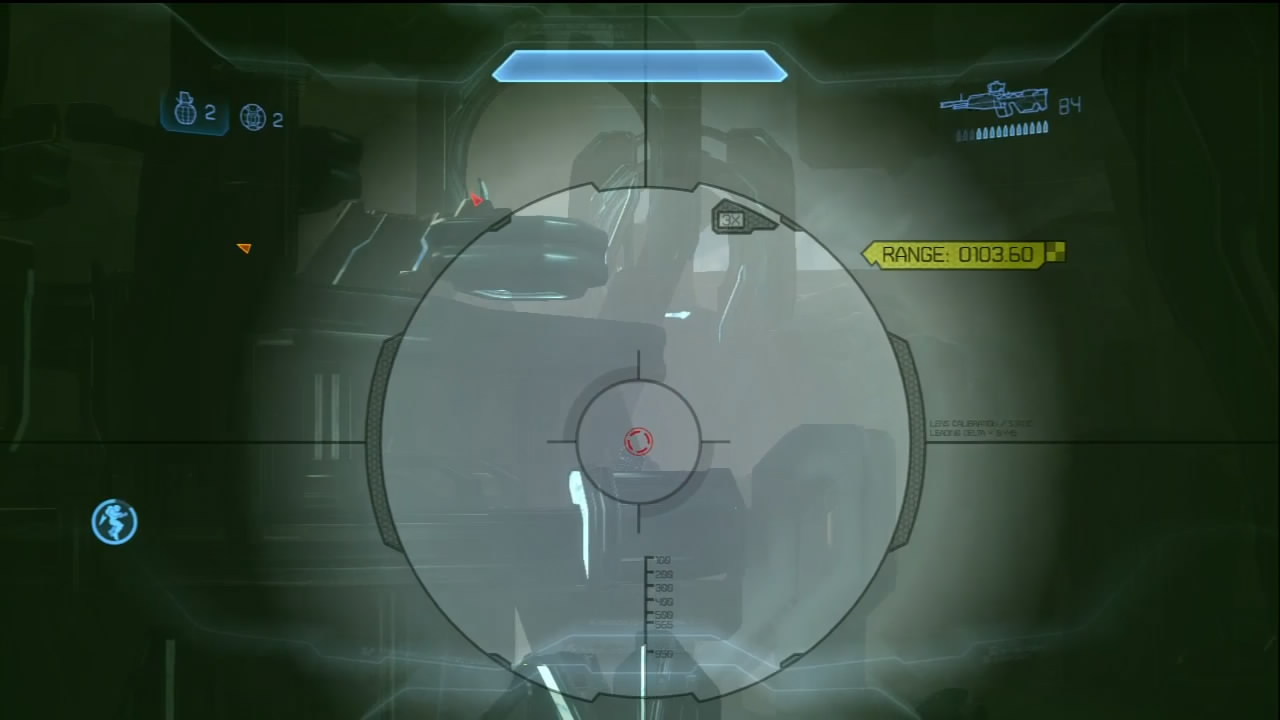
If you concentrate on eliminating the initial round of Covenant, another Drop Pod will deploy more hostiles onto the central structure. In this case it’s best to use the terrain behind substation [2] and engage the enemy from afar. The relatively tight quarters of the tower means that Elites armed with Concussion Rifles or Fuel Rod Cannons can be very grave threats, even if you use the Plasma Pistol to tear down their shields and follow up with a headshot. Be prepared for Jackal Snipers to be among this group.
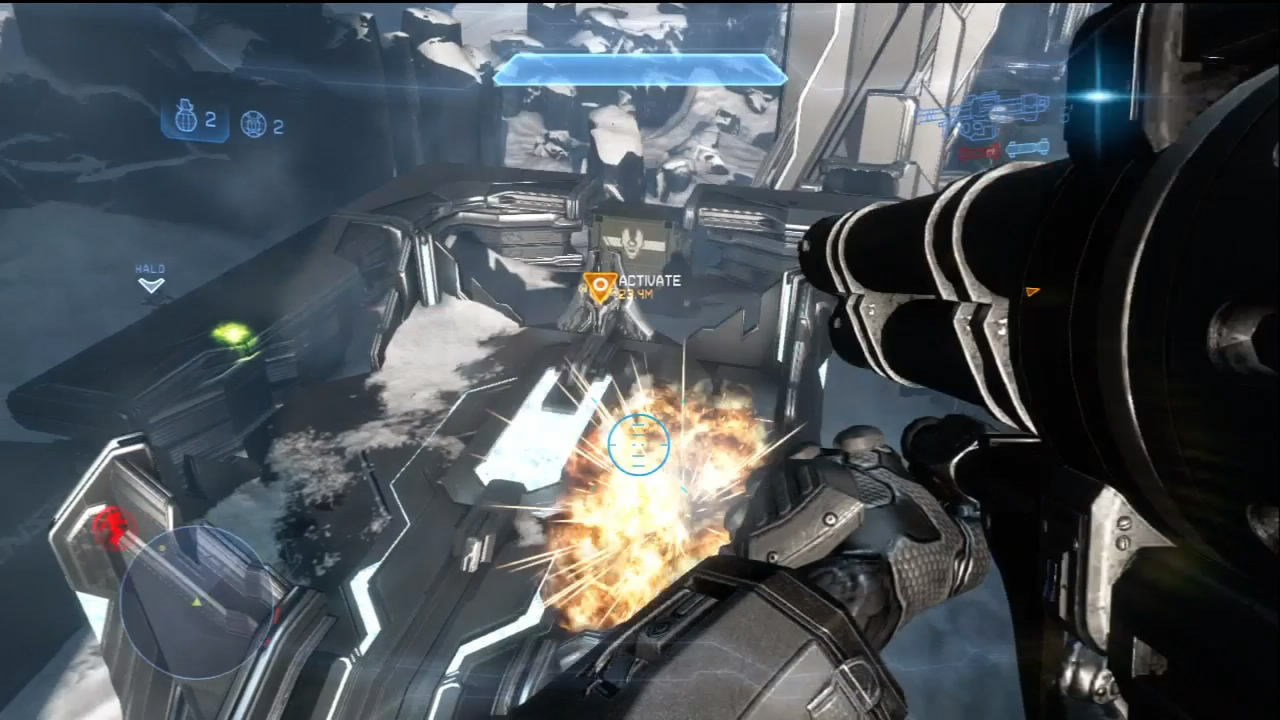
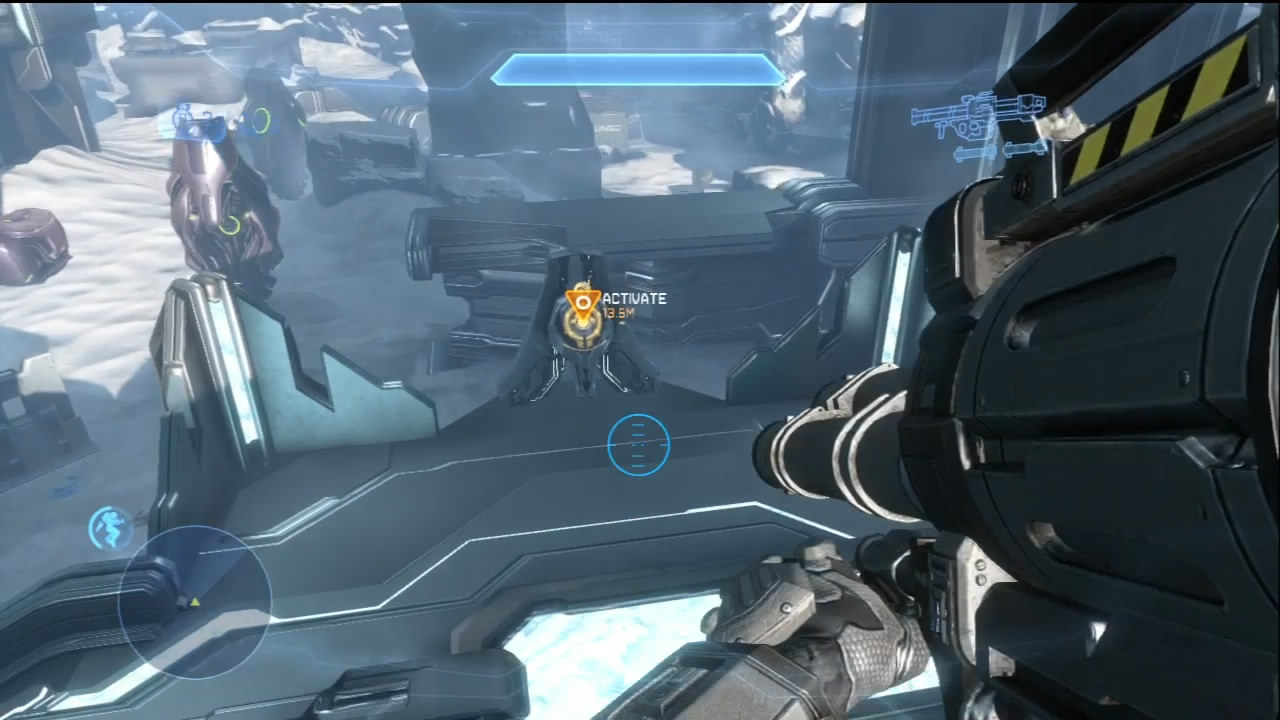
Accessing the console atop the central structure triggers two more consoles that you must access, found atop substations [1] and [3]. Another host of Covenant swarm into the areas near the consoles to protect them. At higher difficulties, expect Elite Zealots to be among these groups. If you still have Rocket Launcher ammo, this is a good time to use a few well-placed shots. Once you activate both consoles, the spires around the central tower configure themselves to begin generating a portal.
Objectives Three and Four: Eliminate Hostiles, Move to Portal
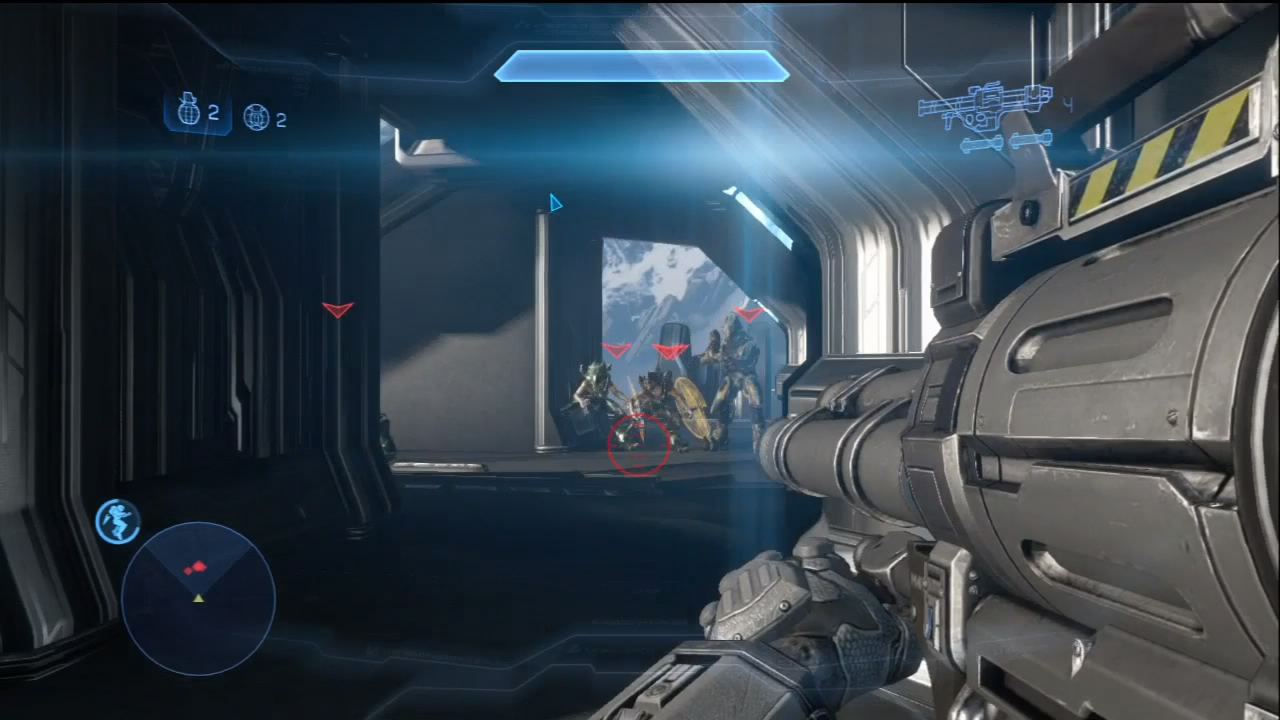
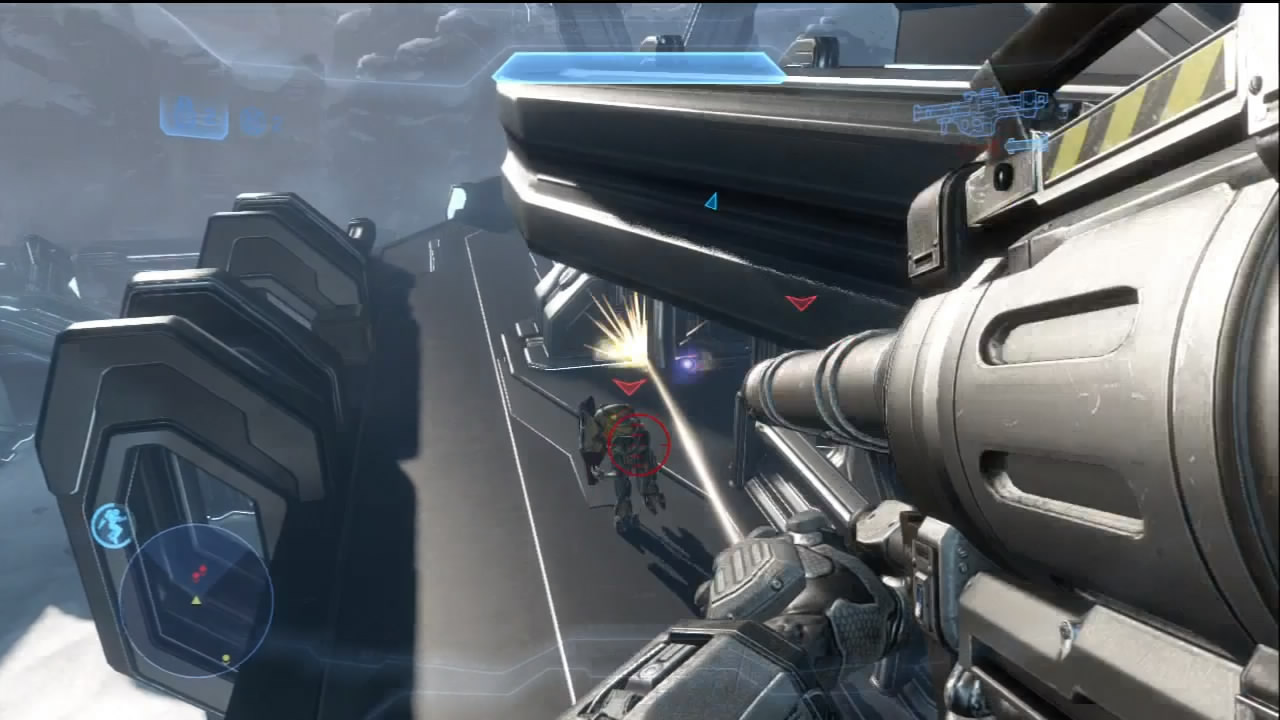
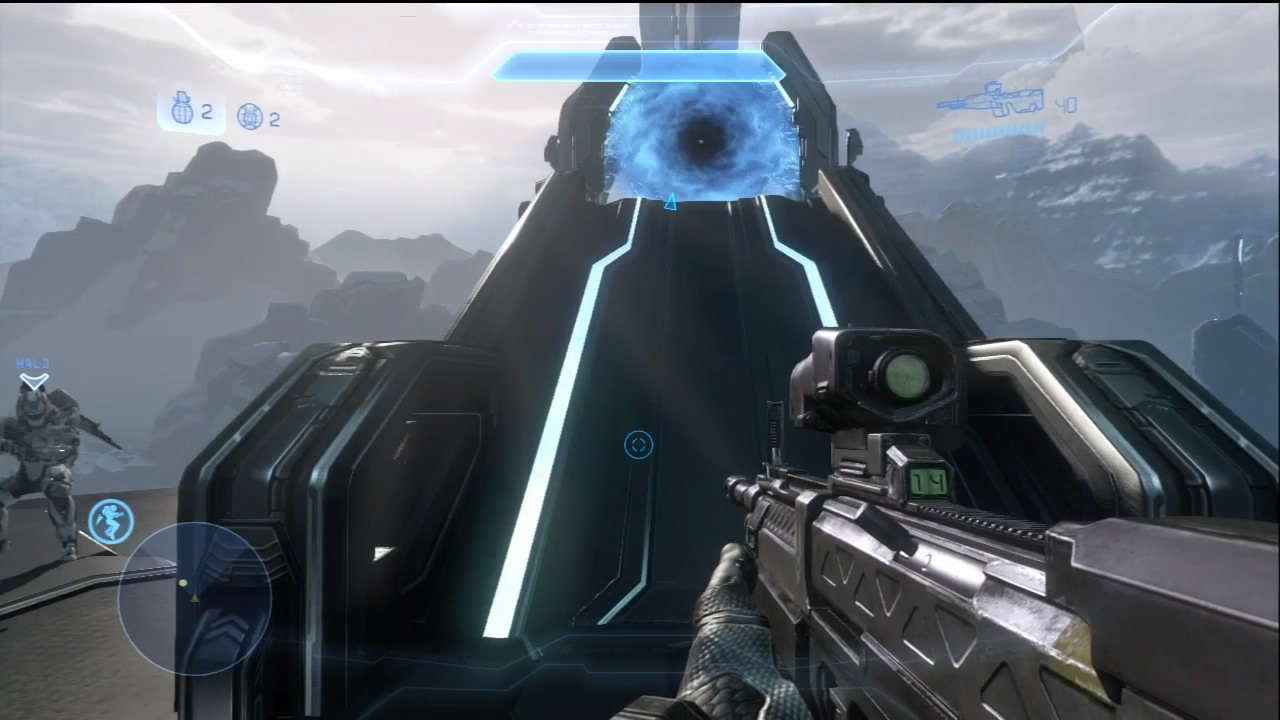
The Covenant aren’t done yet. Drop Pods filled with Elites and other Covenant descend all over the facility, including another pod deploying troops directly onto the central structure. You can try to wipe them out while standing your ground on the top level, or you can retreat to a safe position and duel the enemy from afar. Any rockets you may have left can be put to good use if you let the enemy gather on the tower. On lower difficulties, you can eliminate large swaths of Covenant with one or two rockets.
After you’ve depleted the enemy numbers, a final waypoint appears atop the central structure, a newly formed portal that is marked on your HUD. This is turning into the longest day for Fireteam Crimson, and things will likely not be any safer on the portal’s other side.
Chapter Four: The Chase
By now, Jul ’Mdama is aware that a rampaging Spartan fireteam is pursuing him through Requiem’s portal network, and it is responsible for tearing his forces three new orifices across three different operations, twice without support from their allies. He has wisely decided to continue fleeing, and the Spartans will have to contend with more fanatical defenders to get their hands on him.
This mission is called “The Chase” for a good reason. You are trying to run down Jul, and he has left layers of defenses in his wake. Shortly after entering the facility, you need to find a way to bypass a large security door while holding off enemy reinforcements. Once the security door is down, it’s almost constant combat through prepared defenses while you try to claw your way to Jul’s hiding spot.
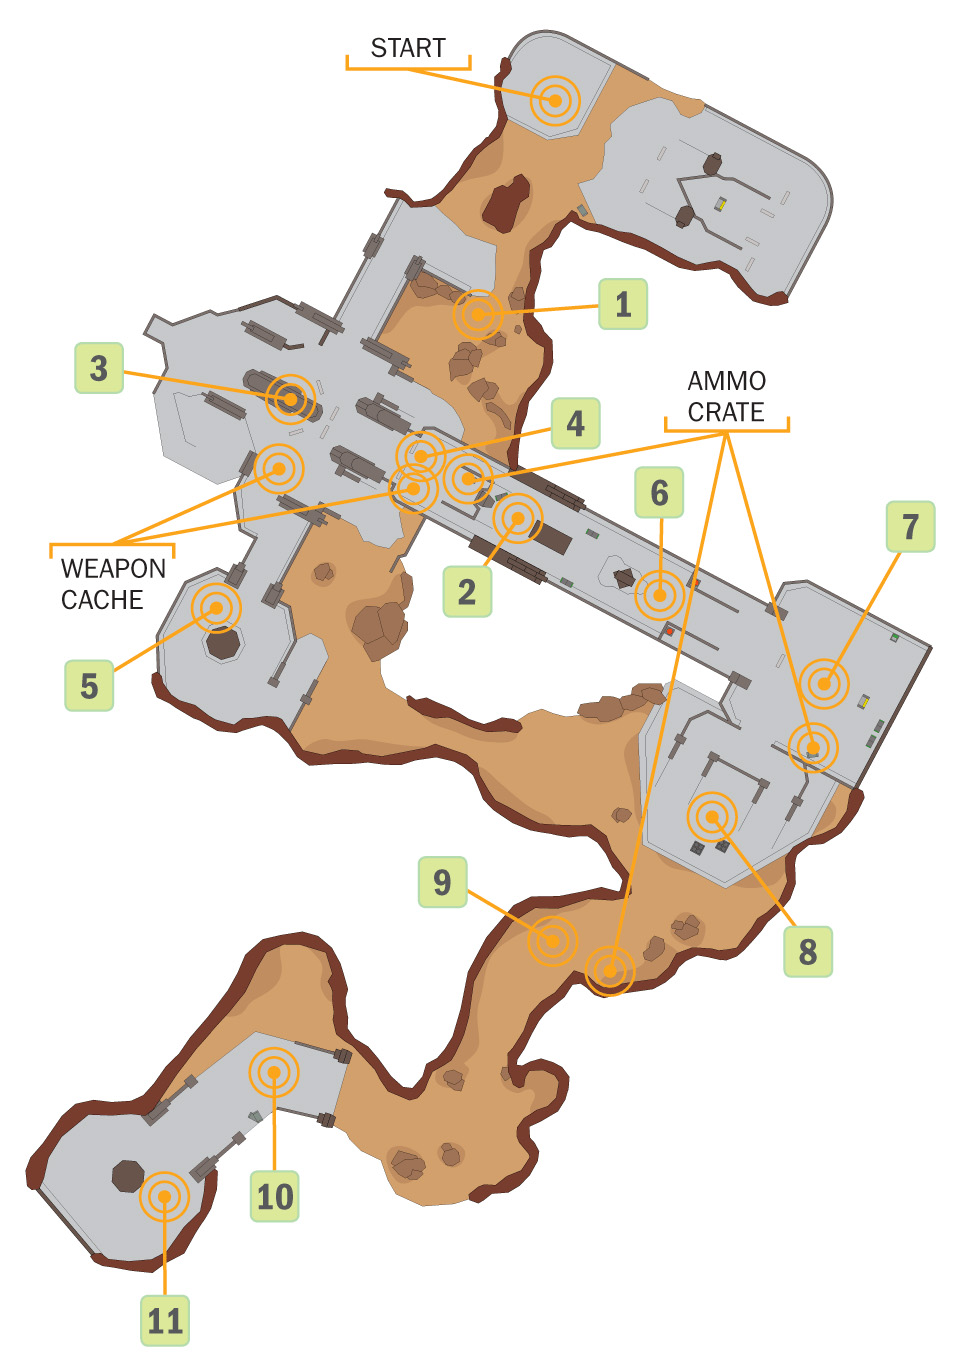
Map Location: The Cauldron
Recommended Loadout
The Jet Pack is probably the best complement to any rifle you choose for your primary weapon, though it isn’t a bad idea to take a Needler or a plasma-based weapon, along with the Ammo upgrade. You face many Elites during this mission, and you will want to deal with them quickly. There are a few moments when you are forced to make a stand at a particular location, so the Hardlight Shield or the Regeneration Field armor abilities may also come in handy.
Objective One: Follow Jul ’Mdama
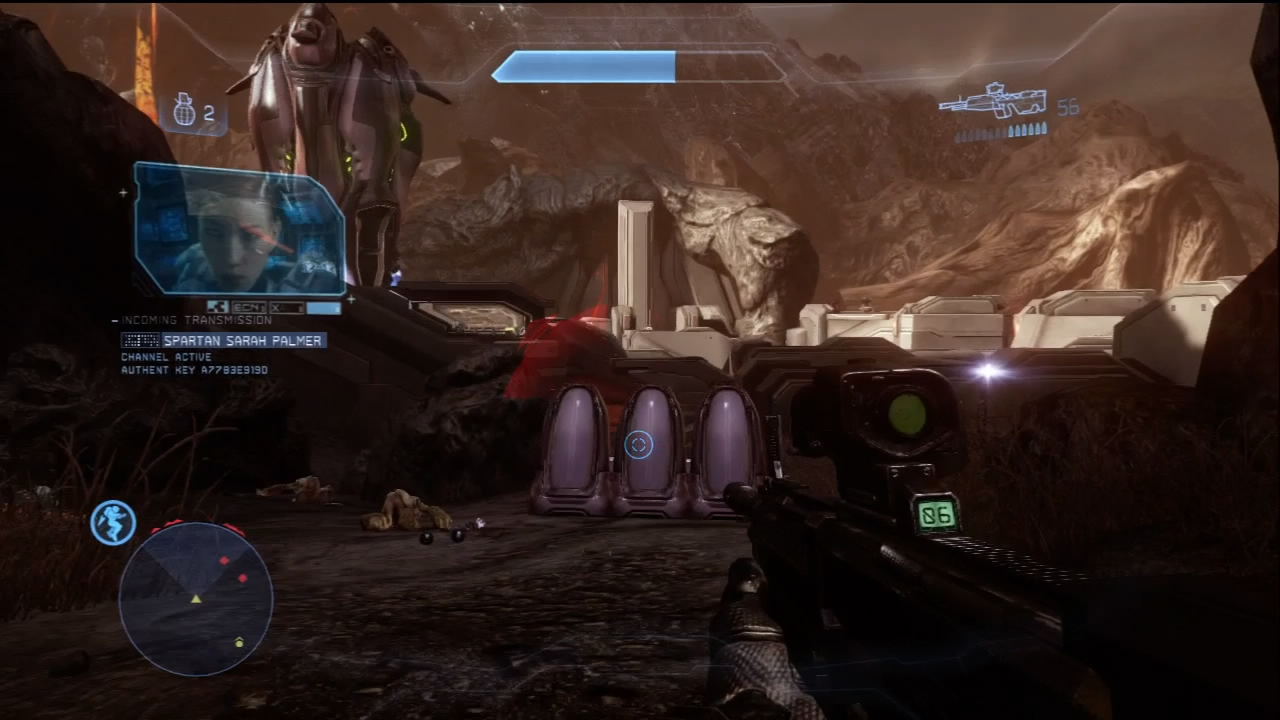
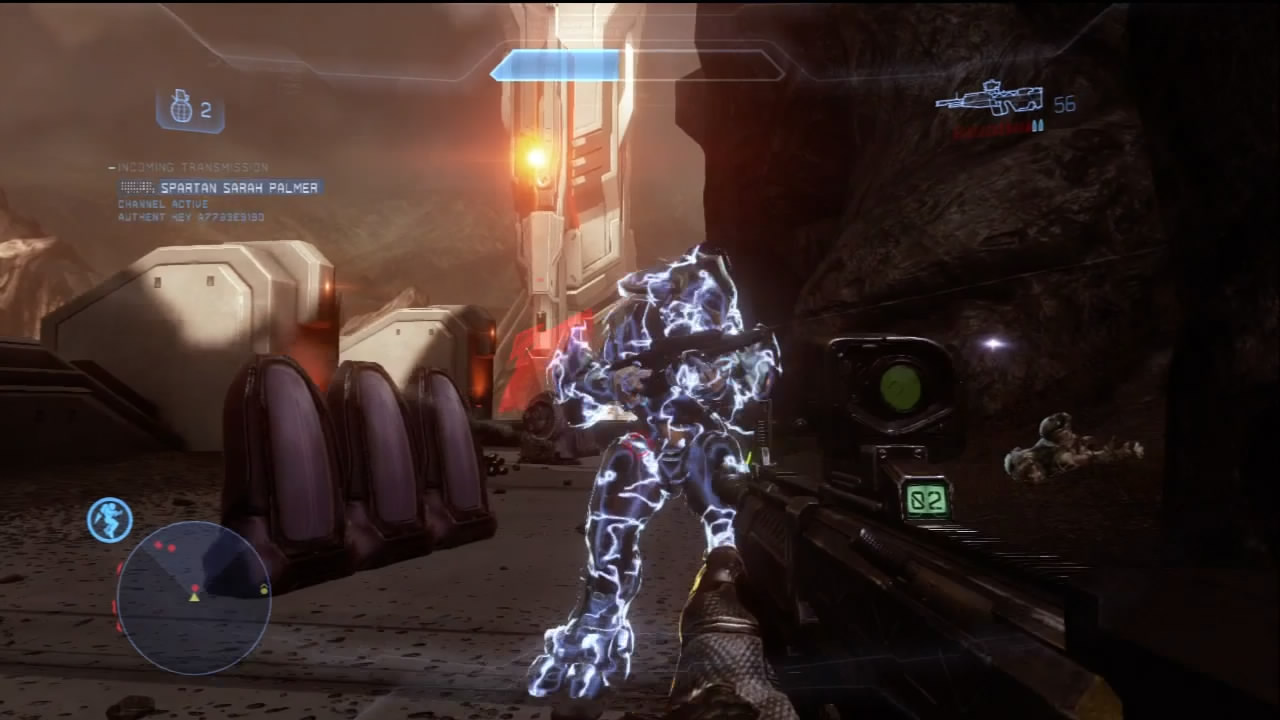
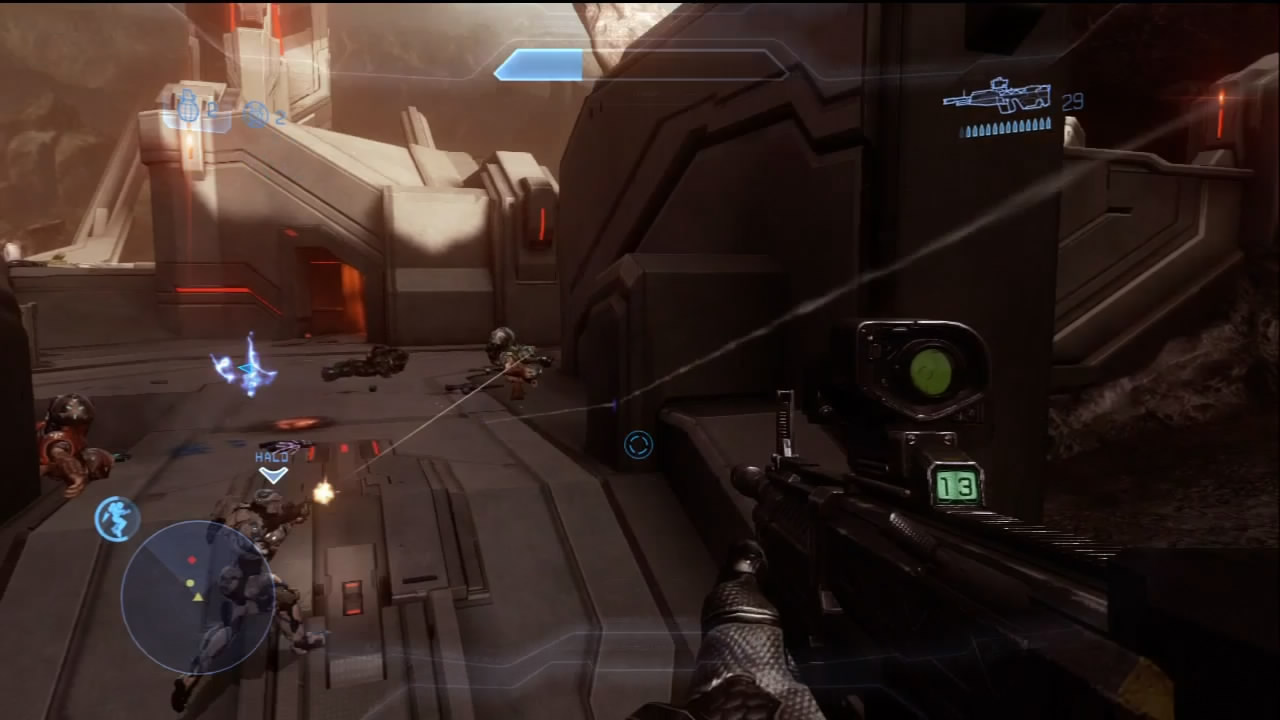
[1] As with the previous mission, the portal has you landing in a new location once again ready to fight. A short distance from your landing point, several Covenant are already in position in hopes of stymieing your advance. If you’re patient at the ramp leading to the first cluster of hostiles, the enemy will expose themselves atop the ramp to shoot at you, making them vulnerable to your counterfire.
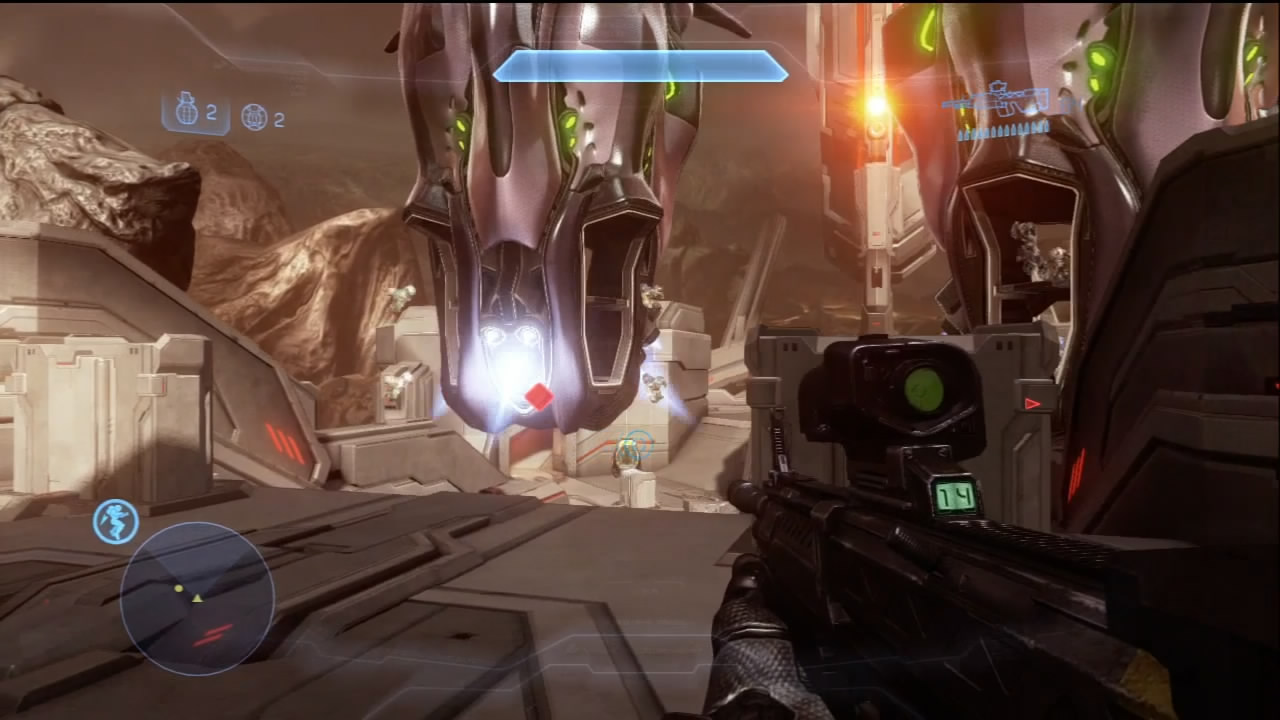
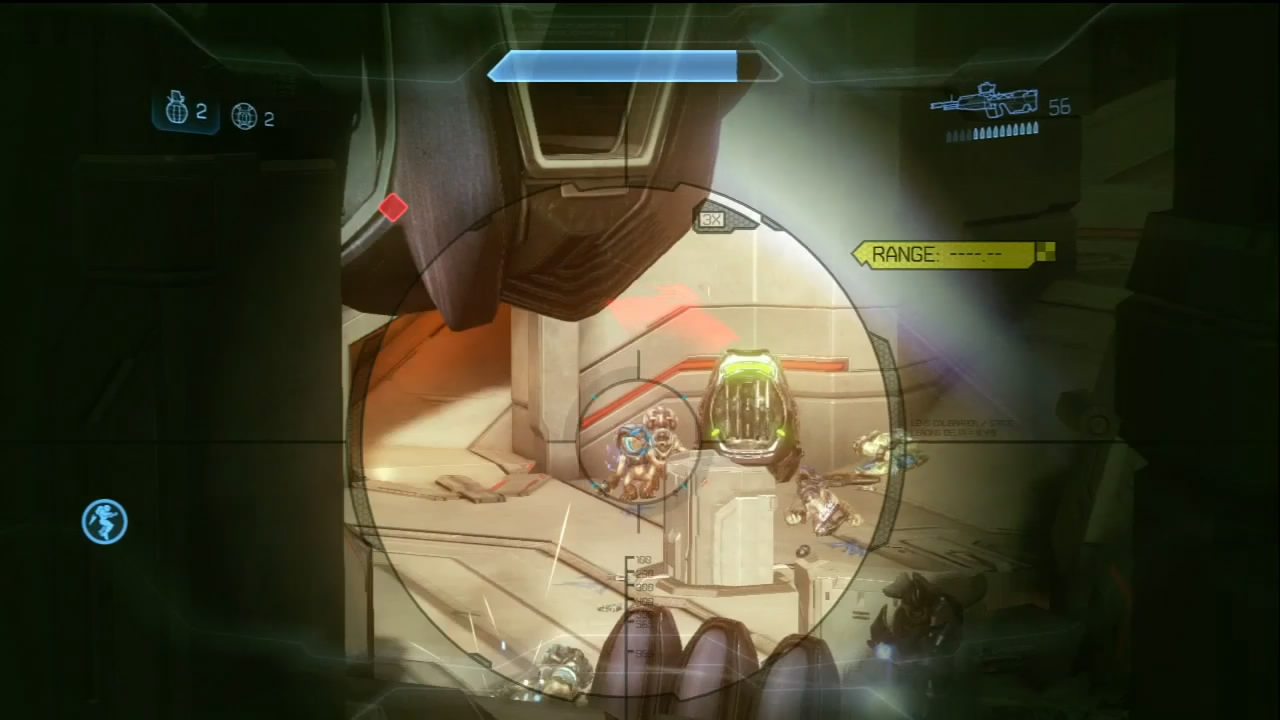
[2] The waypoint to reach Jul takes you to a set of locked doors. While you wait for the Infinity ’s support team to find a way through the doors, four Drop Pods deploy another Covenant force to try stopping you [3]. Stick to the elevated position between the locked doors and the enemy deployment zones [4] and wipe them out. Eventually, the control panels you need to access are marked on your HUD.
Objectives Two and Three: Open Doors, Follow Jul ’Mdama
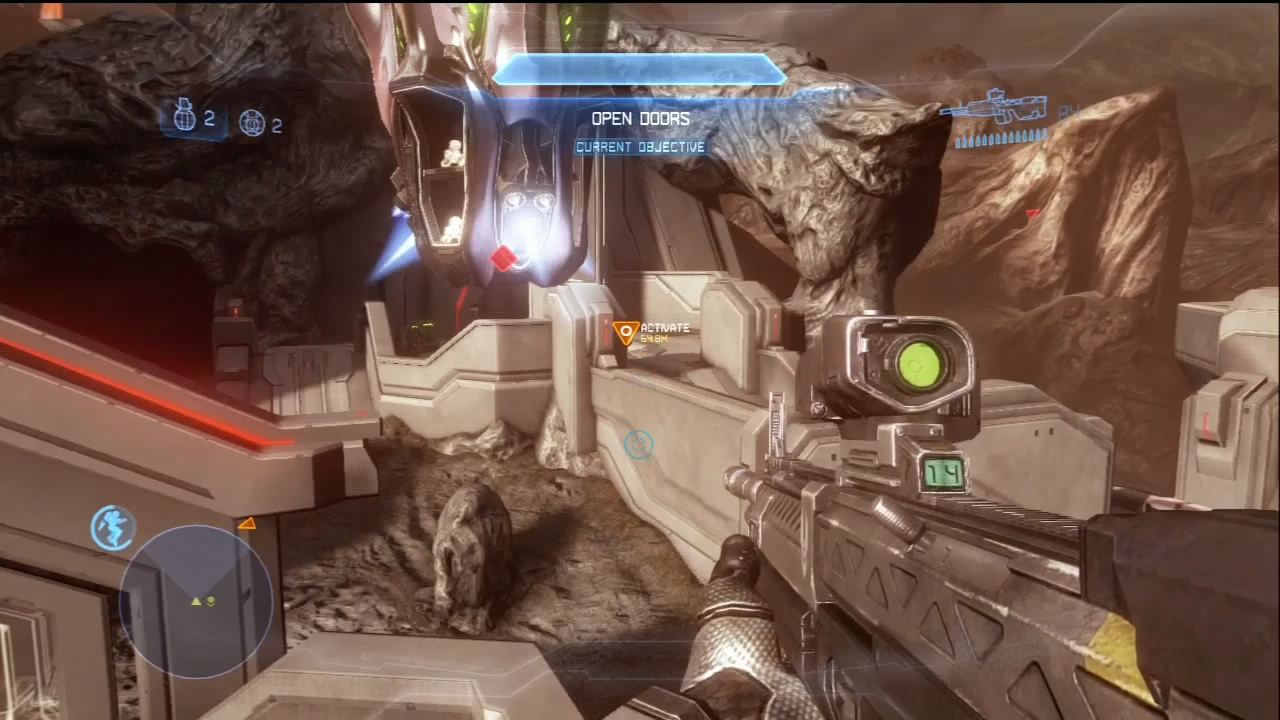
More Drop Pods deploy Covenant at points [1] and [5], flanking position [4]. These enemies will quickly move to block you from accessing the designated control panels. Once you’ve wiped out the hostiles and triggered both controls, you can push through the unlocked doors.
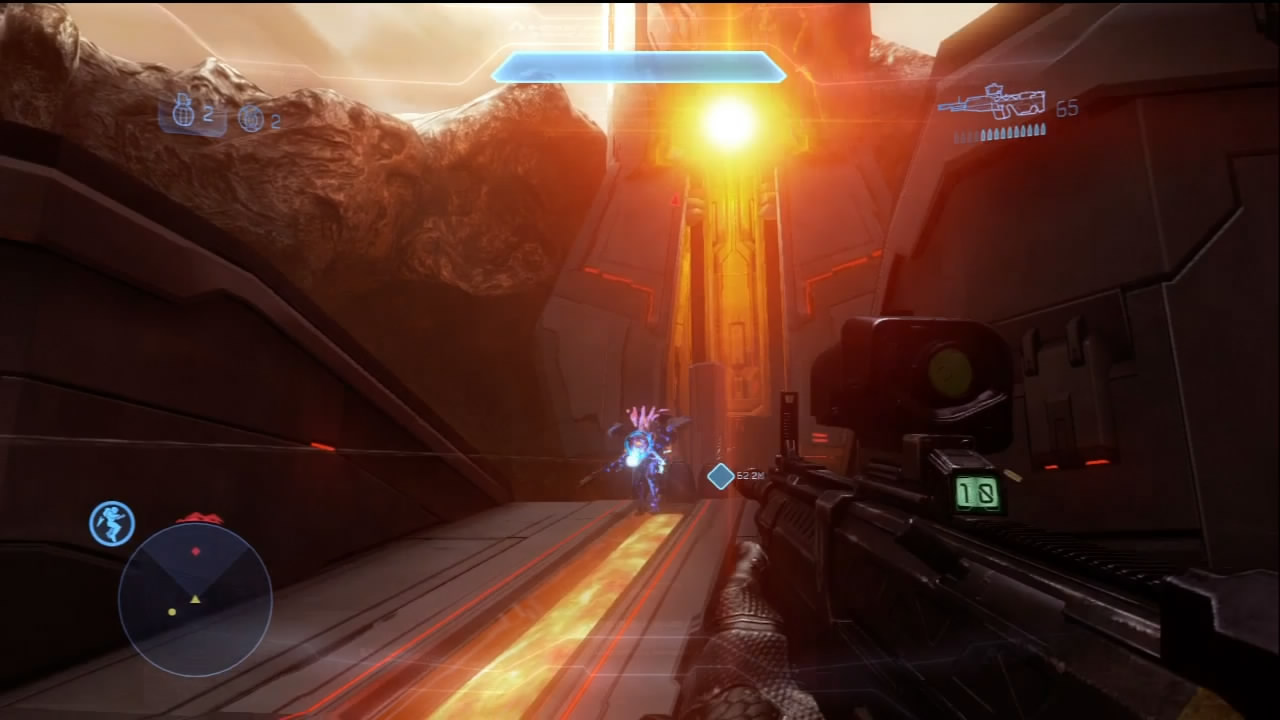
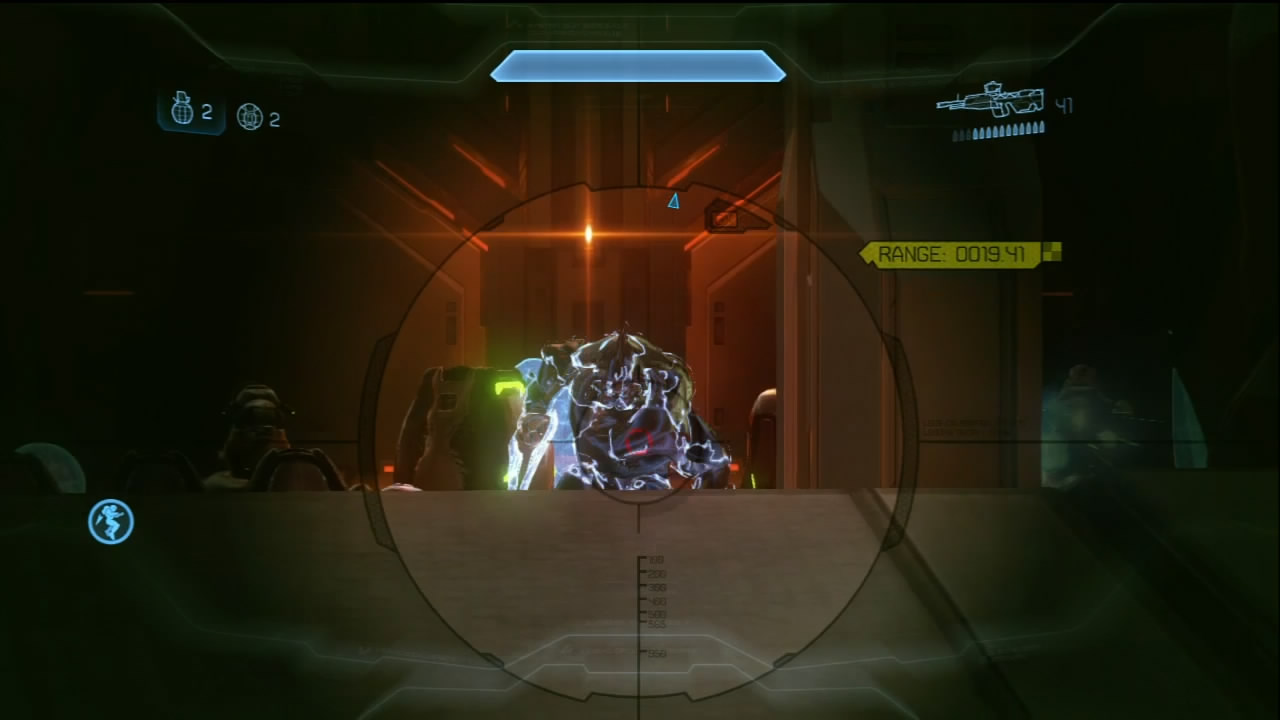
[6] Watchers infest the path beyond the security doors and begin building beam turrets to slow you down. Do your best to prevent this. A Knight will greet you between the locations at which you can set up the turrets. Farther beyond, another Drop Pod deploys more Covenant [7]. This deployment zone also has a pair of Shade Turrets that cover the whole area. Don’t rush up the ramp at [6] or otherwise reveal yourself until you take out the gunners. Expect to do this numerous times unless you destroy the turrets entirely. This can be done with a well-placed grenade or even Fuel Rod Cannons, assuming you’ve recovered them from the enemy.
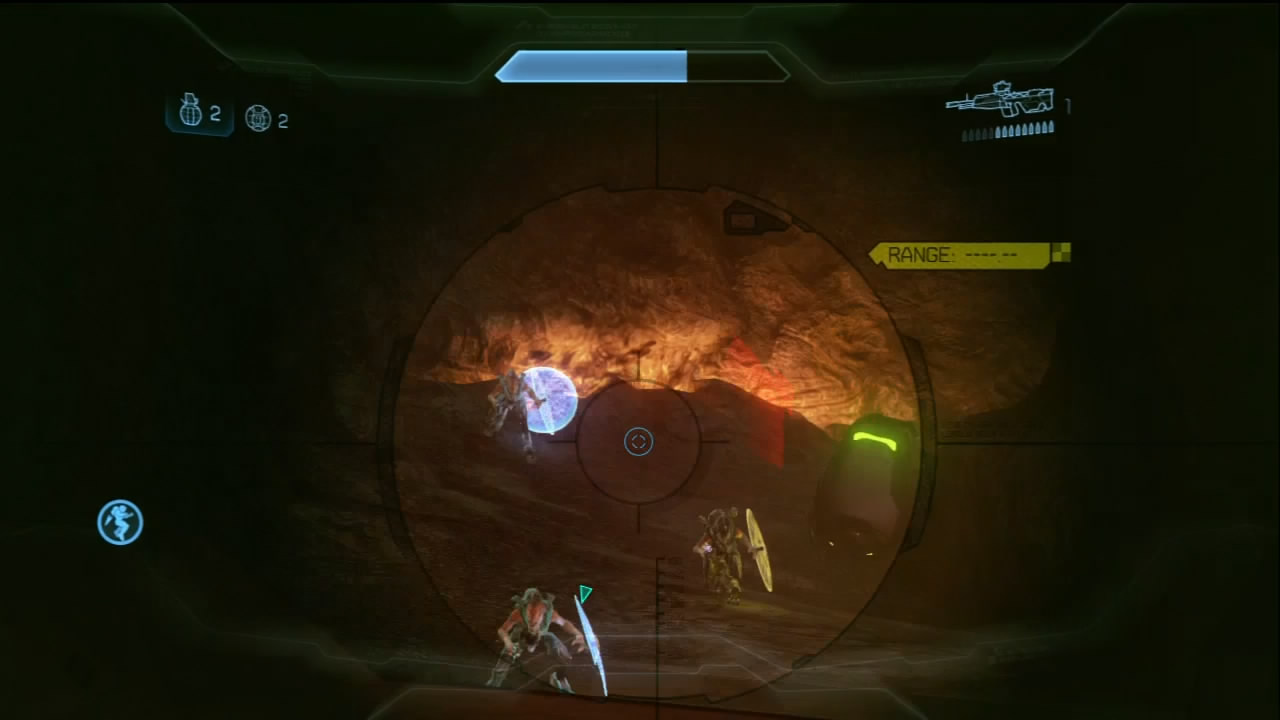
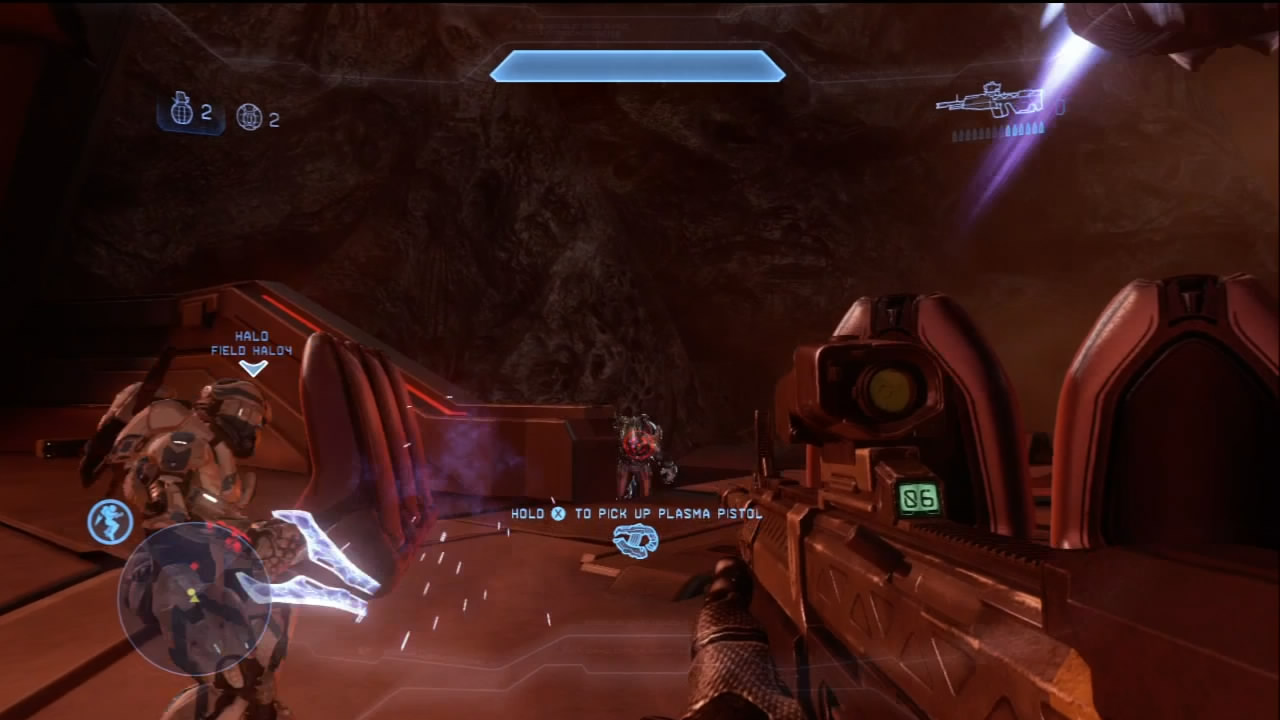
[8] More Covenant are deployed in an area off to the side of the Shade Turrets. Expect the enemy to leap over the barricades to join their brothers in the upper area. Stick to the upper area and let them come to you.
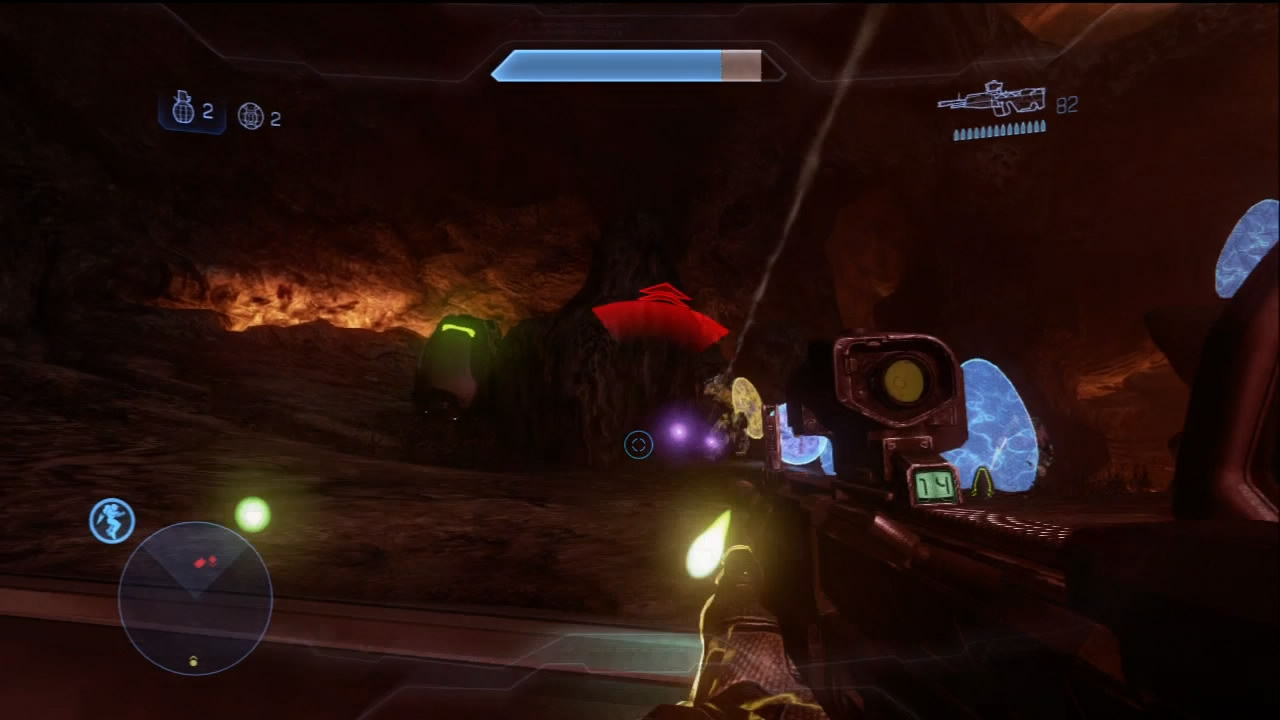
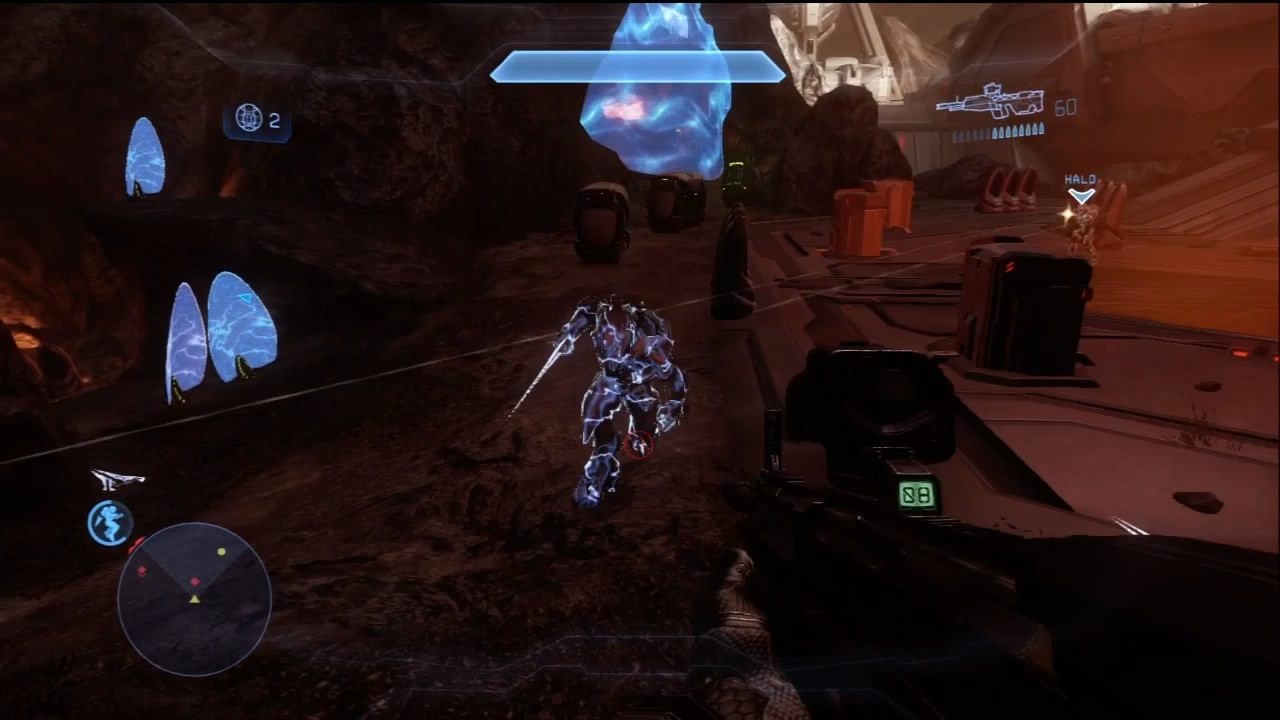
[9] A squad of Elites guards the entrance to the cave system. Be ready for any potential Zealot rushes as you work your way into the area. In the distance, an air strike directed by Commander Palmer fails to kill Jul ’Mdama, and the terrorist escapes your wrath yet again. The strike does encourage more hostiles to stream out from the caves.
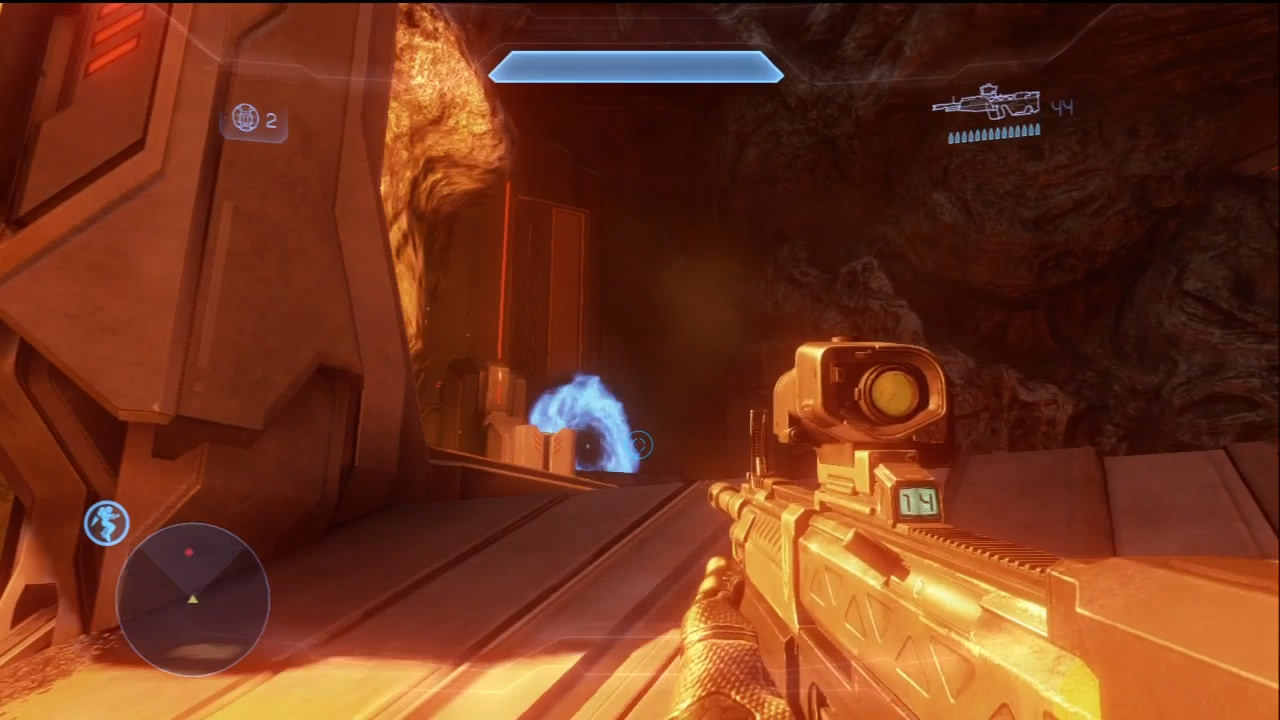
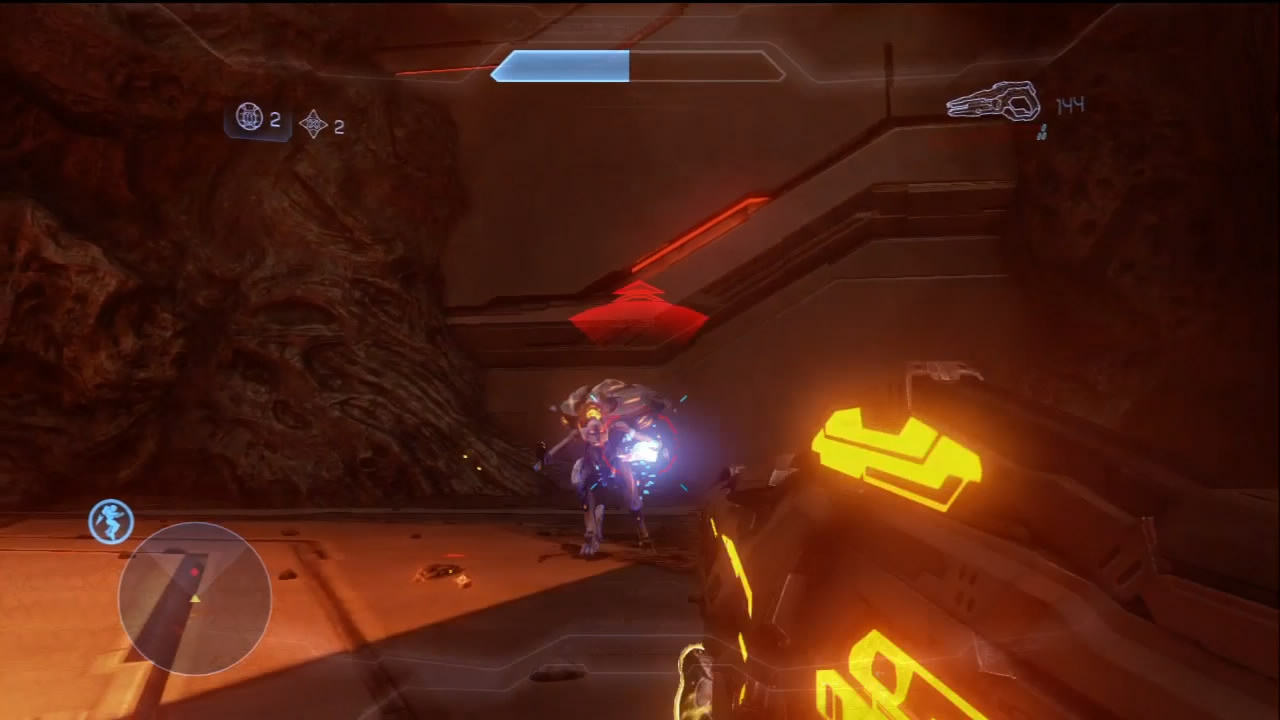
[10] Deeper into the caves, you’ll see the slipspace portal Jul escaped through. As you close in, you’re greeted by Knights and Watchers. Three waves of three Knights will attack you at this location. Once you defeat them, the portal closes.
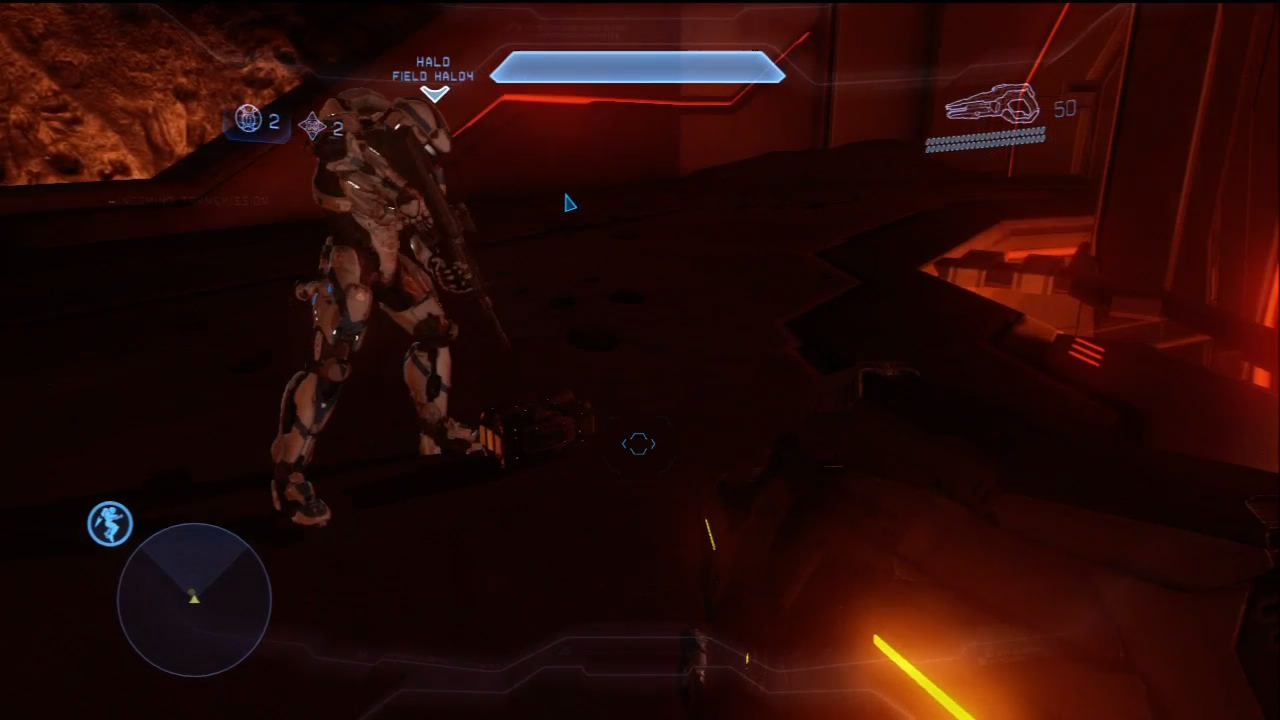
[11] Farther beyond where the portal once stood is a device left behind by Jul, repeatedly referred to in Covenant transmissions as the “Didact’s Gift.” Retrieve the device and wait for Pelican extraction. You’re going back to Galileo Base to have the artifact inspected by scientists. The chase for Jul ends for now, but at least this mission is over.
Chapter Five: The Didact’s Gift
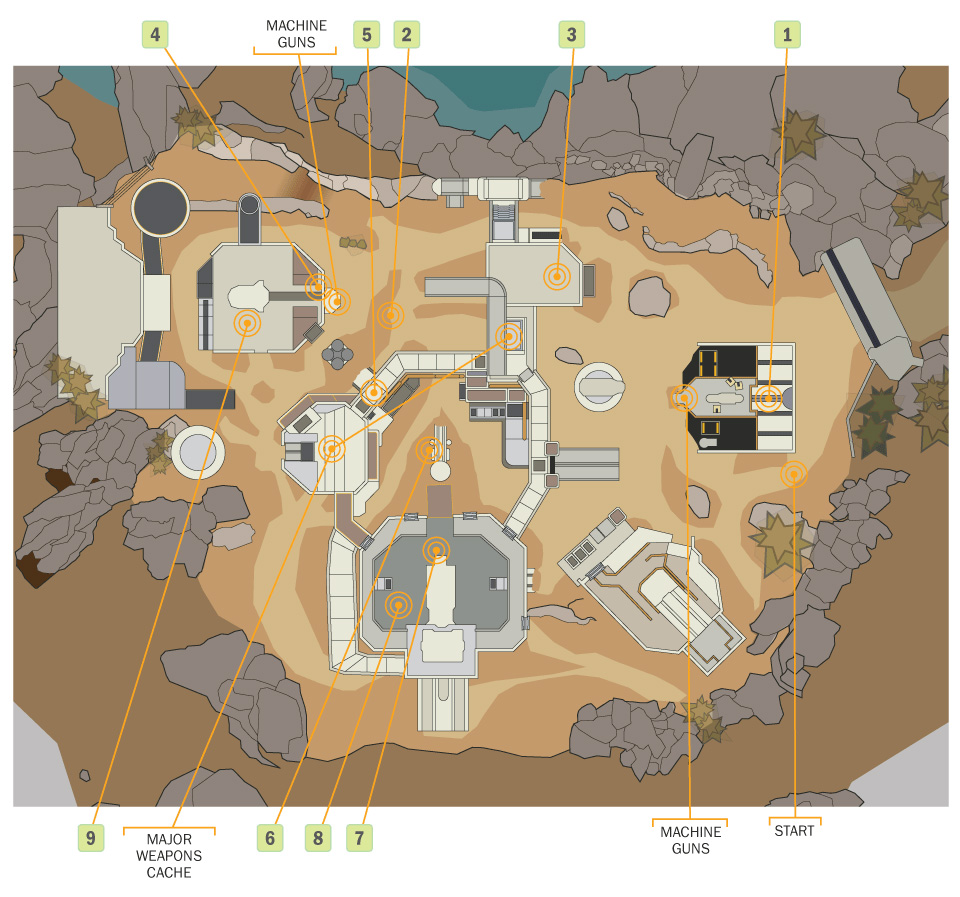
After delivering the Didact’s Gift to Galileo, Crimson prepares to return home to the Infinity for a well-deserved rest. However, something occurs during the scientists’ investigation of the Didact’s Gift, and a group of Covenant storms the base. The long day isn’t quite over yet.
Expect everything to be thrown at you on this mission. The initial assault consists primarily of Covenant in massive numbers. Fight them off and get Galileo’s defenses back online. After shutting down the Covenant assault, secure the local reactor, and be prepared to defend against a large Promethean force that threatens to overwhelm what remains of Galileo Base.
Map Location: Galileo Base
Recommended Loadout
All throughout this map are weapon caches with Rocket Launchers. This should be your backup weapon to help deal with hard targets. Supplement this with the rifle of your choice. We also recommend that you take either the Jet Pack, for positioning purposes, or the Regeneration Field, for when you must hold your position.
Objective One: Defend Galileo Base
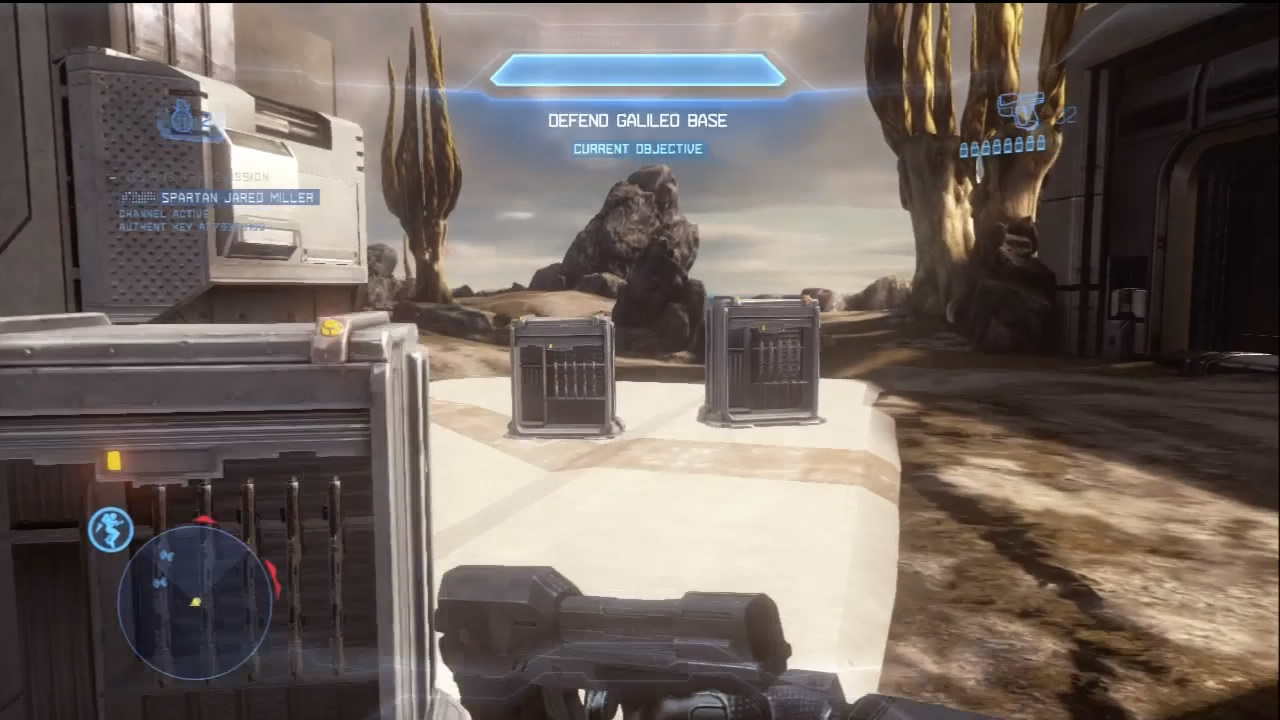
[1] Close to where you begin the mission is a large UNSC weapon cache. This allows you to switch armaments as necessary for the early stages of this mission. You can even find mounted Machine Guns to take into the fray, if you are so inclined.
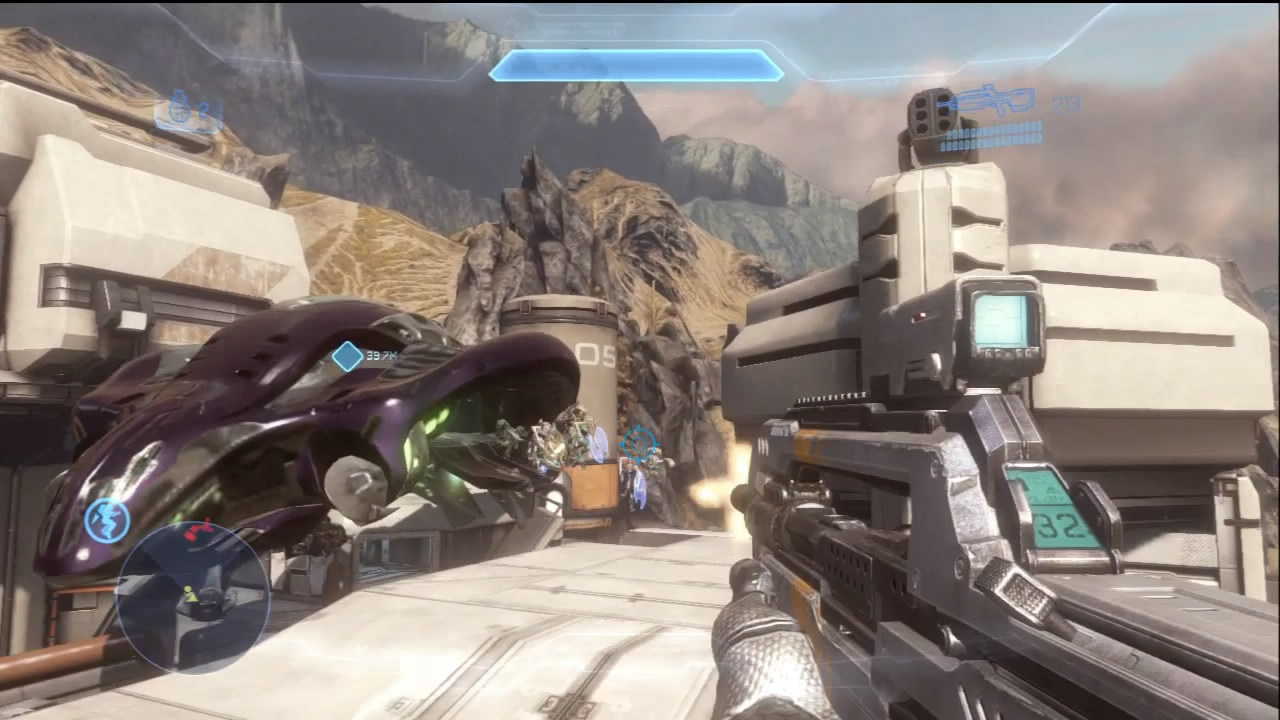
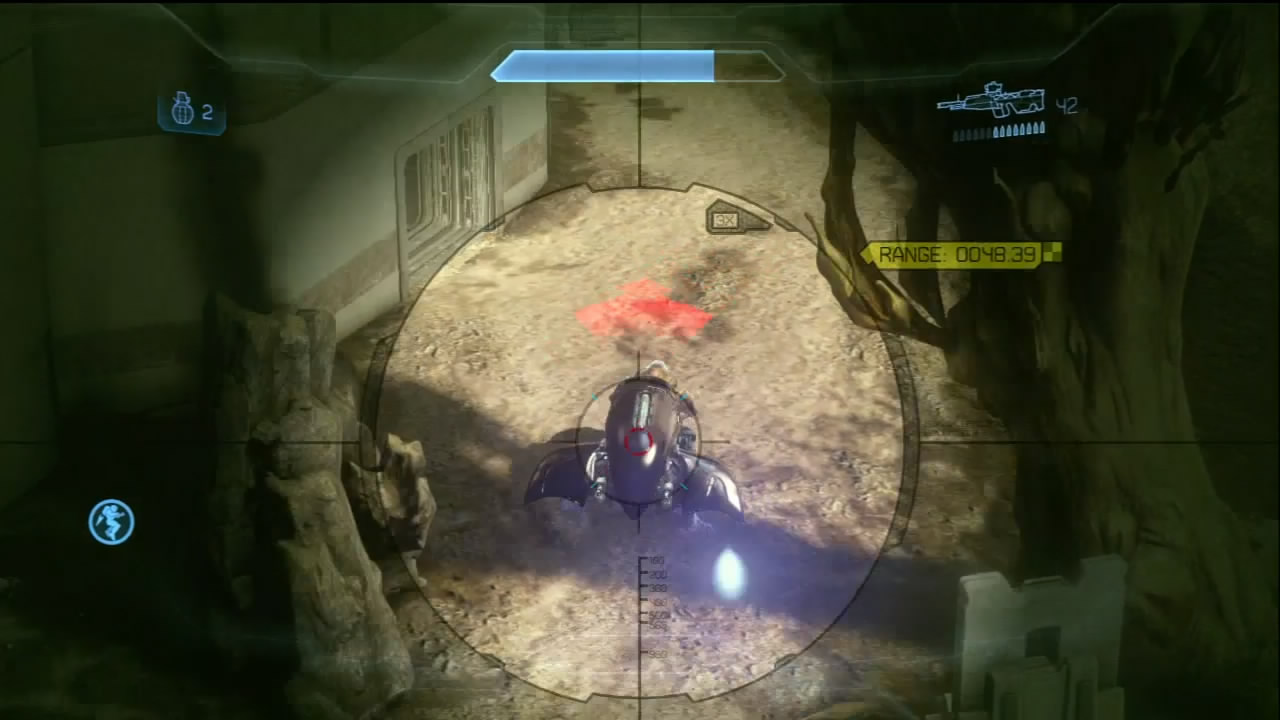
The first group of hostiles, which includes two Ghosts, drops in via Phantom deeper into Galileo Base [2]. More hostiles will join the fray around this location, and your support team informs you that at least a dozen more Phantoms surround the local airspace. You can either destroy the Ghosts or turn them against the enemy. Should you commit to the latter, drive carefully and don’t be caught in the open for very long if you’re facing a large group of hostiles.
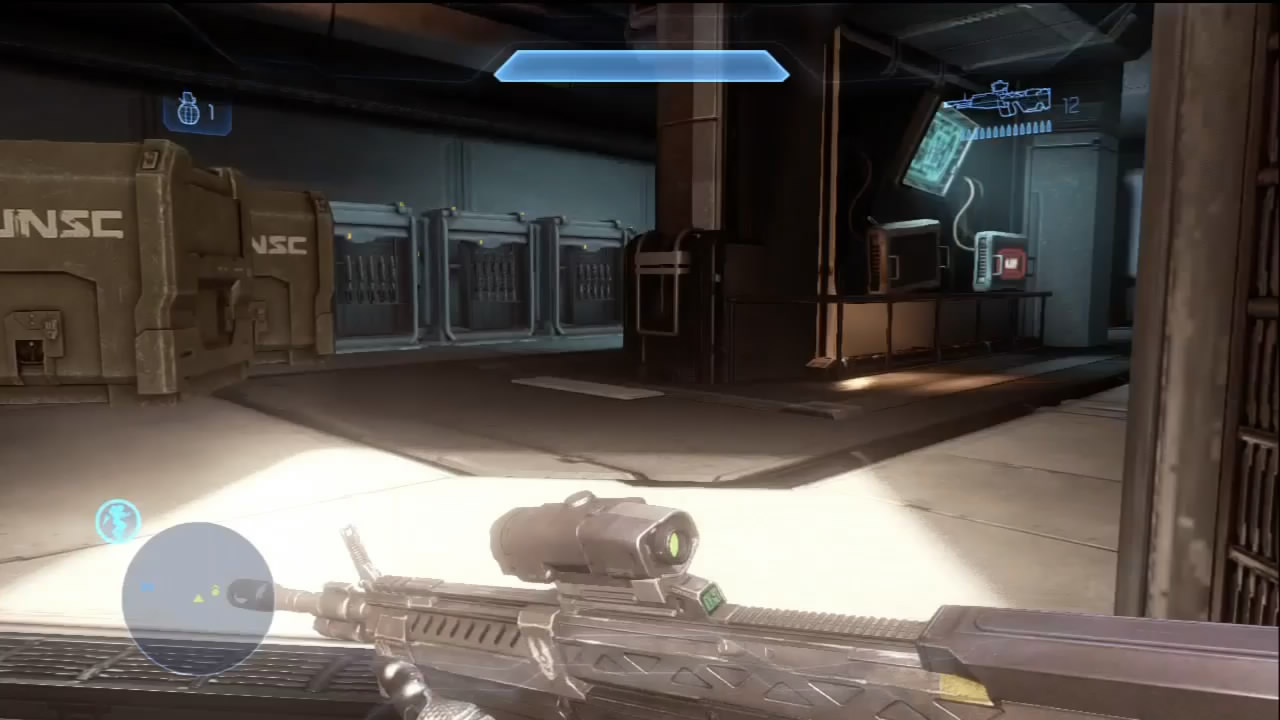
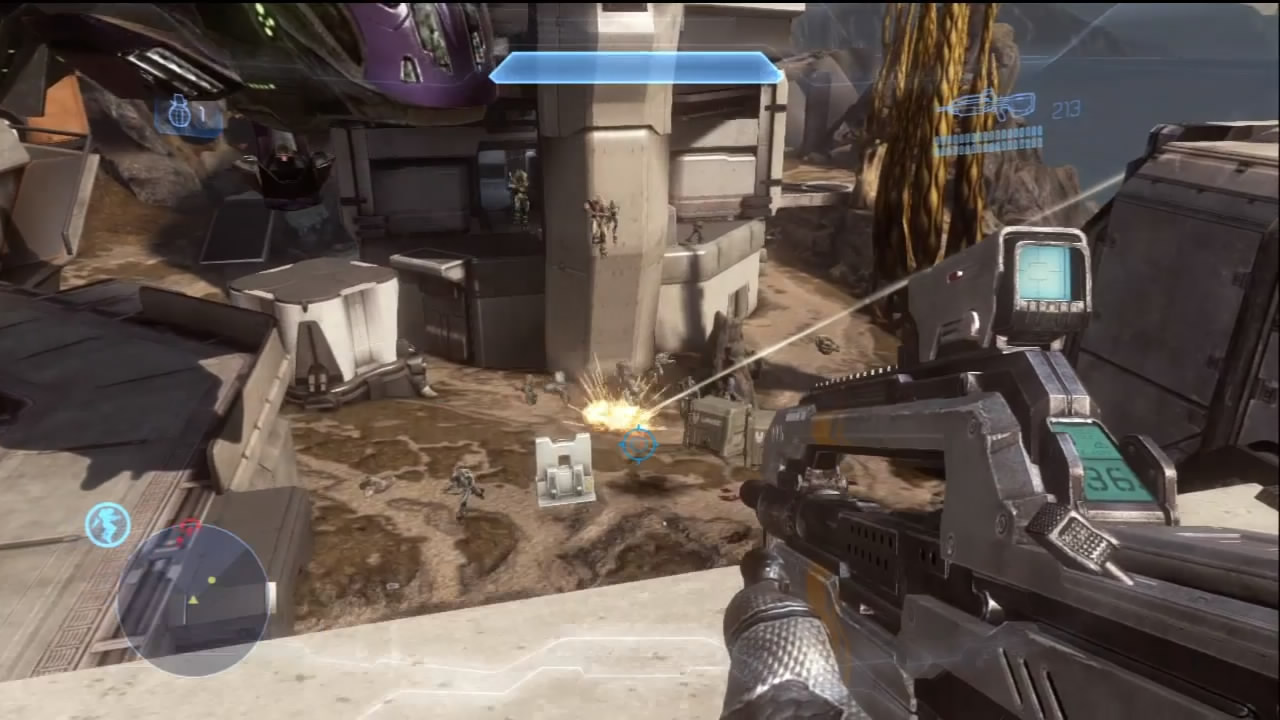
[3] This building contains a substantial arsenal, including Rocket Launchers. You may find yourself returning here over the course of the battle to stay appropriately armed. The roof of this arsenal building makes an excellent vantage point over the early Phantom troop deployments. The building across from this arsenal contains more weapon caches at which to rearm, along with a set of mounted Machine Guns [4].
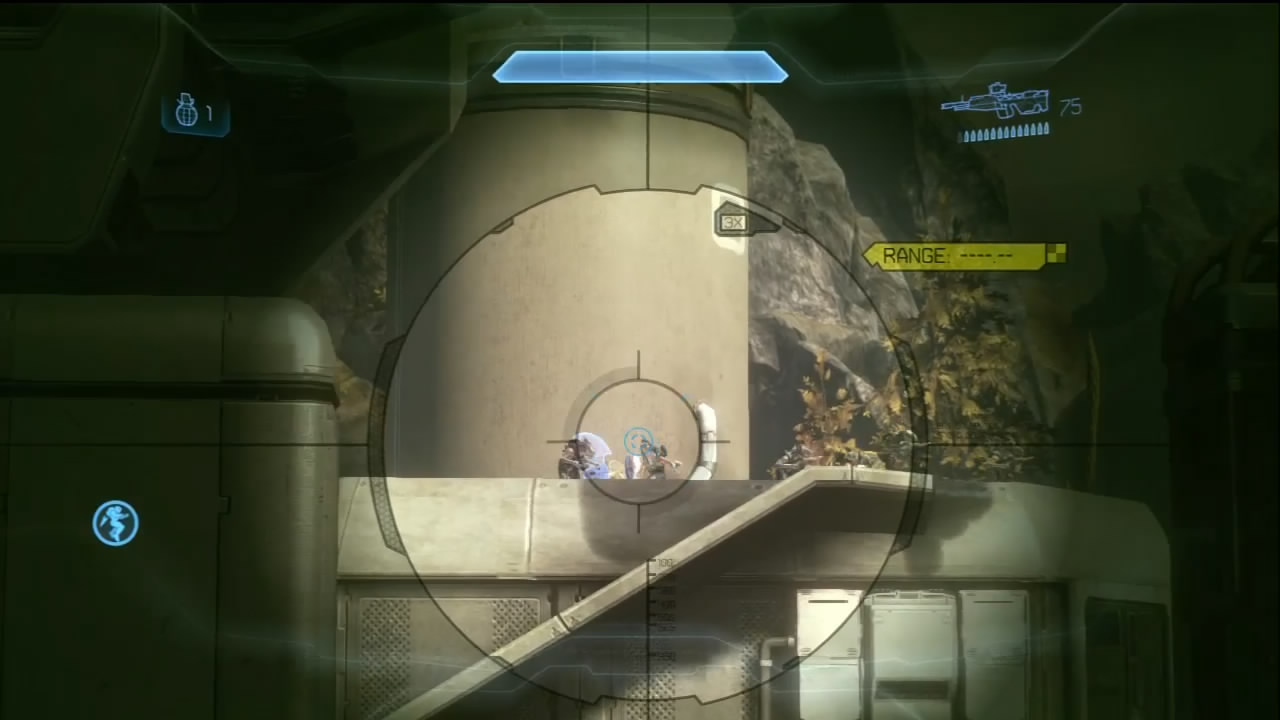
[5] Another Phantom drop will try to set troops on the perimeter walls protecting the central structure’s main entrance. Additional Phantoms continue deploying troops inside the courtyard [6].
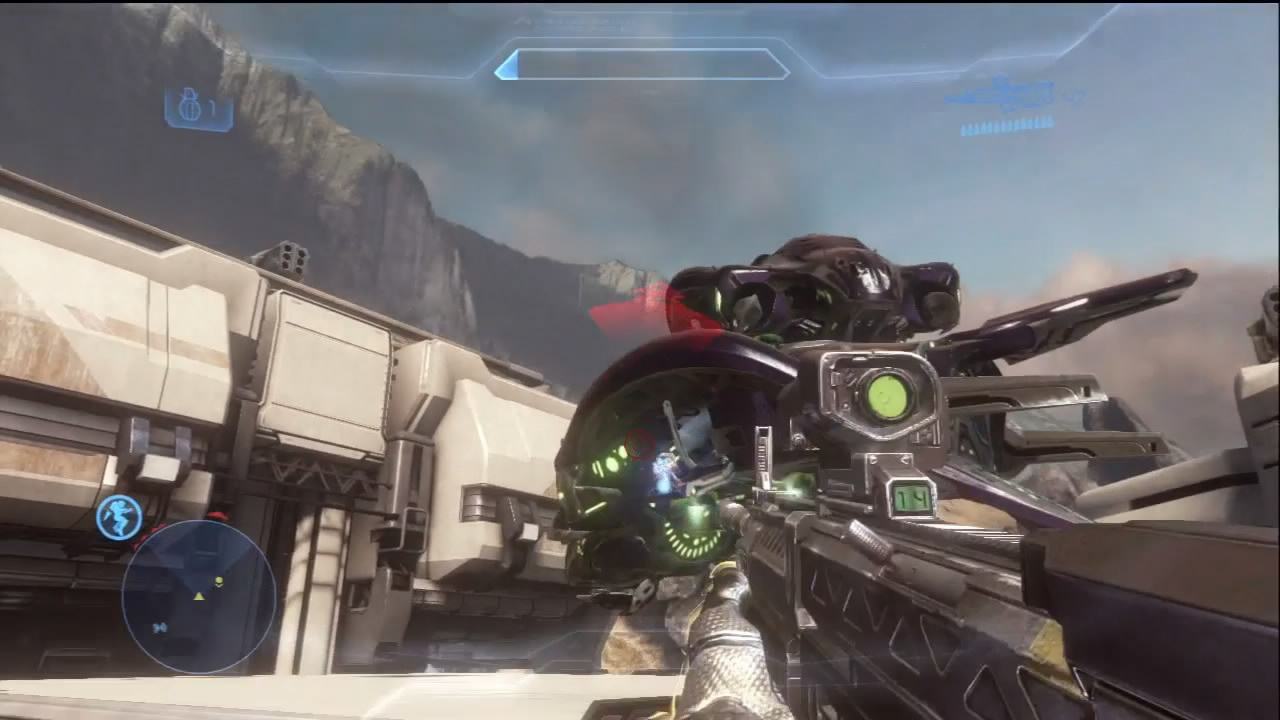
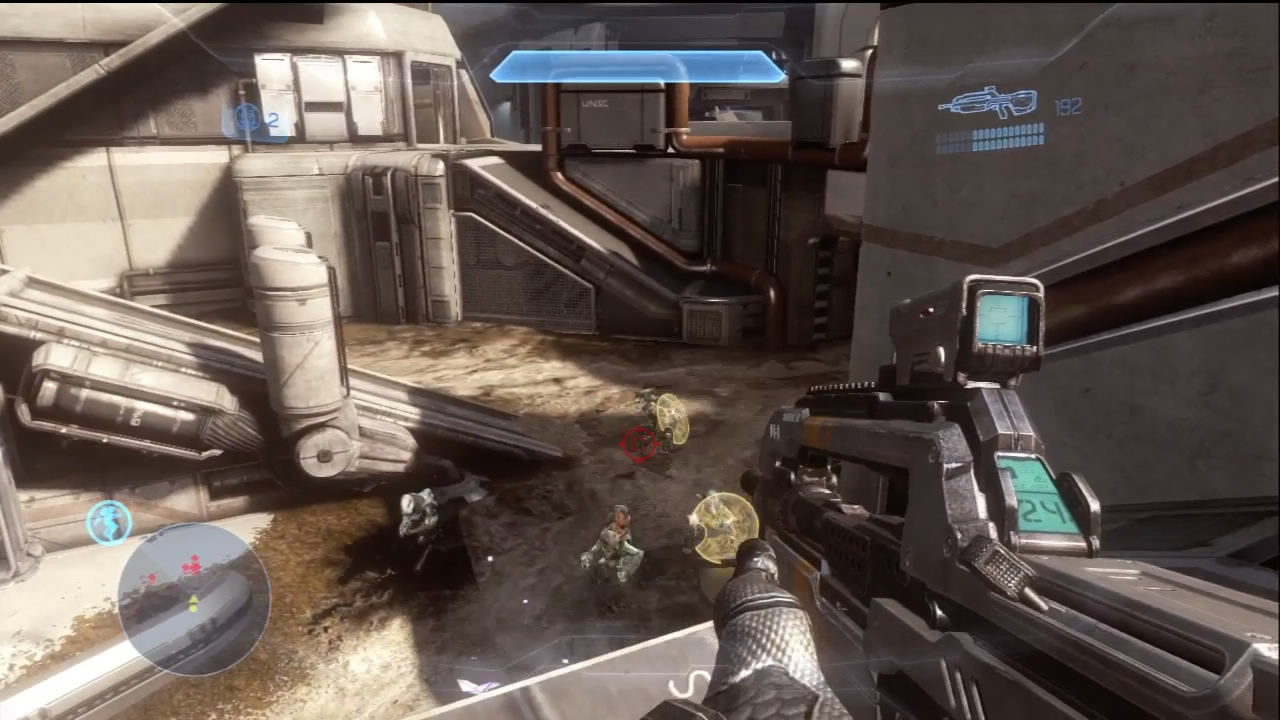
This can be a very tough opening battle. The guns on the Phantoms can really make life difficult while you try to stem the tide of Covenant. At the very least, try to eliminate the Plasma Cannon gunners. If you’re playing with a full team, you can work together to take out the nose-mounted gun on each Phantom, further limiting their effectiveness; however, you’ll probably be too busy fighting off the Covenant ground troops. Some might actually take cover in the main building [7], though you may be able to leave them alone while you deal with the larger numbers of hostiles outside.
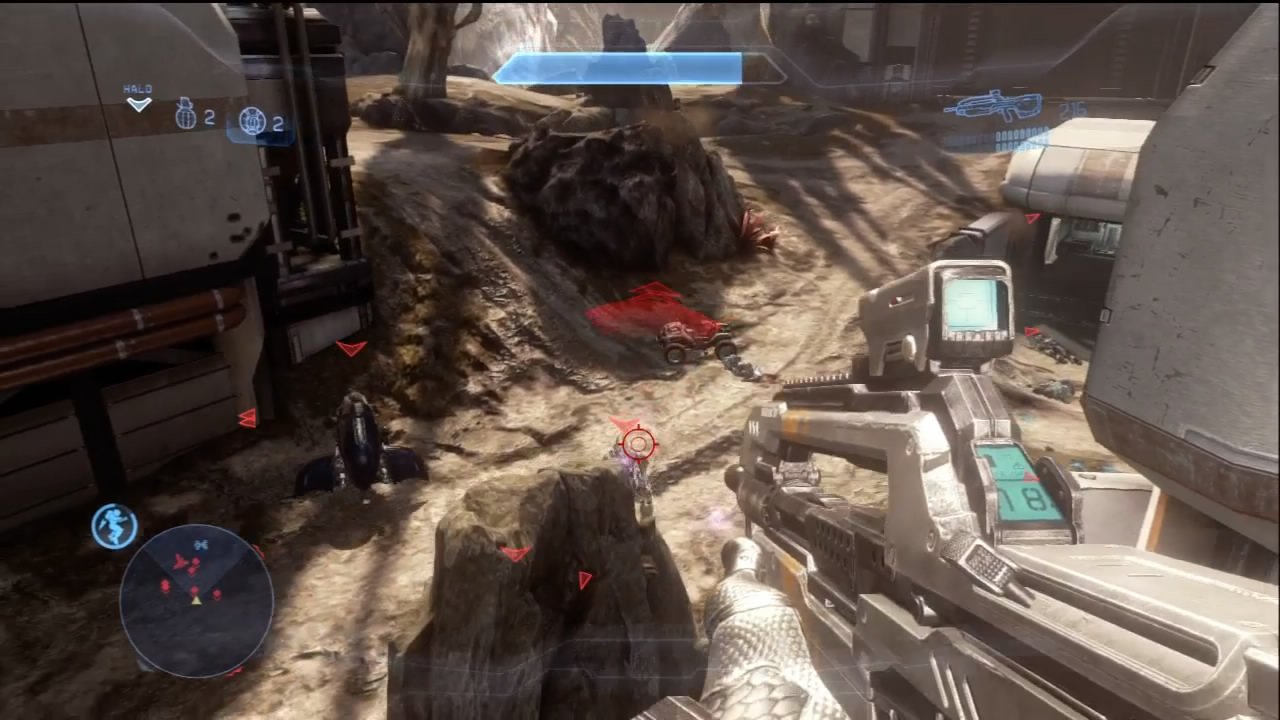
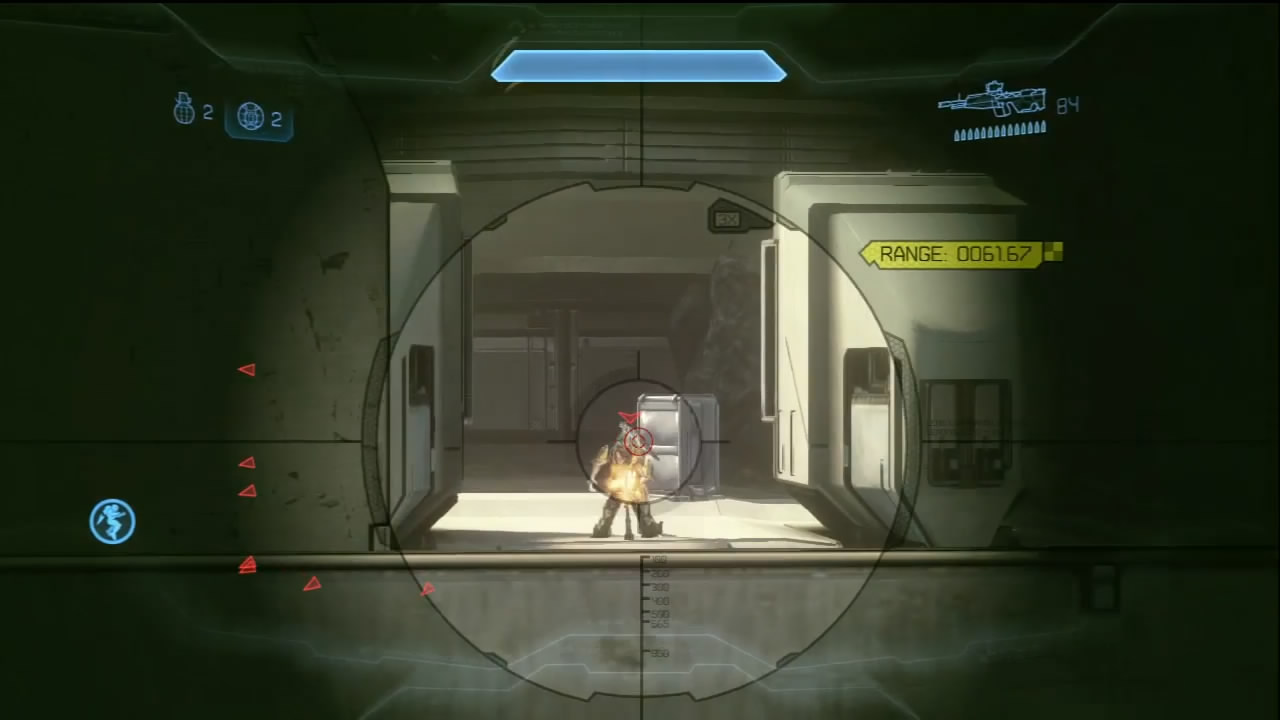
Eventually Phantoms begin deploying troops near the mission start location. This group will include more Ghosts, so consider having a Plasma Pistol at the ready. The enemy is obviously trying to box you in from all sides. This is why it is important to work fast and cull each wave of enemies as quickly as possible to avoid being caught in pincer attacks. With this deployment, any surviving Covenant will be marked on your HUD to help with hunting them down. Be aware that the Covenant may try to man the mounted Machine Guns!
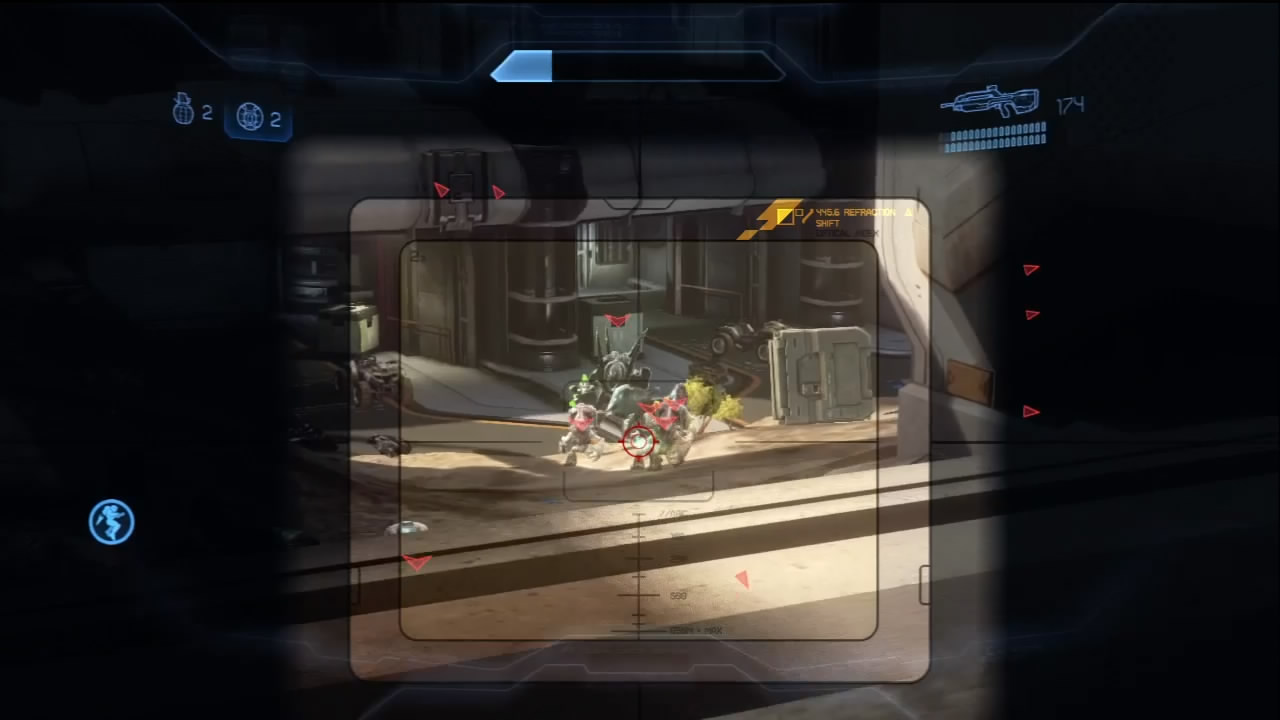
Additional troops will be deployed next to the arsenal building, bringing Hunters into the mix. If the pressure gets too much, you can always fall back toward other structures. The situation is getting out of hand, however. It’s time to get the base defenses back online.
Objectives Two and Three: Activate Base Defenses, Kill Remaining Enemy Forces
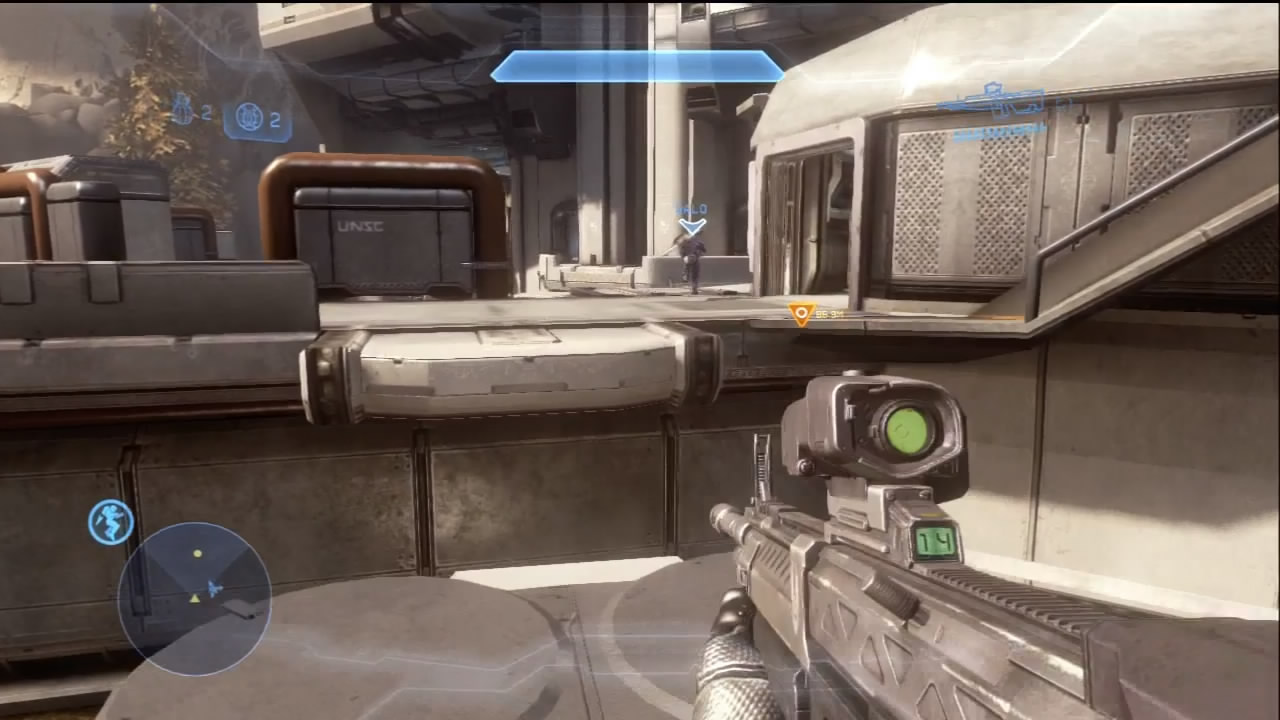
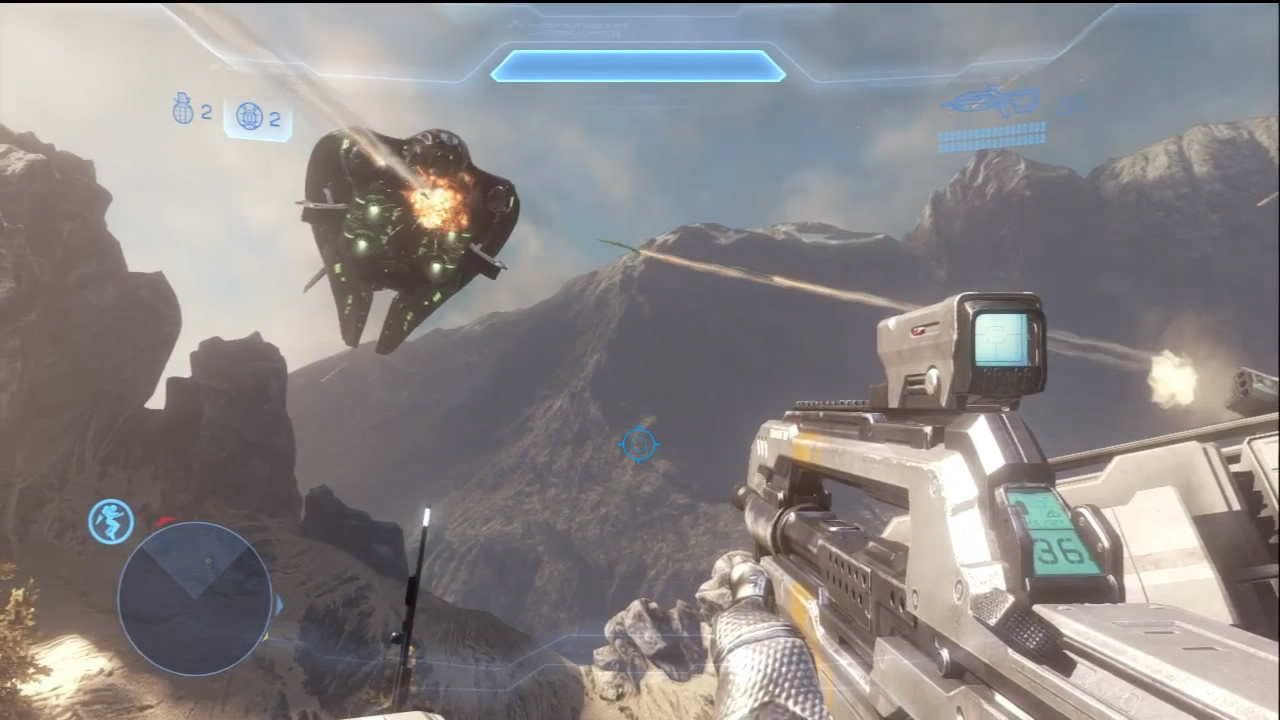
[8] Run into the main building to activate the controls for the perimeter defenses. This starts to clear the skies, but there may still be hostiles you must deal with before Galileo is secure. The local missile defenses begin blotting Phantoms out of the sky during this time.
Objectives Four and Five: Activate Reactor, Destroy All Enemies
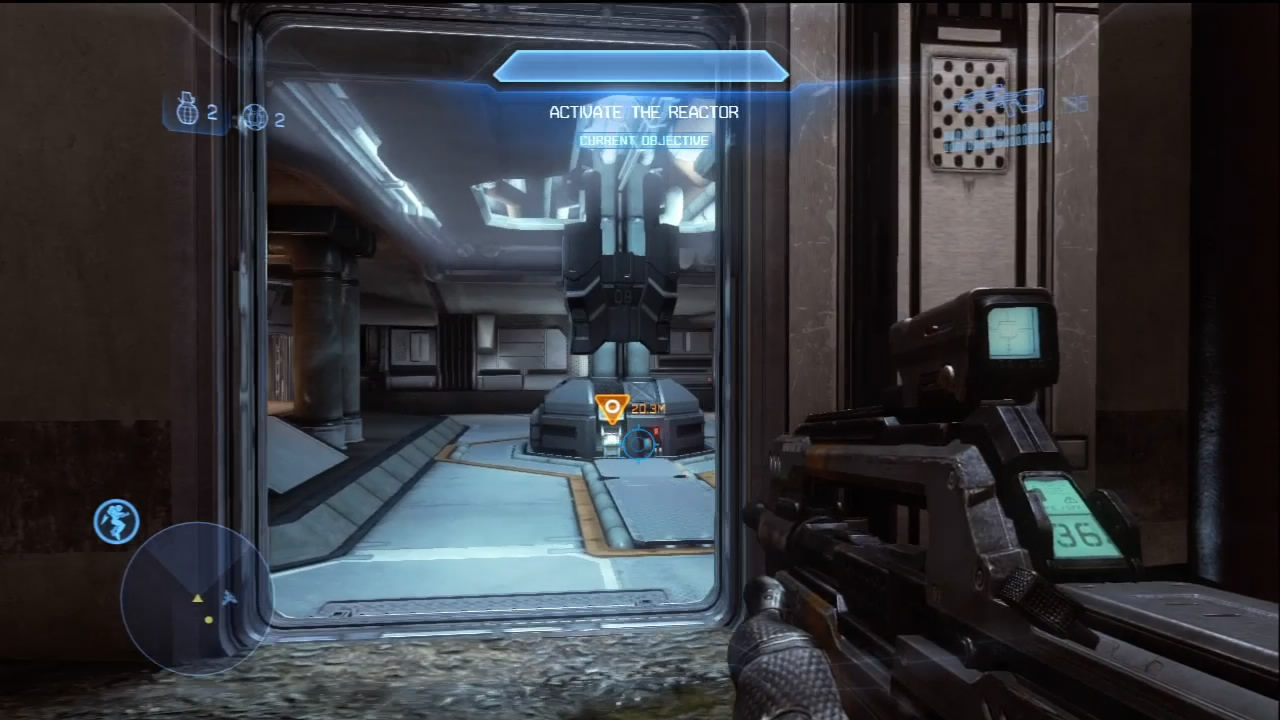
[9] Reactivating the guns have turned off an important reactor, and if it does not get powered on, Galileo Base will be little more than dust and echoes. Get the reactor back online!
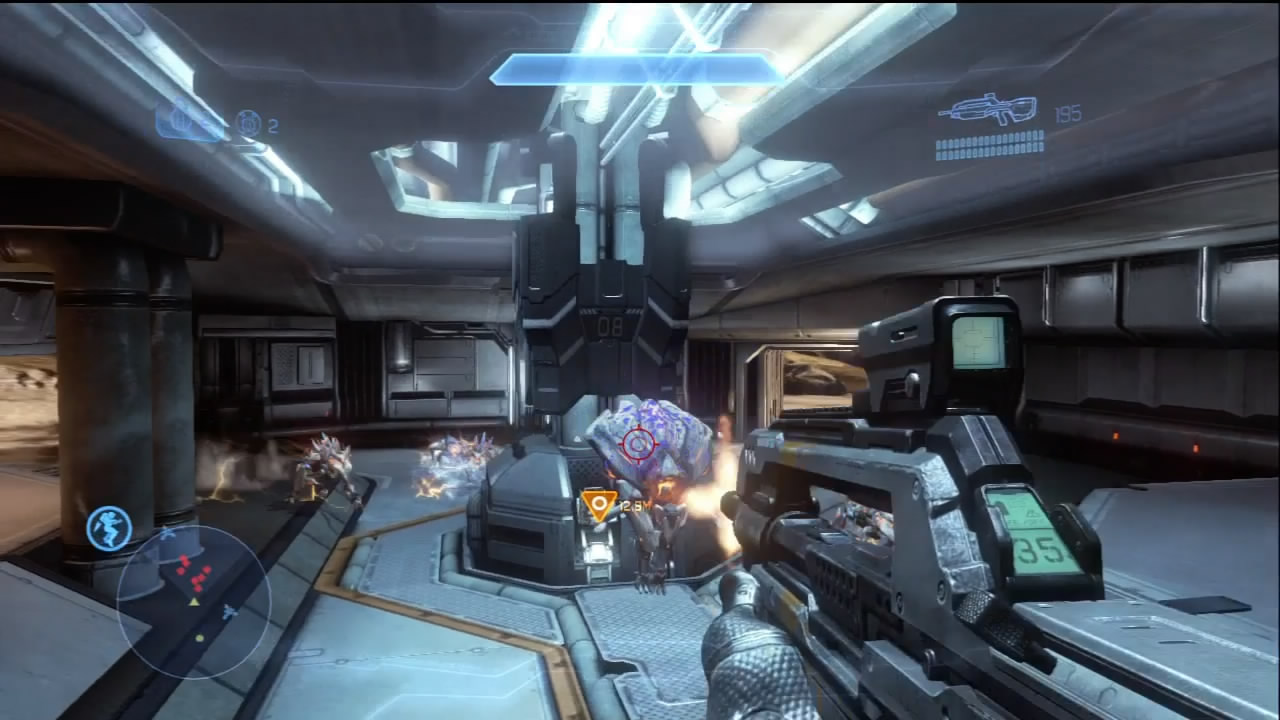
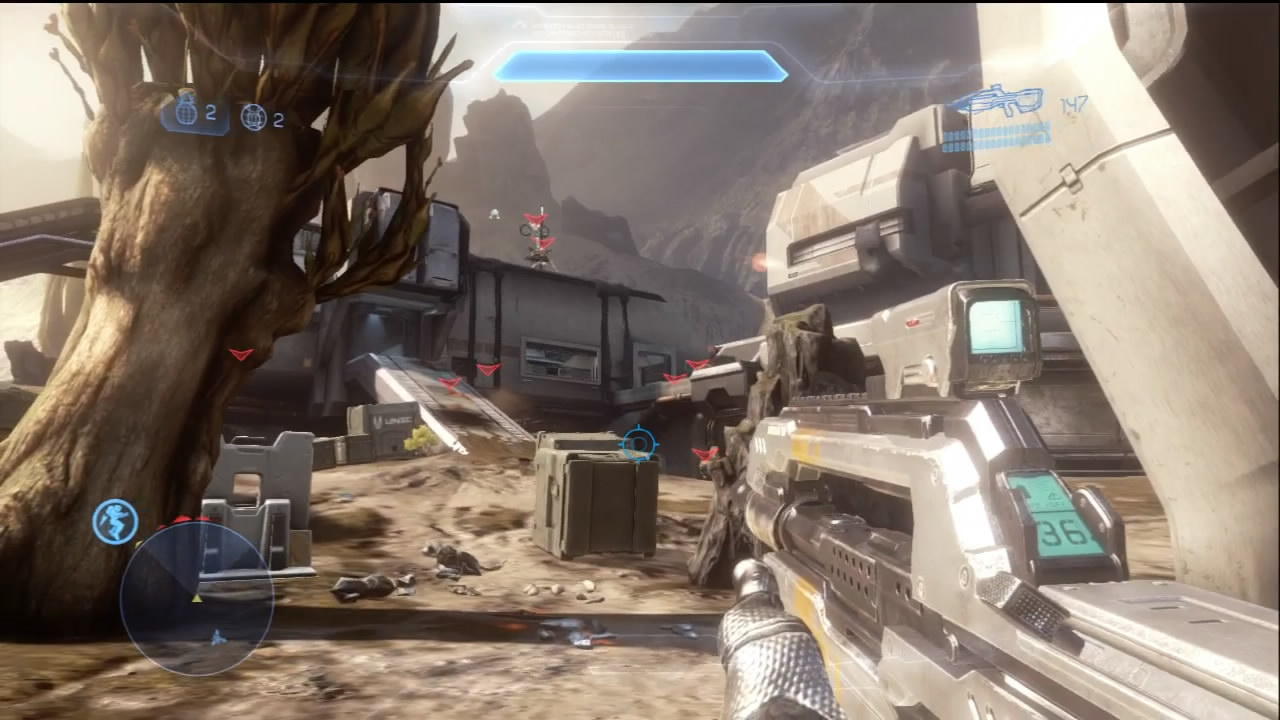
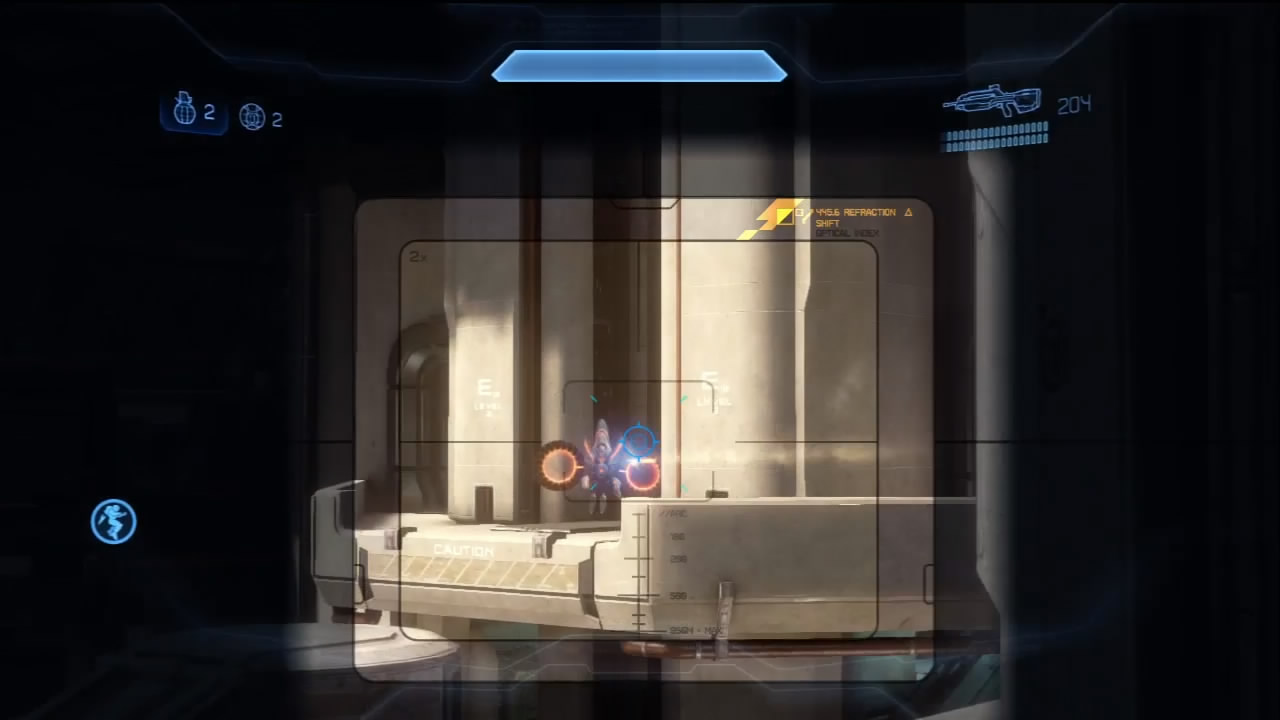
Complications with this objective arise when a squad of Promethean Knights and Crawlers teleport right in front of the reactor controls. Destroy them and get the reactor switched on. This causes Prometheans to warp into positions spanning all of Galileo Base. Expect all manner of Knights and Crawlers, and be especially on the lookout for the telltale signs of a Binary Rifle–equipped Knight or Crawler. Early on, you may want to stick to the reactor room and use the structure for cover while you pick away at the enemy in relative safety. Of special note is the Knight Lancer on the roof of the arsenal building [3].
During this time, try to take out Watchers on sight to prevent them from reviving their allies.
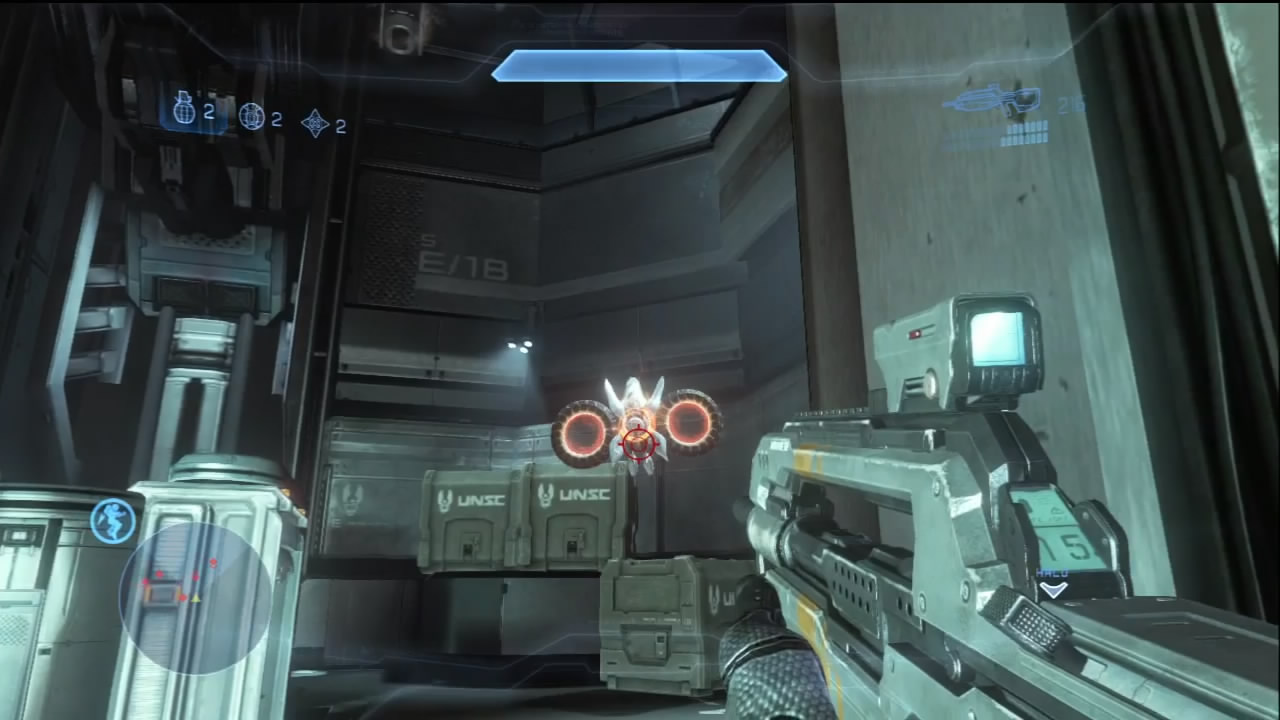
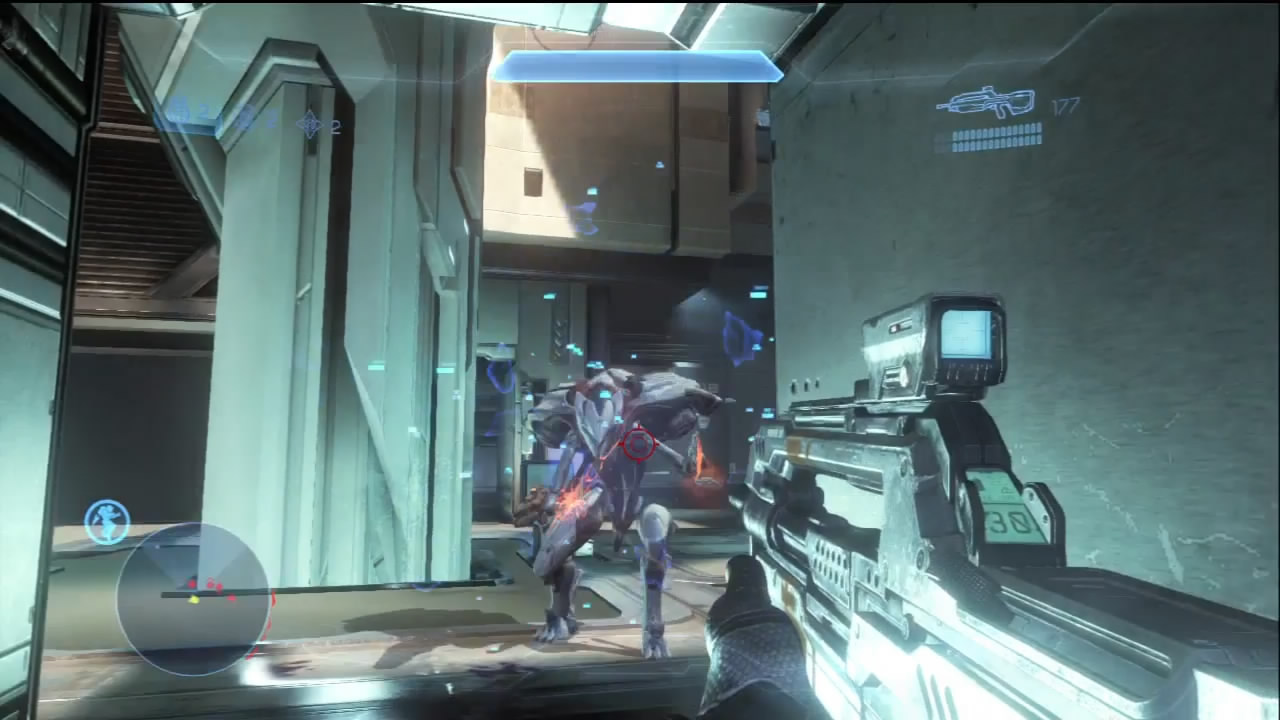
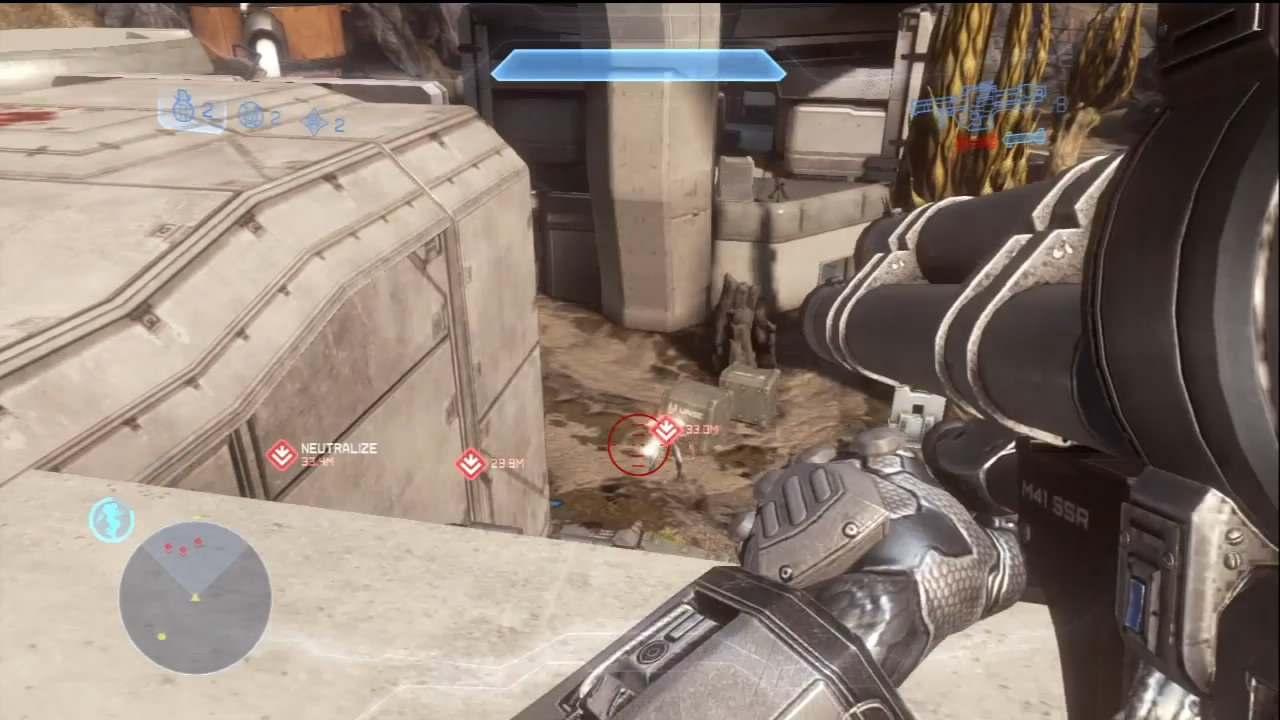
More Prometheans teleport into the main building. This group is filled with Watchers [8]. Deal with them accordingly. The corridors in the main building are fairly tight, so be careful that Knights don’t cut you off. Meanwhile, another wave of Prometheans teleport into the base exterior. Fortunately, Fireteam Majestic is almost at the station in a Pelican to help get the Didact’s Gift out of Galileo Base. Eventually, Commander Palmer will call out one final squad of Knights and Crawlers, marking them on your HUD. Wipe out this last gasp of the Promethean offensive, and the area will be safe for the Pelican to extract Fireteam Crimson and the artifact. The mission is finally complete!