
Vortex
ONI personnel remain convinced that these ancient structures somehow harness the planet’s torrential wind for power.
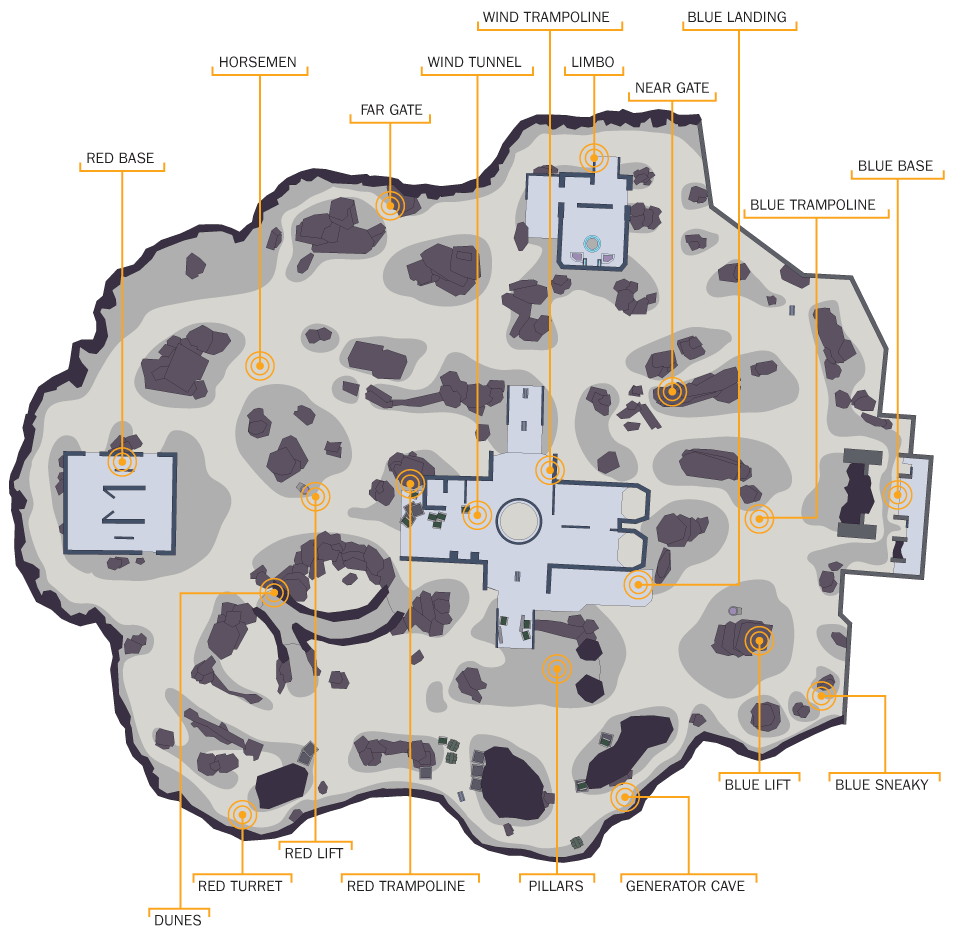
Choke hot spot: Expect high traffic, numerous enemies, and a well-used thoroughfare. Combat usually occurs here, and the location may be watched by enemy snipers.
Danger hot spot: This is an area of ground that is difficult to defend, has poor visibility for shooting angles, is sunken or low to the ground, or is in the open. Expect to be shot at if you’re here. Avoid if possible.
Mirrored hot spot: This location features an identical (or mostly identical) facsimile, almost always on the opposite side of the map. Expect tactical advice to be the same for both locations. Usually these are “blue” and “red” variants of a hot spot.
Sniper hot spot: This location is excellent for sniping, as it has numerous angles and views across much of the map. Expect long-range fire from these areas.
Hot Spots
1. Blue Base
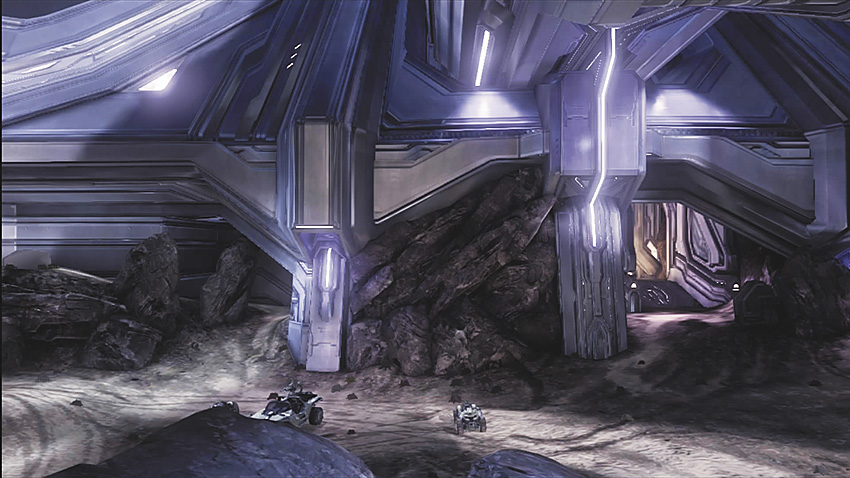
This is good to hold if you’re retreating from a battle. Draw your opponents in and use the cover inside to your advantage. Use grenades at the entrances to weaken foes trying to storm your position.
2. Blue Landing
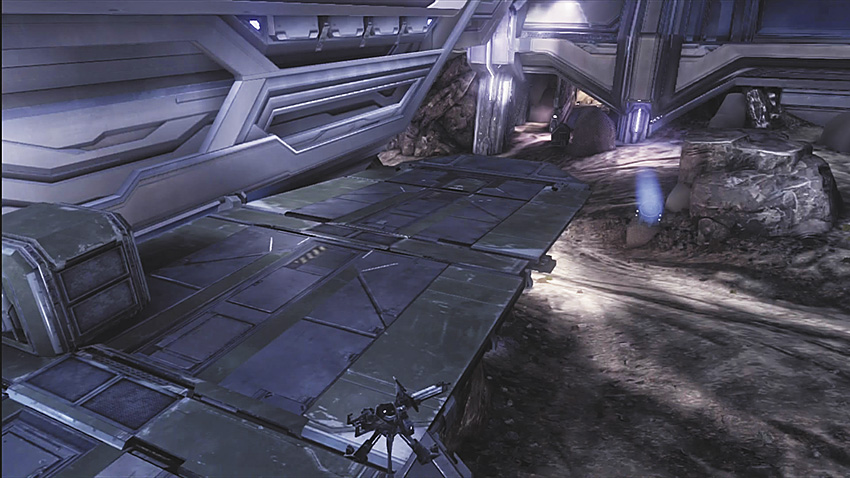
This is an exceptional place to hold if you’re on the red team and have the blue team trapped at their base. Take proper cover while aiming at foes around the Blue Lift (3) and Blue Sneaky (4). You always have the option to run into the Wind Tunnel (18) to recover if you’re low on shields.
3. Blue Lift
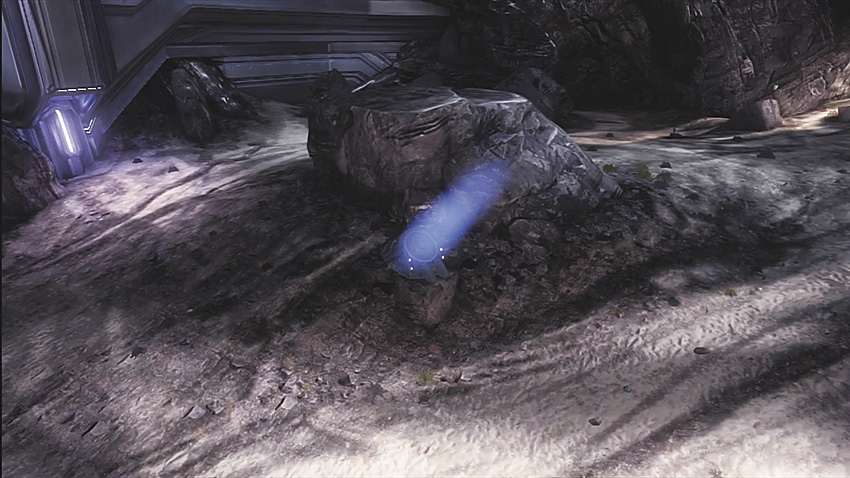
Take this route if you want to reach the high ground from the blue side of the map. Lift takes you to Blue Landing (2), allowing you to reach the Wind Tunnel (18) and lock down the center of the map.
4. Blue Sneaky
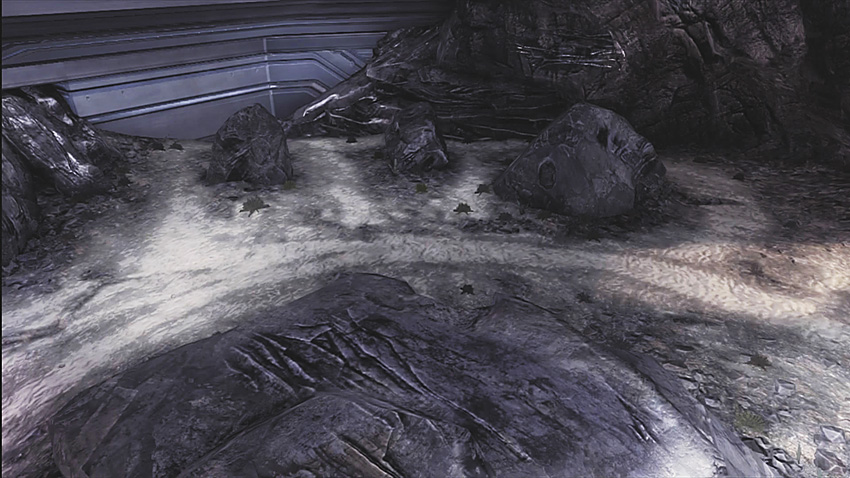
As the name implies, this is a sneaky route to take if you’re leaving or entering the blue side of the map. It’s also a good area to bring a flag to, as you’re able to use the rocks for cover and move on when you have cover fire. Take Blue Lift (3) to push the flag toward the map’s center.
5. Blue Trampoline
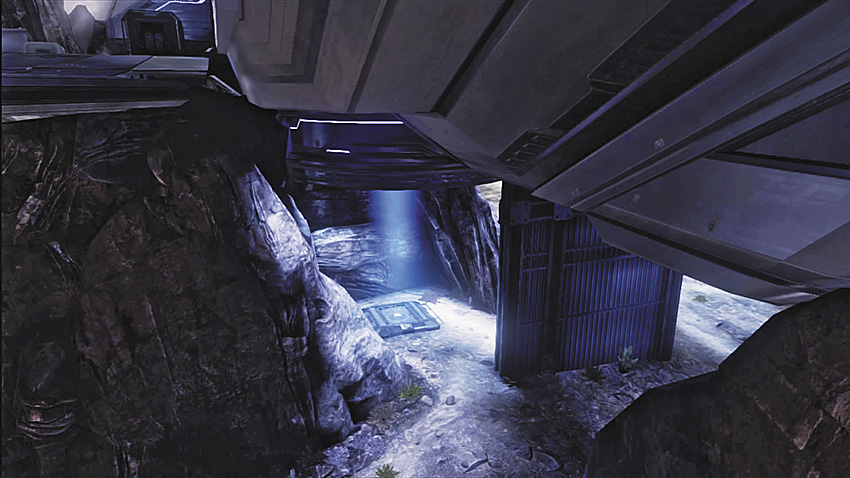
This lift in front of the Blue Base (1) underneath the Wind Tunnel (18) brings you into the Tunnel itself. Cover is sparse, so if you’re being pursued, run to the Trampoline and pretend you lifted, evading the enemy by faking them out.
6. Dunes
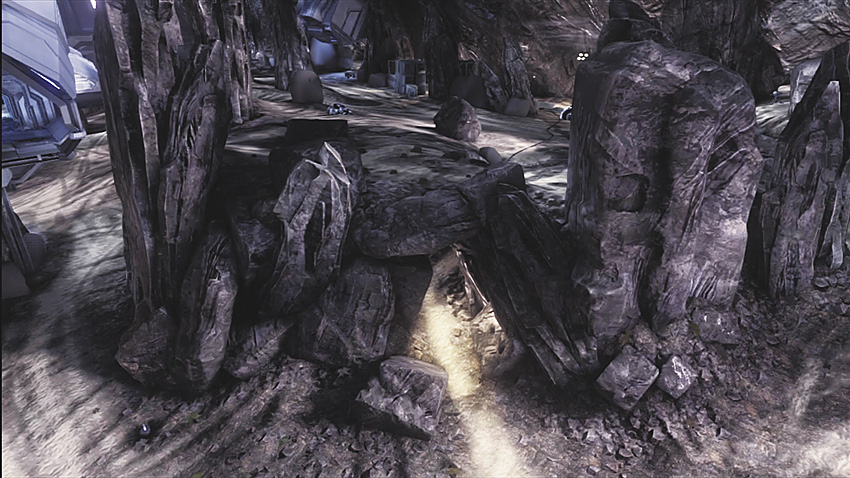
This upper cliff area is great for camping, allowing you to shoot down on the Red Base (12). There’s a cave here you can use as an escape or simply to change your position as you continue to plug foes at the Red Base with bullets.
7. Generator Cave
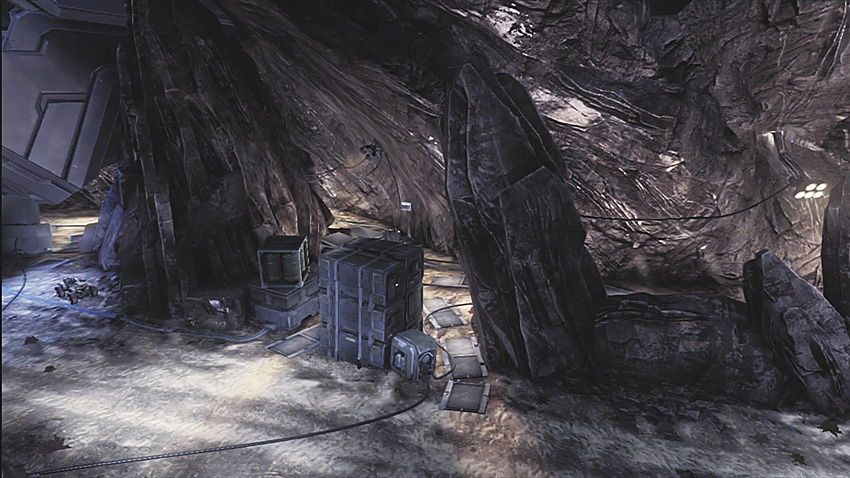
This cave is filled with various lights and generators. You can bring the flag to this area, as you’ve got a lot of cover in here. However, don’t hang out here for too long unless there’s an objective here or you’re trying to flank the enemy. There’s no real reason to linger here any longer than you need to, and you’ll be out of the action, serving no help to your team.
8. Far Gate
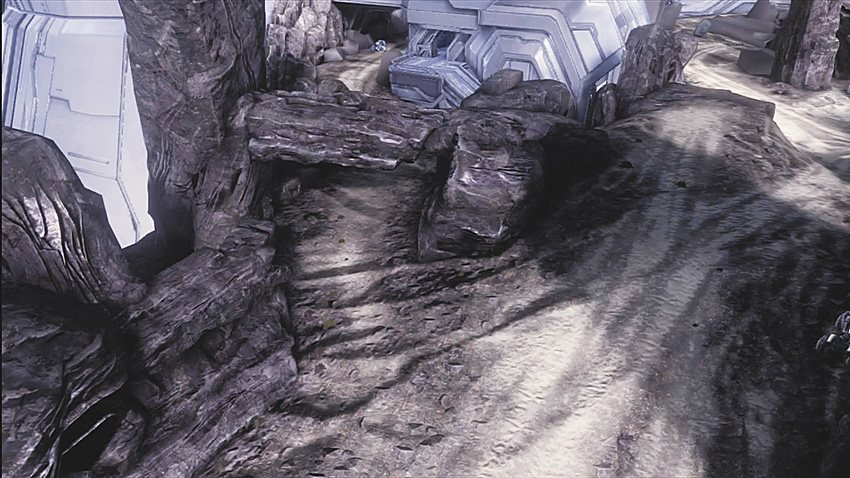
This passage leads to Limbo (11). It’s a great route to traverse with vehicles, so you can avoid all the fighting occurring in the middle of the map.
9. Near Gate
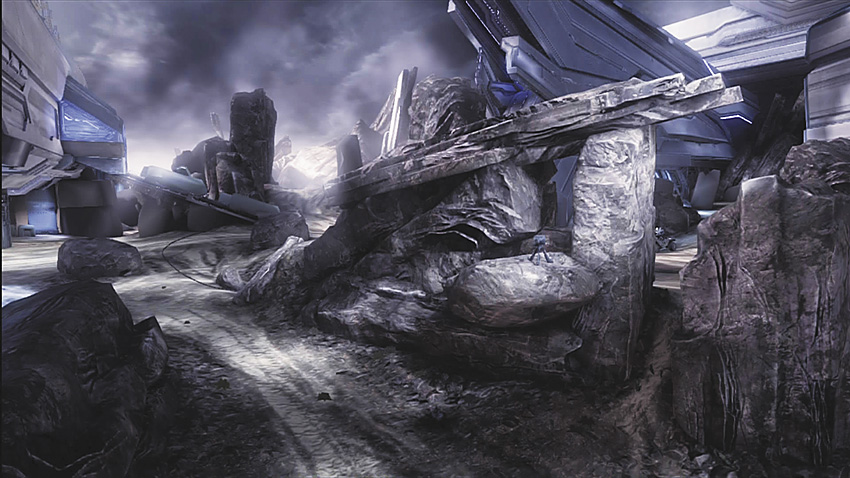
Try holding down this location during objective-based games. There’s a turret lodged in the wall here, enabling you to lay down some heavy fire on the Blue Base (1). You can also hide behind the rocks here if you’re waiting for your shields to recharge.
10. Horseman
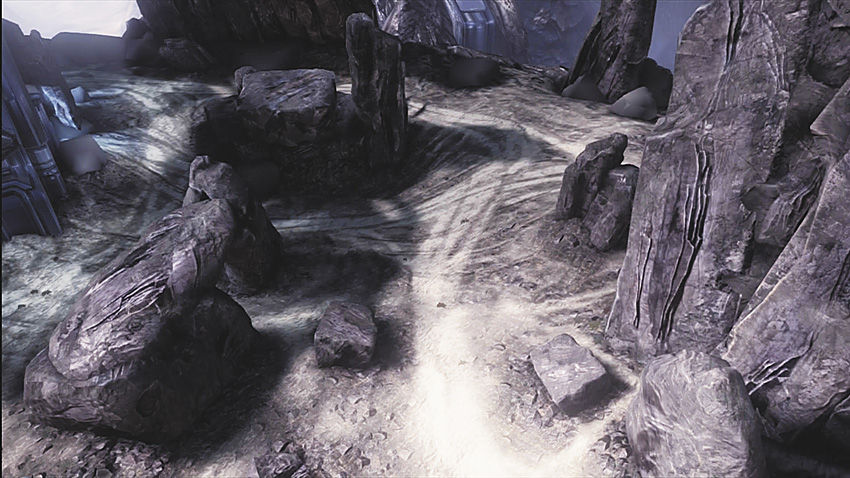
There are a few rocks you can use as cover here, on your way to Red Base (12). Stay close to the rocks, or you’ll be exposed in the wide open, completely giving away your position.
11. Limbo
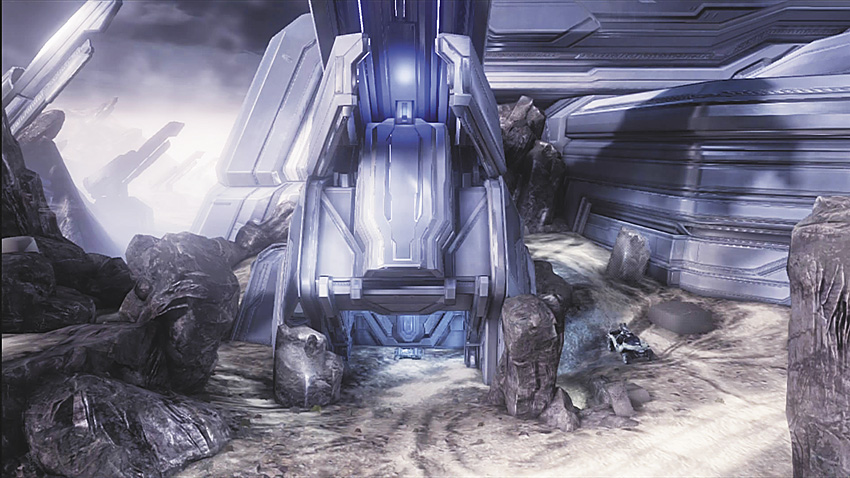
This structure looks like a base, but there’s little to do here unless you’re attempting to flee from the Blue Base (1). Lingering here for too long may force your teammates to spawn here as well, causing some trouble for your team. This is an advantageous place for vehicles to hide if they’re low on shields, before they return to the battlefield.
12. Red Base
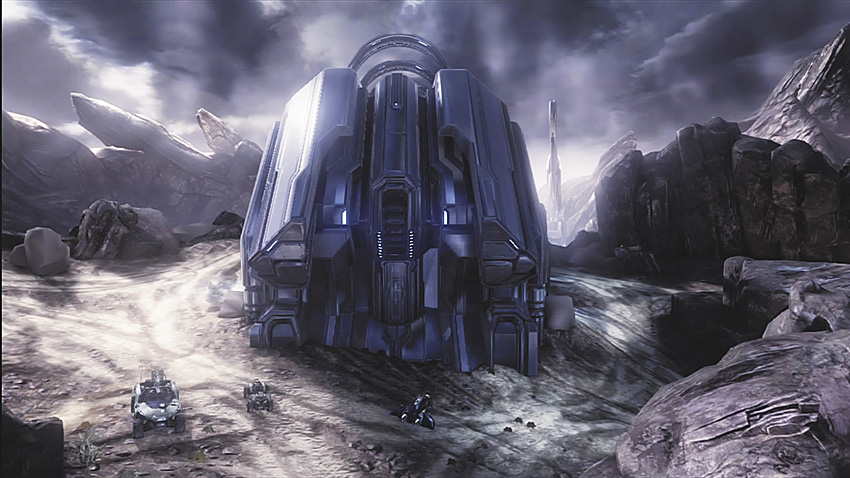
There’s little need to enter the Red Base unless you’re in need of cover. It’s easy to trap yourself in here, as there are only a couple of exits. Make this location a priority to reach only if there’s an objective.
13. Red Lift
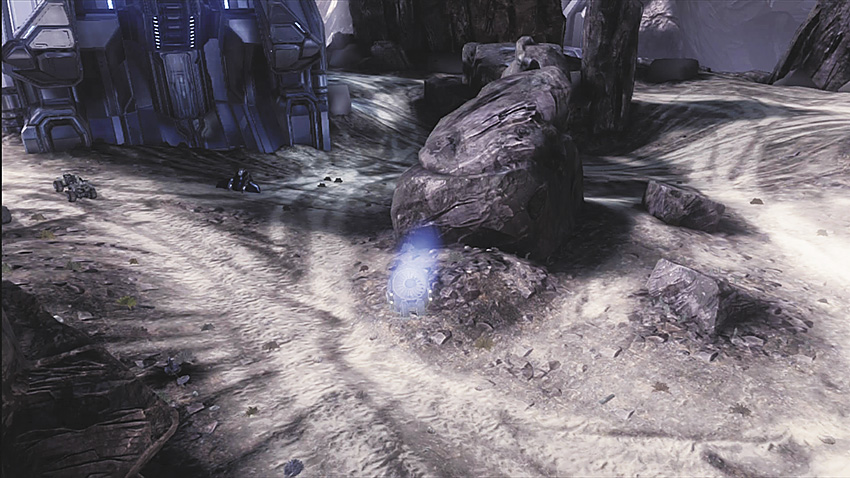
This is the fastest method of heading from the red side of the map to the Wind Tunnel (18). This Lift propels you to the backside of the Wind Tunnel, allowing your team to gain control of the center of this map.
14. Red Trampoline
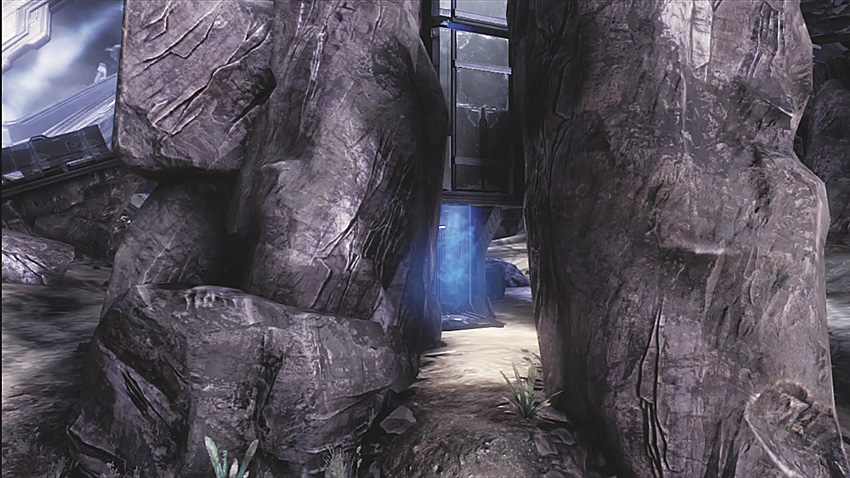
This is the lift in front of the Red Base (12), underneath the Wind Tunnel (18), that allows access into the Tunnel. There are few cover opportunities, so if you’re being pursued, race to the Trampoline and pretend you lifted, evading the enemy via trickery.
15. Red Turret
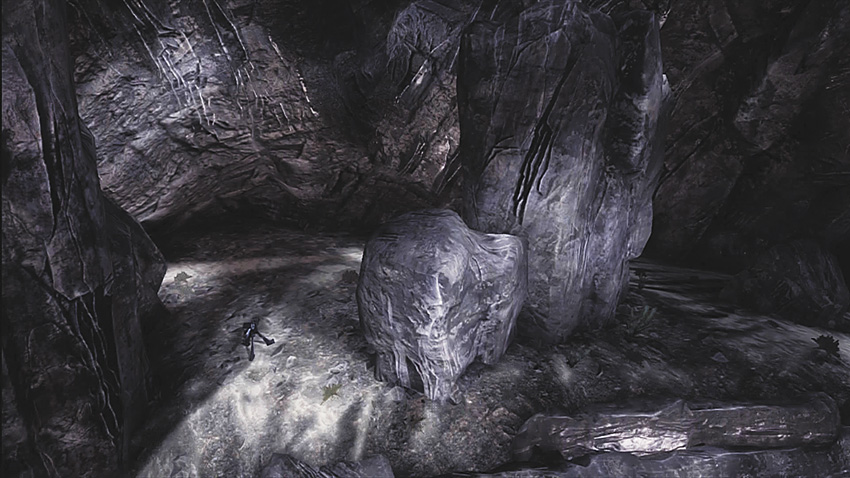
This small cliff has a stationary turret and a great view over the Dunes (6). This is a spot to try and ambush vehicles from, as they try to enter or escape Red Base (12).
16. Pillars
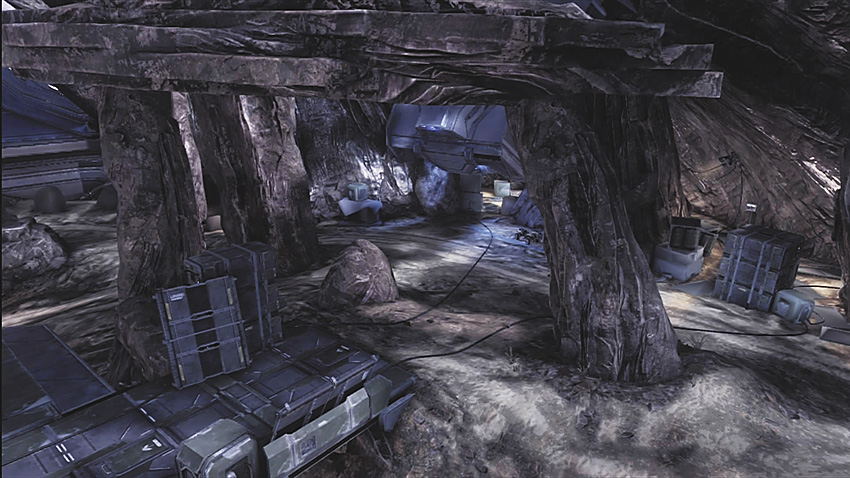
This is an open area leading to Window Tunnel (18) with a few rocks for cover. You should use the rocks to wall-shoot and keep enemies stuck at the Blue Lift (3) and Blue Sneaky (4). Pillars is also used to hold the enemy team back to the Generator Cave (7); toss in grenades from here to flush them out.
17. Wind Trampoline
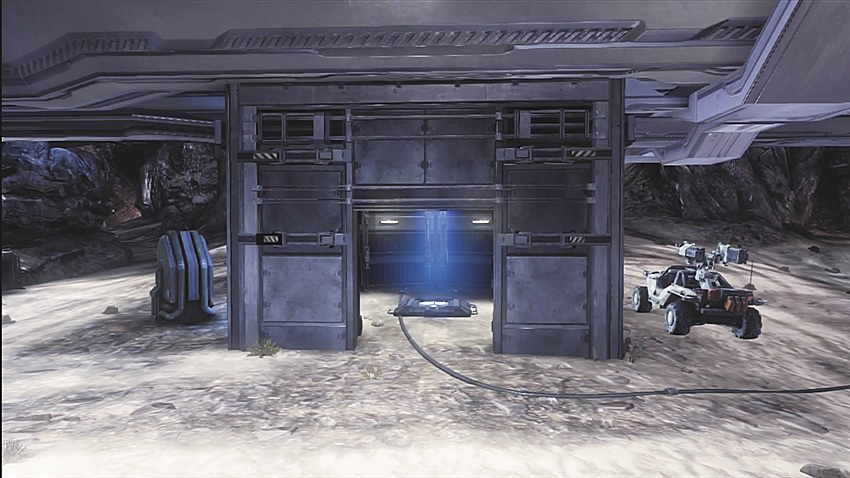
This is the lift directly underneath the center of the Wind Tunnel (18) that allows access into the Tunnel. Like the other “Trampolines,” you can use the small area of cover at the base to hide from your foes as you pretend to Lift.
18. Wind Tunnel
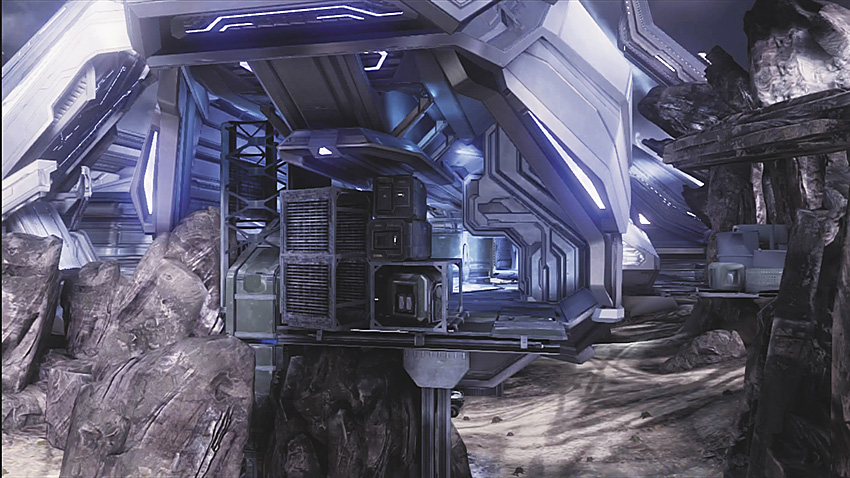
The Wind Tunnel is the power position on this map. You can easily move into the Tunnel to get an angle and shoot anywhere on the map. Try to bolster your ranks and keep a few teammates (during team games) in the Tunnel to help each other if the opposition tries to sneak in. Deal with foes together, then return to place supporting fire across the map.
General Tactics
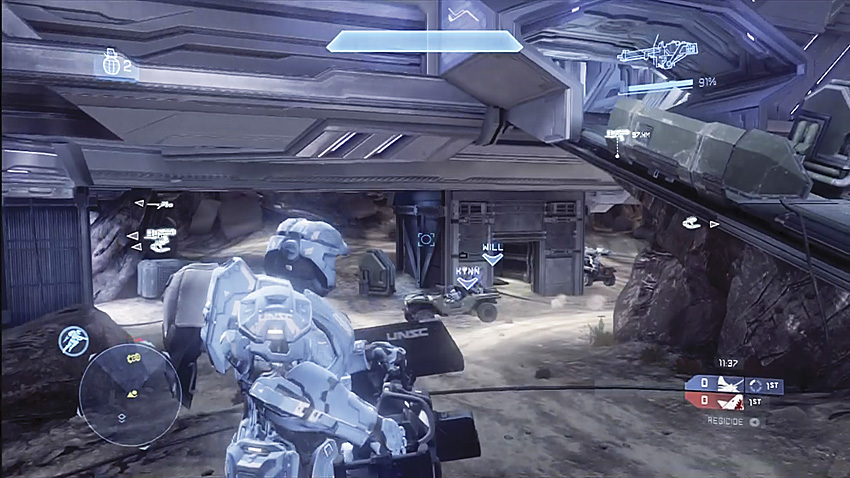
I’ve got you covered.
Driving Advice
If you’re controlling the Wraith and keeping teammates in the Wind Tunnel watching all of the lifts, you’re set up for map dominance. If you’re playing a game type with objectives, you must take control of the vehicles. This map has several vehicle escape routes; learn them quickly so you can flee the battlefield as fast as possible—the objectives make this imperative.
On the side of the map with Limbo, there’s a back path with a lot of cover from Limbo; always be prepared to drive toward Far Gate or Near Gate to reach cover.
You can drive around Blue Sneaky to take cover near the rocks before stepping on the gas and heading behind the dunes. On the drive, you’re also able to use the cover from Stonehenge.
Setting up Camp
There are many camping positions on this map to take advantage of and control the pace of the game. Utilize all of the closed-off bases for this purpose.
On Maneuvers
Bring a few teammates to sneak around the sides of the map; this can lead to some major flanking plays. Keep a sniper at the farthest rock or ledge you can reach; you can devastate the enemy team, pinning them down.
The best way to run this map is in teams of two when you’re controlling the Wind Tunnel. Due to this map’s vast size, you don’t want to lose control of the middle (the Wind Tunnel). With partners, your team can inflict kills more quickly, back each other up, and shoot across the map more effectively.
Controlling Limbo is another fine plan, as it halts your foes from flanking from that side. Now you can predict your enemy’s movements: If you don’t see them on your side, you know they’re pushing down the center of the map where you can lay down support fire or have your teammates check if they’re trying flanking maneuvers via the Generator Cave.