
Halo 4 Guide Infinity Spartan Ops
Season One, Episode Three
Chapter One: The VIP
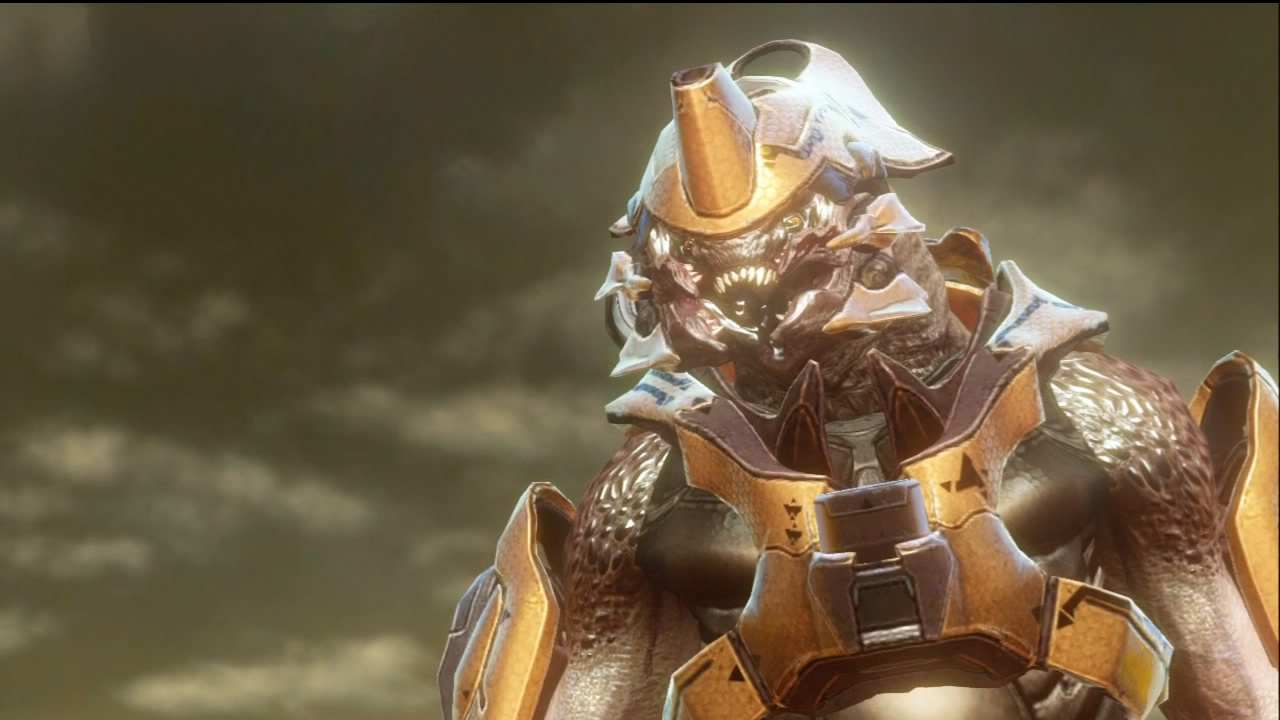
Parg Vol, a known Sangheili (Elite) terrorist, has been confirmed to be on Requiem. Commander Palmer thinks that by putting him six feet under will improve the galaxy as a whole, and so Fireteam Crimson has been called upon to introduce bullets to the Elite’s face. It’s certain that Vol will not go down without a serious fight.
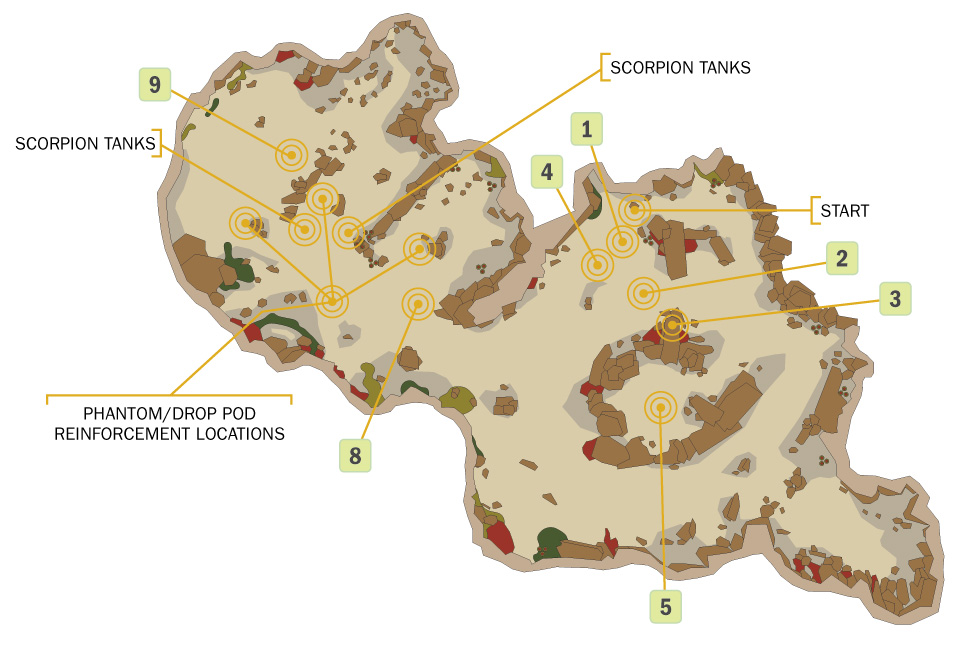
Prepare for stiff resistance. The Quarry once held a UNSC outpost that was swiftly overrun by Parg Vol’s unit. From your starting position, you must quickly cross the valley between you and the hill Vol and the core of his defenders await. Be advised that a Phantom will attempt to ferry him to safety, and during that time, the Phantom will present a very credible threat with its air-support capability. You’ll also need to investigate what remains of the local UNSC assets and turn any weapons or vehicles you find against the Covenant who respond to Vol’s requests for assistance.
Map Location: Quarry
Recommended Loadout
Open the battle with a DMR, Battle Rifle, or LightRifle. You can recover power weapons like the Sniper Rifle and the Railgun that are dropped near the starting location after you’ve made contact with Vol. However, after the first half of the mission, you will quickly gain access to the powerful Scorpion tank. From that moment forward, you need only the Scorpion.
Objective One: Eliminate VIP
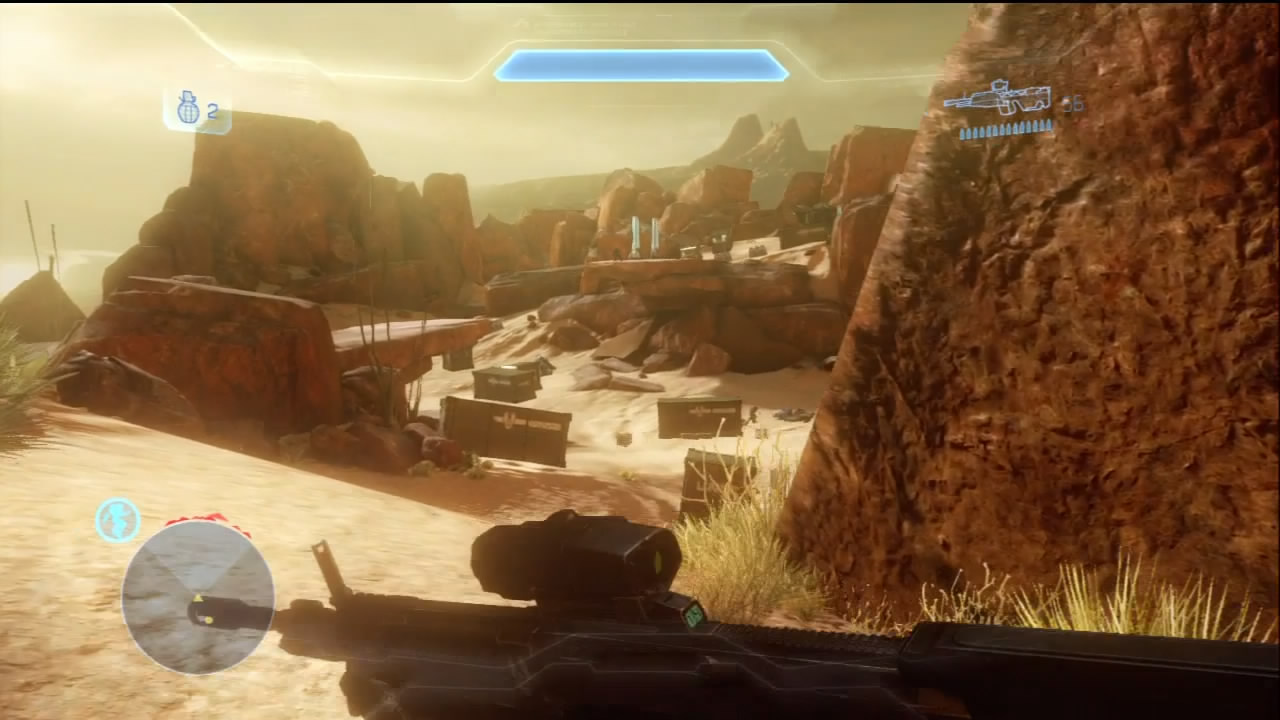
[1] Fireteam Crimson starts atop a hill on the other side of a valley that stands between them and Parg Vol’s position on the central hill. Elites, Jackals, and Grunts are scattered throughout the valley [2], while a Plasma Cannon gunner [3] commands an elevated position that overlooks the valley. As you clear out the initial resistance, expect Jackal Snipers armed with Beam Rifles to take up positions near the Plasma Cannon.
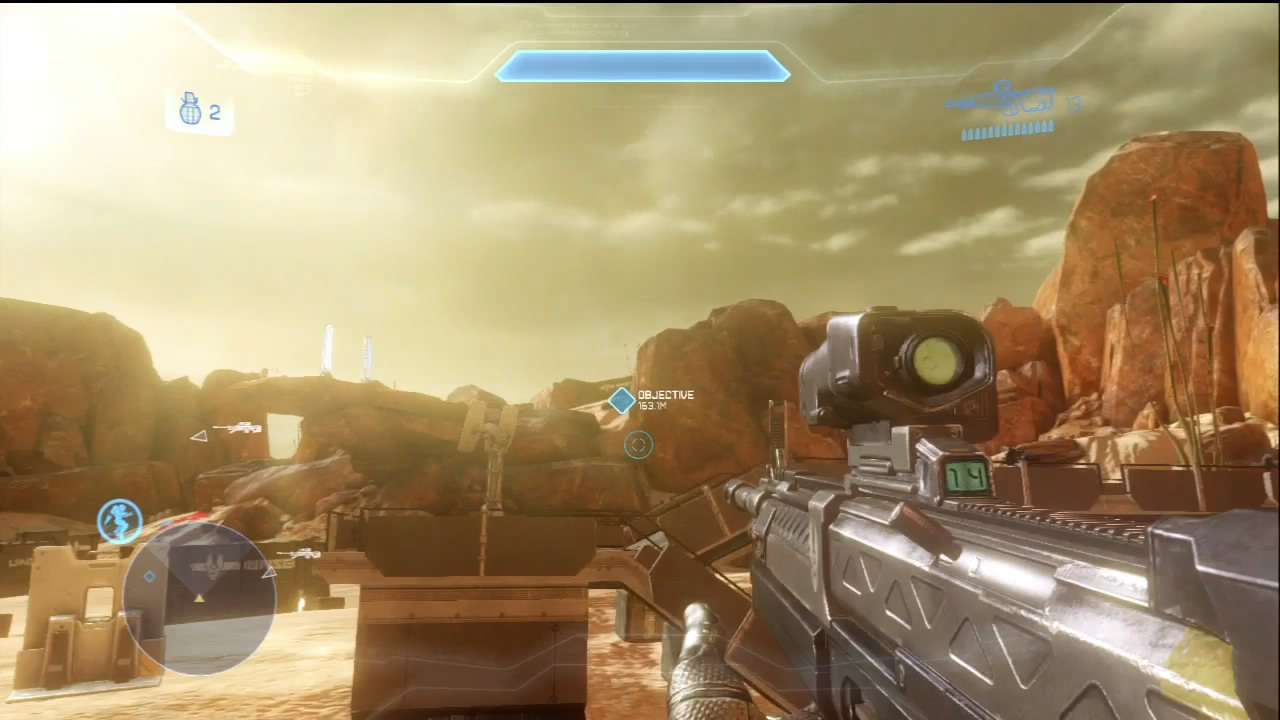
[4] Near the starting location are the remnants of a UNSC outpost. During the initial encounters, ordnance pods will be deployed that contain useful power weapons like the Railgun and the Sniper Rifle. You can also nab a Machine Gun from the outpost walkways.
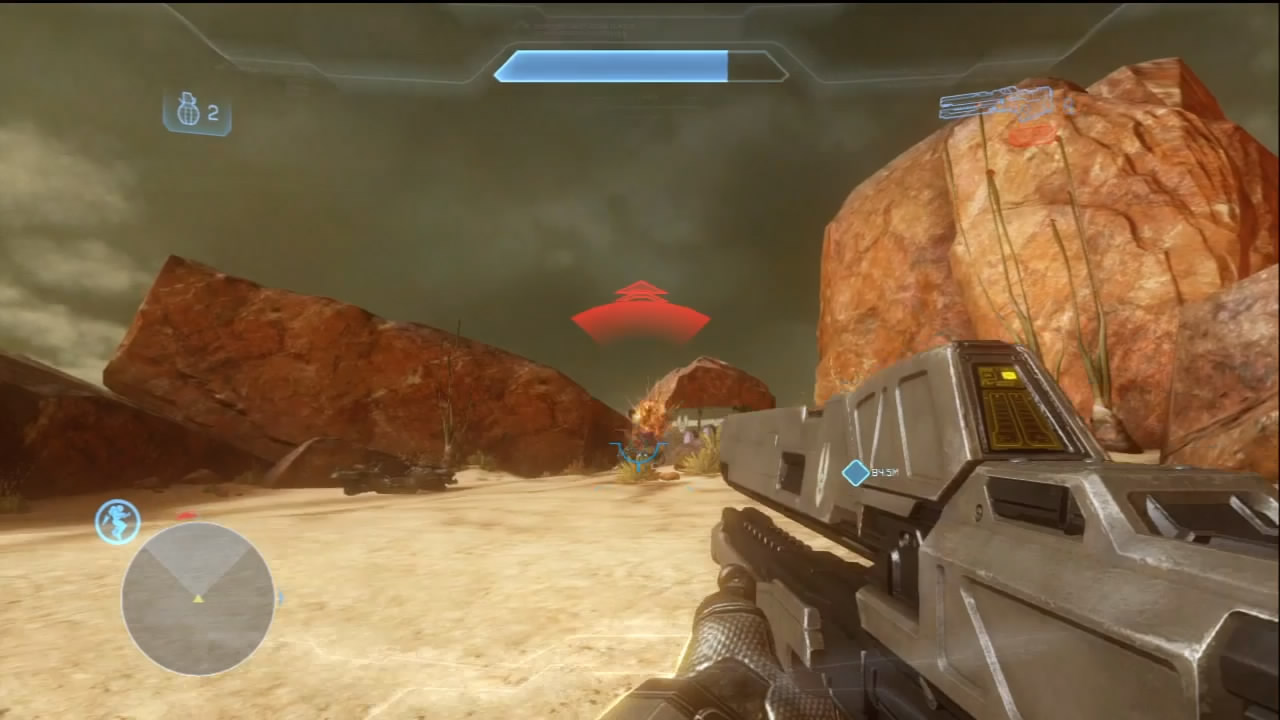
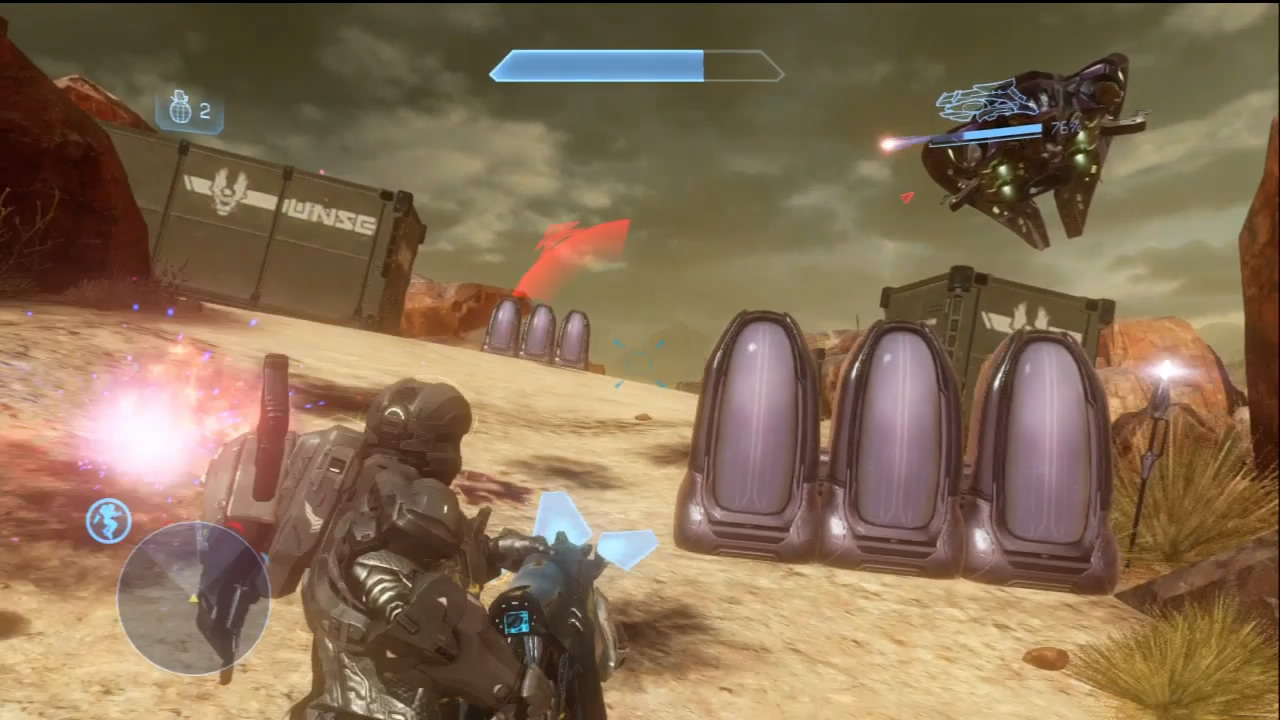
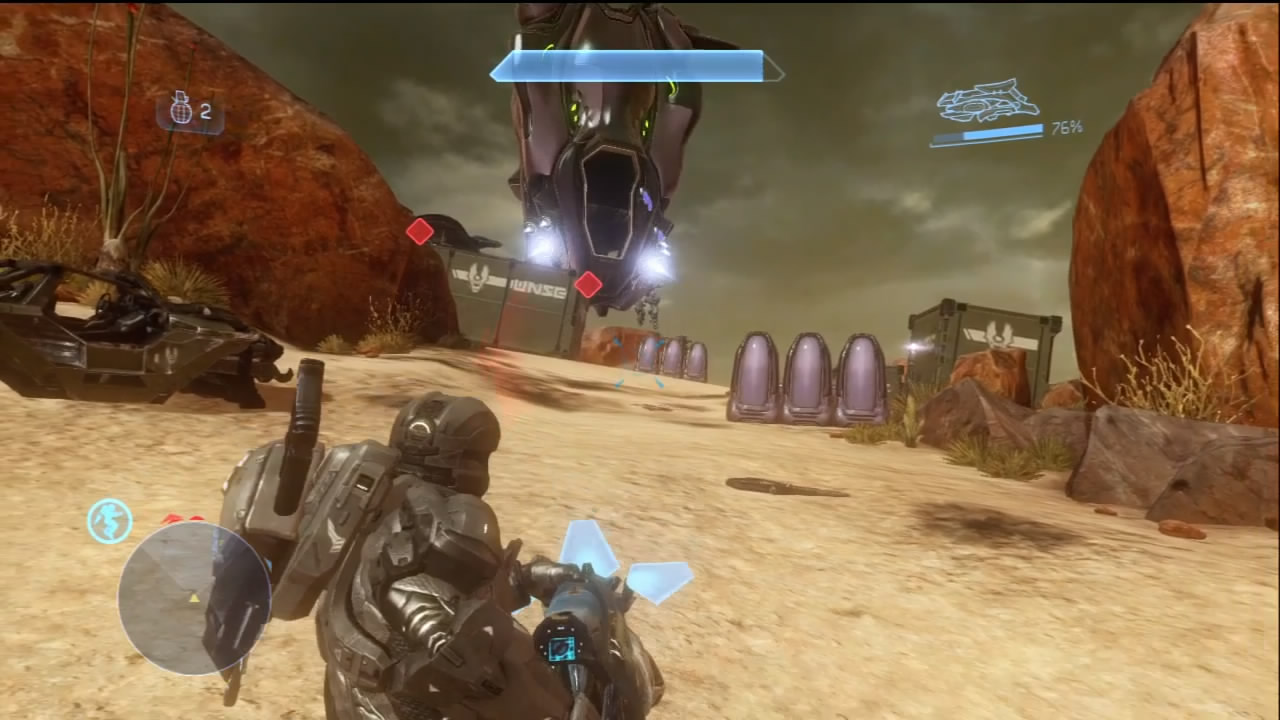
[5] When you receive the waypoint atop the hill Parg Vol occupies, head to it either via the path on the hill or by using a Jet Pack. However you manage to climb the hill, expect fierce resistance from Vol’s personal guard of Elites. No matter how quickly you manage to fight through the hostiles, Parg Vol leaps into a Phantom and escapes your wrath. The Phantom briefly loiters over the battlefield, providing covering fire for his troops on the ground before escaping.
If you climb up the hill path, watch out for another Plasma Cannon gunner! You have little workable cover between you and them. This is where the Railgun or Sniper Rifle can show its worth. After Parg escapes, a Drop Pod will deploy another force of Covenant onto the hill. Expect many Elites among these reinforcements. Once you clear the hill, a new objective appears on your HUD, with corresponding waypoints.
Objective Two: Investigate UNSC Assets
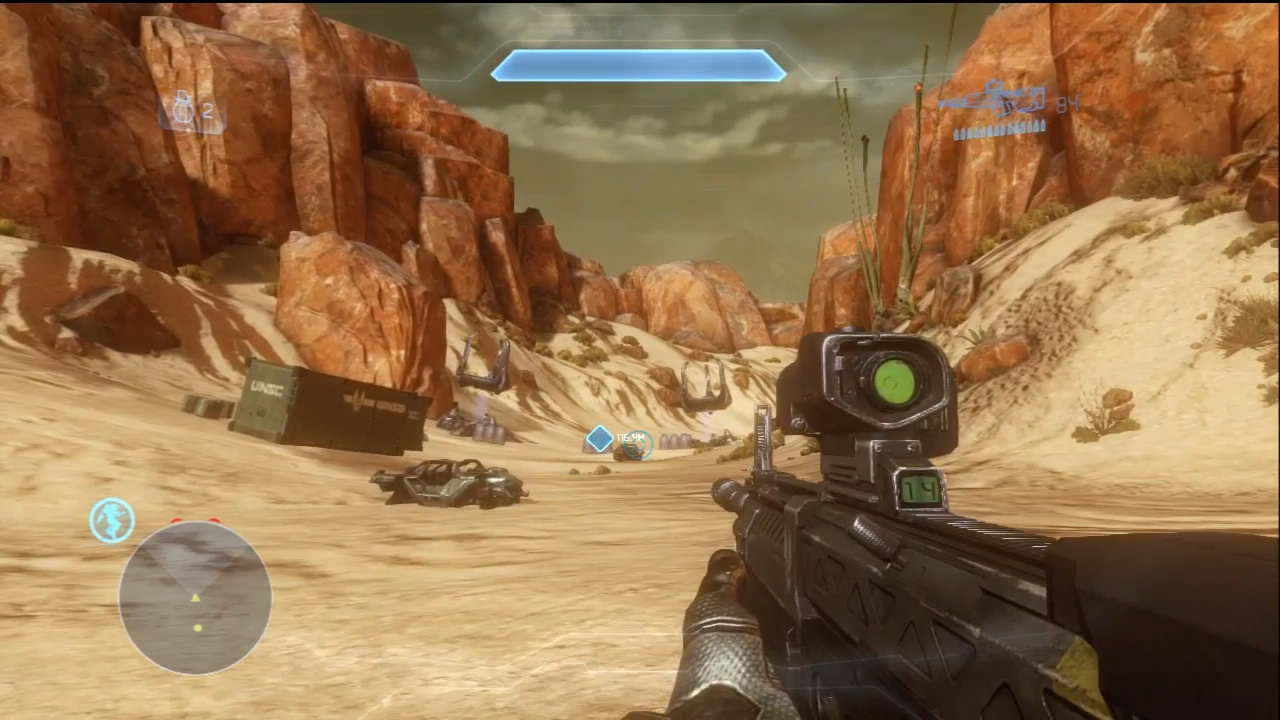
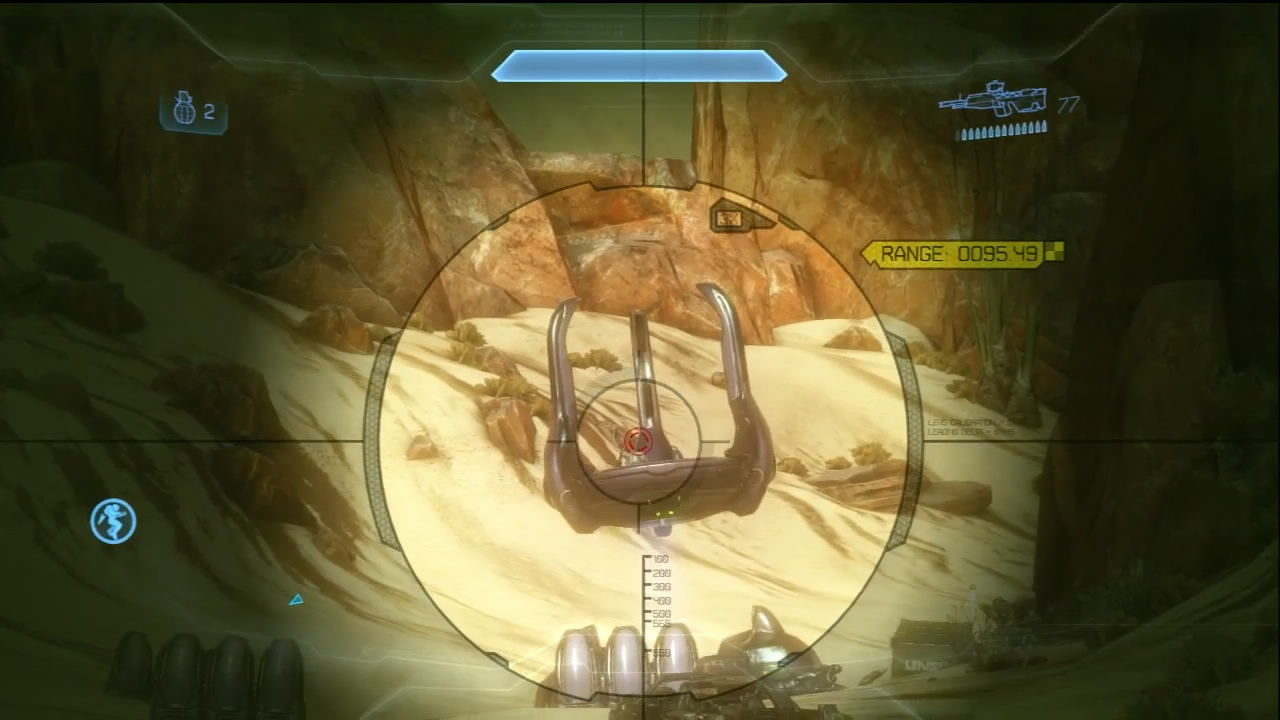
[6] Your mission now takes you toward the smaller box canyon adjacent to Parg’s hill. A token force of Covenant and some guard platforms bar your entry to the canyon. You don’t have access to working vehicles just yet, so you must advance on foot to push past this position.
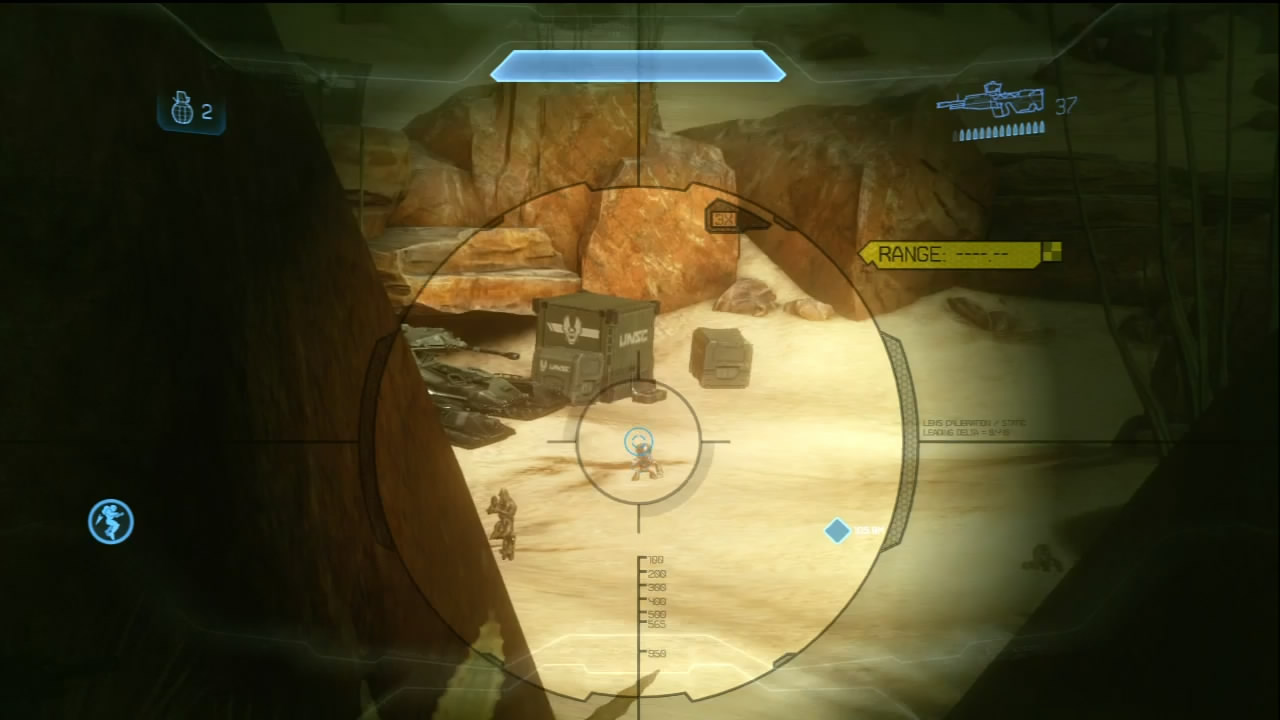
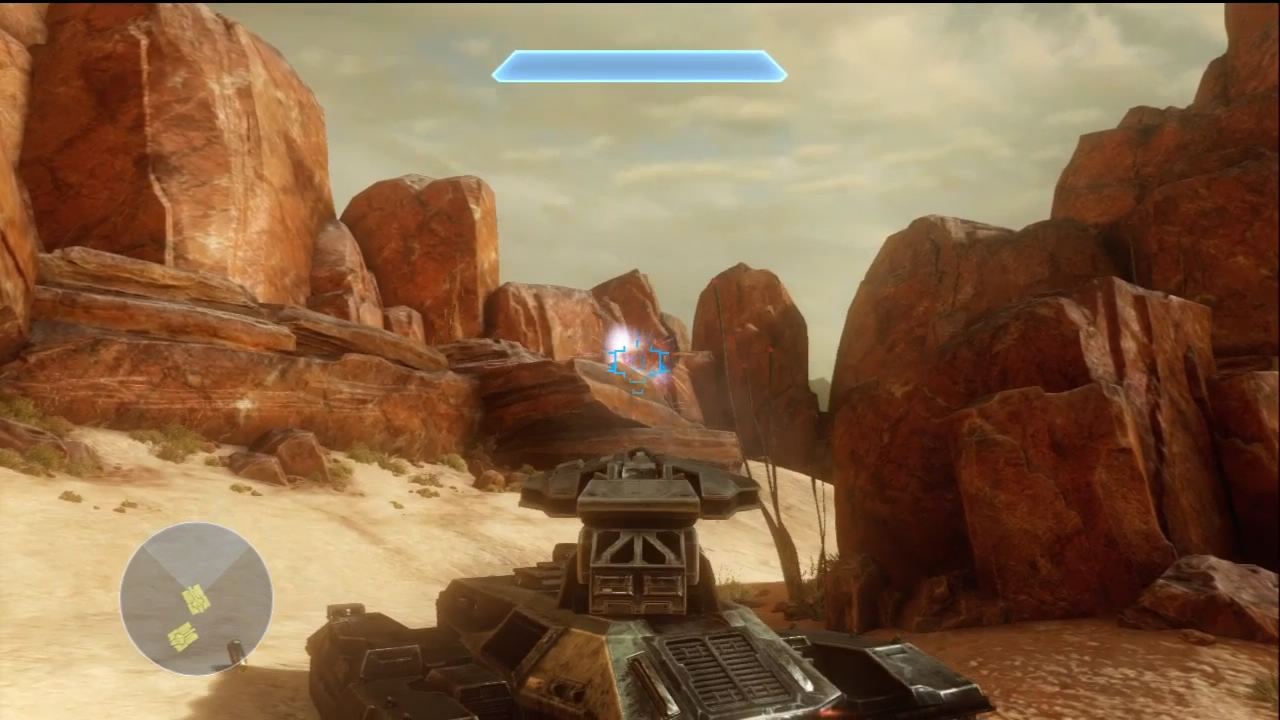
[7] The UNSC outpost at the center of the box canyon is occupied by a sizeable Covenant force. Expect Jackal Snipers to try making any on-foot advances a challenge. If you hang around near point [6] or [8], you can leverage precision weapons like the DMR or Sniper Rifle to great effect. Scan the area for guard platforms; they tend to attract the snipers.
Your ultimate goal is to reach the Scorpions at [7]. After clearing out the snipers or by using hard cover, you can charge at the tank hangars while eliminating the local troops; then commandeer the heavy armor. Once you have access to a tank, the remaining infantry in the zone are hardly a threat if you drive defensively and shoot accurately. This isn’t as easy on higher difficulties, because enemy fire travels faster. Respect Grunts and Elites with Fuel Rod Cannons if you’re playing on Legendary.
Objective Three: Defend Position
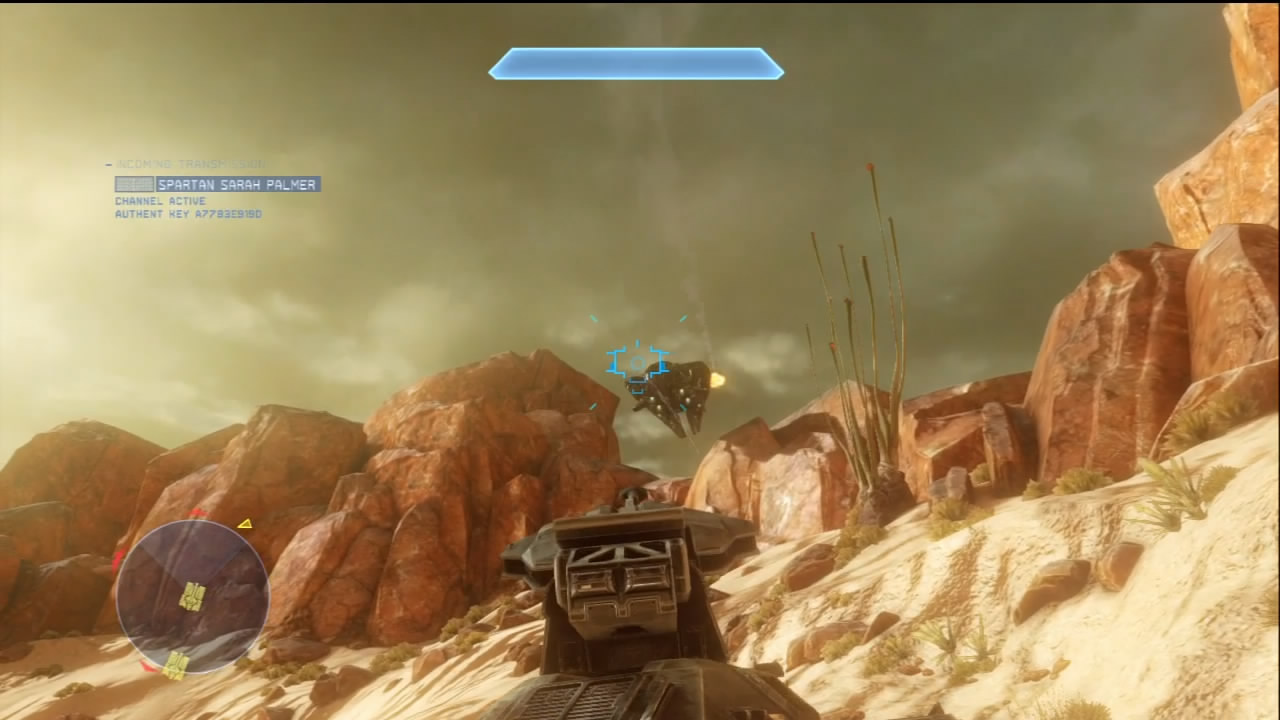
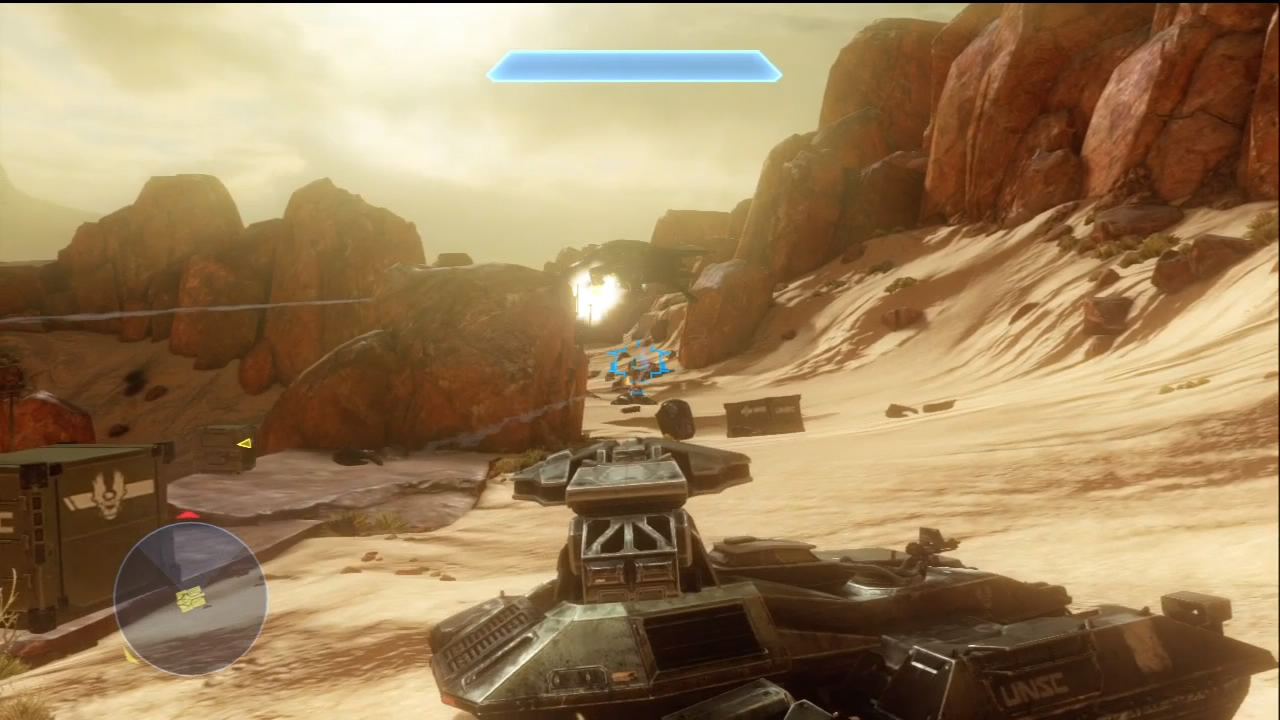
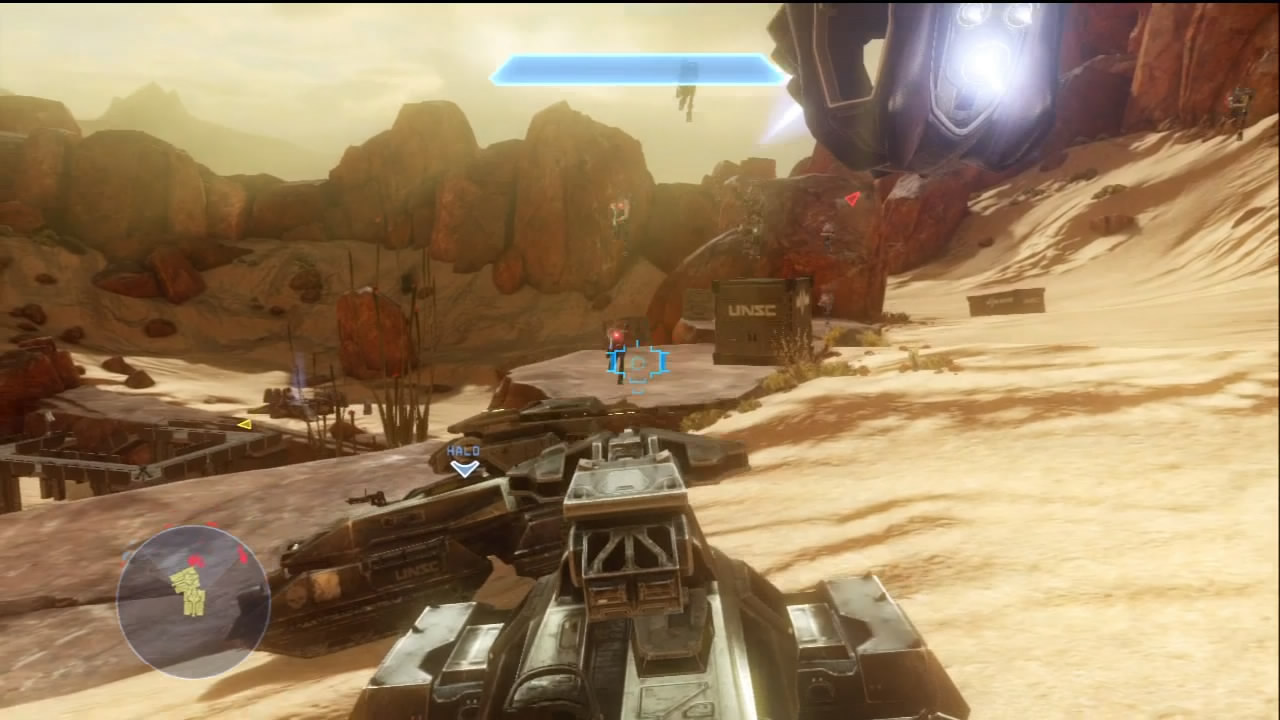
[9] After getting access to the Scorpions and dealing significant casualties to the Covenant, you are ordered to defend your position as Covenant reinforcements begin to swarm into the area surrounding the Scorpion hangars. Multiple Phantoms storm the area first, deploying Covenant infantry and several Wraiths. If you’re playing with a full Spartan team, multiple Scorpions can kill the Phantoms well before they can even deploy their assets.
With the Phantoms destroyed or driven off, Covenant Drop Pods begin to land throughout the area. With a Scorpion, these troops are essentially dead before they even hit the ground. After several Drop Pods deploy troops, Phantoms return to the fray with another Wraith joining the party. Lone Wolf players may be overwhelmed by this stream of constant reinforcements, particularly on high difficulties. Just stay on the move and you can avoid being hemmed in by Wraith mortars or by ambitious Grunts with charged Plasma Pistols or Fuel Rod Cannons. Eventually, the remaining Covenant will be marked on your HUD after the reinforcements stop arriving. Clearing out the last hostiles resecures the Quarry for the UNSC.
Chapter Two: Galileo
Galileo Base is the home of highly valuable UNSC scientists and combat assets; therefore, the facility is heavily fortified against potential invasions. However, the defenses have proven ineffective in the face of a determined Covenant foe. Fireteam Crimson has been deployed to save the base from falling into hostile hands.
The moment the mission begins, you will already be in heavy contact with the enemy. Your first objective is simple: You must shut down the power cores that are maintaining the computer systems at the base. This will be your first Spartan Ops encounter with the Banshee, which can put a swift end to any Spartan caught out in the open. With the computer systems secured, you must reactivate the local air defenses and then fend off a significant Covenant assault until the enemy reinforcements are depleted.
Map Location: Galileo Base
Recommended Loadout
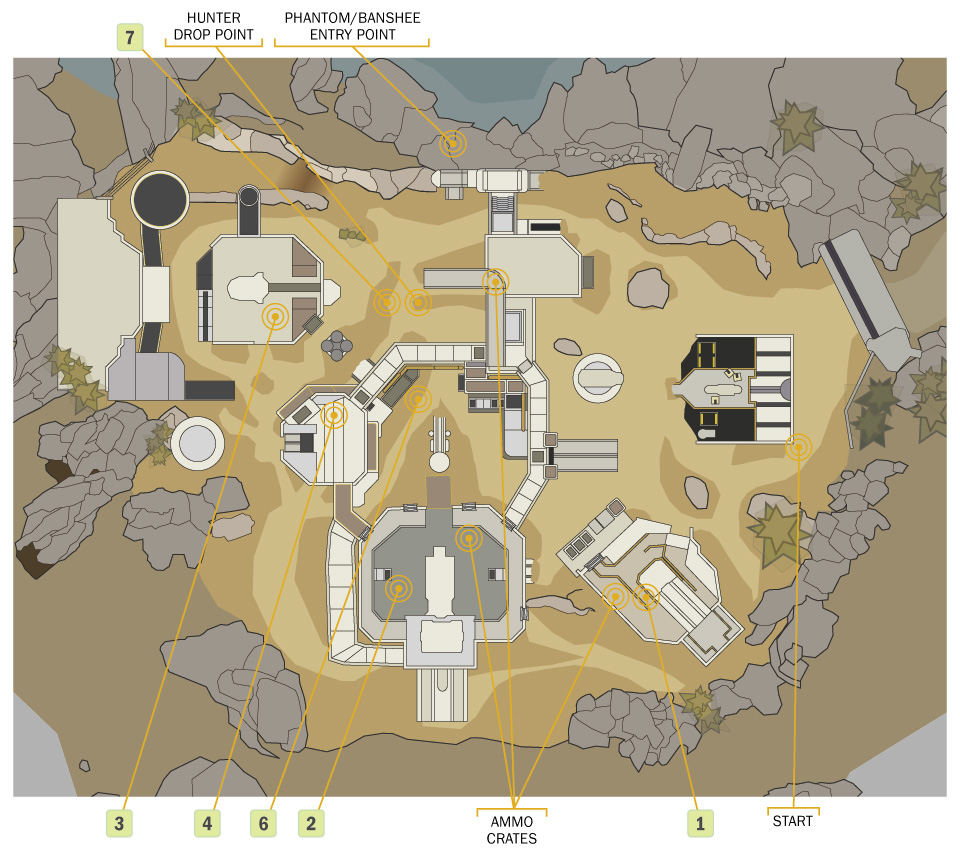
Start with your preferred precision rifle and a Plasma Pistol. Having the means to knock Banshee’s out of the sky should they stray within charge-shot range is just too good to pass up. There are Railguns near two of the power cores [1] [2], sitting atop a UNSC ammo crate that will provide you unlimited ammo. The Railgun goes a long way toward breaking the initial assault and should be a staple ground-pounder weapon for the duration of the mission.
Objective One: Disable Power to Cores
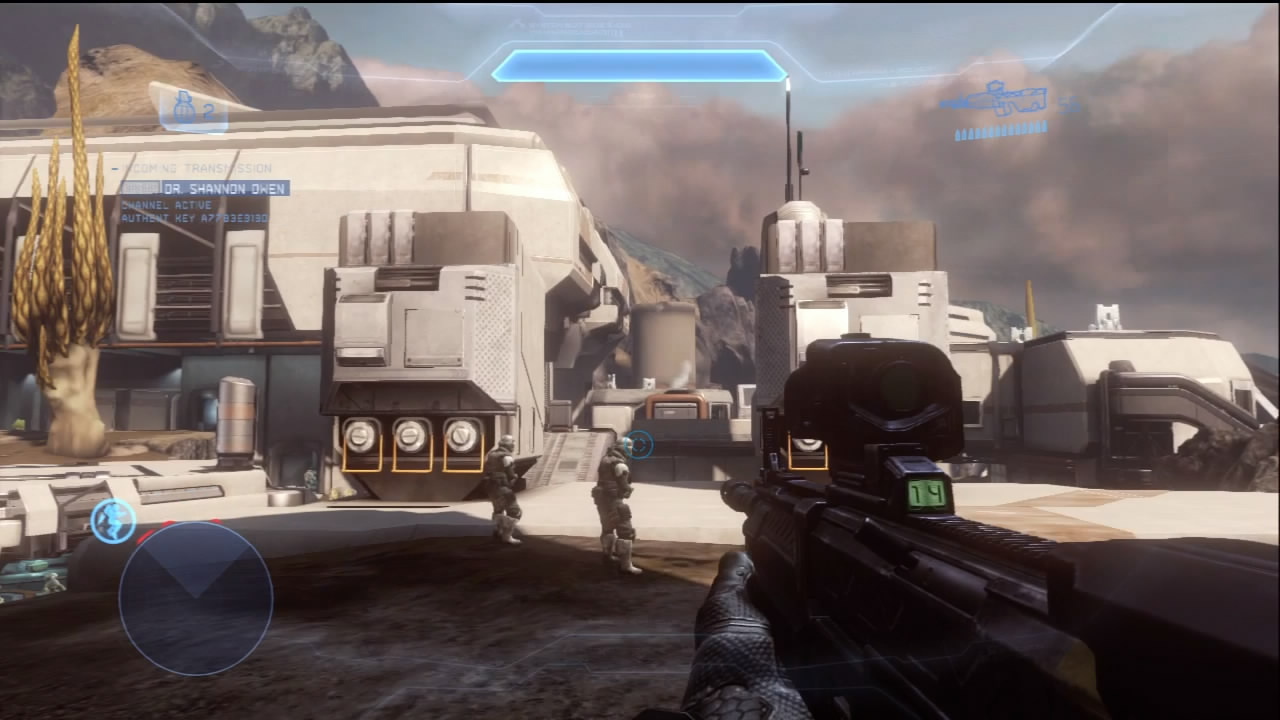
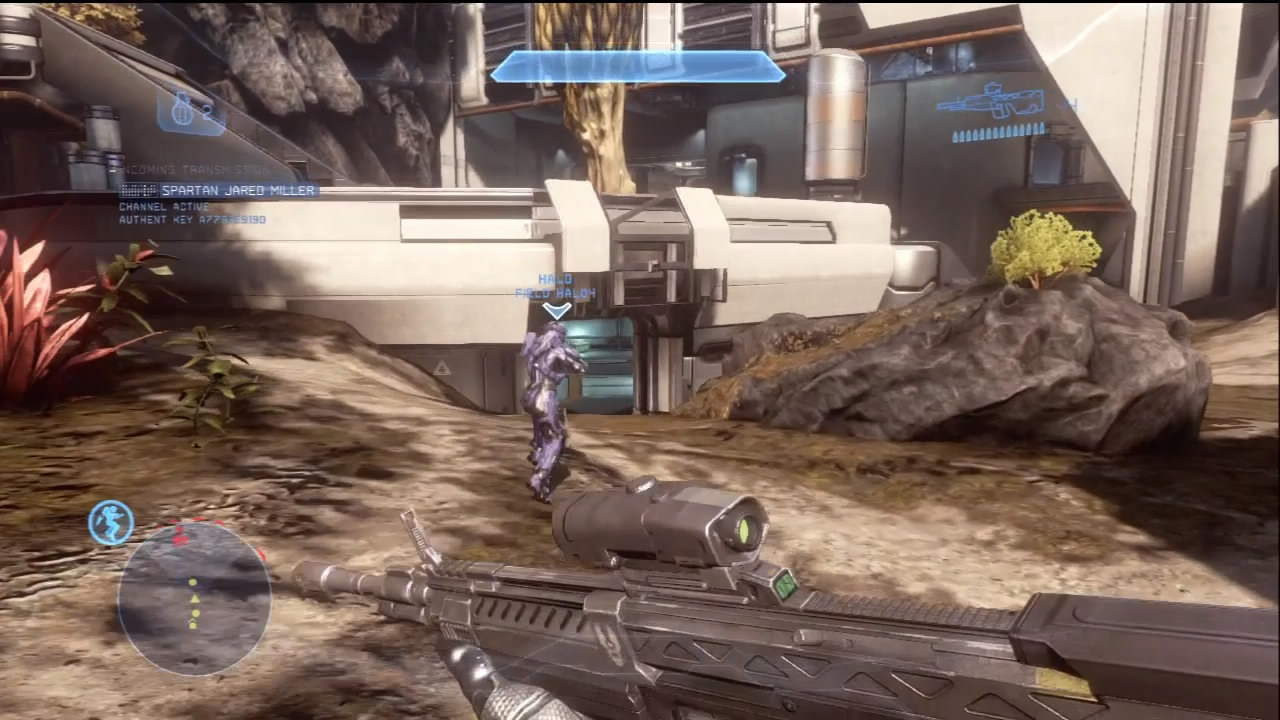
[1] [2] [3] Fireteam Crimson begins at a drop zone that is covered by several Marines who probably won’t survive the opening engagement. Commander Palmer asks the scientists at Galileo to shut down the computer systems that the Covenant are trying to access, but the scientists are locked in a bunker. This means that you will need to reach the three power cores marked on the map and disable them manually. We recommend you complete this task in the order that the cores are marked on the map.
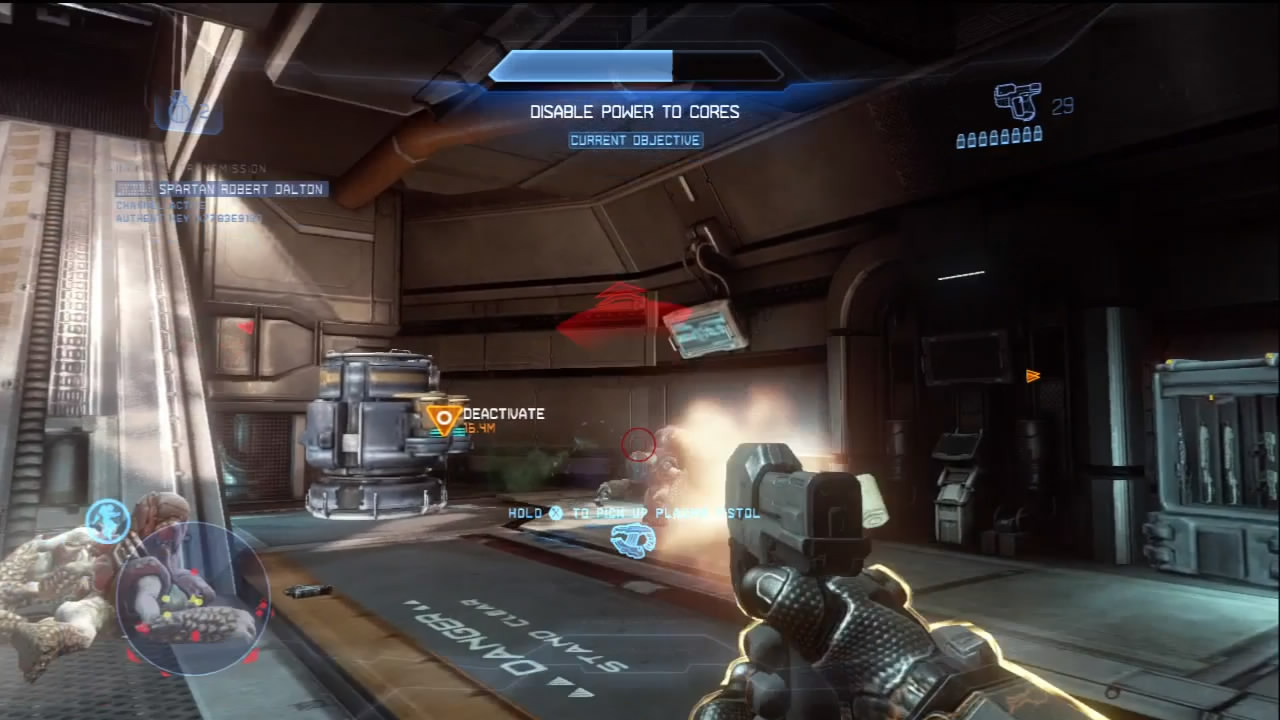
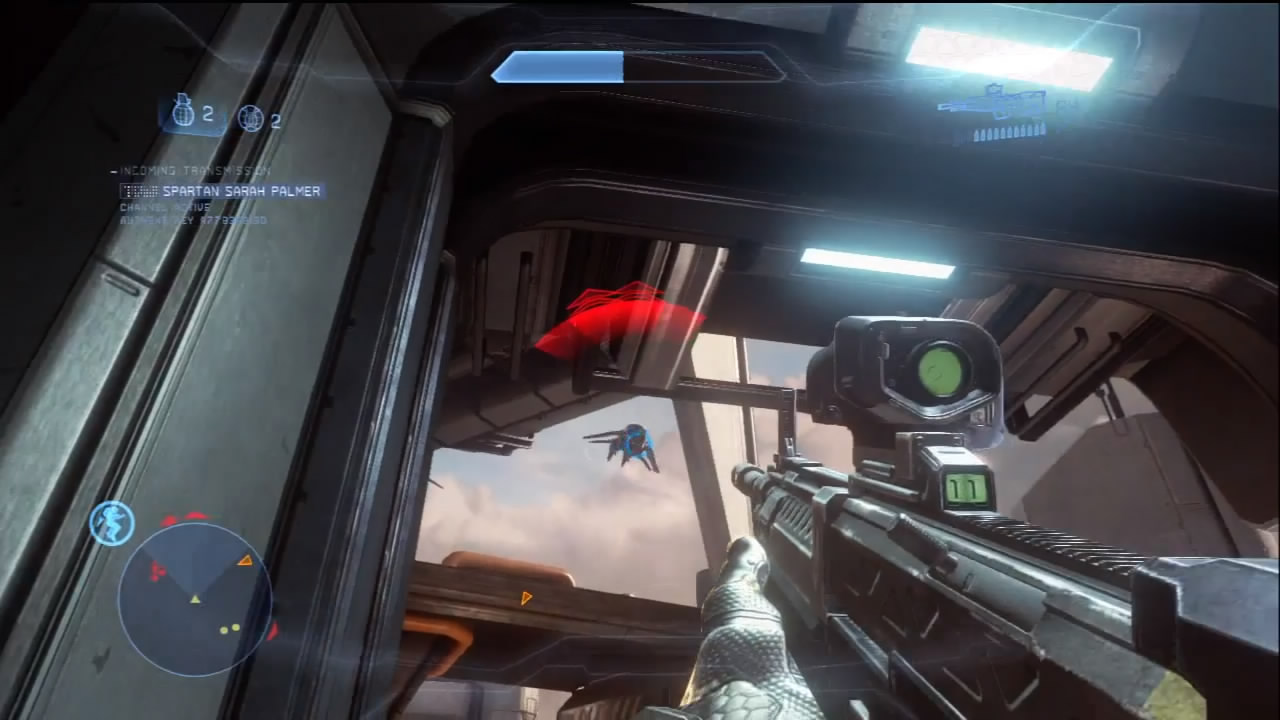
[1] Your first stop is a bunker close to your starting position. This is where you will repel the initial assault and is where one of the power cores is located. As you advance on this position, you’ll find that the area is held by a large force of Grunts, Jackals, and Elites. Further reinforcements arrive via Phantom and Drop Pod throughout the facility, and the hostile troops will be converging on this first core to put an end to you.
You want to make this first bunker your home, at least temporarily. Banshees arrive and begin bombarding the bunker, which makes the ramp leading to the roof a serious vulnerability. The Banshees can and have fired fuel rods down the ramp into the bunker. Concentrate on thinning out the Covenant infantry while using the bunker for safety. When it’s safe to do so, use the Railgun against the Banshees, or try to hijack one for yourself and any allies along for the mission.
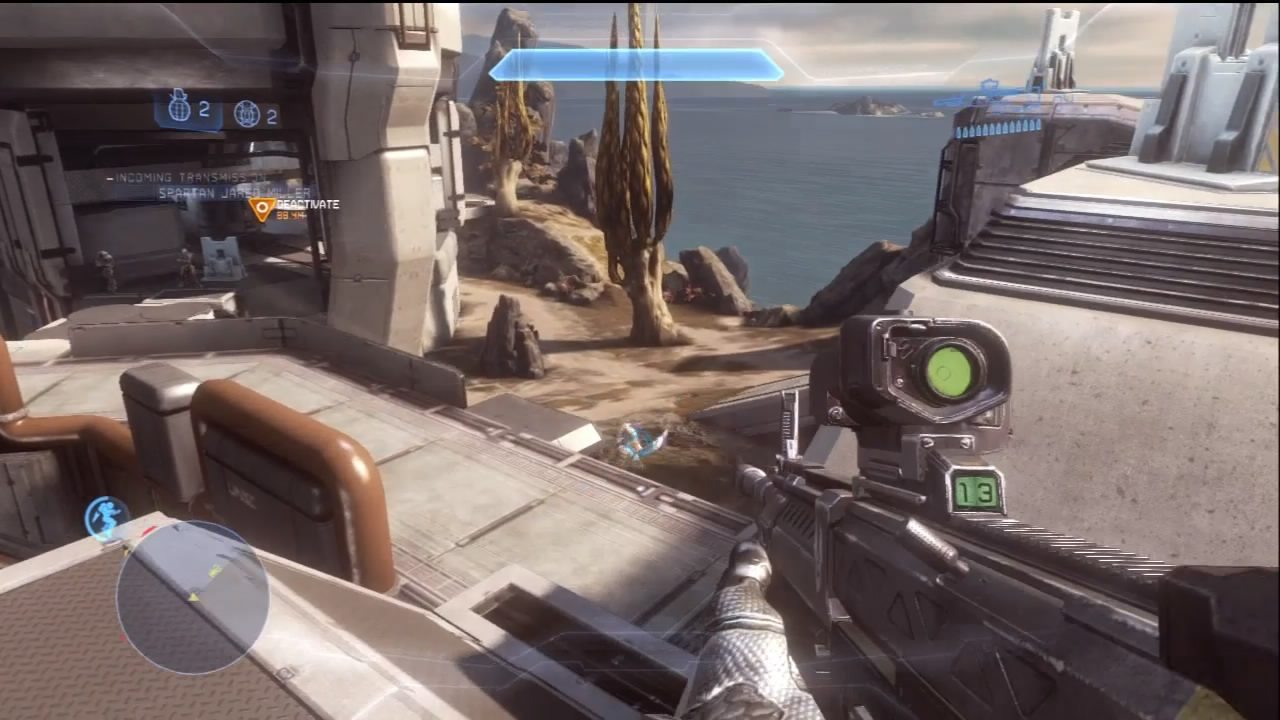
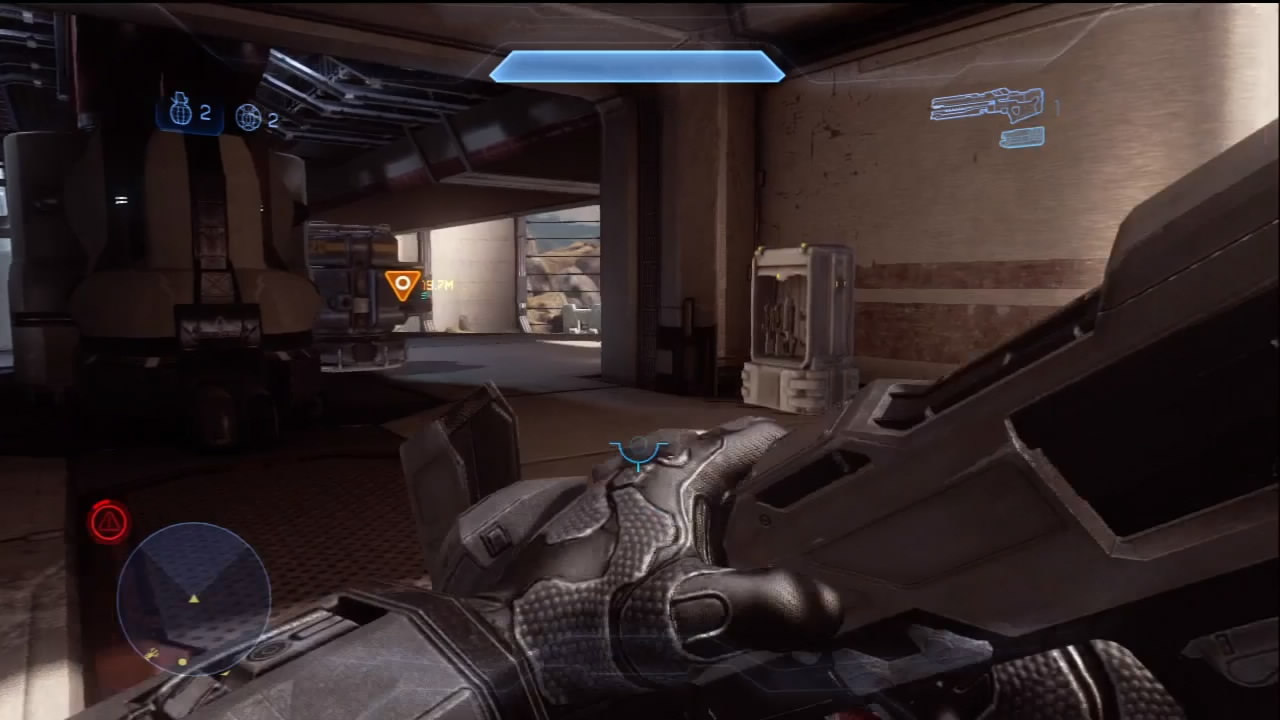
The opening battle near the first objective can be harsh. Expect many Elites that require culling before you can safely move on to the next two power cores [2] [3]. If you deal with the Banshees quickly, you can also try to stay one step ahead of the bulk of the enemy force and just run for each power core. However, leaving too many hostiles alive can present issues for the next major objective.
Objective Two: Activate Defense Turrets
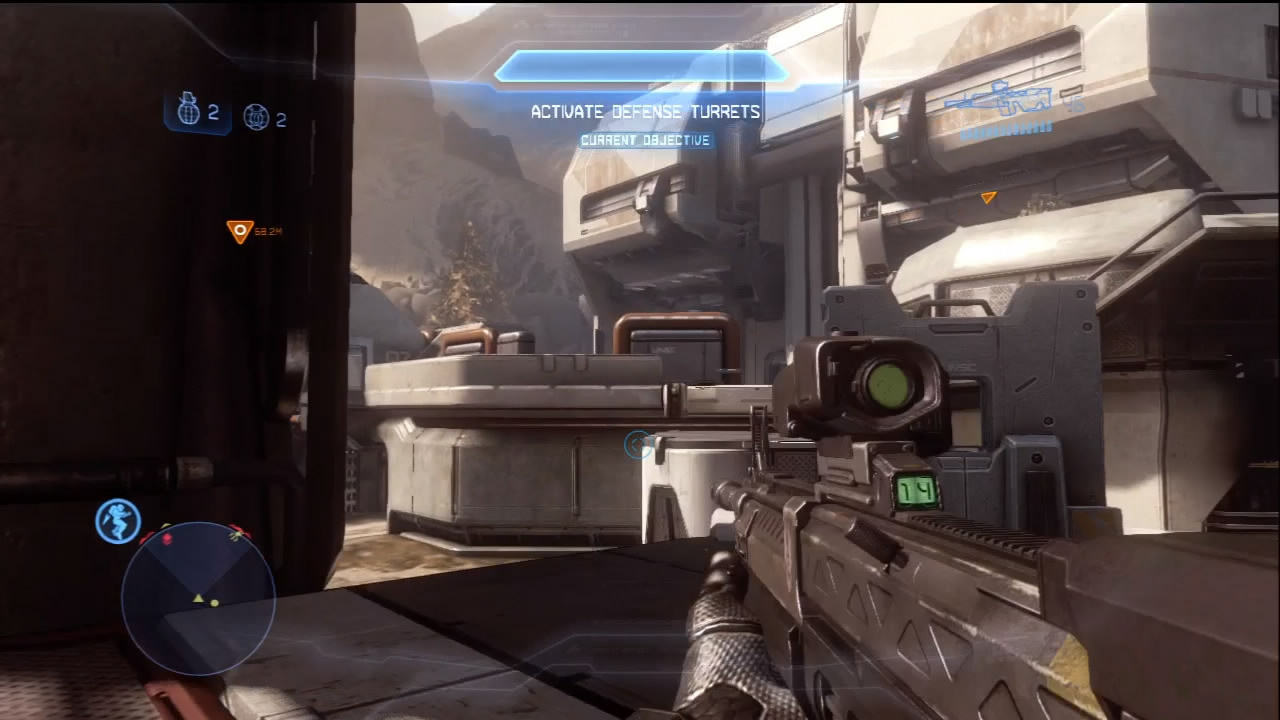
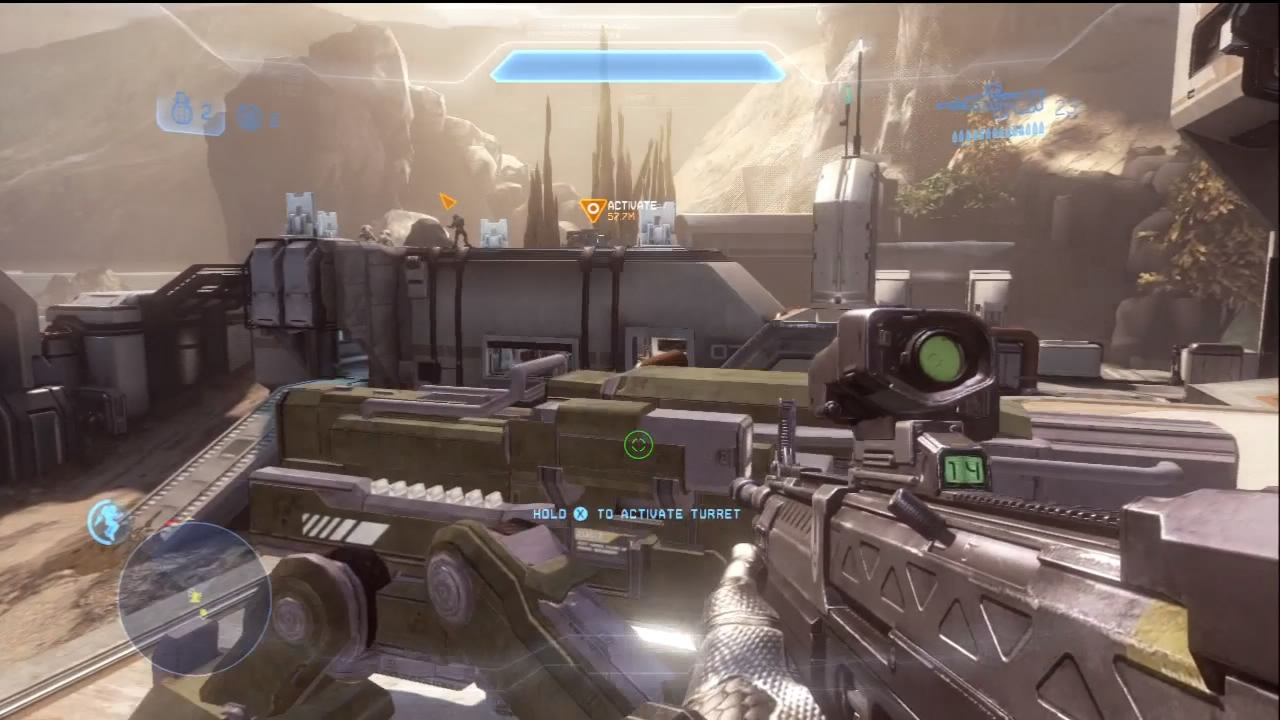
[4] [5] With the initial assault repelled or slowed and the base computers secured, you now have to reactivate a pair of point-defense guns while more waves of Covenant begin to swarm the base. If you have followed the suggested order for dealing with the power cores, the last core [3] makes a brilliant location to make a stand against incoming hostiles. Drop Pods and Phantoms will deploy more troops near each gun. If you move quickly and have multiple players, you can actually get both guns online before the first troops are deployed. As soon as the guns are made ready, the final objective of the mission begins
Objective Three: Defeat Invaders
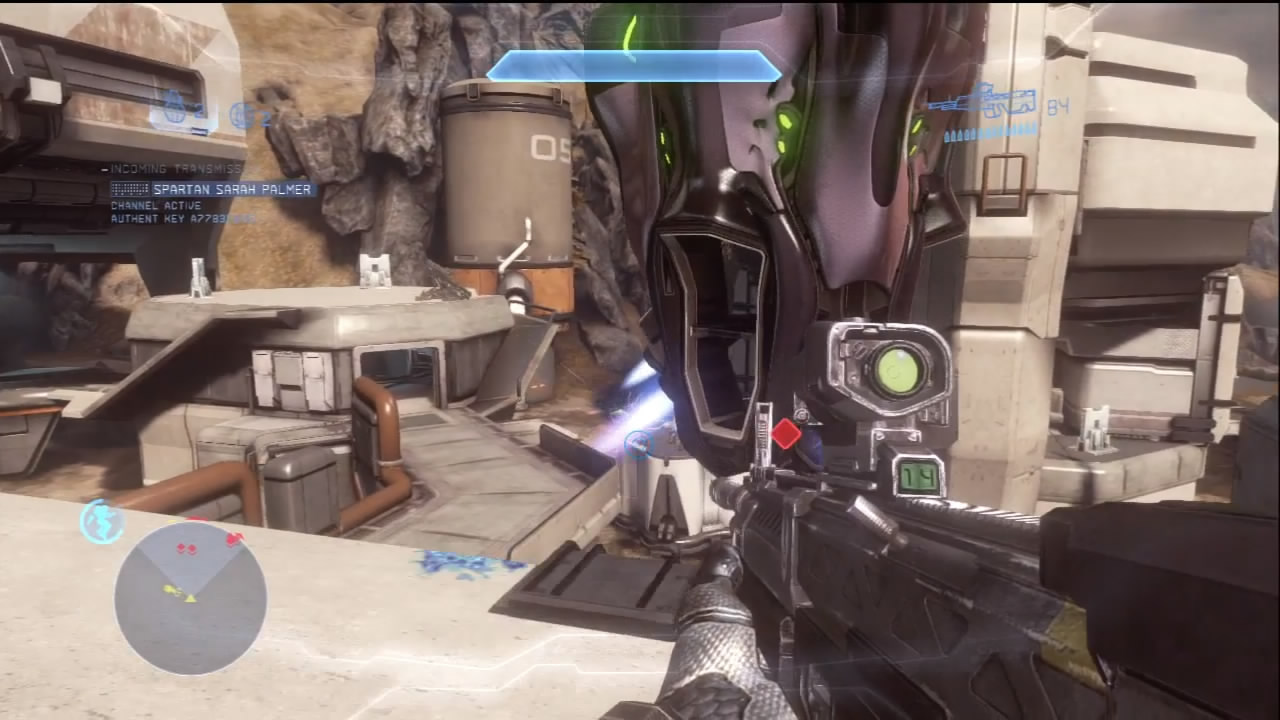
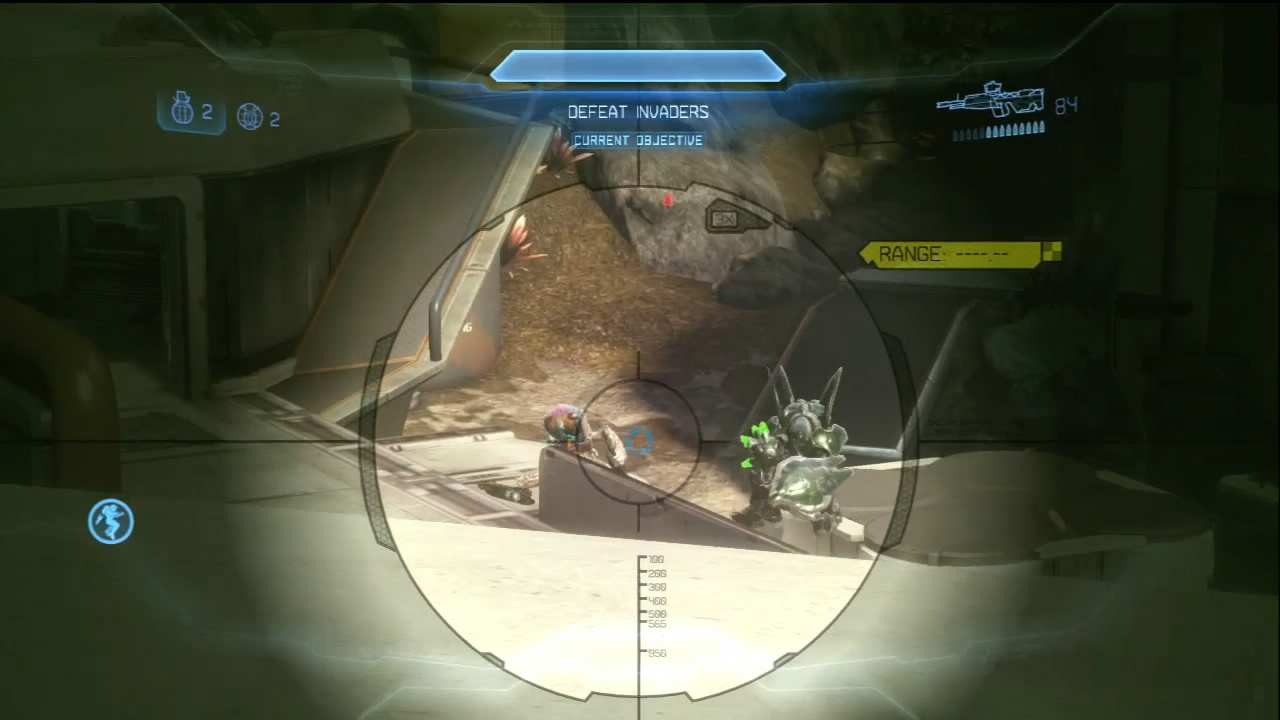
[6] [7] The Covenant make a last desperate push to occupy Galileo, despite the point defense guns being activated. Expect multiple Drop Pods and Phantoms filled with all manner of Covenant to descend onto the base, disgorging their payloads. The first Drop Pod arrives between both of the defense guns, and brings a pair of Hunters into the fray. Eliminate them as quickly as possible, for not long after they are deployed, the Phantoms begin to enter the local airspace to deliver more troops and fire support.
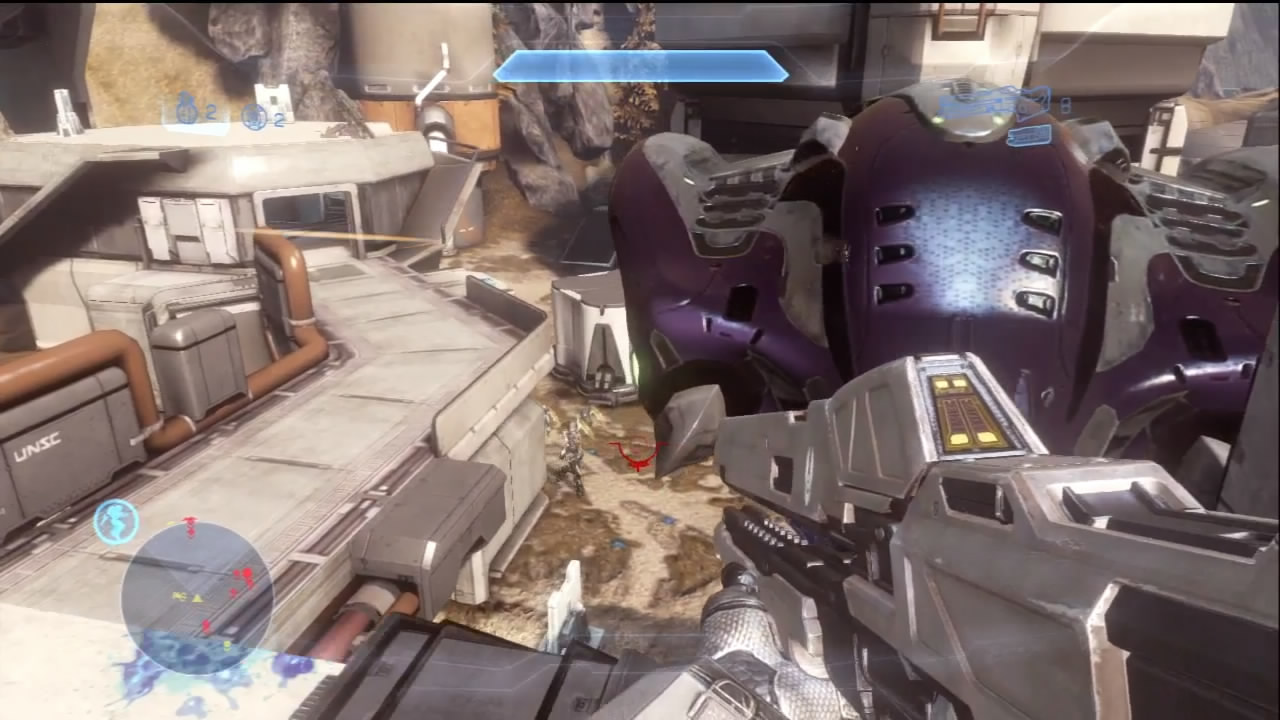
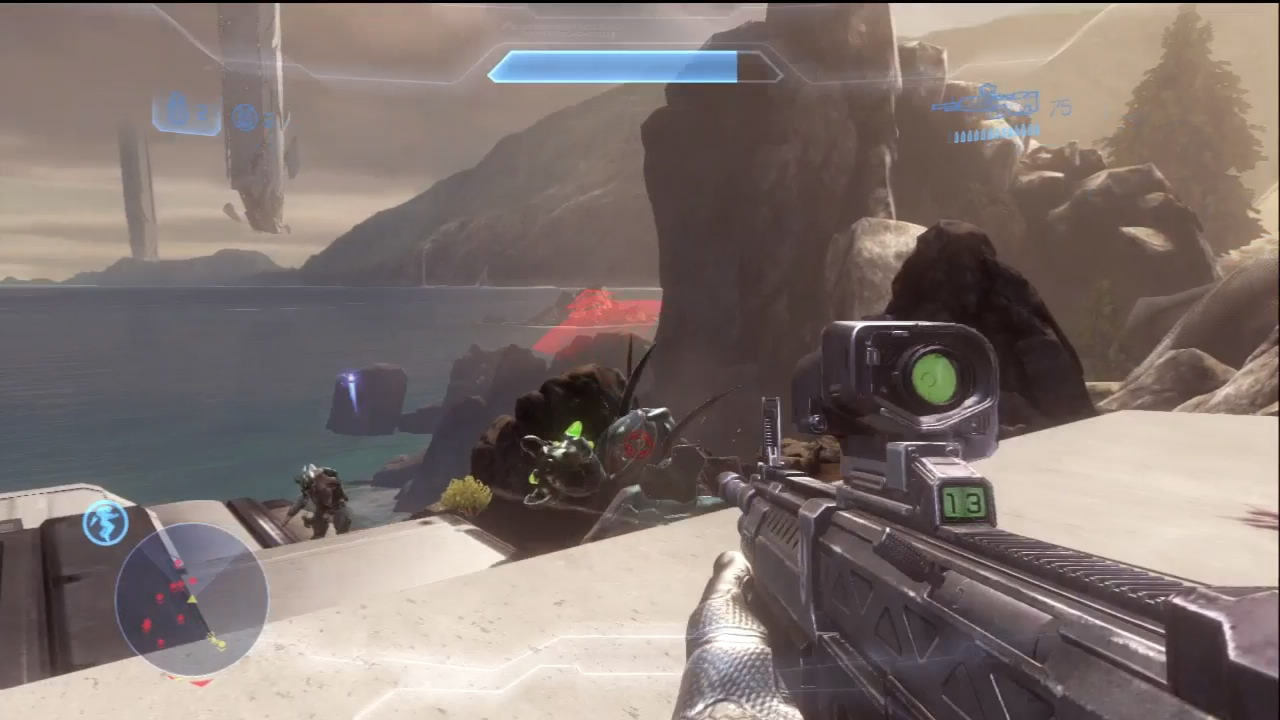
The final battle for Galileo can drag on for some time, and to be frank the guns you just activated only provide a distraction at best. If you haven’t been using the Railguns found on this map, you are seriously limiting your fighting potential. Don’t feel afraid to fall back to known ammo crate locations to restock the Railgun. If for some reason you have lost these weapons, you can also resort to using Fuel Rod Cannons left behind by Covenant to lay out large groups. As always, once the Hunters are toast, the Elites are the gravest threat. They will charge after you regardless of your location, so it’s best to use the buildings to help funnel the enemy into kill zones while simultaneously affording yourself an escape route.
Once you exhaust the Covenant reinforcements, Galileo is secure and the mission is over.
Chapter Three: Spartan Mountain
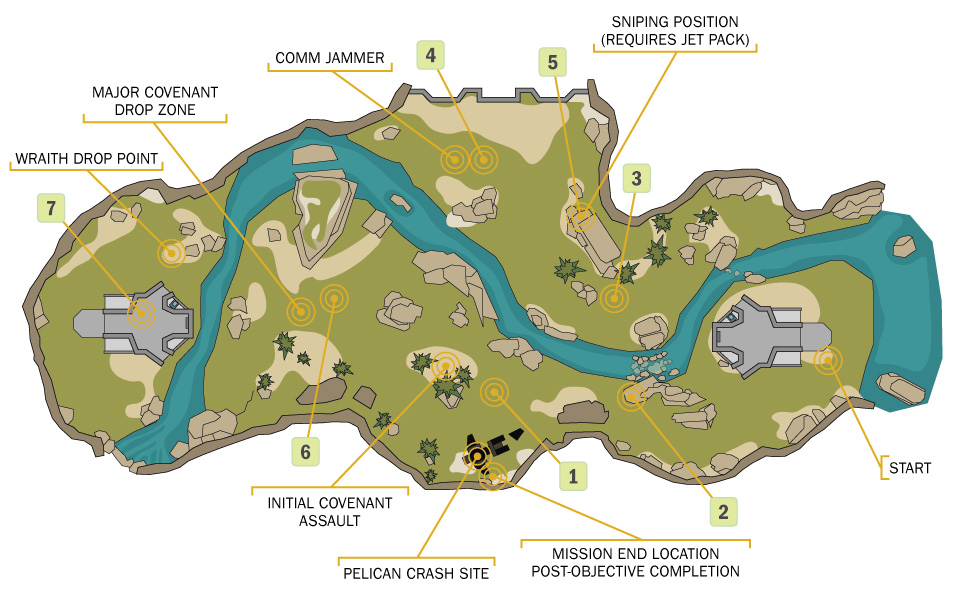
Mountain Squad needs immediate assistance, and Fireteam Crimson has been drawn up for the task. This “quick and easy” rescue operation spirals into a major engagement with Covenant forces that control this zone, and eventually the Spartans are temporarily commandeered by civilian assets to help investigate the local Forerunner architecture. The days aren’t about to get easier.
The tower constructs that dominate both ends of this zone are obviously of value to the Covenant: This is the single largest deployment of Elites and Hunters you’ve faced yet. After securing Mountain Squad’s crash site, join these Spartans in taking the fight to the Covenant. After disabling a local comm jammer, the Spartans are to investigate one of the Forerunner towers and fight off any Covenant that attempt to interfere.
Map Location: Two Giants
Recommended Loadout
This operation takes place in one of the larger maps Fireteam Crimson visits throughout the course of Spartan Ops and should look familiar to War Games veterans. The wide-open spaces favor the precision of the DMR, which can be supplemented handily by a Plasma Pistol or Storm Rifle. Because of the high concentrations of Elites, you can expect to see many heavy weapons like the Fuel Rod Cannon, while Mountain’s crash site contains a Rocket Launcher to help deal with heavier targets. If you’ve yet to earn the Ammo upgrade, we really recommend unlocking it for this mission. The environments are only going to get richer with targets.
Objectives One and Two: Locate Crashed Pelican, Secure Crash Site
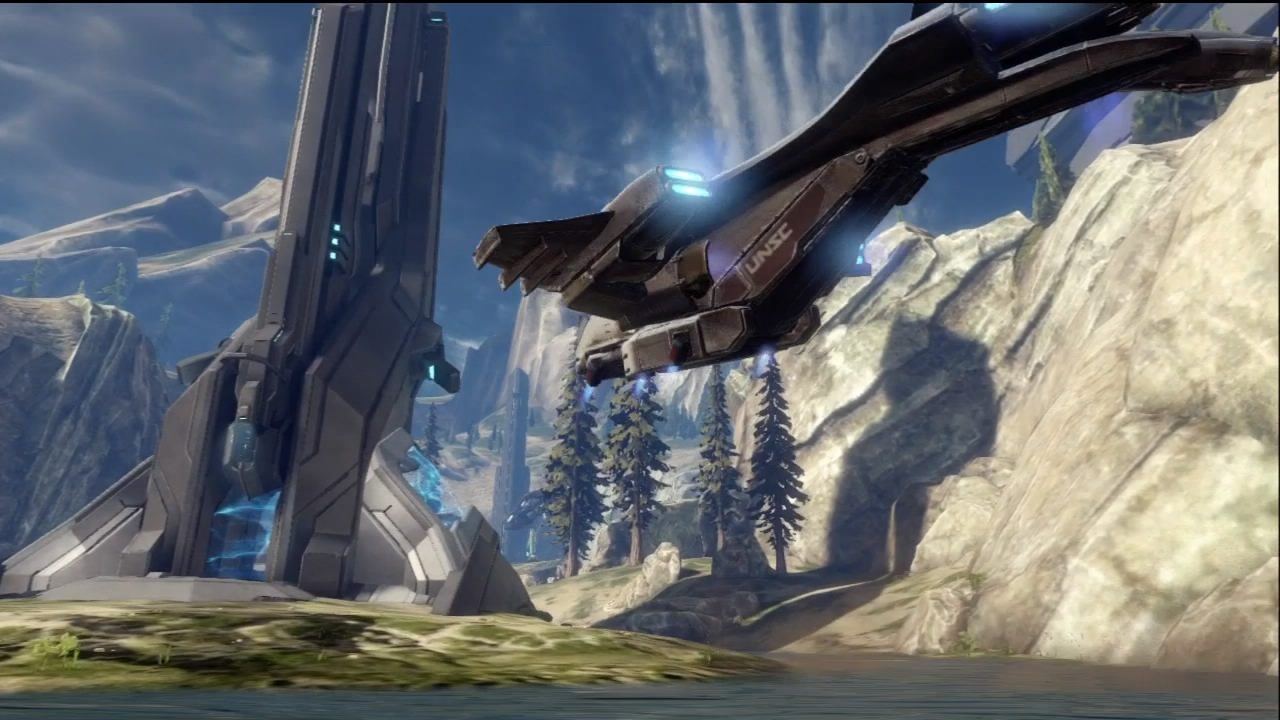
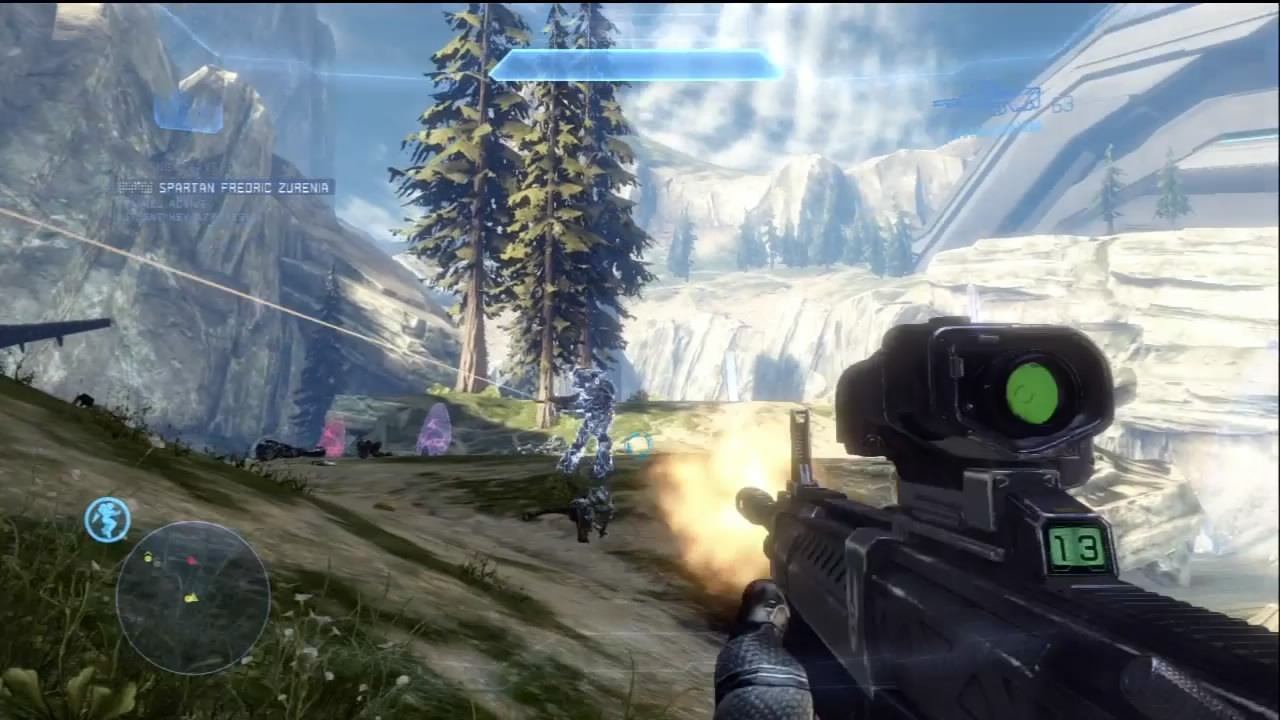
[1] The Pelican drops you off a short distance away from the location of Mountain Squad’s position, but as you close in on your allies, you’ll notice a large force of Elites besieging your fellow Spartans. The nice thing about this area is you don’t have to charge directly into harm’s way to assist your allies. [2] Take up a good sniping position and drop the enemy safely from afar. After beating back the initial attack, a Drop Pod deploys more hostiles to try and overrun the Spartans.
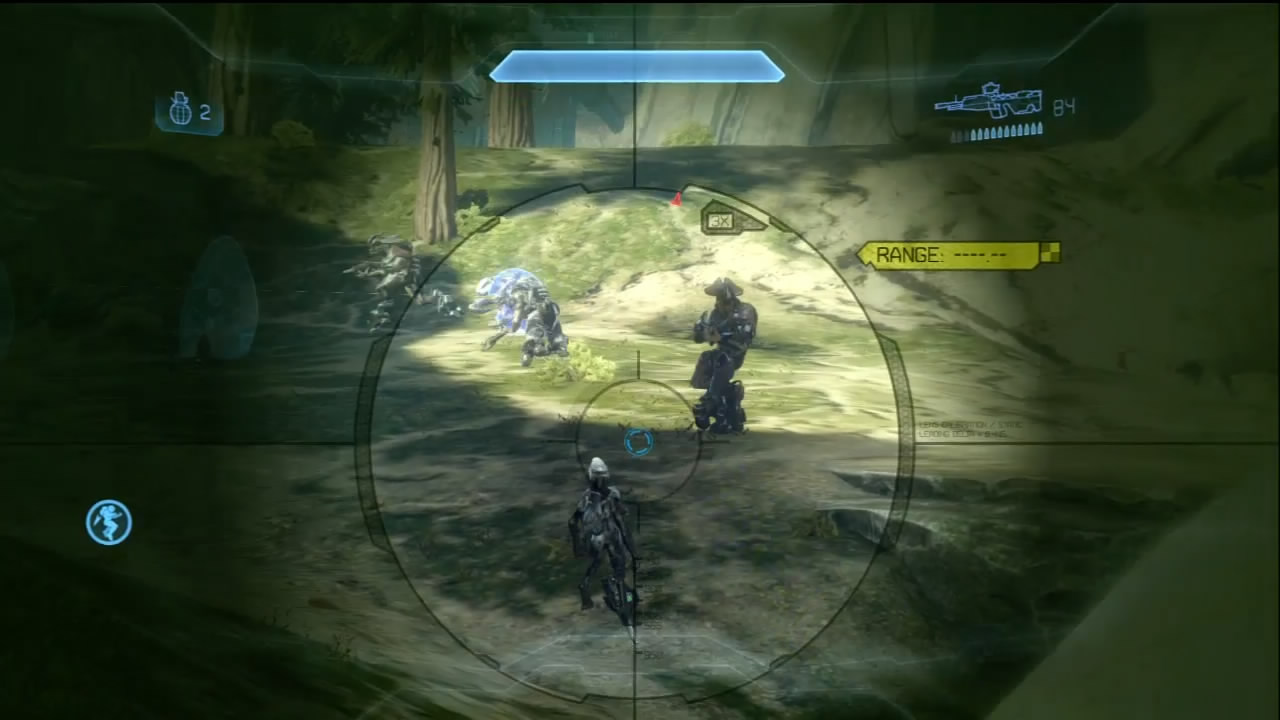
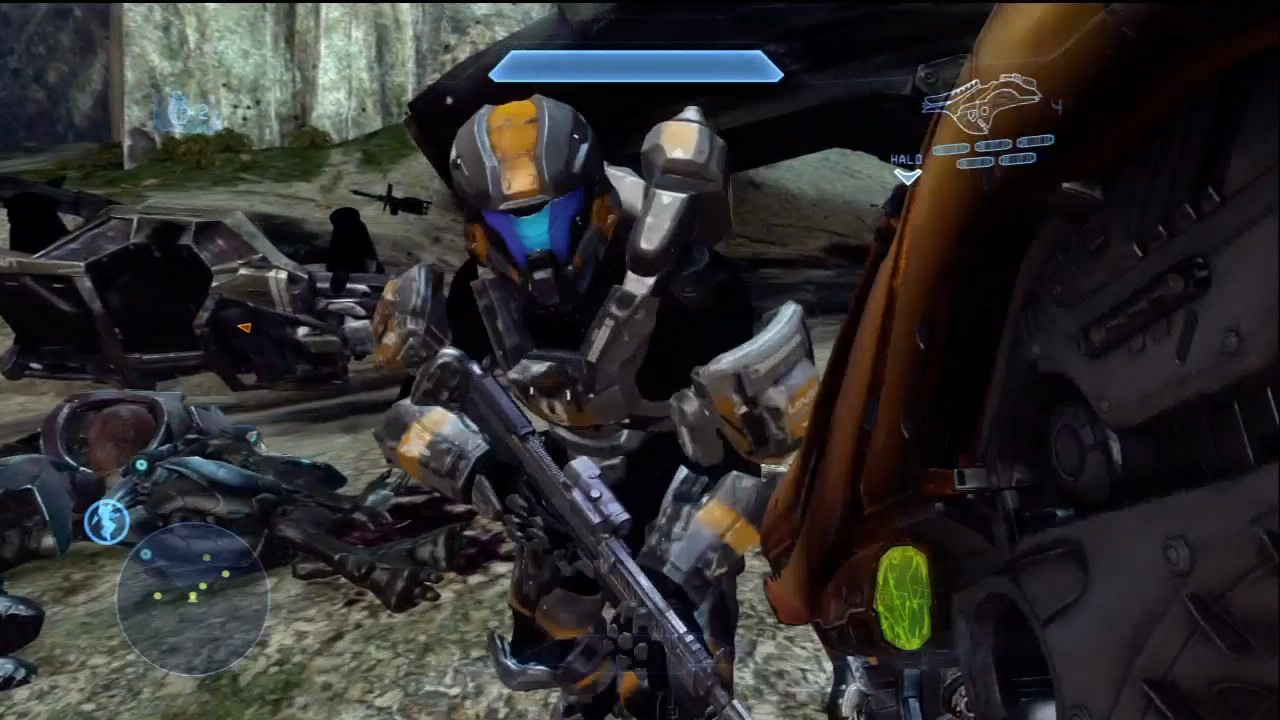
After you eliminate the enemy, take some time to arm your fellow Spartans. The Elites that had faced them may have carrier Fuel Rod Cannons that the Spartans, with their unlimited ammo, can put to good use. However, we recommend you keep some heavy weapons available; you’ll see why very shortly.
Objective Three: Disable Shields
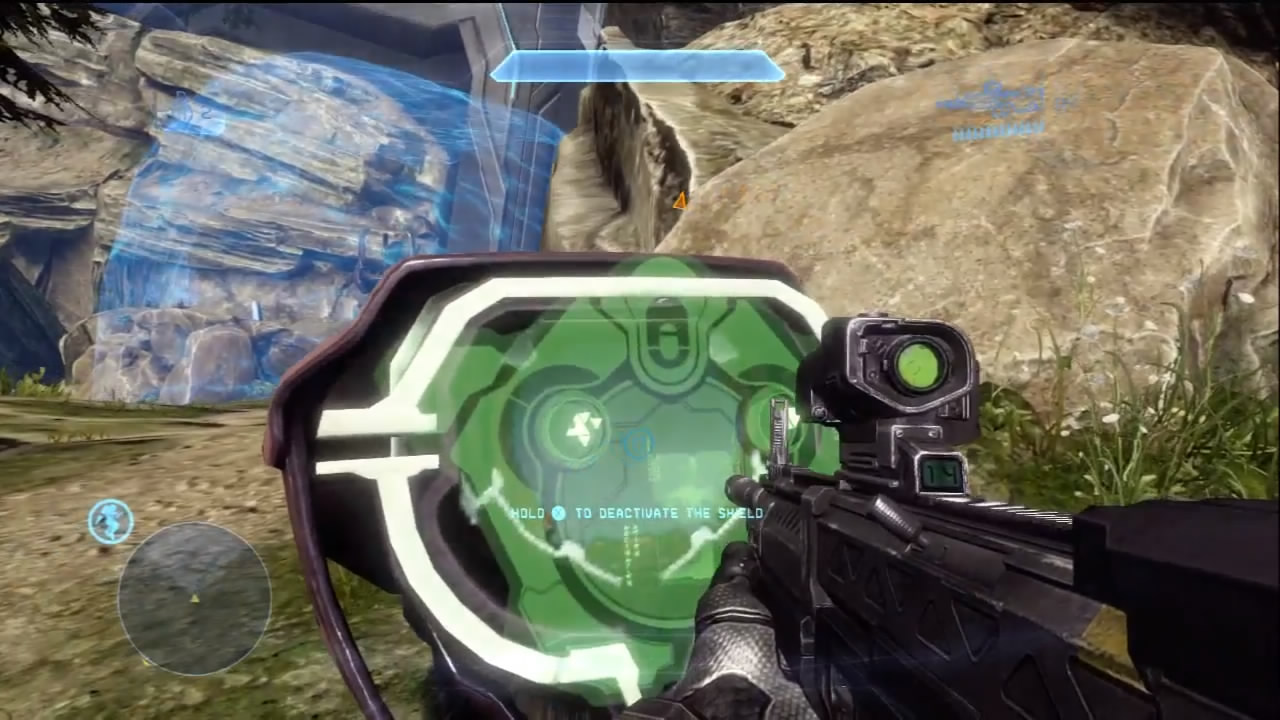
[3] After finishing any preparations you feel are necessary, travel to the shield controls and shut down the defenses. No new enemies attack during this objective. Some Covenant Carbines and Needlers are near these controls, if you want to use them.
Objective Four: Destroy Comm Jammer
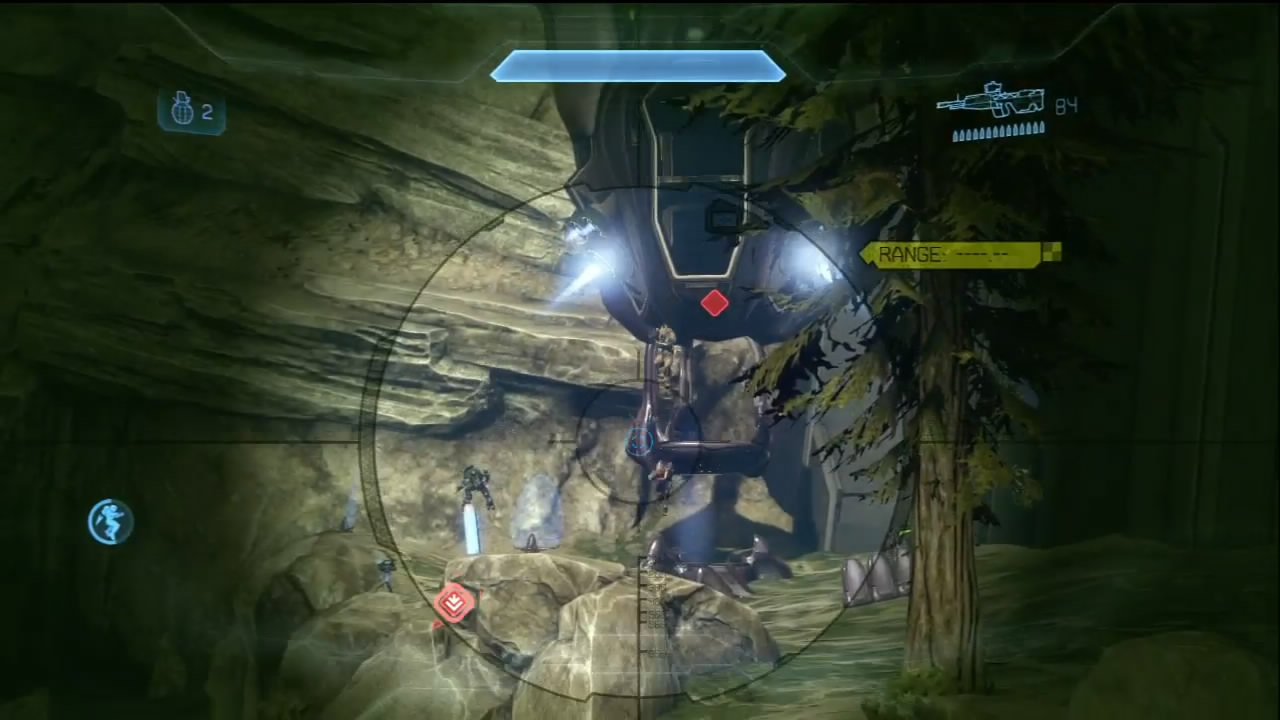
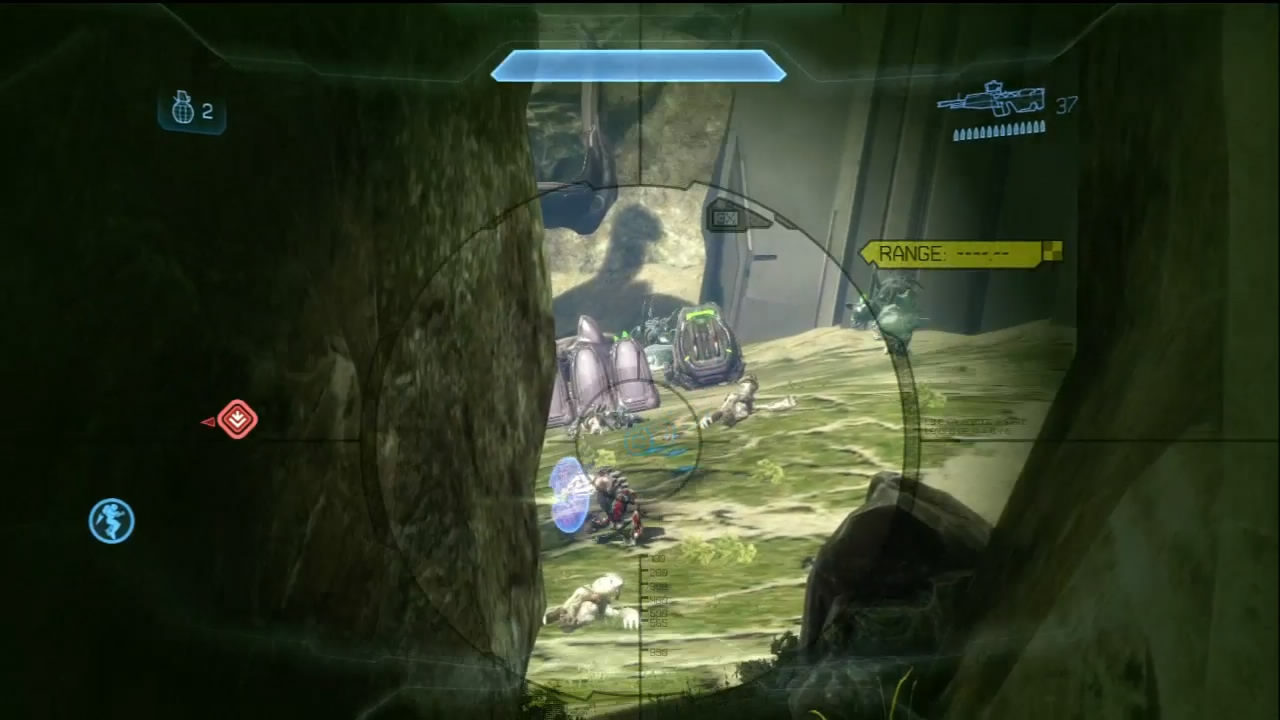
[4] Two Drop Pods deploy a smattering of Elites, Grunts, and Jackals near the comm jammer. More importantly, a total of four Hunters are a part of this deployment. Do not attempt to take this fight up close until you have at least dealt with two of the Hunters. Stay mobile to avoid getting pasted by the Hunters. Watch for Elites who try and rush toward the crash site [1]. Among them may be Energy Sword–wielding Zealots.
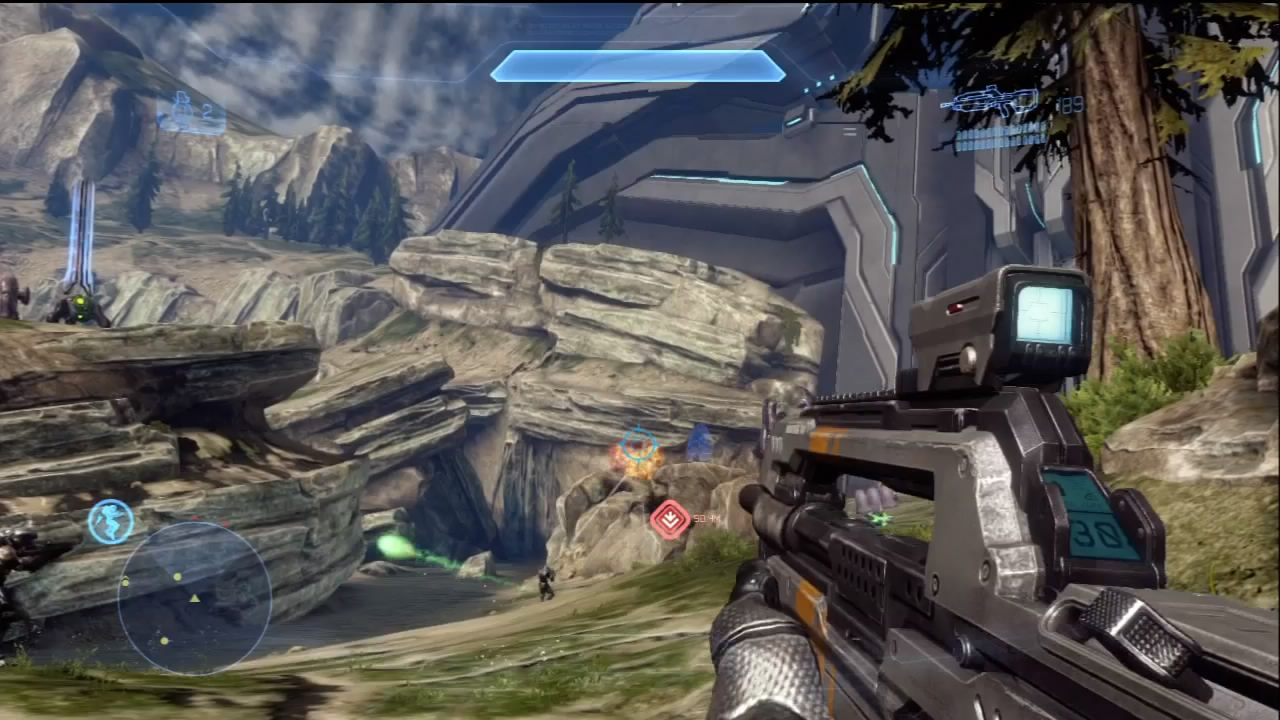
If you followed our advice, you may find that the Spartans you just rescued are infinitely more useful to your cause if they are equipped with Fuel Rod Cannons and Rocket Launchers. Just watch where you move to avoid getting hit by not-so-friendly fire.
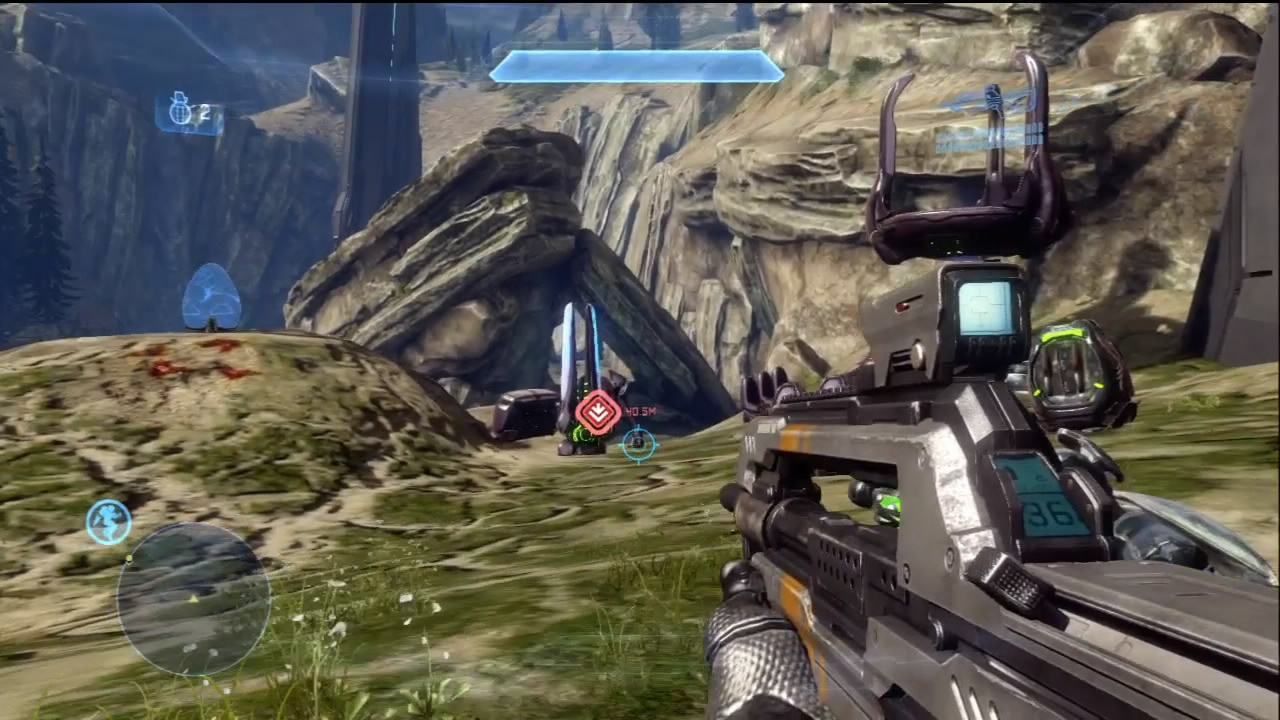
After this grueling battle, take out the comm jammer, but make certain you are restocked. You can find more Fuel Rod Cannons next to the guard platform that protected the jammer itself.
Objective Five: Investigate Tower
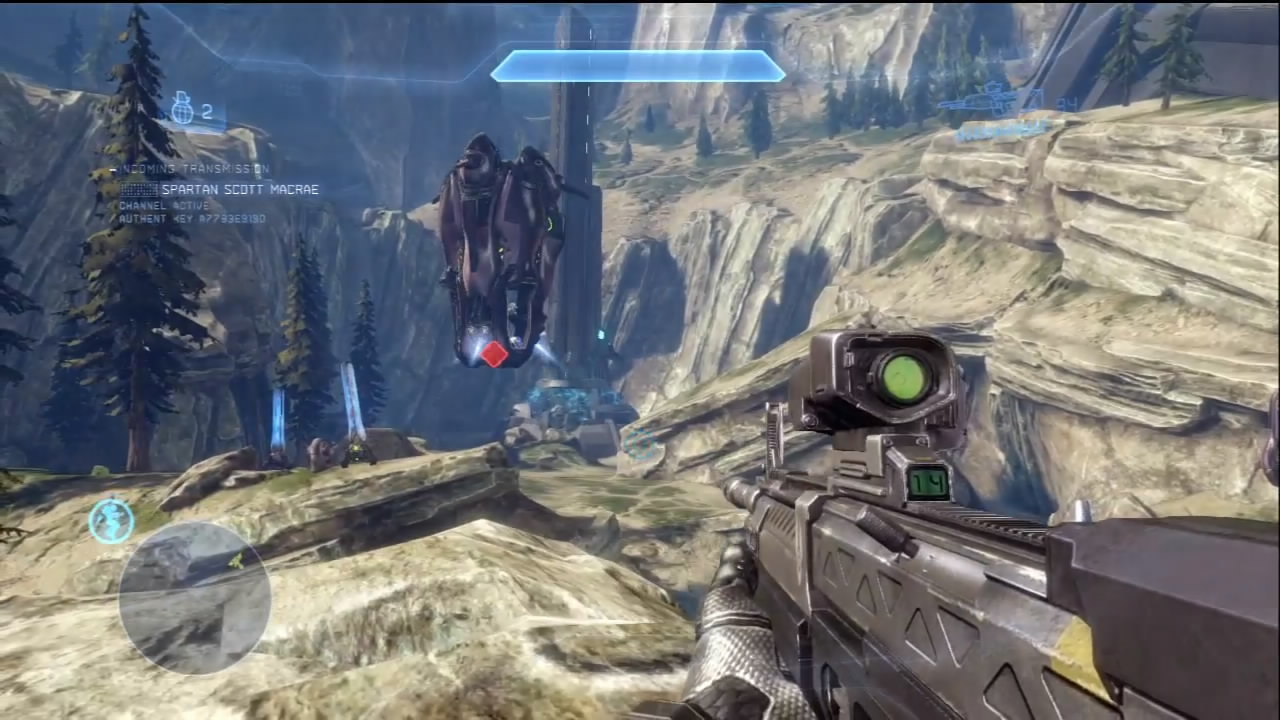
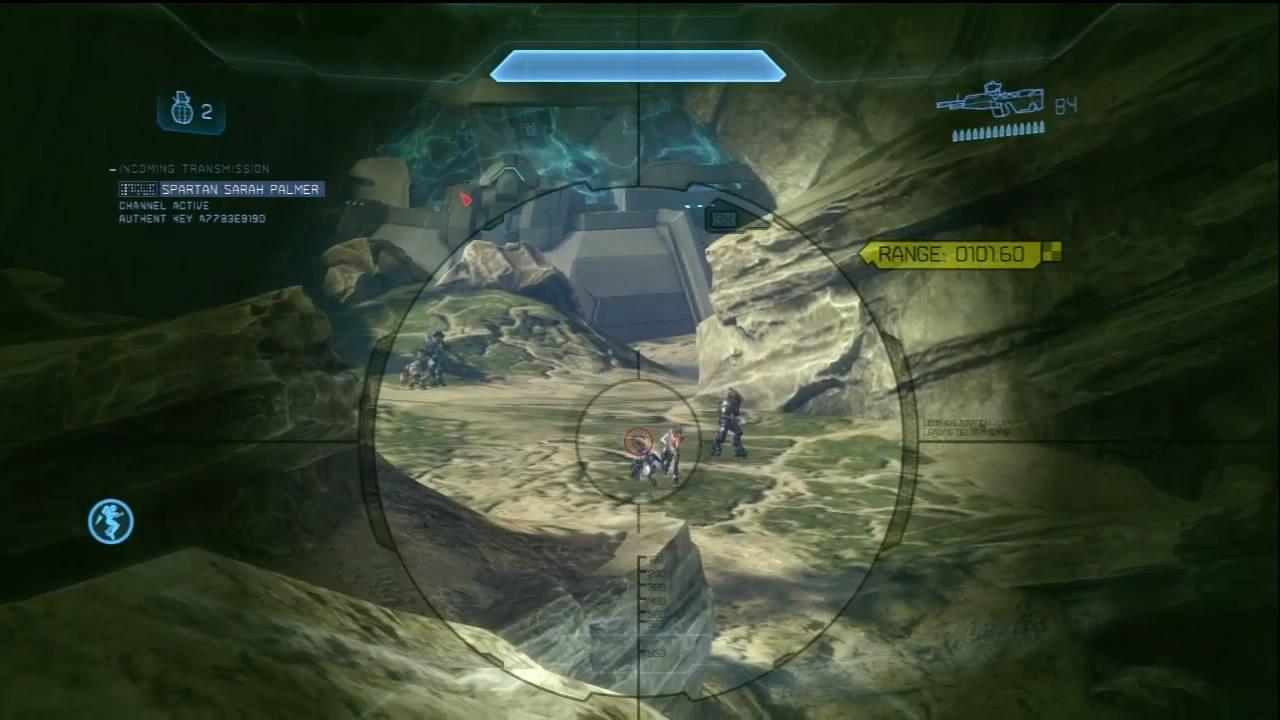
As soon as you are ordered to investigate the Forerunner tower [7], a Drop Pod begins the first of many counterdeployments between the jammer location and the tower itself [6]. If you’ve picked up a Jet Pack, you can climb atop the rocks at point [5] and snipe the enemy from a good elevated position.
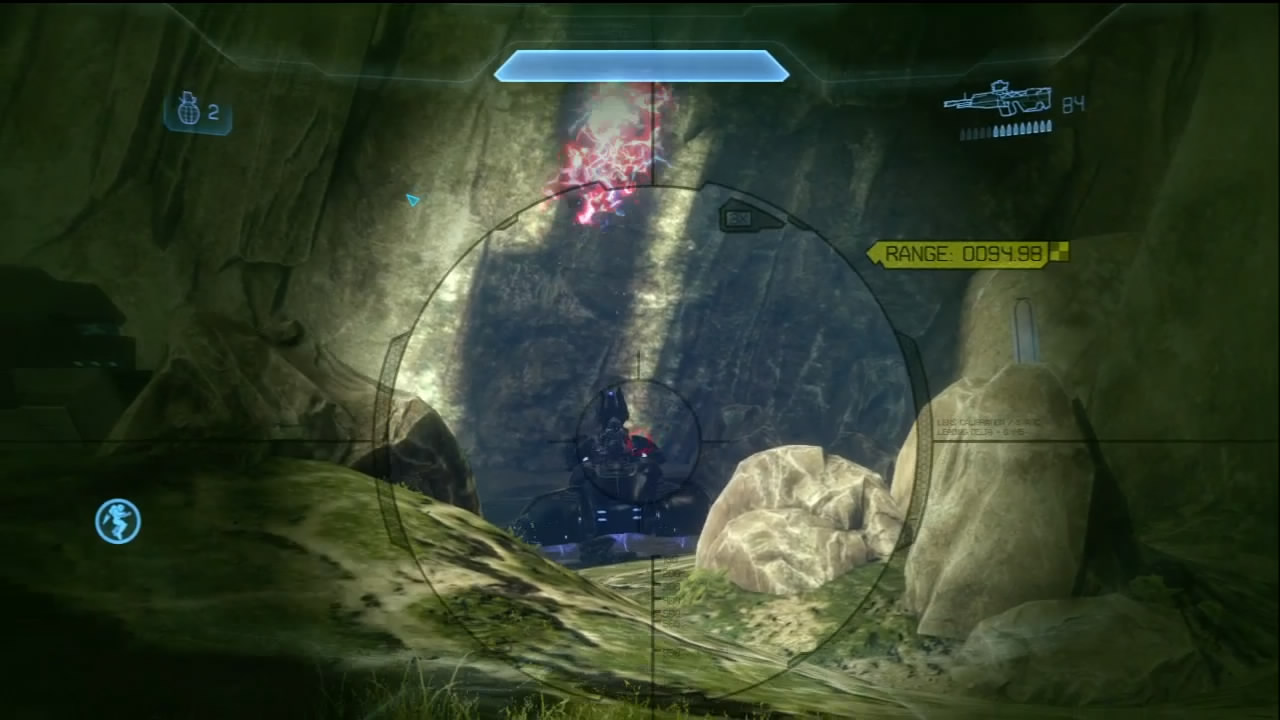
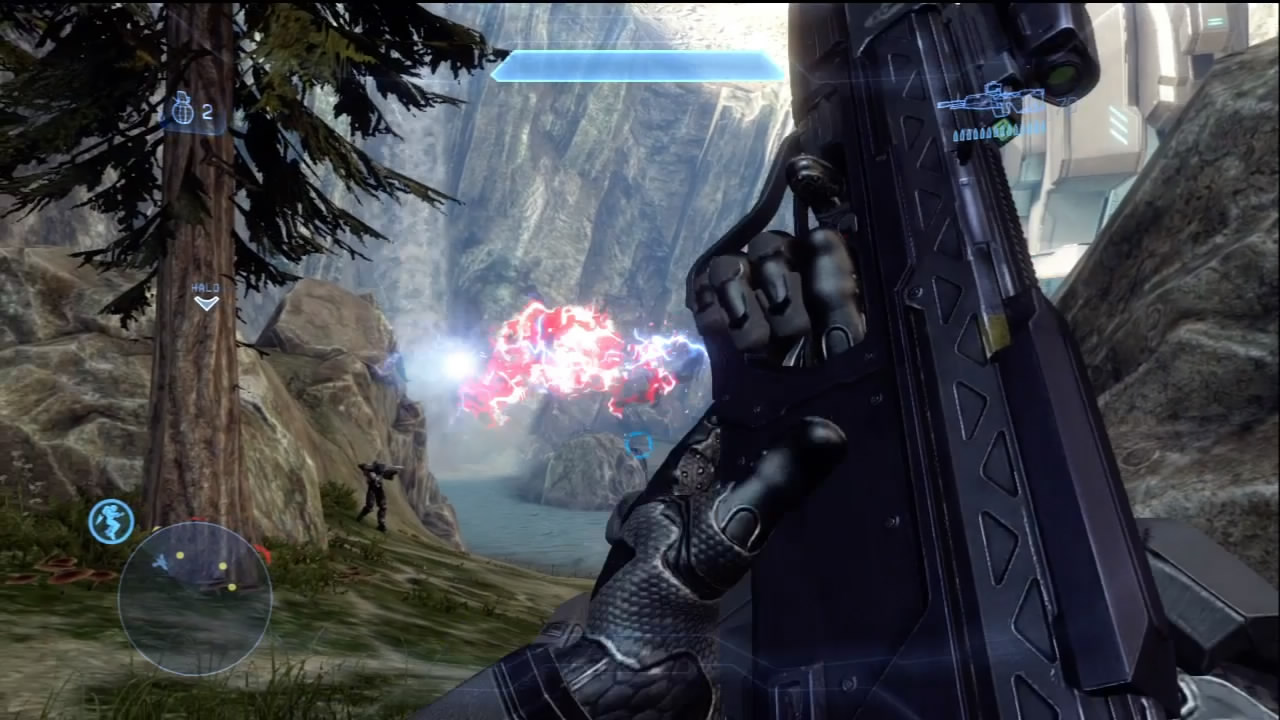
Meanwhile, around the tower, Phantoms deploy even more troops, including a pair of Ghosts and a Wraith. This can make the approach to the tower difficult. If you’re willing to risk it and are persistent at sniping the Wraith, you can blast the hatch that protects the driver off of the vehicle and try to kill them. If you succeed, you have a potentially very effective weapon at your disposal. It is best to set up such attempts by using the Plasma Pistol to disable the vehicle first. This isn’t easy to accomplish. If you’re trying to avoid needless deaths, then ranged combat may be best.
The other obstacle to taking the Wraith is the sheer number of Covenant troops deployed around the tower. You must take out many Covenant to stand a chance of even getting close to the Wraith.
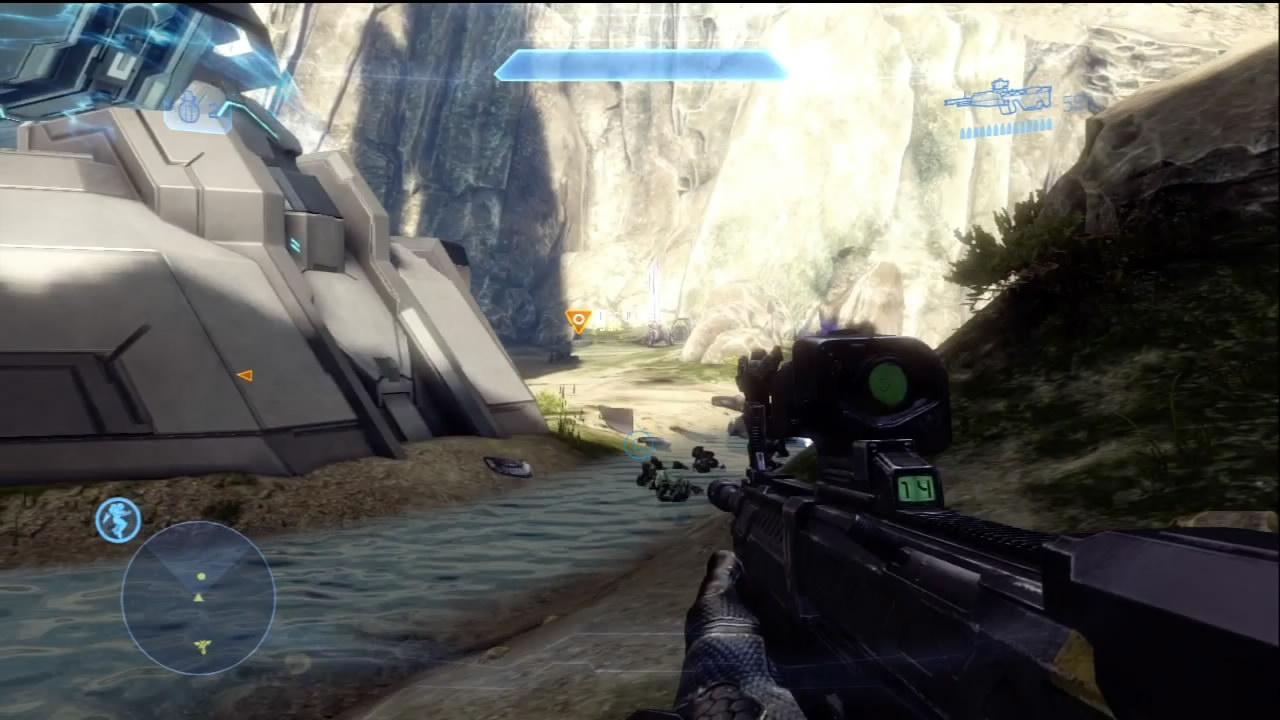
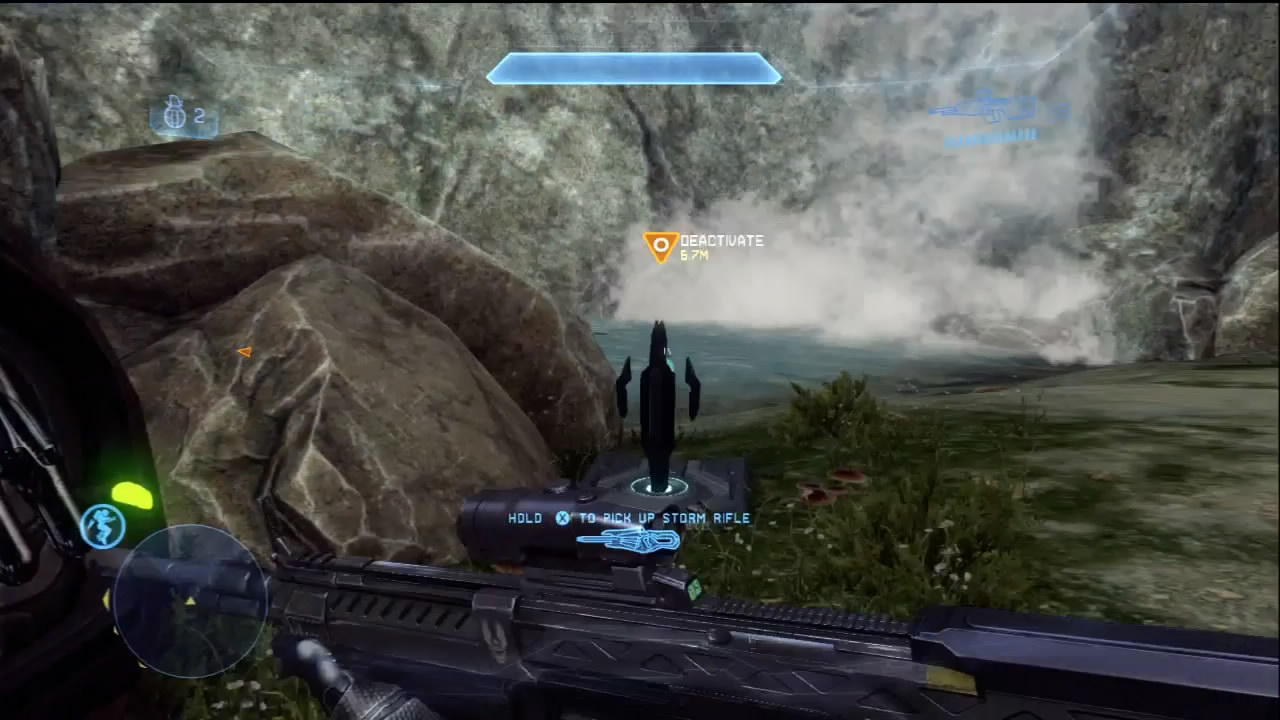
When you get close enough to the tower, your support team on the Infinity chimes in, saying that to gain access to the tower’s inner workings, you must shut off a pair of shield generators. Again, before you follow through with this, restock and prepare yourself for a big fight. You might be able to get your hands on a Ghost parked near the tower, which can be quite useful for what is to come.
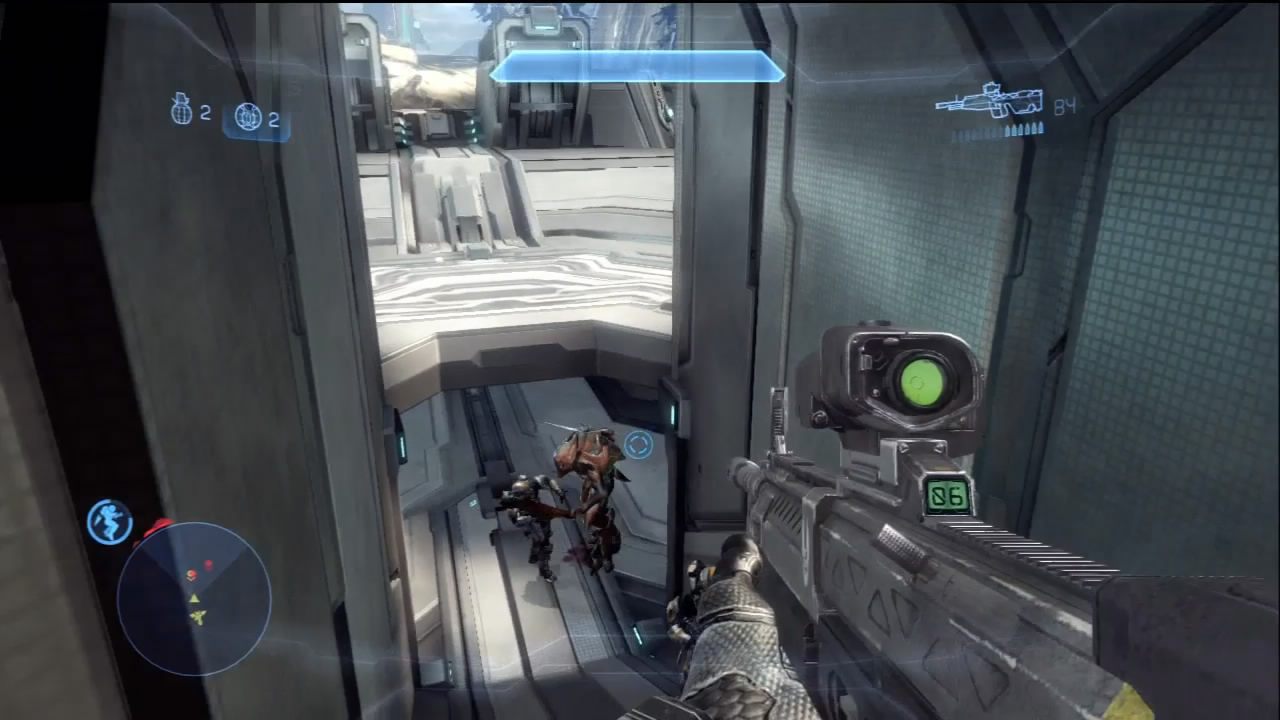
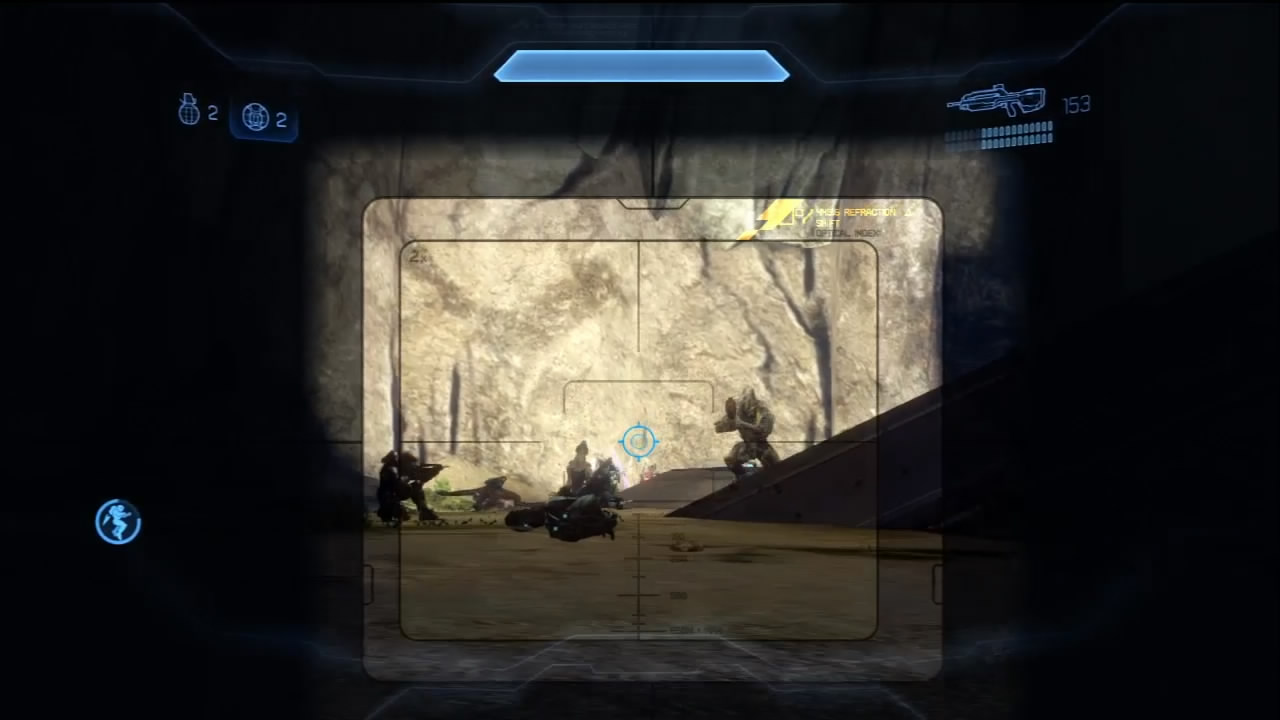
The Covenant expected this, as the lower level of the tower you just unsealed has a host of Covenant, including many Elites; they are awaiting someone like you to unleash them. Do not charge into the tower without ensuring it is cleared first! For more bad news, a Phantom deploys more troops close to point [6], which also primarily consists of Elites. On higher difficulties, you can expect to see many Zealots. While they are at a range disadvantage, their speed and the open terrain give them a chance to close in rapidly and execute some flanking maneuvers. This fight can go quite badly for Mountain Squad, so don’t feel too horrible if they take casualties here.
Be mindful of Jackal Snipers mixed in among the enemy. Beam Rifles are not to be trifled with in these wide-open spaces.
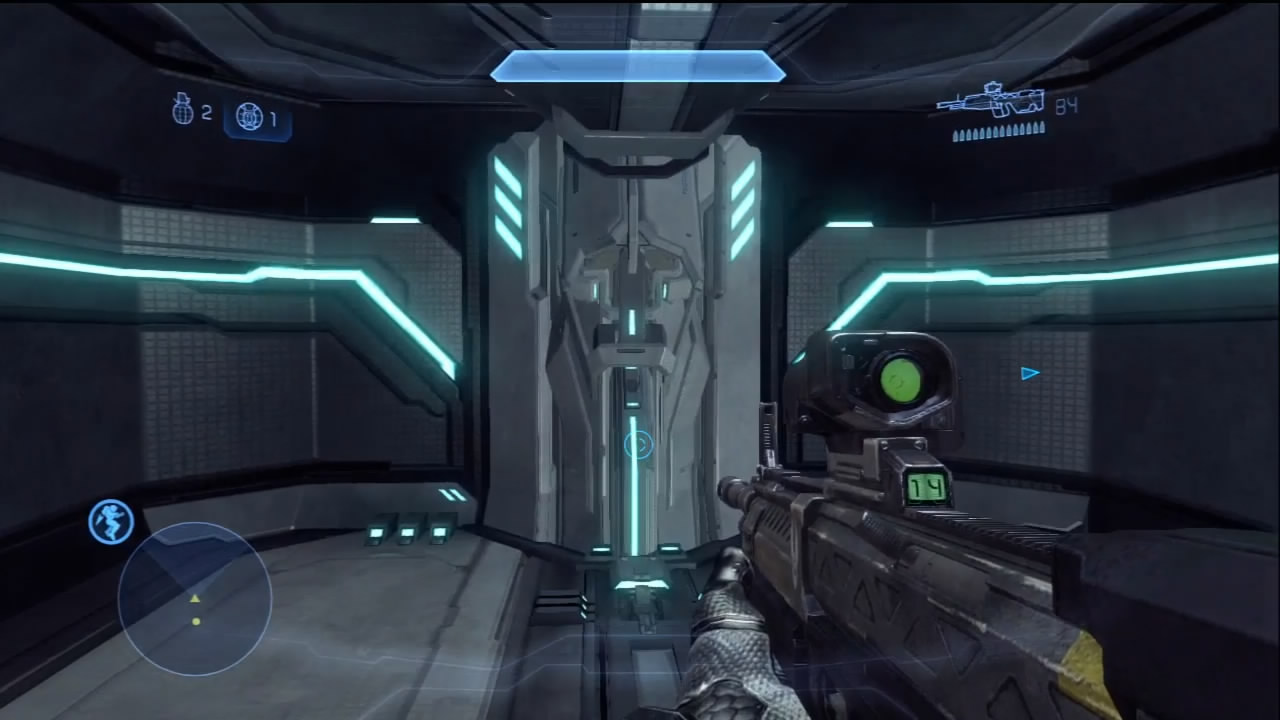
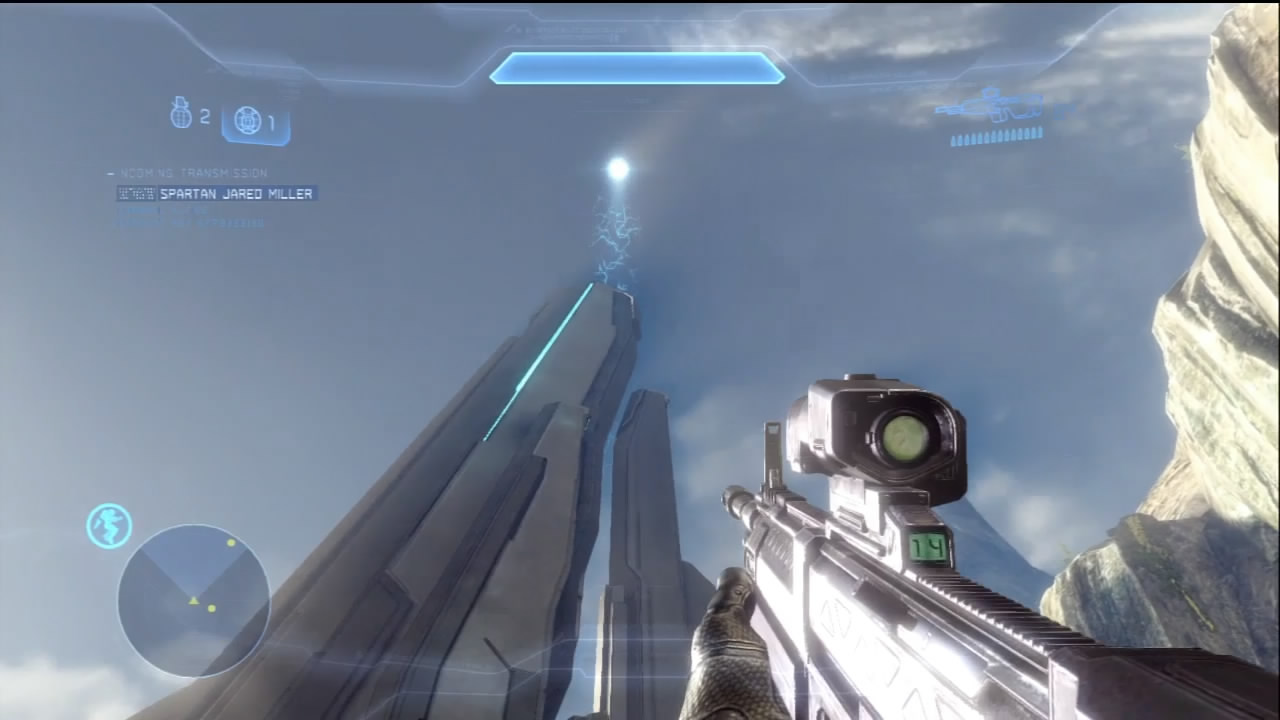
After securing the area, Dr. Halsey enters the operational picture, wanting Fireteam Crimson to inspect a specific object inside the tower. This causes the towers to begin emitting energy pulses toward Requiem’s “roof.” It also summons one last wave of Covenant.
Objective Six: Exit Tower
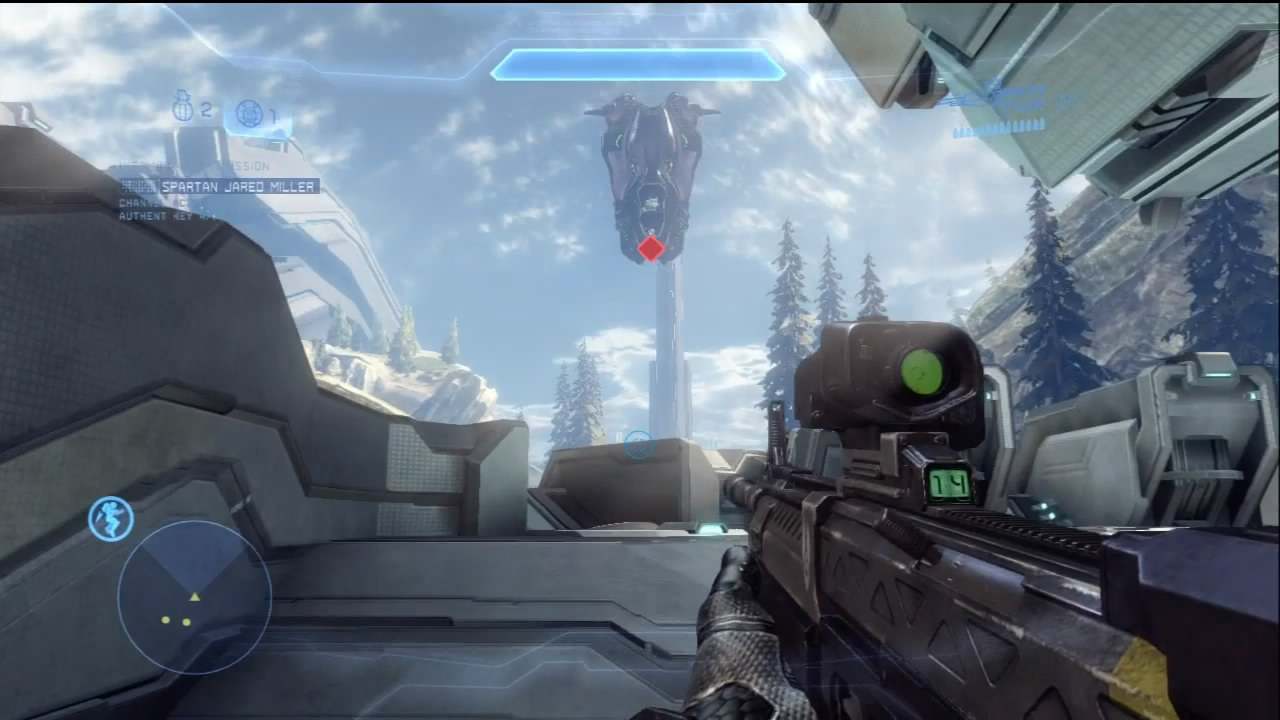
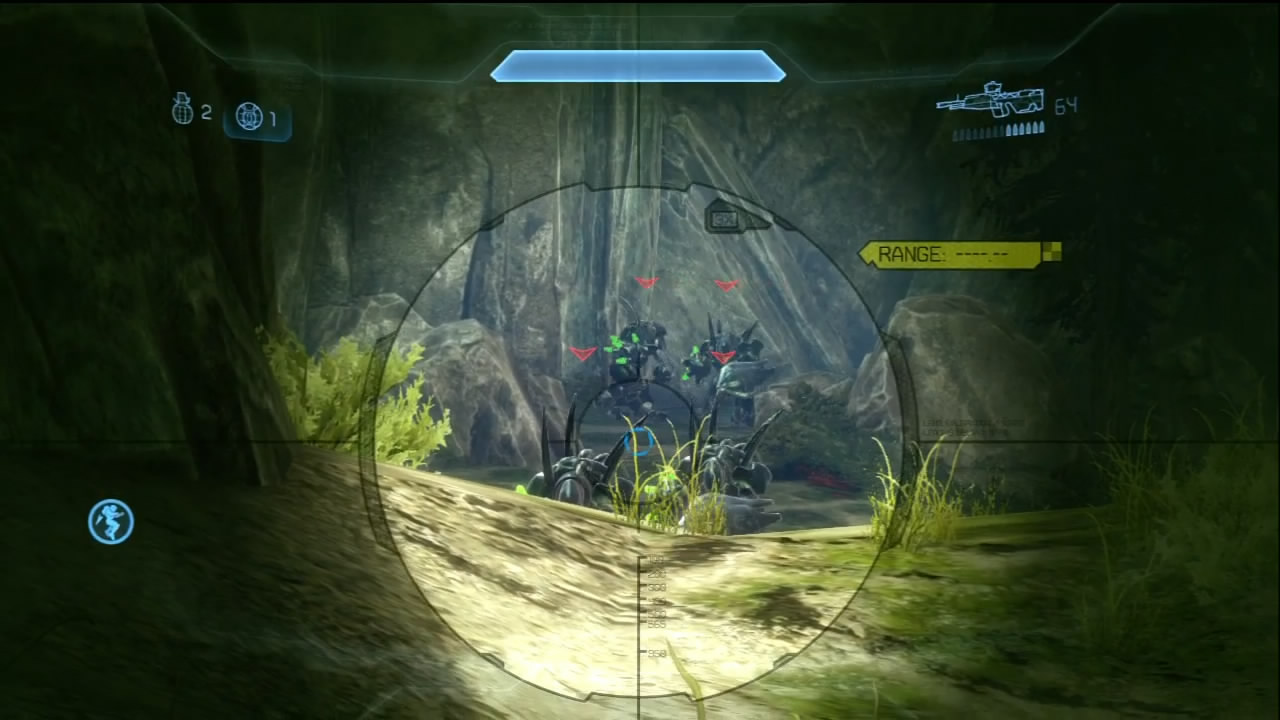
A Drop Pod deploys Covenant once more near point [6], which consists primarily of Jackals. The real threat is the four Hunters that accompany them. Use the tower for cover while you concentrate on wiping out the Jackal population before moving on to the Hunters. Get your hands on any Fuel Rod Cannons; they are your best bets here. Solo players may find this last challenge to be quite frustrating, but it is still manageable if you can avoid engaging the Hunters all at once. Do what you can to flank the enemy, and try to get them to hurt each other with stray Fuel Rod shots. Fortunately, after you reduce the enemy to just Hunters, they will be marked on your HUD, which can help you keep track of them while you seek out the firepower to help end this fight.
The evac Pelican is still quite some time out from your position. You are ordered back to Mountain Squad’s crash site to dig in and prepare for the inevitable counterattack. The mission ends when you arrive at the crash site.
Chapter Four: Shoot-out in Valhalla
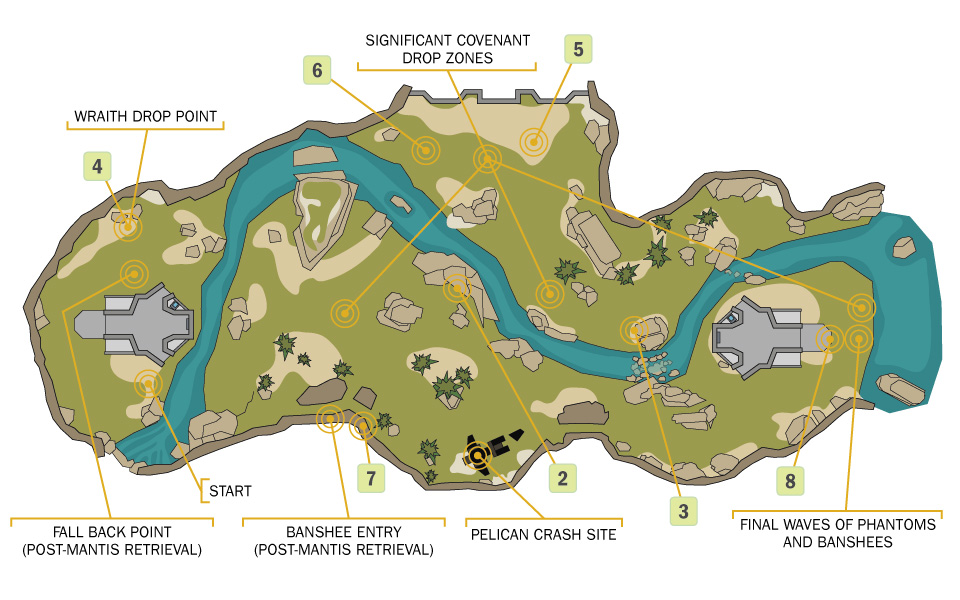
The attempted rescue of Mountain Squad is turning into a disaster. Fireteam Crimson must now hold their newly acquired real estate against a Covenant force willing to bring its collective might down on the depleted squad. Until the area is secured, or until the enemy is driven back far enough to allow for it, evac is not available. Good luck.
As with the previous mission, you’re still at the Two Giants. Your first goal is to set up a series of point defense turrets. From there, it’s a matter of surviving against great odds. Expect everything the Covenant can throw at you to arrive on the field in numbers. The first half of the battle requires you to fight while staying in motion, lest you are encircled and killed. Eventually, the UNSC comes through with some heavy armor for you to use, but expect the Covenant to respond in kind with waves of Phantoms and a storm of Banshees. There are no complex objectives to achieve here. You only need to survive.
This mission throws a lot of enemies at you, making it a good opportunity to gain some experience points.
Map Location: Two Giants
Recommended Loadout
For the first phase of the battle, bring the your preferred ranged implements. As always, the DMR, BR, Covenant Carbine, and LightRifle all have amazing utility. The Ammo upgrade is incredibly useful, so put that into one of your loadouts. The Jet Pack is also a good Armor Ability to consider. Elite Zealots can be a major factor during parts of the battle, and if they get close, you can use the Jet Pack to stay out of the range of their Energy Swords while raining fire down on them..
When the Mantis mechs are delivered, do everything in your power to not lose these vehicles. These walking monsters are all you need to clear out the Covenant. If they get destroyed, it is a serious blow to your combat ability during the second half of the fight.
Objective One: Activate Turrets
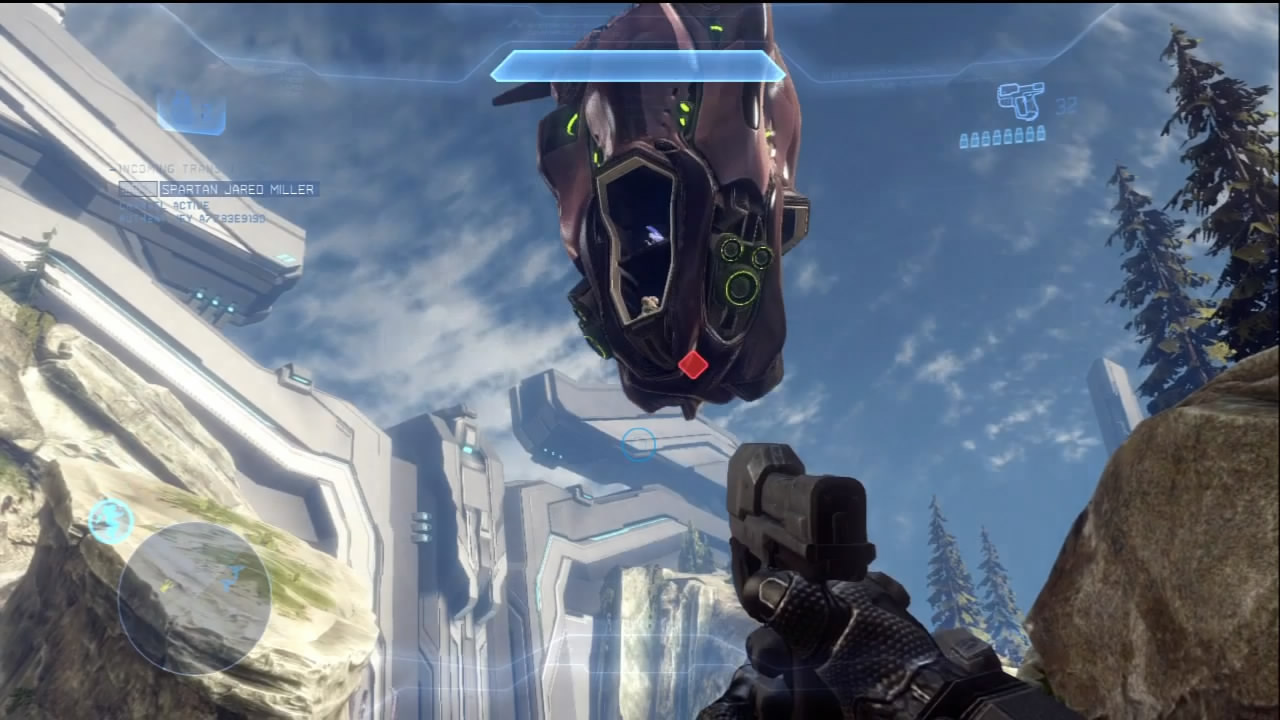
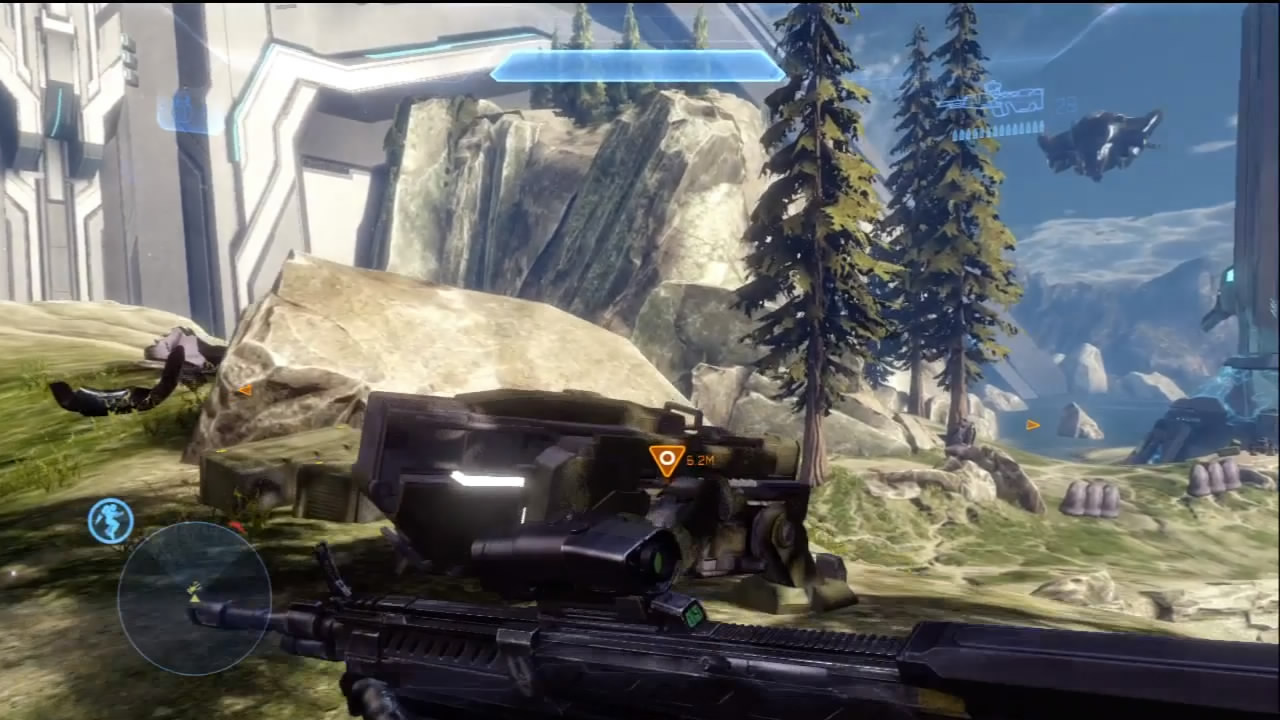
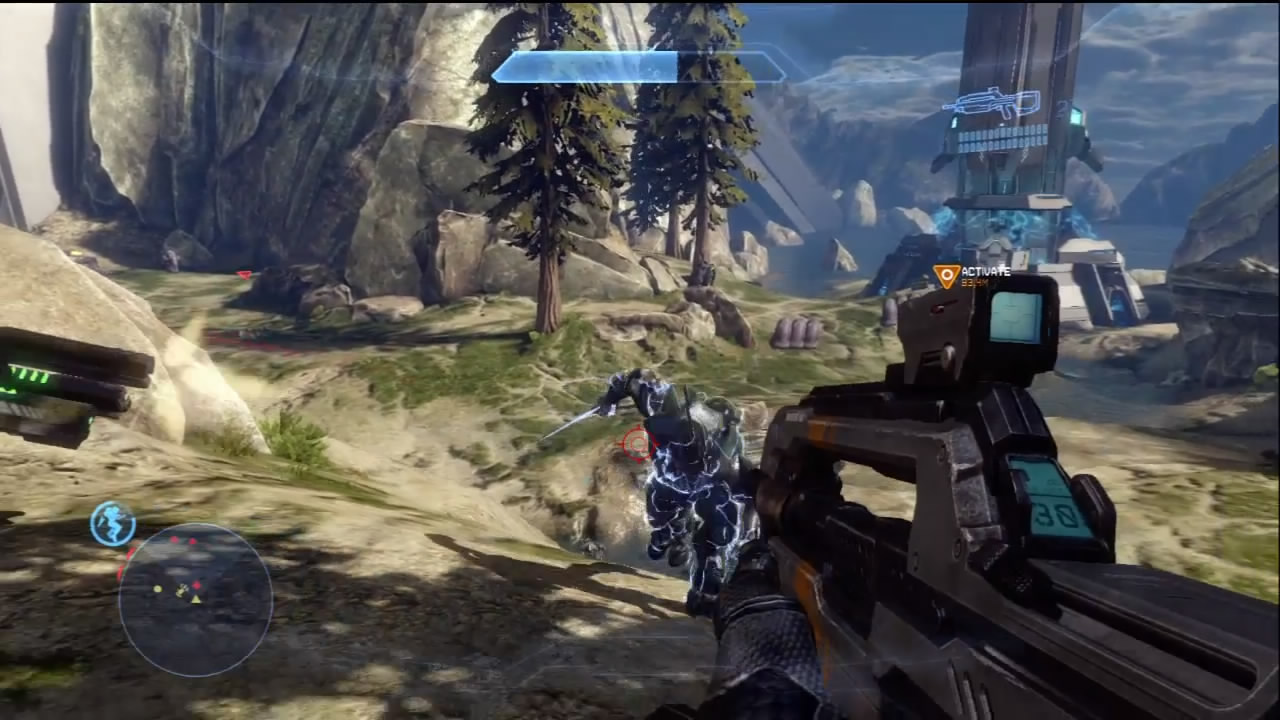
[1] [2] [3] The mission begins near the tower you investigated near the end of the previous mission. Marines have set up three point defense turrets throughout the area, and a Drop Pod full of Covenant arrives near the first of the turrets. Eliminate this first assault quickly. You can use the Ghosts close to your starting position to reach the other two turrets before significant Covenant numbers drop into the area. [2] The central turret you need to activate is close to the Pelican. Don’t forget that you can stock up on supplies near the downed vehicle!
Watch out for constant deployments of troops, particularly the Elite Zealots. They can easily flank you on such open terrain.
Objectives Two and Three: Continue Defending Area, Clear Out Enemies
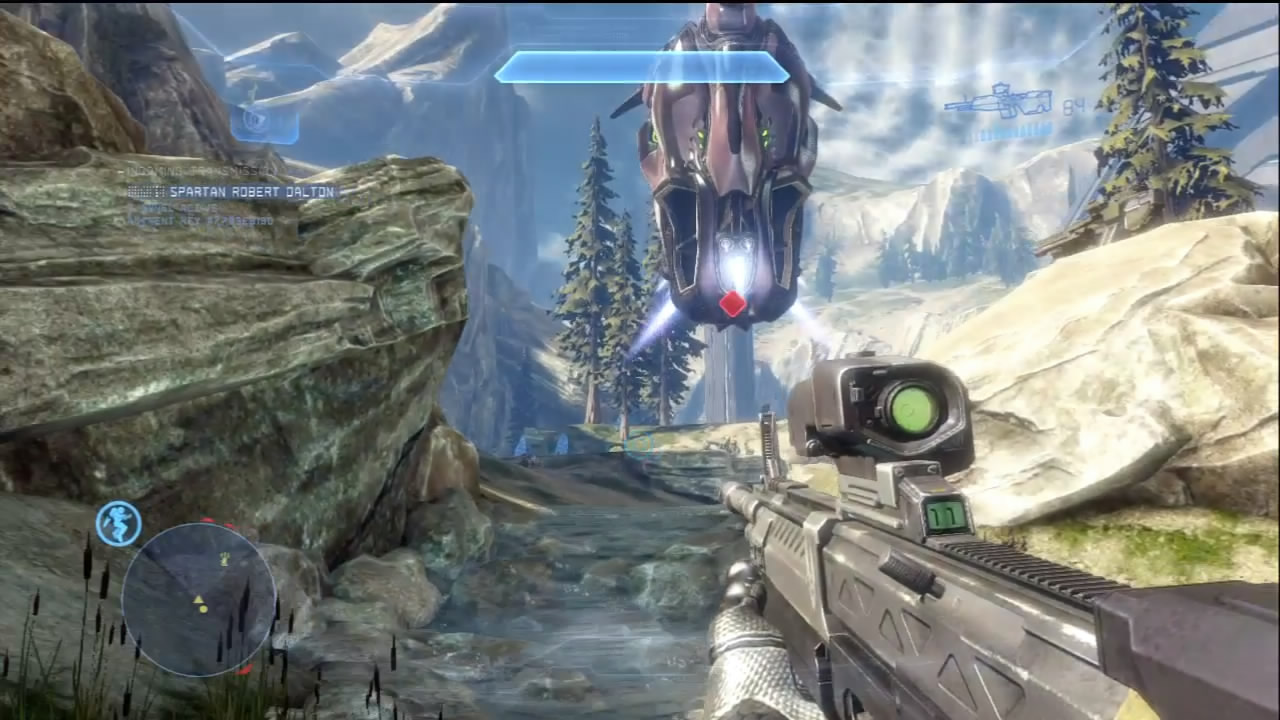
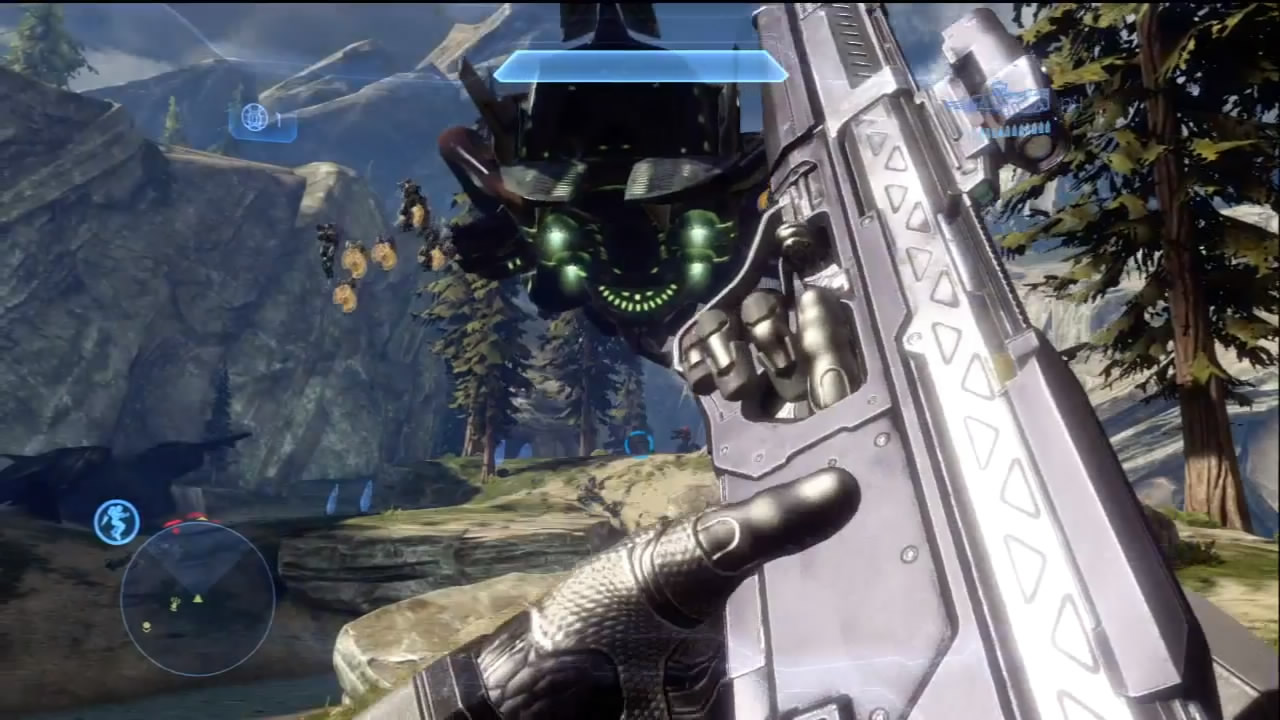
Covenant troops continue to arrive throughout the valley even after the three defense turrets are up and running. As with the guns found at Galileo, these weapons are not effective at stopping the Covenant, but they can provide a distraction. For the earlier parts of this mission objective, we actually recommend fighting around turret [3]. There are ammo crates near the turret for easy resupply, and the terrain is well suited to controlling the flow of Covenant through the creek near the turret. The initial wave of Covenant tend to arrive near the central turret, so holding at [3] allows you to have two turrets working together on the enemy.
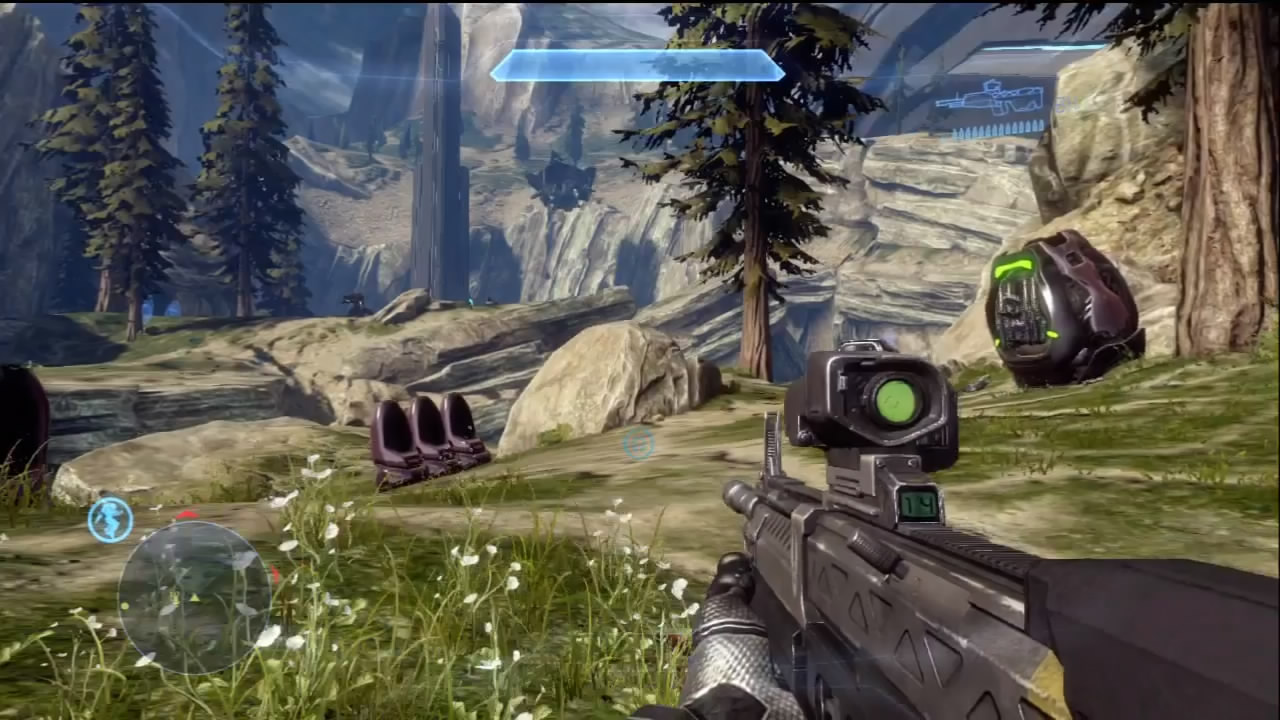
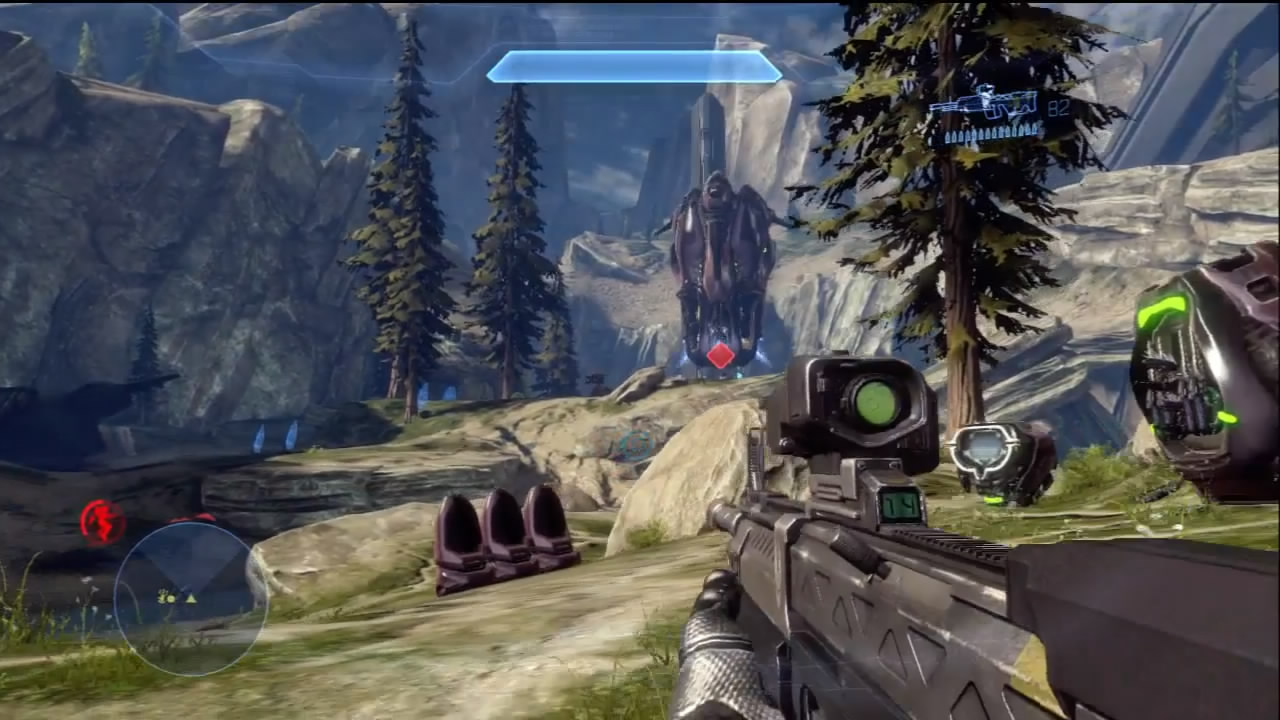
Eventually a Wraith is dropped near the previously investigated tower [4], along with more Covenant troops. This can be a tricky battle, as the Wraith’s plasma mortars will constantly require players to stay on the move once it is alerted to their position. If possible, it’s best to leave fighting the Wraith for last, unless you intend to attempt a hijack. More Covenant are deployed between turrets [1] and [2].
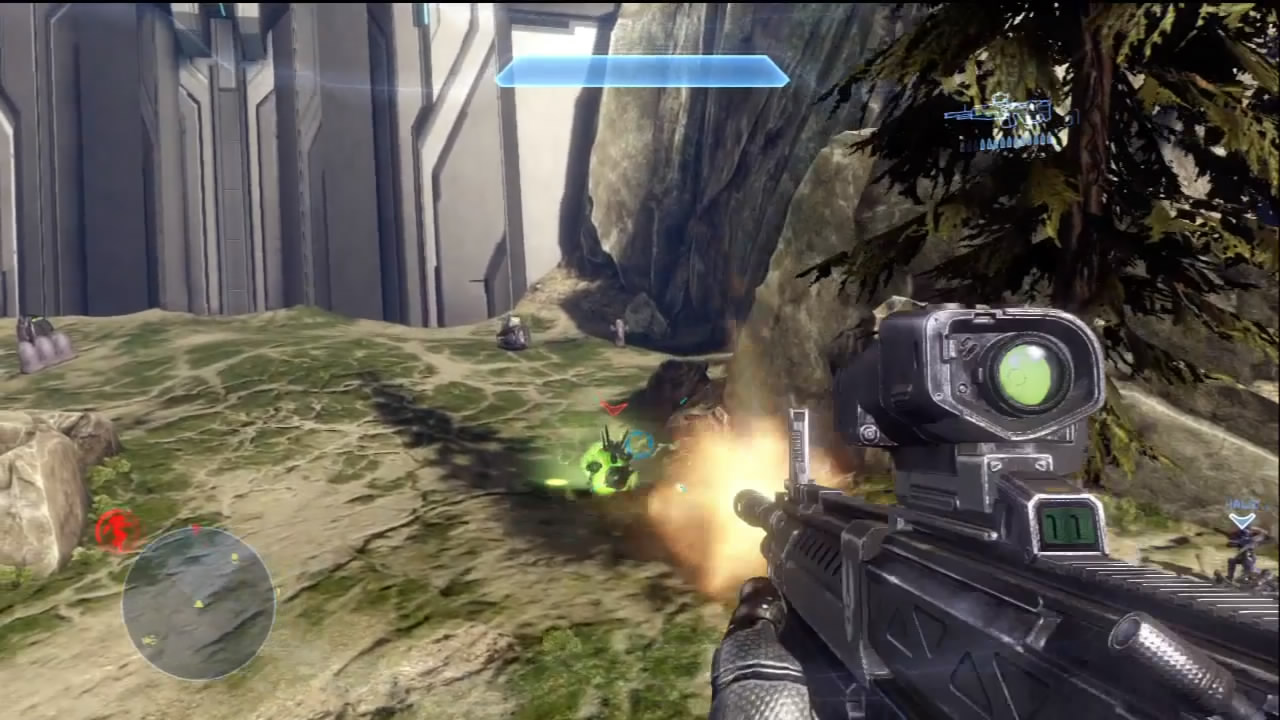
If you stuck close to turret [3], be aware that another Covenant force will drop at point [5], close to where the comm jammer once stood. This group includes Hunters, which can really be devastating if you don’t notice them quickly enough. Eventually, after all of these trials, you receive the “Clear Out Enemies” objective, and any stragglers are marked on the HUD.
Objectives Four and Five: Move to Center Hill, Enter Mantis
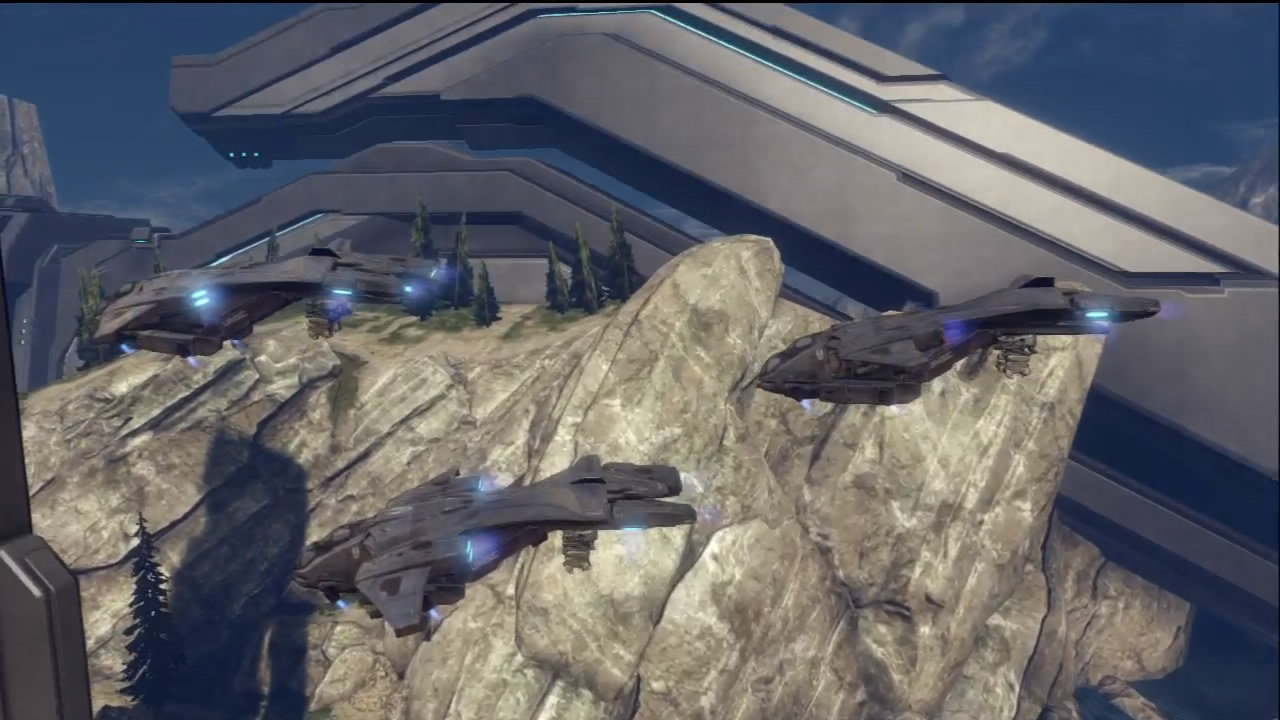
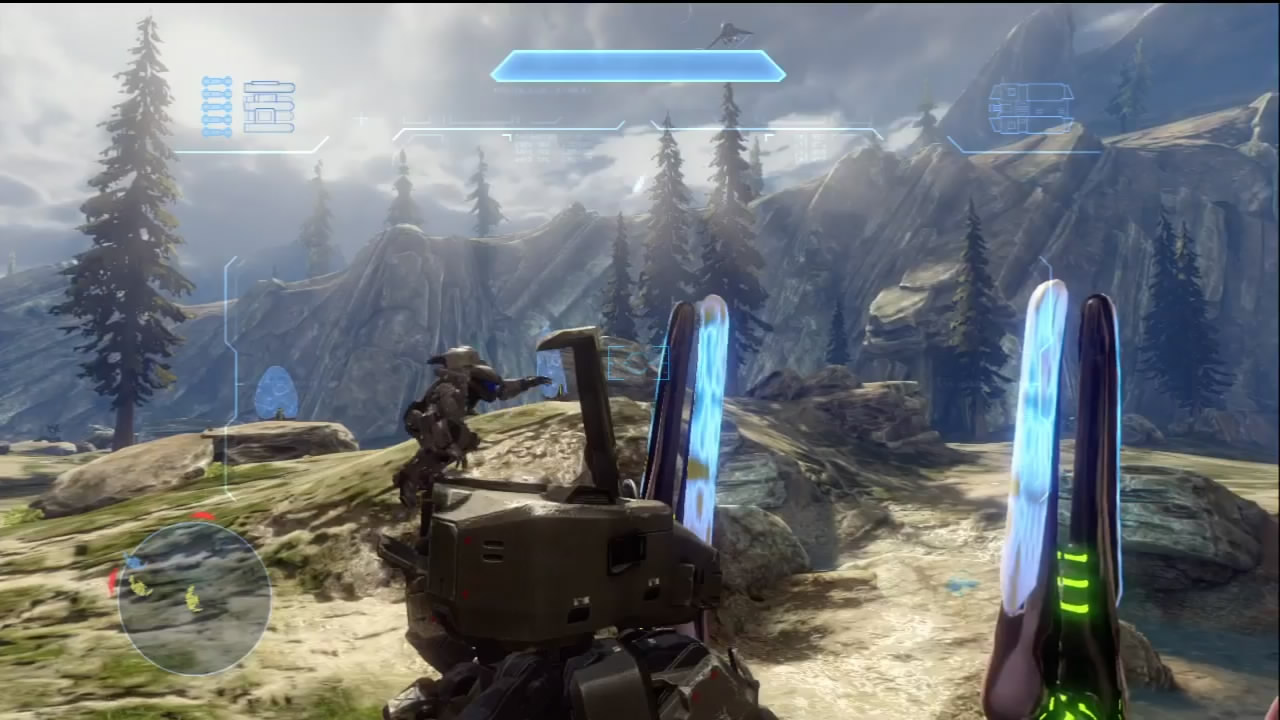
[6] Some good news comes as the Covenant are defeated: Mantis mechs are inbound via Pelican dropships. Extraction is still not offered, but now you will have the means to hold against the odds about to be leveled against you. After getting to the center hill, a short cutscene plays to show the Pelicans arriving with the Mantises. Do not dawdle once they are delivered! Get to the closest mech, climb in, and get ready for war. If you play your cards right, you can keep your Mantis for the remainder of the mission!
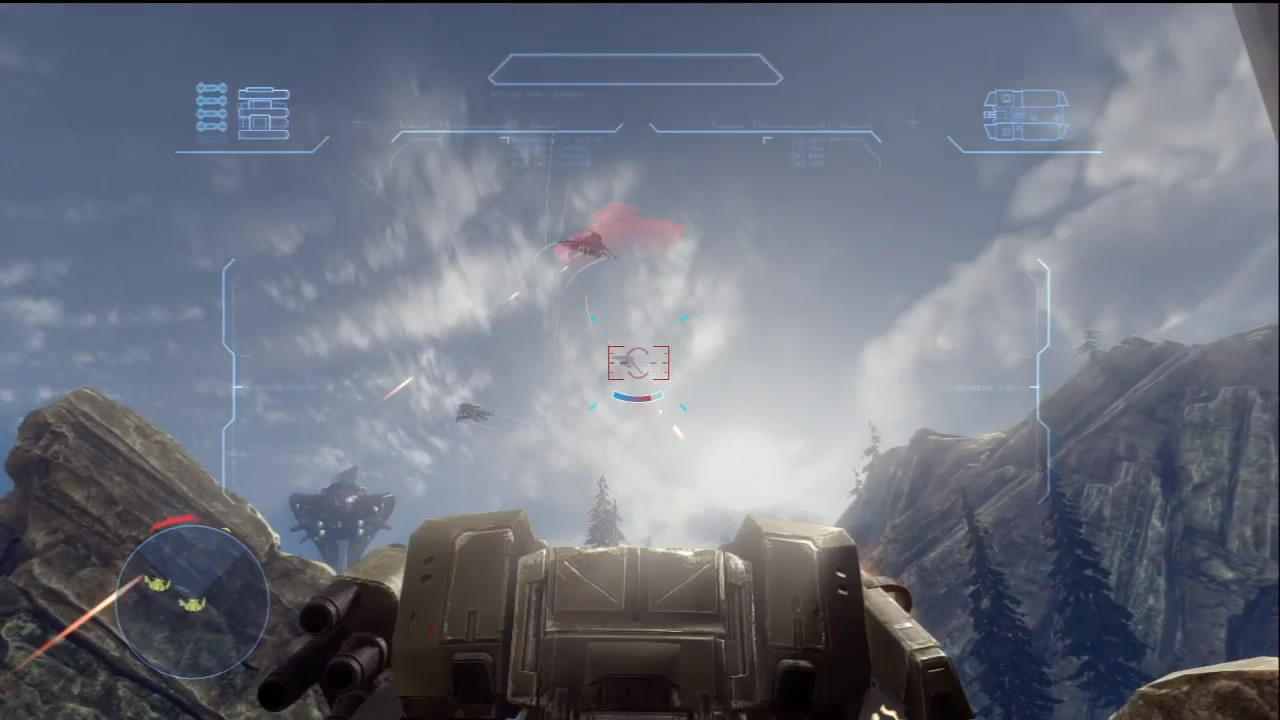
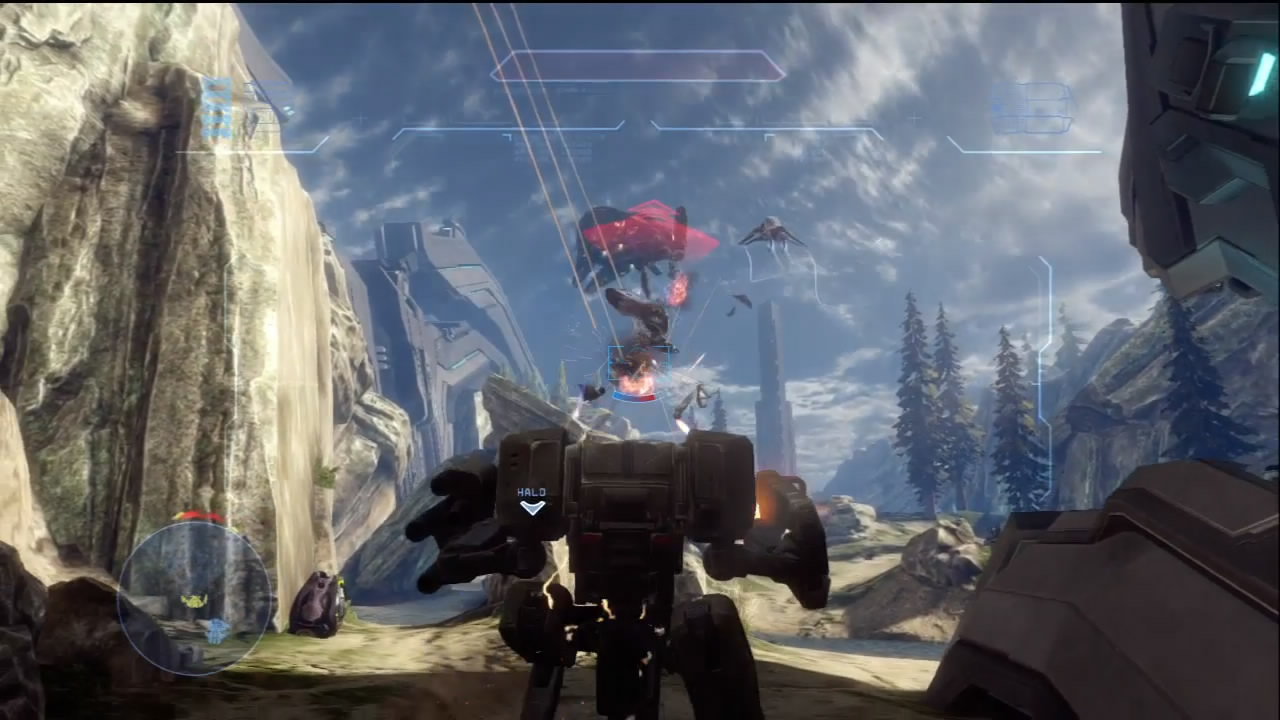
[7] A swarm of Banshees, accompanied by Phantoms, enter the local airspace from above the cliffs near the fallen Pelican. We recommend a tactical retreat to point [4], where you can use the tower to defend against strafing runs. Concentrate on bringing down the Banshees first! Their Fuel Rod Cannons and Plasma Cannons quickly destroy the shields of a Mantis.
Expect Hunters to be among the troops the Phantoms drop. If you’re playing with other players, multiple Mantis mechs can shred a Phantom before it can even consider deploying its troops.
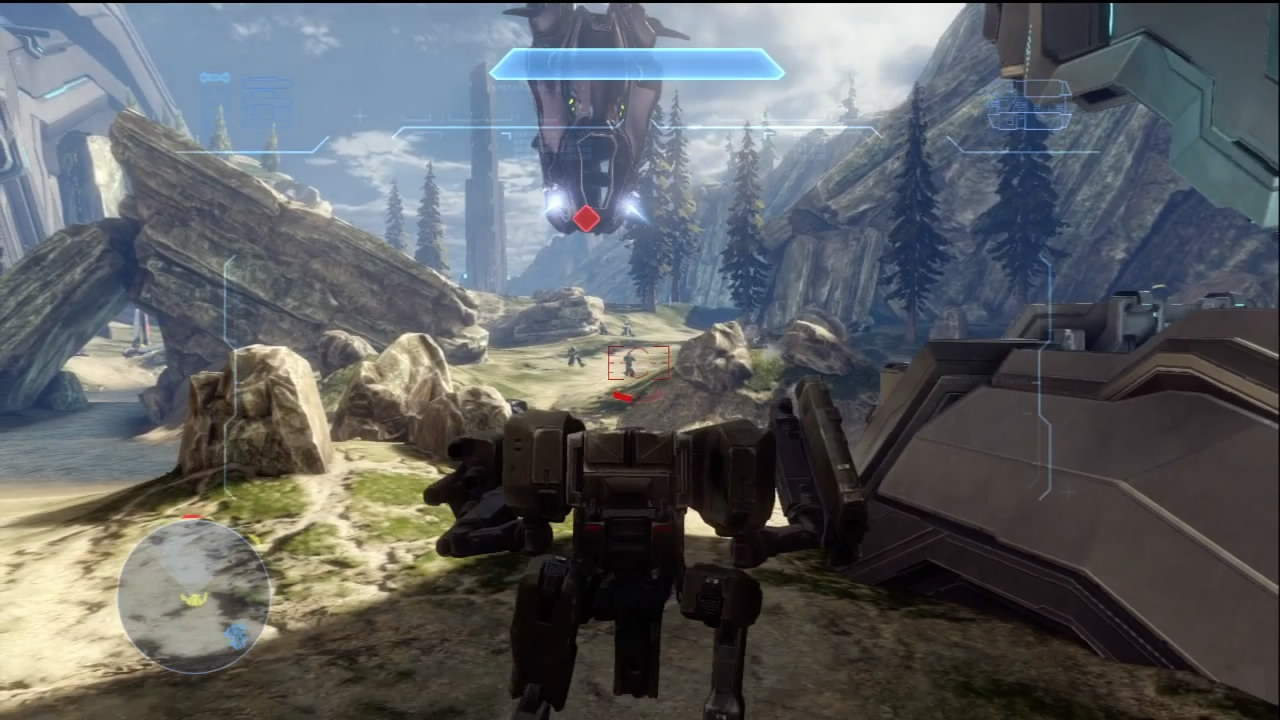
Clearing out the first groups in this wave will call down Drop Pods that land near turrets [1] and [2]. Keep up the pressure with the Mantis.
Objective Six: Continue Defending Area
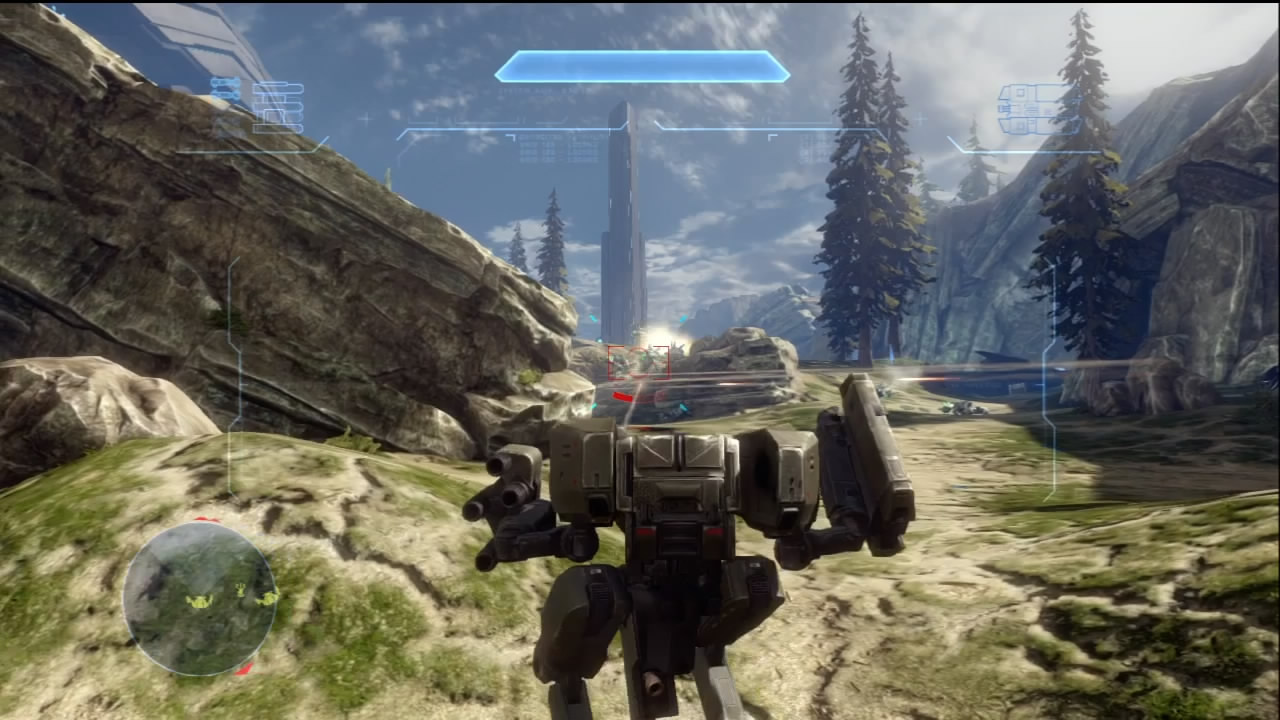
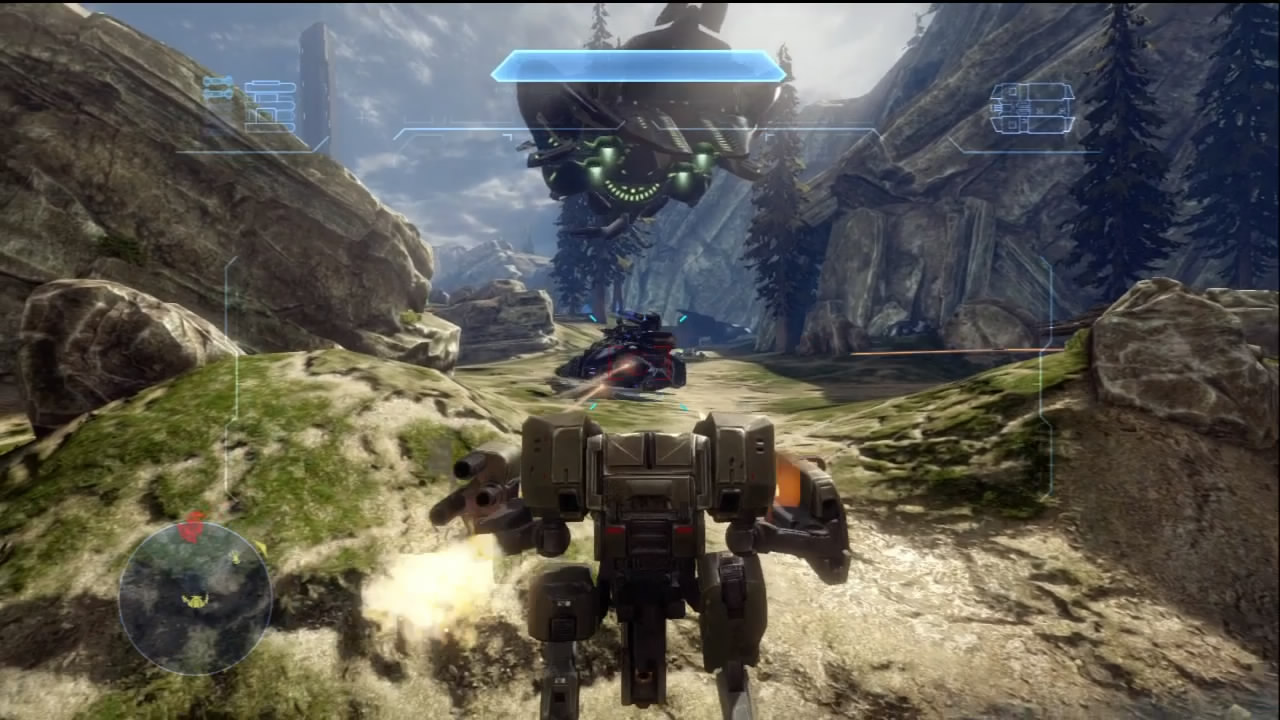
This objective is not complex. The Covenant deploy six Hunters and a Wraith as this objective is announced on your HUD. They are dropped at or near the central hill. Keep close to the tower so you can catch the Wraith as it drops down, then go to work on the Hunters. The Phantom that deploys the Wraith will also bring more Covenant troops to the fight.
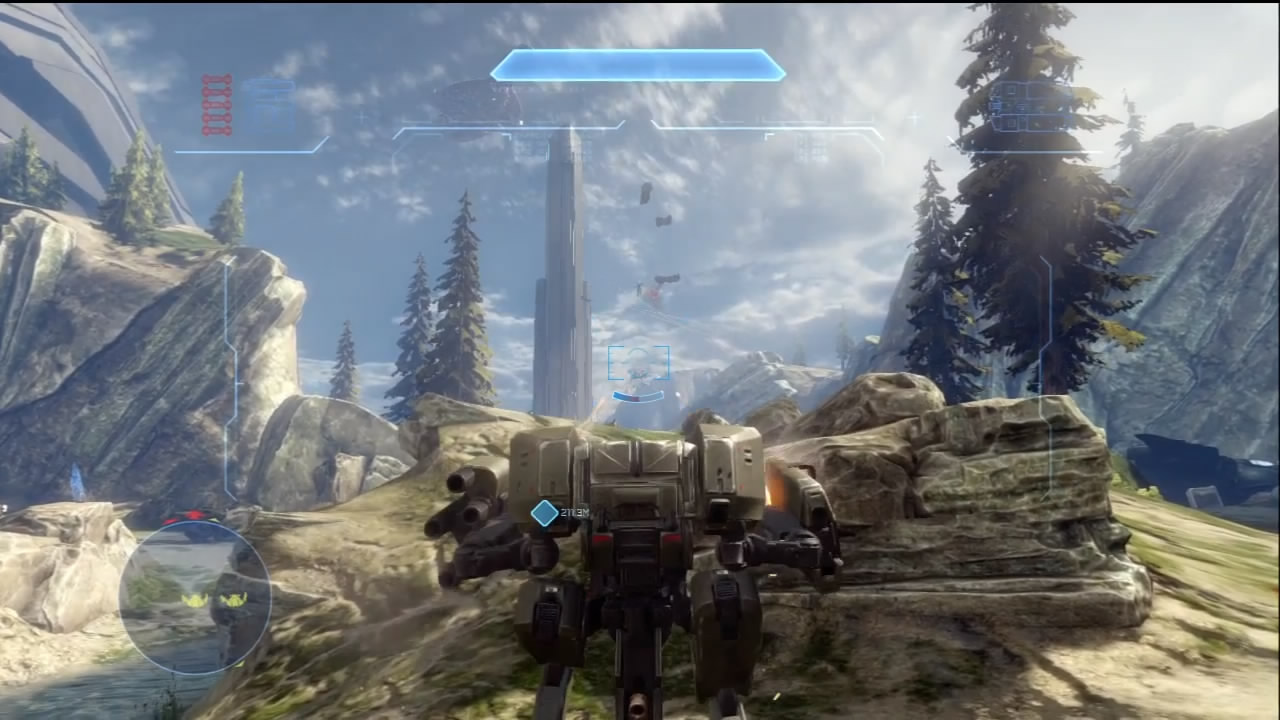
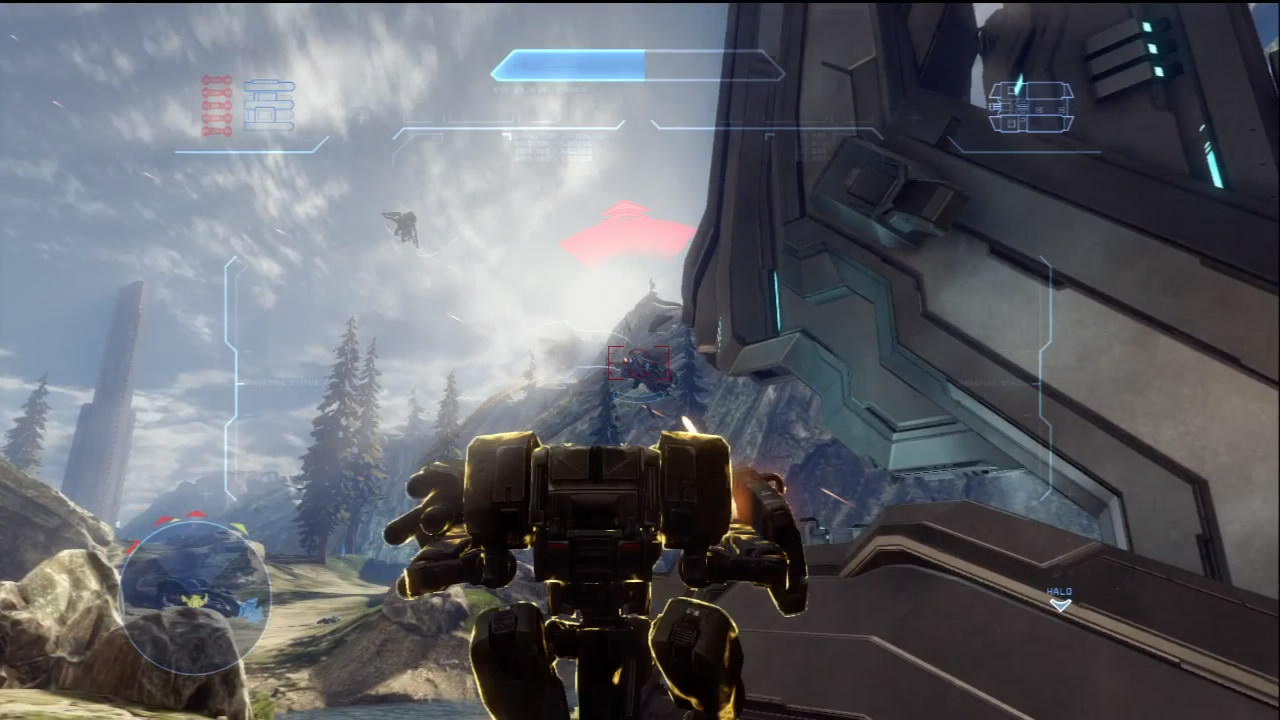
Things get worse. More Banshees and Phantoms begin to join the fray, while Drop Pods continue to make deployments throughout the valley. Stick close to the tower [4] while fighting off the enemy. During this time, even more bad news plays over the radio: The Covenant are sending a cruiser to your position. A Mantis, much less a Spartan, isn’t good enough to survive a direct glassing. It’s finally time to leave.
Objective Seven: Move to Extraction Point
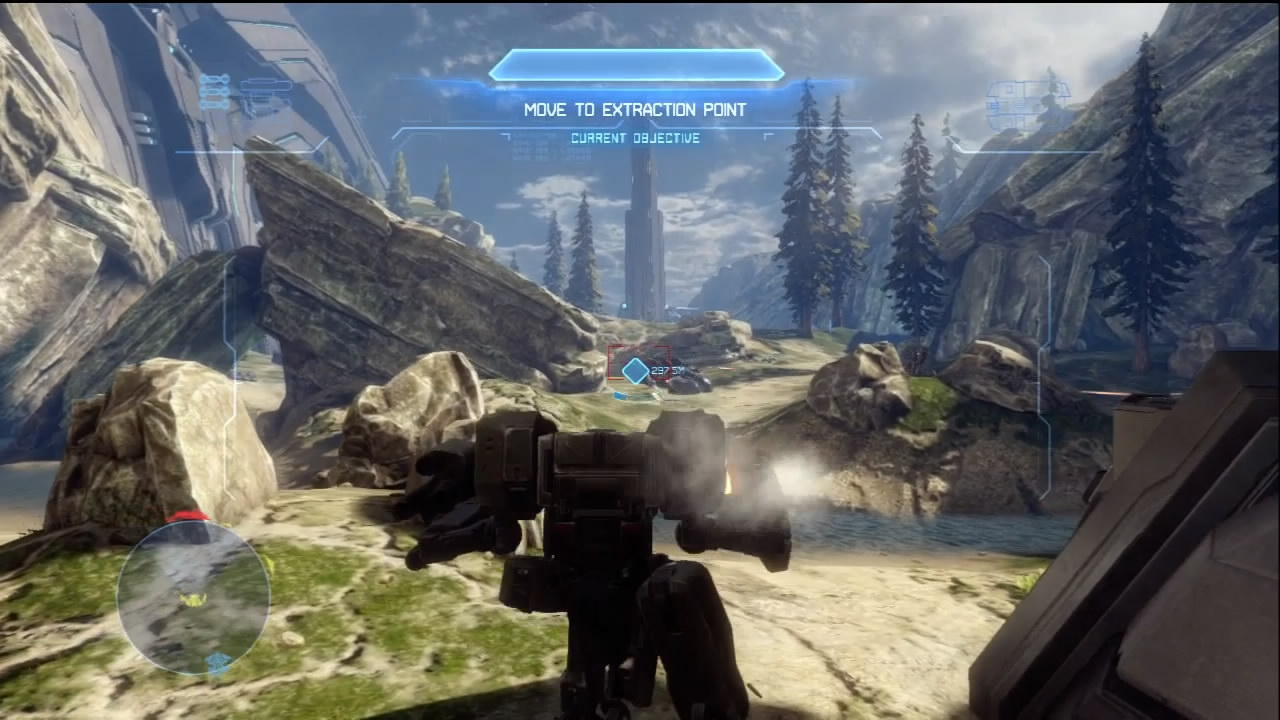
[8] The extraction point will be marked after you fight off a significant amount of Covenant. Fight your way carefully over to the tower close to turret [3]. You don’t want any surprises to flank you once you reach the tower.
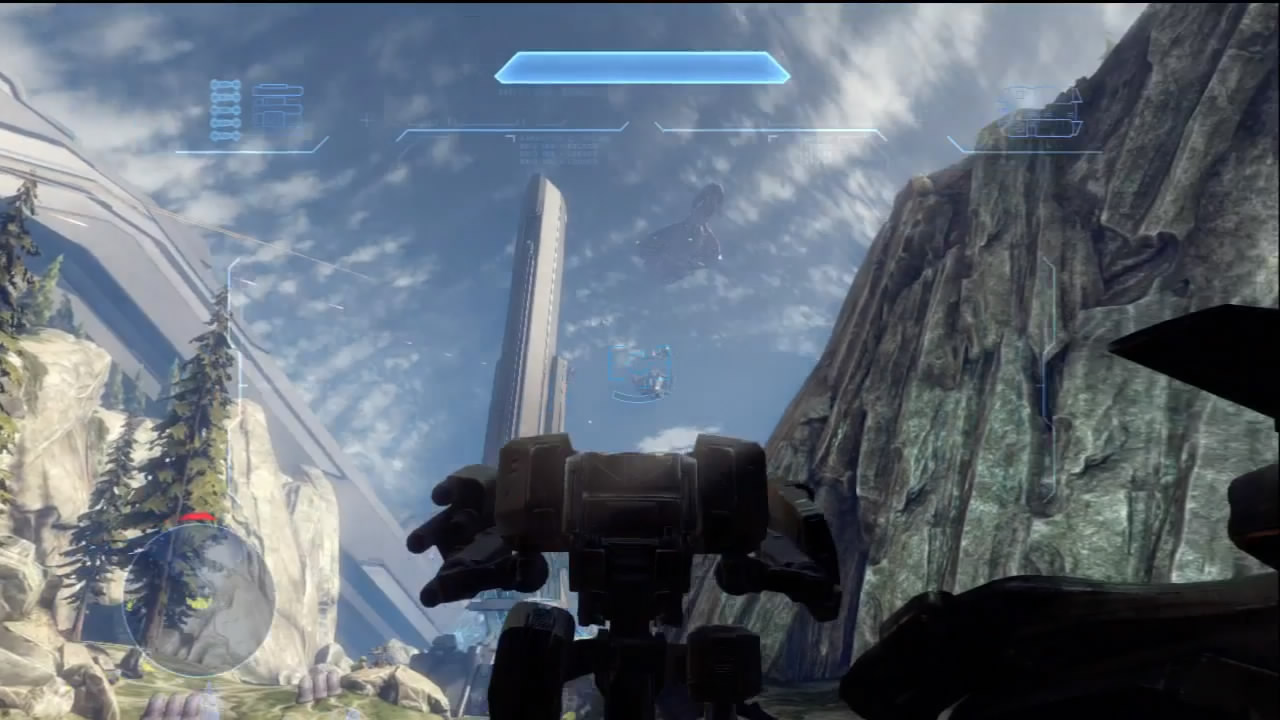
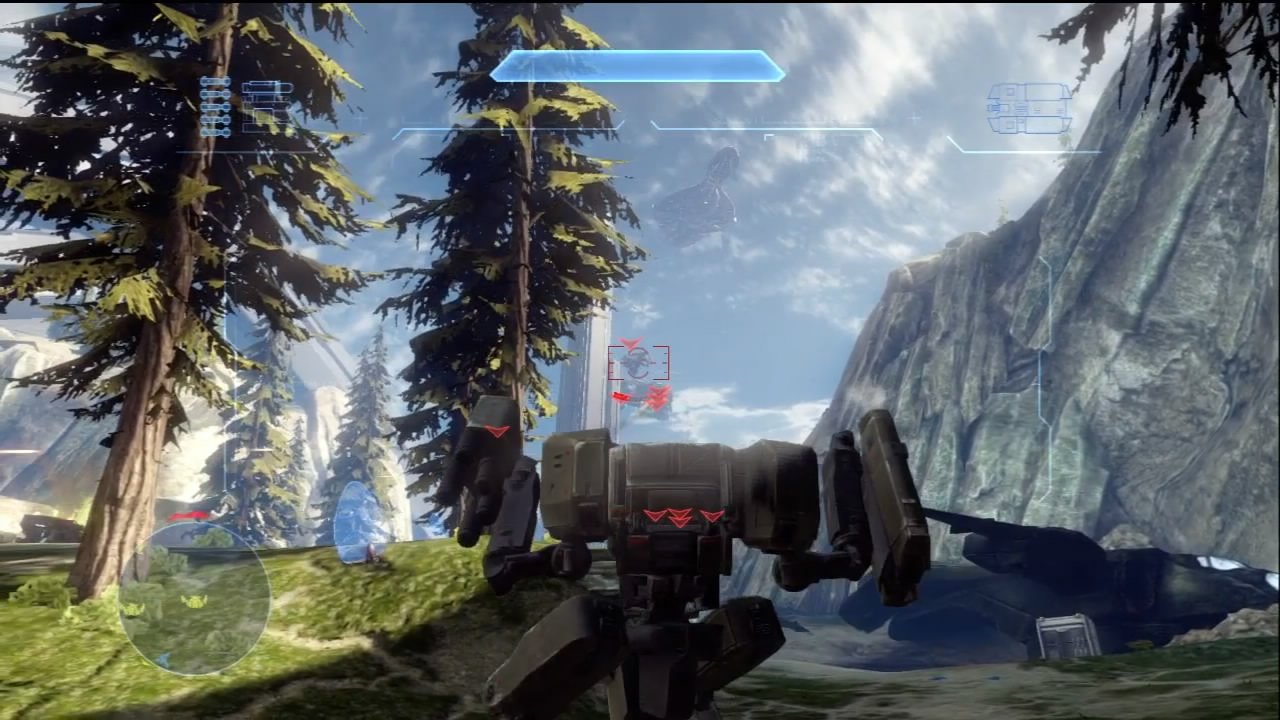
It would be more of a surprise if things went smoothly. Once you reach the extraction point on the shore behind the tower, immediately fall back to the central hill and prepare for anti-air combat. Multiple waves of Banshees and Phantoms appear over the water behind the extraction point. Sticking near the tower is not a great idea, as it exposes you to the Phantoms’ support fire. Fortunately, the Phantoms do not deploy additional troops, so this last battle is entirely against aerial targets. After three waves of fliers, the enemy stops sending reinforcements. After you deal with the threat of the cruiser, extraction becomes available. Parg Vol has been located once again, and it’s now up to Fireteam Crimson to finally bring him down.
Chapter Five: Hunting Trip
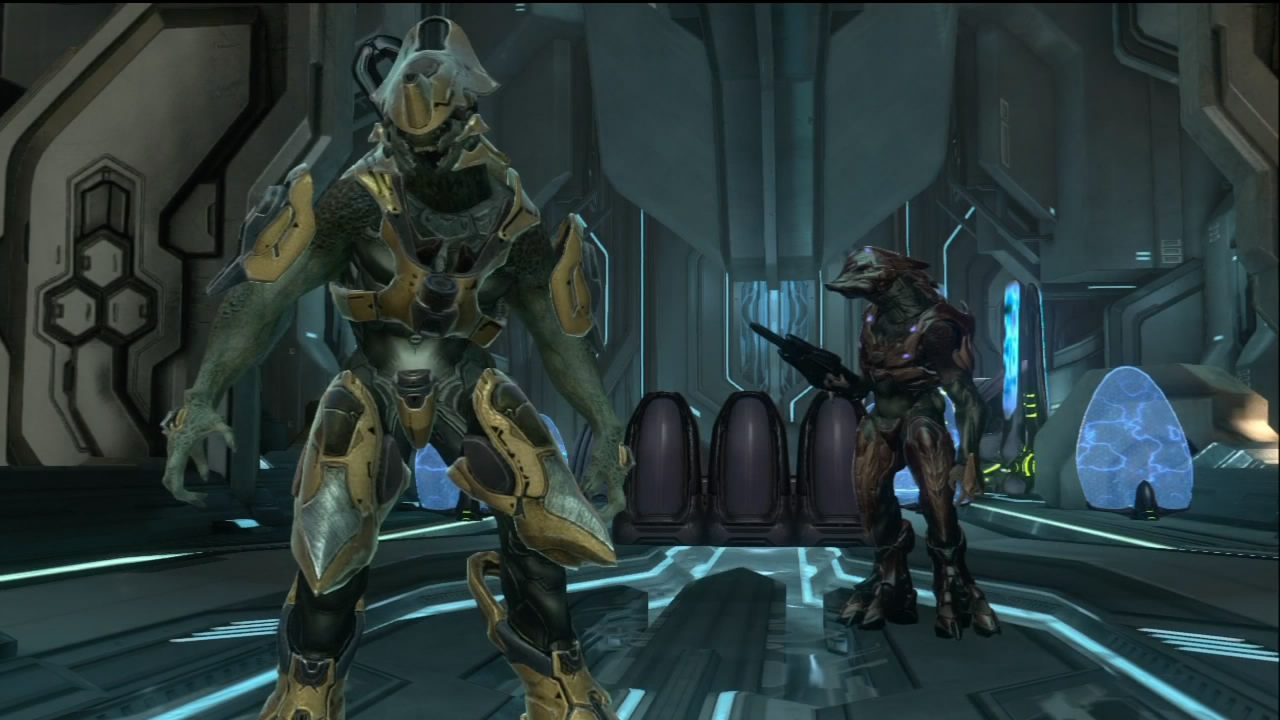
Parg Vol has retreated to a Forerunner facility along with a sizeable force of Covenant guards. There’s no other place for the terrorist to run, but as you will soon find out, his death will not come easily and it will be noticed.
This mission starts off as a simple search-and-destroy operation. Vol is atop the Forerunner structure, and between you and him is a small army. After cutting your way through the army and eliminating Vol, prepare for the Covenant counterattack. Two waves of Phantoms and Drop Pods will disgorge their forces throughout the lower valley, intent on pinning you down in the facility.
Map Location: The Gate
Recommended Loadout
The DMR and Battle Rifle remain the best primary weapons available. If you also have the Ammo upgrade, you can try bringing a Storm Rifle as your primary weapon and take the Magnum as backup. You can replace the pistol with a Covenant Carbine or Battle Rifle found during the mission. There are just so many Elites in fairly close proximity for much of the mission that having the extra capacity on the Storm Rifle you begin with might help take out their shields without having to wait for the Plasma Pistol’s charged shot to build.
If you have unlocked it, the Regeneration Field armor ability might be good for holding down the fort in the aftermath of the assassination.
Objective One: Locate Parg Vol
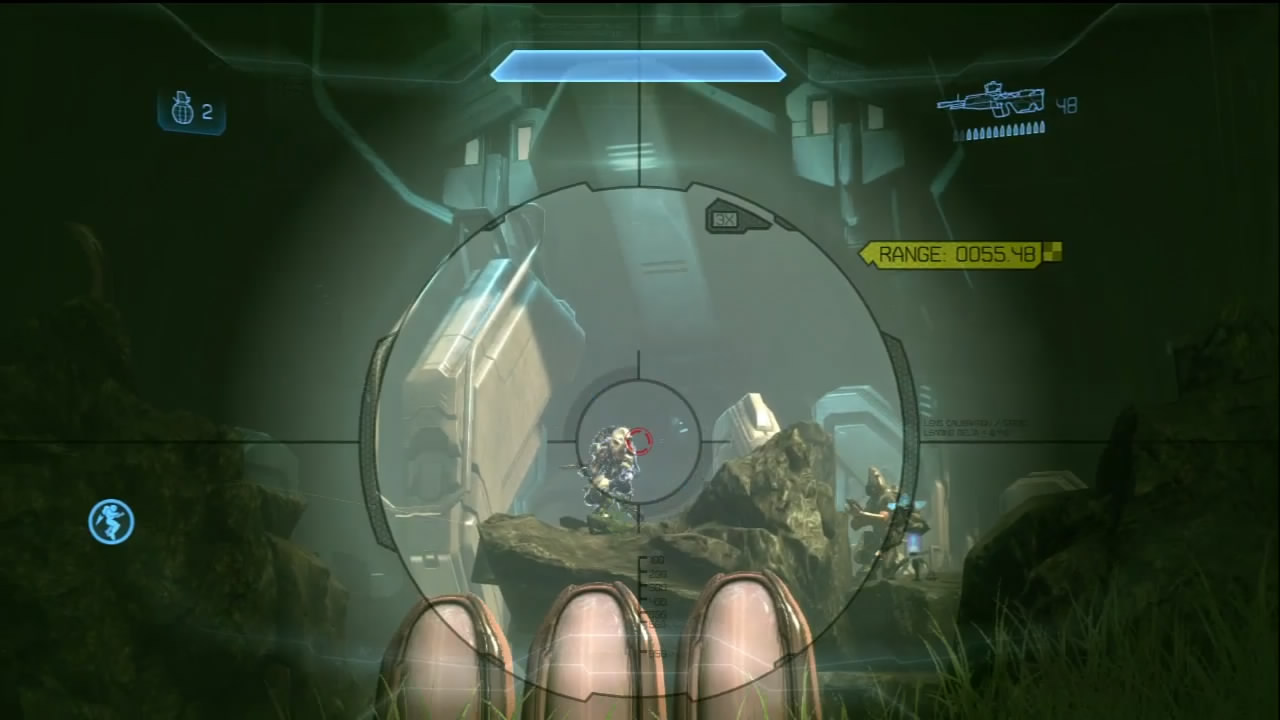
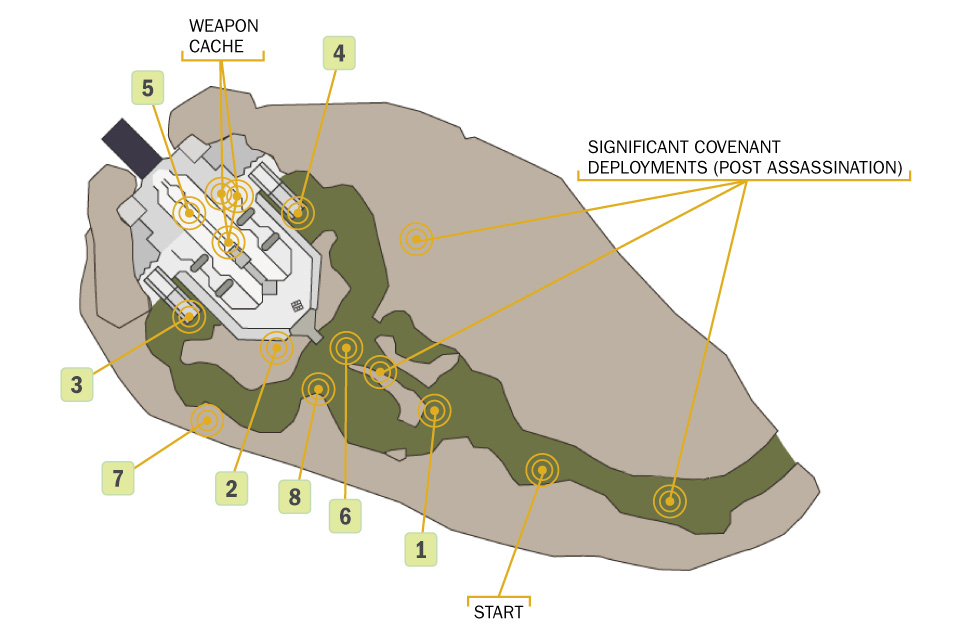
[1] The Gate area has been heavily reinforced by the Covenant. A guard platform hovers atop one of the hills overlooking your starting position, and Plasma Cannons manned by Elites are among the first obstacles. The Covenant presence in this opening section is extensive. Your best bet is to methodically clear your way toward the foot of the Forerunner structure. Be on the lookout for Grunts leaping over sections of terrain to try and get the drop on you.
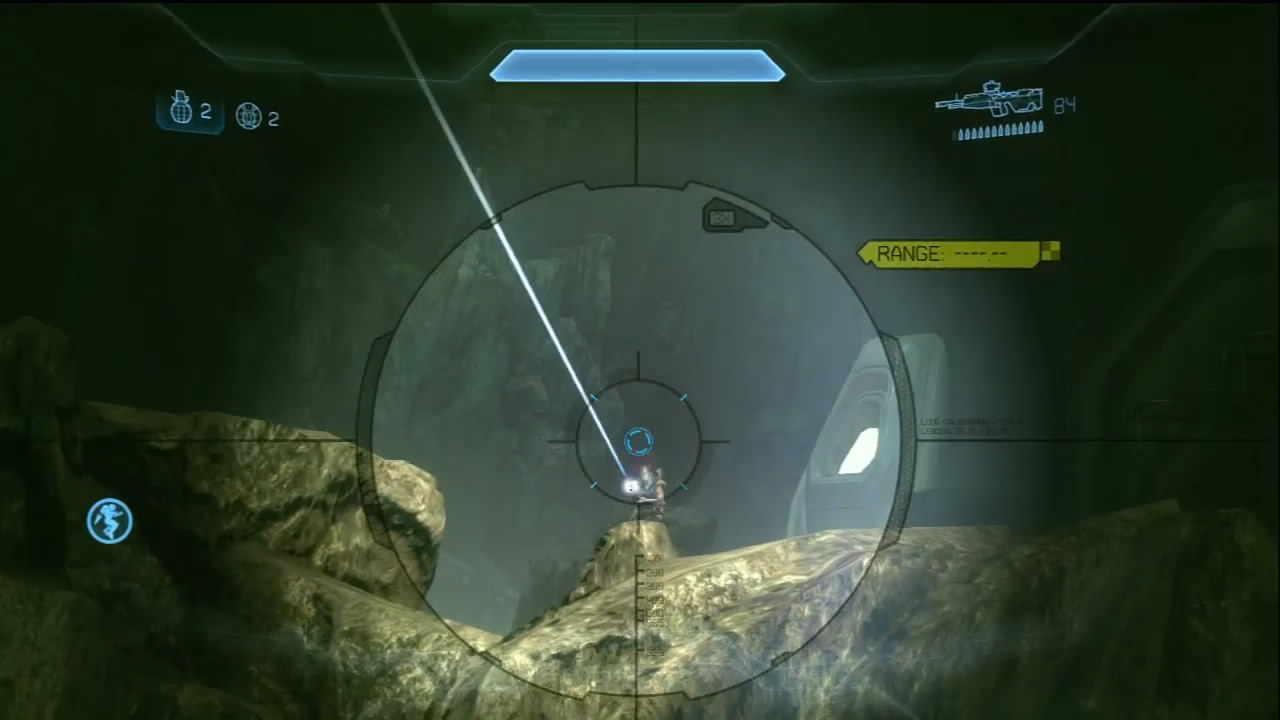
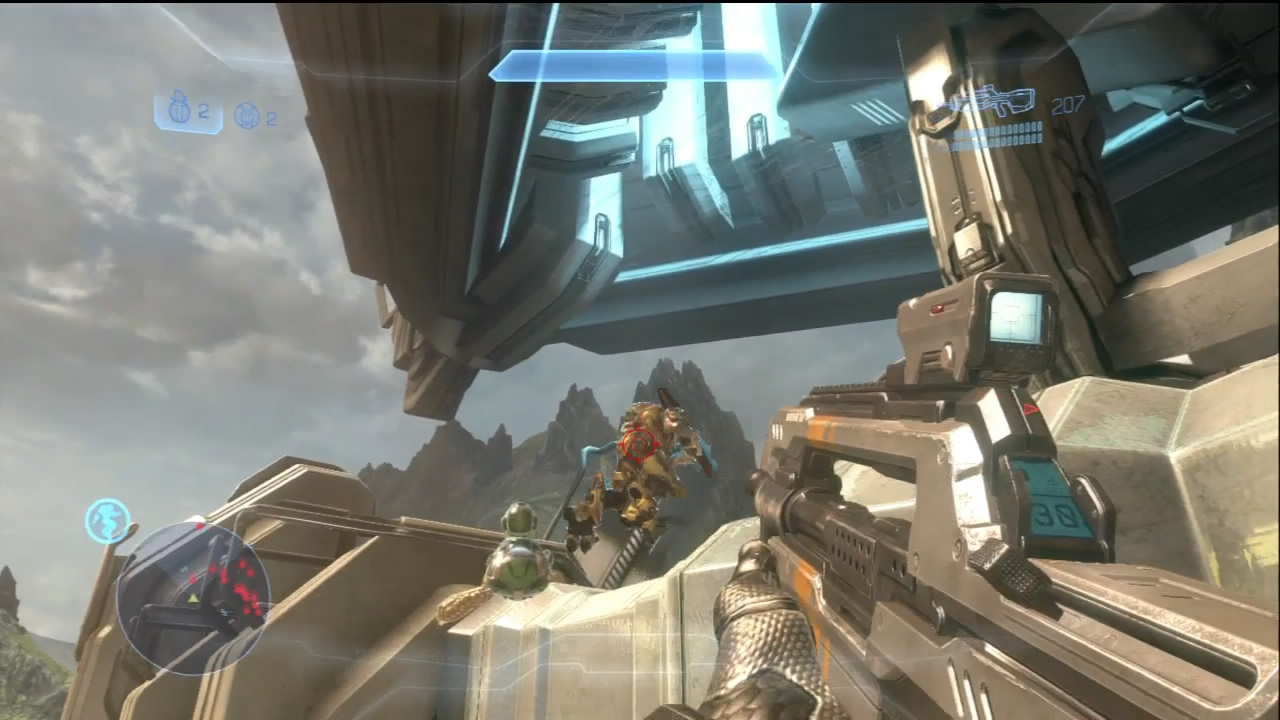
[2] Watch for Jackal Snipers on the mid-level of the structure as you close in on the ramps [3] [4]. The climb to the mid-level can be fairly treacherous. Don’t advance blindly; make sure you’re clear before climbing up the structure.
Objective Two: Eliminate Parg Vol
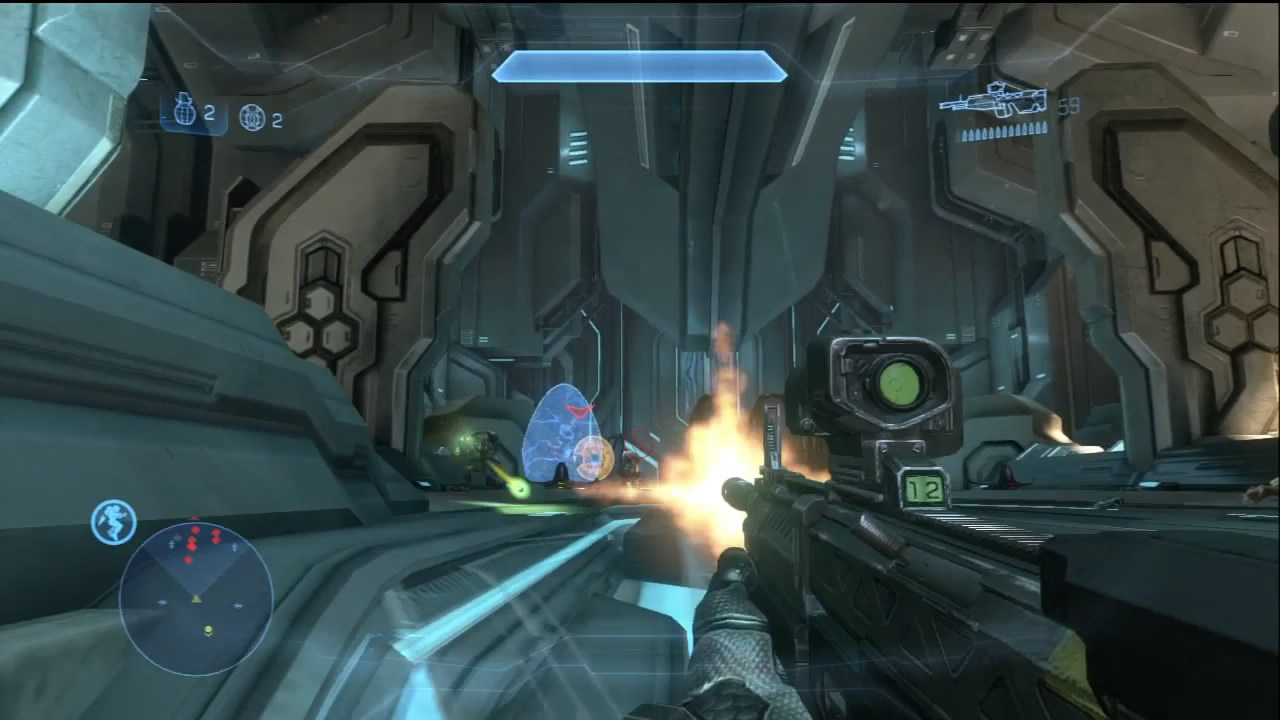
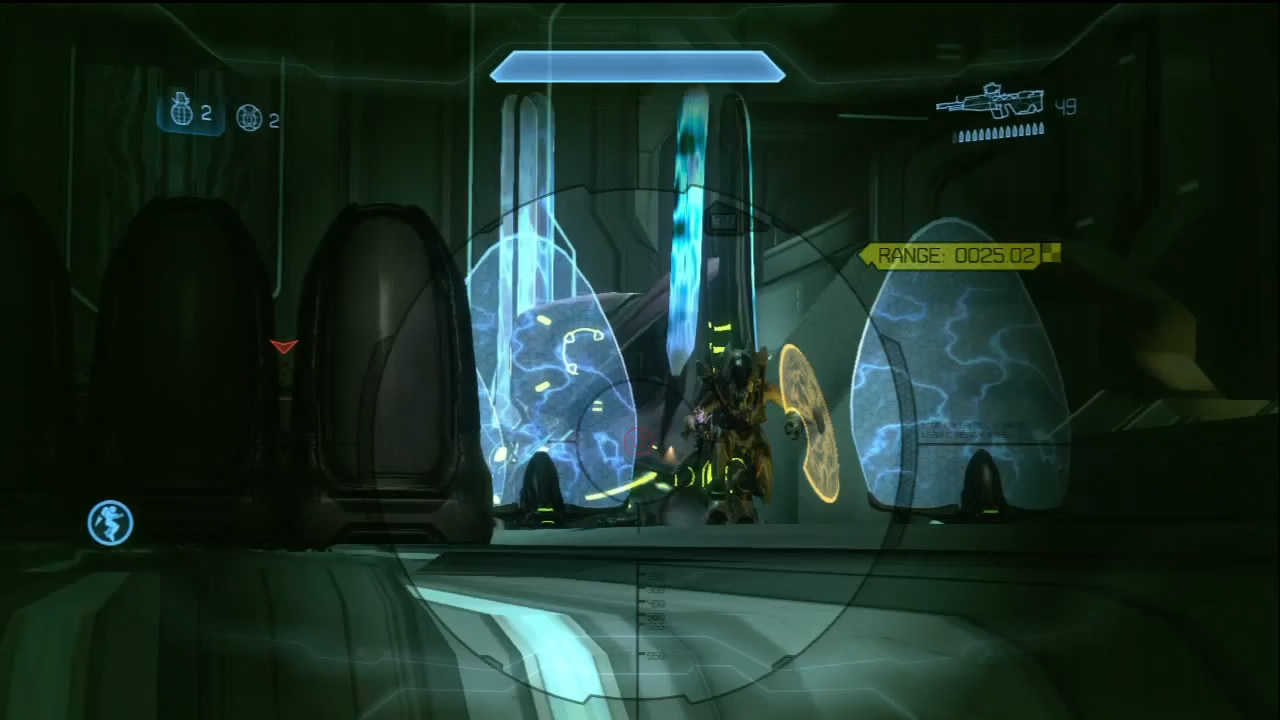
[5] Parg Vol will not go down easily, and neither will his loyal troops. The structure’s top floor is filled wall to wall with Covenant. Watch out for Zealots using Active Camo to try rushing the ramp connecting to the mid-level.
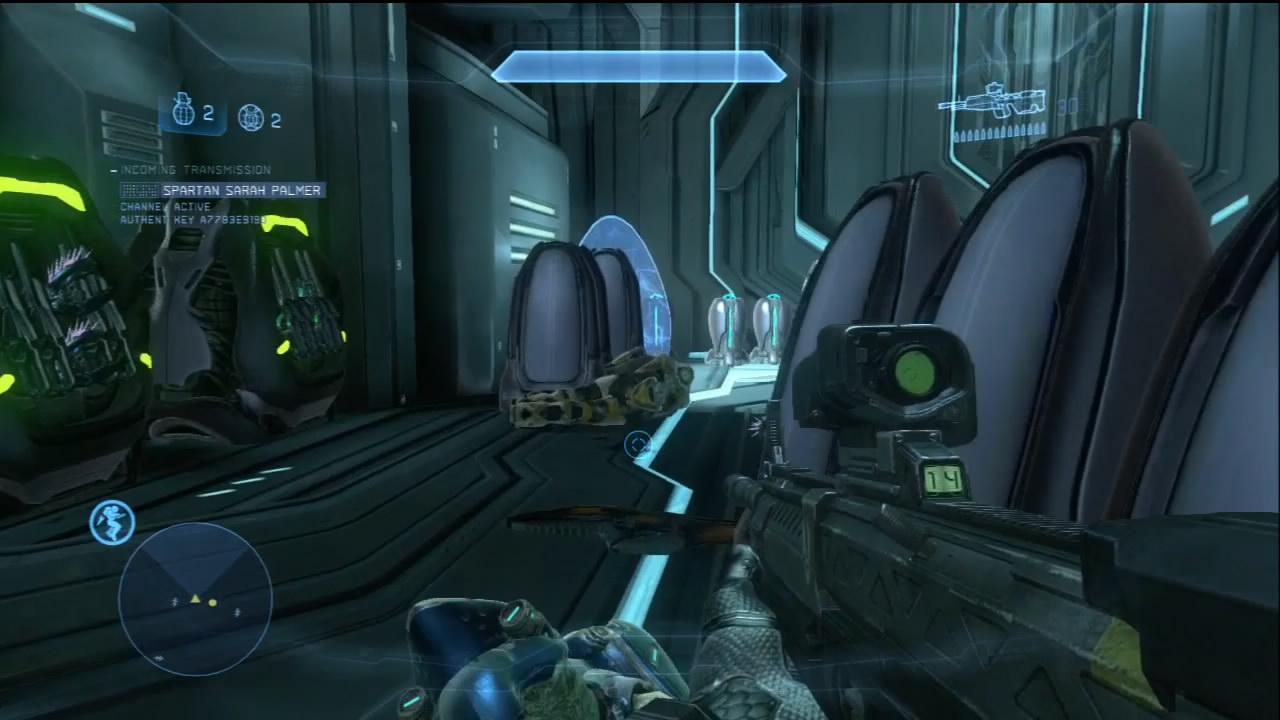
As with your previous visit to the Gate, the ramp leading to the top level is potentially a death trap. Do not rush in blindly! Use the ramp as makeshift cover and expose yourself for as little time as possible while you engage the enemy. Eventually, you will clear the area and eliminate Parg Vol.
Objectives Three and Four: Prepare for Invasion, Repel Covenant Forces
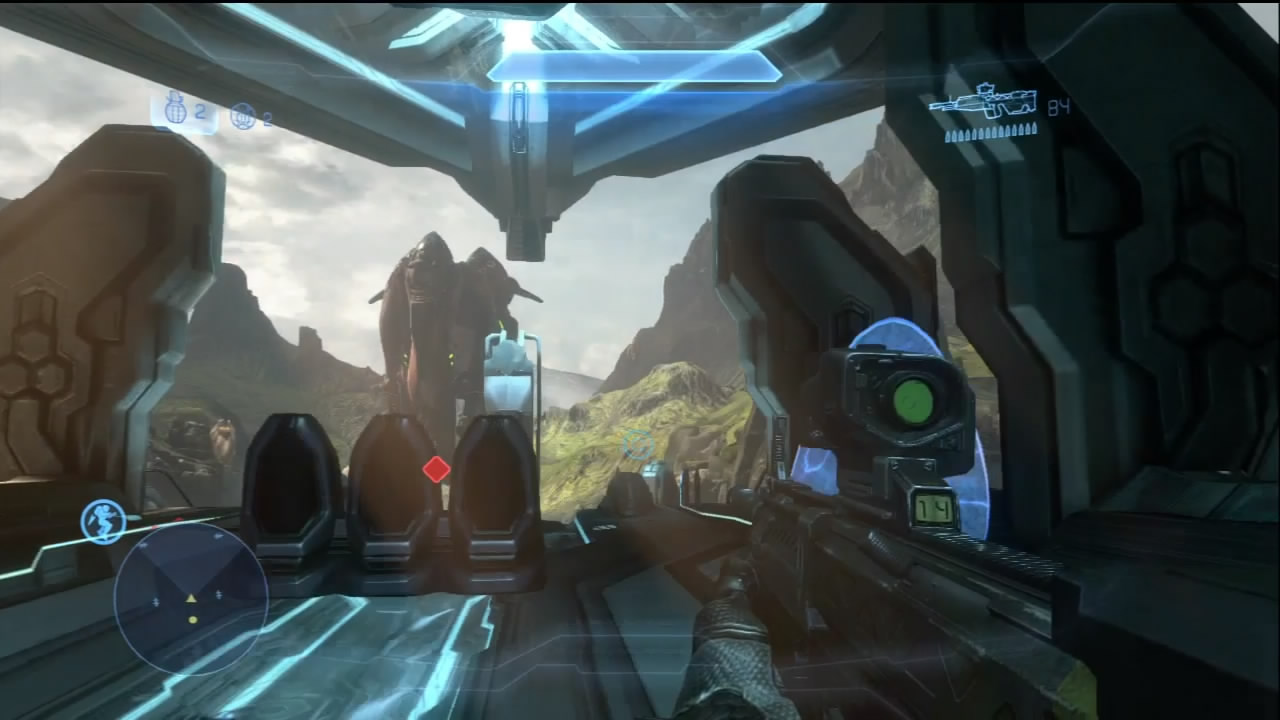
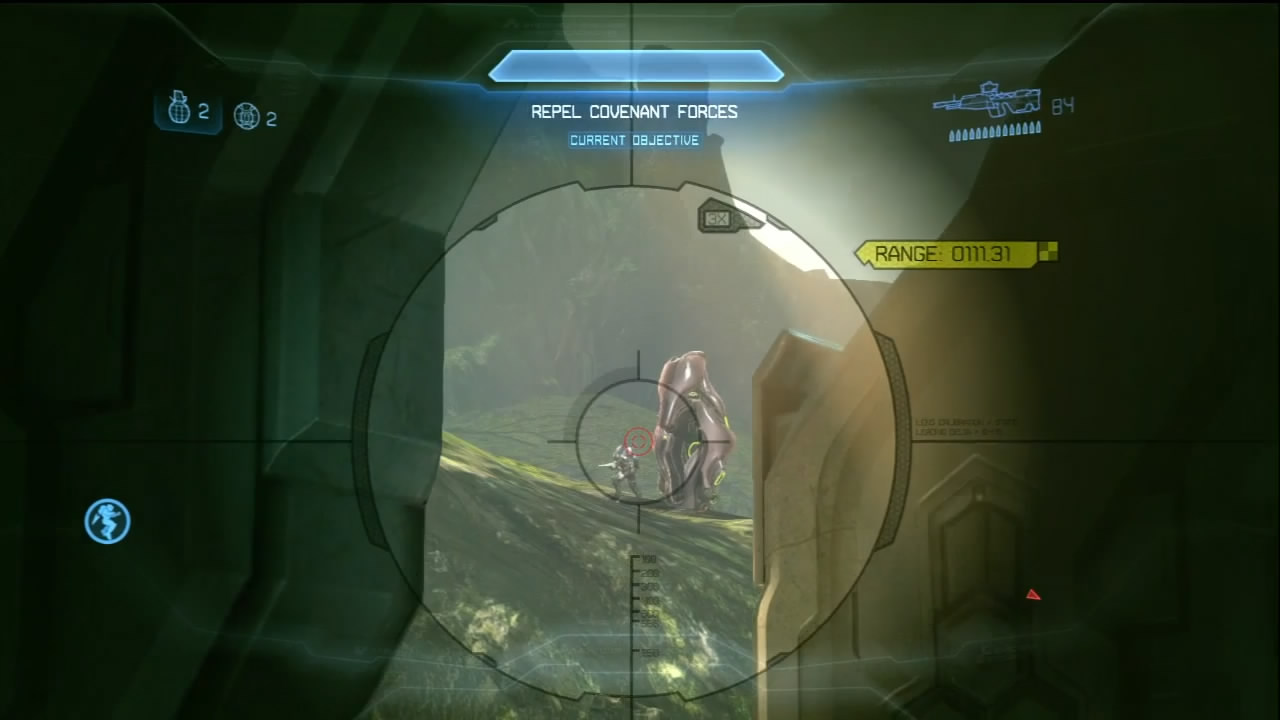
It’s far from over. Make what preparations you can, then prepare to defend the structure’s top level. You can find power weapons like the Beam Rifle among the weapon caches, and Covenant have dropped some Fuel Rod Cannons throughout this battle. Mounted Plasma Cannons can also be found overlooking the mid-level.
Covenant high command is not taking Parg Vol’s death well. Dozens of Drop Pods are falling in the distance, with one deploying troops at the foot of the tower, and others still atop the cliffs that flank the structure. We recommend sticking to the structure’s top level to funnel the attackers through the easily covered ramp.
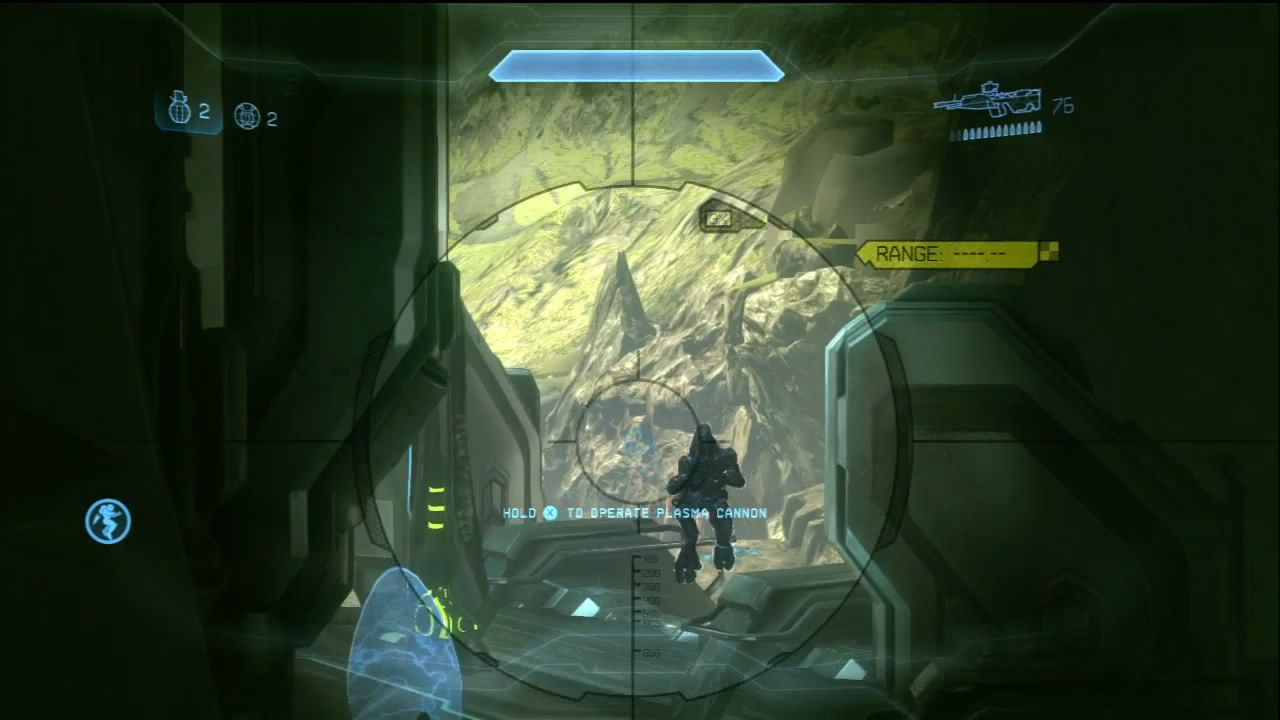
Not all Covenant will use the ramps! Elites, Jackals, and even Grunts can leap from the mid-level to the top level. To avoid getting flanked by this maneuver, keep your back to the far wall and find shelter using the various shield barriers the Covenant left behind.
If it seems like you’ve beaten back the Covenant, do not rush down the ramps to scavenge the lower areas. You can easily get trapped by a sudden deployment. Drop Pods continue to deploy troops at the ground level just at the foot of the structure [6].
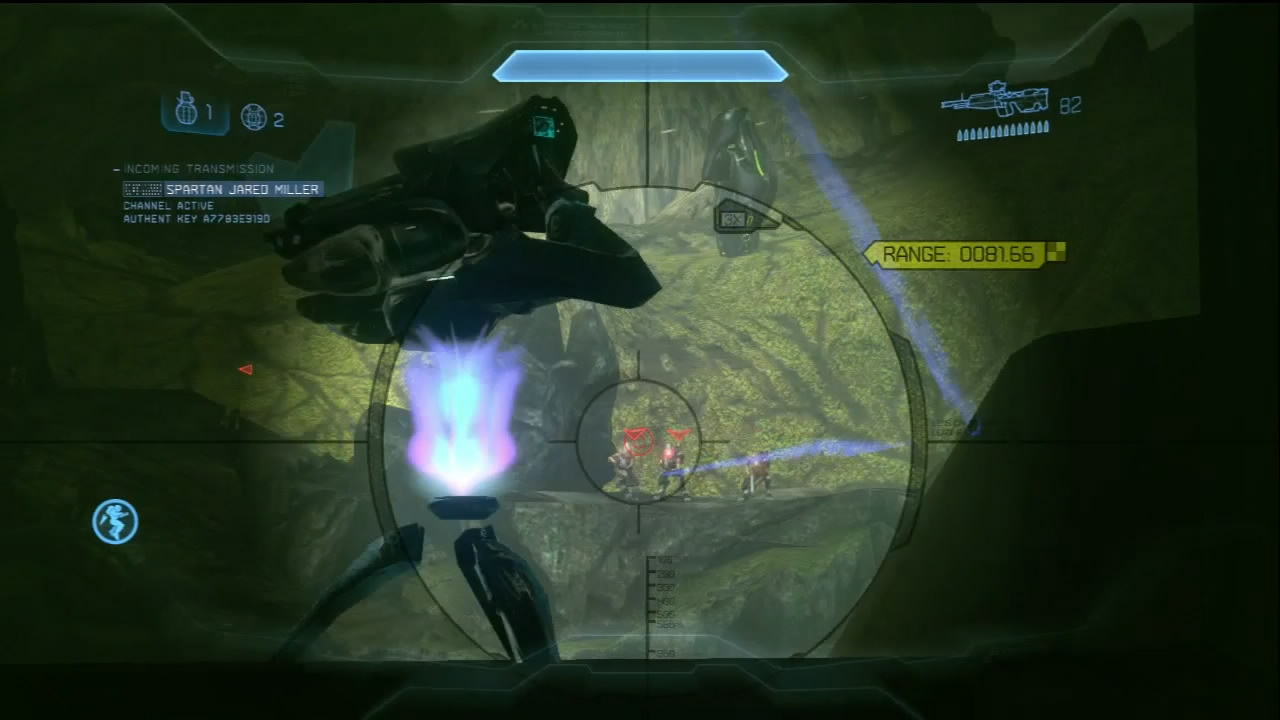
[7] A large group of Jackal Snipers has been deployed on the cliffs. They will be marked on your HUD one by one. These can really complicate things if you’ve been struggling to keep up with the other hostiles. Countersniping with a Beam Rifle can help drop them quickly without having to line up headshots as you would with the DMR, LightRifle, or Battle Rifle.
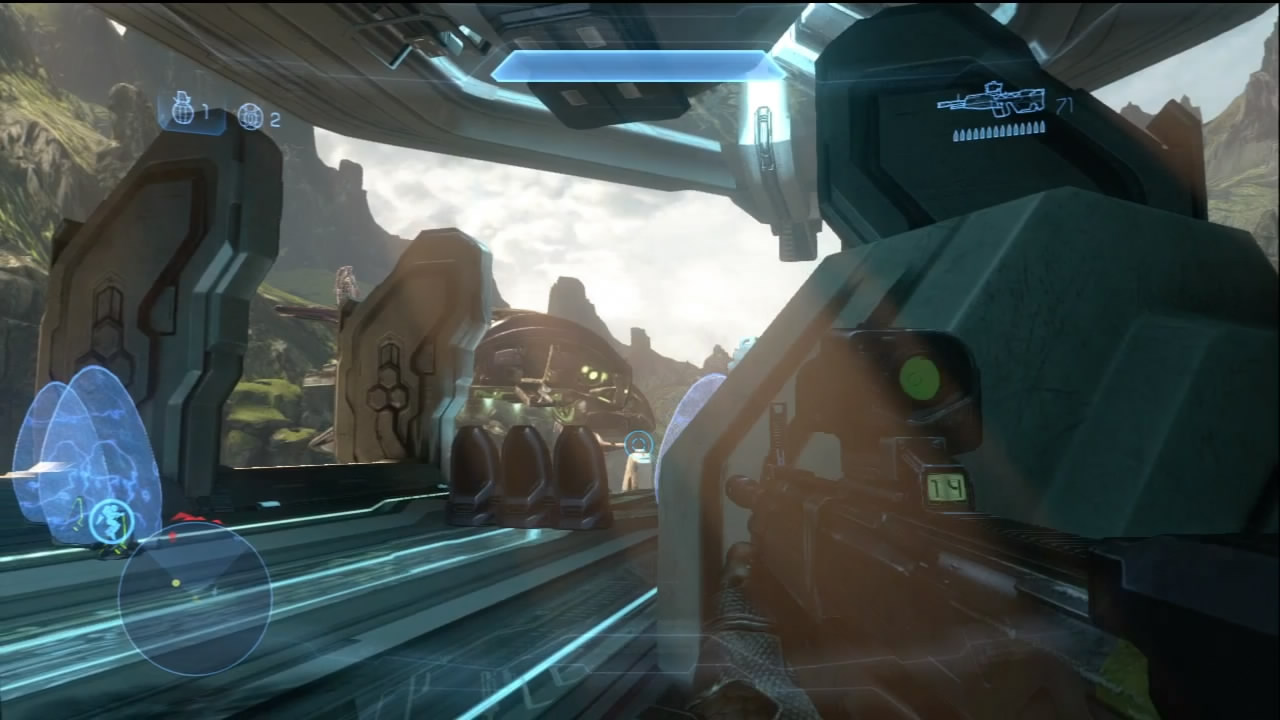
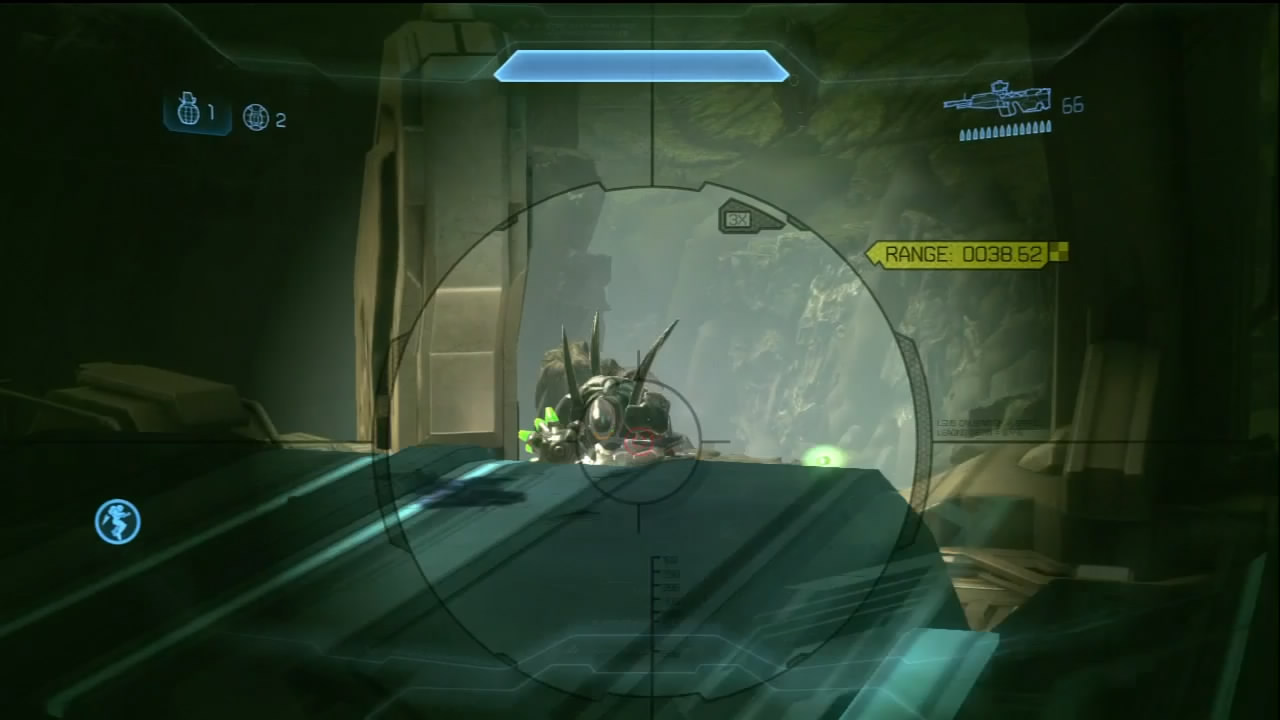
After you deal with the Snipers, a Phantom deploys four Hunters at the foot of the ramp leading to the top level. This is an exceedingly ugly complication to an already bad situation, but it is still manageable if you can get your hands on your own Fuel Rod Cannon.
Objectives Five and Six: Prepare for Invasion, Repel Covenant Forces
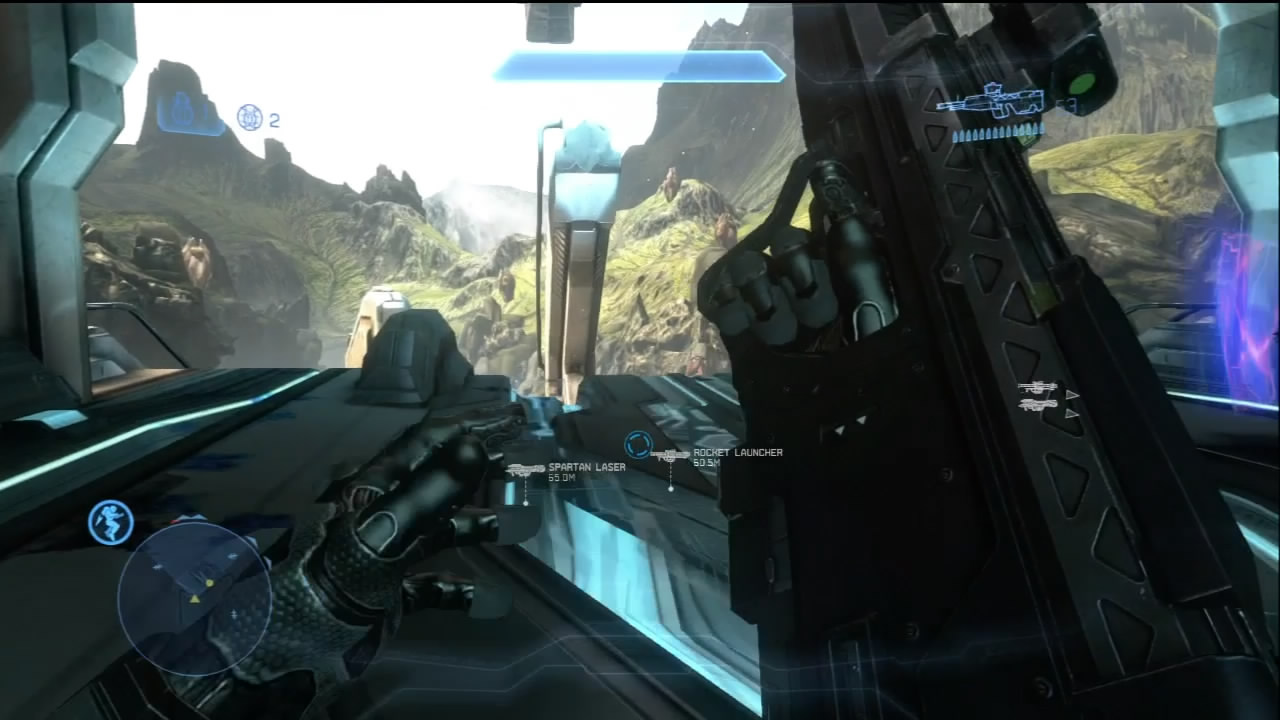
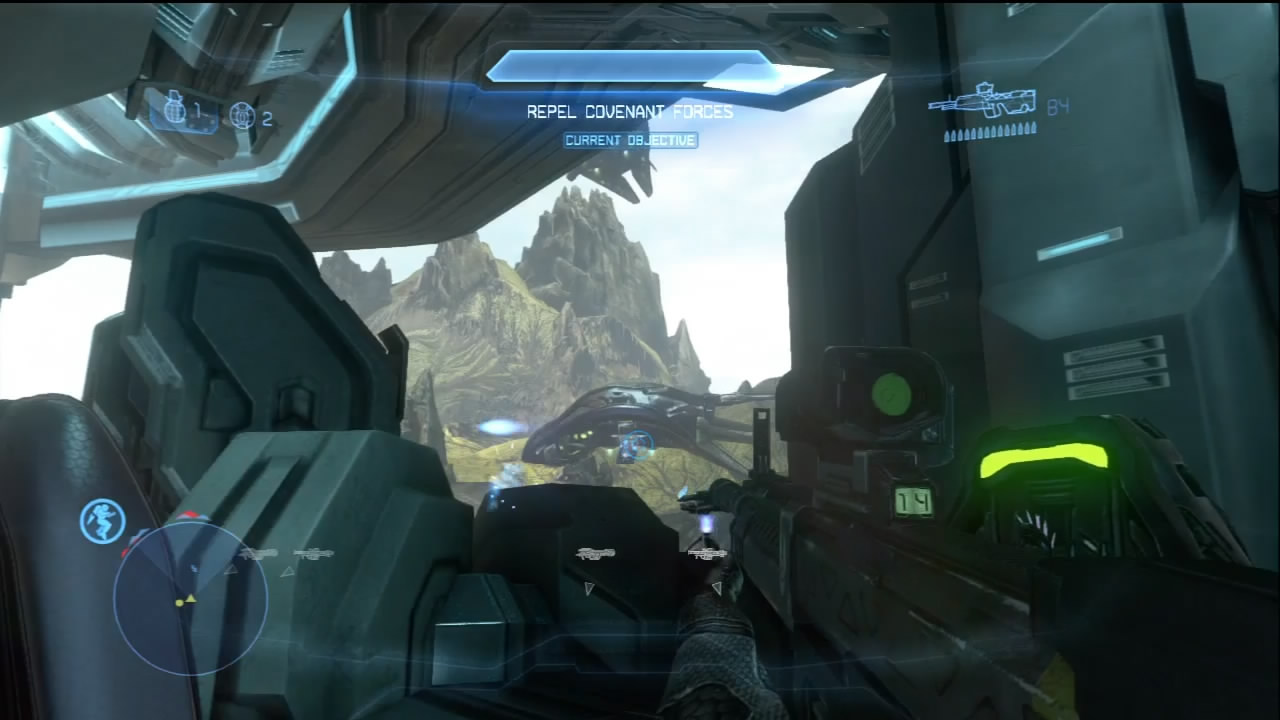
[8] As you bring down the Hunters, you receive word of yet another massive inbound force. Commander Palmer calls in an ordnance drop that includes Rocket Launchers and Spartan Lasers. If you get a chance to make a break for them, try to get those weapons back to the top level of the structure to help with the next assault.
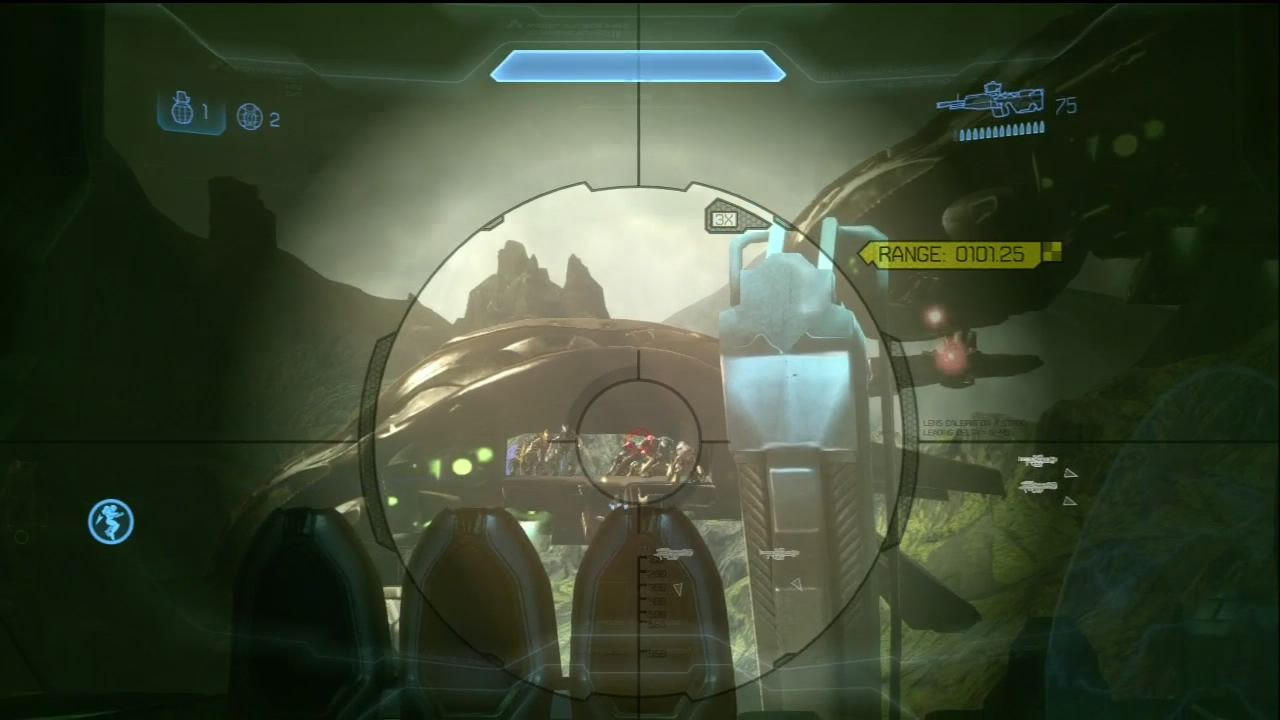
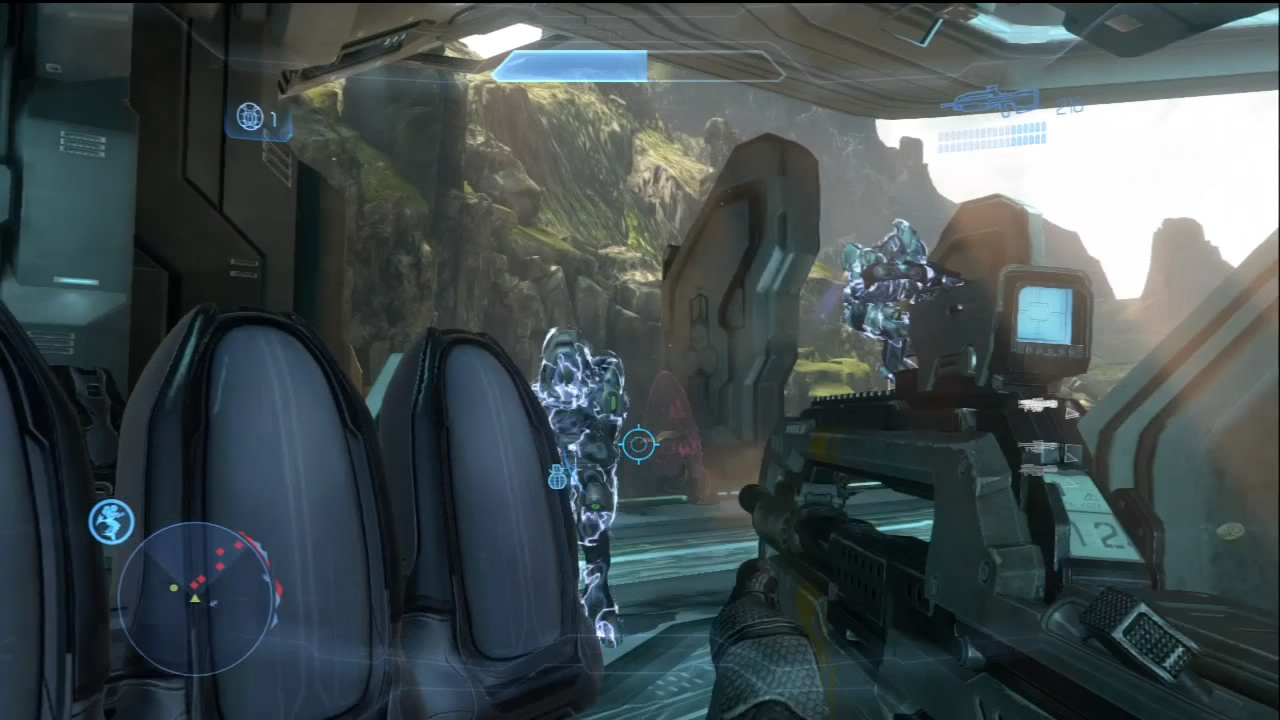
The next waves of Covenant arrive entirely by Phantom shortly after the ordnance drop, and the action gets a little hectic. Your best bet for survival remains staying on the structure’s top level and dealing with the enemy as they funnel up the ramp into your guns. However, the Phantoms don’t just drop the troops off and leave; they stick around to provide close air support. If you have a Fuel Rod Cannon or Rocket Launcher, you can defang them by blowing off their turrets, but you might be too busy dealing with the Covenant troops and staying on the move to do this.
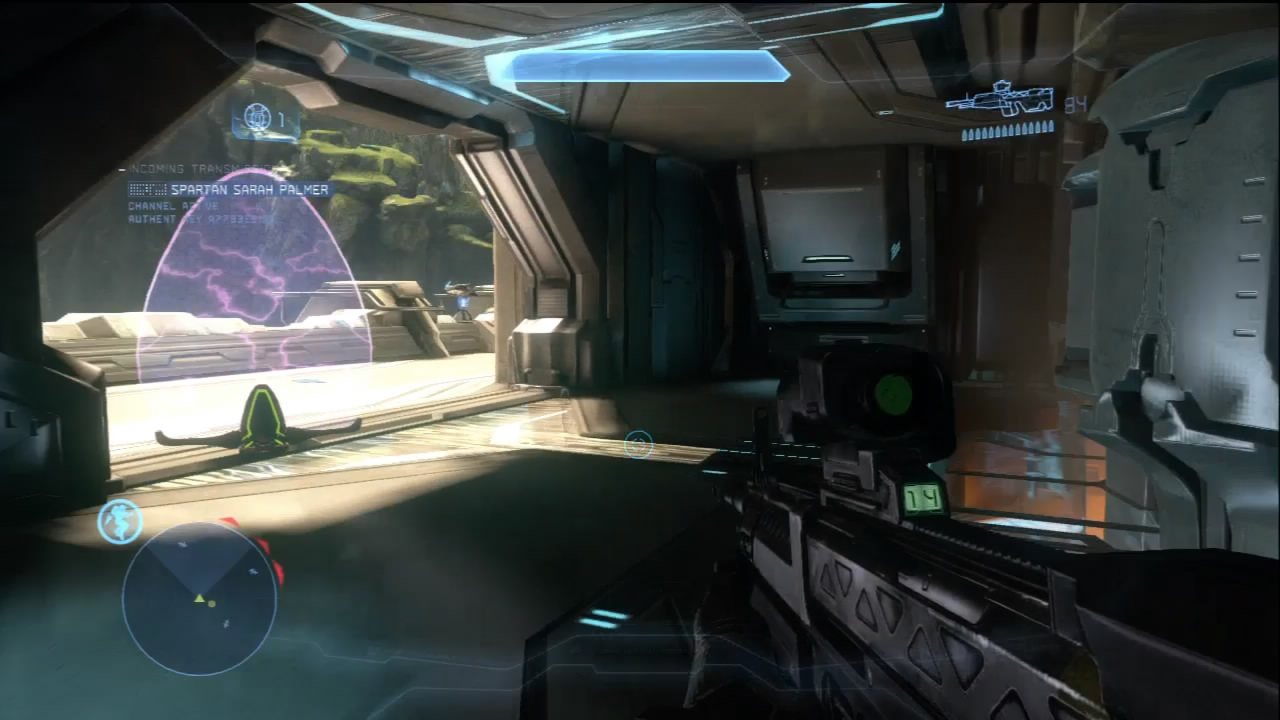
Weather out this storm until you receive word that air support will eliminate the Phantoms. Drop off the top of the structure and use the section underneath it on the mid-level for cover as you wait for the ensuing explosions and the all-clear.
Objective Seven: Evac
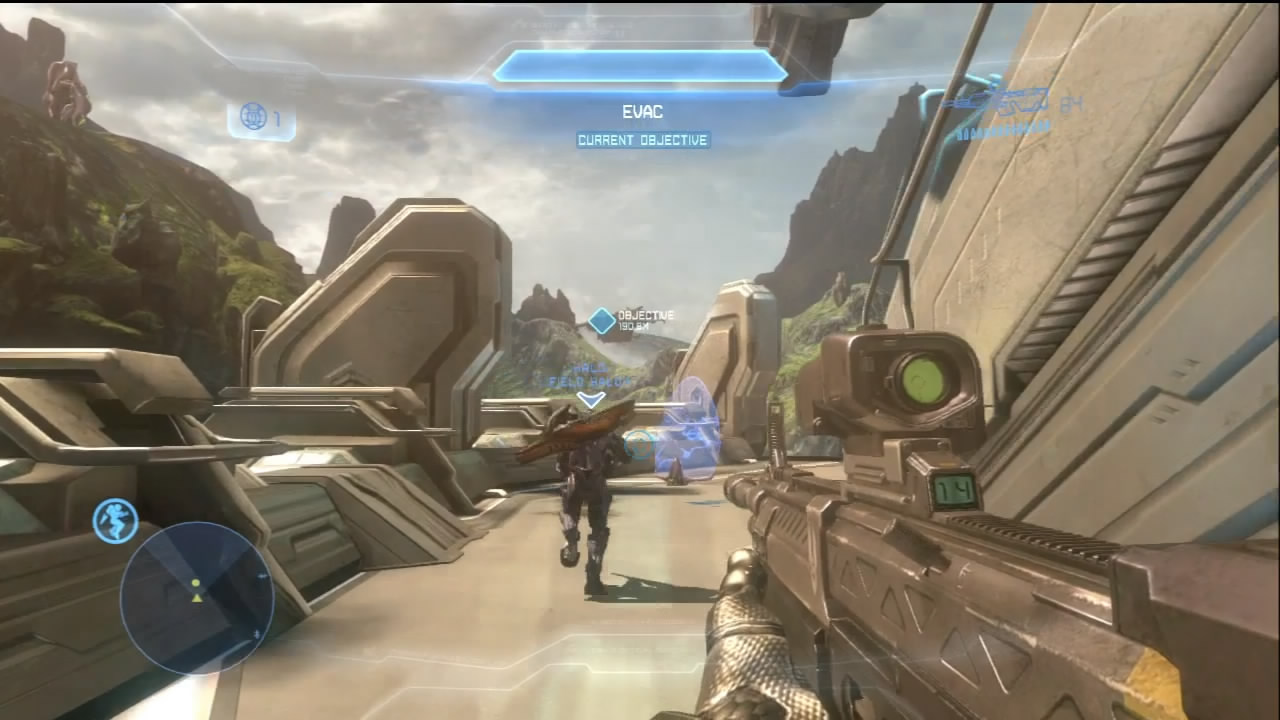
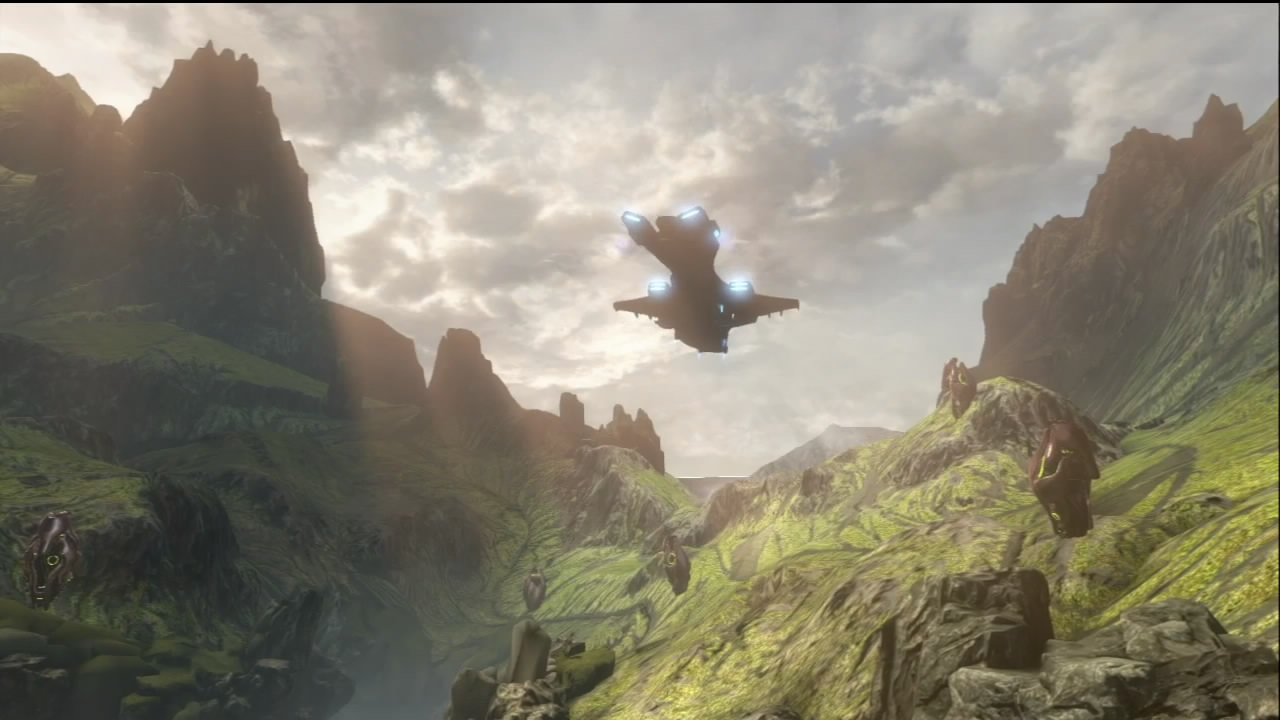
[9] The Covenant have thrown their best at you to avenge Parg Vol, and after being weighed and measured with copious amounts of gunfire, they have been found wanting. This is a good day for the UNSC on Requiem. Reach the marked LZ and get out of the area before the Covenant decide they want revenge for their troops who died trying to avenge Vol.