
Halo 4 Guide Infinity Spartan Ops
Season One, Episode Six
Chapter One: Escape Plan
Despite the best efforts of Fireteam Crimson, they have been captured in the aftermath of their search for Spartan Thorne. Taken to a part of Requiem that remains firmly under the control of the Covenant, the situation from their perspective seems grim. However, the Infinity did not give up on these Spartans. As soon as they are tracked down, a plan is put into motion to give Crimson a chance to escape.
Welcome to the second half of Season One. Things are off to a very fast-paced start. After breaking free of captivity you will need to fight through a large Covenant force inside an unfamiliar facility, and clear an LZ for emergency extraction. You’ll quickly discover that Fireteam Crimson are far from the only prisoners held by the Covenant, and you’ll have to take the others into account while making your escape plans.
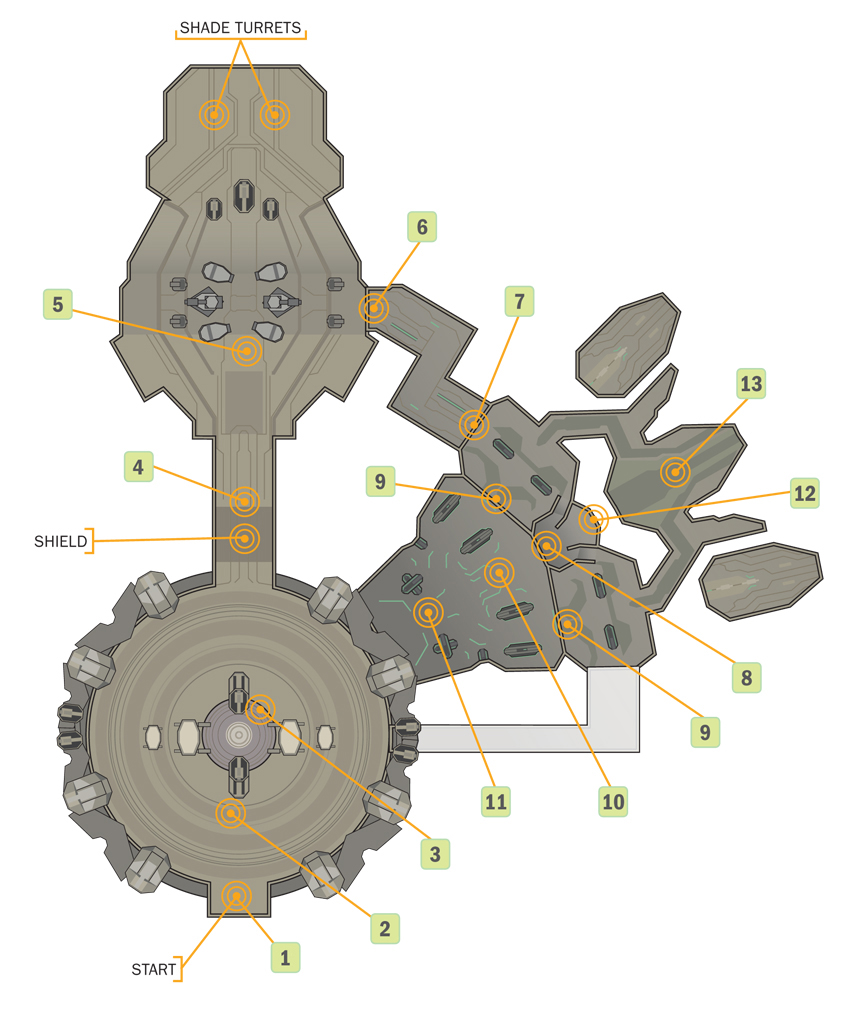
Map Location: Lockup
You don’t get to set your loadouts for this mission, as you’ve been stripped of your preferred weapons by the Covenant. That said, the Magnum you acquire almost immediately is still quite handy, and there are plenty of Covenant weapons for you to take for yourself. The Covenant Carbine is among the most useful. If you’re working with allies, coordinate the use of Plasma Pistol charged shots and any headshot-capable weapon.
Objective One: Eliminate Guards
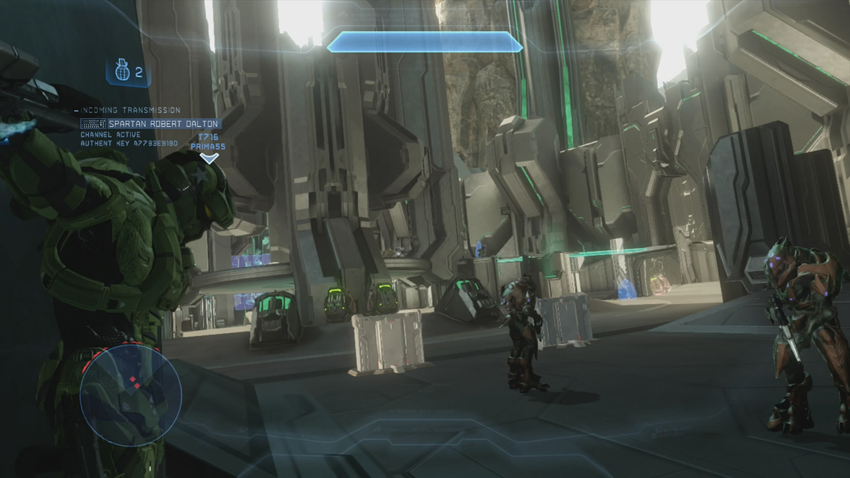
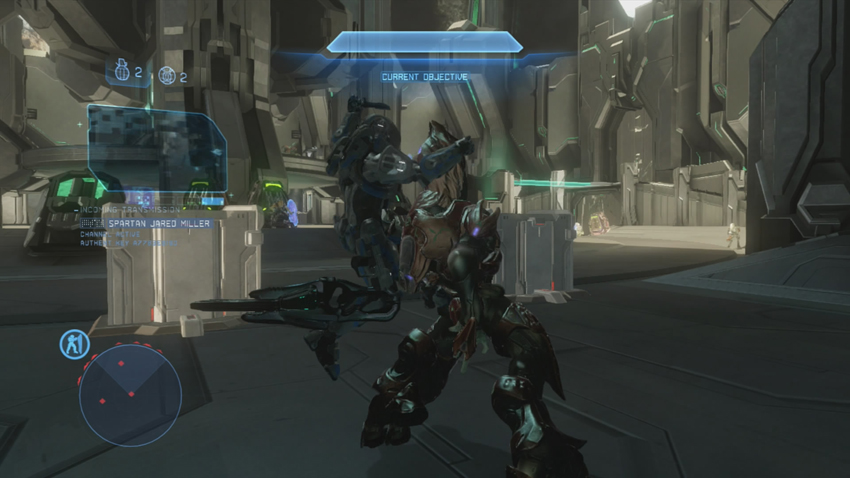
[1] You begin this mission restrained to a wall, awakening under the care of a pair of Elite guards. Infinity zeroes in on your location and calls in an air strike that distracts your overseers and allows you to break free from your shackles. Assassinate both Elites, and get ready for a brawl. Directly across from where you start, you can find Hardlight Shields, which can be a real lifesaver early on.
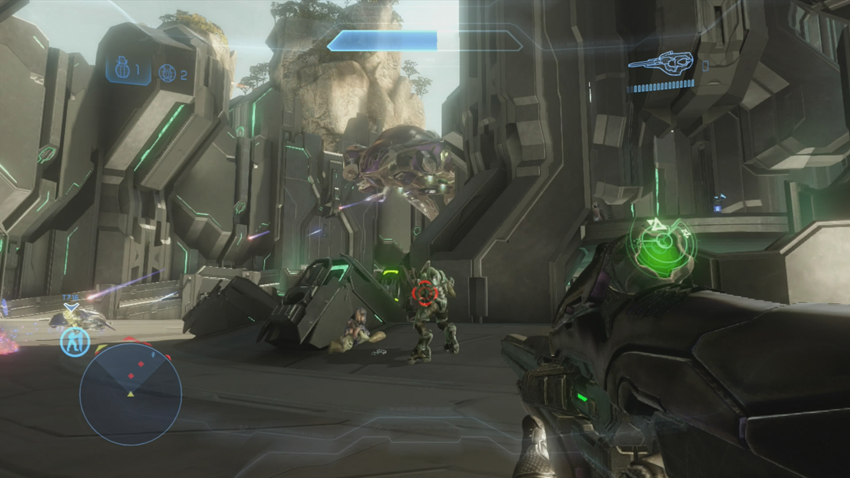
The starting room is large and circular in design. At its center is a raised platform that gives the enemy elevated firing positions on nearly the entire room. Ramps ring the room, granting you access to bridges that connect to the central platform. Small pieces of cover near your starting position will let you get situated, but you generally do not want to rely on sticking close to where you begin. Deal with any hostile Covenant Carbine-equipped Jackals first, then advance forward toward more advantageous positions. You can locate fresh Covenant Carbines, Storm Rifles, and Plasma Pistols on weapon racks close to your start position. [2] On the other side of the room from where you begin is a shielded passage that is your only way out of the area.
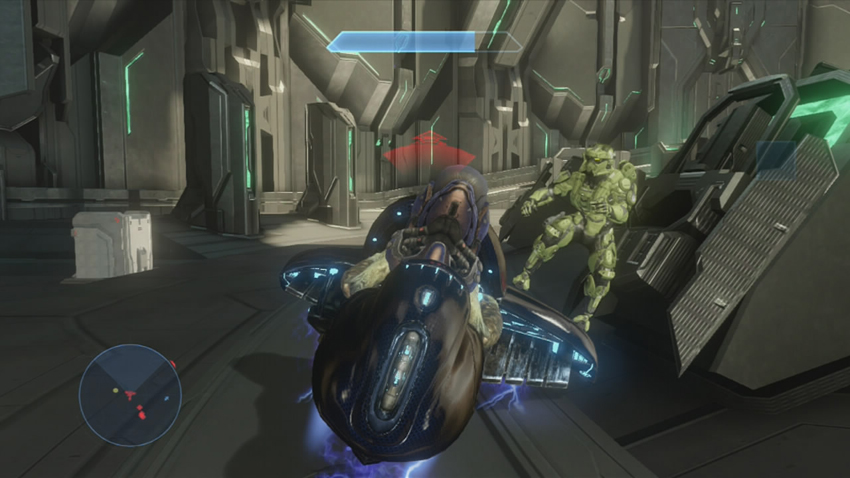
Your initial goal here is to eliminate all Covenant in the sector. After gunning down most of the first set of hostiles, Phantoms begin arriving with reinforcements, including Ghosts. Do what you can to kill Ghost drivers so that you can take the vehicles for yourself. It is possible to preserve a Ghost for the nearly the entire mission, which can make life much easier.
After eliminating multiple waves of Covenant, you are ordered to press forward. To do that, you’ll have to do something about the shield.
Objectives Two and Three: Disable Shield Generators, Move to Evac Zone
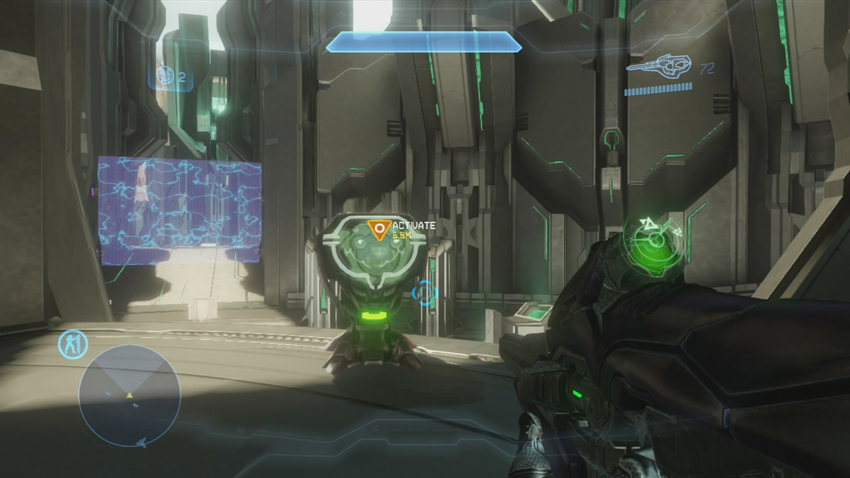
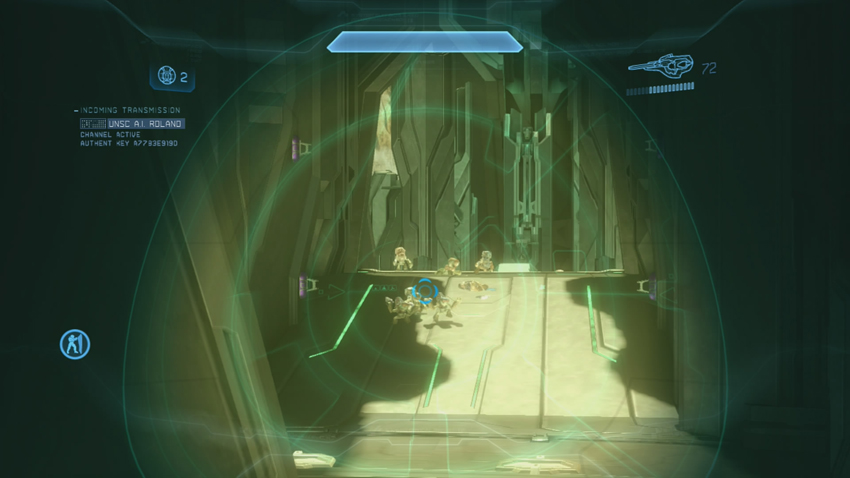
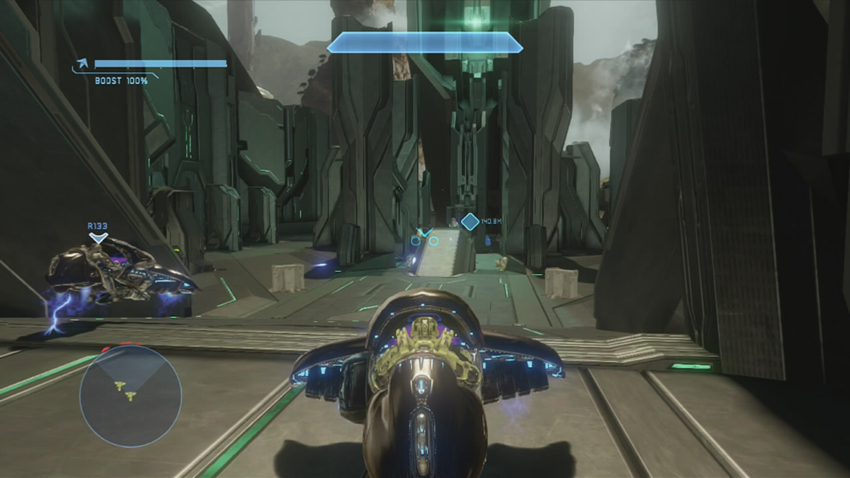
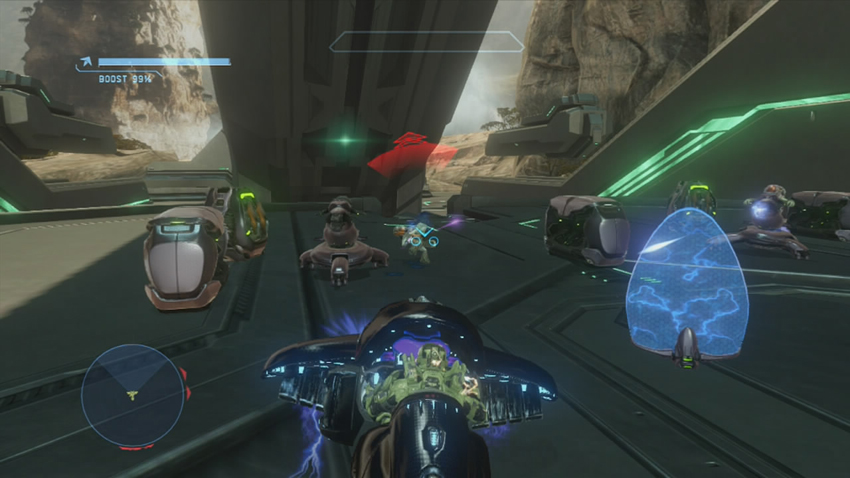
[3] The shield generator controls are atop the central platform. First, deactivate the shield. A little ways past it [4] are a swarm of Grunts and another pair of Ghosts. If you still have a Ghost of your own, it’s possible to get many roadkills on this new wave of enemies, but it is safer to hang back and bombard the enemy as they come to you. Again, try to preserve the Ghosts in some way, especially if you’re working with friends. Multiple Ghosts on your team can make the next encounters easier.
[5] Similar to the room you start in, this area contains a central structure surrounded by open terrain that is perfect for Ghosts to use. However, the central spires in this section do not support an elevated sniping position. At the far edge of this area, a pair of Shade Turrets are set up to catch reckless Ghost thieves. You might be tempted to power through the large groups of enemies with a Ghost—just watch the terrain and avoid getting flipped over by obstacles or disabled by surprise Plasma Pistol charge shots if you do.
In addition to the Covenant stationed here, multiple Phantoms and Drop Pods disgorge more troops into the area, including more Ghosts in the mix. After several waves of hostiles are defeated, stragglers in the final wave are marked on your HUD. Eliminate them to complete this objective.
Objectives Four and Five: Steal Phantom, Investigate IFF Tags
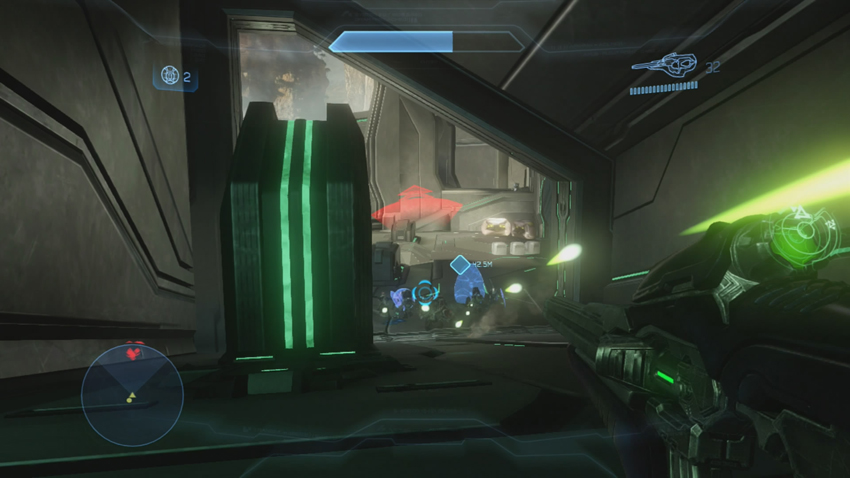
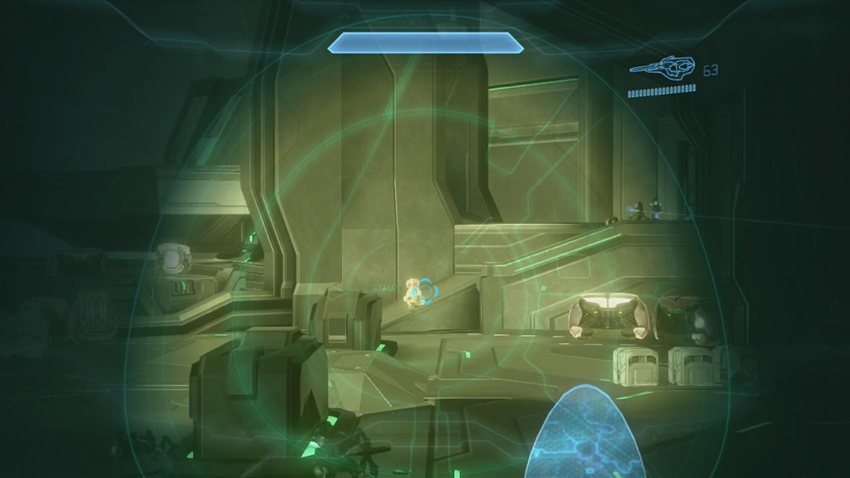
[6] Infinity detects a number of Phantoms parked at a nearby landing pad, and Spartan Miller suggests that they might be your ticket to freedom. A door control is marked for you to trigger, which will reveal a corridor that descends. You’ll encounter Covenant throughout this section, so be careful of surprise Fuel Rod Cannons at these short ranges. Eventually the corridor takes you to the landing pads where the Phantoms can be, with another Covenant squad standing guard at the mouth of the corridor [7]. If you’re still packing some Frag or Plasma Grenades, you can quickly break this group.
[8] After destroying any resistance at the landing pad, Icebreaker Squad’s IFF tags are detected in the nearby large structure to the right of where you arrive at the landing pads. You’re ordered to a new waypoint to gain entry to the building.
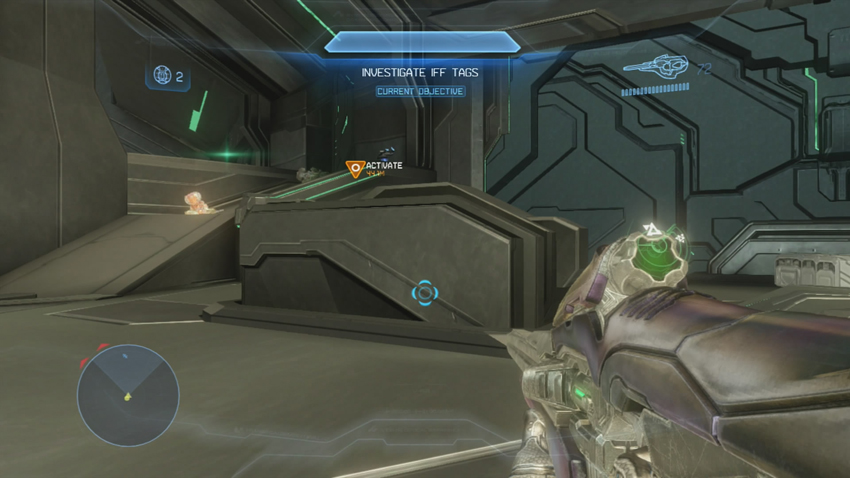
If you explore the outdoors area before entering the building to seek out Icebreaker Squad, you might notice that the structure in which their tags were detected has two large, and currently sealed, doors [9]. Remember these, as they will be important!
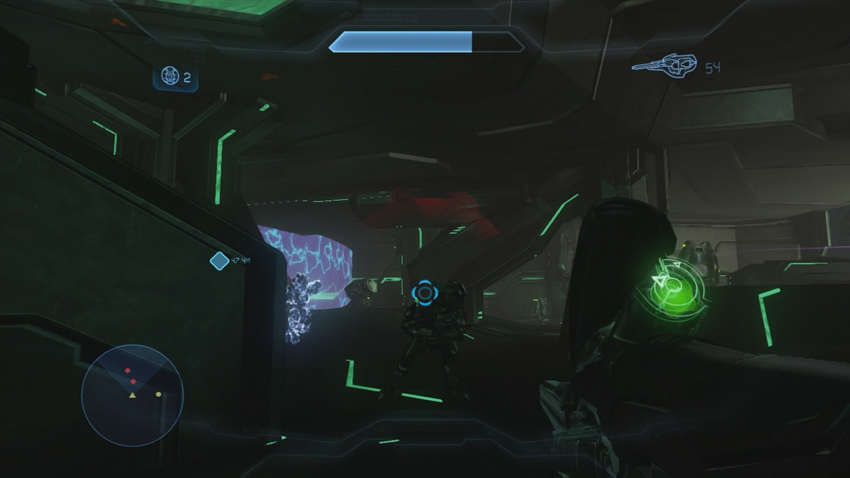
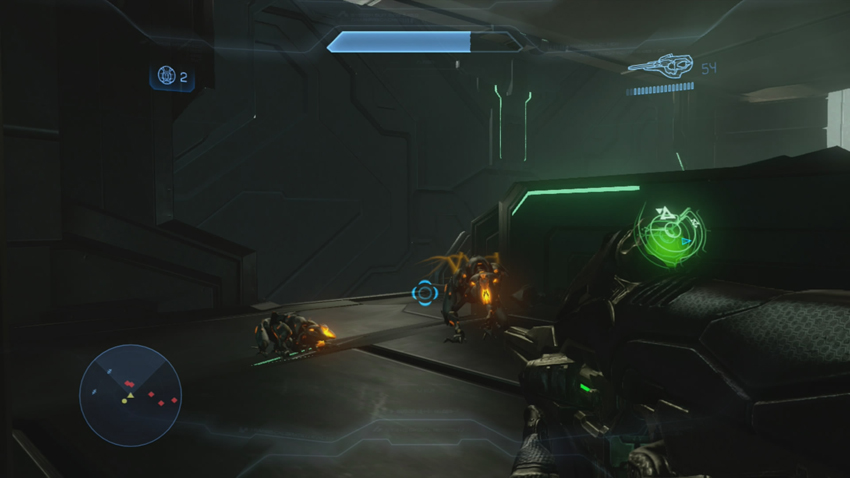
[10] The inside of the structure is guarded by numerous Elites, and shortly after making contact with them, Promethean Crawlers make their presence felt in support of the Covenant. Don’t commit to pushing into the room right away! You can use the small entrance [8] to funnel aggressive foes toward you until you feel safe about rushing inside. After the enemy is wiped out, you can set the survivors of Icebreaker Squad free, and the Marines are more than happy to join in on the great escape.
Objectives Six and Seven: Release Captives, Defend Lt. Murphy
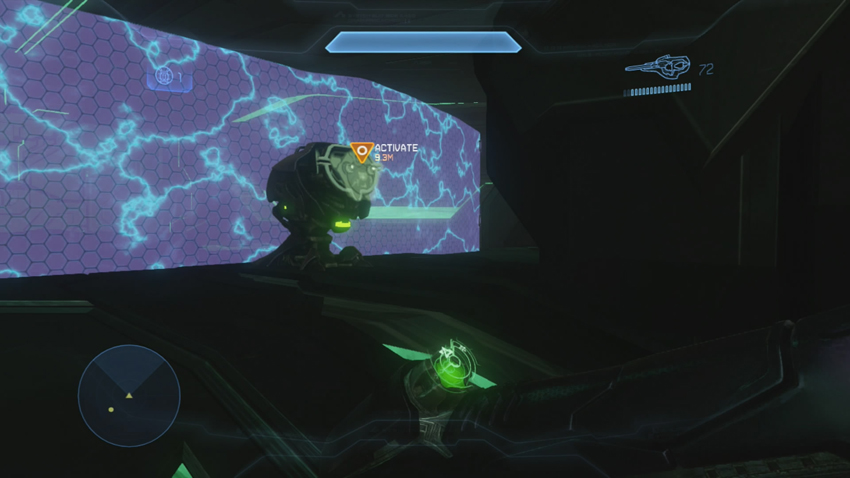
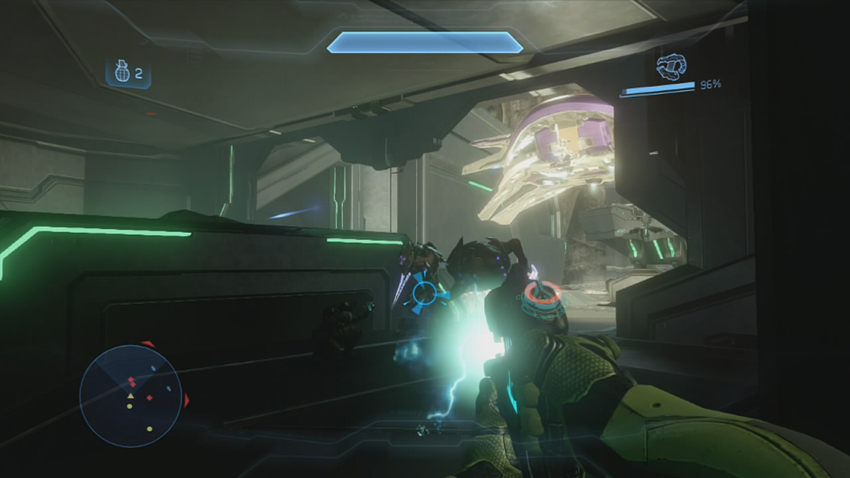
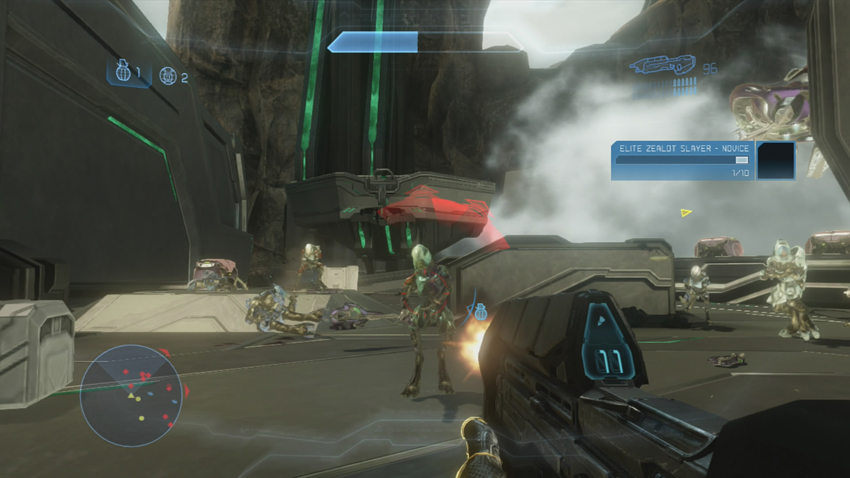
[11] Activate the marked controls to free the Marines. As they set about arming themselves with any available weapons, you’re introduced to their leader, Lieutenant TJ Murphy. He’s more than willing to help Crimson acquire a ride so they and his Marines can all go back to the Infinity . The first order of business is to hold off the Covenant counterattack.
Your motion tracker will indicate a significant Covenant force being deployed on the landing pads outside of the holding area, and your first instinct may tell you to cover the entrance you originally used to get inside. Do not do this! The enemy instead opens the sealed doors [9], and Elite Zealots are at the forefront of this assault. If you’re alone, this can be a very rough battle. Even with fellow Spartans at their side, you can expect the Marines to sustain heavy casualties. As cold as it sounds, it’s just to be expected. A full team of Spartans can split their forces equally between both entrances, and with judicious use of Plasma Pistols and Covenant Carbines, you can thin the enemy out before they get close enough to use their Energy Swords.
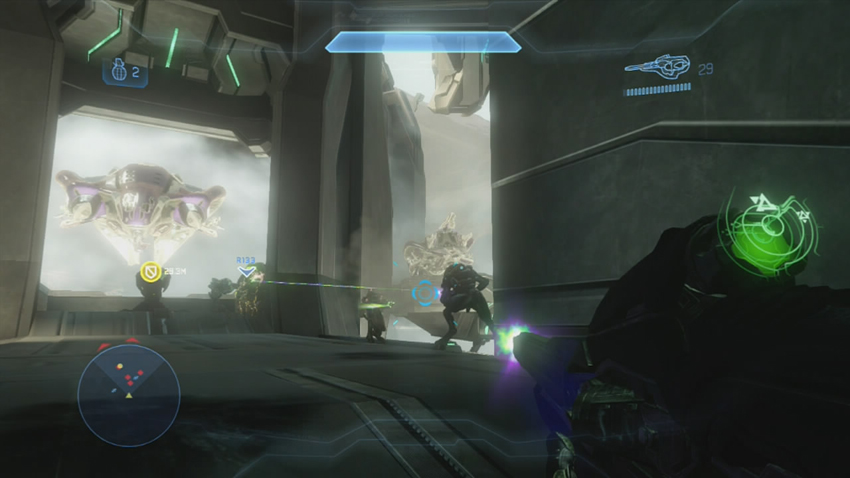
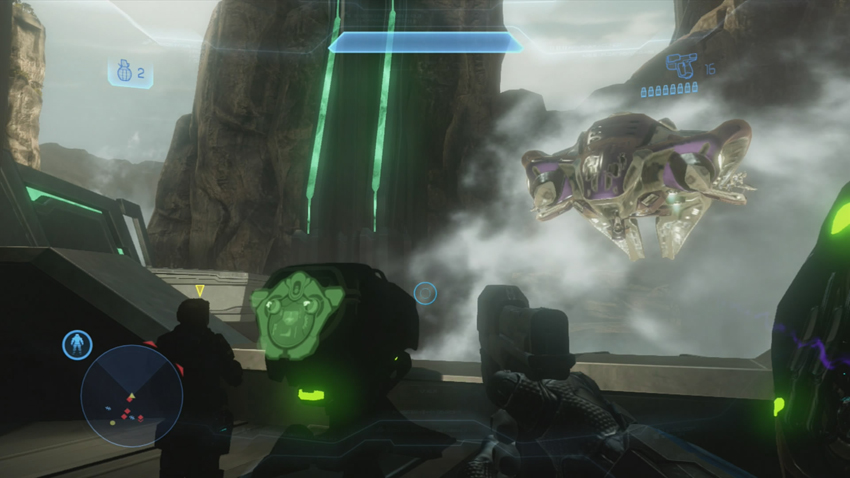
[12] Lt. Murphy will make a run for a control panel that you hope will grant you access to a Phantom. During this time, expect multiple waves of Covenant to be deployed near the now-open doors [9]. These locations flank Lt. Murphy’s position, and the enemy will come after him if you don’t stop them first. These new hostiles include many Jackal Snipers and Rangers, all armed with Covenant Carbines. Throughout all of this, a Phantom is harassing Lt. Murphy while he manipulates his control panel.
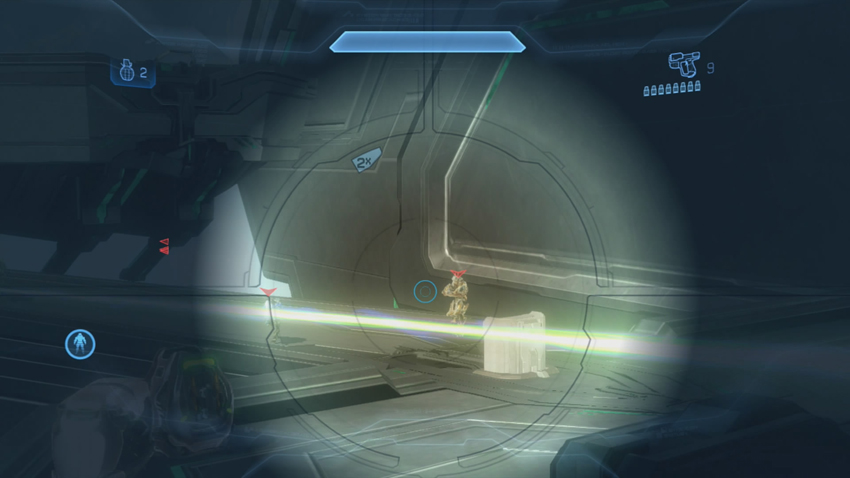
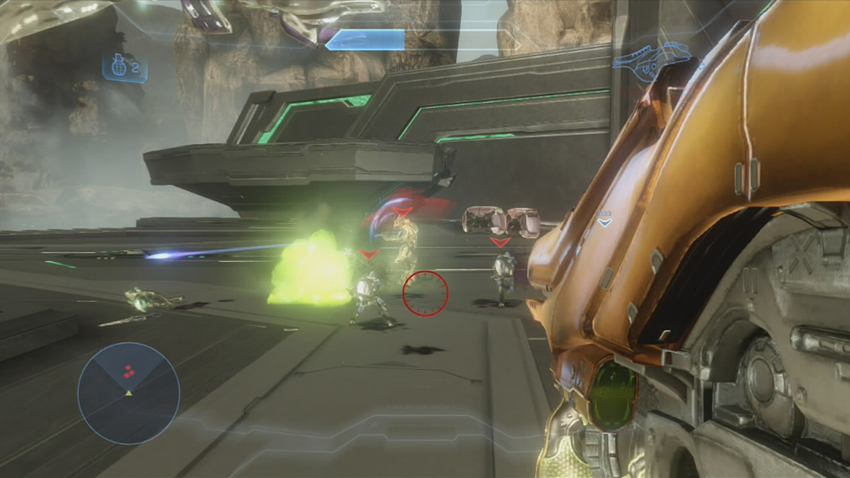
Eventually, the Phantom deploys the last set of troops in a desperate attempt to eliminate the UNSC captives. This is the home stretch! Watch out for Elite Commanders armed with Fuel Rod Cannons as the struggles reaches toward a conclusion.
Objective Eight: Move to Phantom
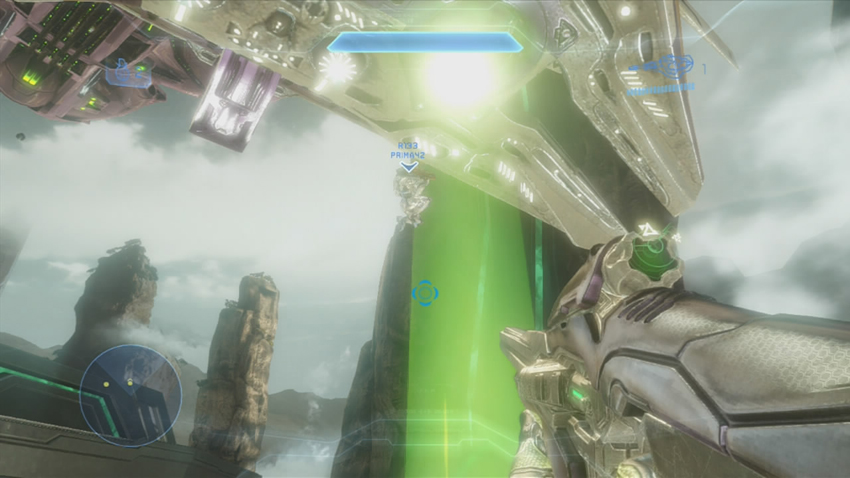
[13] With the Phantom emptied of its Covenant occupants and awaiting new passengers, it’s time to go home. Just run to the green gravity lift it deploys. You have survived your very brief stay at the Lockup!
Chapter Two: All The Secrets
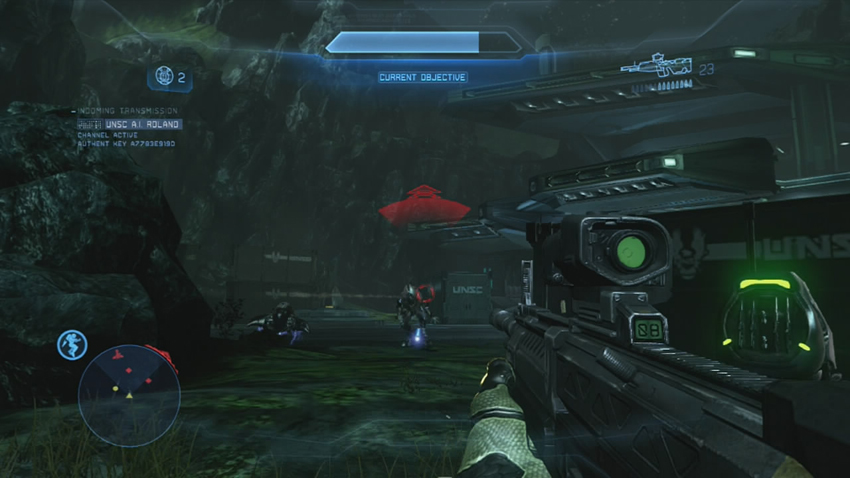
The Covenant are convinced that the Phantom stolen by Fireteam Crimson and Lt. Murphy still belongs to them, and forces the dropship to land at a secured facility. This becomes a new opportunity for the UNSC to discover more about what the Covenant have planed on Requiem. So much for that safe trip home.
This detour could turn into an unexpected boon for the UNSC forces. Tear through the Covenant assigned to protect the base, and access the Covenant battle net. Roland will use a virus to pull important information from the network. This data theft will not go unchallenged, so expect multiple waves of reinforcements to block your path as you move through the facility. Eventually, you must destroy a pair of Covenant terminals and clear a safe landing zone for Lt. Murphy’s Phantom to come retrieve you.
Map Location: Control
Your only foes this time around are Covenant, though you can expect a significantly larger number of Elites during this mission, so always be prepared for that. The Plasma Pistol and any other headshot-capable weapon are useful, as always. However, during the final battle of the mission, the Covenant begin sending Hunters and Banshees after you. You’ll want to locate Fuel Rod Cannons or Rocket Launchers to deal with them. We highly recommend that all of your loadouts include a Jet Pack, which is a big help when trying to reach cover or good firing positions on the enemy.
Objective One: Eliminate All Enemies
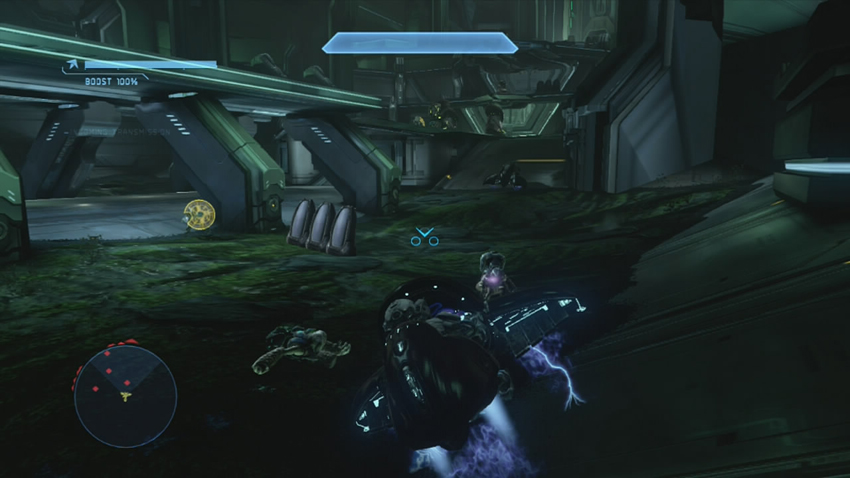
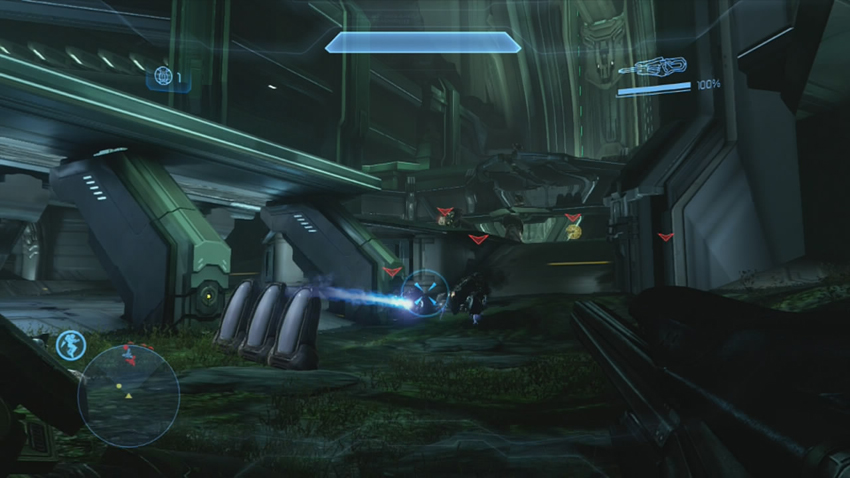
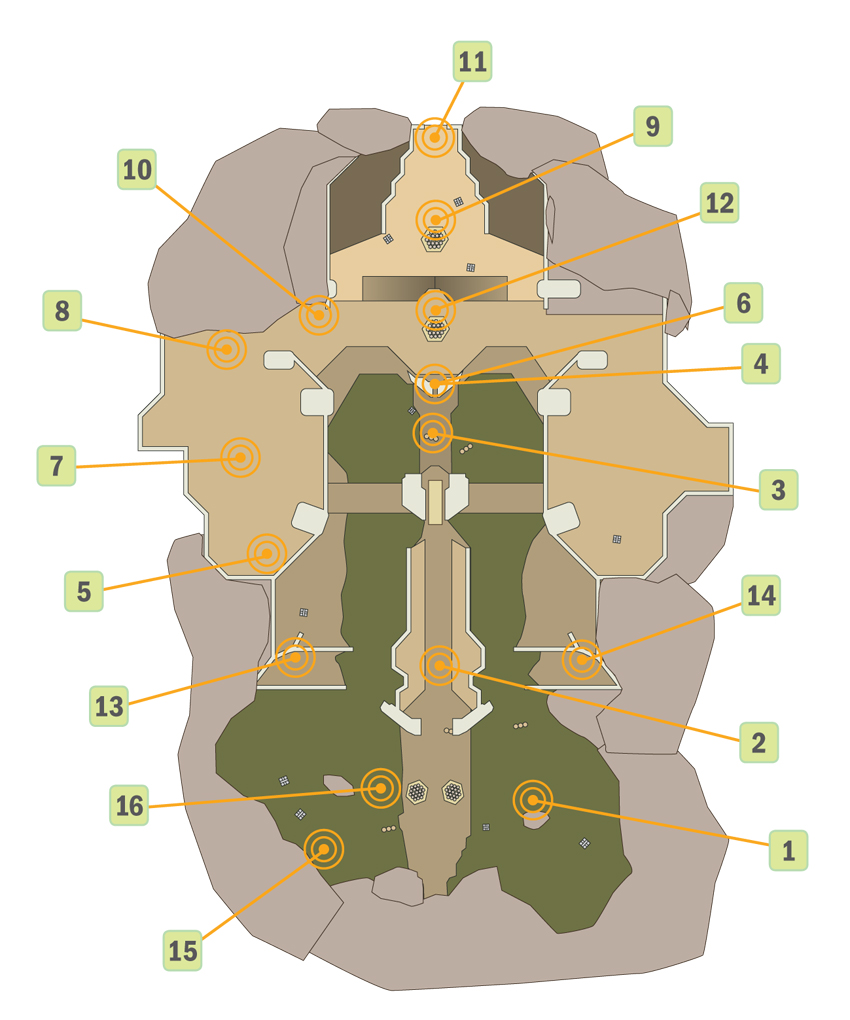
[1] Your starting point is at the foot of a multi-tiered facility, with plenty of open terrain between you and where you ultimately need to be. There are Covenant patrolling the area close to the start locations, specifically a number of Elites, and a Ghost. Once the shooting starts, the whole facility goes on alert. Generally speaking, it’s OK to stick near the start position, as there’s good cover to take advantage of during the initial enemy encounters. The rest of the Covenant either spread out toward the middle structure of the starting field [2], or stick close to the ground-floor entrance to the facility [3].
Snipers are called out by Spartan Miller, mixed in among the rest of the ground troops. Of course, you may realize this when you see the first shot whiz past your head. There’s ample cover to use to avoid being sniped. If you’re using a Ghost taken from the enemy, you can easily juke his shots and counterattack, but don’t ignore the other Covenant in the process. Eventually, remaining Covenant are marked on your HUD, and you can finish clearing the area.
Objectives Two, Three, and Four: Unlock Forerunner Door, Access Covenant Computer, Unlock Forerunner Door Two
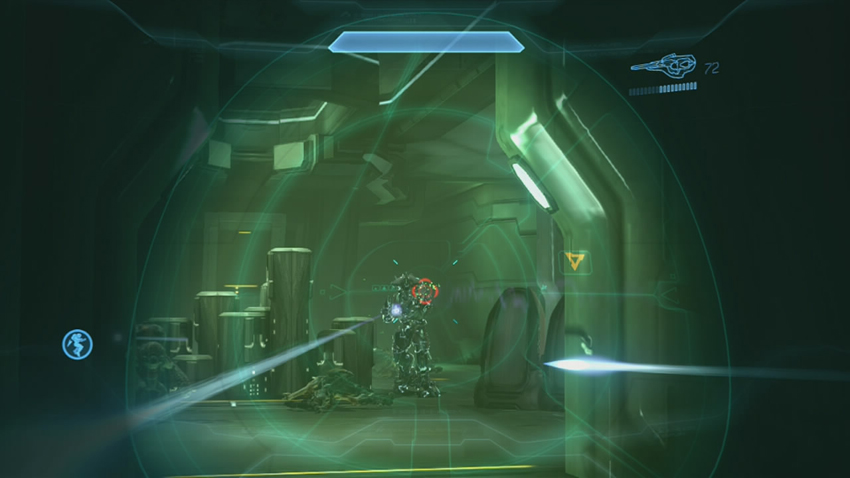
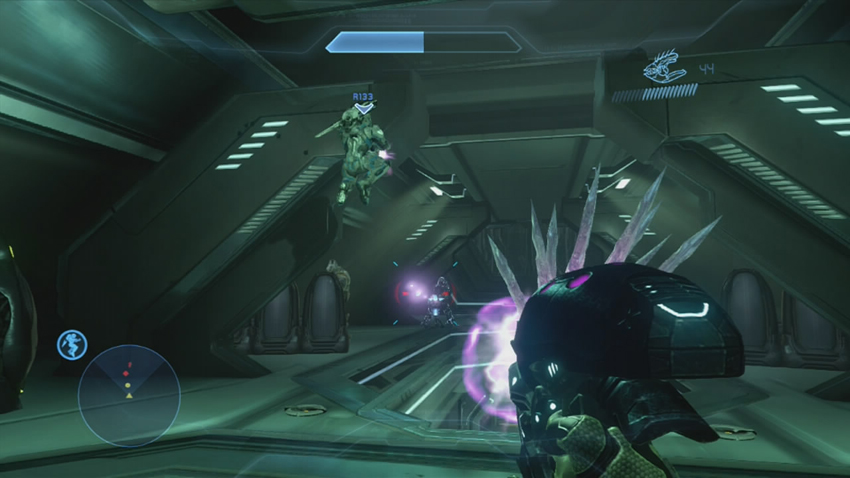
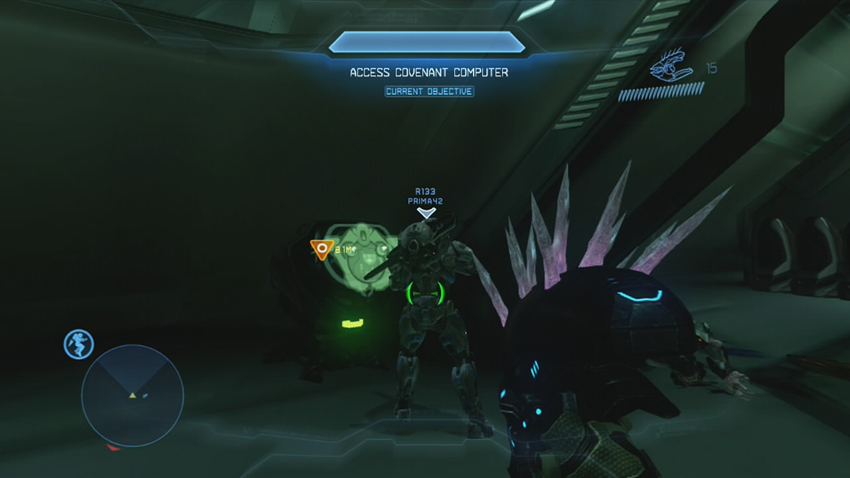
After crushing the Covenant resistance, a sealed door will be marked on your HUD [4]. Opening it reveals a short corridor leading to a pair of ramps that take you to the second level of the facility. A squad of Covenant have formed a defensive line between you and the ramps. After cutting through them and climbing up to the second level, you find another enemy squad that is backed up by a pair of mounted Plasma Cannons. Don’t rush to the second floor carelessly; the close quarters makes the Elites particularly dangerous. There’s a cache of Needlers at the top of the ramps that can make dealing with the second-floor Elites easier. Once you deal with all the Covenant inside the corridors, the computer you need to access is assigned a waypoint. After Roland works his magic on the console, open the indicated door and proceed to your next objective.
Objective Five: Access Second Covenant Computer
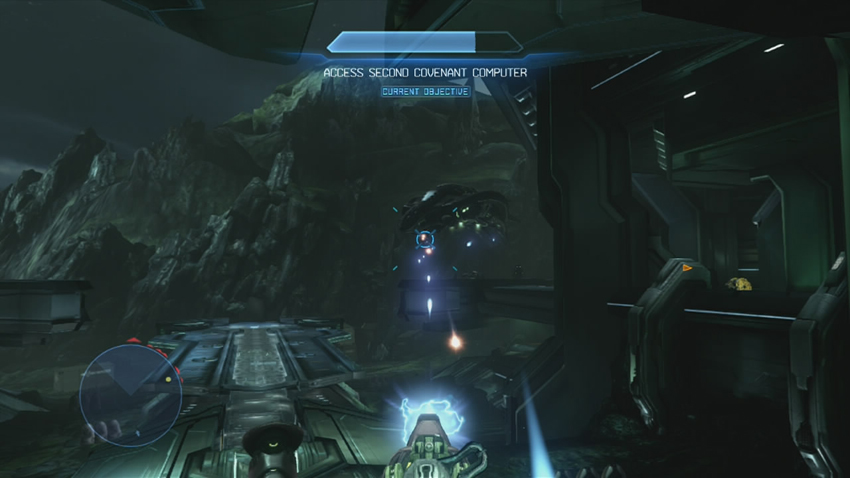
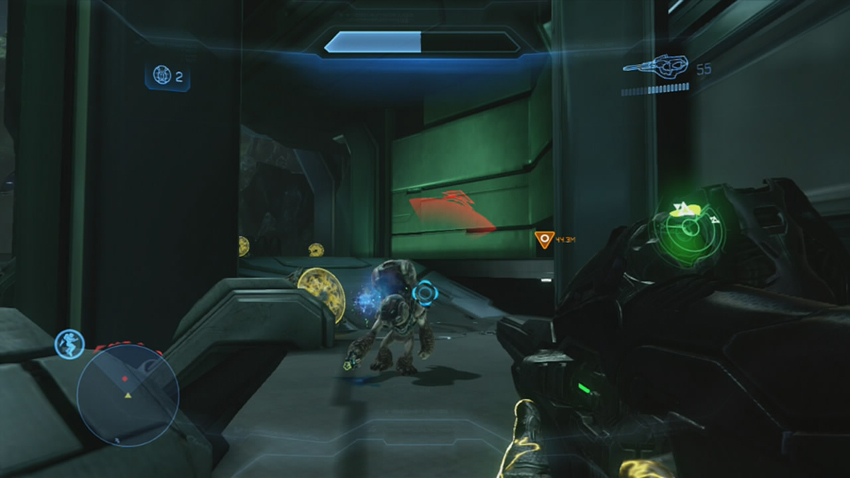
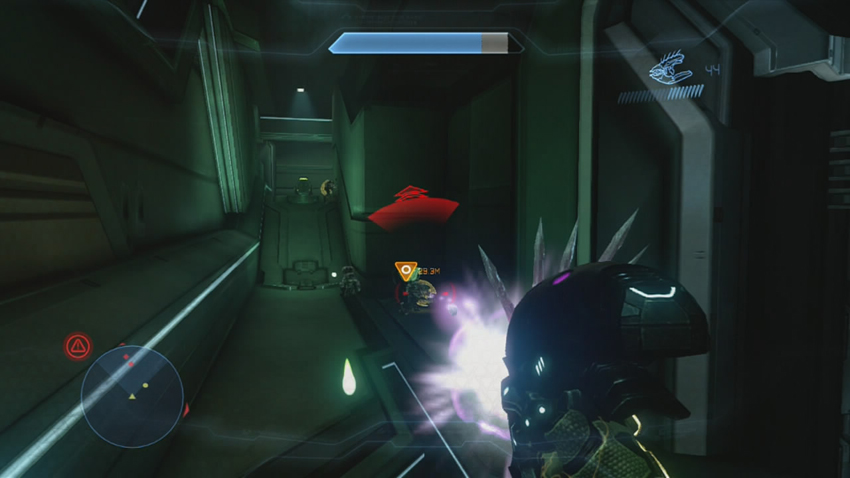
A new Covenant computer is indicated on your HUD, just as more enemy reinforcements begin making an appearance on the second level, intending to block your path [6]. The Phantom that deploys them sticks around for a short time to harass you with its weapons, so using the Shade Turret near the first computer [5] isn’t a safe plan. Use the natural cover of the facility and advance toward the second computer [7]. There’s another ramp that leads to the third level of the facility, and more Covenant rush down it to confront you [8]. Clear the area of hostiles, then use the computer.
Objectives Six and Seven: Access Third Covenant Computer, Clear Out Remaining Enemies
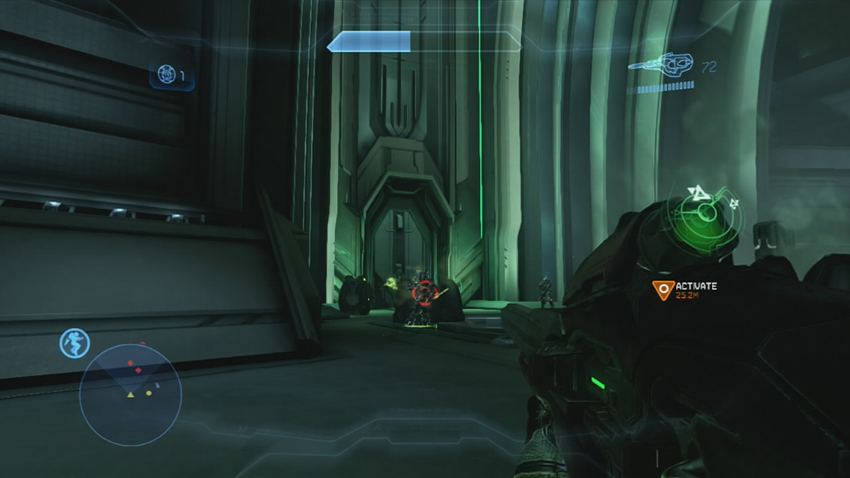
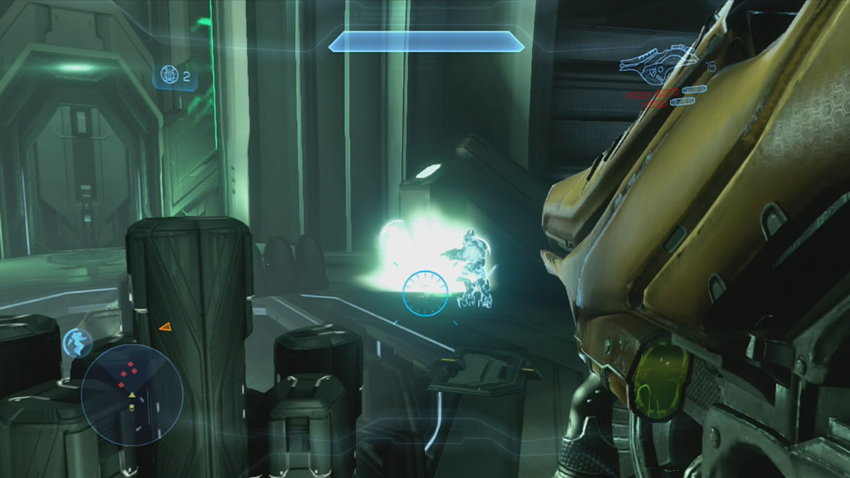
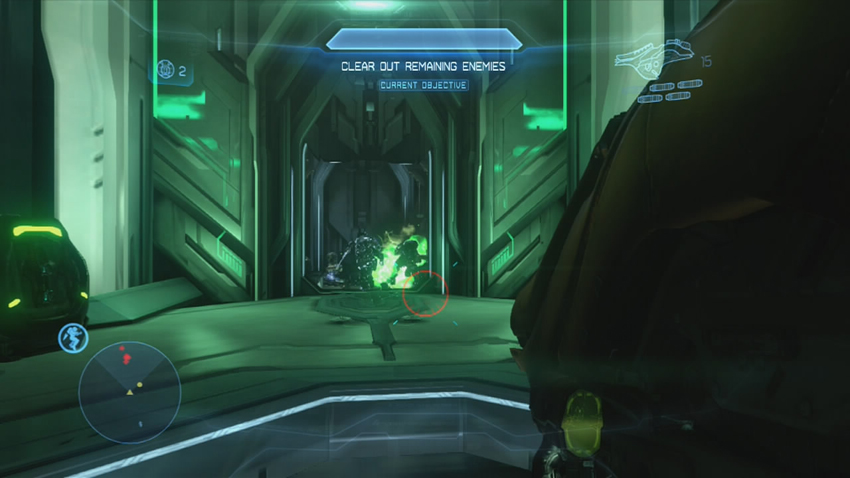
[9] The third computer is on the highest level of the facility, and is surrounded by another Covenant squad made up primarily of Elites. Use the ramps for cover, and if the Elites rush you, fall back. Surprisingly, no reinforcements come to help this squad, so as soon as you wrap up your business with them, activate the third computer. Don’t miss out on the weapon cache filled with Fuel Rod Cannons near the third computer [10], as you will soon find good use for that sort of firepower.
Hacking the three computers has triggered a fail-safe measure that has locked Roland out of the system while stirring up the figurative hornet’s nest. You need to destroy a pair of terminals located inconveniently back on the ground level of the facility, almost on the other side of the map. Compounding this, a door near the third computer opens up [11], revealing some very angry Covenant, including Elite Zealots. With proper application of the Fuel Rod Gun, you can make it so that most of these hostiles don’t even survive the door being opened.
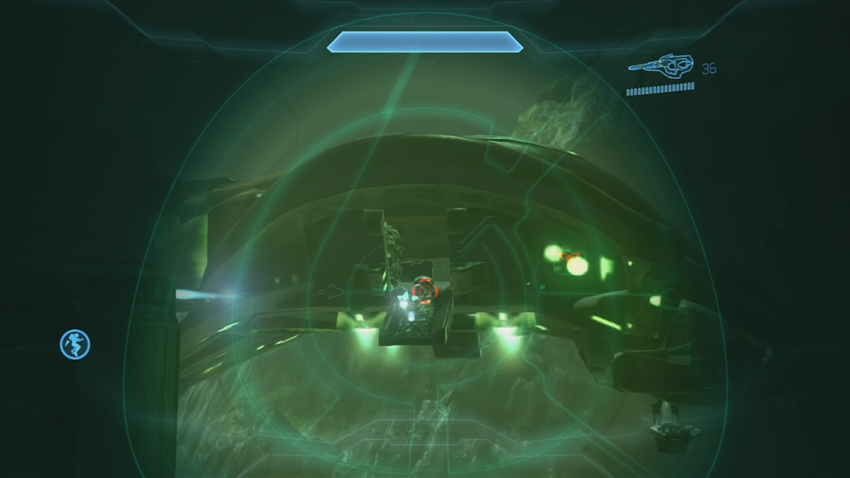
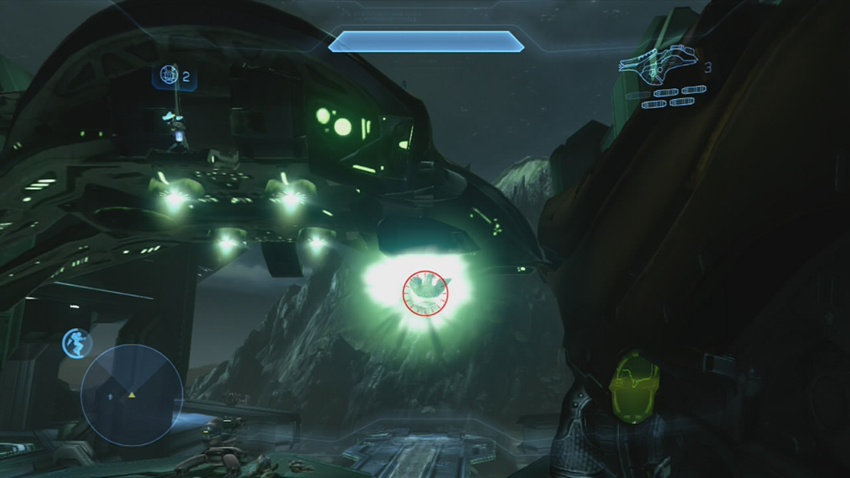
Now that they’re dead, a Phantom flies into the area to deploy more enemies on the lower level [12]. The pilot foolishly presents the side of his craft as he prepares the troops for deployment, which allows you to score headshots on many of the Grunts inside before they can even jump free. The Phantom quickly flees once its troops are eliminated.
Objective Eight: Destroy Covenant Terminals
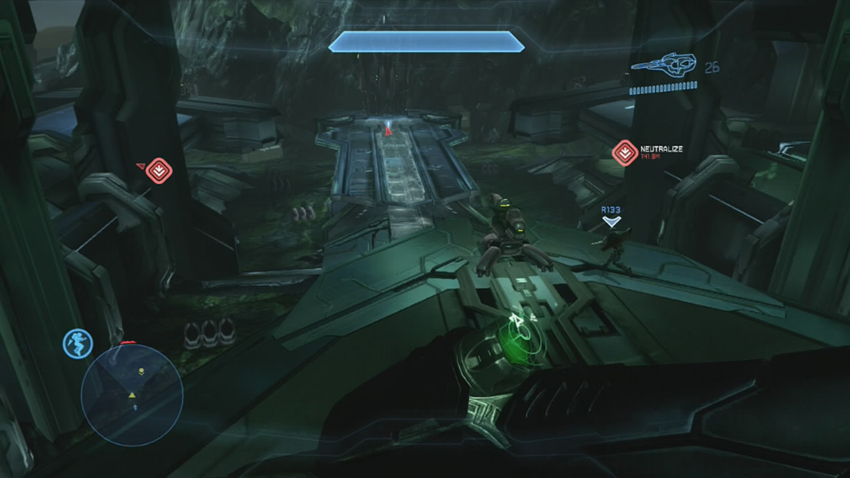
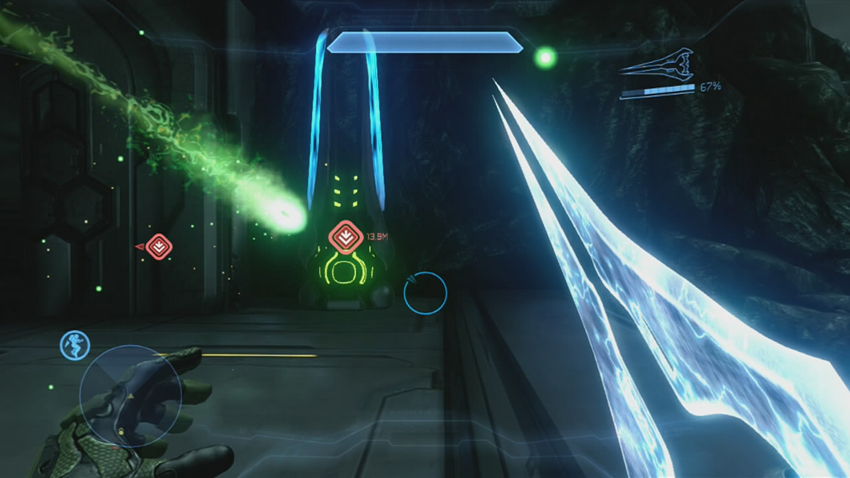
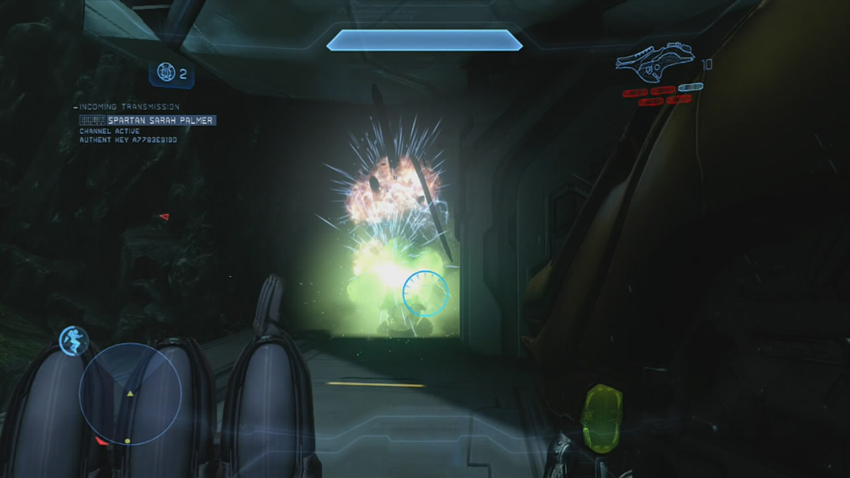
[13] [14] Destroying the Covenant terminals can be surprisingly simple with a Fuel Rod Cannon and smart use of the Jet Pack. Get down to the ground level as quickly as possible, making your way toward the place where you started this mission. The sooner you arrive there, the better, as hostiles arrive via Drop Pod into the ground level, roughly in between both terminals. If you stay on top of the middle structure [2], you have excellent sniping positions on all hostiles on the ground level, and you can destroy both terminals easily with Fuel Rods from that vantage point. Take out the terminals, and get ready for one final brawl to end this mission.
Objective Nine: Neutralize Hostile Force
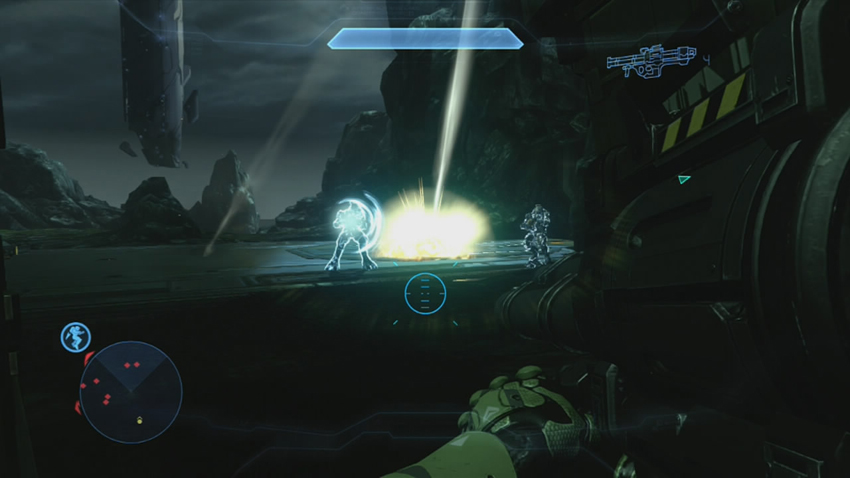
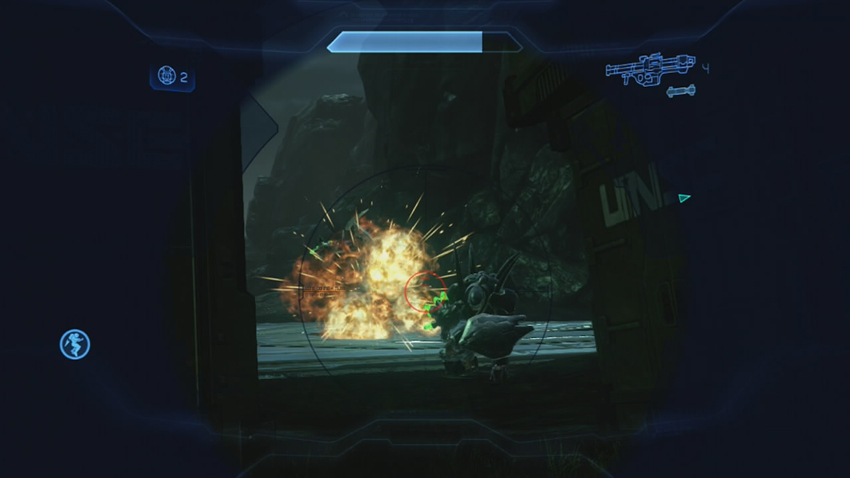
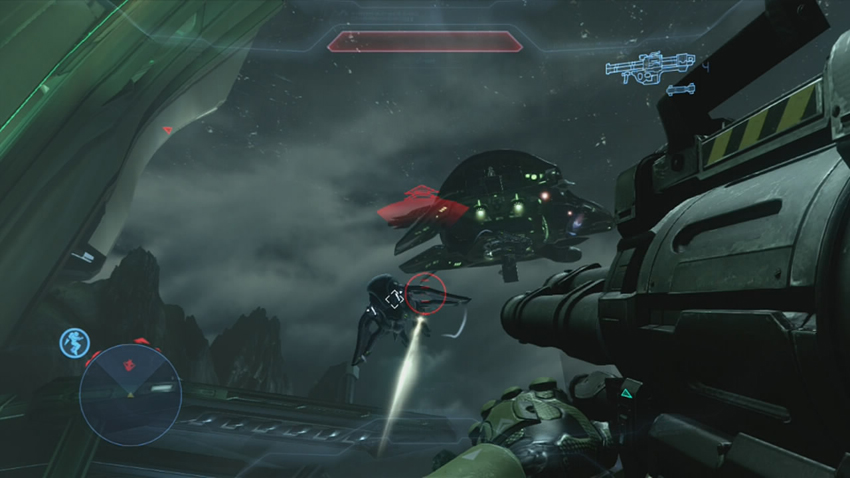
Lt. Murphy needs you to ensure that he’s got a clear landing zone to pick you up, and, of course, the Covenant are on their way to stop you. Fortunately, the Infinity support team detects a very useful UNSC weapon cache filled with Rocket Launchers [15]. You’re going to need them. Phantoms and Drop Pods begin making a series of deployments throughout the facility’s ground level, including Hunters with Elites dropped close to the weapon cache [16]. The Phantoms that deploy troops and provide close air support are accompanied by Banshees—arguably an even greater threat. Work on taking out the Hunters first, but make sure you are prepared to plant a rocket right in the face of any oncoming Banshee. They can be incredibly troublesome with their ability to evade locked-on rockets, but don’t get so focused on taking out a Banshee that you place yourself in the line of fire of all the ground troops in the area. It’s possible to drive off the Phantoms sooner if you take out all of their guns, which isn’t a bad goal to shoot for. This can be a tough battle to survive, so don’t be too discouraged if you are taken out a few times.
The UNSC weapon cache provides a steady supply of Rocket Launcher ammunition, so don’t be afraid to go wild on the ground troops once the skies are clear. As with other similar objectives, once you thin out the enemy’s numbers, stragglers are marked on the HUD for execution.
Objective Ten: Rendezvous with Phantom
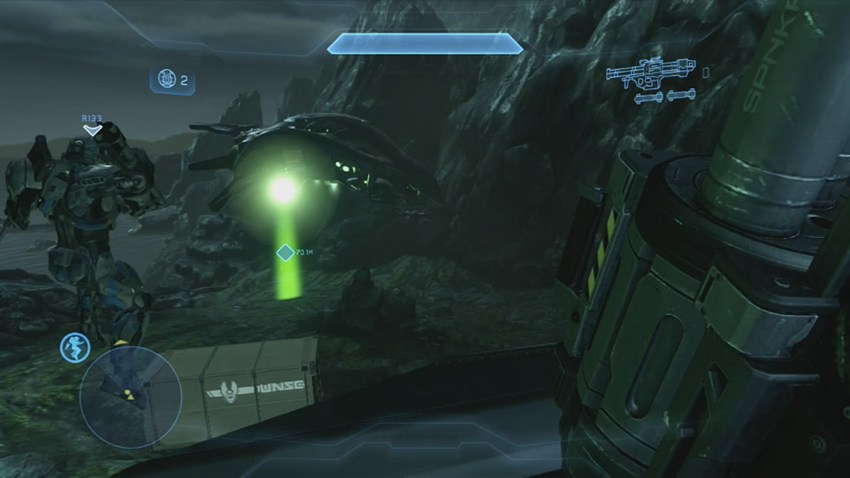
Once you eliminate all hostile contacts, Lt. Murphy’s Phantom comes to retrieve you where he originally dropped you off, and the mission comes to an end.
Chapter Three: Need to Know
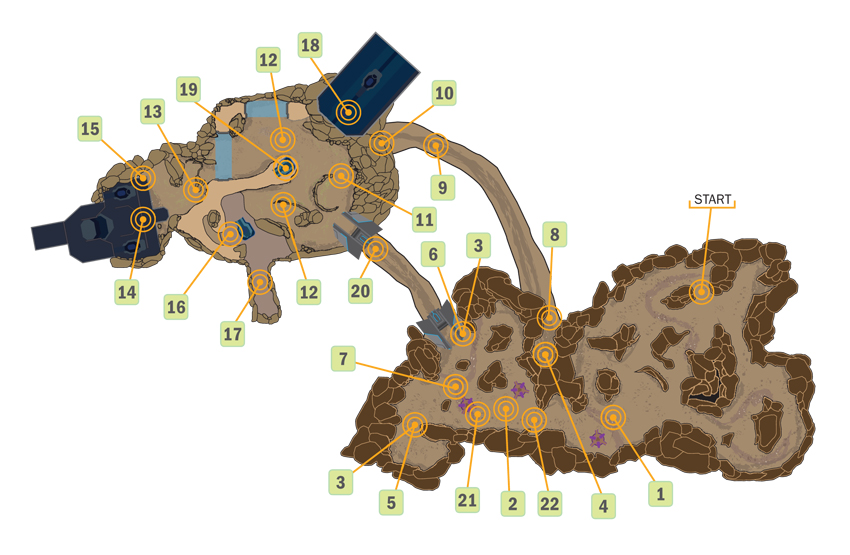
The intel provided from the Covenant battle net has revealed an extensive underground Covenant facility, which means that yet again, Fireteam Crimson is assigned a mission deep inside enemy-held territory. Their mission is to uncover the full extent of the Covenant facility, and then take any manner of valuable information they can find while disrupting the facility as much as possible.
The mission starts off as a silent infiltration into the surface camp that guards the entry to the facility, but inevitably turns hot. The Covenant have fortified much of the underground caverns, protecting them with Elite Zealot teams and standard Covenant infantry. Prometheans begin to teleport into the area to assist the Covenant as you travel farther into the caverns. Reaching the data you need is only half the mission. Once you’ve taken the information, you are forced to fight your way through a combined Covenant and Promethean force sent to cut off your escape.
Map Location: Warrens
Beyond the usual calls for a precision headshot weapon and a secondary weapon that can easily break shields, the usefulness of a Jet Pack cannot be stressed enough, particularly when you reach the actual underground section of the mission. Be prepared to get flexible and make use of Covenant Banshees during the mission, as your skills in flying through underground caverns will be put to the test. We also recommend the Ammo upgrade so that you can horde larger quantities of ammunition for your weapons. In particular, the Fuel Rod Cannon can be very useful throughout the first half of the mission.
Objectives One, Two, Three, and Four: Infiltrate Covenant Camp, Scout Camp, Open Main Door, Clear Out Covenant Forces
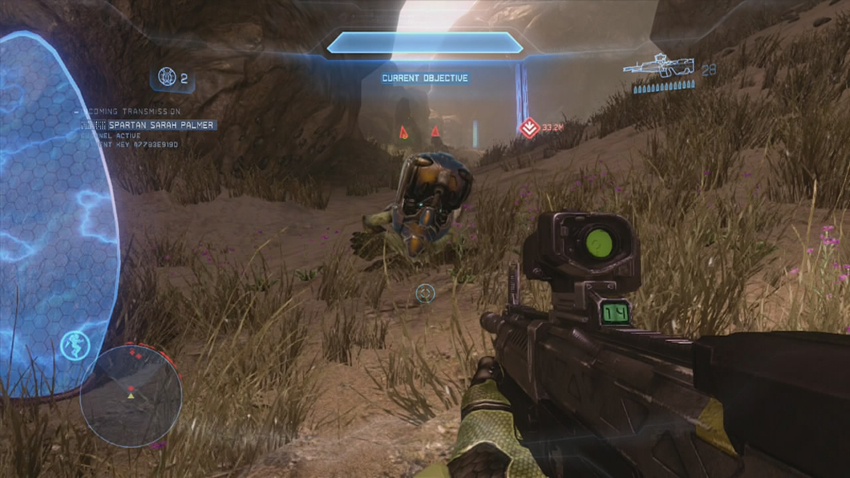
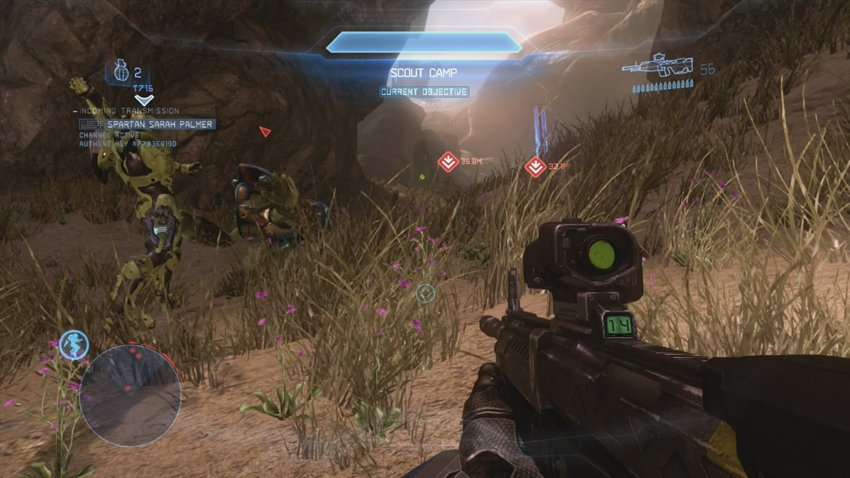
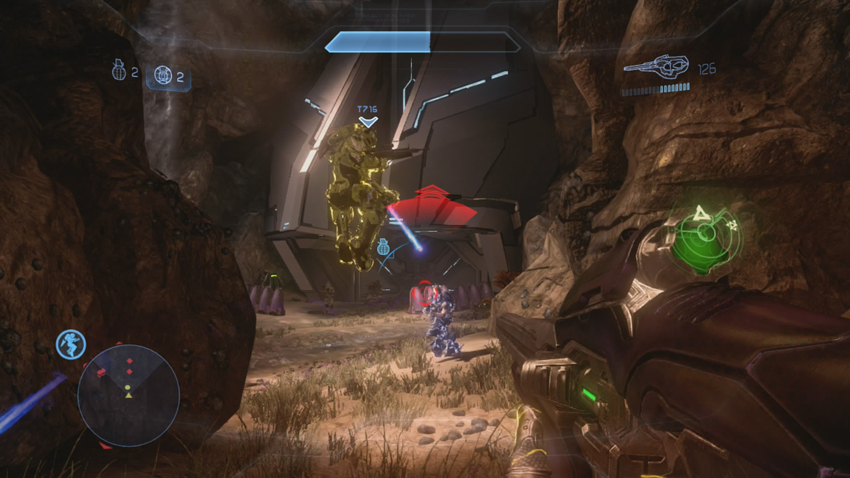
[1] Deployment on the surface goes smoothly. Almost too smoothly. Hold your fire for the moment! After a short walk without encountering any active resistance, you come across a number of Grunts sleeping on the job. Take out the indicated Grunts quietly, in order to remain unnoticed for now. [2] If players stealth kill the Grunts [3], then also quietly kill the Elite in the alcove [4] at the Computer terminal, they will have the ability to interact with the console and send an Airstrike on the area. This will kill some of the remaining Covenant forces. In addition, inside the Cavern there are 2-3 Gravity Hammers that are hidden.
Don’t miss out on the Fuel Rod Cannons in one of the weapon caches in the camp, as they can be quite useful in the near future [5]. Judicious use of these weapons can allow you to easily work your way through many encounters throughout the mission.
No reinforcements come to help the camp guard force during the ensuing struggle, so once you’ve put them all down, the area is secured for the moment. You’re now asked to open the entrance to the underground and continue your reconnaissance. The door will be marked on your HUD [6]. The controls, unfortunately, do not open the door, but they does summon a Phantom full of Covenant looking to investigate why there are so many dead comrades around the entrance they were supposed to protect [7]. This force is composed primarily of Elites, including several of high rank. Use the terrain to your advantage and take them out.
Objectives Five and Six: Shut Down Barrier, Enter Passage
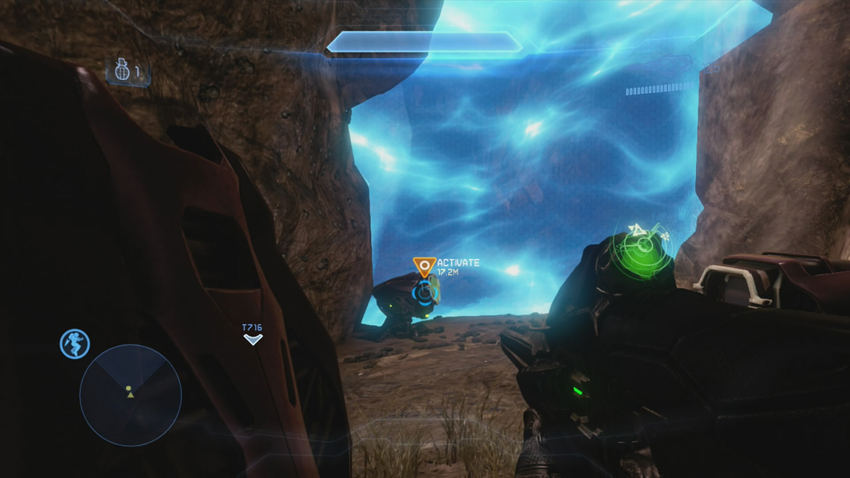
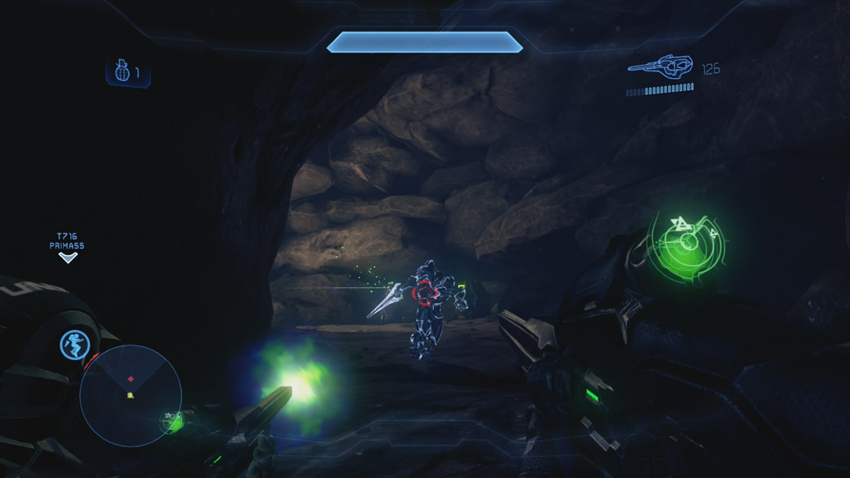
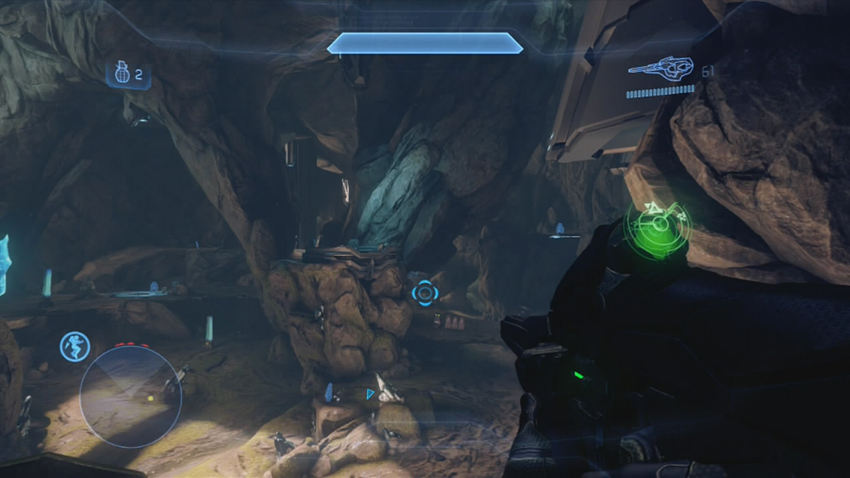
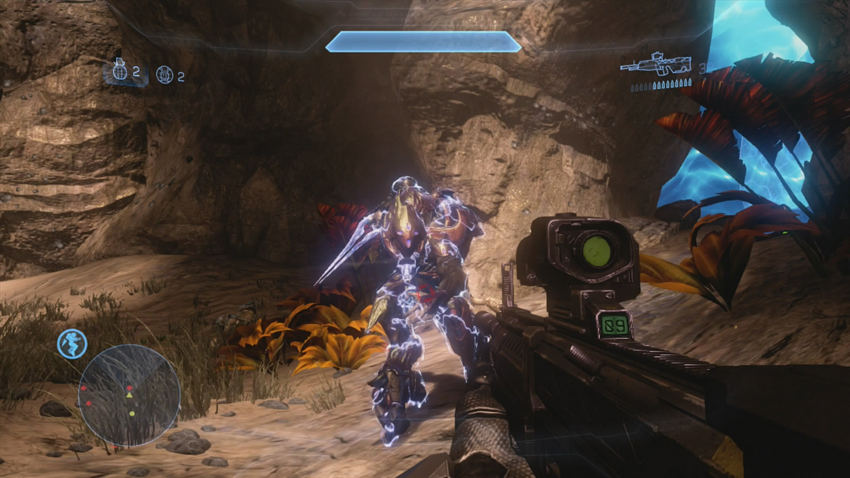
[8] The alcove that held the Elite Zealot is your alternate entrance to the underground facility, but a shield barrier blocks your path. A convenient console near it will let you pass through the barrier. The cave beyond the barrier is narrow and quiet, but the silence is soon broken by the presence of three Active Camo-wearing Elite Zealots [9]. Two retreat to a lower level of the cavern, but one sticks around. Make sure you deal with him before you proceed.
[10] You have an excellent opportunity to do some long-range wetwork before you drop down to the lower level, so use it. Kill any Grunts you can find, then drop down. Be careful about this! The fall is far enough to cost you shields, and if you fly too high from the perch with a Jet Pack before falling, the landing can kill you.
Take some time to check out the whole cavern from the high perch so that you can get a feel for all of the interconnected pathways and bridges. This is why we suggest the Jet Pack so ardently!
Objectives Seven and Eight: Investigate Cave, Activate Lightbridge
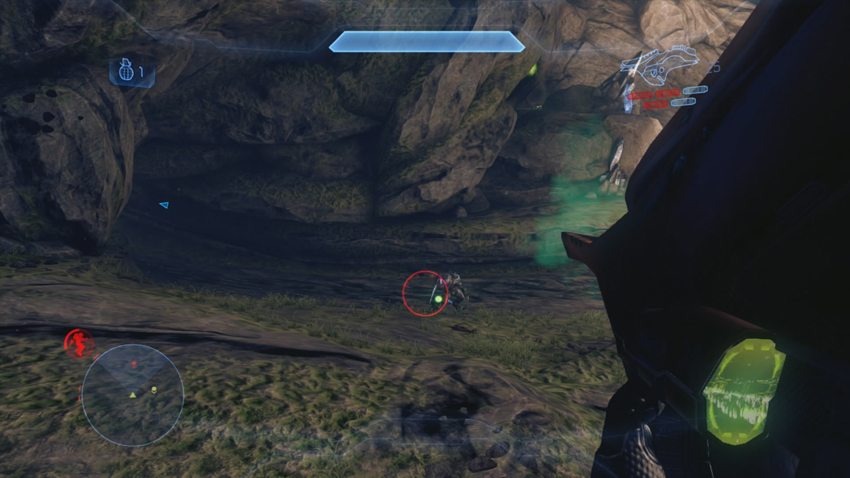
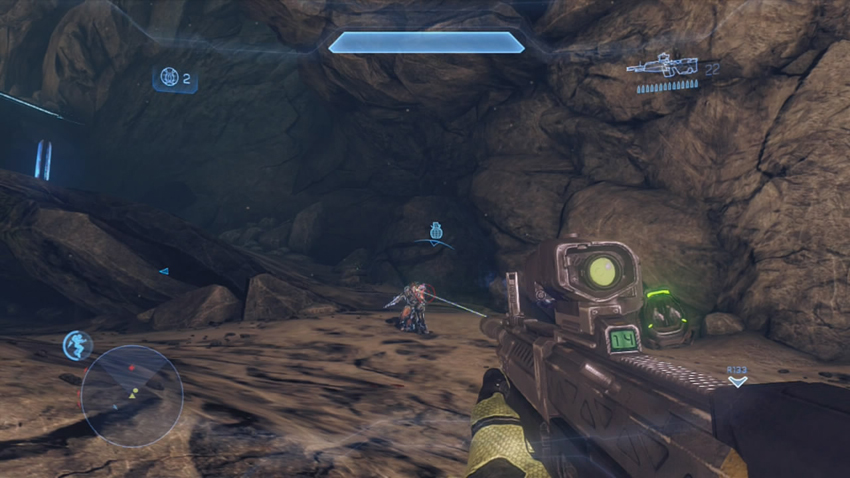
[11] If you’ve cleared out the bottom level before leaping down, the area around the waypoint should be quiet, and you’re given a new waypoint that is deeper in the cave. The remaining two Zealots come forward while using their Active Camo [12]. Make certain they are dead before you proceed farther. If you move forward too quickly, you could find yourself flanked by both of them!
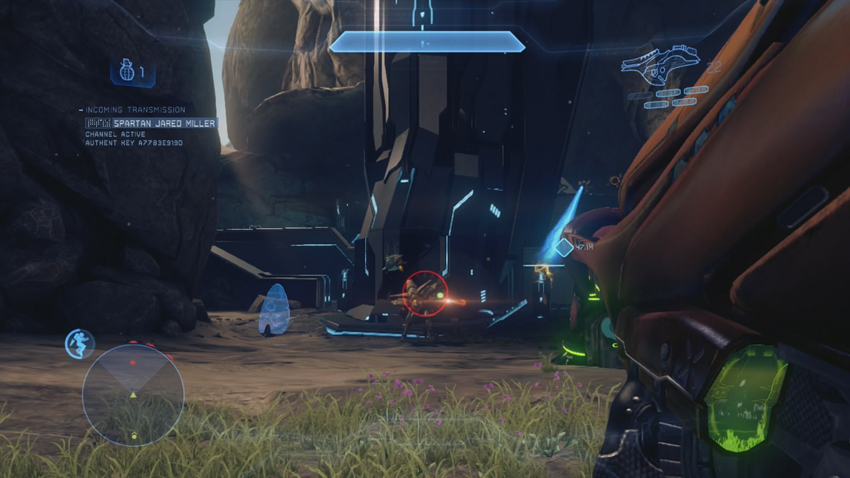
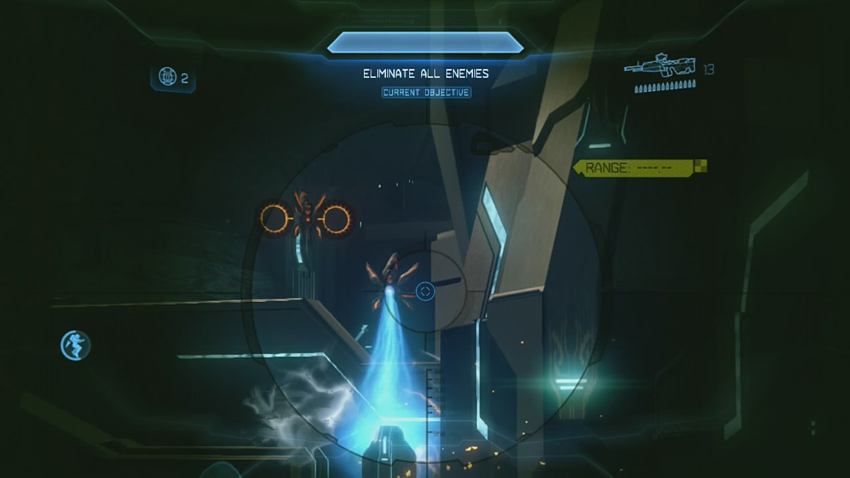
[13] The paths leading to the waypoint have token resistance from some Grunts, but it isn’t until you reach the facility ramps that you encounter major resistance in the form of Promethean Knights and Watchers. Once you reduce this group’s numbers enough, remaining hostiles are marked on your HUD. Be careful about charging up the ramps, as the Knights occasionally stick close to them on the upper level of the facility to try to ambush you [14].
[15] After dealing with the Prometheans, take time to explore the facility they were protecting to uncover any useful Promethean weapons, then head to the HUD-indicated controls to activate the light bridge in the upper levels of the Cavern.
Objective Nine: Access Intel Terminal, Extract Covenant Secrets
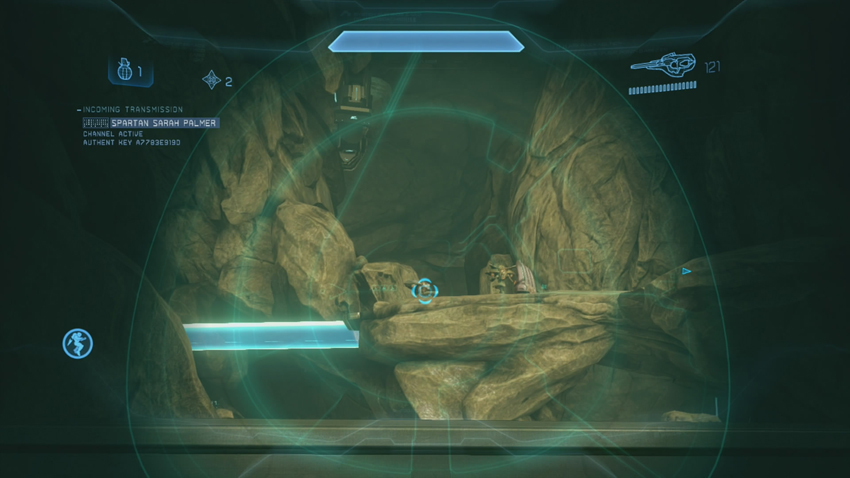
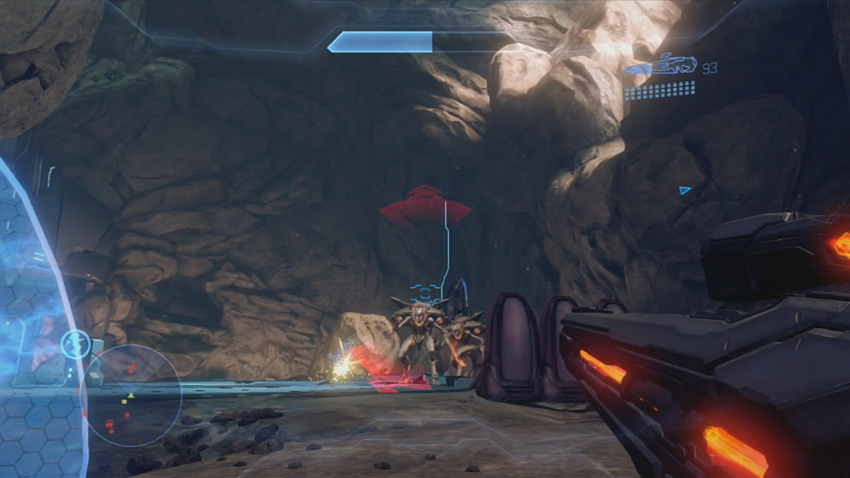
Activating the light bridge has summoned a horde or Promethean Knights to the lower and upper levels of the cavern, thus starting one of the more frustrating sections of the mission. If you or any allies have a Fuel Rod Cannon handy, this can go a long way toward making this sections much easier to manage.
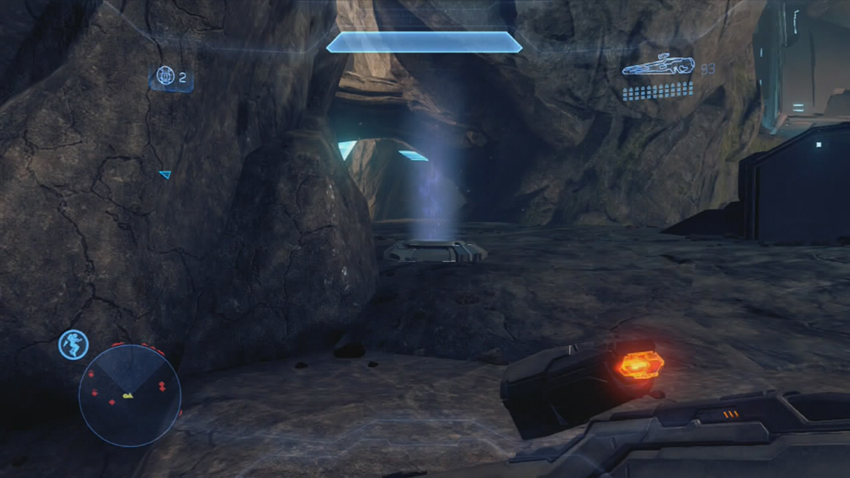
[16] Your initial goal is to reach this jump pad, which will put you up against a half dozen or so Knights that have Watchers supporting them. The cavern’s design makes it so that the Watchers have entirely too many places to hide, so you may need to bait them by killing Knights, and then kill the Watchers when they attempt to revive the Knights.
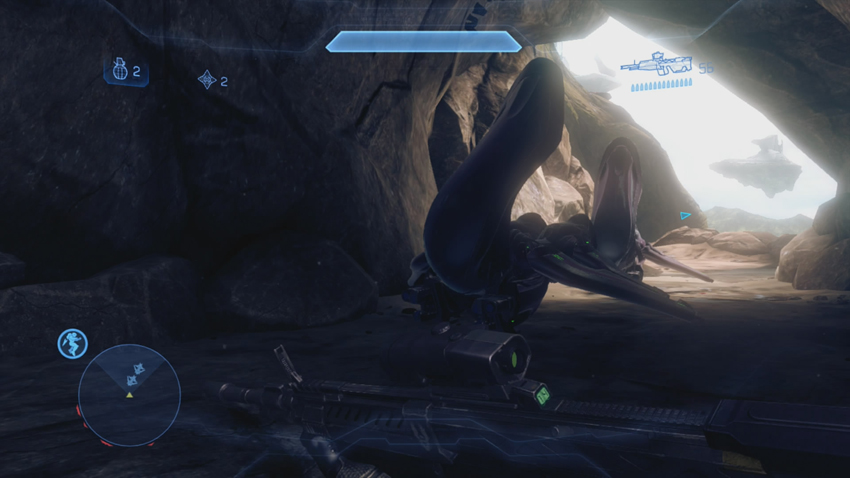
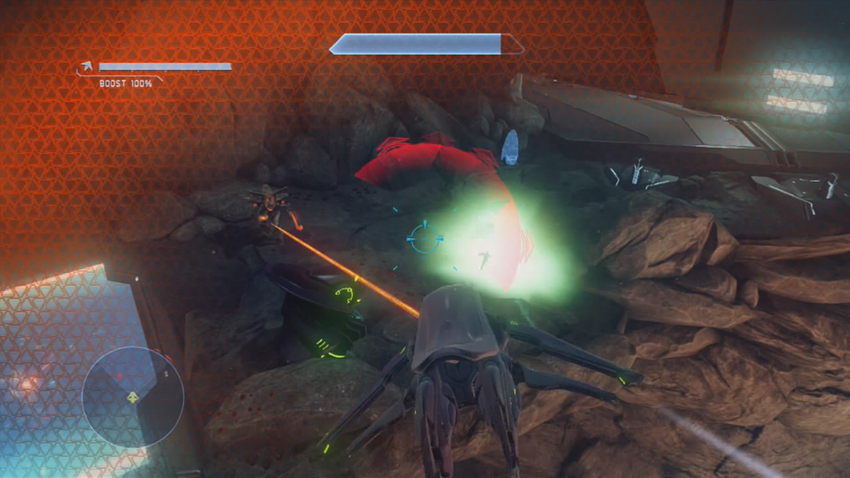
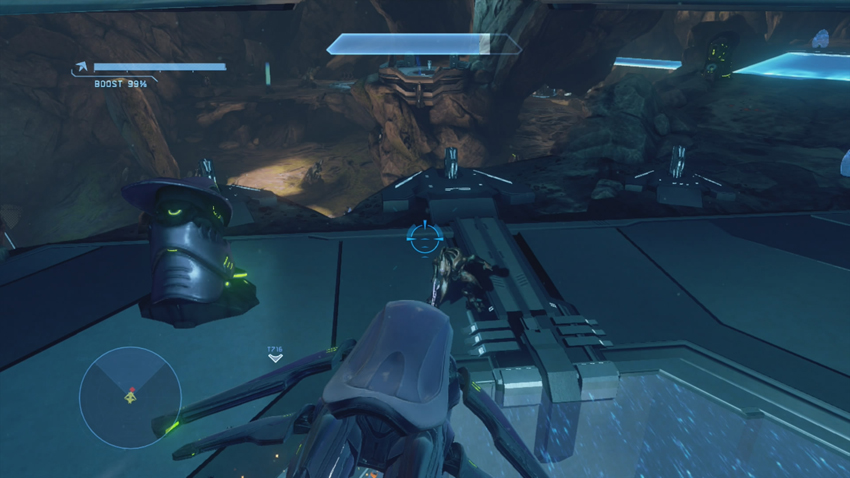
[17] However, you can make life easier on yourself by taking one of these Banshees and going to town on everything hostile on the ground. So much for playing by the rules! It’s not all smooth sailing, though. More Prometheans, and even some Covenant, including Jackal Snipers with Beam Rifles, congregate at one of the upper-level structures [18], which is where your ultimate goal resides.
Punish the hostiles with fuel rod shots and plasma fire from the Banshees until you clear the zone. Make sure that the Elite Zealot in the area is killed before it can hijack your ride while you access the necessary terminal.
Objectives Ten and Eleven: Rendezvous With Phantom, Open Main Door
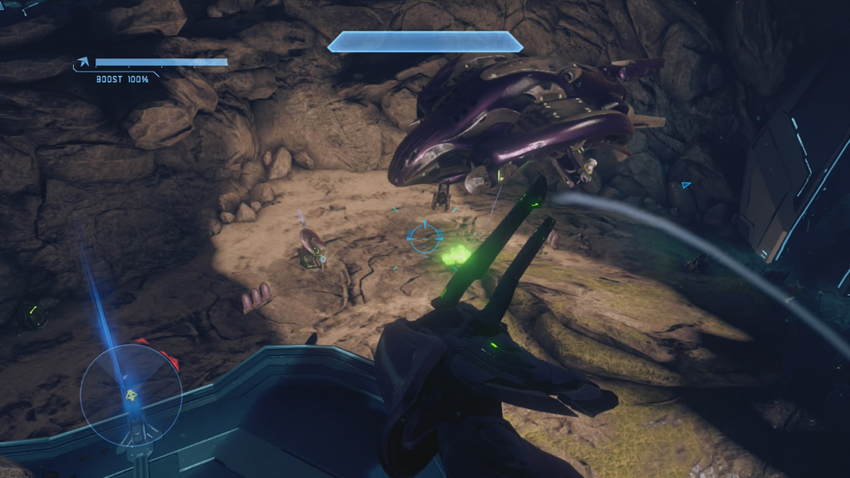
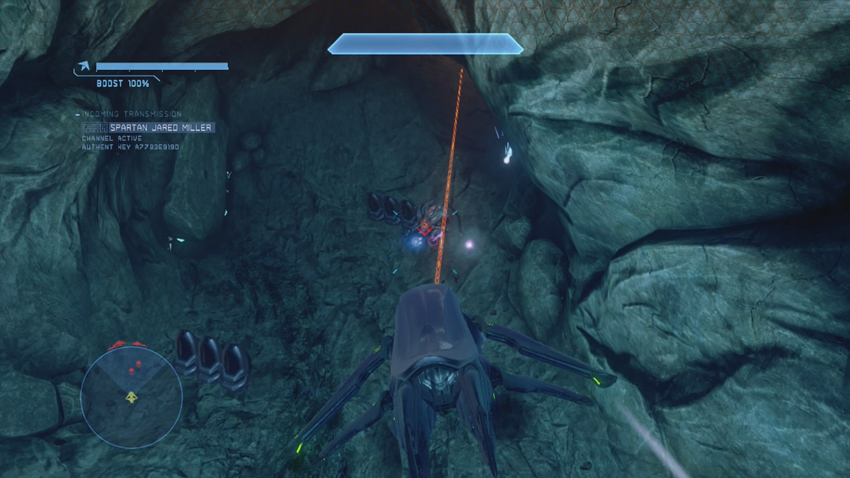
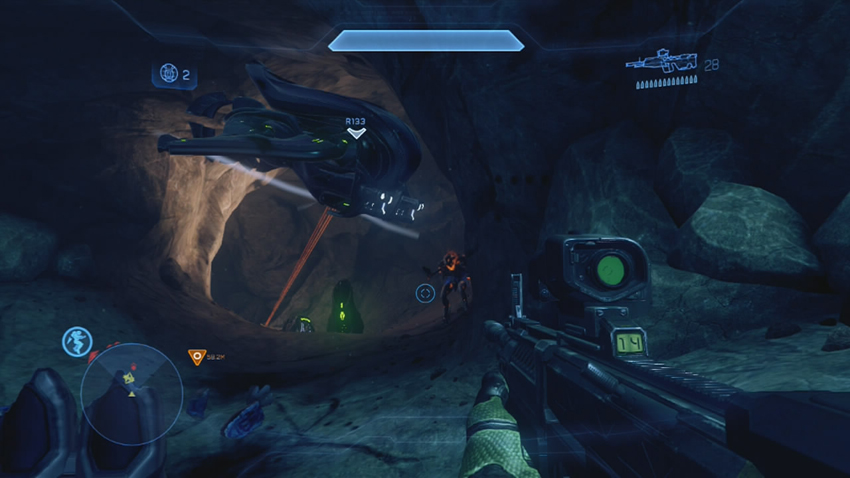
Tell us your secrets Forerunner terminal! With Roland busy tearing through the network for valuable intel, your job is complete. You’re ordered to get down to the ground level to meet with the Phantom, but the enemy sends their own Phantom into the cavern to try to stop you. If you’ve retained the Banshees, you can make short work of the Covenant troops it deploys, and even take out its mounted turrets to drive it off.
The indicated exit that you must take is on the lower level through another cave [20]. You may have to abandon your Banshee soon, but the indicated passage is big enough to fit a Banshee inside to pop off a few fuel rod shots at the Prometheans gathering inside. This can be a risky tactic, however the tight quarters leave you with little room to maneuver, and the Prometheans are crack shots with their weapons. As you shoot your way through this cave to reach the exit, you return to the other side of the door you tried to open earlier in the mission.
Objective Twelve: Clear Area for Pick Up
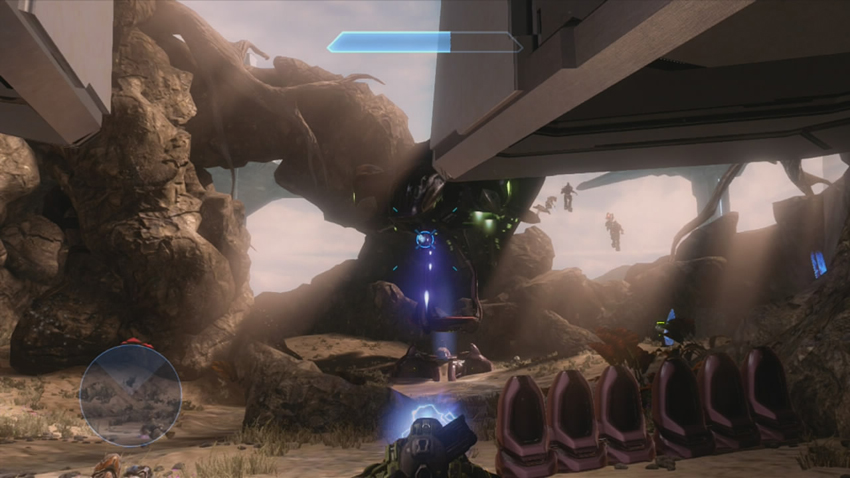
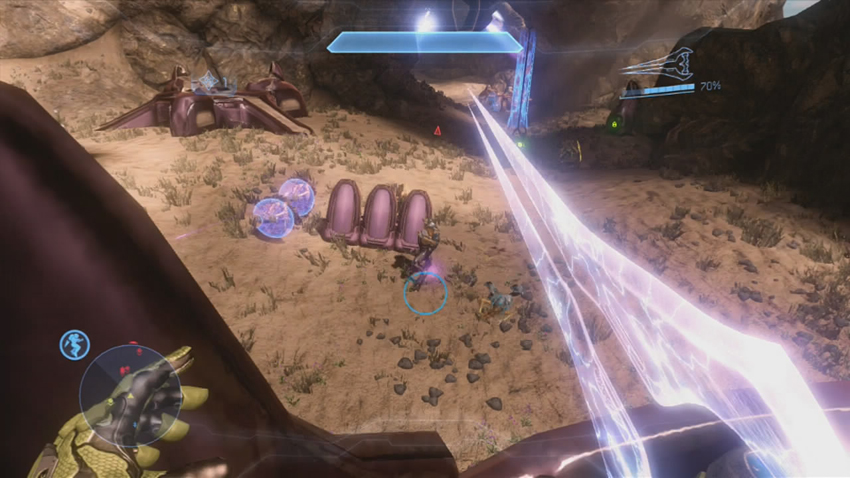
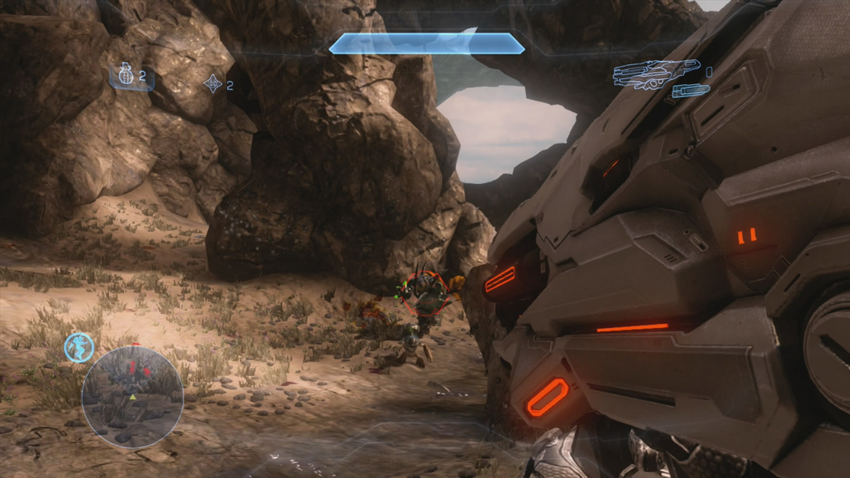
[21] Covenant troops have already assembled just beyond the door, and more are on the way via Phantom. The Phantom drops off a guard platform and a number of Covenant troops, including an Elite Zealot. We don’t recommend destroying the guard platform with heavy weapons if you can help it, as it can be made into a nice, temporary sniper perch.
[22] A Drop Pod deploys more troops away from the camp where the Phantom made its deployment. As you tear through that group, another Phantom flies in to deploy troops close to where the guard platform was deployed. This last group includes Hunters, and at this point you may or may not be at the limits of your heavy weapon ammunition capacity. If you did manage to preserve a Banshee up to this point, you could possibly make this last section almost easy. Just beware that you don’t get caught on terrain, particularly when the Hunters come out, as they can put you down very quickly.
Hunters are far from the only major threat. Elite Commanders with their own Fuel Rod Cannons can score a few surprise kills on careless Spartans. Watch your motion tracker to avoid being caught off guard by these threats. With this last wave of enemies dealt with, Lt. Murphy is able to pick you up and take you to your next mission.
Chapter Four: Search and Destroy
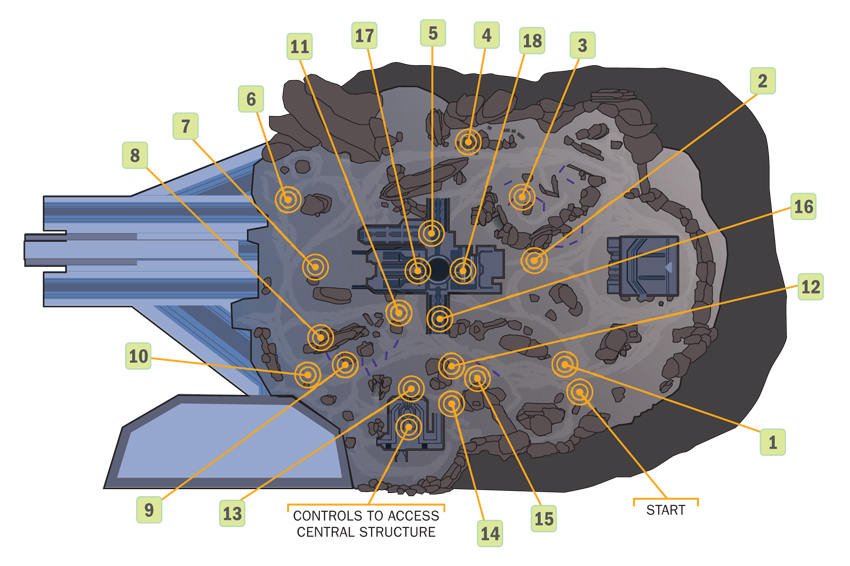
The Covenant have been setting up plasma stockpiles at another Forerunner facility, prime targets for Fireteam Crimson. Meanwhile, Fireteam Switchback has been assigned to take on the Covenant dig site that was uncovered in the intel stolen from their battle net. Payback for your temporary incarceration is still in full swing.
After a hot drop right into the hands of enemy troops, you must fight your way to each plasma stockpile and destroy it. The stockpiles can and will kill a Spartan that stands too close to them when they detonate. As you destroy the plasma stockpiles, you’ll also start to encounter evidence that the Covenant have been stealing UNSC weapons and equipment, and you’ll need to take inventory on the missing gear.
Expect very heavy resistance, in terms of the amount of Covenant infantry and vehicles. It’s clear that this base is very important to their plans.
Map Location: Cyclone
This facility is a mixture of wide-open spaces ripe for sniping and confined indoors sections. For long-ranged work, the DMR is probably the best rifle to start with, but the Covenant Carbine works as well. If you can snag a Ghost early on, you can make many firefights easier. Later on in the mission, with some careful planning you can capture a Wraith and run roughshod over the Covenant forces.
Objectives One and Two: Take the Hill, Destroy Plasma Stockpile
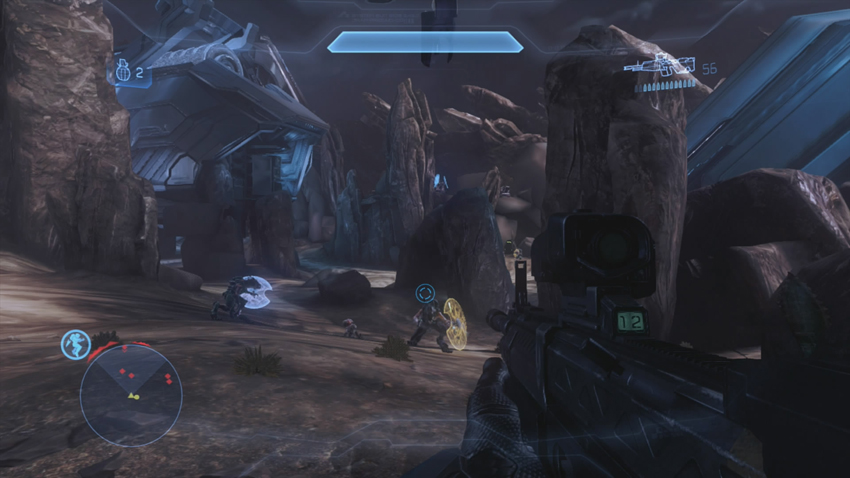
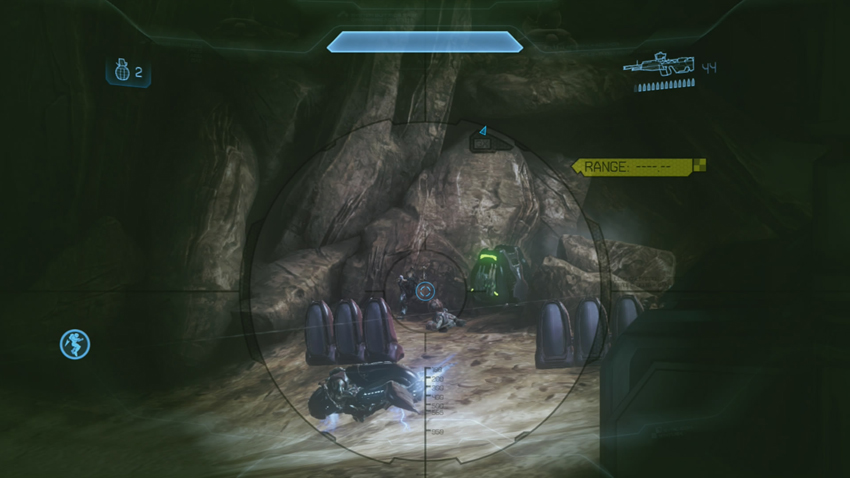
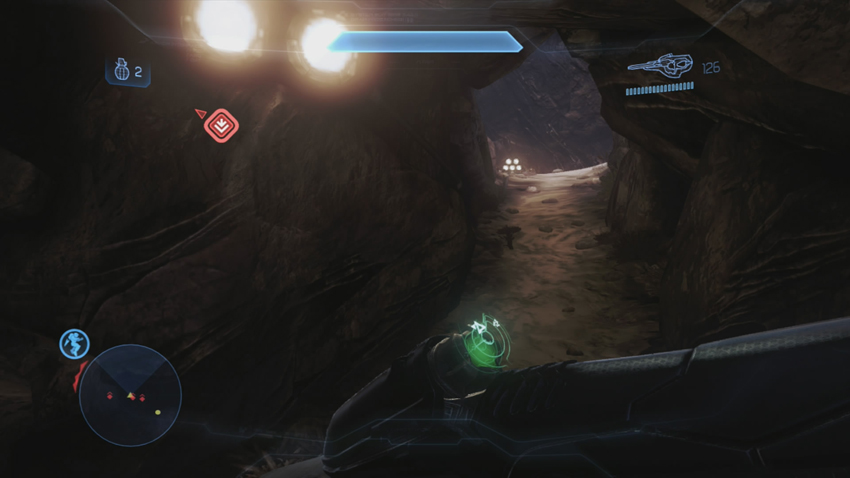
[1] You’re deployed almost directly on top of a group of Grunts and Jackals. As you wipe them out, your first objective is presented to you: Take the hill directly in front of you. Lt. Murphy’s Phantom provides some air support, which helps keep the enemy somewhat distracted during your advance. [2] At the foot of the hill you can find more hostiles, another weapon cache, and the first of many Ghosts that are patrolling the base. It’s not a bad call to try to take it for yourself. There are multiple ways to get to the hilltop, where the first of the plasma stockpiles is located. You can either make use of the tunnel system at the foot of the hill, which is the fastest, or take one of the side paths.
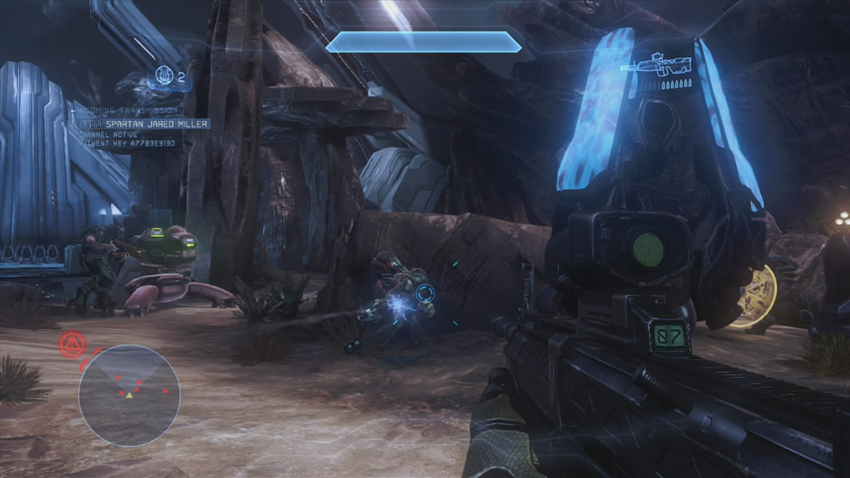
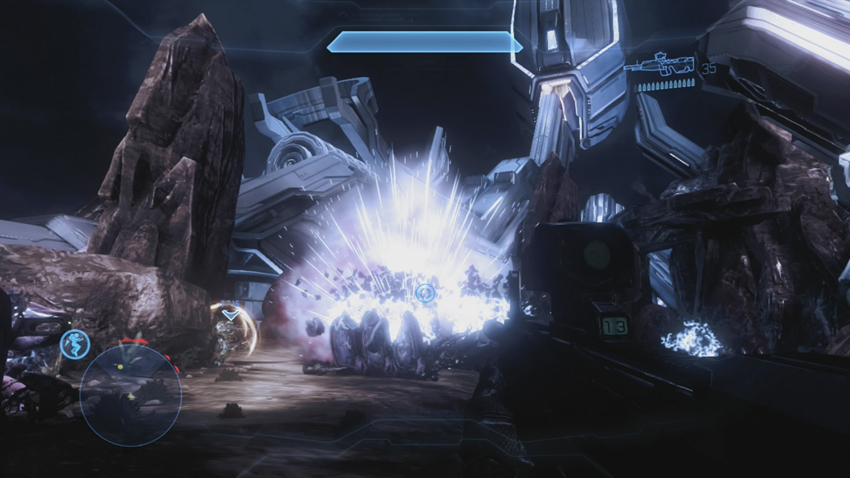
[3] However you get up to the hill, the first stockpile is marked for demolition, and you will need to deal with it and the Covenant guarding it. If you’ve pilfered the Ghost, you can potentially score a multikill very quickly by focusing fire on the indicated stockpile. The ensuing blast at the least removes shields from any Elites and kills Grunts and Jackals outright.
Objectives Three, Four and Five: Investigate UNSC Stockpile, Secure the Area, Scan UNSC Gear
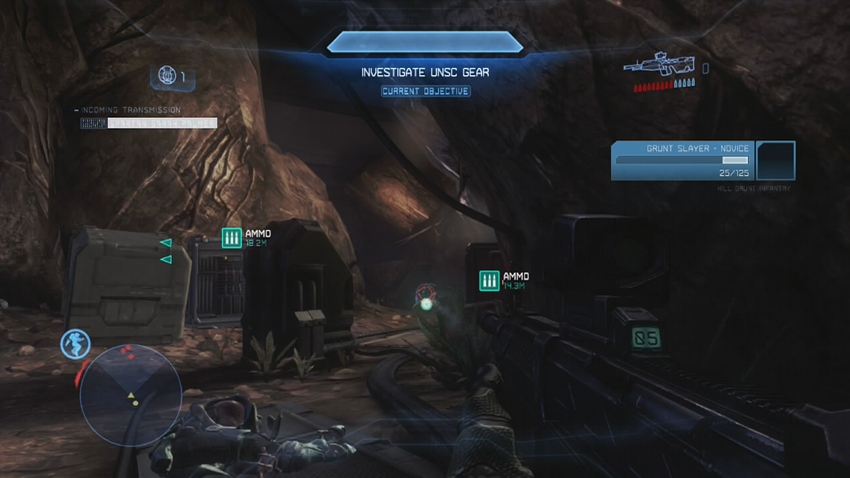
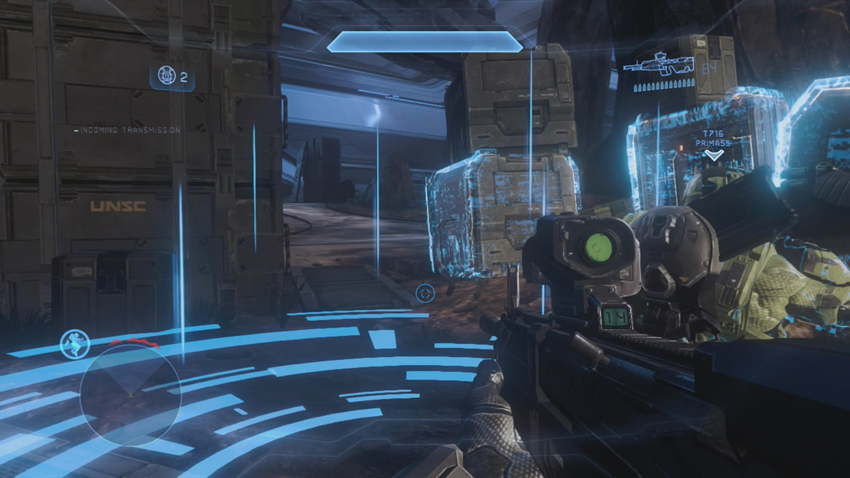
[4] After taking out the first plasma stockpile, the Infinity detects a number of UNSC weapon transponders nearby. As you close in to investigate, Grunts and an Elite guarding the gear ambush you. Take them down and then stand in the circle indicated on your HUD, close to the UNSC weapons, to allow your suit to take an inventory of the weapons.
Objectives Six and Seven: Investigate Structure, Destroy Second Plasma Stockpile
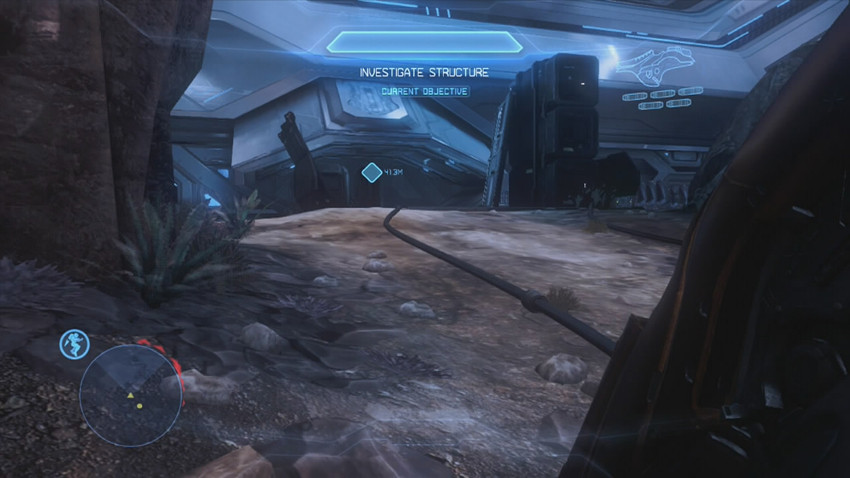
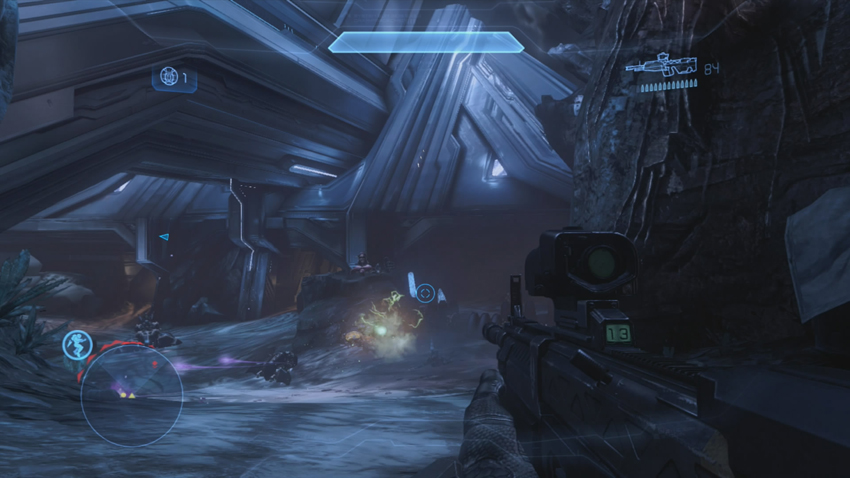
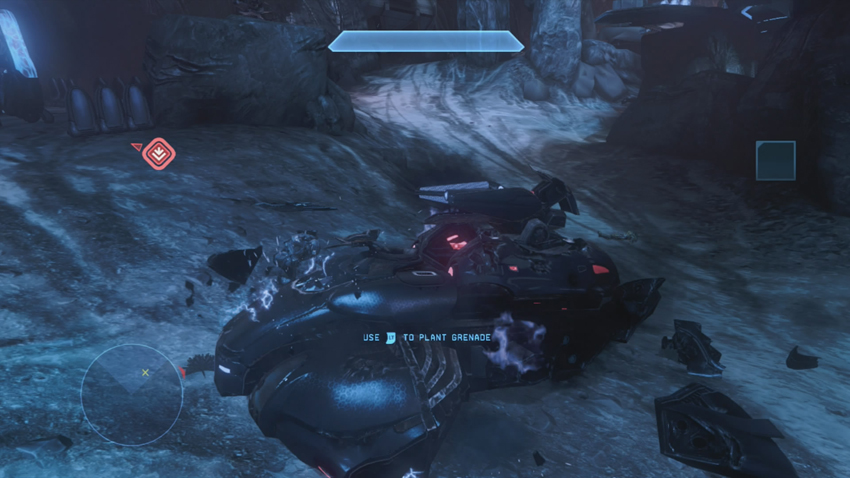
[5] After the gear has been checked out, load up on anything you want, then proceed to the facility indicated on your HUD. Unfortunately, it’s locked up and there is no way in. However, a new plasma stockpile is marked at the bottom of the hill adjacent to the building [6]. A Shade Turret in the distance may take potshots at you, but the gunner can be easily dealt with. A contingent of Covenant surround the Shade Turret, along with another Ghost. More distressing is the Wraith [7] that starts opening fire on you once you make contact with the hostiles around the Shade Turret. On the other side of the clearing, where the Wraith begins, is another Shade Turret [8].
It is possible to steal an active Wraith, but it takes some work. If you shoot off the hatch over the driver’s head, then snipe the driver, you can take it with only a few scratches. It’s not necessary, and the mission can be accomplished without taking the vehicle.
Whatever you choose to do, take out the second stockpile and you will receive the location of the third plasma stockpile.
Objective Eight: Destroy Third Plasma Stockpile
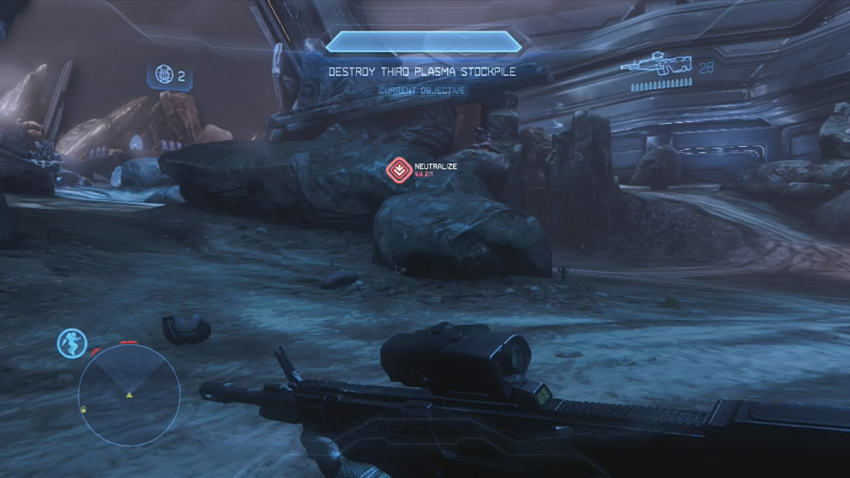
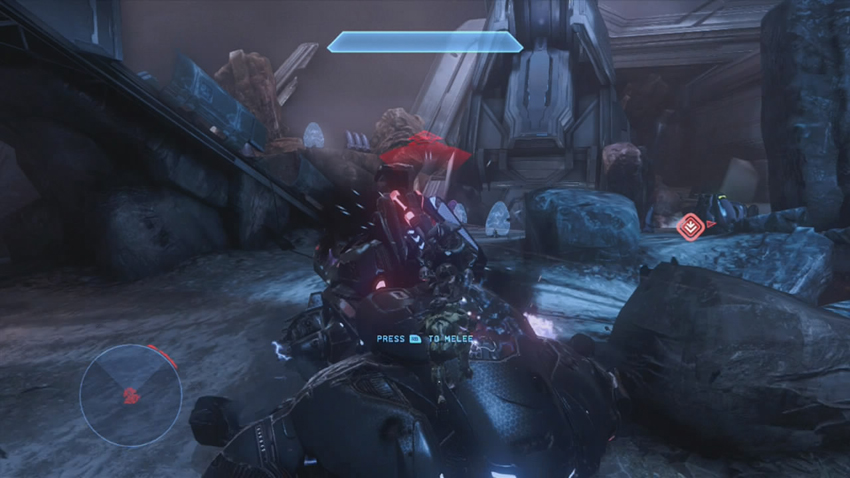
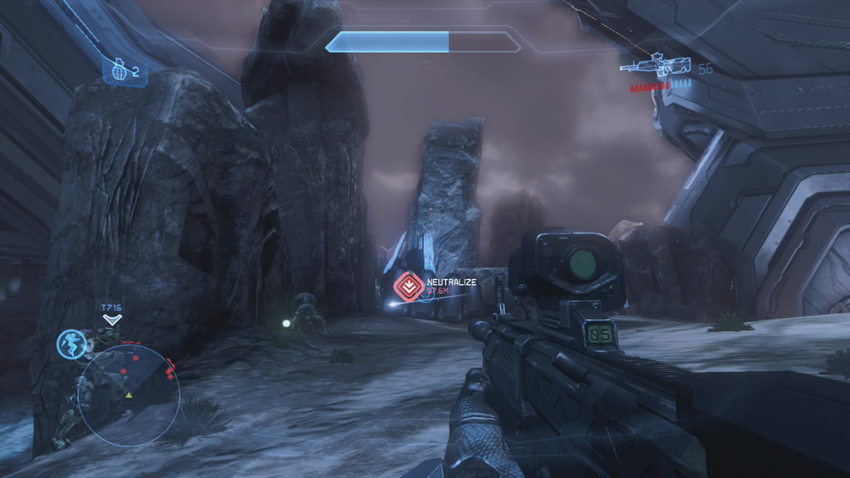
[9] The third stockpile is found on a hill behind a set of rocks that the second Shade Turret was mounted in front of. You have two major land routes to it. [10] One path is clearly defended by Covenant troops, with a variety of cover for them to use as you advance through them. [11] The other has a Wraith protecting it, with more troops taking up positions further up the path. However you decide to tackle this stockpile, the Wraith must be dealt with first. Otherwise it will just keep shelling you with plasma mortars while you try to engage the enemy troops.
Occasionally, the Shade Turret will be taken up by a Covenant soldier that sees it unoccupied. You can prevent this from happening by destroying it outright. Once you clear out the enemy and destroy the third stockpile, you’ve finished the primary objective for the mission, but things aren’t over just yet.
Objective Nine: Eliminate Hostiles
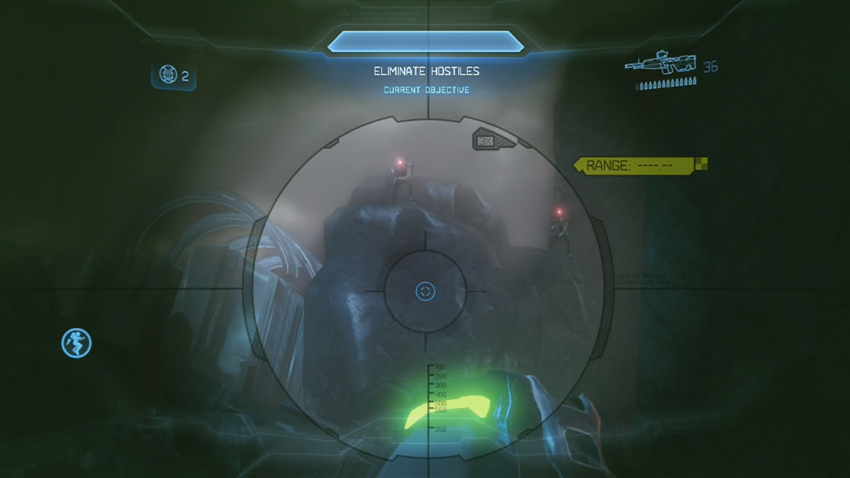
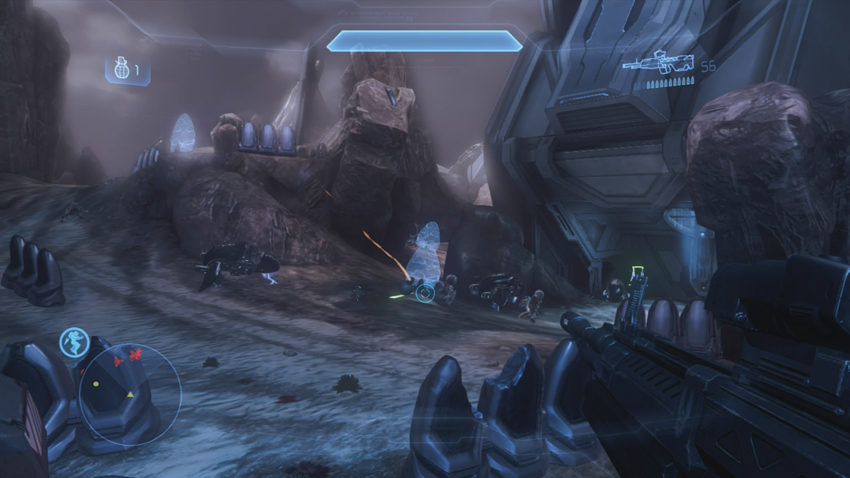
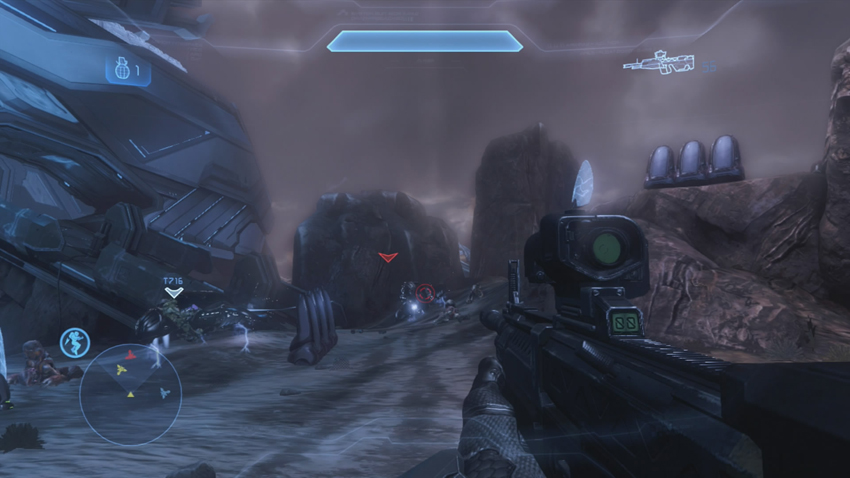
[12] A number of Jackal Snipers suddenly take up positions overlooking the remains of the third plasma stockpile, and they’re all armed with Beam Rifles. Take what cover you can find and countersnipe the Jackals. After they go down, a set of Ghosts rush from a previously sealed passage, along with a small squad of Grunts [13].
Objectives Ten, Eleven, and Twelve: Investigate Structure, Eliminate Hostiles, Evac
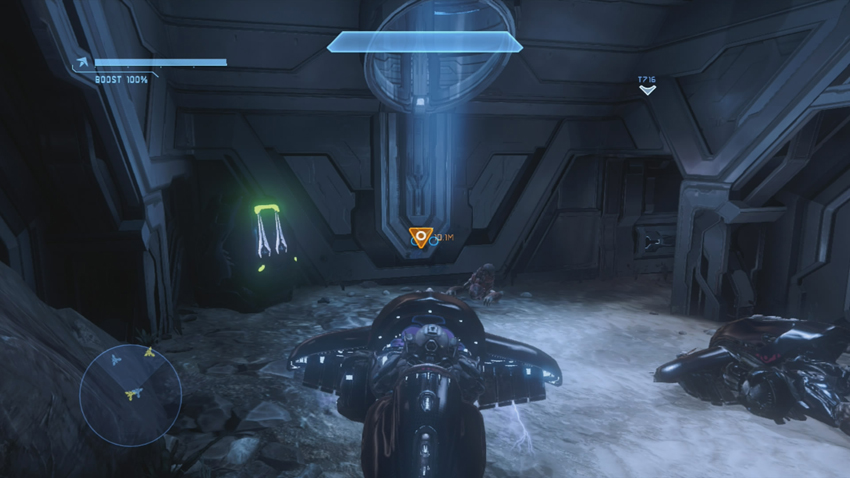
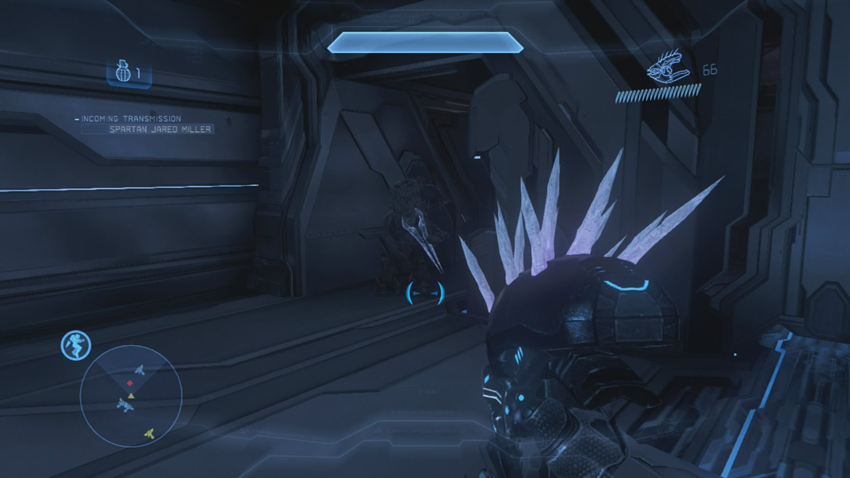
The structure you were originally ordered to explore has become your next point of interest. First, you must use a control located where the Ghost ambush originated. It is marked on your HUD. Make sure you stand close to it when activating the switch, as you are launched into a hidden room above the switch. Be ready for immediate close contact with an Elite Zealot! If you can’t see him right away, check your motion sensor and look for a blue diamond icon to locate the Elite, then deal with him accordingly.
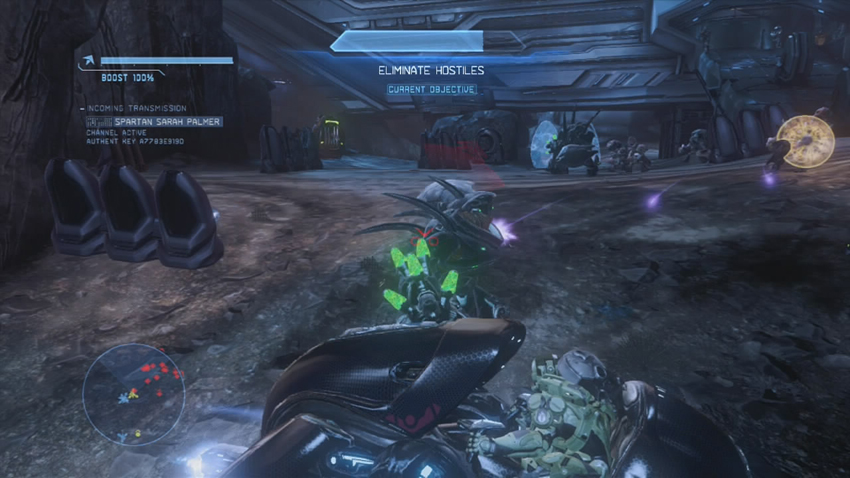
With the small room cleared, a computer panel is marked for you to manipulate. Activate the console to open the structure for investigation. This triggers an ambush by Covenant very close to your position, including four Hunters. The Infinity deploys ordnance modules with Spartan Lasers. Take out the Grunts and Jackals first before risking yourself in a dash for the Spartan Lasers [14].
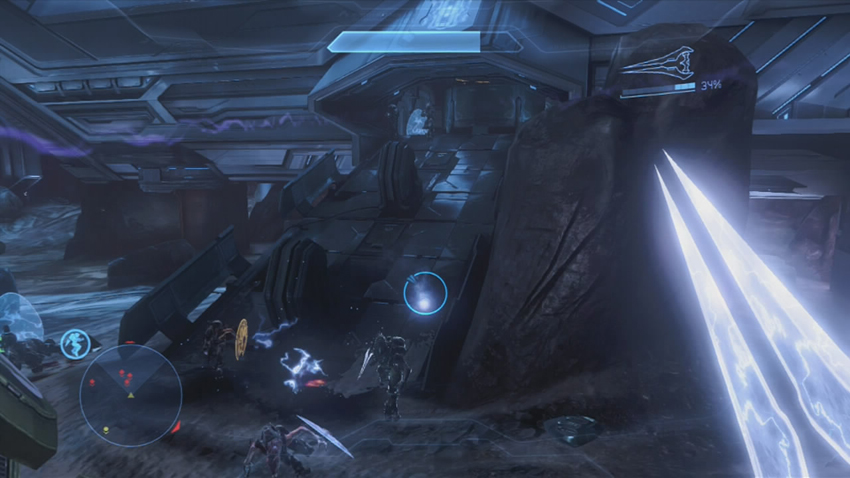
[15] Elites also make an appearance among these troops, deploying atop the hill where the Jackal Snipers had appeared in force. Additionally, once the Hunters are dead, a Phantom starts to deploy another Covenant squad, including more Elites and two Ghosts, at the central structure you’re to investigate. [16] The Covenant will defend the ramp leading up to the central structure vigorously, often ducking inside for protection. If you’ve got any Spartan Laser shots remaining, Elites make good targets for them.
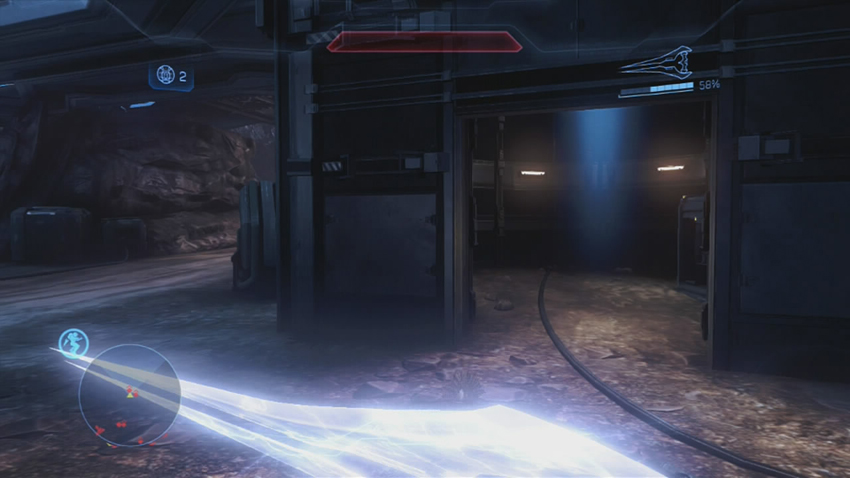
Underneath the structure and behind the ramp is a UNSC weapon cache with SAWs. These can be excellent weapons at mid-range, through you should still deal with the Ghosts means of a backup Plasma Pistol.
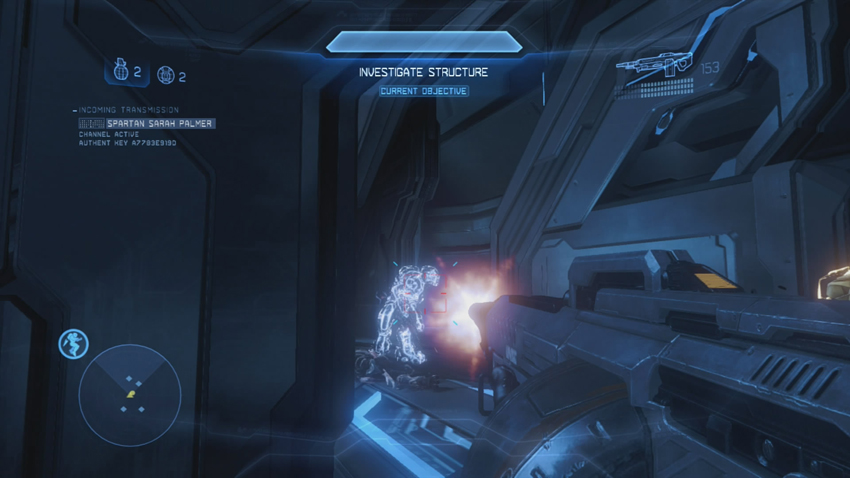
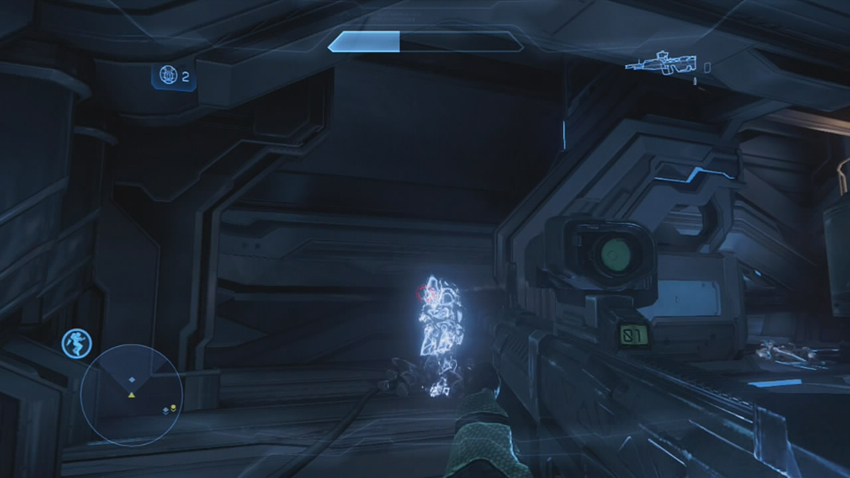
[17] [18] Killing off the Covenant lets you gain access to the central structure unmolested. As you enter the building, two of the walls disintegrate, revealing a pair of Elite Zealots behind each wall. This battle can be disastrous to try to fight up close. The SAWs can rip apart individual Elites, but four Elites can easily overwhelm unprepared players at such short distances. Fall back, down the ramp, if necessary. Once this last ambush is cleared, investigate the waypoint provided to find some very bad contraband. The Covenant have gotten their hands on UNSC nuclear missiles, and have stripped them of their warheads.
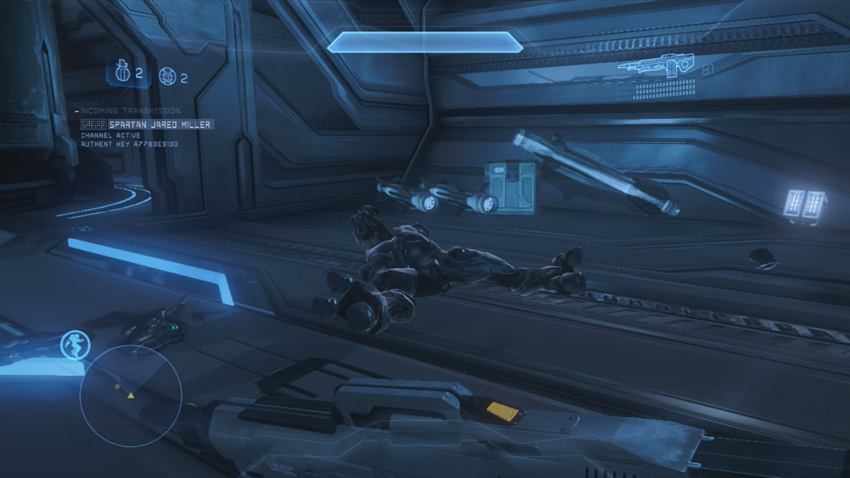
While the discovery of the missing nukes is of great concern, there’s nothing you can do about it now. However, you are able to respond to Fireteam Switchback’s distress call. Retreat to the indicated LZ, and get on your way to save Switchback.
Chapter Five: Switchback
By the time Crimson arrives at Switchback’s operation area, the team has all but completely vanished, leaving behind only their IFF tags. You must investigate how and why they disappeared, and take out every last hostile standing between you and the truth. With luck, you might be able to save them, but if you can’t, you will definitely avenge them.
You orders are quite simple: Find Switchback, or whatever is left of Switchback. Recover all of the IFF tags they have left behind, then investigate a massive Forerunner construct known as the Harvester, and eliminate any Covenant or Prometheans that try to stop you. When you finally get inside the Harvester, disable it by any means available, then fight your way back to the LZ for extraction.
Map Location: Harvester
You can afford to take a UNSC rifle on this mission, as there are plenty ammo crates to keep it stocked for much of the early going. There’s also no arguing with the Covenant Carbine, since the immediate area around the starting location is filled with racks of these weapons. You can expect Promethean and Covenant hostiles throughout this mission. If you’re flying solo, be sure to take plasma-based weapons to neutralize personal shielding. If you favor more aggressive styles of play, you can eventually pick up a SAW from one of the weapon caches in the area, and then overwhelm your enemies with a bullet storm.
Objective One: Collect IFF Tags
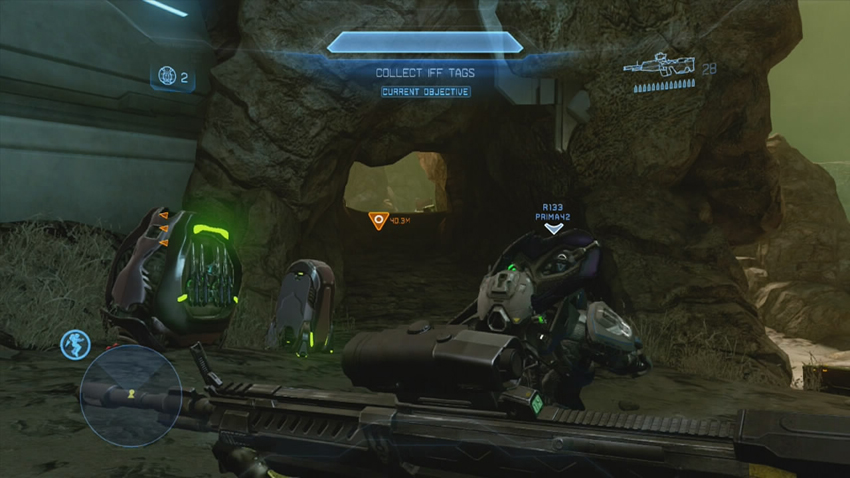
As soon as you are deployed by Lt. Murphy’s Phantom, your first order of business is to retrieve the four IFF tags that Fireteam Switchback left behind. Each time you approach one of the tags, Prometheans teleport into the combat zone to ambush you. You can also be harassed by hostiles as you travel from tag to tag, so stay alert.
Note that if you want to switch to a Covenant Carbine, the starting landing has racks full of this weapon and Plasma Pistols; both weapons can serve you well throughout the mission.
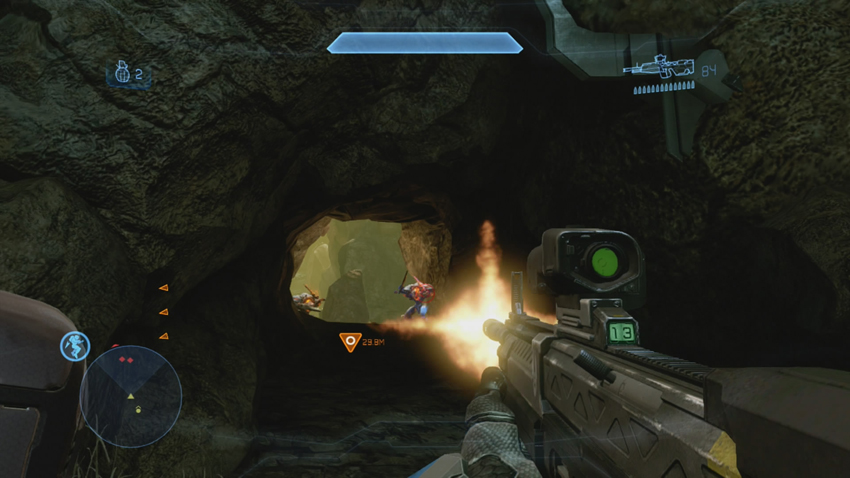
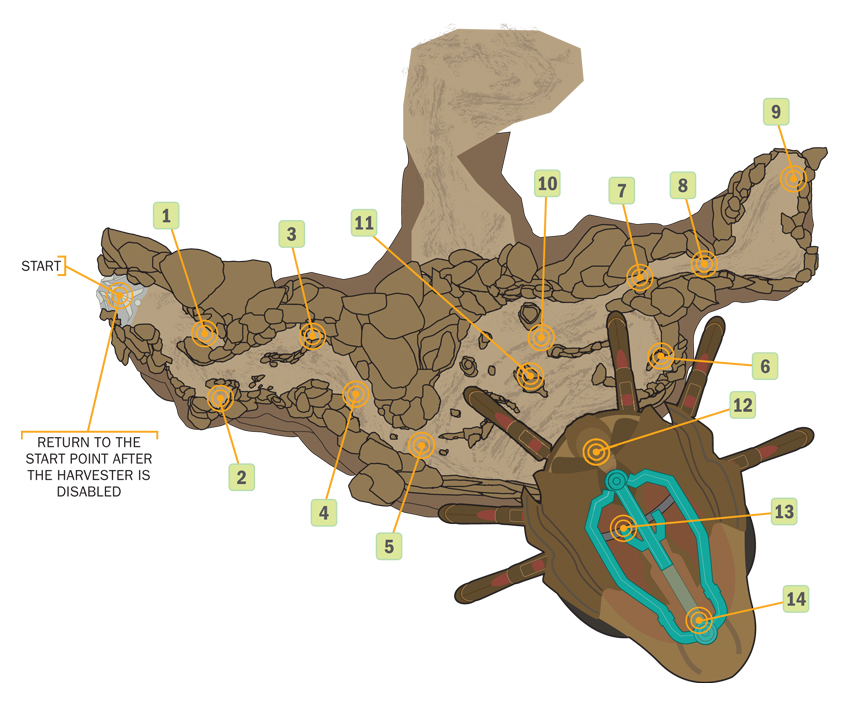
[1] The first tag is very close to the starting point, in a small cave. As you approach it, Promethean Knights teleport atop the tag and go on the attack. Be aware that they can teleport long distances, and in some cases may teleport to the landing pad to try to flank you. Make sure you deal with any Watchers that are deployed during this scuffle. Collect the IFF tag when the threats are eliminated.
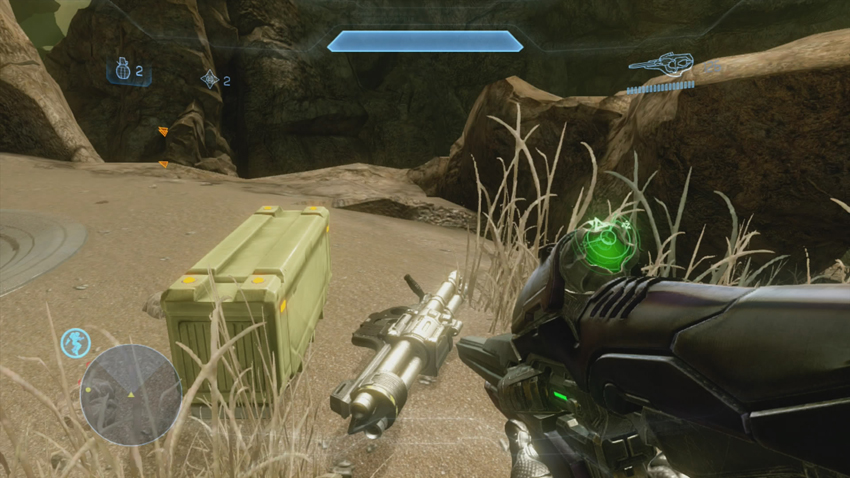
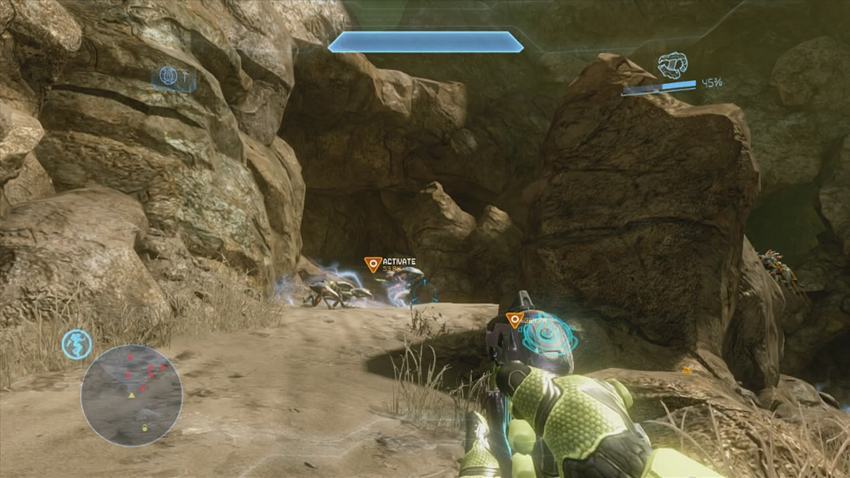
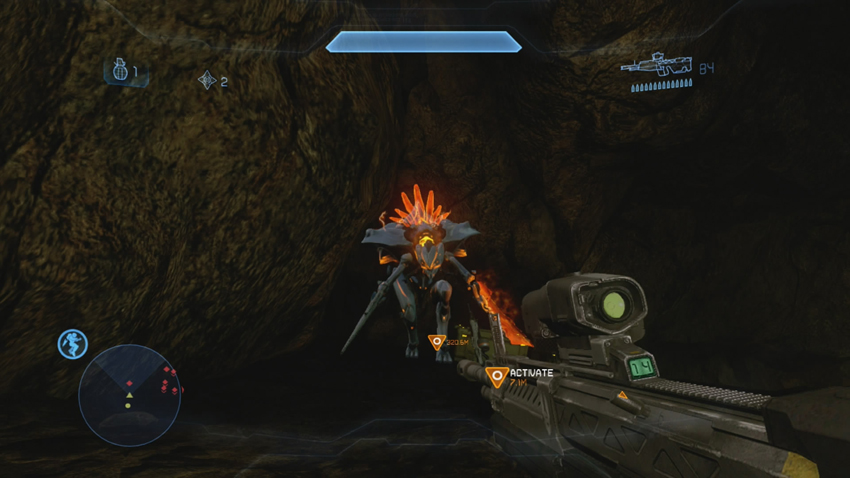
[3] Crawlers, Watchers, and Knights attack on the path leading to the second tag. After you clear them out, approach the tag itself to trigger a Knight Battlewagon ambush, that includes another swarm of Crawlers rushing to meet you. A Knight Lancer, potentially armed with a Binary Rifle, also joins the fray. Destroy them and move to collect the second IFF tag.
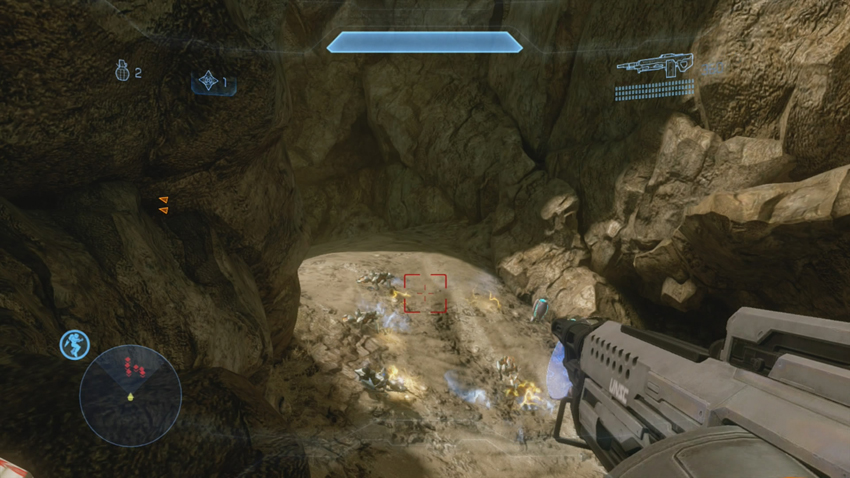
[4] A short distance down the path from the second IFF tag, more Crawlers teleport into the area, arriving next to another weapon cache with Covenant Carbines, Plasma Pistols, and Storm Rifles.
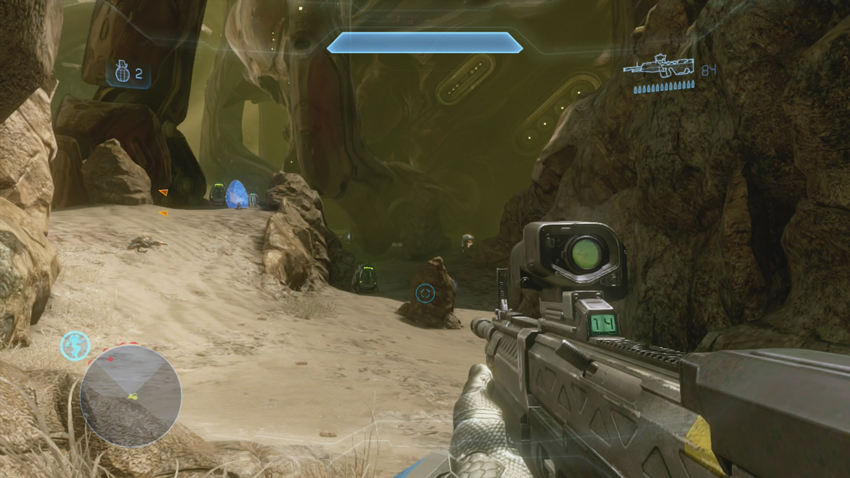
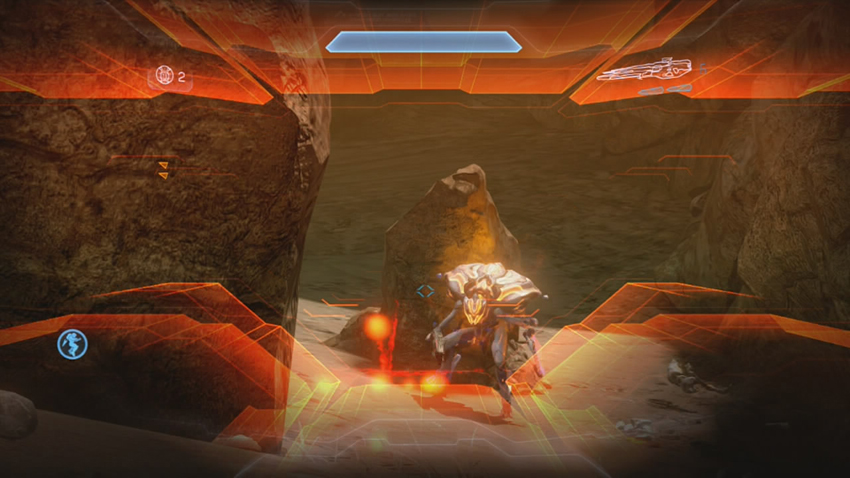
[5] After you clear the first mountain path, the map opens up to reveal the massive Harvester in the distance. As you begin your approach, another force of Prometheans teleports into the area to defend of the territory surrounding the Harvester.
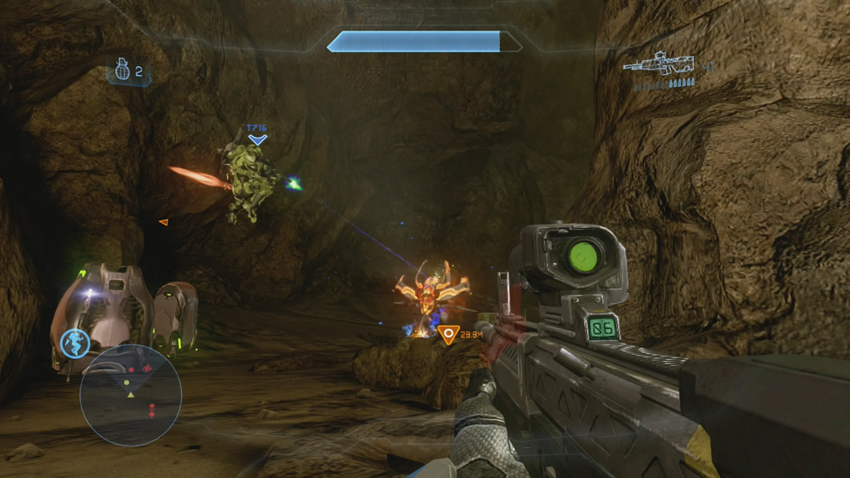
[6] Three Knights warp in as you approach the third IFF tag.
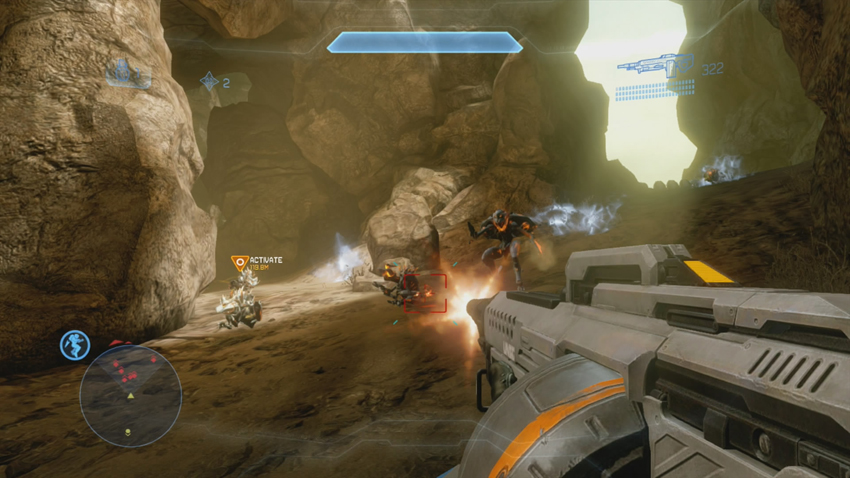
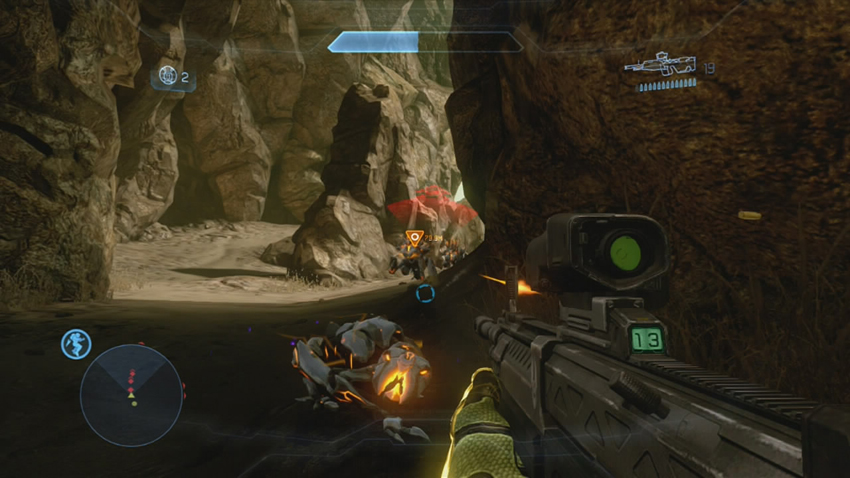
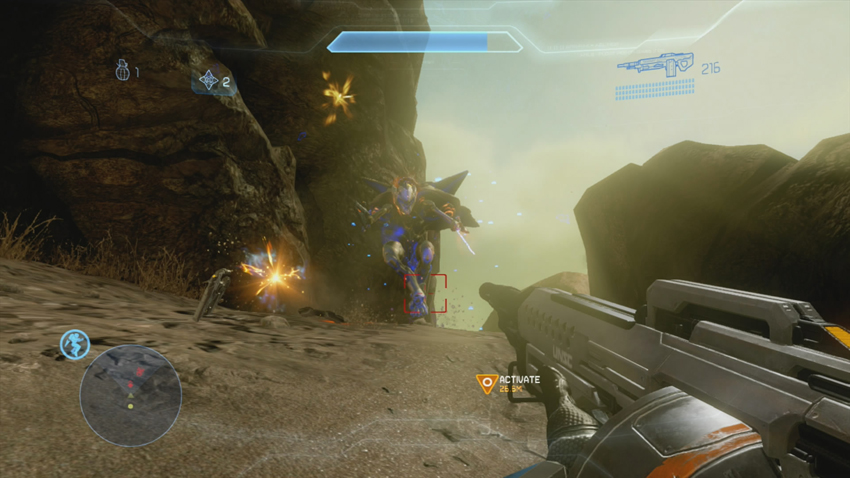
[7] [8] The area between the third and fourth tags is the site of yet more Promethean ambushes. The second of these triggers shortly after the first group is eliminated, which gives the Watchers involved time to set up Beam Turrets to impede your progress. As you get close to the fourth IFF tag [9], the Prometheans send two more Knights and a Crawler Snipe, in a last effort to stop you.
With all four tags collected, and no sign of any bodies to go with them, you’re ordered to go back toward the Harvester and kill any hostiles that try to get it restarted. During the trip back to the field in front of the Forerunner construct, a pack of Crawlers tries to rush you.
Objective Two: Clear Out the Prometheans
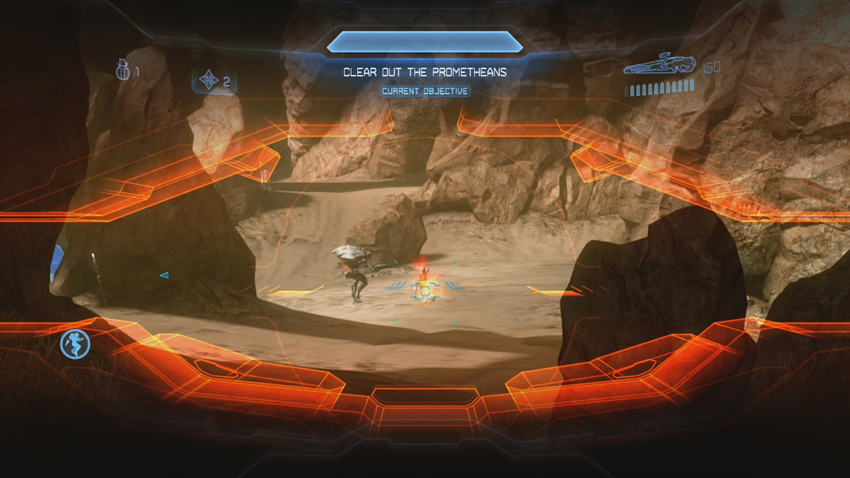
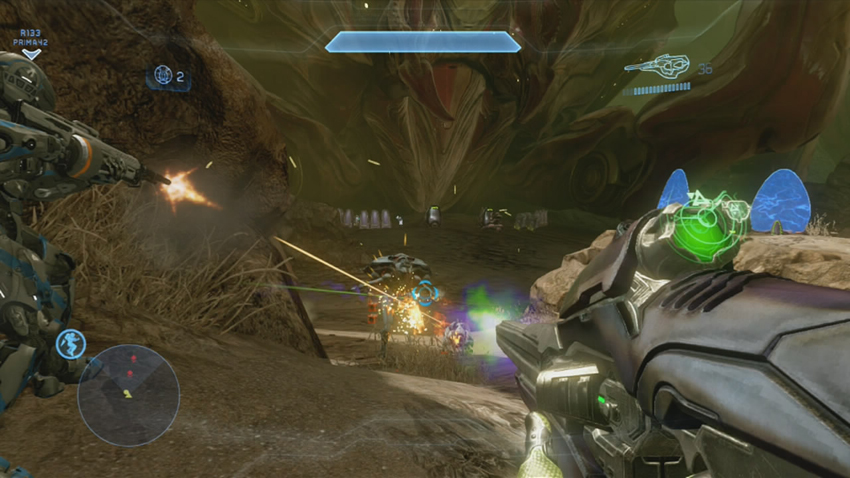
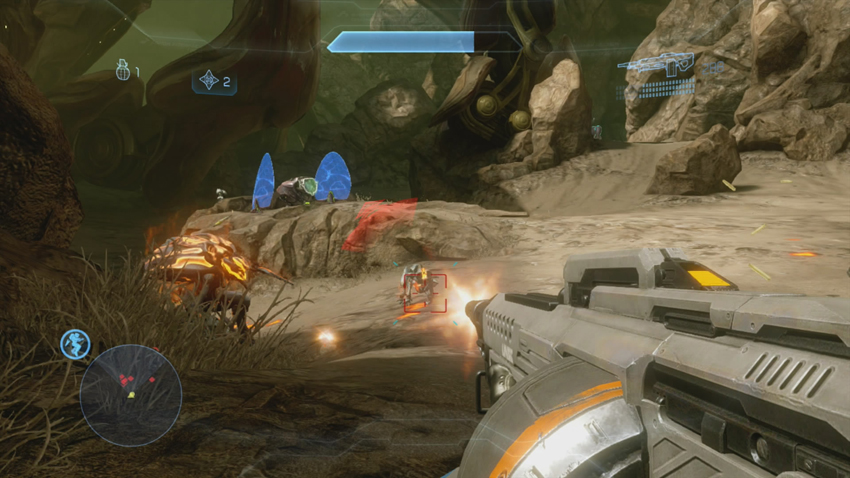
[10] Multiple Knights and packs of Crawlers have teleported into the field in front of the Harvester and require your immediate attention. There’s nothing fancy about this fight that you haven’t seen before, just be on the lookout for Watchers to try to resurrect Knights you have already put down.
Objectives Three and Four: Draw Covenant Out, Eliminate Remaining Covenant
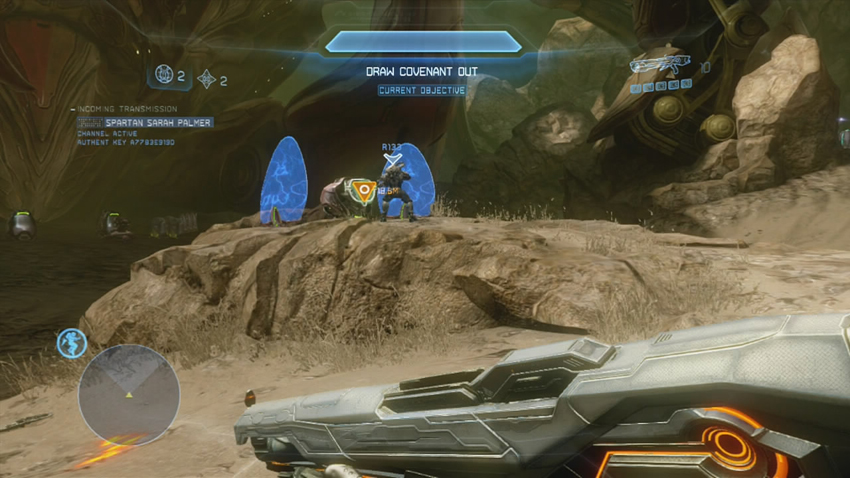
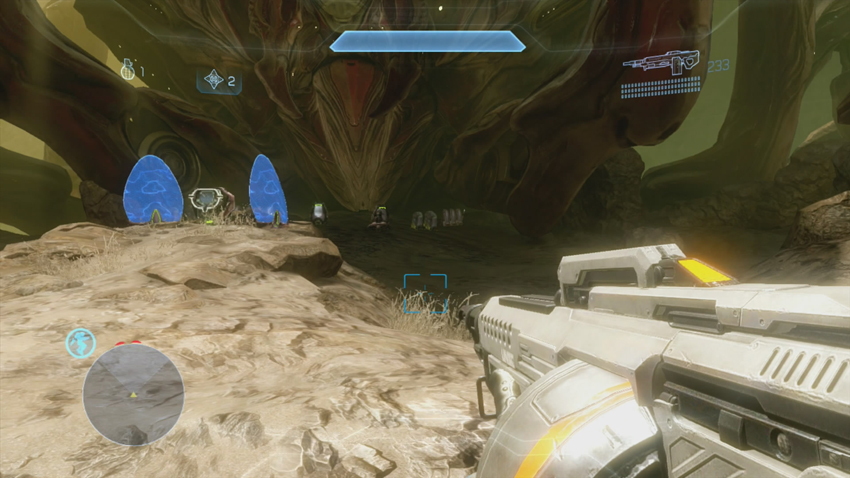
[11] The Infinity crew knows that the Covenant currently occupy the massive Harvester, but they haven’t tried to repel Fireteam Crimson thus far. Miller suggests that you use a nearby control console to trigger a disturbance that will force them to open the Harvester and confront you. Use the console indicated on your HUD to start the process.
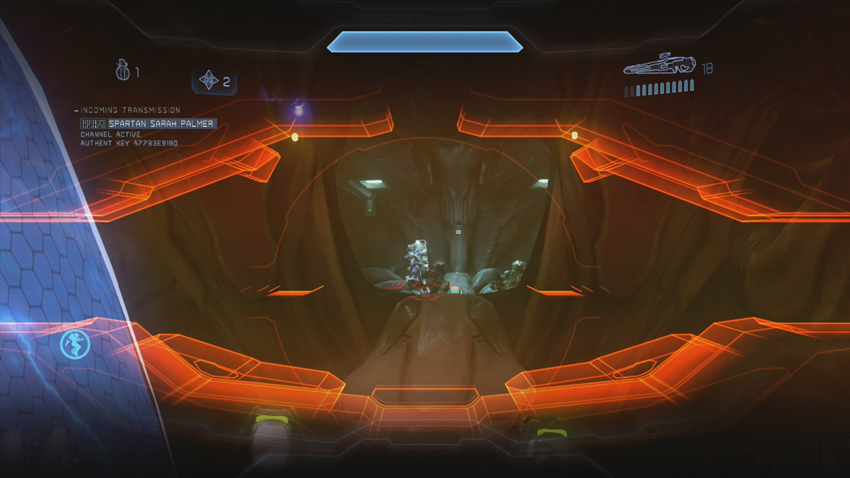
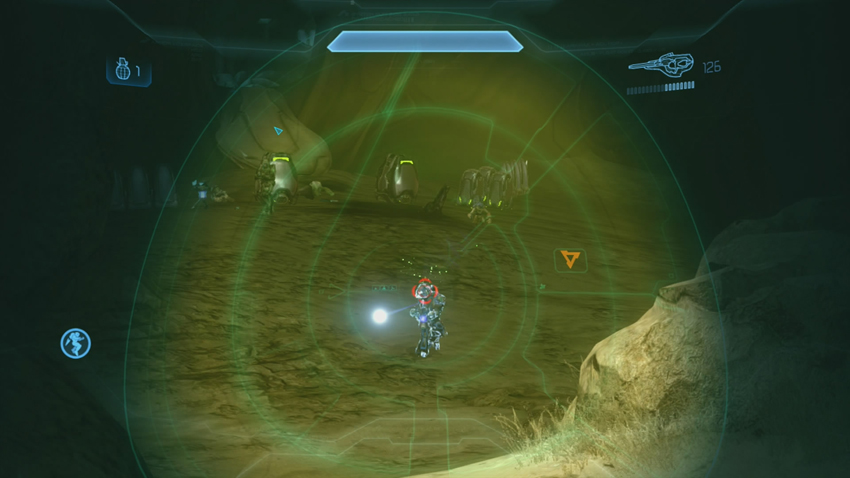
[12] The ensuing explosions draw the Covenant out, as predicted, and they open the front entrance to the Harvester. Don’t give them a chance to spread out to the Plasma Cannons mounted in front of the Harvester. Blast them the moment they present themselves as targets. Don’t get too close to the entrance, however, unless you’re still packing powerful weapons like a Binary Rifle or a Rocket Launcher, both of which are somewhat doubtful at this point.
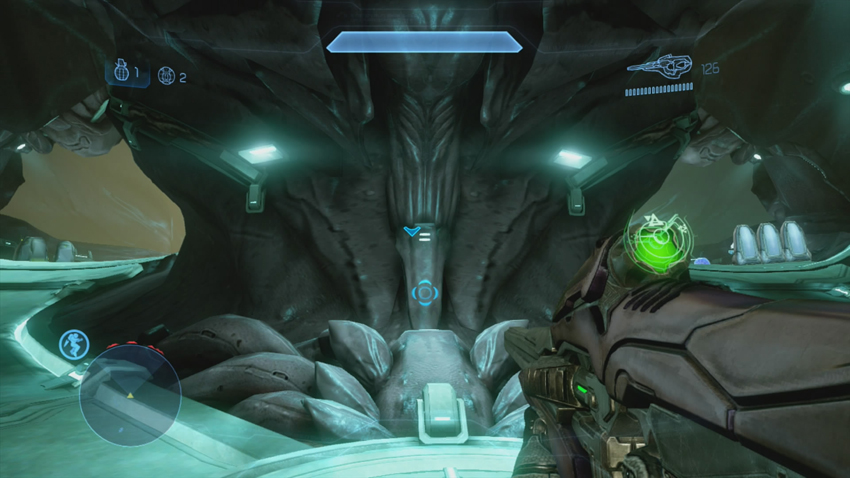
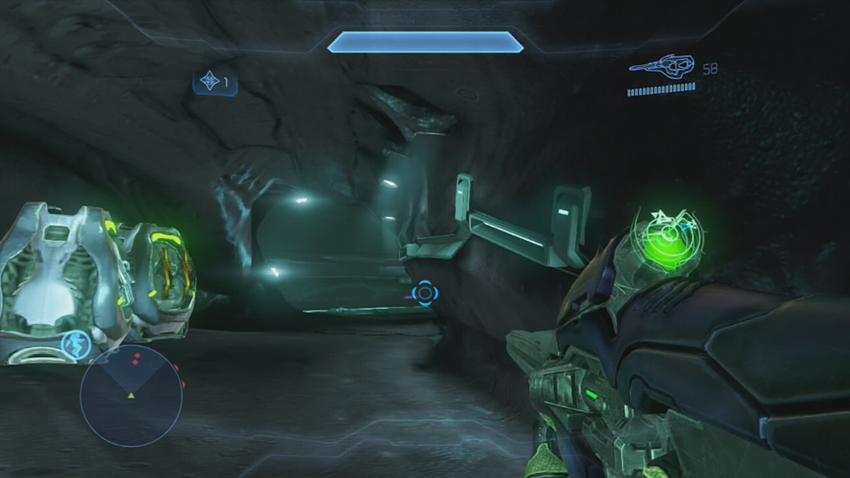
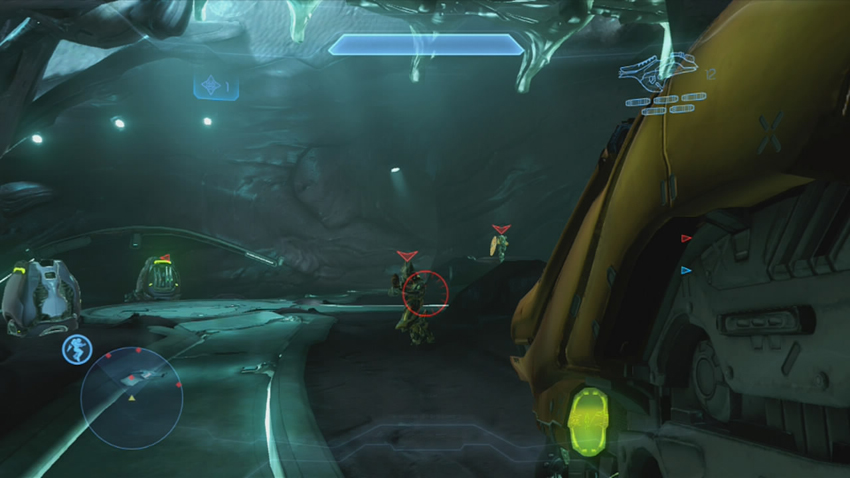
[13] With the initial attack crushed, the rest of the Covenant wisely hole up inside the Harvester and wait for you to come to them. As you enter, you’ve got a choice of two paths leading toward the inner workings of the Harvester; a small subcorridor connects the paths near the center. [14]That subcorridor contains another Covenant weapon cache that includes Fuel Rod Cannons. After you clear out the initial defenders (Grunts and Jackals), collect the heavy firepower and proceed toward the back of the Harvester. [15] The final chamber is guarded by three Elites. Finishing them off secures the Harvester, for the moment.
Objective Five: Disable the Harvester
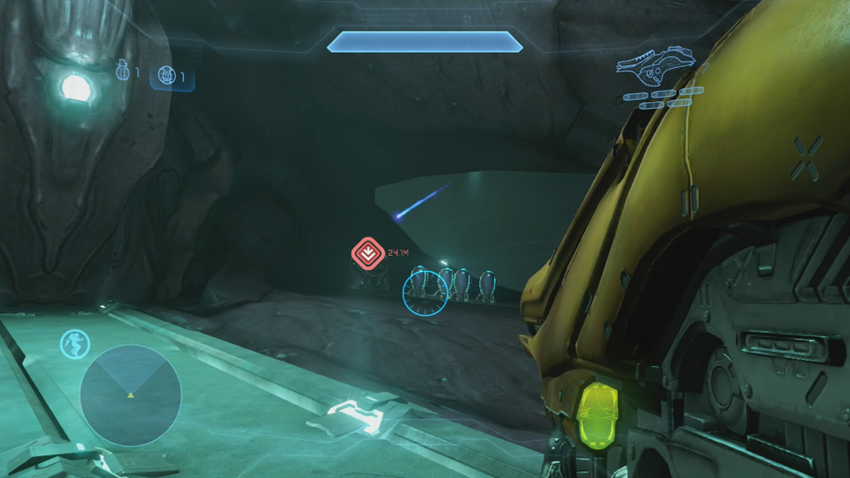
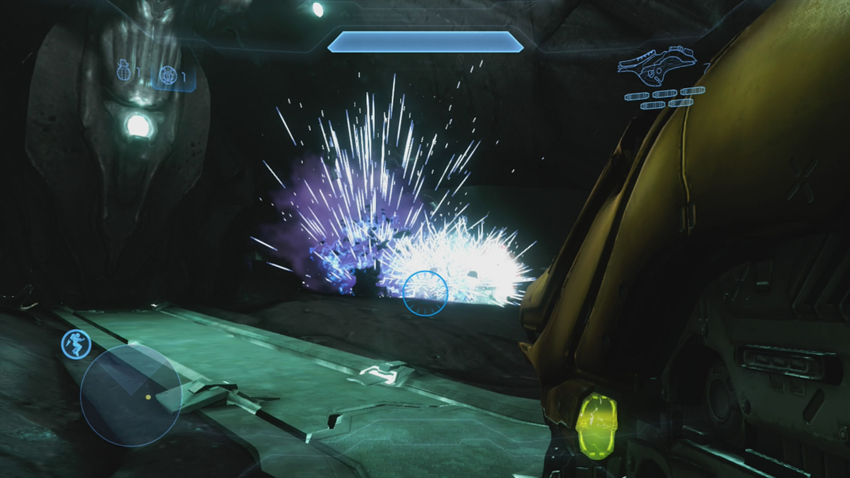
You discover that the Covenant were trying to get the Harvester functional again, which would be very bad news for any UNSC ground forces that might be in its path. A pair of computers is marked for demolition on your HUD; convenient plasma stockpiles sit next to them. Destroying the plasma canisters will also takes out the machinery and disables any attempts to restart the Harvester. You’re ordered back to the Landing Zone for extraction.
Objective Six: Fight to LZ
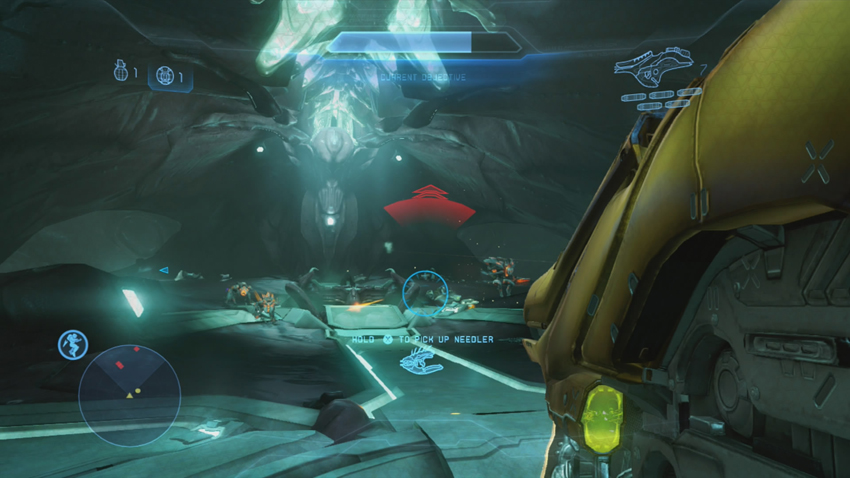
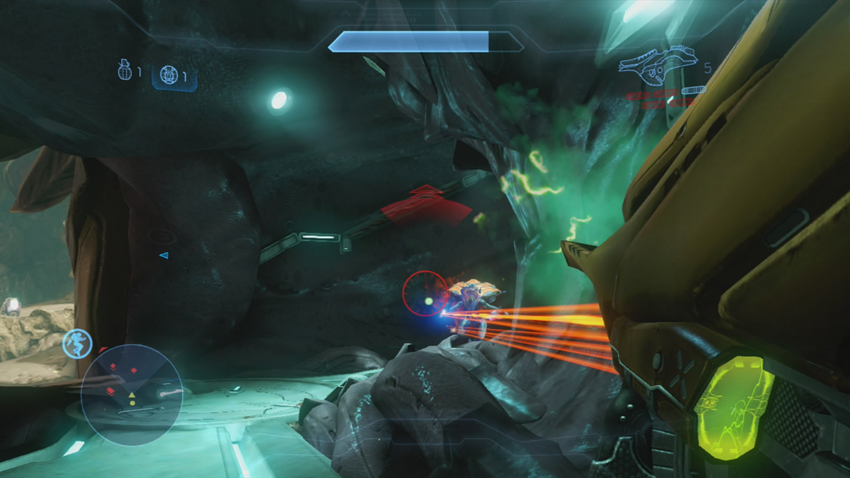
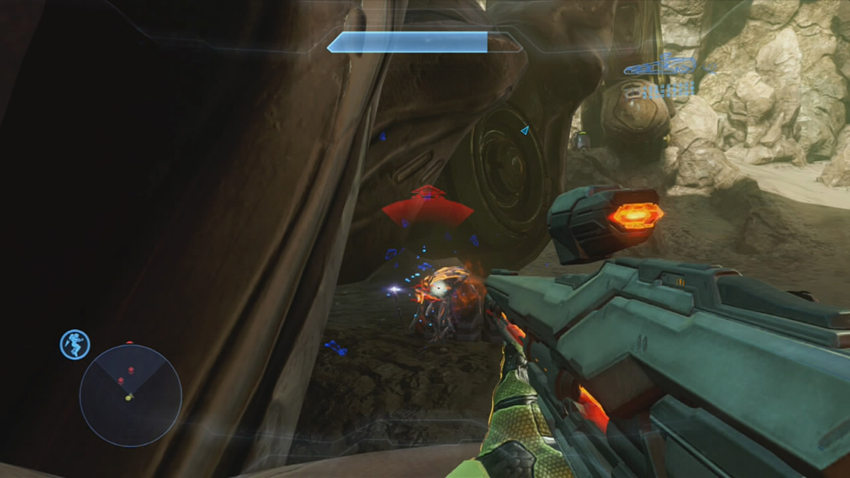
Your disabling of the Harvester prompts a swift retaliation from the Prometheans. Knights and Crawlers warp into the control room, looking to end your lives. After they are put down, more Prometheans teleport to the field directly in front of the Harvester and start to move in. As a general rule, it’s best to let them come to you. If you’ve still got Fuel Rod Cannon ammunition to spare, now’s the perfect time to unload it into the faces of any Knights dumb enough to get close. Don’t get careless, though, as the Knights can and often will teleport directly into the Harvester to try to flank you.
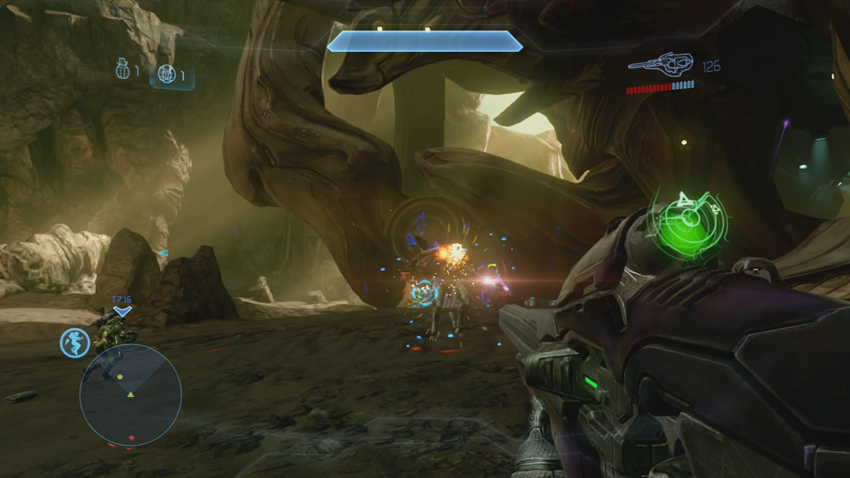
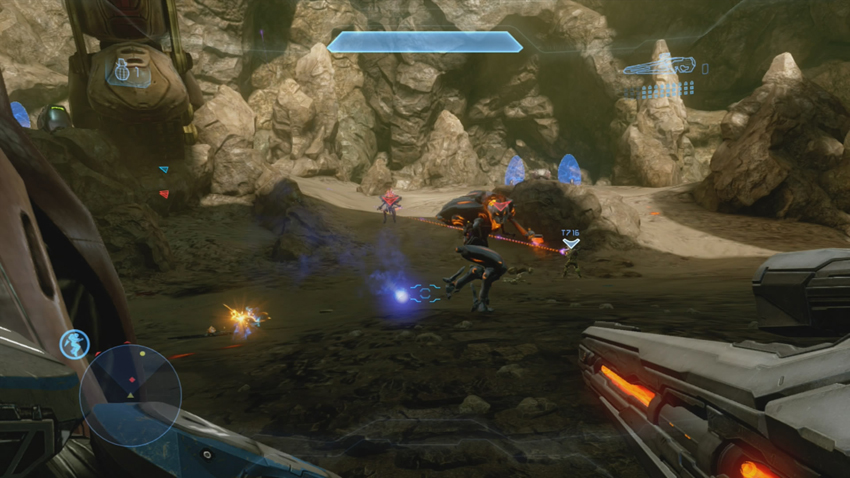
When the initial attackers are repelled, more appear on the mountain path leading up to the start point, which is where Lt. Murphy waits for you in his Phantom. This second group of Knights and Crawlers is a bit more dangerous because it includes the dreaded Knight Lancer equipped with Binary Rifle. You may be stretching your Fuel Rod Cannon ammo to the limit at this point, but there are plenty of Covenant plasma weapons available for you to make the final push through these enemies to reach the landing zone. Eventually, you cut the enemy’s numbers down enough to see the survivors marked on your HUD.
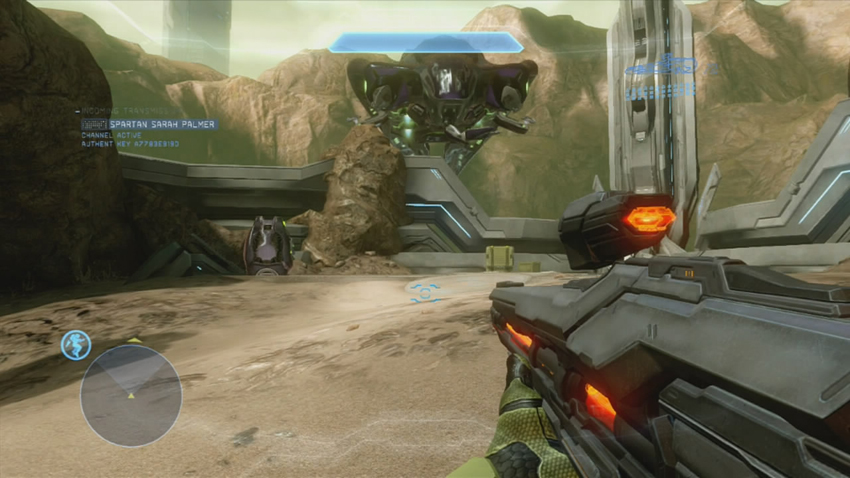
With the mountain cleared of hostiles, make your run back to the LZ for extraction. Surprisingly, no more Prometheans or Covenant swoop in to stop you. The mission and episode end on a grim note: You know now that the Covenant have stolen UNSC nuclear warheads, but you are no closer to discovering what they intend to do with them. Fireteam Switchback has vanished completely; the only things proving that they once existed are the blank IFF tags you’ve collected.