
Adrift
Now fully dedicated to supporting the war effort, this mining vessel once served the UNSC’s colonization efforts.
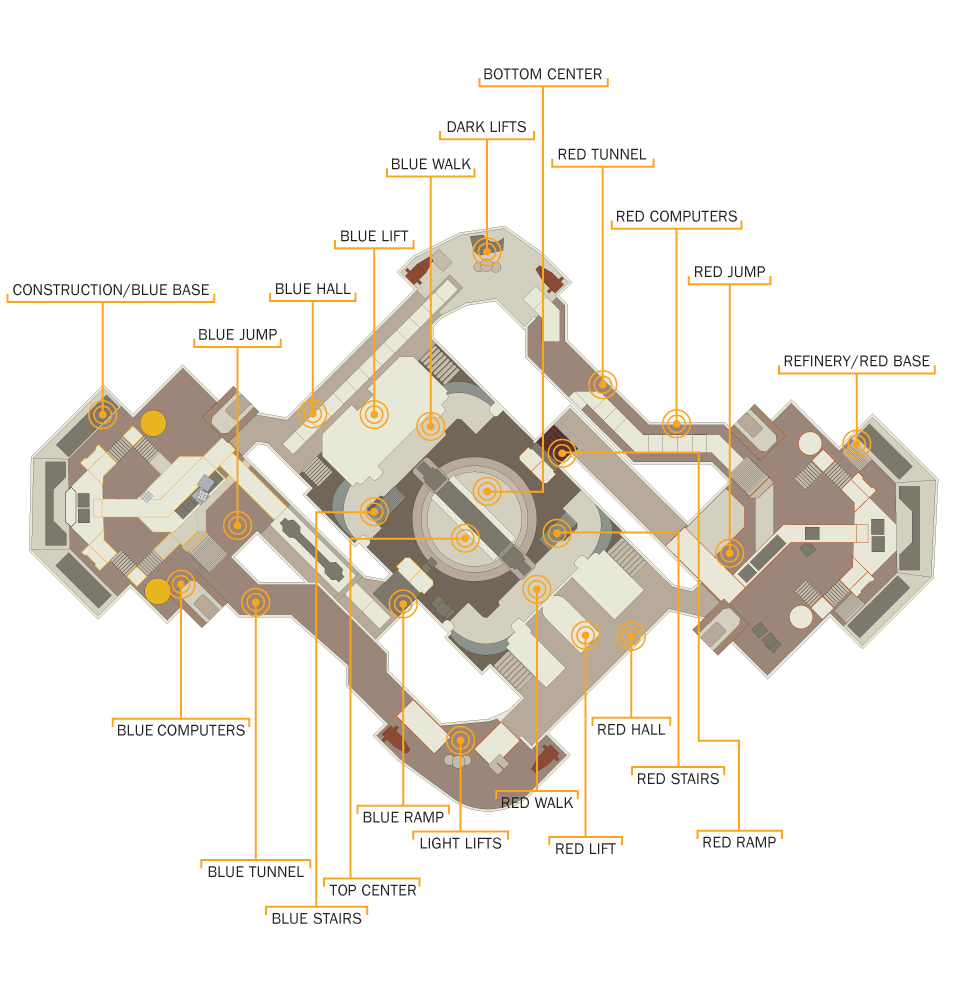
Choke hot spot: Expect high traffic, numerous enemies, and a well-used thoroughfare. Combat usually occurs here, and the location may be watched by enemy snipers.
Danger hot spot: This is an area of ground that is difficult to defend, has poor visibility for shooting angles, is sunken or low to the ground, or is in the open. Expect to be shot at if you’re here. Avoid if possible.
Mirrored hot spot: This location features an identical (or mostly identical) facsimile, almost always on the opposite side of the map. Expect tactical advice to be the same for both locations. Usually these are “blue” and “red” variants of a hot spot.
Sniper hot spot: This location is excellent for sniping, as it has numerous angles and views across much of the map. Expect long-range fire from these areas.
Hot Spots
Aside from a central area, this map is mirrored. Half of the map is labeled “red” and the other half “blue” (although they don’t directly relate to the color of the team spawning there). Tactical advice applies to both locations unless otherwise stated.
1A. Blue Computers
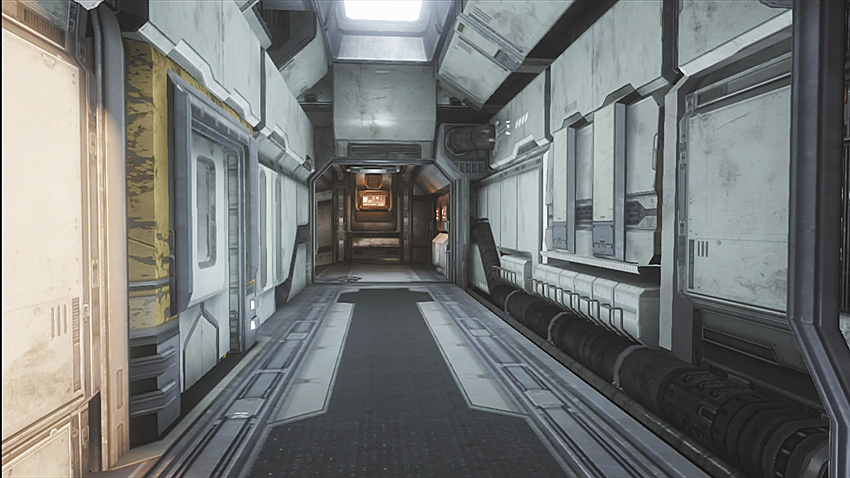
1B. Red Computers
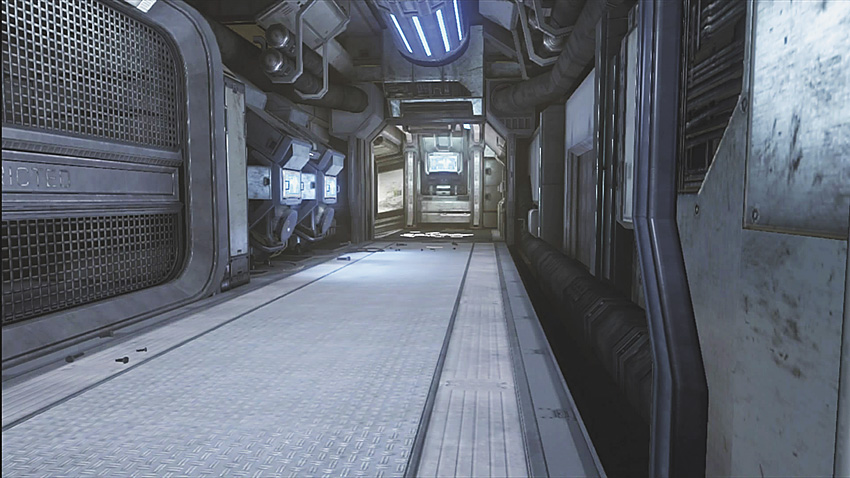
This is an excellent location to start your push toward the Top Center Room (8) or to the top of one of the two bases. If you spot incoming grenades, retreat from this location, as you’re an easy target here, and the enemy knows you’ve taken damage.
2A. Blue Hall
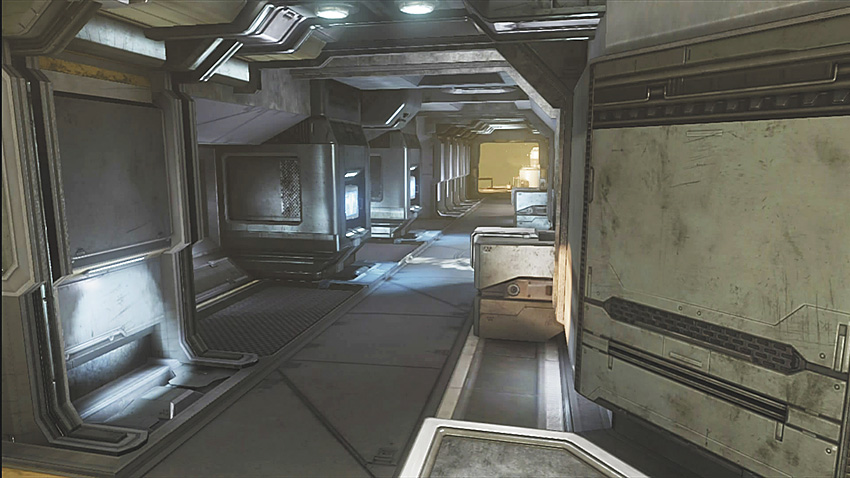
2B. Red Hall
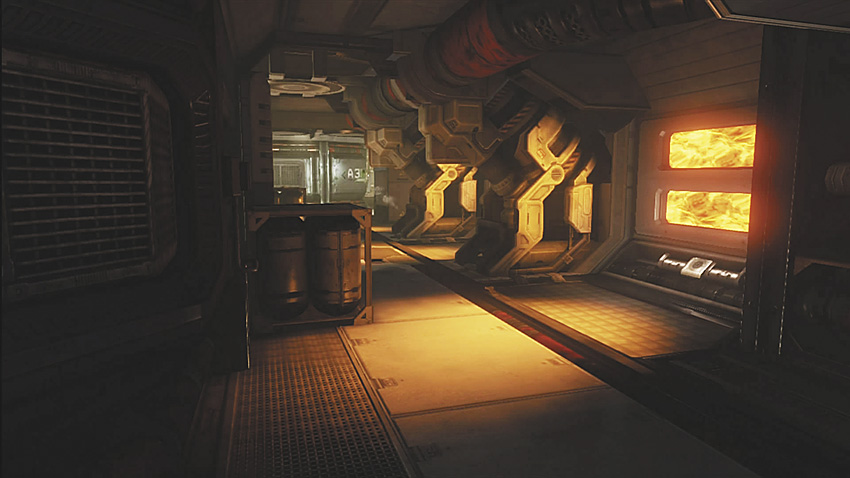
Push toward this location and then into the Top Center Room (8) when you have teammates also pushing from the Blue/Red Computers (1); this allows for two points of attack. This is also a sneaky route you can take to try and outflank or get behind the opposing team.
3A. Blue Lift
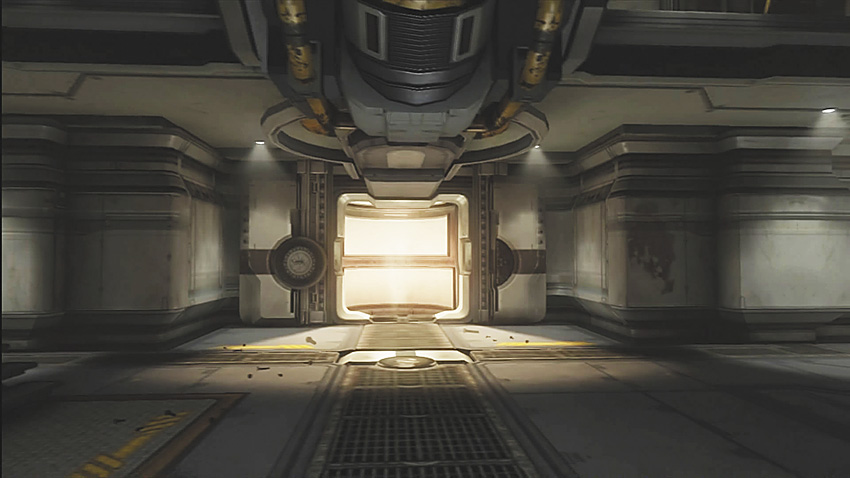
3B. Red Lift
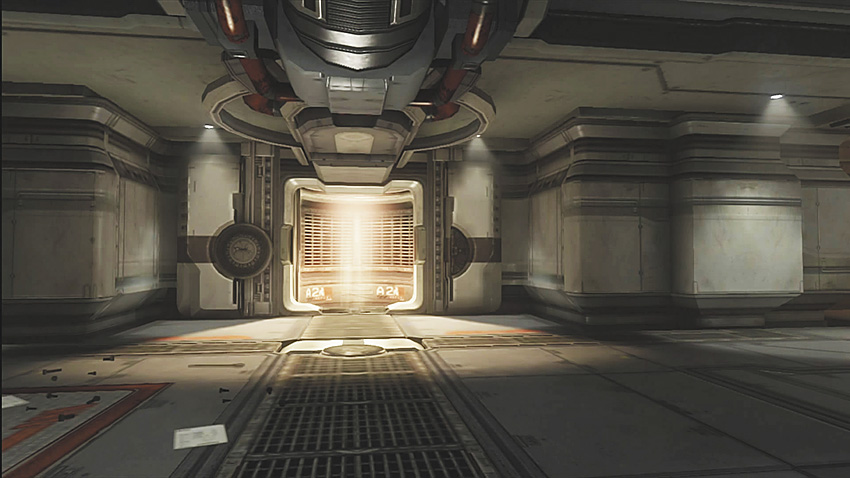
Keep this area in mind when you’re in the Top Center Room (8) and looking for an escape route. When you need a break from the action, retreat to this area and recharge your shields.
4A. Blue Ramp
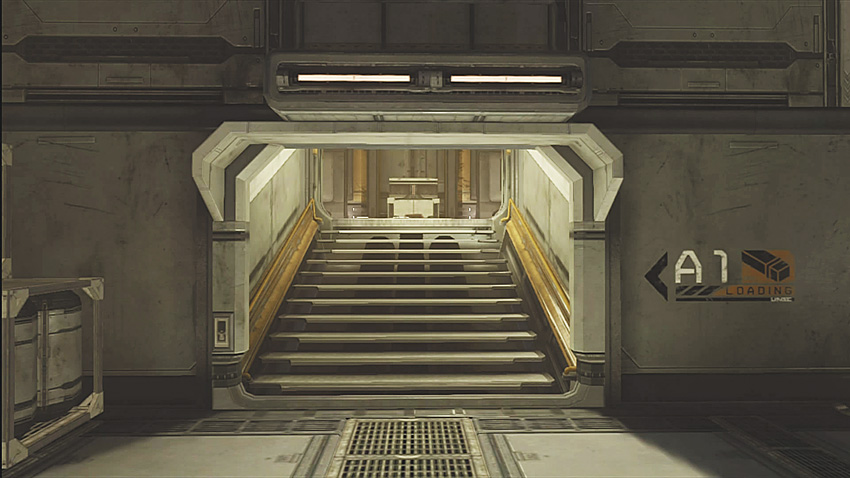
4B. Red Ramp
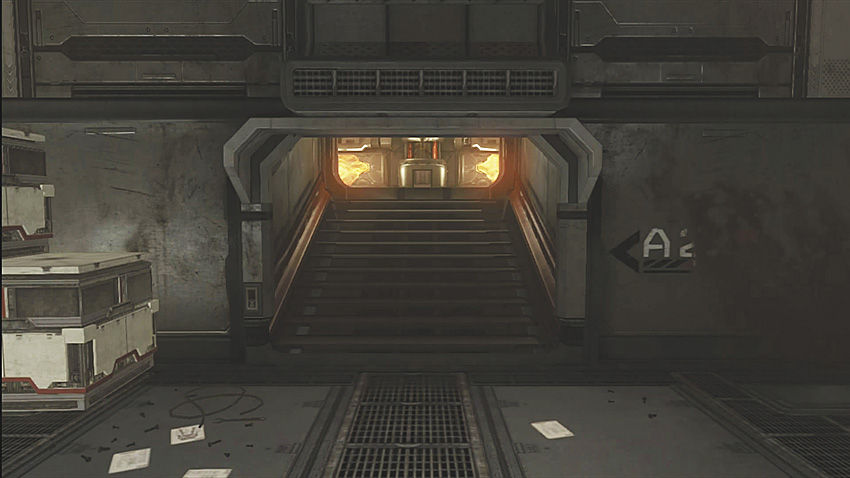
Drop down and flee to this area if necessary. You don’t want to hang around here for too long, though, as you don’t have a great line of sight on anyone inside the Top Center Room (8).
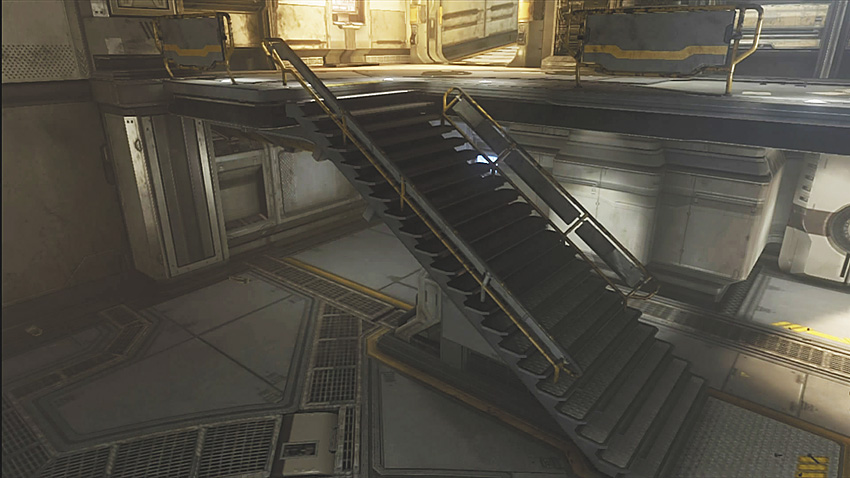
5A. Blue Stairs
5B. Red Stairs
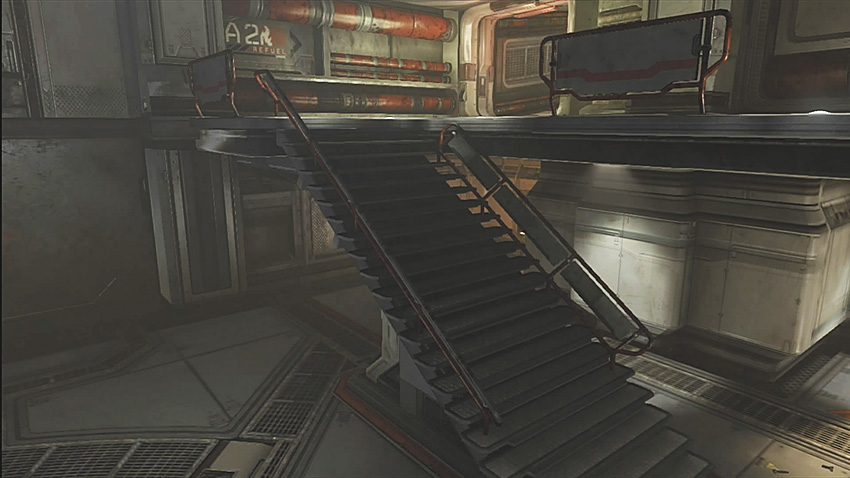
Utilize this area as cover, especially if you’re caught at the lower level of the Top Center Room (8B); wait here to recharge your shields or make a run to the Blue/Red Lift (3) or Blue/Red Ramp (4).
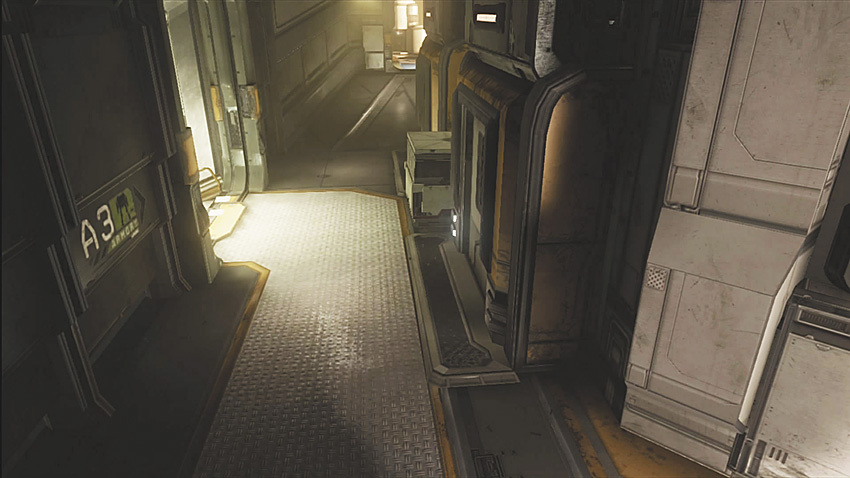
6A. Blue Tunnel
6B. Red Tunnel
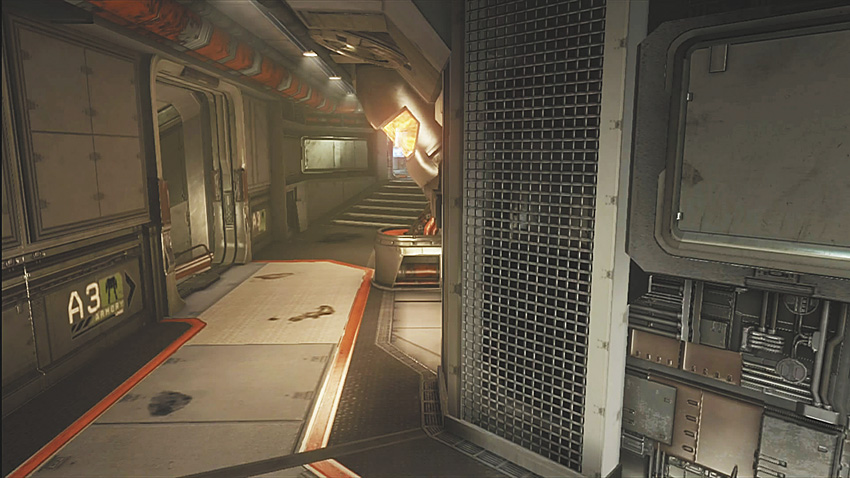
Take this route if you’re running the flag and an escort is helping you. This is also a sneaky route to take when trying to outflank or get behind your enemies.
7A. Blue Walk
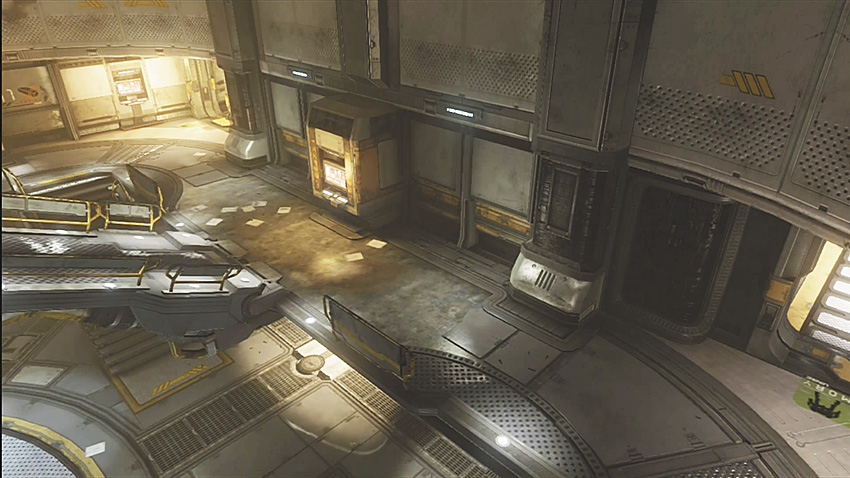
7B. Red Walk
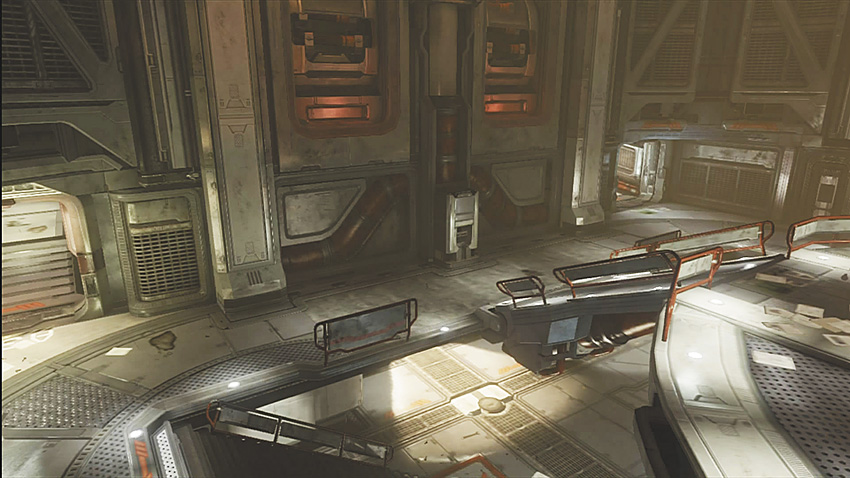
This is a reasonably safe spot to stay if your team has control of the Top Center Room (8). You can watch the opposite walkway and hall, and your teammates can check your back and tackle foes (with your help) attempting to attack you from behind. If the Mech Room isn’t in your team’s hands, stay out of this location, as there’s no cover.
8A. Top Center Room
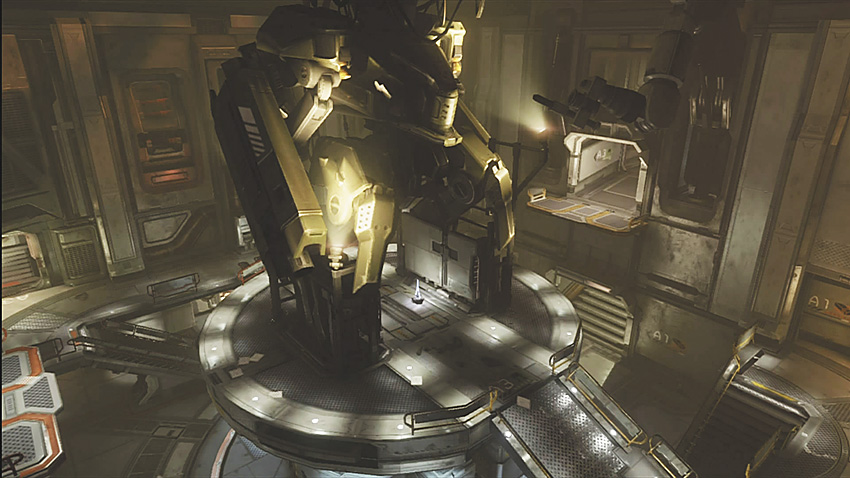
8B. Bottom Center Room
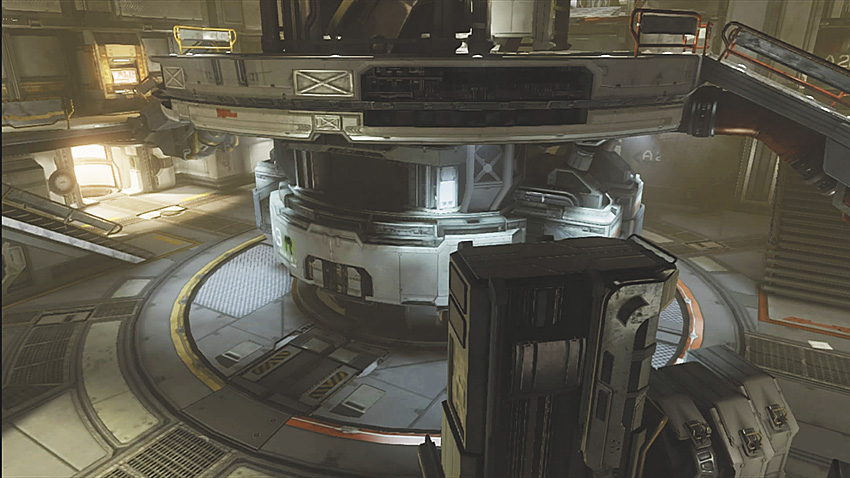
The upper room is the hub of violent activity on this map. If you stay here for too long, expect to receive enemy fire from every entrance into this section. Although there’s a cubbyhole to hide in (briefly), don’t expect to last here unless you’ve got a teammate backing you up.
The lower chamber isn’t a safe place to stay either; although you have angles from which you can shoot foes above you, you’re easily susceptible to grenades. Only head down here if you’re attempting to flee.
9A. Construction Site: Blue Base
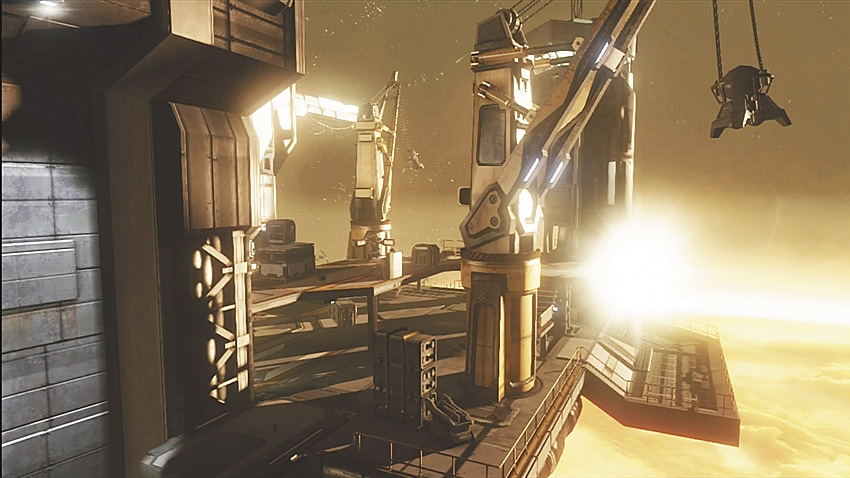
9B. Refinery: Red Base
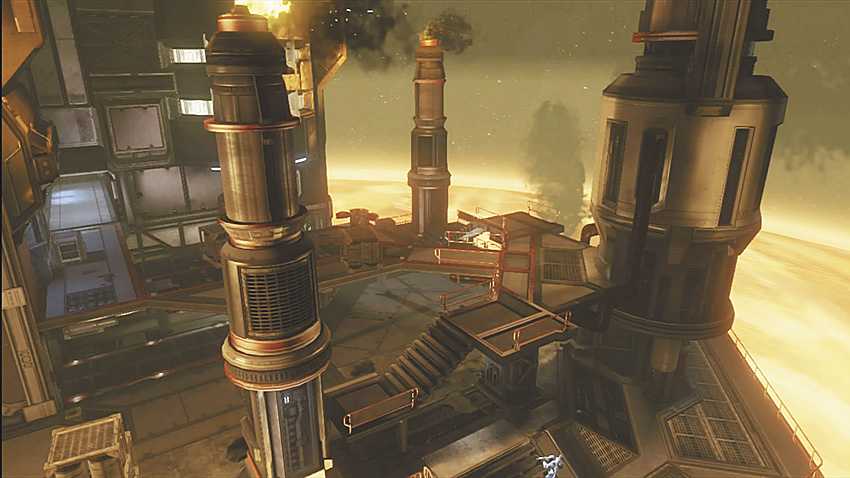
It is strongly recommended that you hold this base in Team Regicide to protect your king. Position teammates at the top of the base, and target enemies who are lifting; you have great cover from this vantage point.
10A. Dark Blue
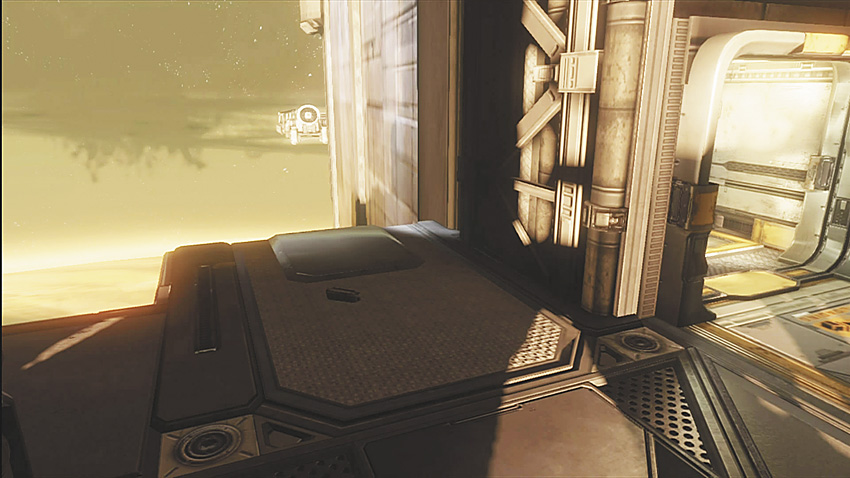
10B. Light Blue
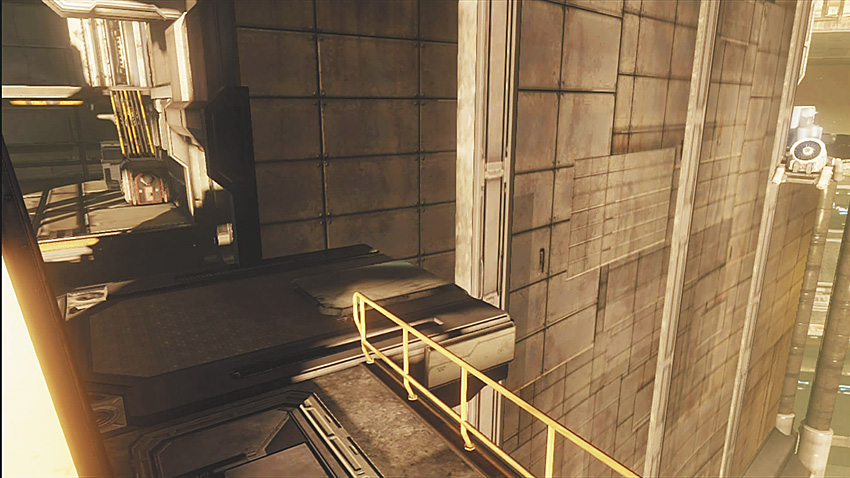
Lift up here when you have teammates pushing into the Base (9) for a different point of attack. Go here to retreat from your opponents and get close to your teammates for backup.
11A. Dark Lifts
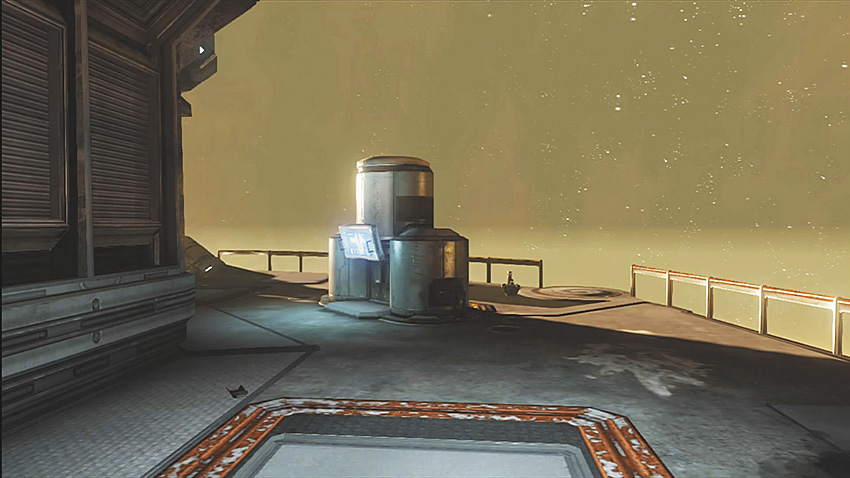
11B. Light Lifts
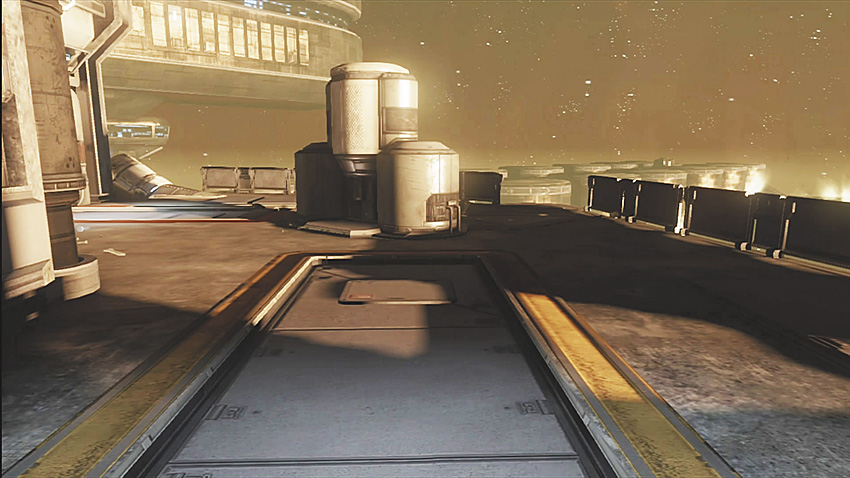
Head here when you want to lift to either base (9) and have the jump on your enemies. You can also use either Lift when retreating. Use the box at the lift for cover if an enemy is charging you.
12A. Dark Red
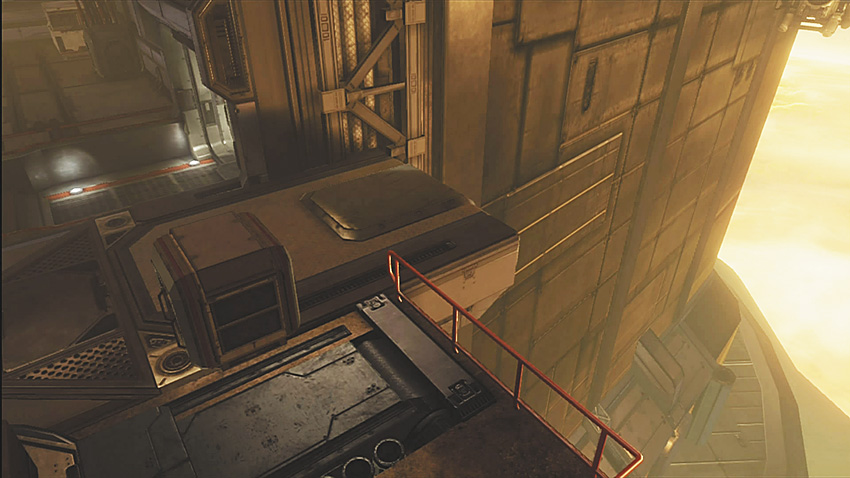
12B. Light Red
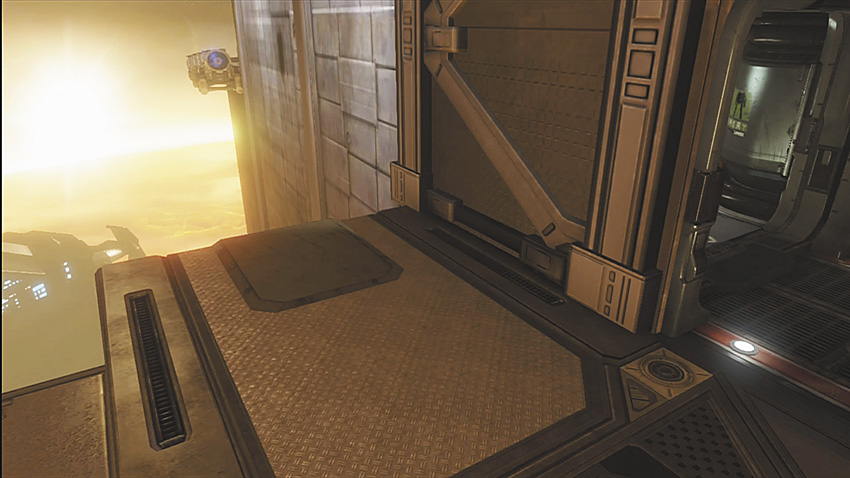
Lift here when you have teammates pushing into the base for a different point of attack. Go here to retreat from your opponents and get close to your teammates for backup.
Tactics: Team Games and King of the Hill
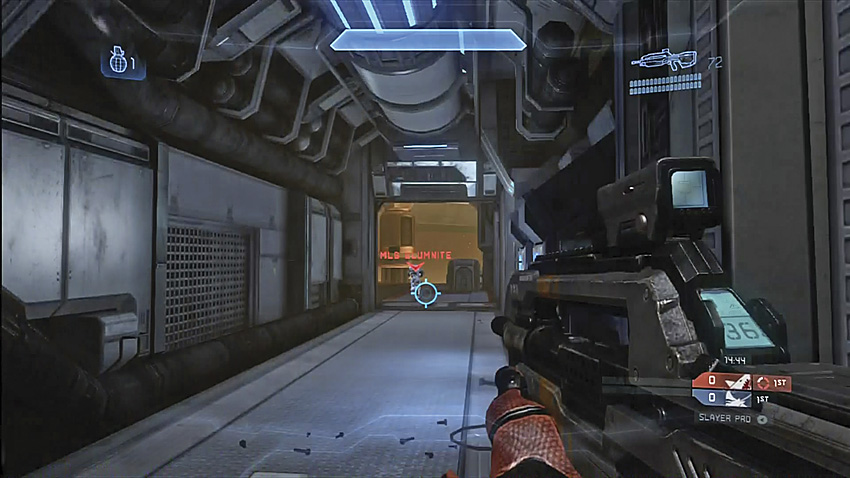
Corridors like these can be death traps with little useful cover.
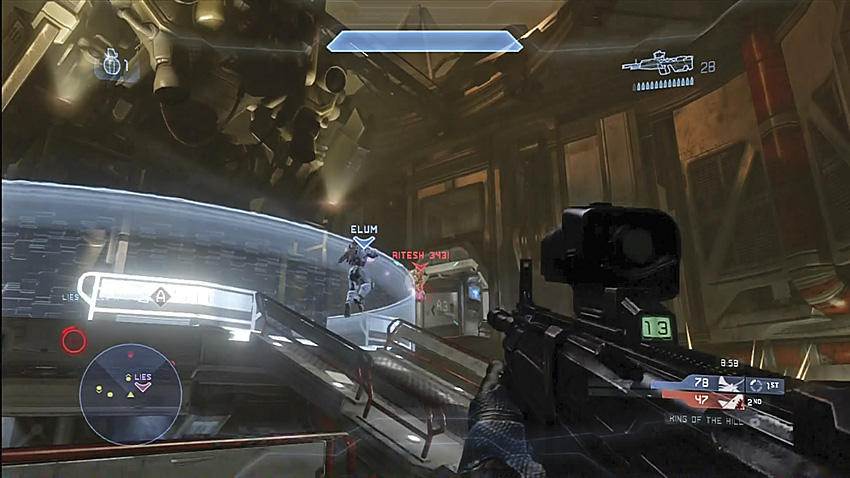
“Mech” is the all important central hub of this map.
Go Ahead, Mech My Day
Controlling the Top Center Room in the middle of this map is of paramount importance, as it stops the opposition from swarming and enables you to spot foes much more easily. In order to help secure the Top Center Room, you also need to control the computers; this gives you the higher ground and a view over most of the map’s center (the Top Center Room).
Hilltop Tips
When you’re trying to lock down the hills on this map, control the doors and entrances with two or three of your teammates on the hill. Having more than one teammate at or near the hill is extremely advantageous.
If you’re playing King of the Hill on this map, maneuver around almost continuously. The hill moves every 30 seconds, and sometimes you need to give up 5 to 10 seconds on a previous hill just to set up at the hill’s new location.
Base Lockdowns
With the hills on the Red and Blue Bases, you need to lock the base down with your entire team, watching every entrance point. If you’re attempting to take over the base, attack from several angles: from computers, lifts, hallways, and tunnels.
Don’t Get Caught Short
This map has several long hallways, so don’t get attached to using short-range weapons. They may be helpful when you round a corner and stumble into a foe, but if you’re caught with a short-range weapon while running down a hallway, you’re severely disadvantaged against a foe firing from long range.
Flying High
Try to gain the height advantage inside the Top Center Room: With so many entrances, it’s important to hold Top Center as often as possible. Try not to drop down to pursue weakened foes unless it’s absolutely necessary.
Equipping the Jet Pack on this map allows you to quickly move from place to place and take advantage of a very vertical map.
Tactics: Capture the Flag
Route Markers
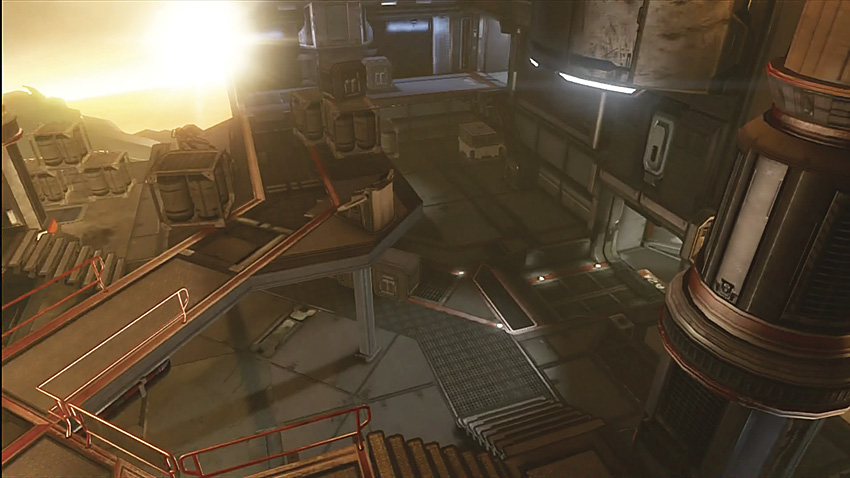
Be careful when traversing the exteriors of this map, there are always plenty of access points the enemy can use.
You have three excellent routes to take—Computer, Hallway, or Tunnel—but be sure you or your team escorts the flag carrier back to your base instead of leaving him to fend for himself. How your team plays will determine your favored route, but it’s always better to vary your routes to keep your foes on their toes.
Tactics: Team Slayer
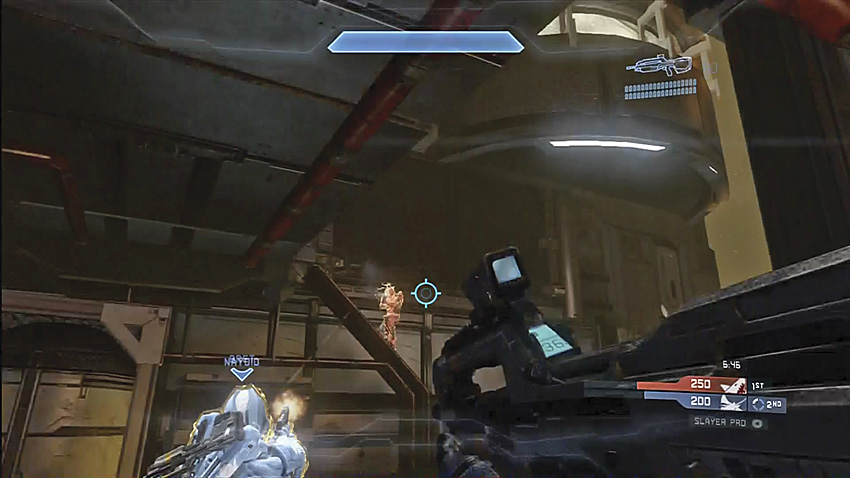
Always watch elevated ramps and ledges to catch potential ambushers off guard.
Strength in Numbers
Running with at least one teammate is advisable, due to the sheer number of hallways. When the opposition steps around a corner and there are two (or more) of you ready to retaliate, you can light your foe up for an easy kill!
There are many escape routes if you’re losing a 1v1 battle; turn and spring away toward your teammates for reinforcements.
Swordplay and Patience
Be patient when you’ve armed yourself with the Energy Sword. Bait your enemy to close in on you, and then time a sliced lunge to carve them up.