
Complex
Galileo’s compartmentalized layout benefits protracted defensive stands in the unlikely event of an attack.
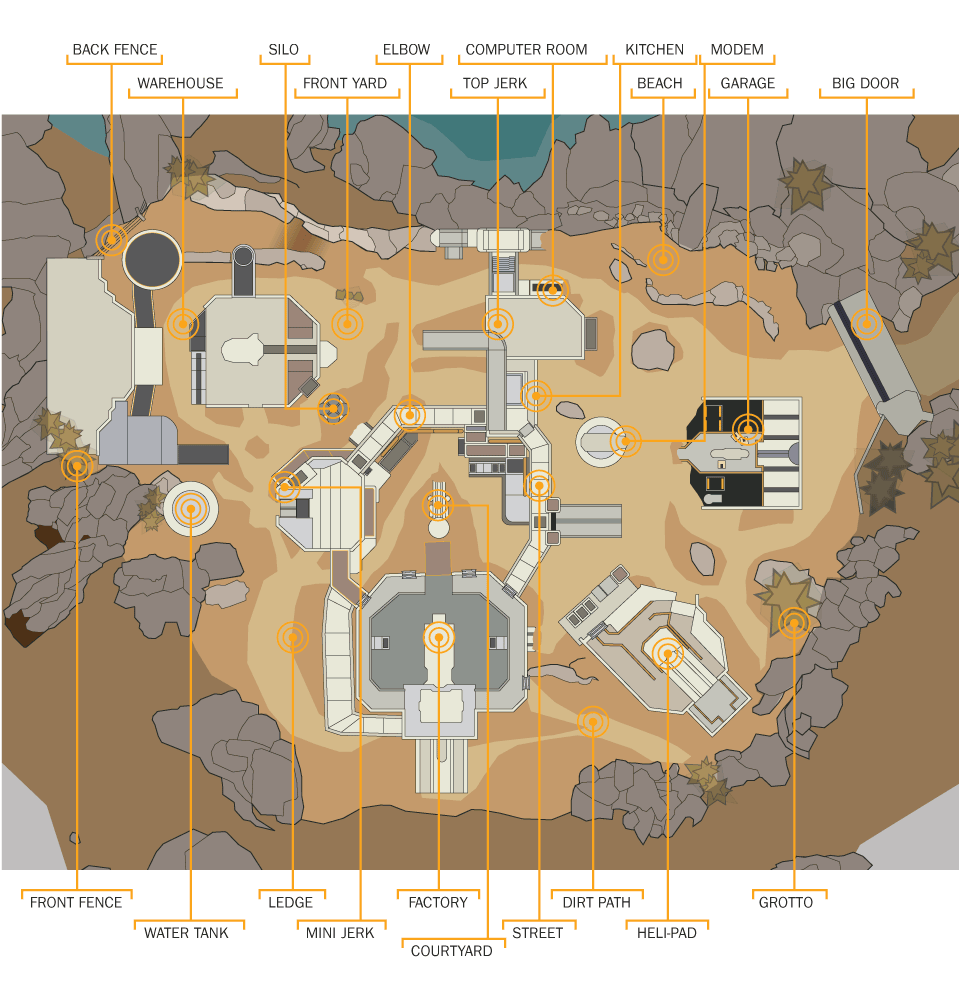
Choke hot spot: Expect high traffic, numerous enemies, and a well-used thoroughfare. Combat usually occurs here, and the location may be watched by enemy snipers.
Danger hot spot: This is an area of ground that is difficult to defend, has poor visibility for shooting angles, is sunken or low to the ground, or is in the open. Expect to be shot at if you’re here. Avoid if possible.
Mirrored hot spot: This location features an identical (or mostly identical) facsimile, almost always on the opposite side of the map. Expect tactical advice to be the same for both locations. Usually these are “blue” and “red” variants of a hot spot.
Sniper hot spot: This location is excellent for sniping, as it has numerous angles and views across much of the map. Expect long-range fire from these areas.
Hot Spots
1. Beach
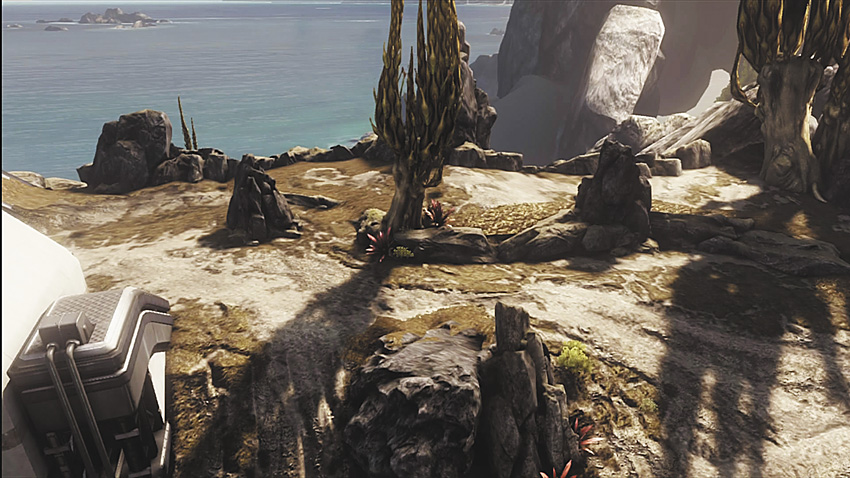
Scout this area for some rocks that provide reasonable cover; this area is useful for sneaking up to Top Jerk (19).
2. Big Door
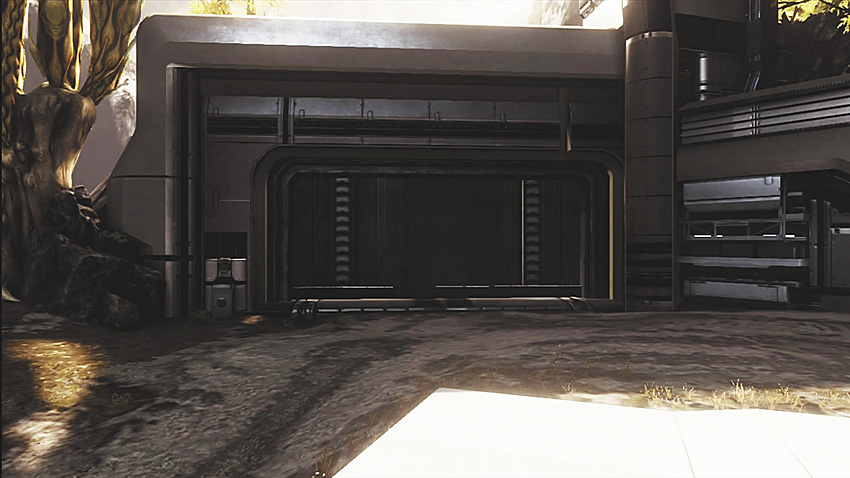
The open area by this scenic point is dangerous; don’t stand around here for too long! During team matches, if you see an enemy here, keep them alive for a few seconds so more of their team members spawn there—then take them all down!
3. Computer Room
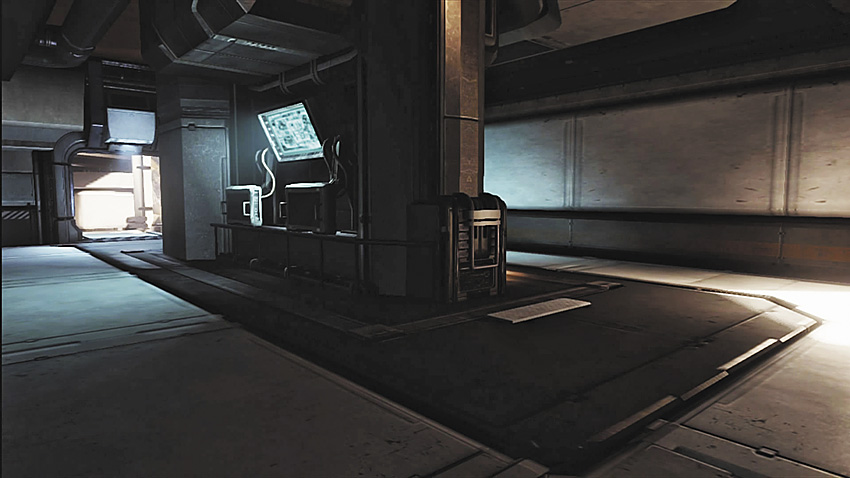
This area provides a great hiding place when you need to retreat and recharge your shields.
4. Courtyard
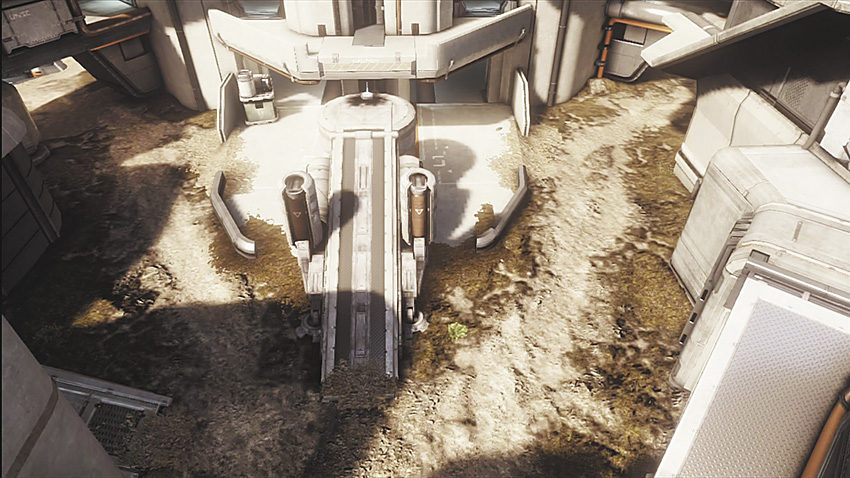
Another dangerous area that you needn’t spend much time in. If you do hang out here, expect to come off second best in combat, as it is difficult to spot enemies above you from this position.
5. Dirt Path
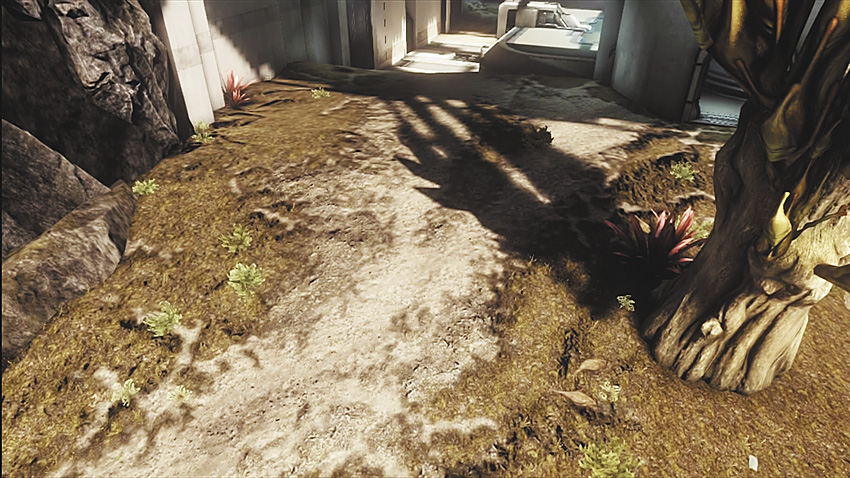
This is the optimal location when firing on foes moving about on Top Jerk (19). You have excellent cover for peek-and-shooting opportunities and a reasonably safe escape route into the Factory (7).
6. Elbow
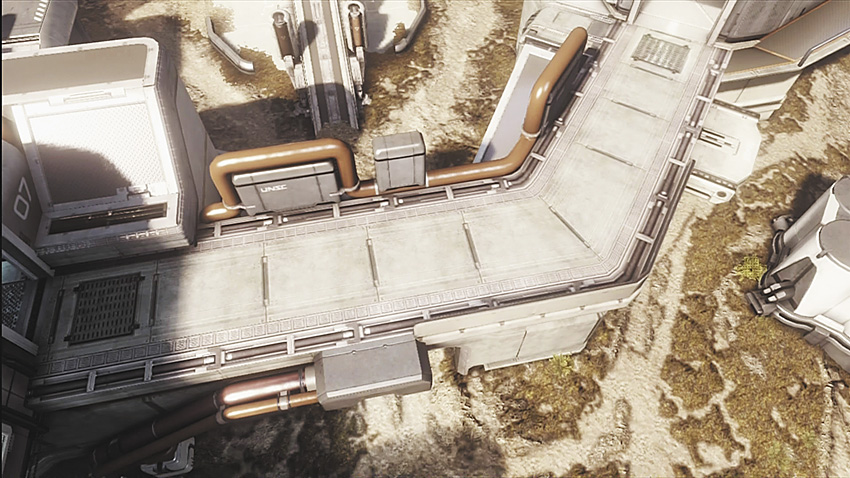
An open area if you’re moving to and from the Kitchen (12) to the Mini Jerk (13). This has a view over the Front Yard (8), Silo (17), and Courtyard (4).
7A. Factory (Inside)
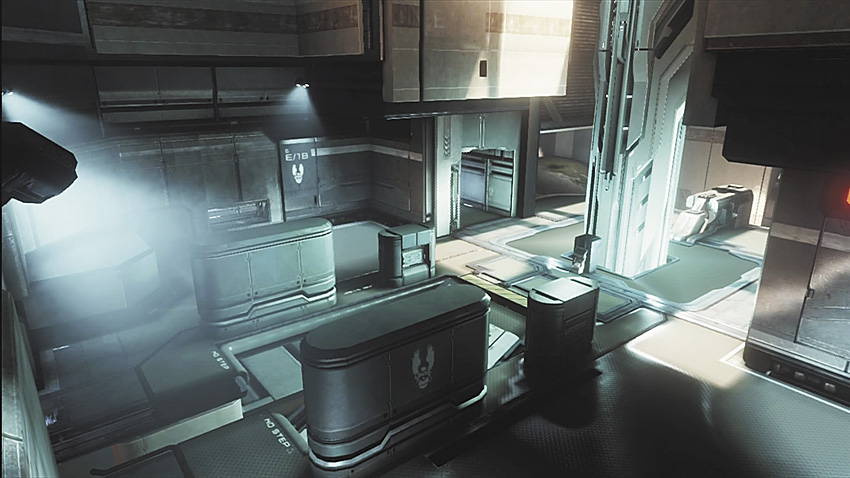
Seek out the Factory’s interior; there’s a lot of cover opportunities and your team can hold this area, cutting off all entry points to protect a king in Regicide matches.
7B. Factory (Outside)
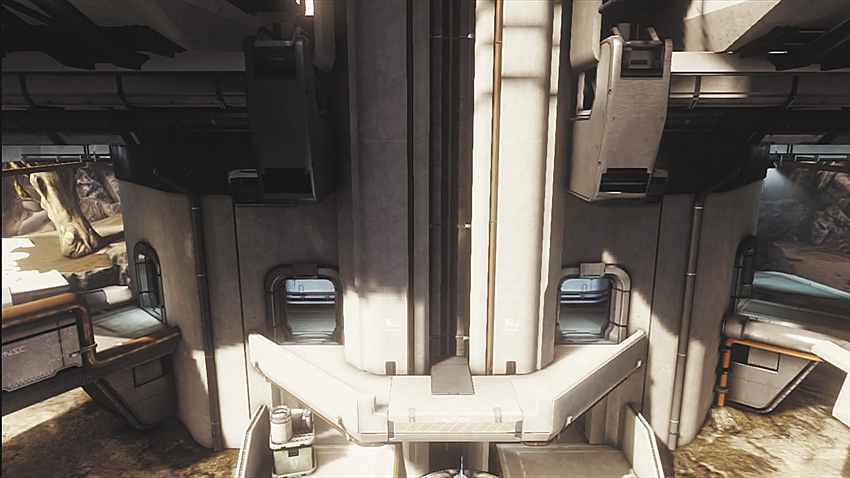
If you venture outside, prepare to be severely compromised. You have zero cover and very few good angles for taking shots at foes. Spend as little time as you can out here.
8. Front Yard
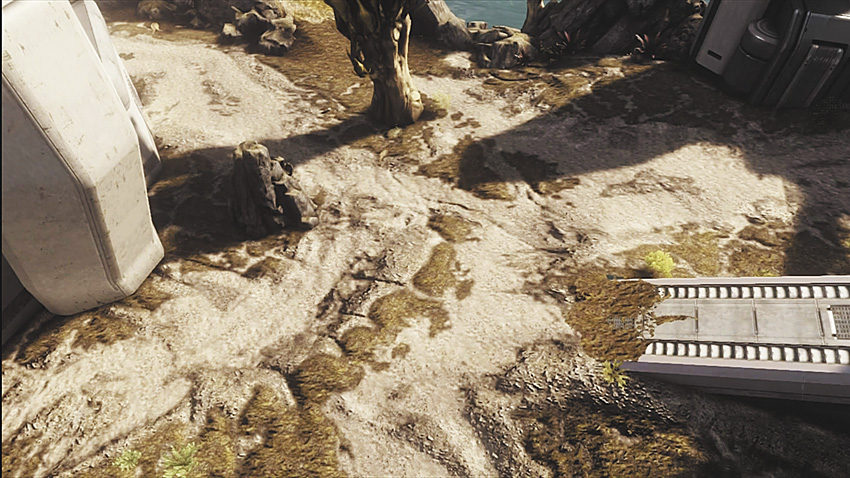
This position is extremely open and can be seen from many areas: Don’t run through here without cover. Avoid this location unless you have no other choice.
9. Garage
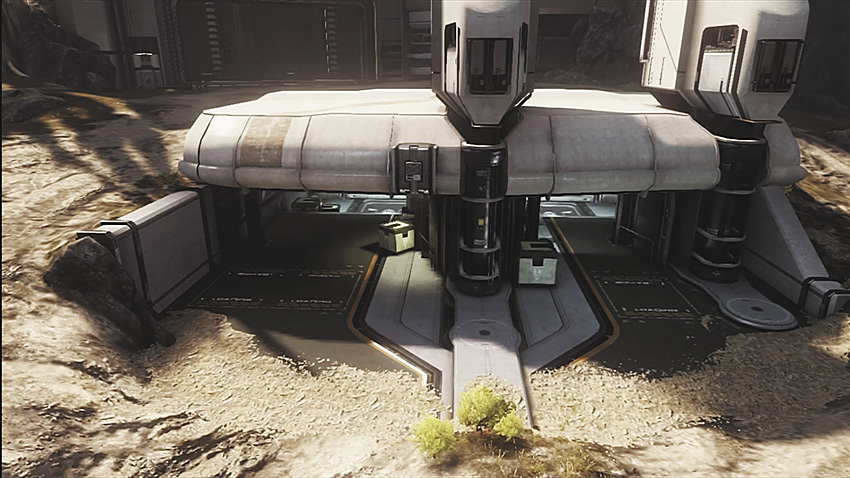
This area has similar properties to the Big Door (2), an open area that you don’t want to hang around at for too long. During team matches, if you spot a foe here, leave them alive for an extra few seconds so more of their team members spawn there—then kill them all!
10. Grotto
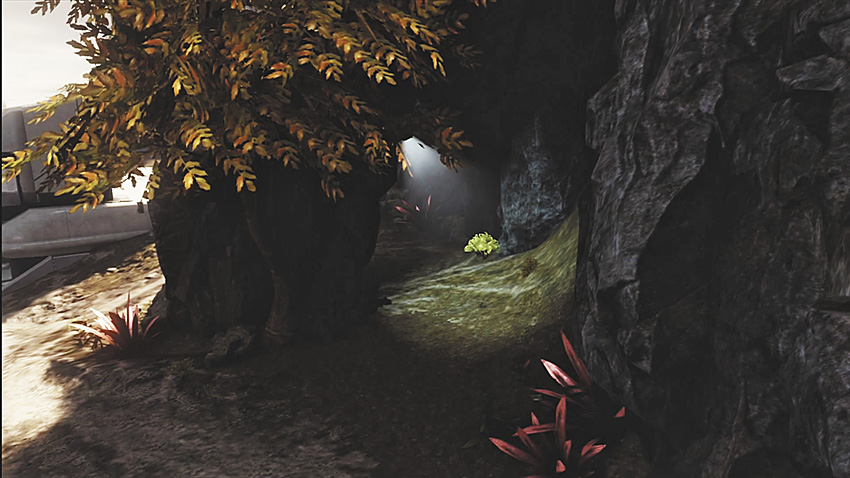
Utilize this as cover when you’re heading around to the Helipad (11) or when you’re tagging foes holed up on Top Jerk (19). The cover provided allows for peek-and-shooting opportunities.
11. Helipad
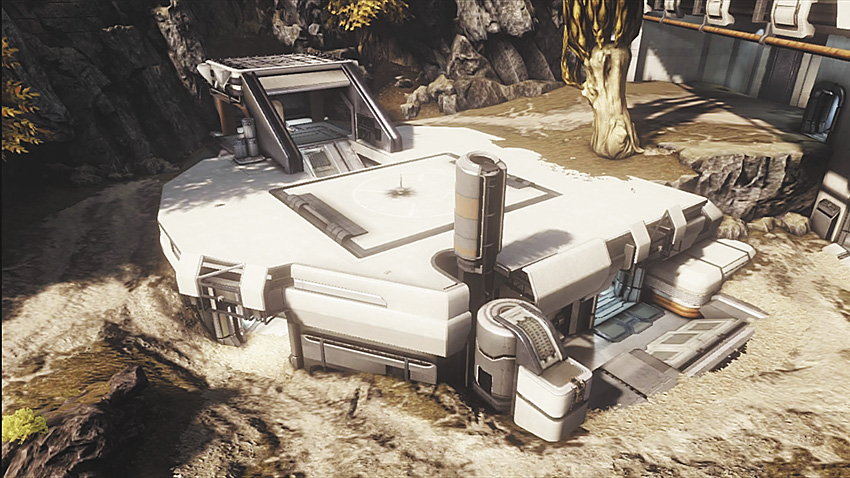
The Sniper Rifle spawns here, but don’t get caught waiting for it to appear; staying here for too long leaves you open to attacks from others. The opposing team is certainly going to be watching this spot too. Grab the Sniper Rifle and flee!
12. Kitchen
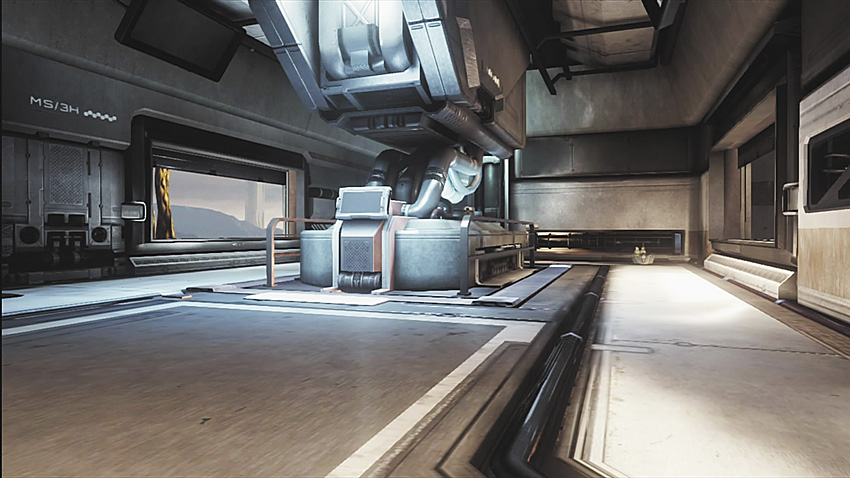
This is an advantageous position with excellent cover if you’re trying to tackle foes milling about at the Garage (9), Helipad (11), Front Yard (8), and Warehouse (21).
13. Mini Jerk
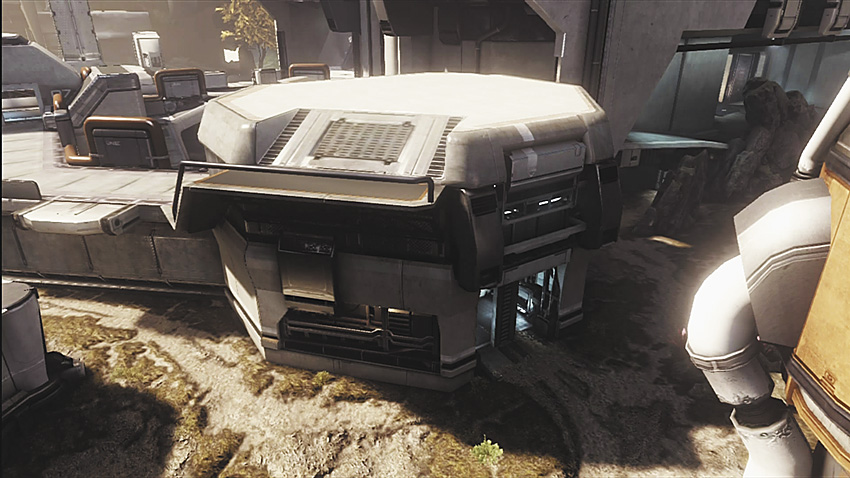
This is the smaller of the two structures whose roofs you can climb onto. These are known as “Jerks” due to the type of player who enjoys camping up on these rooftops. This is an excellent power position if your team is also holding the Top Jerk (19). Stay alive up here and become a severe nuisance to the opposition with long-range takedowns.
14. Modem
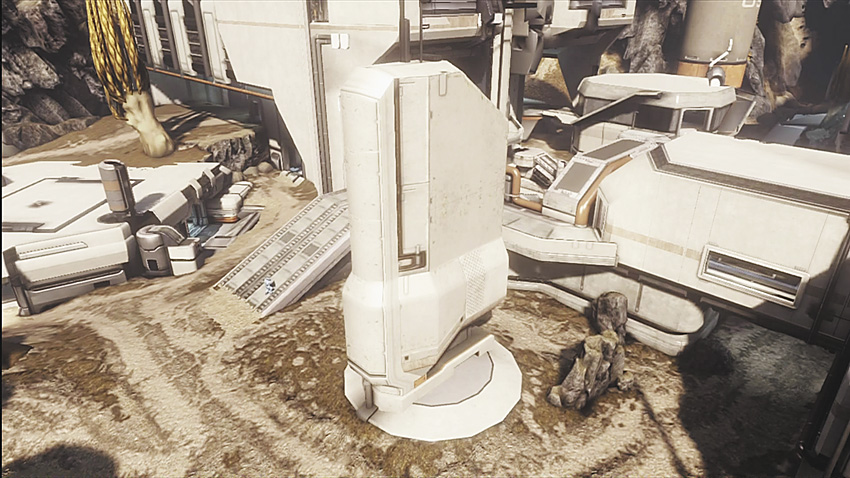
Use this structure to hide yourself from foes on the Top Jerk (19). You’re able to make your way underneath the Top Jerk from here before sneaking up behind your enemies on the Top Jerk and removing them as a threat.
15. Rock
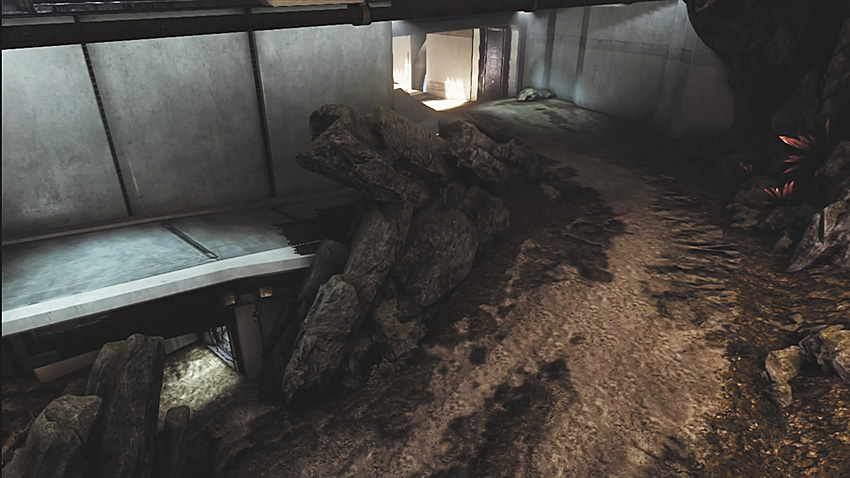
This rock provides great cover and grants you a height advantage over foes at the Warehouse (21). This is a recommended position if you’re trying to keep enemies pushed back, inside the Warehouse.
16. Front Fence
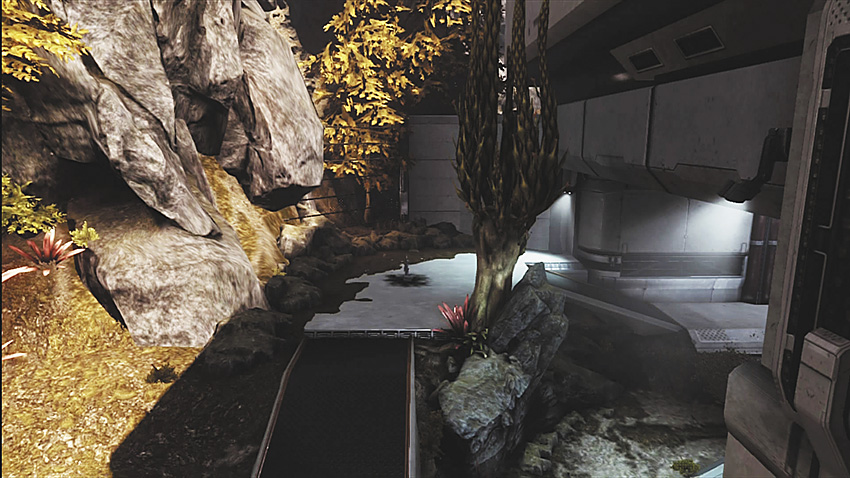
Grab the Sniper Rifle from this location and move toward the rear of the Warehouse (21) or the Back Fence (20), where you can set up a camping spot from which to snipe. Don’t stay in this area for long; you’re too exposed.
17. Silo
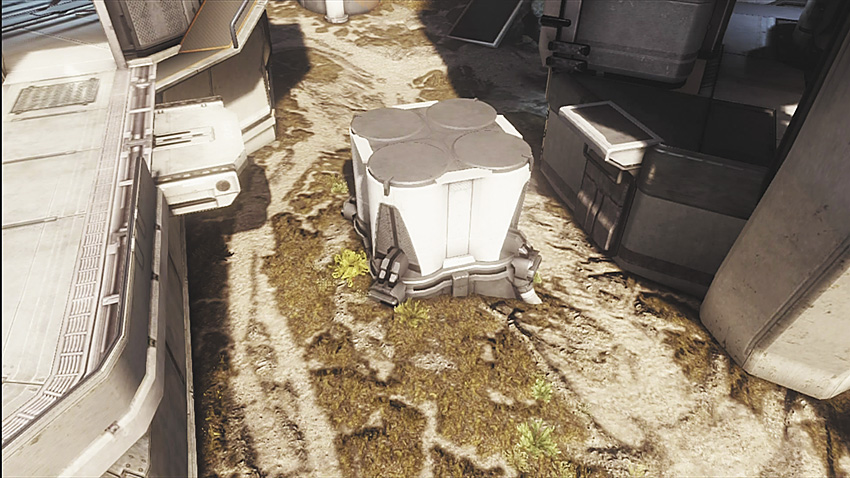
Utilize this scenery when you’re trying to jump from the Warehouse (21) to the Elbow (6) or back again. It is much more efficient to use this maneuver instead of taking the long route along the ground.
18. Street
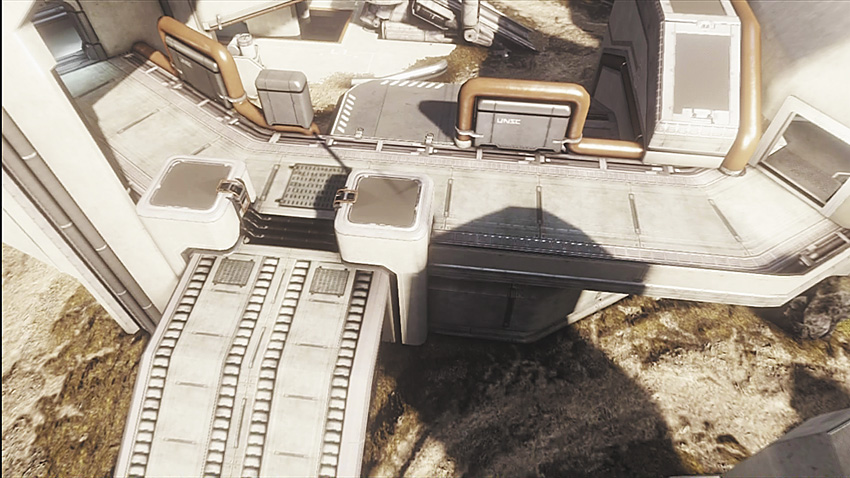
The Street offers excellent positioning for shooting foes who are spawning at the Big Door (2), and it has great cover opportunities.
19. Top Jerk
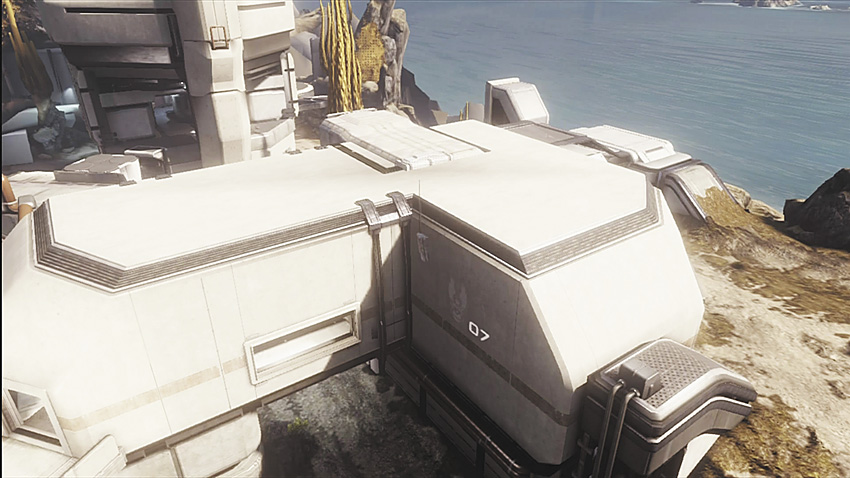
This is the optimal location on this map. (The term “Jerk” describes the type of player who enjoys prowling on these rooftops.) This is an extreme power position; you have a commanding view over the entire map and can pick off a huge number of enemies from here. Your main task is to stay alive up here; you don’t want the opposing team controlling this area. With a massive height (and cover) advantage, there’s no reason for you to be killed by someone down on the ground.
20. Back Fence
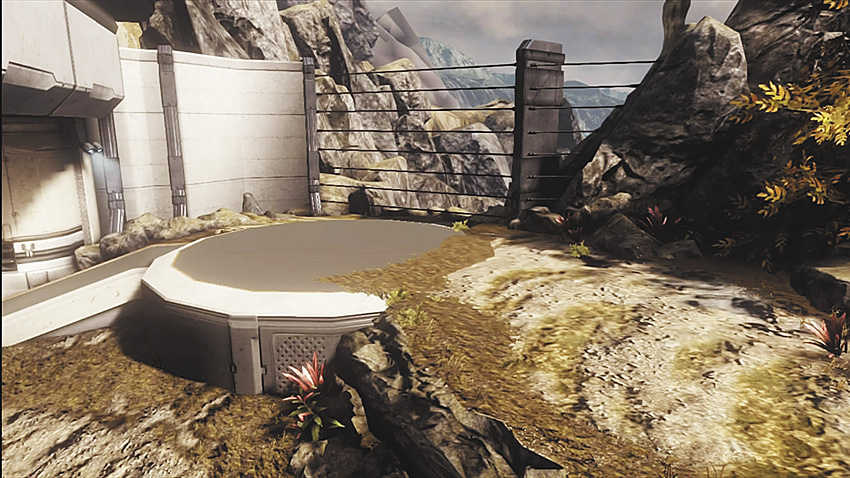
This is a commendable position from which to stop and tag enemies who are on the Top Jerk (19) and at the Rock (15).
21. Warehouse
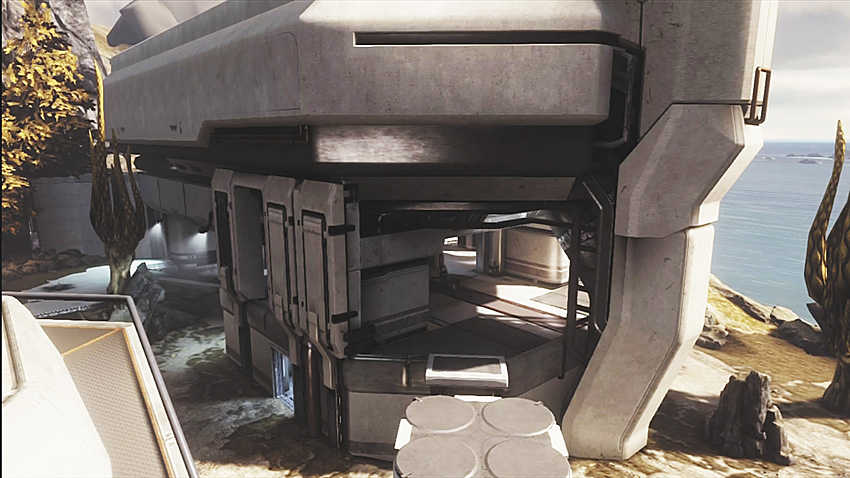
This is the worst location to be caught by enemy fire; if this happens, try moving toward the base of the Mini Jerk (13) and escape to the Factory (7).
22. Water Tank
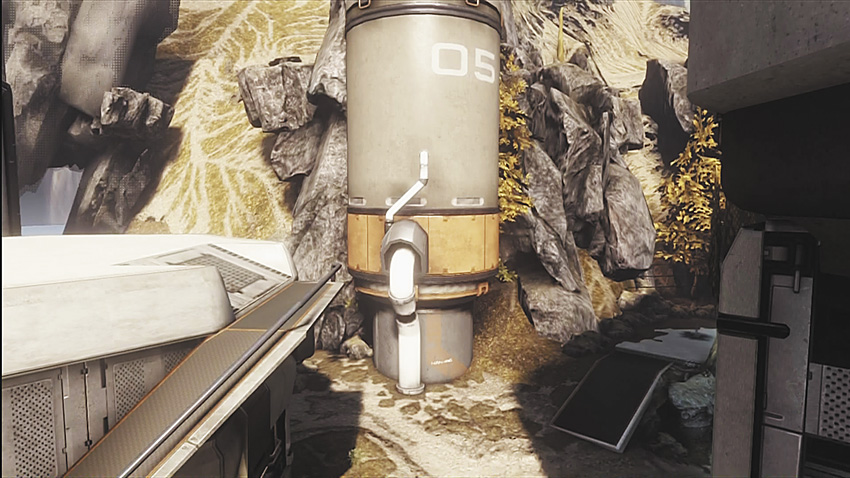
This is a reasonably good place to hide near. Also think about using the Water Tank to protect yourself from foes at the back of the Warehouse (21) when you’re at the Rock (15).
Tactics: Team Games, Infinity Pro Slayer, Individual Games
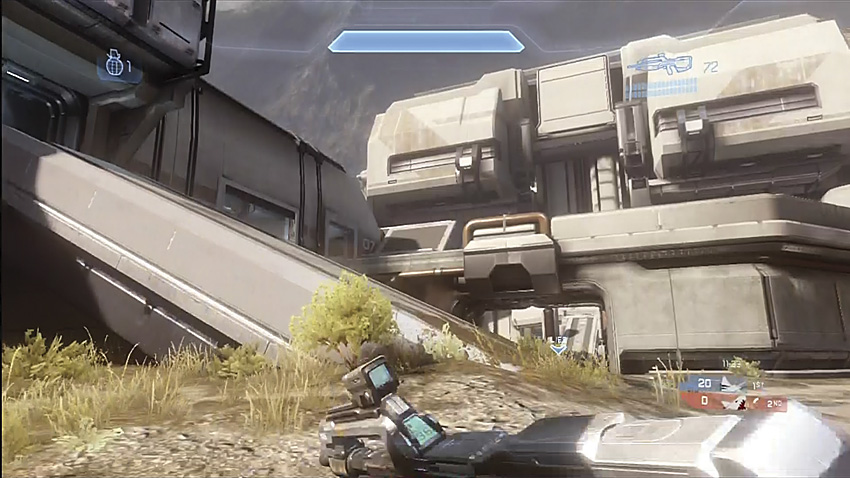
The wide open exteriors leave most players vulnerable to rooftop snipers.
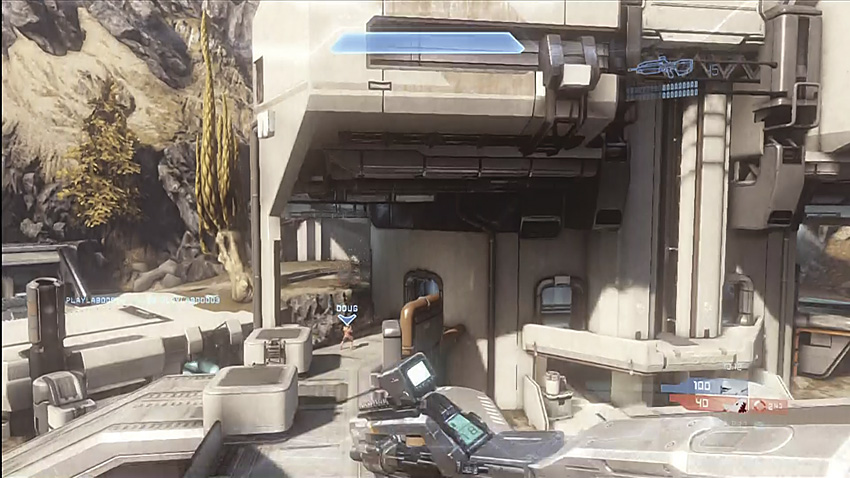
There’s no place like Top Jerk if you want to control this map.
Controlling Top Jerk
Scramble to the roof of Top Jerk, and begin to rattle off covering fire for your teammates. Weaken as many of your foes as possible while remaining alive; let the teammates in other locations finish your foes off.
Use the ramps around the Top Jerk as cover opportunities.
Don’t be afraid to enter the Kitchen; you have additional cover and you can fire through the Kitchen’s open windows.
Banish thoughts of greed from your mind; don’t hog the kills and leave Top Jerk to chase down a wounded foe; it is much more important to control this power position at all times.
The roof of Top Jerk is extremely advantageous if you’re trying to pick off foes who are running in the open.
Controlling Mini Jerk
This is another vital power position; try to combine control of this and Top Jerk to completely thwart the opposition! Mini Jerk gives you more angles from which to cover your teammates and pick off kills. The preferred plan is to hold Mini Jerk while trapping opponents back at the Warehouse.
Warehouse Warning
Avoid remaining back at the Warehouse or in the Factory; this leads to your team becoming trapped.
If you become stuck at the Warehouse, ascend to the top of this location, or move to the Back Fence to obtain a better position and better angles; then start with covering fire on your foes at Top Jerk or Rock to back them off their perches. This helps the rest of your team sneak out and try to flank the opposition.
Work for the Jerk
Is the enemy set up on both Jerks? Then your team needs to work cohesively to take over both Jerk positions by focusing on one Jerk at a time, removing the threat, setting up a sniper up there, and then concentrating on the second Jerk.
If your team is controlling one or both Jerks, the remaining teammates (who aren’t sitting on the rooftop) need to maneuver around to the Elbow and Walkway to gain an even better tactical advantage.
With both teams focusing on the Jerks, you also want to make sure you’ve plotted out a safe route around the map (depending on the foes atop the Jerks and where they’re focusing their fire). Always have an escape route, interspersed with scenic objects you can hide behind.
Rifles, Ordnance, and Long-Range Rampaging
.jpg)
It’s easy to catch players out in the open on Complex.
Teams tend to focus a great deal of their time on long-range combat, so you need to stay away from the Assault Rifles and Storm Rifles when choosing your loadout or picking up weapons. Grab a trusty DMR, Battle Rifle, or Covenant Carbine if you want to rack up those kills.
There are several ordnance spawns on this map, but they’re exposed to many lines of sight. Don’t be intimidated; simply bait an ordnance drop and pick off foes who are drawn to the Navpoint (the indicator displayed when ordnance is on the map) in the hopes of obtaining a power weapon.
Staying in the open leads to a quick death on this map: Avoid being exposed for too long; always make sure you have a corner to head around, in case a foe begins pinging you with gunfire from across the map.
If it’s late in the game and you have the lead, don’t get reckless; it’s better to sit in one of the many buildings on the map and force the enemy to come to you, or die trying!
Focus on securing the lines of sight with your team. By working together, you’re able to gain a field of vision on nearly every long-range sightline on the map. Think of this as an advance warning system, reacting first as the other team looks to push you out of your power positions.
Strongside
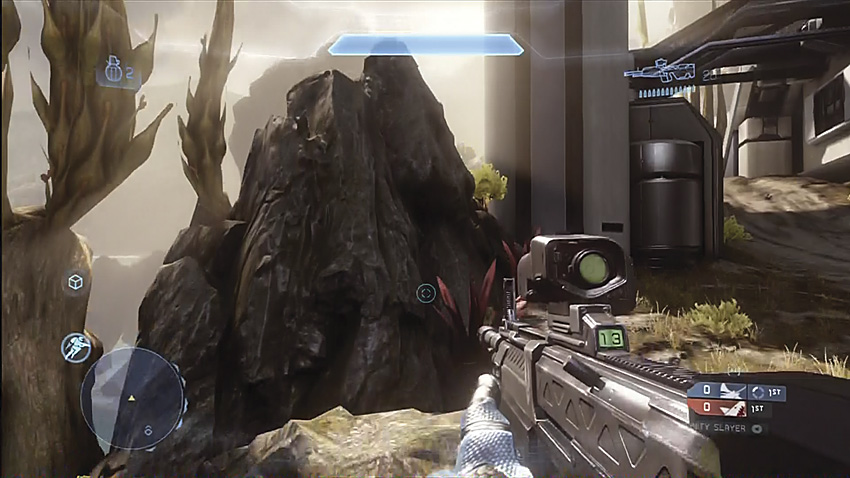
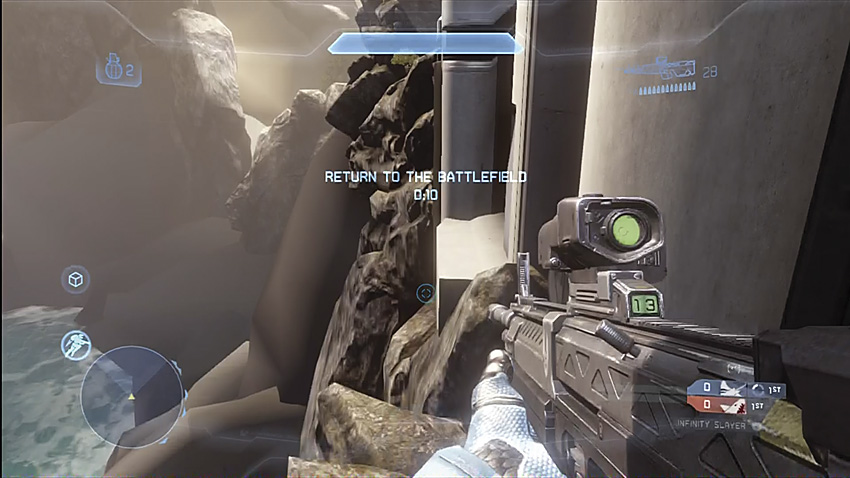
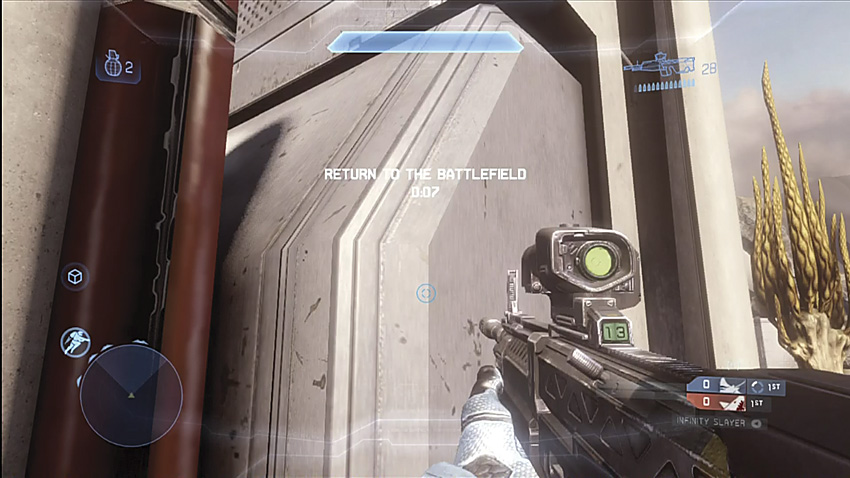
First-person perspective: Top Jerk sneaky jumps #1.
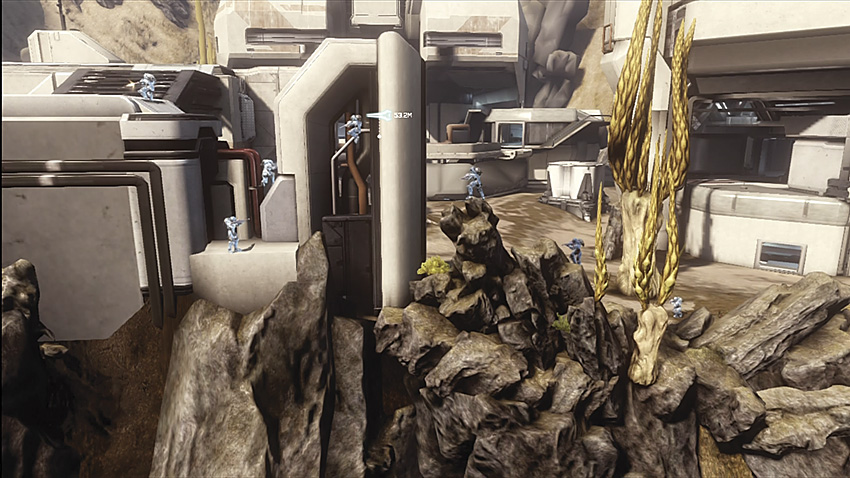
Third-person perspective: Top Jump sneaky jumps #1. This leap of faith is worth it after a little practice.