
Halo 4 Guide Campaign Mission 1: Dawn
Mission 1: Dawn
“Wake up, Chief. I need you.”
Four years have passed since the Master Chief saved the galaxy from the imminent threat of the Flood and the firing of the ancient Halo Array, a devastating Forerunner weapon that was intended to cleanse the galaxy of all sentient life. His escape from the final battle did not go as planned, and only half of the UNSC frigate Forward Unto Dawn made it through slipspace to Earth. The other half, his half, now drifts listlessly through space. His AI companion, Cortana, has stood a lonesome vigil over the war hero as he has slept in cyrogenic stasis, but his well-deserved rest is about to be interrupted.
Mission Briefing
You’re given a little time to acclimate yourself to basic movement before being thrust into combat with the Covenant infantry who have boarded the drifting wreck. Your first objective will be to reach the Observation Deck, where you discover the extent of the Covenant presence on and around the Dawn . From that point forward, your primary objective is to reach the manual missile launch controls located on the outer hull of the ship. Expect extensive resistance throughout the corridors leading to the outer hull. Dozens of troops, deployed by Phantom dropships, arrive in waves on the outer hull itself. After dealing with the immediate capital ship threat, exit from the Dawn as quickly as possible.
Enemies Encountered:
- Elites
- Grunts
- Jackals
Vehicles Encountered:
- Phantom Dropships
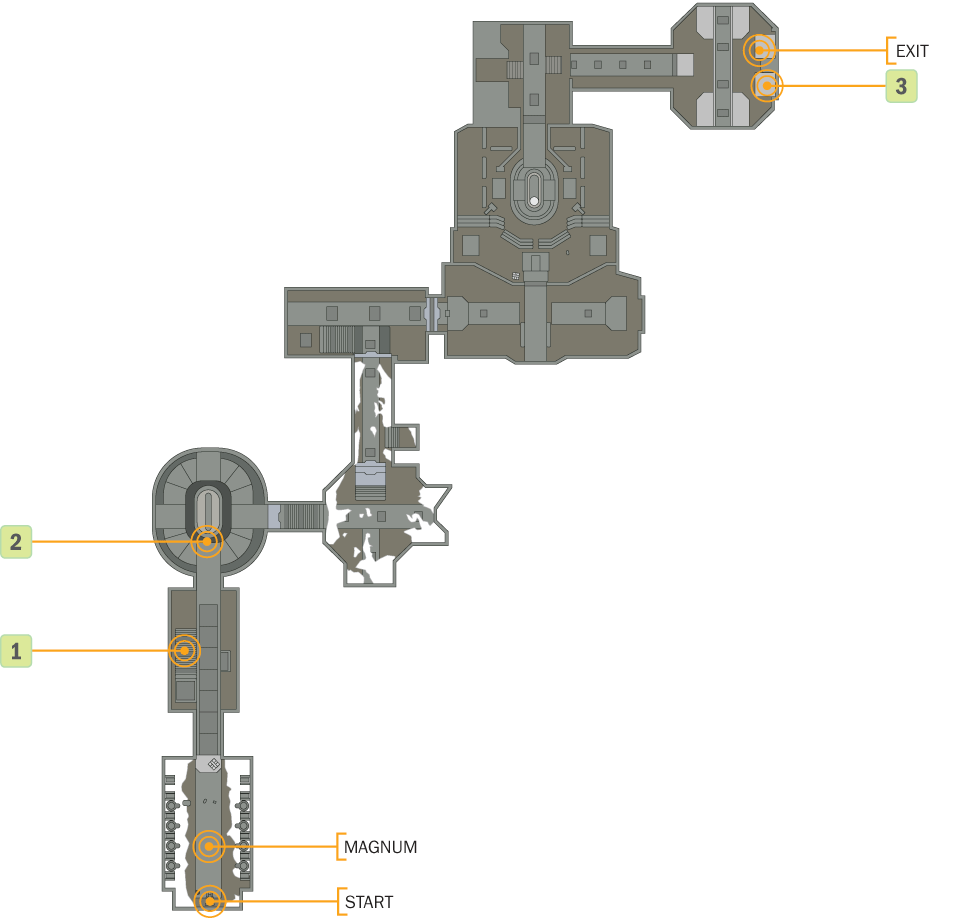
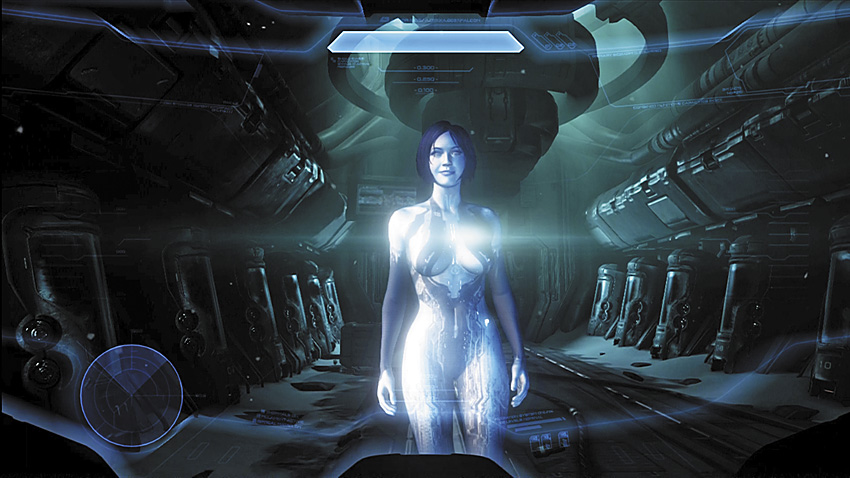
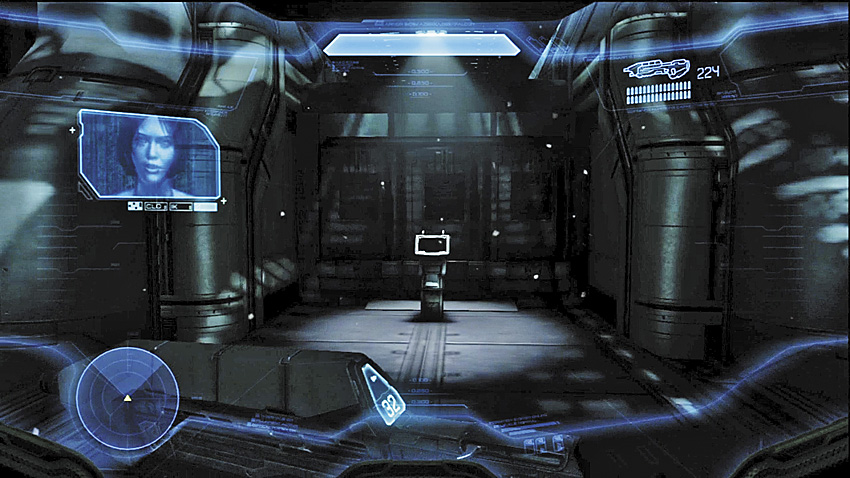
Cortana’s voice is filled with a hint of fear or possibly desperation when she awakens the Master Chief. Follow her instructions: Look up to the top of your cryo chamber and press the X button to yank on the emergency release and leave the chamber. The Master Chief automatically walks over to Cortana’s AI plinth and places her storage chip back inside his helmet. The pair are properly reunited once more. Your current mission is to get to the Observation Deck to investigate intruder alerts being triggered throughout the Dawn . As you leave, don’t miss picking up the Magnum pistol from the floor near the cryotube.


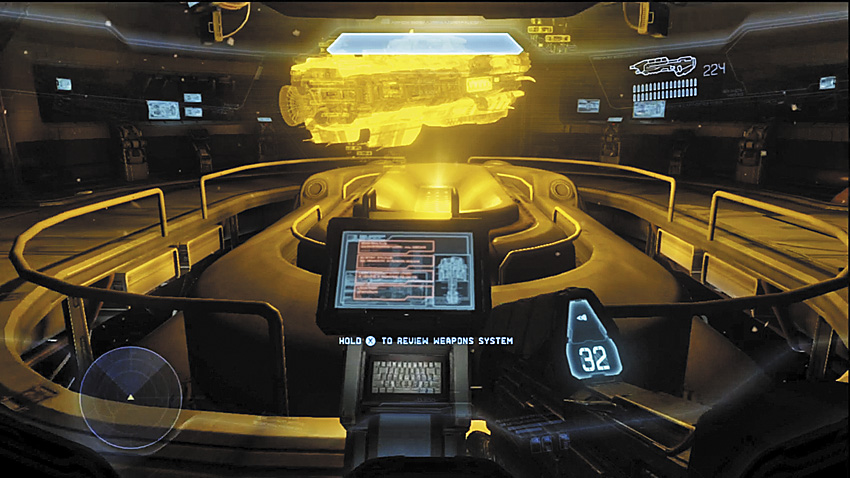
[1] There are some interesting information panels you can inspect on the way to the Observation Deck. The first is located just outside of the cryo chamber. You’ll see a set of stairs leading down to a small room with a computer console. Using the console lets you listen to a very abridged version of the Master Chief’s accomplishments throughout the Halo series. [2] Back up on the main floor, you will find a computer generated hologram of what remains of the Forward Unto Dawn . A control panel lets you inspect the ship’s systems. The Dawn is in very bad shape.
You’ll pass a holographic navigation map as you proceed, showing the Dawn being pulled toward a planet of some kind. At the same time, a powerful light phases through the whole ship. Something is scanning the vessel, but you can’t even begin to get some answers until you reach Observation.
Forward Unto Dawn
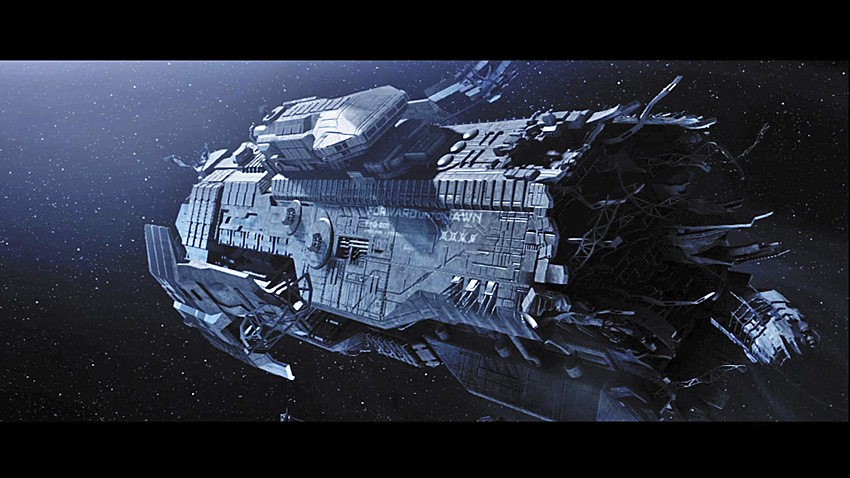
A UNSC frigate assigned to Commander Miranda Keyes.
In the closing days of the Human-Covenant War, the Dawn played a critical role in ferrying the Master Chief to the Ark to prevent the full Halo Array from firing and put an end to the Flood threat. The Master Chief and his AI partner Cortana are the only remaining crew members aboard the ruined vessel.
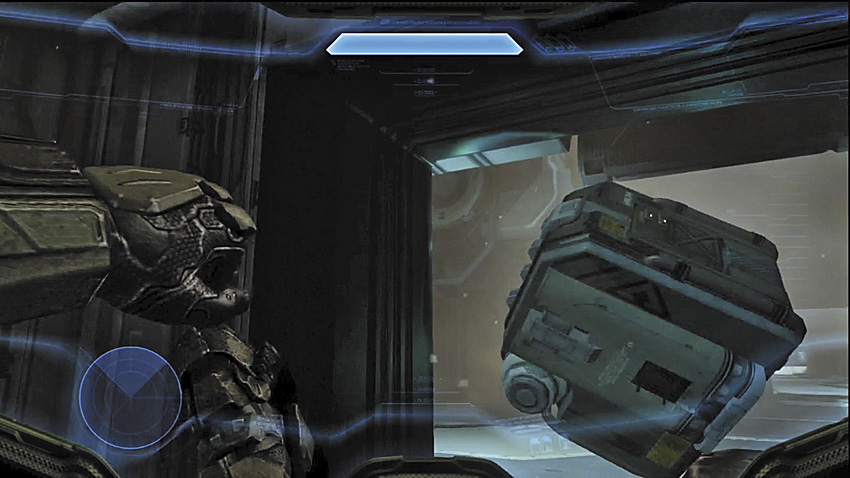
[3] Past the navigation map, you reach a sealed elevator door and are prompted to pull it open. The portion of the ship beyond it has been depressurized, sucking air and debris out into space and nearly taking the Master Chief with it. Follow the prompts to pull the Master Chief up the walls toward safety. When he turns his head to the left or right, that is your cue to move the analogue stick in that direction to avoid falling debris.
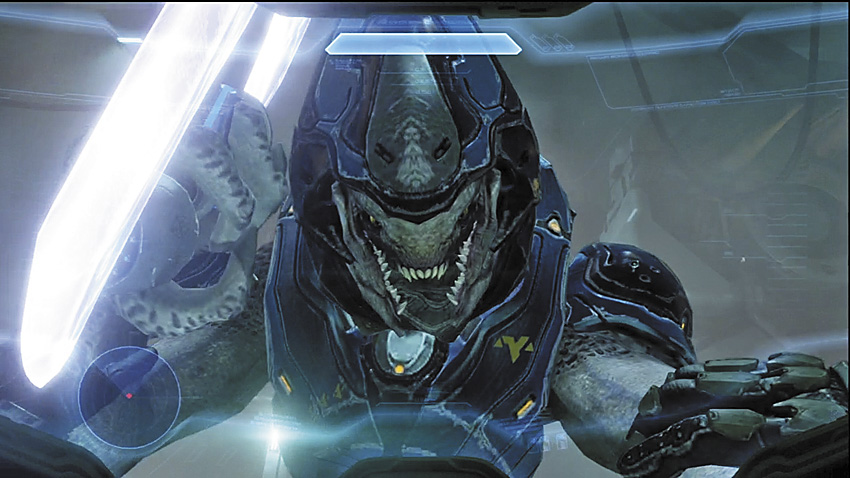
You reach relative safety at the top of the shaft, only to be accosted by an Elite armed with a Energy Sword. Follow the melee prompt to end the Elite’s life. After killing the ambusher, the Master Chief pulls himself up into a corridor that faces the Observation Deck.
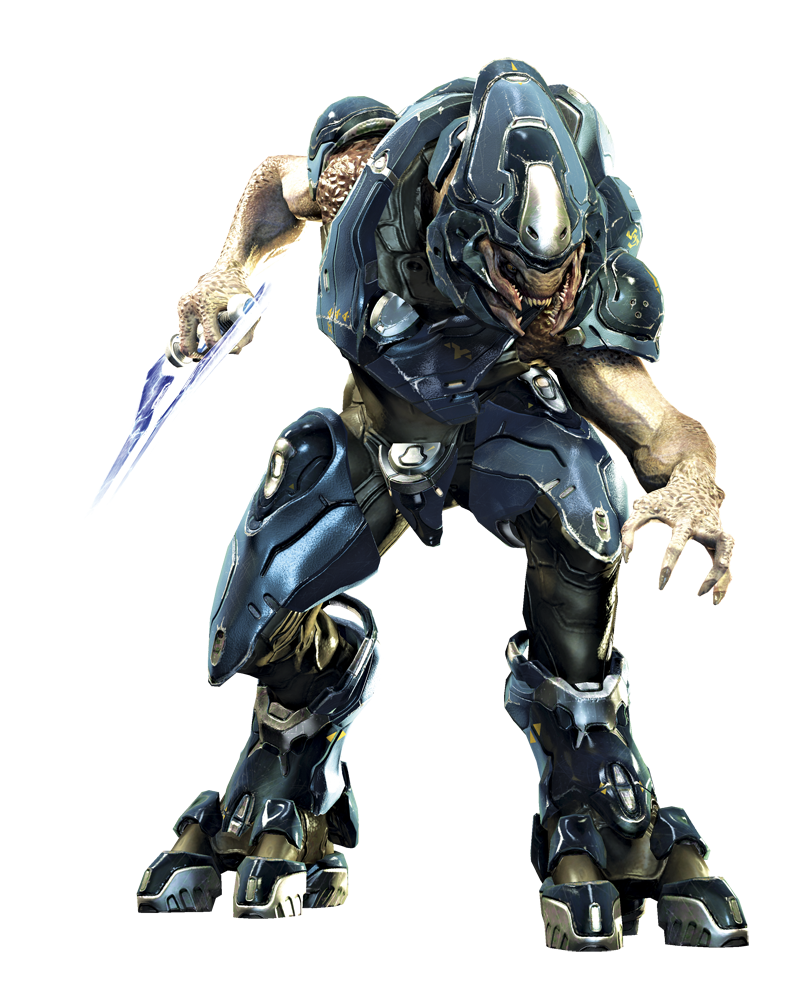
Major Firefight: The Observation Deck
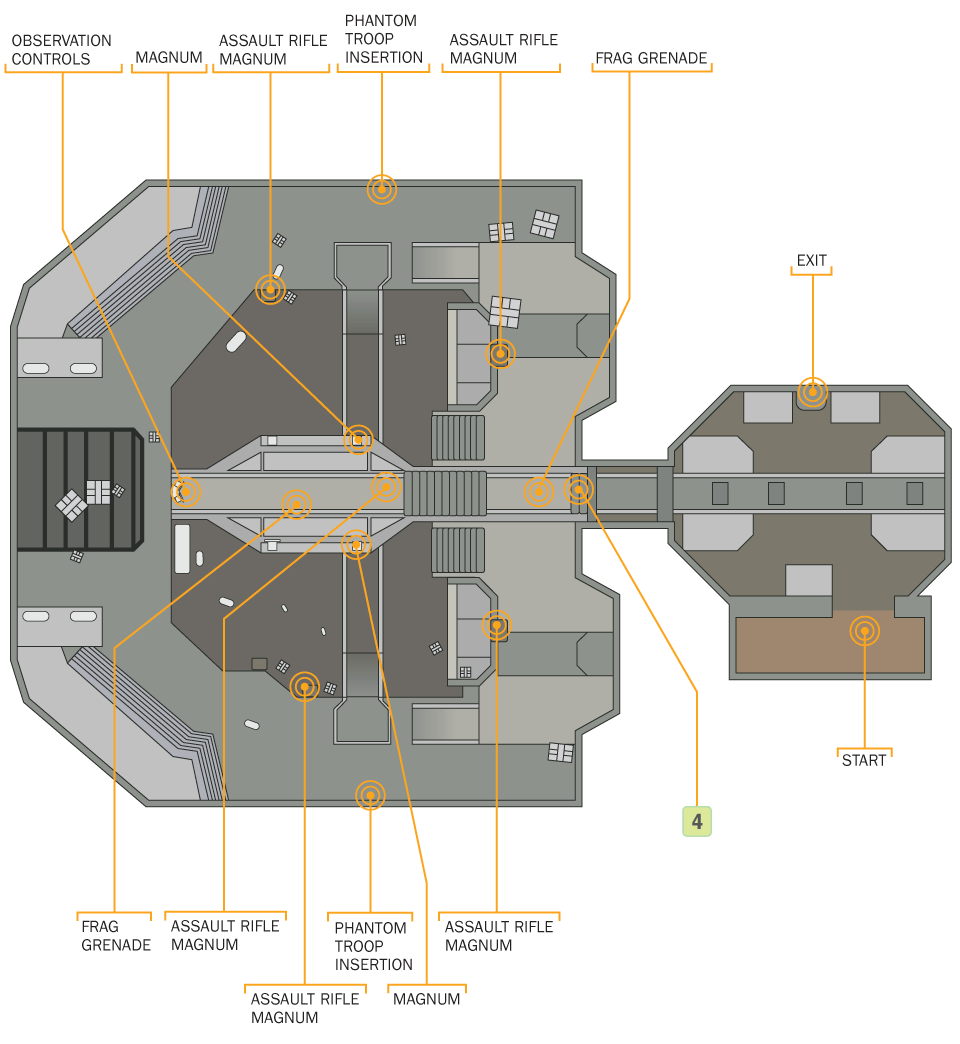
This is your first real fight against a Covenant force. After you overwhelm the group found on the deck, reinforcements soon crash their way into Observation from two separate Phantom dropships. A bad position can have you planted firmly in the center of a pincer attack, which on Heroic and Legendary is a good way to earn a quick dirt nap.
Recommended Loadout
Unless you love blue LED displays with ammo counters, you should replace your Assault Rifle immediately with a Plasma Pistol and use it in conjunction with a Magnum. Charged Plasma Pistol shots destroy Elite shields instantly, and while the Elites stagger, you can switch to the Magnum and score a lethal headshot. You can find Magnum pistols on racks mounted below the platform where the first Elite stands; there’s plenty of ammo to keep the weapon restocked, if needed.
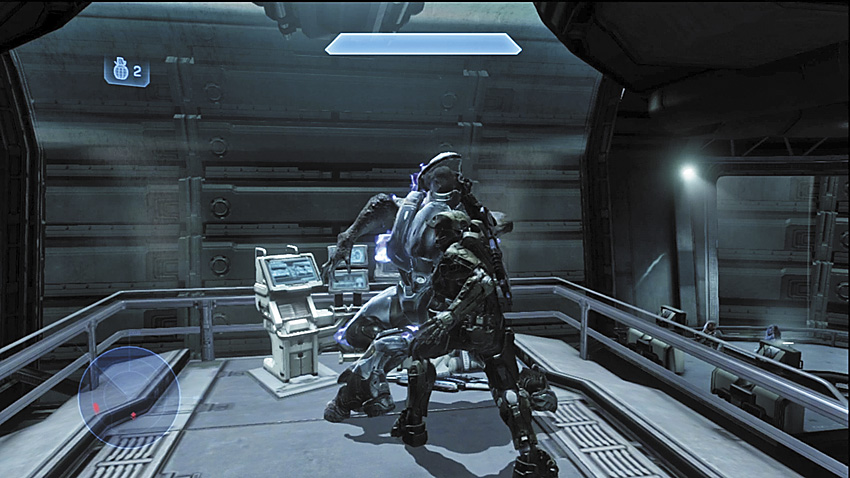
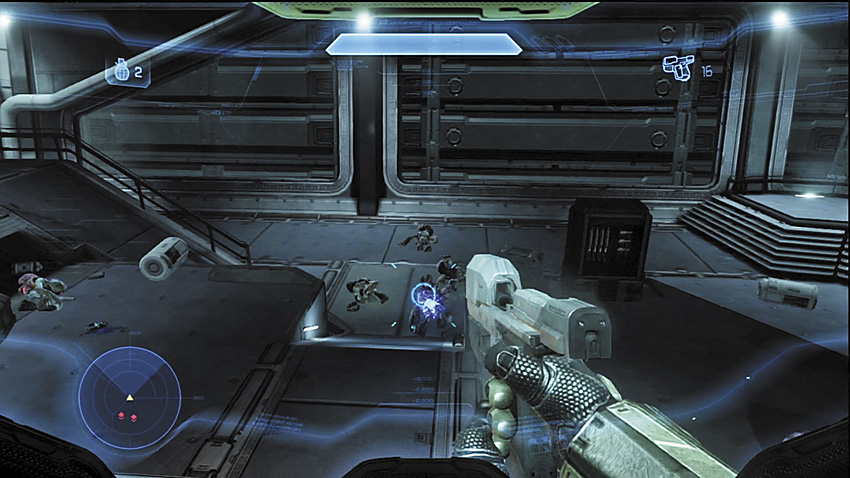
[4] You enter the Observation Deck facing a set of stairs leading up to the controls that open the protective shields so that you can look outside. At the top of the stairs, near the controls, an Elite stands with his back turned to you. A squad of Grunts patrols the lower area. Crouch to avoid detection and sneak up on the Elite. Hold down the Melee Attack button to perform an assassination and instantly kill him. His death will not go unnoticed, and the Grunts on the lower level then attack you with Plasma Pistols. Drop down and eliminate them.
Alternate Approach
You can take out the Grunts by sitting on the upper level and shooting them with your Assault Rifle, Magnum, or the Storm Rifle dropped by the Elite. There are also Frag Grenades on the upper level, which can be used to great effect on the Grunts, but you may want to save these for the next wave.



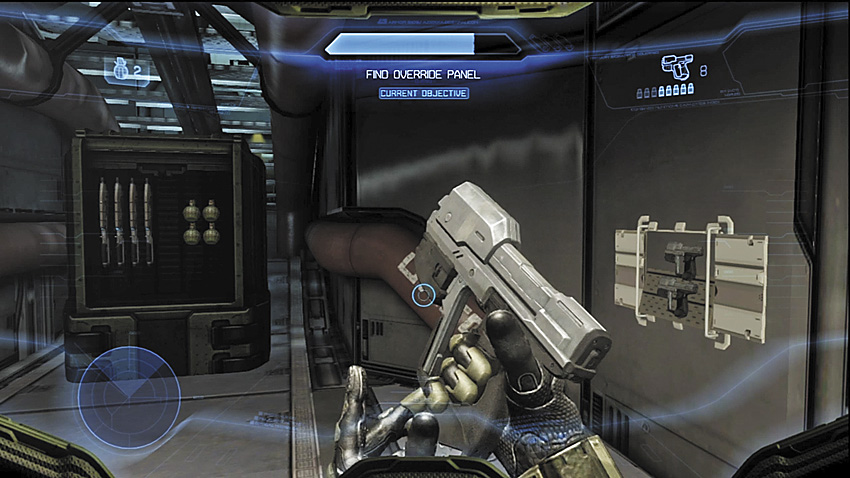
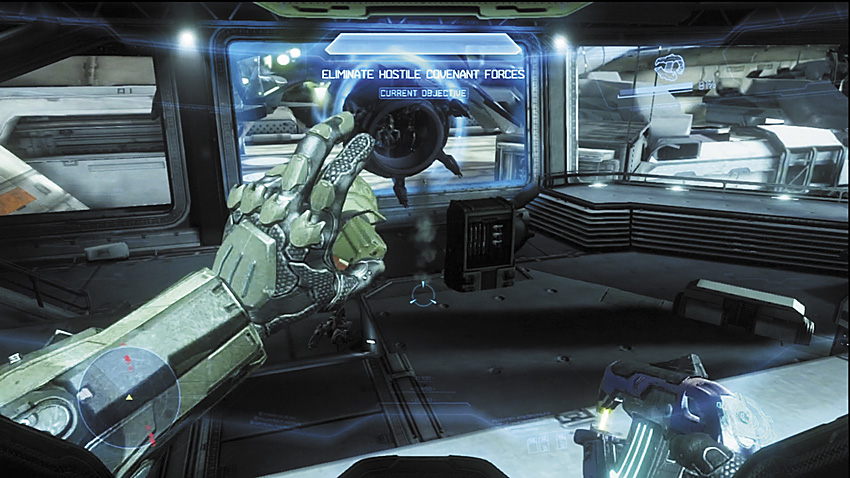
You have time to resupply when the room is cleared, so take a look around and scavenge what you think will be useful. After you’re armed up, go to the controls to open up the Observation Deck, discover a stunning and possibly demoralizing sight, and get ready for the next wave of enemies.
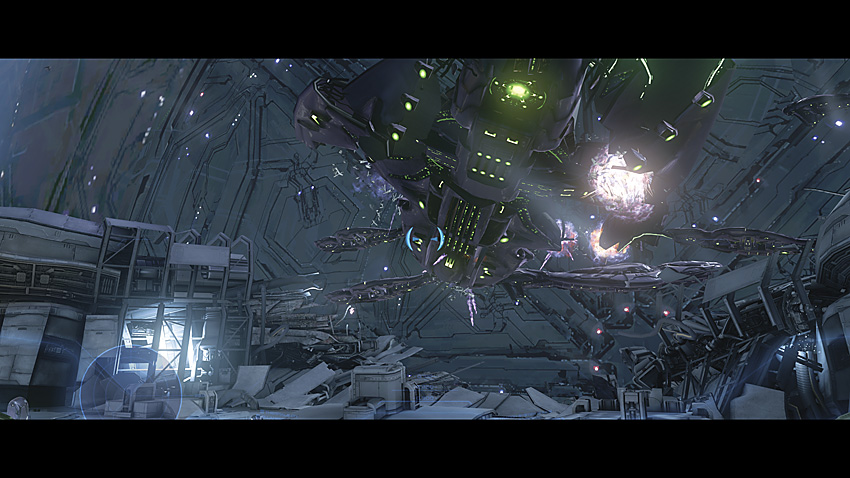
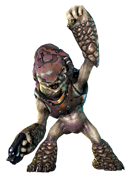
Two Phantom dropships float into view just outside of the Observation Deck, before moving to flank the room. After breaking the glass to insert docking tubes, two squads of Grunts leap onto the deck, each led by an Elite. Try to take out the Elites first to incite panic among the Grunts. Focus on one group first. Ideally, you will have weakened or killed off one of the squads entirely before the second squad has a chance to spread out behind you. By the time you deal with the first team, the second will be spreading out across the deck, which means the other Elite that dropped could be quite close. Seek him out and remove him from the picture, then finish off the Grunts. Once the room is clear, Cortana chimes in with more bad news. A Covenant cruiser is en route, and the only defenses the Dawn has left are Hyperion missiles that must be fired from a control station on the outer hull.
Alternate Approach
After the dropships insert their docking tubes into the Observation Deck, if you post yourself right next to one of them with your back to the tube entrance, the Covenant tend to jump down right in front of you. This can be used to set up a quick assassination of one of the Elites. Be careful, as the panic incited by killing the Elite right away may cause one or more of the Grunts accompanying him to attempt a suicide grenade rush against you, and they are all in close proximity if you use this approach.
Legendary Strategy
You’ll probably follow similar tactics to what you used on Heroic, but this time your enemies will be considerably more resilient and harder hitting. Start off by assassinating the first Elite, then go to work on the Grunts below. The second wave is where things get a little hairy.
Don’t forget about the Frag Grenades you can procure throughout the room. When the Phantoms deploy their docking tubes through the glass, it’s still a good idea to saturate the areas troops are being deployed at with grenades. Strongly consider using a Plasma Pistol and Magnum combo to break their shields, followed by a swift headshot. The Magnum gets a lot of mileage simply because it’s so effective at popping heads quickly. Always remember, head shots are the key to Legendary.
Legendary Gameplay Video
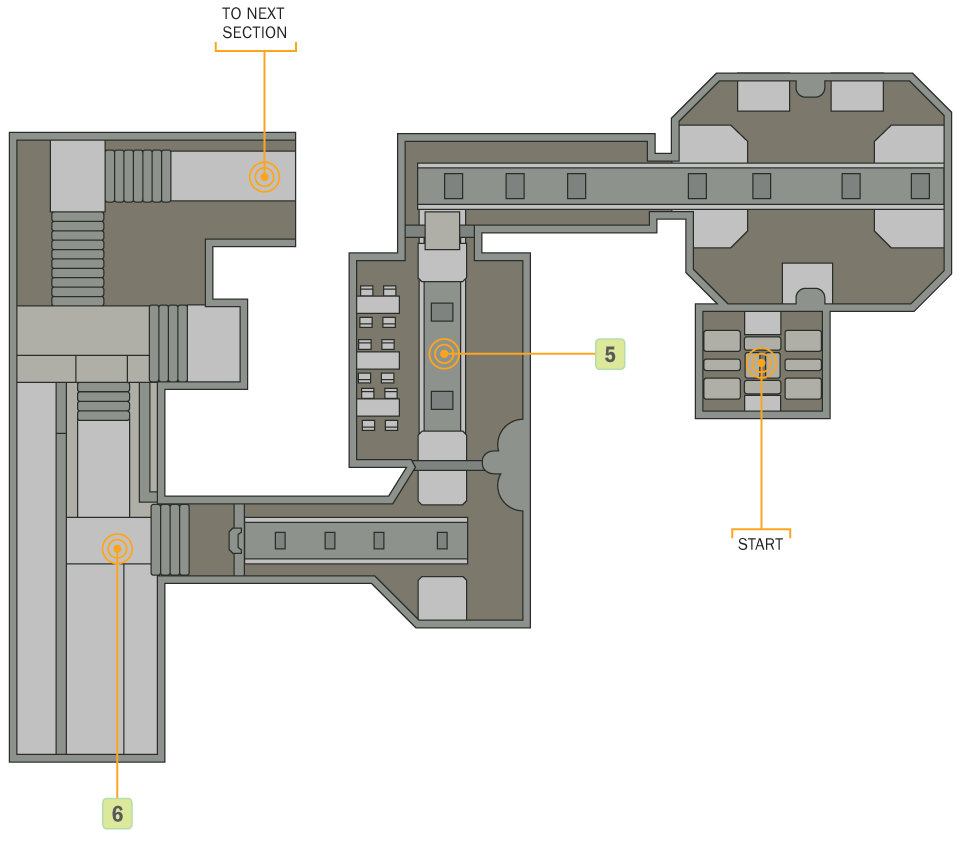
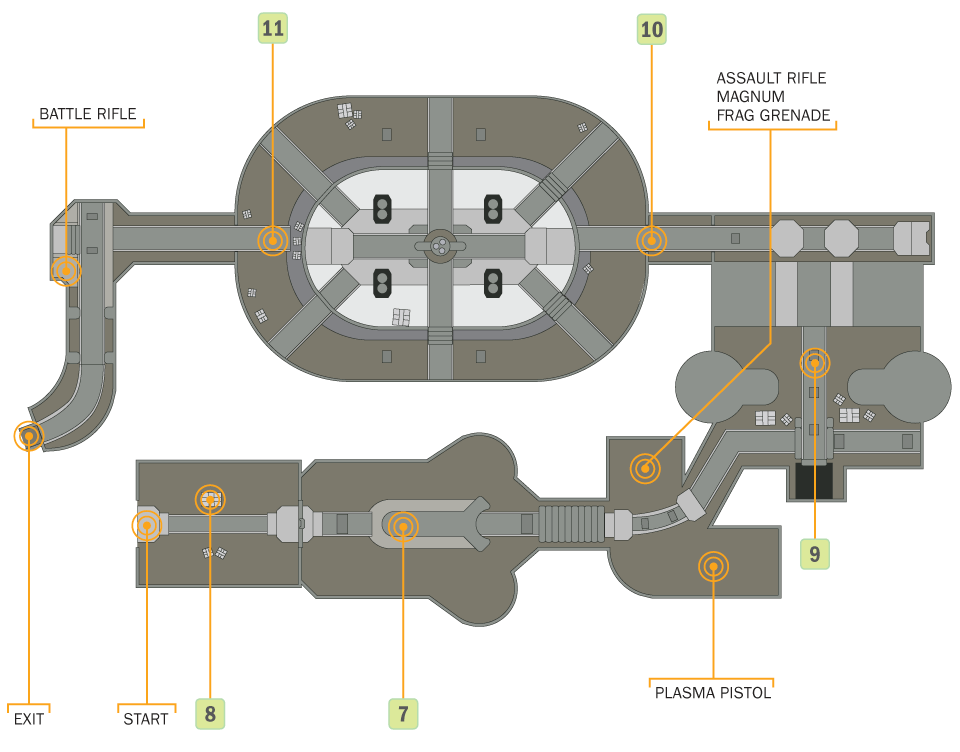
[5] Just past this door, you encounter a pair of Grunts with their backs turned to you, with an Elite at the other end of the hall looking right at you. You can use a Frag Grenade to try to take out the Grunts, but the Elite is more likely to evade a frag. You might luck out and find some Plasma Grenades among the corpses of this group, as well as some Needlers. Past this group of enemies is another corridor with a sealed door that opens when you approach.


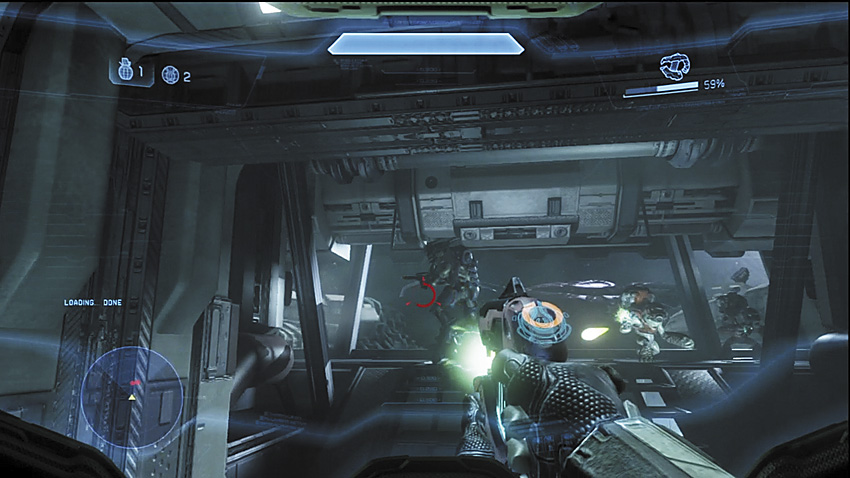
[6] Another Elite and a squad of Grunts awaits on the other side. Try to take out this Elite quickly, as it will try to retreat farther into the ship and join up with another Covenant squad. A Needler can help you cut down the Elite quickly on Heroic or Legendary. The Grunts, living or dead, may act as his shields against the needles, so be careful.
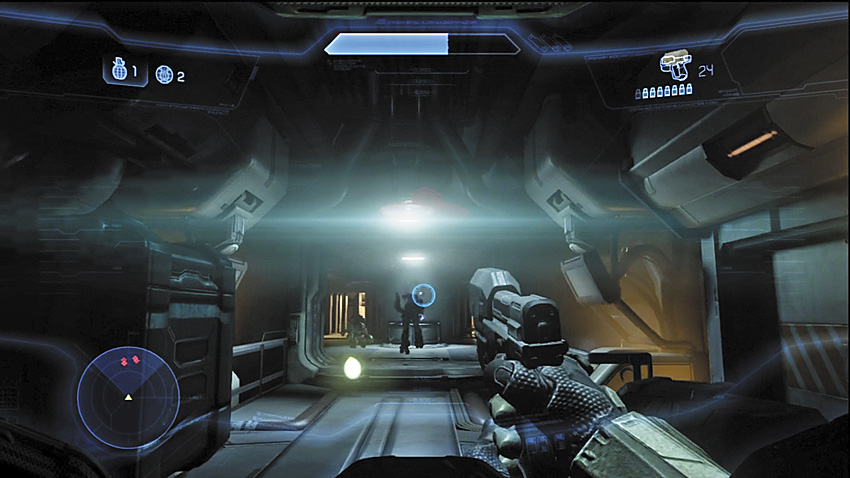
[7] Another Elite at the end of this corridor is the leader of a Grunt team. You can use the large shipping container [8] in the corridor as cover, but be aware that large explosions can shift this container around. The Covenant are also experts at throwing Plasma Grenades over the container to try to stick you. After killing the Elite, execute any surviving Grunts.
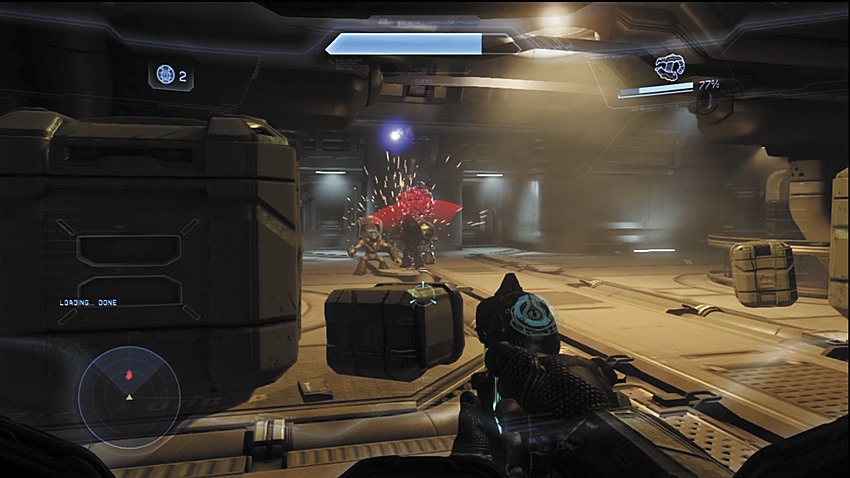
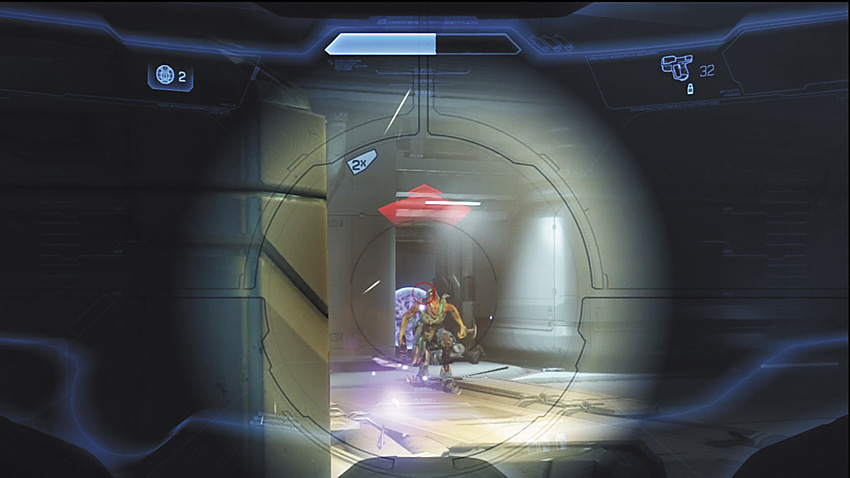
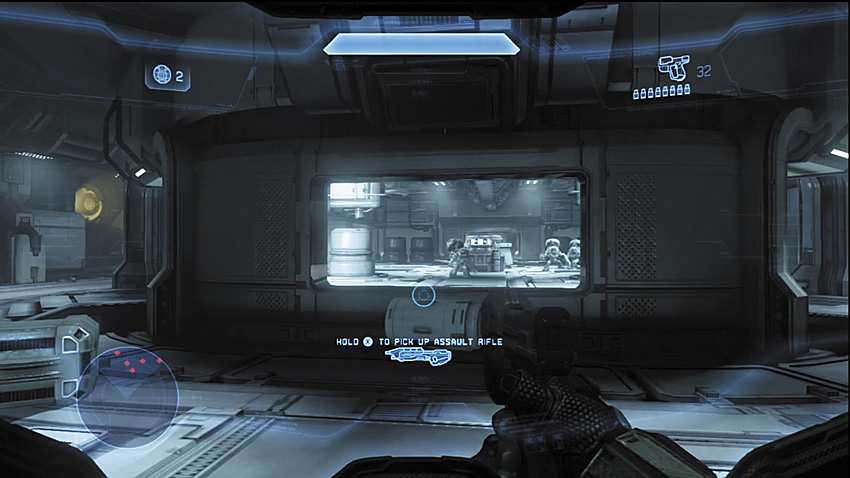
After dealing with the enemy at point [8], you enter a room that has a rack filled with Assault Rifles and Magnums, along with some Frag Grenades. [9] This last group of Grunts lead by an Elite is joined by a pair of shield-equipped Jackals. This is an especially dangerous encounter if you stick too close to the enemy, and often they refuse to chase you deeper into the ship, electing instead to hold this position. Some of the Covenant here come armed with Needlers, which makes cover absolutely essential. After this firefight, a checkpoint will be activated.
Legendary Strategy
[9] The final squad in this chain can be very tough if you’re unprepared on Legendary difficulty. It’s close quarters with fairly little room to maneuver, which can lead to quick deaths if you’re unlucky. Try to enter this battle with an Magnum and a Plasma Pistol, if only to wipe out the Elite immediately. If there are still Needlers available from previous battles, consider going back and snagging those in exchange for the Plasma Pistol. The super-combine explosions from a Needler barrage can take out multiple Grunts. When the Jackals make their appearance, remember that the Magnum can put them down in two shots: one to the exposed hand that’s holding their weapon, which causes them to move their shield, and another to their head as they stagger from the first shot.
Legendary Gameplay Video
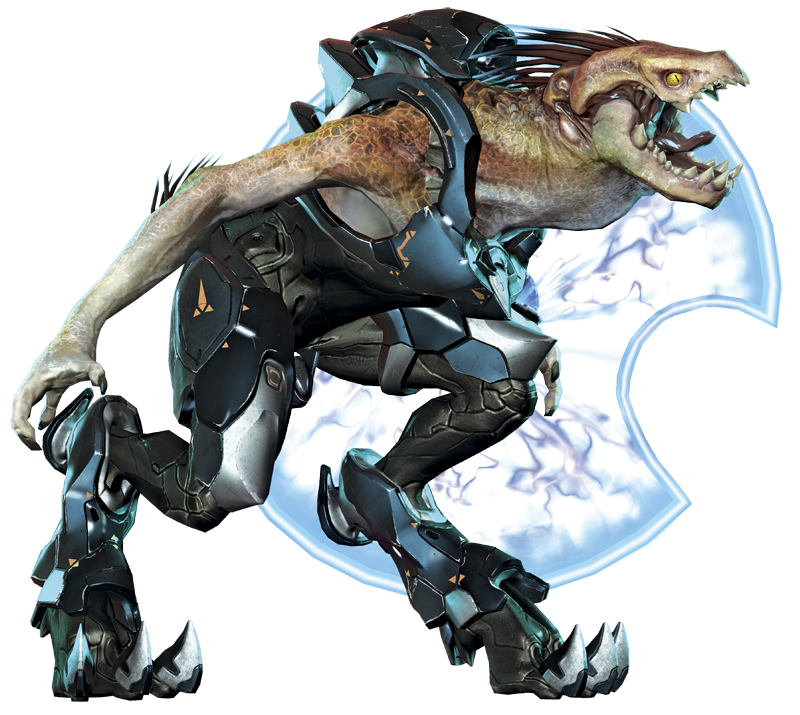
Major Firefight: Before the Air Lock
[10] The large room just before you reach the air lock to the outer hull is divided into two sections: a room within an outer ring. There are four points of access between the outer ring and inner room. Cover dots both sections, but the inner room is not a safe place to try to hole up, due to the fact that enemies can use the outer ring to flank you from multiple directions simultaneously.
A large squad of Grunts start off patrolling the central area, with shield-equipped Jackals in the outer ring. The real threat holds position near the air locks you need to pass through—a trio of Elites. Fortunately, if you play your cards right, you can avoid engaging them until you’ve cleared out the vast majority of the other enemies.
Recommended Loadout
Because of the large numbers of threats you’ll be facing in relatively close proximity, you’ll want to have a quick and efficient way to cut them down, and the Magnum pistol is perfect for wiping out the Grunts and Jackals. When dealing with the Elites, you’ll be drawing them out one by one ideally, so a Plasma Pistol is a good secondary weapon to deal with their shielding.
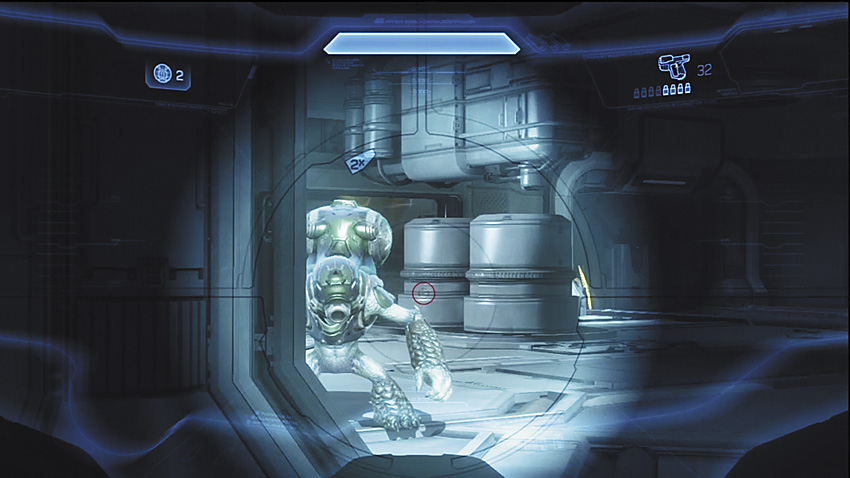
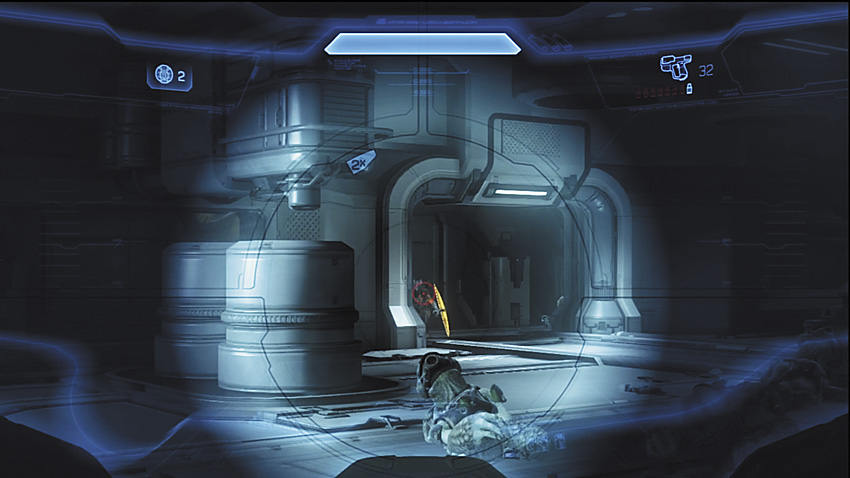
Start the party by engaging the Grunts in the central area. If you move fast when starting this encounter, you might catch the Jackals there as well. Avoid charging into the central area until you’ve ensured that you have sufficiently cleared it of threats.
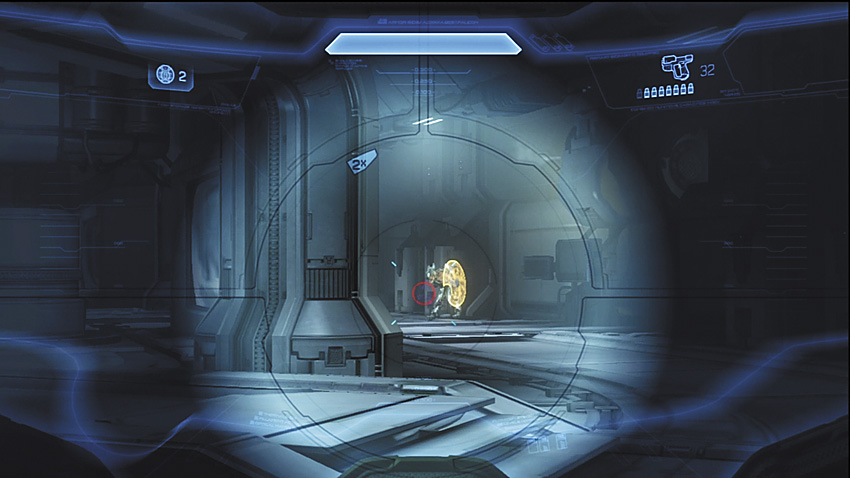
The Jackals have a tendency to retreat to the outer ring. If they start to fall back toward [11], don’t pursue them recklessly, as that is where the Elites are holding court.
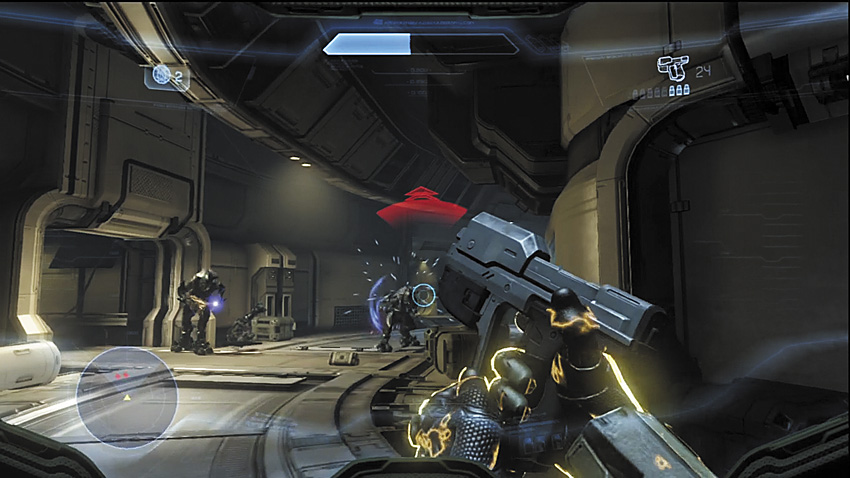
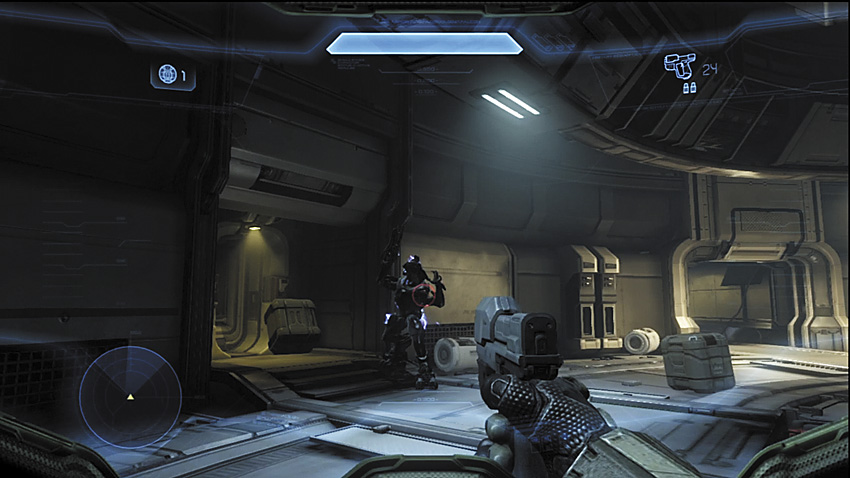
[11] The three Elites steadfastly try to stay near the exit to the air lock you need to pass through. It is possible to draw them off one at a time. It’s best if you can avoid getting them to join up with the other Covenant in the room, so don’t pursue any retreating stragglers toward them. One of the Elites may be armed with a Concussion Rifle. If that’s the case, make sure you know your surroundings well enough that you’re able to retreat while facing him. Trying to stand your ground against that level of firepower is not a good call.

Legendary Strategy
This battle might be the first serious wall players face during a Legendary run. Because of the ramped-up health totals, it becomes imperative that you eliminate the Grunts and Jackals as quickly as possible with headshots from a Magnum. This, of course, is much easier to say than to execute, as every enemy on Legendary is more prone to evasive action, and also hits you that much harder. You absolutely need to avoid the possibility of being flanked while dealing with the Elites later, so make sure you’ve dealt with the small fry entirely first.
Legendary Gameplay Video
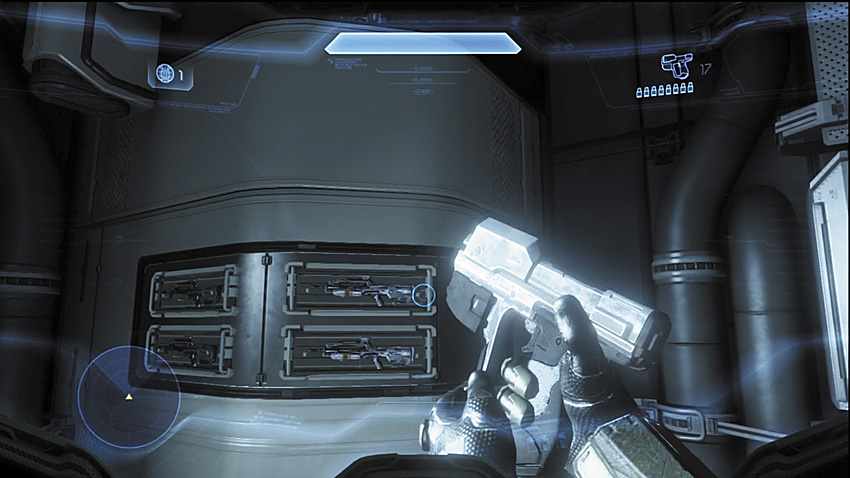
In the aftermath of this fight, proceed toward the air lock, but don’t miss out on the Battle Rifles that appear on wall mounts. If you’ve kept your Magnum this whole time, now’s the time to part with it. You’re going to need the Battle Rifle’s superior ranged capability as soon as you exit the air lock.

Major Firefight: The Outer Hull
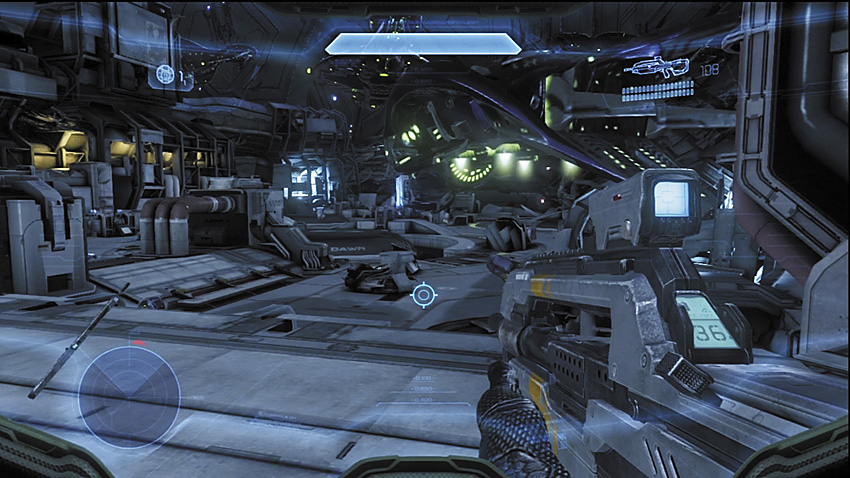
Soak in the sight of the ruined hull, the enormous planet in the distance, and the Covenant fleet hovering ominously nearby, then get ready to go to work. The climactic battle that leads to the firing the Hyperion missile is divided into two phases. As you step out from the air lock, a pair of Phantoms drop off Covenant troops on the lower section of the hull, while Jackal Rangers snipe from the walkways on the other side of the hull from where you enter. After you fight your way to the launch controls and fire the weapon, more Phantoms drop off Covenant reinforcements near the missile tube, and they’re intent on stopping you from completing your mission. Be aware that the outer hull is a low-gravity environment, which makes your jumps much floatier than usual. Dead enemies will float away from the hull, and so will their weapons, which makes rearming with Covie weapons a bit tougher than usual.
Recommended Loadout
The Battle Rifle will serve you well throughout this firefight, and there are racks that contain more ammo for the weapon, so you can stay well stocked for the duration of the fighting. Jackal Snipers are carrying the Covenant Carbine, which can make a good weapon to switch the Battle Rifle out for if the ammo runs low. The long ranges can potentially make the Plasma Pistol less reliable for dealing with Elites, but it should still be considered if you come across an Elite in close range. A Storm Rifle is also a good compromise.
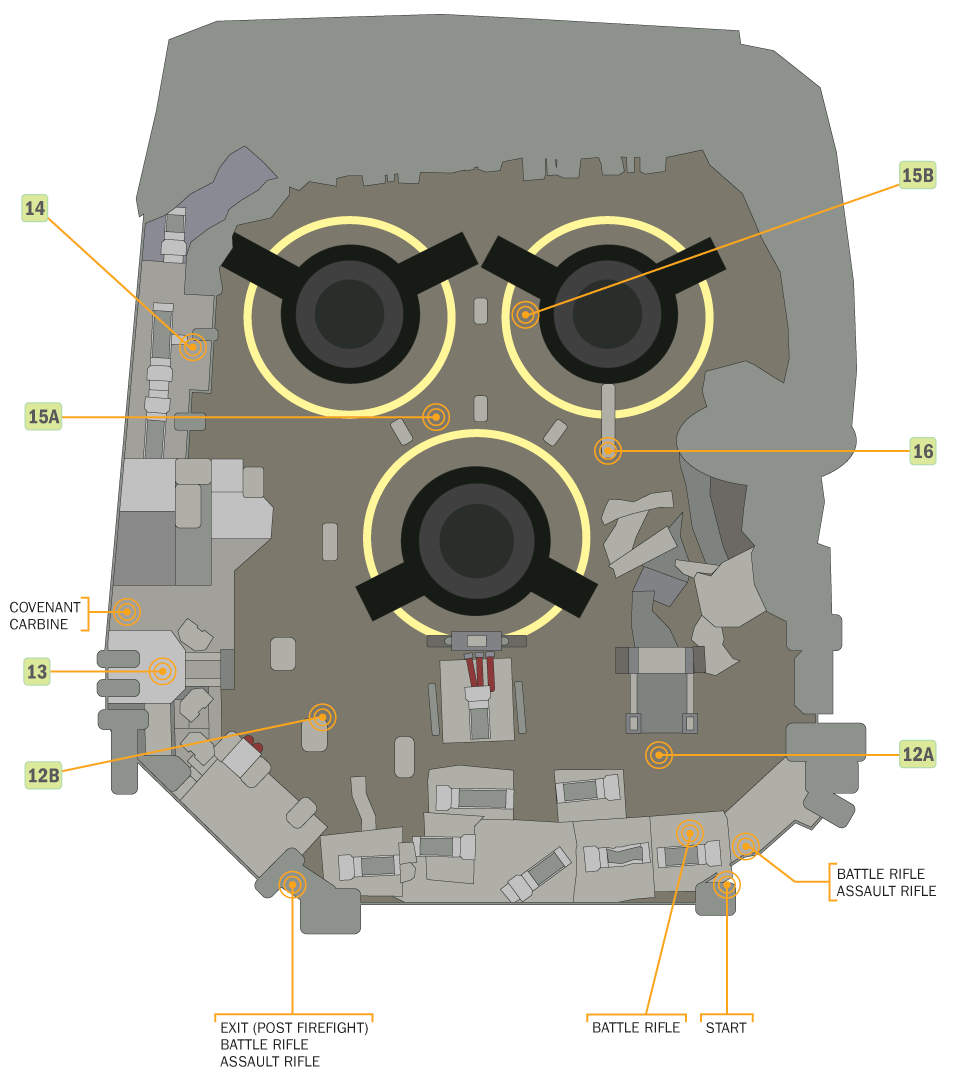
The battle starts as soon as you set foot onto the outer hull. Phantom dropships begin off-loading troops at points marked [12A] and [12B] on the map, while Jackals snipe from the position marked [13].
The dropship closest to where you start leaves behind Grunts and shield-equipped Jackals, while the far ship drops off the same, along with a pair of Elites. More Elites can be found along the walkway where the snipers are positioned, and that walkway happens to be where you need to go to reach the missile controls.
You must find some way to deal with the Jackal Rangers before engaging anyone else, and there’s a couple of ways to do that. You can stick near the air lock you came from, using the nearby walls on the walkway for cover. Once you spot the snipers, the Battle Rifle can snipe them, even if the target reticle doesn’t turn red to indicate a valid target. With the snipers down, you can more safely take on the dropship team at [12A].
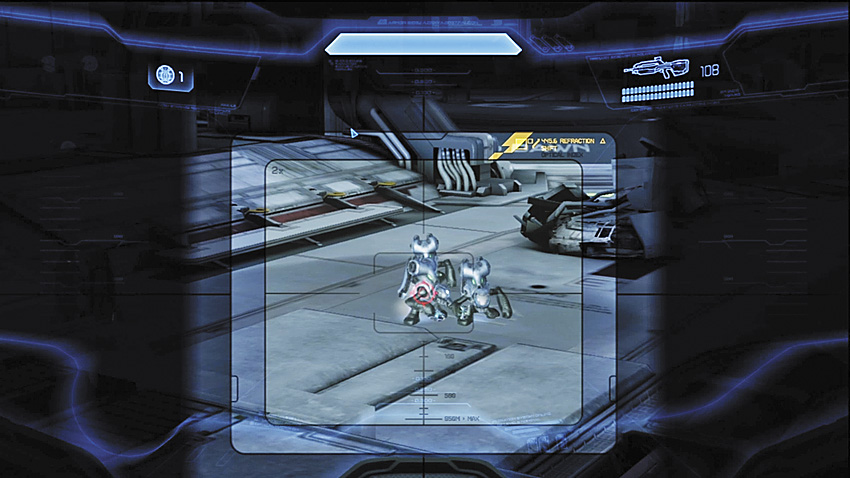
It’s also possible just to rush the first dropship team, sticking them with Plasma Grenades if you’ve got them, and hosing the rest down with the Battle Rifle. This has the obvious drawback of exposing you to their guns, and the Phantom, if it’s still nearby, may join in with its own firepower. The snipers may also have a line of sight, but there are structures scattered throughout the hull that may interfere. You can use this to your advantage while clearing out the hostiles at [12B], but beware the Elites that join the fun here.
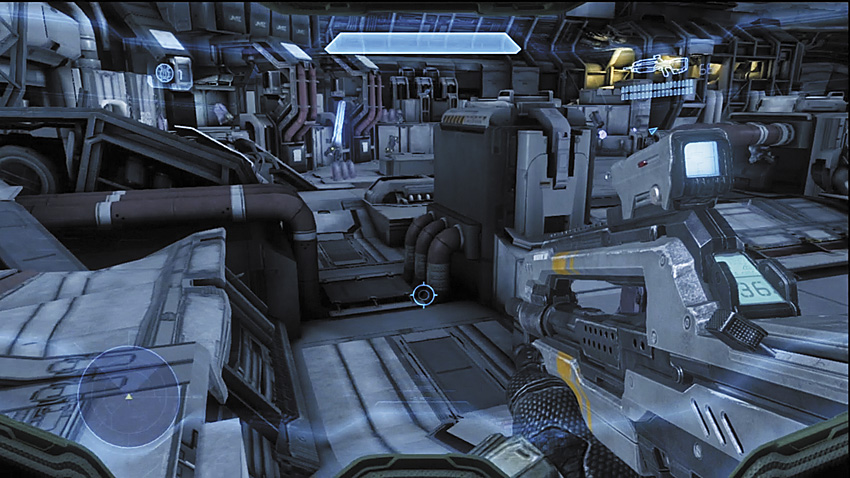
Another option is to stick to the upper walkway and try to work your way along this perimeter toward the snipers, using the elevated position to cut down the Covenant stalking the lower hull. You’ll still want to wipe out the snipers early on, along with any shield-equipped Jackals that join them on the walkway, but this keeps you relatively safe from the dropship troops.

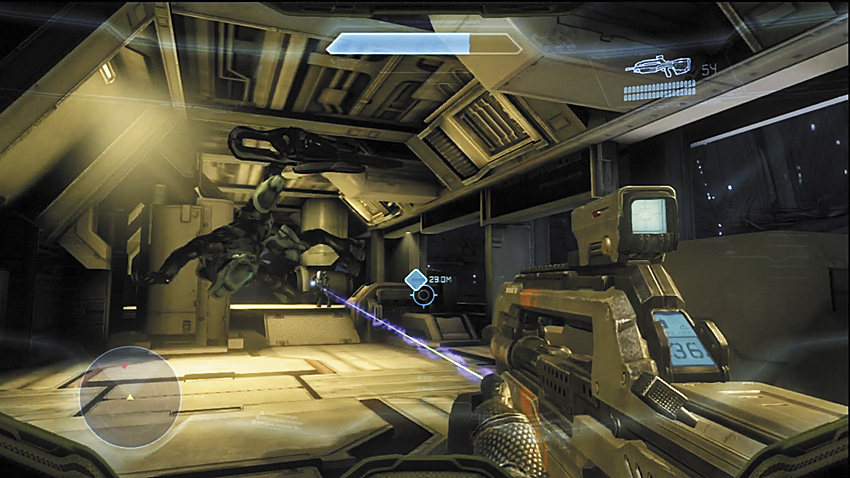
The controls at [14] , as well as the walkway leading to them, will have more Jackals and an Elite guarding it. Once they’ve been dealt with, fire the Hyperion missile!
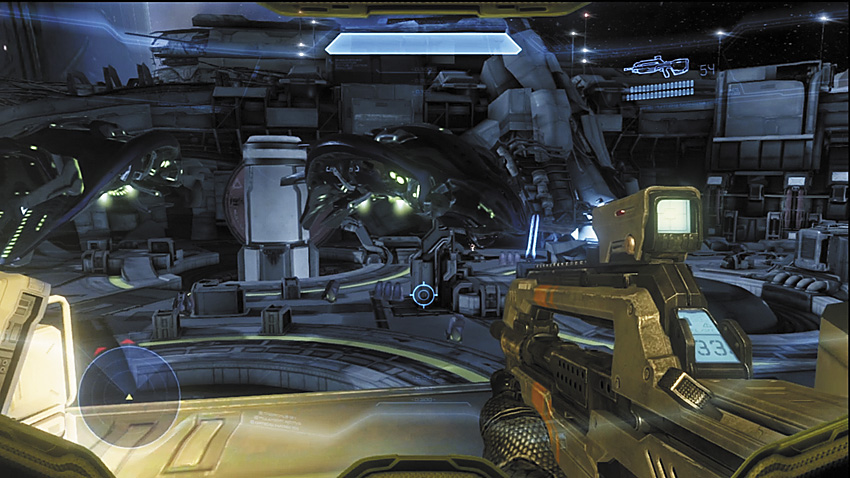
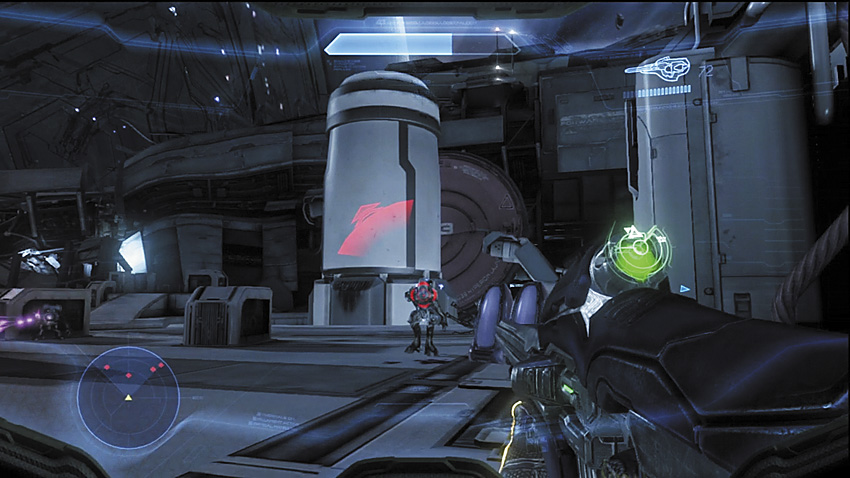
It would be just too easy if there weren’t complications. The missile is stuck in the launch tube, and you need to go over to the tube and force the launch doors open completely. Around this time, more Phantoms show up, intent on deploying troops at [15A] and [15B]. The hostiles closest to the missile silo [16] will include Elites. It’s possible to flank them using the walkway to take a long walk around the perimeter, and get closer to the missile safely, sniping as you go with the Battle Rifle. Trying to fight straight through them is possible, but quite risky should you get outmaneuvered.
Alternate Approach
If you’re fast, and start making your way to the missile the moment you trigger it to fire, you might be able to reach the stuck release clamp just before the enemy reinforcements arrive. However, you must sprint as much as possible over to the clamp, otherwise the Phantoms will not only be dropping off troops, they’ll also likely have spotted you and will turn their cannons on you.
Legendary Strategy
Caution is the order of the day. Having so many enemies spread out over such ranges can be nightmarish to deal with, particularly the snipers. The big difference here is that the Jackal Rangers may come equipped with powerful Beam Rifles. Because of the danger presented by those rifles, you want to use the Battle Rifle to take out the snipers as early as possible. Sticking to the upper walkway, near where you first cross onto the outer hull, is a safe way to reduce the effectiveness of the snipers while dealing with the troops on the lower hull. Above all else, proceed methodically to ensure that you haven’t left any potential threats to flank you. Don’t forget the low-g nature of the environment, and avoid making careless jumps out in the open, lest you get cut to pieces by anyone who can draw a bead on you.
To speed things up after attempting to fire the missile, you can still rush quickly over to the missile tube to trigger the final launch sequence. This isn’t as easy as it may have been on easier difficulties, as the Phantoms have much longer detection ranges. They’ll start peppering your vicinity with plasma quickly, and if you get stuck on any terrain, they will zero in on you. The troops they deploy also react to you much sooner when they get their feet onto the deck.
Legendary Gameplay Video
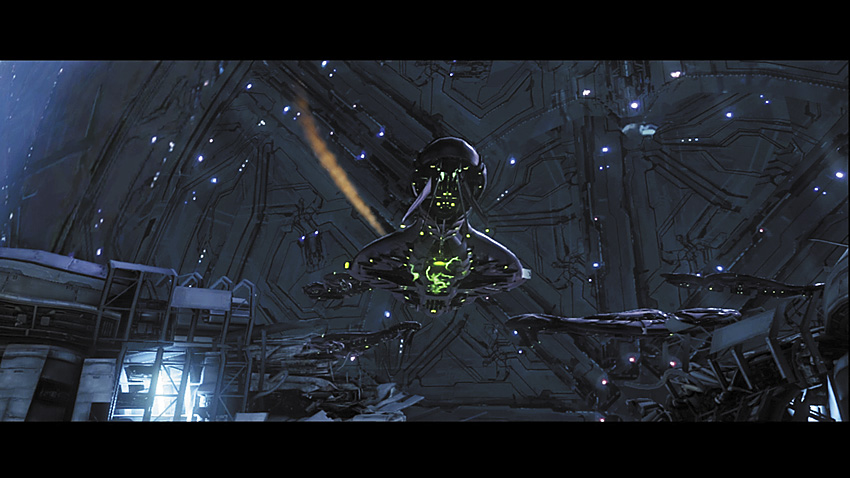
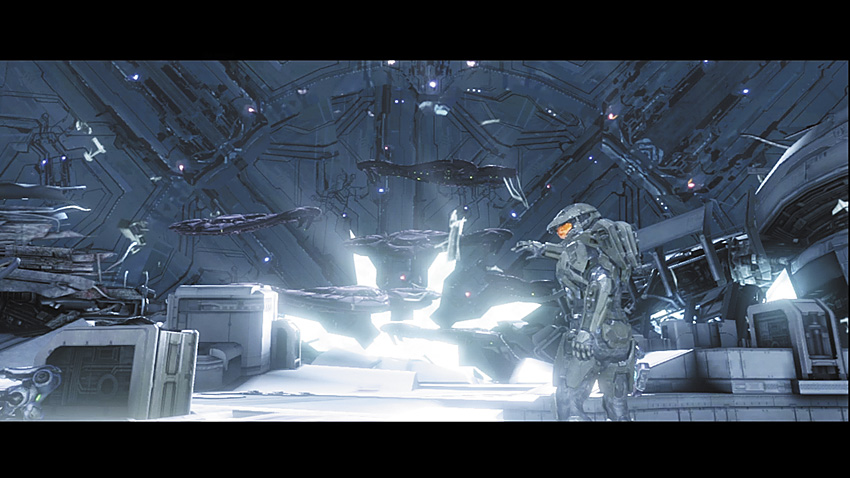
After manually triggering the missile launch, watch as the missile travels on target to the Covenant cruiser. However, you merely exchange one problem for another, as a bright light issues forth from the planet in the distance, scanning across the Master Chief. Moments later, the planet appears to open up and starts sucking in Covenant vessels, the Dawn , and anything else not tied down into the widening maw. You need to get back inside your ship and find an escape pod, now! Watch out for debris flying off the hull of the ship toward the planet; it can seriously harm or kill you. Once you get back to the designated air lock, it takes a moment to cycle before letting you proceed forward.
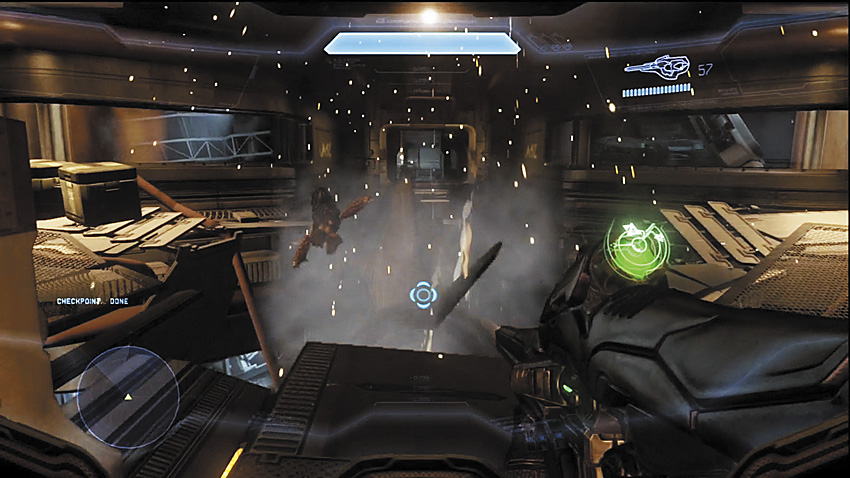
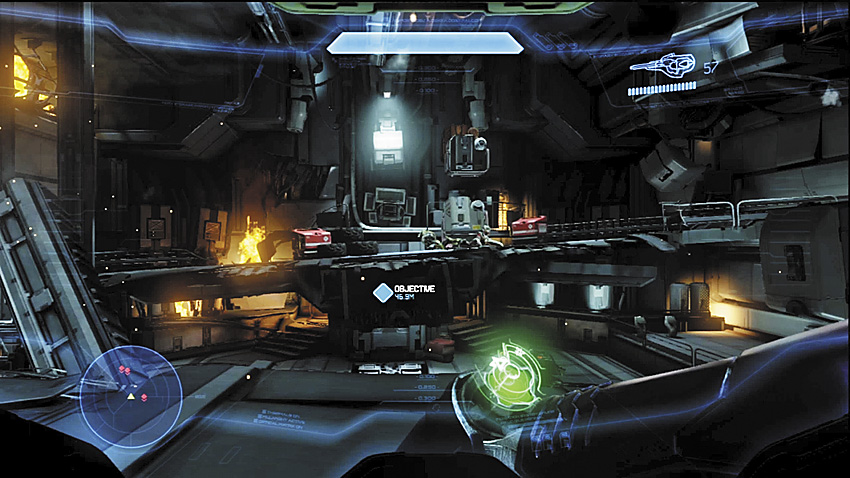
As you run back through the Dawn , you’ll enter this chamber with a quartet of Grunts trying to make their own escape. A portion of the roof collapses in on them, sending them to the lower levels. Try to stay on the upper level once the explosions subside. If you take the upper route, you’ll enter the next chamber that is filled with more Covenant, all of whom are conveniently dealt with as the ship continues to implode all around you. If you fall to the lower deck, proceed with caution to avoid getting crushed when the upper decks inevitably fail.
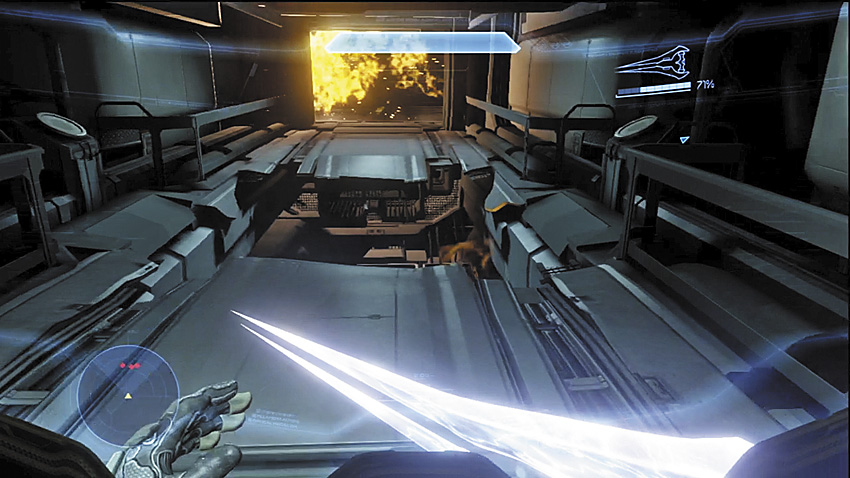
A blast has taken out a portion of the deck here. You’ll need to sprint to be able to make the jump across the gap. There’s a wounded Elite and some Grunts in the corridor just beyond the gap. Use melee attacks to quickly shove your way past the Covies and get to the vehicles bay, where the escape pods await.
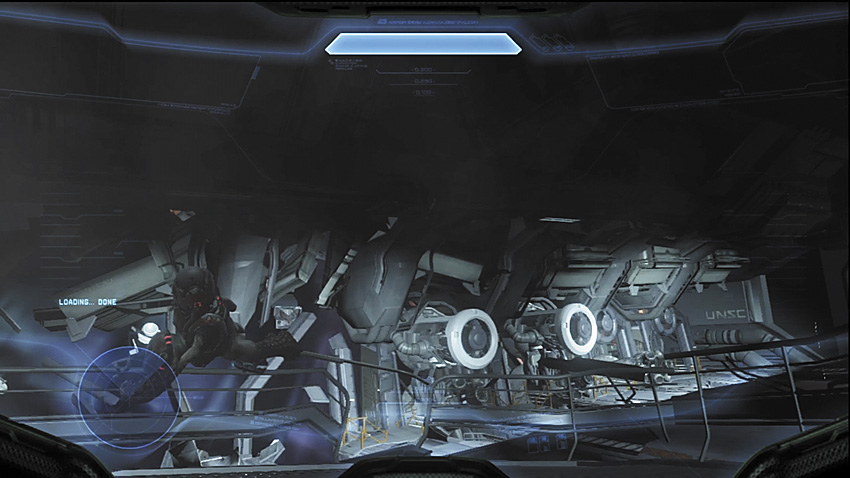
Unfortunately for the Master Chief and Cortana, their great escape doesn’t go exactly as planned.