
Halo 4 Guide Campaign Mission 7: Composer
Mission 7: Composer
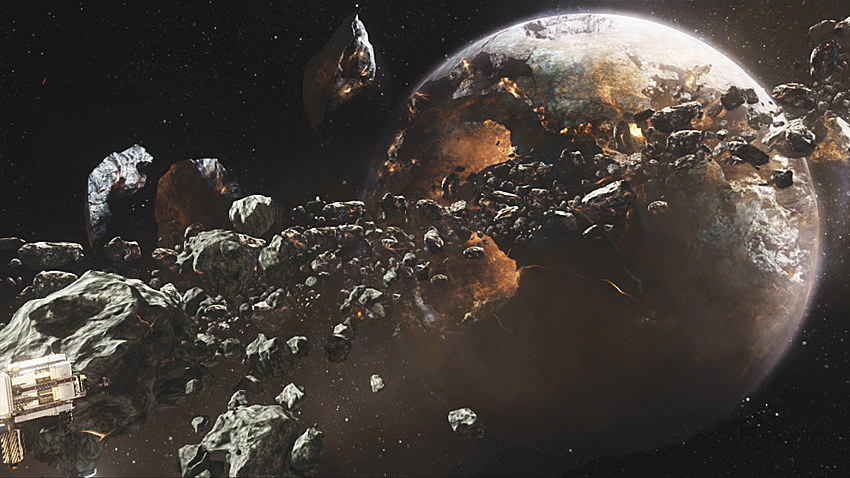
“Cortana, it’s not over. Not yet.”
Having managed to survive the slipspace jump, the Master Chief looks on as the combined enemy fleet emerges in real space next to a Halo—Installation 03, according to Cortana. In the asteroid field near the ring, Ivanoff Station is currently under Covenant assault, and will fall very soon. The Composer is apparently aboard this station. Taking over the Lich, Master Chief signals to the station his intention to assist in its defense, but Cortana’s personality continues to slip further into rampancy, and she crashes the Lich into the station.
Mission Briefing
Ivanoff Station never had the defenses to stop a Covenant incursion of this magnitude, but it can at least slow them down somewhat. Your goal is to locate Dr. Sandra Tillson and begin coordinating a defense against the Covenant. You will fight your way through the station to prevent the Covenant from landing more troops in the unsecured bays and and airlocks throughout the facility. Next, reactivate the MAC defenses to assist evacuation efforts. The Didact is seeking the Composer, and he must be prevented from seeing it at all costs. However, should it be impossible to prevent him finding the artifact, the best solution will be to destroy it, and everything related to it. Expect heavy resistance from the Covenant: They know how close their goal is.
Enemies Encountered:
- Elites
- Grunts
- Jackals
- Hunters
Vehicles Encountered:
- Phantom Dropships
- Ghosts
- Banshees
- Wraiths
Any Landing You Can Walk Away From
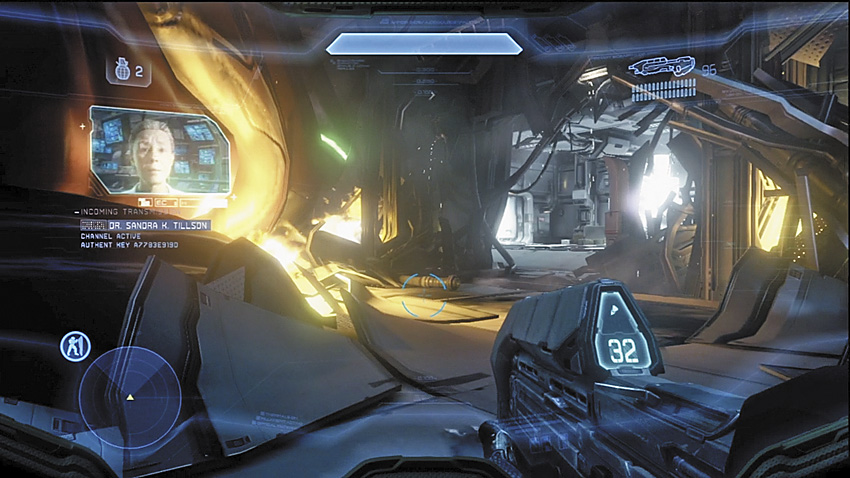
Recovering from the crash, the Master Chief immediately contacts Dr. Sandra Tillson to urge her to get all UNSC personnel off the station. Unfortunately, the Covenant have already taken over the landing bays, the primary way off Ivanoff at present.
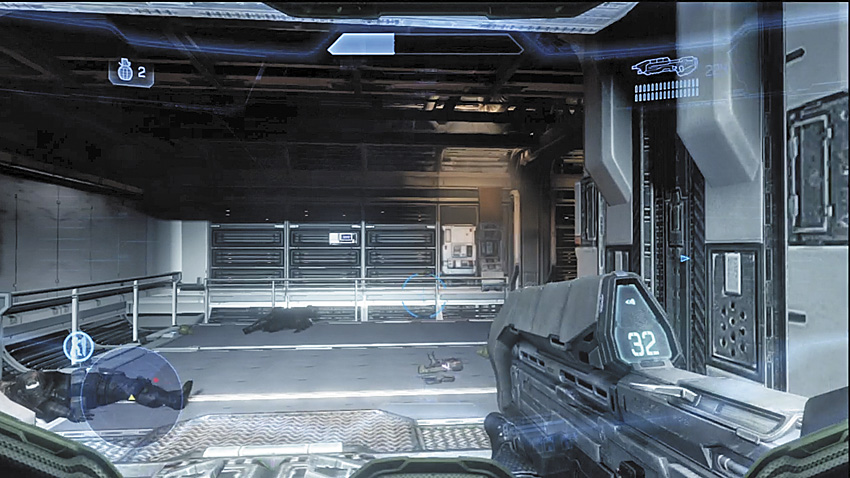
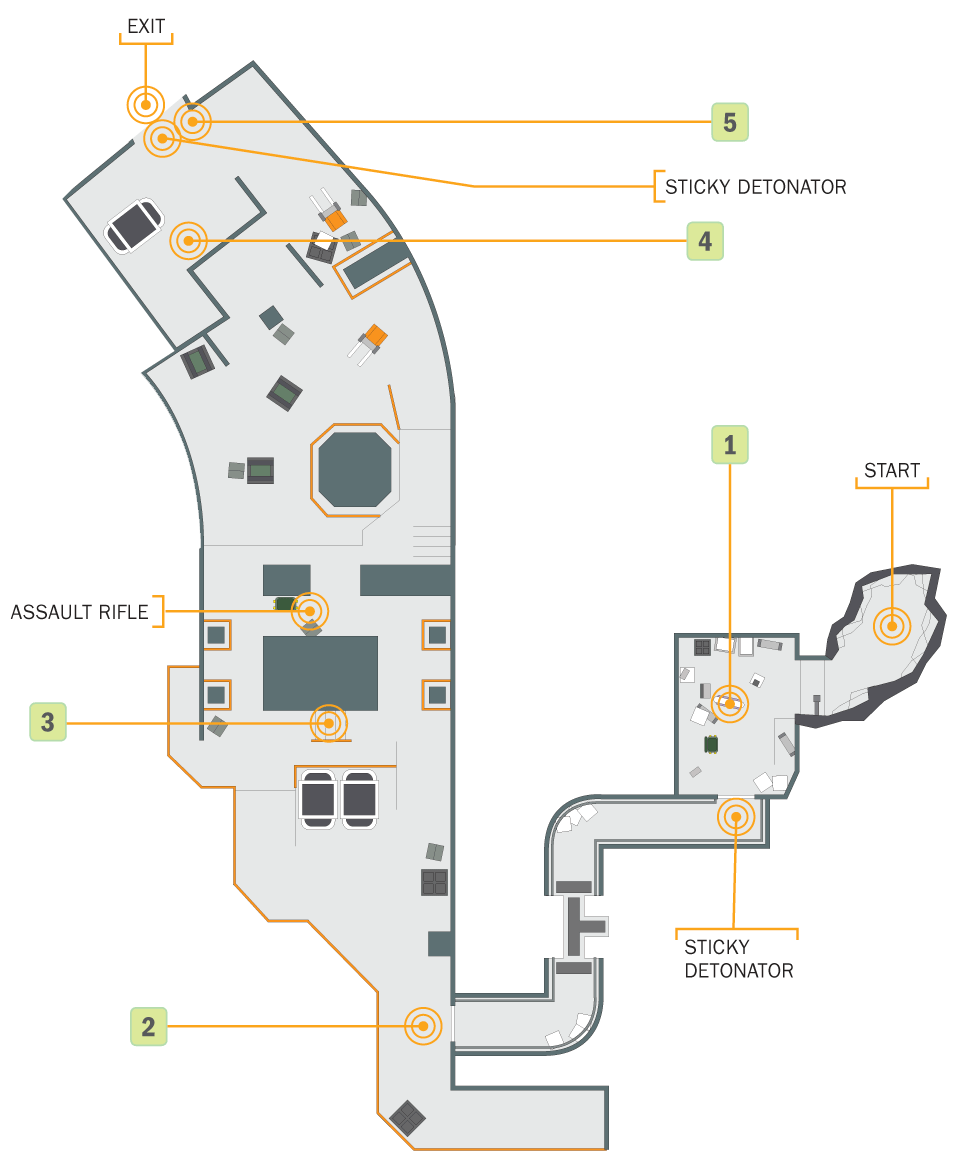
[1] You may notice this odd ring with energy pulsing brightly at its center. Jump through it if you enjoy losing a good chunk of your shields. Stand inside it if you enjoy losing everything else. Beyond the nearby door, a Marine scores a final kill against the Covenant invaders before dying himself, leaving behind an invaluable weapon. We recommend that you ditch the Assault Rifle for now and replace it with this new toy, then move through the next corridor to show it off to the next group of Covenant you encounter.

Key Combat Tip
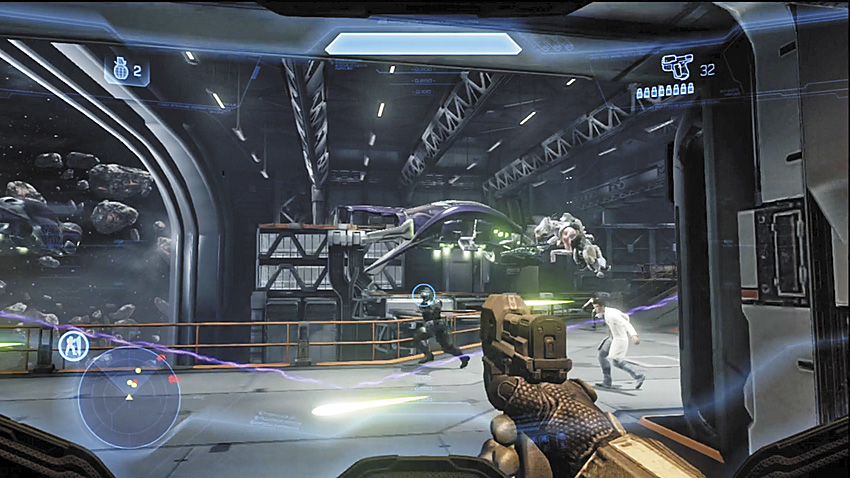
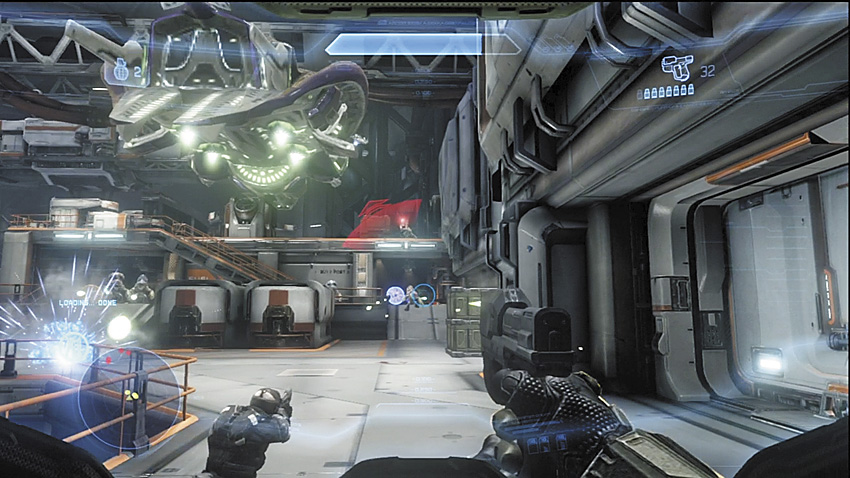
[2] You don’t have to wait long. The door art the end of the corridor reveals a pair of scientists retreating away from a Marine just as a Jackal leaps at him to make the kill. If you’re a Magnum ace, you can actually save this Marine’s life, which gives you an extra body to help you with the ensuing scuffle.
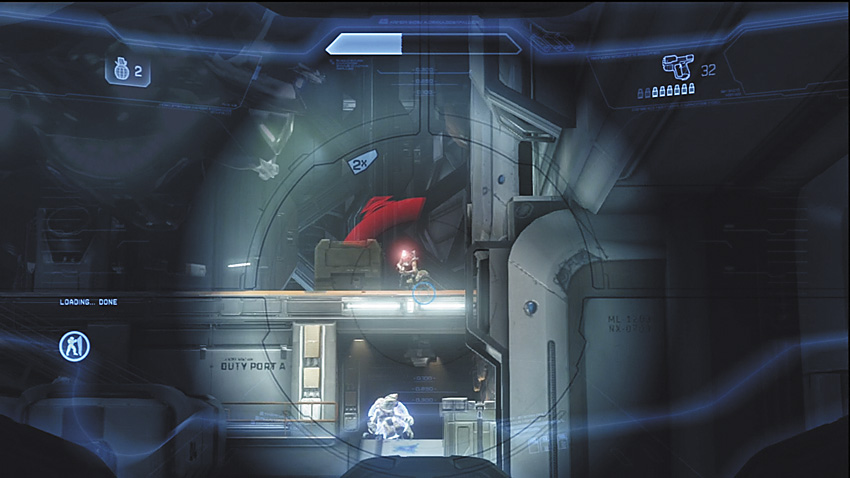
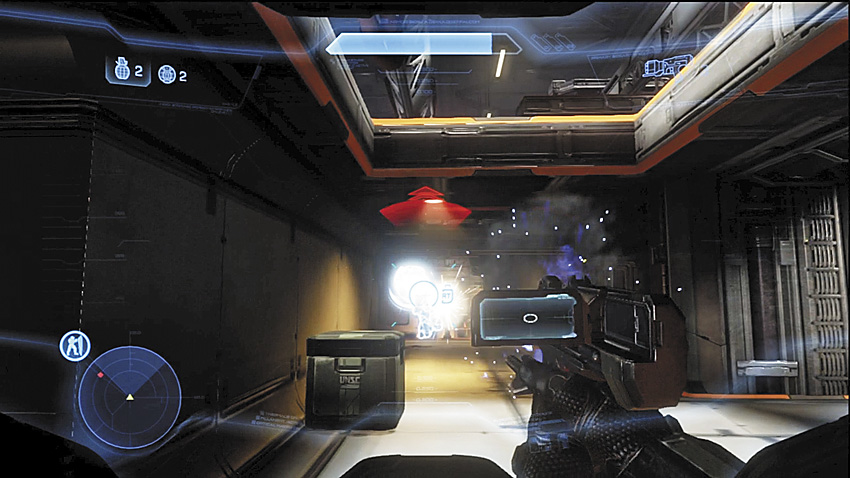
[3] Jackals and a variety of Grunts occupy the raised platform and the two short passageways leading under it, with an Elite standing guard within the passages. Shoot down a few hostiles, especially the Jackal Rangers, using your Magnum, as you may want their Covenant Carbines for later. This tends to draw the Elite out, and gives you a perfect opportunity to demonstrate just how powerful the Sticky Detonator truly is. A good tactic is to stick the Elite specifically with the explosive. He might charge at you, or he may hesitate among a number of his fellow Covenant, scoring you a juicy multikill.
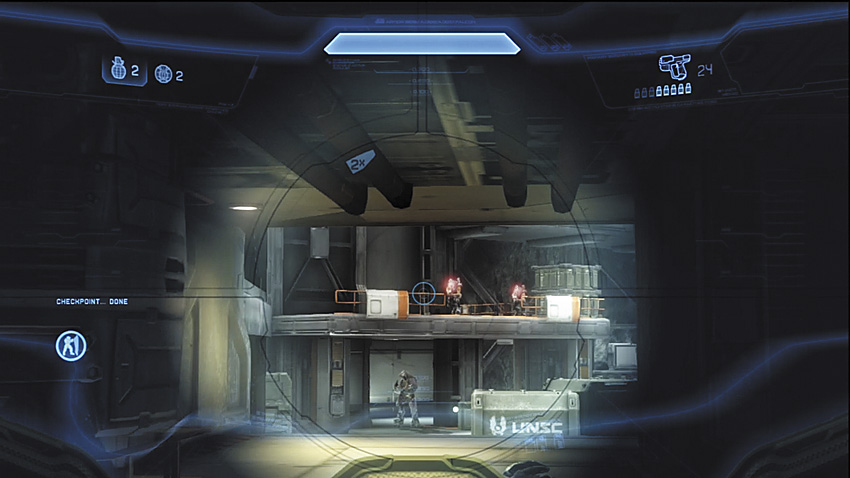
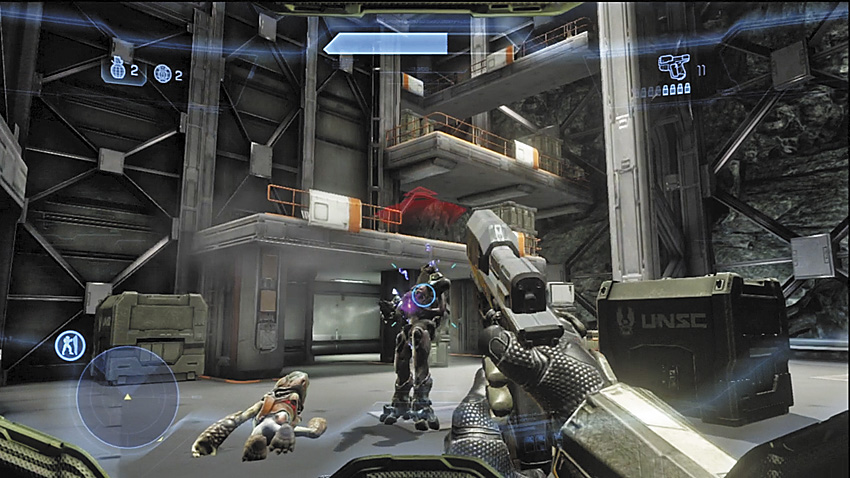
[4] Jackals snipe from catwalks across the way from the raised platform. If you still have Magnum ammo or have switched to the Covenant Carbine, kill these guys first, preferably from atop the platform [3]. The ground level between your position at the Jackals has a small team of Grunts lead by another Elite. If you’ve still got Sticky Detonator on hand, the Elite should be a quick kill.
Legendary Strategy
While this battle isn’t necessarily big enough to count as a Major Firefight, it deserves some particular attention for Legendary difficulty. To start with, don’t commit yourself to running out and saving the Marine. You can still pop the Jackal mauling him from the relative safety of the corridor, and even if you fail it rescue him, his life for the rest of this skirmish is typically measured in seconds .
Once you do step out of the corridor, concentrate on Grunt and Jackal headshots while hugging the crate to the right of the door. The ranges here are relatively short, so the already-fast Covenant plasma is going to seem a lot faster. Normally we’d suggest conserving Sticky Detonator ammo, but they’re just too useful to hold back on Legendary. Sticking a Grunt may cause him to panic and run into other allies. However you decide use this weapon, save at least one shot to help put down the Elite quickly. Go for upper torso or head sticks with the Sticky Detonator because Elite shields and health increase enough on Legendary to help them survive at least one Sticky Detonator grenade, but it will deplete their shields and leave them vulnerable to a Magnum headshot.
The Jackals at [4] are pretty mean, and they match their shots well enough that they can drain your shields entirely in the time it takes for you to set your sights on one or both of them. Throwing a grenade in their direction may get them to split up and stop shooting at you, or you can hug the stairs leading up to the top of the raised platform [3] to snipe them one at a time. Whatever you do, do not let the Jackal pair team up against you, especially if they happen to be armed with Beam Rifles.
Legendary Gameplay Video
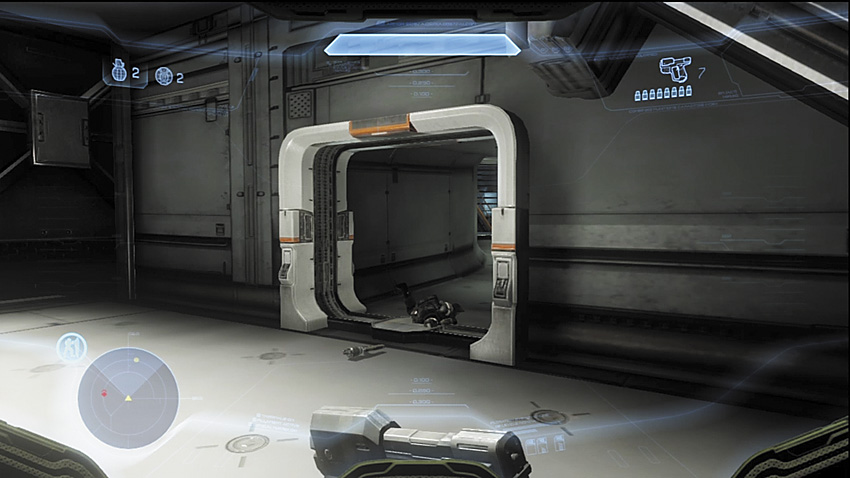
[5] Stick to the ground level here to locate more Sticky Detonator ammo. There’s good call for it in the next section.
Major Firefight: Seal the Hangar Bay
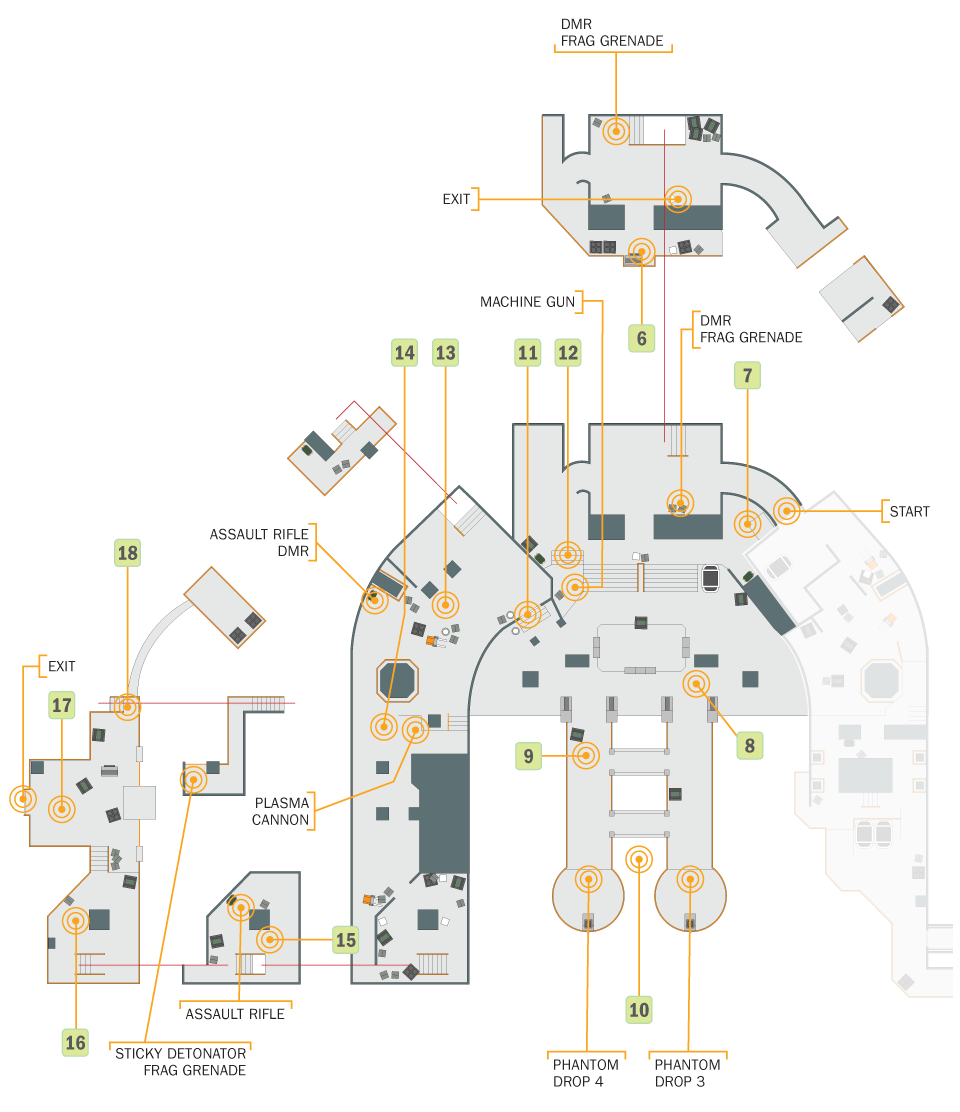
Ivanoff’s biggest problem right now is that the Covenant control the hangars, an easy access point to dump hundreds of angry troops directly into the belly of the station. You arrive at this point in between waves of hostiles, with a new batch of enemy troops arriving via Phantom as a dwindling squad of UNSC Marines tries to take position on the catwalks to engage the enemy. You need to get to the hangar controls to activate the shields and prevent any additional landings.
Recommended Loadout
The Sticky Detonator can do some real good work on the squads dropped off by the Phantoms, so it should be in your arsenal. The small holdout where you first meet with the Marines and scientists trapped near the hangar contains some DMRs, with another one found against the railing overlooking the entire hangar. The DMR is a solid solution even for dealing with shielded Elites if you’ve got a lot of ground between you and them. If you expend your Sticky Detonator completely, switch it out for a Plasma Pistol or a Storm Rifle specifically for handling Elites.
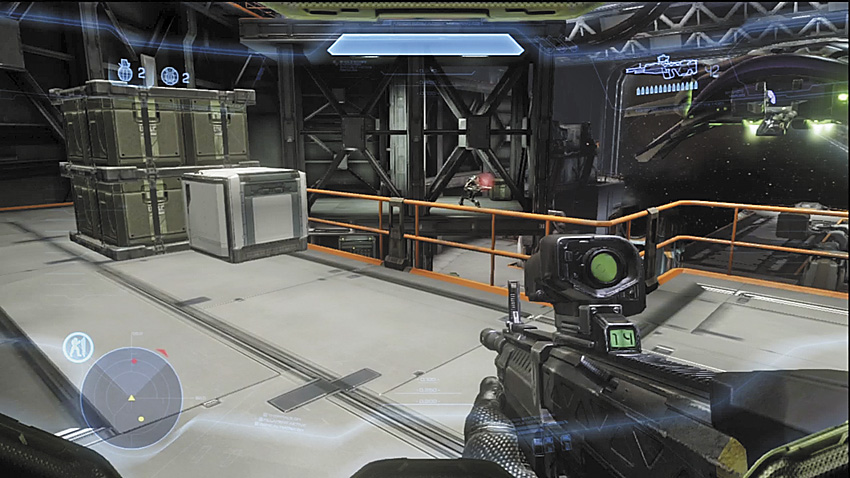
[6] Start by getting to the second-floor walkways overlooking the hangar itself. On a ledges to the left [7], a Jackal Sniper is having a shootout it out with the Marines, take him out before he becomes a problem.
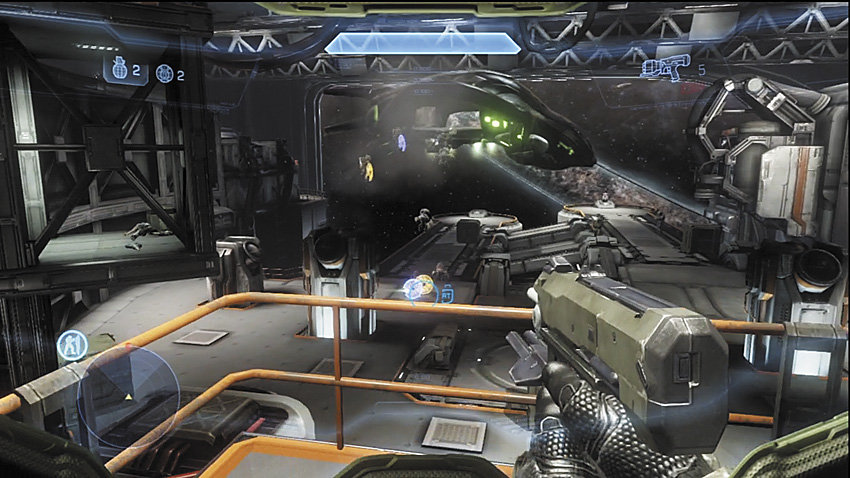
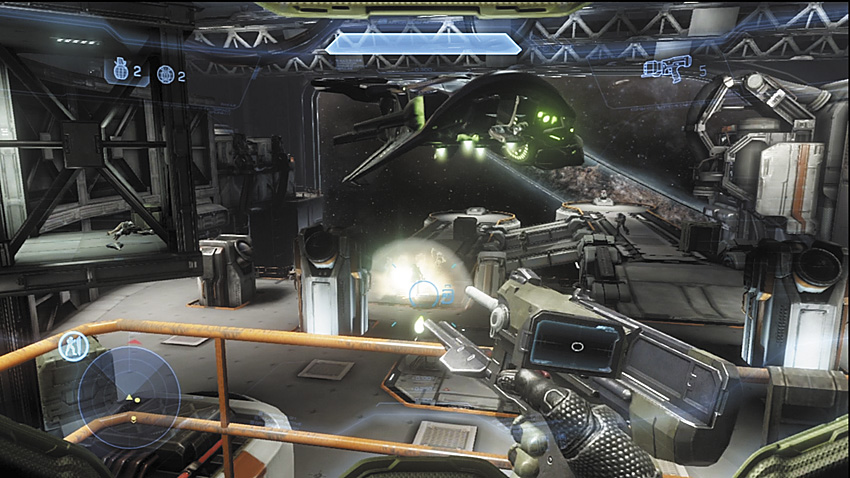
[8] The first Phantom drops off troops in front of the left-side docking platform: Jackals and Grunts first, with an Elite dropping in last. Watch out for the Phantom’s guns that try to engage you (sniping one of the side gunners with a DMR or Covenant Carbine isn’t a bad idea here) and be ready to move. When you see the first troops drop out of the Phantom, put a Sticky Detonator grenade right at their feet, but do not detonate it until the Phantom drops a pair of Elites. Throw in your favorite grenade if you’d like, then trigger the mine. You’ll almost certainly kill anything near the mine that isn’t the Elites, and as a bonus, you might even strip his shields for a follow-up headshot. Juicy.
Alternate Approach
If you’re lacking the Sticky Detonator, things can get really bad if you’re slow to wipe out the first group before the second comes calling. Hopefully you’ve managed to pick up a Plasma Pistol to help bring down the Elite quickly. The ensuing panic will give you a chance to establish some dominance over the battlefield and claim more kills with the DMR.
Alternatively, there is a mounted machine gun with a firing arc that covers the first two landing sites perfectly 12. It’s a death sentence to keep to yourself tied to the gun while the Phantoms are in the area, though. Even if you tear it free from its mount, you’re simply too slow with the heavy weapon in hand, which makes you a perfect target if you trying to push forward towards the enemy. Find a good piece of solid cover, however, and most enemies will crumble before they can get too close.
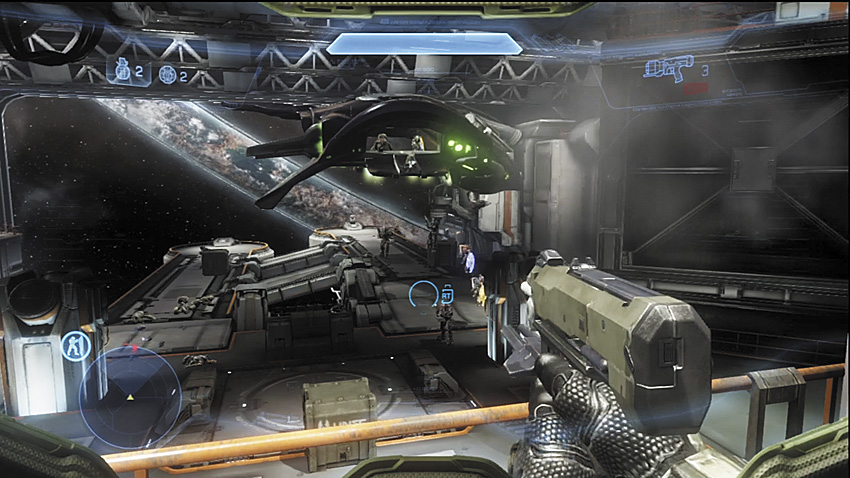
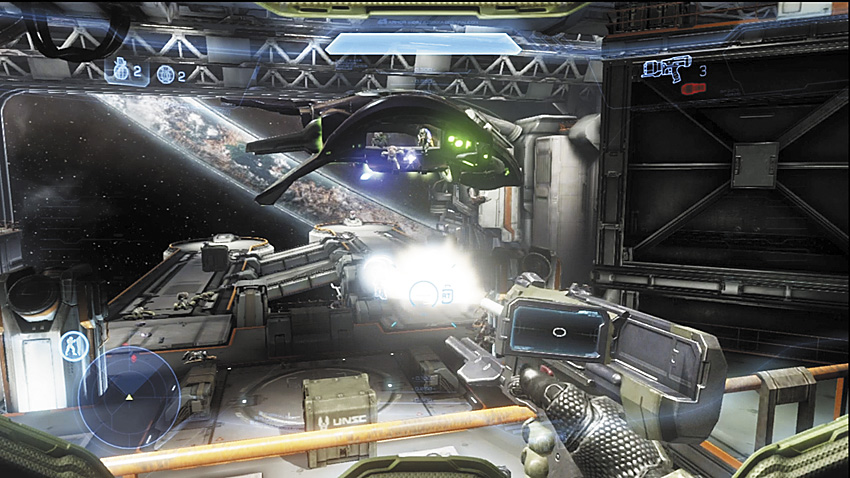
[9] The second Phantom tries to drop its cargo only a few meters to the right of where the first Phantom tried its luck, atop the docking platform that leads directly to the switch you need to hit. This should go about as smoothly for this group of Covenant as it did for Phantom one’s unlucky schmucks. There are more Elites in this group than the first, so you may not be able to take this squad as quickly if you misplace the explosive. Use another grenade if available to compound the damage further. Make the Elites priority. Even if the explosives don’t kill them, you might break their shields and leave them vulnerable to headshots.
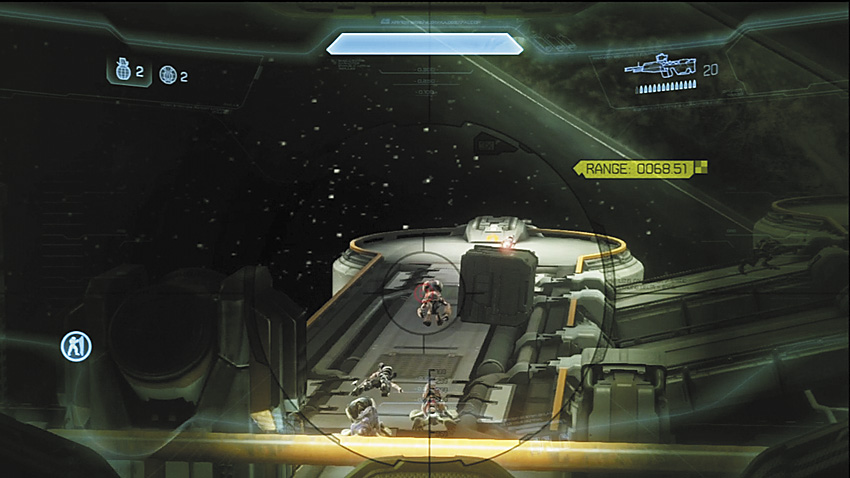
[10] With two Phantom’s worth of troops dead at your feet, check the bay entrance to see if a third Phantom is close to arriving. If not, run—don’t walk—to the control console marked for you at the end of the right-side docking bridge. Activating it will prevent any further reinforcements from joining up, and open the way to the next section. However, if you’re slow getting to the switch, the third dropshop will arrive and deploy another Covenant squad adjacent to the pad containing the landing bay controls, and among this group is an Energy Sword-equipped Elite! Keep the bay unsealed after that, and a fourth squad filled with even more hostiles will be deployed right next to the control console itself. The Sticky Detonator will likely be very low on ammo by this point, so make your remaining shots count.
Besides Elites, the other major threat brought in by the Phantoms are Jackal Snipers. If they come equipped with Beam Rifles, you’ll have to prioritize them above other enemies. Beam Rifles are too dangerous to ignore.
Alternate Approach
It’s tough, but you can put an end to this battle really fast by making a beeline for the bay shield controls as soon as you meet with the Marines. You must kill the Jackal Sniper to prevent his shooting from slowing you down, then sprint for the controls, turning around to take out the Plasma Cannon gunner on the first Phantom. From there, you can finish the run to the console relatively unbothered. The first dropship will still unload any survivors, and you’ll have to deal with more Covenant coming in from a previously sealed side door [11].
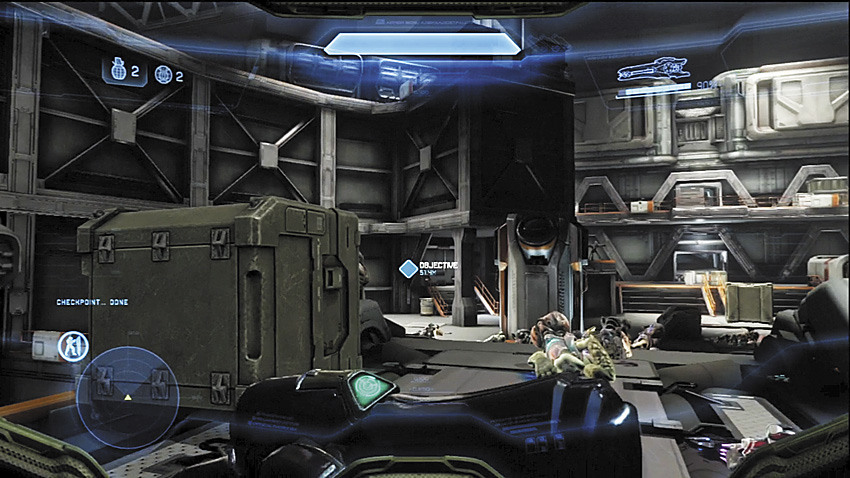
[11] After sealing the bay, this door is opened, allowing an Elite and several Grunts and Jackals to stream though. One last Sticky Detonator grenade if you’ve got it, should seal this deal decisively. Otherwise, get yourself close to some cover, take out the Elite first if the opportunity knocks, and deal with the rest accordingly.
Legendary Strategy
The same basic plan from Heroic can still work here, your biggest threat comes from the Elites, all of whom are more resilient. You also may have less Sticky Detonator ammo to work with. Generally, you have to be spot-on with your mine placement to maximize your kills. Don’t be too surprised if you take a few dirt naps early on, the Phantom gunners are especially vicious on this difficulty.
If you want to hit the switch early, wait until you’ve killed off the first Phantom’s drop of troops to avoid getting overwhelmed. It’s still not a very safe plan no matter how you slice it, but it may be just as unsafe as waiting for all four dropships to make their appearance. The last dropship deploys five Elites, a tough battle under any circumstance made harder by the fact that you have somewhat limited room to maneuver.
Since you know that after you seal the hangar, a group of Covenant will attempt to storm through a previously locked door [11], this is probably the easiest part of this battle. If you’re still blessed with Sticky Detonator grenades, the solution is quite simple. Alternatively, if you managed to dislodge one of Plasma Cannons from a Phantom, or if you took the mounted machine gun [12] from its perch, you can flood the narrow doorway with hot death, and that may be enough to finish off this final push.
Legendary Gameplay Video
“A Spartan?! How many of you ARE there?!”
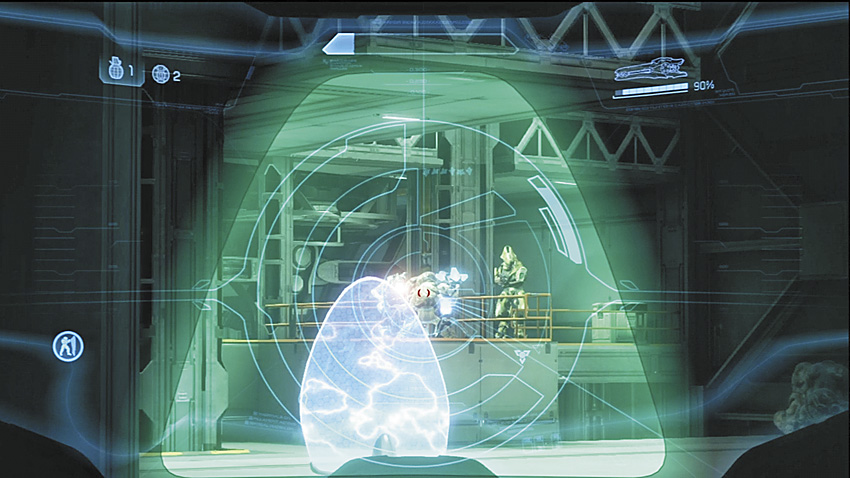
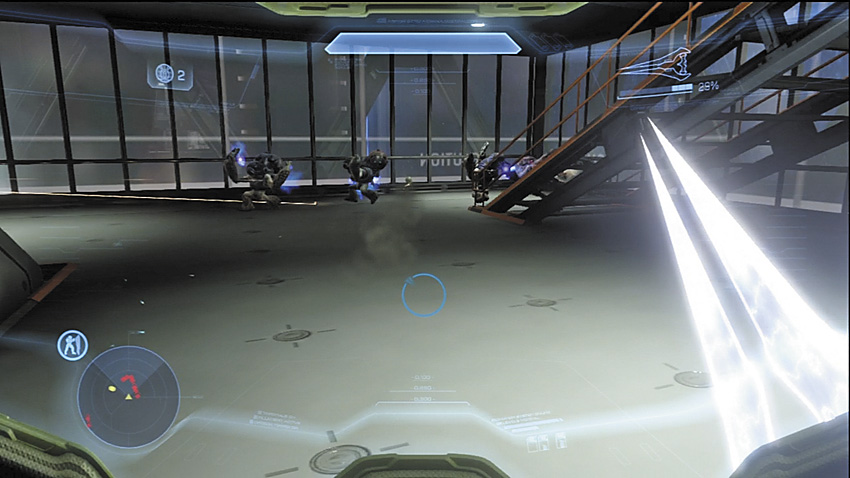
[13] On the other side of the door, a squad of Marines is collapsing under the assault of another Covenant force consisting of a pair of Jackal Rangers, some Grunts (one is manning a mounted Plasma Cannon), and an Elite shouting orders from a walkway behind all of his men. Below that Elite’s perch, just past a ramp leading below him, another squad of Grunts and another Elite await. Typically, they do not join the fray immediately, which should give you time to eliminate the first group. One neat trick is to take out the plasma gunner, which will lure the Elite to take the gun himself. You can then nail him with a Sticky Detonator or a Plasma Grenade. Any surviving Marines join you for the next skirmishes. Be sure you take a good look at their makeshift last-stand barricade to reload on weapons like the DMR or the Sticky Detonator.
Key Combat Tip
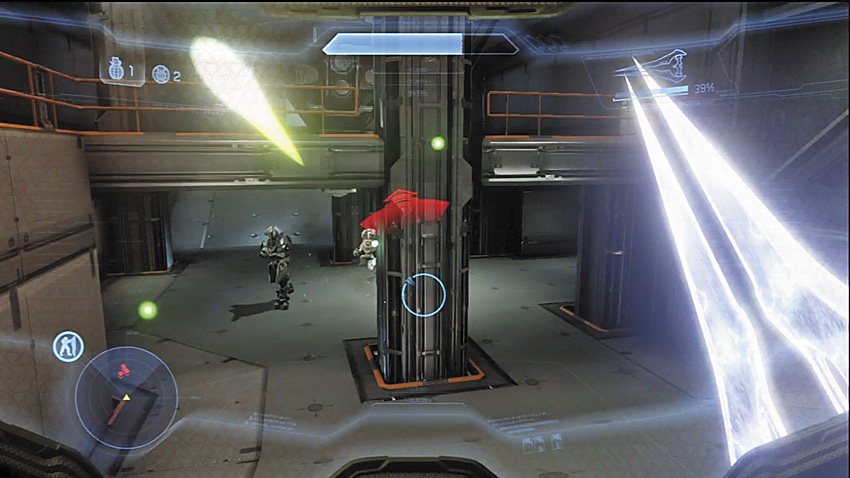
[14] If you run to the walkways that the first Elite once guarded, you can actually ambush the second group from above. Consider taking the plasma turret with you to do this, and if it’s got any juice left after the slaughter, keep it with you when you encounter the quartet of Grunts coming down the stairs [15] from the upper levels of the hangar.
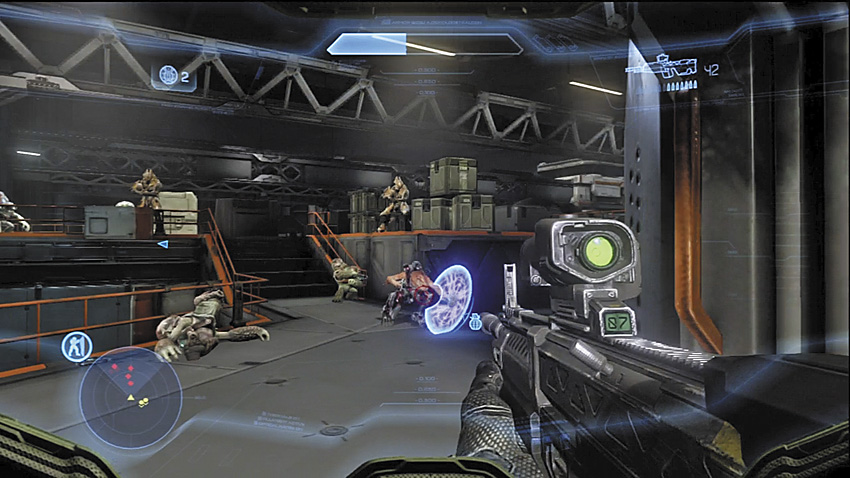
[16] At the top of the stairs, you encounter a group of Jackals and Grunts. Across a short walkway to another section of the upper decks, two Elites surround themselves with more allies [17]. Despite the number of enemies accosting you here, this isn’t a particularly difficult battle to win. The Elites typically stay on their side of deck, while their Jackal and Grunt allies make the crossing to support their brothers near your staircase. Use it as cover against enemy fire, and duck below to a lower level if things get too fierce and you need a breather. If you picked up a Beam Rifle earlier, the Elites make for obliging targets. When this top deck is clear, you can move through the indicated door.
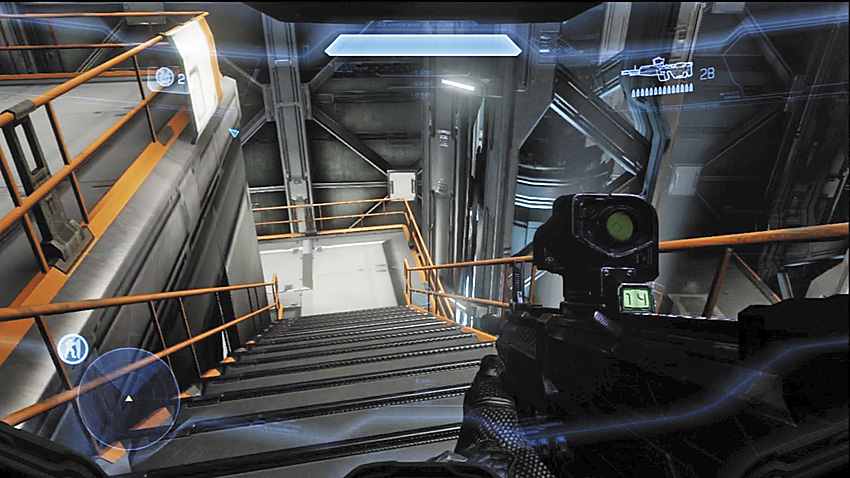
[18] But don’t leave so quickly that you pass up on the opportunity to go down the stairs behind where the Elites once stood to locate a Sticky Detonator.
Elephants in the Room
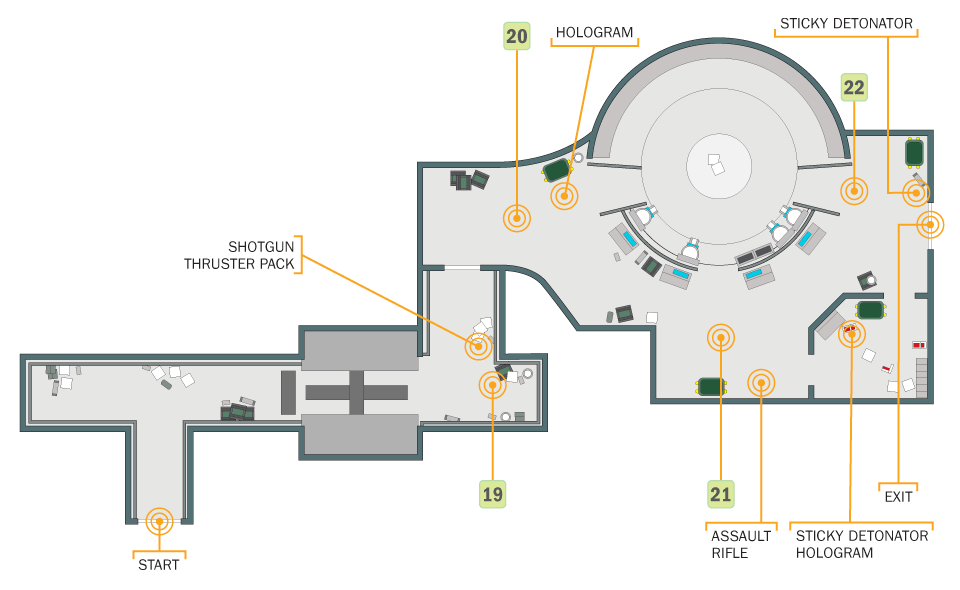
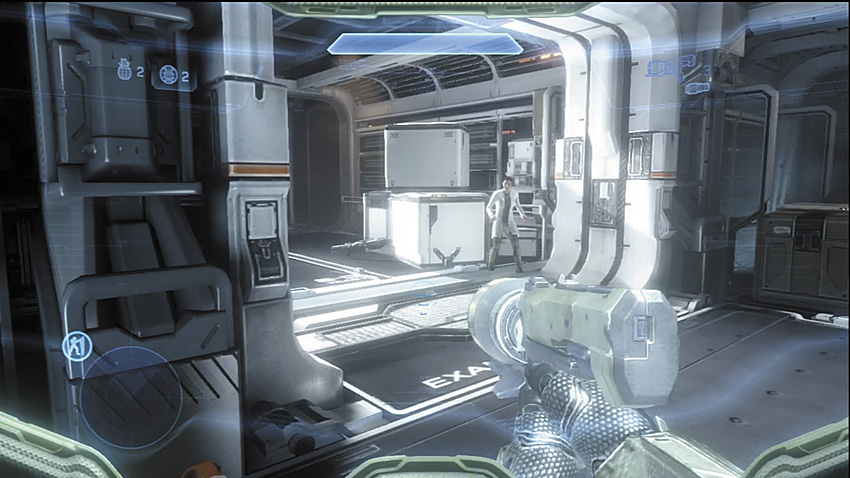
[19] After a short corridor, you encounter a distraught scientist who begs you to help her colleagues a little farther ahead. She offers a Thruster Pack armor ability to assist in dealing with the Hunters laying siege to the next room. We really recommend you pick this up. A Shotgun can also be found next to the Thruster Pack, which can be very effective in the right hands.
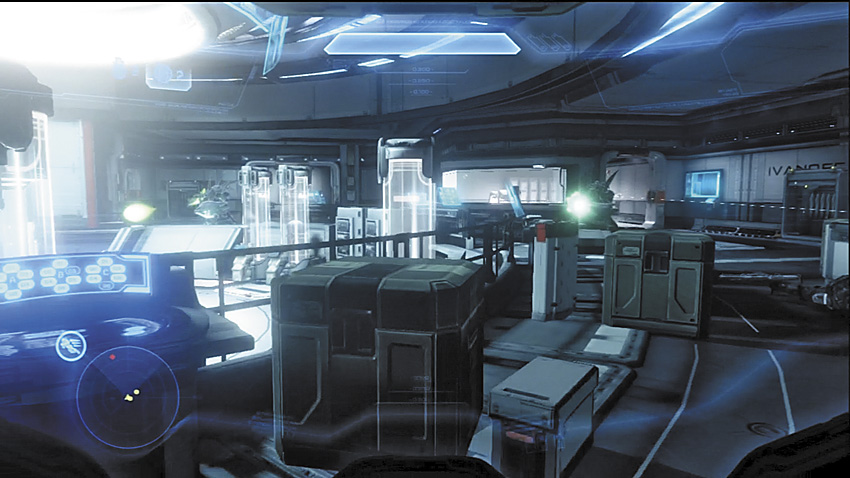
[20] Two Hunters in an enclosed space sounds like a nightmare, and it can be if you don’t have a plan. Fortunately, you do have some advantages. The scientists in the room aren’t entirely helpless: They are all packing Magnums and are supported by some Marines with Assault Rifles. Aside from providing a distraction, they’re all surprisingly good shots. If you turn the Hunters’ backs to them, they will score hits on the Hunters’ exposed vitals.
The Hunters are separated. One starts a bit closer to the scientists [21], while the other is a bit farther back in the room [22]. You ought to have the Sticky Detonator; there’s a refill for it in the small office in the corner of this room (along with a data pad with an interesting entry from Dr. Catherine Halsey). The Shotgun is also excellent for dealing with Hunters, especially when combined with the Thruster Pack.
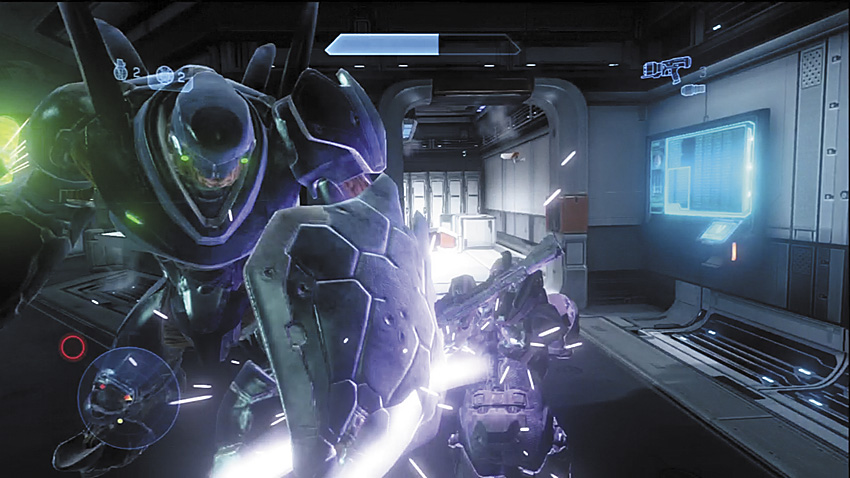
We recommend going after the Hunter that is closest you in the room. You can easily slip past it with the Thruster Pack to reach the small lab behind it, where you can locate more Sticky Detonator ammunition. To reach the one further into the room, you would have to charge through the circular display area filled with artifacts (that you can investigate after there are two dead Hunters) to reach it.
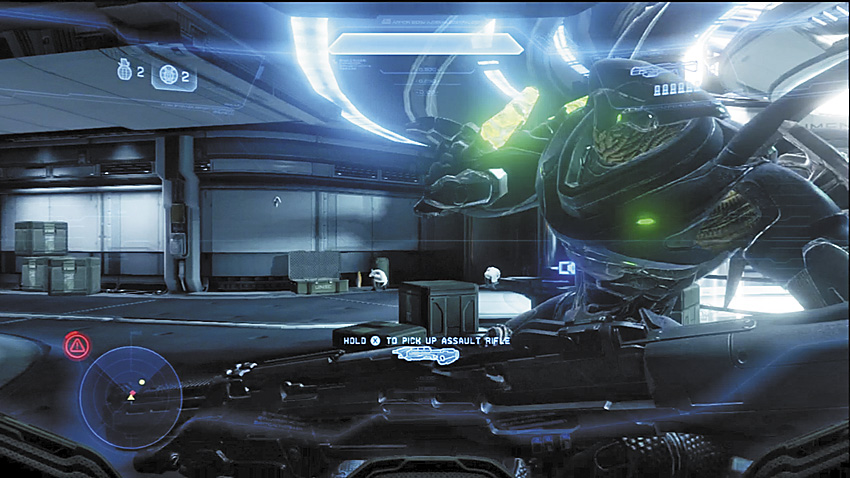
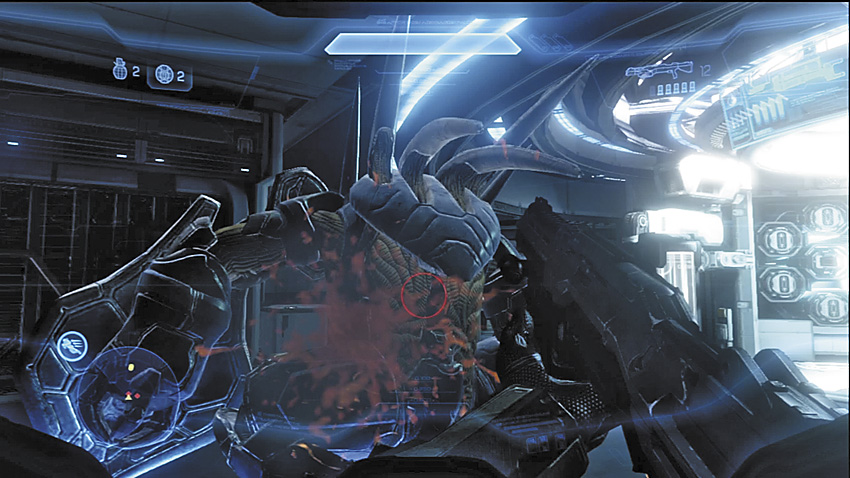
When you get close enough to any Hunter, it almost always try for melee strikes. Use your Thruster Pack to evade around their mighty swings, and put some ammo into the exposed flesh on their backs. A few solid Shotgun blasts or a couple of Sticky Detonator grenades, or even some Plasma Grenades, and that will be that. Wouldn’t it be nice to always have a Thruster Pack handy for every encounter with a Hunter pair? Once the Hunters are dead, proceed through the door that Cortana marks on your HUD.
Alternate Approach
You are also able to use the Hologram armor ability to distract the Hunters. This can keep their attention long enough for you to flank them. It’s not effective once contact has been made, however. If they see you deploying it, they’ll ignore it and go after you most of the time.
The Composer
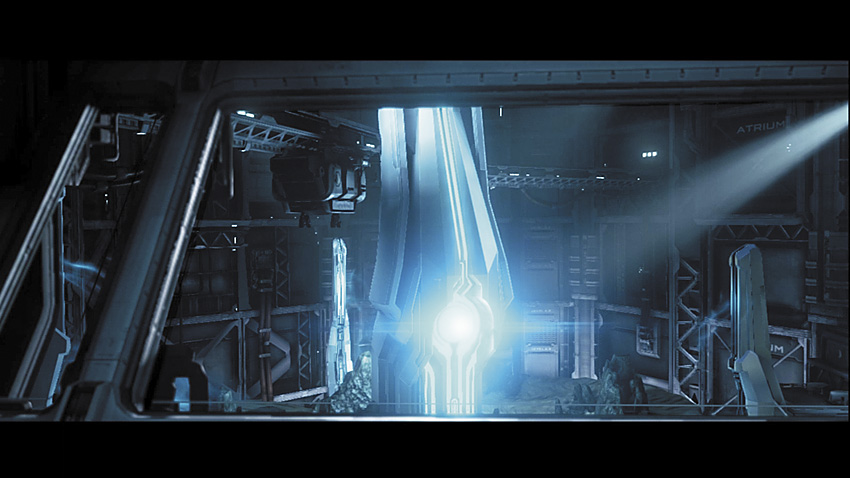
The Master Chief meets with Dr. Tillson, who explains that the Forerunner artifact, the Composer, is much too large to move from the station in the time the Master Chief needs it to be moved and with the resources that are available. His new solution is simpler, but no less effective: Destroy it and the whole station with nuclear weapons. Tillson is less that pleased by this, but relents in the face of reality. The Spartan must now buy time for the station staff to evacuate, while she oversees the preparations for the nukes to be armed and moved into position.
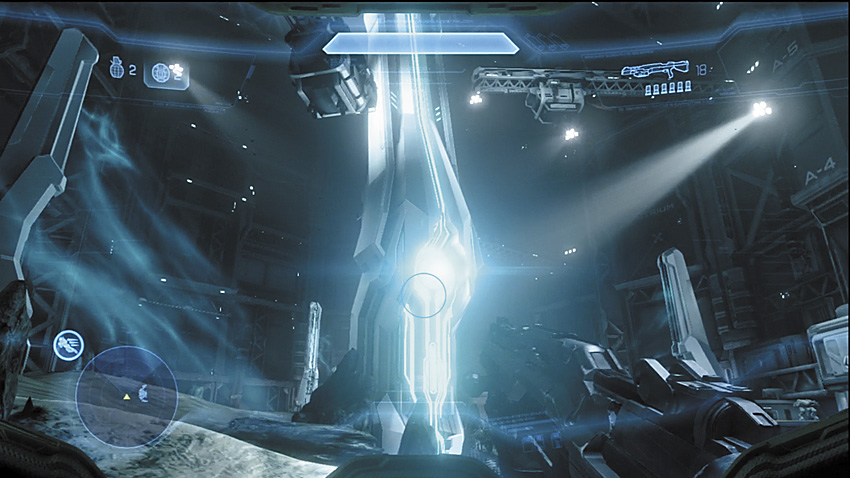
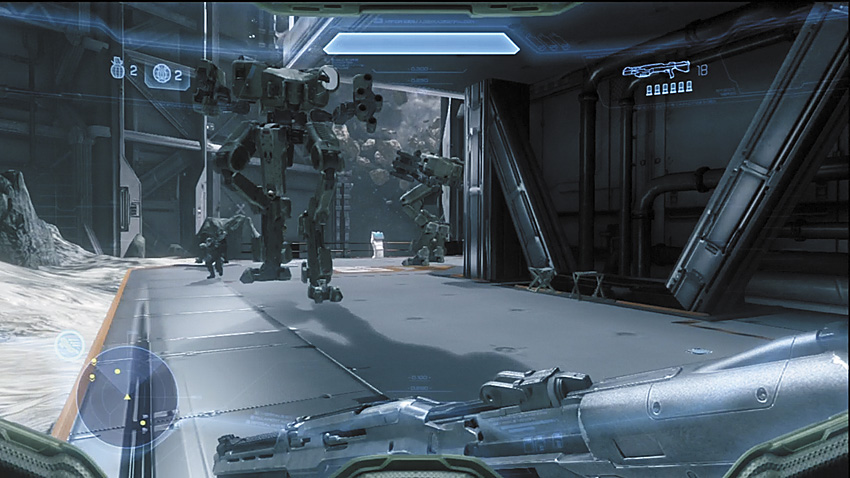
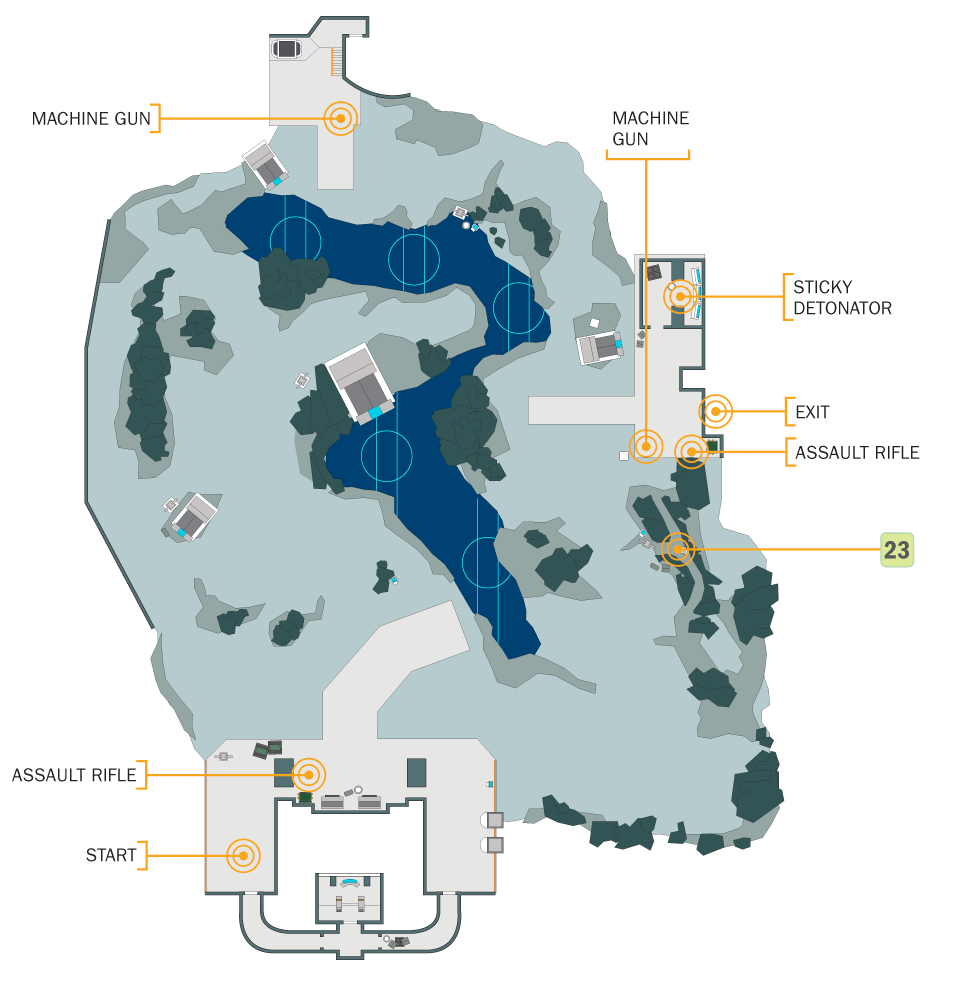
The chamber that holds the Composer is massive. Dozens of Marines dot the field around the device, while others still patrol the perimeter in Mantis mechs. There are a number of information terminals you can locate throughout area to learn more about the Composer, as well as its strange effects on the scientists who were assigned to investigate it.
Domain Terminal
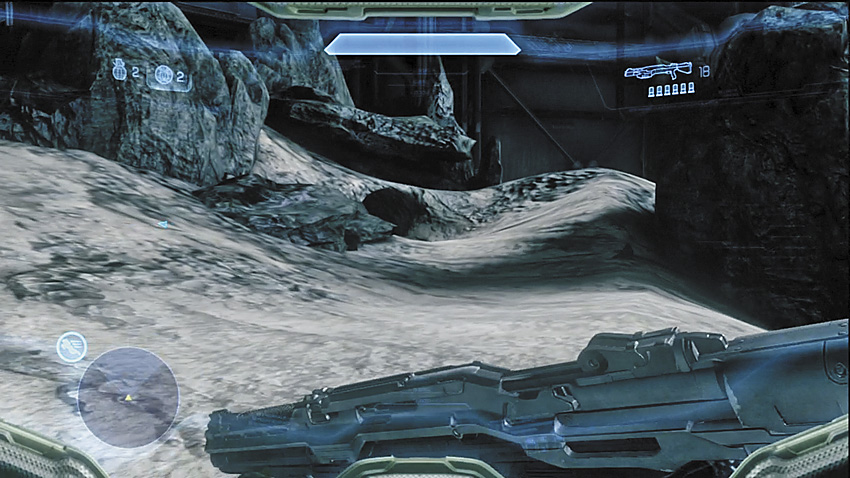
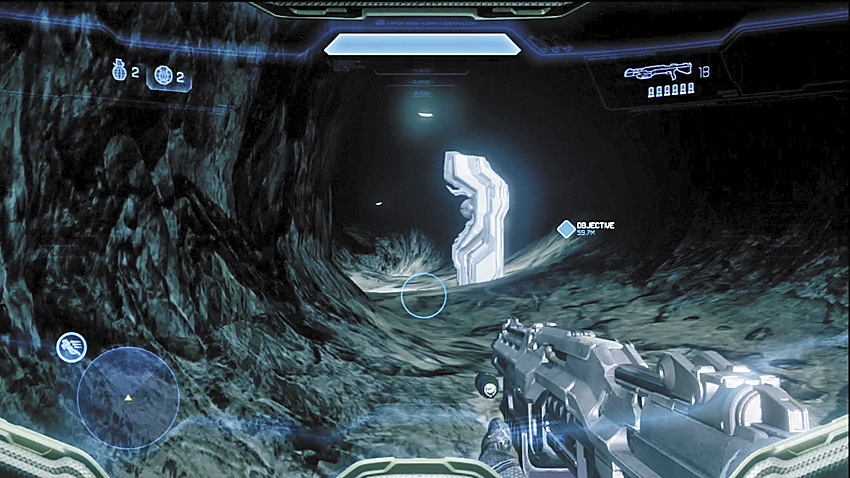
[23] The sixth Domain Terminal can be found within a small cave a little ways to the east of the Composer. It’s incredibly easy to miss if you’re in a hurry, and while you will have a chance later to activate it, the circumstances may not be as accommodating to casual investigation.
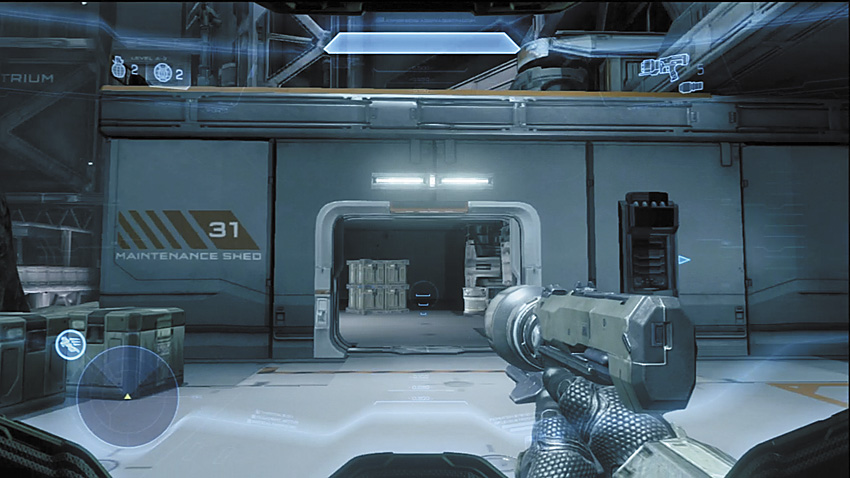
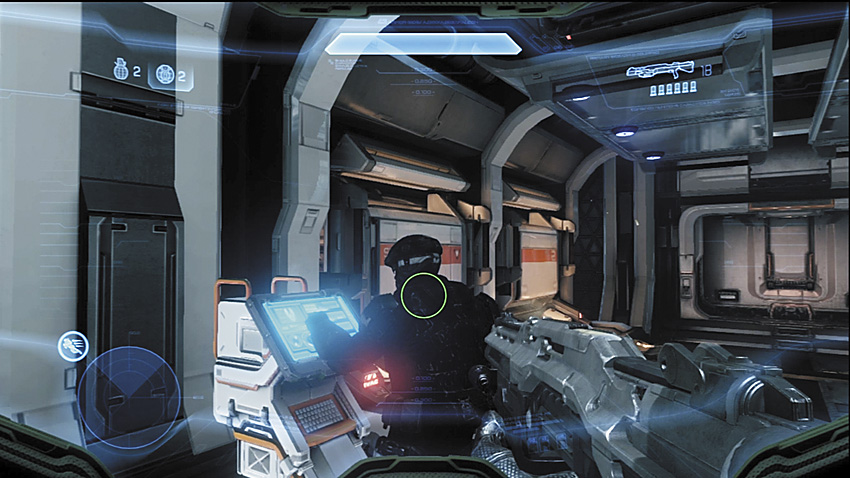
Once you’ve found the Domain Terminal, there’s little else to be concerned with in this chamber. If you kept a Shotgun, consider finding a Marine with a DMR or even a Magnum to trade with, then head to the indicated door. In the small office near the exit, you can find more Sticky Detonator ammo.
On the other side of the door, a wounded Marine offers to let you back into the compromised parts of the station. Once you go through the door, there is no turning back, so make sure you are comfortable with your loadout.
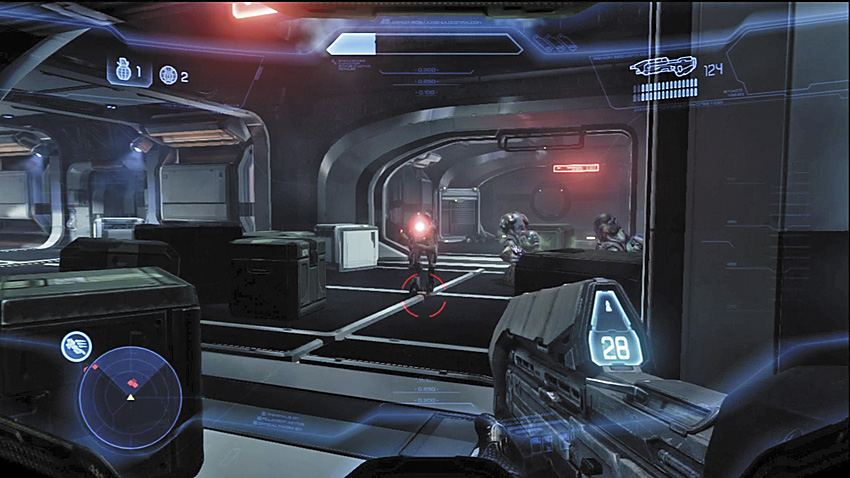
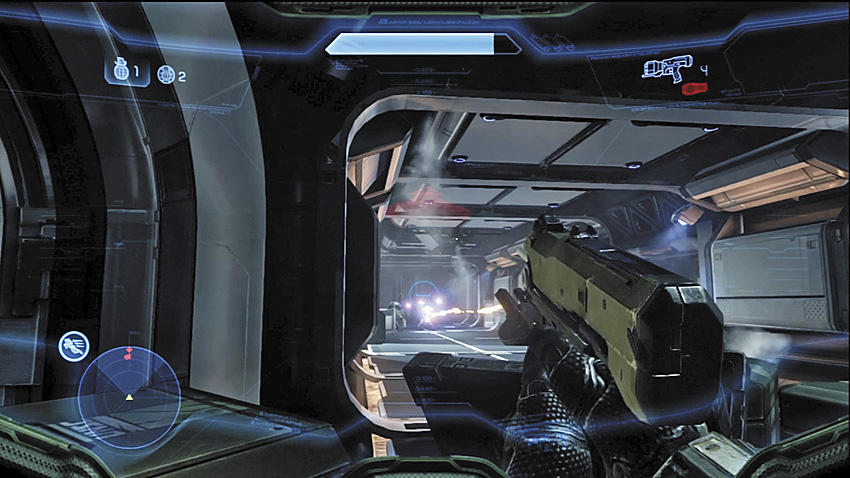
[24] As the Didact taunts you, power failures grip the station, causing the doors in this corridor to seal themselves. You can take a lighted service tunnel to bypass the doors and flank the unlucky Jackals on the other side. Defending the door [25] that you need to pass through to reach the air locks taken by Covenant troops is an Elite protecting a Plasma Cannon, with more Jackals and Grunts. The door they guarded opens once they have fallen.
Major Firefight: The Air Locks
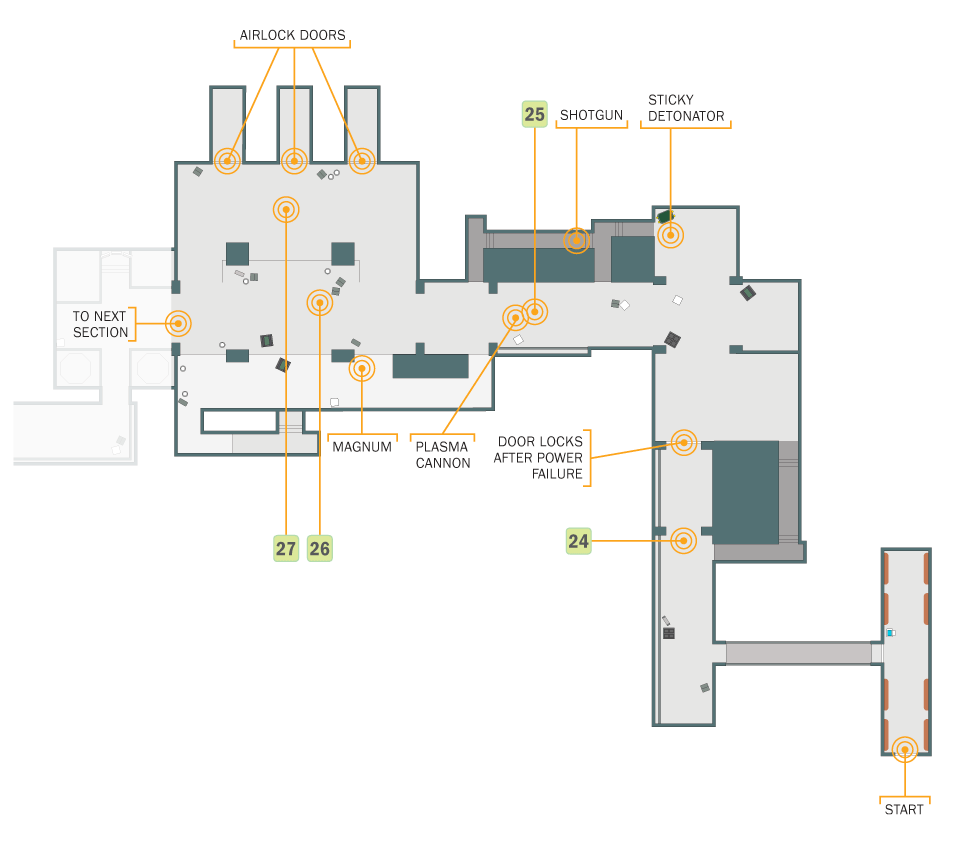
Three air locks are currently controlled by the Covenant in this next chamber, with dropships using them as access points for more troops to flood into the station. The Master Chief needs to defeat this new assault before he can press on.
Recommended Loadout
This short but brutal battle can be made simpler with the proper application of the Sticky Detonator. You may have arrived with a Magnum or DMR, and those are perfect compliments to the Sticky Detonator weapon, though a Storm Rifle, Needler, or Covenant Carbine also help in a pinch.
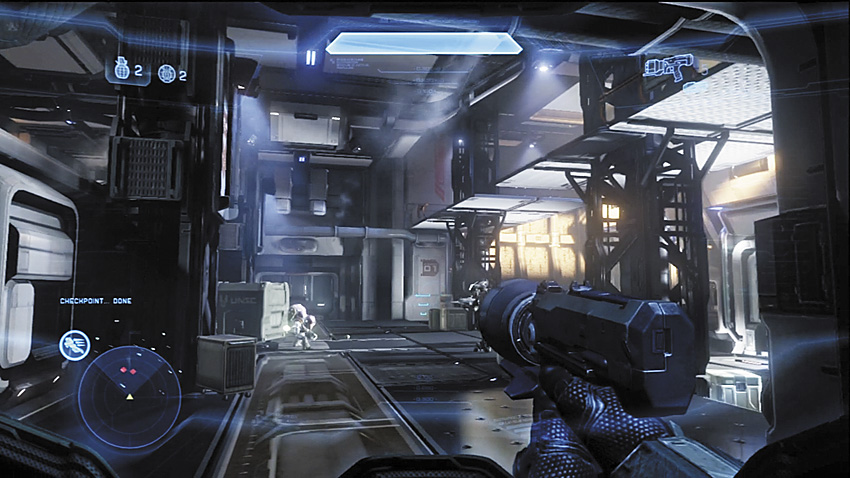
[26] Almost as soon as you open the door to this room, you are confronted by an Elite accompanied by his Grunts and Jackals. One Sticky Detonator grenade is good enough to wipe him out and incite panic among his subordinates. Mop them up as best you can, but immediately move to the air locks.
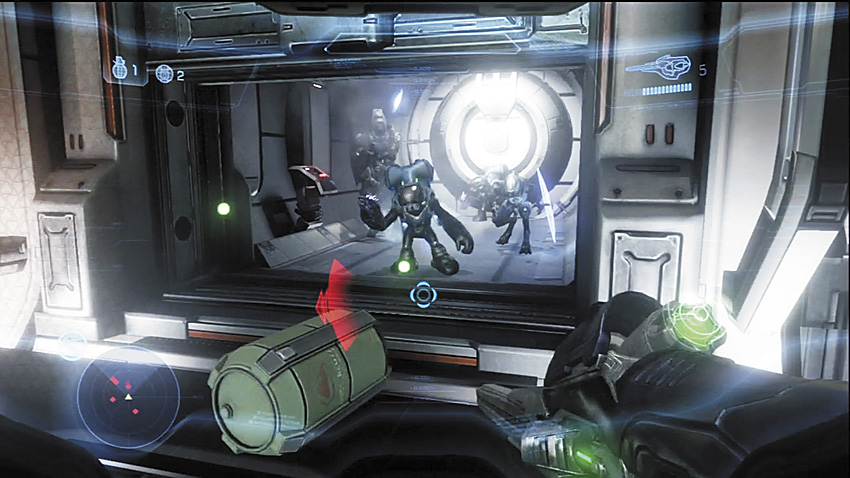
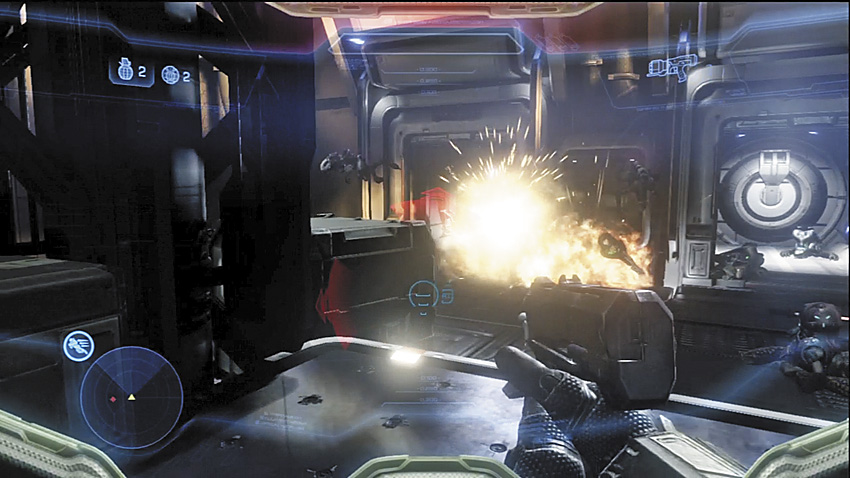
[27] You may see hostiles already gathering inside the air locks, attempting to gain access into the station. You can deal with this by pressing the switch on the door itself, cycling the air lock and jettisoning them into space. If you’re unable to get to the doors before they allow hostiles into the room, set a Sticky Detonator grenade at the foot of the door and let the enemy walk onto it before triggering the blast. This method can be quite dangerous, as you’re only able to mine one door at a time. If the enemy comes through multiple air locks, you could find yourself quickly overwhelmed by multiple Elites and their cronies.
Whichever solution you choose, keep killing Covenant until you get the all clear from Cortana, who opens a door for you to pass through.
Legendary Strategy
Considering how fast you can shut down the Covenant at the air locks on Heroic, this fight might seem easy here, but Legendary is always ready to kick over your sand castle at any moment. The initial battle as you enter the room will most likely take longer to manage if you fail to eliminate the first Elite right away. Should this be the case, you could already be facing down the reinforcements coming through one of the air locks while you’re still trying to finish off the first squad. This isn’t to say that it’s impossible to use the air lock doors against the Covenant, you’ll just have to work much faster than you did before.
Fortunately, you do have a safe option. There is a service tunnel you can use for protection and as a means to funnel Grunts and Jackals to you while you silence them with headshots. This still leaves the Elites, who tend not to venture into the confined space, but you can take the service tunnel to the upper levels and fire Sticky Detonator grenades at them. If you did keep the Hologram from earlier in the mission, this can be a useful tool of distraction to use from the service tunnel or the upper level.
Legendary Gameplay Video
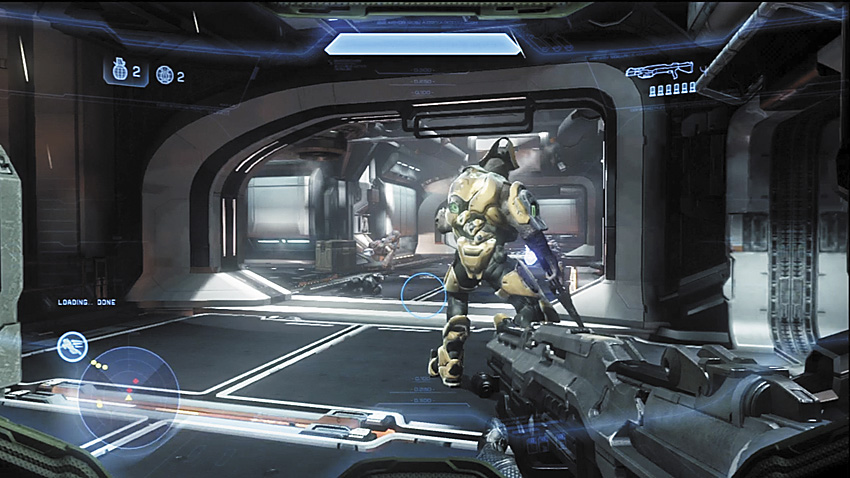
[28] A Marine and a group of scientists are making a last stand against an squad of Covenant in the corridor just beyond the air lock. Taking out this group summons another Elite-led squad farther down the corridor. Eliminating them while keeping the UNSC personnel alive will have one of these survivors open a side room that contains more Sticky Detonator ammo, as well as the Autosentry armor ability. You may want to consider picking it up for this next firefight.
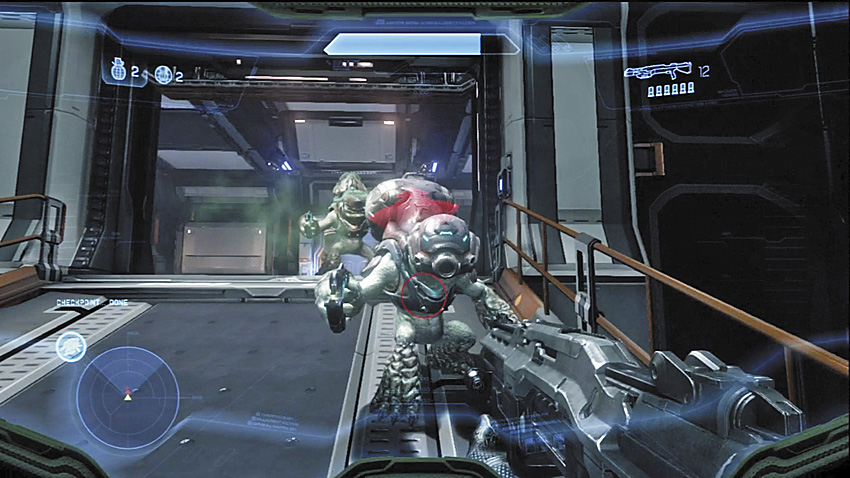
[29] At the top of this ramp, Grunts try to ambush you.
Major Firefight: Air Lock Room Redux
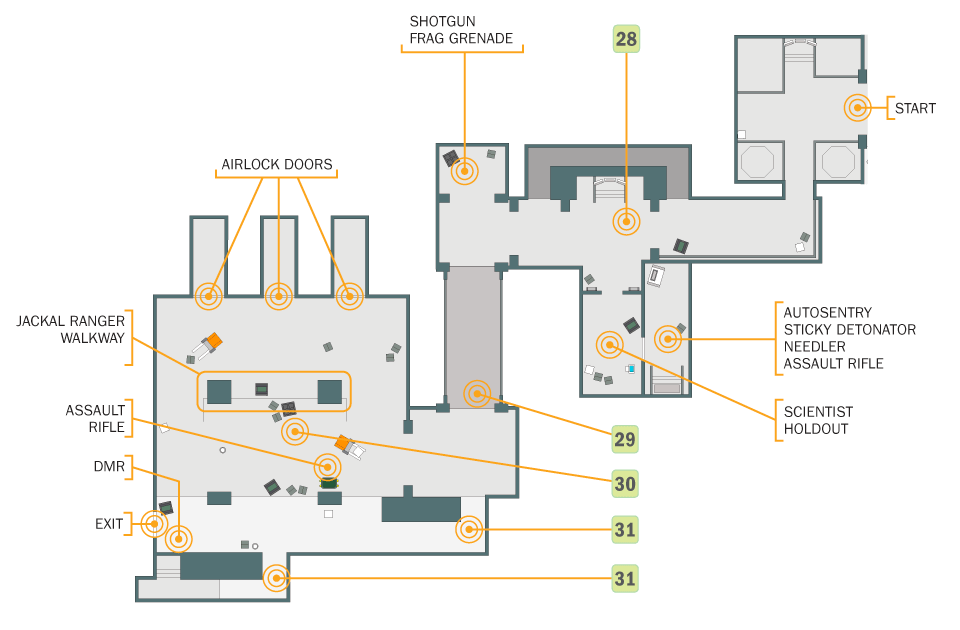
[30] Another set of three air locks are being used by the Covenant to bring reinforcements into Ivanoff, but this time they are more prepared to hold onto them: Jackals and Grunts occupy the upper levels and have excellent sight lines throughout the entire room, and the service tunnels are now more likely to be used against you.
Recommended Loadout
Hopefully you still have that Sticky Detonator, but if that isn’t an option, you can also use a Plasma Pistol to help whittle down the shields of Elites. Beyond that, weapons capable of headshots are preferred.
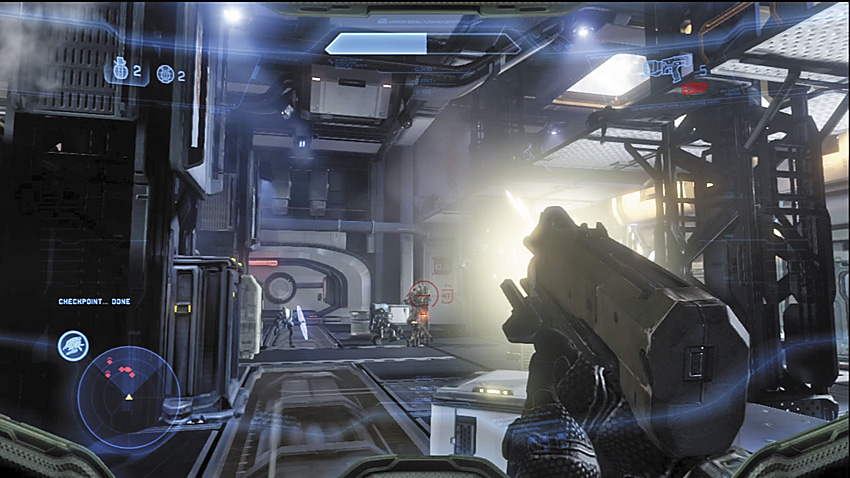
Aside from additional obstacles to use as cover, this chamber’s design is almost identical to the previous air lock room, and similar solutions to the air lock reinforcements problem apply. However, the Covenant have definitely stepped up their game: Jackal Rangers are on the upper level girders sniping at you with Covenant Carbines (or potentially Beam Rifles). You still want to make sure the first Elite goes down quickly, then switch to a headshot-capable weapon and go to work on his allies. If you manage this quickly, you can then deal with the enemy reinforcements as you desire.
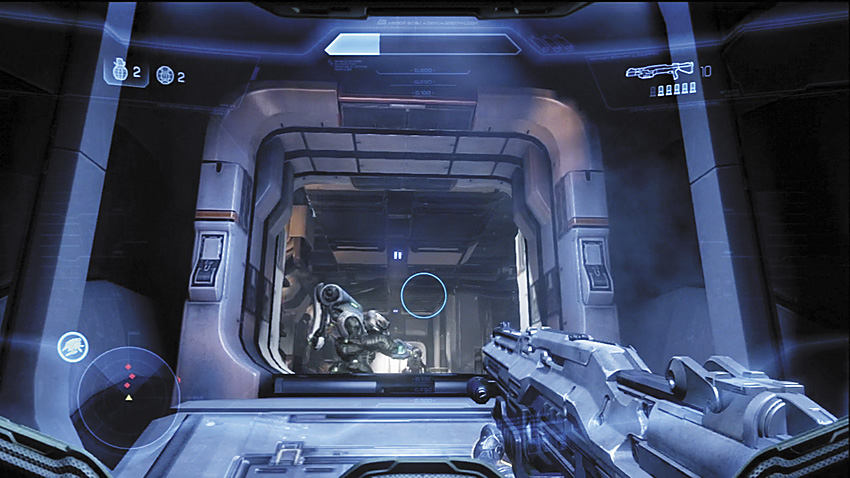
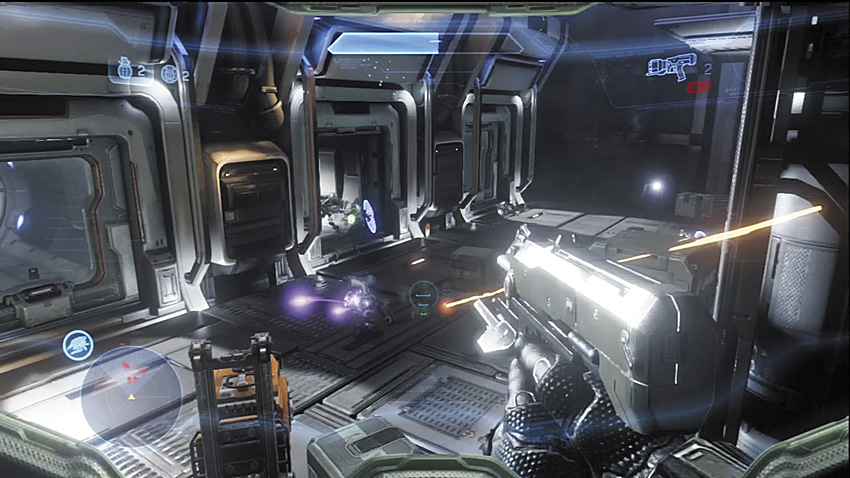
[31] Be mindful of the various service tunnel access points in the room. If you stick to the air lock room entrance while dealing with the first Elite, there’s a good chance the Grunts in the upper level will suicide-rush down the service tunnels and into your flanks.
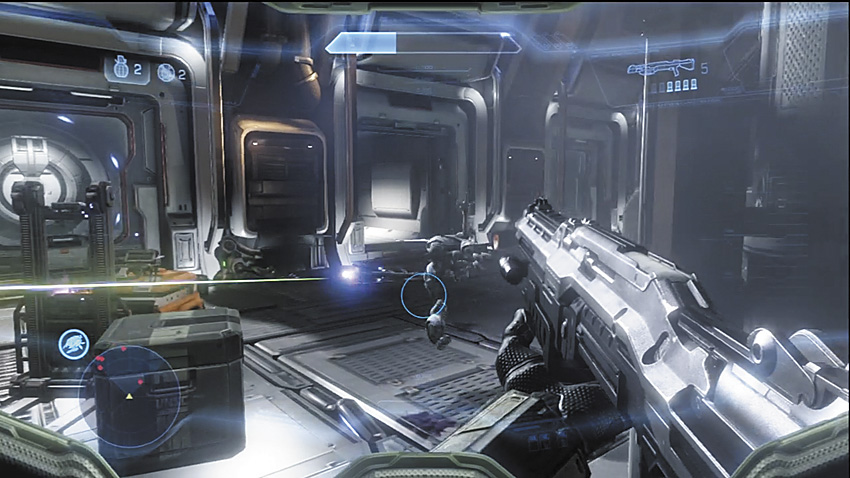
The reinforcements from the air locks are also tougher customers. You can expect higher ranking Elites, including cloaked Zealots, to try to pass through the air locks. This “simple” fight can become seriously chaotic if you lose control of the air lock doors and aren’t acting like a hammer in an extraordinarily violent game of whack-a-mole. Once you’ve caused enough casualties, Cortana opens a door on the upper level that leads to the control room for the station’s defenses.
Legendary Strategy
While this room’s design is similar to the previous air lock chamber, your mind-set will have to adjust for the Legendary difficulty. To start with, a frontal, aggressive approach to air lock management may be out of the question entirely. There are simply too many enemies on the upper level that must be dealt with to avoid getting flanked while you hold down the air locks. And because you might take longer dealing with the initial forces on Legendary, you will have to deal with some reinforcements.
We recommend getting to the upper level via the service tunnels as quick as you can, as soon as the first Elite is down. It’s simply more reliable early on than trying to force your way to the air locks to begin cycling Covenant into the vacuum. It’s still possible to camp at the air locks, but you’d have to be a crack shot to eliminate any Jackal Snipers that could threaten you while you do the deed at each door.
Legendary Gameplay Video
Key Combat Tip
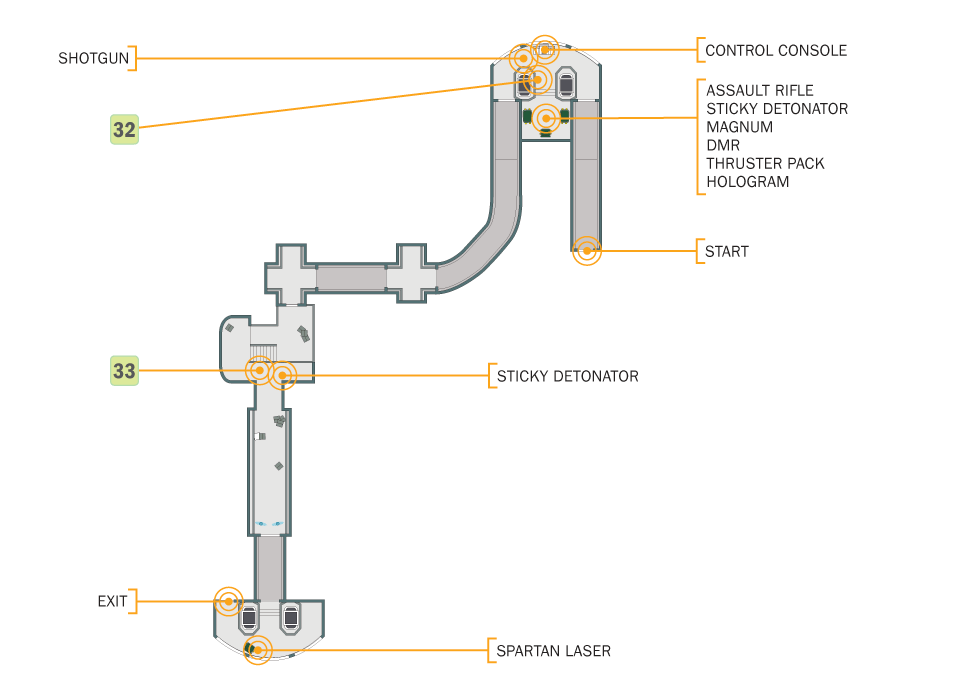
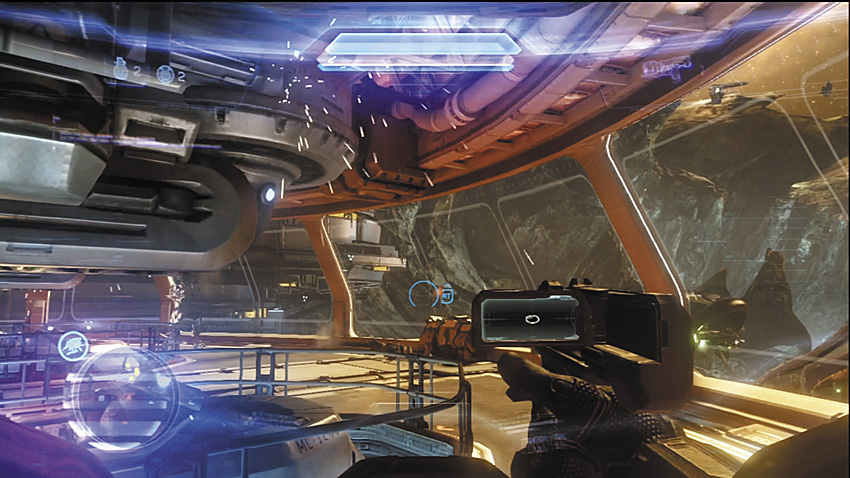
[32] The control room appears empty when you arrive, but that is far from the truth. Two cloaked Elites are within, one of whom is at the controls you need to access. The other stalks close by. You can use explosives or the Sticky Detonator to help reveal them, or use a plasma-based weapon to strip their shields for a headshot from a Covenant Carbine or DMR. When they are out of the picture, insert Cortana into the control console.
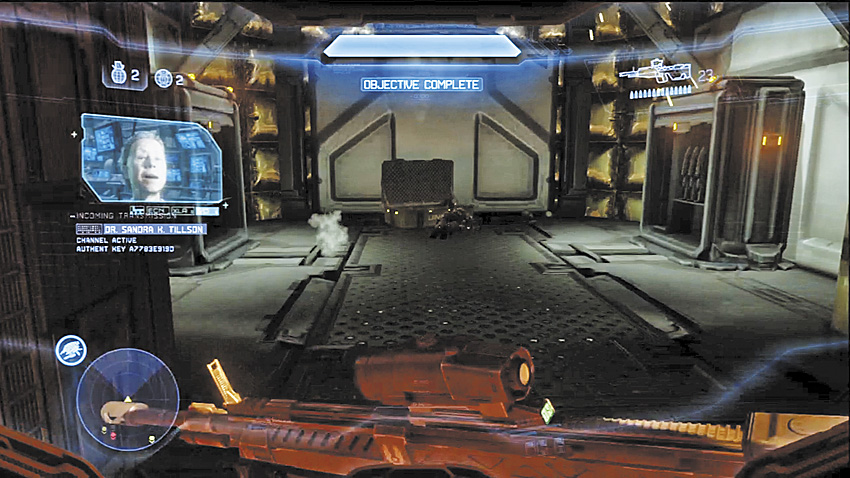
Don’t miss the weapons cache in the control room. You can find a full rack of Sticky Detonators waiting for you, along with a variety of UNSC weapons and armor abilities. Most important, though, you want those Sticky Detonators.
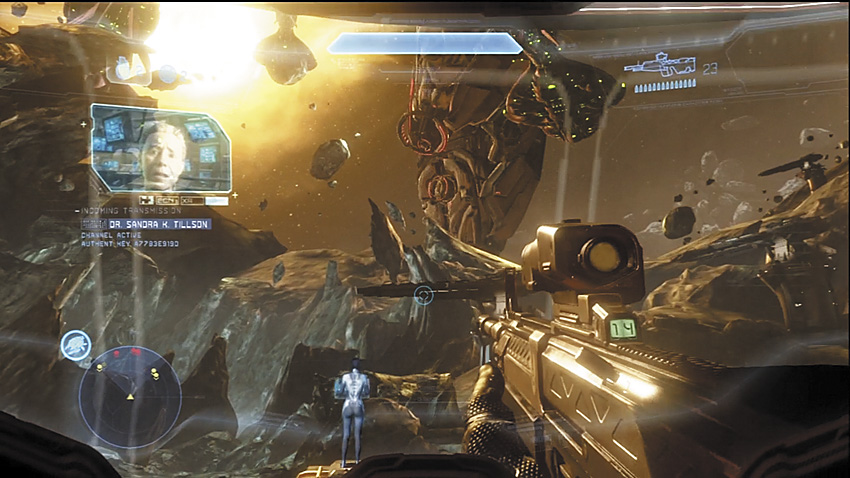
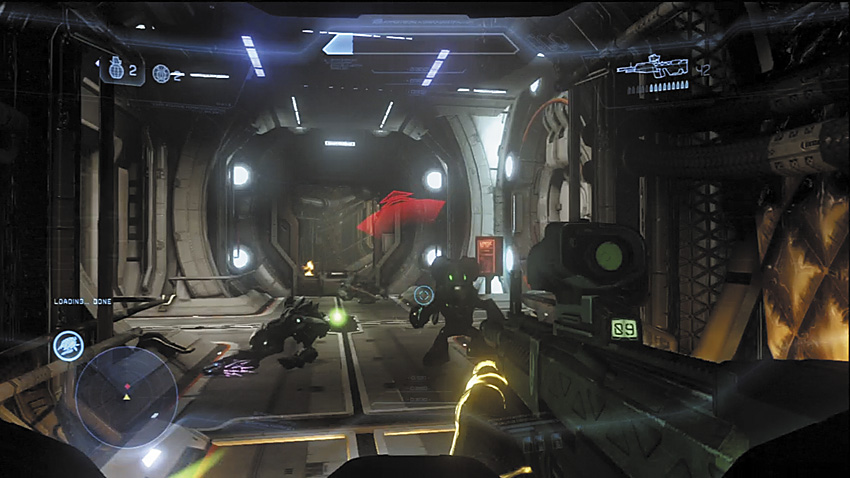
Cortana activates the station defenses, and begins to drive back a portion of the invading force. Pull her from the console when she is ready, then continue to the newly opened door to meet up with Dr. Tillson. Some Grunts and Jackals put up a token resistance along the way.
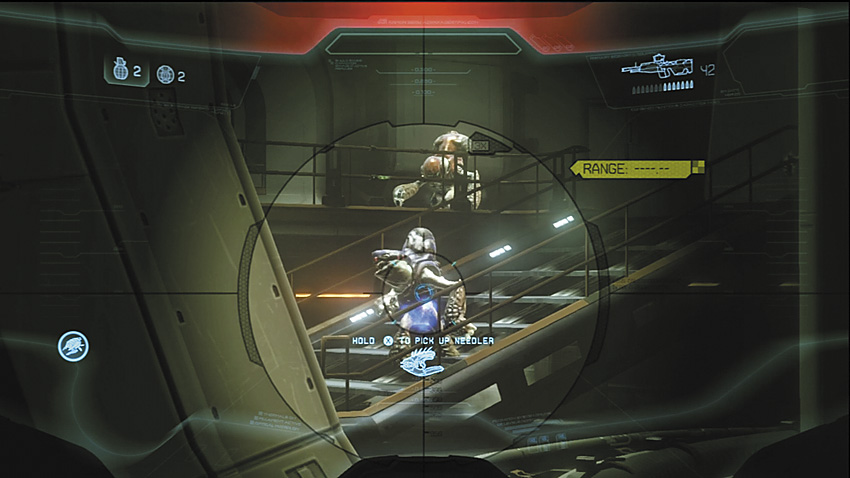
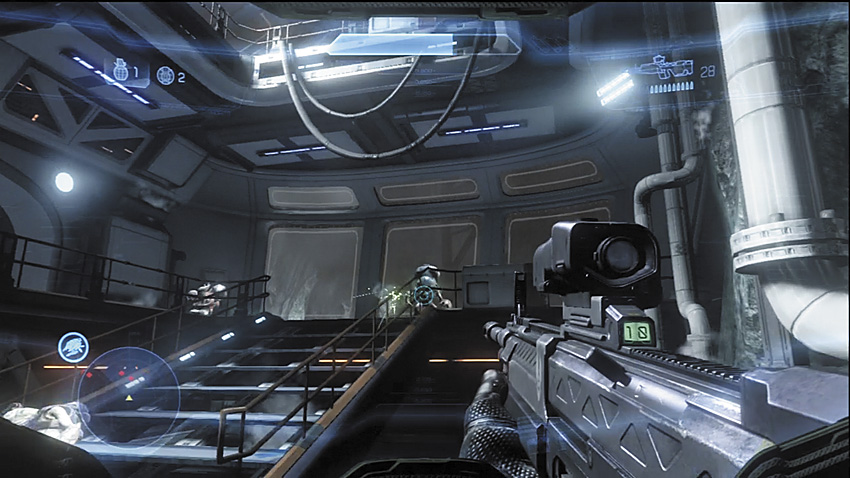
[33] Grunts and Jackals hold down the ramp leading up to a long, straight corridor where two Elites lead a another contingent of Grunts in a final bid to prevent you from reaching the Composer and aiding in its defense. This has all the makings of a serious firefight.
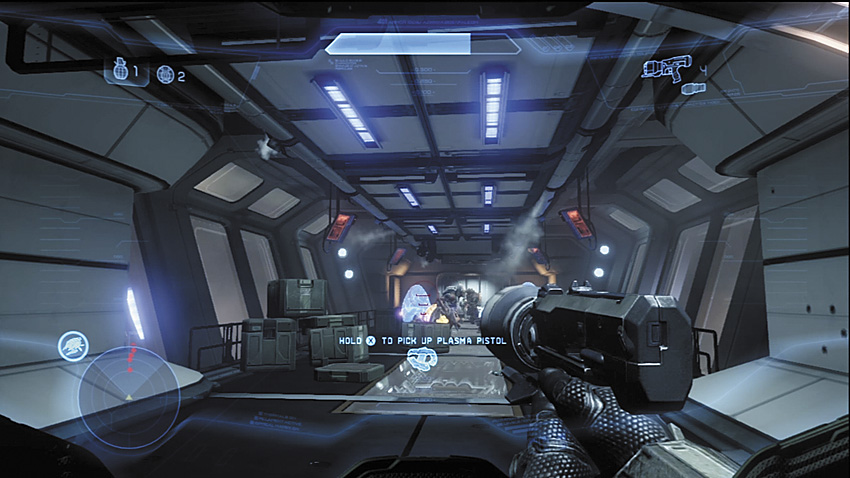
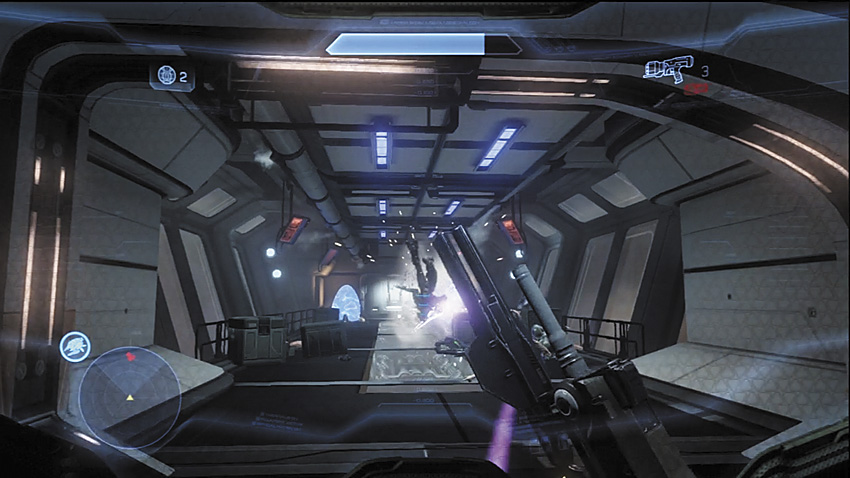
But only if you aren’t packing a Sticky Detonator. One or two shots, along with any grenades you might have, will be more than enough to purge the corridor of most hostiles. Be sure you target the Elites first!
Major Firefight: All Things Lost and Found
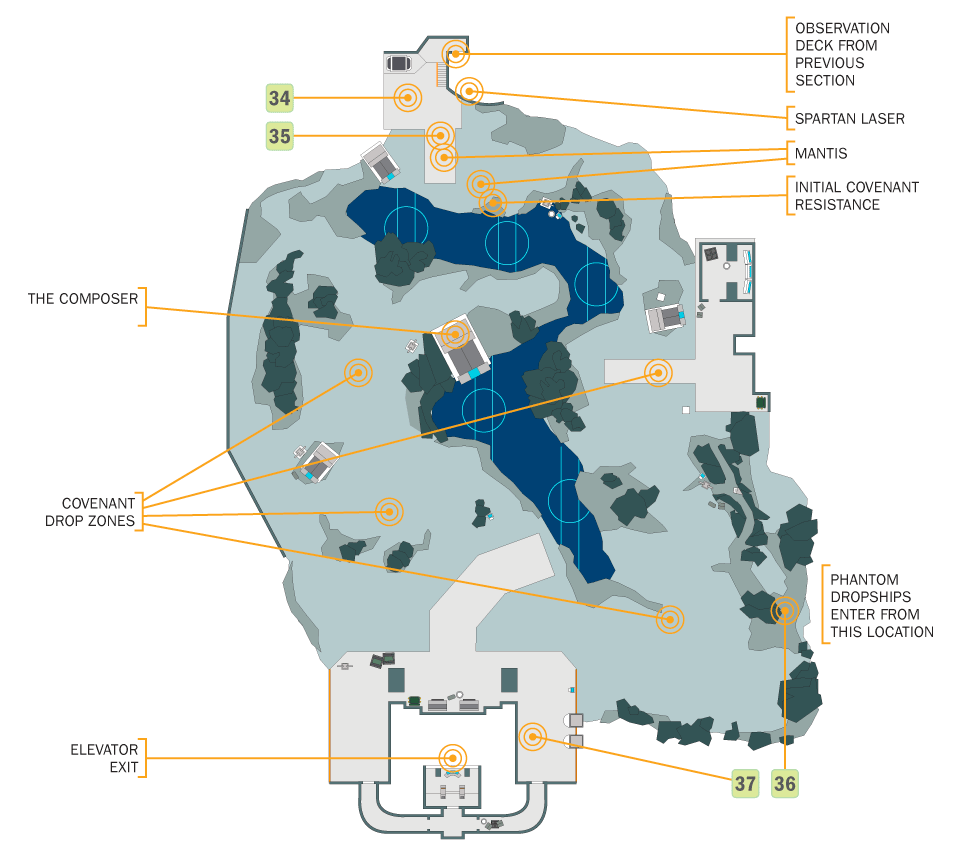
[34] The Covenant have finally broken the defenders of the Composer and are now celebrating finding the device for the Didact. Unfortunately for them, there are a number of unoccupied Mantis mechs in the area. They brought an army to Ivanoff Station to take the Composer. Now’s the time to show them they needed something bigger than an army.
Recommended Loadout
Mantis CRUSH puny Covenant. It’s true that you can also get your hands on a Spartan Laser to try to fight the overwhelming rush of Covenant vehicles and infantry on foot, along with any other weapons you can scrounge up, but the Mantis is really the best way to dispense indiscriminate justice.
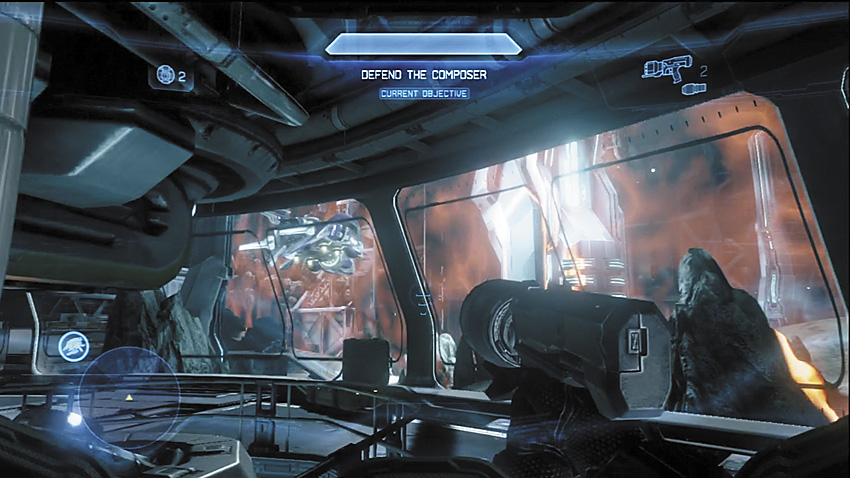
In the observation room where you discover that the Covenant have secured the Composer, you can find a Spartan Laser weapon. Take it as backup, in the event you are somehow stuck on foot. Having portable vehicle-stopping power is never a bad idea.

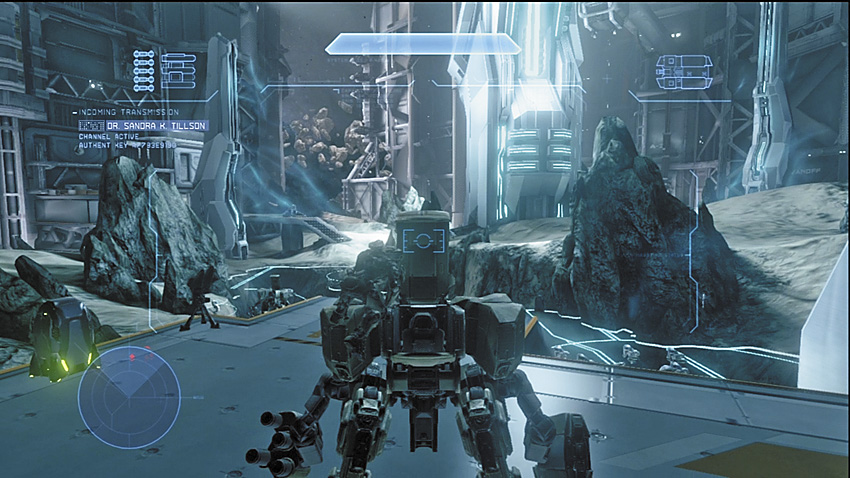
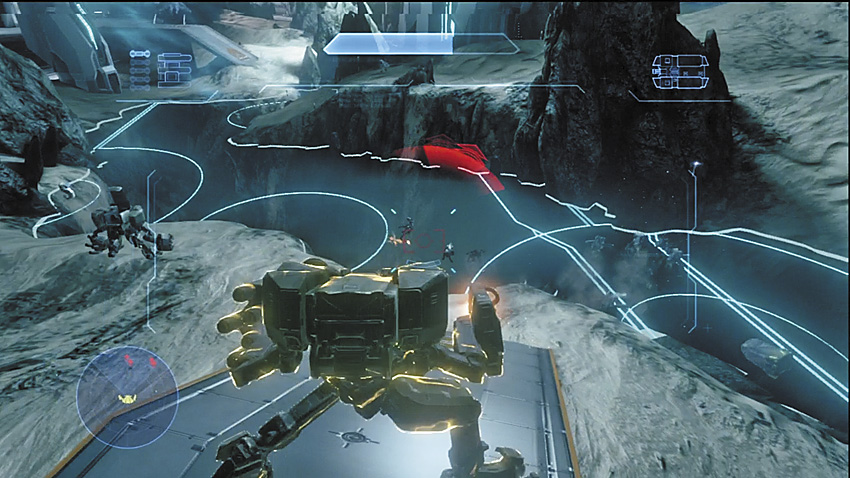
[35] The real star of the show, however, is the Mantis. Once you climb into this machine, the Covenant celebration is little more than target practice. They aren’t entirely helpless, however, and once they recover from your initial strike, the flood of reinforcements begins. Expect Grunts to be packing Fuel Rod Cannons, which are devastating to your shields, and Jackals with Beam Rifles are also incredibly dangerous if ignored. Constantly scan your surroundings for targets and be on the lookout for the telltale green glow of a charged Plasma Pistol. A Mantis takes the longest of any vehicle to recover from the EMP effects of a charged shot, and that time you spend standing stock-still is a death sentence.
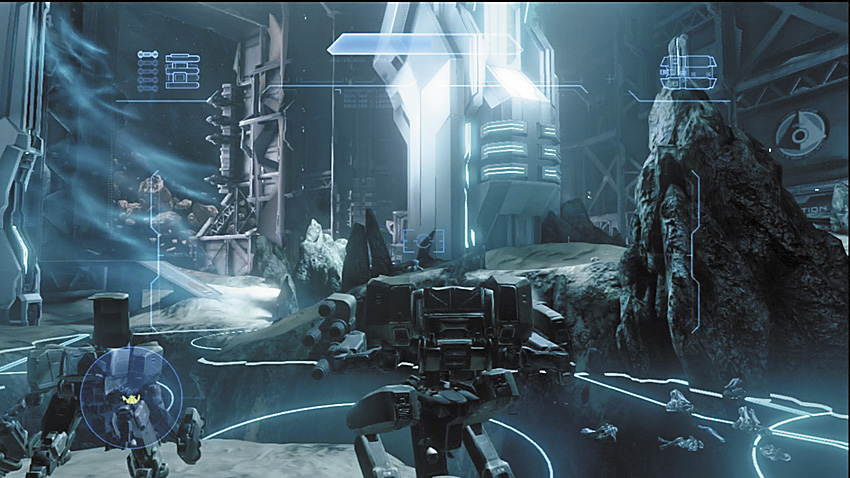
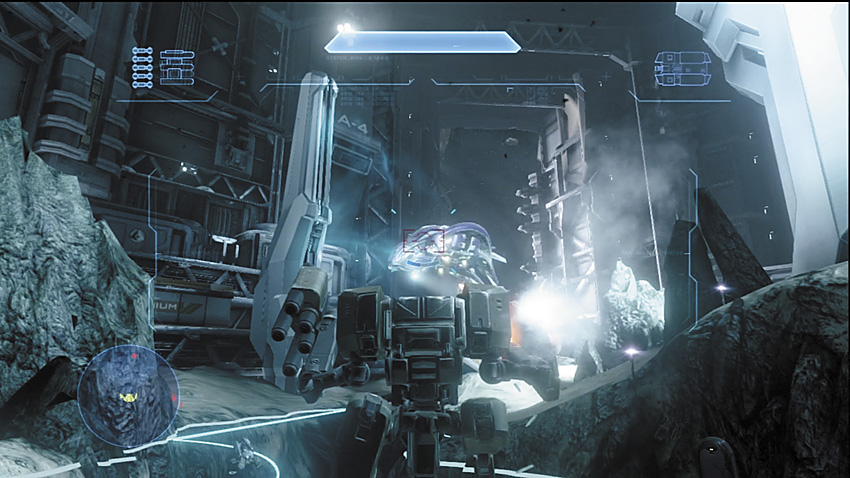
[36] Pay attention to this massive gap in the perimeter walls here. This is where all of the Covenant Phantoms bearing reinforcements will push into the area, and things can get rather crazy if you don’t make an effort to stem the flow of dropships. You will not be able to destroy them all, but you can at least track their movements and find yourself some cover when they inevitably turn their guns against you.
Key Combat Tip
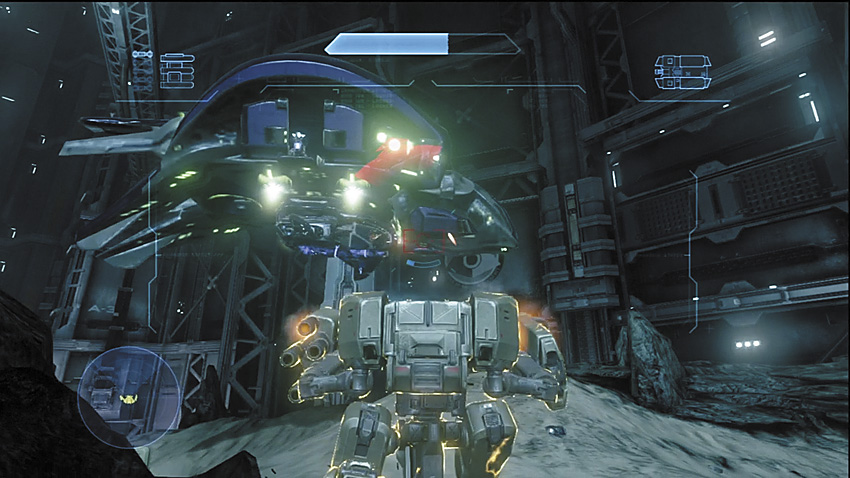
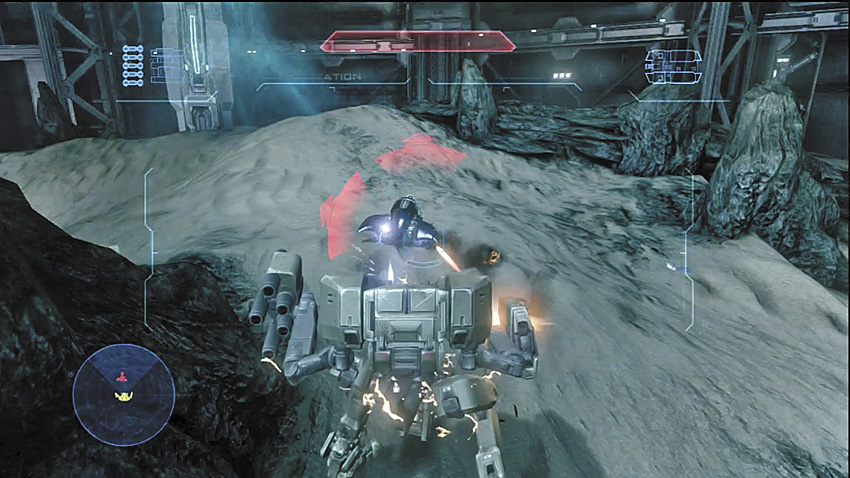
Wraiths are also dropped into the battlefield by Phantoms. Their plasma mortars can put a Mantis into a critical state with a single direct hit. Ghosts are also fielded, and their Plasma Cannons drain your shields quickly if given a chance to focus on you.
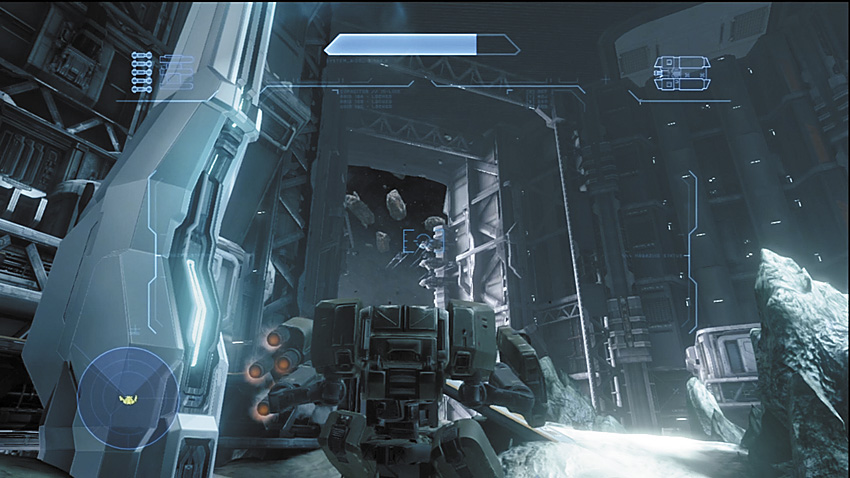
When Cortana calls out “Banshees!” you hopefully have cleared out the majority of any ground vehicles in the area and can focus on these fliers. A wave of six begins to bear down on you from the perimeter gap. Like the Ghosts, their Plasma Cannons drain your shields rapidly, but the real danger is getting smacked down by their Fuel Rod Cannons. Stay mobile, and try to catch them with homing missiles as they fly into the arena.
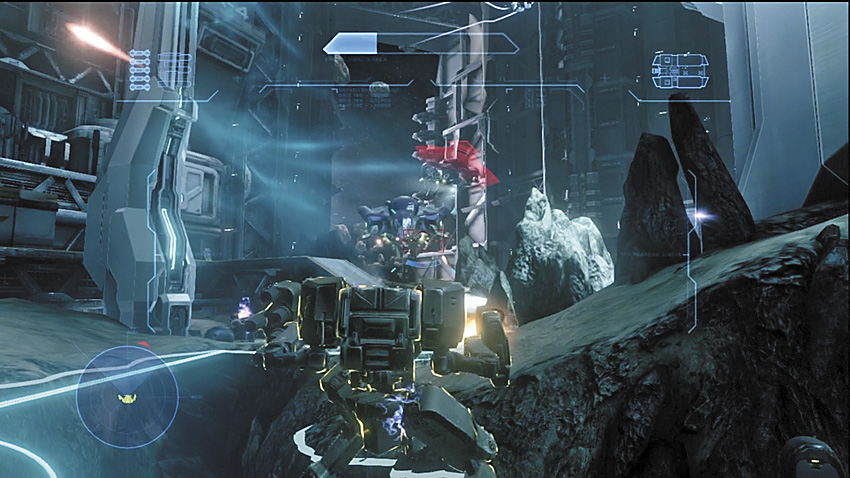
After the initial wave of Banshees is shot down, things get desperate. The Covenant throw another swarm of Phantoms, too many for you to even hope to shoot down, along with another wave of Banshees. Your goal now is simple: to survive until you’re informed you need to rendezvous with Dr. Tillson and Cortana places a new waypoint on the HUD. Clean out any stragglers, then make your way over to the waypoint [37]. Remaining Covenant fliers bug out, which makes this easier.
Legendary Strategy
The Mantis is still quite powerful on Legendary, but it is also significantly more fragile. Getting into close range with the Phantoms, much less any vehicle, is not a good idea, but there are so many to deal with that it is practically inevitable. Use the Composer as a shield of sorts to block incoming fire. It’s more important than ever to stay mobile at all times.
Missiles are your best friend here. The Ghosts and Wraiths have almost no chance to present a credible threat if you are constantly engaging them at the extreme range of your missiles. Banshees are tougher to deal with due to their speed and propensity to come in at angles that the Mantis cannot defend. Use the hilly terrain around the Composer to give you better sight lines and angles.
The final rush is just plain hard, and there’s no way around that. You can mitigate the difficulty somewhat by standing as far back from the perimeter gap as you can, which gives you the most time to lay down fire at the enemy before they can even fight back.
Legendary Gameplay Video
Losing Your Composer
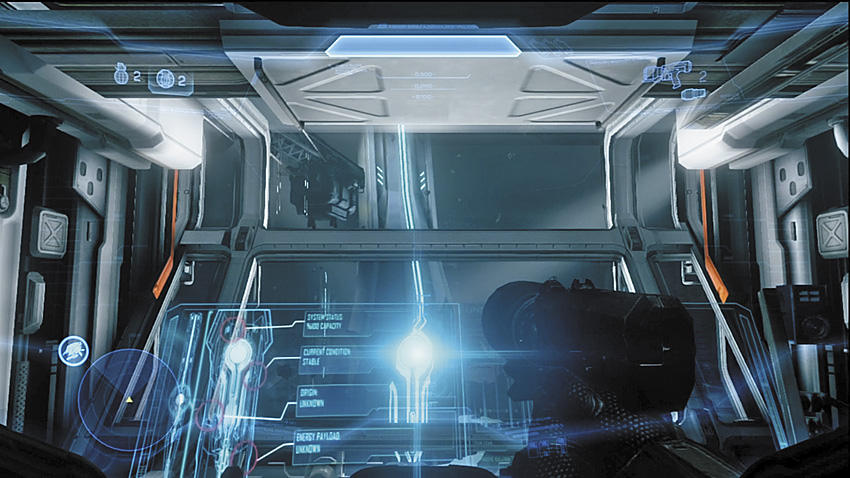
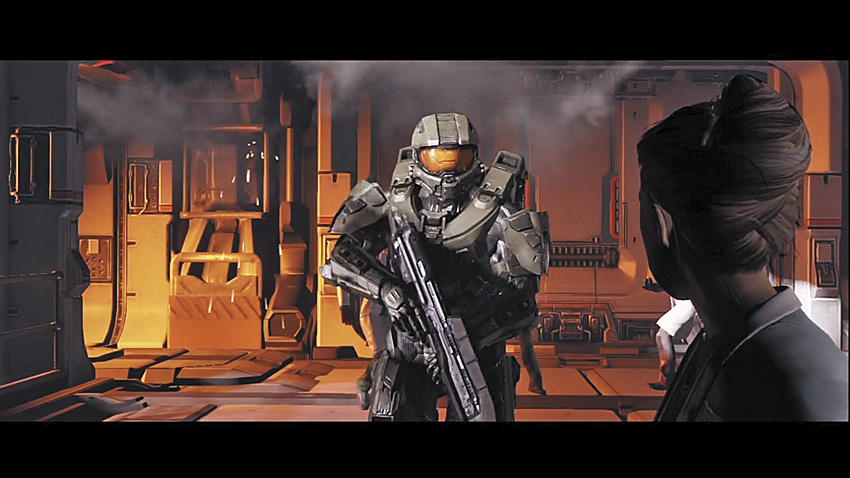
The marked waypoint leads you to an elevator, presumably where Dr. Tillson will have the nukes ready and the rest of her staff prepared to evacuate. Get the elevator moving. Unfortunately, the Didact has other plans.
Ivanoff Station is all but lost, but the Master Chief and Cortana are still alive, and they still have a chance at stopping the Didact. Cortana prepares a Broadsword fighter in one of the hangar bays. The margin for error is slim, as it has always been, but the Spartan’s luck hasn’t faltered entirely just yet. He needs only one last shot.