
Abandon
Initial surveys of Erebus VII were promising and hopeful, but the events which followed tell a far darker story.
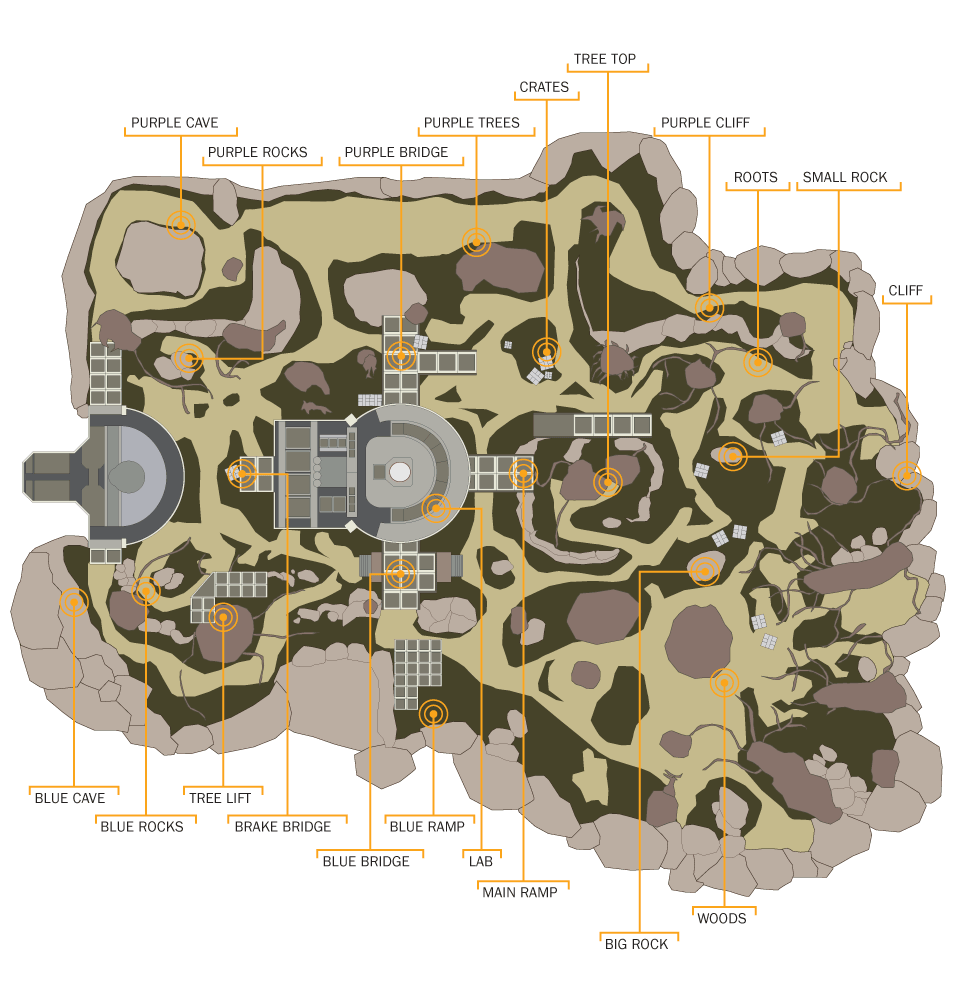
Choke hot spot: Expect high traffic, numerous enemies, and a well-used thoroughfare. Combat usually occurs here, and the location may be watched by enemy snipers.
Danger hot spot: This is an area of ground that is difficult to defend, has poor visibility for shooting angles, is sunken or low to the ground, or is in the open. Expect to be shot at if you’re here. Avoid if possible.
Mirrored hot spot: This location features an identical (or mostly identical) facsimile, almost always on the opposite side of the map. Expect tactical advice to be the same for both locations. Usually these are “blue” and “red” variants of a hot spot.
Sniper hot spot: This location is excellent for sniping, as it has numerous angles and views across much of the map. Expect long-range fire from these areas.
Hot Spots
1. Blue Ramp
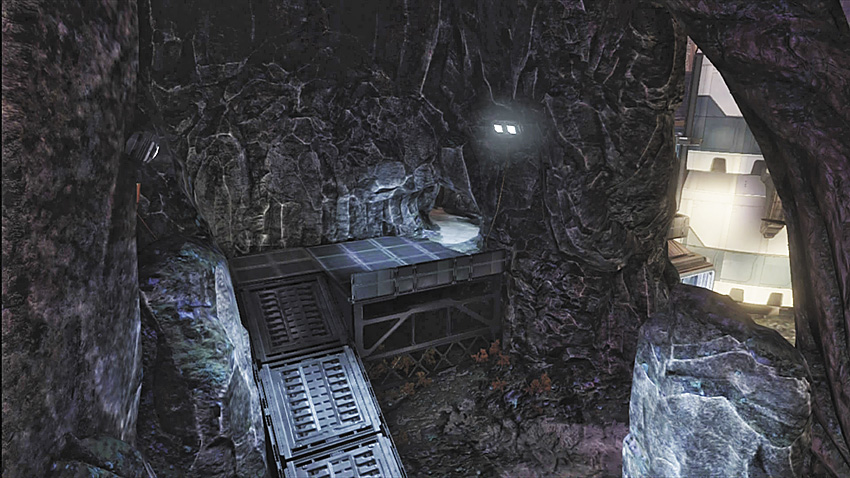
This is great to hold when you’re carrying the ball in the Woods (20). You can keep opponents pinned down at the Lab (9) and spray bullets down when the other team tries to sneak into the Woods. This location is also great to head to during Rumble Pit and Regicide games. Move from the Blue Ramp (1) to the Blue Bridge (3) and back. When heading to the Blue Bridge, try to clean up, killing foes around the Lab and Tower (16). When you return to the Blue Ramp, watch for (and get easy kills on) players spawning in the Woods.
2. Big Rock
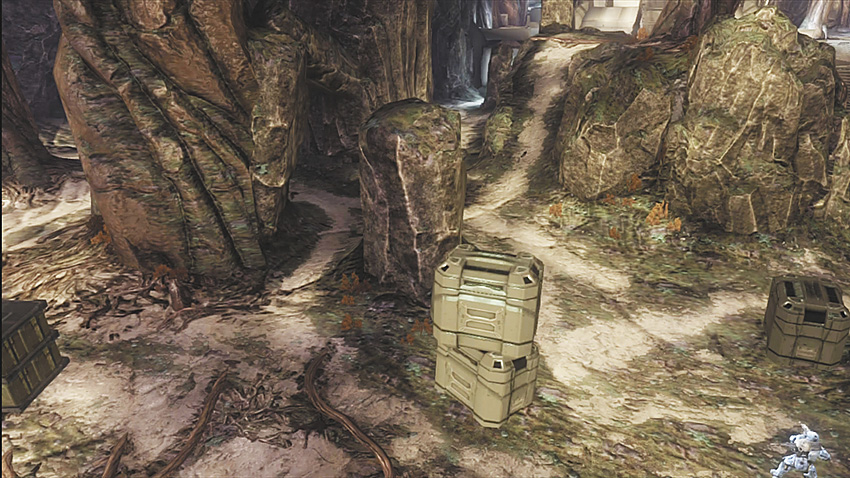
This natural protuberance is a good spot to take cover no matter the angle from which you are taking fire. Use the Big Rock, in conjunction with a Jet Pack, to juke your opponent right out of their boots.
3. Blue Bridge
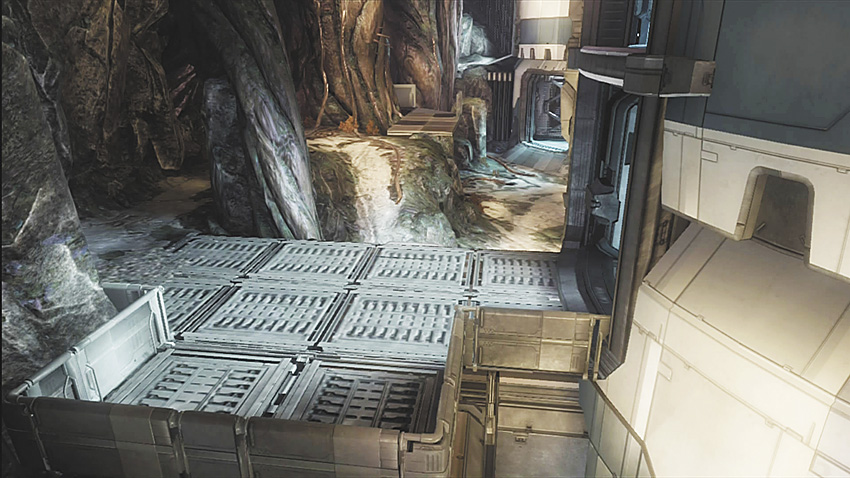
Hold this location, as it’s the perfect support-fire spot. You can shoot toward the Cliff (7) or Tower (16) and retreat to the opposite side if you start taking fire from your opponent.
4. Blue Cave
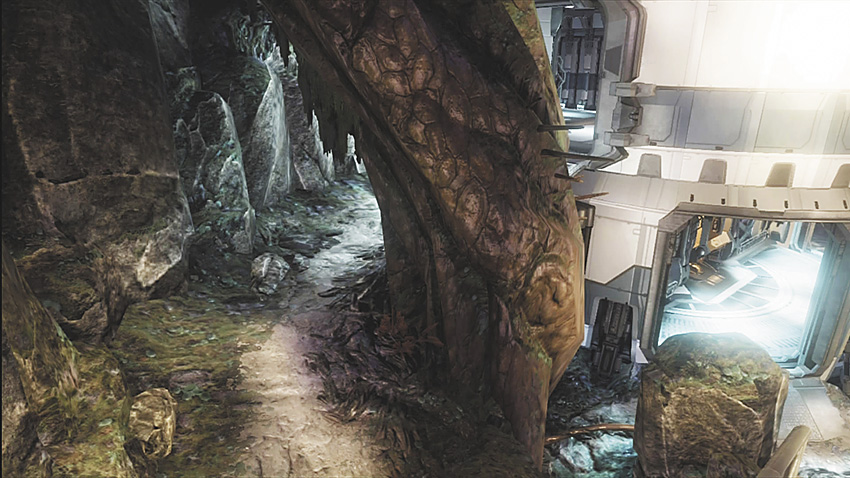
Use this area when retreating behind a corner. You can use it to watch the lab tunnel (near 9) if holding a setup that revolves around the tower side of the map.
5. Blue Rocks
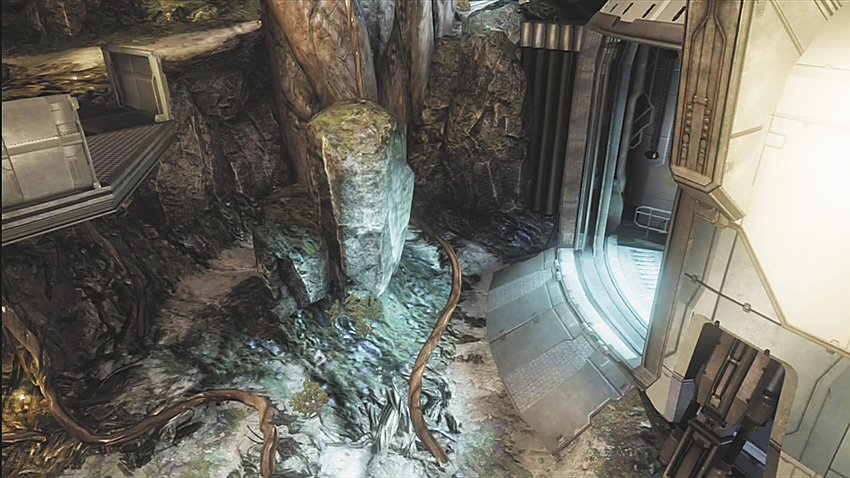
There’s no reason to wait around here for too long; this area is mainly used if you want to wall-shoot (get shots off while a majority of your Spartan is behind cover), assuming you’re in trouble, before running to Tower 1 (16).
6. Broken Bridge
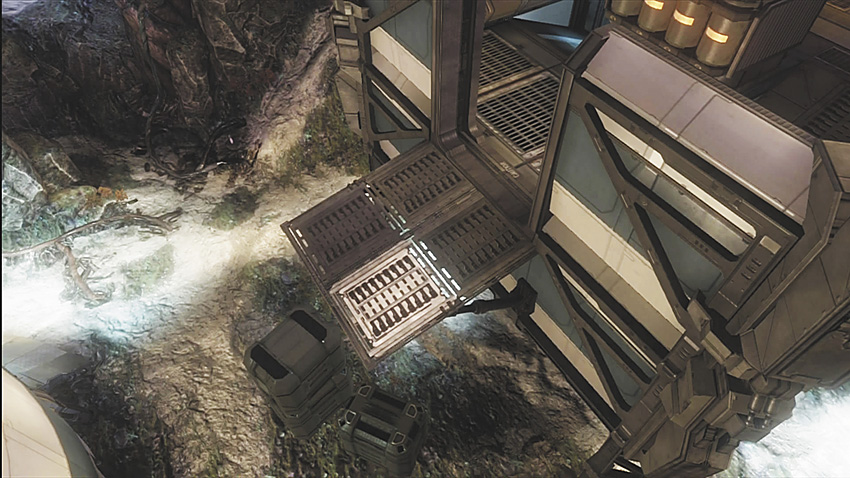
During Oddball, this is a great place to be, as you can drop down into Lab 1 (9A) and run away if necessary. You can also jump and cut off your opponent at Tower 2 (17).
7. Cliff
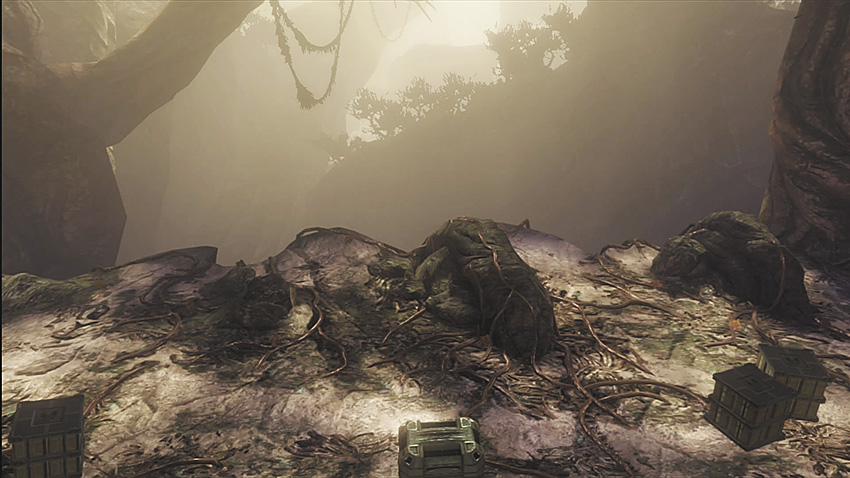
It’s unwise to remain here; you’re wide open to attack from almost every angle on the map.
8. Crates
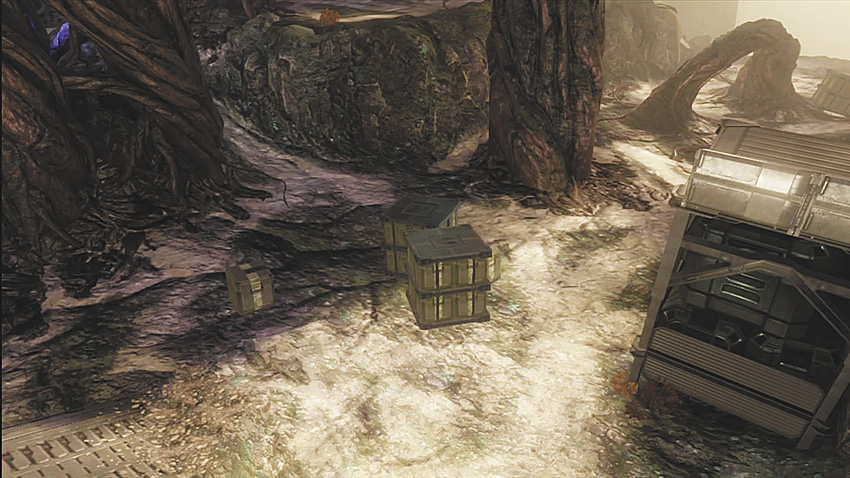
The Crates give you enough room to wall-shoot instead of getting involved in a 1v1 fight in the wide open. Try to bait your enemy out so they have no cover, while you use the crates to dodge incoming fire.
9A. Lab 1 (L1)
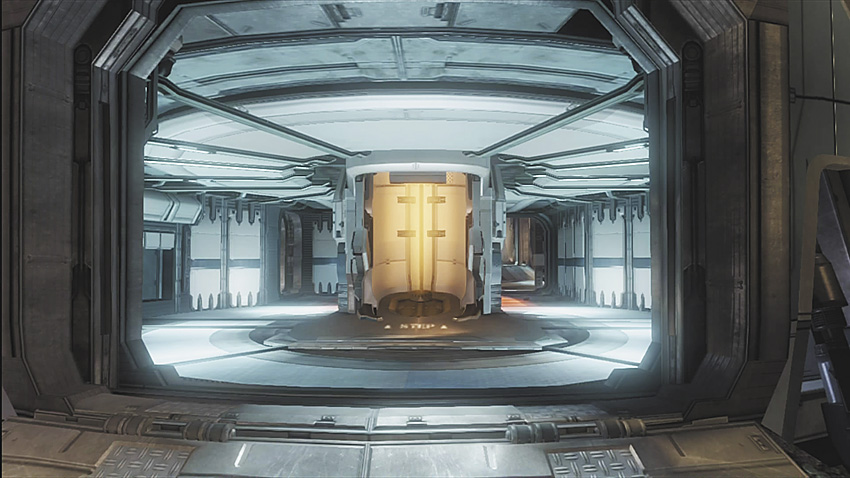
The lower Lab level is an excellent place to which to bait the enemy team if you have Lab 3 (9C) under your control, as you can easily lift up to run away.
9B. Lab 2 (L2)
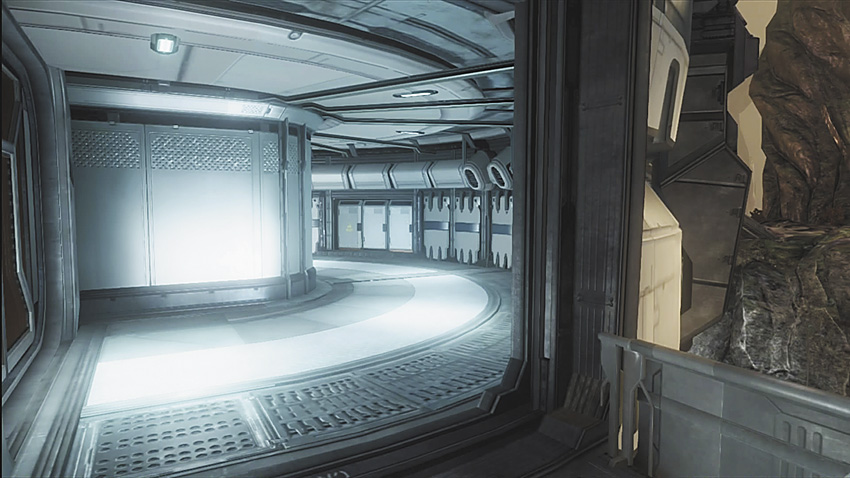
The midlevel laboratory area enables you to move from the Blue Bridge (3), Purple Bridge (21), and Lab 3 (9C) quickly. This is helpful for support players, as they can pick which bridge to shoot from depending where the enemy is located.
9C. Lab 3 (L3)
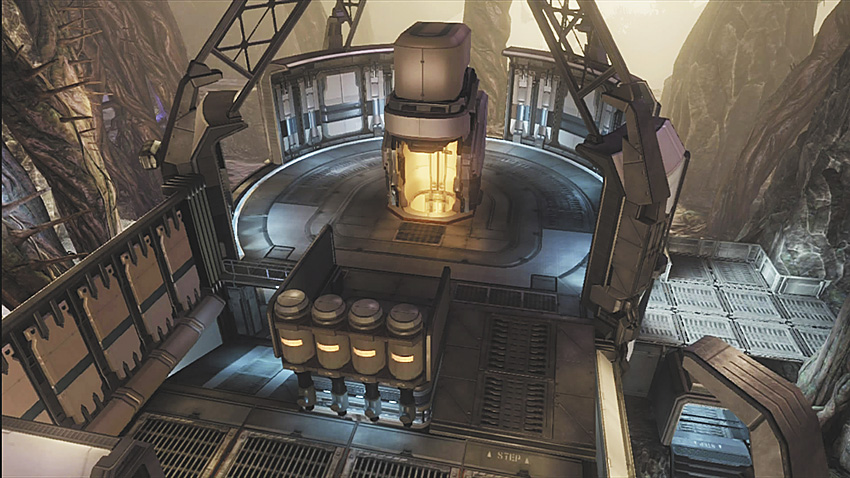
This is the “power position” to be in for all the game types. Stalking foes from this location is preferable, as you have a clear line of sight for the entire map. During Team Slayer variants, hold this along with either the Blue or Purple side of the map. If you can do this, you can force your foes to spawn only on the side you don’t control most of the time, meaning you have less of the map to check for incoming foes.
In addition, you can hold the ball in here. Start by holding the ball in Lab 1 (9A), and when the ball carrier faces danger, he should throw the ball up the grav-lift to Lab 3 (9C). When holding the ball here, an endangered ball carrier can drop down to the Broken Bridge (6) or Main Ramp (10) (whichever route is safer), and return to Lab 1 to start the maneuver again.
10. Main Ramp
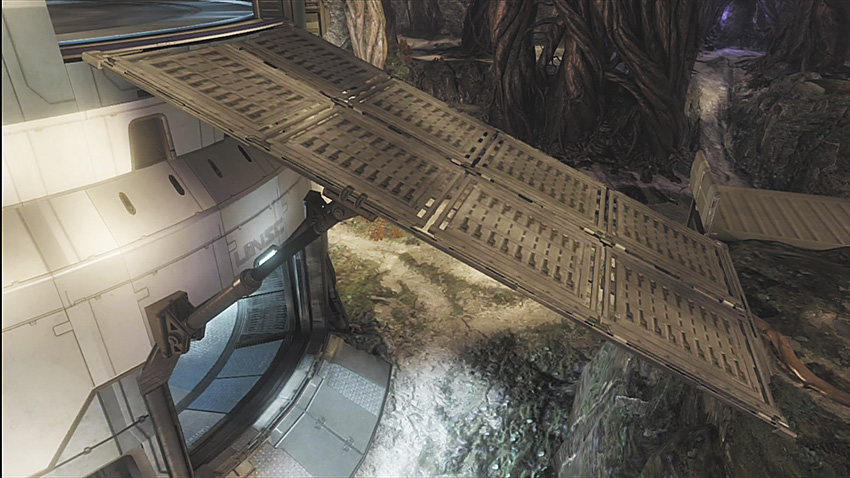
Utilize the Main Ramp when you’re trying to bounce grenades into the Lab (9). This is a common choke point and features in numerous battles. Move off of this ramp quickly, or you’ll be open to shots and lack cover.
11. Purple Cliff
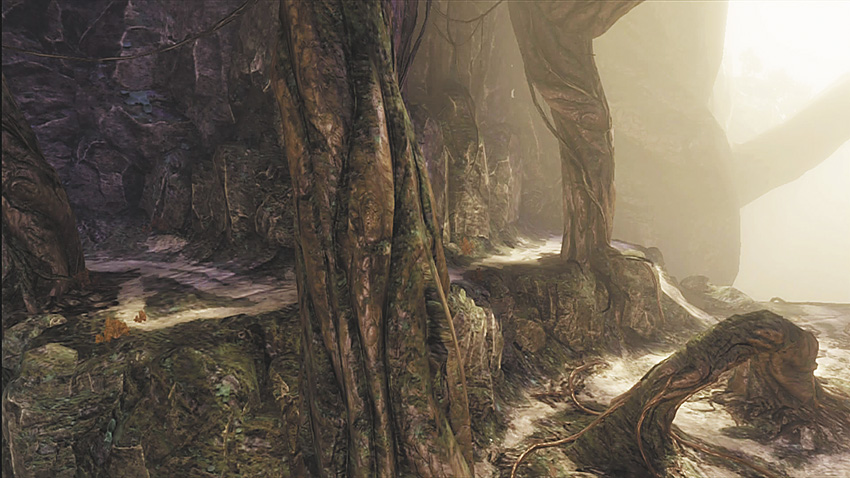
This hot spot is great to hold on to when you’re playing Rumble Pit or Regicide. You have a good line of sight toward Treetop (18) and Lab 3 (9C), enabling you to clean up with kills before looking toward the Woods (20), Cliff (7), and Roots (14). View foes at these points and catch them spawning and off guard. This is also a great place to be during Team Slayer variants if you have Lab (9) control, so you can spot if the other team spawns around the Cliff and Woods.
12. Purple Rocks
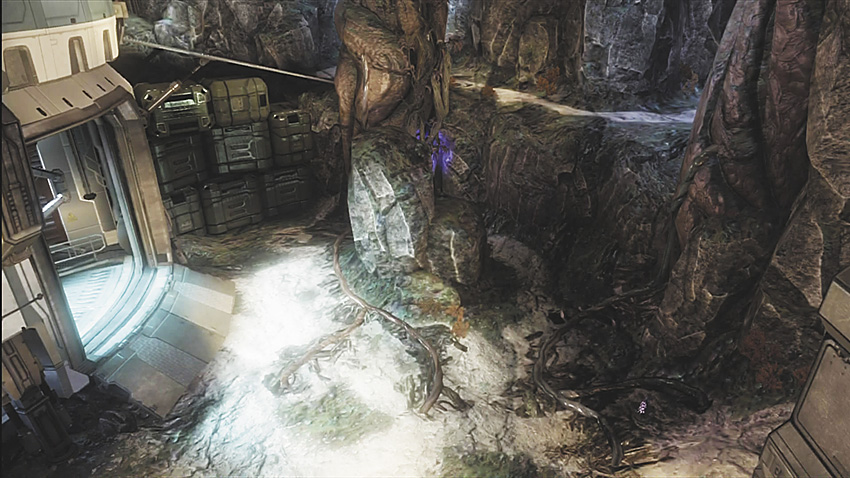
This is another spot you don’t want to stand around in for too long, as the enemy can easily grenade you. However, it is effective to wall-shoot and run to Tower 1 (16) from here. You can maneuver on top of the Purple Rocks and jump toward the Purple Cliff (11) from here as well.
13. Purple Trees
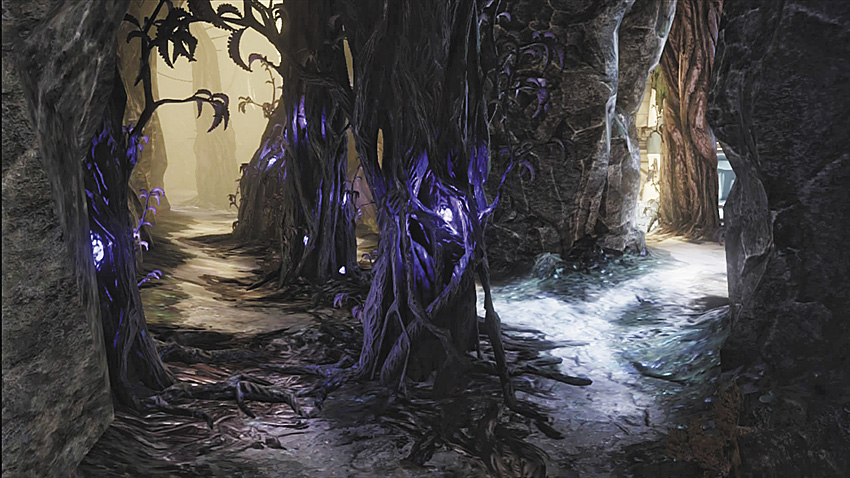
There are a few trees to hide behind here, allowing you to catch all who come in unprepared with a sneaky assassination!
14. Roots
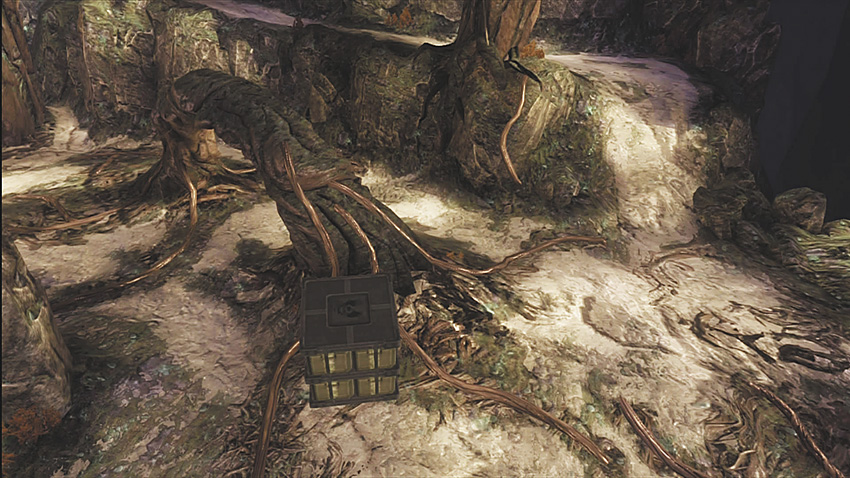
Use this area for cover when you’re slowing pushing out of the Purple Cliff (11) spawning areas.
15. Small Rock
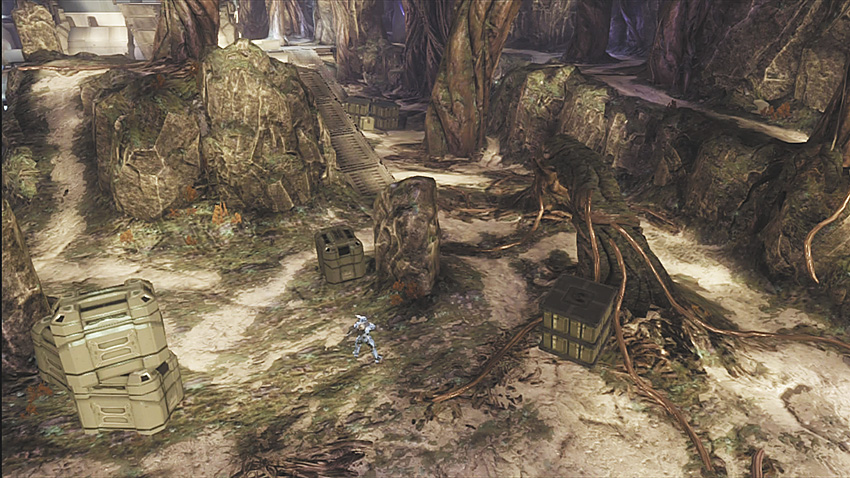
This is another rock that’s used mainly for cover so you can regain shields while at the map’s edge. You can push to Treetop (18) when your shields are up.
16. Tower 1 (T1)
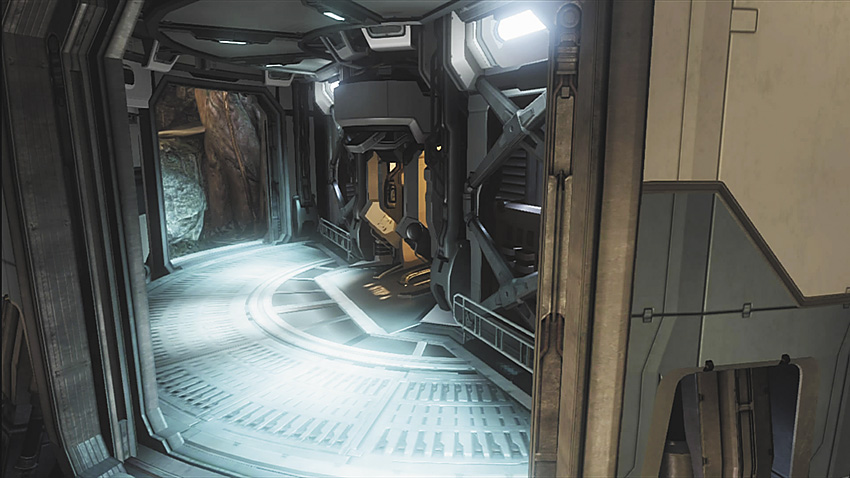
There are no shooting angles from down here, but if timed perfectly in team games, you can lift up to Tower 2 (17) and take down any weak enemies.
17. Tower 2 (T2)
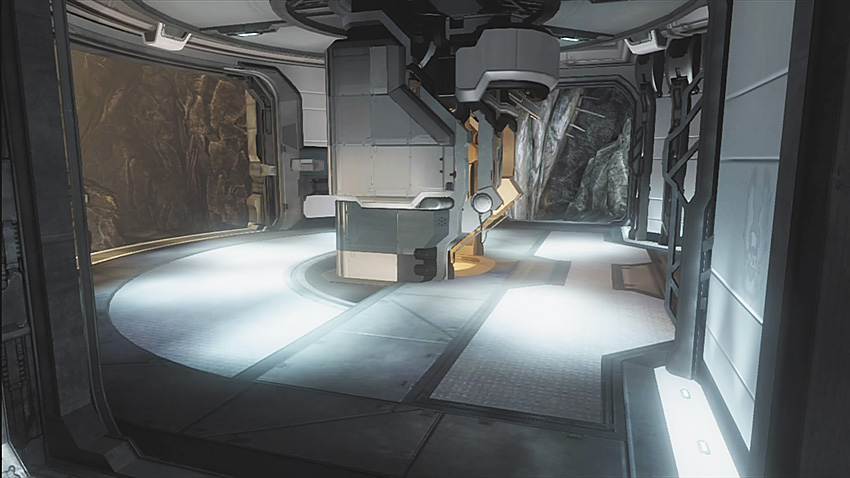
This is a good spot for Slayer variants when you’re the lead, as it forces the other team to come to you.
18. Treetop
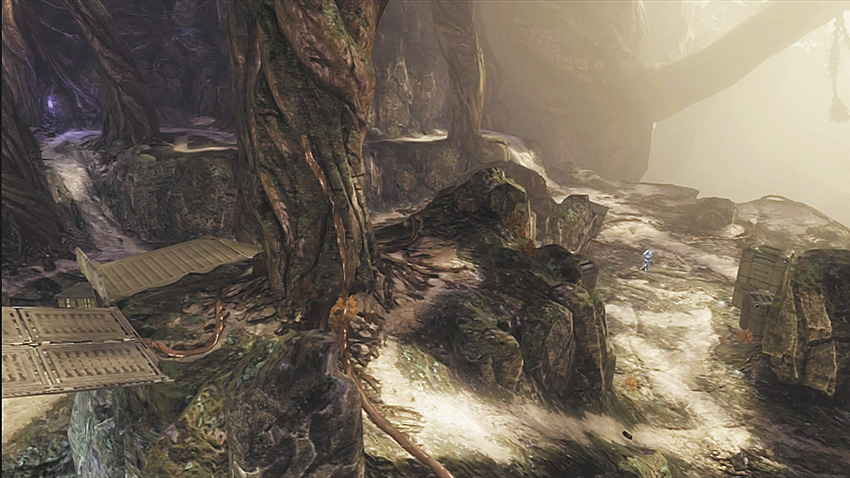
A commendable place for aggressive players to use when wall-shooting, if the opponent is spawning at the Cliff (7). This is also a great spot to be in to check the Purple Trees (13).
19. Tree Lift
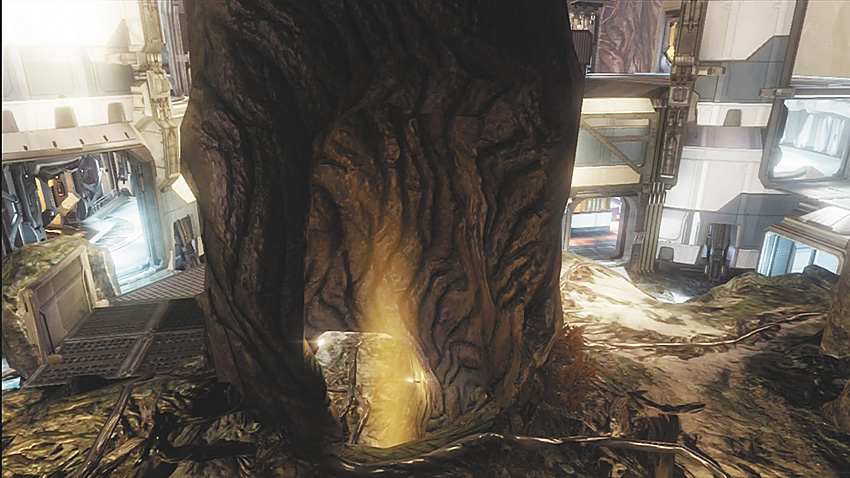
This is your number-one escape route when you’re milling around the Blue Cave (4) or Blue Rocks (5). You’ll primarily use the lift to ascend into the Blue Cave, but if you’re running away, you can use Flamesword’s Pro Jump (detailed below) and drop to the bottom from Blue Cave for a quick getaway.
20. Woods
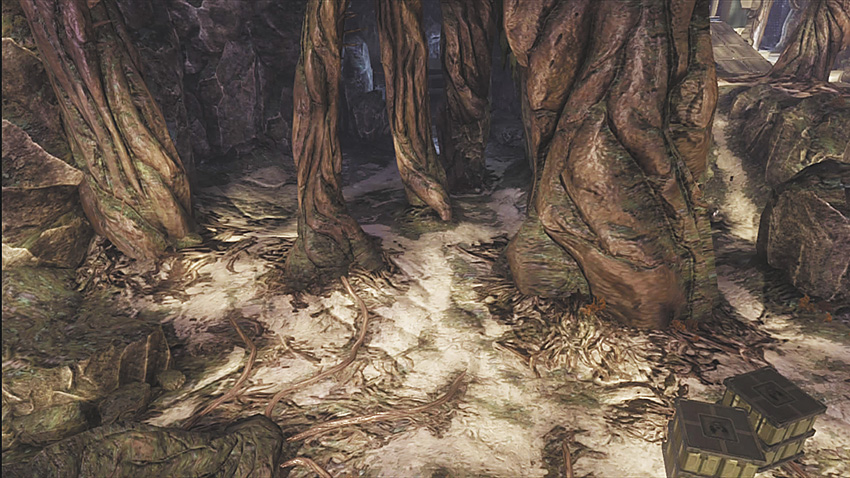
Hide here with the ball if your teammates have control of the Blue Cave (1). This forces the other team to engage you from the wide open, which allows for your team to easily pick them off. Try wall-shooting or peek-shooting (when you strafe in and out of cover while tagging your opponent with shots) from here.
21. Purple Bridge
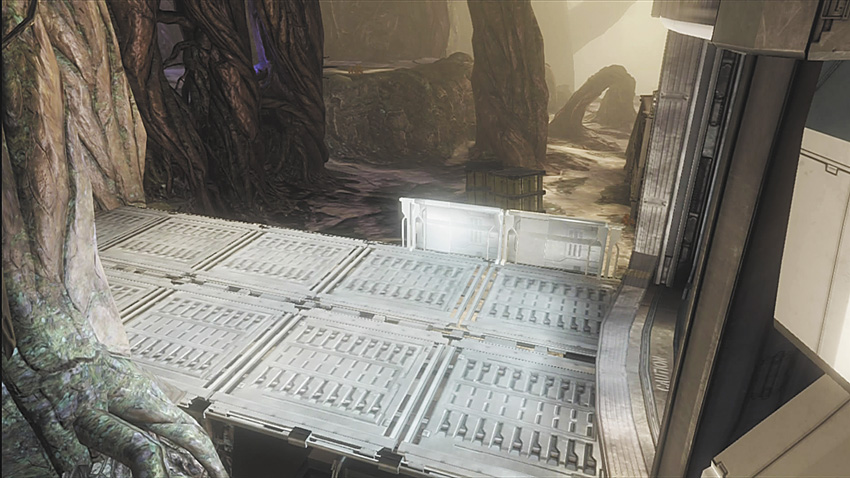
If Blue Bridge (3) isn’t suiting your needs, then switch over to this bridge! This is a great area to be when laying down support fire toward Cliff (7) or Tower (16) or when keeping foes contained in Purple Trees (13). This hot spot is very useful, because if you get in trouble, you can enter the Lab (9) and pick your escape route—either to the top (because you have teammates covering) or, if you are playing an individual game types, across Lab 2 (9B), to the bottom on the other side, near Blue Bridge’s (3) entrance.
Tactics: Team Games
.jpg)
Be careful about roaming solo on this map, there’s plenty of hiding places for crafty players.
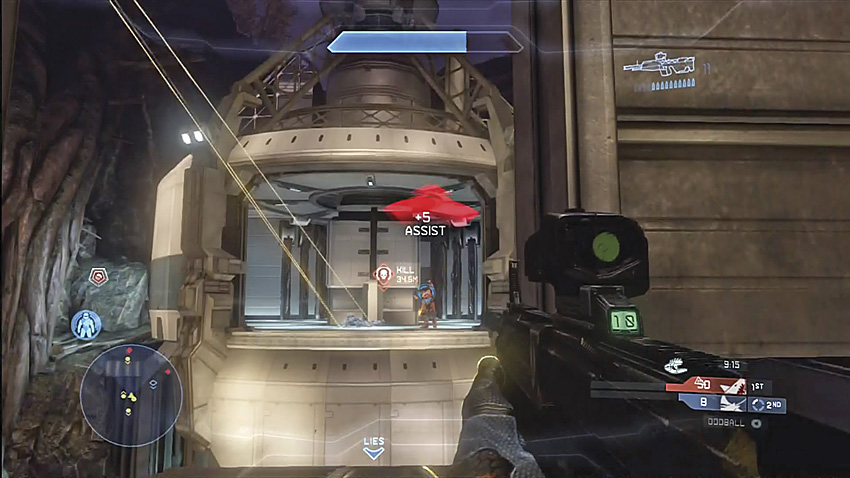
To control the labs is to control the map.
Controlling the Top Lab (L3)
Make sure your team heads here; this position has a bird’s-eye view over almost the entire map. The Lab’s top floor also allows you to provide covering fire and clean up many kills your fellow teammates didn’t manage to finish.
Don’t step away from this location; it’s almost always a good idea to keep at least one teammate patrolling here.
If the opposing force tries to charge the top Lab (L3), you have numerous escape options: you can drop to L2 or L1 and wait for your team to help; then use the Lift or ascend back to L3 and retake it.
If you’ve lost control of the Lab, attack it from disparate points (rather than clustered in the same place) with your teammates and reclaim that power position!
Packing a Punch
The Jet Pack is an excellent choice on this map, as you can fly up and land on top of the Lab, shooting down at foes inside. This gunfire is usually unexpected, heightening the chances of confusing your foes and eventually routing them.
On the Prowl
Watch the Lifts! Don’t get too sidetracked with dropping foes from across the map; you never know when your opponent might be sneaking up on you. Snipers need spotters!
Another option is to stay low on the outskirts of the map; it’s a great way to move around unnoticed. You might be able to sneak up to an opponent by limiting your fire and ducking behind a tree, rock, or other scenery.
Tactics: Oddball
.jpg)
In a situation like this, throw the ball at your enemy to force the guns out of their hands.
On the Ball: Position 1
Hang out with the Oddball by the Tower 2 and Purple Cave areas for maximum security from enemy fire. You should be able to rely on your team and the scenery to provide you with the protection you need.
Run back and forth from the Purple Cave and Blue Cave when the opposition is pushing at you from either flank.
Your teammates without the ball should employ Promethean Vision and Sensor; this gives your team the first jump on your foes, making it even more difficult for them to reach the ball.
Dropping the Ball
Remember you can always drop the ball and help take down enemies with your teams; this buys even more ball time. Although holding the ball and not helping gains you points, the long-term disadvantages outweigh the small score additions: Refusing to drop the ball makes it easier for the opposition to control the map. Instead of a 4v5 battle, drop the ball and even the odds to 5v5.
On the Ball: Position 2
Holding the ball down by the Cliff, Big Rock, or Woods and setting up a defensive barrier of teammates around you is another good setup when you’re trying to keep the ball. You have numerous cover opportunities, and can bait the other team into charging you. If your team is losing control of this part of the map, you can throw the ball off the map’s edge and make it respawn, decreasing the chances of the opposition gaining points.
On the Ball: Position 3
The Lift in the Lab is another great spot for holding the ball; it’s also an excellent way to eliminate a potential attack point (the Lift itself). If the enemy assaults the Lift, give them a good smack with the skull, and send them to a long respawn. Be sure to watch for incoming grenades, though!
Spartans of MLG: Expert Jumps
The following expert jumps are possible on this map. Practice, and look at the step-by-step picture guidance to perfect them, as they can considerably aid you in your maneuvering.
Elumnite
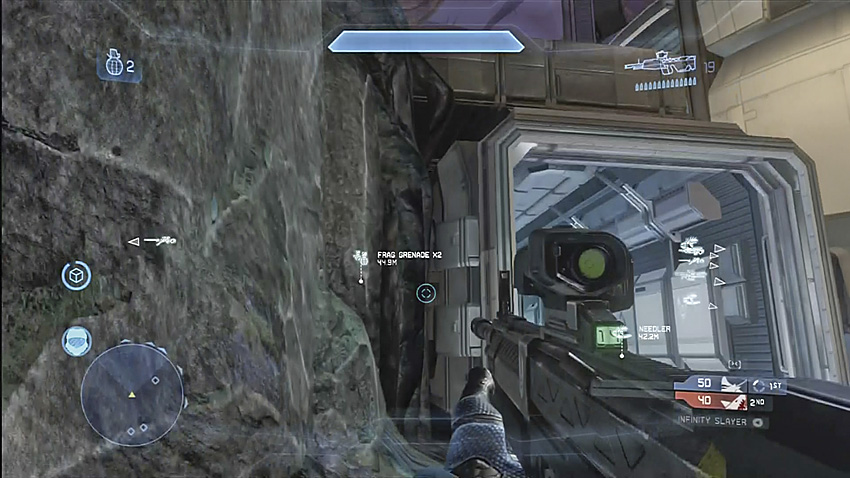
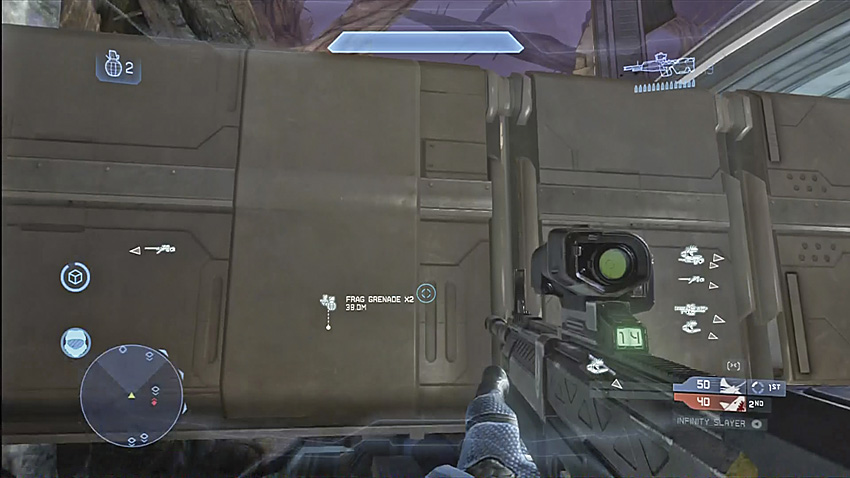
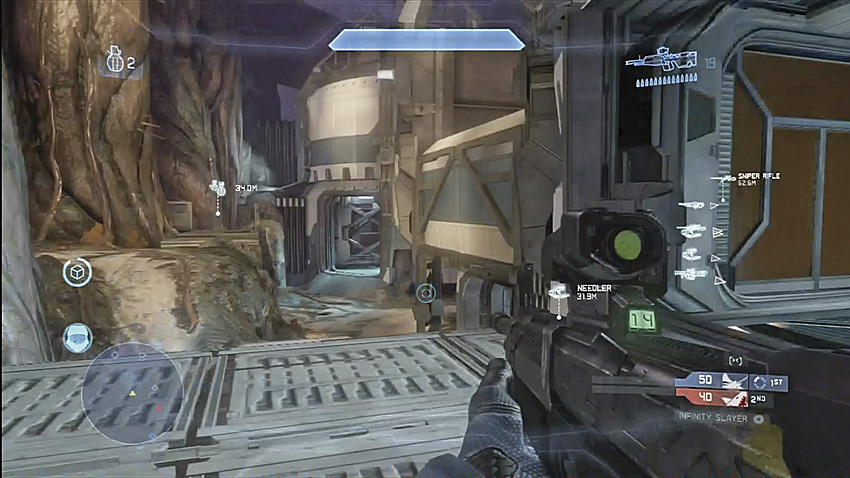
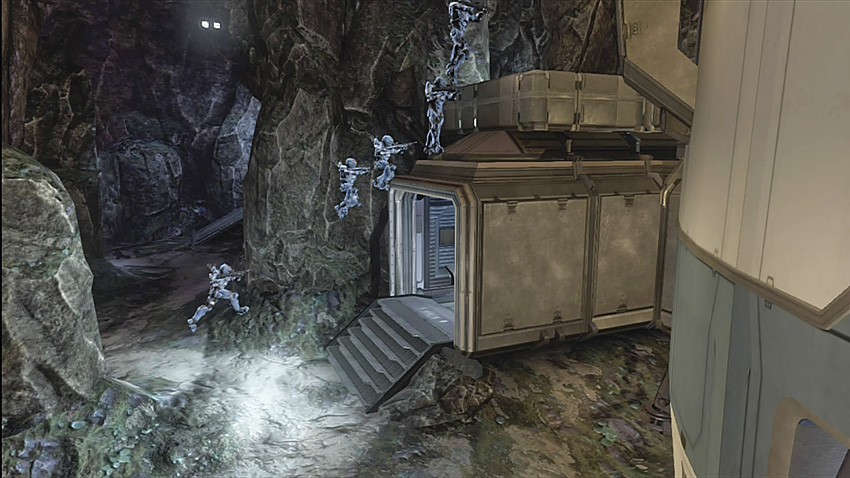
First-person perspective: Lab tunnel jump.
Third-person perspective: Lab tunnel jump. Find the crack in the wall allowing you a second jump onto the box.
Flamesword
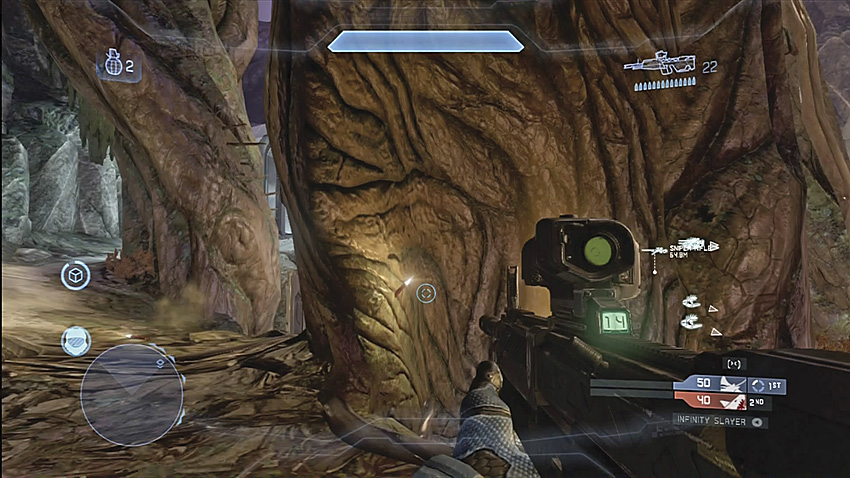
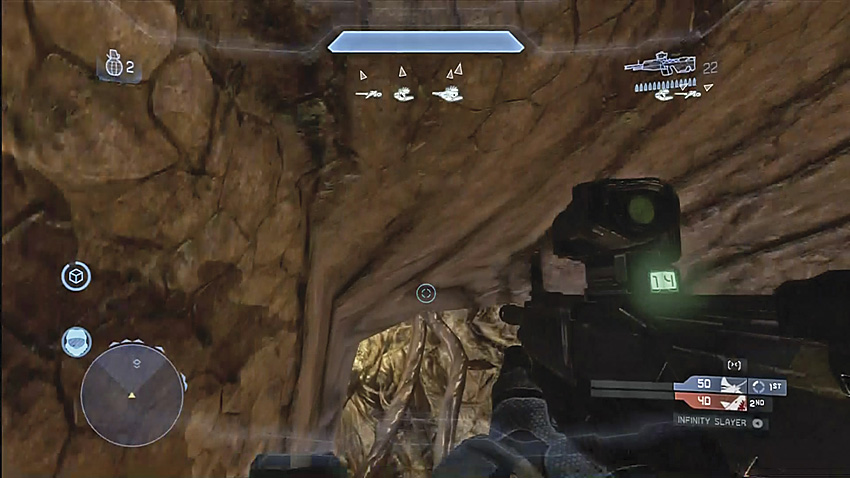
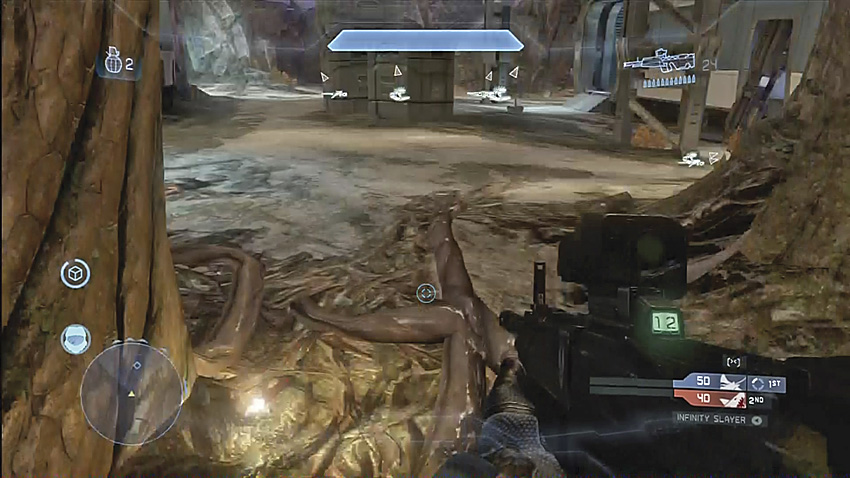
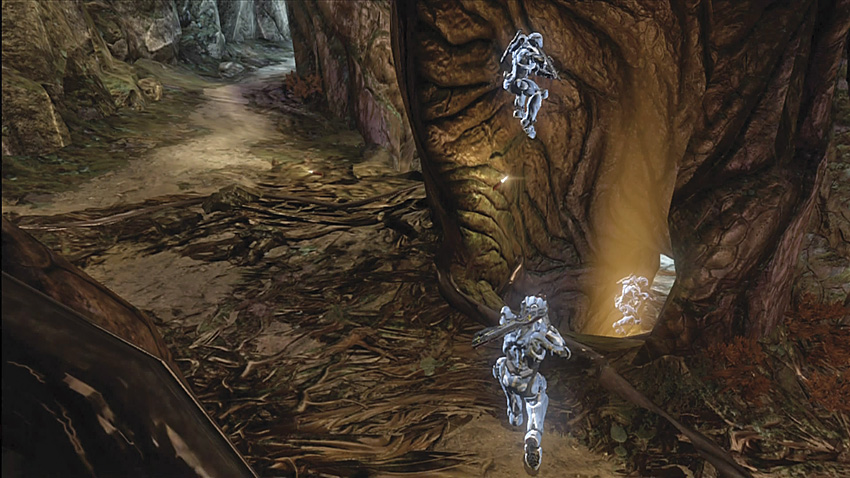
First-person perspective: Tree Lift dive.
Third-person perspective: Tree Lift dive. You must jump into the side of the wall to make this jump down through the lift
Strongside
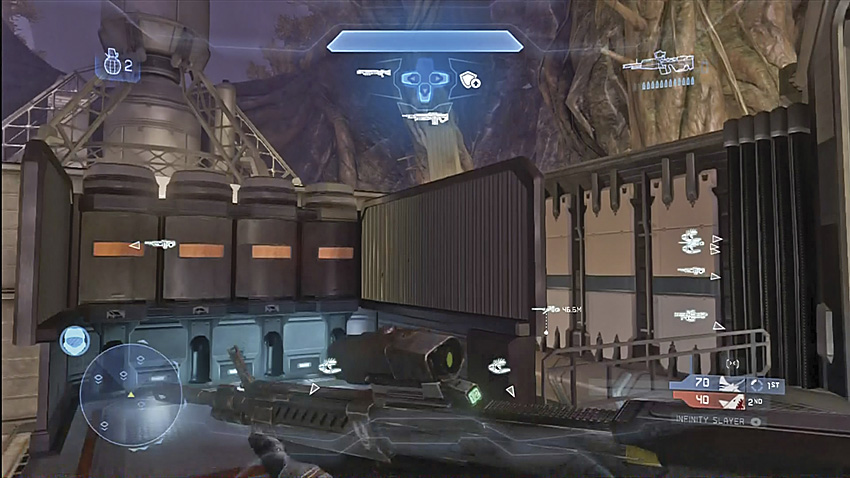
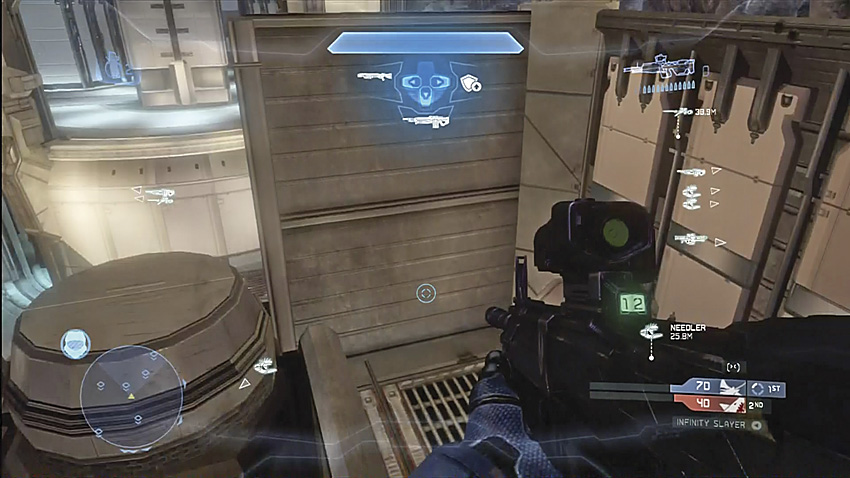
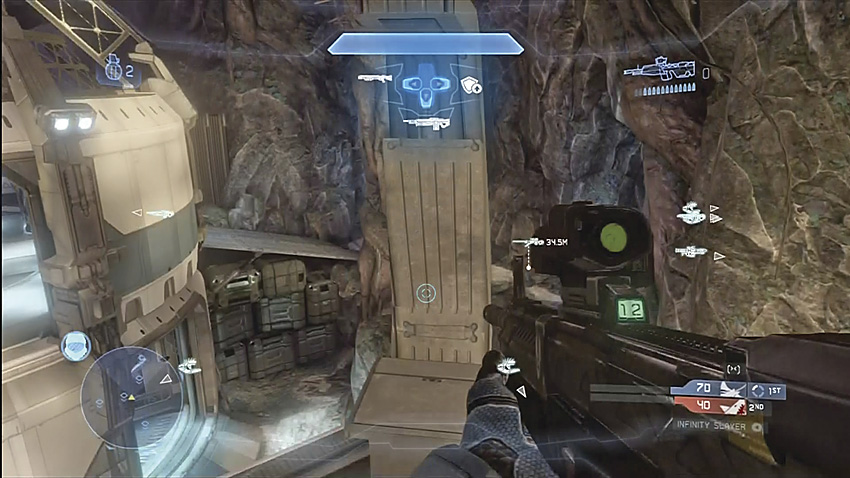
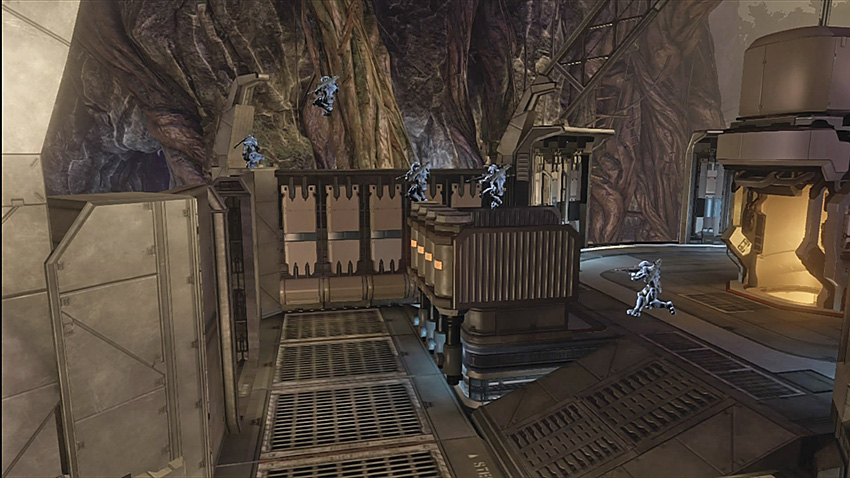
First-person perspective: jump on top of the Lab for a sneaky spot.
Third-person perspective: jump on top of the Lab for a sneaky spot. Timing is the key here. You must get to the very edge of the first box before making the long jump to the top.
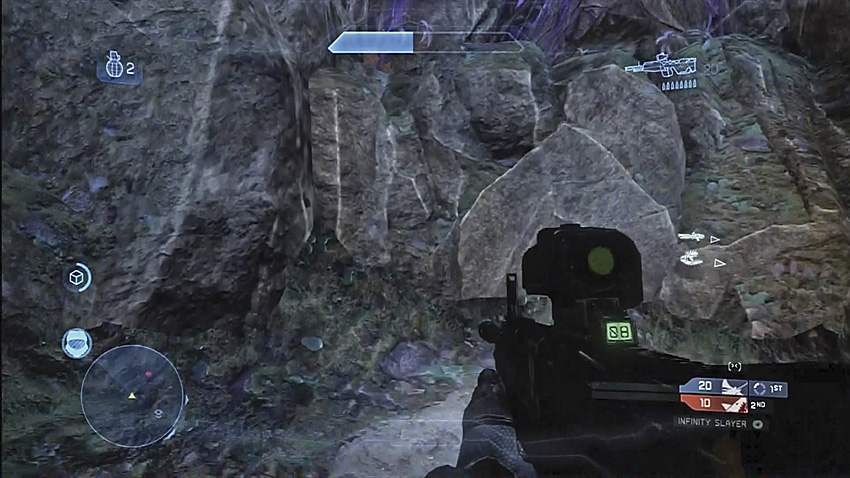
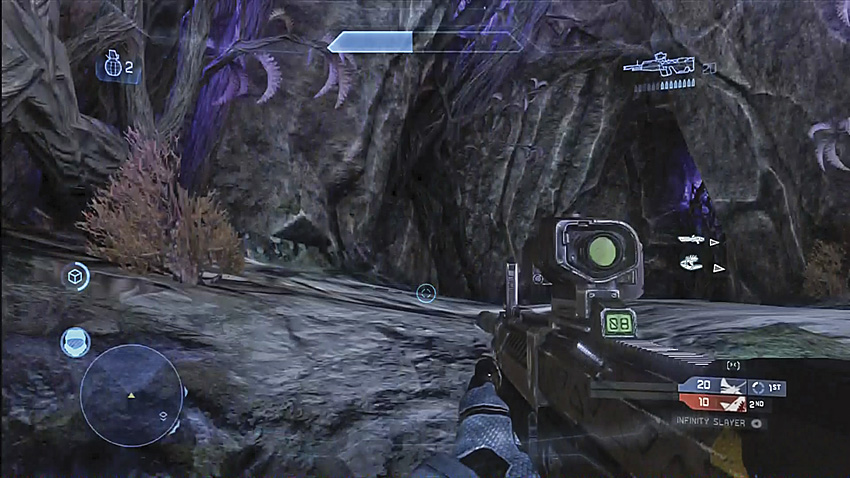
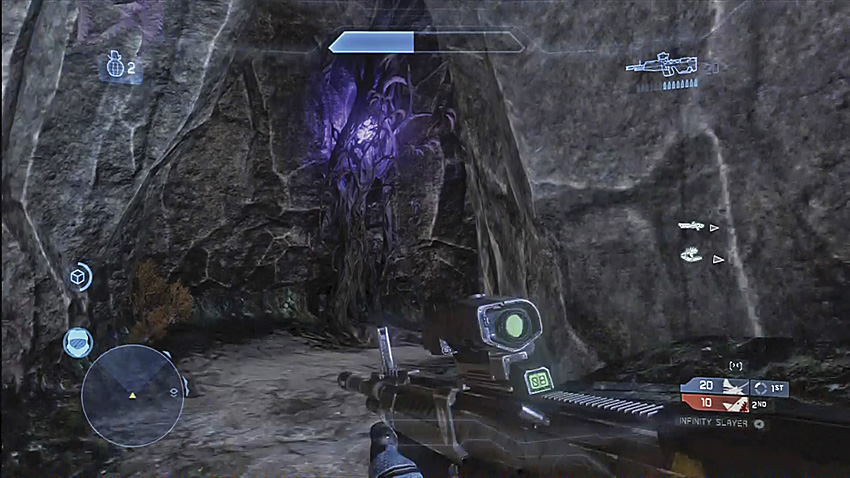
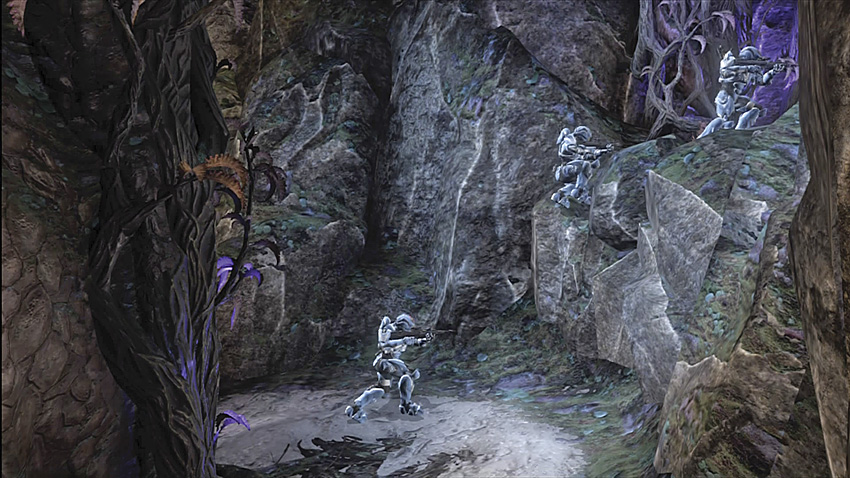
First-person perspective: Purple Cave jump.
Third-person perspective: Purple Cave jump. There’s a sneaky little crack in the rock wall you can land on.
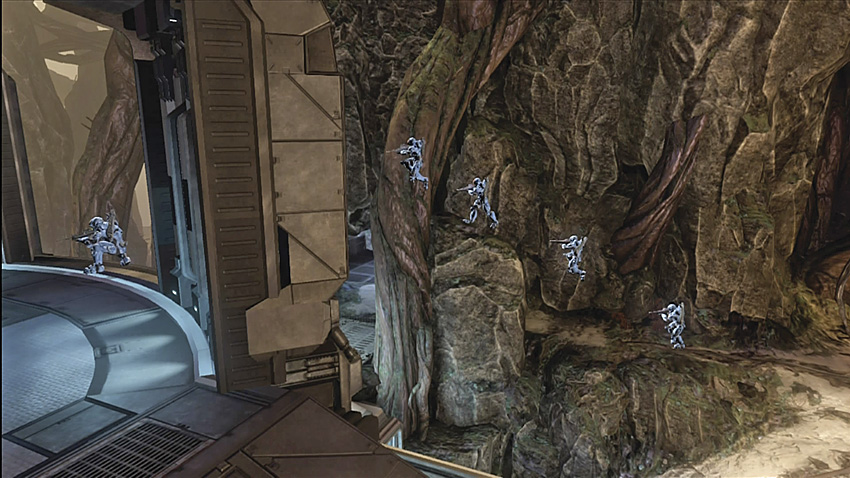
Third-person perspective: Tree Jump to Top Lab (L3). This is another timing jump. Practice makes perfect.