
Yo-Kai Watch Guide Story Walkthrough
Epilogue: Infinite Inferno
It turns out defeating McKraken didn’t change things quite as much as it seemed initially. Now your Yo-kai interlude can last forever…literally! It’s all thanks to the Infinite Inferno, located somewhere below Blossom Heights. Better find it, and fast.
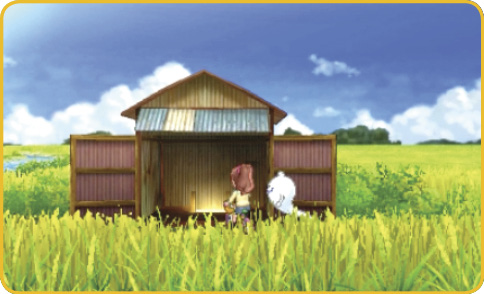
Find the Infinite Inferno, located somewhere below this lonely shack.
Reaching Infinite Inferno
To find the Infinite Inferno, travel to Breezy Hills first and visit Mr. Stone’s house. He and his wife will divulge the rumors they’ve heard…
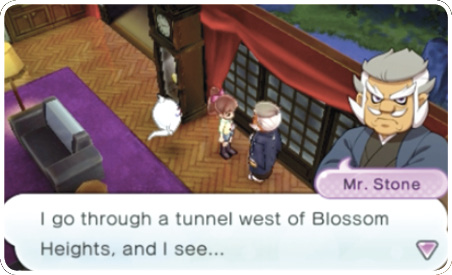
Mr. Stone apparently wandered into a strange place through the Prayer’s Peak Tunnel in Blossom Heights.
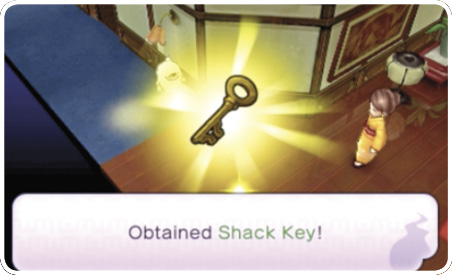
You can get the Shack Key from Mrs. Stone.
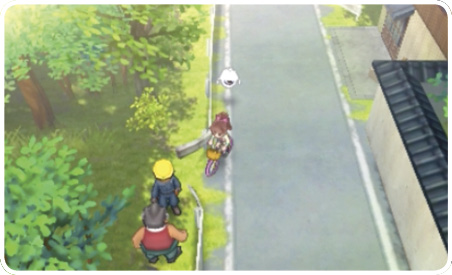
Once you have the key, go down the side path off the road left of Shoten Temple in Blossom Heights.
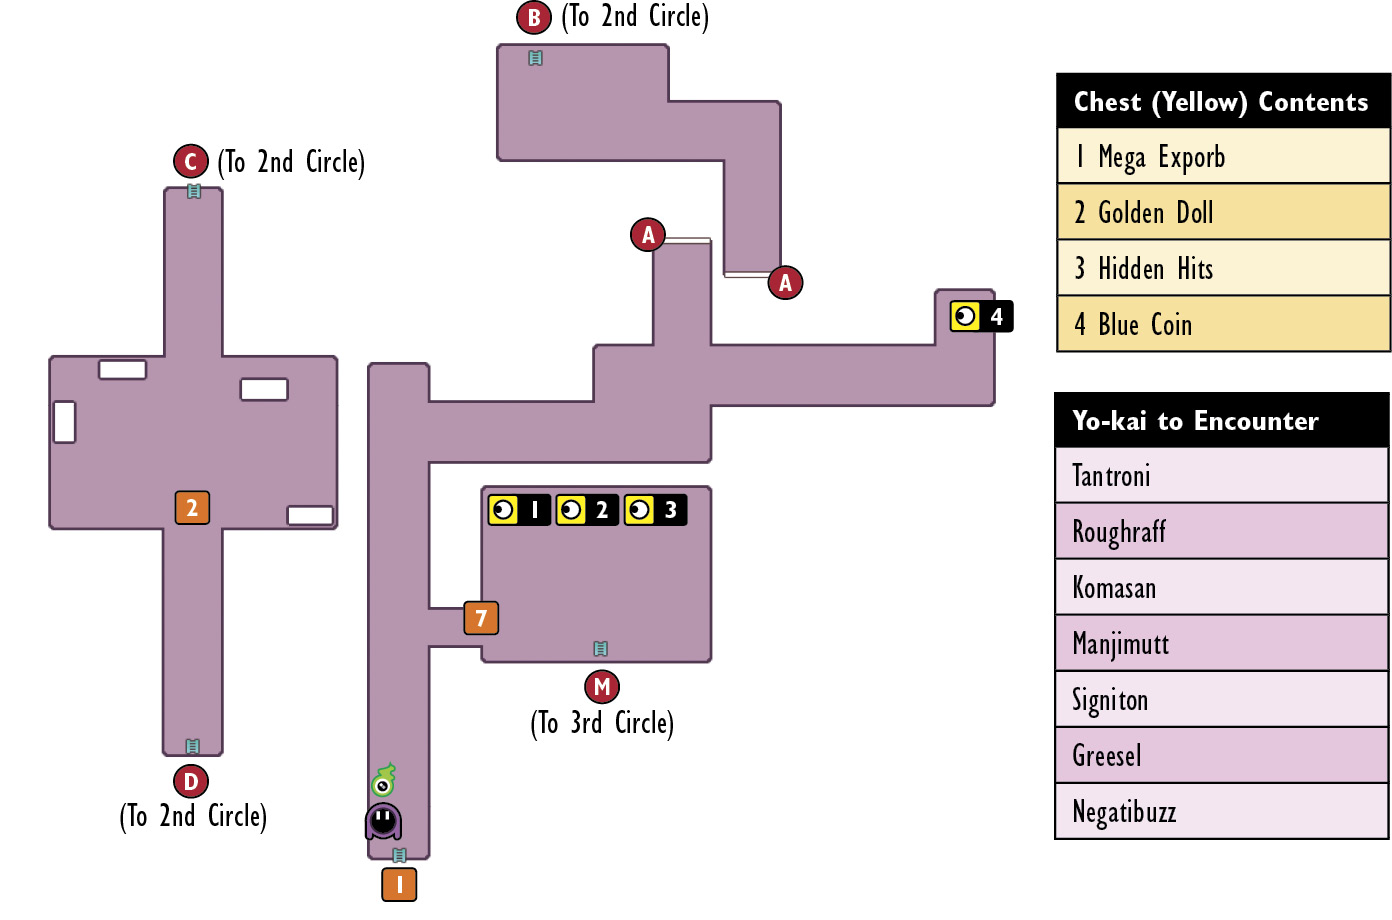
1st Circle
Map Legend
Eyepo, Mirapo, treasure chests, warps, and walkthrough event locations are shown on the maps.
|
|
Eyepo |
Heal, reform your party, and save. |
|
|
Mirapo |
Use these to return to the surface. |
|
|
Chest (Yellow) |
Treasure chest locations in each circle. |
|
|
Event |
Follow these numbers to find all the prominent events in the Inferno’s circles. |
|
|
A stairway or warp point. This moves you to a corresponding map marker letter. |


 is where you begin. Go to
  to descend to the 2nd Circle. Proceed to and climb back up to the 1st Circle to find a boss. Then, take the ladder at
  back down to the 2nd Circle.
 : Go from Blossom Heights to Infinite Inferno.
You’ll find an old shack along the path beyond the Prayer’s Peak Tunnel. Open the door with the Shack Key, and climb down the ladder to Infinite Inferno.
 : Fight Eyedra!
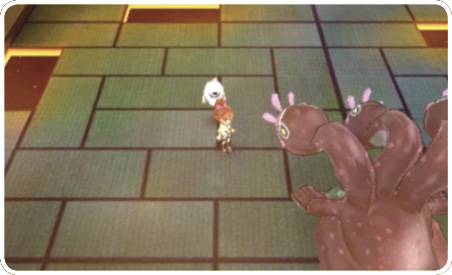
You’ll encounter a huge Yo-kai boss resembling Slimamander. Approach him, and you’ll plunge into battle.
2nd Circle
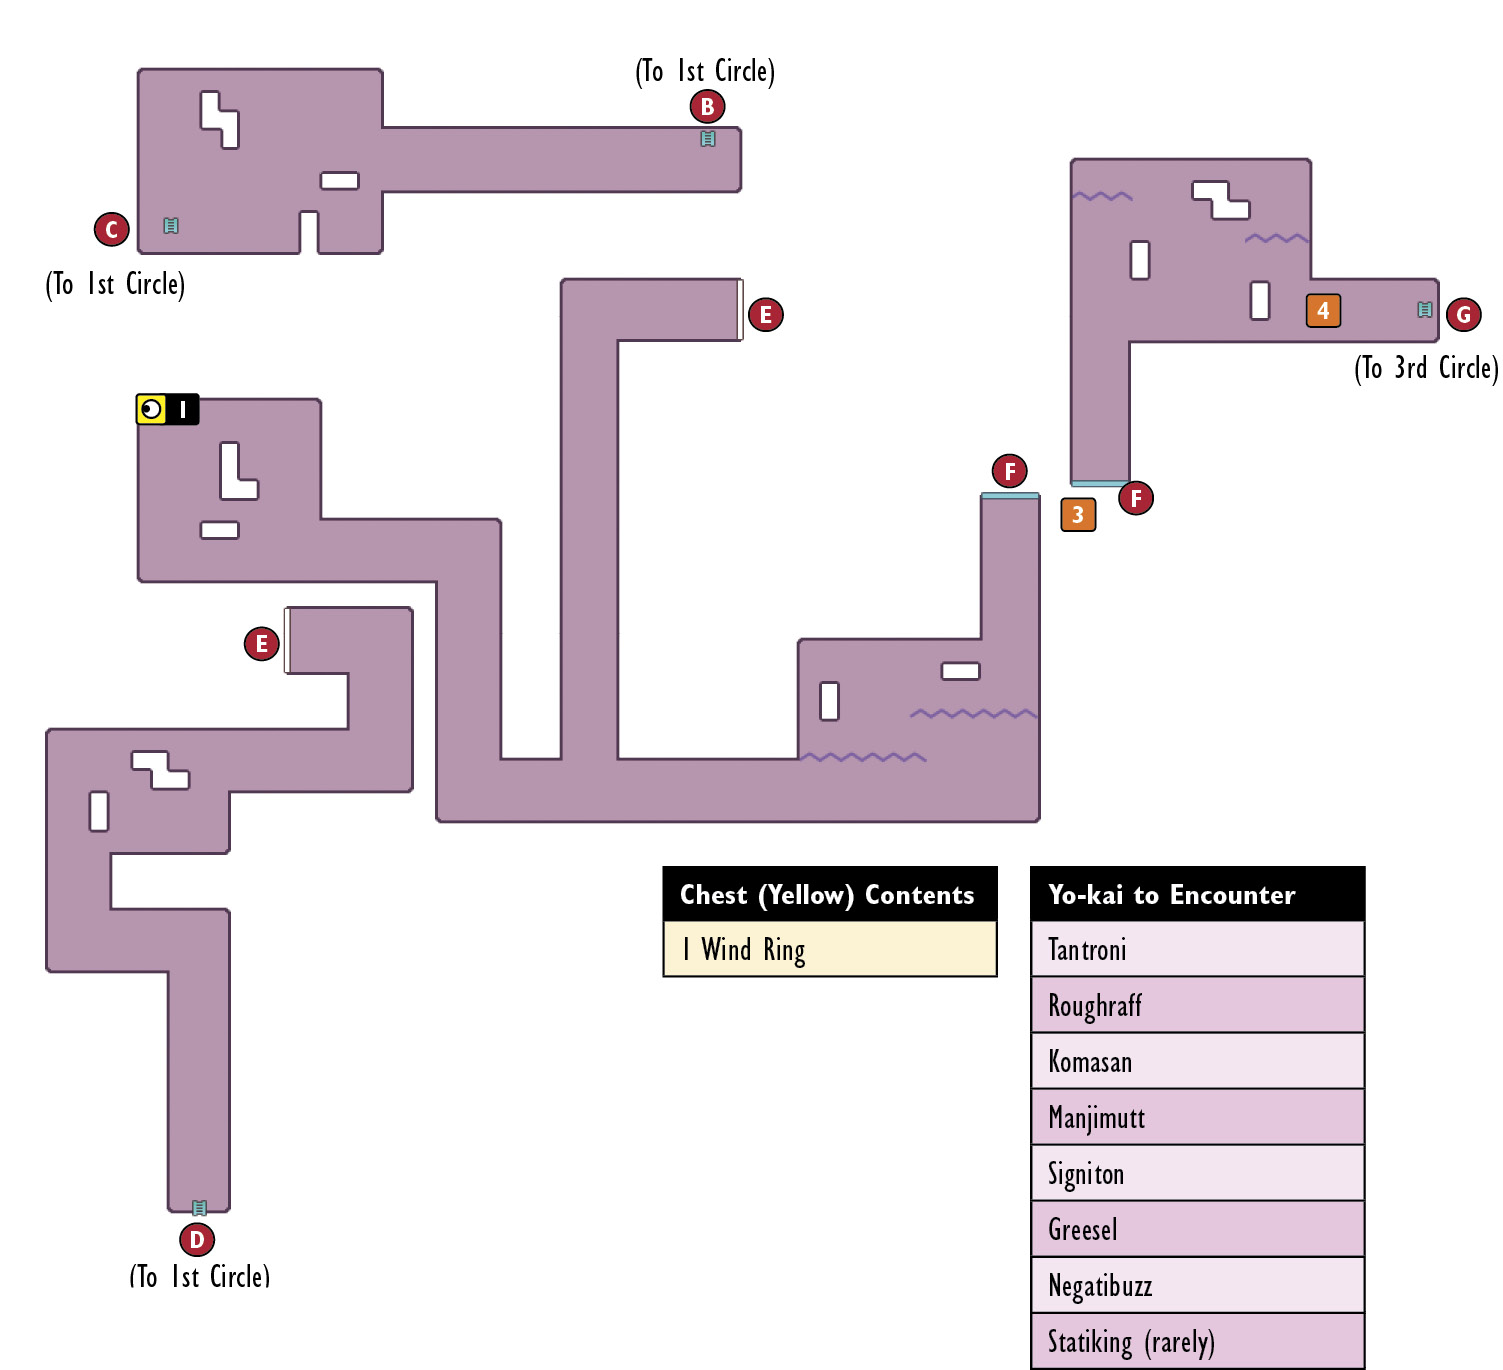
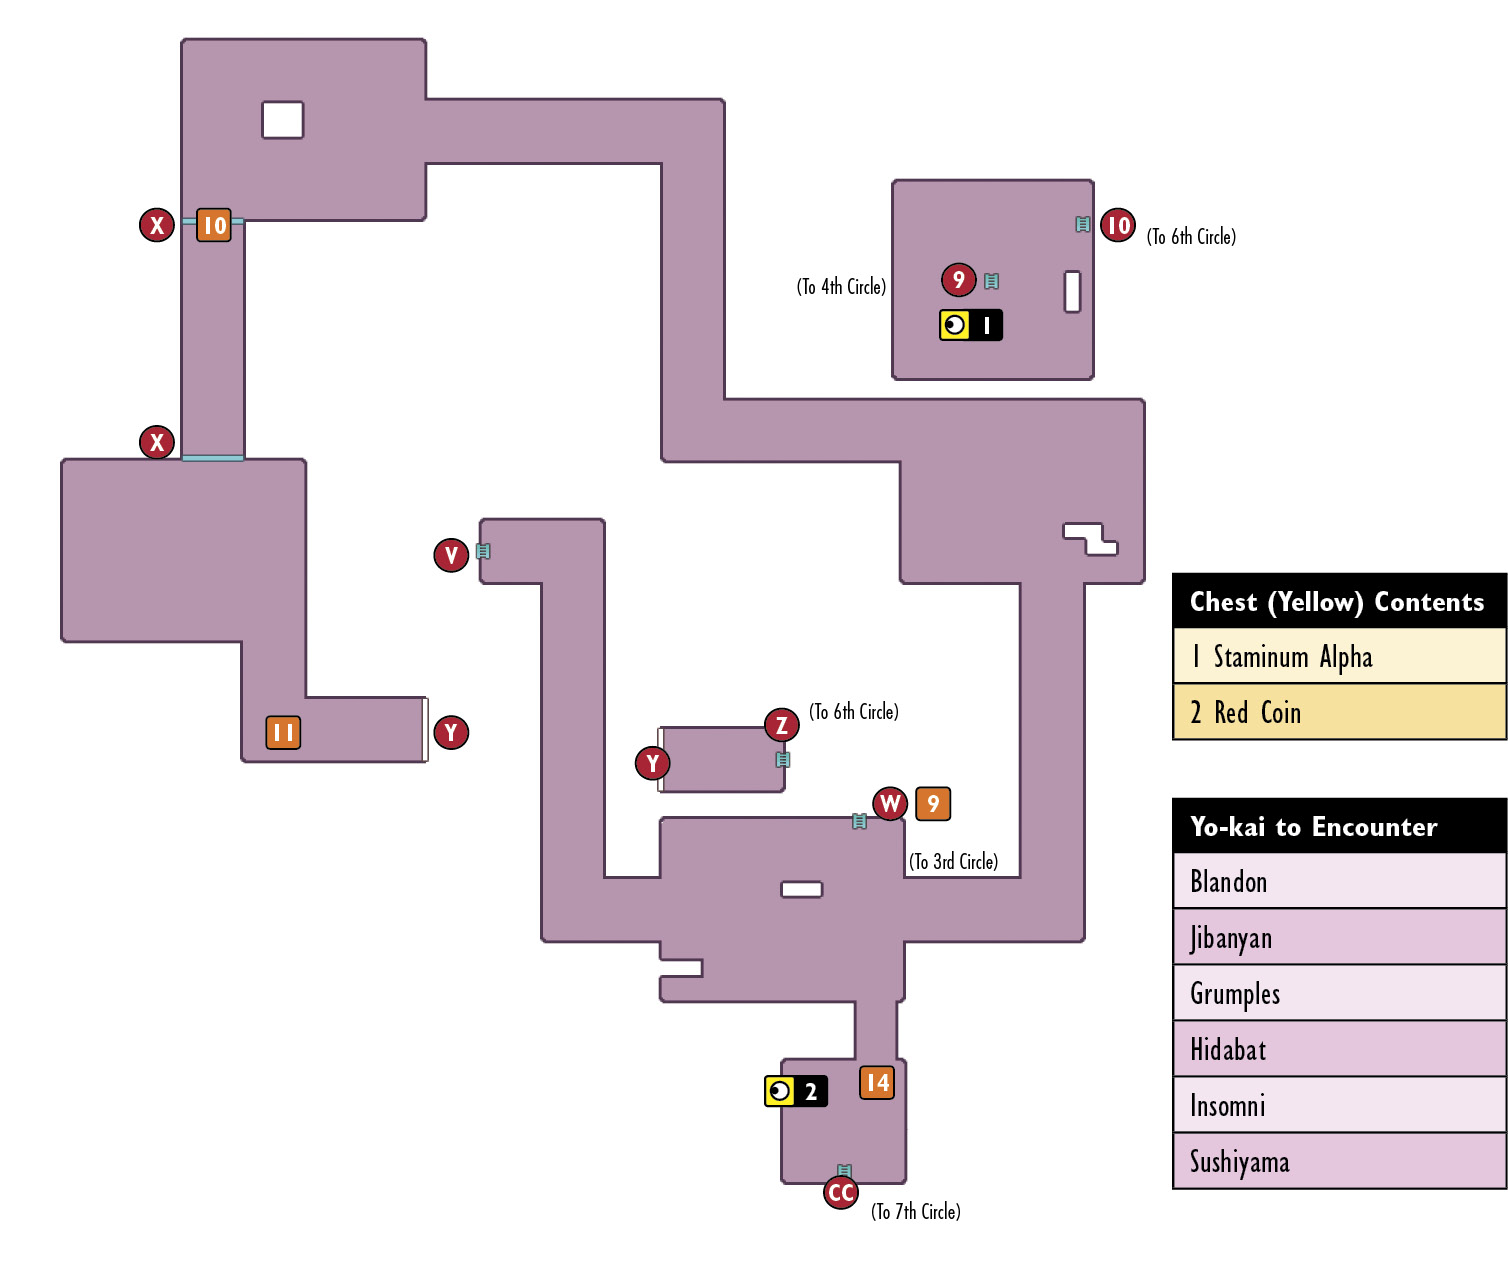
 will be your first stop. From there, take the warp at
  , finish the Terror Time, and defeat the boss of the 2nd Circle. Then, go to
  to reach the 3rd Circle.
 : Warp to Blossom Heights for Terror Time!
Enter the door, and you’ll warp to Blossom Heights…directly into Terror Time.
 : Battle Hoggles!
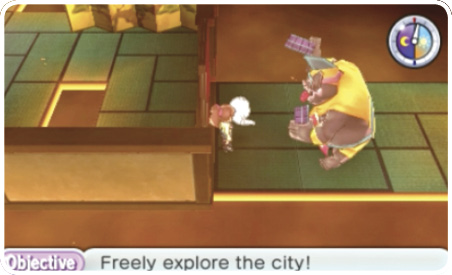
Meet Hoggles, a boss resembling Sproink from Chapter 4.
 : Warp to Downtown Springdale for Terror Time!
 : Fight Styx Mk. VI!
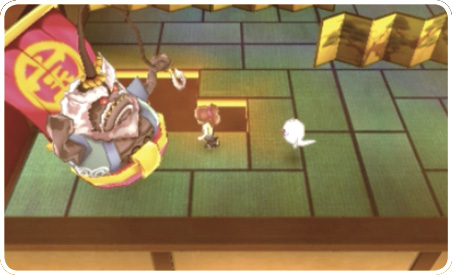
Get ready to encounter Styx Mk. VI—a boss of the same type as SV Snaggerjag from Chapter 5.
 : Open the shortcut to the 1st Circle!
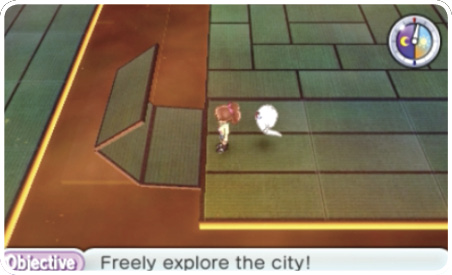
Push to lower the bridge and connect the path, and it’ll be a lot easier to access the 1st Circle.
3rd Circle
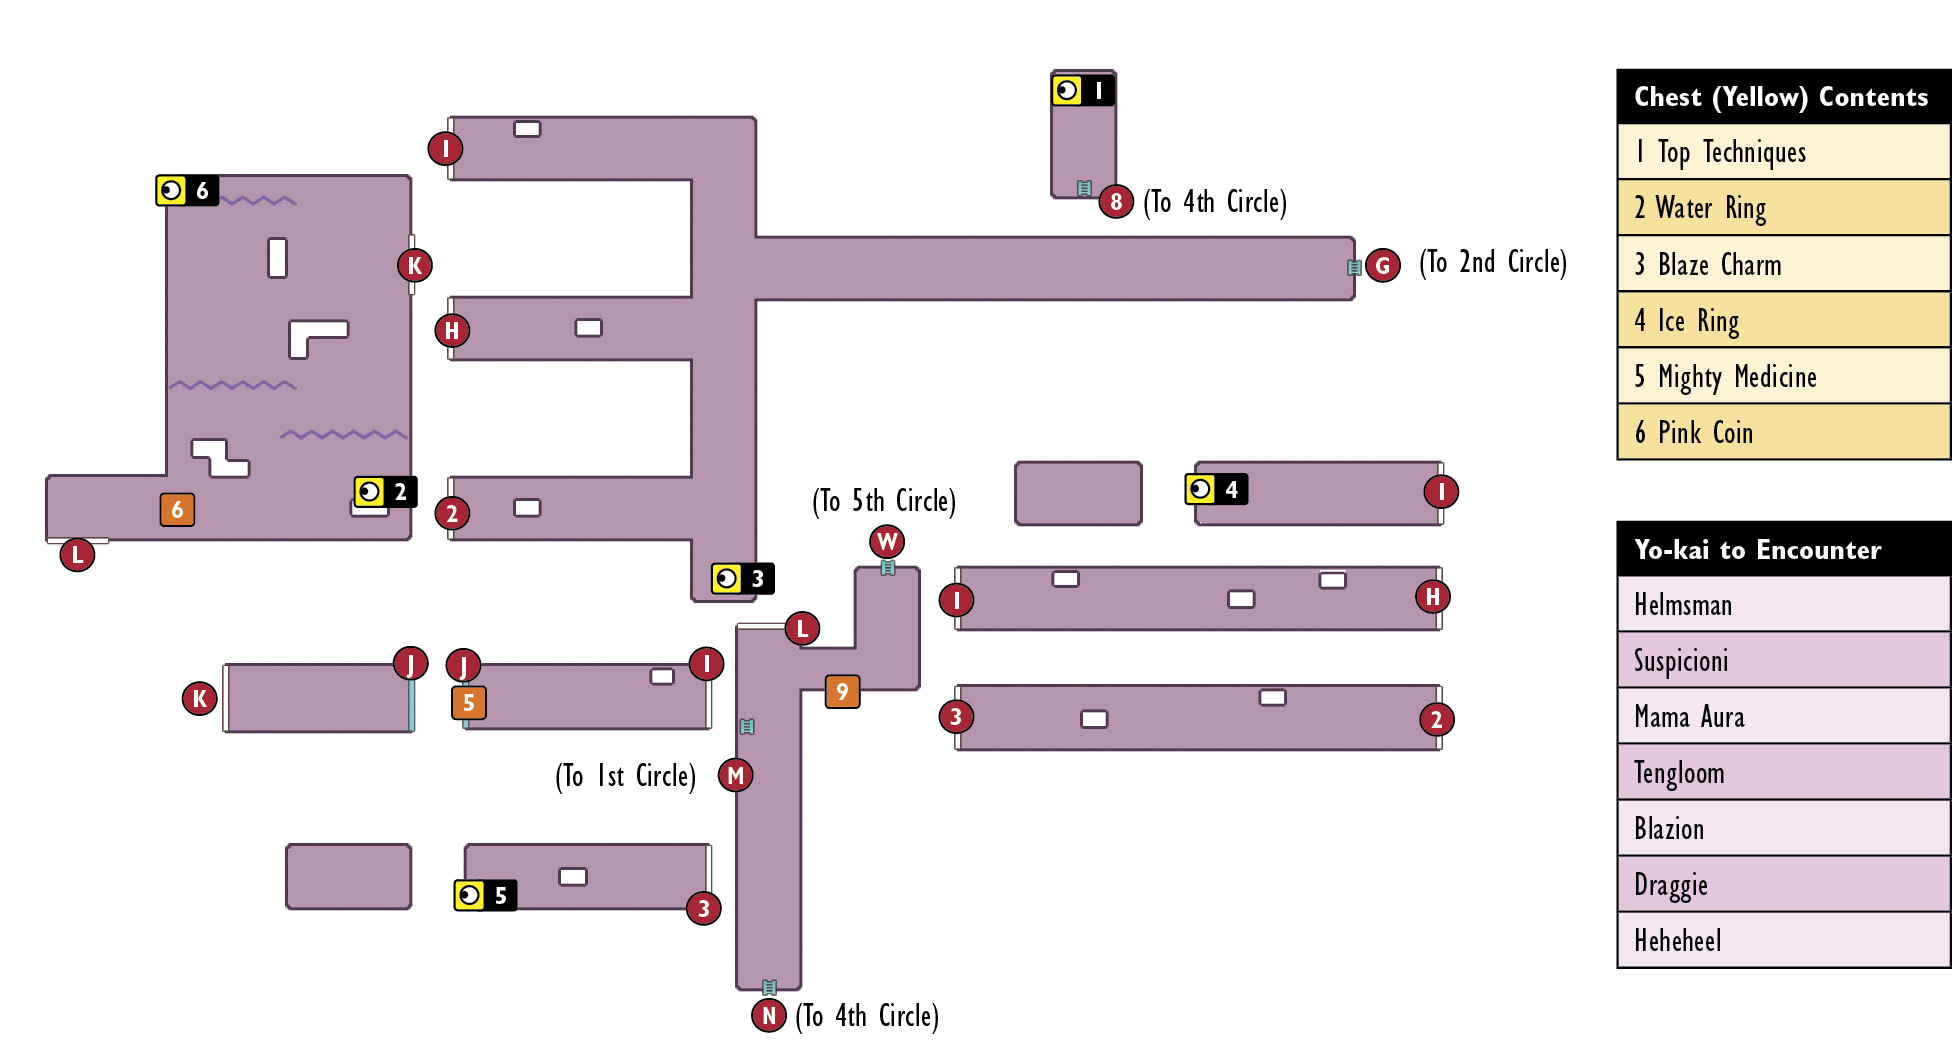
 is where you’ll begin. Take the warp at
  . Go to
  ,
,  , and
, and  (in that order) to find and fight the boss in the 3rd Circle. Proceed from the warp at
  , then take the ladder at
  down to the 4th Circle.
4th Circle
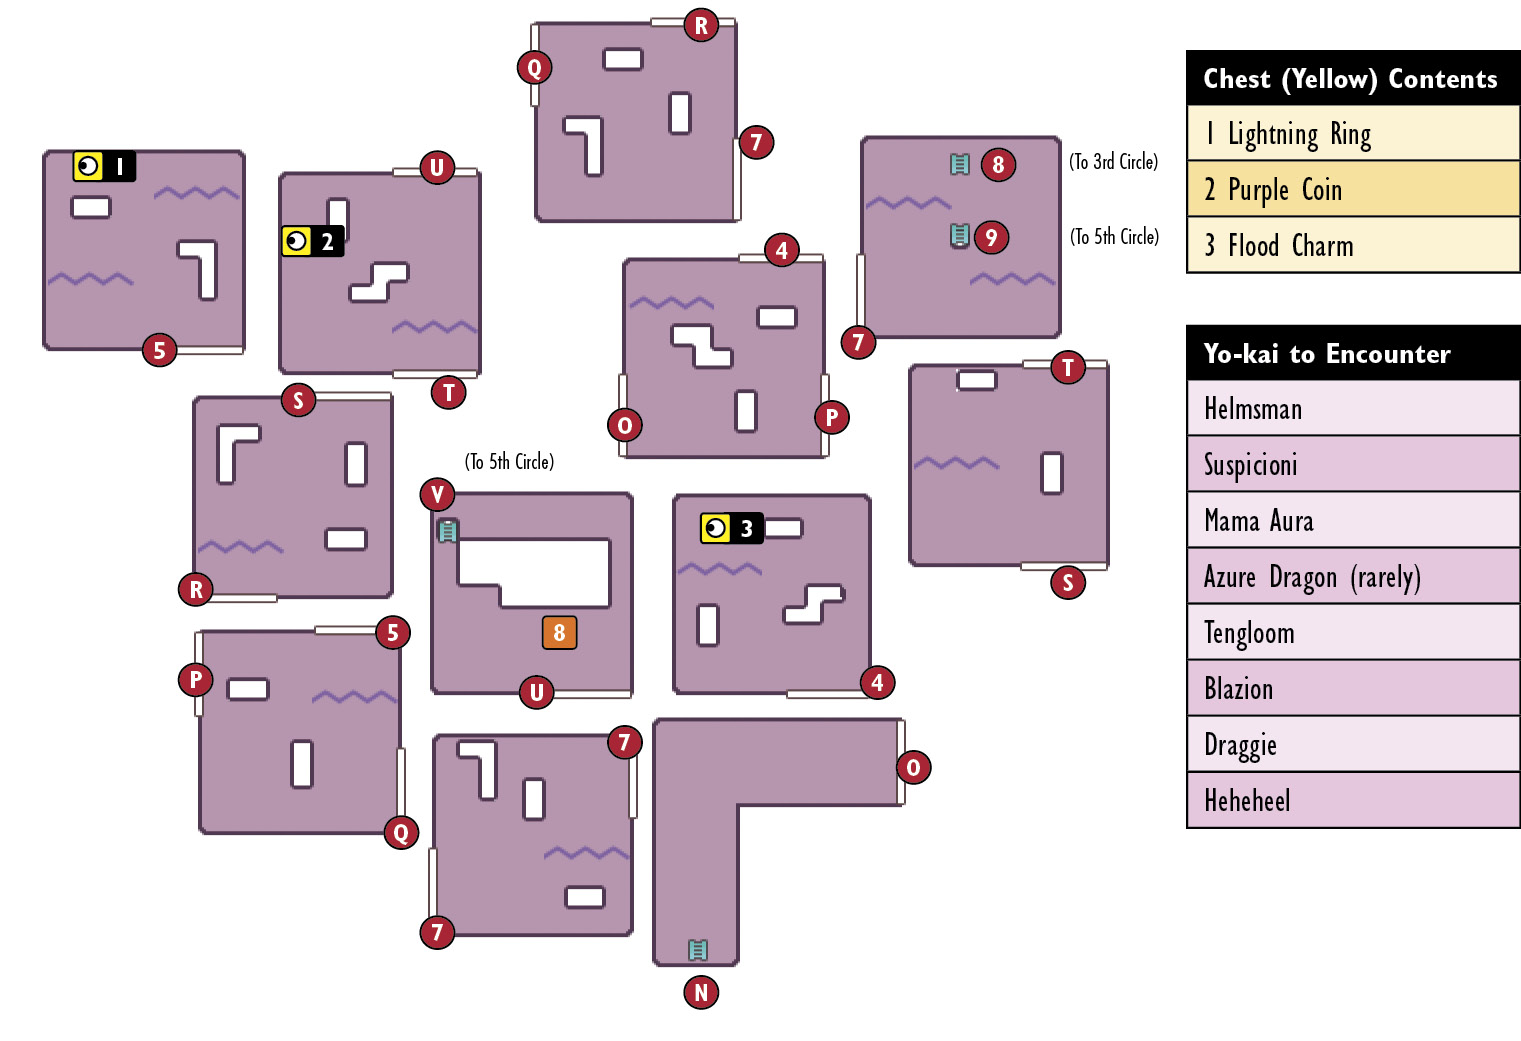
 is where you start. Warp across
 ,
,  ,
,  ,
,  ,
,  ,
,  , and
, and  . Once you make it to , you’ll fight the 4th Circle boss. Go to
  to reach the 5th Circle.
 : Fight Clipso!
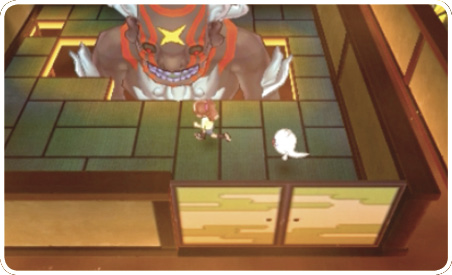
A powered-up version of Massiface from Chapter 7 appears. You’ll go directly into battle with Clipso!
5th Circle
 is where you start. Enter the warp at
  for Terror Time. Ahead of
  , you’ll fight the 5th Circle boss. Go through
  , and you’ll reach the 6th Circle boss past
  .
.
 : Open the shortcut to the 3rd Circle.
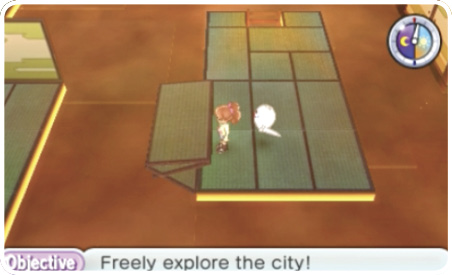
Climb the ladder and lower the bridge to connect the path and make access to the 3rd Circle easier.
 : Warp to Shopper’s Row for Terror Time!
 : Fight Dr. Nogut!

Dr. Nogut is the same boss type as Dr. Maddiman back in Chapter 10.
 : Open the shortcut to the 5th Circle.

Drop the ladder down, and it’ll be much easier to access the 5th Circle.
6th Circle
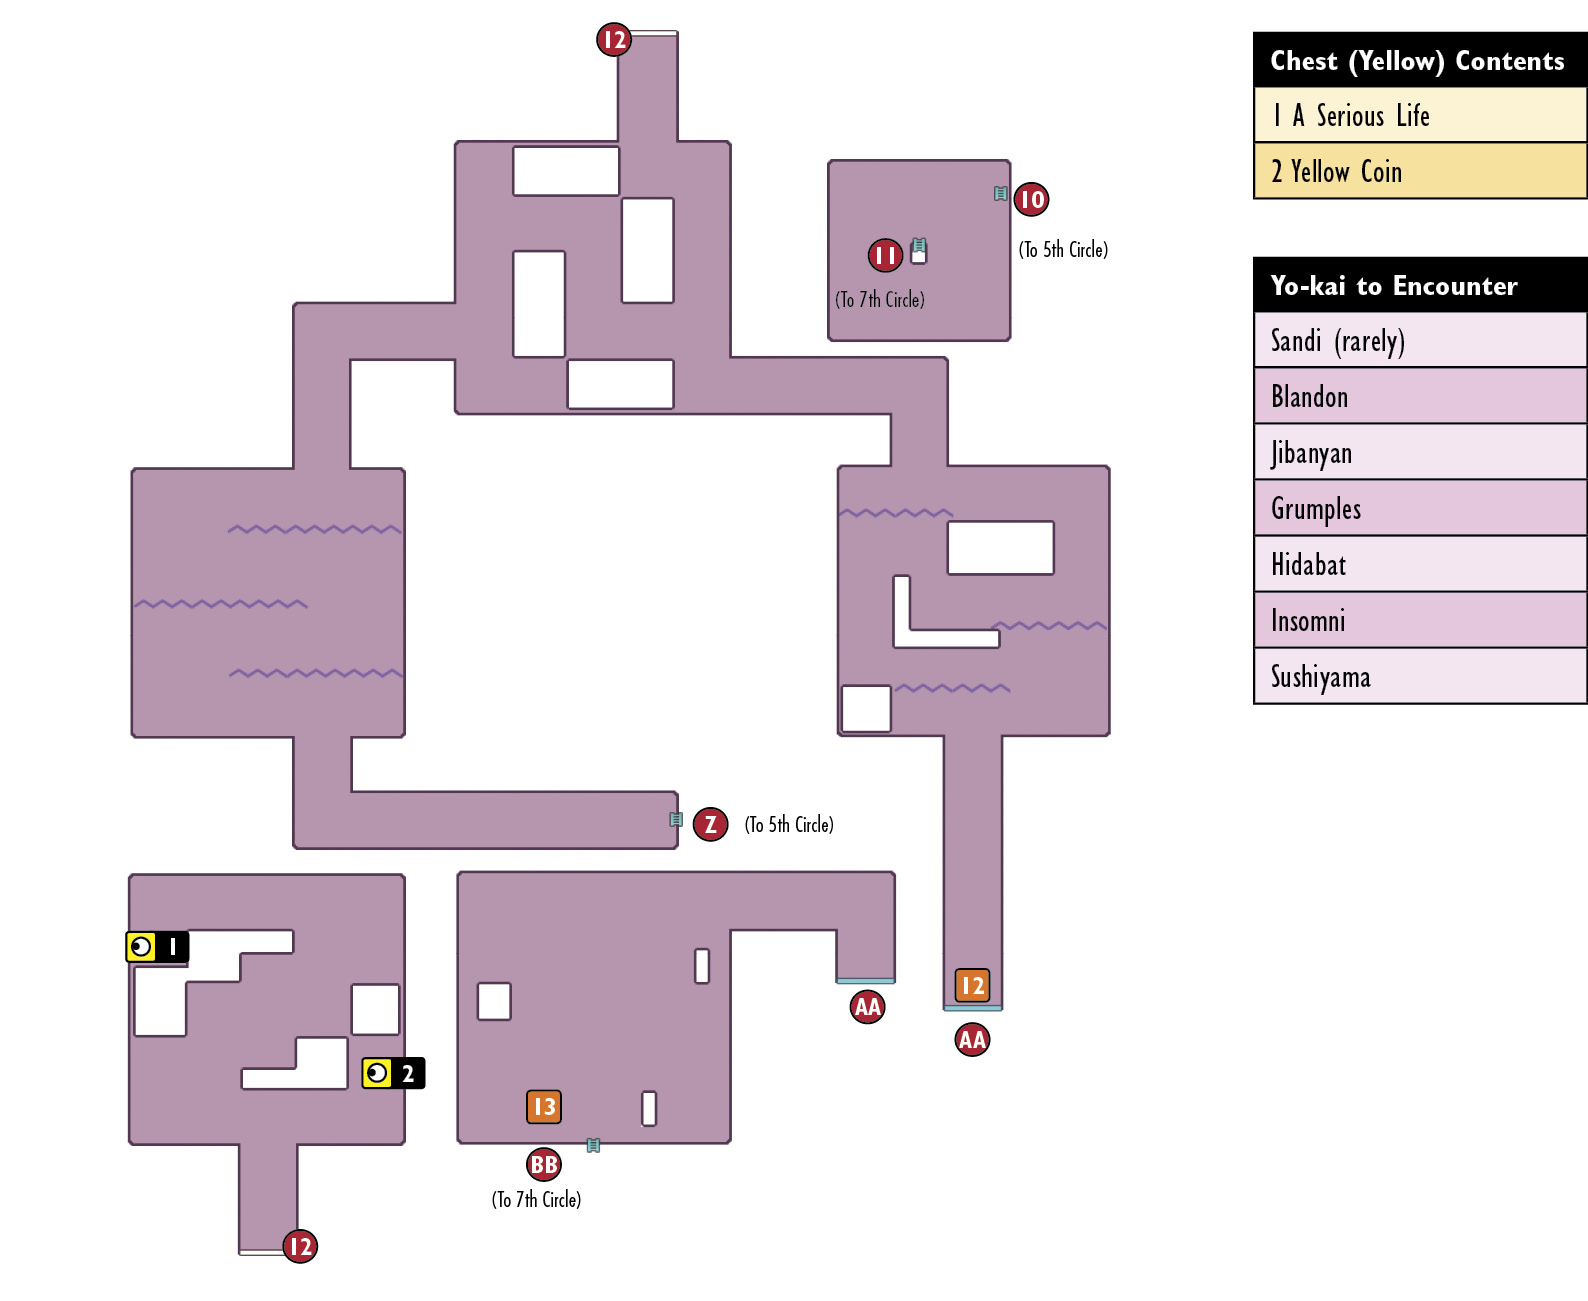
is where you start. Go down the corridor and enter  for some Terror Time. Once you arrive at , you’ll fight the 6th Circle boss. When you’re done, go into
  .
.
 Warp to Breezy Hills for Terror Time!
 : Fight Spooklunk!

Spooklunk resembles Phantasmurai from the Gourd Pond Museum in Chapter 8.
7th Circle
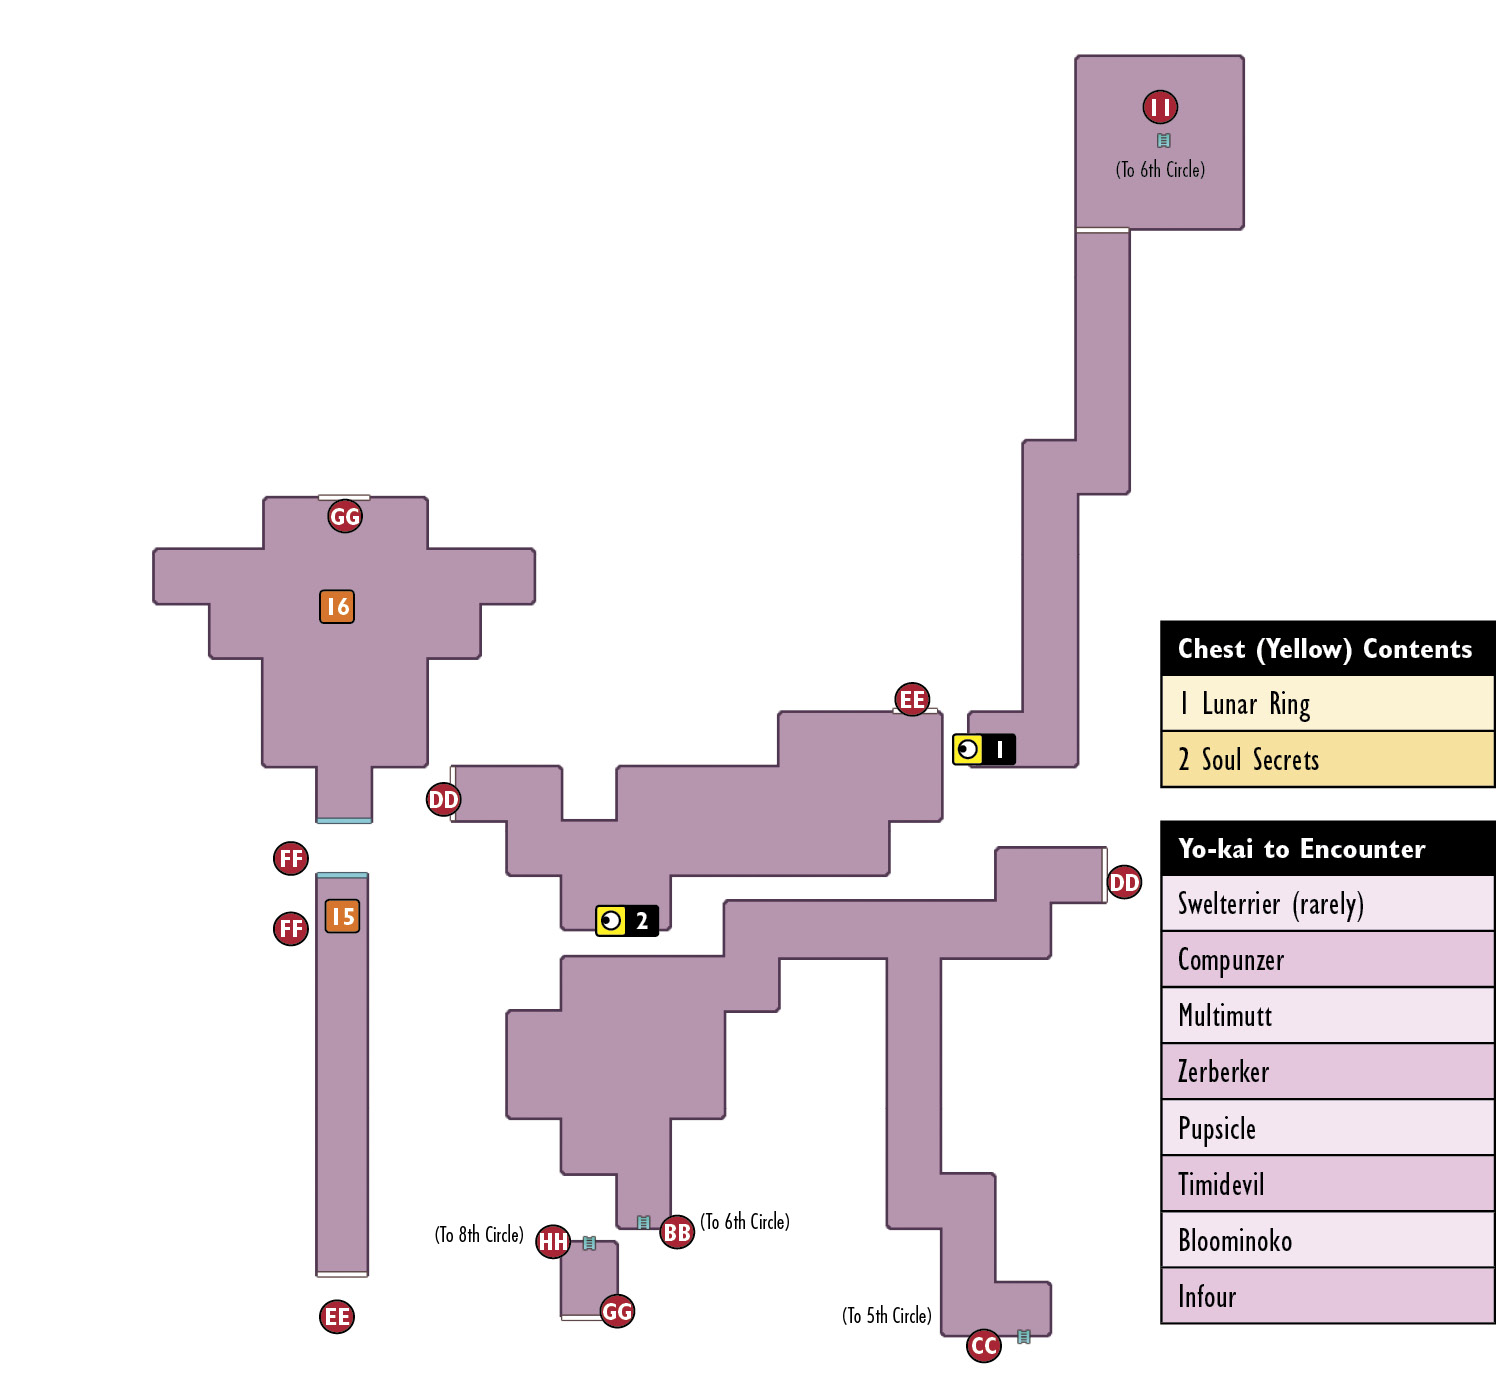
 is where you start. Jump to
  , then enter
 for Terror Time. Beat that, and you’ll find the 7th Circle boss just ahead. The Bloominoko found here nets a base of 20,000 XP, so this is an excellent place to level up Yo-kai. After battle, jump from
  to
to  . The 8th Circle boss waits just down the corridor.
 : Warp to Uptown Springdale for Terror Time!
 : Fight Squisker!

Squisker is very similar to McKraken’s second form in Chapter 11.
8th Circle
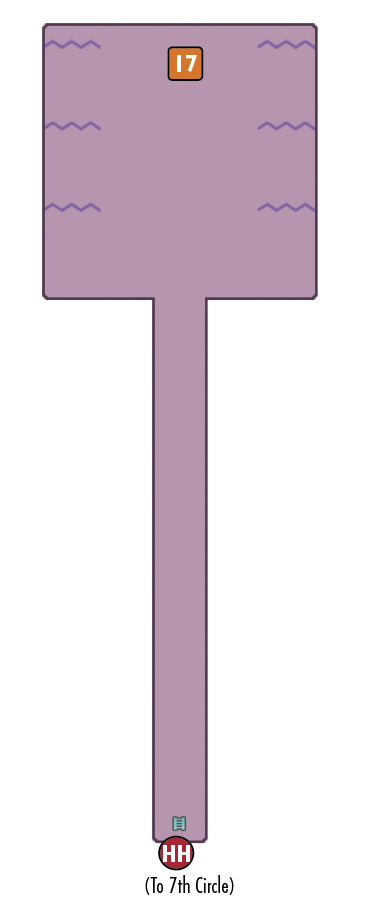
 : Fight Wobblewok!

Wobblewok appears at the deepest point inside the 8th Circle.
1st Circle Boss
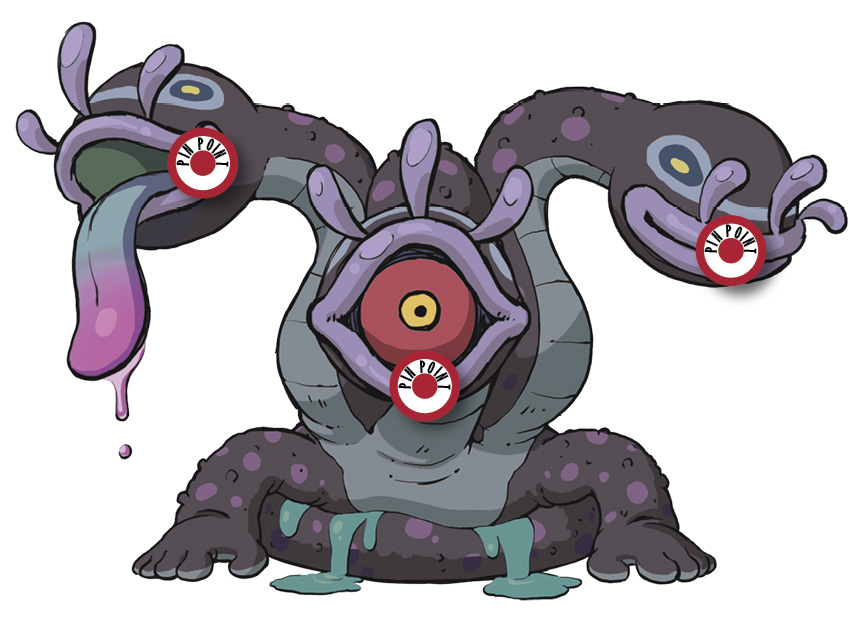
Eyedra
| HP | Weak Against | Target Level |
|---|---|---|
|
4400 |

|
60 |
| Reward | |||||
|---|---|---|---|---|---|
| EXP |
5000 |
Money |
27,000 |
Item |
Sun Bracelet / Red Coin |
Eyedra is on a whole higher level of power from its cousin Slimamander in Chapter 3. Defeat two heads to take his fire attacks out of the picture as much as possible. Careful! The fire he spits strikes your whole party. His long tongue damages a single ally per attack.
Boss Skill
Warty Wallop
A wild three-headed rush. Eyedra can’t use this attack if at least one head is downed.
2nd Circle Boss
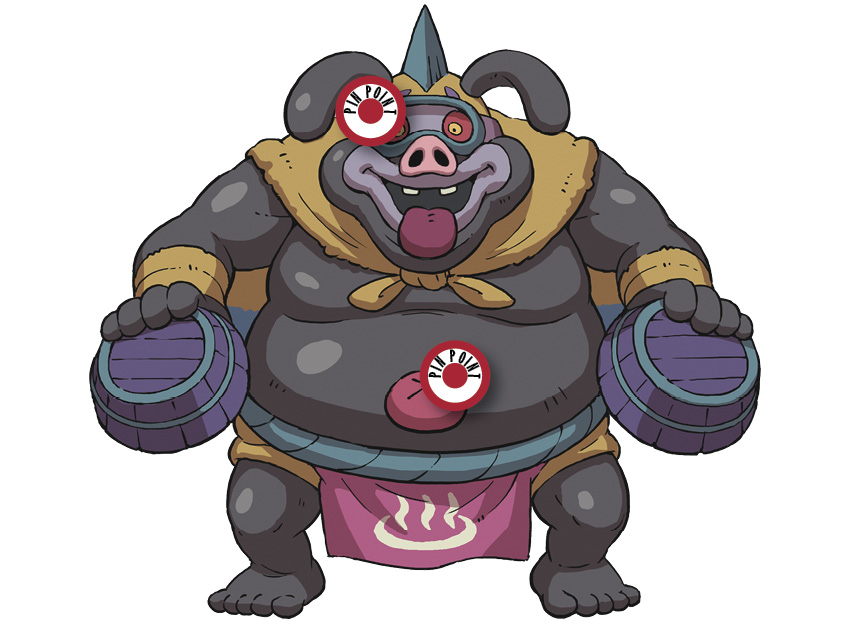
Hoggles
| HP | Weak Against | Target Level |
|---|---|---|
| 4700 |

|
63 |
| Reward | |||||
|---|---|---|---|---|---|
| EXP |
5400 |
Money |
30,000 |
Item |
Top Techniques / Yellow Coin |
This boss’s physical attack strength makes extended fighting a bad idea. Focus your attack on the weak point in his navel, and try to keep him downed as much as possible. The buckets that Hoggles tosses can damage a single ally per attack. Also, he can strike your whole party at once with his rear end slam.
Boss Skill
Potbelly Boil
Attack his navel, and he’ll turn bright red and eventually unleash a Soultimate. Strike his head to prevent that.
3rd Circle Boss
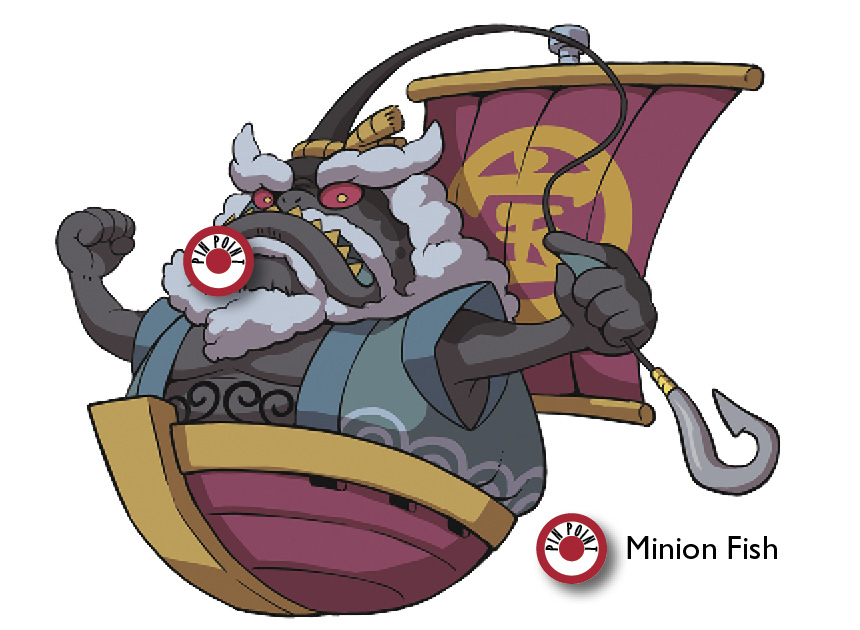
Styx Mk.VI
| HP | Weak Against | Target Level |
|---|---|---|
|
4500 |

|
65 |
| Reward | |||||
|---|---|---|---|---|---|
| EXP |
5900 |
Money |
33,000 |
Item |
Galaxy Charm / Orange Coin |
Focus on stamping out the minions he summons—if you let them operate, the boss’s Soultimate Move can wipe you out in a flash. His water-element attacks can be bad news for some team members. If you let this boss’s minions heal him, the battle’s never going to end.
Boss Skill
Ferryman Shanty
Once he has two minions at hand, Styx fires off this brutal water-element Soultimate Move.
4th Circle Boss
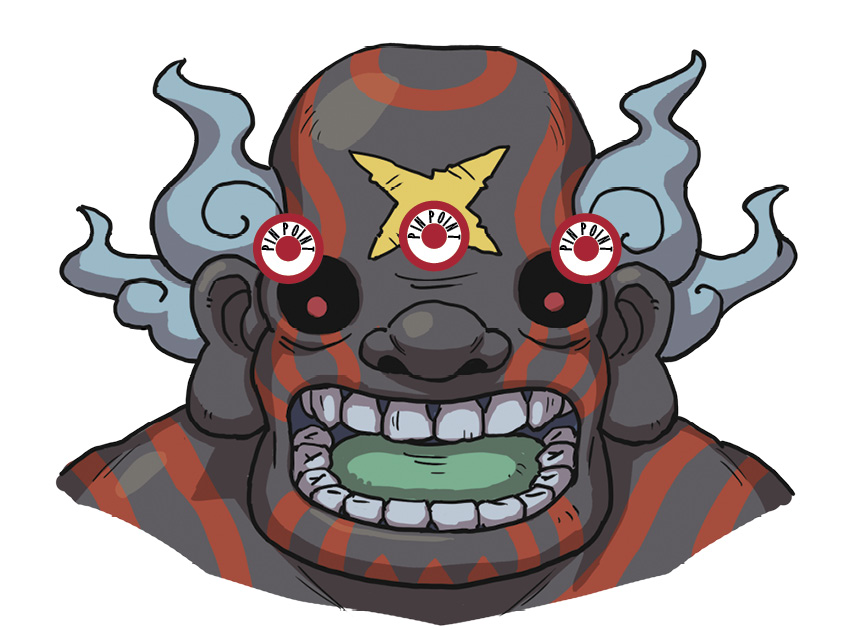
Clipso
| HP | Weak Against | Target Level |
|---|---|---|
|
4900 |

|
67 |
| Reward | |||||
|---|---|---|---|---|---|
| EXP |
6500 |
Money |
35,000 |
Item |
Lunar Ring / Pink Coin |
Focus on taking down one of Clipso’s eyes on the side where a healer of weaker Yo-kai is, and let a more defensive Yo-kai take the brunt of Clipso’s hits. His earth-element Techniques can hit you hard even when his eyes are shut. If his Forehead Flick strikes an ally, he might wind up confused.
Boss Skill
Crescent Claws
This deadly blow damages the front row of your team. Cancel it by targeting and closing Clipso’s eyes as he charges up.
5th Circle Boss
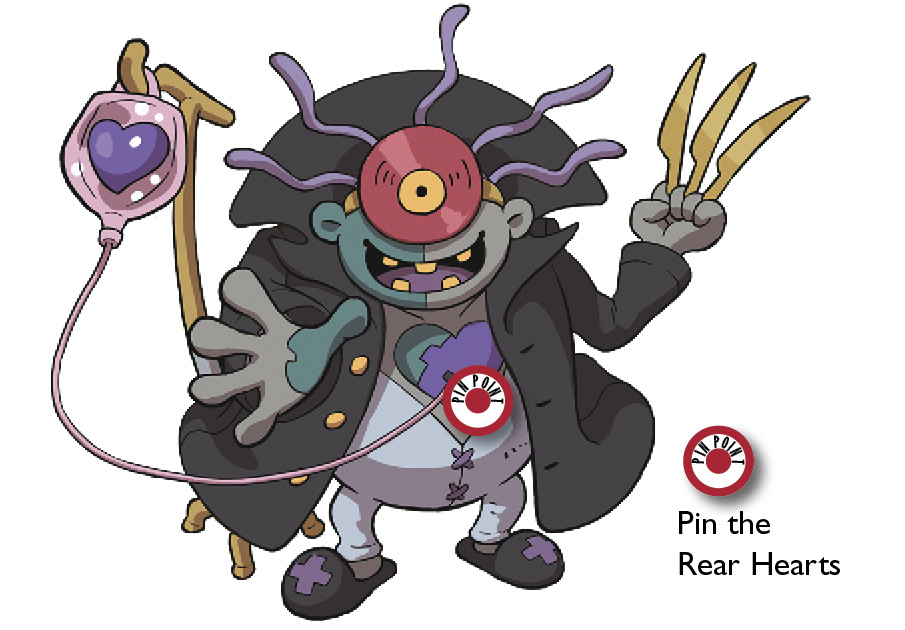
Dr. Nogut
| HP | Weak Against | Target Level |
|---|---|---|
|
4500 |
|
70 |
| Reward | |||||
|---|---|---|---|---|---|
| EXP |
7100 |
Money |
37,000 |
Item |
Meteor Badge / Blue Coin |
Use your targeting pins to pop the hearts behind this boss, or else he can refill his HP quickly. That’ll bog the battle down and eventually force you into a corner. One of Dr. Nogut’s skills saps an ally’s soul completely. The doctor’s vicious scalpel slash damages your whole party.
Boss Skill
Double Dare
This move not only damages and Inspirits your team’s front row, but it poisons them, too. Watch out for that extra poison damage.
6th Circle Boss
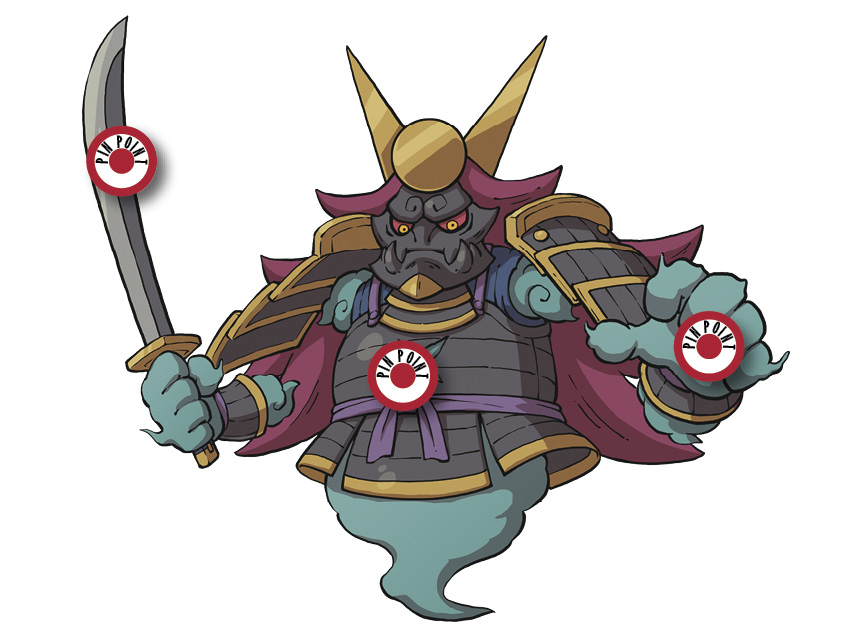
Spooklunk
| HP | Weak Against | Target Level |
|---|---|---|
|
4000 |

|
72 |
| Reward | |||||
|---|---|---|---|---|---|
| EXP |
7800 |
Money |
40,000 |
Item |
Hidden Hits / Green Coin |
Spooklunk is far more powerful than his relative from Chapter 8, Phantasmurai. Hurry to break his sword, or he’ll slice your team up and send them packing. Once half his HP is gone, Spooklunk wields two swords for more attack power. He likes to eviscerate his enemies with a wind-element Aerial Slash.
Boss Skill
Rejuvenation
Used only when he’s dual-wielding. Break Spooklunk’s swords, or else you’ll take lethal damage.
7th Circle Boss
Squisker
| HP | Weak Against | Target Level |
|---|---|---|
|
4600 |
None |
74 |
| Reward | |||||
|---|---|---|---|---|---|
| EXP |
9000 |
Money |
45,000 |
Item |
Soul Secrets / Purple Coin |
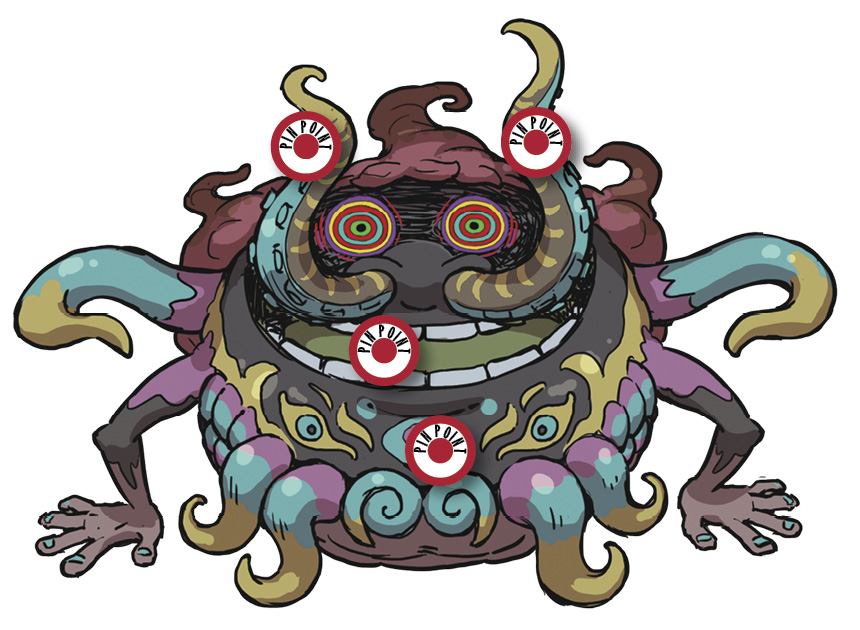
You must attack the core inside Squisker’s mouth to deal any damage. Attack the nose tentacles first, then target the design on his body to make his mouth open, revealing the core. Squisker uses a lightning-element Technique when his HP is at half. He’s got a full-party wind-element attack, too.
Boss Skill
Inkredible Regret
Used only when his mouth is open. Damage the core a certain amount to cancel.
8th Circle Boss
Wobblewok
| HP | Weak Against | Target Level |
|---|---|---|
|
5000 |
None |
80 |
| Reward | |||||
|---|---|---|---|---|---|
| EXP |
12,000 |
Money |
50,000 |
Item |
Mega Exporb / Light Blue Coin |
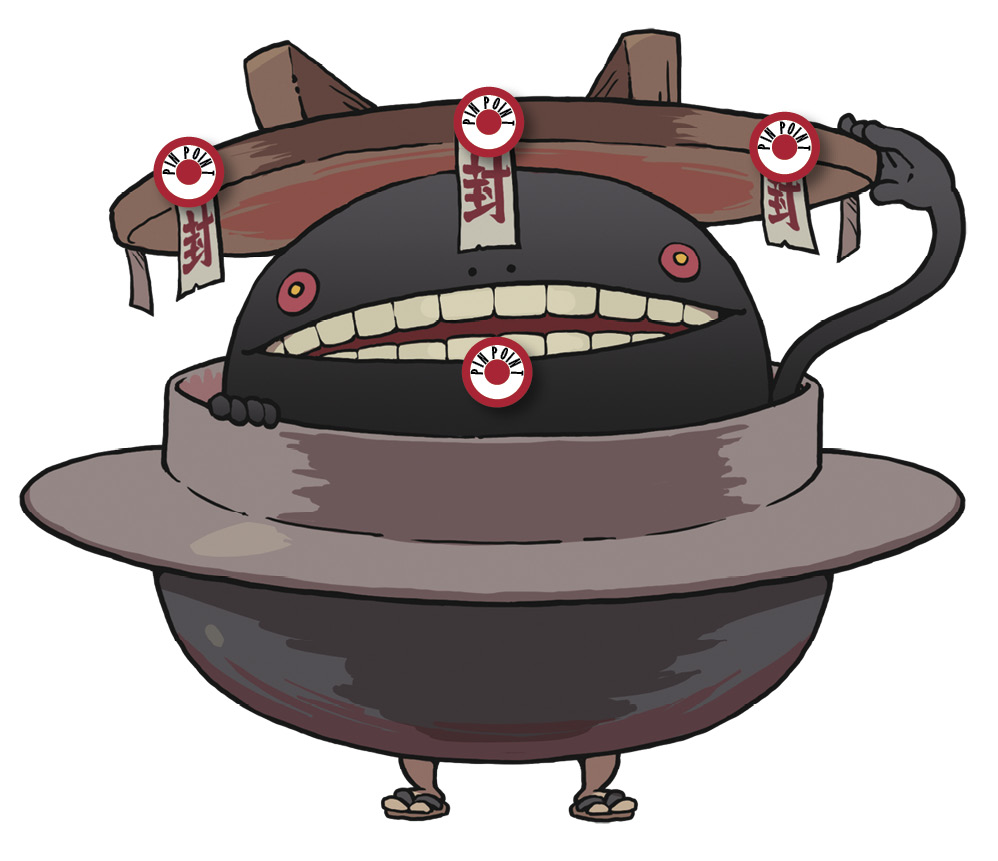
Wobblewok appears complete with his lid; you can’t damage him unless you deal with it. Attack and peel off the three talismans, and then the real boss pops up. You can also cancel Wobblewok’s Soultimate Move by peeling off his talismans while he’s charging it up. That downs him, as well.
When Wobblewok’s eyes are red, he uses nothing but physical attacks, and only spirit power works against him. When they’re blue, he sticks to his SPR Techniques, and only physical attacks work. Take him on with a Yo-kai team that excels at both types of offense. And beware his Awful Breath—it deals your party random status ailments!
Boss Skill
Pitch Bomber
Wobblewok’s lid opens, dealing serious damage to all allies. Target his three talismans to peel them off before he can finish charging it up.
Challenge the Infinite Inferno Again and Again
Once you beat Wobblewok, the game is well and truly conquered. However, all the bosses from the 1st Circle on down will be revived, letting you try your hand again, if you want. Taking on all the bosses again is the best way to push yourself to Level 80 and beyond.