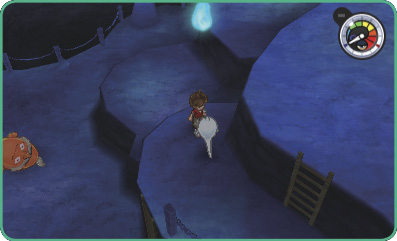
Mt. Wildwood
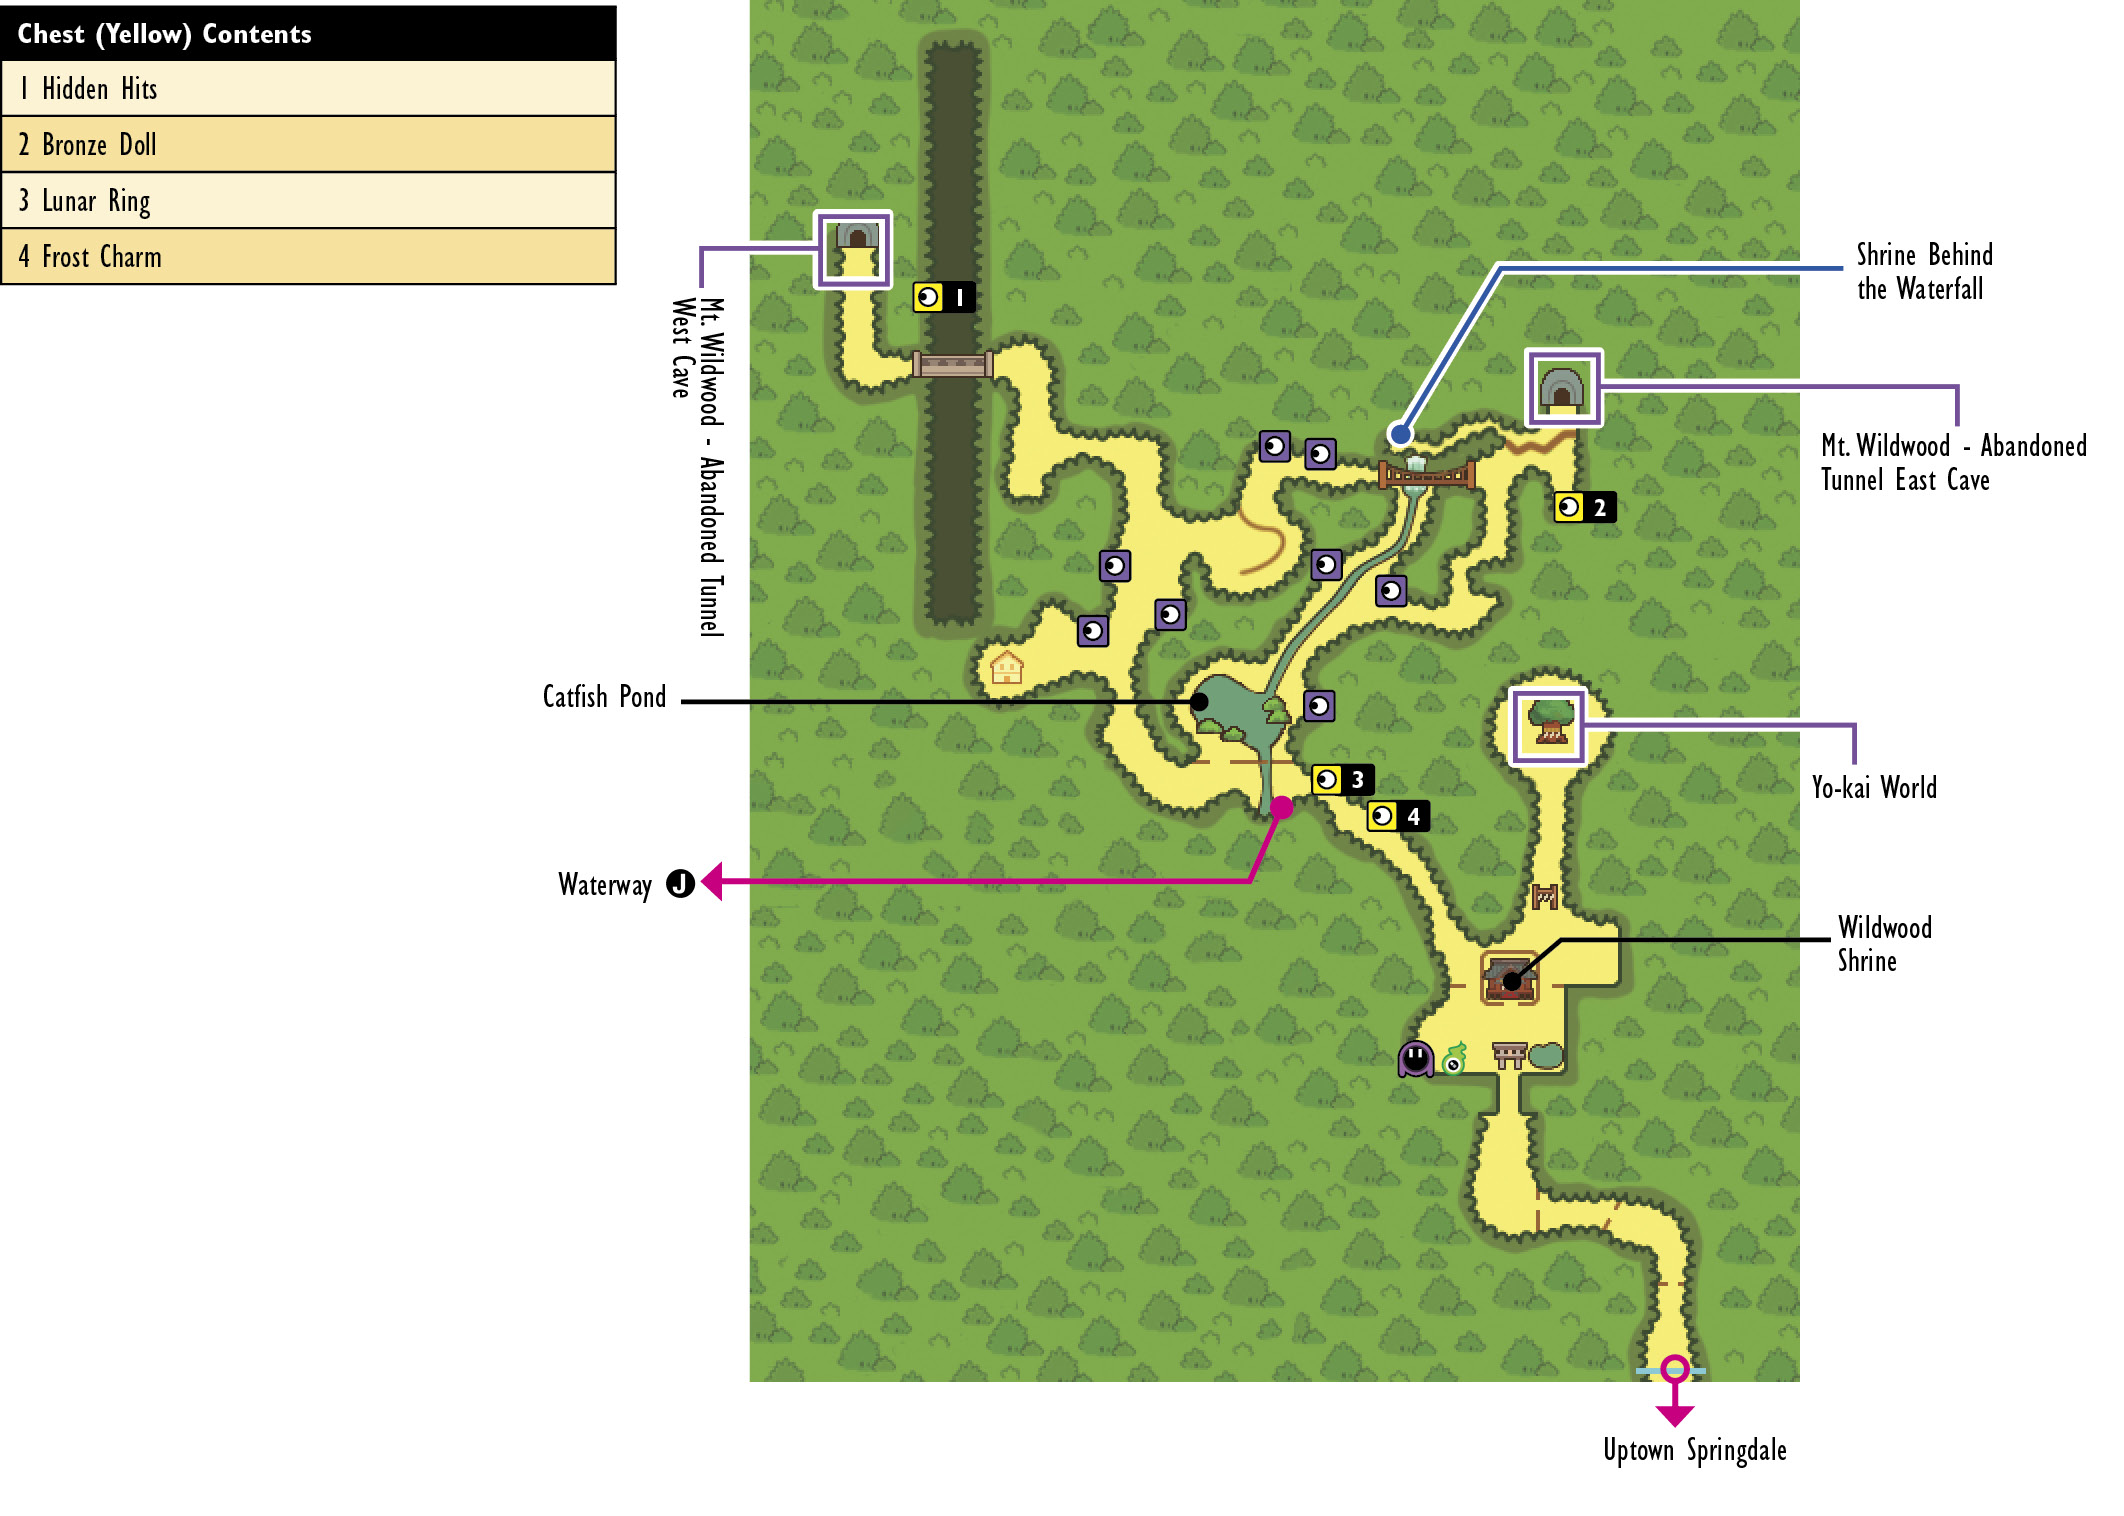
Though there are almost no buildings here, it remains one of the game’s most important areas. You can also find a Crank-a-kai next to the Sacred Tree Path that serves as an entrance to Yo-kai World.
After making your way through the sewers, you’ll be able to reach the surface from J. Chests 3 and 4 can only be reached from there.
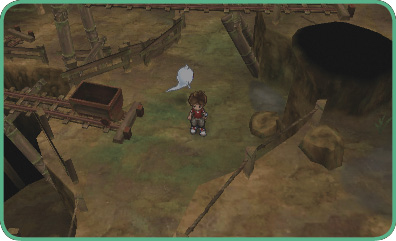
Mt. Wildwood – Abandoned Tunnel
The  -
-  numbers shown here hint at the sequence of events that must occur in order to uncover the hidden bosses.
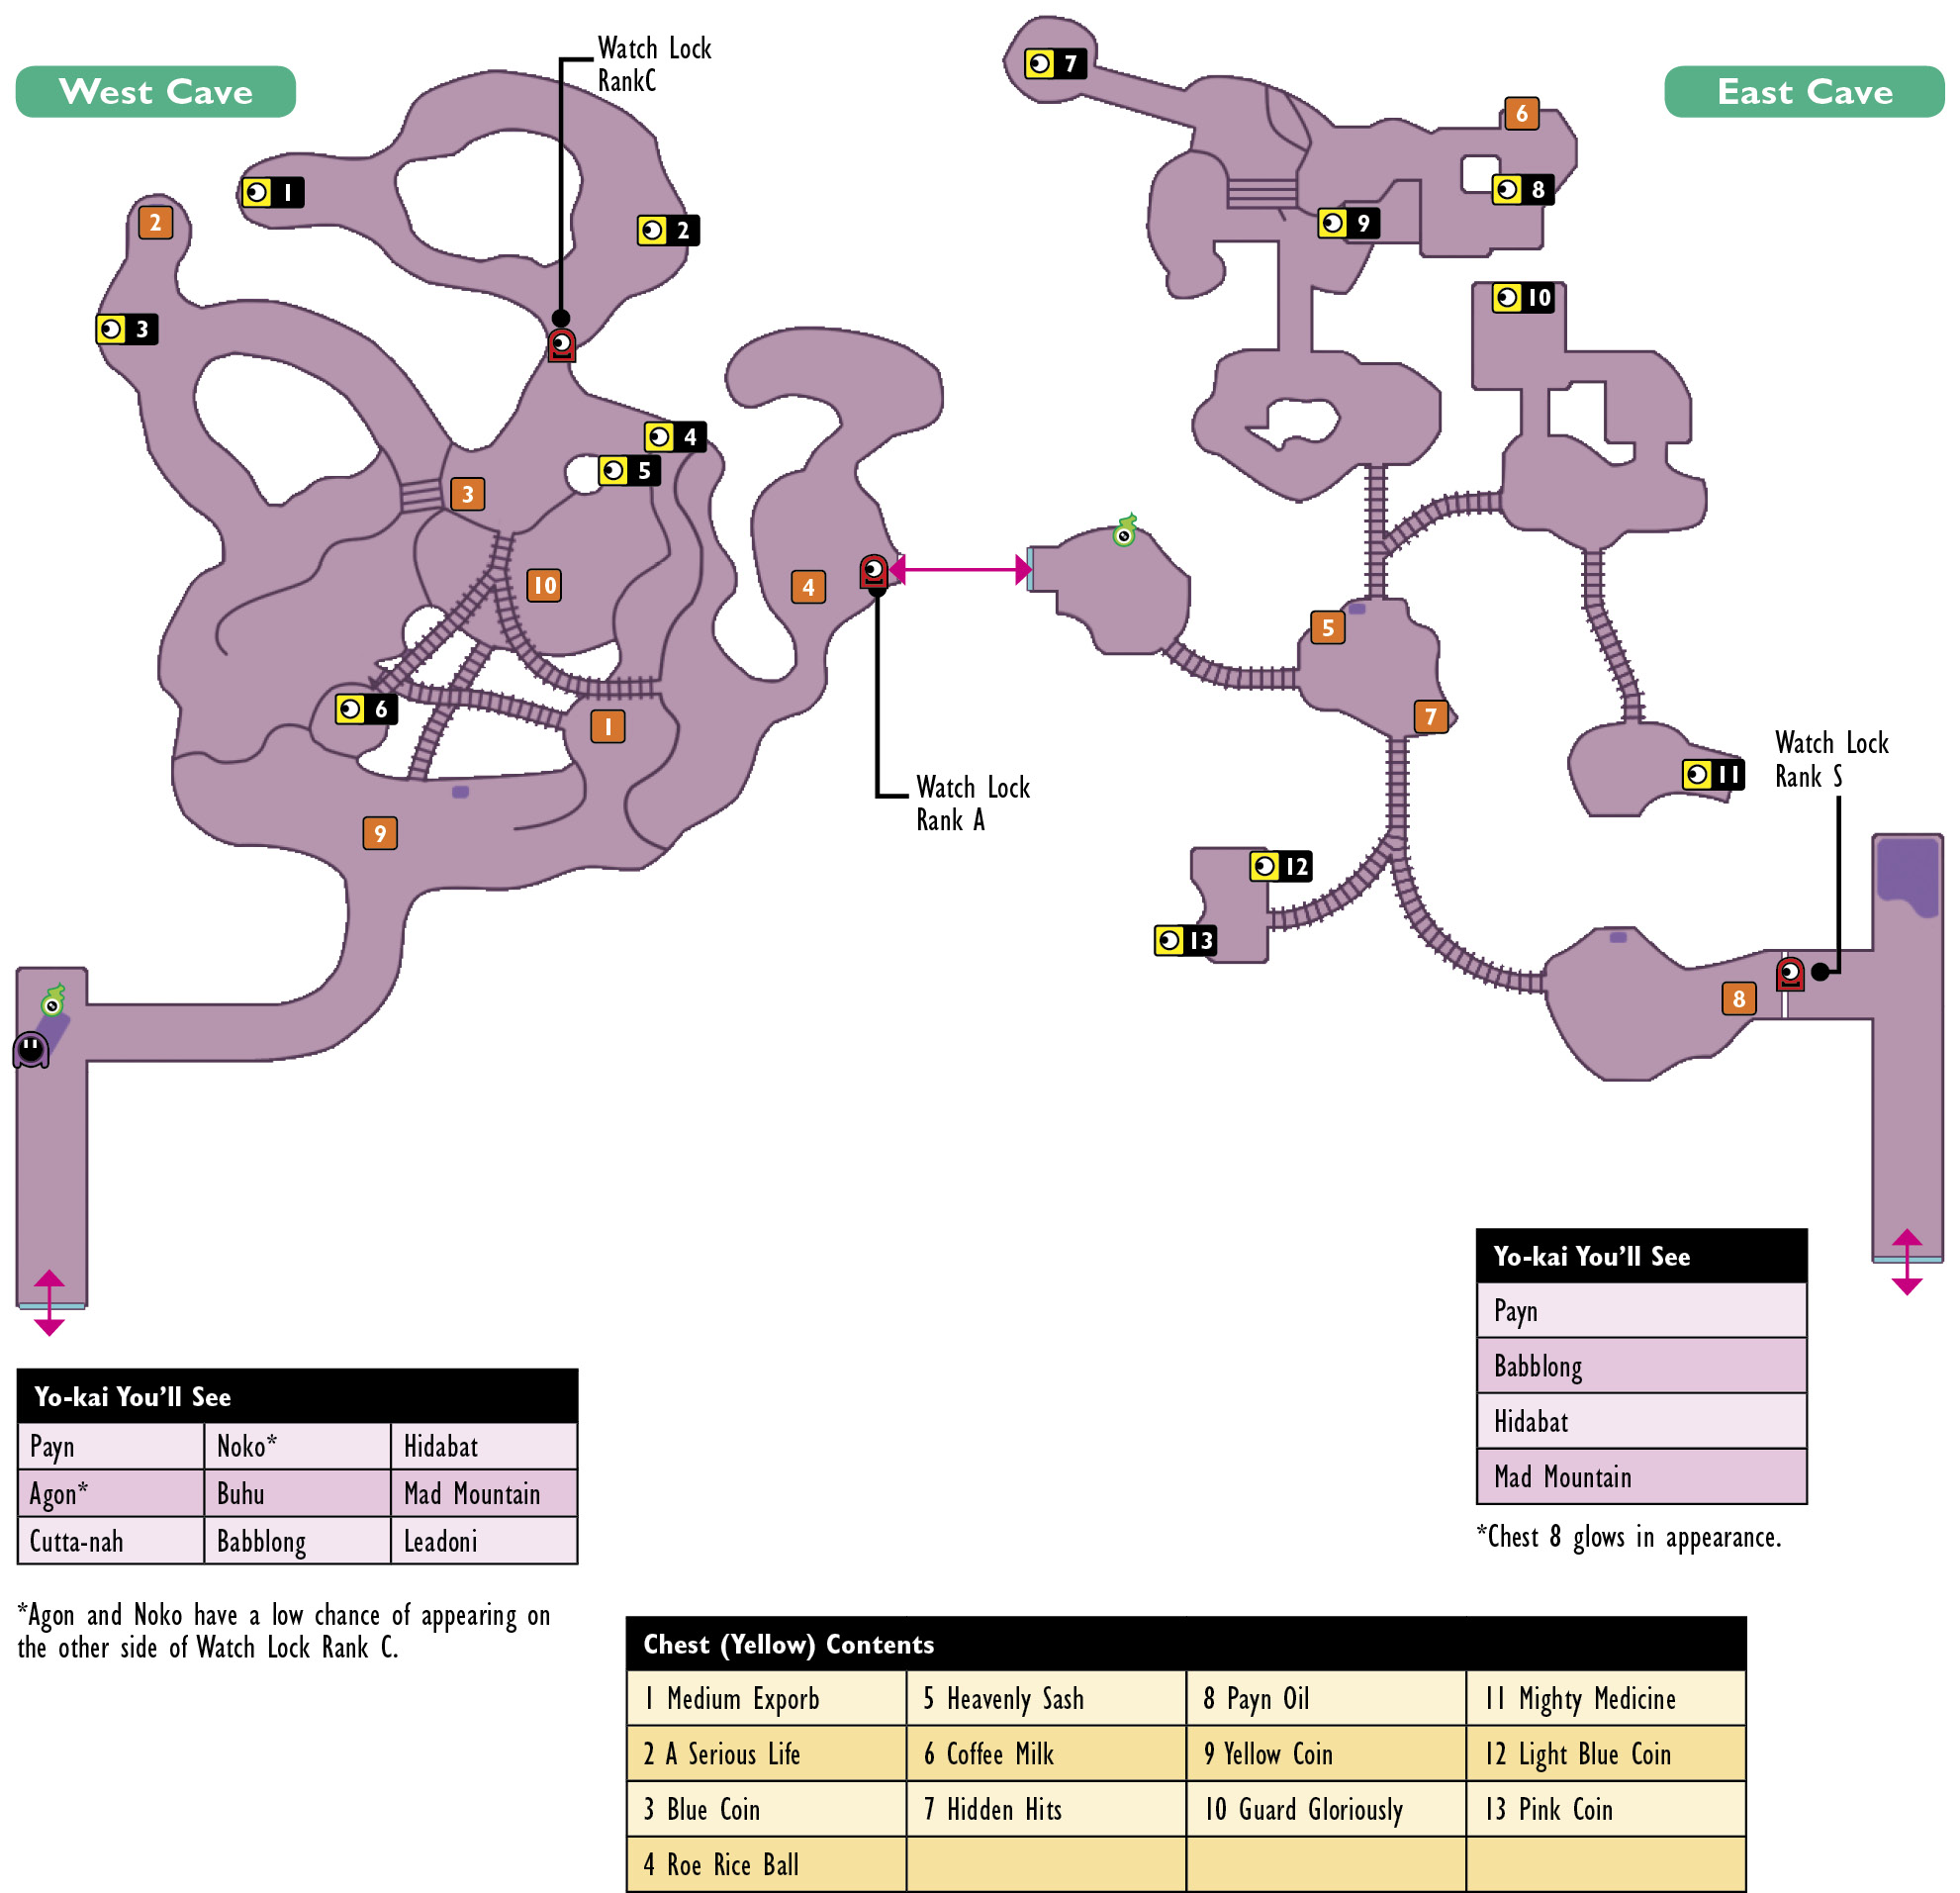
Ride the trolley to the opposite shore
 Use the lever that changes the trolley’s destination
 Get on the trolley and head east
 Fight with Leadoni, and then go through Watch Lock
 Get on the trolley and go deep into the tunnel
 Get Payn Oil from the chest
 Use the lever to change the trolley’s destination
 Fight with Signiton and get his Signiton Engine
 Get on the repaired trolley
 Fight with Duwheel
Shrine Behind the Waterfall
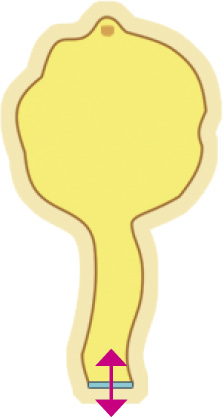
After you complete the game, you’ll be able to visit this location via Request 110. Where Is This Heading?!
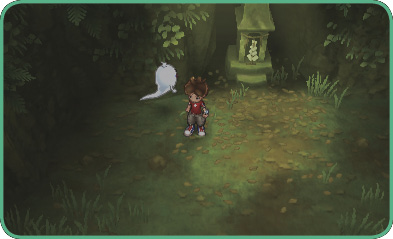
Wildwood Shrine
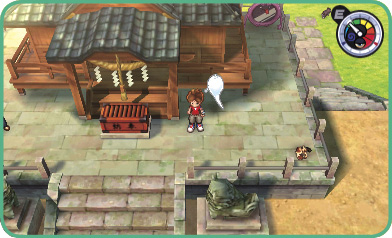
Complete Request 10 to unlock a shop that sells talismans. During Chapter 9, there is a summer festival here with different stalls, some of which sell unique items. After completing the game, you can use the Mirapo on the right side of Wildwood Shrine to warp back to the summer festival stalls.
Yo-kai World
A place located underneath Wildwood Shrine’s Sacred Tree Path. You’ll first visit here near the end of the game in Chapter 11. Among the Yo-kai found here, you’ll occasionally encounter some with white bodies. These are stronger than your everyday Yo-kai and do not join you after the battle.
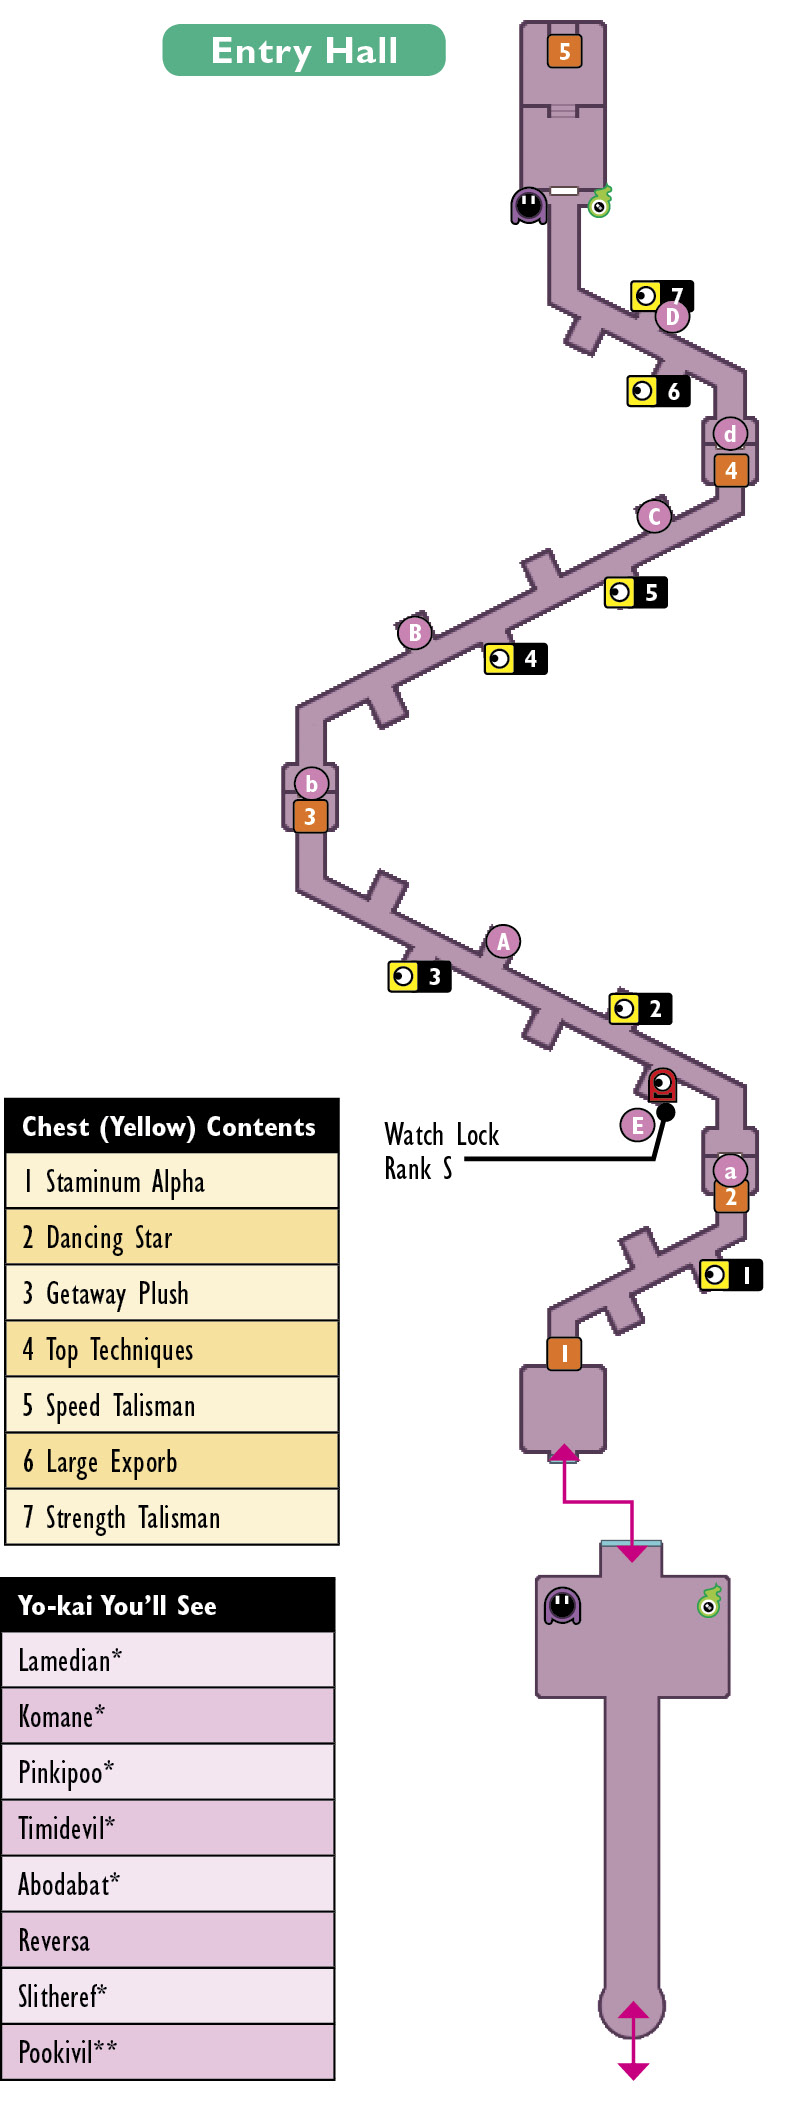
The map’s  -
-  hint at the sequence of actions that you must complete.
Battle with Venoct
 Gargaros’s judgment
 Ogralus’s judgment
 Orcanos’s judgment
 Battle with McKraken
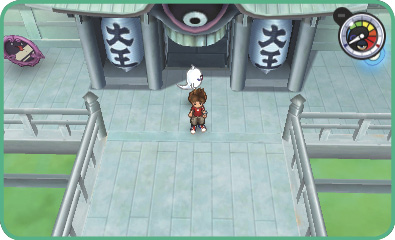
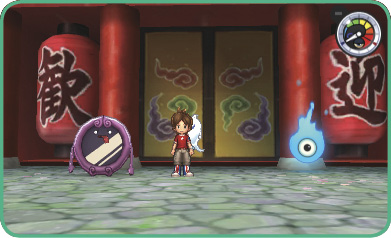
Don’t forget to use this area’s Eyepo to restore HP and save! Mirapo allows you to travel in and out of the area.
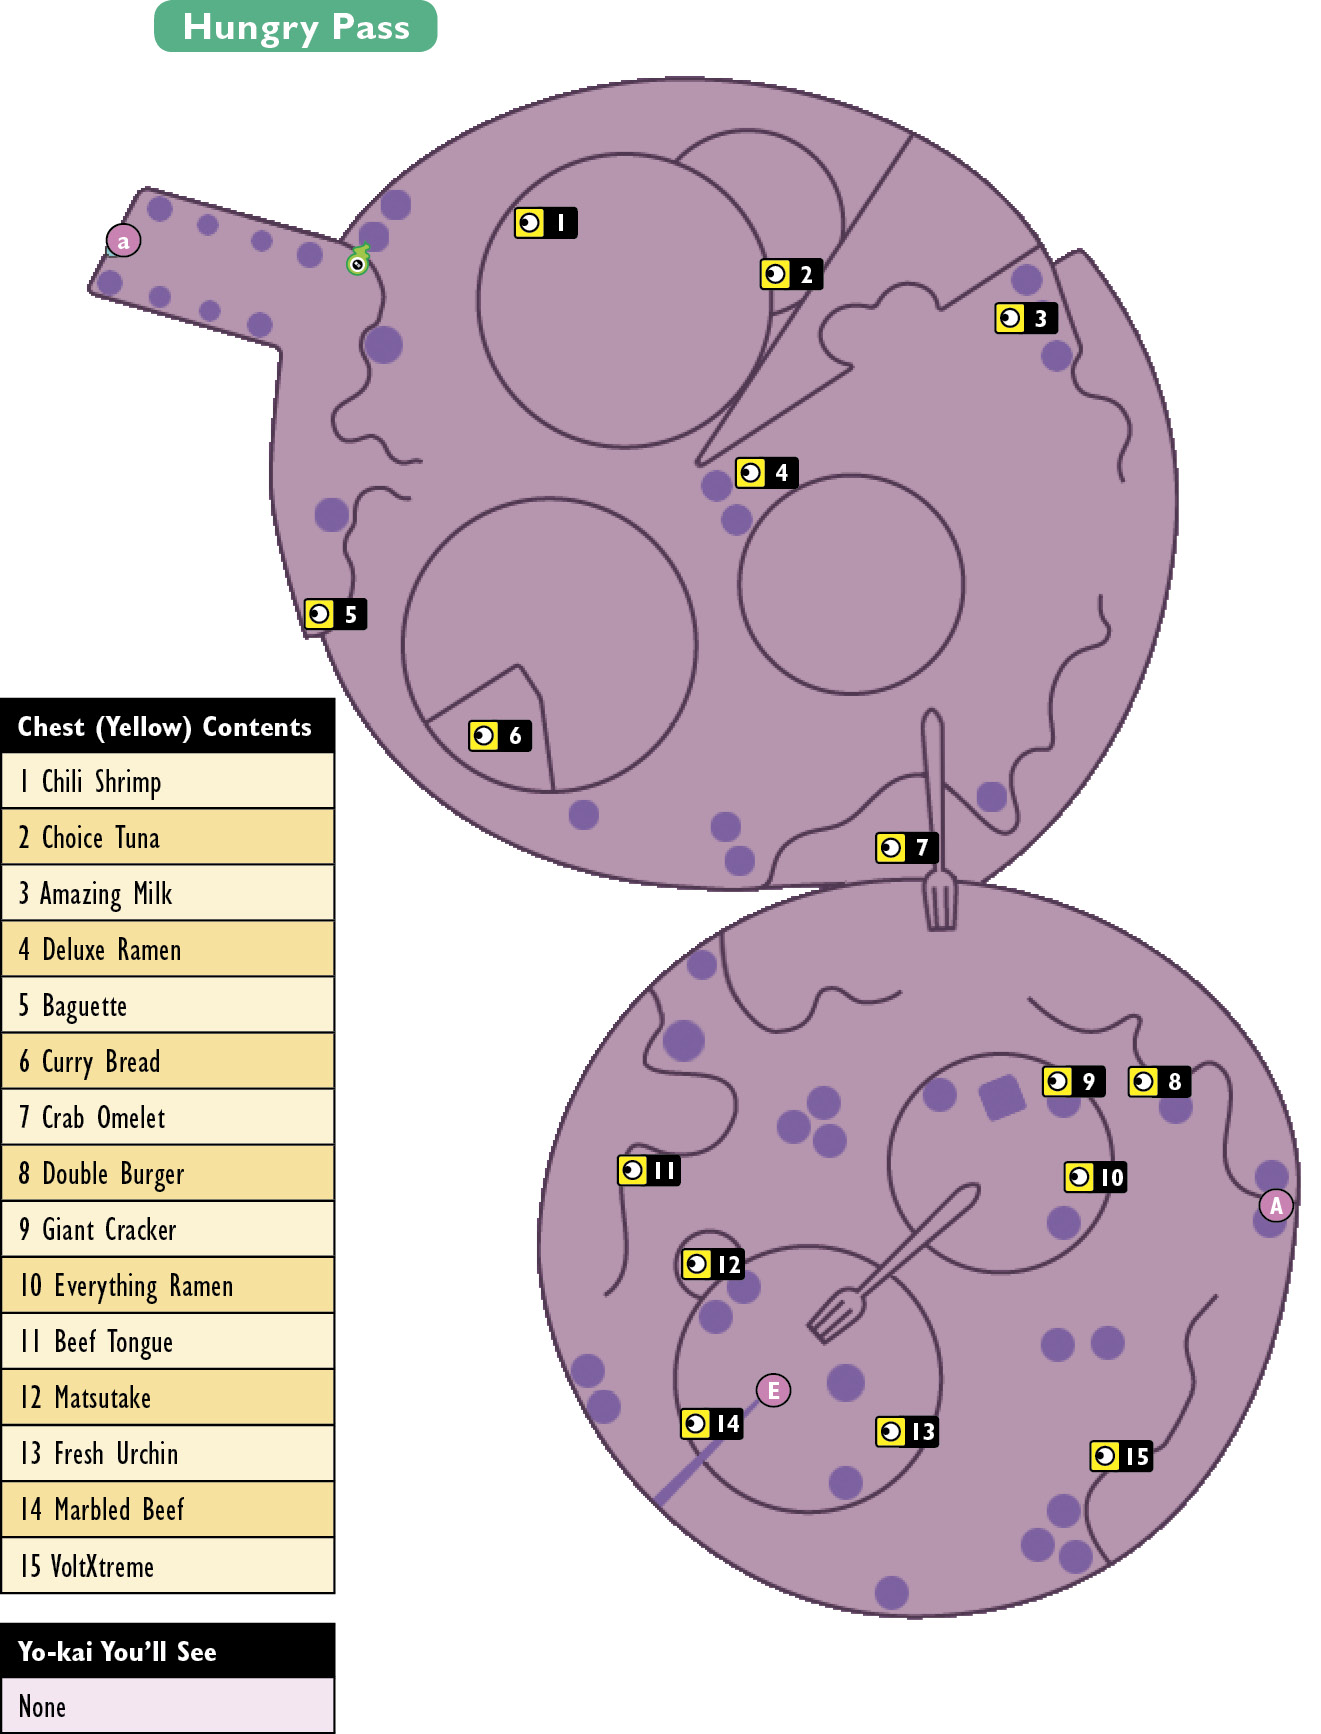
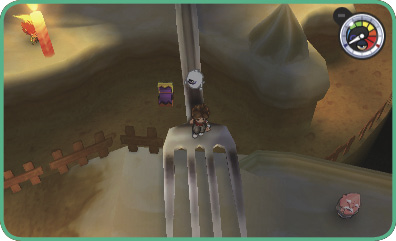
There is also an event battle with Grainpa during the Epilogue.
If you fall down through points  -
-  (where the corridor is broken) in Entry Hall, you’ll land on points of the same number on each map.
  -
-  are for your way back.
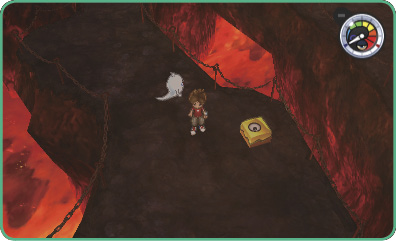
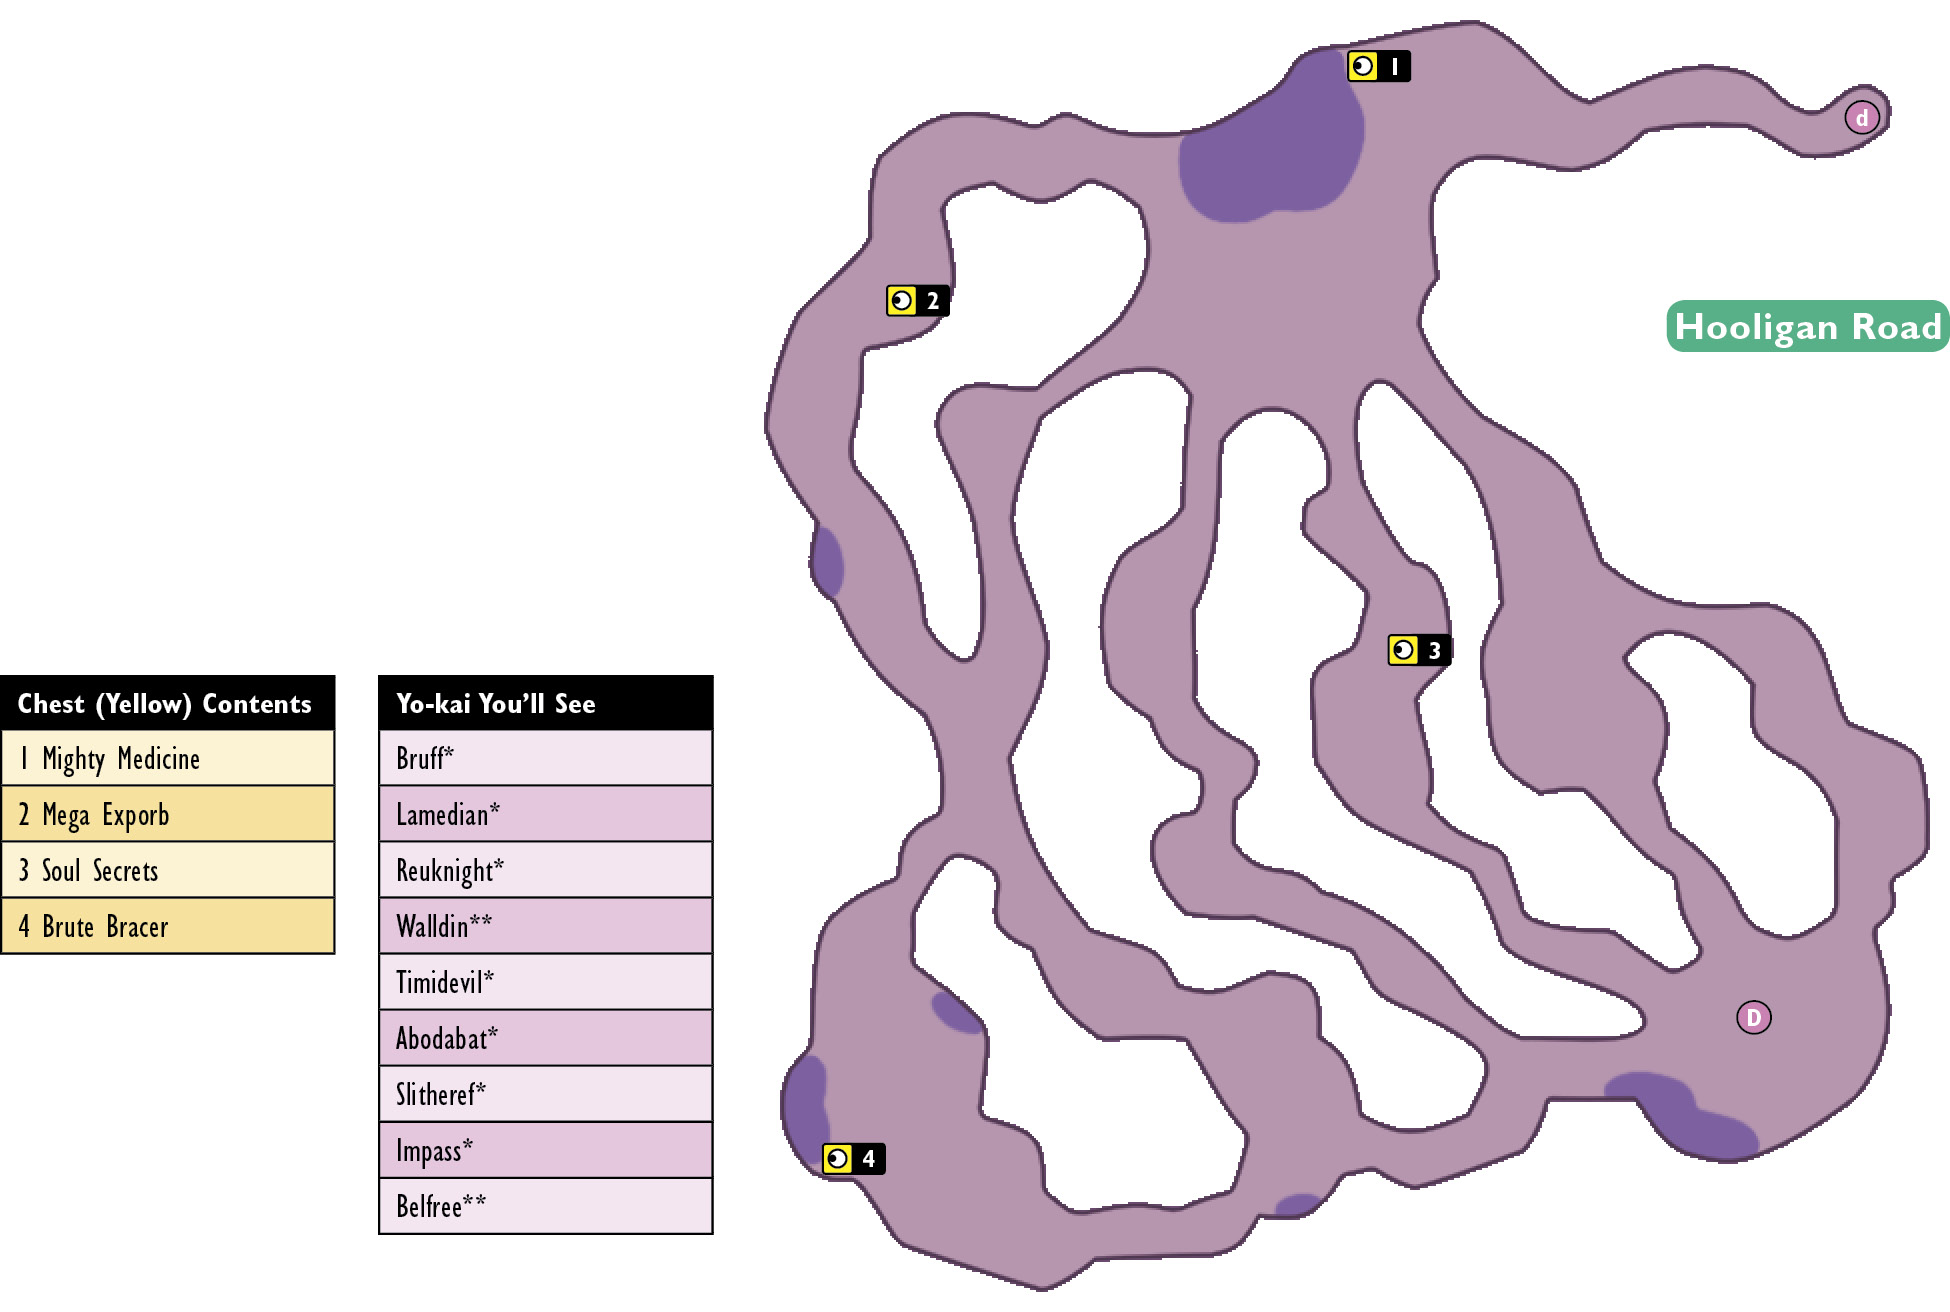
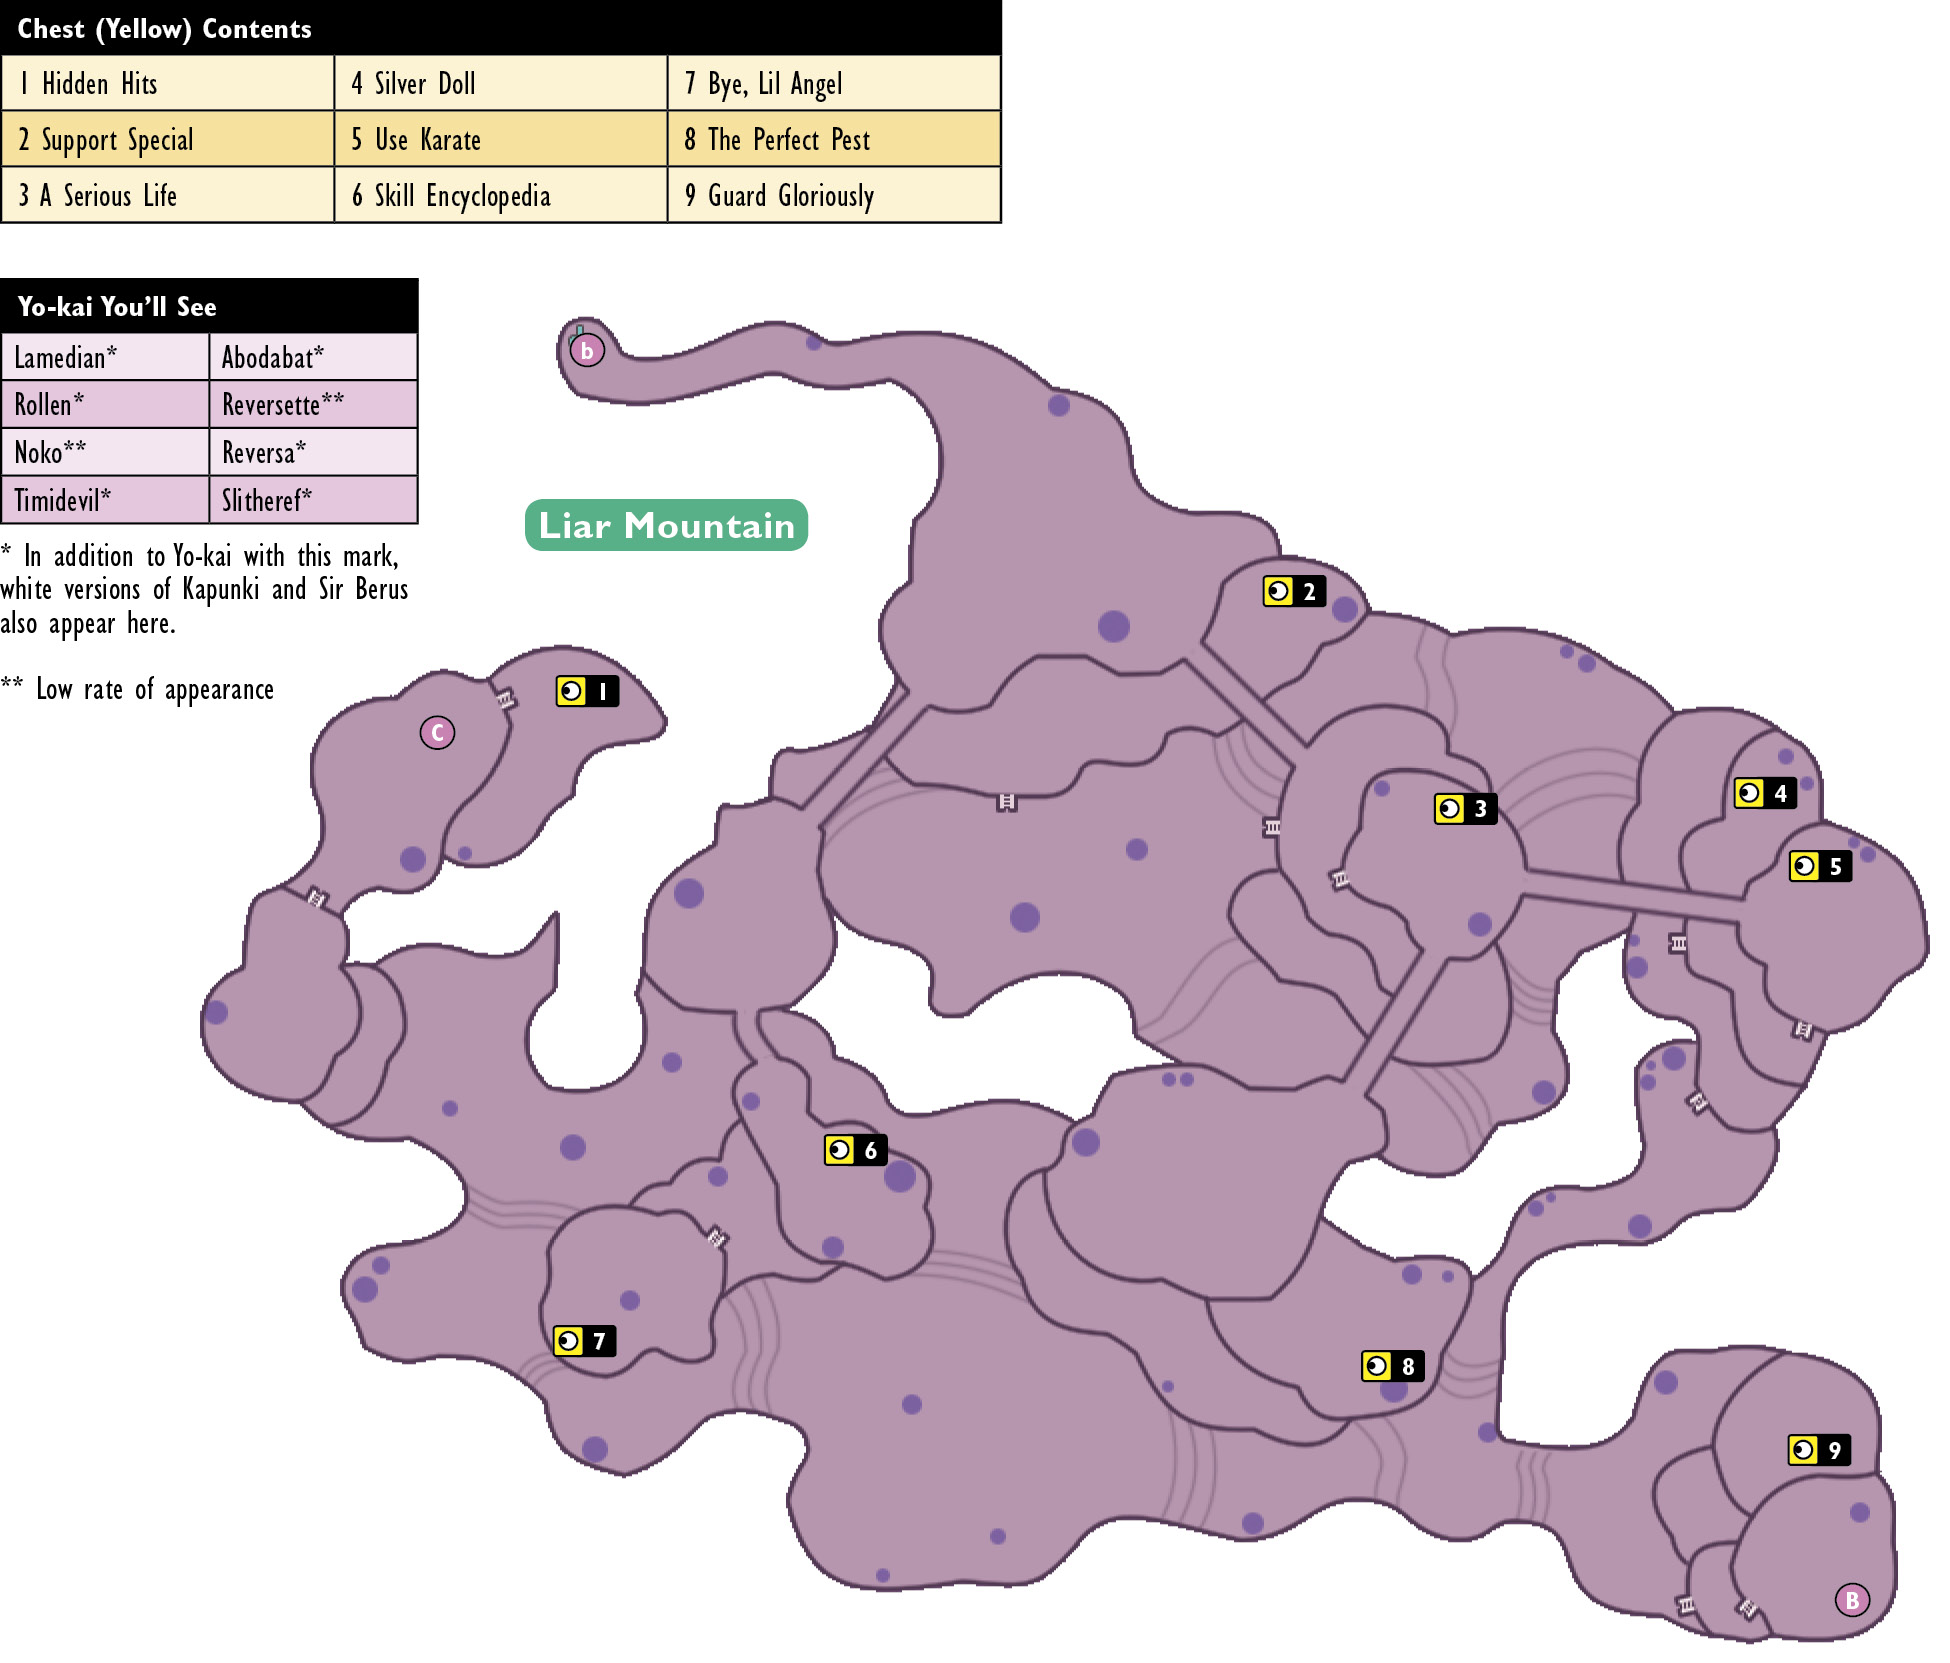
Liar Mountain has multiple elevation changes, so you may unexpectedly find yourself at a dead end. Make note of ladder locations to avoid getting lost.