
Pikmin 3 Guide Walkthrough Day 7 - Tropical Wilds
Day 7 - Tropical Wilds
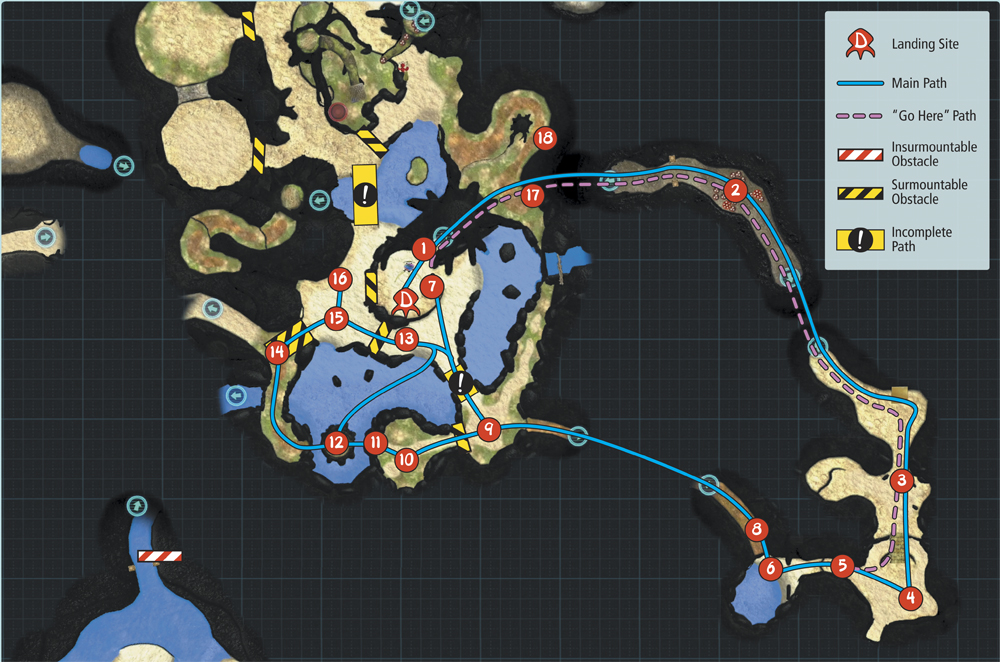
Map: Tropical Wilds
Remaining Juice: 19 canisters
Objectives: Prepare the path to the newest signal while searching for fruit and another suit upgrade.
You’ve explored all of the Distant Tundra areas that are accessible with the currently available Pikmin; now it’s time to follow the newest signal. Explore the Tropical Wilds, collect valuable items, and open new paths until the day ends.
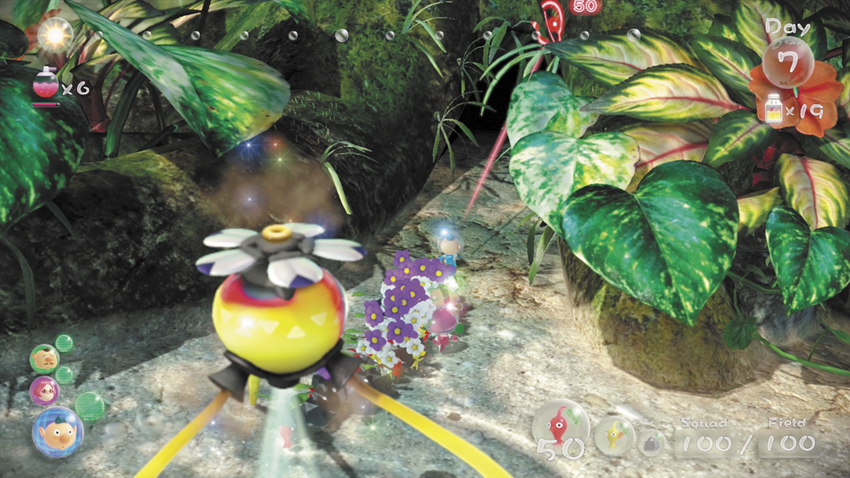
 When the day starts, select a full group Pikmin from the Onion. Bring at least 20 of each Pikmin variety, and fill the rest of the group with whatever type of Pikmin you’d like to carry fallen enemies back to the landing site. With all three crew members in the squad, enter the narrow passage just north of the landing site.
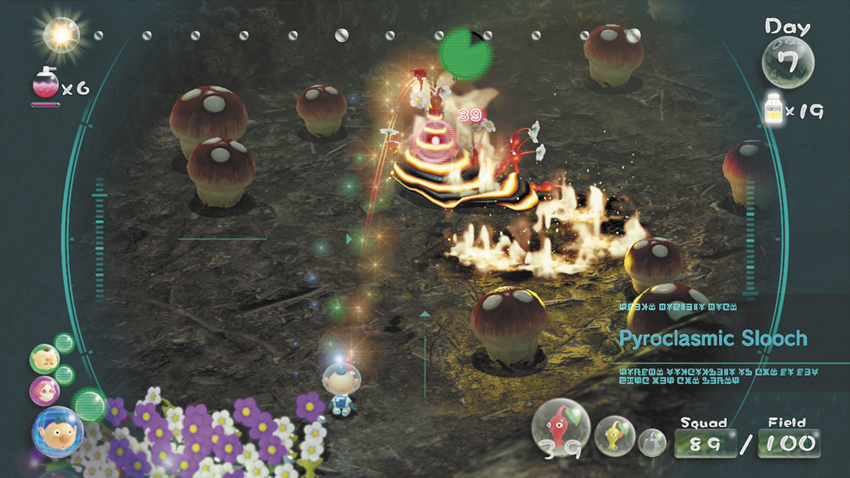
 This is the same area Alph explored on Day 1, but you’ll find several new enemies have appeared. Use your Red Pikmin to defeat the Pyroclasmic Slooch patrolling near the Spotcaps. If you like, assign a few Pikmin to transport the enemy. When the flames burn out, exit through the far end of the passage.
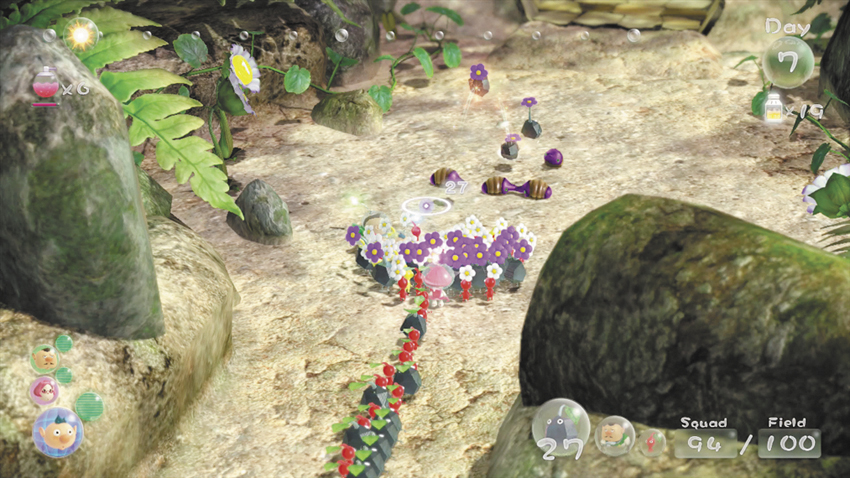
 There are some enemies hidden just south of the Cardboard Box. Move slowly until the Male Sheargrubs show themselves, then pummel them with your Pikmin. If you like, assign one Pikmin to carry each defeated enemy. When you’re ready, continue across the bridge to the south.
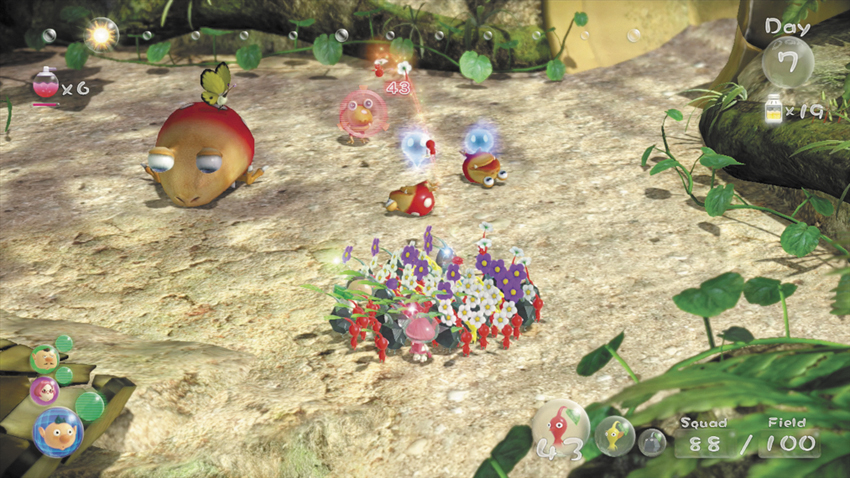
Just across the bridge, you find a sleeping Bulborb surrounded by three Dwarf Bulborbs. Throw one Pikmin directly onto each of the smaller enemies, but call them all back before they have a chance to wake the Bulborb. Sneak behind the sleeping Bulborb and send your entire army charging in to attack.
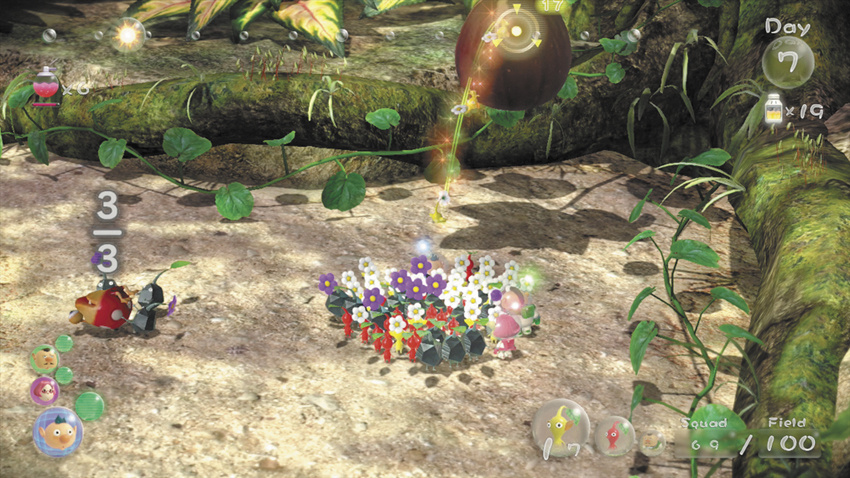
 Assign whatever Pikmin you’d like to transport the fallen enemies, then locate the Delectable Bouquet (fig) hanging from the nearby tree. Toss eight Pikmin onto the fruit to knock it to the ground and carry it back to the ship. When you’re ready, head toward the enclosure to the west.
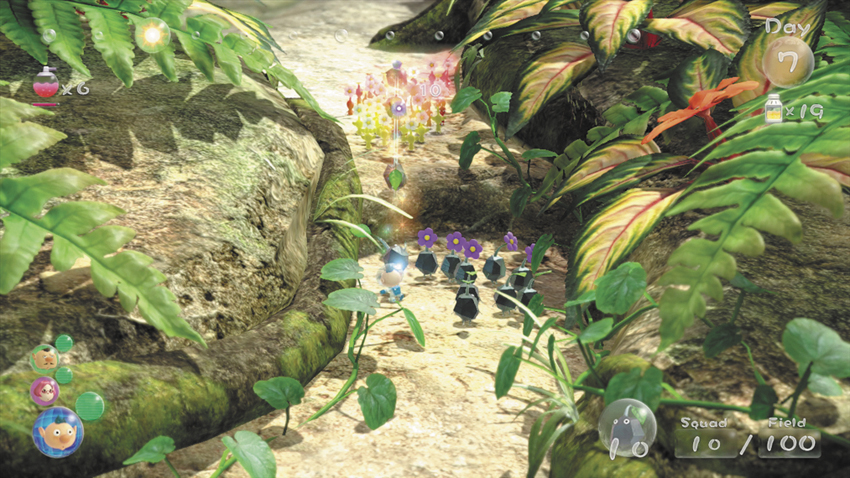
 When you reach the ledge blocking your path, throw two crew members and all of your Pikmin into the enclosure. Switch crew members and reform what’s left of your squad on higher ground.
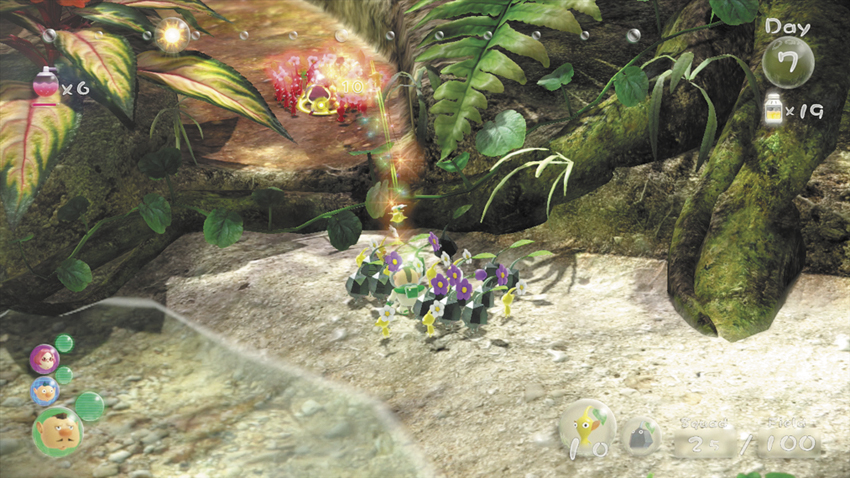
 Move along the enclosure’s north edge, then throw one crew member and all of your Pikmin onto the raised path. Grab the Data File from the nearby water, then head back down to your stranded crew member.
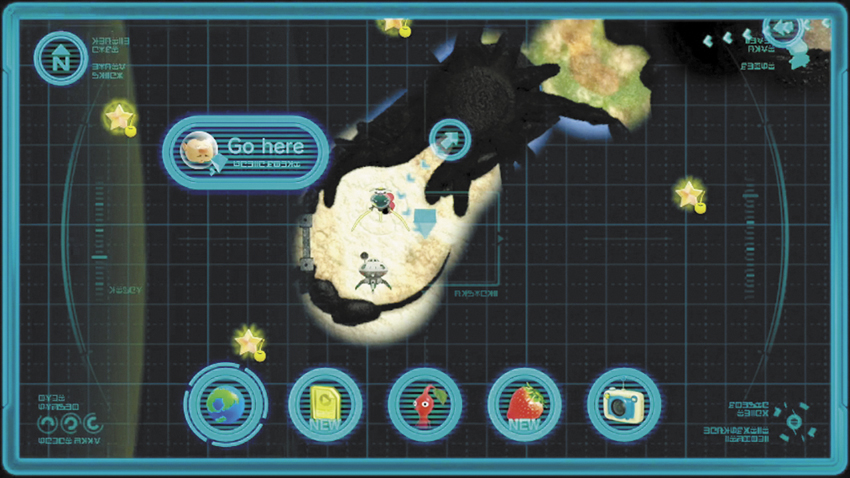
 Pair up the two crew members that are unable to follow the squad, then use the “Go Here” command to send them back to the landing site. Once they’re en route, switch crew members and round up your main squad.
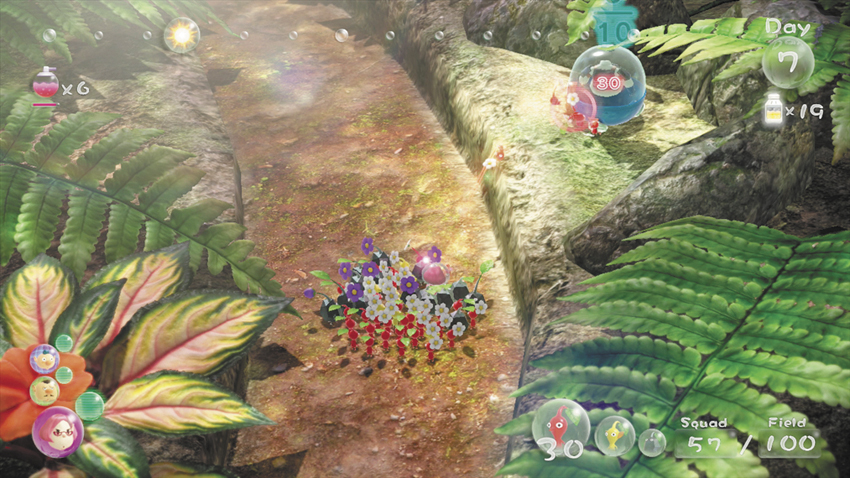
 The Metal Suit Z upgade for your space suit is on a ledge near your main squad. Throw 10 Pikmin up to this piece of special equipment and allow them to carry it back to the ship. As they do, follow the path west.
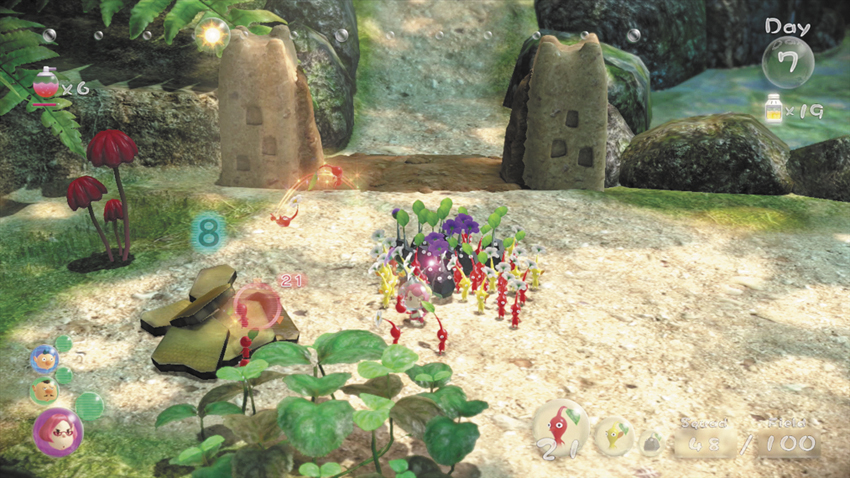
 Drop down to the area at the end of the path, then have all of your Pikmin charge the Dirt Wall. When the obstacle is destroyed, round up your squad and toss eight Pikmin into the nearby Fragments. Lead the rest of your Pikmin through the newly crumbled Dirt Wall to the west.
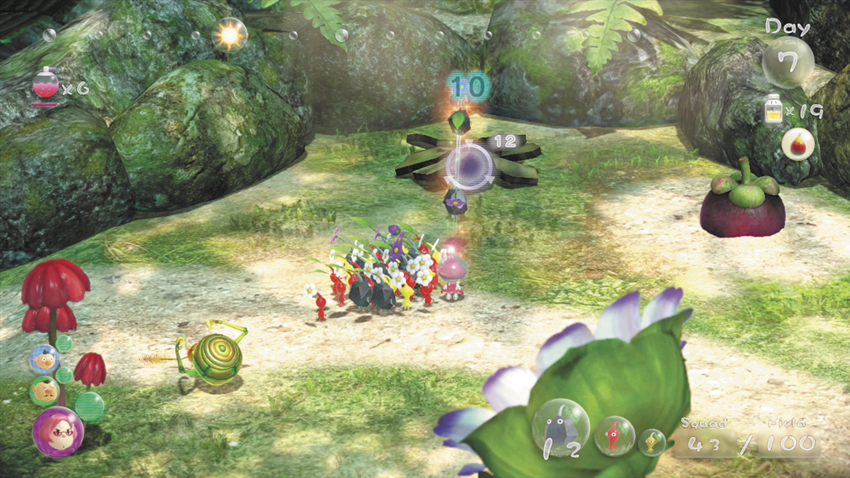
 Defeat the Swooping Snitchbug at the top of the hill, then toss 10 Pikmin into the Fragments along the path’s south side. Have the rest of your Pikmin charge the nearby Dapper Blob (mangosteen). By now, the bridge is nearly complete and the other crew members should be waiting at the landing site.
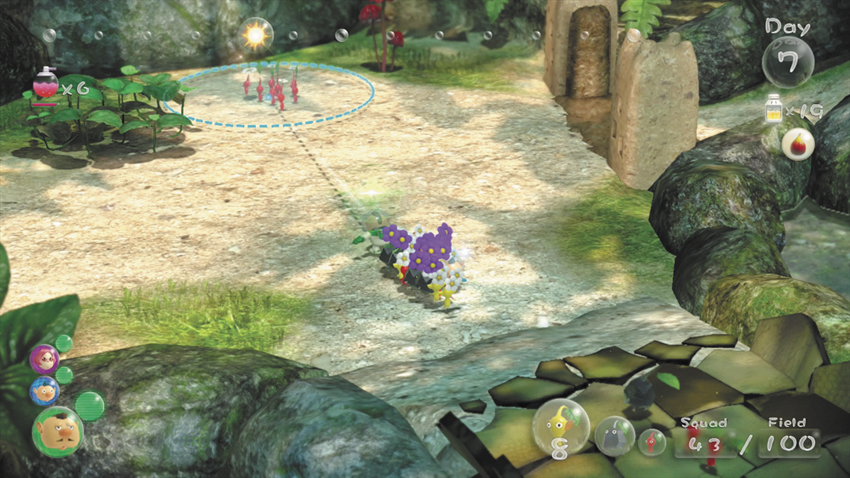
Switch crew members and round up all of the Pikmin that have returned to the landing site. Lead the squad south and use the now-completed bridge to cross the water. Grab the idle Pikmin waiting by the first Fragment pile, then rejoin your main squad at the top of the hill.
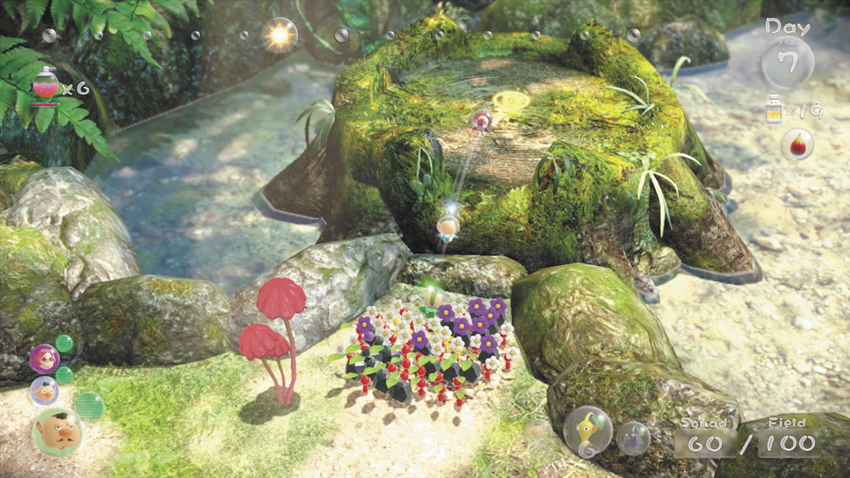
 Assign Pikmin to transport the defeated Swooping Snitchbug and the nearby 10 Pellet. Move to the west end of the path and face the stump surrounded by water. Throw two crew members and at least 10 Pikmin over to the stump. There’s a Male Sheargrub hiding near the center of the stump. When it appears, try to ensure that at least one Pikmin lands on it.
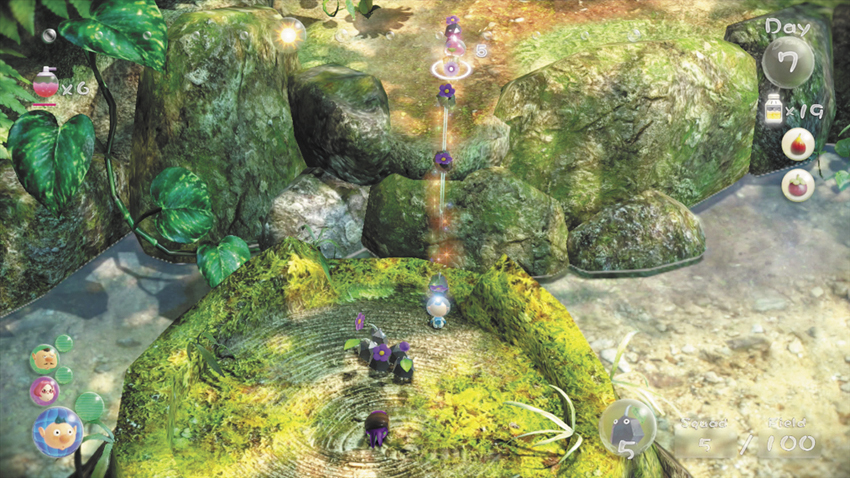
 Switch crew members and create a secondary squad on the stump. Toss one crew member and all of your Pikmin across to the next ledge.
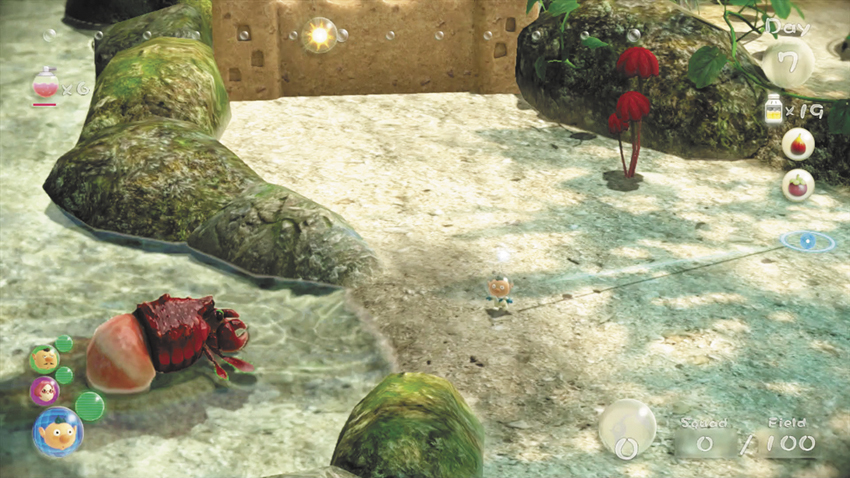
 Drop down into the water and walk back to the landing site. As you do, watch out for the Hermit Crawmad hiding at the water’s edge. Run past the enemy, gather the idle Pikmin at the landing site, and put them to work on the Dirt Wall near the Hermit Crawmad—just make sure you keep your distance from the enemy as you move into place.
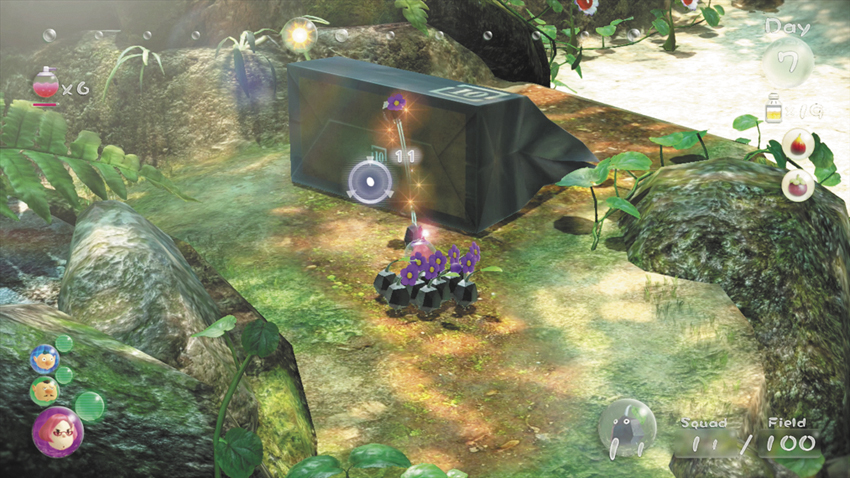
 Switch to the crew member you threw from the stump and gather the surrounding Pikmin. Follow the path to find a Paper Bag, then use your small squad to push it off the ledge. When the makeshift ramp is in place, recall your Pikmin and stay put until the Whiptongue Bulborb is cleared from the area.
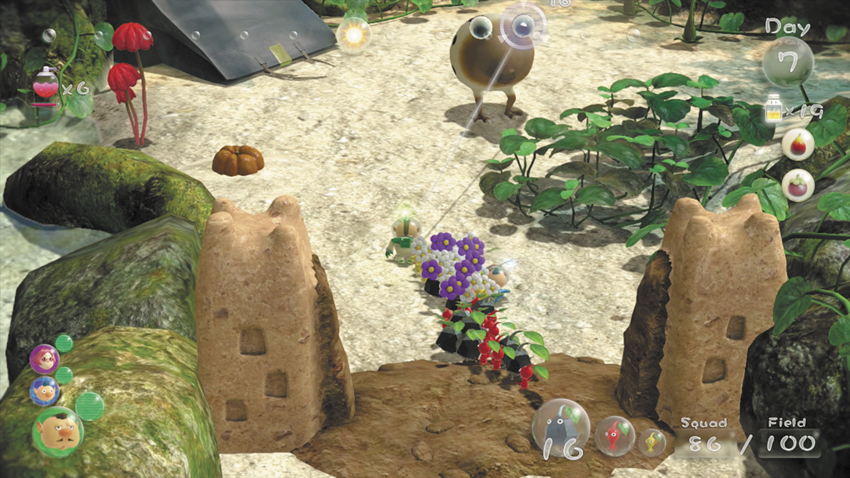
 Switch to your main squad and move back toward the landing site. Regroup with the squad waiting near the Dirt Wall, then head in and deal with the Whiptongue Bulborb. You’re not likely to surprise this creature—just lock-on, throw a few Pikmin to distract the Whiptongue Bulborb while you flank it, then send your entire army charging in.
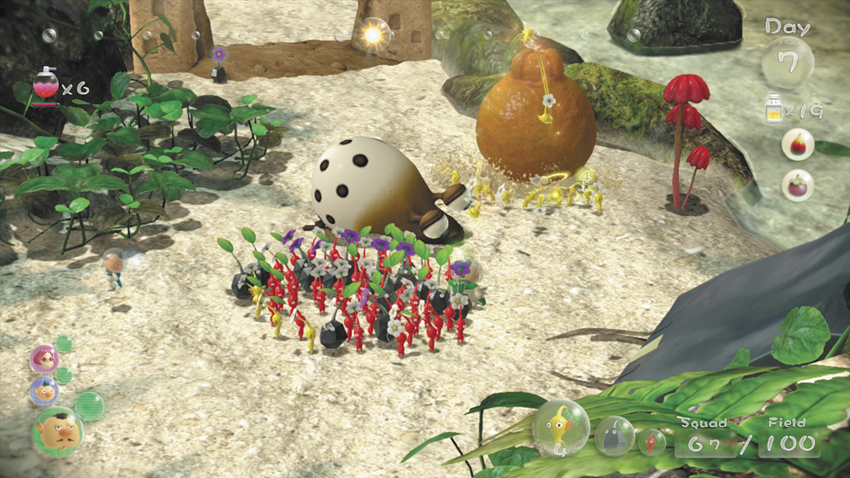
When it’s safe, assign at least 10 Yellow Pikmin to dig up the nearby Pocked Airhead (dekopon). Have your preferred variety of Pikmin transport the defeated enemy, then search the surrounding area.
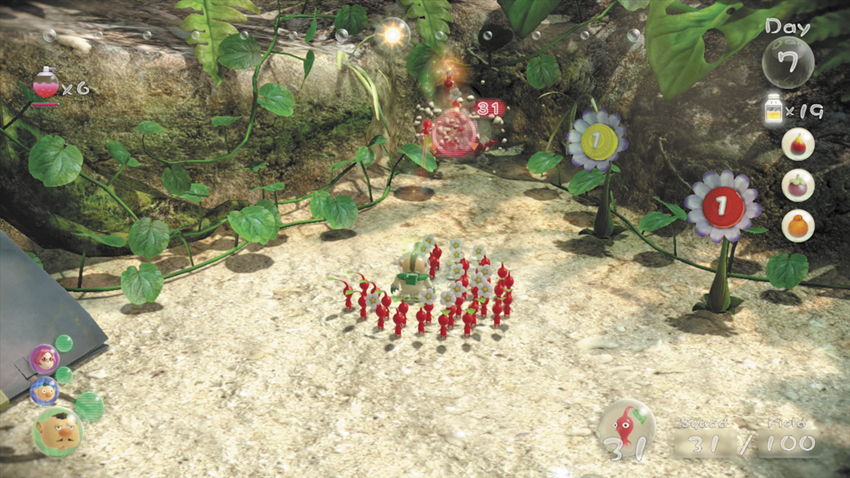
Locate the gravel-filled passage just north of the Paper Bag, then assign at least five Pikmin to dig through to the other side. Take the rest of the main squad and follow the path north to find a Dirt Mound.
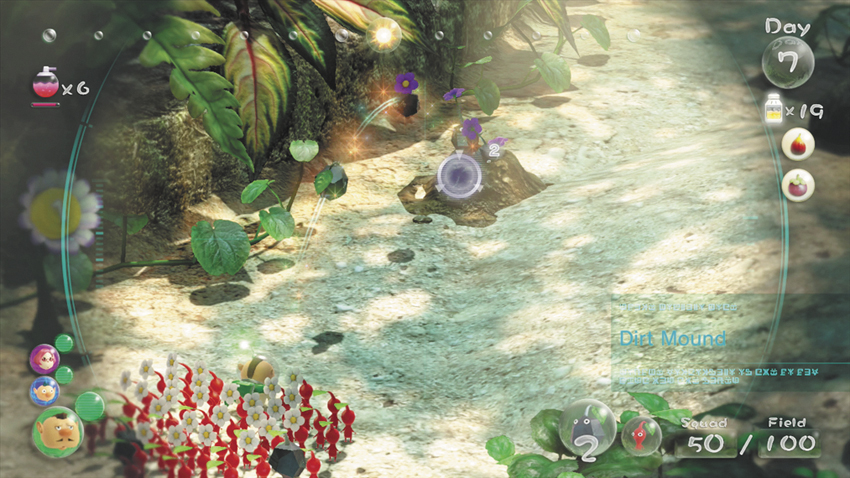
 Throw a group of Pikmin into the Dirt Mound. As they unearth the buried Bomb Rocks, switch crew members. Take the smaller squad down the Paper Bag and wait for the Pikmin to finish clearing out the gravel-filled passage. When they’re done, gather the Pikmin at the far end of the passage, then rejoin the main squad at the Dirt Mound.
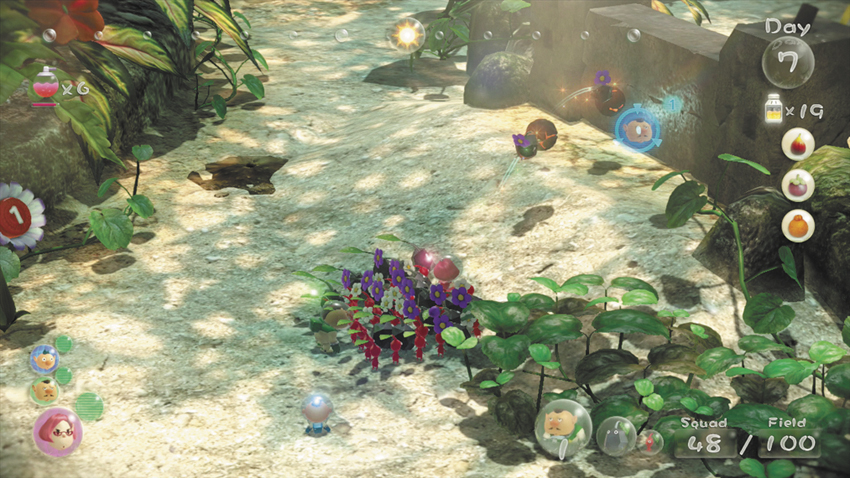
The Dirt Mound at the landing site only yields two Bomb Rocks. Throw both Bomb Rock-carrying Pikmin at the nearby Reinforced Wall and stay clear of the explosion. The damage is significant, but you’ll need one more Bomb Rock to destroy the obstacle. You’ll want plenty of Red Pikmin in your squad at this point. If needed, head to the landing site and gather your idle Pikmin.
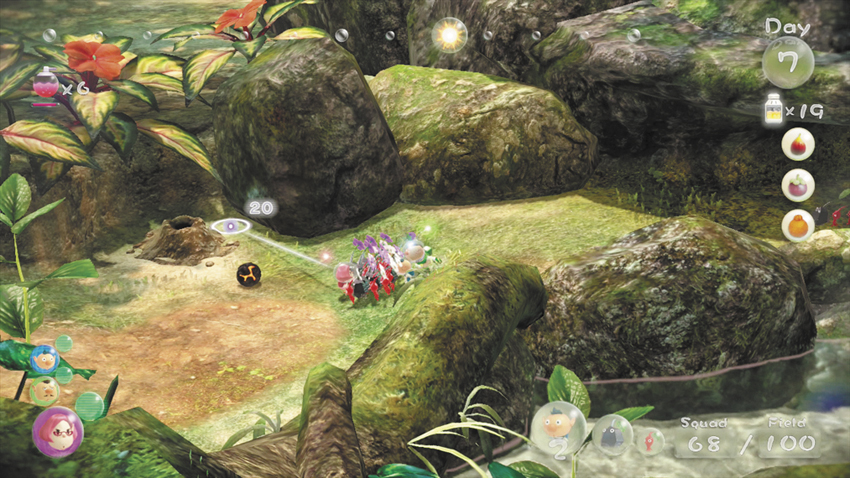
 Use the bridge south of the landing site to cross the water, then turn left and follow the path north until you reach another Dirt Mound. Toss a few Pikmin into the opening and allow them to dig for more Bomb Rocks. While they work, continue along the path to find some Pyroclasmic Slooches.
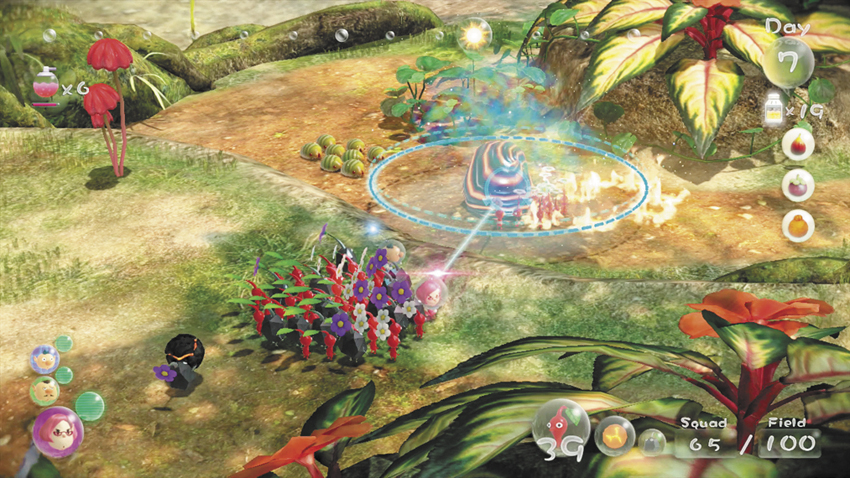
 Use your Red Pikmin to clear out the Pyroclasmic Slooches patrolling the path’s hairpin turn, then take a moment to search for nearby objects.
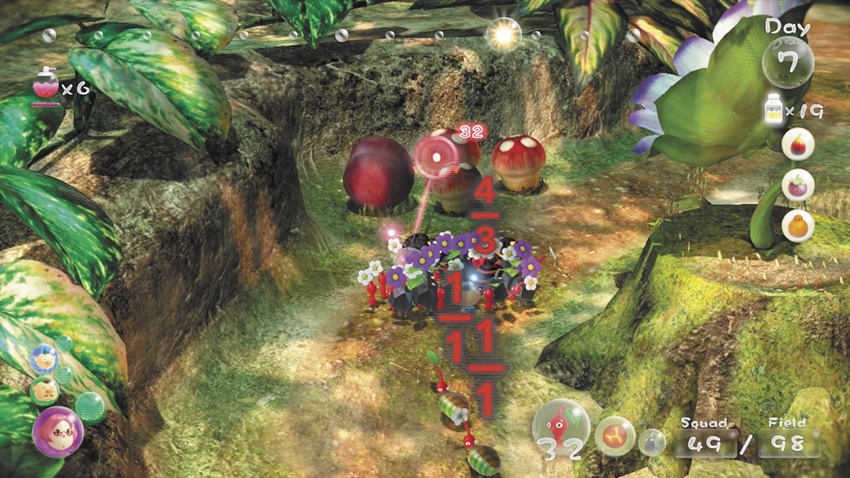
Look for the Lesser Mock Bottom (plum) near the Spotcaps on the along the path’s outer edge. Assign Pikmin to transport the plum, the defeated enemies, and the 10 Pellet in the large Pellet Posy.
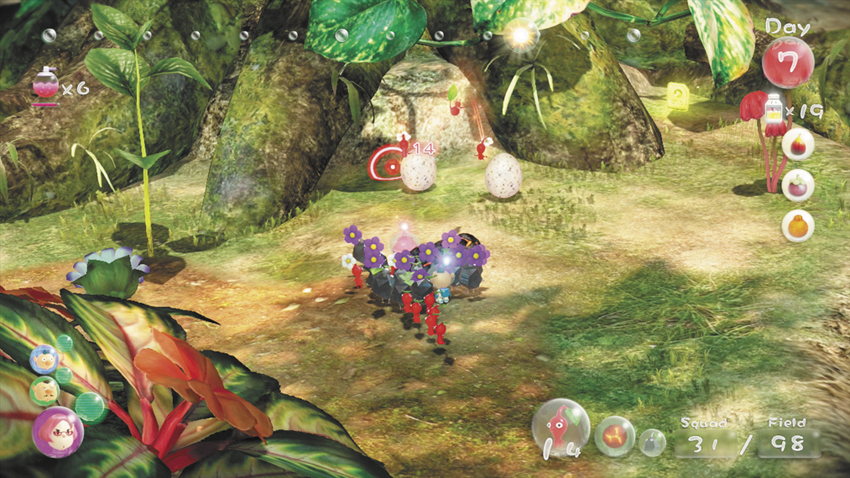
Turn around and head back toward the Dirt Mound. As you do, look for the Nectar Eggs just off the path. If you have any immature Pikmin left in your squad, attack the Nectar Eggs and take advantage of the contents. Grab the nearby Data File, then return to the Dirt Mound and gather your idle Pikmin.
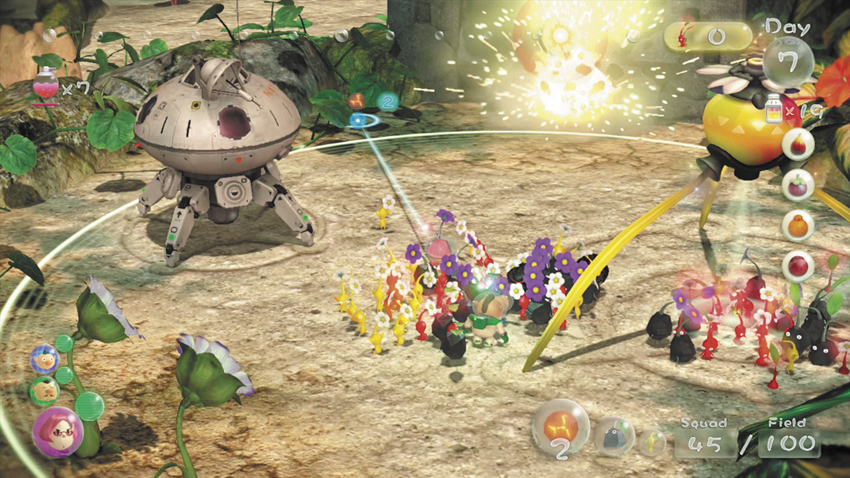
Lead your squad back to the landing site and use the Bomb Rock-carrying Pikmin to destroy the Reinforced Wall. Use the remaining time to gather idle Pikmin and assign additional Pikmin to any objects still being transported. You’ll return to this area on the next day, so feel free to leave any sprouts to mature overnight.