
Pikmin 3 Guide Missions Defeat Bosses!
Course 3: Sandbelching Meerslug
Available Medals
| Medal | Required Clear Time |
|---|---|
| Platinum | 2:30 |
| Gold | 4:00 |
| Silver | 6:00 |
| Bronze | 8:00 |
Time Limit: 13:00
Available Pikmin: Red Pikmin, Rock Pikmin, Yellow Pikmin
Recommended Tactics
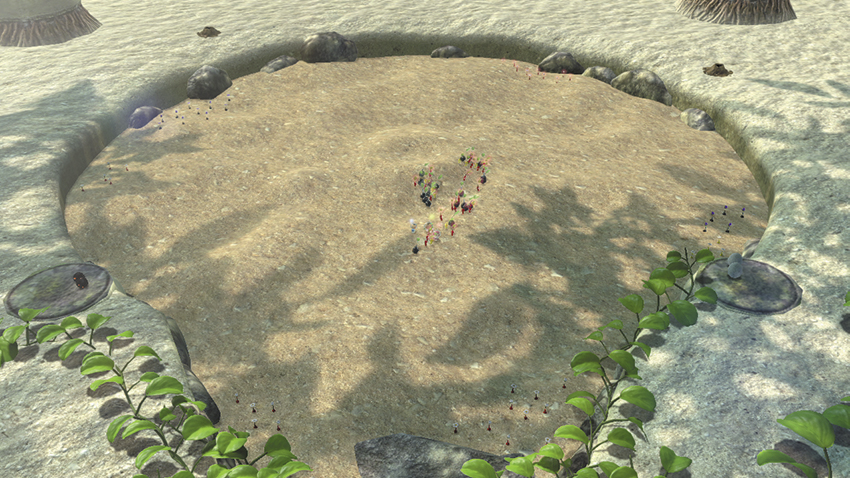
During this mission, the Sandbelching Meerslug’s enclosure contains Bomb Rocks that aren’t provided in Story mode. When the mission starts, you already have a fairly large squad of Pikmin following you. Toss your extra crew members onto the sprouts along the edge of the enclosure and prepare for the Sandbelching Meerslug’s first attack.
If the Sandbelching Meerslug emerges from the sand, run in and have your Pikmin attack the creature.
If the Sandbelching Meerslug creates a pit, lock onto the crea- ture and keep your Pikmin just out of range. Send your Pikmin charging in just as the Sandbelching Meerslug’s jaws snap shut.
No matter which attack the Sandbelching Meerslug uses, a successful counterattack will temporarily incapacitate the creature. Use this time to switch crew members and begin gathering the Bomb Rocks located along the ledge surrounding the enclosure. There two Bomb Rocks in plain site, but there are seven more Bomb Rocks to be found in the Dirt Mounds at the far end of the enclosure.
When the Sandbelching Meerslug recovers, switch back to the main squad, gather the idle Pikmin, and counter the next attack to incapacitate the creature again. Repeat the process until you collect at least five Bomb Rocks. The next time the Sandbelching Meerslug creates a pit in the sand, throw all of your Bomb Rocks into the creature’s mouth—the resulting explosion should be enough to finish the creature.
Use the same basic tactics when you’re playing with a partner. As one player uses the main squad to counter the Sandbelching Meerslug’s attacks, the other player should pluck sprouts and collect the available Bomb Rocks. The extra crew member should be used to help pluck sprouts over the course of the battle.