
Pikmin 3 Guide Walkthrough Day 18 - Distant Tundra
Day 18 - Distant Tundra
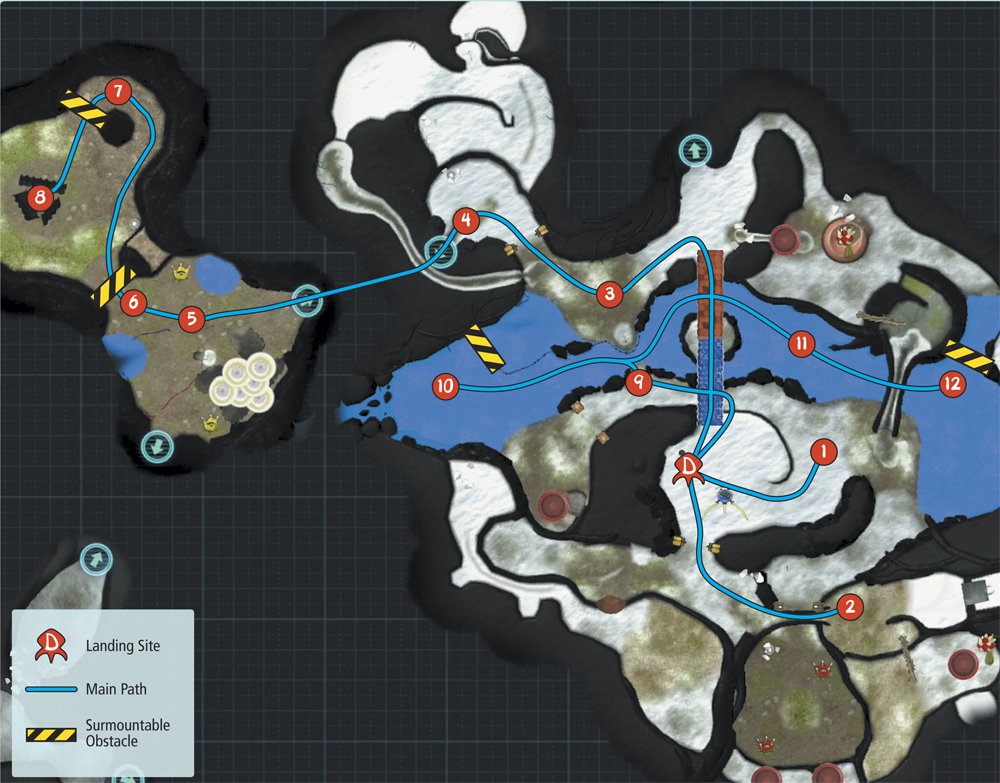
Map: Distant Tundra
Remaining Juice: 58 canisters
Objectives: Collect some of the area’s remaining fruit.
Now that you’ve acquired all of the available Pikmin types, use them to complete any unfinished business in the Distant Tundra. There are some fairly powerful enemies lurking in unexplored areas, so build up your Pikmin population as needed.
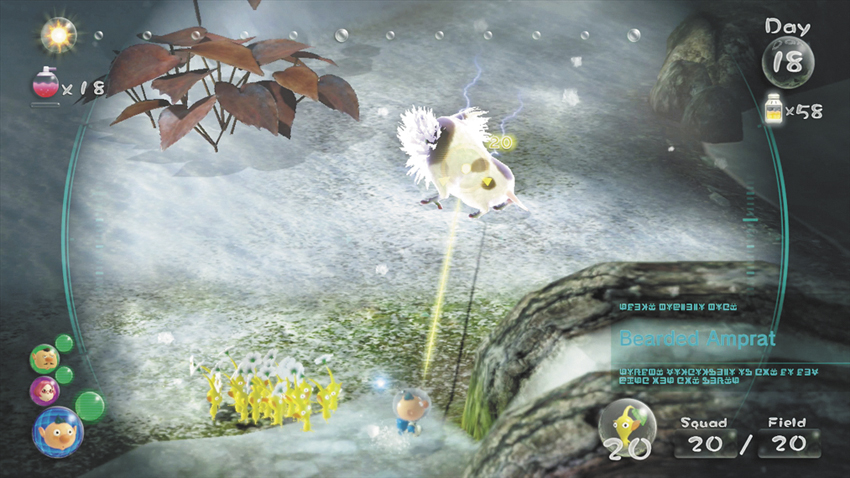
 When the day starts, form a squad of 20 Yellow Pikmin and clear out the Bearded Amprat patrolling the area east of the landing site. Assign any Pikmin you like to transport the enemy back to the Onion.
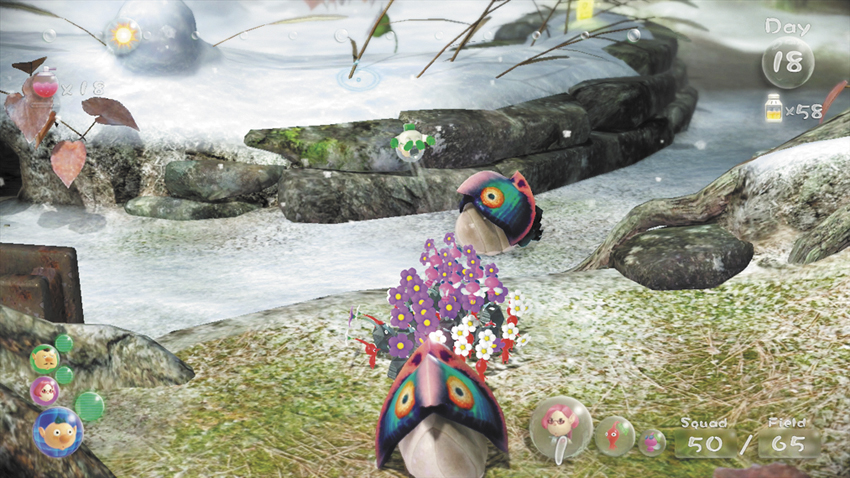
 If you like, you can spend the first quarter of your day on optional tasks. Select a fairly large squad consisting of Red Pikmin, Rock Pikmin, and Winged Pikmin and clear out the area south of the landing site. Assign Pikmin to transport the defeated enemies and gather Ultra-Spicy Berries. If you haven’t already collected the Data File on the rocks east of the landing site, move to the ledge south of the rocks and toss a crew member into place.
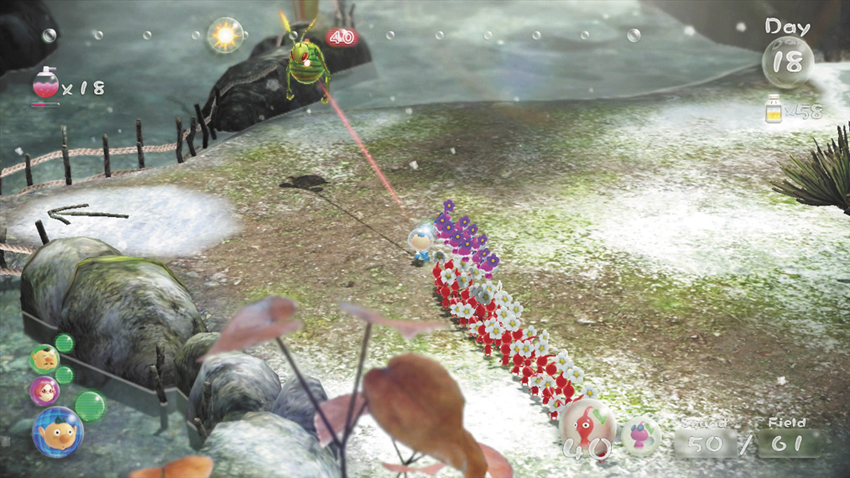
 When you’re ready to deal with more pressing matters, return the bulk of your Pikmin to the Onion. Create a new main squad consisting of one crew member, 40 Red Pikmin, and 10 Winged Pikmin. Lead the squad across the bridge north of the landing site, then clear out the Swooping Snitchbug to the west.
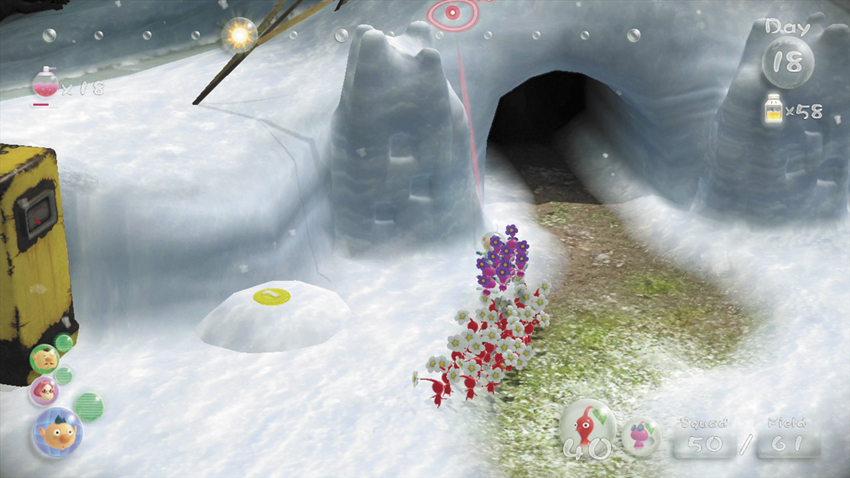
 After you defeat the Swooping Snitchbug, leave the enemy and follow the path into the nearby enclosure, then head into the cave. Stay near the enclosure’s west wall to avoid drawing the attention of nearby enemies.
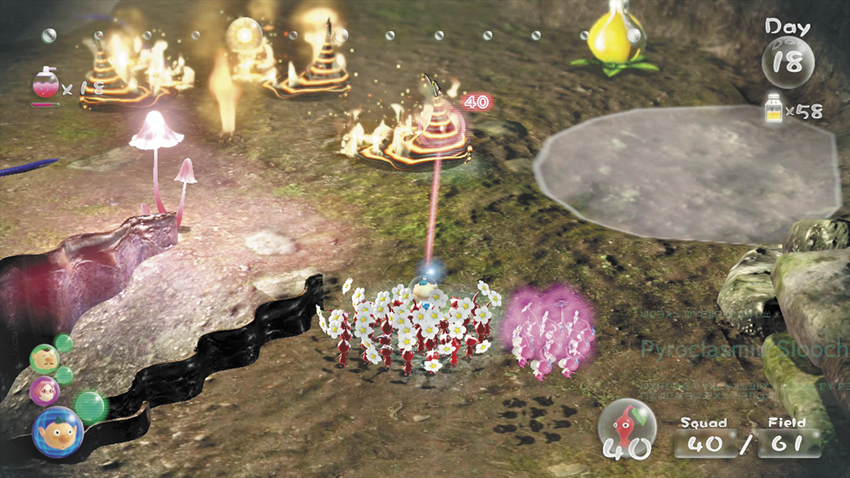
 When you step into the cave, choose a safe spot and throw your Winged Pikmin out of the squad. Use your Red Pikmin to charge each of the Pyroclasmic Slooches patrolling the area.
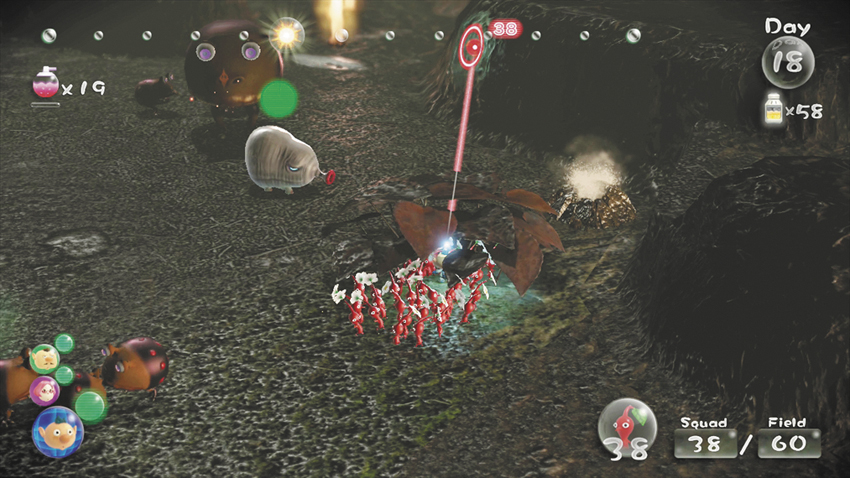
 When it’s safe, round up your Winged Pikmin, escort them around the flame geysers, and toss them onto the nearby Bamboo Gate. Lead your Red Pikmin through the opening, then dash to the flame geysers to the north. As you do, look for the Spotty Bulbear patrolling the area. This creature is very tough, and it’s best to avoid confronting it directly. If the large enemy is in your path, try to dart around it on your way to the Geysers.
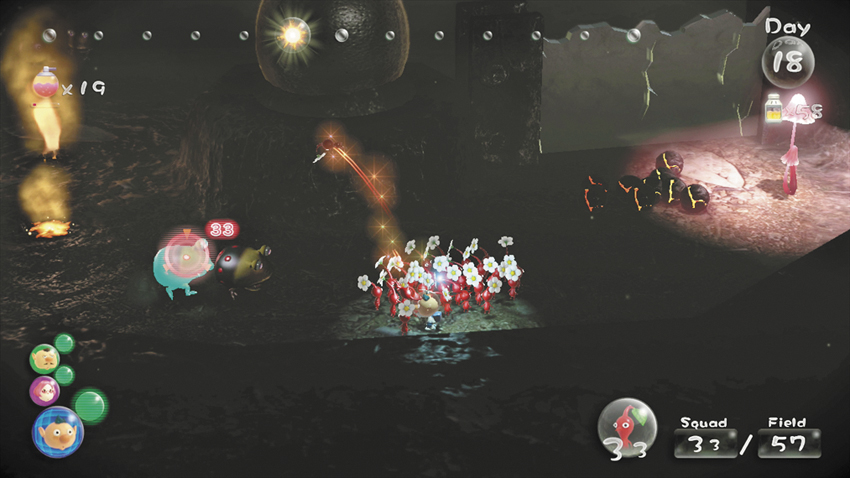
 If you haven’t already located the Spotty Bulbear, there’s a chance the creature will be waiting just beyond the flame Geysers. If this happens, retreat to the Bamboo Gate. If the Spotty Bulbear is elsewhere, dash clear past the Dwarf Bulbears to find 10 Bomb Rocks near a Crystal Wall. Defeat the smaller enemies, then have your Pikmin collect the Bomb Rocks.
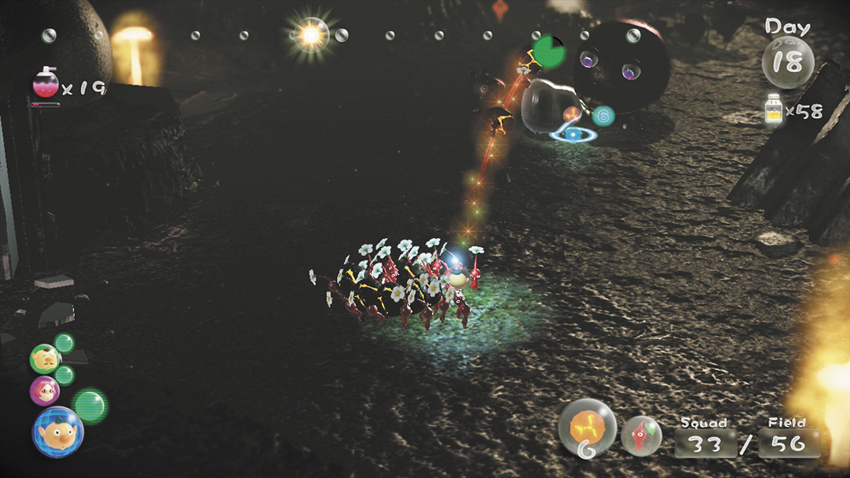
Use two of the Bomb Rocks to destroy the Crystal Wall. Step through the opening. Avoid using any of your remaining Bomb Rocks until you find the Spotty Bulbear. Keep your distance from flame Geysers and Fiery Blowhogs to avoid any accidental detonations. When you find the Spotty Bulbear, attack it with three of your Bomb Rocks.
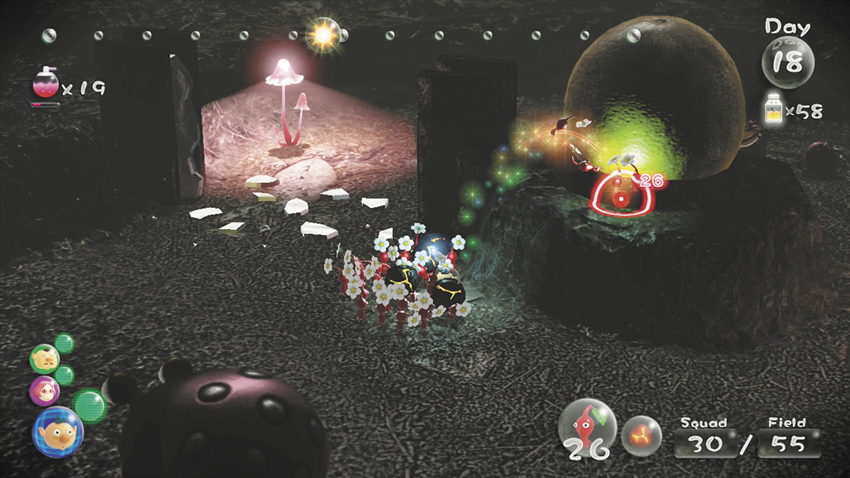
If the Spotty Bulbear survives your volley, use additional Bomb Rocks to finish it off. After you defeat the creature, assign at least 15 Red Pikmin to the Astringent Clump (grapefruit) near the remains of the Crystal Wall. As those Pikmin dig, deal with the smaller enemies in the area—use any remaining Bomb Rocks to speed up the process.
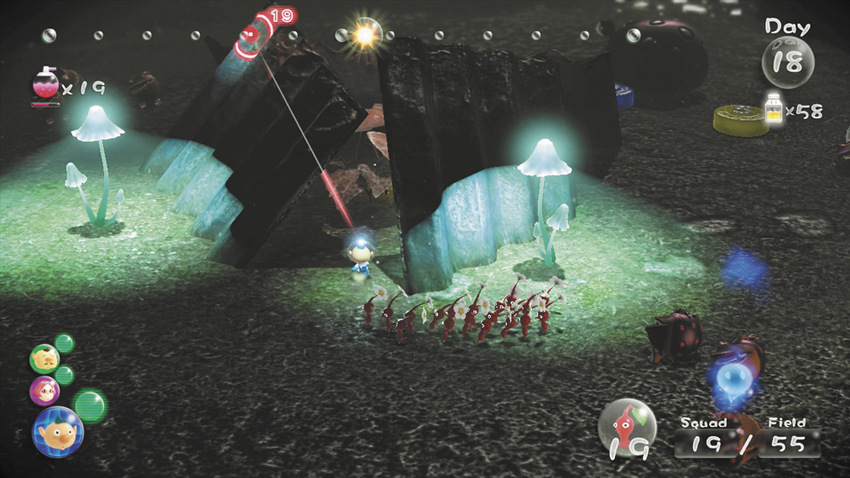
 When the area is safe, enter the small metal structure at the center of the enclosure to find a hidden Data File. Assign what’s left of your squad to help free the Astringent Clump or begin collecting defeated enemies.
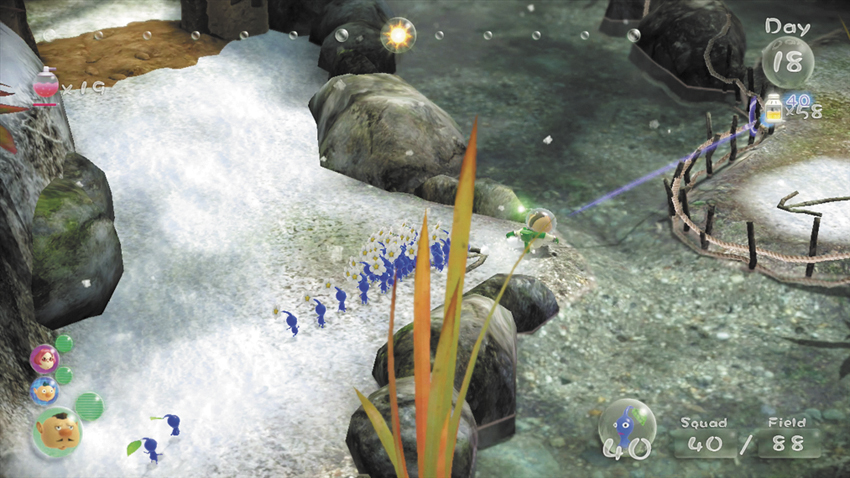
 As you wait for the Pikmin to free the Astringent Clump, switch to one of your idle crew members. Move back to the landing site and form a squad of around 40 Blue Pikmin. Head toward the bridge to the north, then drop down from the ledge. Follow the lower path west to pass under the bridge, then move to the arrow marked on the ground and enter the water.
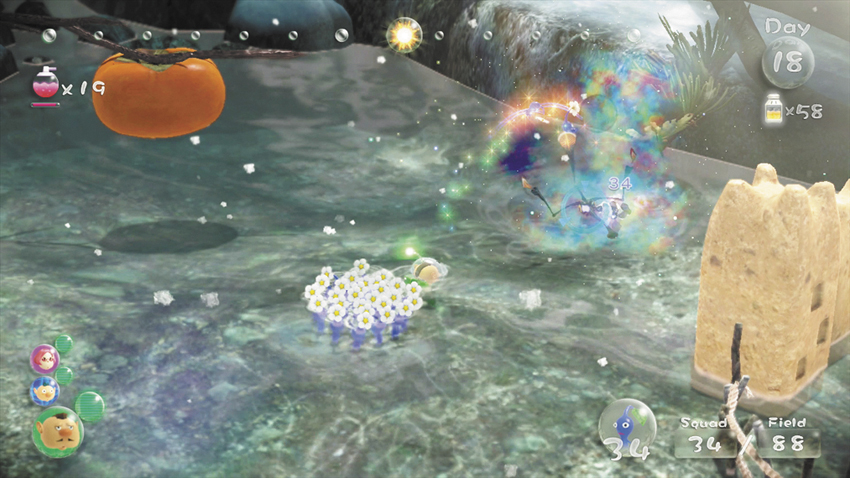
 Move west and clear the Skeeterskates from the area. Toss eight Pikmin onto the Portable Sunset (persimmon) hanging above the water. If you like, use the rest of your squad to destroy the nearby Dirt Wall. After the Portable Sunset falls into the water, the Pikmin assigned to it should automatically transport the fruit to the landing site.
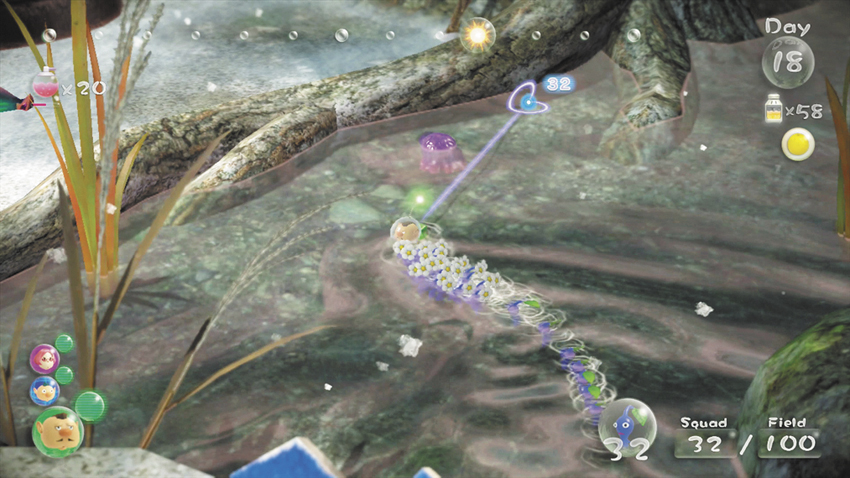
 When you’re ready, turn back and lead your remaining Pikmin to the water east of the landing site. Clear out the aquatic enemies you find along the way. Skeeterskates don’t pose any threat to your squad, but Water Dumples are more dangerous than their size would suggest. Whenever possible, use a squad of Blue Pikmin to charge a Water Dumple from behind.
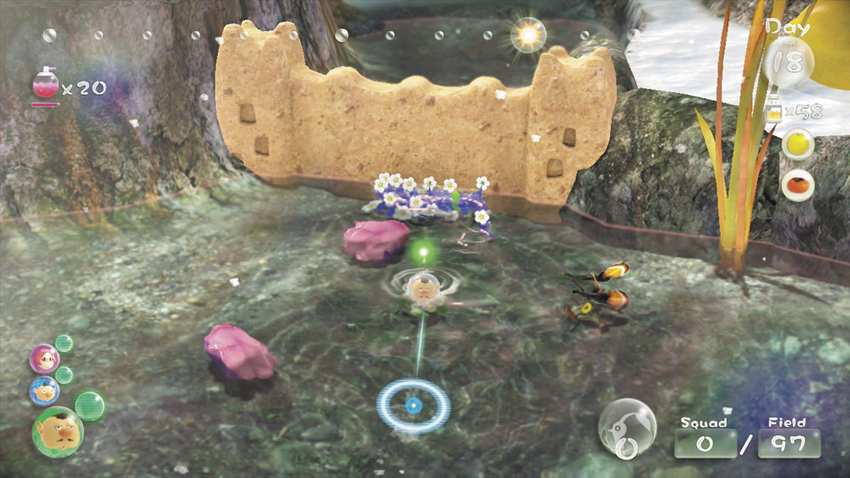
 Sweep the length of the water and clear out the last of the aquatic enemies. When it’s safe, have your Blue Pikmin attack the area’s remaining Dirt Wall. Once the obstacle is destroyed, use the remaining daylight to collect defeated enemies. Gather any idle or working Pikmin before the day ends, but feel free to leave any new sprouts to mature overnight.