
Pikmin 3 Guide Walkthrough Day 13 - Twilight River
Day 13 - Twilight River
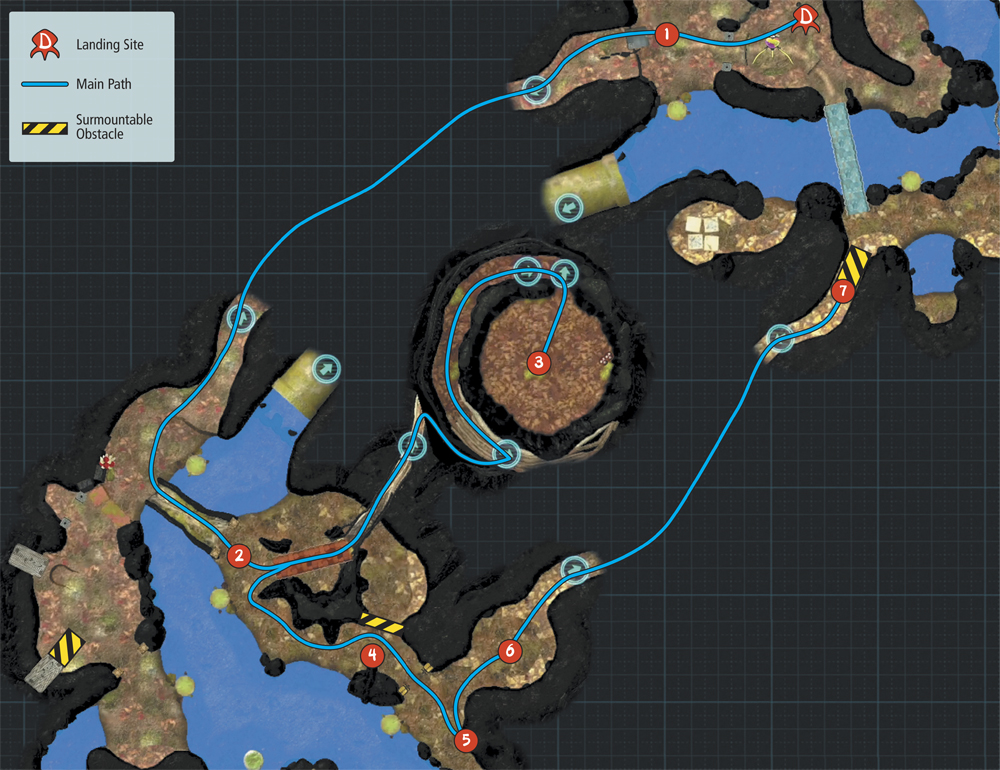
Map: Twilight River
Remaining Juice: 38 canisters
Objectives: Answer Louie’s distress call, then search for fruit and a hidden suit upgrade.
With the latest bridge in place, the crew is finally ready to answer the distress call. Gather your forces and overcome the unknown threat, then use the remaining time to collect fruit and hunt down a hidden suit upgrade.
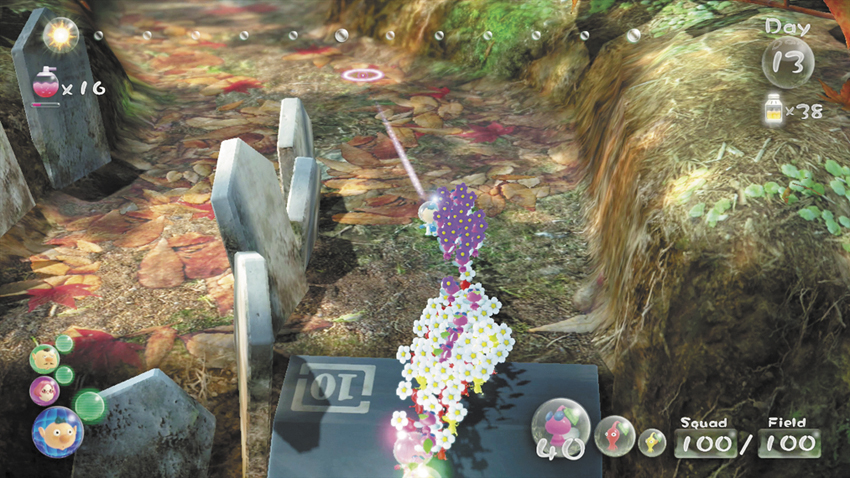
 When the day starts, form a squad of 40 Winged Pikmin, 40 Red Pikmin, and 20 Yellow Pikmin. Head up the Paper Bag ramp west of the landing site and follow the path downstream.
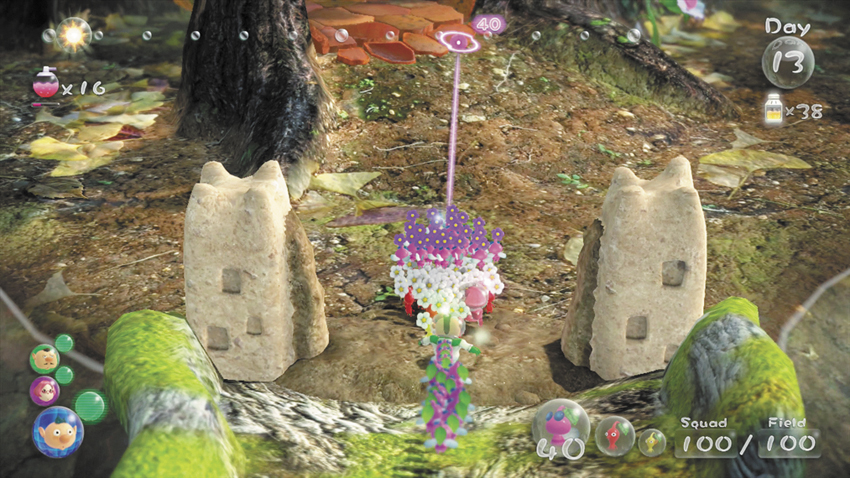
 Use the wooden bridge to lead your squad across the water. If you attacked the patrolling Nectarous Dandelfly on the previous day, most of the Pikmin in your squad should already be mature. If not, hunt the creature now to ensure all of your Pikmin are as nimble as possible. When you’re ready, lead your squad up to the top of the large tree stump.
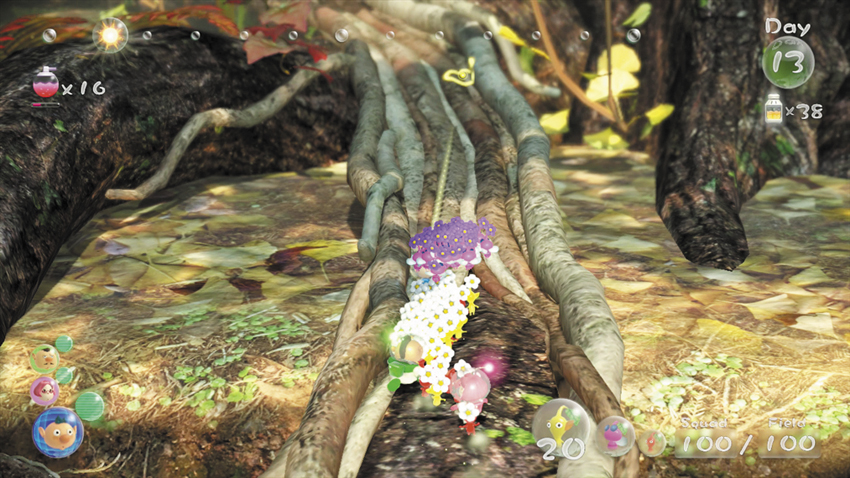
There’s a Data File hidden just south of the large tree stump. To reach this Data File, cross the bridge, then toss a crew member down to the large roots east of the path . Switch to that crew member, then search the ledge to find the Data File. After you collect it, drop down to the path away from the Orange Bulborbs, then circle back to the bridge and rejoin the main squad.
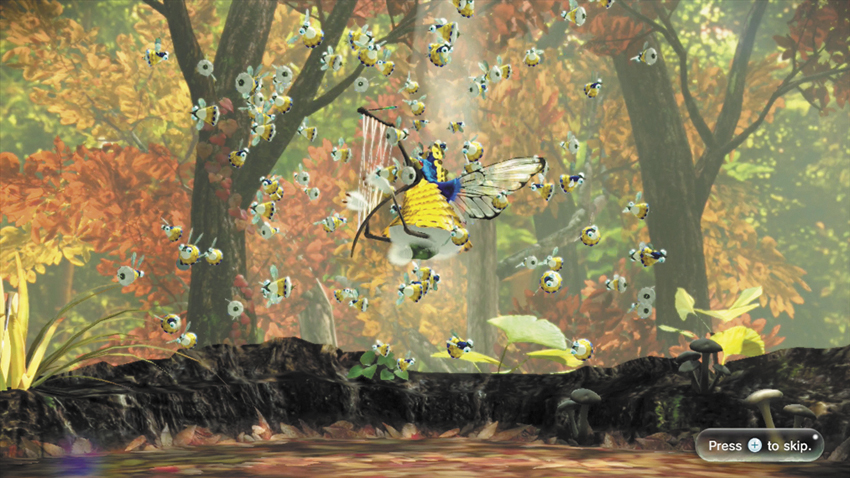
 When you reach the top of the tree stump, Louie is carried off by some Scornets. Moments later, the Scornet Maestro arrives and summons a large Scornet swarm. Use your Pikmin to defeat the Scornet Maestro and rescue Louie.
Boss Battle: Scornet Maestro
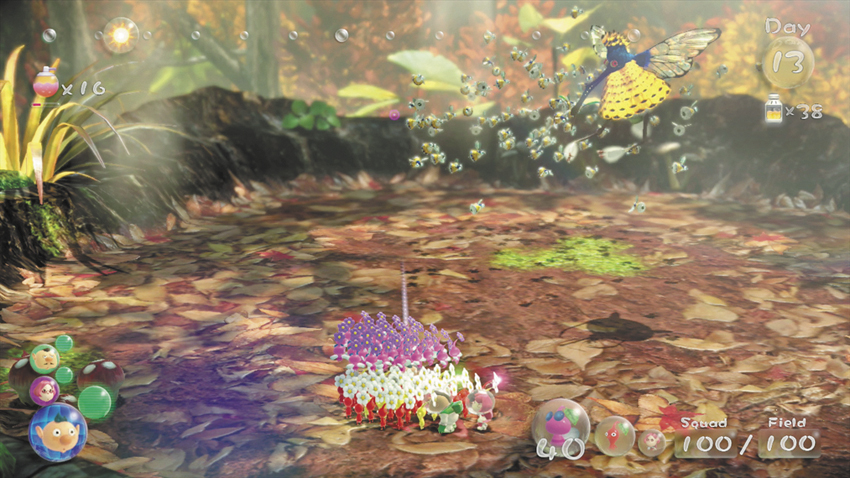
When the battle begins, the Scornet Maestro is protected by its swarming minions. Prepare your Winged Pikmin, but don’t attack. Lock onto the Scornet Maestro and circle the area.
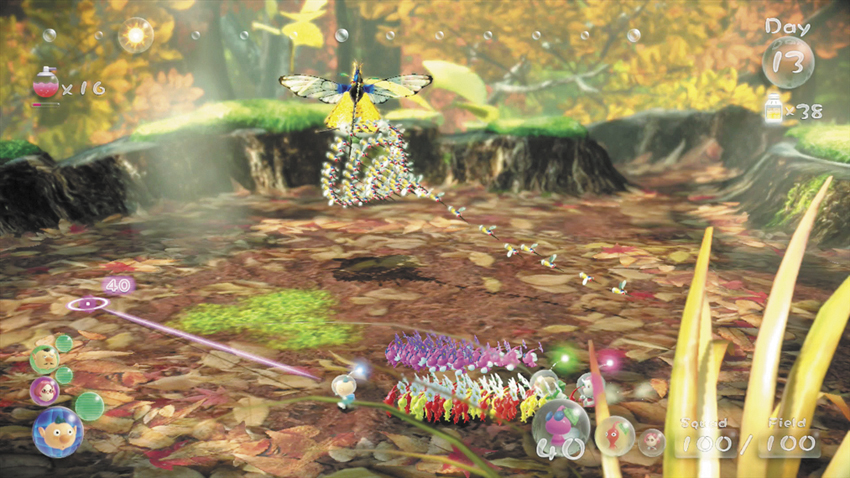
After a few seconds, the swarm moves into a tight, cone-shaped formation—this signals an incoming attack. Any Pikmin caught in the attack will be carried off by the Scornets, so keep circling the area as the small enemies fly out from the tip of the cone.
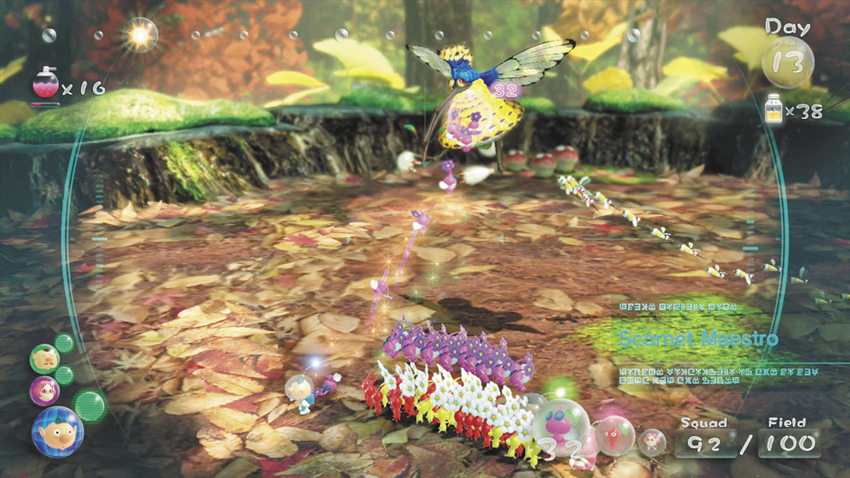
As the last of the Scornets fly out of the area, it’s time to attack the temporarily vulnerable Scornet Maestro. Throw a stream of Winged Pikmin at the creature until it’s pulled to the ground, then send the rest of your squad charging in to deal heavy damage.
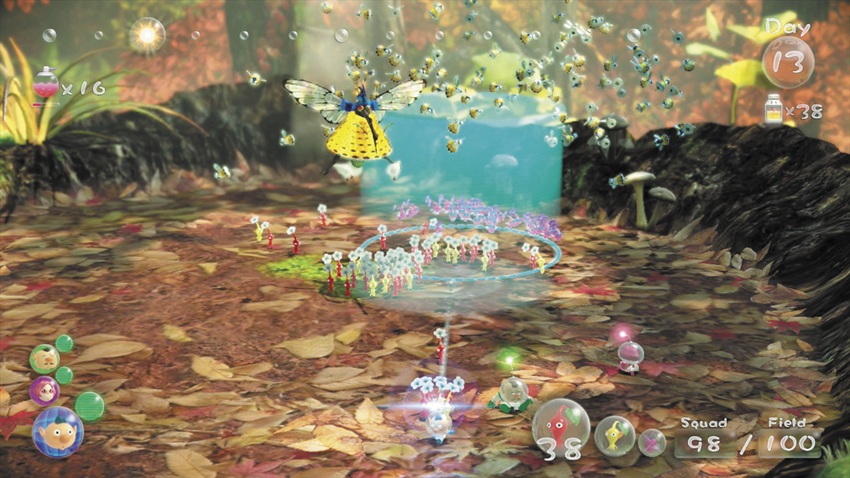
After a few seconds, the Scornet Maestro frees itself from your Pikmin and the swarm returns to the area. Gather your squad as quickly as possible and prepare yourself for the next attack. If any of your Pikmin were swept up by the attacking Scornets, use your Winged Pikmin to free them before the next attack begins. Otherwise, use the same tactics to avoid the next attack, pull the Scornet Maestro to the ground, and send your squad charging in for a counter attack.
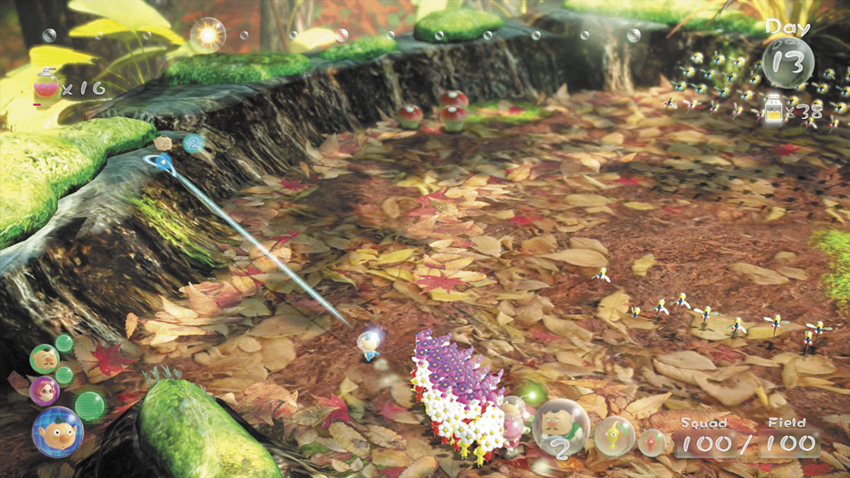
After two cone attacks, the Scornet Maestro utilizes a new formation. The Scornets create a rectangular formation five rows deep. Each row attacks as a single unit, making the Scornets a bit harder to avoid. Circle the area’s perimeter to keep your Pikmin safe. As the last row leaves the area, close in on the Scornet Maestro and attack just as you did before.
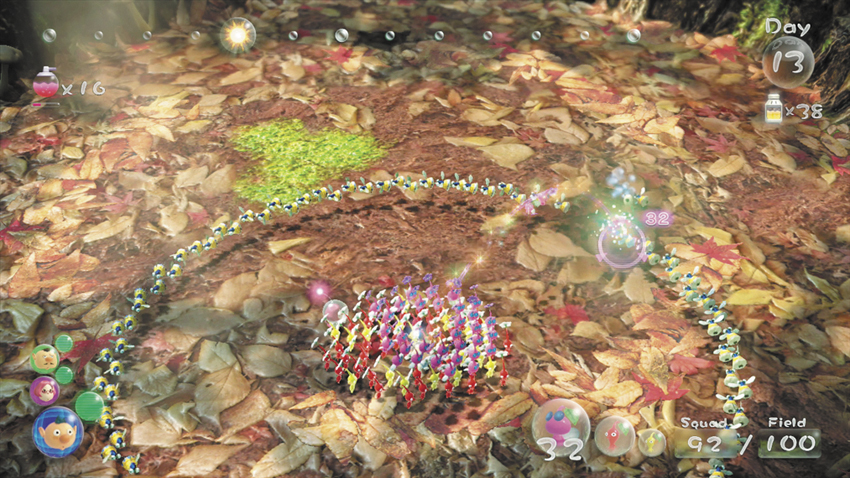
The Scornet Maestro’s next attack utilizes yet another new formation. The Scornets form a ring around your squad, bunching tighter and tighter until they skewer your Pikmin and fly into the air. The simplest way to escape is to create a gap in the ring. Throw a steady stream of Winged Pikmin at the circling Scornets, then lead your squad through the gap. Recall your attacking Pikmin before the Scornets complete their attack.
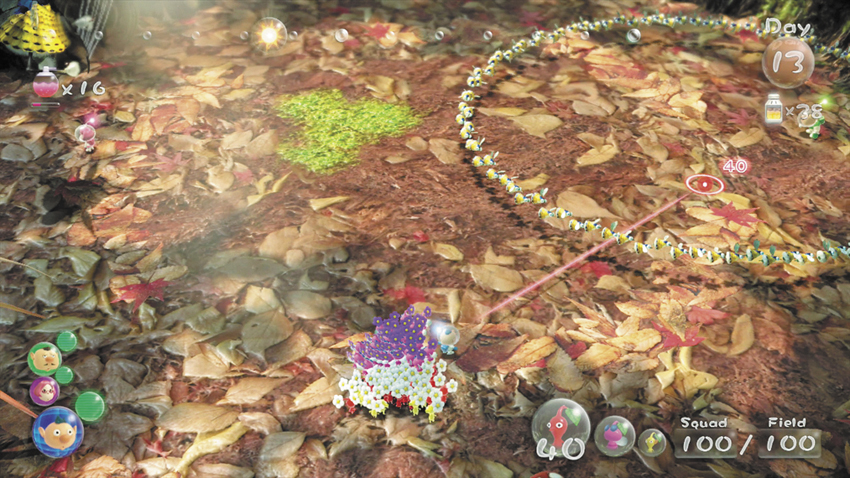
Another way to avoid this attack is to create a decoy for the Scornets. After your third counterattack, toss one of the crew members away from the squad. Move the squad to a safe distance, then switch crew members and wait for the Scornets to attack. Once they’re circling the lone crew member, switch back to the main squad and wait for the attack to end.
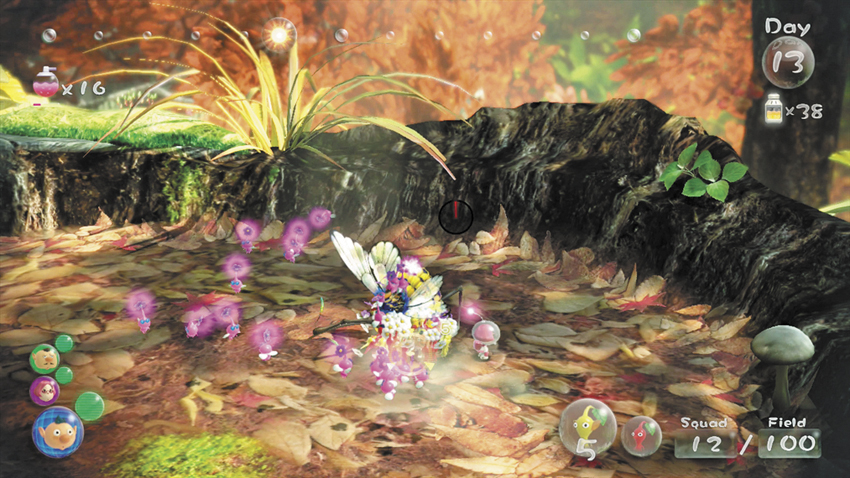
No matter which method you choose, begin your counterattack as the Scornets fly out of the area. If you successfully countered all four of the Scornet Maestro’s attacks, the battle should now be over. If anything went wrong along the way, however, continue to use the described strategies until you defeat the Scornet Maestro.
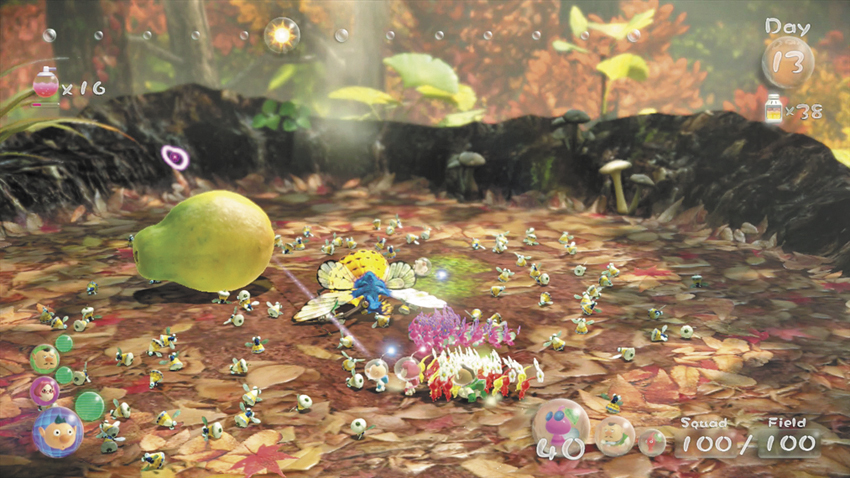
When you defeat the Scornet Maestro, it drops a Seed Hive (papaya) and a still-unconscious Louie. The area is littered with fallen enemies, but you’ll need the bulk of your squad for the tasks ahead. For now, assign 10 Winged Pikmin to transport the Seed Hive, 10 Winged Pikmin to transport the Scornet Maestro, and 5 Yellow Pikmin to transport Louie. Attack the nearby Spotcaps to reveal a hidden Data File, then lead your squad down to the base of the tree stump.
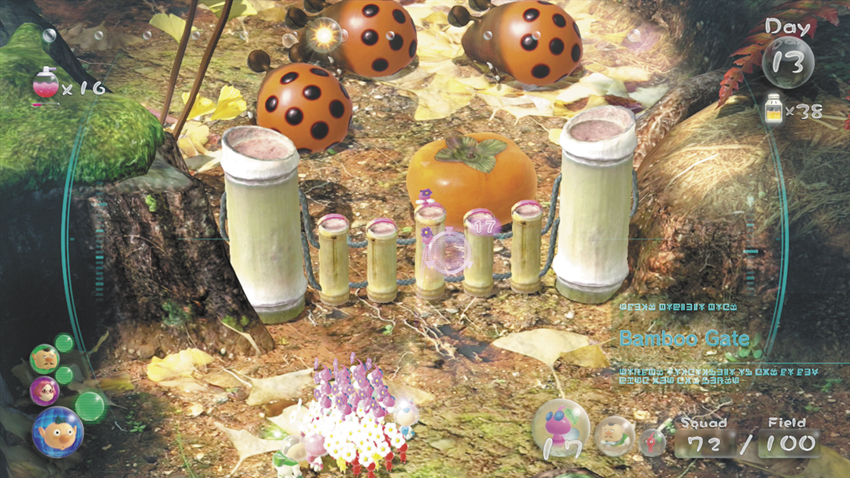
 When you return to the ground, move south. Follow the path as it curves east until you reach the Bamboo Gate. Use 10 Winged Pikmin to lift the Bamboo Gate, then assign at least 8 Winged Pikmin to carry the revealed Portable Sunset (persimmon) through the opening. After the fruit is clear, recall the Winged Pikmin assigned to the Bamboo Gate.
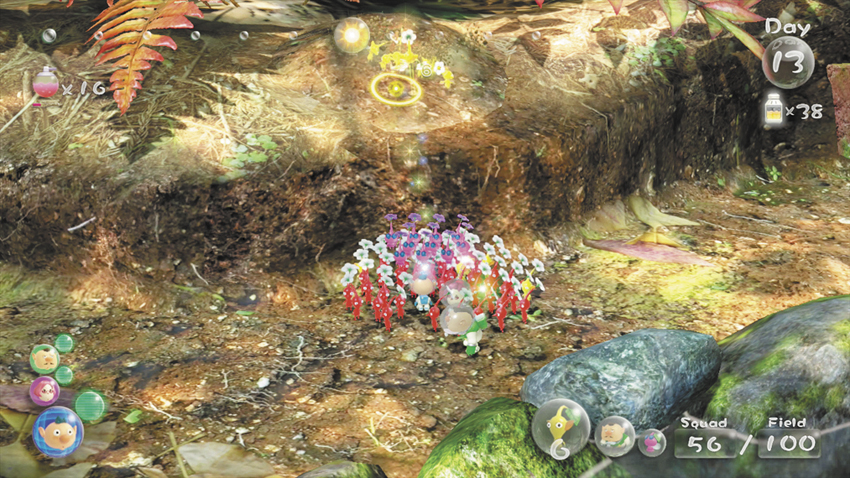
 Lead your squad southeast to the three-way intersection created by connected paths. Follow the water’s edge to
pass straight through the intersection, then look for a large mound on the ledge to the north. Throw all of your remaining Yellow Pikmin onto the mound. Toss one crew member out of your squad to wait while the Scorch Guard suit upgrade
is unearthed.
Lead your squad southeast to the three-way intersection created by connected paths. Follow the water’s edge to
pass straight through the intersection, then look for a large mound on the ledge to the north. Throw all of your remaining Yellow Pikmin onto the mound. Toss one crew member out of your squad to wait while the Scorch Guard suit upgrade
is unearthed.
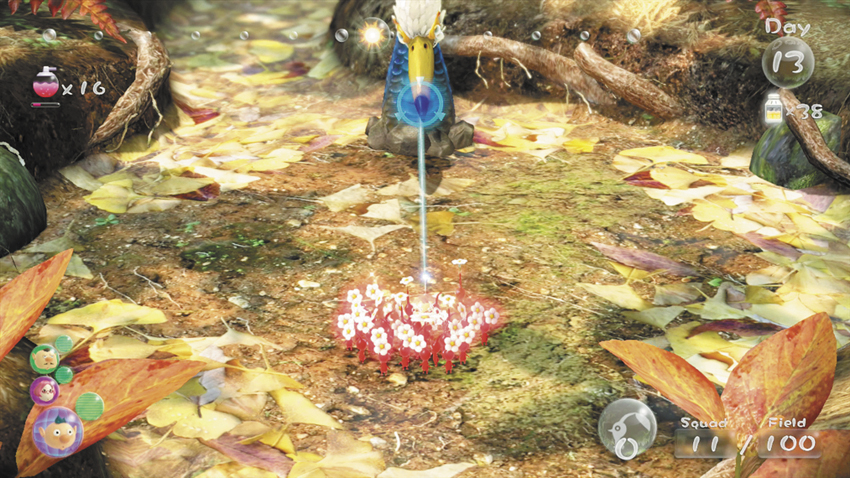
 Take your remaining squad back to the nearby intersection, then follow the path northeast to find the Burrowing Snagret hiding in the next clearing.
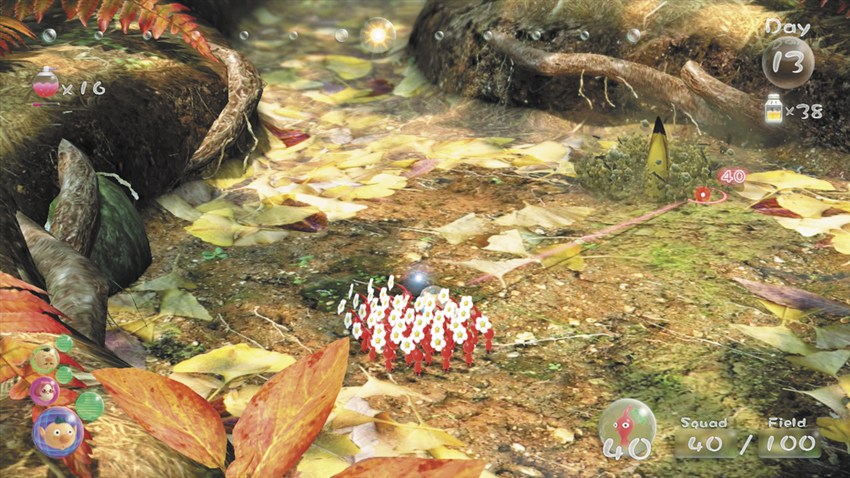
You should have a pretty healthy supply of Ultra-Spicy Spray at this point. Use a dose to boost your squad’s attack power, then move in and deal with the enemy. To deal damage, you must focus your attacks on the Burrowing Snagret’s head. Each time its beak emerges from the ground, lock on and send your Pikmin charging in.
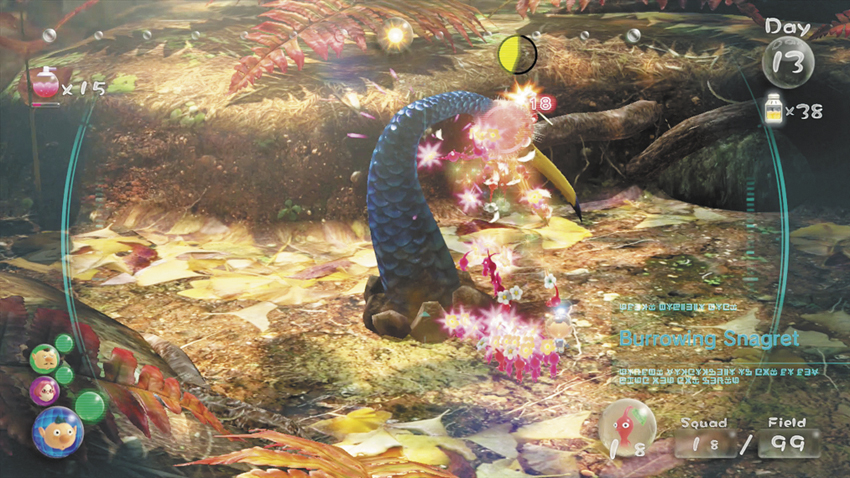
When the Burrowing Snagret has fully emerged, gather any Pikmin that didn’t latch onto the creature’s head and toss them up to the target. As you do, keep moving to keep your squad out of the creature’s reach.
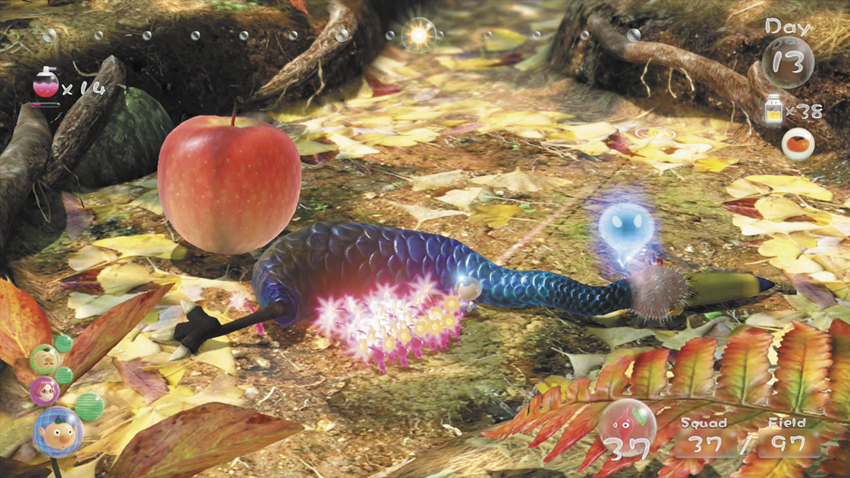
Keep attacking, and use additional doses of Ultra-Spicy Spray if needed. When you defeat the Burrowing Snagret, it drops an Insect Condo (apple). Assign 10 Pikmin to carry the Insect Condo, and 10 more to carry the defeated enemy.
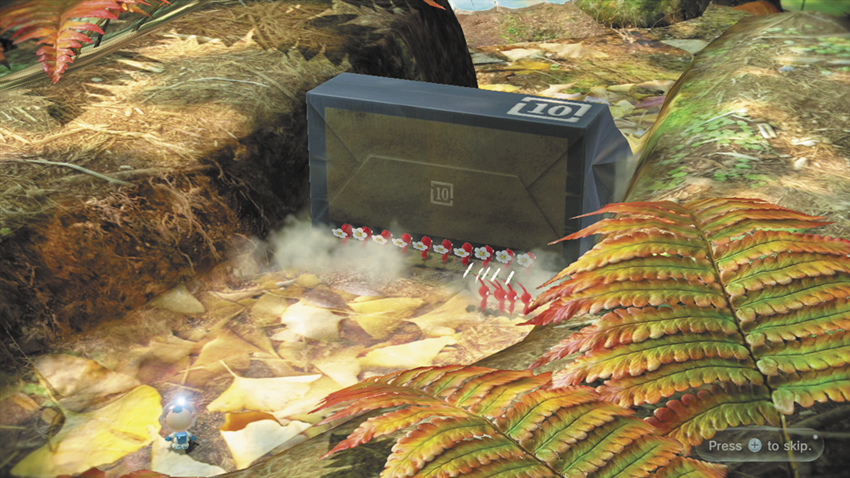
 Take a least 10 Pikmin to the path north of the Burrowing Snagret’s clearing and use them to push the Paper Bag off of the ledge. With this makeshift ramp in place, you now have yet another path connecting the two halves of the Twilight River.
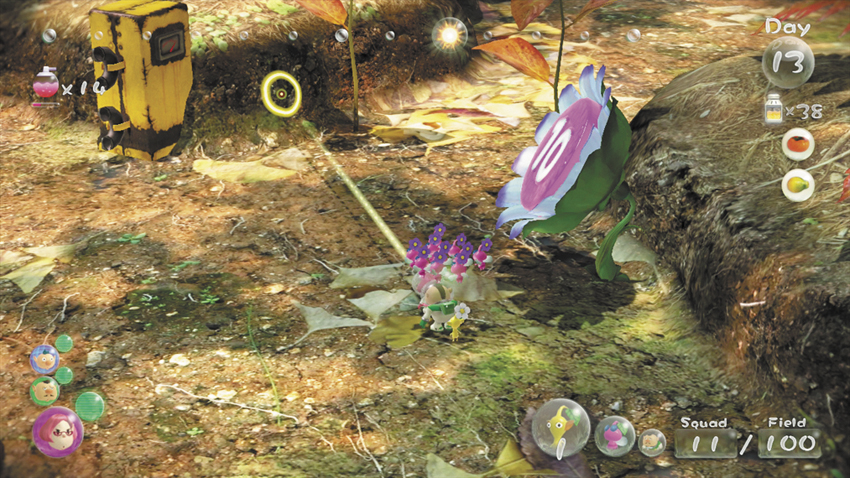
Depending on how long you spent on each of the day’s battles, you may have quite a bit of daylight left. If possible, use the remaining Winged Pikmin to collect the 10 Pellet at the three-way intersection. Gather the idle Pikmin at the landing site, then take them back up to the Scornet Maestro’s tree stump to collect the remaining enemies.