
Pikmin 3 Guide Walkthrough Day 11 - Twilight River
Day 11 - Twilight River
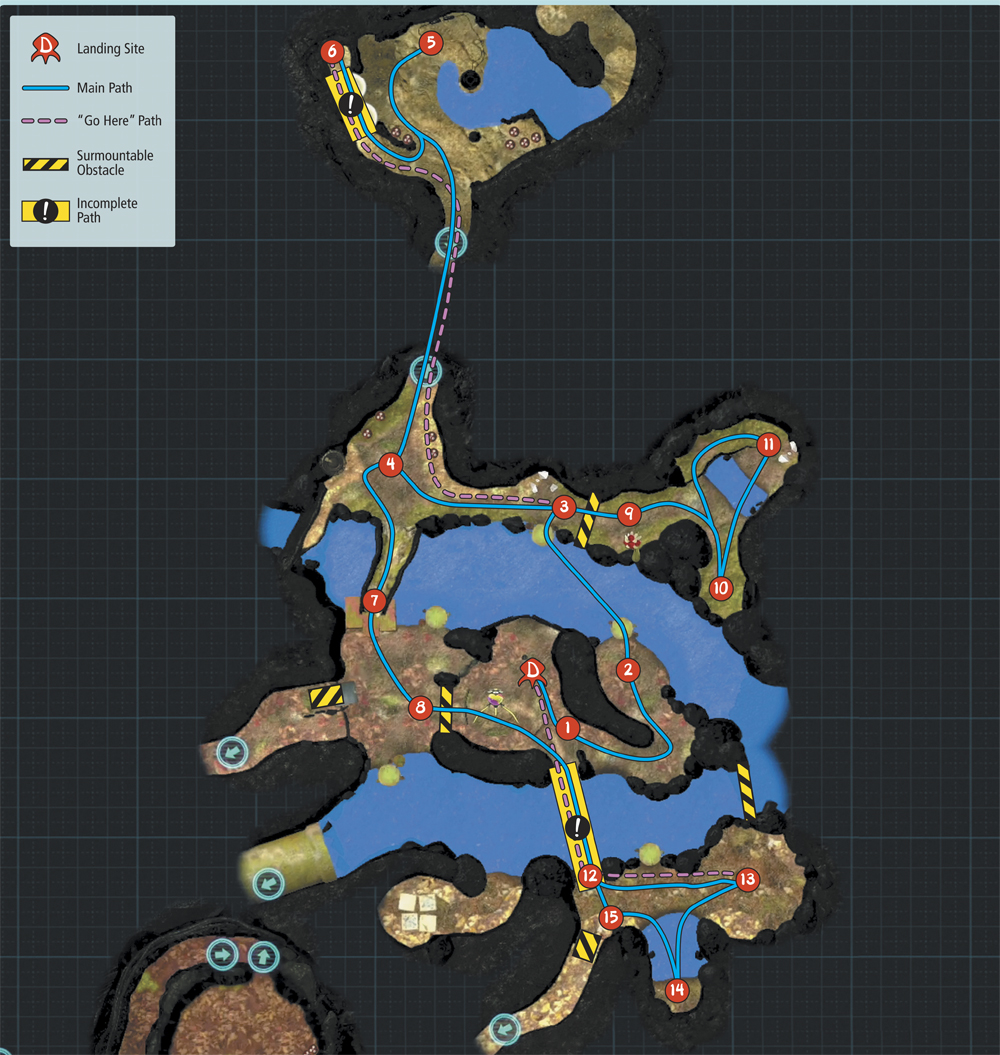
Map: Twilight River
Remaining Juice: 33 canisters
Objectives: Create a bridge to reach the Winged Pikmin’s ensnared Onion. Free the Onion, then cultivate as many Winged Pikmin as possible.
It’s finally time to follow the signal emanating from the Twilight River. As you explore this new area, you must move quickly to ensure you rescue the Winged Pikmin before the day ends. Collect any fruit you find along the way, but make sure you allot enough time to cultivate this new variety of Pikmin.
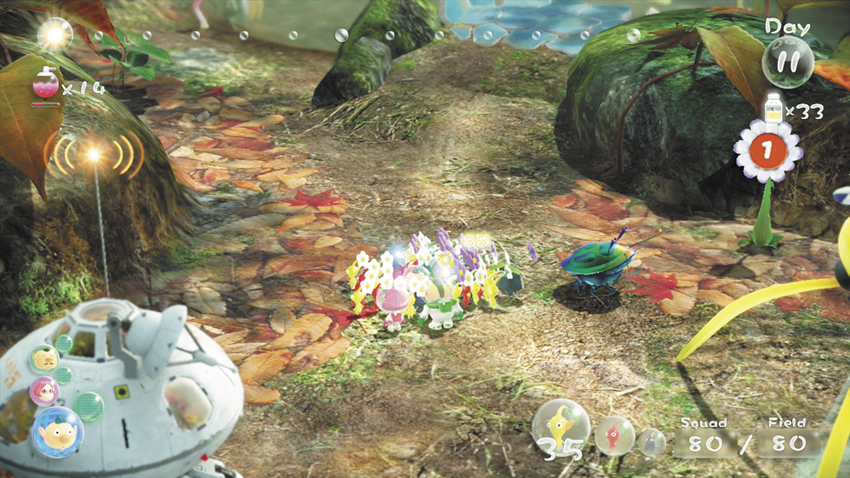
 When the day starts, form a squad of 35 Yellow Pikmin, 25 Rock Pikmin, and 20 Red Pikmin. Follow the path to the west until the hidden Iridescent Flint Beetle reveals itself. Lock onto this strange creature and throw a Pikmin onto it—a direct hit causes the creature to flip over and produce Nectar or pellets. Repeat the process as many times as you can before the Iridescent Flint Beetle vanishes. Allow any immature Pikmin to drink the Nectar, but leave any pellets where they land.
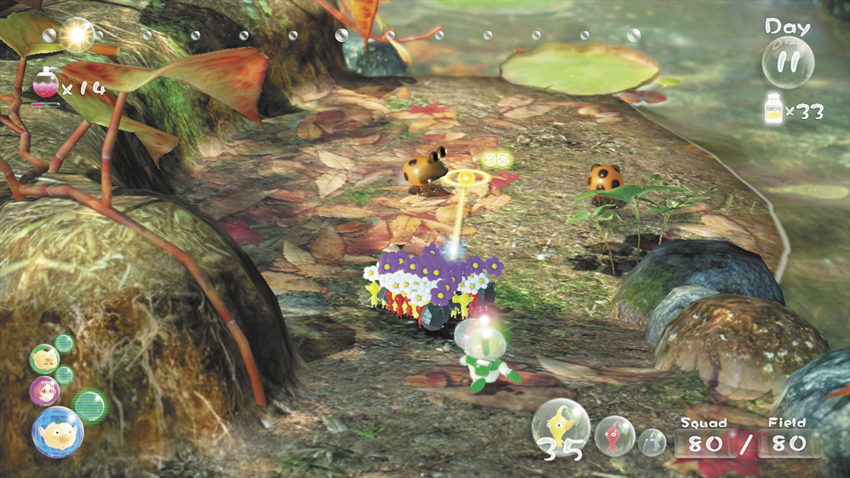
 Follow the path away from the landing site to trigger a cinematic. Across the water, you see a strange new Onion trapped in a web. To free the Onion, you must first find enough Fragments to build a bridge capable of reaching it. Continue along the path and throw a Pikmin directly onto each of the Dwarf Orange Bulborbs ahead of you.
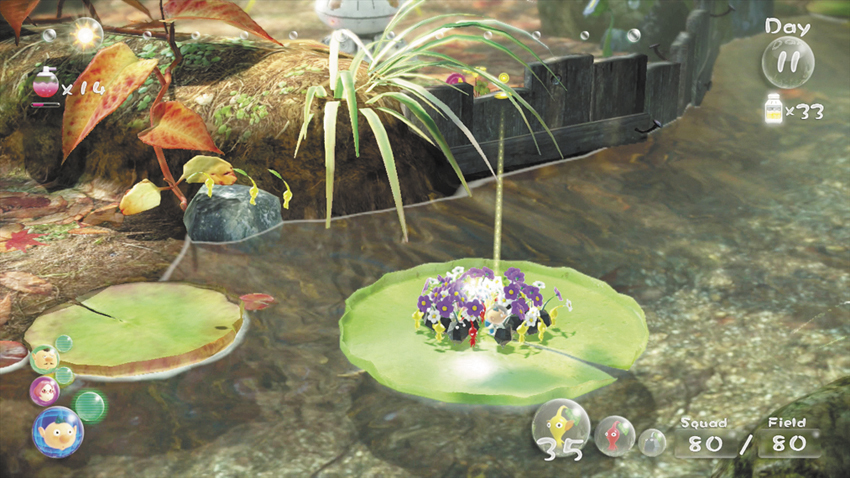
Leave the defeated enemies and move your squad onto the nearby Lily Pad. When the current moves another Lily Pad into range, follow the on-screen prompts to have your squad leap onto it.
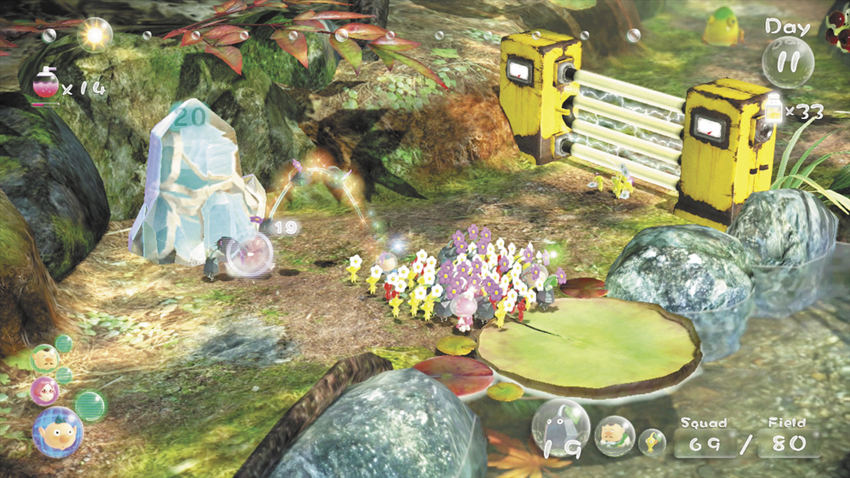
 When you’re in range, move your squad onto the next stationary Lily Pad to arrive near an Electric Gate and some Fragments encased in a Large Crystal. Have 5 Yellow Pikmin attack the Electric Gate, then assign at least 10 Rock Pikmin to the Large Crystal. Let these groups work as you follow the path west.
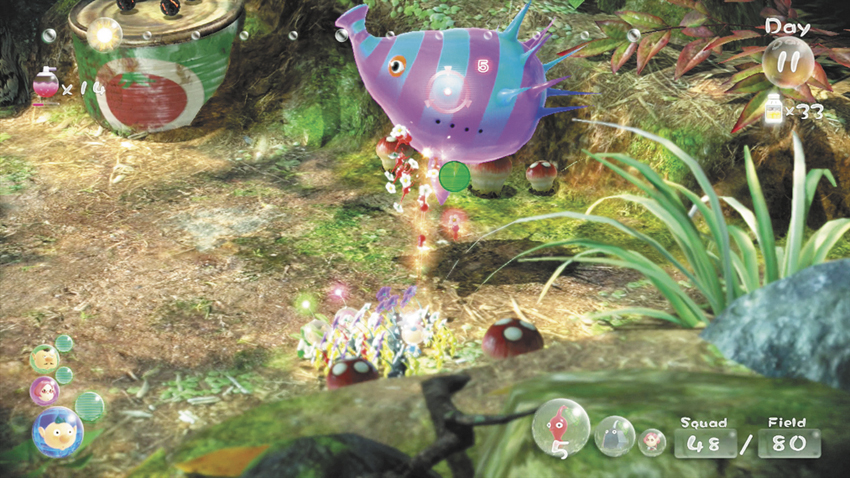
 When you reach the Puffy Blowhog at the end of the path, throw your Pikmin onto the hovering creature. Focus on using Red Pikmin and Yellow Pikmin to weigh the creature down as quickly as possible. When the Puffy Blowhog hits the ground, send the rest of your squad charging in.
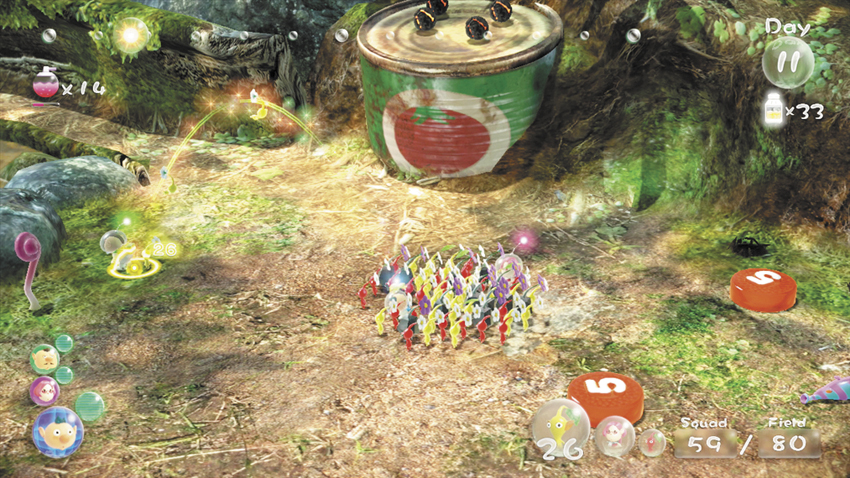
When you defeat the Puffy Blowhog, recall your Pikmin to prevent them from transporting any of the resulting objects. Destroy the nearby Spotcaps to reveal a hidden Data File, then locate the Bomb Rocks on the nearby tin can. Leave one crew member and four Yellow Pikmin near the Bomb Rocks. Switch crew members and gather the Yellow Pikmin into a small squad, then toss them up to the Bomb Rocks. Switch back to the main squad and head into the cave to the north.
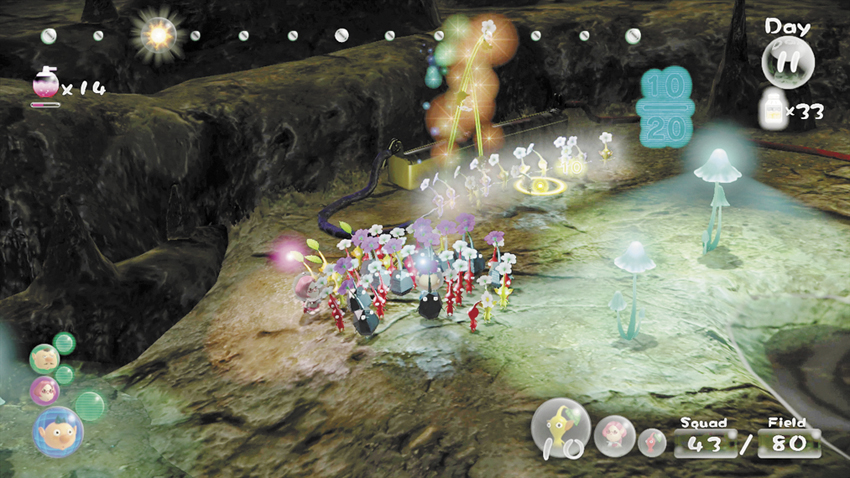
 The cave is fairly dark, and it’s filled with dangerous Water Dumples. Stick near the cave’s west wall to stay safely away from the water. Move north until you reach the Electrode, then use 20 Yellow Pikmin to complete the circuit. When the cave lights up, two nearby Bloominous Stemples open.
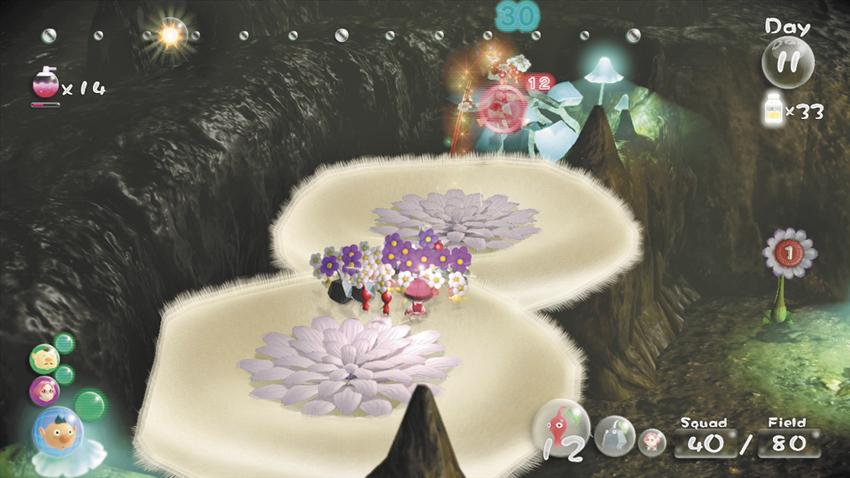
 Gather your Yellow Pikmin, then take the ramp up to the Bloominous Stemples. Toss all 20 of your Red Pikmin, 10 of your Yellow Pikmin, and one crew member onto the Fragment pile.
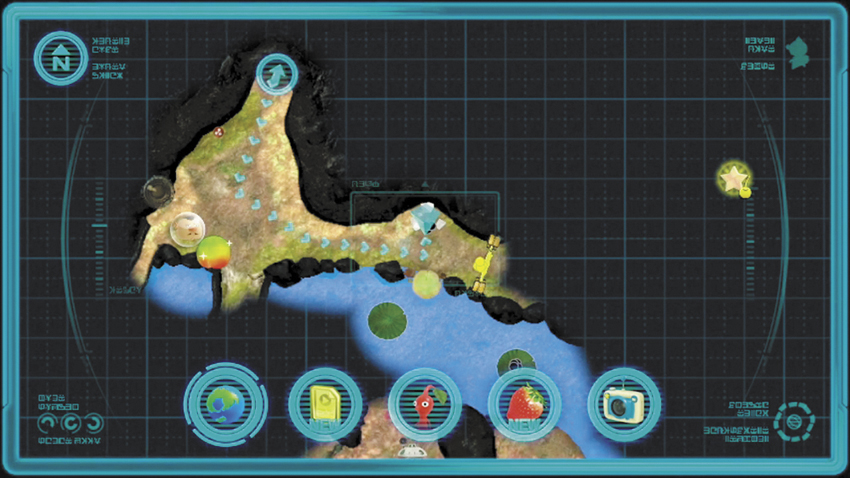
Use the “Go Here” command to plot a route back to the Pikmin you left near the Electric Gate. As what’s left of the squad moves out, switch to the crew member with the Bomb Rock-carrying Pikmin.
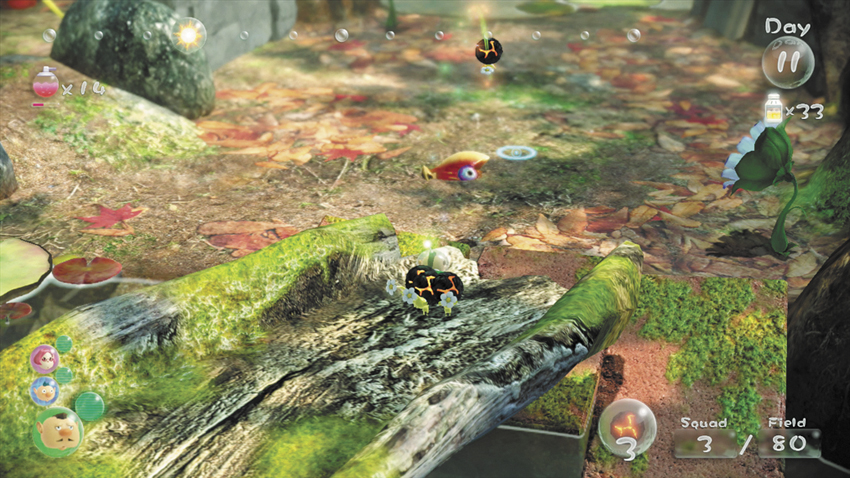
 There’s a strip of wood that creates a one-way bridge back across the water. Move your small squad to the end of the wood and locate the half-buried Flighty Joustmite just west of the landing site. Throw one Bomb Rock near the creature—the Flighty Joustmite emerges just in time to take the full force of the explosion.
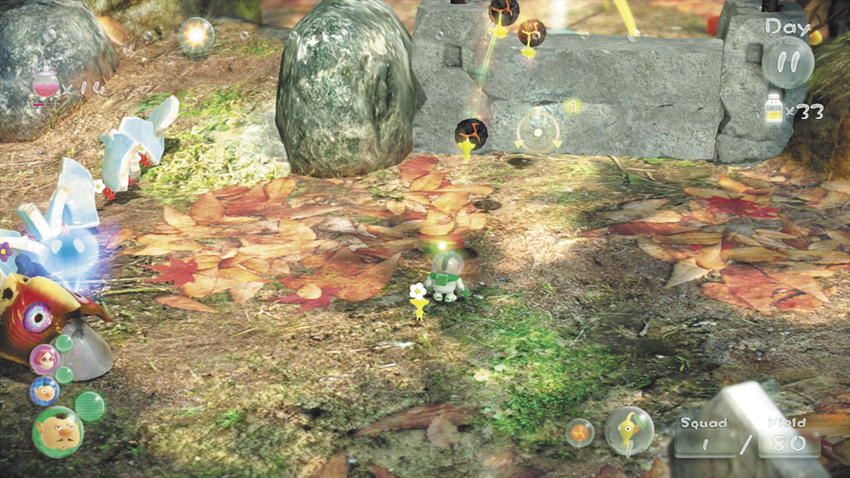
 After you defeat the Flighty Joustmite, drop down from the wood and use the remaining Bomb Rocks to destroy the Reinforced Wall just west of the landing site. By now the second Fragment pile is almost in place, and what’s left of
your main squad should have reached its destination.
After you defeat the Flighty Joustmite, drop down from the wood and use the remaining Bomb Rocks to destroy the Reinforced Wall just west of the landing site. By now the second Fragment pile is almost in place, and what’s left of
your main squad should have reached its destination.
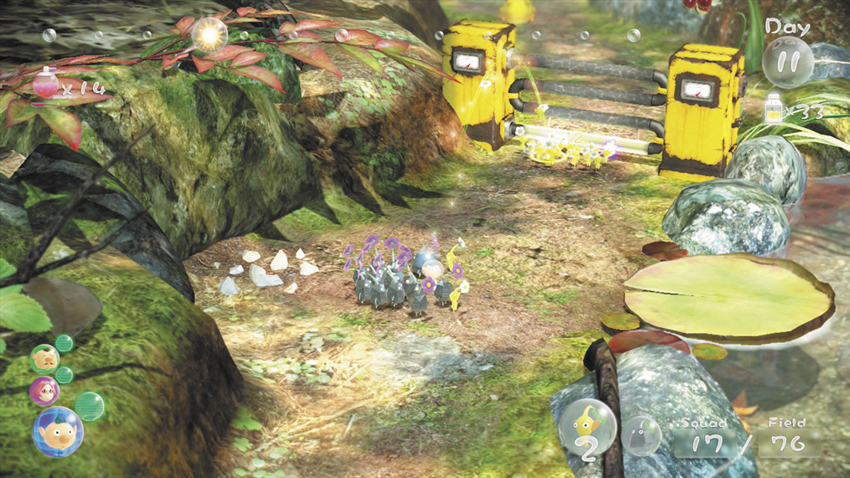
Switch back to the main squad. The Rock Pikmin should have already freed and placed the first Fragment pile, but the Yellow Pikmin are probably still working on the Electric Gate. Use the Yellow Pikmin in your squad to help complete the task.
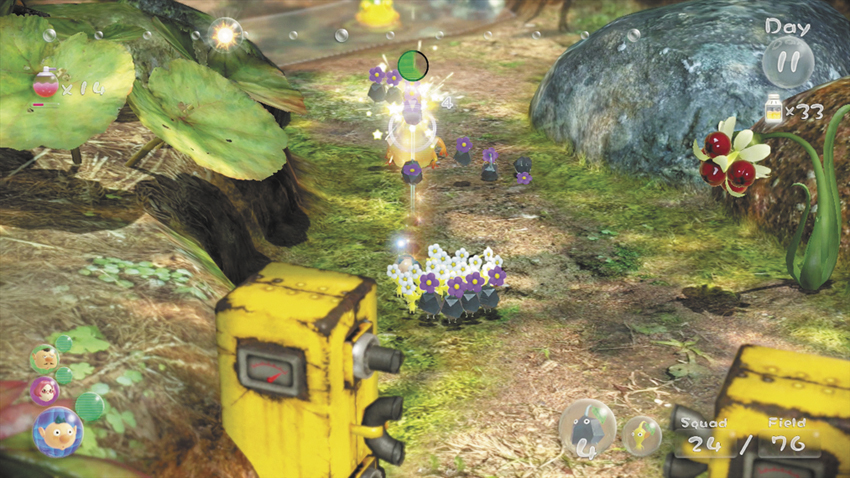
 When the path is clear, round up the nearby idle Pikmin and head through the opening. Use your Rock Pikmin to defeat the nearest Yellow Wollywog, then assign a few Yellow Pikmin to collect the Ultra-Spicy Berries just past the remains of the Electric Gate.
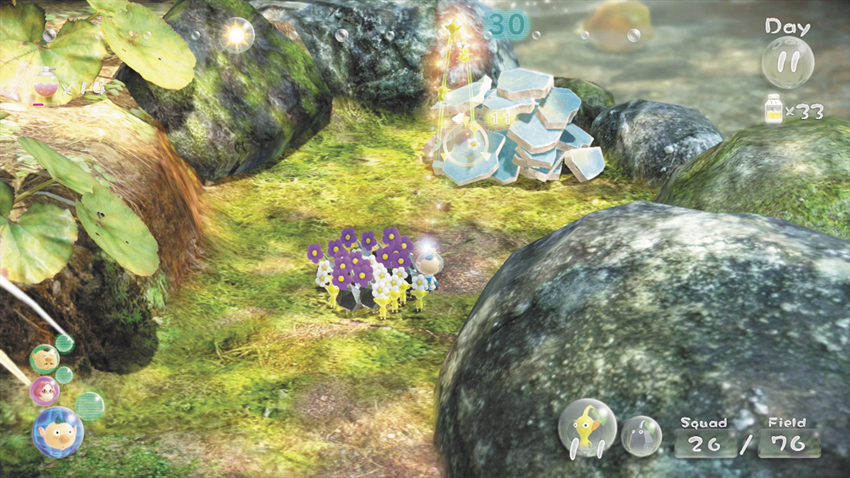
 There’s a second Yellow Wollywog in a small pool of water just ahead of you. Before you deal with that enemy, hook around the rocks to the east to find a third Fragment pile. Assign all of your remaining Yellow Pikmin to carry the Fragments, then take your Rock Pikmin and approach the waiting Yellow Wollywog.
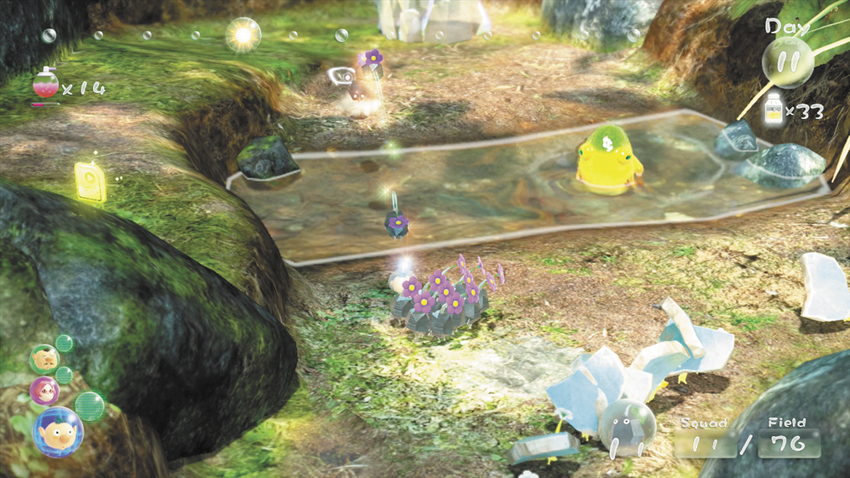
Throw all of your Rock Pikmin across the water. As you do, the Yellow Wollywog is bound to attack. Your Rock Pikmin will be fine, but make sure you keep your crew member out of danger.
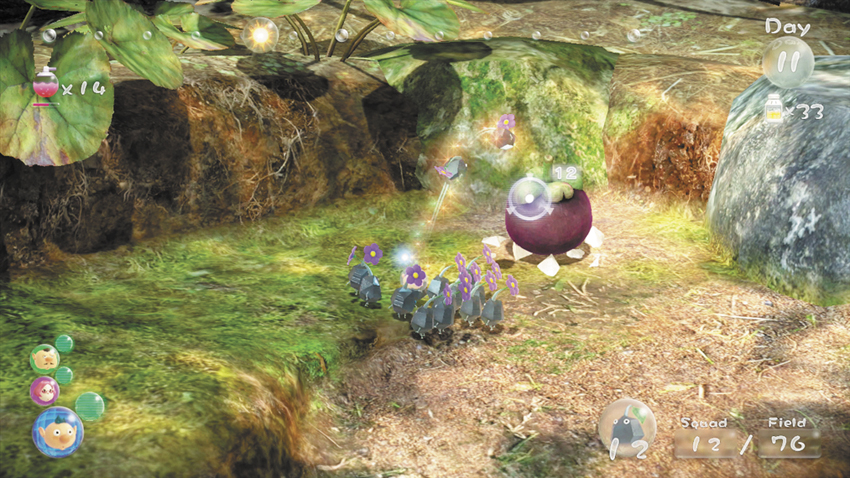
 With the currently available Pikmin, it’s best to avoid combat so close to water. When you throw the last of your Rock Pikmin, move across the water and reform the squad. Move away from the water to ensure the Yellow Wollywog loses interest in fighting, then use your Rock Pikmin to free a (Dapper Blob (mangosteen) from the Large Crystal along the enclosure’s north edge. Assign three Pikmin to carry the fruit, then use the nearby ramp to move back across the water.
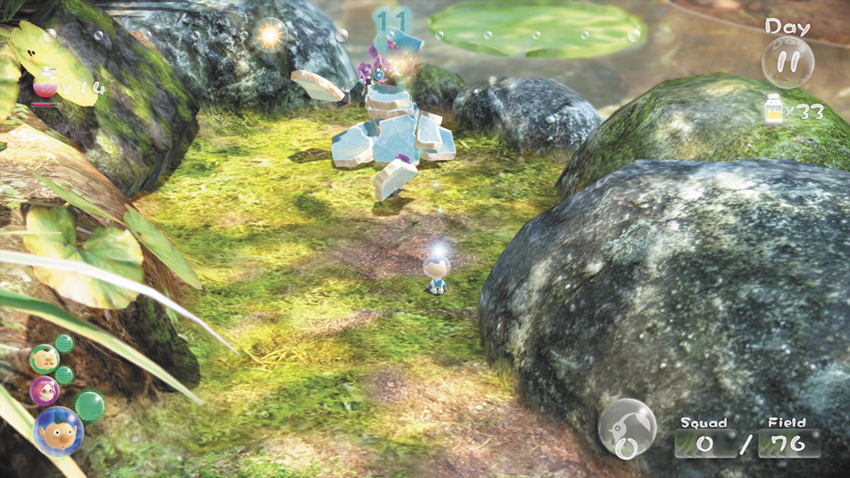
Assign what’s left of your squad to carry any remaining Fragments from the third pile, then switch to the crew member you left in the cave.
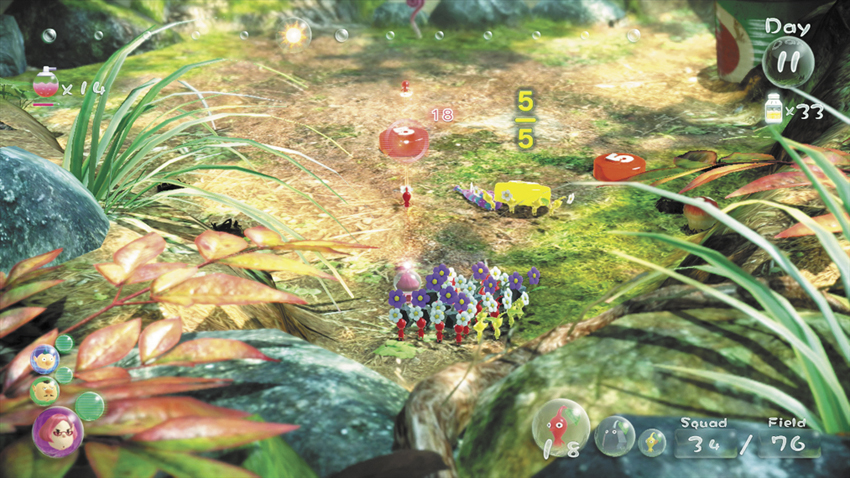
Gather the idle Pikmin that have returned from transporting the second Fragment pile—this is now your new main squad. Head down the ramp and exit the cave. If you like, you may now assign Pikmin to carry the defeated Puffy Blowhog and any pellets the creature left behind.
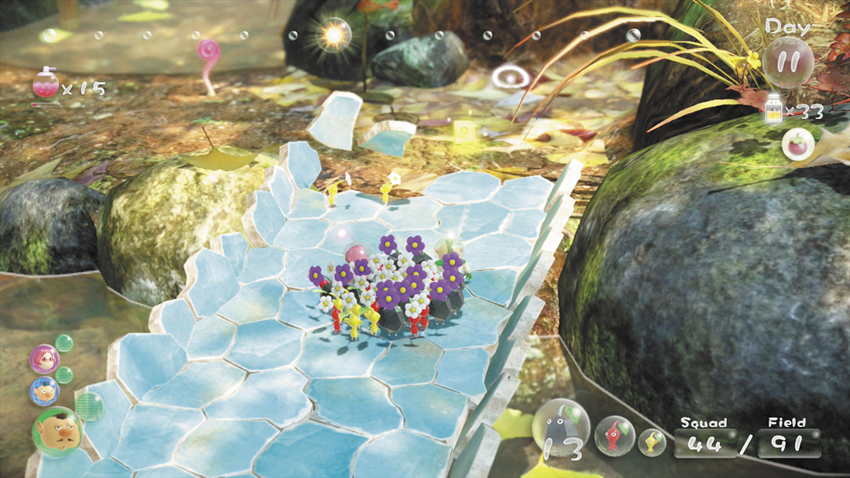
 Lead the squad across the water and back toward the ship. Merge with the small squad that destroyed the Reinforced Wall, then continue to the bridge you’ve been constructing just south of the landing site. If construction is not complete, wait for the last Fragments to be delivered.
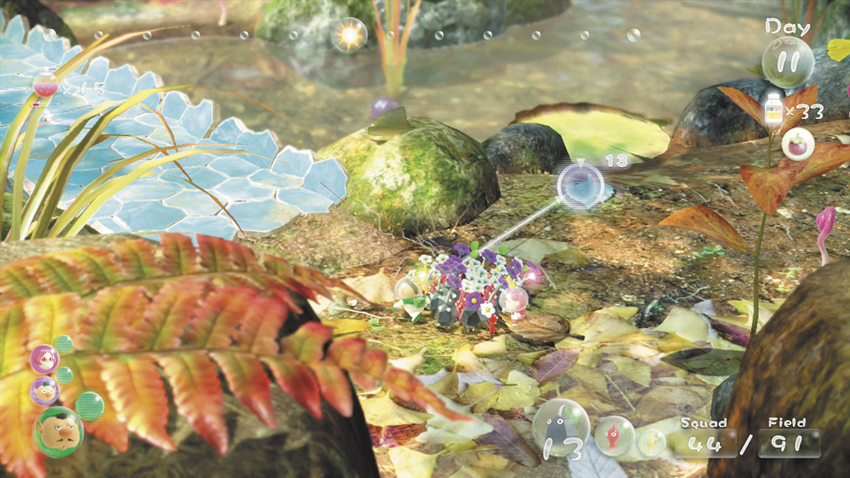
When the bridge drops into place, search for the two Desiccated Skitter Leaves hiding just across the water. Throw a Pikmin onto each of the camouflaged enemies, then call them back to prevent them from running off with the bodies.
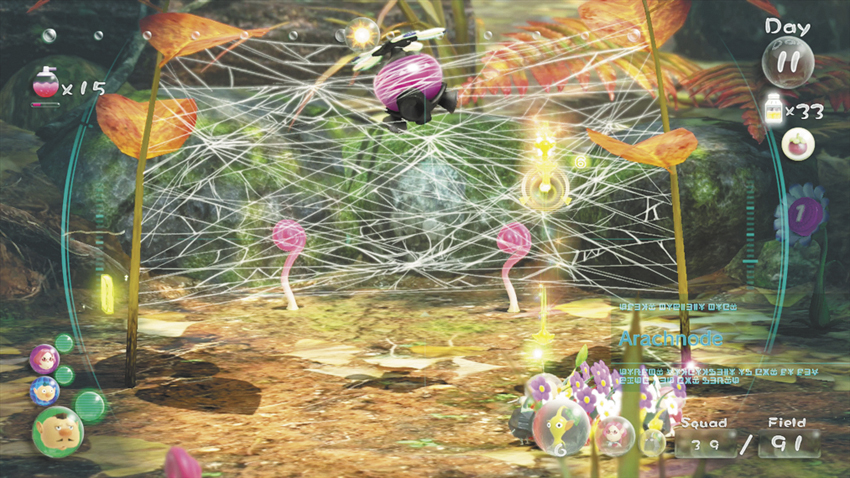
 When it’s safe, lead your squad over to the ensnared Onion. Lock onto the Arachnode, clinging to the web, then hit it with a volley of Yellow Pikmin. As your Pikmin latch on, the Arachnode emerges from its shell and skitters around the web. Your Yellow Pikmin should be able to reach it virtually anywhere it runs, so keep attacking. When you defeat the Arachnode, the web snaps, the Onion unfolds, and a single sprout falls to the ground.
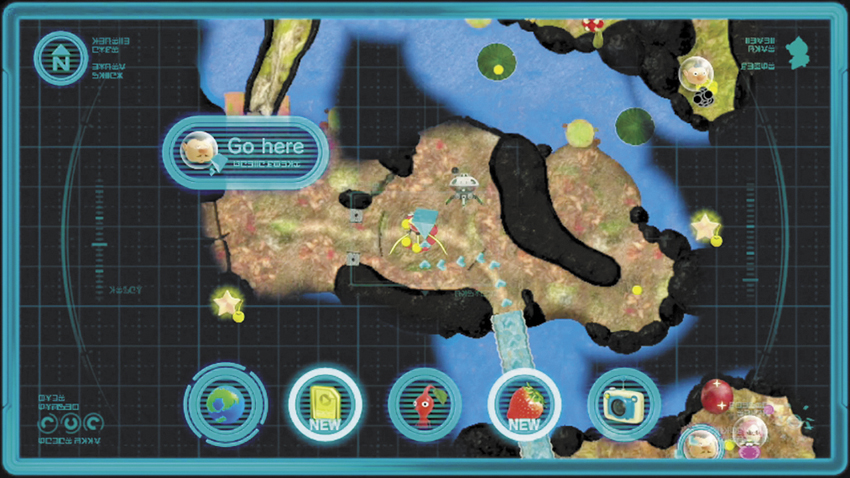
Round up your main squad and toss one crew member near the Winged Pikmin sprout. Now that the area is secure, you won’t be needing the bulk of your Pikmin. Use the “Go Here” command to send your main squad back to the landing site.
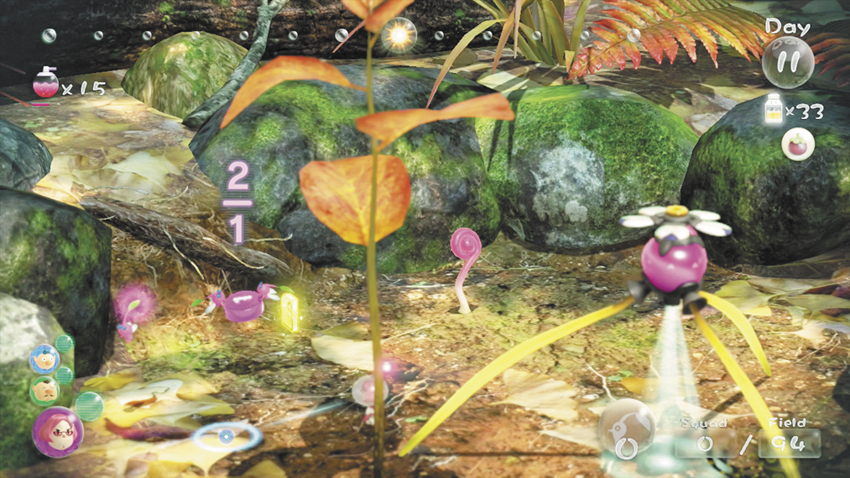
As your main squad returns to the landing site, switch to the crew member near the Winged Pikmin’s Onion. Pluck the sprout and use the Winged Pikmin to collect the pellet from the nearby Pellet Posy. Pluck the resulting sprouts and have all three Pikmin collect the defeated Arachnode.
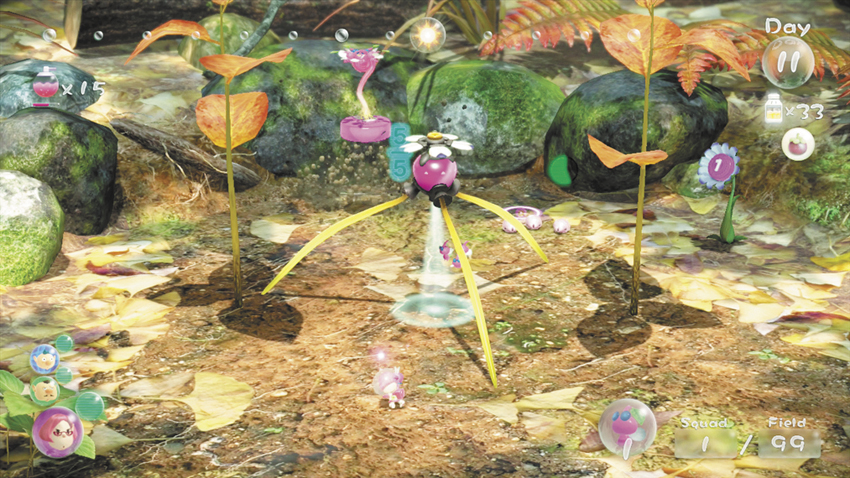
Winged Pikmin are able to pull Flukeweeds. These strange pink plants are usually attached to buried objects. The number of Winged Pikmin required to pull a Flukeweed is generally determined by the size of the attached object. As your Winged Pikmin grow in number, use them to pluck the Flukeweeds surrounding their Onion. In addition to pellets, you’ll find a cluster of Female Sheargrubs. Attack these enemies and have the Winged Pikmin carry them to the Onion as well.
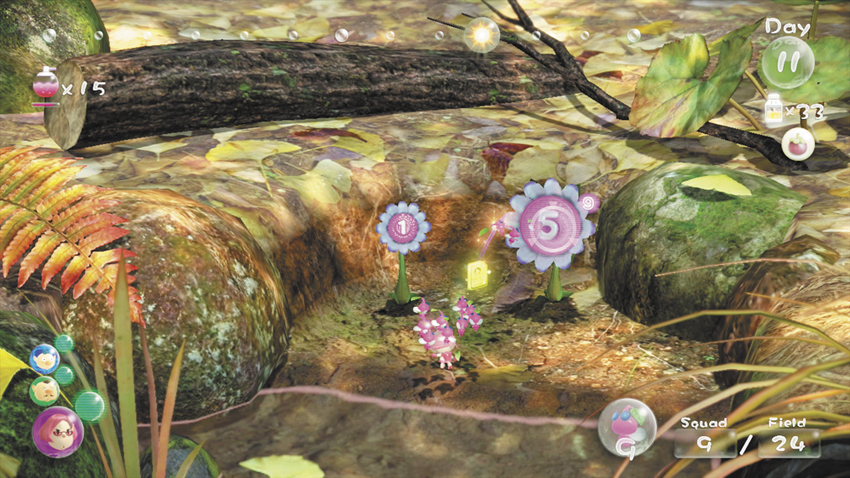
 There are two Pellet Posies southwest of the Winged Pikmin’s Onion. Lead your Winged Pikmin across the pool of water to collect these pellets before you leave the area.
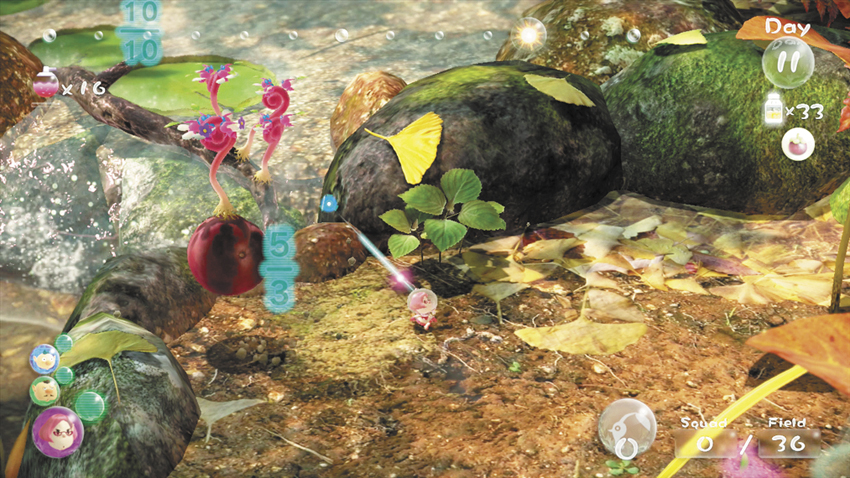
 Grab the Desiccated Skitter Leaves you defeated near the bridge and pull the nearby Flukeweeds. When there’s nothing left to gather, return to the Winged Pikmin’s Onion and pluck any remaining sprouts. Assign 5 Winged Pikmin to pull the Flukeweed just north of the Onion, then have 10 Winged Pikmin pull the Flukeweeds connected to the nearby branch. As one group unearths the buried Lesser Mock Bottom (plum), the other group pulls the branch out of the water.
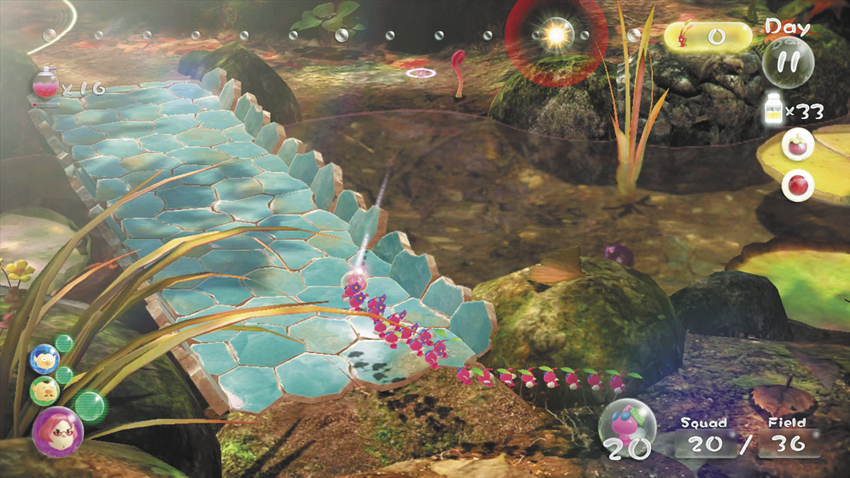
With the branch out of the way, the water flows freely, carrying Lily Pads through the rest of the Twilight River. When this happens, you receive a distress call from someone assumed to be Captain Olimar. Although you’re now able to reach him, there isn’t much time left in the day. Allow five Pikmin to carry the Lesser Mock Bottom back to the landing site while you gather any remaining Winged Pikmin.
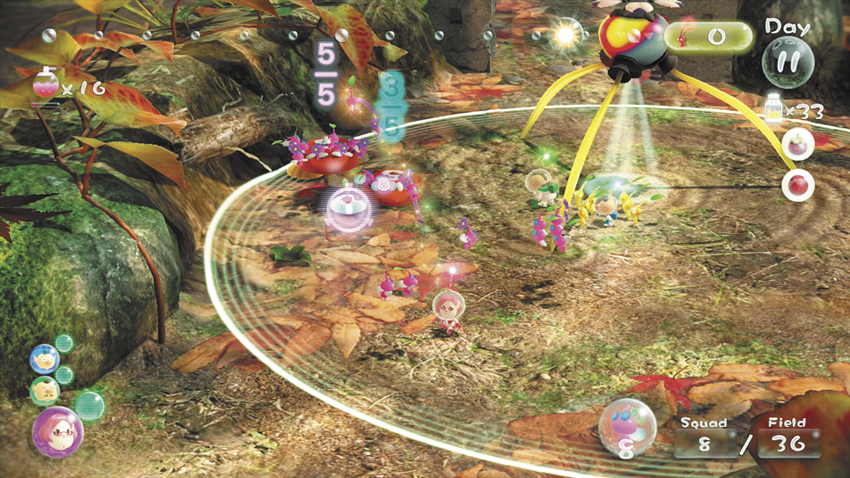
Head back to the landing site and allow your Winged Pikmin to drink the Nectar left by the Iridescent Flint Beetle. After they mature, have them carry any available pellets and defeated enemies back to their Onion. As time winds down, switch to the crew member you left near the third Fragment pile. Gather the idle Pikmin that have returned from the bridge, as well as any Pikmin still gathering Ultra-Spicy Berries. Watch the timer and cultivate as many Winged Pikmin as you can before the day ends.