
Pikmin 3 Guide Walkthrough Day 12 - Twilight River
Day 12 - Twilight River
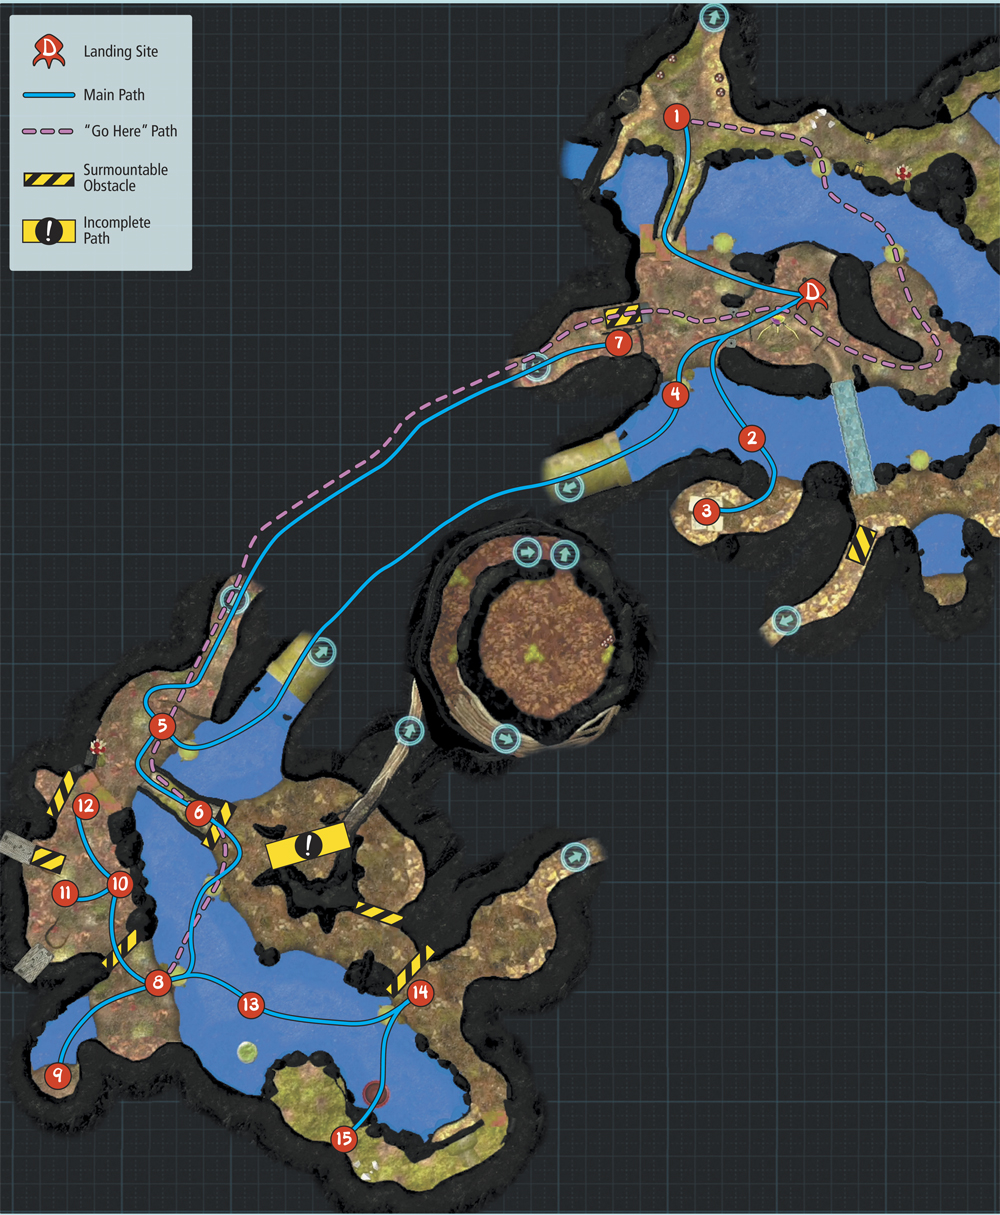
Map: Twilight River
Remaining Juice: 34 canisters
Objectives: Explore the area downstream, build a bridge toward the source of the signal, and continue collecting fruit.
Now that the water is flowing properly, you’re able to access much more of the Twilight River. Explore the new area, search for the source of the distress call, and ready your crew for a daring rescue.
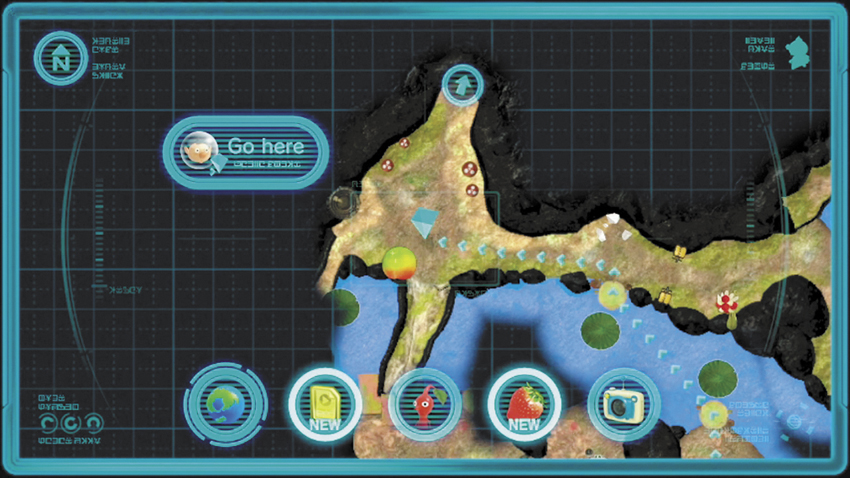
 When the day starts, move under the Onion and dismiss the squad to separate your crew members. Collect four Yellow Pikmin and three Winged Pikmin from the Onion, then use the “Go Here” command to send the small squad across the water to the north. Choose a spot near the Bomb Rocks you discovered on the previous day.
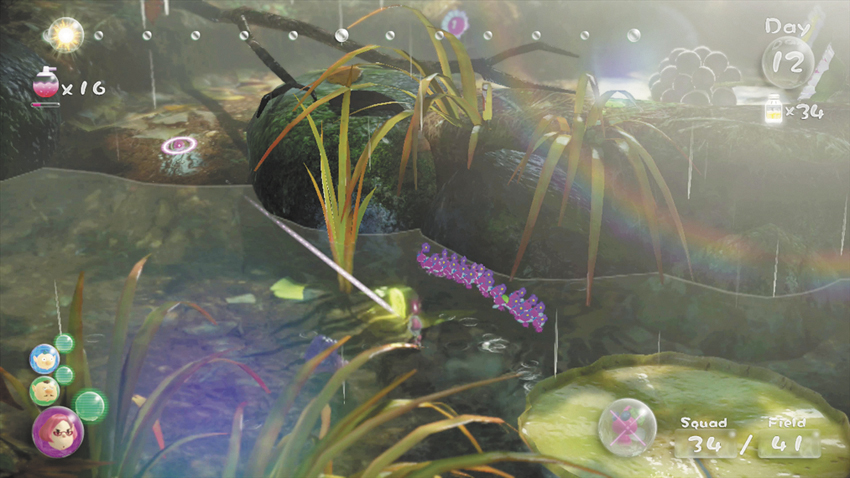
 Switch crew members and use all of the remaining Winged Pikmin to form your main squad. Lead this squad through the remains of the Reinforced Wall to the west, then head through the water to the south. Watch out for the Water Dumple lurking in the area—the Winged Pikmin stay safely above the water’s surface, but your crew member is still vulnerable to attack. Grab the submerged Data File, then climb up to the small enclosure at the water’s edge.
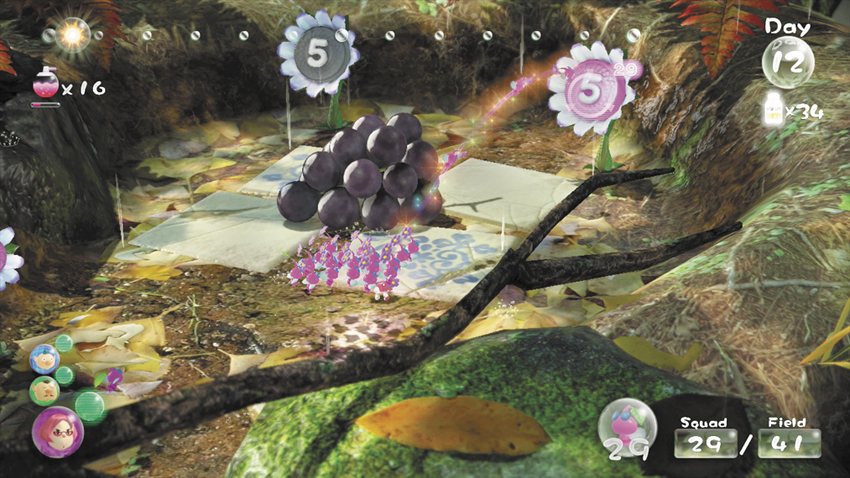
 Assign the required number of Winged Pikmin to gather the pellets from the surrounding Pellet Posies, then send the rest of the squad charging into the purple Dusk Pustules (purple grapes) at the center of the enclosure.
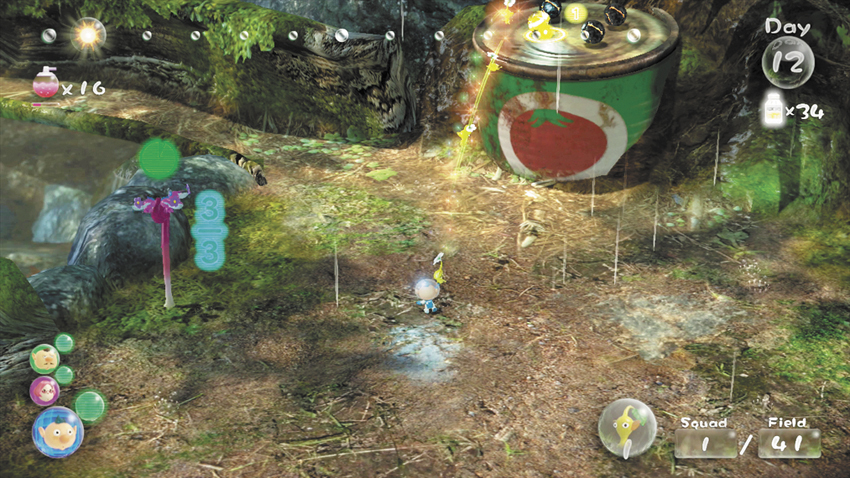
By now, your smaller squad should have reached its destination. Switch crew members and toss the three Winged Pikmin onto the nearby Flukeweed. As they work, throw the Yellow Pikmin up to the Bomb Rocks.
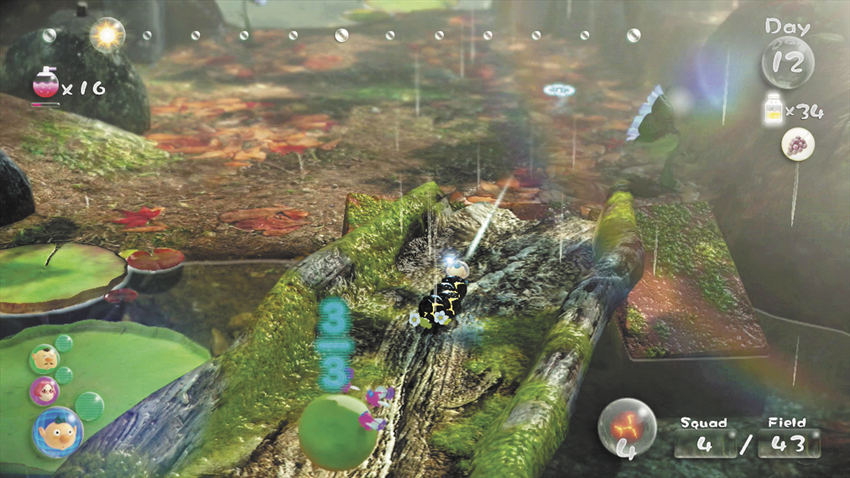
When the Winged Pikmin unearth the Searing Acidshock (green apricot), they’ll automatically transport it back to the ship. After your Yellow Pikmin collect the Bomb Rocks, lead them back across the water and wait just outside of the landing site.
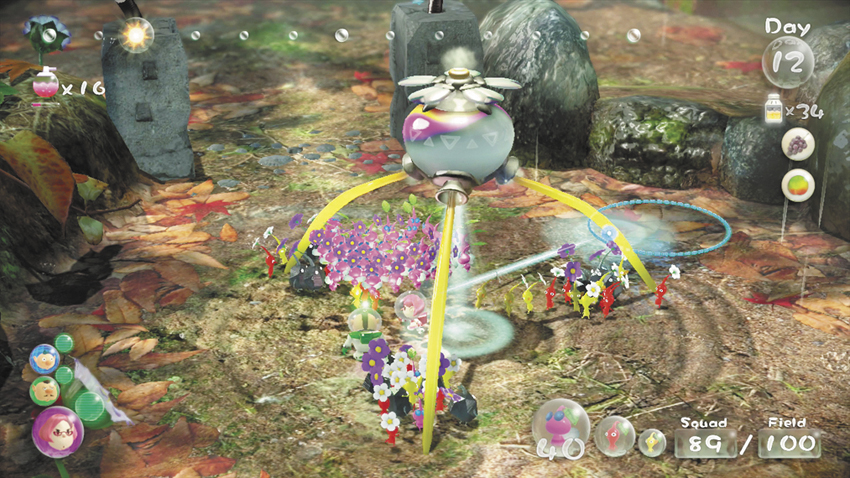
Switch back to the main squad and gather the Winged Pikmin that have returned from transporting the grapes. Return to the landing site and gather the crew member you left under the Onion, as well as the idle Pikmin in the area. Adjust your main squad so that it contains 40 Winged Pikmin, then divide the remaining slots relatively evenly between the remaining Pikmin types.
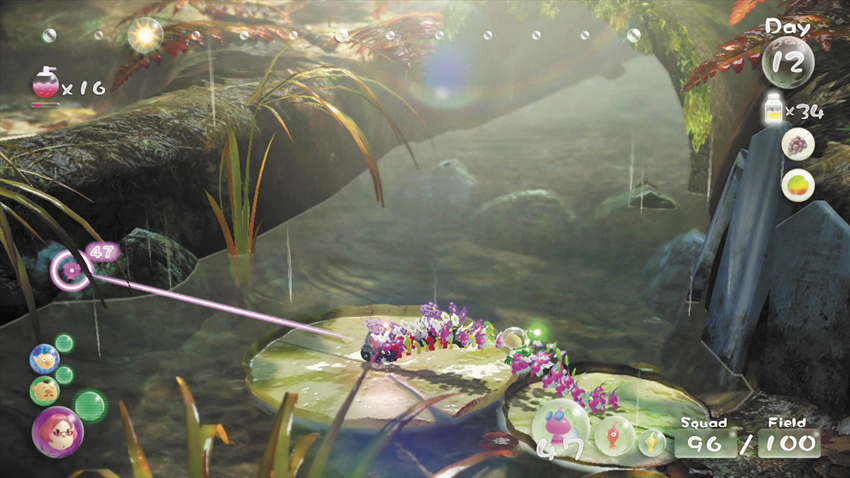
 Lead the main squad to the Lily Pad southwest of the landing site. When the current carries another Lily Pad into range, hop on and ride it downstream.
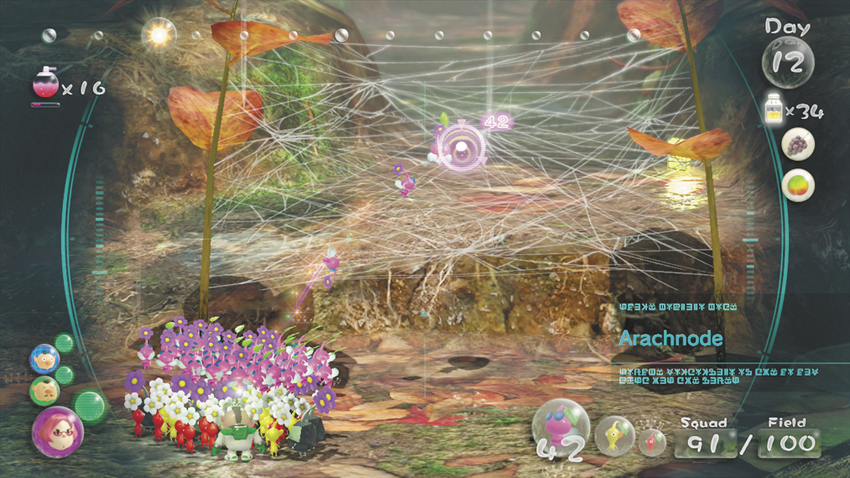
 During a short cinematic, your squad identifies the signal’s source and hops off of the Lily Pad. Move to the nearby web and use your Winged Pikmin to attack the Arachnode. Winged Pikmin are great for attacking airborne enemies and other hard-to-reach targets, but they don’t do much damage. When the enemy moves into range, finish it off with a volley of Rock Pikmin.
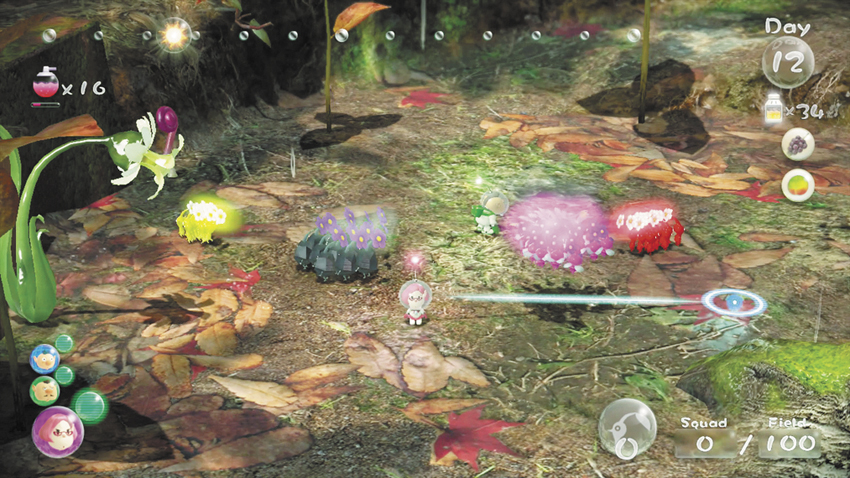
After you defeat the Arachnode and destroy its web, dismiss the squad to separate the Pikmin. Create a squad containing only Winged Pikmin, then switch crew members and use the remaining Pikmin to reform your main squad.
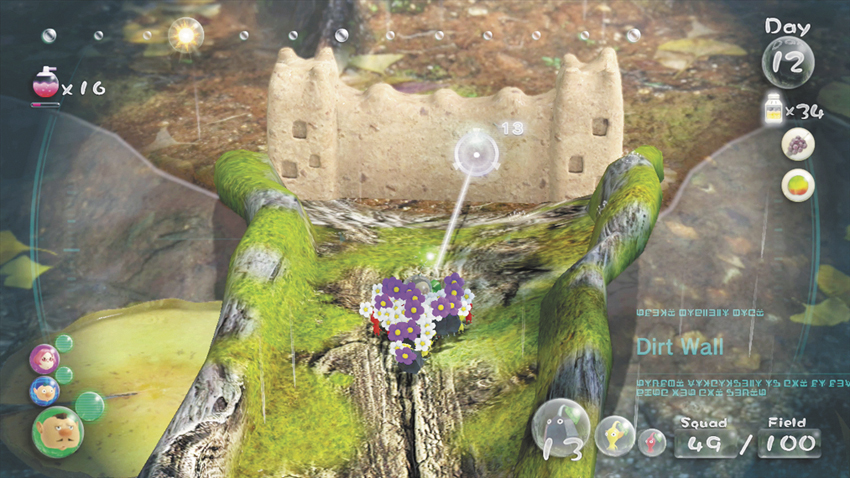
 Lead your main squad across the wooden bridge to the south and have them attack the Dirt Wall blocking your path.
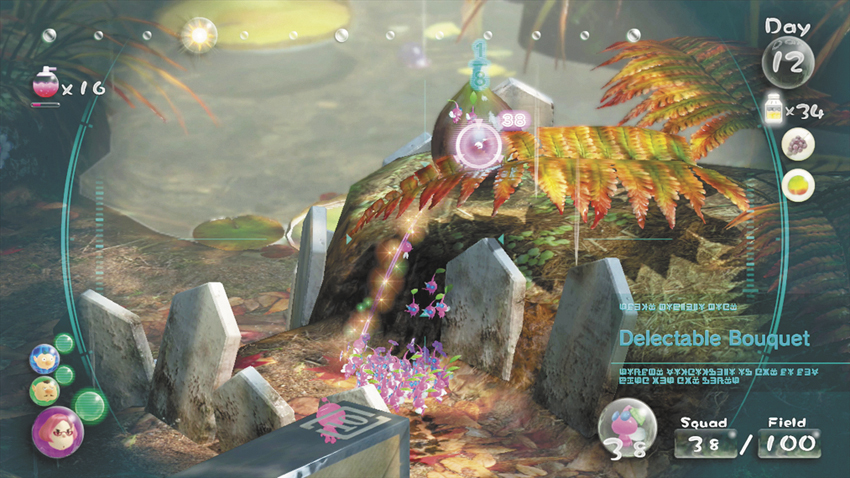
 Switch to the crew member commanding the Winged Pikmin and follow the path to the north. The path leads to a ledge just west of the landing site. Throw eight Pikmin up to the Delectable Bouquet (fig). As they carry the fruit back to the landing site, have 10 Pikmin push the nearby Paper Bag off of the ledge. This makeshift ramp now offers a convenient path to the area downstream. While the fruit is being transported to the landing site, round up your remaining Winged Pikmin and head back to the main squad.
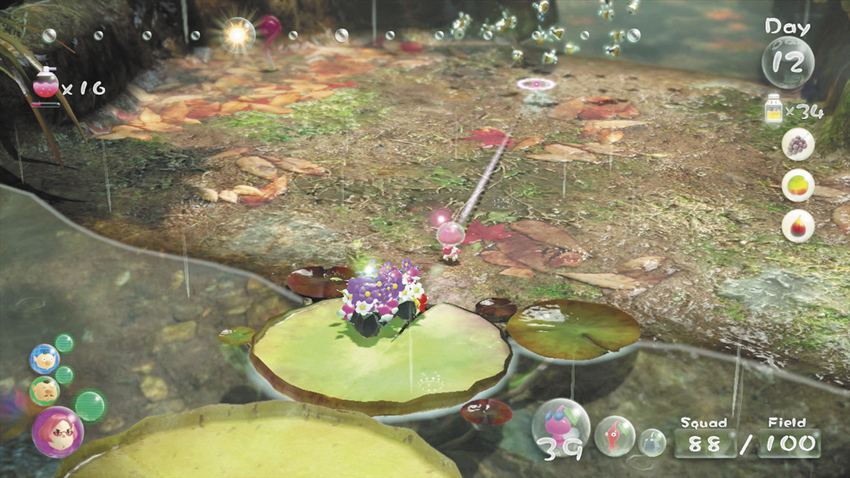
 The main squad should have destroyed the Dirt Wall by the time you return. Merge back into the main squad and use the nearby Lily Pad to cross the water to the south. The area is guarded by a large Scornet swarm, so prepare your Winged Pikmin to attack.
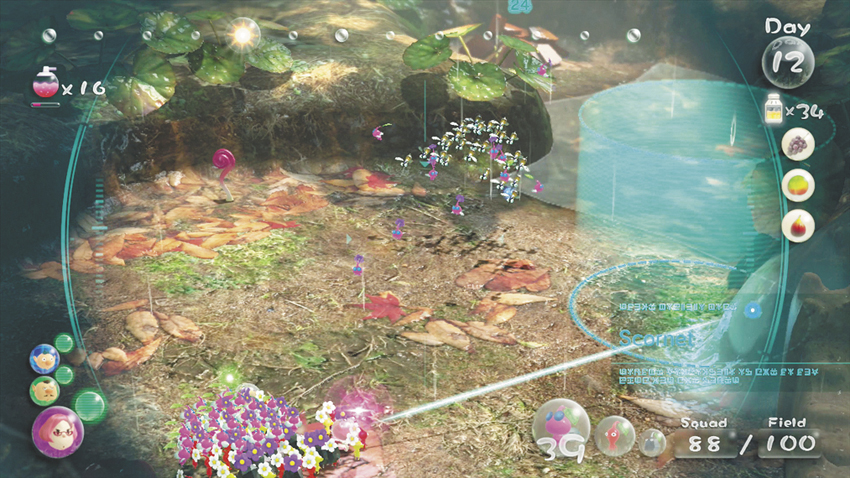
Lock onto one of the Scornets and start throwing Winged Pikmin. Keep attacking until the Scornets bunch together—this indicates an incoming counterattack. Recall your Winged Pikmin and flank the Scornets to avoid their attack. When the enemies separate, toss your Winged Pikmin back into the fray.
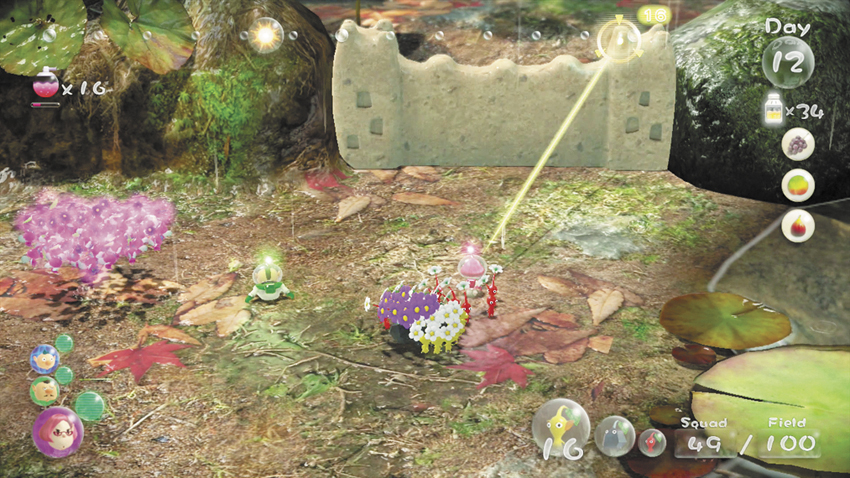
When the area is safe, dismiss your squad to separate your Pikmin. Form a new squad without the Winged Pikmin and have it attack the nearby Dirt Wall.
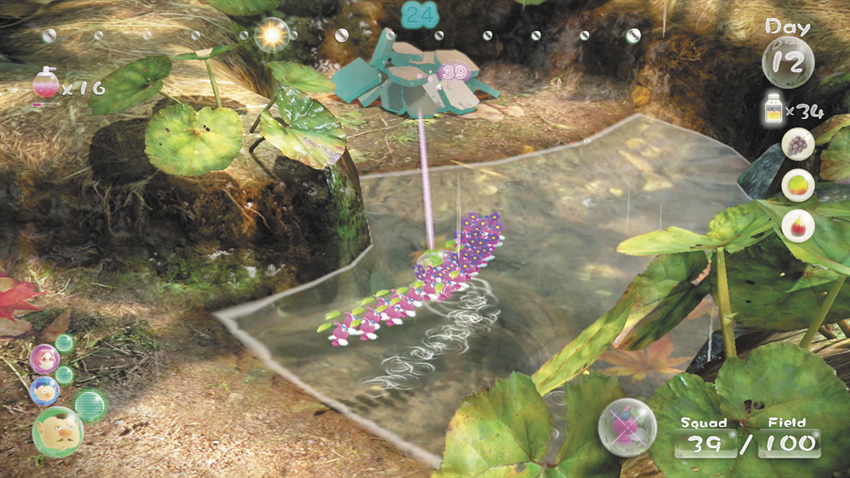
 Switch to the nearby crew member and gather the Winged Pikmin. Lead them through the water to the west to find a Fragment pile on a small patch of dry ground. Send your squad charging into the Fragments and switch to the crew member waiting near the landing site.
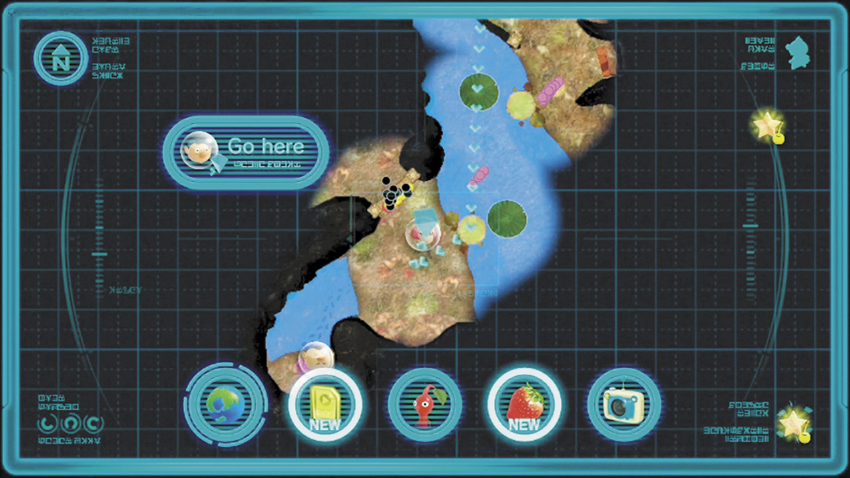
Round up the Winged Pikmin at the landing site, then review the Pikmin you have in the field. Your group now contains four Yellow Pikmin and eight Winged Pikmin. If you want to swap them out for other Pikmin types, do so now—just make sure you grab all of the Bomb Rocks before you leave. When you’re ready, use the “Go Here” command to send this squad down toward the other crew members.
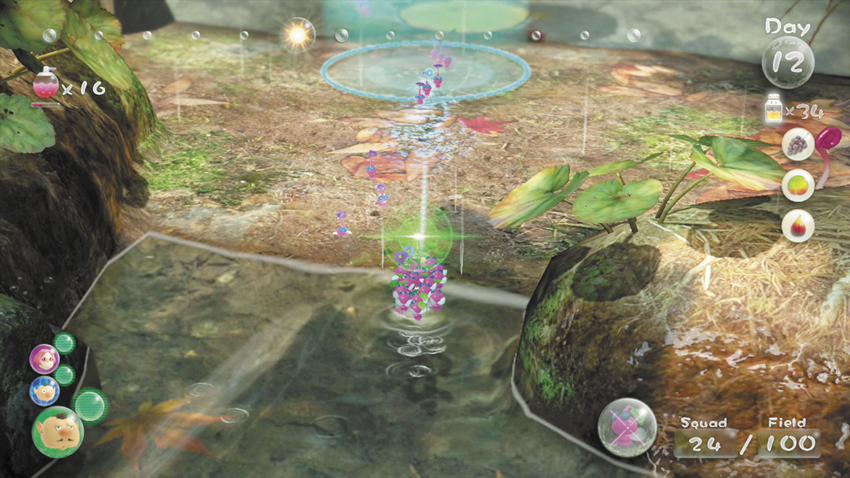
Switch back to the crew member near the first Fragment pile. All of the Fragments should either be delivered or in transit. Grab the Data File that had been hidden under the pile and round up any idle Pikmin. Lead them back across the water to rejoin the main squad. As you do, use the whistle to gather any remaining Pikmin returning from the partially completed bridge.
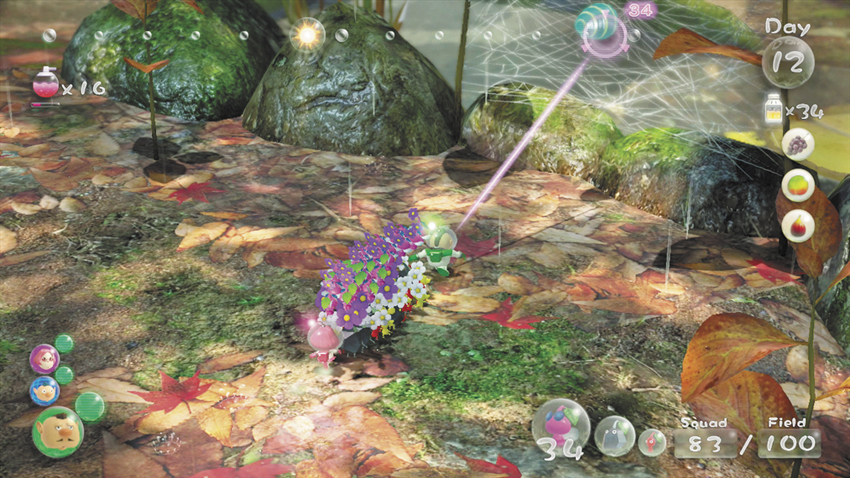
 The main squad should be finished with the Dirt Wall. The last crew member should be in transit, but there’s no reason to wait. Regroup and head through the remains of the Dirt Wall to find another web just east of two large Clipboards. Use your preferred Pikmin to defeat the Arachnode and destroy the web.
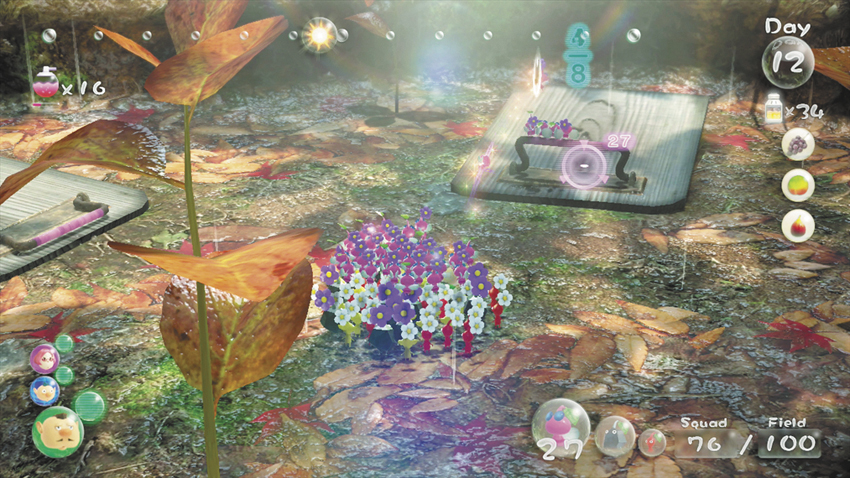
 The Clipboard at the area’s southwest corner is covering a group of Dwarf Orange Bulborbs. For now, it’s best to leave it alone. The Clipboard to the north, however, is covering the next Fragment pile—toss eight Winged Pikmin onto the Clipboard and wait for them to lift the obstacle out of your way.
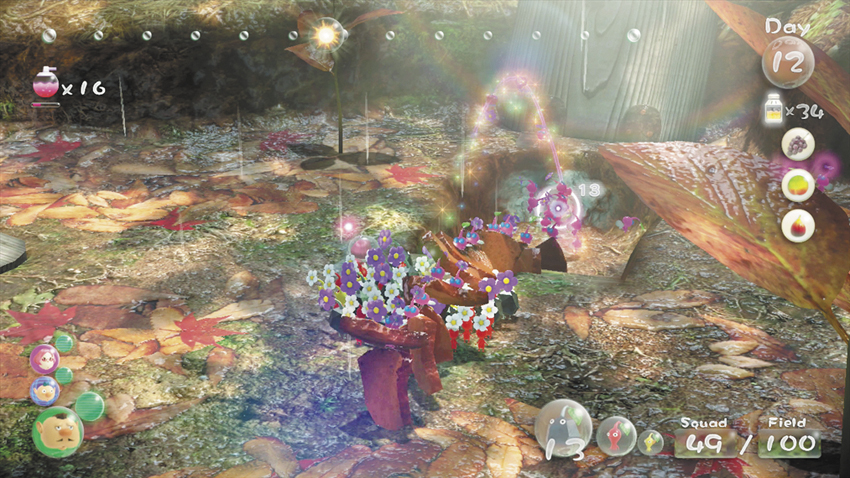
Gather the Pikmin you assigned to the Clipboard, then use 15 Winged Pikmin to transport the Fragments over to the bridge. As they work, switch to the crew member traveling from the landing site.
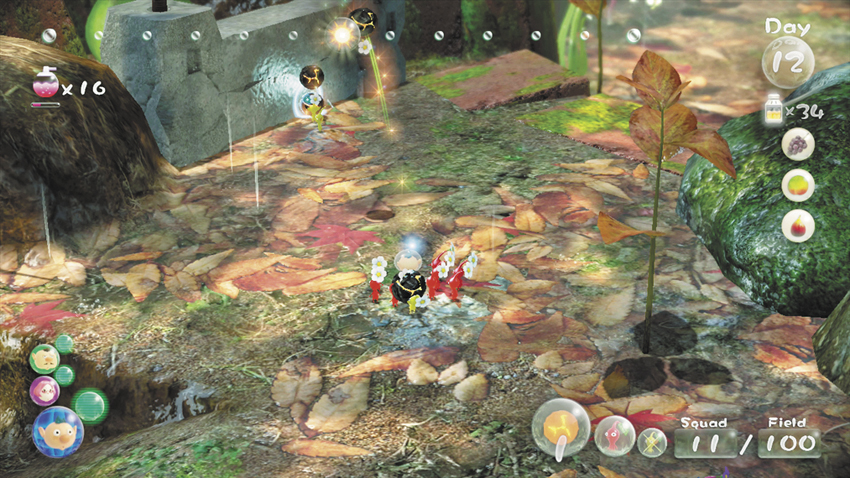
 If the crew member hasn’t already reached the designated “Go Here” destination, cancel the command and take direct control to speed up the process. Move to the Reinforced Wall just north of the main squad’s location, then use your Bomb Rocks to destroy this obstacle and reveal a Tremendous Sniffer (pear). Although you can collect
this fruit right away, it’s just as easy to grab it on a later visit.
Consider hanging onto all available Pikmin and keeping your squad
at full strength.
If the crew member hasn’t already reached the designated “Go Here” destination, cancel the command and take direct control to speed up the process. Move to the Reinforced Wall just north of the main squad’s location, then use your Bomb Rocks to destroy this obstacle and reveal a Tremendous Sniffer (pear). Although you can collect
this fruit right away, it’s just as easy to grab it on a later visit.
Consider hanging onto all available Pikmin and keeping your squad
at full strength.
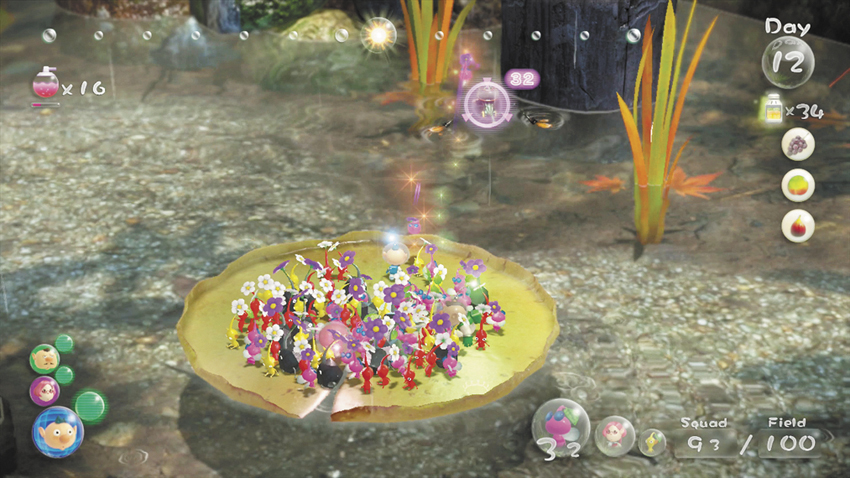
By now, the Winged Pikmin should have finished transporting the second Fragment pile. Gather the idle Pikmin and rejoin the main squad. Move down to the water and hop onto the next Lily Pad that floats by. As you move along with the current, look for the wood pylon to the south. Lock onto the Skeeterskate patrolling the area and throw Winged Pikmin until you defeat the enemy. Recall the Winged Pikmin before you drift out of range.
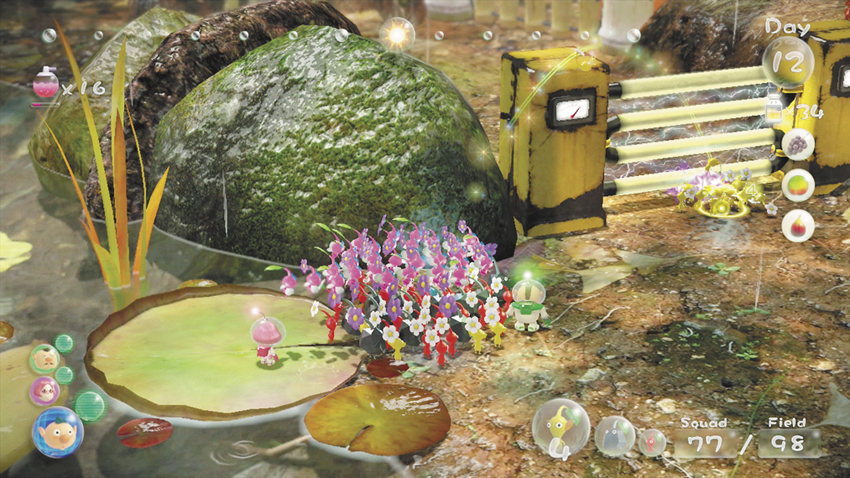
 As you pass by the next Lily Pad, hop off and assign all of your Yellow Pikmin to the nearby Electric Gate. While they work, wait for another Lily Pad to drift into range.
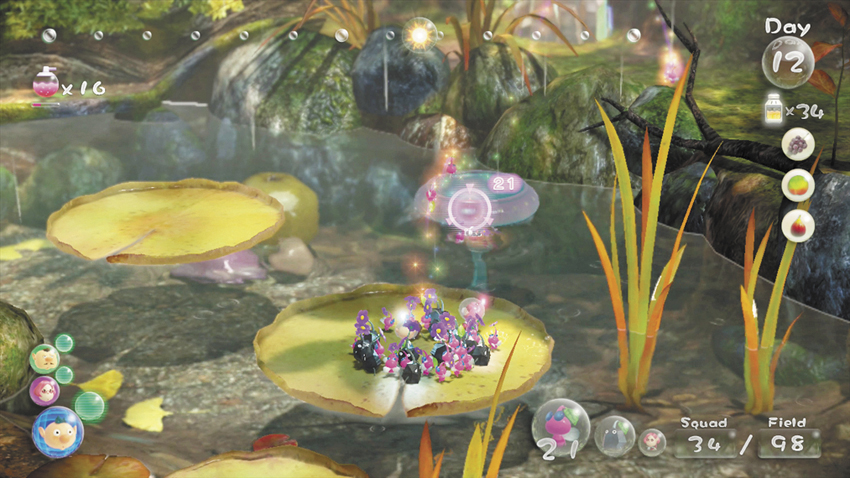
 As soon as you jump onto the next Lily Pad, locate the Bouncy Mushroom to the south. Lock onto the Bouncy Mushroom, then throw two crew members and all of your Winged Pikmin and Rock Pikmin to send them across the water.
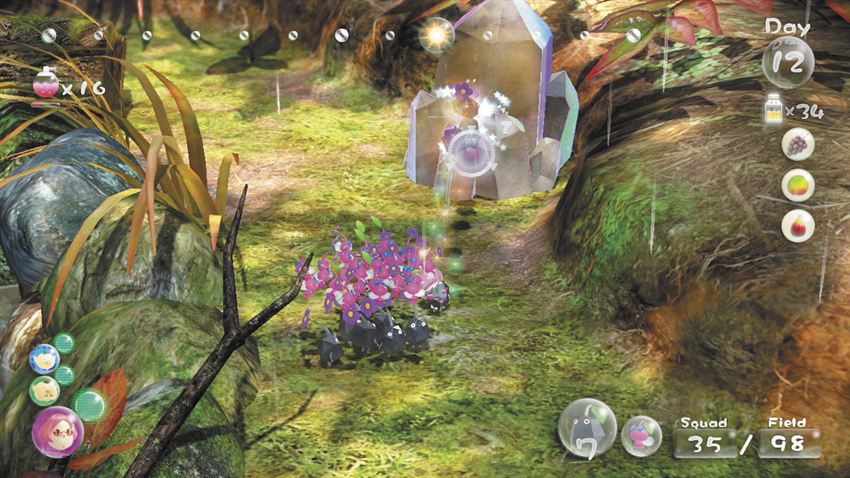
 Switch to one of the thrown crew members and form a new squad. Use the Rock Pikmin to free the Blonde Impostor (golden kiwifruit) from the nearby Large Crystal. You’ll want to hang onto the Rock Pikmin a while longer, so call them back before they run off with the fruit.
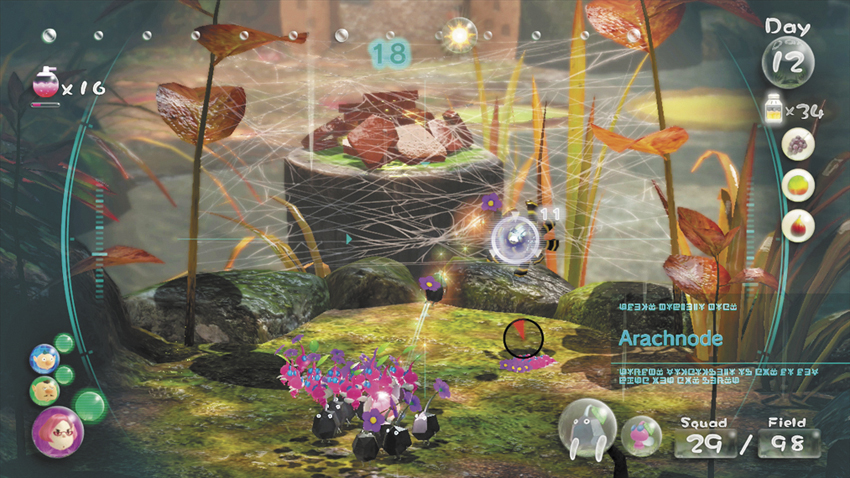
Turn around to find more Fragments piled atop the pylon. These Fragments are blocked by yet another web—once again, use the Winged Pikmin to chase the Arachnode into range, then finish it off with the Rock Pikmin. When the web vanishes, toss 18 Winged Pikmin into the Fragments. As they work, assign at least five Rock Pikmin to transport each half of the Blonde Impostor.
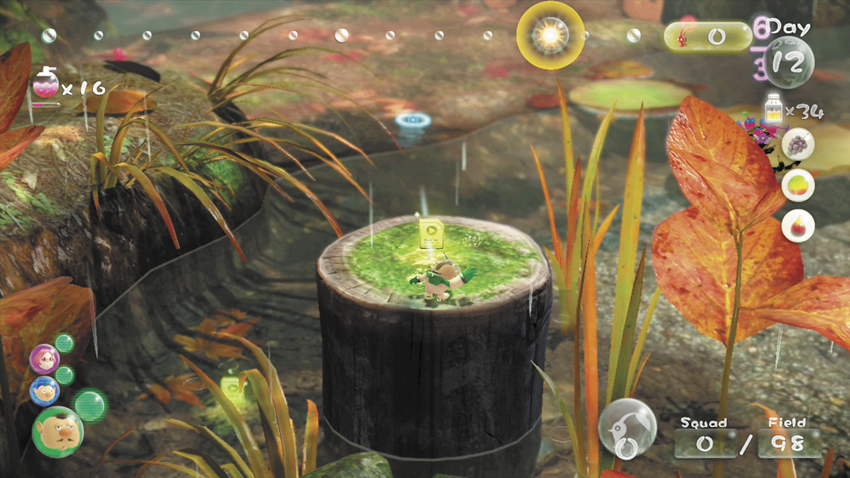
When all of the Fragments are gone, toss a crew member onto the pylon. Switch to that crew member and collect the Data File on the pylon, then drop down and collect the Data File in the water. Switch between crew members to collect the Winged Pikmin as they finish building the bridge, and to gather the Yellow Pikmin after they destroy the Electric Gate. Use any remaining time to cultivate more Winged Pikmin—just make sure all of your Pikmin are safe before the day ends.