
Pikmin 3 Guide Walkthrough Day 17 - Garden of Hope
Day 17 - Garden of Hope
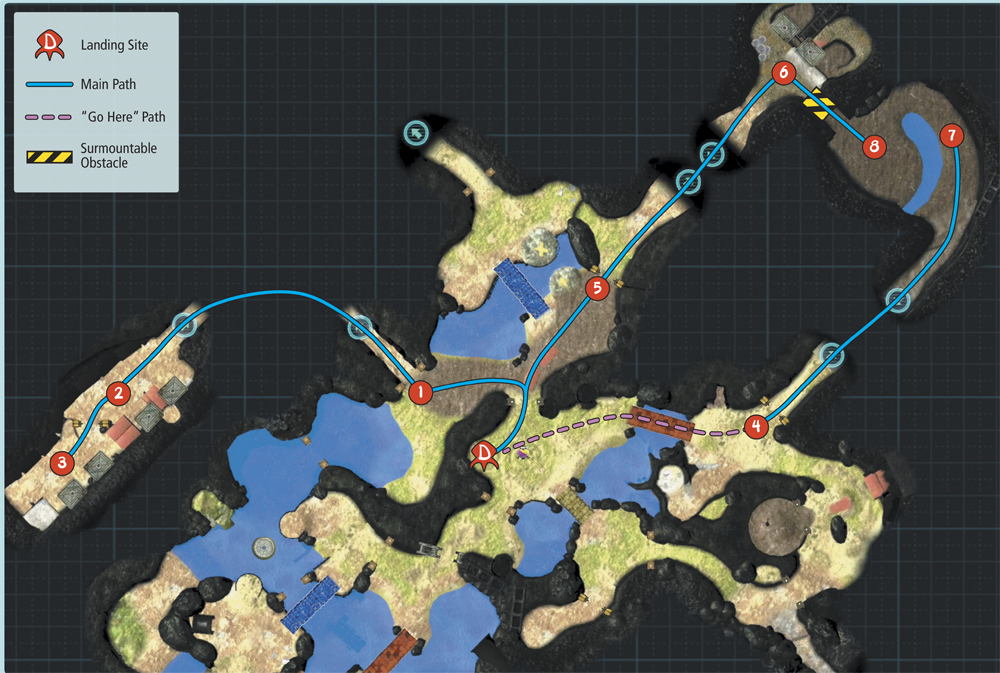
Map: Garden of Hope
Remaining Juice: 54 canisters
Objectives: Collect the remaining fruit in the Garden of Hope.
Louie’s been captured, the stolen juice has been recovered, and the crew has a new signal to investigate. Before you leave the Garden of Hope, however, take a day to collect the last of the area’s fruit.
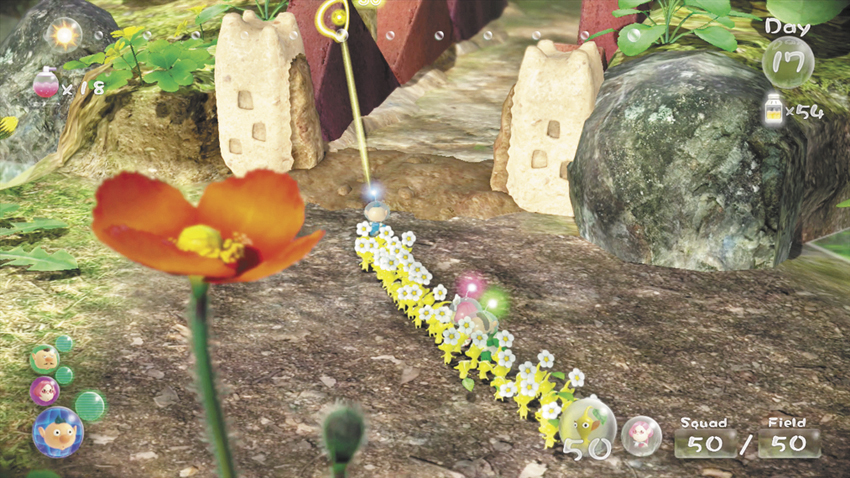
 When the day starts, form a squad consisting of three crew members and around 50 Yellow Pikmin. Move to the area north of the landing site and lead the squad through the passage between the two pools of water. Once your squad is in the enclosure, approach the suspended tins you used earlier in the game.
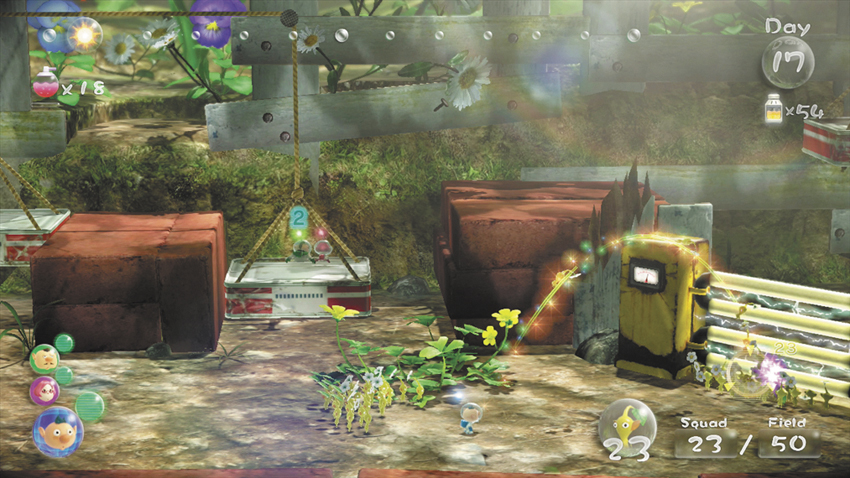
 Throw one Pikmin onto the tin on the right. After the tin touches down on the ground, call the Pikmin back and replace it with two crew members. Have the bulk of your Yellow Pikmin attack the nearby Electric Gate, but keep three Pikmin by your side.
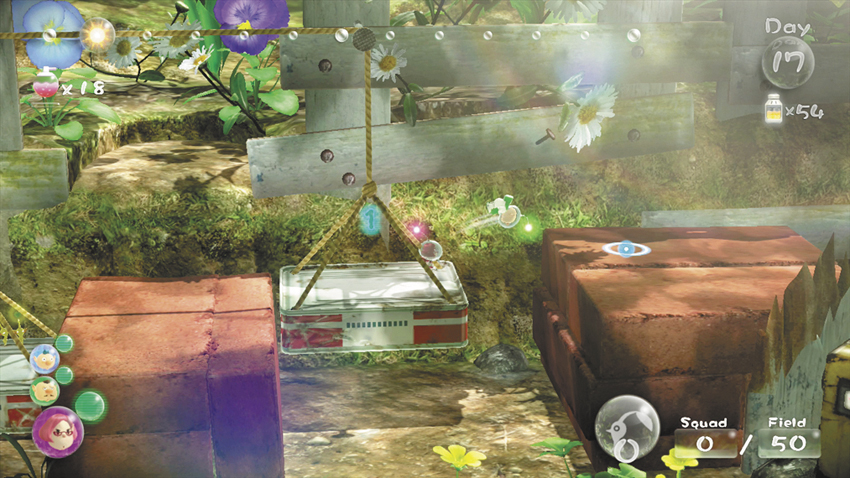
Throw the three remaining Pikmin onto the tin to the left. As that tin lowers to the ground, the tin holding the crew members is raised level with the stacked bricks. Switch to the crew members in the tin and throw one of them onto the bricks to the right. Drop down and rejoin the squad on the ground.
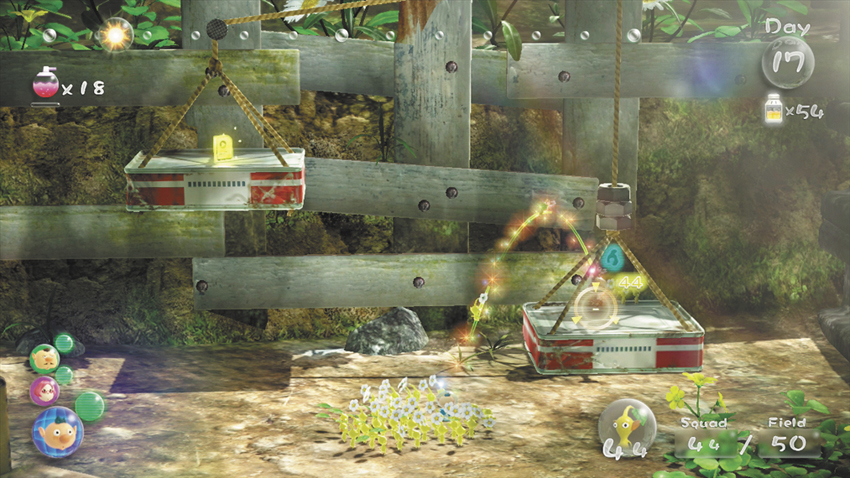
 When the Electric Gate is destroyed, gather your idle Pikmin and head through the opening to find another pair of tins suspended from pulleys. Due to the extra weight attached to the rope, the tin on the right is already on the ground. Toss one crew member and 10 Pikmin onto the tin, then move back toward the Electric Gate.
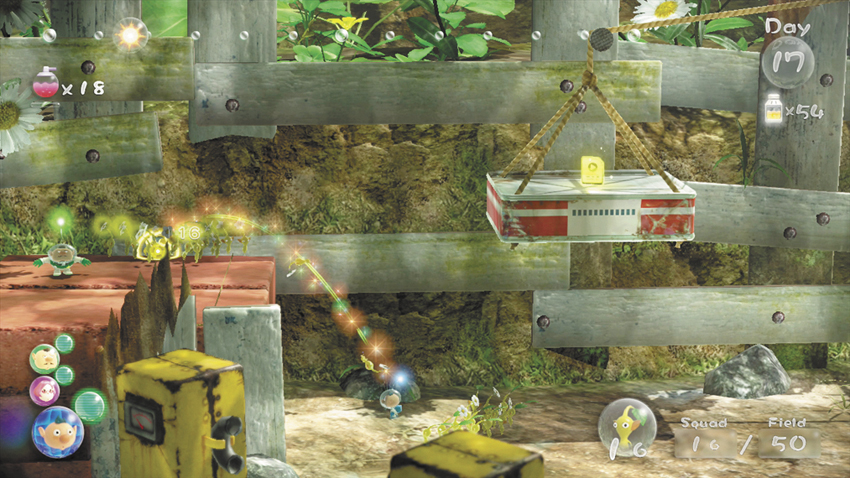
Toss at least 22 Pikmin up to the crew member you left waiting on the stacked bricks.
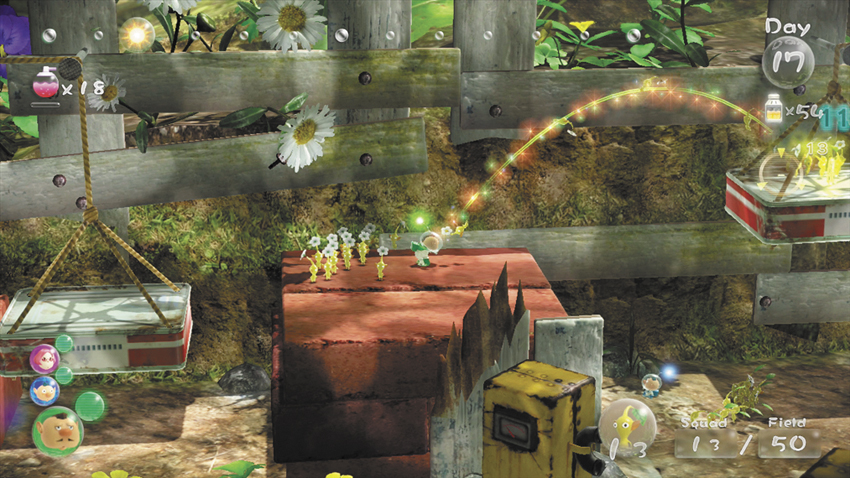
Switch to the crew member on the bricks, gather the Pikmin, then throw them onto the contraption’s left tin. As this tin drops to the ground, the tin on the right is raised into the air.
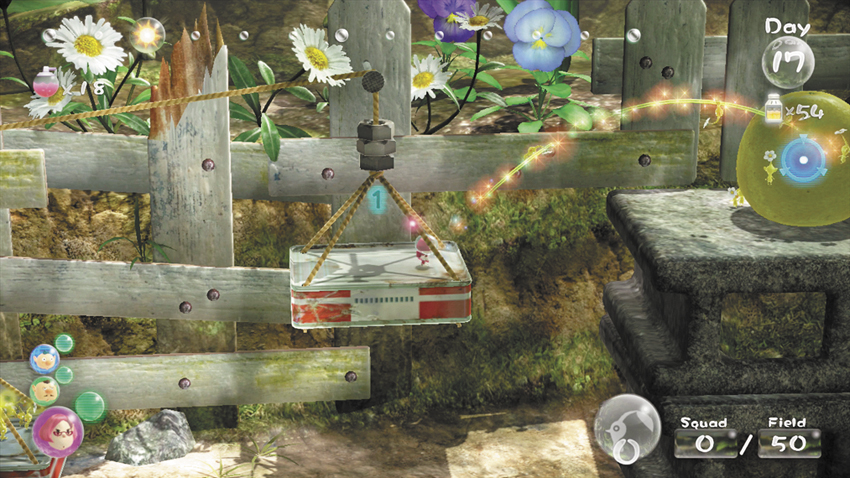
Switch to the crew member waiting on the tin, then throw 10 Pikmin over to the Astringent Clump (grapefruit) on the ledge to the right. As the Pikmin transport the Astringent Clump, drop down from the tin.
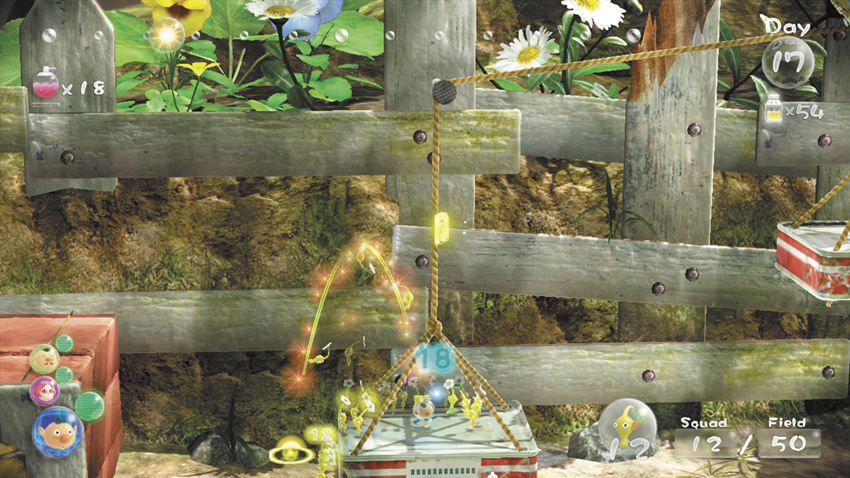
Toss one of the idle crew members onto the lowered tin. Switch to that crew member, then throw the Pikmin off of the tin to lighten the load. When the tin lifts off the ground, it carries you up to the floating Data File. Drop down to the ground and round up the crew members and idle Pikmin.
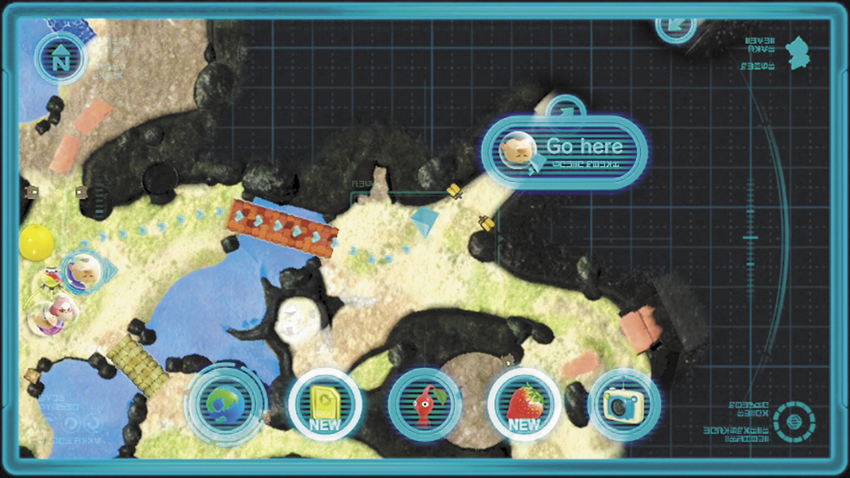
 When you reach the landing site, send all of your Yellow Pikmin back into the Onion. Dismiss your squad to separate the crew members, then call down a squad of 20 Blue Pikmin. Use the “Go Here” command to send this small squad across the bridge east of the landing site.
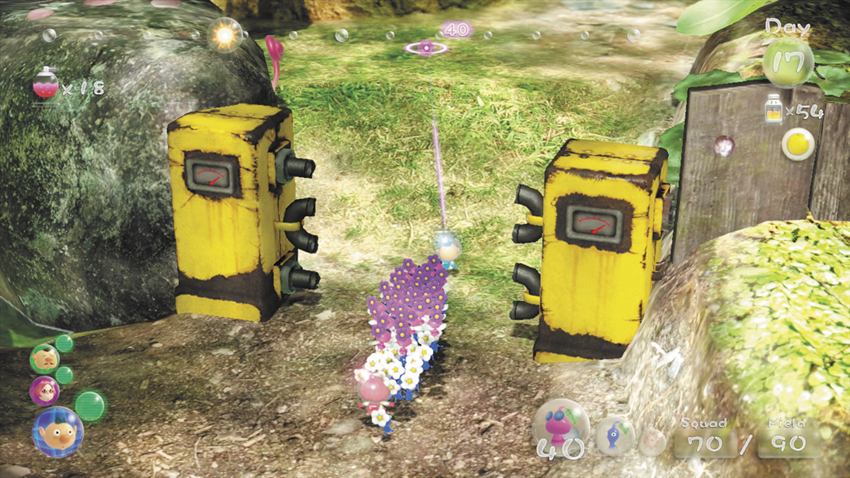
 Switch to one of the crew members waiting at the landing site. Form a new main squad consisting of two crew members, 40 Winged Pikmin, and 30 Blue Pikmin. Move to the area north of the landing site, then head northeast. Pass through the remains of the Electric Gate and continue along the path to find a small cave.
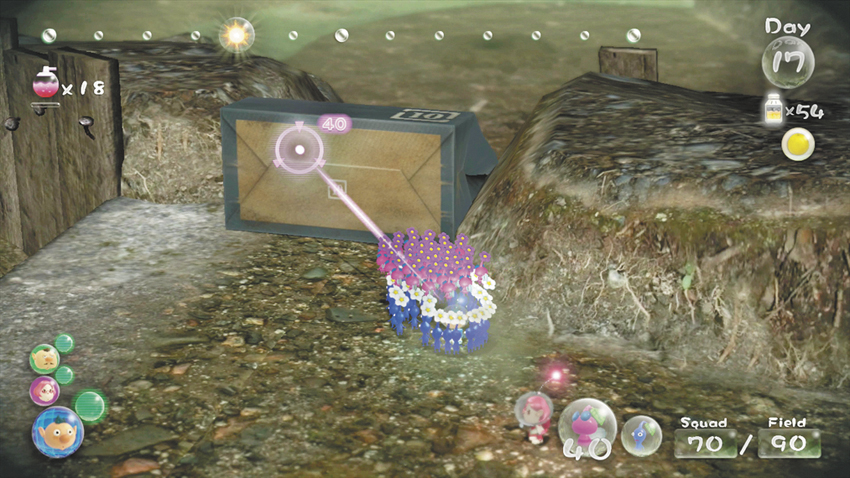
 When you step into the cave, look for the Paper Bag to the east. Have your Pikmin push the Paper Bag off of the ledge, creating a makeshift ramp.
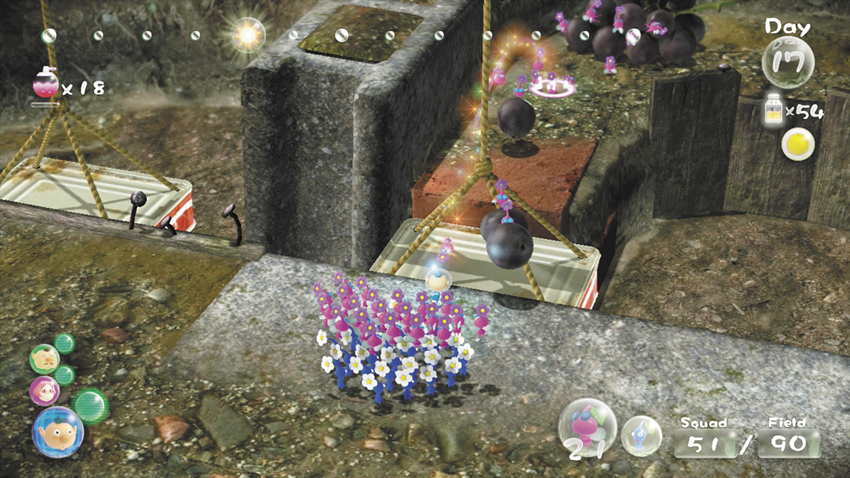
This cave contains another pair of tins suspended from pulleys. Approach the contraption and look for the Dusk Pustules (purple grapes) ahead of you. Throw your Winged Pikmin over to the Dusk Pustules and wait while they transport the fruit to the landing site.
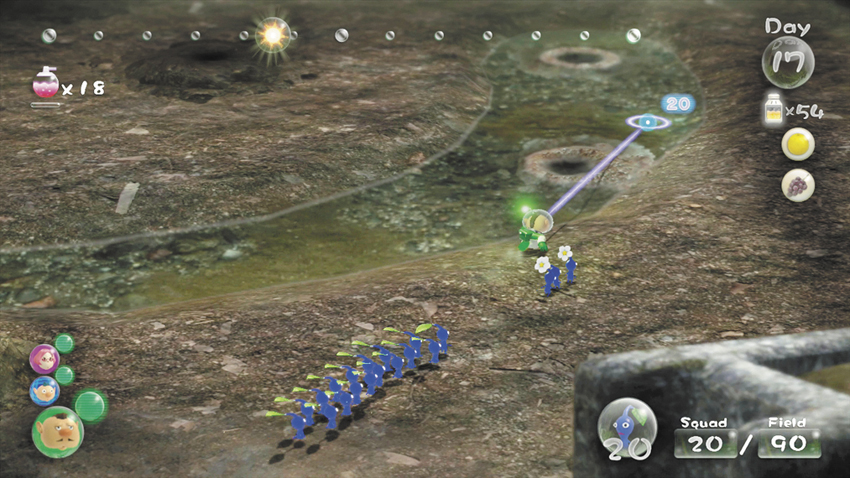
 Switch to the crew member leading the small squad of Blue Pikmin, then head through the remains of the Electric Gate to find a large cave. This area is connected to the small cave containing your main squad. Near the center of the cave, you’ll find two suspicious holes within a strip of shallow water. Use your squad to clear out the Hermit Crawmads hiding in the holes.
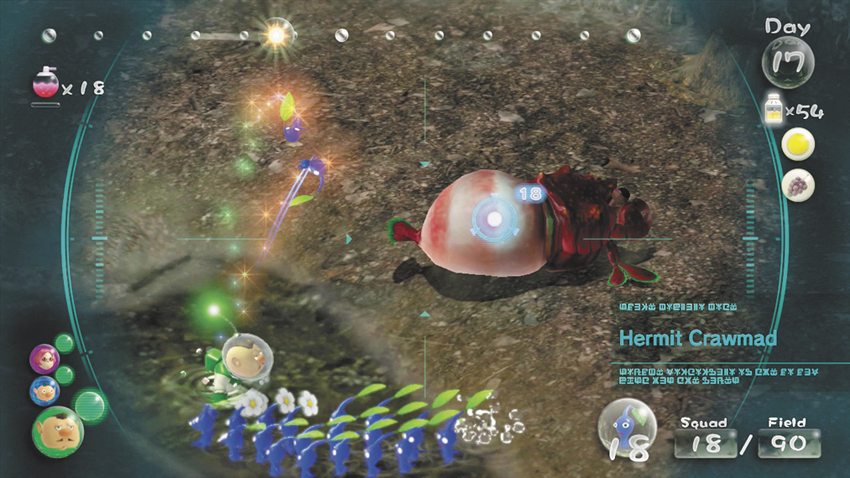
Move east of the first hole, then walk toward it to draw one of the Hermit Crawmads out of hiding. Once the creature shows itself, move away to keep your squad safe from its attack. After the Hermit Crawmad lunges, flank the enemy and have your Pikmin attack its fleshy tail. After you defeat the first Hermit Crawmad, approach the second hole and repeat the process.
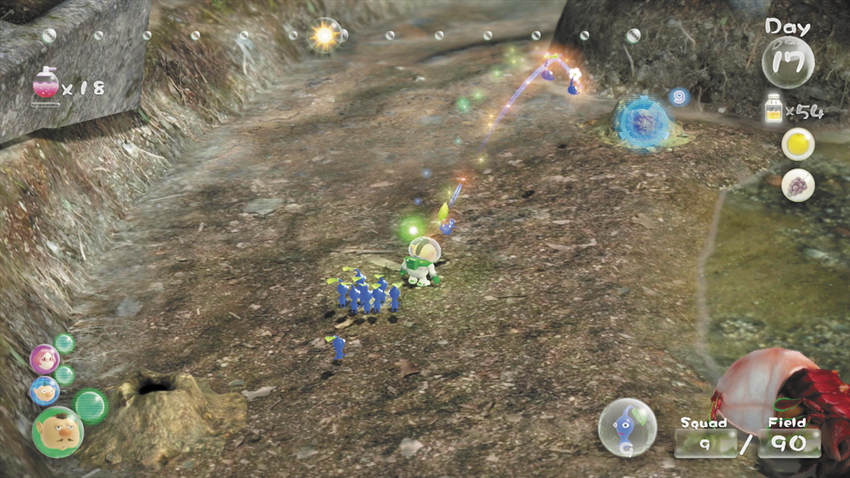
After you defeat both of the Hermit Crawmads, assign half of your squad to each of the nearby Dirt Mounds.
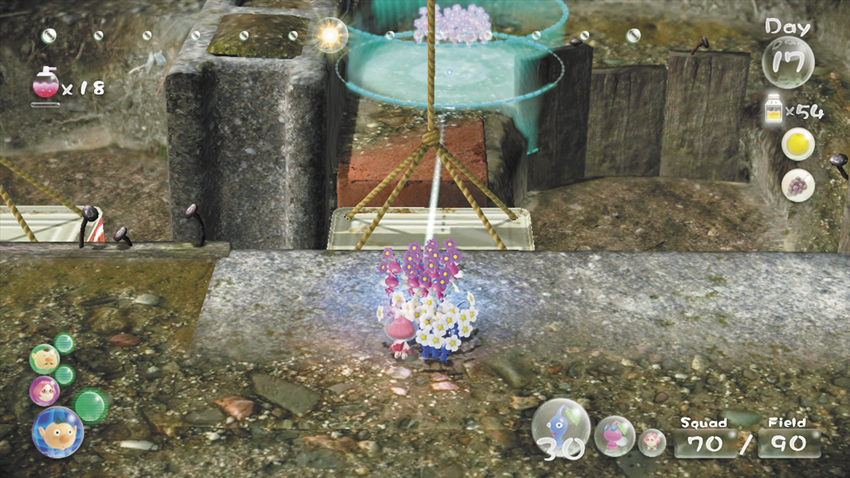
Switch back to the main squad and round up your idle Pikmin. If any of the Winged Pikmin are still delivering fruit, wait for them to return before you continue.
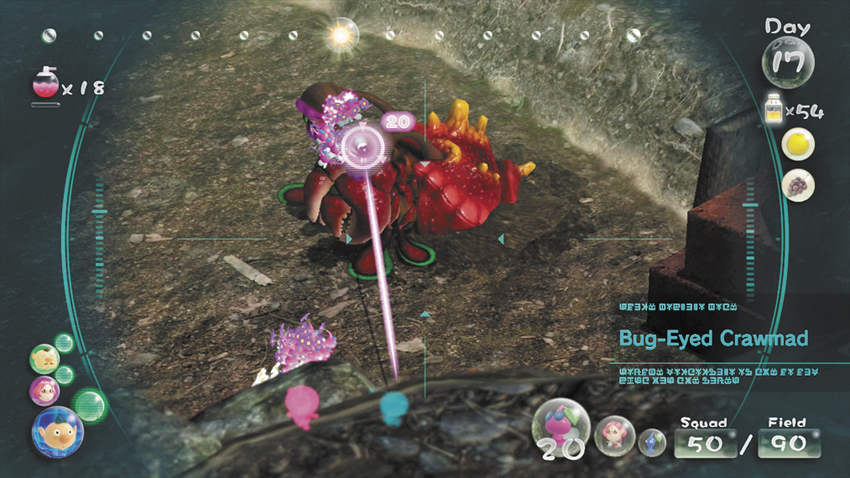
 When you’re ready, head down the Paper Bag ramp to engage the Bug-Eyed Crawmad hiding in the west half of the large cave. Avoid its lunging attacks, and use your Winged Pikmin to attack the creature’s eyes. When the Bug-Eyed Crawmad flips onto its back, throw your Blue Pikmin onto its fleshy underbelly. Repeat the process until the fight is over.
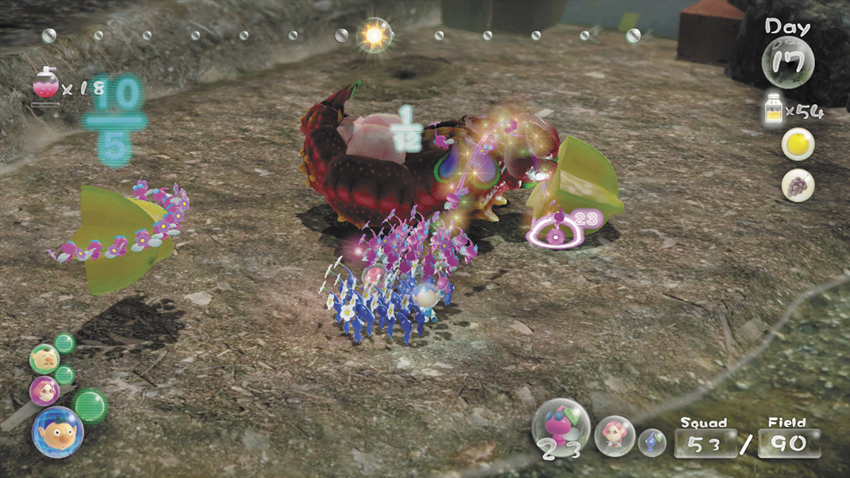
When you defeat the Bug-Eyed Crawmad, it drops two halves of a Stellar Extrusion (starfruit). Assign Pikmin to carry the enemy and both halves of the fruit back to the landing site. Switch between crew members and gather any idle Pikmin. You should still have plenty of daylight left. Use the remaining time to collect Data Files, gather Ultra-Spicy Berries, or cultivate more Pikmin.