
Pikmin 3 Guide Walkthrough Day 20 - Tropical Wilds
Day 20 - Tropical Wilds
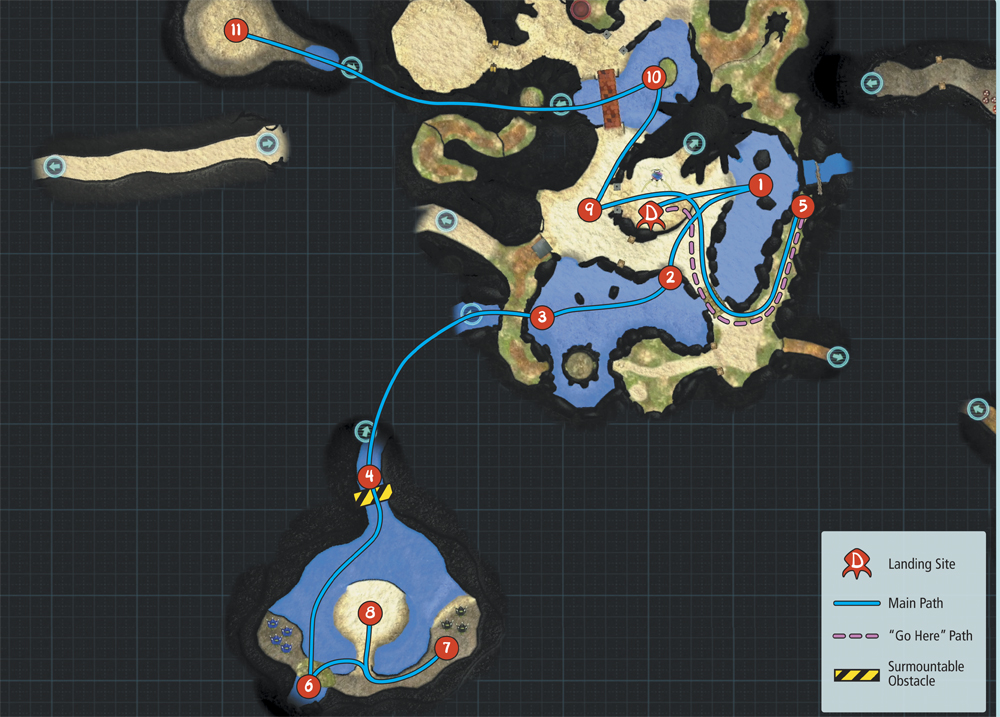
Map: Tropical Wilds
Remaining Juice: 63 canisters
Objectives: Collect some of the area’s remaining fruit.
Before you follow the latest signal, use your full complement of Pikmin to gather the fruit you couldn’t reach during your last visit to the Tropical Wilds.
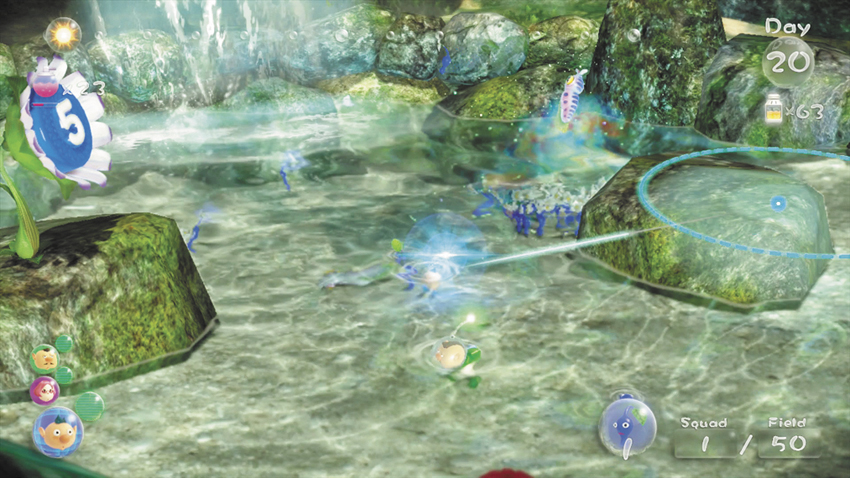
 When the day starts, create a squad consisting of two crew members and 50 Blue Pikmin. Head to the water east of the landing site and use the Blue Pikmin to clear out the three Puckering Blinnows swimming near the waterfall.
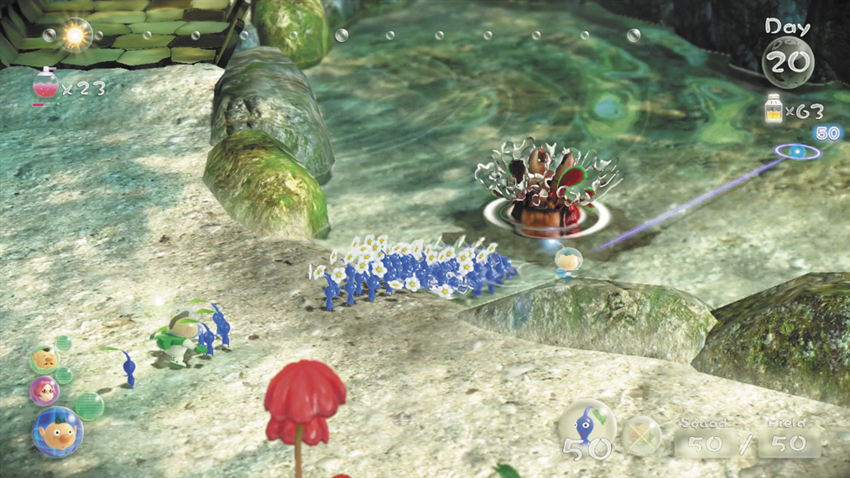
 Gather your squad and move to the Hermit Crawmad hole just south of the landing site. Draw the enemy into the open, keep your squad clear of its lunging attack, then flank the creature and charge it from behind. Gather your Pikmin and explore the water to the west.
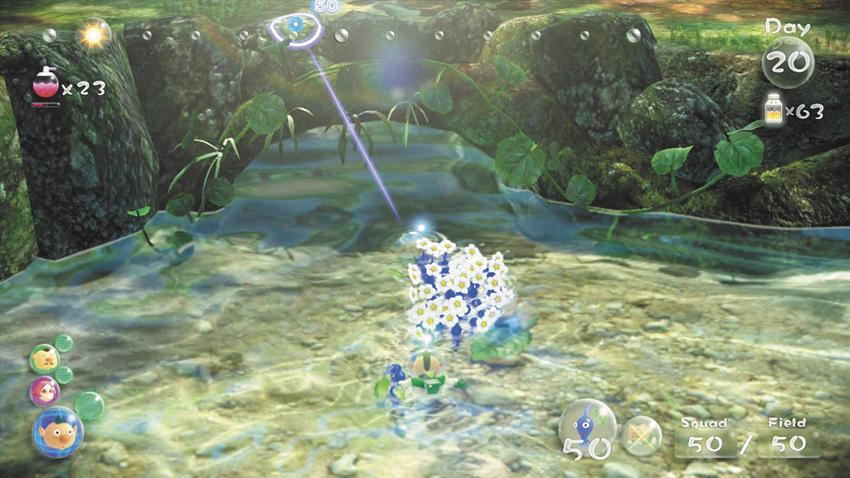
 When you reach the water’s west edge, look for the opening in the rocks. Defeat the nearby Skitter Leaf, then lead your squad through the passage and into the next area.
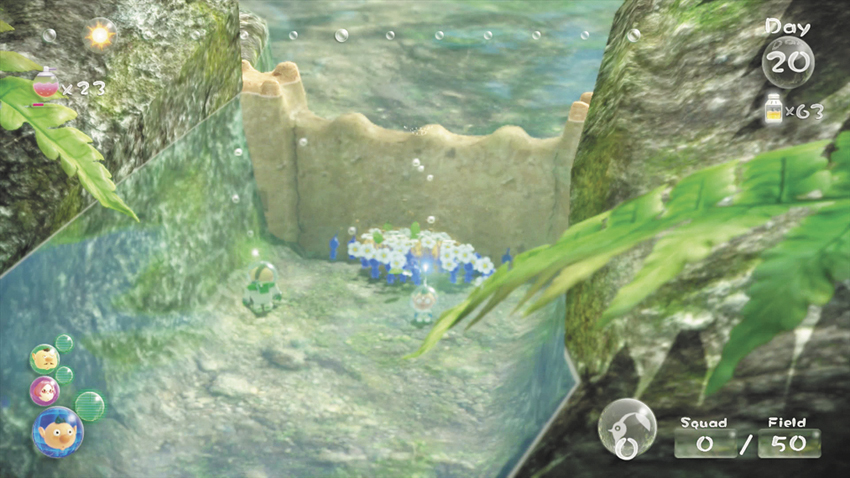
 When you reach the Dirt Wall, send your squad charging into the obstacle.
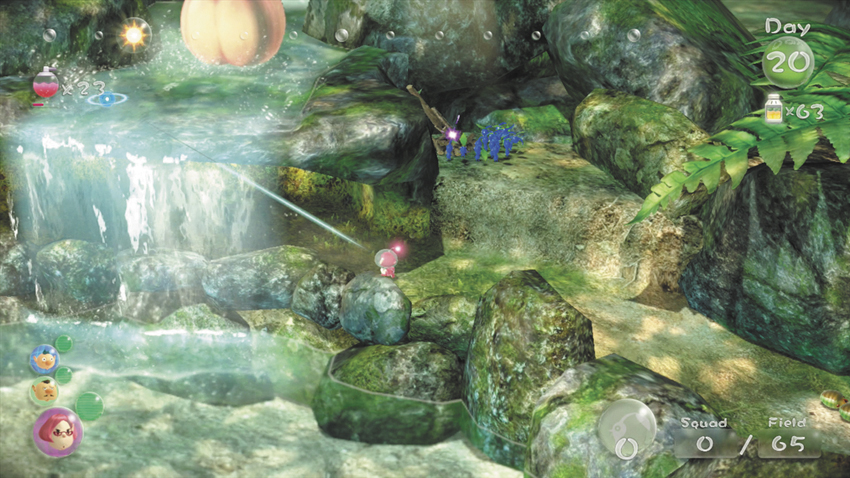
 While the Blue Pikmin tear down the Dirt Wall, switch to the crew member waiting at the landing site and call 15 Blue Pikmin down from the Onion. Lead this small squad across the bridge south of the landing site, then follow the path to the north. When you reach the waterfall, toss all of your Pikmin up to the nearby Climbing Stick. When the Blue Pikmin finish working, they’ll automatically transport the Mock Bottom (peach) sitting at the top of the waterfall.
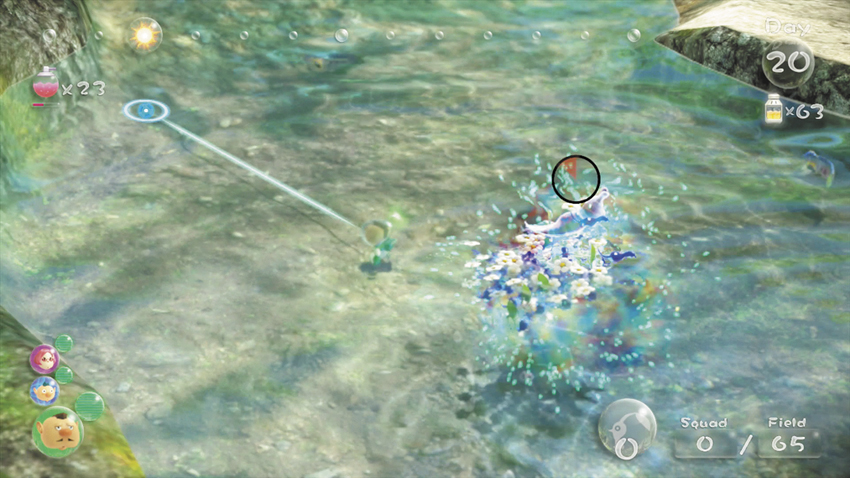
As your Pikmin extend the Climbing Stick, switch back to the squad you left at the Dirt Wall. The obstacle should be destroyed by now. Gather you squad and step through the opening. Clear out the four Puckering Blinnows swimming in the enclosure.
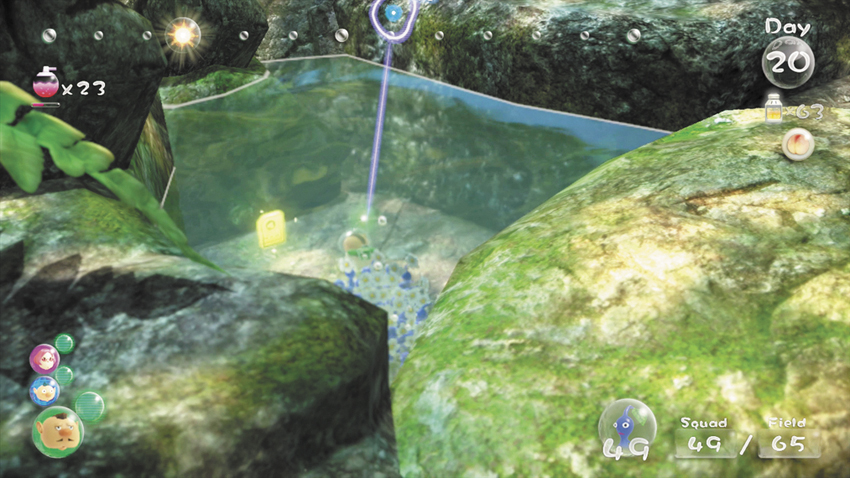
 Before you leave the water, explore the area in the southwest section of the enclosure. Pass under the rocky path to find a Data File in a small cove at the edge of the area.
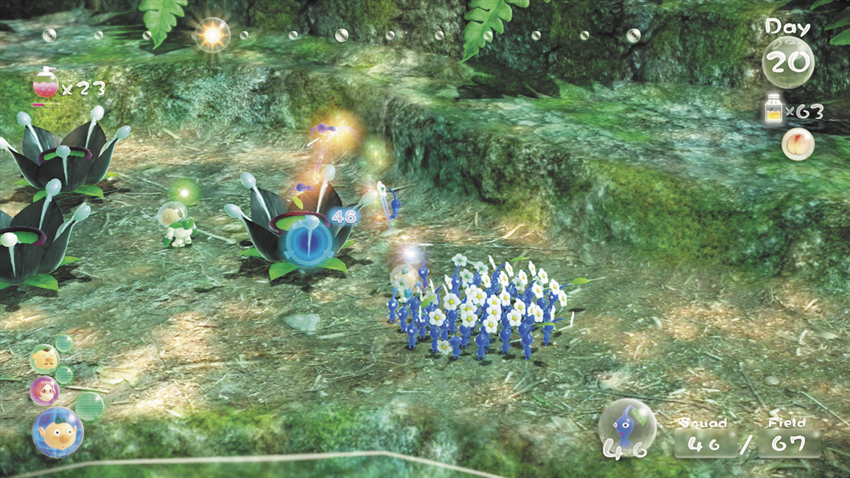
 When you’re ready, head to the shallow water at the south edge of the area. Step out of the water and follow the path east to find a cluster of four black Candypop Buds. Use these Candypop Buds to transform 20 of your Blue Pikmin into Rock Pikmin. Pluck the new sprouts, then dismiss the squad to divide the Pikmin by type.
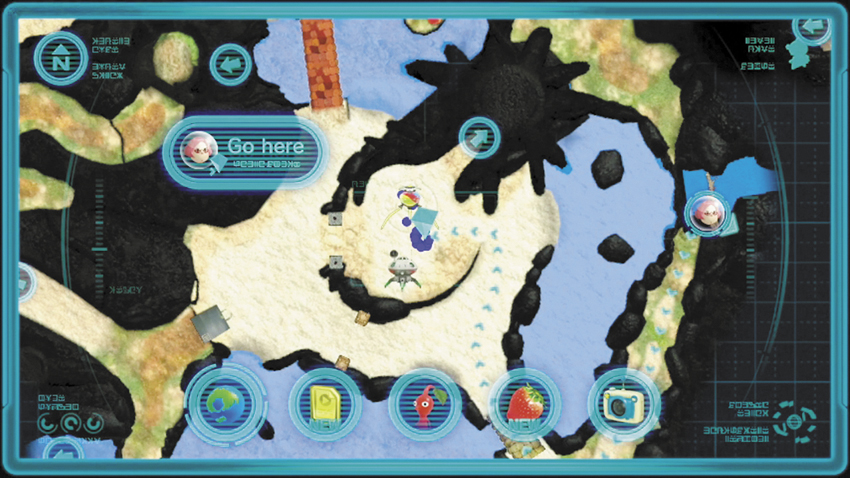
Switch to the crew member you left near the waterfall. Check to make sure that the Mock Bottom and all of the Pikmin assigned to it made it safely to the ship. If the task is complete, use the “Go Here” command to send the crew member back to the landing site.
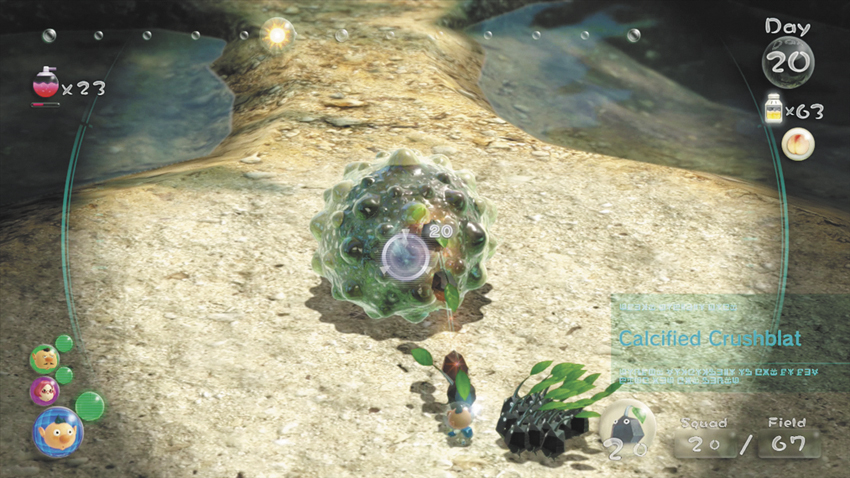
 Switch to one of the other crew members. Gather the Rock Pikmin and use them to attack the Calcified Crushblat in the center of the enclosure. Instead of charging the creature, throw each Rock Pikmin to shatter the Calcified Crushblat’s crystal armor as quickly as possible.
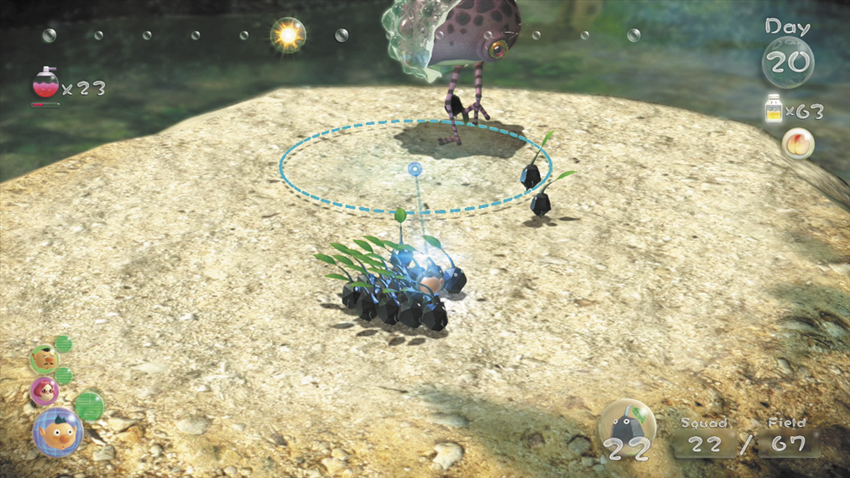
When the creature wakes, it marches around the area, leaping onto any Pikmin in range. Your Rock Pikmin won’t be damaged by these crushing attacks, but they will be temporarily incapacitated. Keep moving as you chip away at the creature’s armor, and try not to let any of your Pikmin bounce into the water.
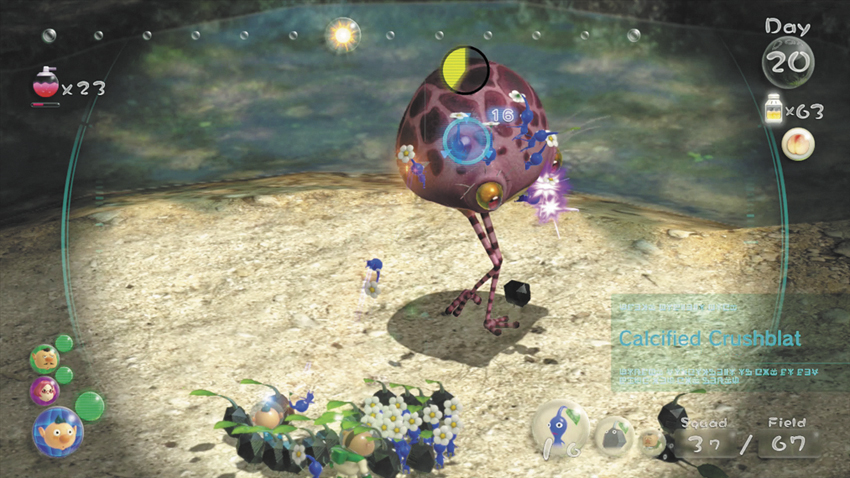
After you destroy all of the Calcified Crushblat’s armor, call the Blue Pikmin into the squad and continue the fight. As long as you’ve completely destroyed the armor, all of your Pikmin should be safe from the Calcified Crushblat’s attacks.
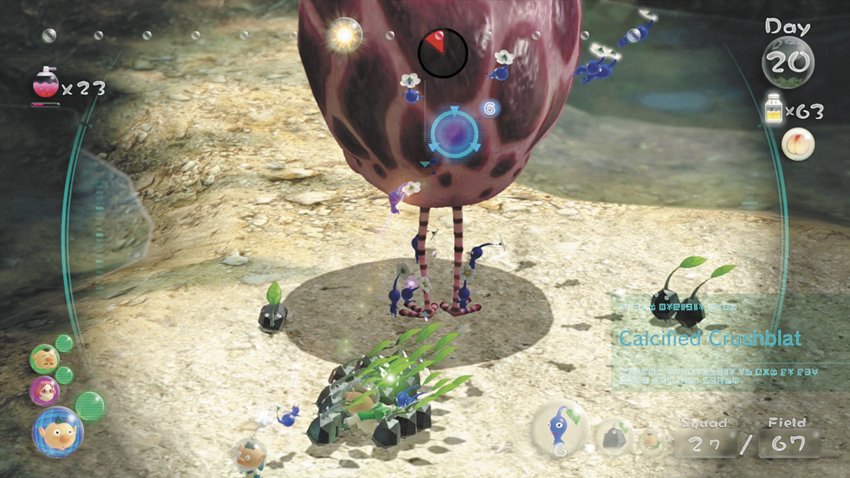
Occasionally, the Calcified Crushblat will inflate its body to knock back any attackers clinging to it. When this happens, use your whistle to rescue any Rock Pikmin that land in the water. Gather your squad and resume your attack.
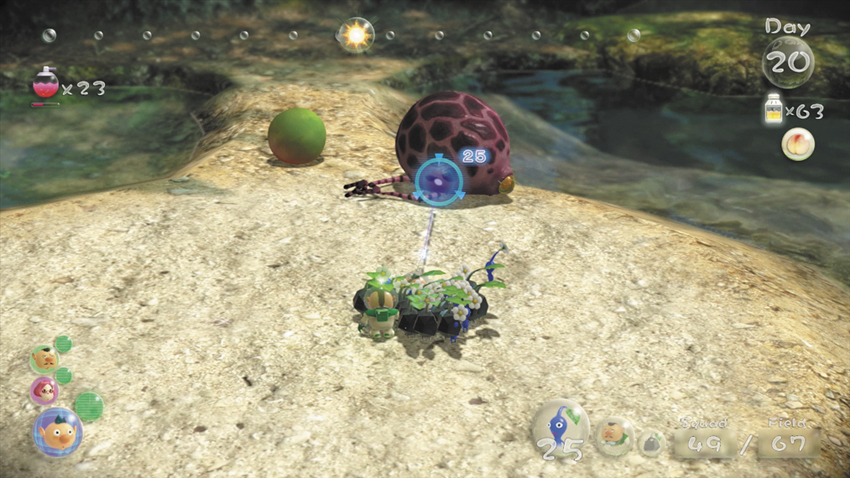
When you defeat the Calcified Crushblat, it drops a Searing Acidshock (green apricot). Assign your Blue Pikmin to transport the fruit and the defeated enemy. Once the objects are en route, use the Candypop Buds on the enclosure’s west side to transform your Rock Pikmin back into Blue Pikmin.
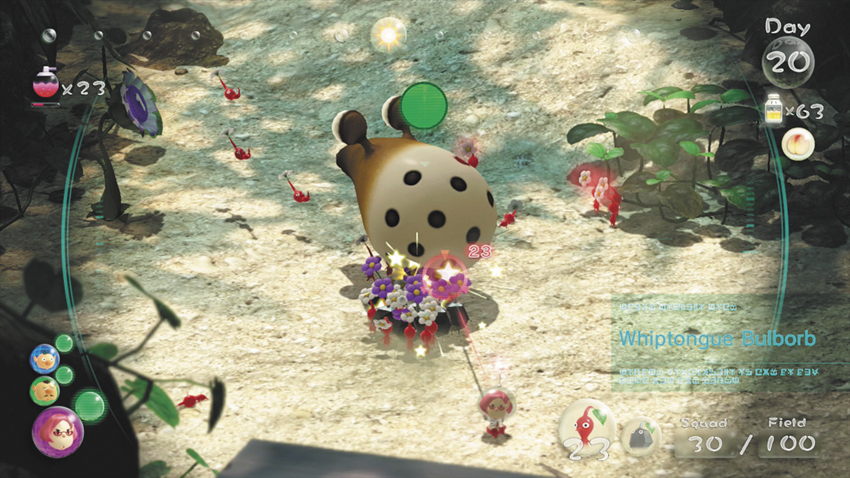
 Switch to the crew member waiting at the landing site. Gather the nearby Blue Pikmin and return them to the Onion. Call down a large squad of Red Pikmin and use them to deal with the Whiptongue Bulborb just west of the landing site.
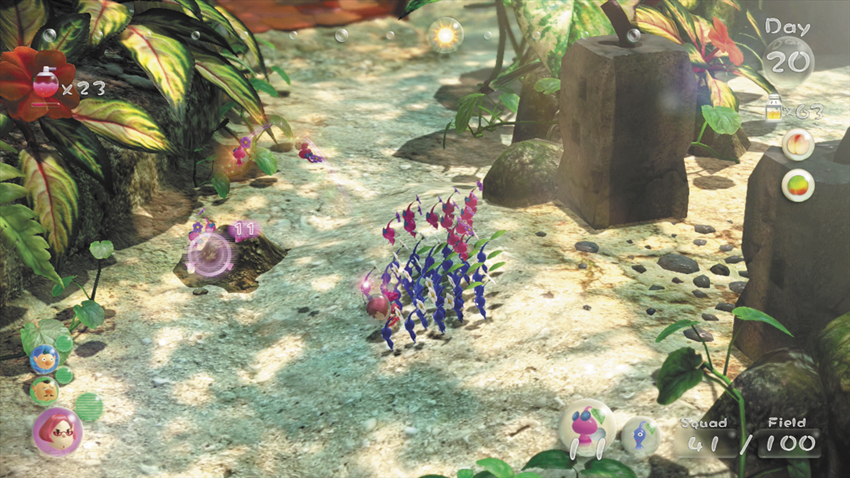
Return to the Onion and swap your Red Pikmin for a new squad. Call down 20 Winged Pikmin and 30 Blue Pikmin. Move to the Dirt Mound west of the landing site and have your squad unearth the buried Bomb Rocks.
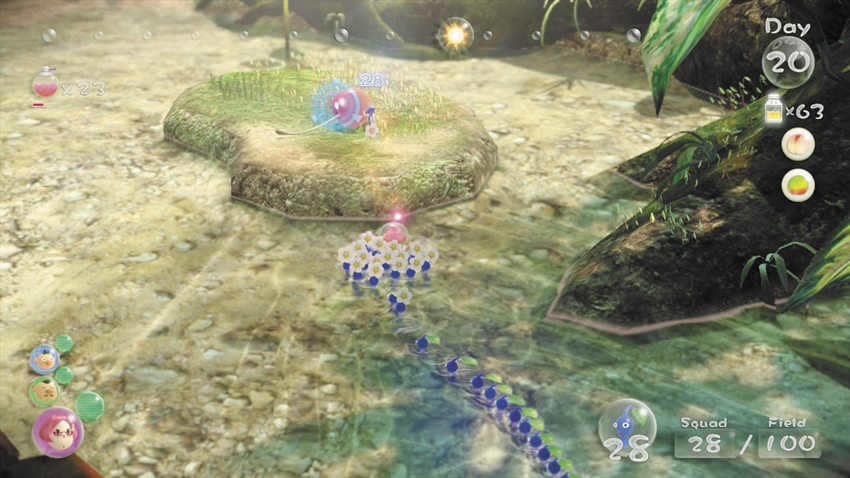
 When your Pikmin emerge, gather your squad and move toward the bridge to the north. Veer into the water and assign one Blue Pikmin to transport the Cupid’s Grenade (cherry) located on the small island.
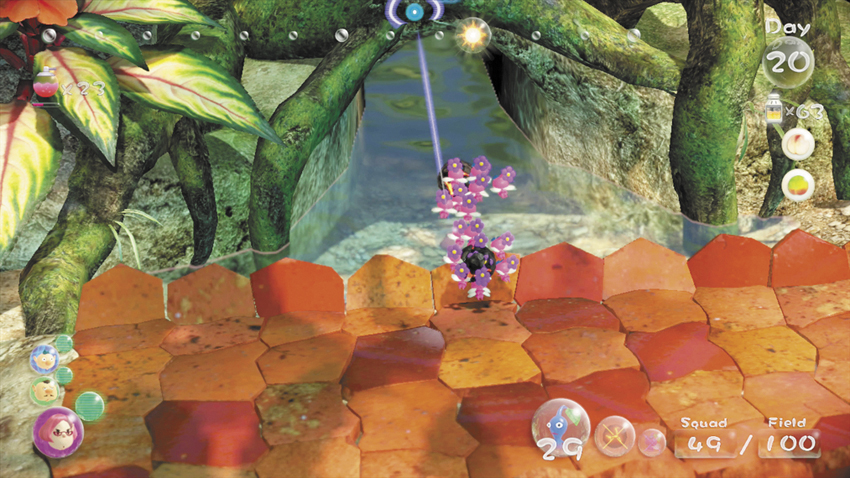
While the Cupid’s Grenade is being transported, turn around and lead your squad under the bridge. Follow the water west to enter a small cave.
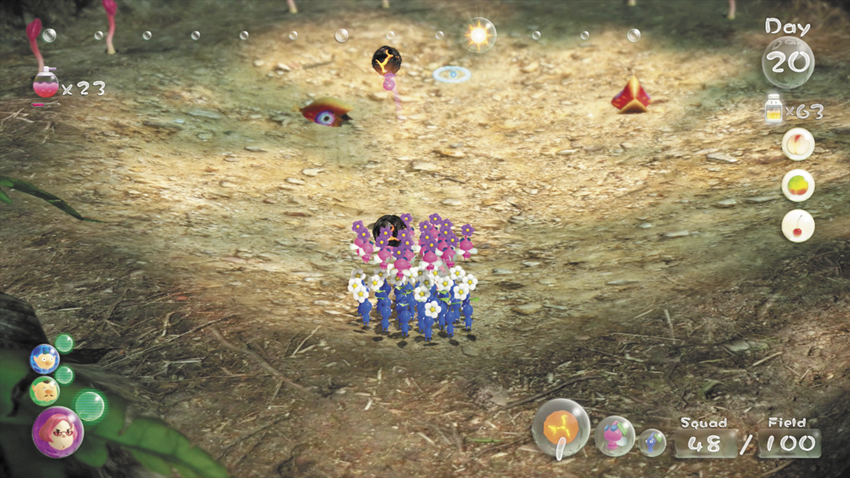
 Use your Bomb Rocks to clear out the two half-buried Flighty Joustmites. If either of your attacks fail, use your Blue Pikmin to finish the enemies.
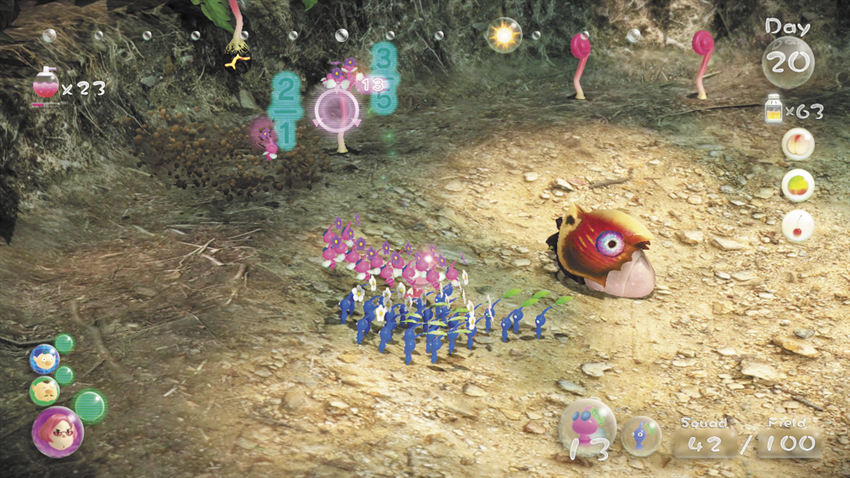
Assign Winged Pikmin to each of the Flukeweeds along the cave’s far wall. Start with the southernmost Flukeweed and work your way north.
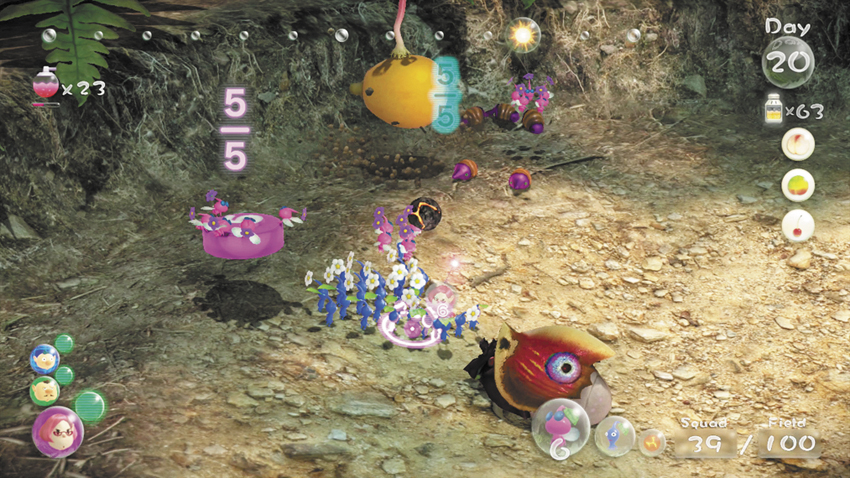
The first Flukeweed is attached to a Bomb Rock, and the second Flukeweed is attached to a pellet. Pulling the third Flukeweed unearths a Velvety Dreamdrop (loquat), but the fourth Flukeweed reveals a group of Male Sheargrubs. When the enemies appear, recall your Pikmin and use the Bomb Rock to defeat the enemies in a single attack.
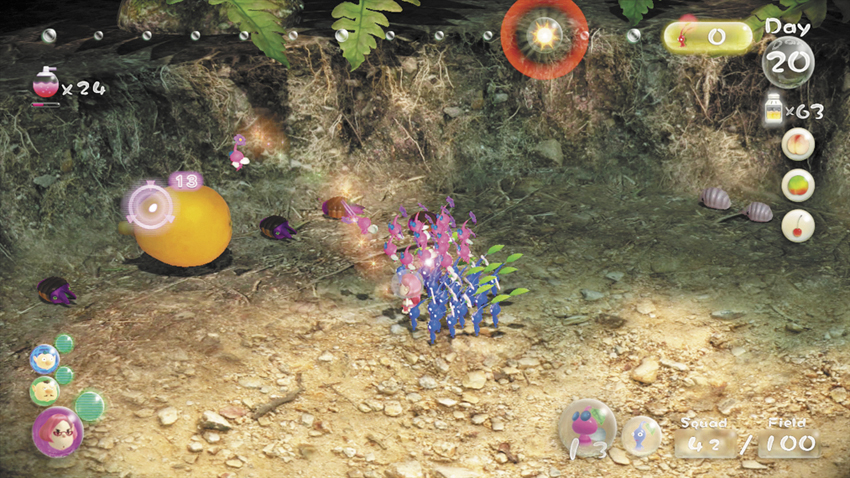
Pull the remaining Flukeweeds to find a Nectar Egg and a few Female Sheargrubs. When the area is clear, assign Pikmin to carry the Velvety Dreamdrop and all of the defeated enemies. Depending on how long you spent battling the Calcified Crushblat, there may not be much time left in the day. Collect any defeated enemies you left in the field, then look for any other simple tasks you have time to complete. Watch the clock and round up any working or idle Pikmin before the day ends.