
Pikmin 3 Guide Walkthrough Day 2 - Garden of Hope
Day 2 - Garden of Hope
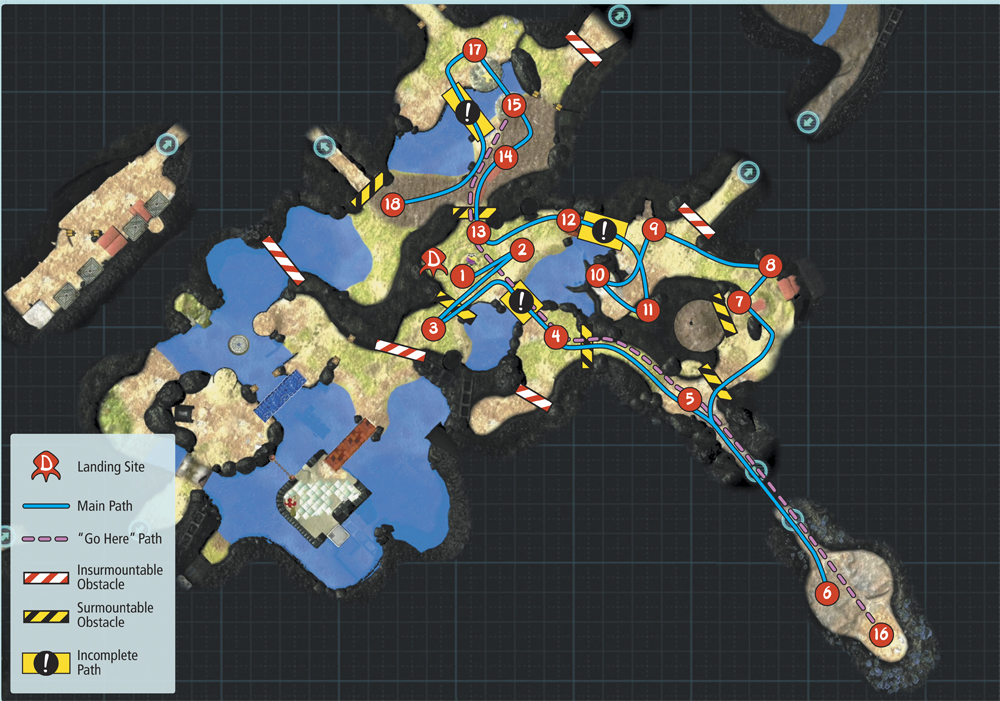
Map: Garden of Hope
Remaining Juice: 2 canisters
Objectives: Rescue the Rock Pikmin, Free Brittany, begin gathering fruit, and create paths to new areas.
Alph has managed to track Brittany’s signal to a nearby area. Head for the Garden of Hope and track down the stranded crew member. As you explore the map, keep an eye on the timer that appears along the top of the screen. From this point on, you’ll automatically return to the S.S. Drake when you run out of daylight.
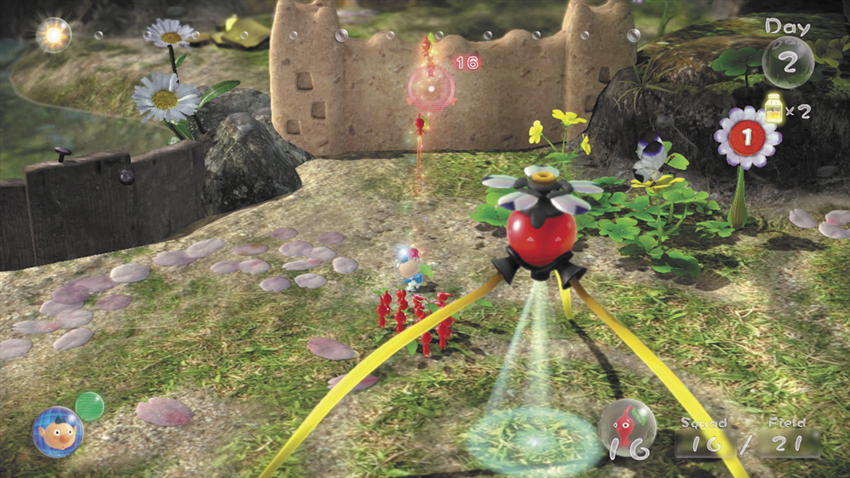
 When you land, call all of the Red Pikmin out of the Onion. Toss about 10 Pikmin onto the Dirt Wall just south of the landing site, then head north to find a Dwarf Bulborb near a Fragment pile.
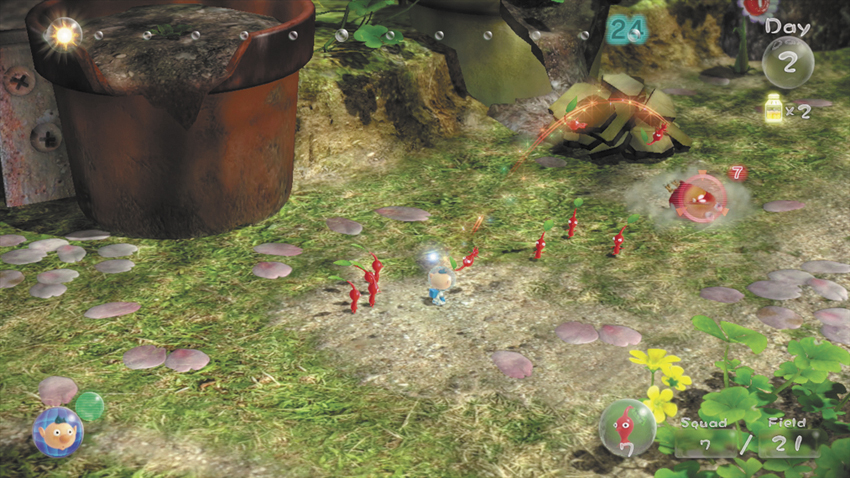
 Throw a Pikmin directly onto the Dwarf Bulborb to defeat it quickly. Assign three Pikmin to carry the fallen enemy back to the Onion, then send the rest of your army into the nearby Fragment pile.
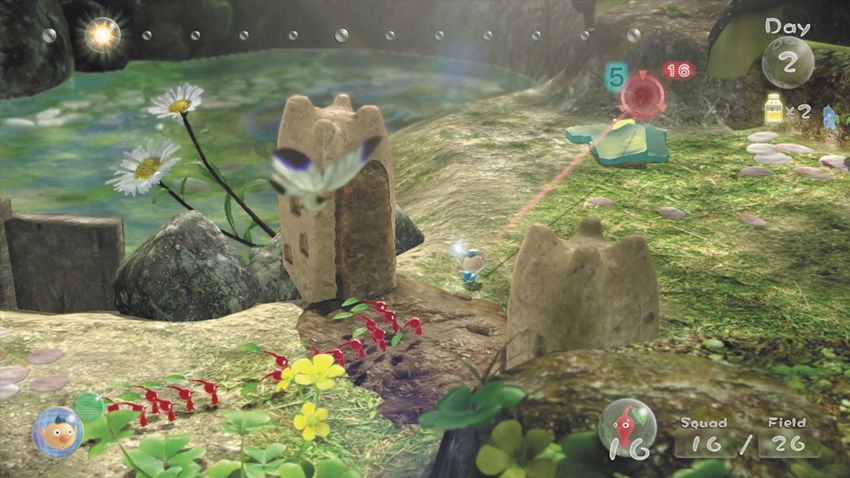
 Return to the Onion and pluck the sprouts when they appear. As the first group wears down the Dirt Wall, use your new Pikmin to harvest any pellets in the area. When the Dirt Wall is destroyed, gather the idle Pikmin and send them charging into the newly accessible Fragment pile.
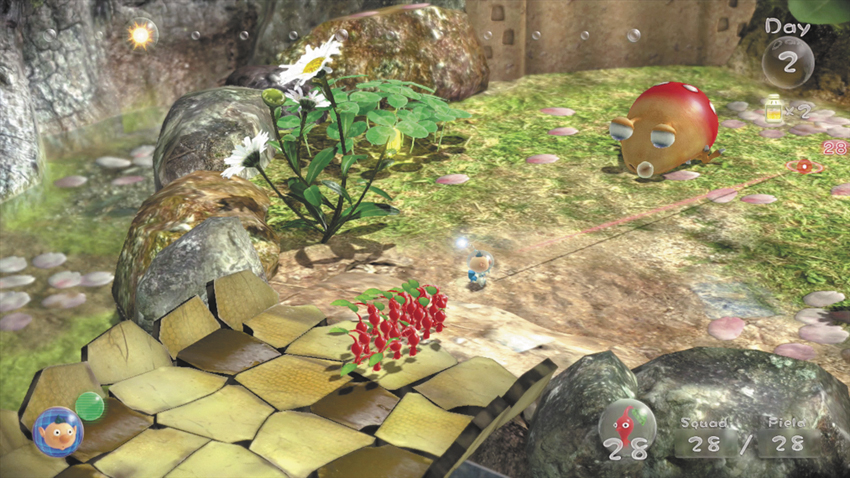
 As the last Fragments are carried to the bridge, use the time to make a final sweep of the area. Harvest any remaining pellets, pluck sprouts, collect Data Files, and gather idle Pikmin. When the work is complete, lead all of your Pikmin across the bridge and defeat the sleeping Bulborb.
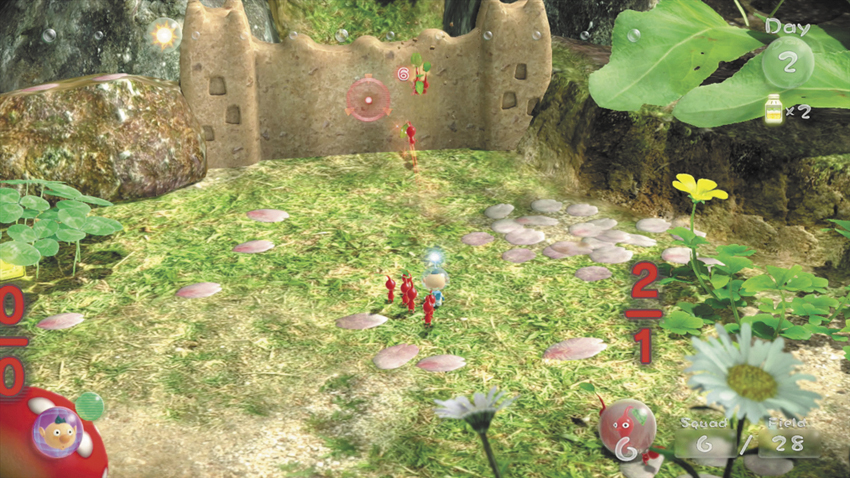
Assign 10 Pikmin to the fallen Bulborb, and consider harvesting the surrounding Pellet Poises. Put the remaining Pikmin to work on the nearby Dirt Wall, then grab the Data File hidden in the nearby clover patch. Pluck the new sprouts back at the Onion, then gather the idle Pikmin and assign them to help on the Dirt Wall. When the path is clear, continue east to the next area.
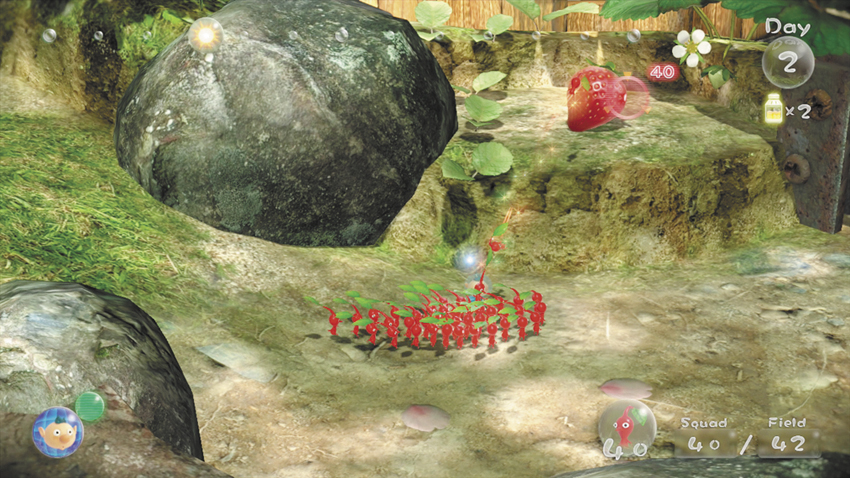
 Follow to trigger a cinematic showing Brittany’s location. To reach her, you must find a way to destroy a Crystal Wall blocking the area. Toss three Pikmin up to the Sunseed Berry (strawberry) on the small ledge just west of the Crystal Wall, then follow the path as it curves south.
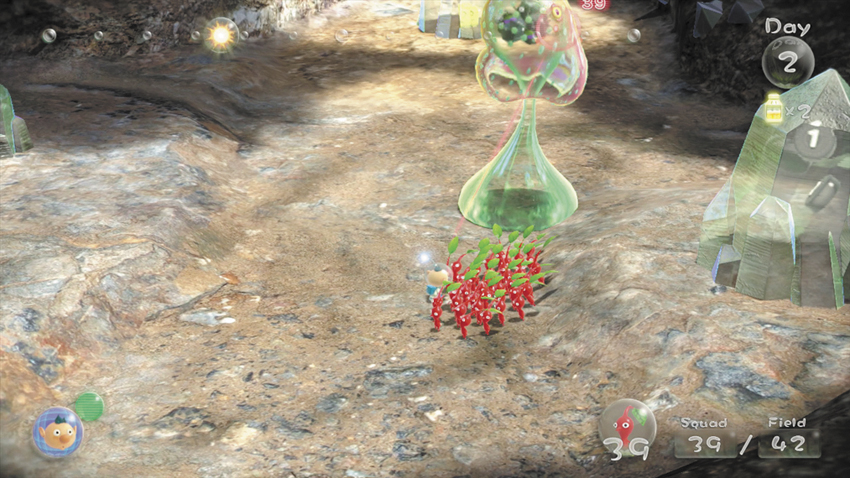
 When you find the cave, cross toward the back wall to reveal a Medusal Slurker hiding in the area. Avoid the creature’s sticky appendage—any Pikmin standing below the Medusal Slurker will be caught in its attack. Throw your Pikmin onto its body and call back any Pikmin that the creature shakes loose. Continue your attack until the creature falls to free the Rock Pikmin trapped within it.
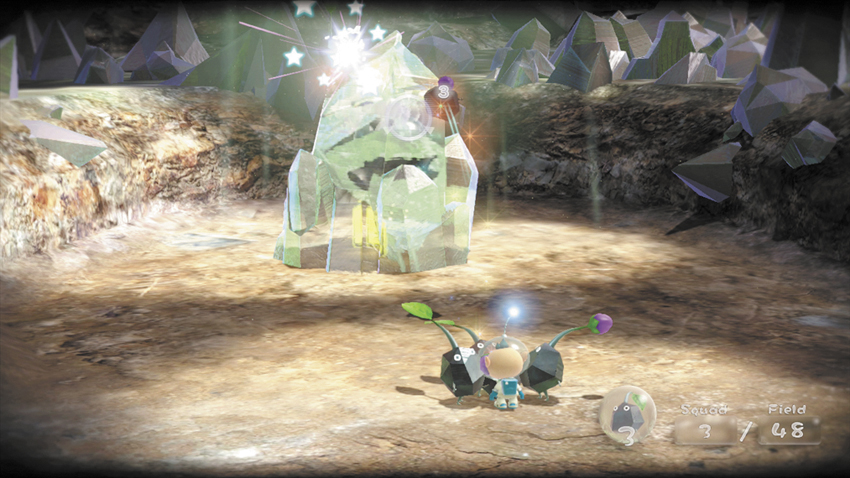
Once freed, the Rock Pikmin begin attacking the Large Crystal at the back of the cave. Call the Rock Pikmin over to you, then throw them directly at the crystal to speed up the process. Keep attacking until the crystal shatters, freeing the Onion trapped inside.
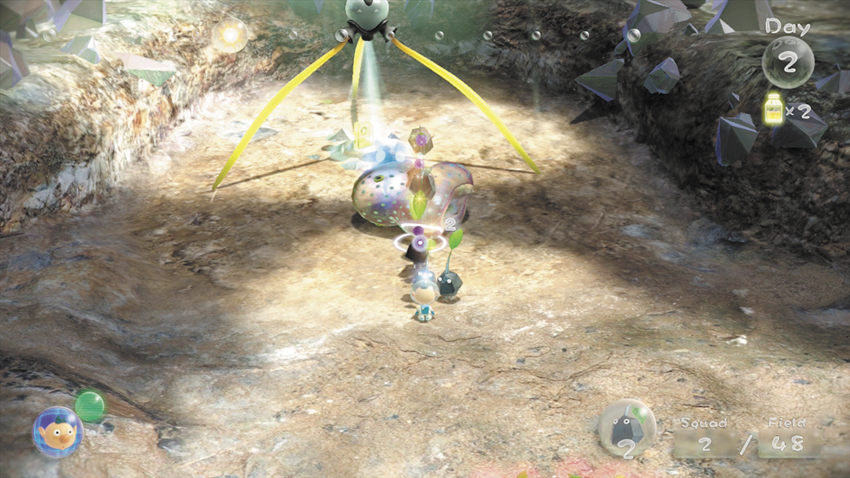
Have the Rock Pikmin carry the defeated enemy to the Onion, then pluck the resulting sprouts and grab the nearby Data File. Throw your Rock Pikmin at the cave’s remaining crystals to find some pellets and another Data File. Pluck the new sprouts, then gather all of your Pikmin and leave the cave.
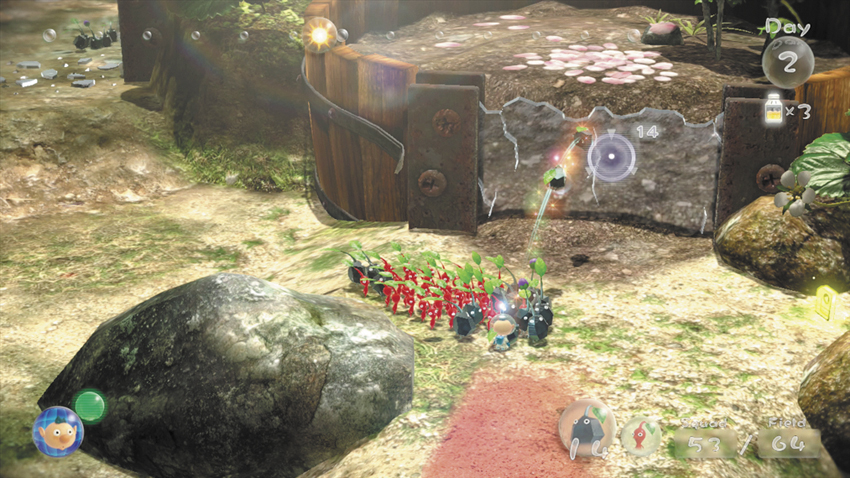
 Use the Rock Pikmin to destroy the Crystal Wall just outside the cave, then smash the Crystal Wall keeping Brittany inside her enclosure. When Brittany is free, follow her instructions to collect the nearby Face Wrinkler (lemon).
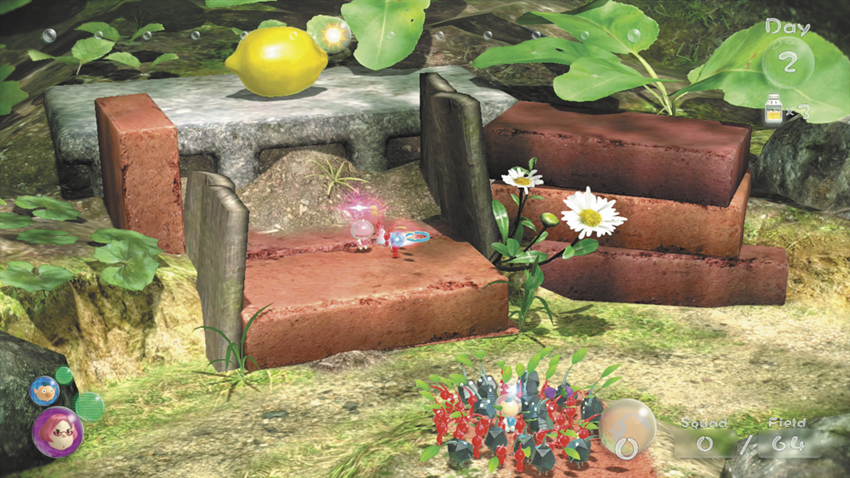
 Throw Brittany onto the brick just below the Face Wrinkler, then toss five Red Pikmin over to her. Switch crew members and toss Brittany’s Pikmin up to the Face Wrinkler. As those Pikmin carry the Face Wrinkler back to the ship, rejoin Alph and the remaining Pikmin to continue exploring the area.
At this point, you have a very limited supply of Rock Pikmin. It’s best to keep as many of them by your side as possible.
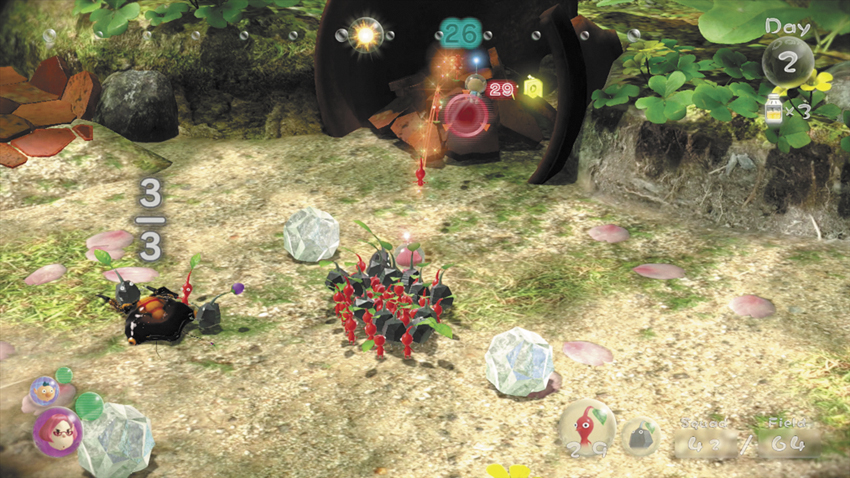
 Follow the path as it curves back to the west, and use the Rock Pikmin to clear out both of the Skutterchucks patrolling the area. Assign two Rock Pikmin and one Red Pikmin to each of the defeated enemies. As they carry the creatures back to the Rock Pikmin’s Onion, throw a crew member and around 10 Red Pikmin onto the nearby Fragments.
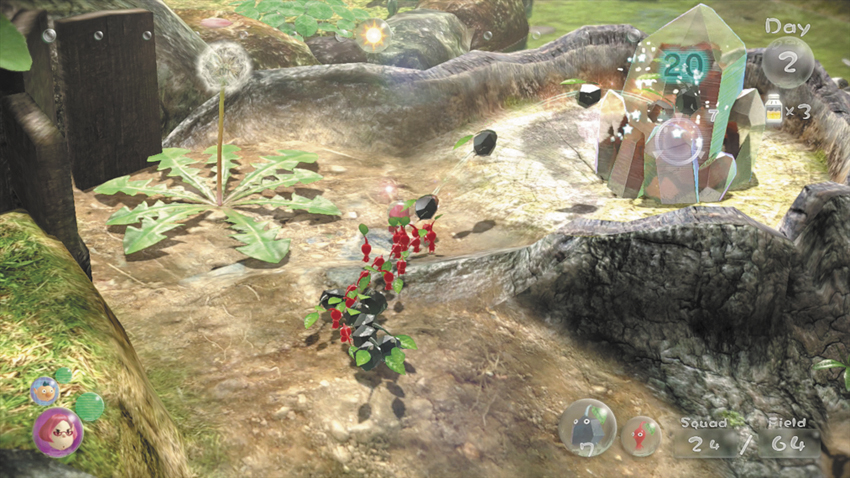
 Climb up the small ridge to the south and use your Rock Pikmin to free the Fragments encased in the Large Crystal. Send all of your Rock Pikmin into the pile, then assign Red Pikmin to any remaining Fragments.
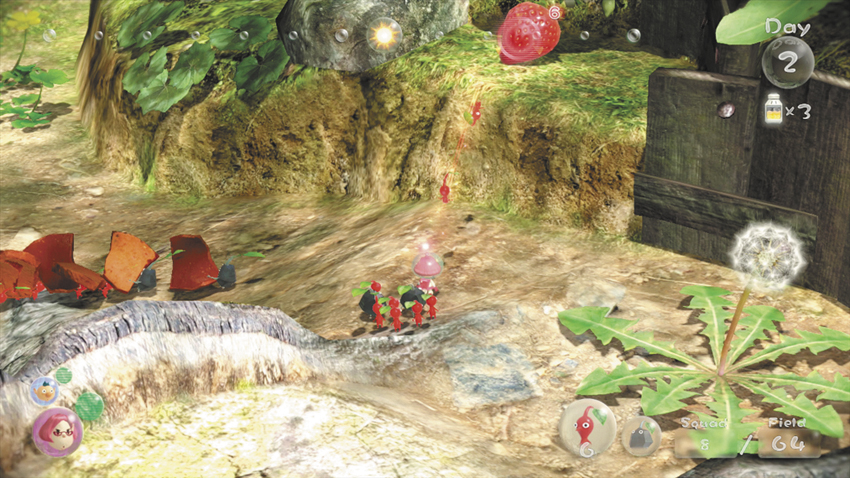
 As the remaining Fragments are carried to the bridge, turn around and look for the Sunseed Berry (strawberry) on the ledge at the top of the ridge. Throw three Red Pikmin up to the Sunseed Berry. The bridge should be completed within a few seconds. By the time the Sunseed Berry reaches the bottom of the ridge, your Pikmin should have a much shorter path back to the ship.
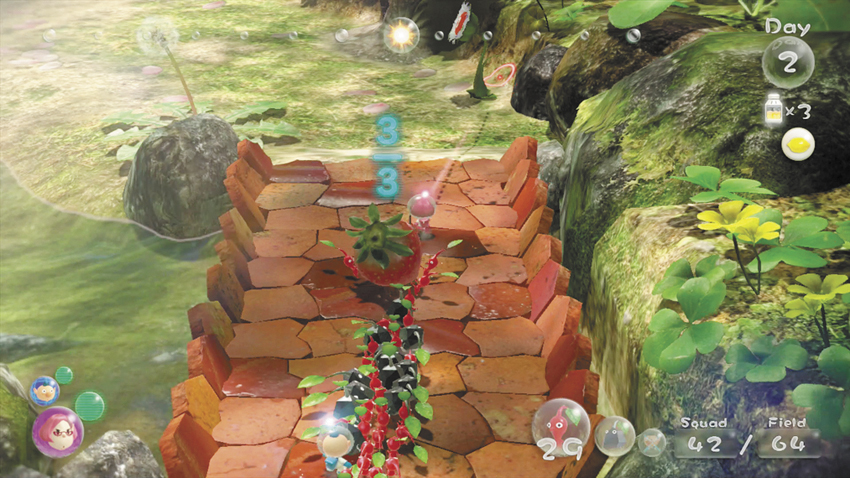
 Gather the idle Pikmin located near both crew members, and try to catch any Pikmin returning from the completed bridge. Move both crew members into one large group and cross the bridge back to the landing site.
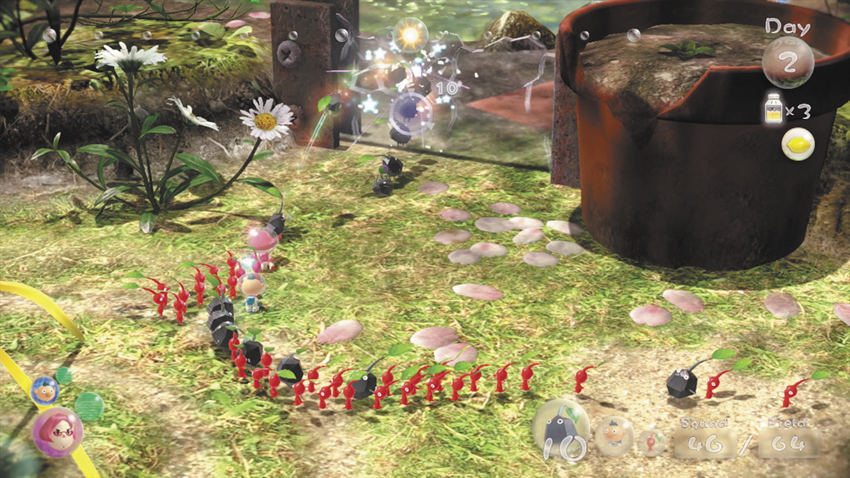
 Gather any idle Pikmin at the landing site, then use the Rock Pikmin to destroy the nearby Crystal Wall. When the path is clear, follow the path north to discover a new signal. As you move, remember to collect the Data Files along the way.
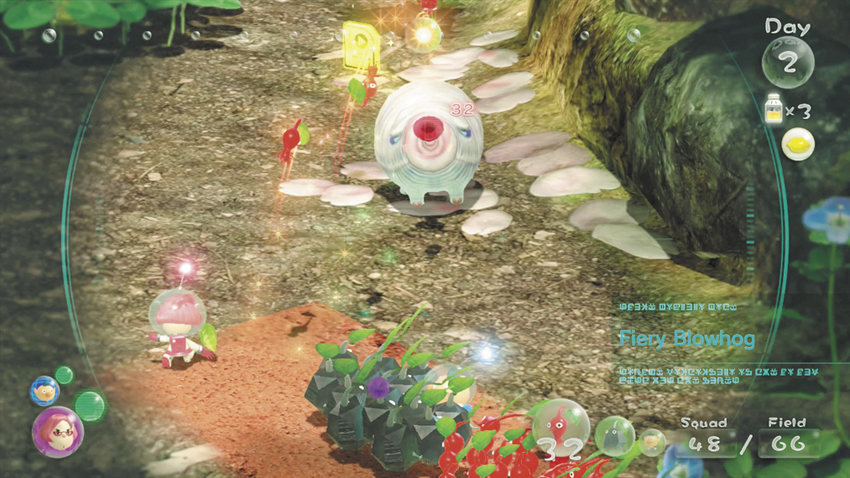
 Use the Red Pikmin to defeat the Fiery Blowhogs patrolling the area, but don’t allow any Pikmin to run off with the fallen enemies at this time.
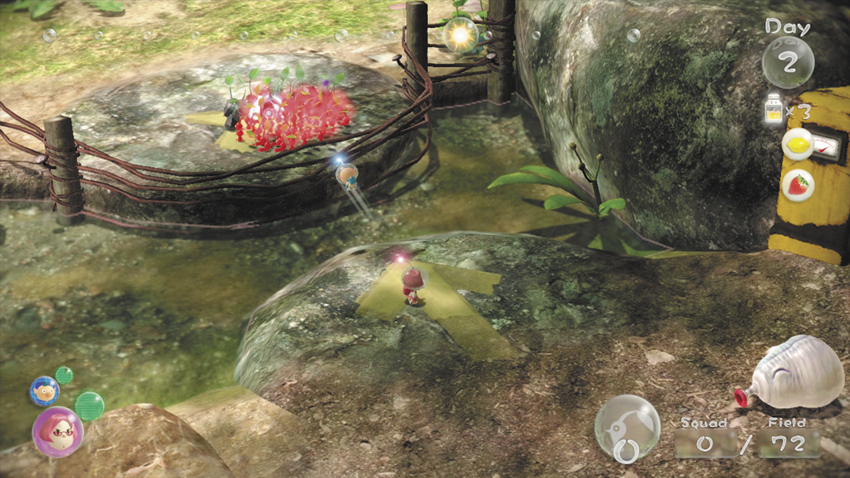
 Locate the Electric Gate blocking the path to the north, then stand on the arrow near the water’s edge. Throw all of your Pikmin and a crew member across the water, then use the Wii U Game Pad’s “Go Here” function to plot a course to the Rock Pikmin’s Onion.
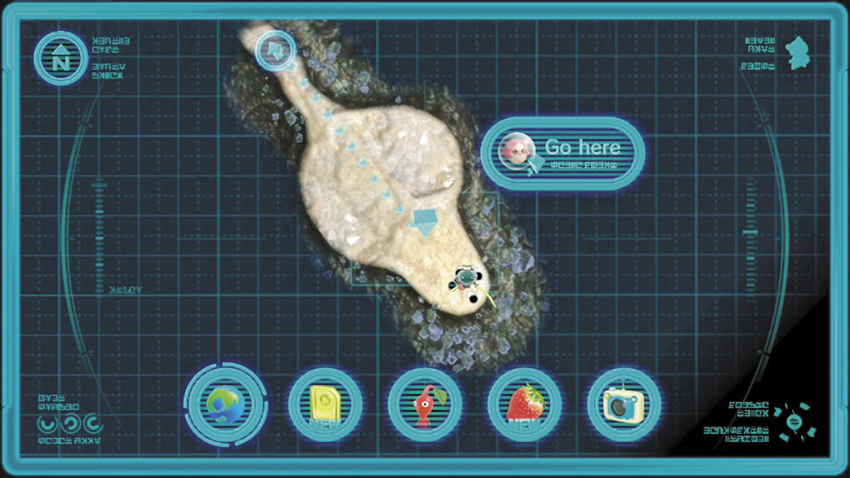
 Drag the in-game map until the Rock Pikmin’s Onion is in the center of the Touchscreen, then tap the “Go Here” icon to confirm your path. When the designated crew member begins the march back to the distant Onion, switch crew members and call the nearby Pikmin.
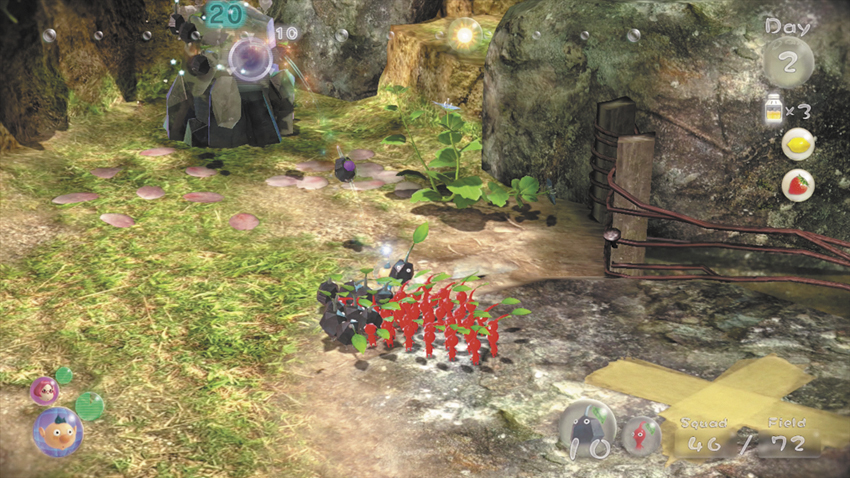
 Use the Rock Pikmin to smash the Large Crystal to the north, then assign half of your Pikmin to the revealed Fragments. Turn around and locate the Fragments to the southwest, then send your remaining Pikmin into the pile. When the bridge is complete, gather your idle Pikmin and move back across the water. Assign three Rock Pikmin and two Red Pikmin to each of the defeated Fiery Blowhogs, then explore the surrounding area.
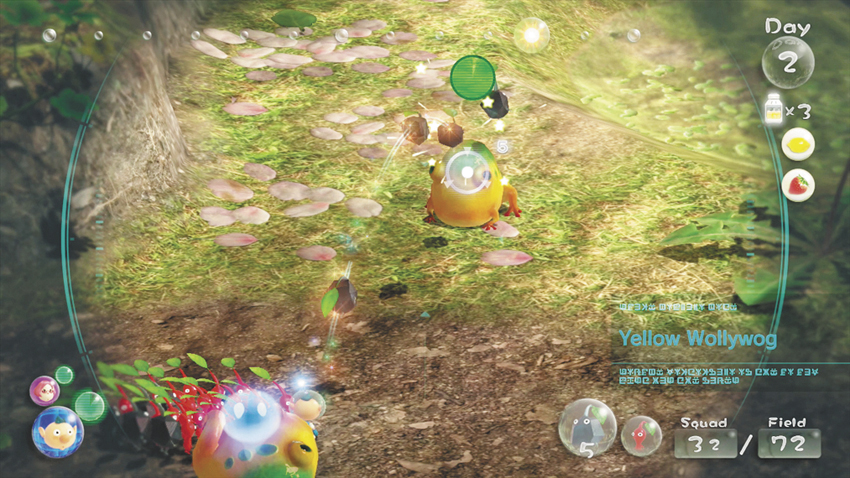
 At this point, there probably isn’t much time left in the day, but any additional tasks you manage to accomplish will make the following day that much easier. Harvest the red 5 Pellet near the Blowhogs, the follow the water’s edge to find some Yellow Wollywogs to the west. Use your Pikmin to overpower these enemies. If there’s enough time, assign three Red Pikmin and two Rock Pikmin to carry them back to the landing site.
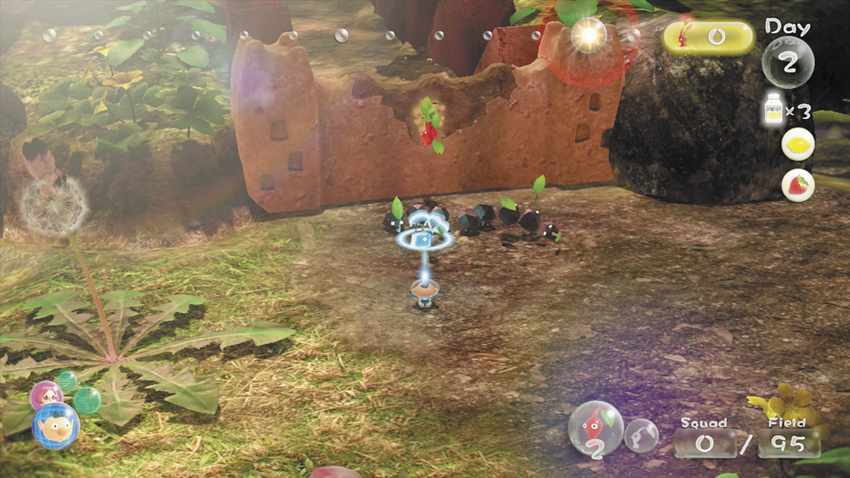
After you defeat the Yellow Wollywogs, use your remaining Pikmin to attack the nearby Dirt Wall. As they work, search the surrounding area for more Data Files. There are two Data Files located underwater, and one more placed near a couple of harmless Skitter Leaves.
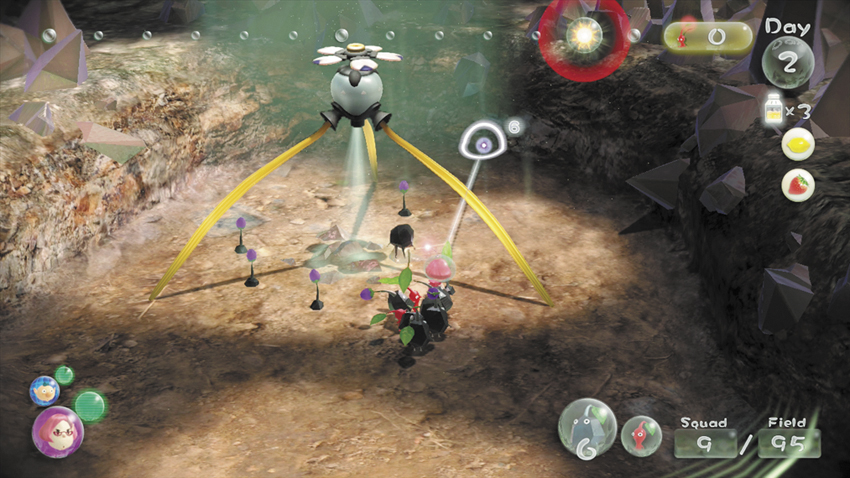
As time winds down, switch crew members and pluck any sprouts around the Rock Pikmin’s Onion. Collecting all of the Rock Pikmin now will save a good chunk of time on the following day. Switch back and move near the Dirt Wall and watch the timer. Make sure you gather any working (or idle) Pikmin before the day ends.